Hi everyone!
My name is Alexandre Martin. I'm the manager of a French CGI firm in Paris and I'm really proud to be invited by Evermotion to build up the making of 'Winter Pavilion', a personal task. So here it is!
Click on image to enlarge 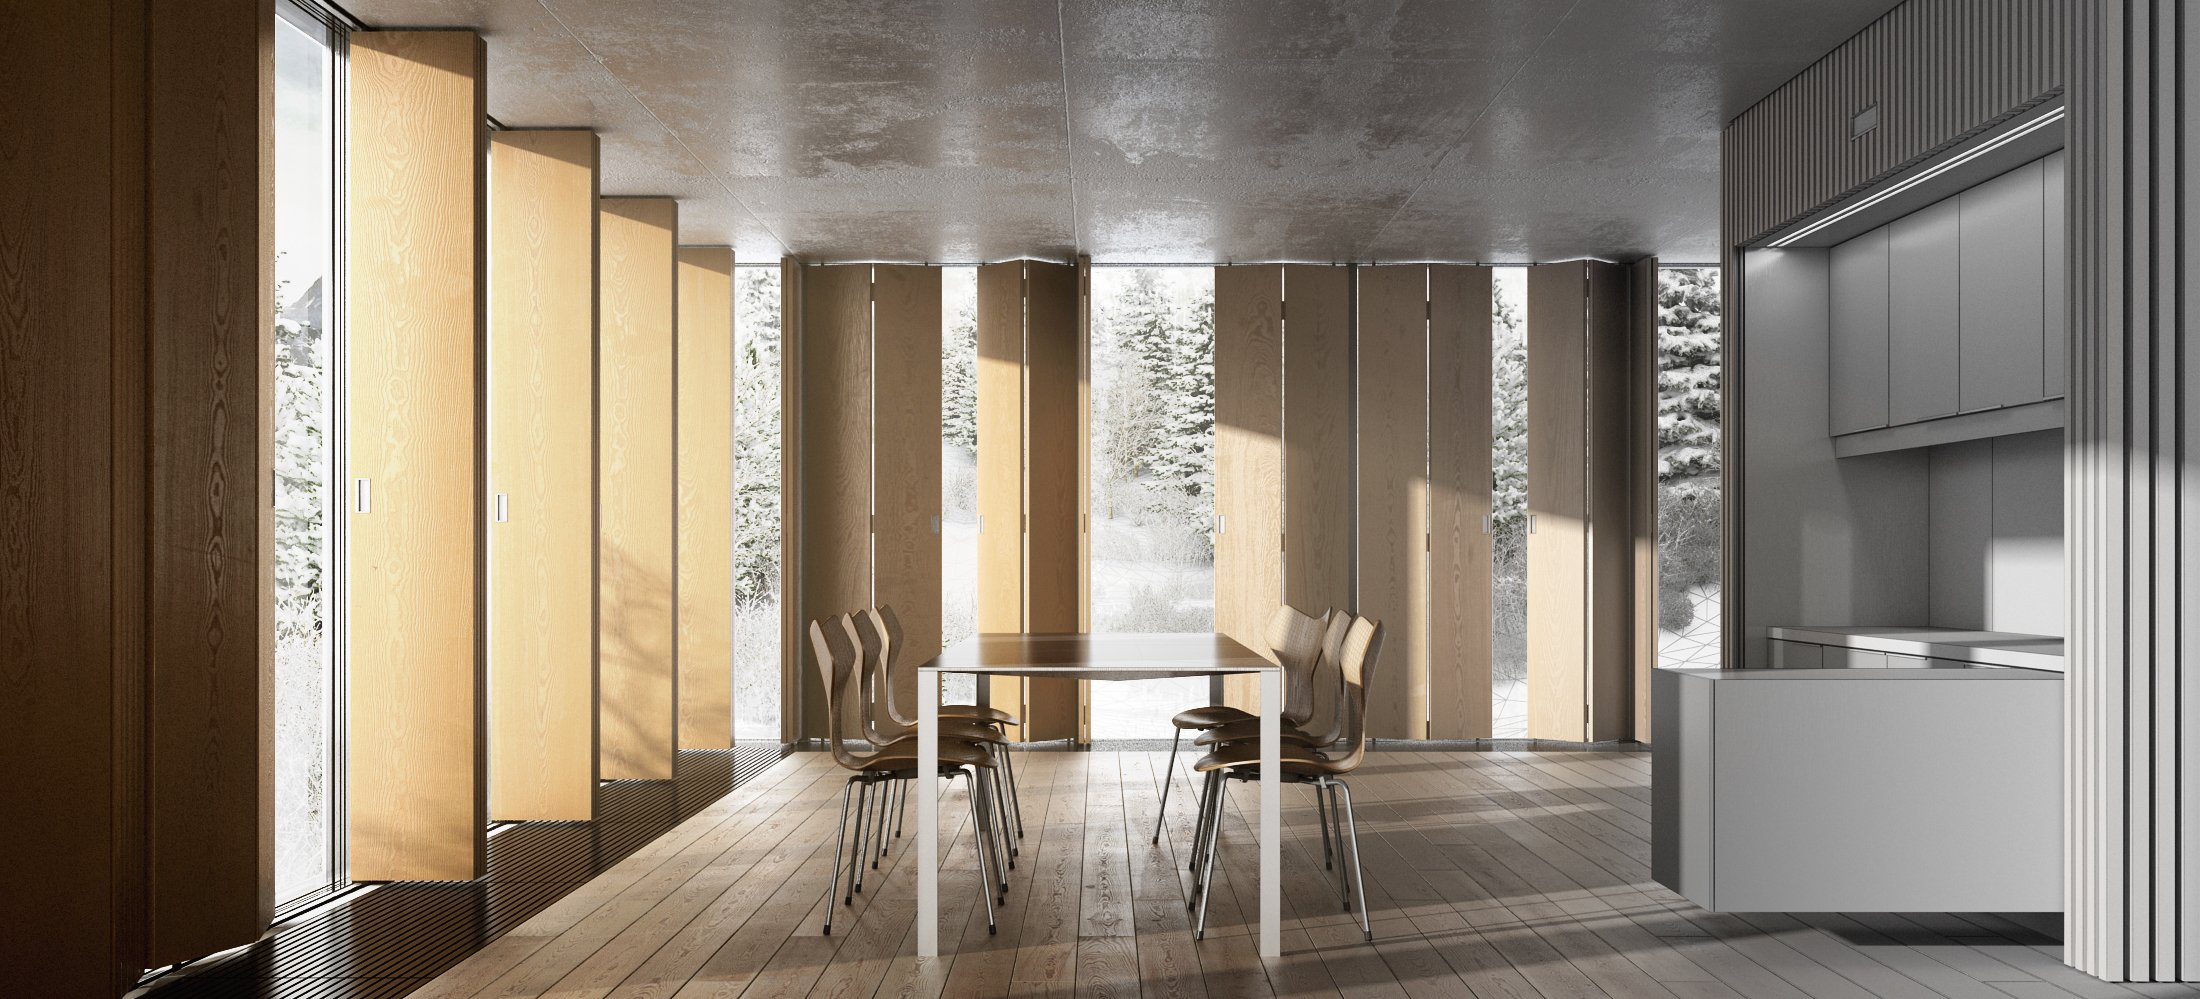
First of all, I had to define a workflow according to the situation. I wanted the job to be completed within a short delay and I had to focus on my working with a limited memory workstation – only 4GB. The working process and the tests were really the critical point while there was no limitation on the rendering process, using a 5*i7 render farm.
I therefore decided to draw a really simple project and to break down the production into two parts: the outside scene and the inside scene. They were rendered separately and composed using photoshop.
1. The Landscape
Click on image to enlarge 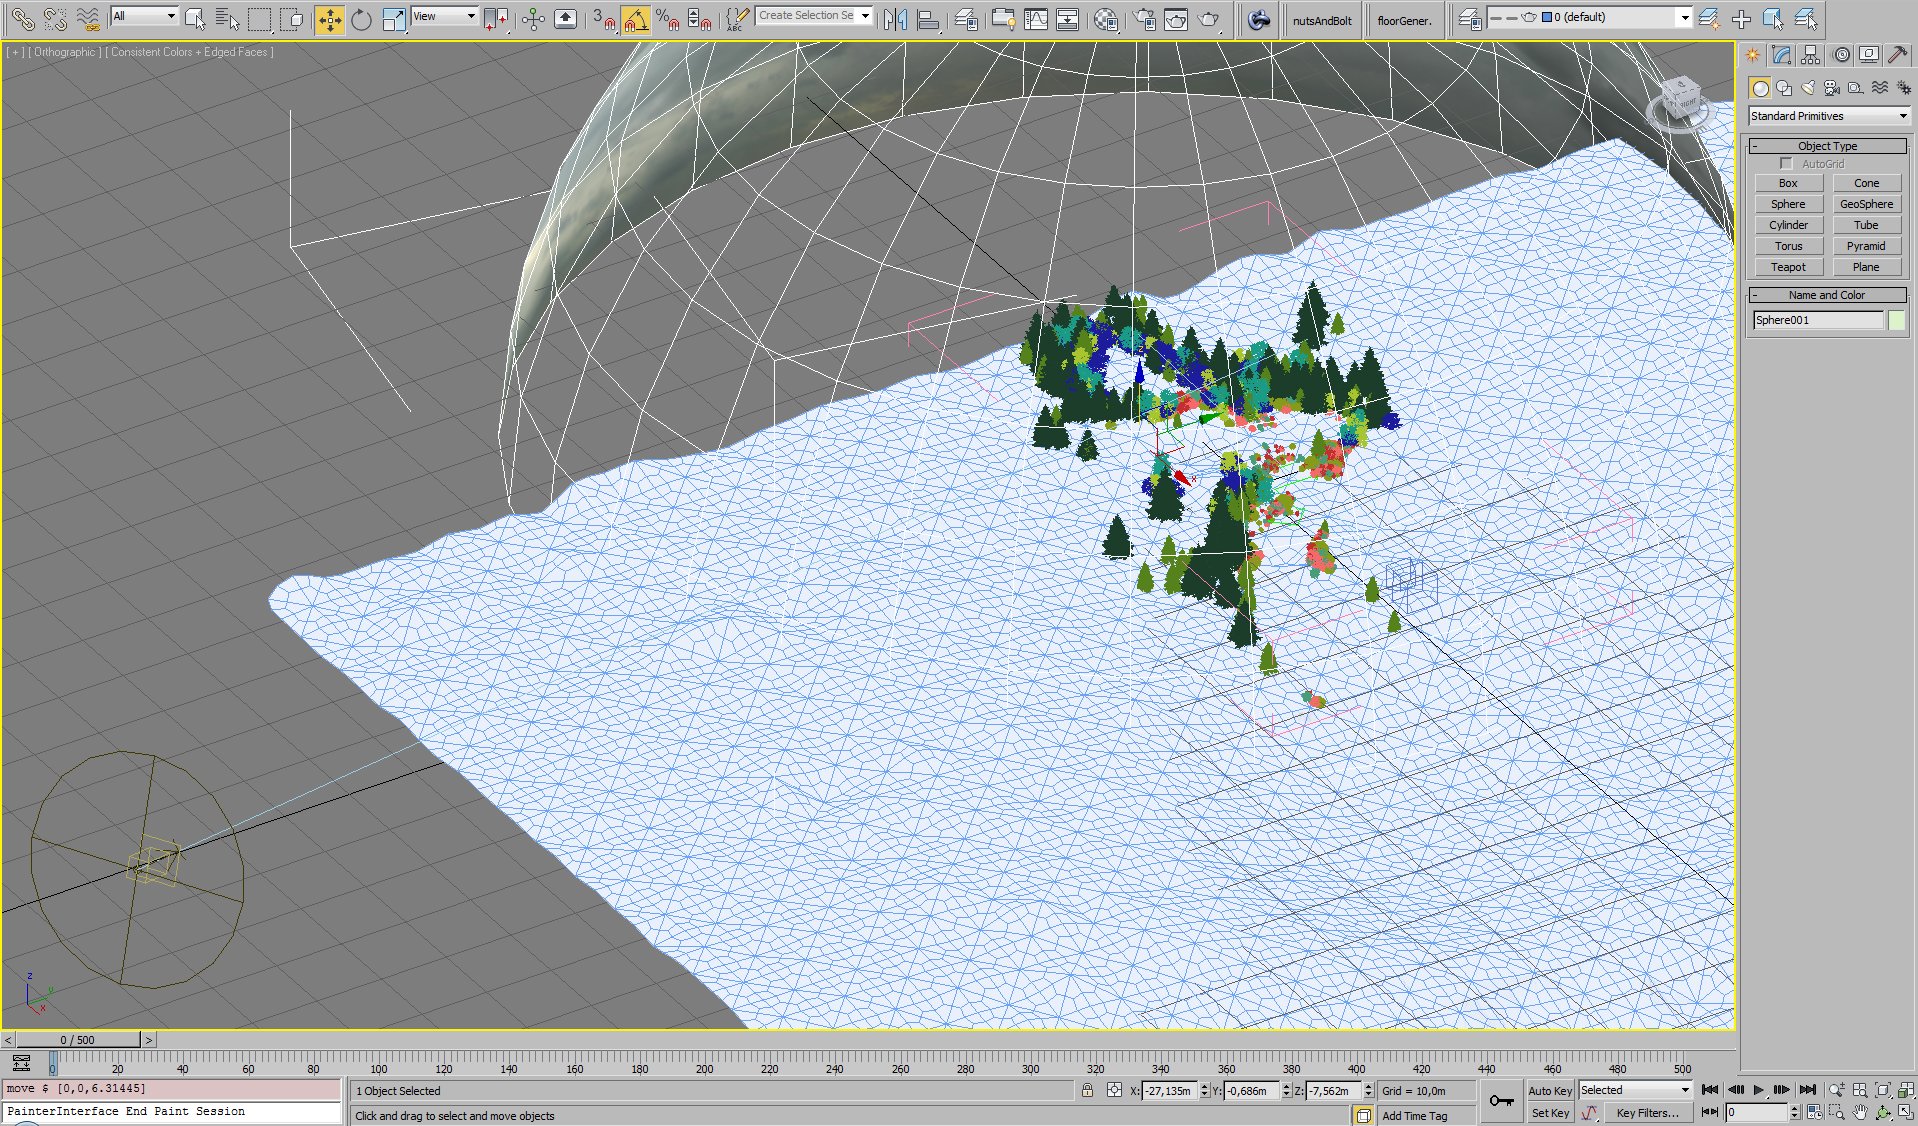
The main elements are:
- subdivided plane leveled using Edit Poly soft selection, noise and smooth modifiers.
- hemisphere with normal modifier applied receiving a VrayLight material with a free Cgskyes 360° sky bitmap (see image below).
- vray sun excluding the hemisphere considering the shadow casting and a max direct light with the same position, used separately to deal with volume light post production.
- some trees and bushes using Icube winter Trees collection, converted to vray
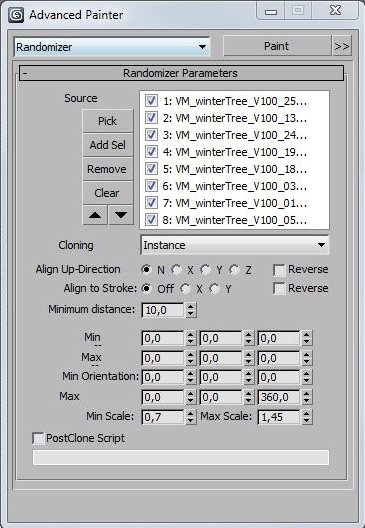
- meshes and scattered on the plane using the free script Advanced Painter (https://www.scriptspot.com/3dsmax/scripts/advancedpainter).
I now use Visual Dynamics MultiScatter wonderful and really complete plugin. (https://www.multiscatter.com/)
Click on image to enlarge 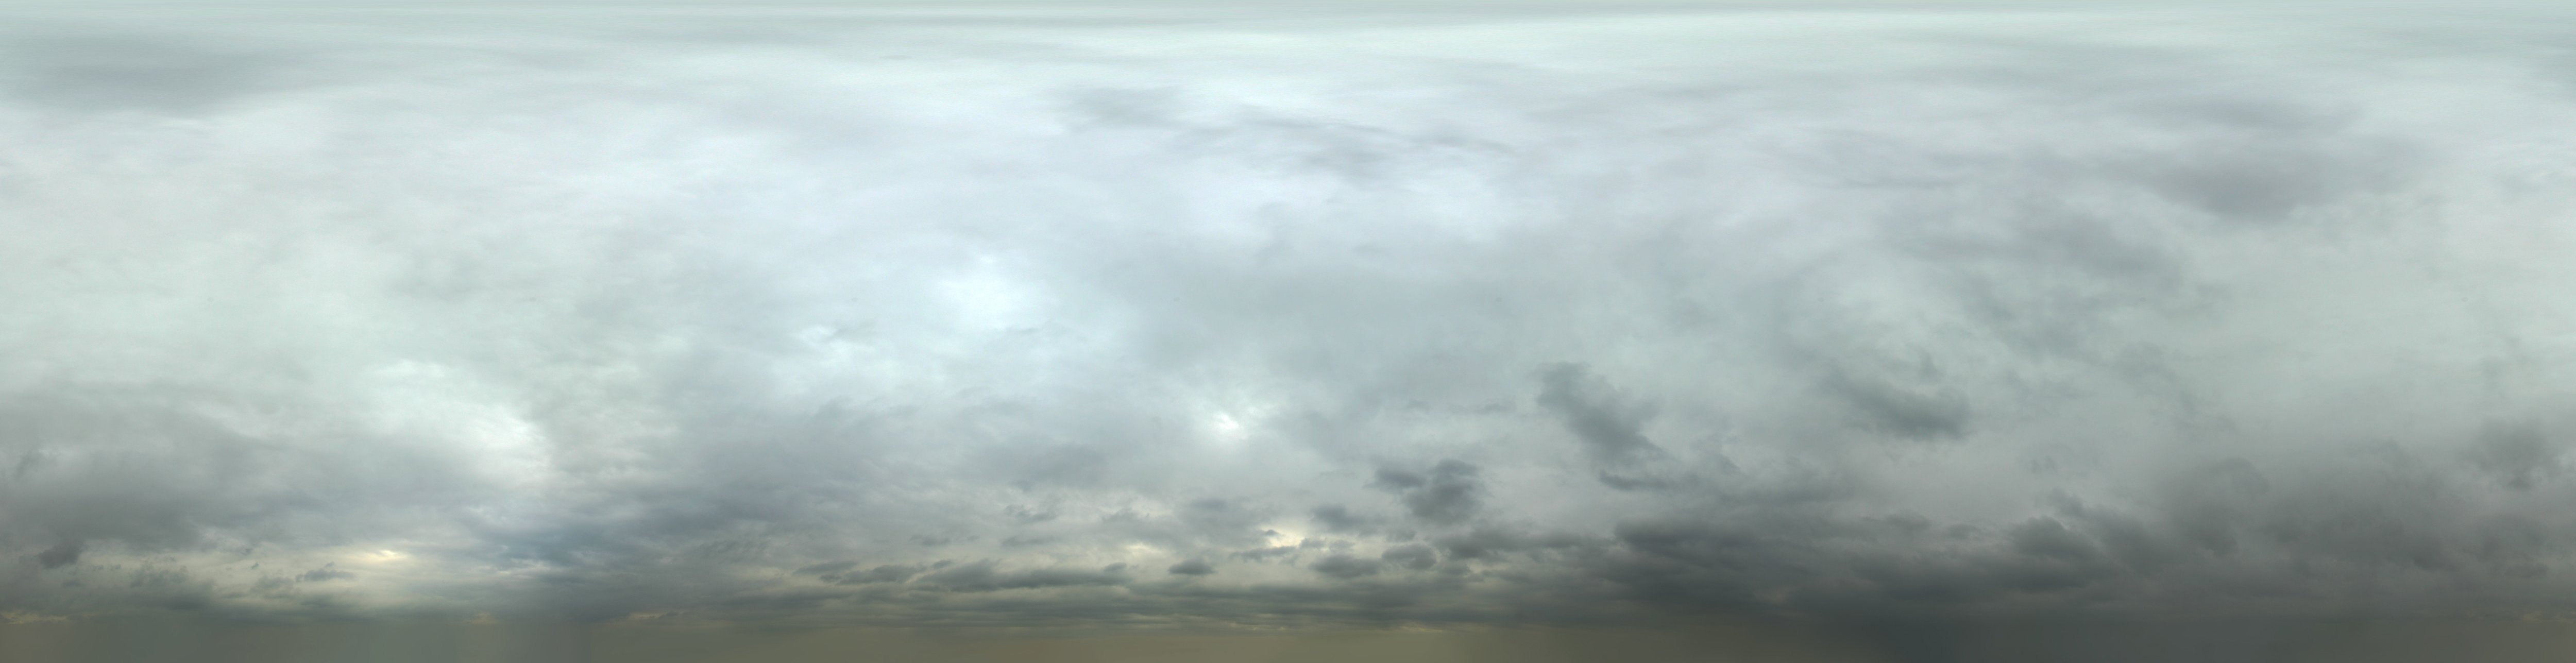
The Winter Trees models and the advanced painter randomizer panel.
Click on image to enlarge 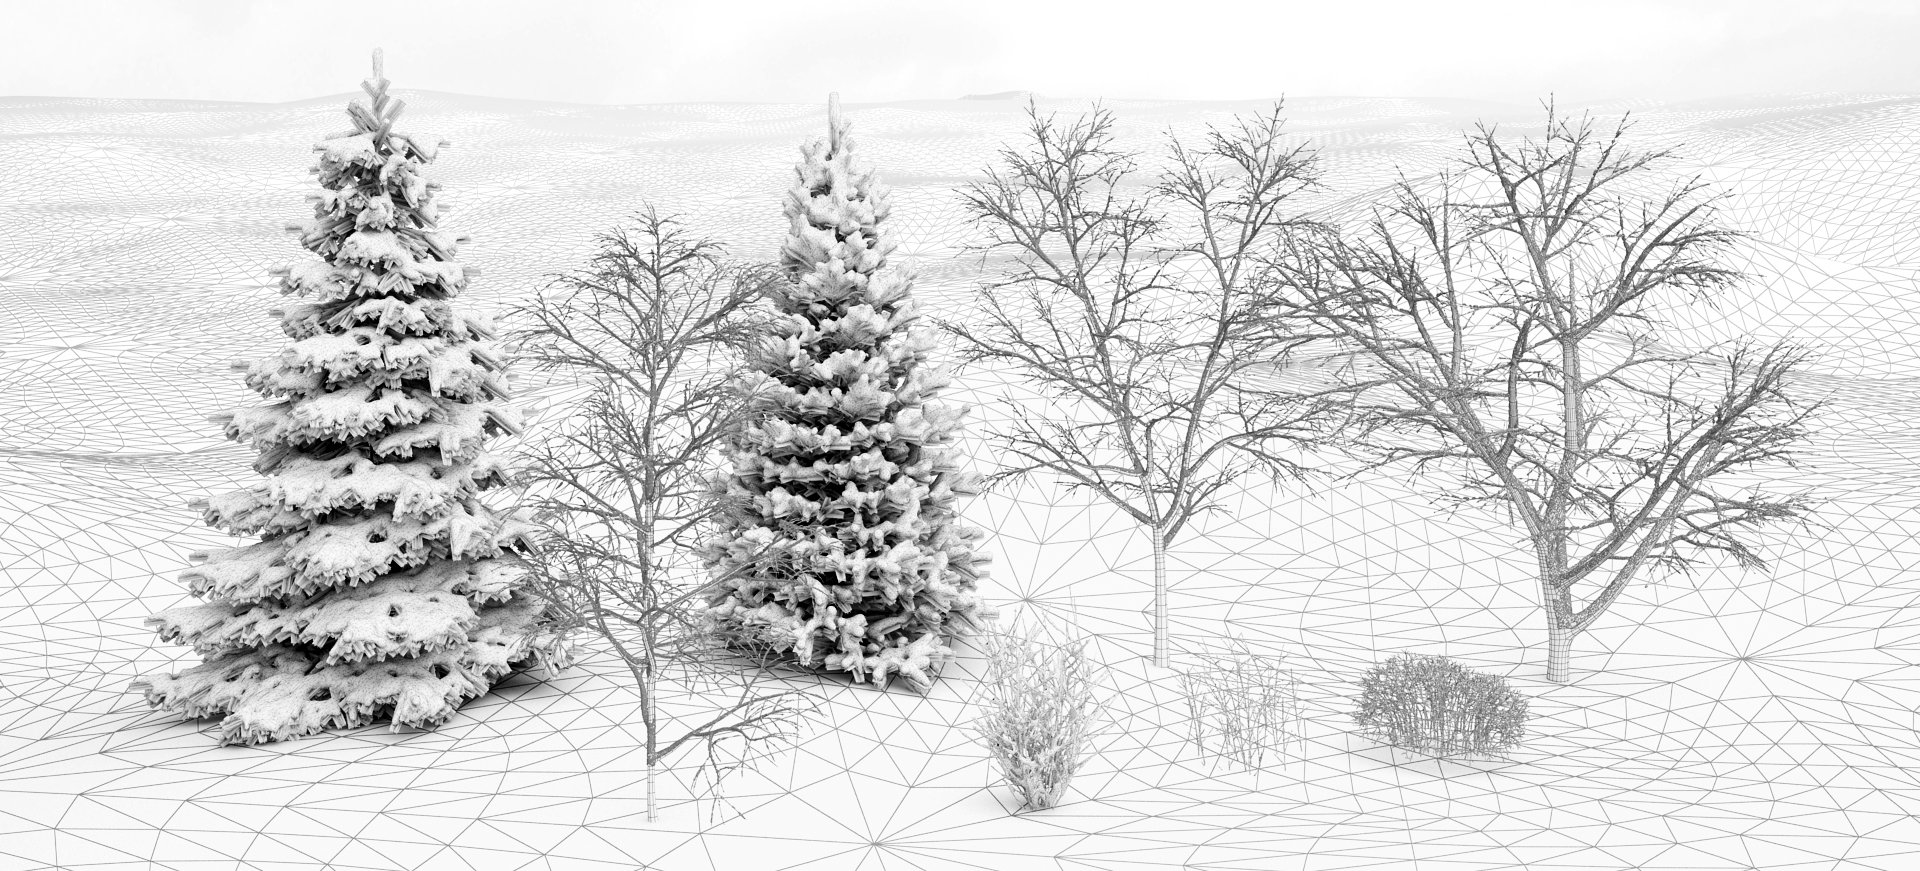
The outside scene from the camera.
Click on image to enlarge 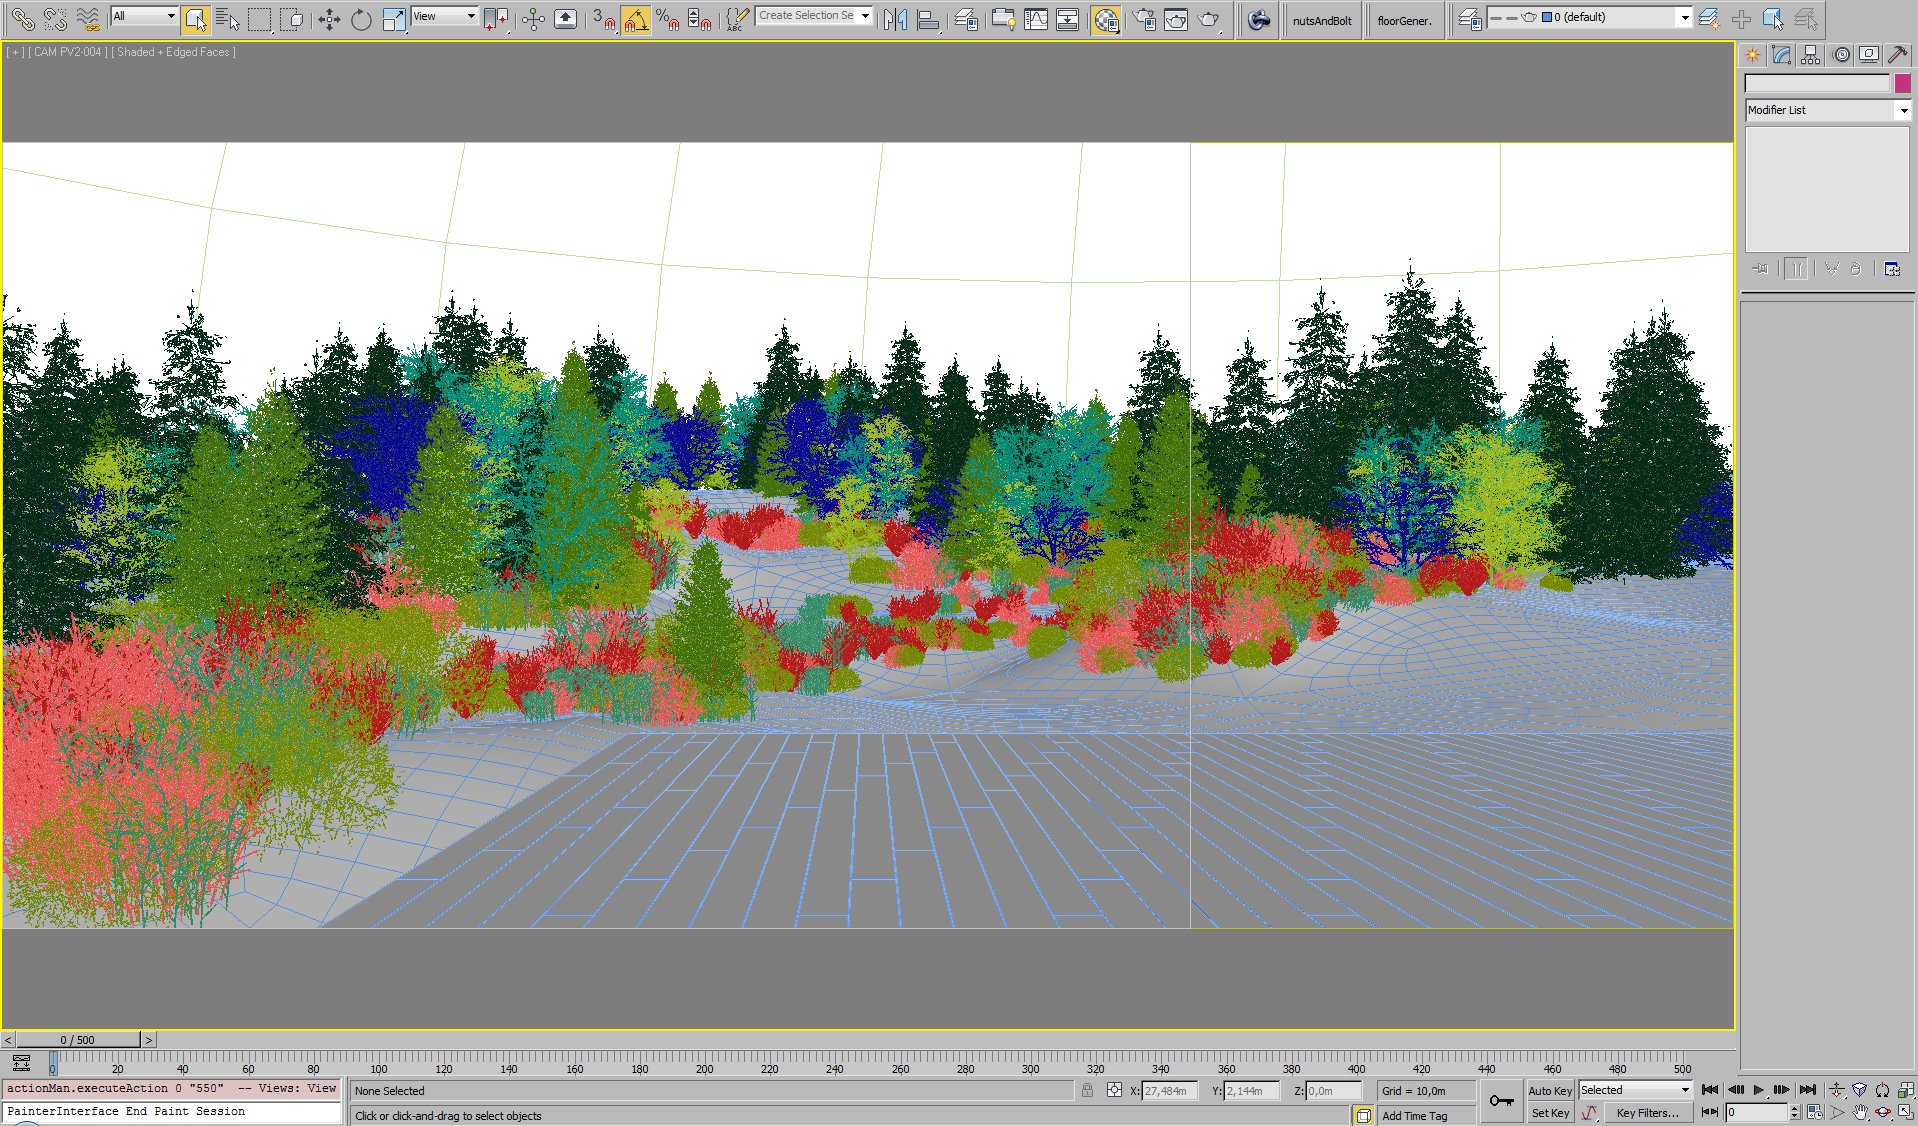
Click on image to enlarge 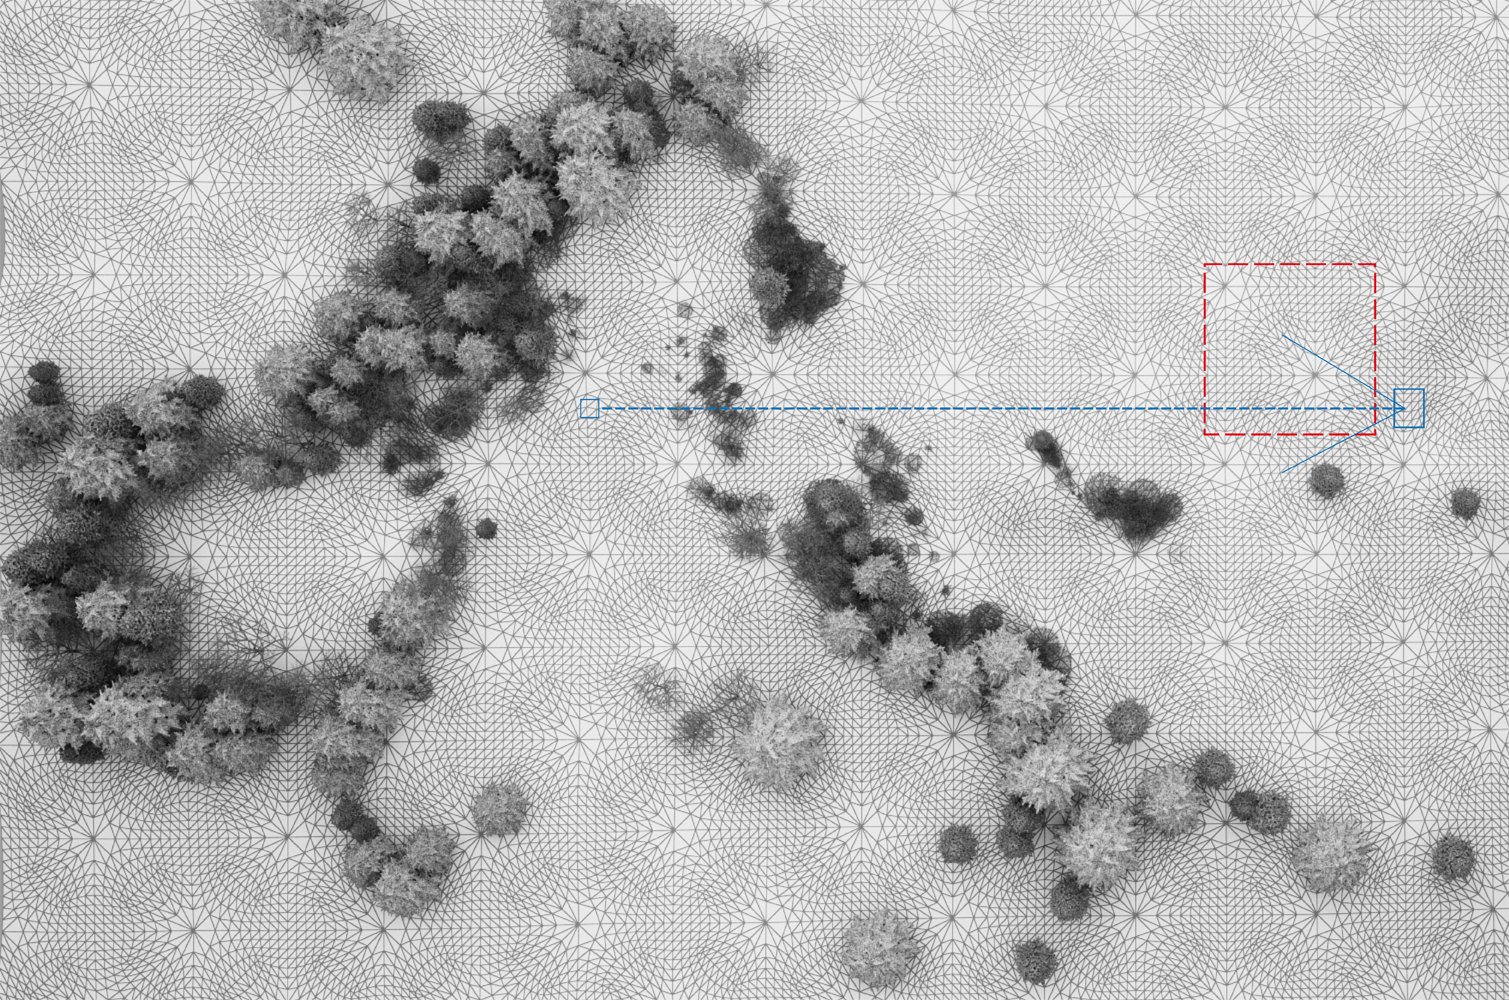
Click on image to enlarge 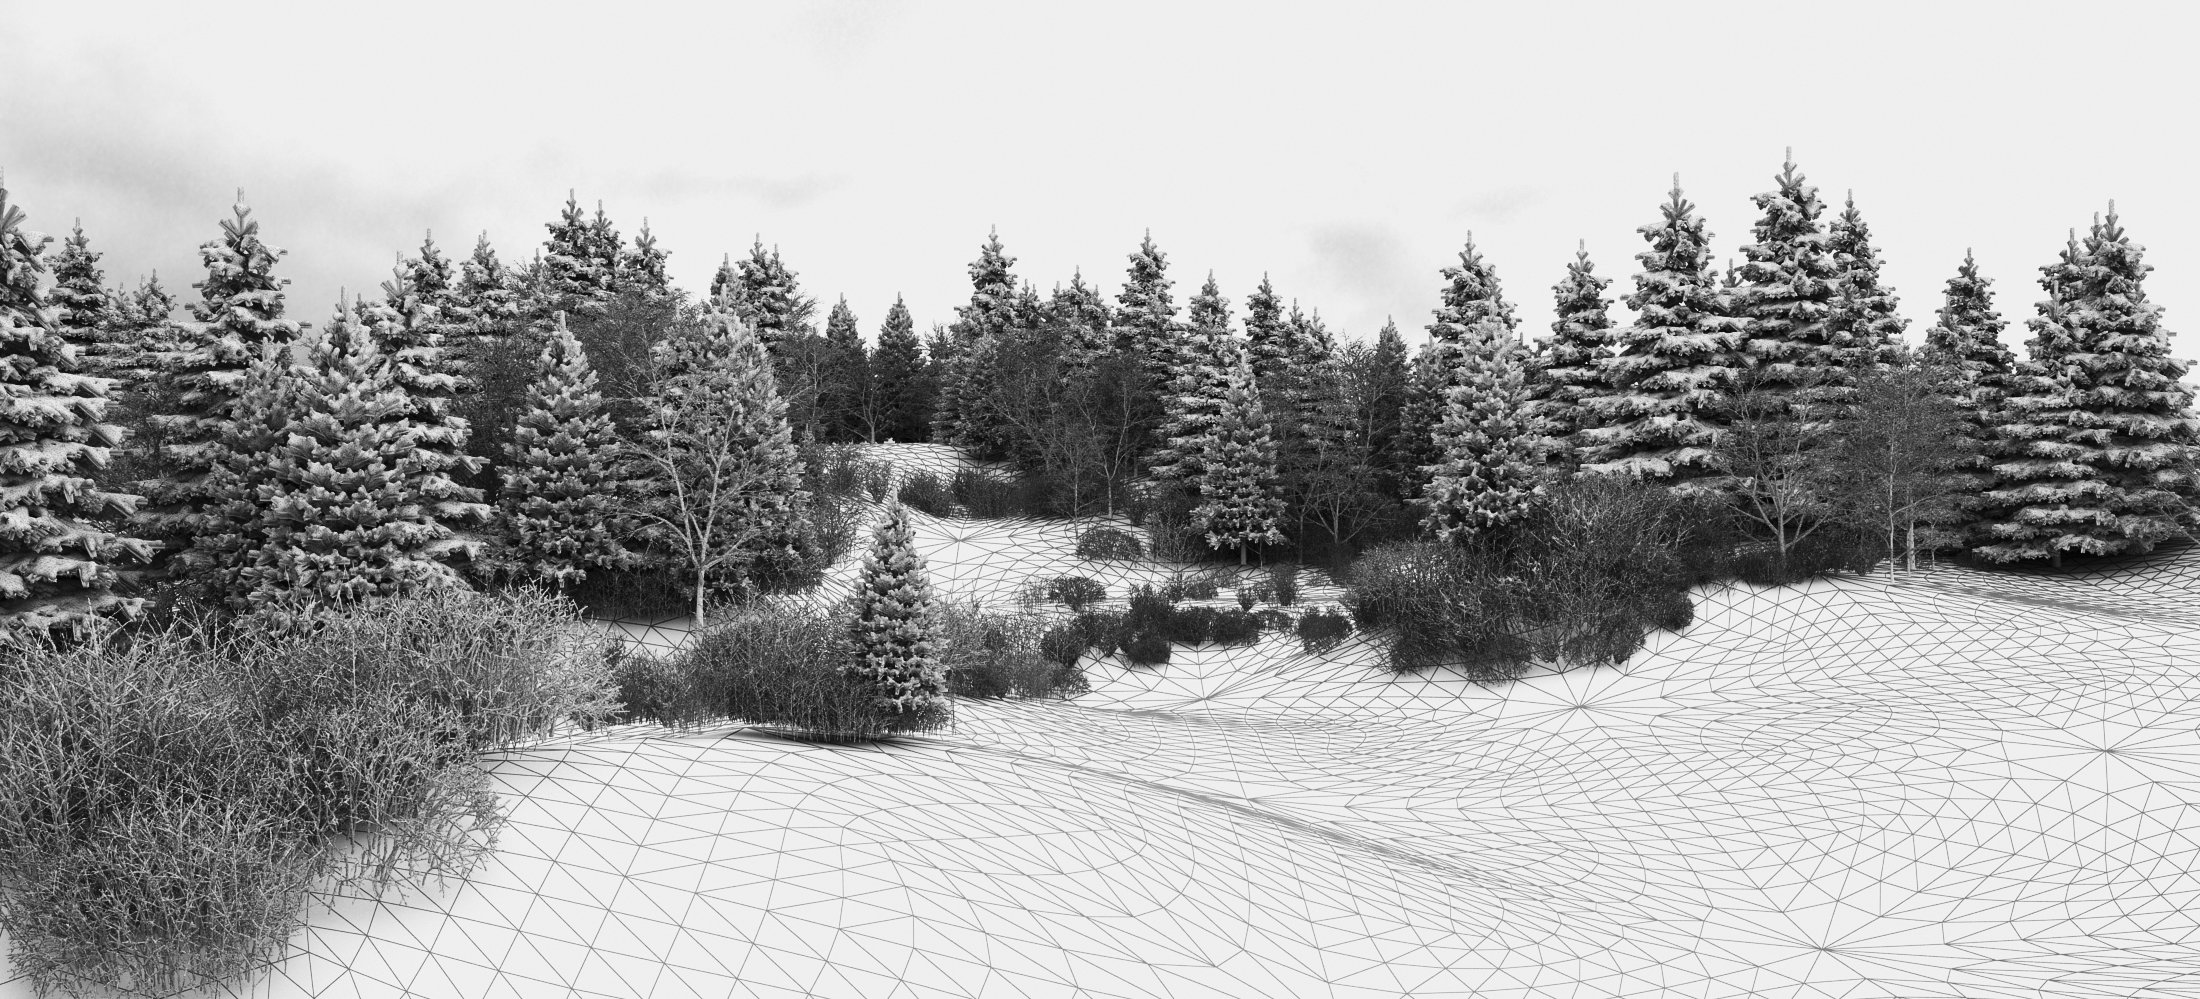
About the materials:
- the snow material is a VrayBlend Material combining a VrayFastSSS2 with noise as bump and a VrayCarPaint Material in order to use the flakes effects.
- the vegetation materials are the originals from Icube winter Trees.
In the following order:
Click on image to enlarge 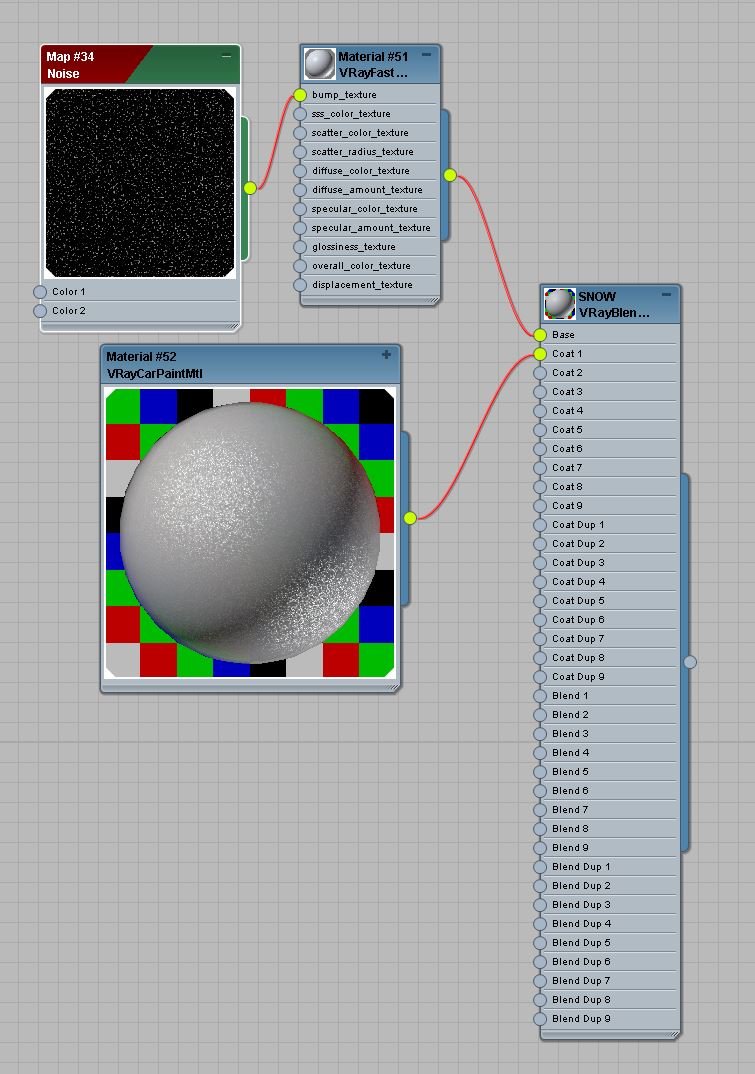
Click on image to enlarge 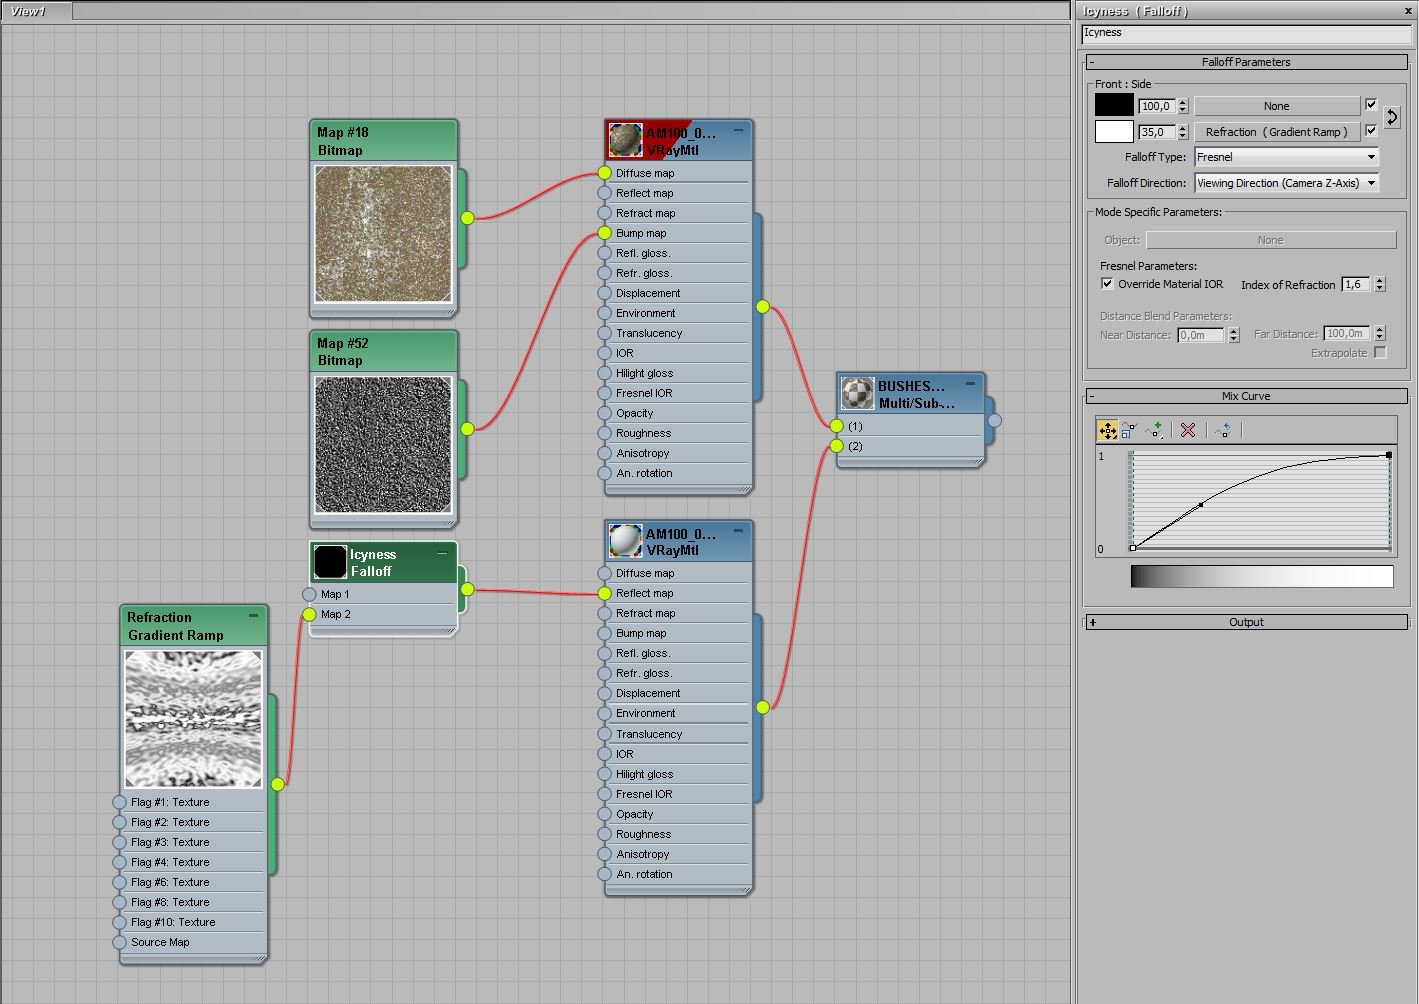
Click on image to enlarge 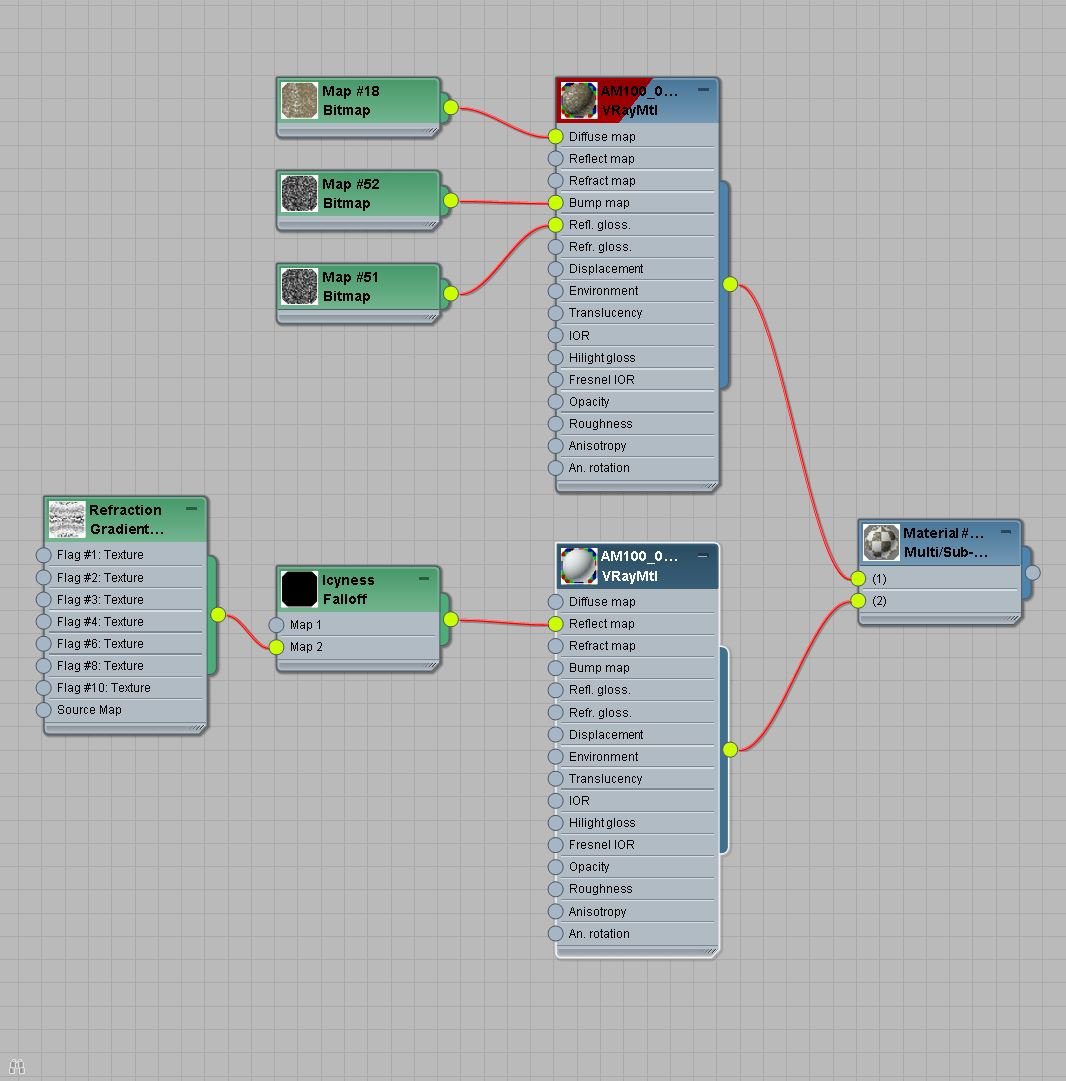
Click on image to enlarge 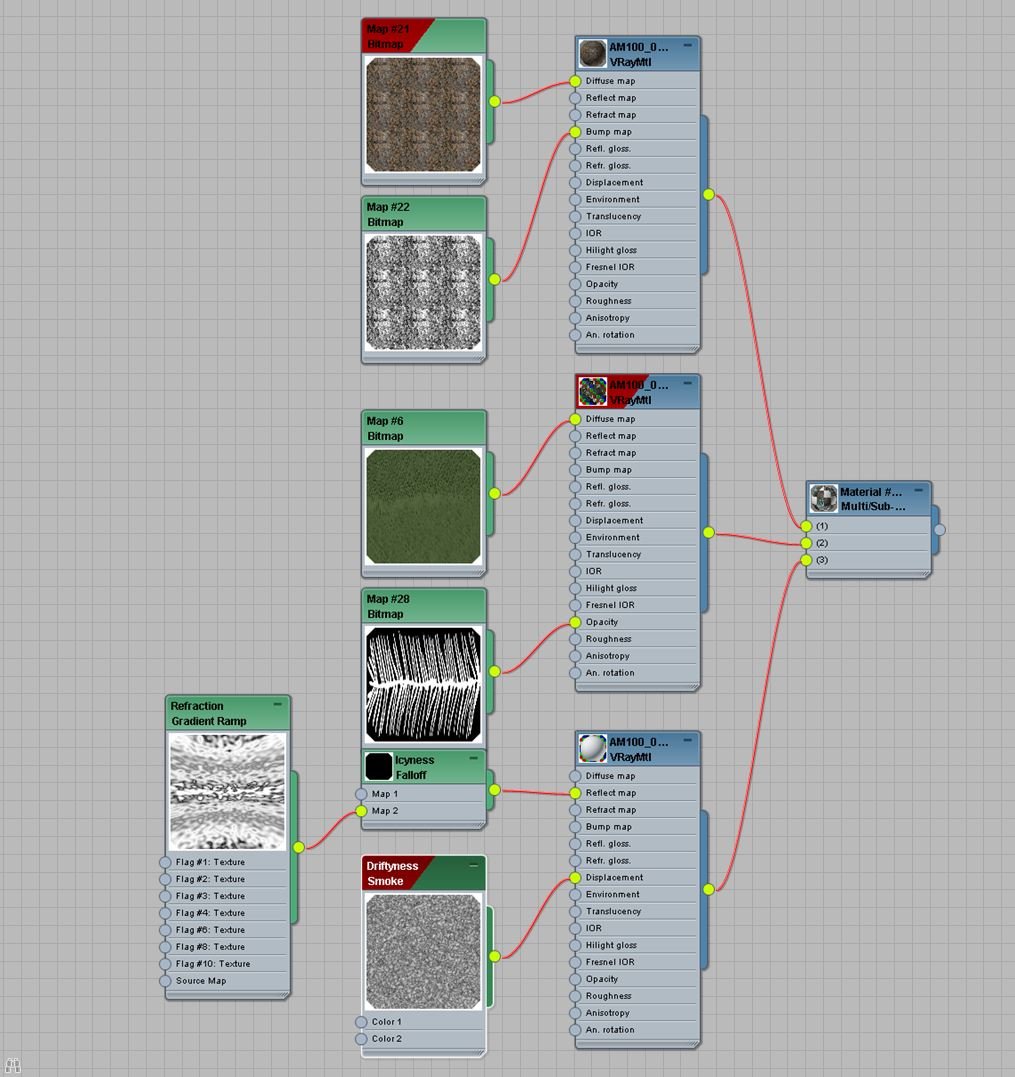
The render setup is the same for both parts of the process (landscape & pavilion); it'll be explained later on.
Click on image to enlarge 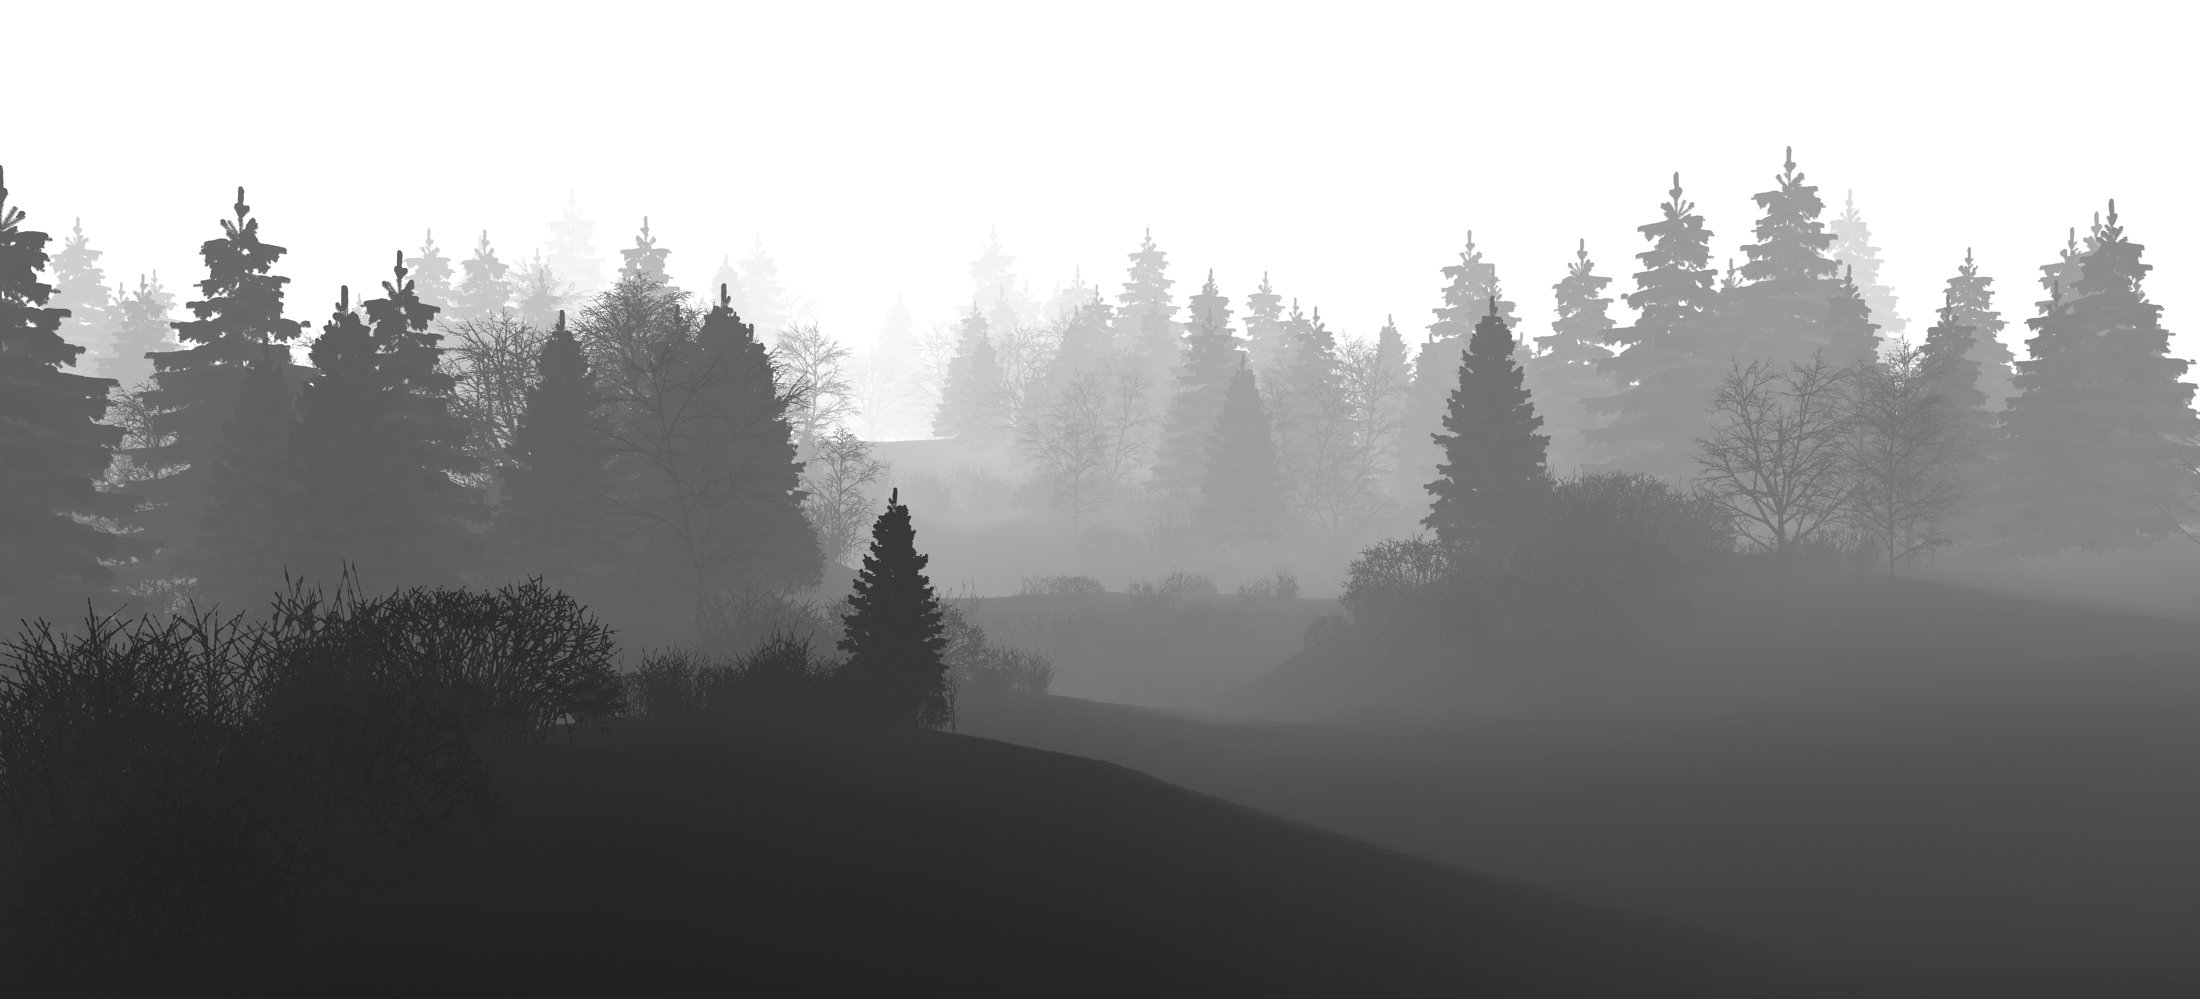
I used a VrayZDepth render element to be added in Photoshop as environment fog.
Click on image to enlarge 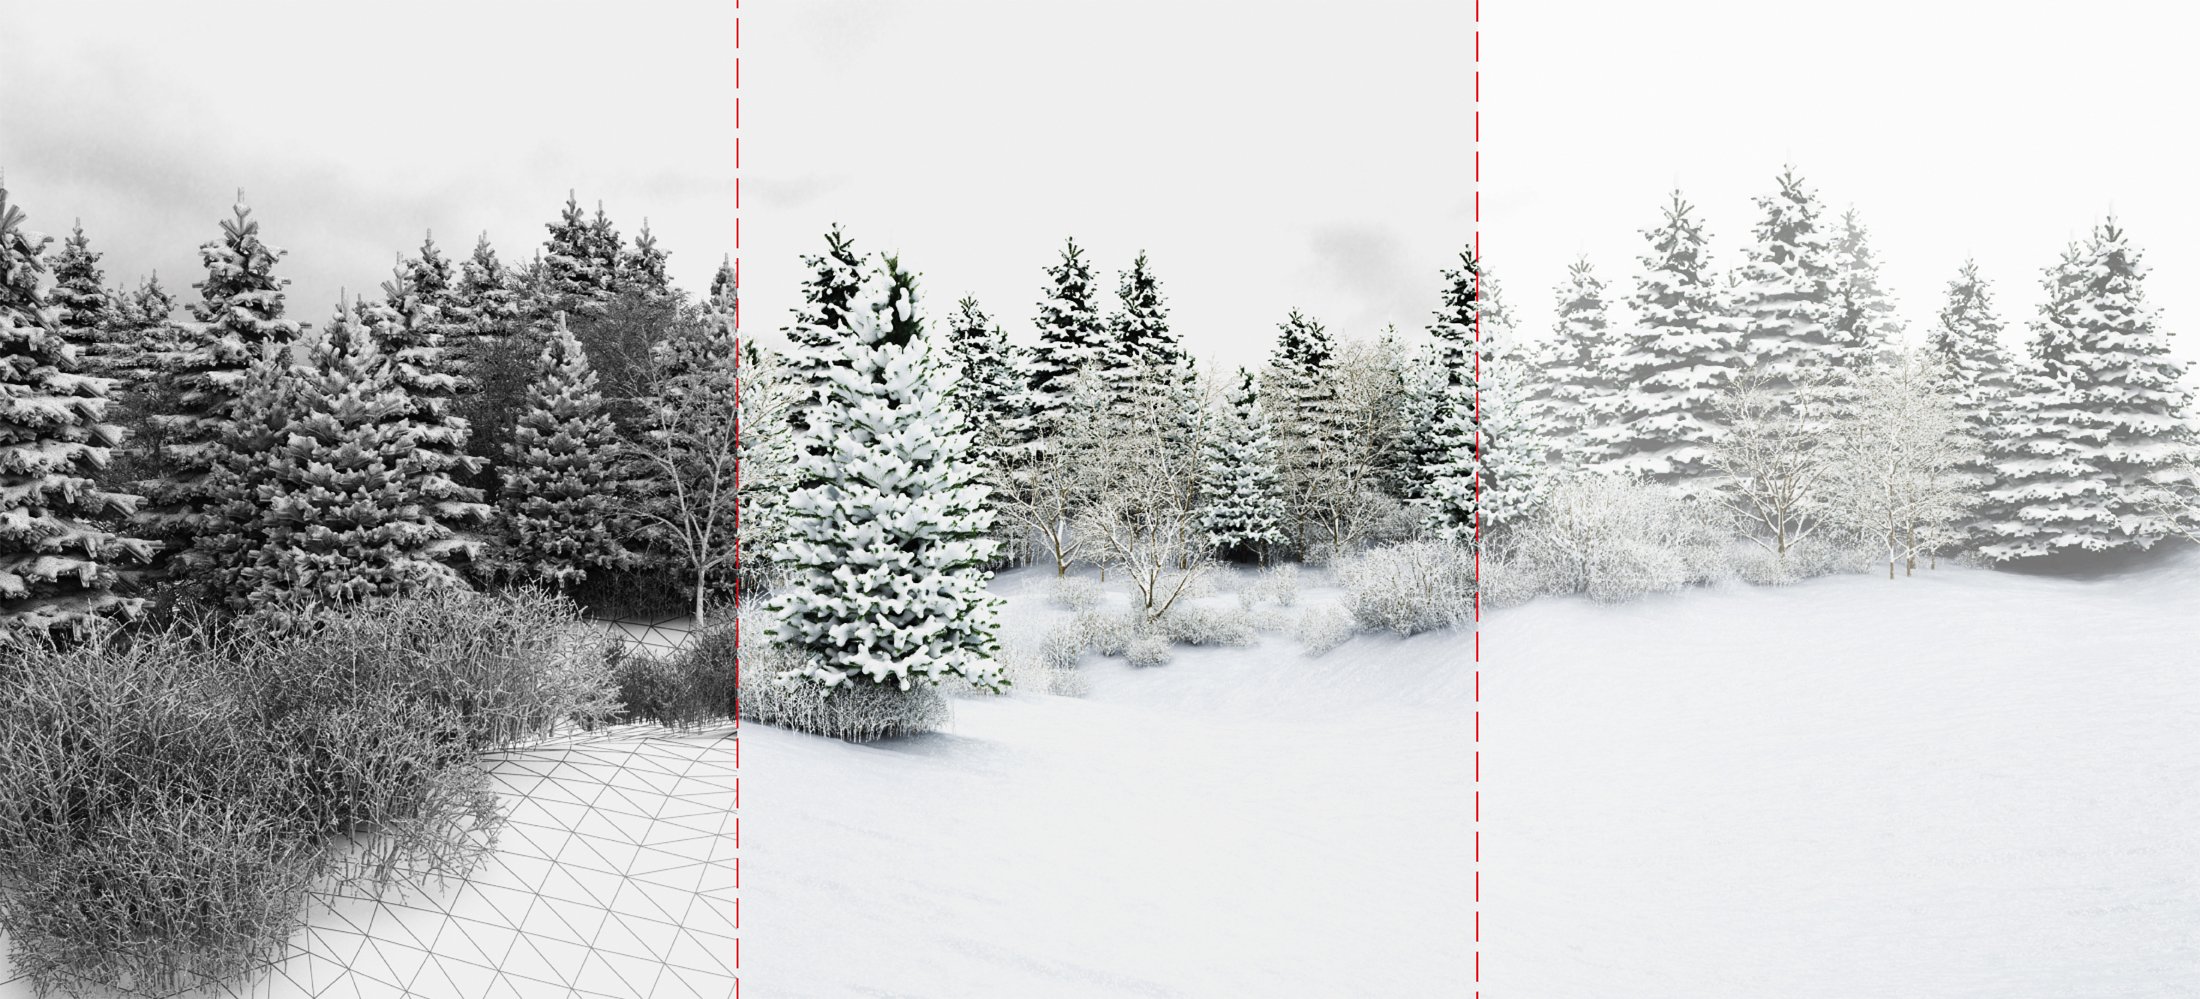
A layered image combining the model, the rendered model, the rendered model with environment fog added.
2. The Pavilion
The architecture is a simple square open on four sides with a centered service block which contains the kitchen, the toilet and the bathroom. I've only dealt with the kitchen for the moment. The center block is covered by wood battens. The facades are sequenced by large wood shutters. A heating grid goes along the four facades.
Everything except the flooring and the furniture is modeled in AutoCad using a single layer for each material and imported using the file link manager.
Click on image to enlarge 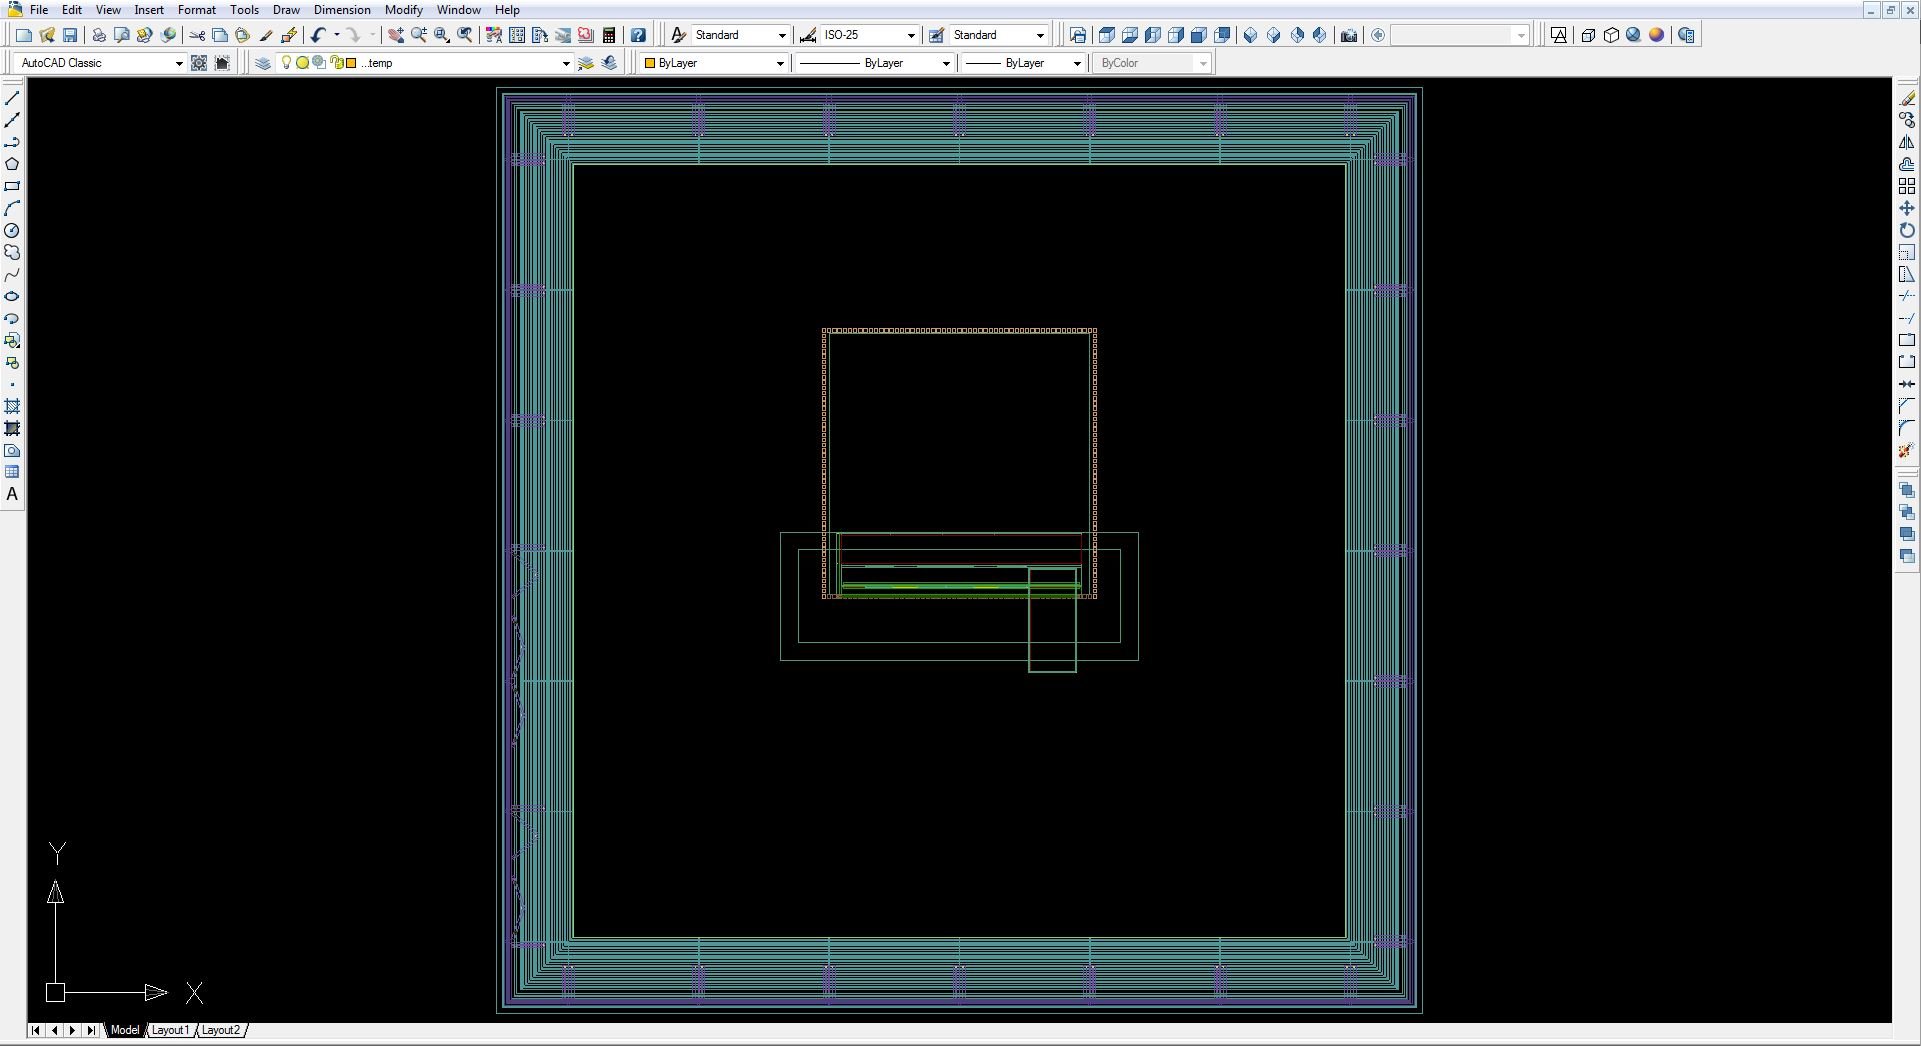
The main modeling details concern the windows woodwork, the heating grid, the shutters' railing system and the kitchen.
Click on image to enlarge 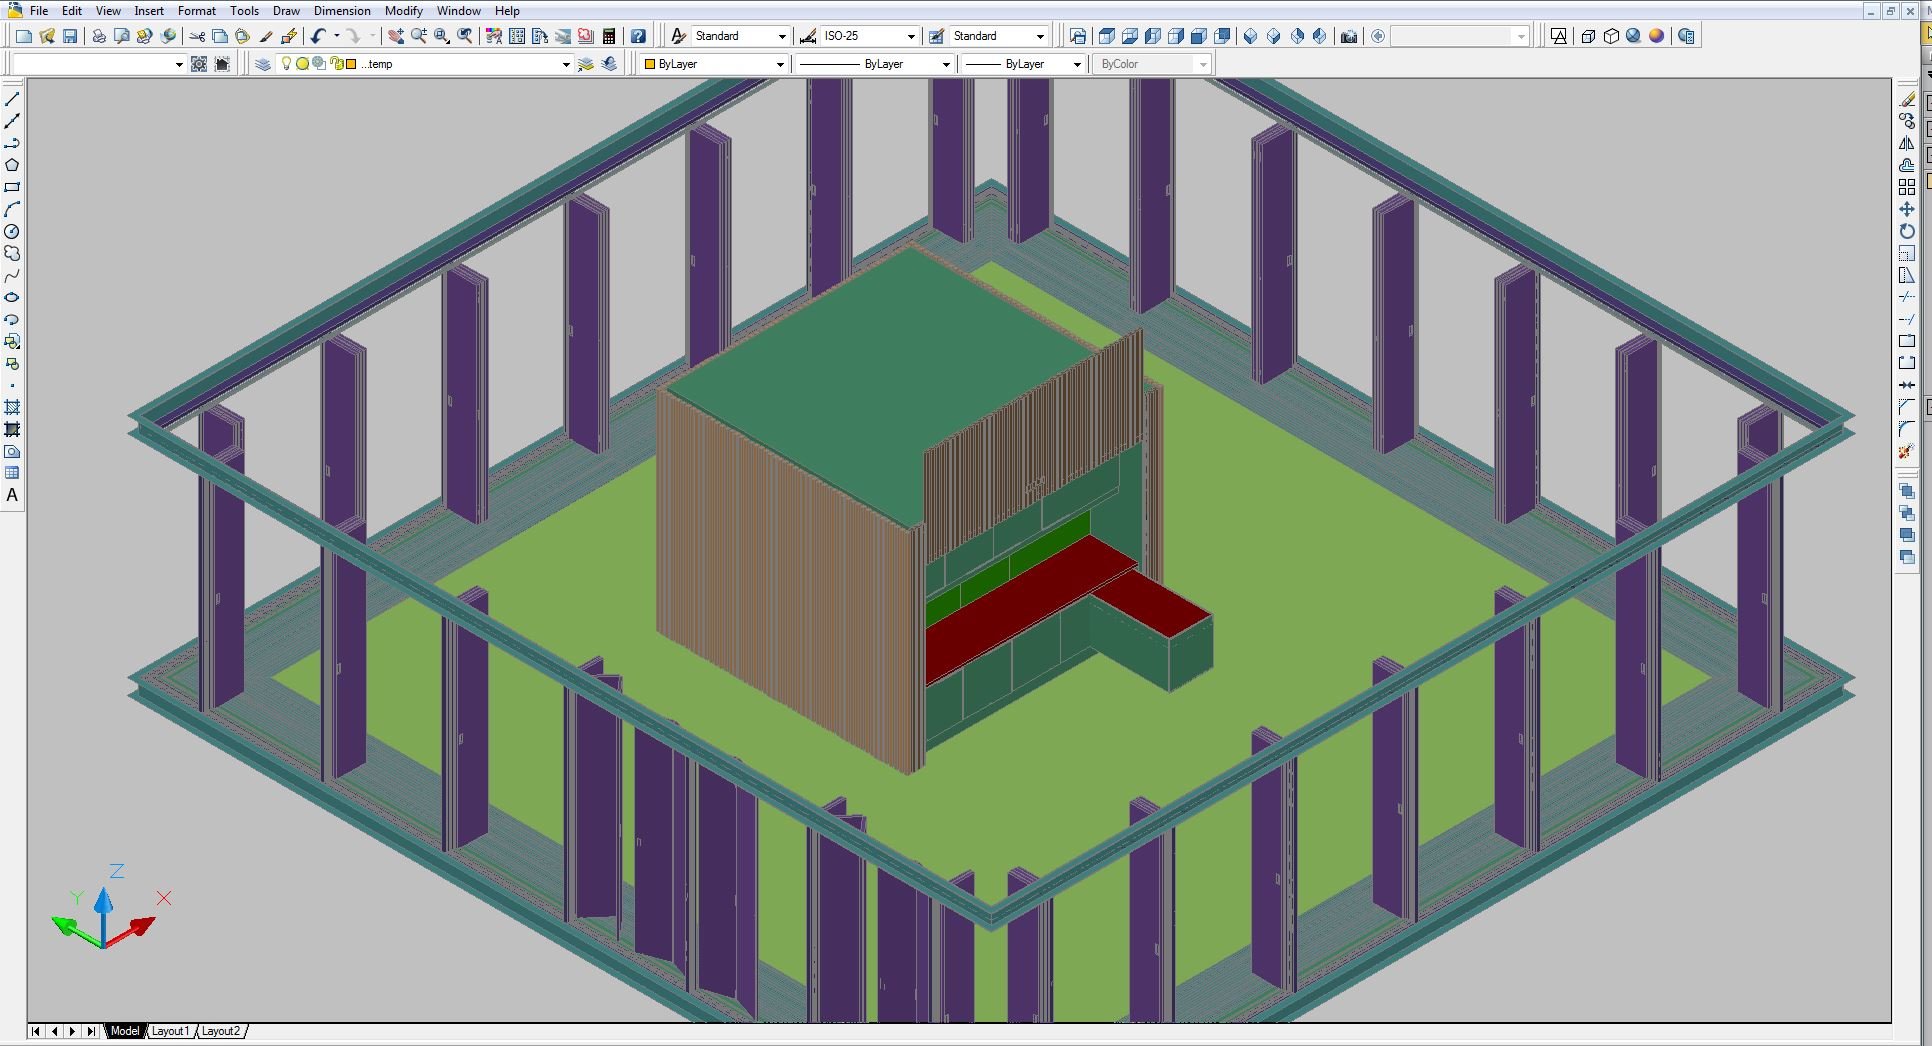
Click on image to enlarge 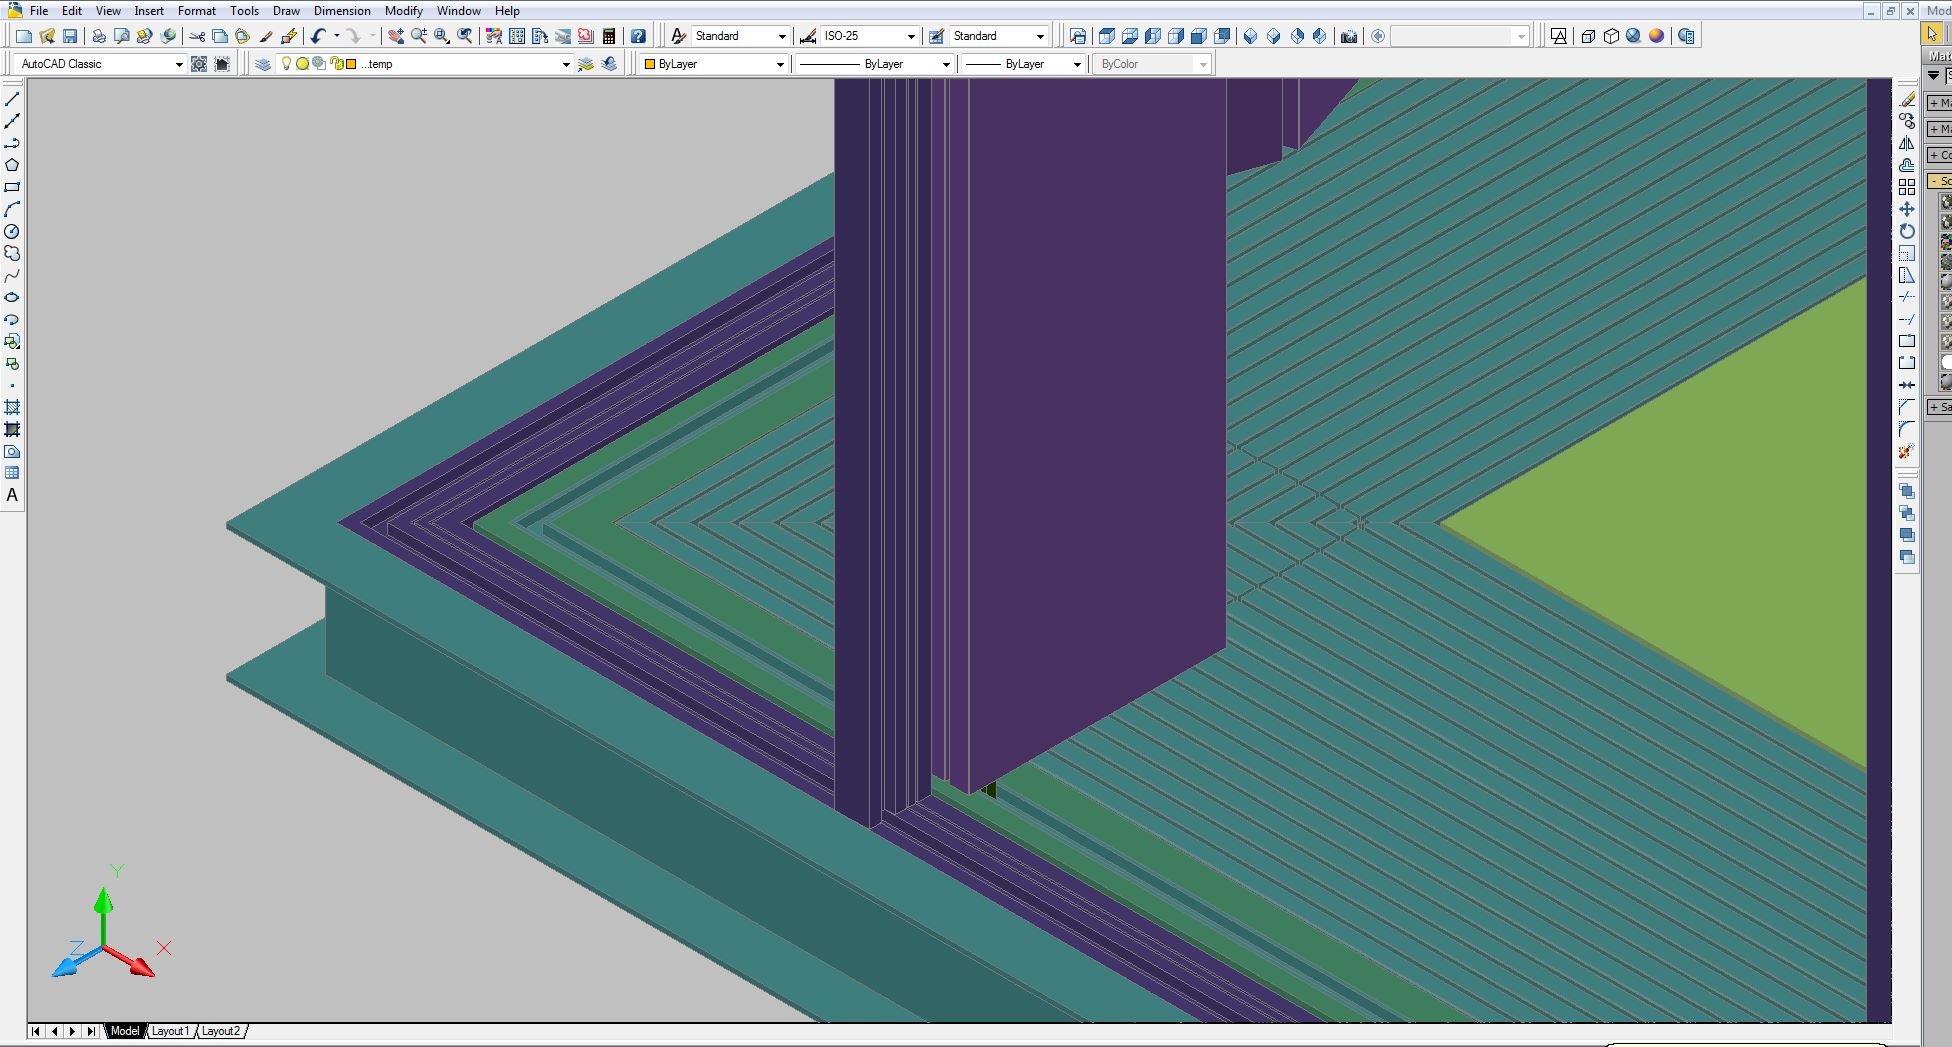
Click on image to enlarge 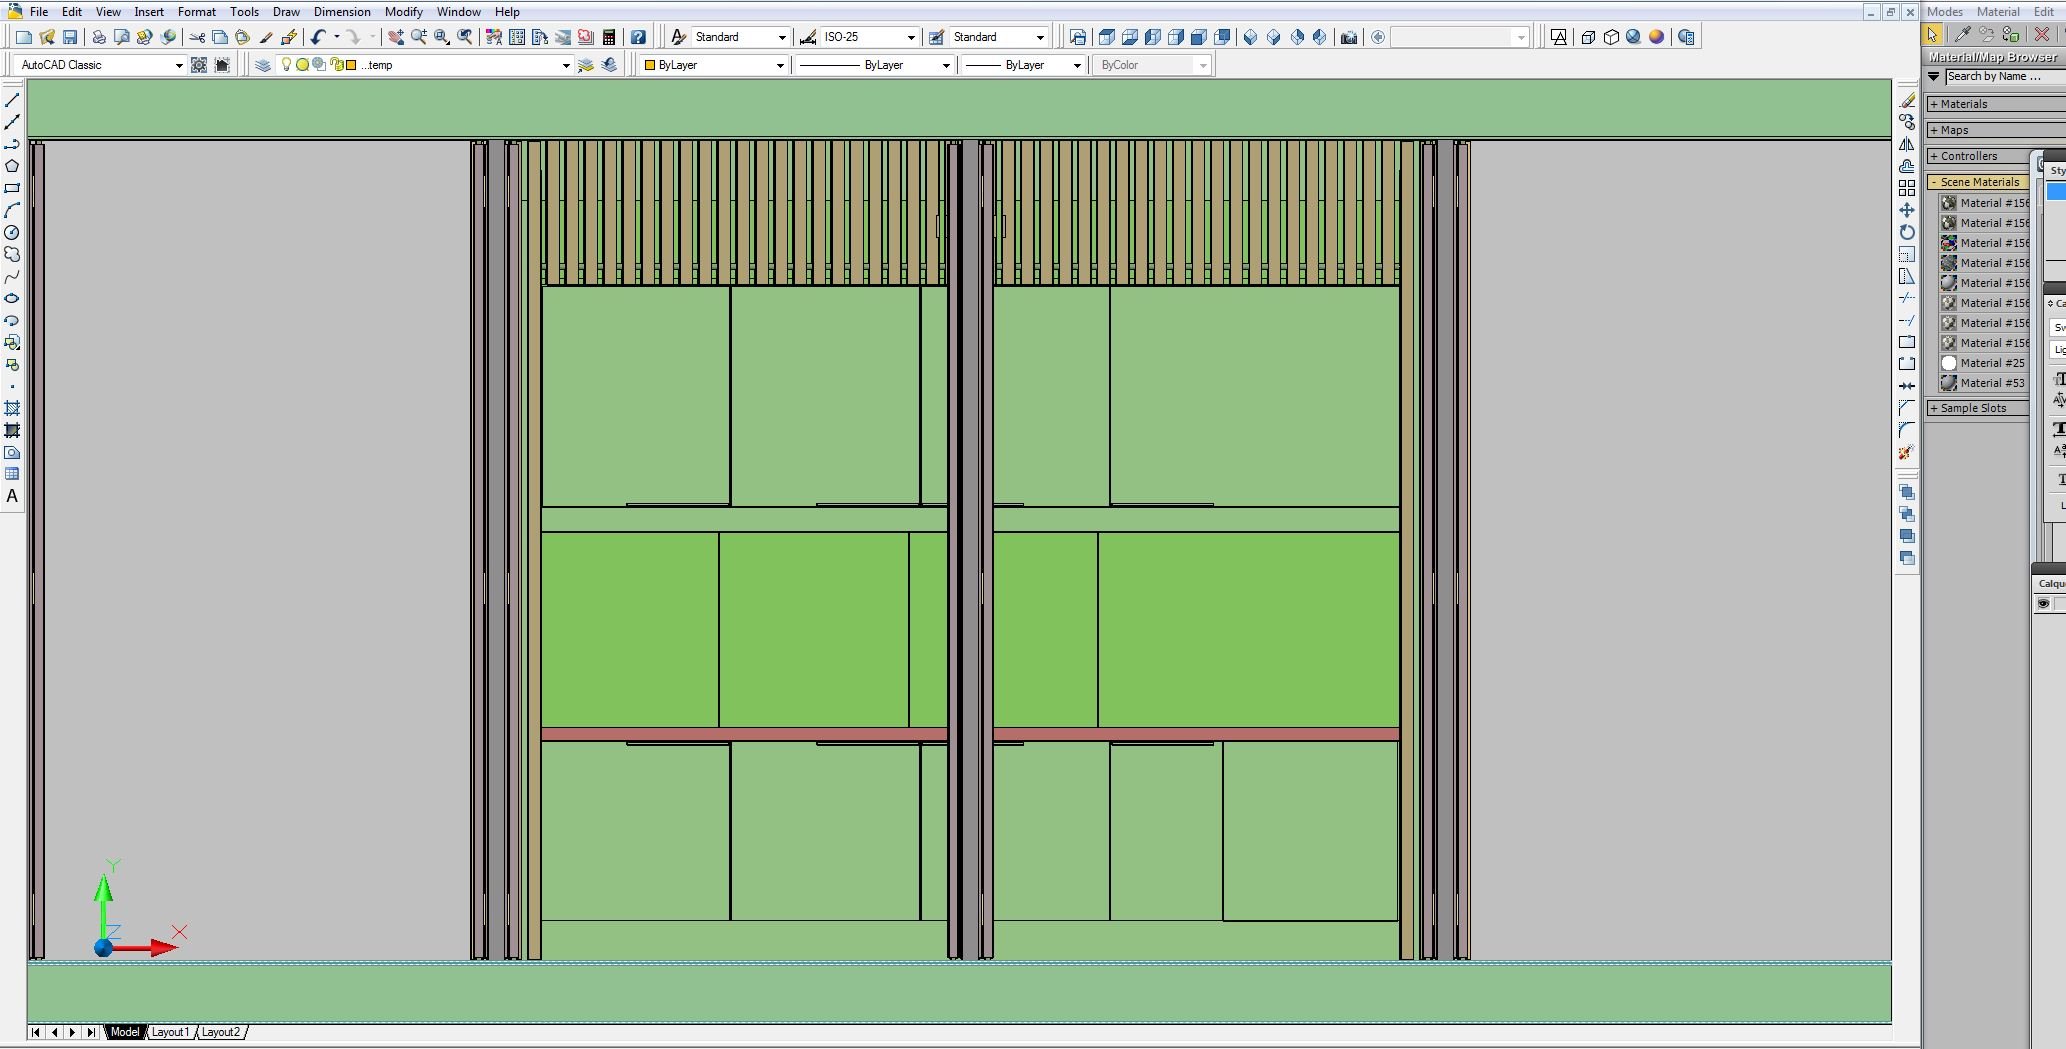
Click on image to enlarge 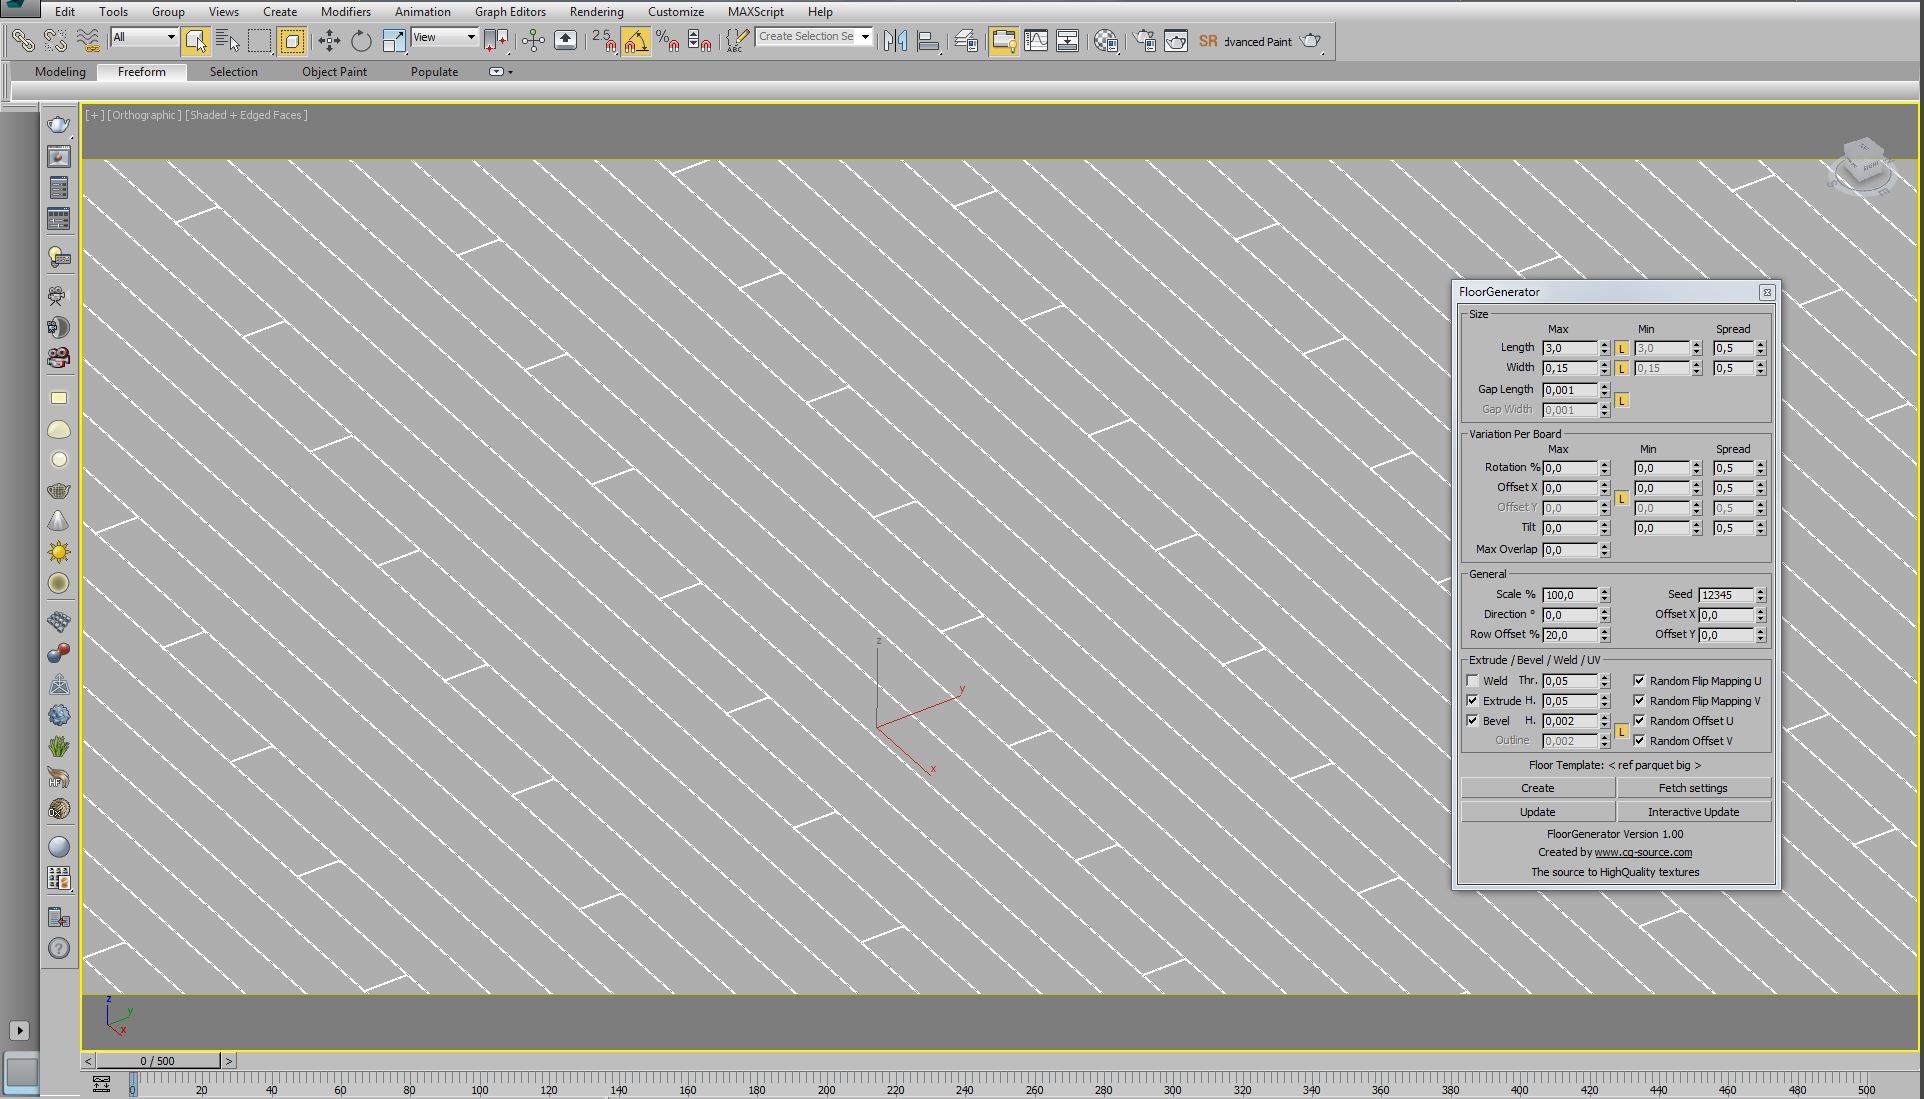
The wood flooring is done using CGsource free plugin
Floor Generator combined with CGsource multi-textures wood boards which are payable but excellent ones (20000 x 1500 pixels). I'll talk later about the texturing.
Click on image to enlarge 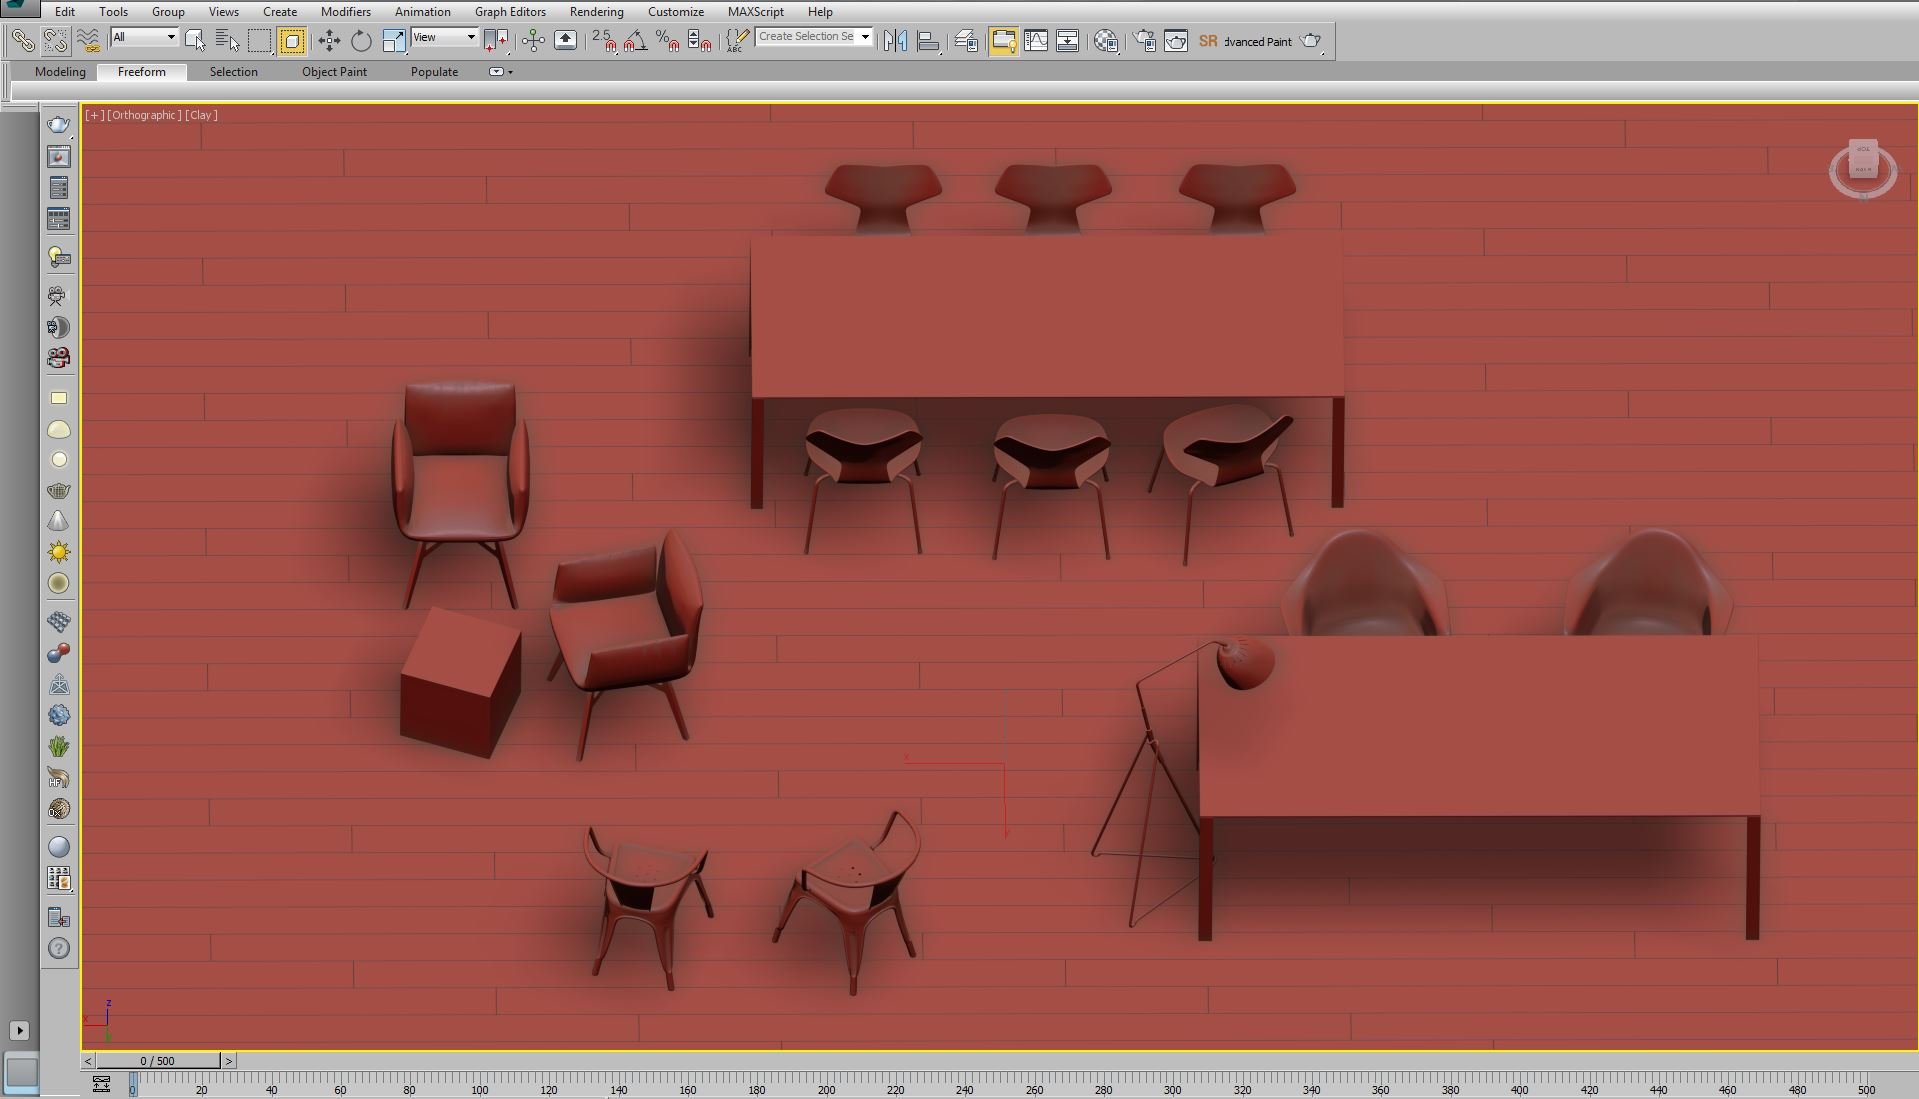
All the furniture except the chairs are stock models.
- Jalis armchair by Marcus Jehs & Jürgen Laub
- Grand Prix 3130 chairs by Arne Jacobsen
- Less Table and desk by Jean Nouvel
- Lean floor lamp by Jenny Bäck
- A56 chairs by Jean Pauchard
- Plastic Armchair DAW by Charles Eames and Ray Eames
Click on image to enlarge 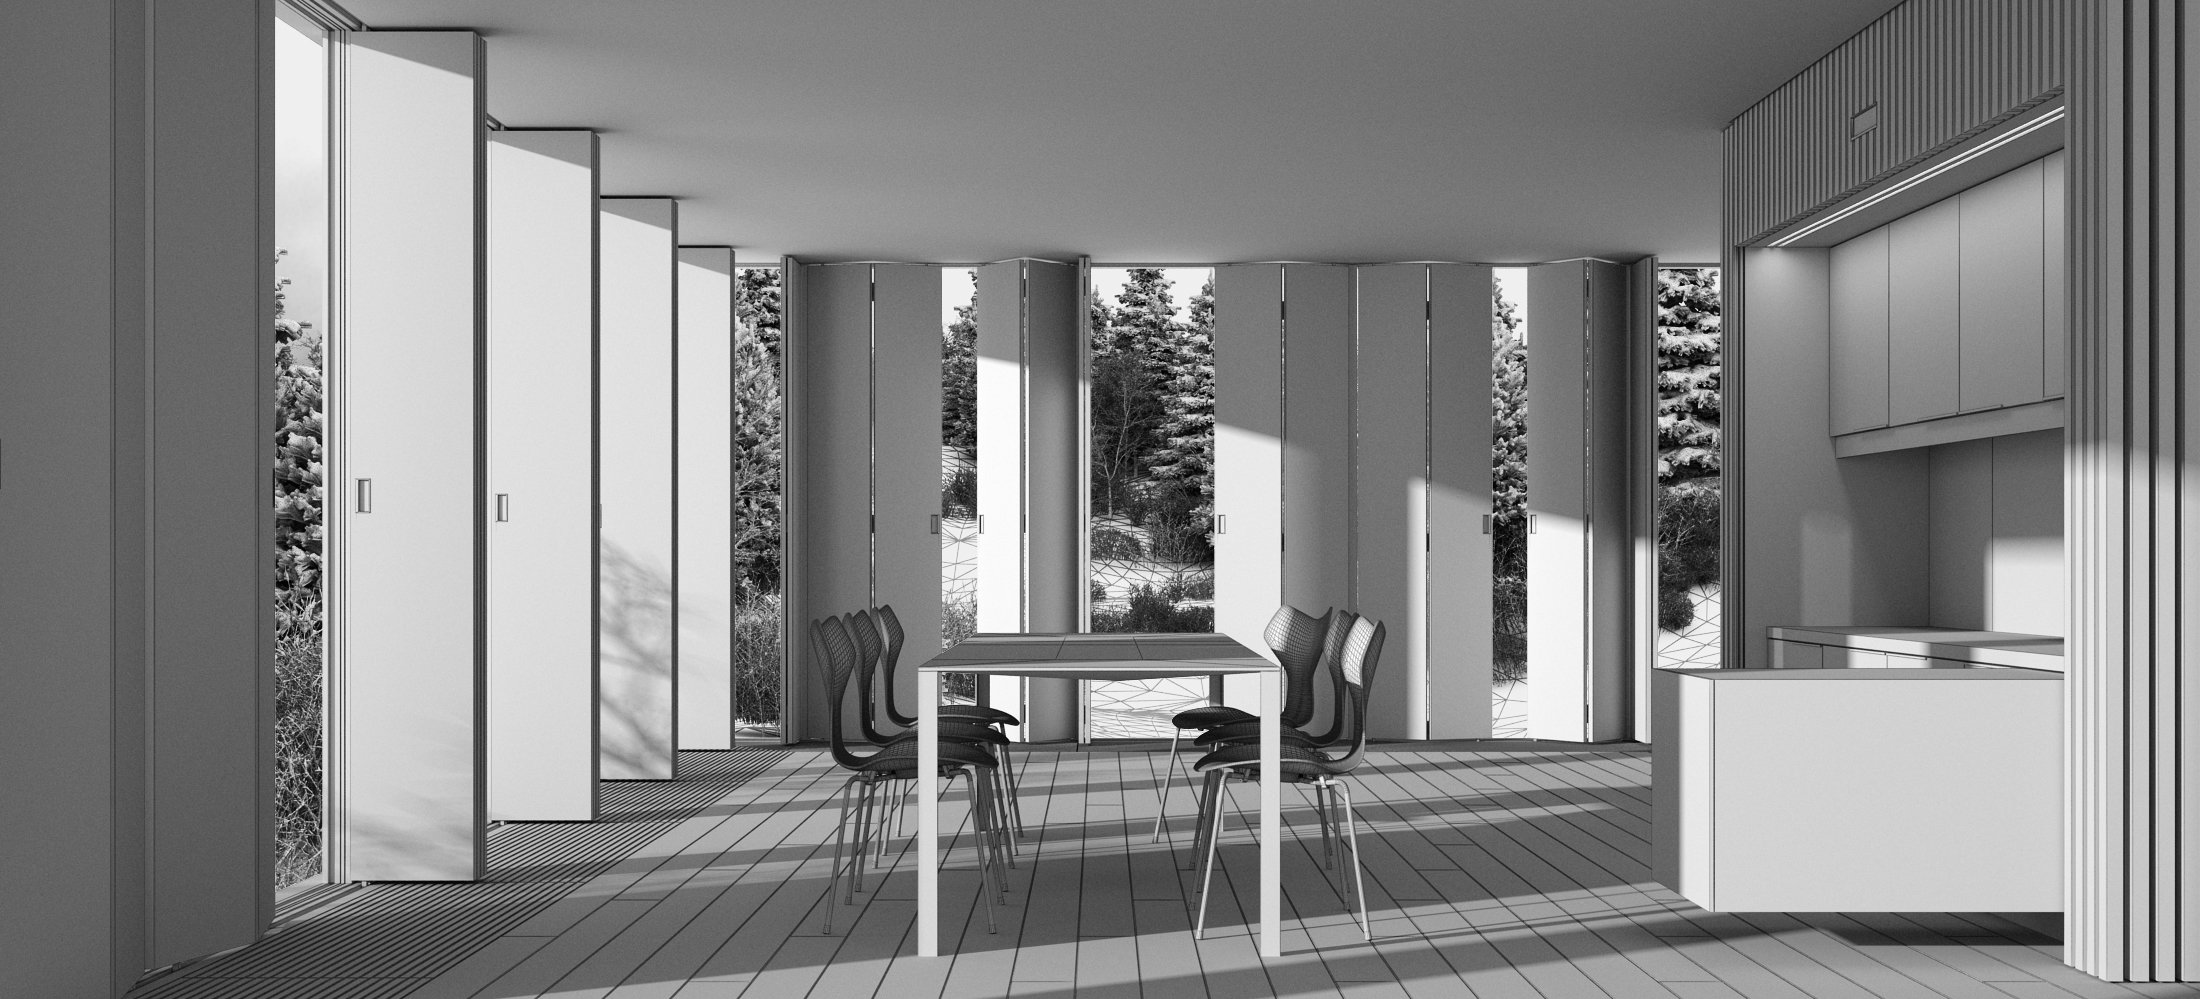
View of the full pavilion
Click on image to enlarge 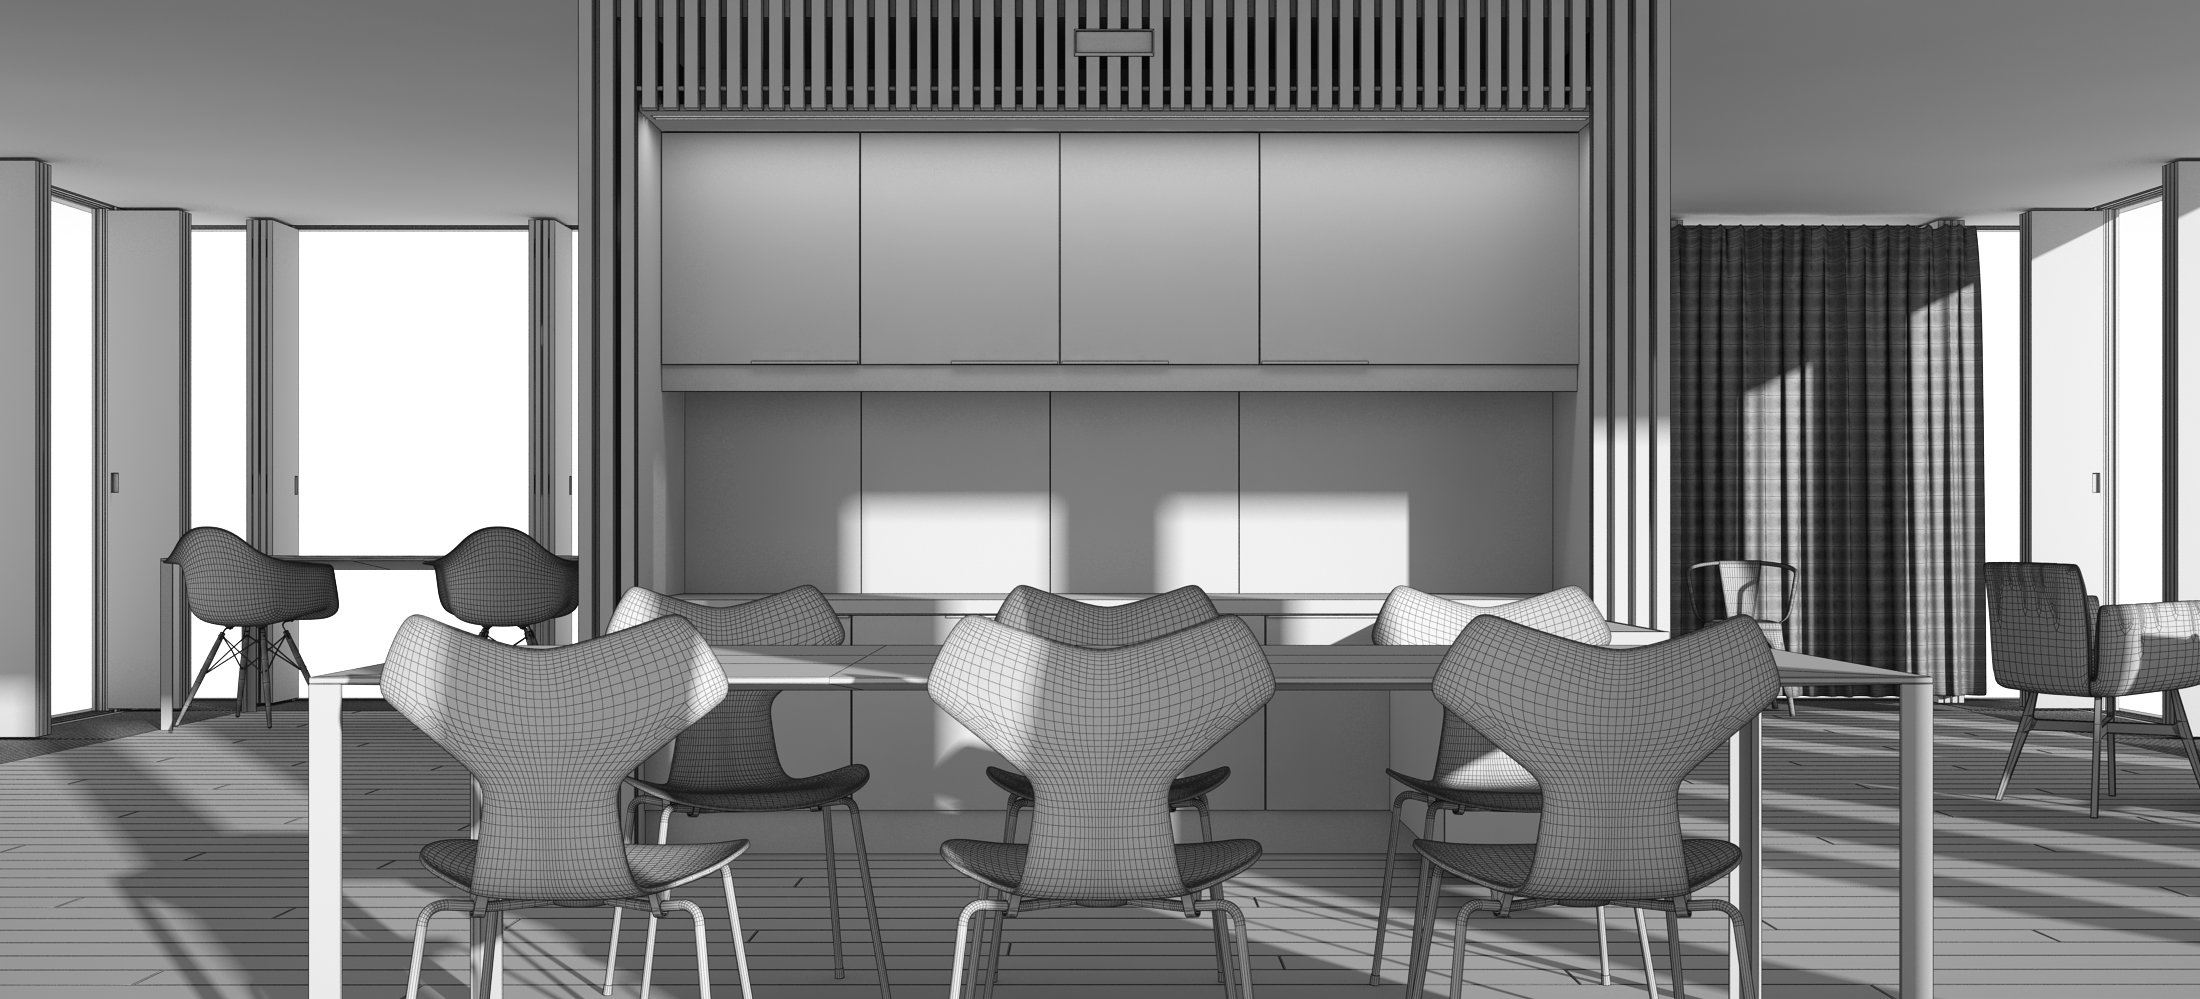
View of the full pavilion
Click on image to enlarge 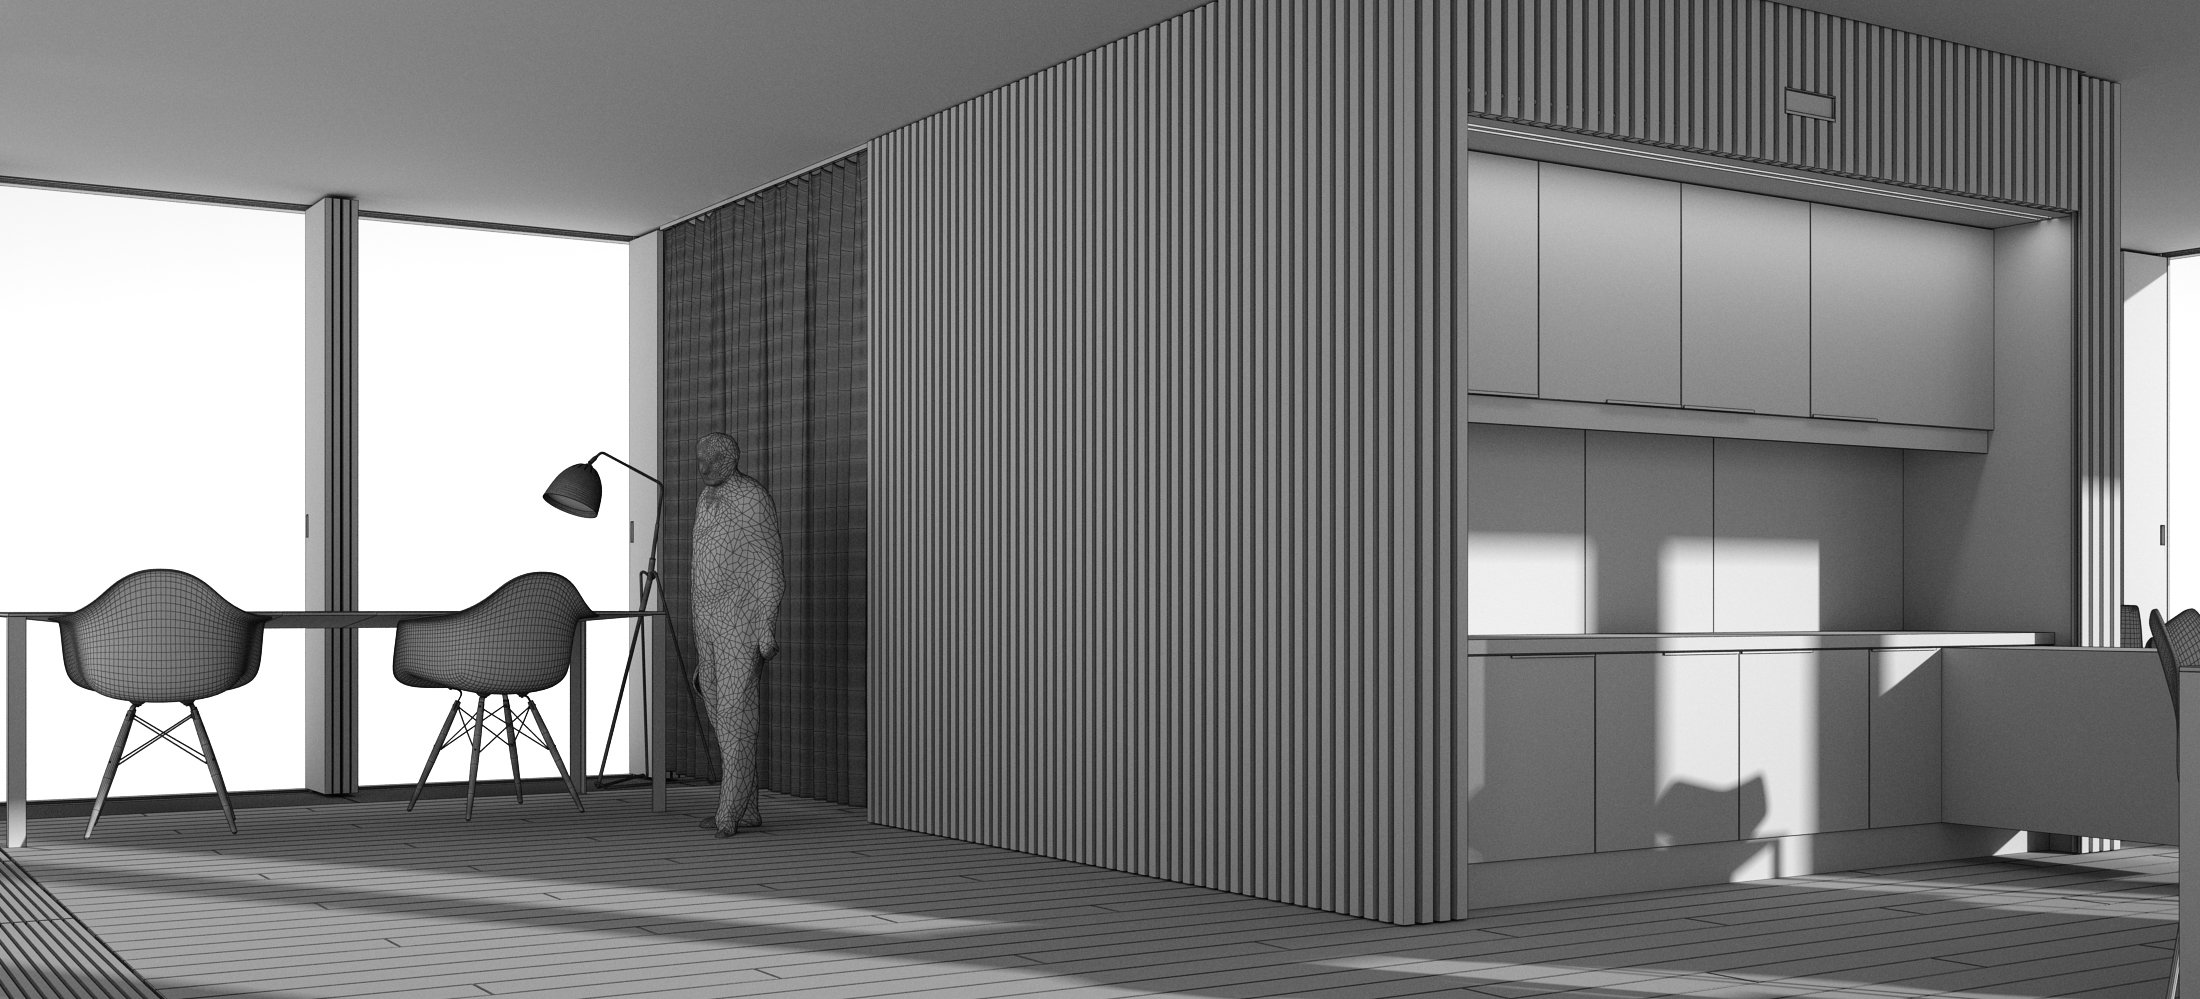
Click on image to enlarge 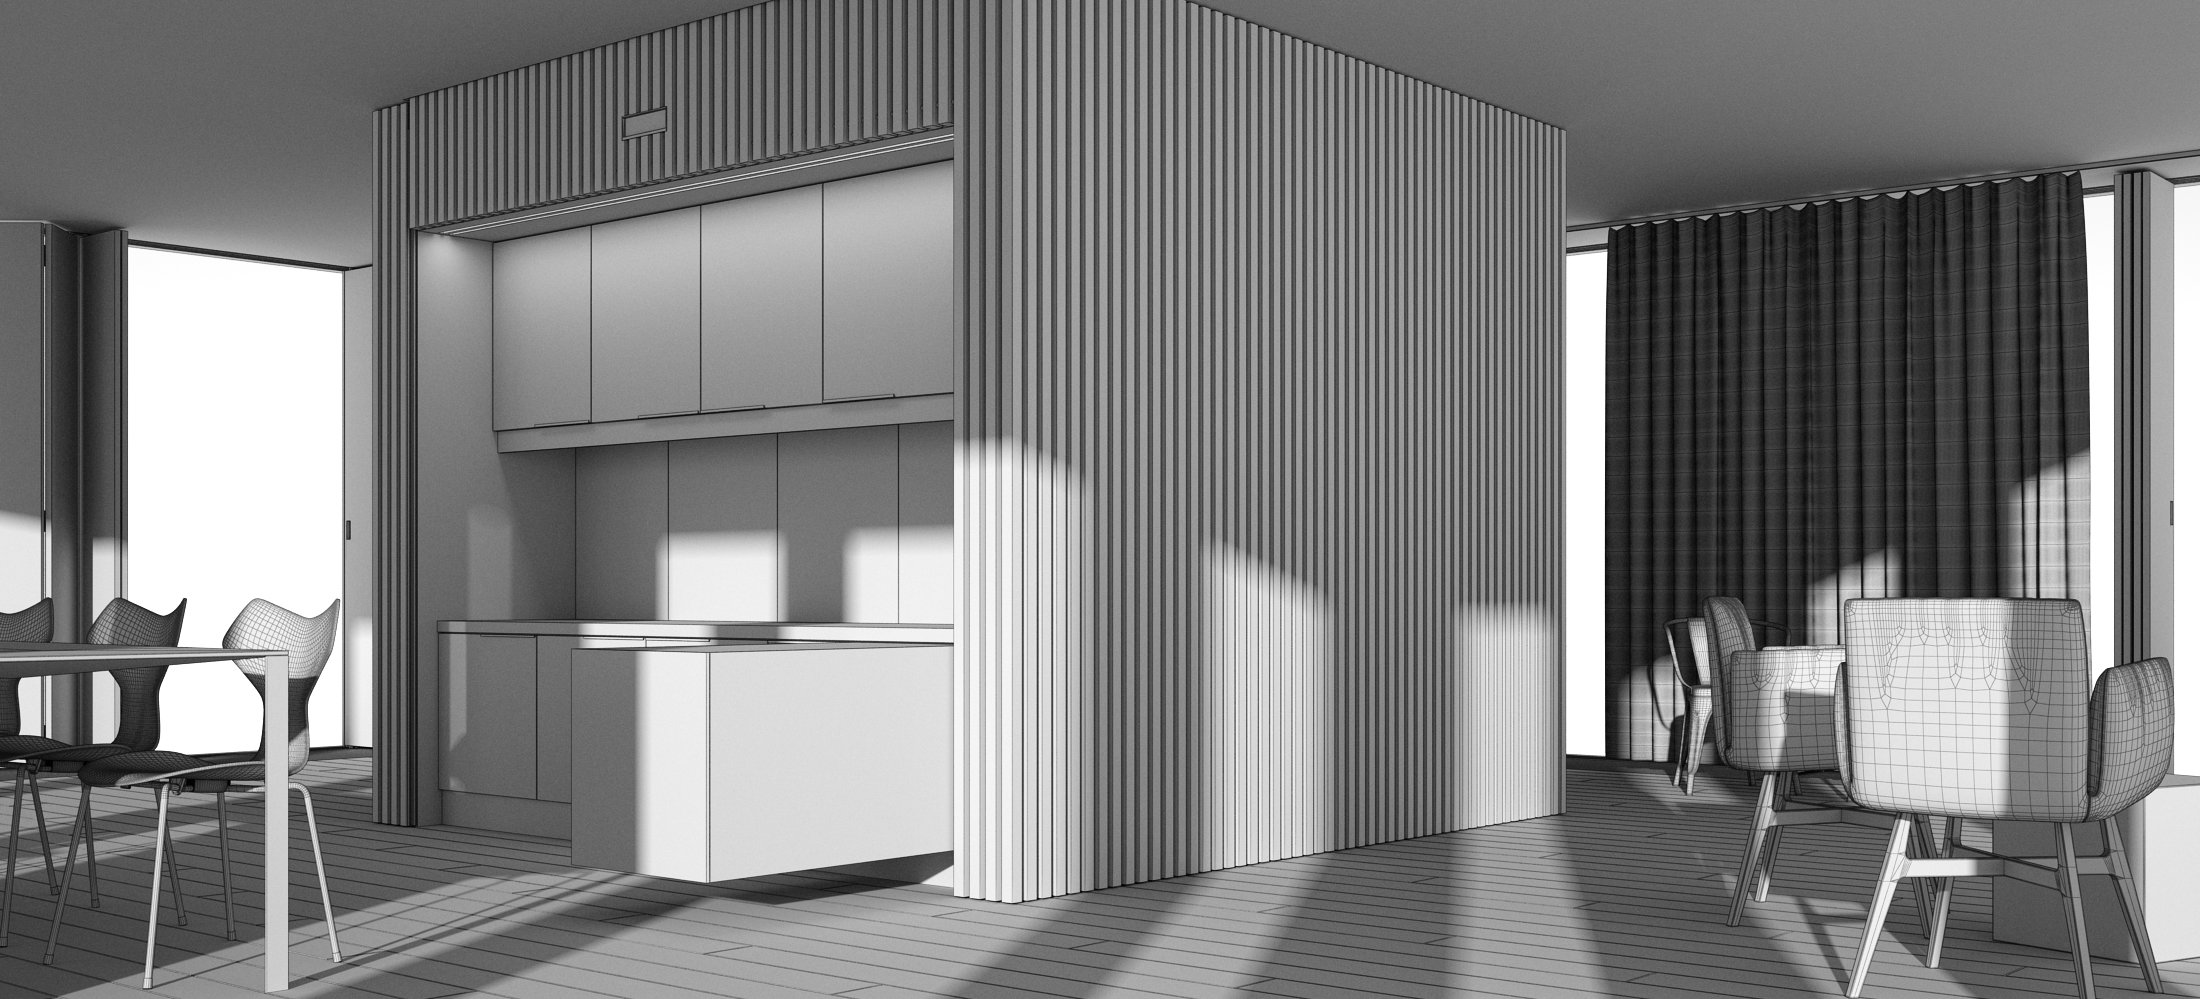
Materials
The wood floor: this is a combination of floor generator which attributes random id's to the boards and multi-textures which distributes random textures to id's. The reflection map and the reflection glossiness map are copies of the multi-textures diffuse one, adjusting the overall gamma and the overall saturation to obtain the correct effect.
Click on image to enlarge 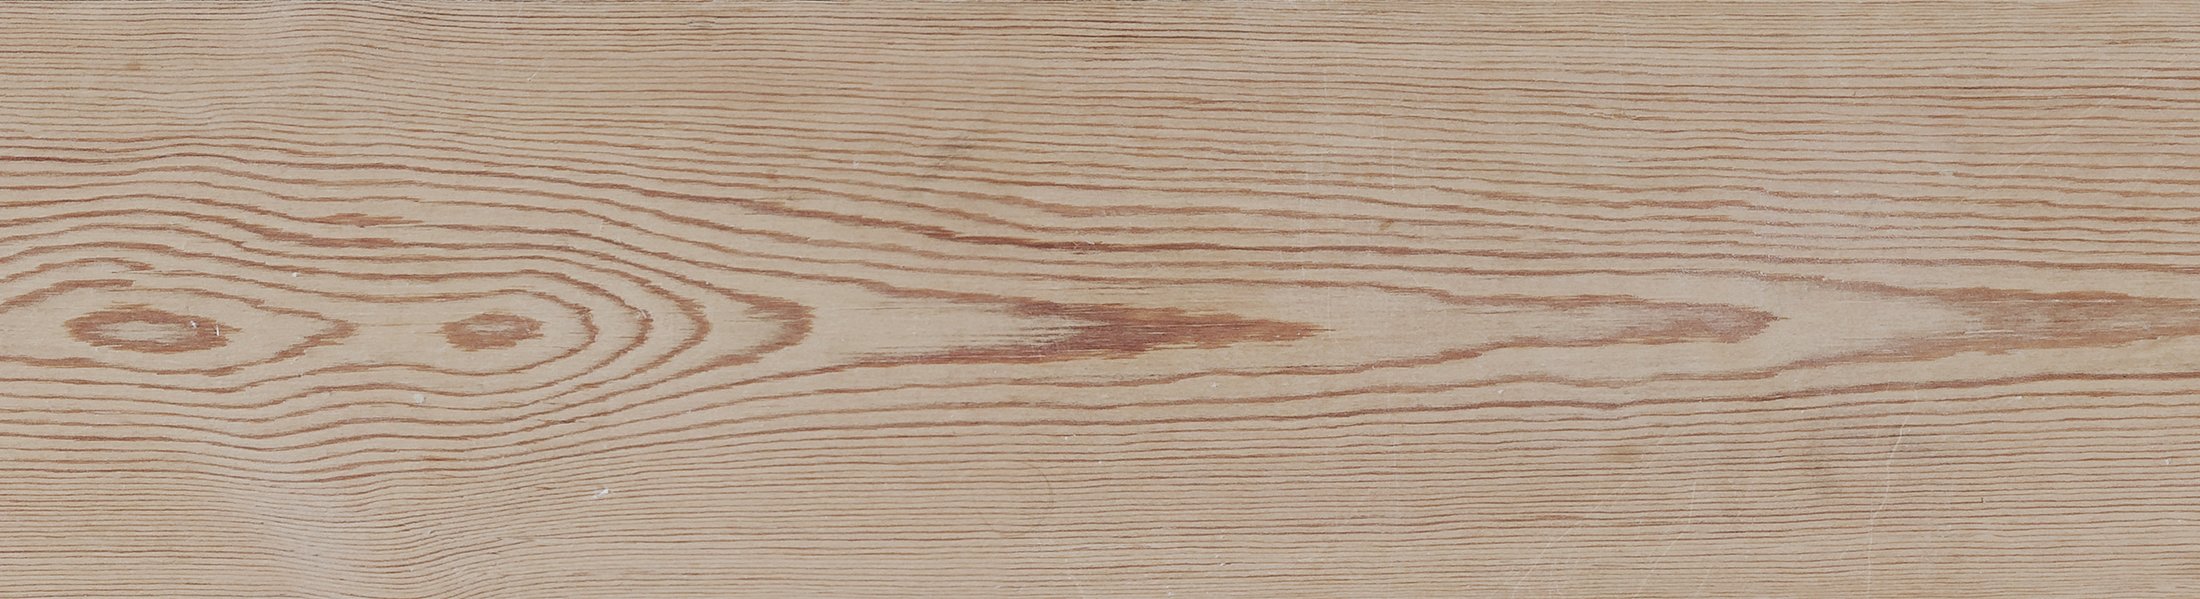
Real size CG source texture
Click on image to enlarge 
Click on image to enlarge 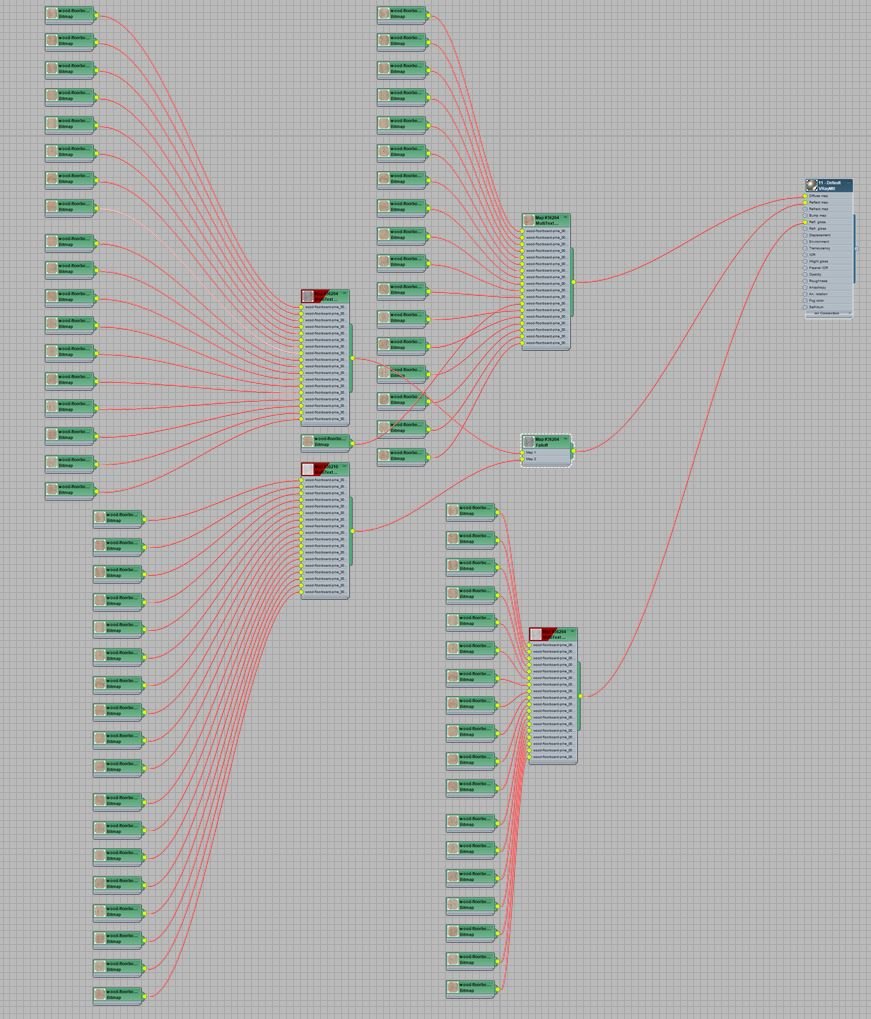
Click on image to enlarge 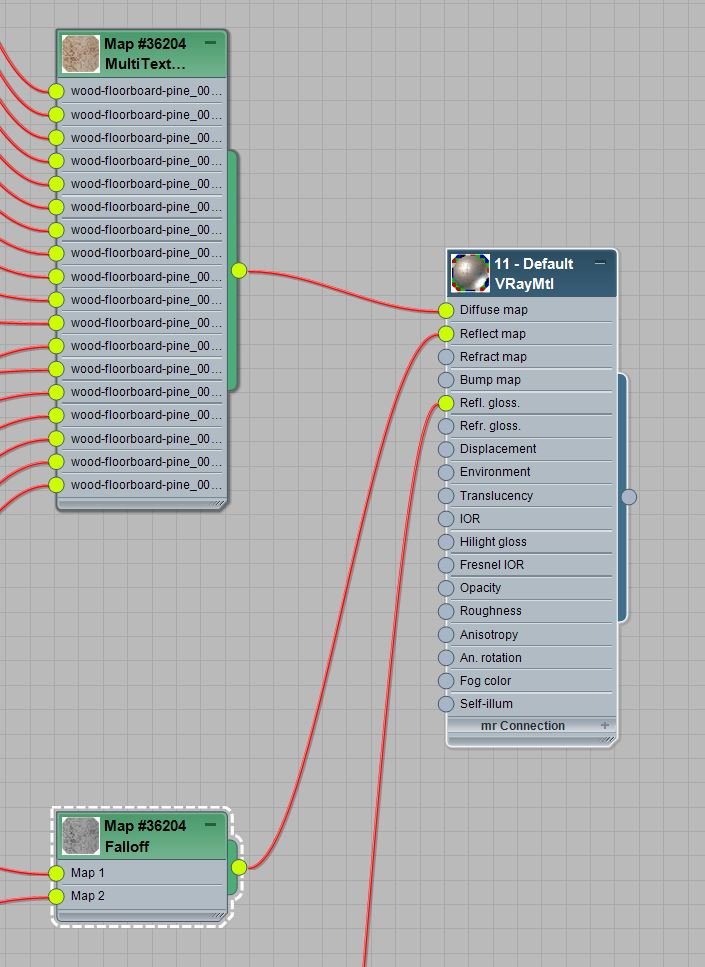
The shutters and the battens: I used the same map as diffuse, reflexion glossiness and bump but they were each adjusted using color correction.
Click on image to enlarge 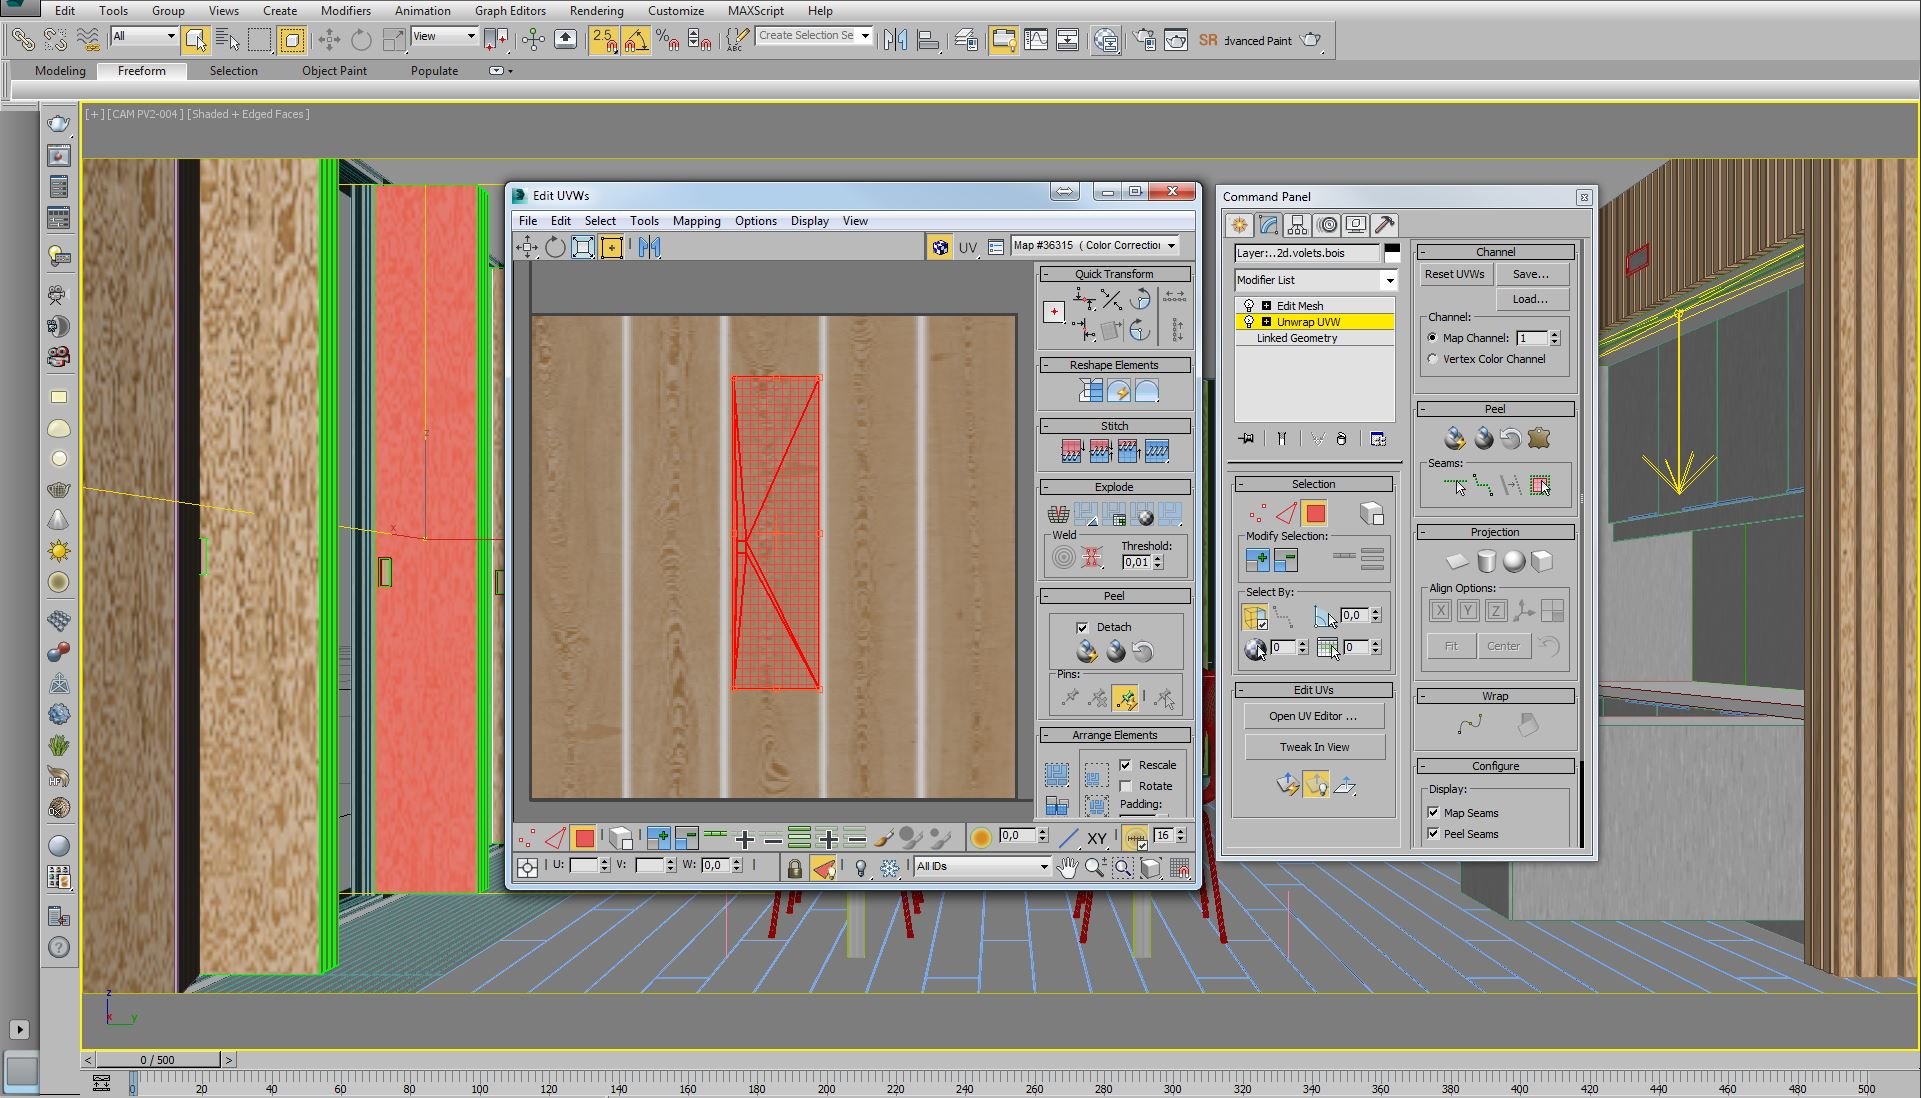
The map is a collection of several different boards on a same image and unwrapped on the model using max unwrap UVW modifier.
Click on image to enlarge 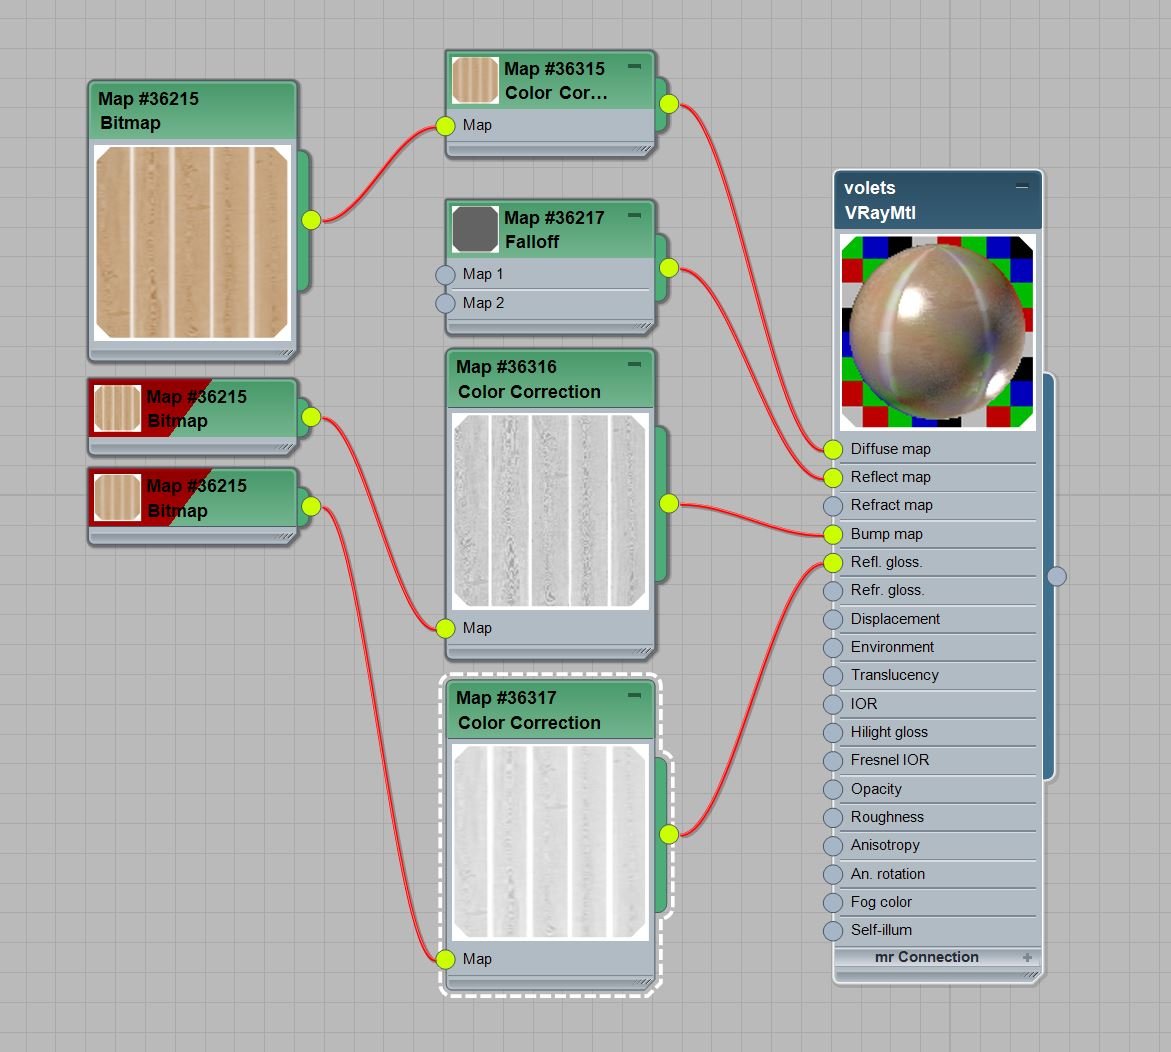
Click on image to enlarge 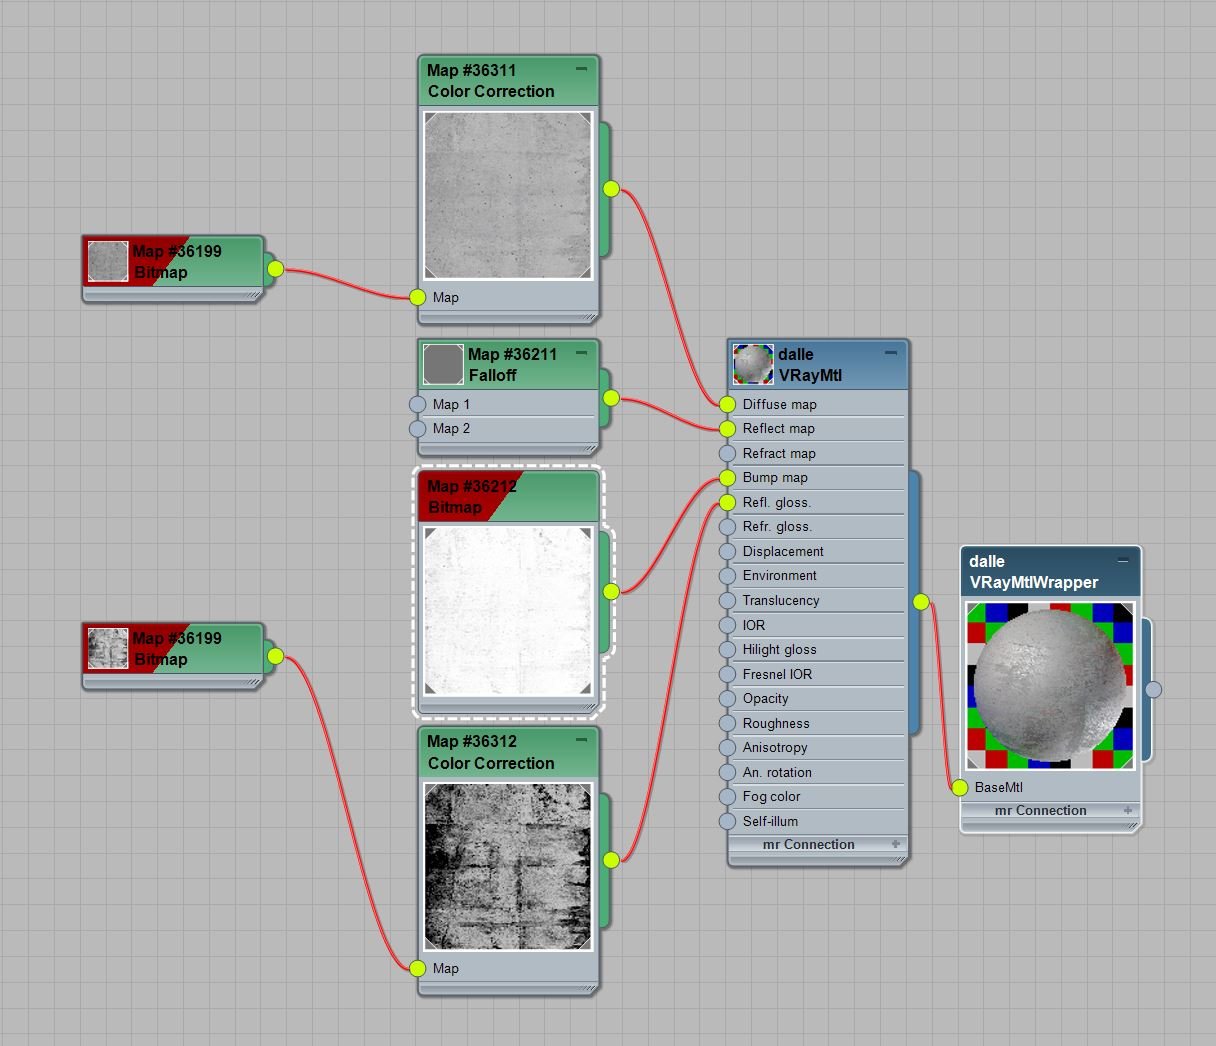
Click on image to enlarge 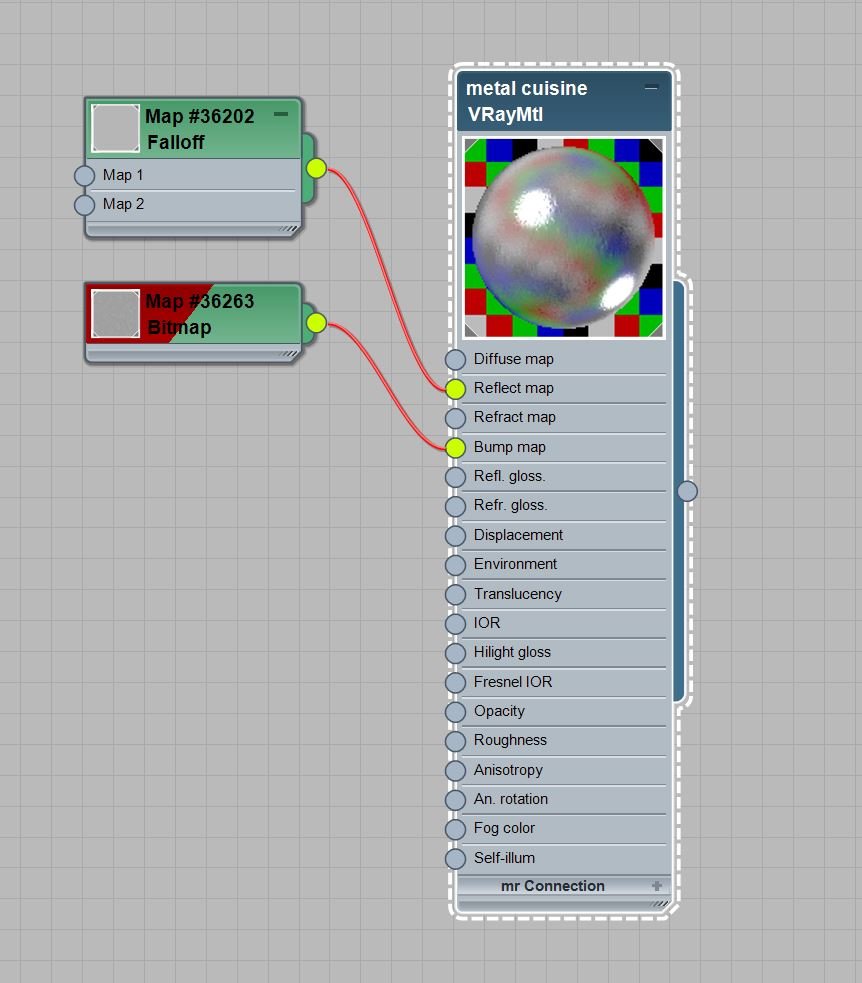
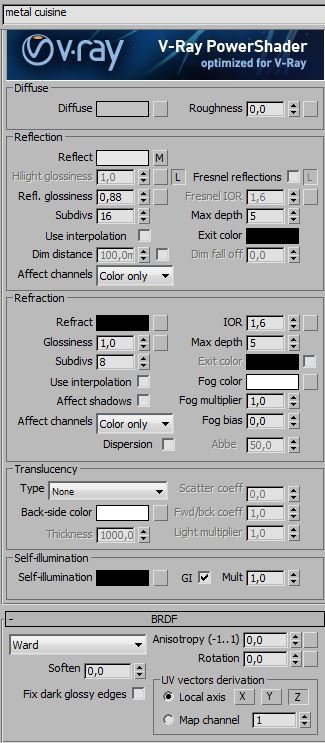
The stainless steel kitchen metal
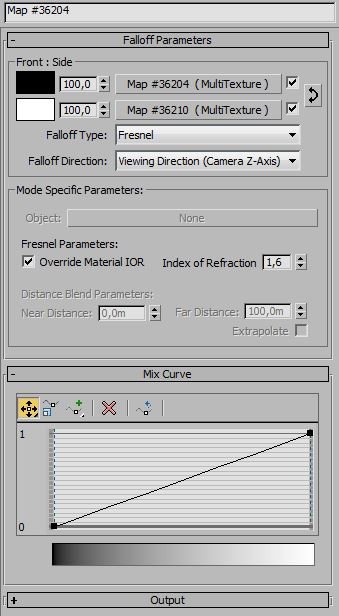
The dirty glass: I used typical glass material with refraction to 1.6 and a falloff reflection map.
Click on image to enlarge 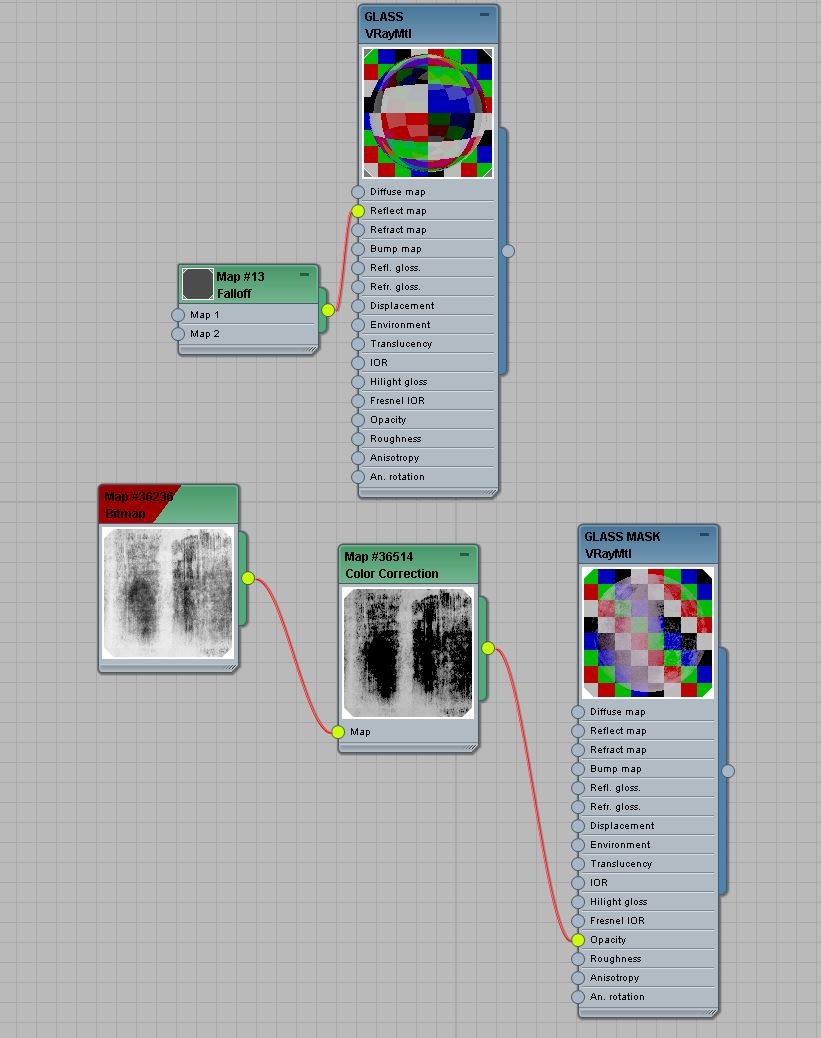
The dirt part is in fact a simple plane in front of the glass with a handmade dirt map used in opacity slot. It’s also visible when rendering the VrayRawRefraction render element used for photoshop compositing.
Click on image to enlarge 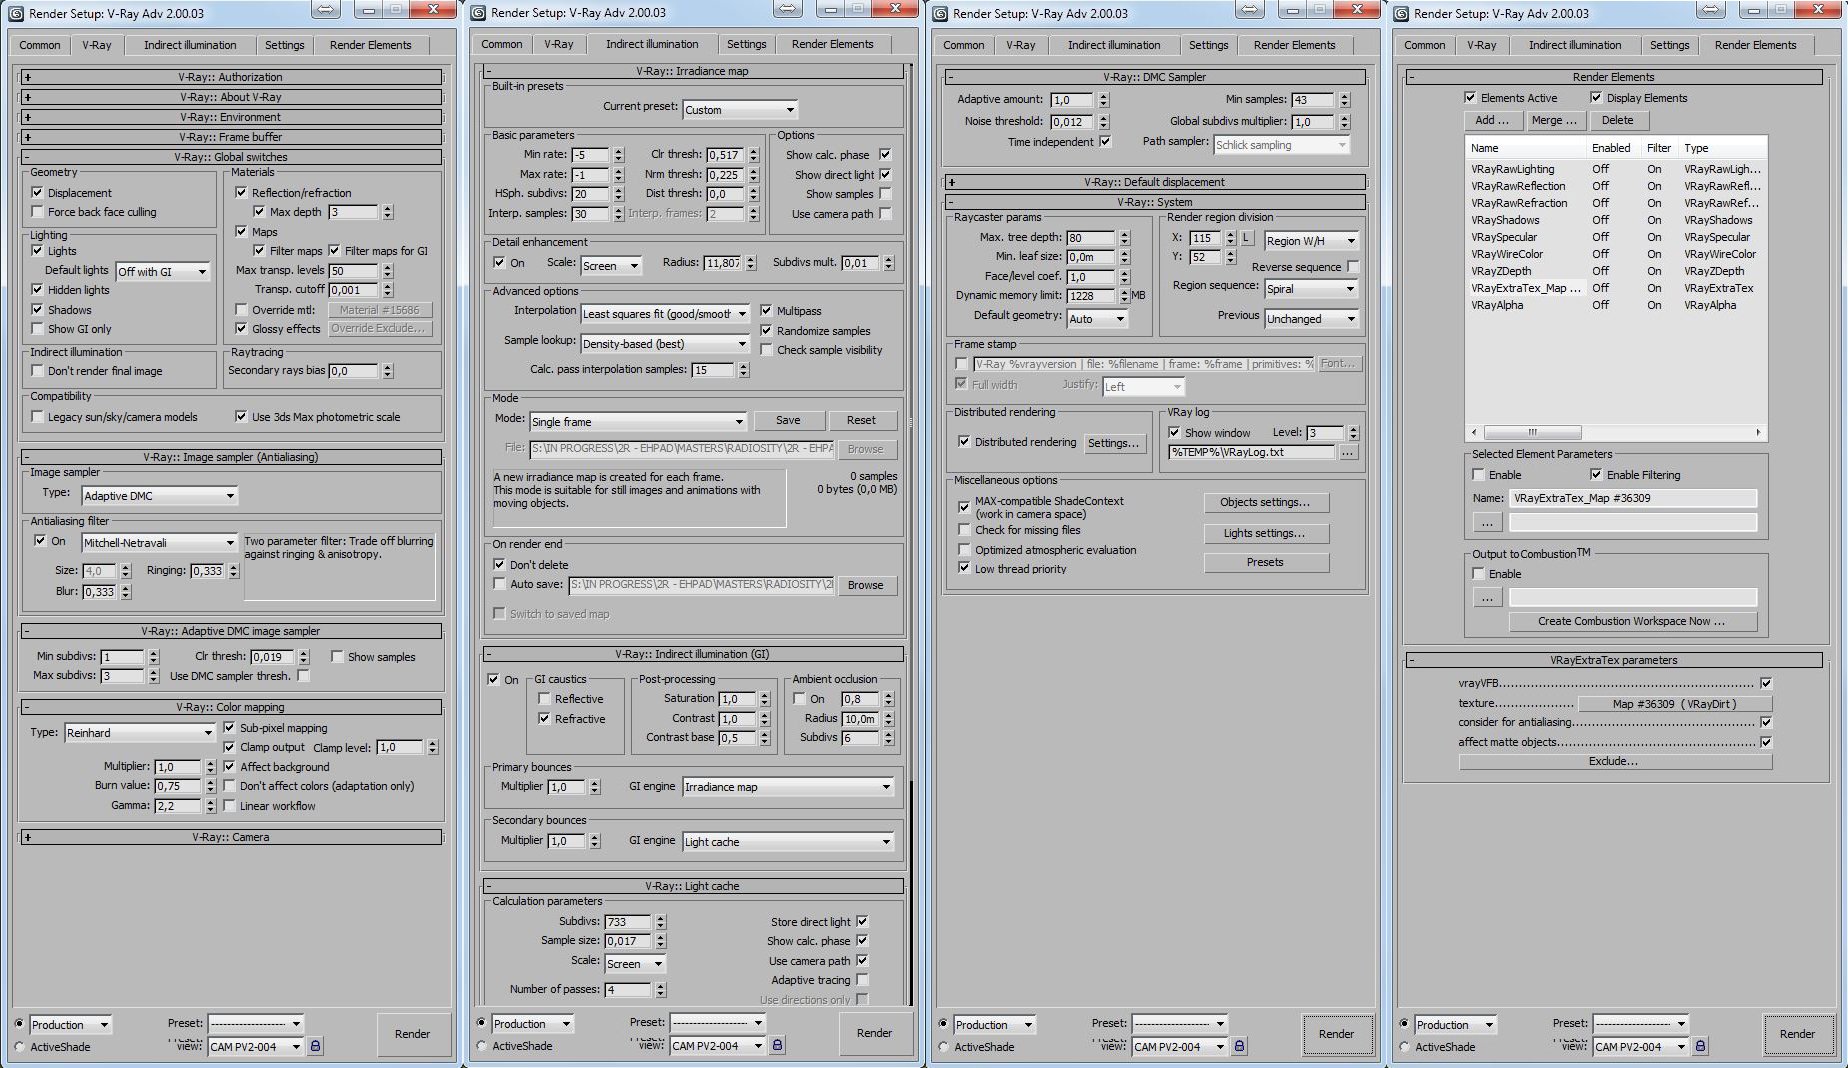
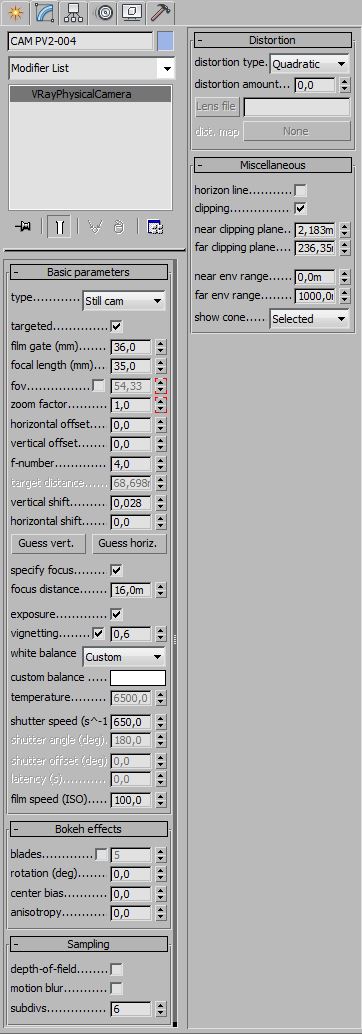
Here are the rendering settings and the render elements
3. Compositing
Here is the photoshop compositing from bottom to top:
Click on image to enlarge 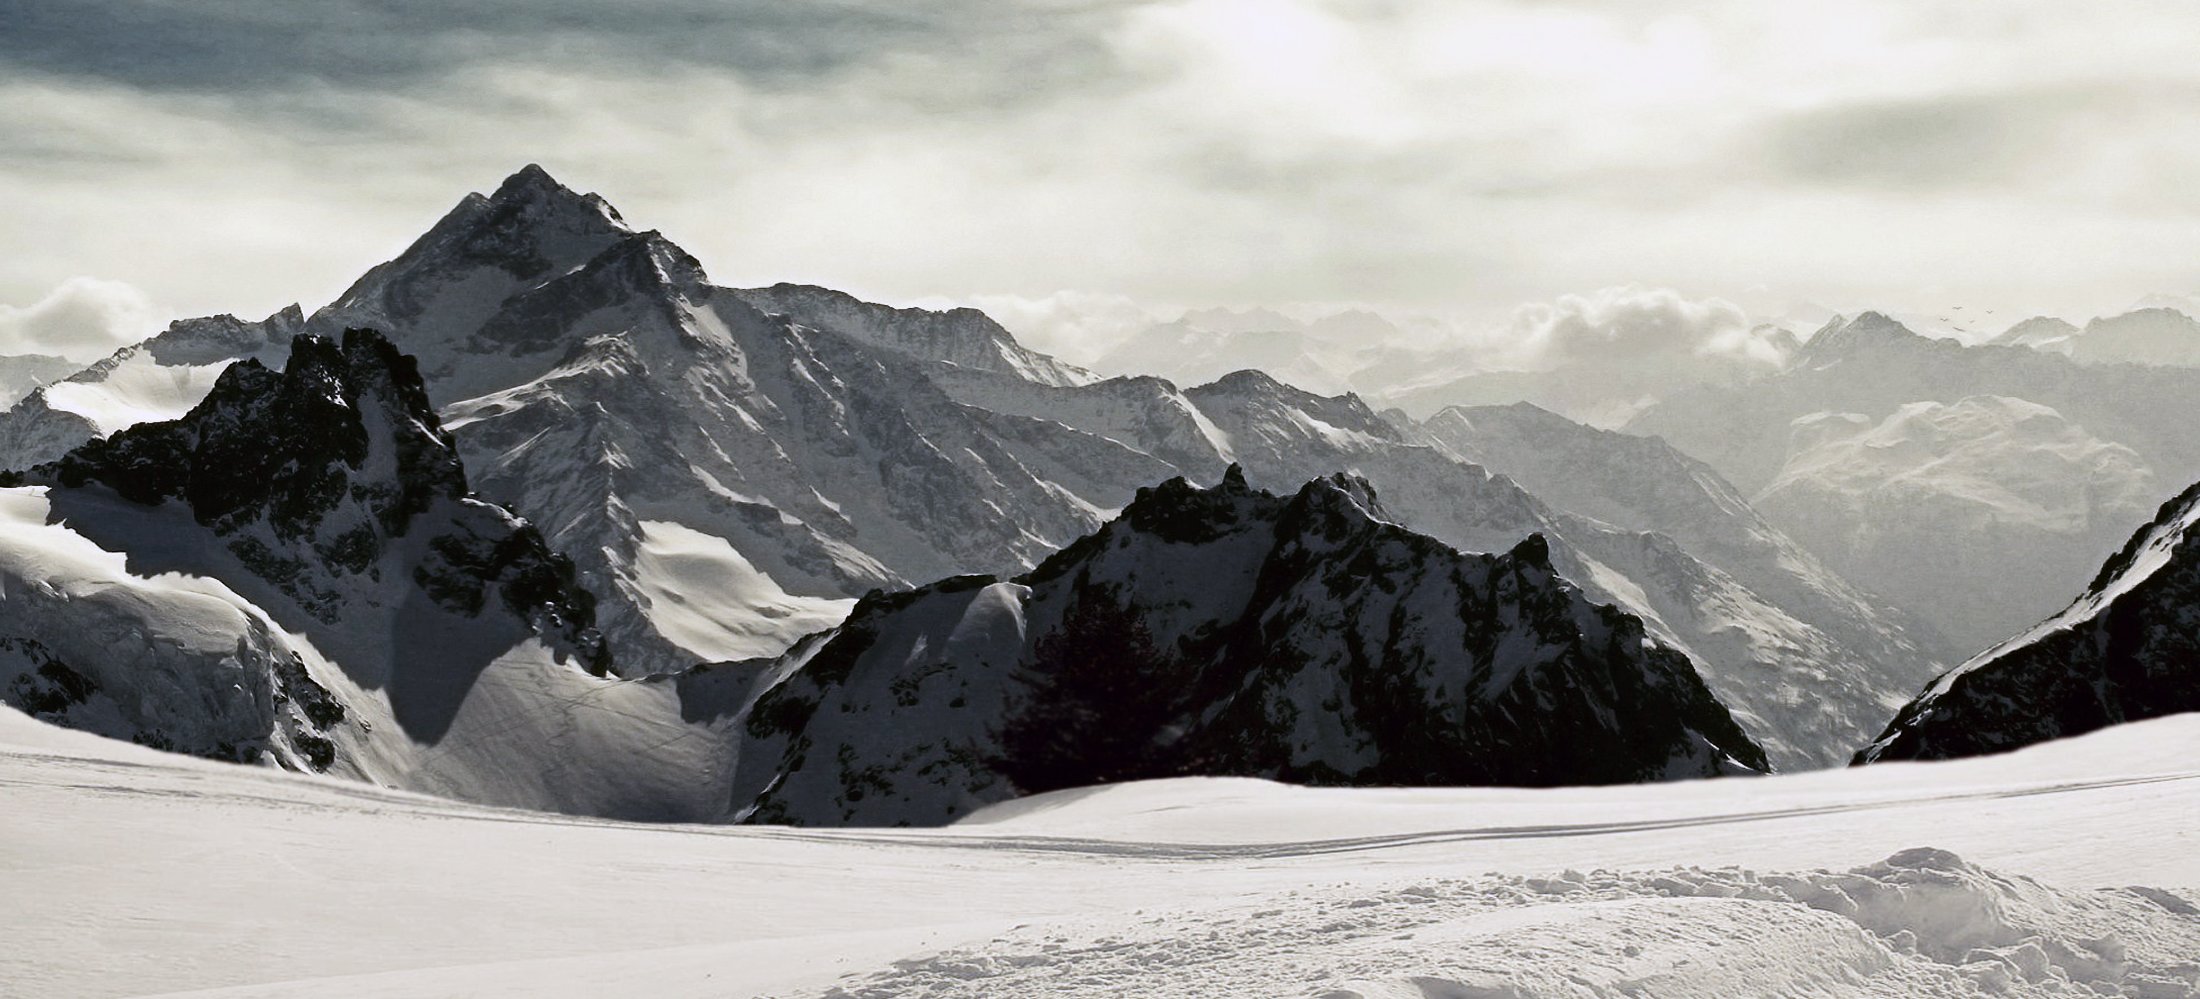
Click on image to enlarge 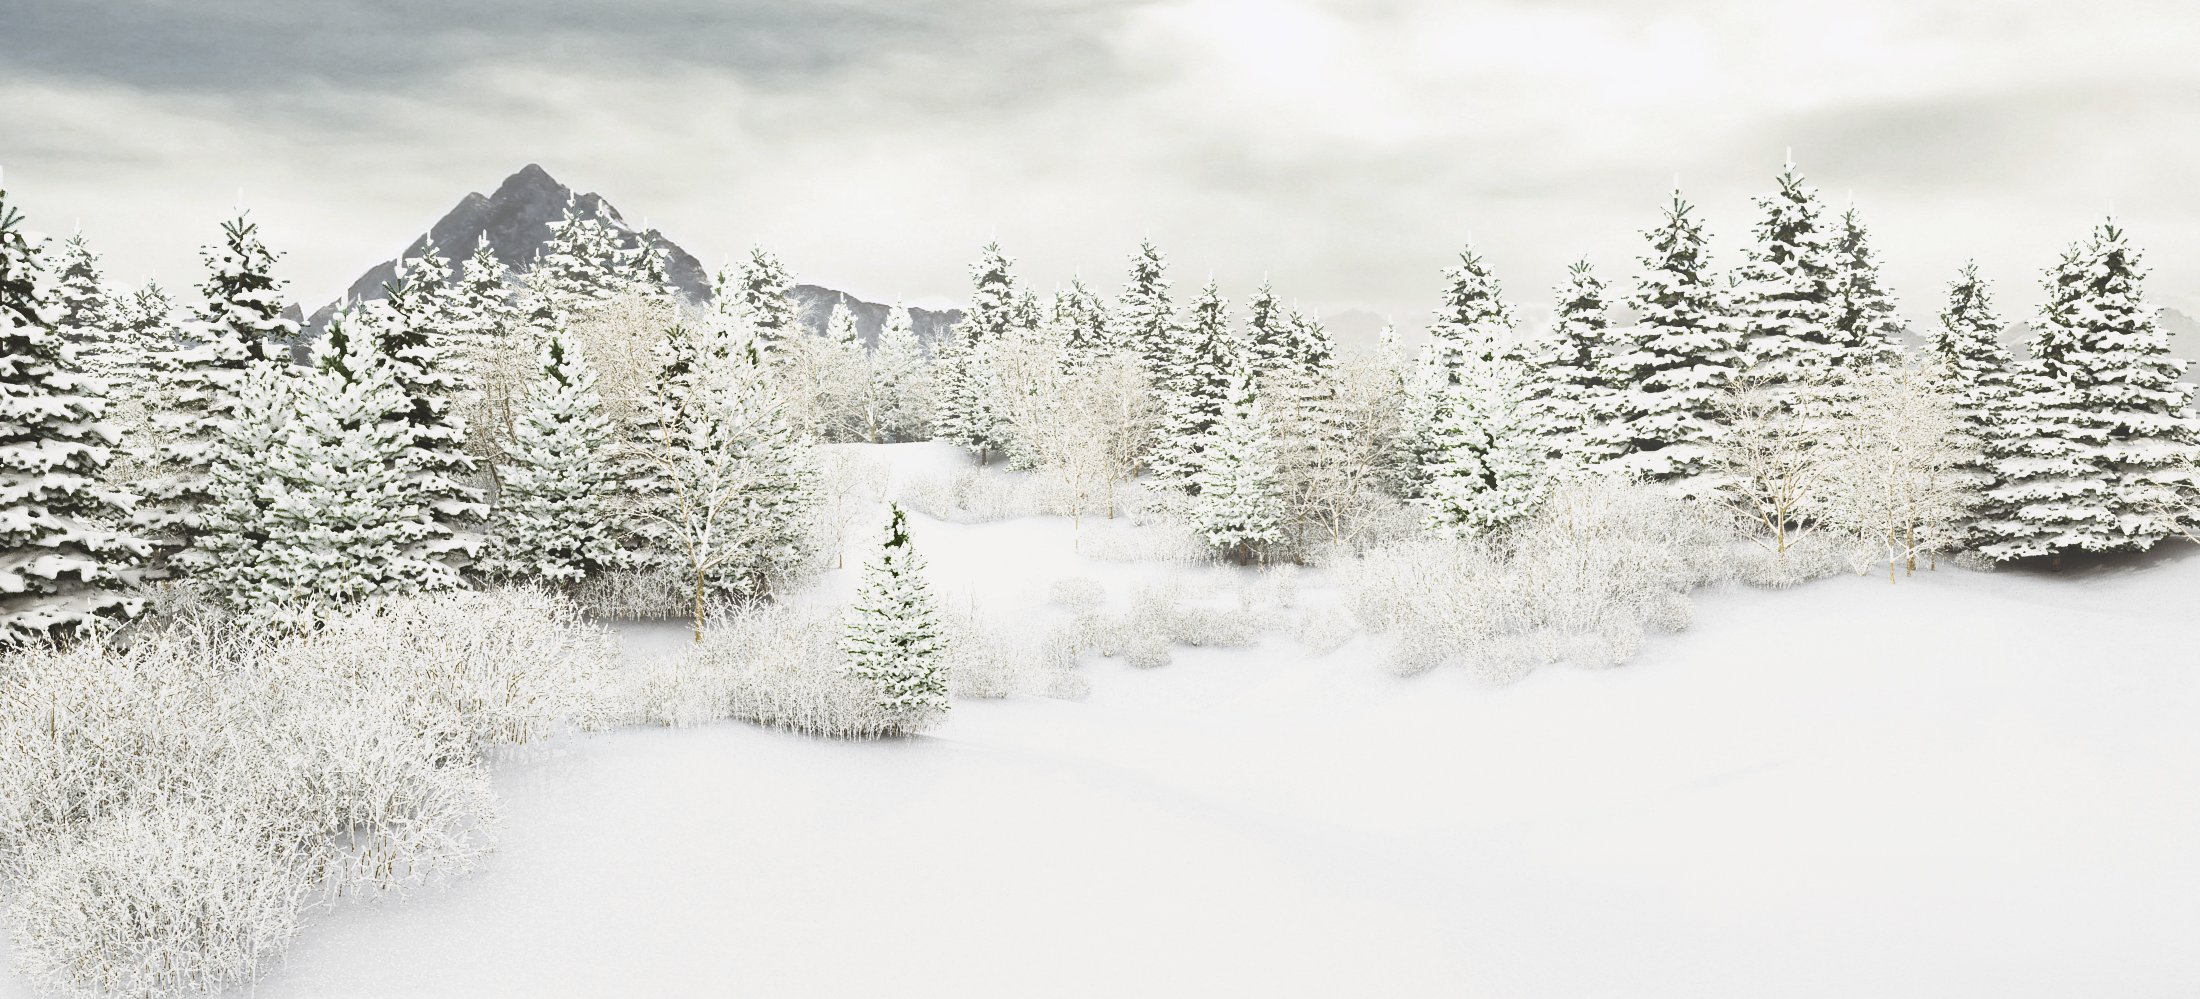
Click on image to enlarge 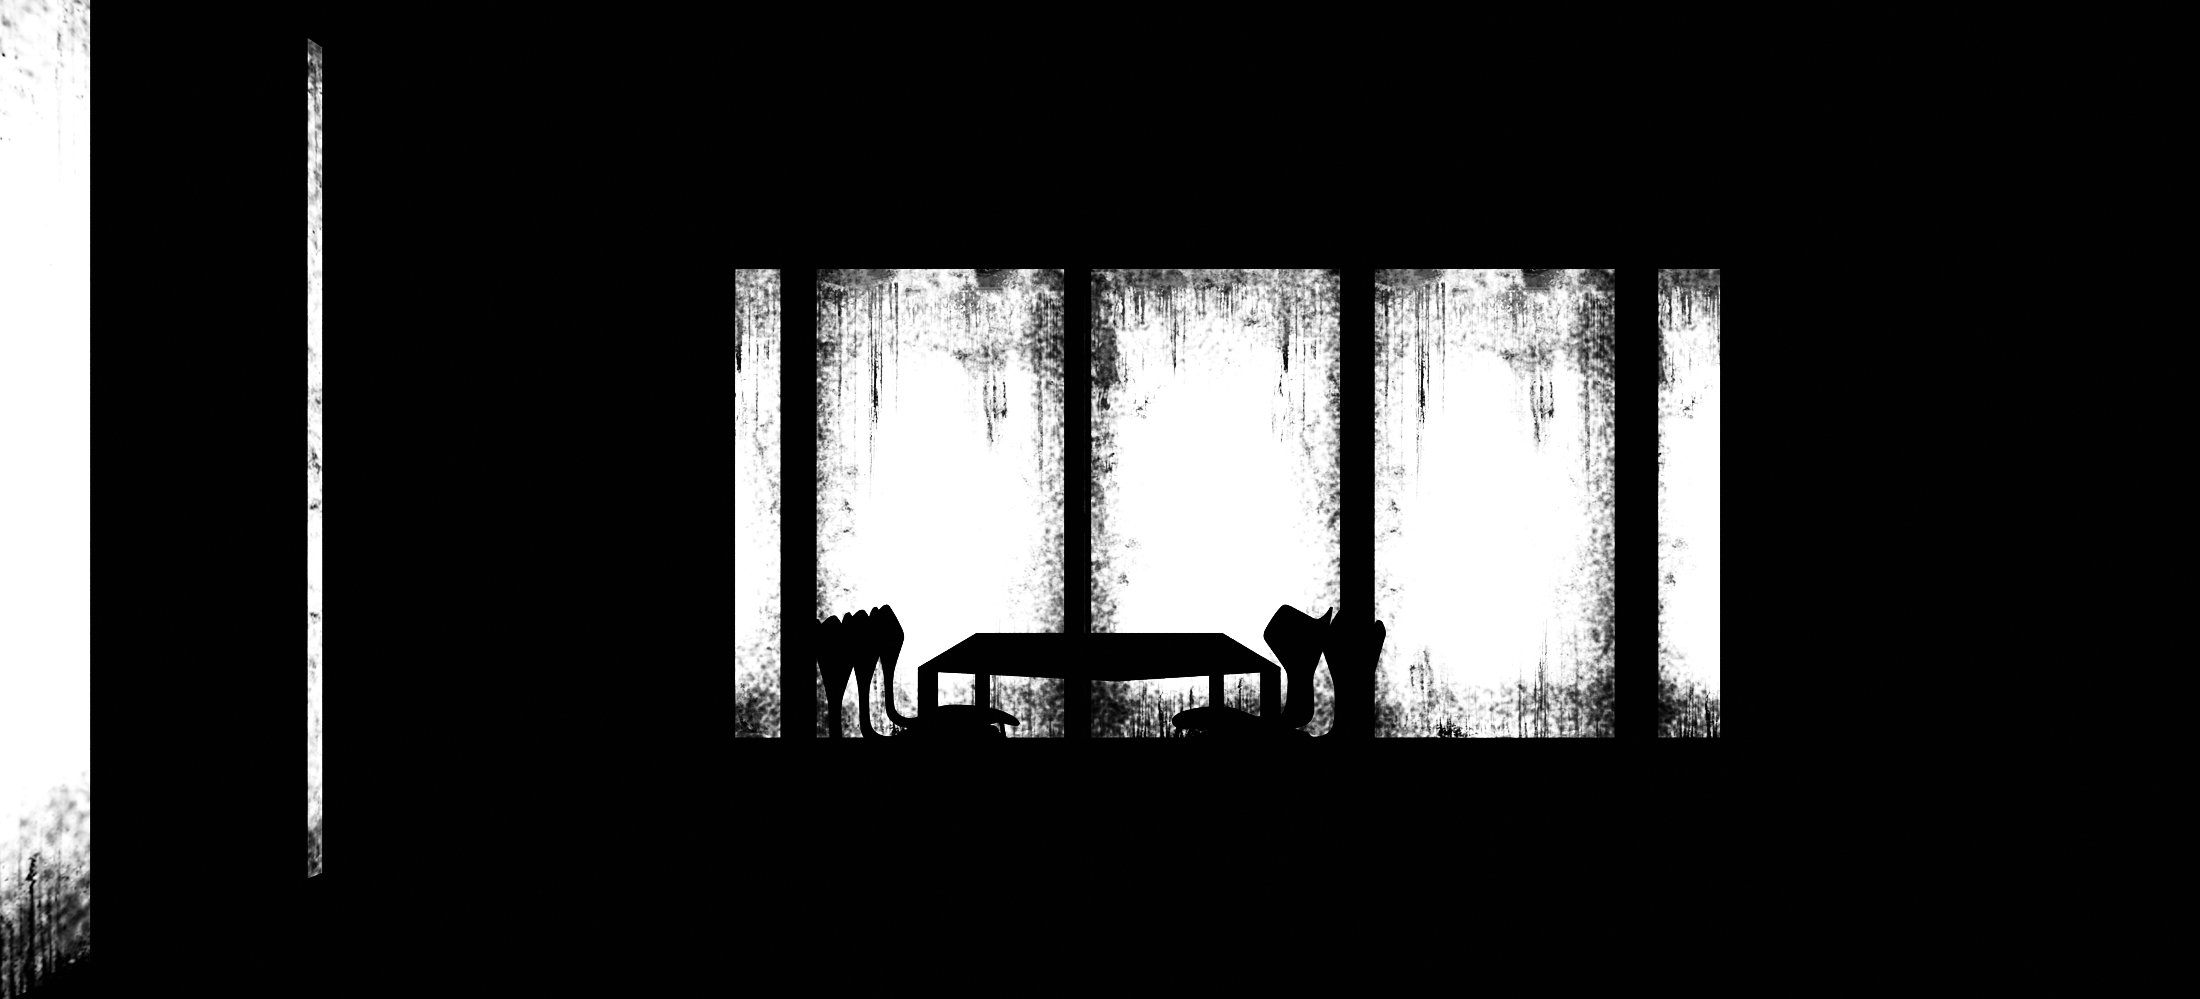
The VrayRawRefraction pass used as an inverted mask selection on a white layer to produce the glass effect
Click on image to enlarge 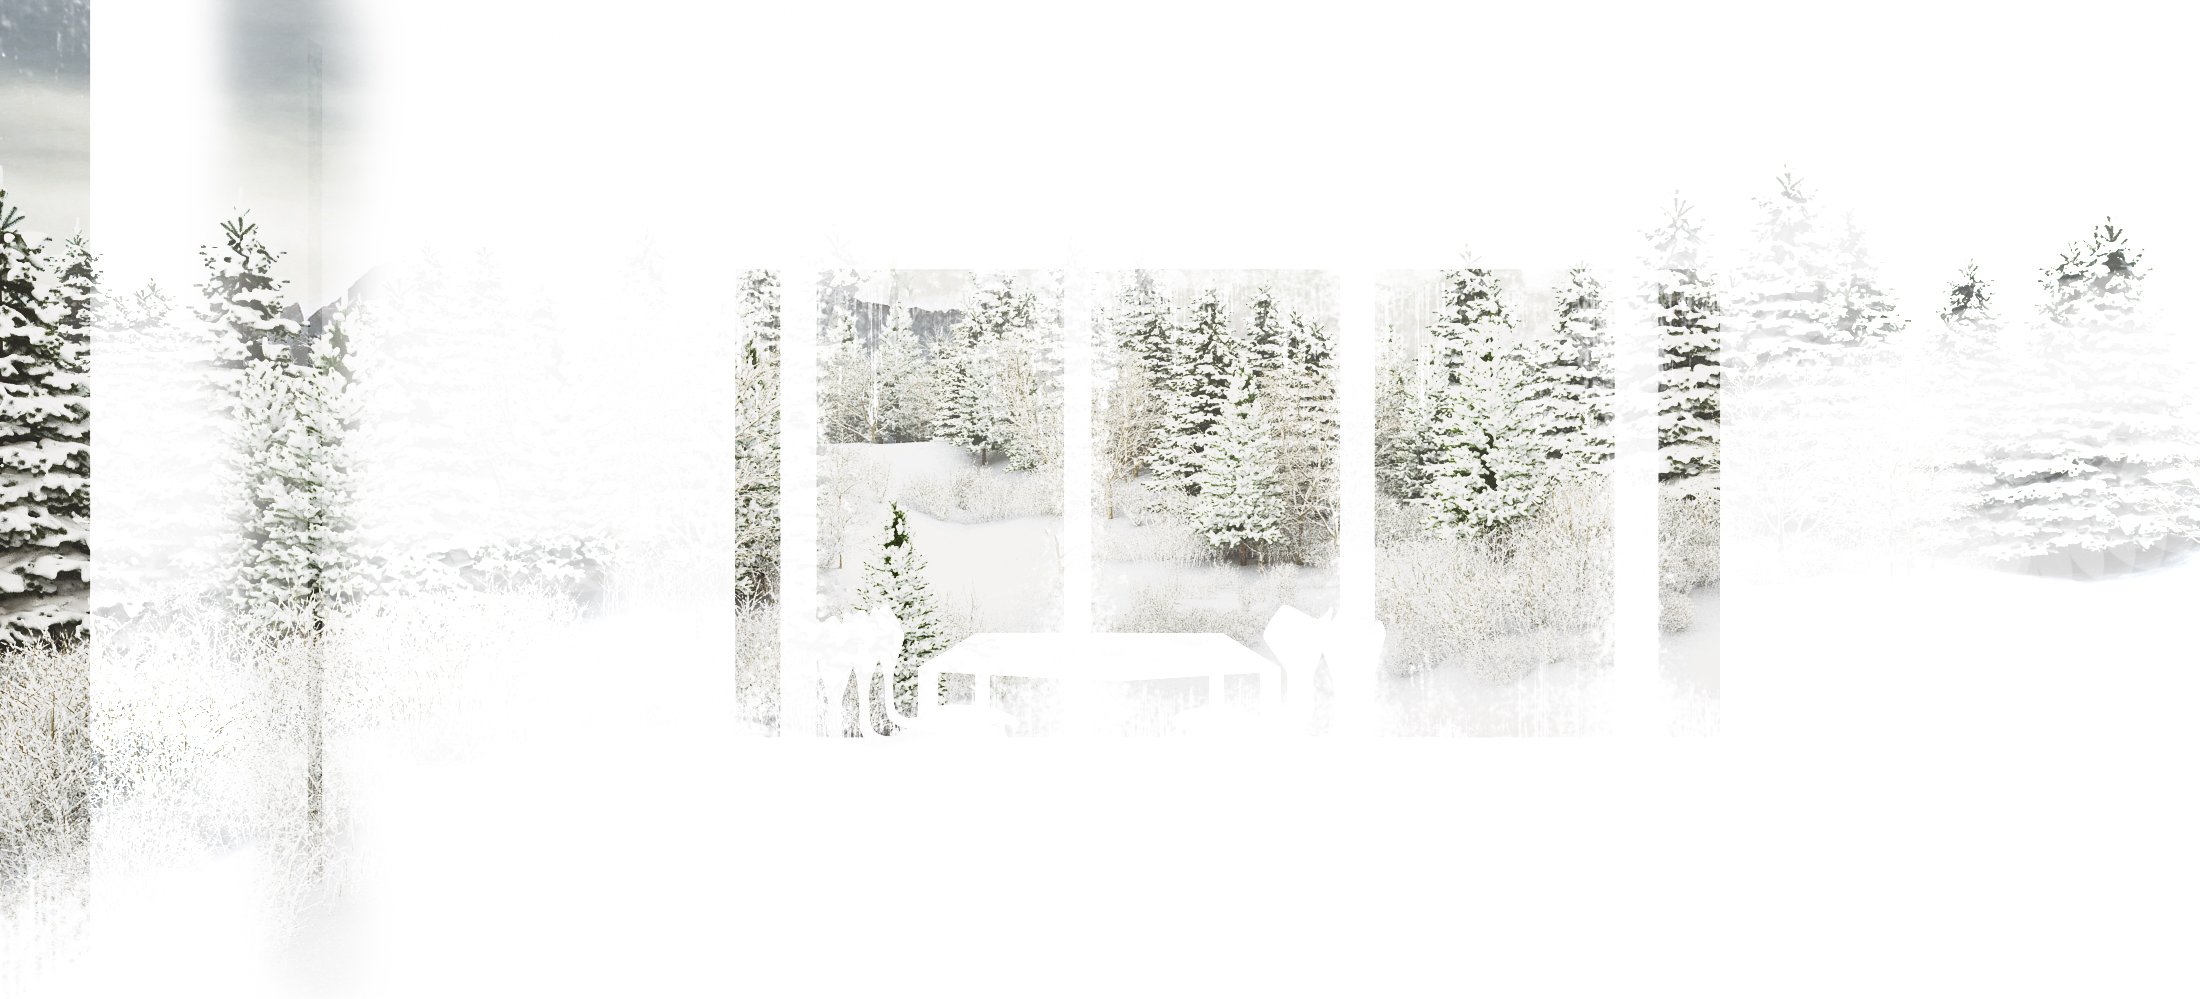
The VrayRawRefraction pass used as an inverted mask selection on a white layer to produce the glass effect
Click on image to enlarge 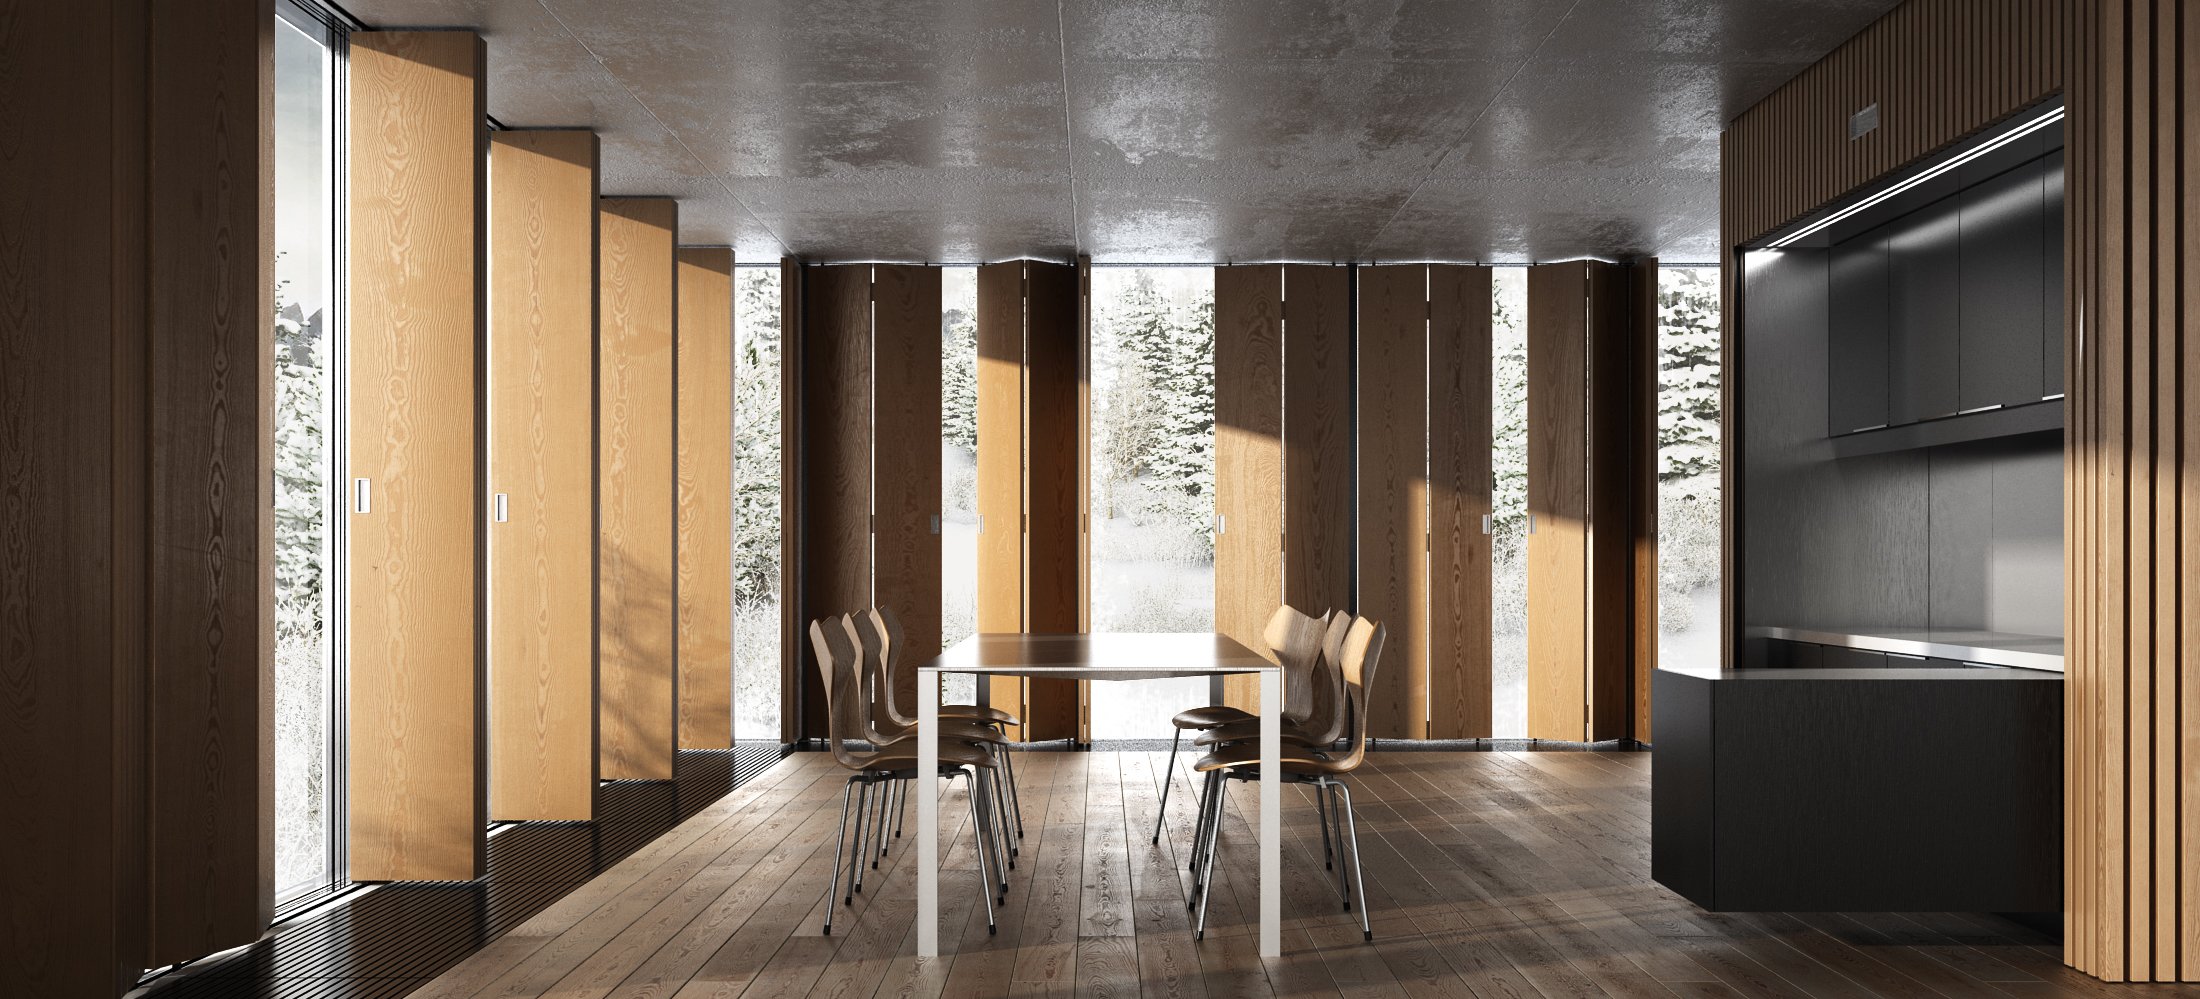
The pavilion render pass with alpha selection
I also used the VraySpecular render element with 40% opacity in screen blending mode to enhance the strong reflexions and the VrayExtraTexture map render element with a VrayDirt as texture with 10% opacity to bring up some more global light. Finally, I added a volume light using a direct light and some environment fog in screen mode with 35% opacity. Here are the texture and the final result:
Click on image to enlarge 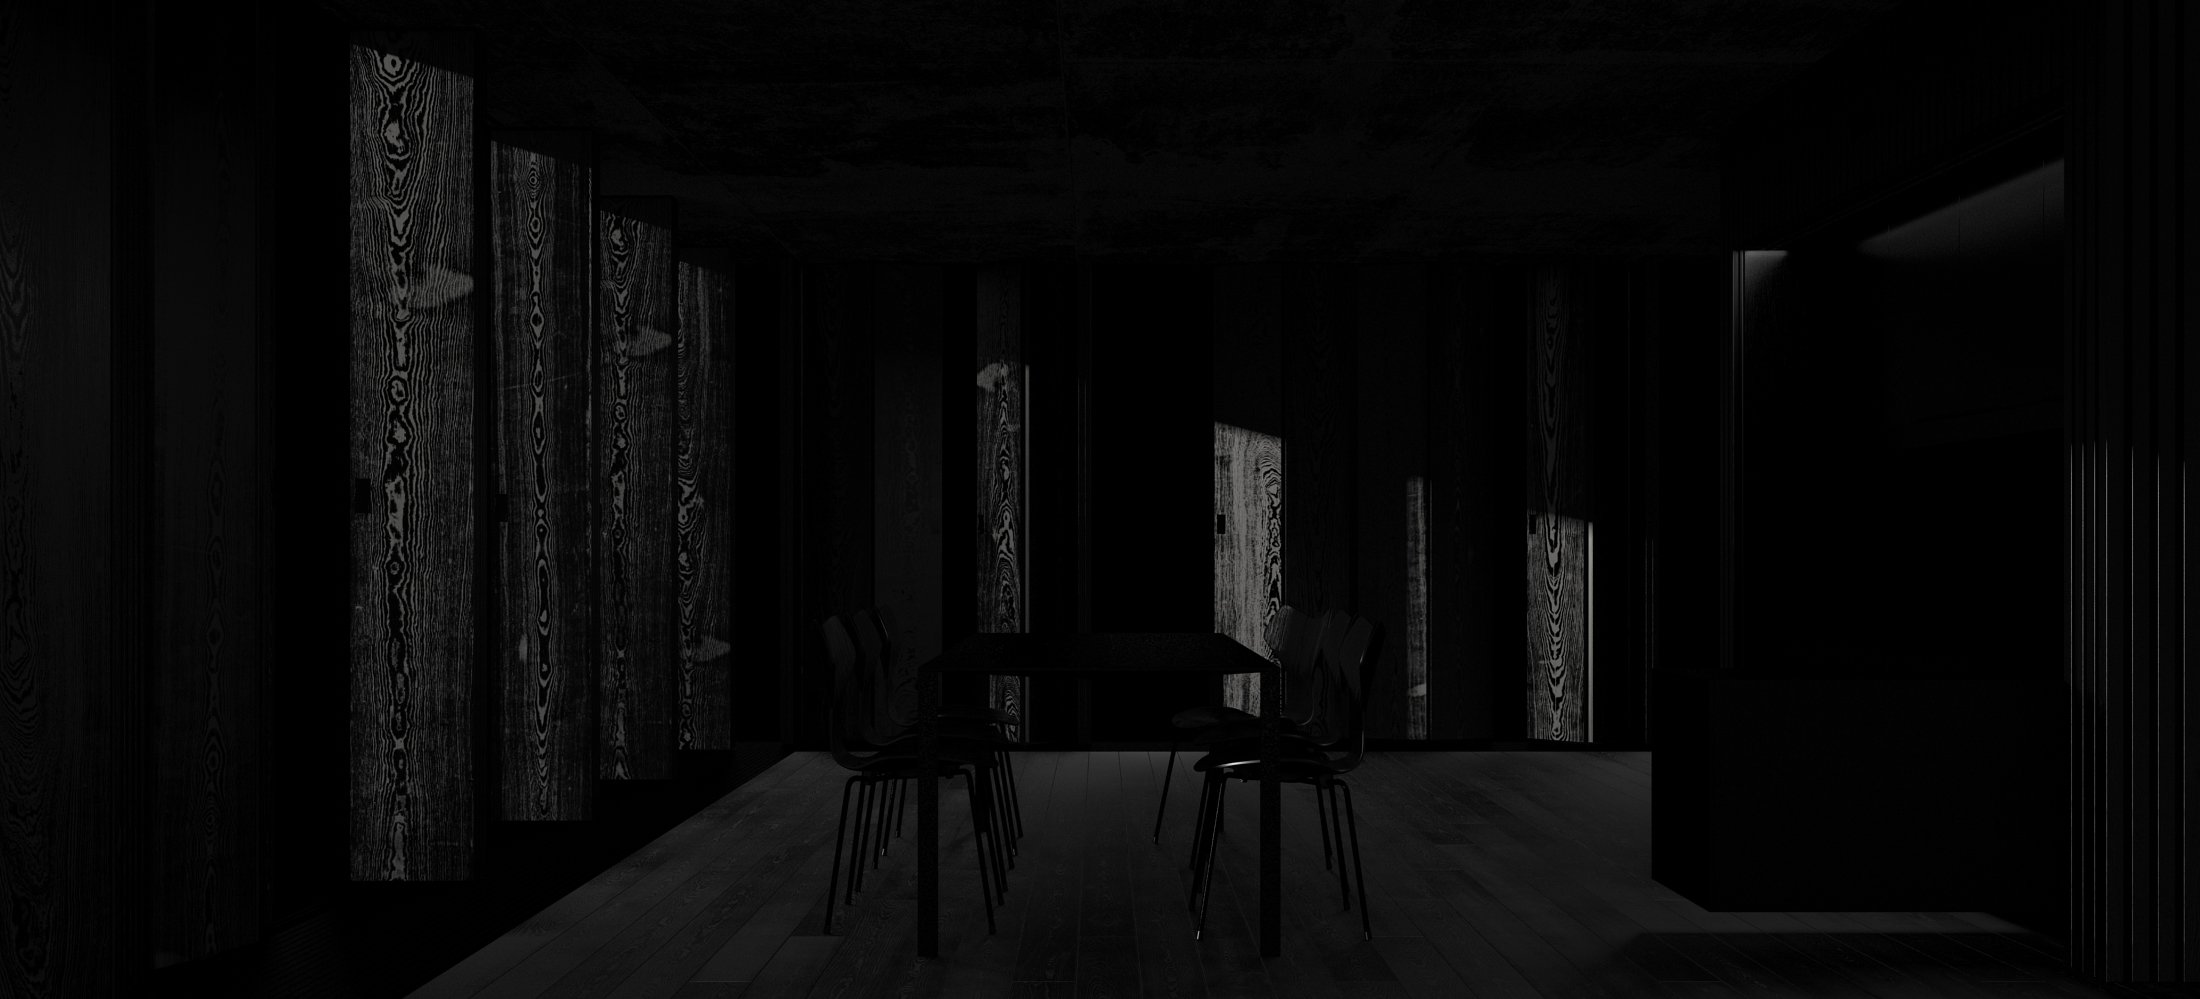
Click on image to enlarge 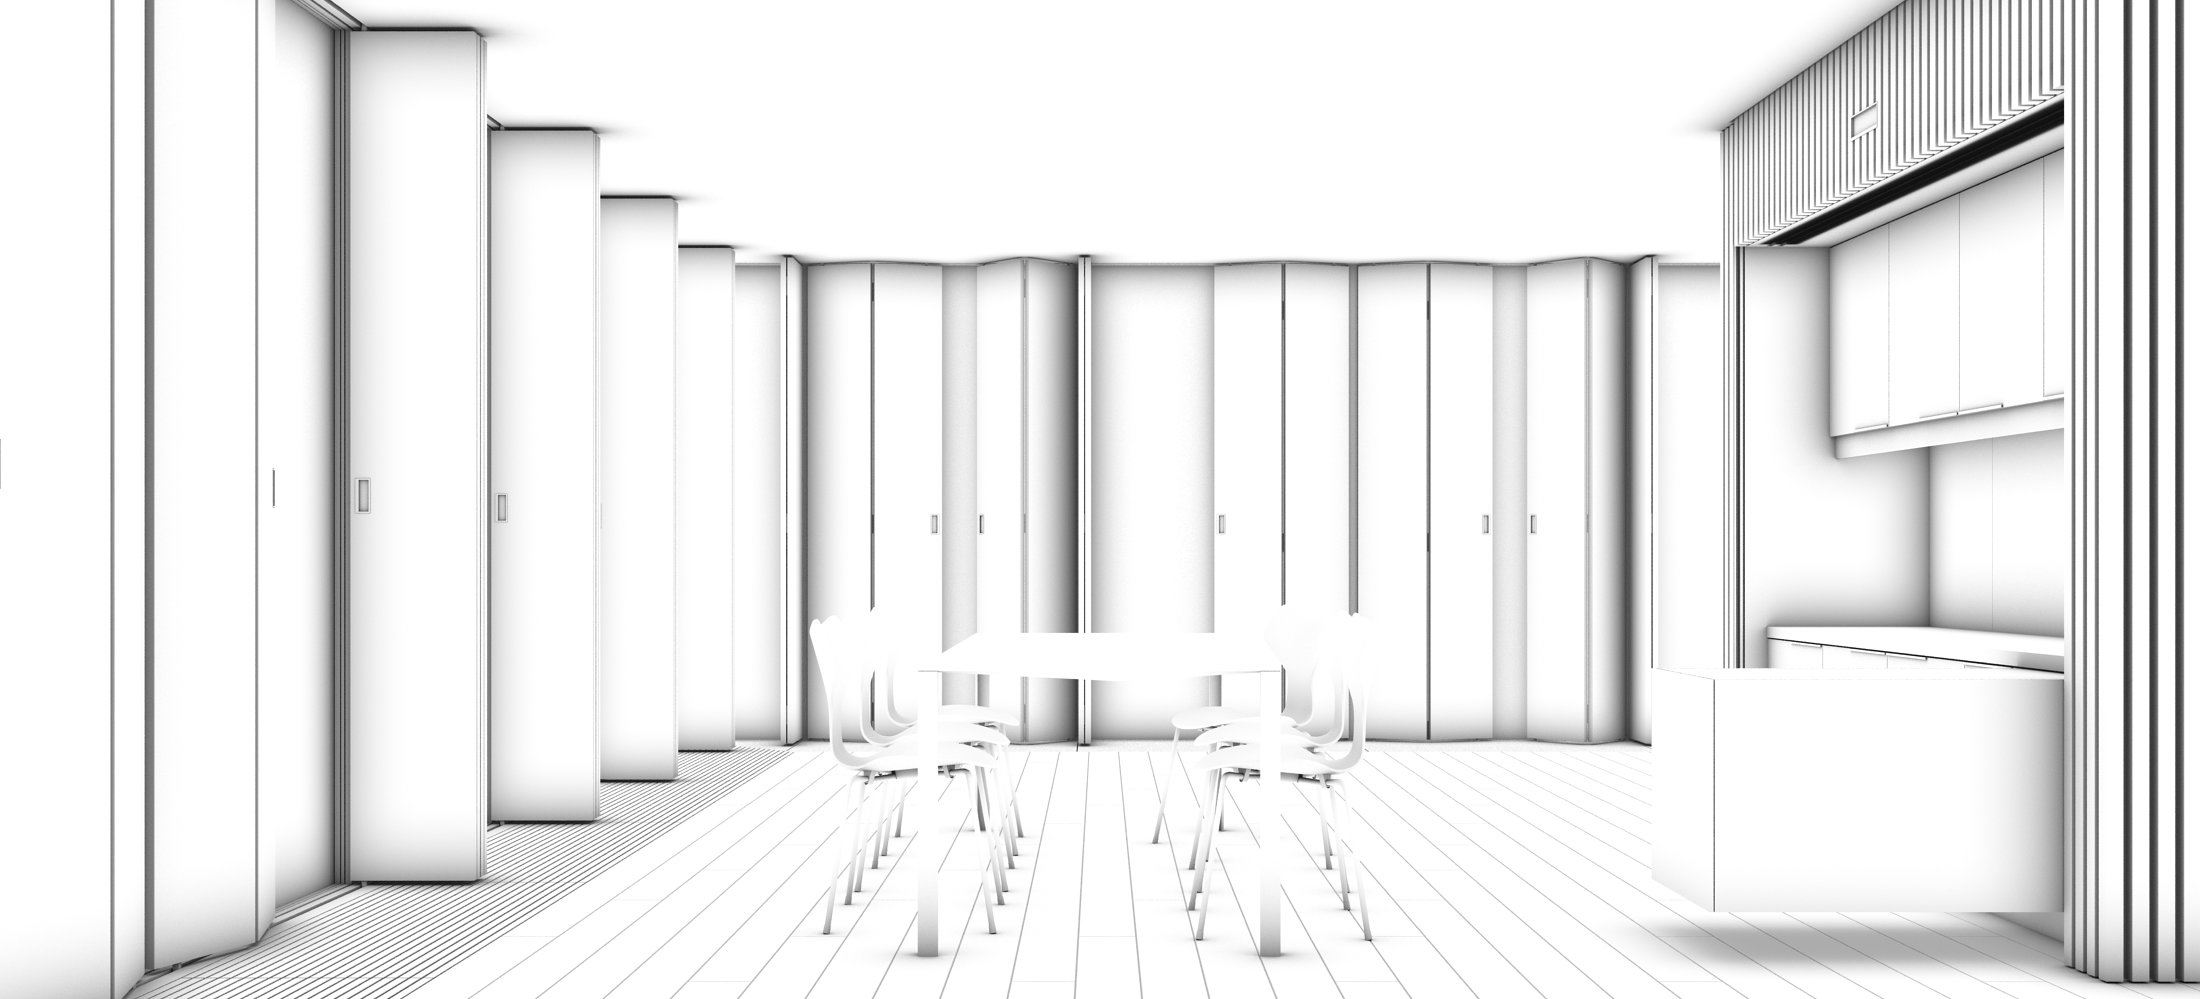
VrayExtraTexture including VrayDirt
Click on image to enlarge 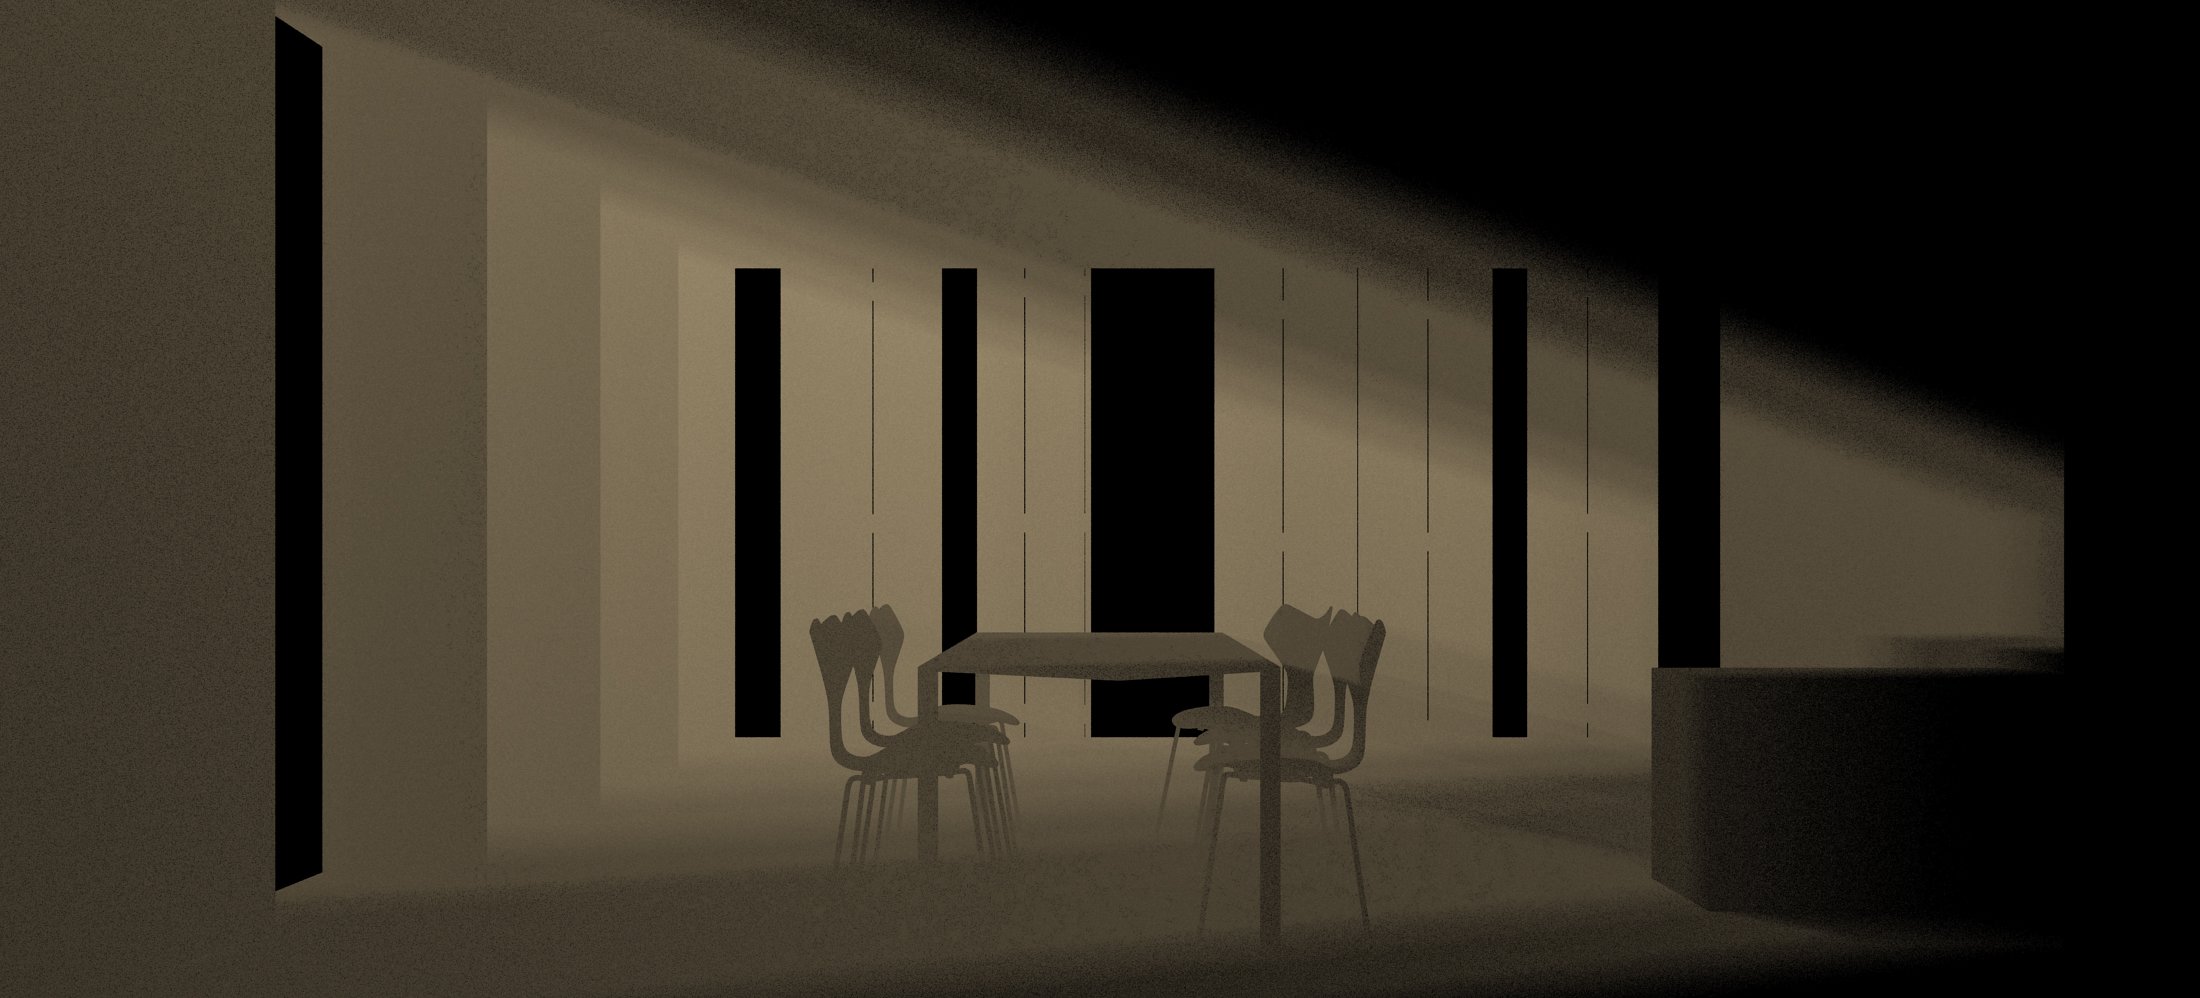
Click on image to enlarge 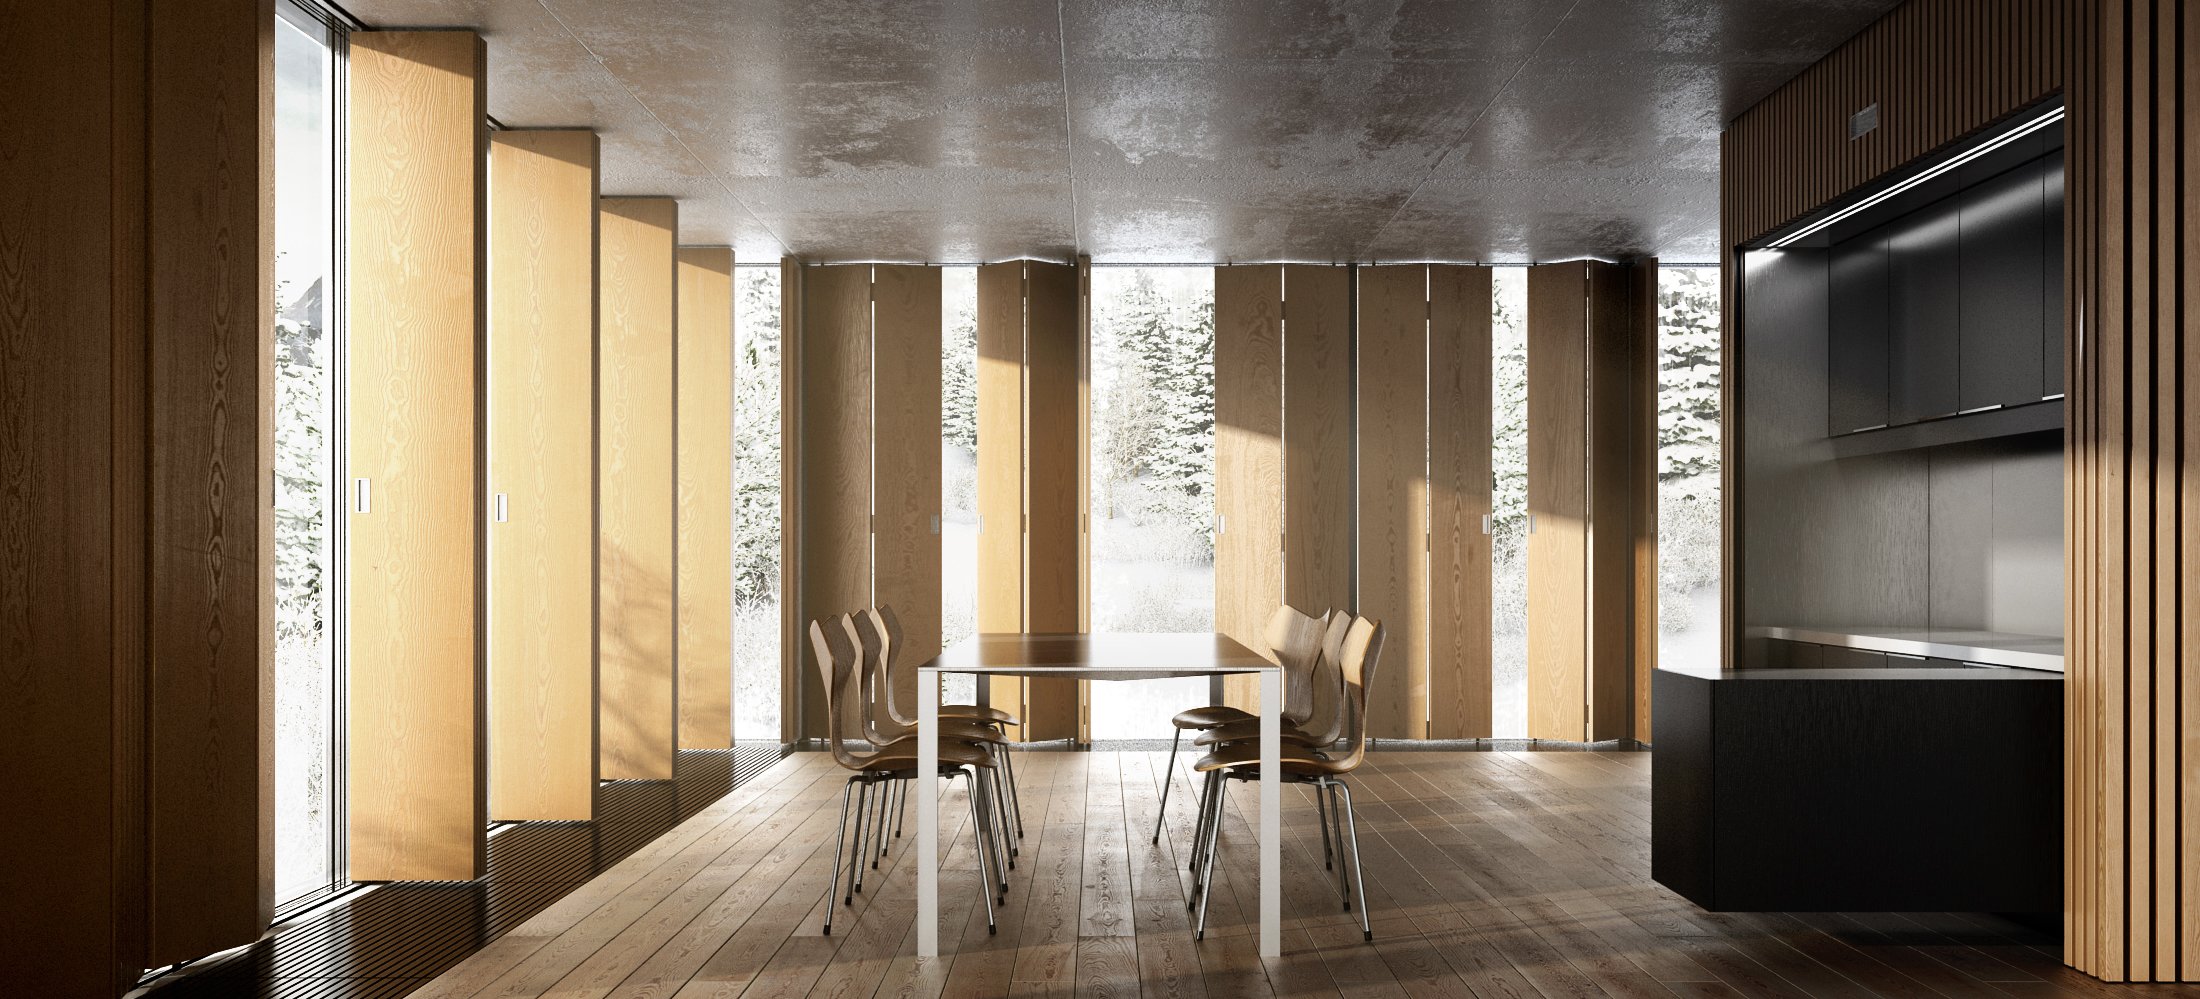
The final image adjusted with levels, brightness and contrast
And here are some other views rendered from the scene
Click on image to enlarge 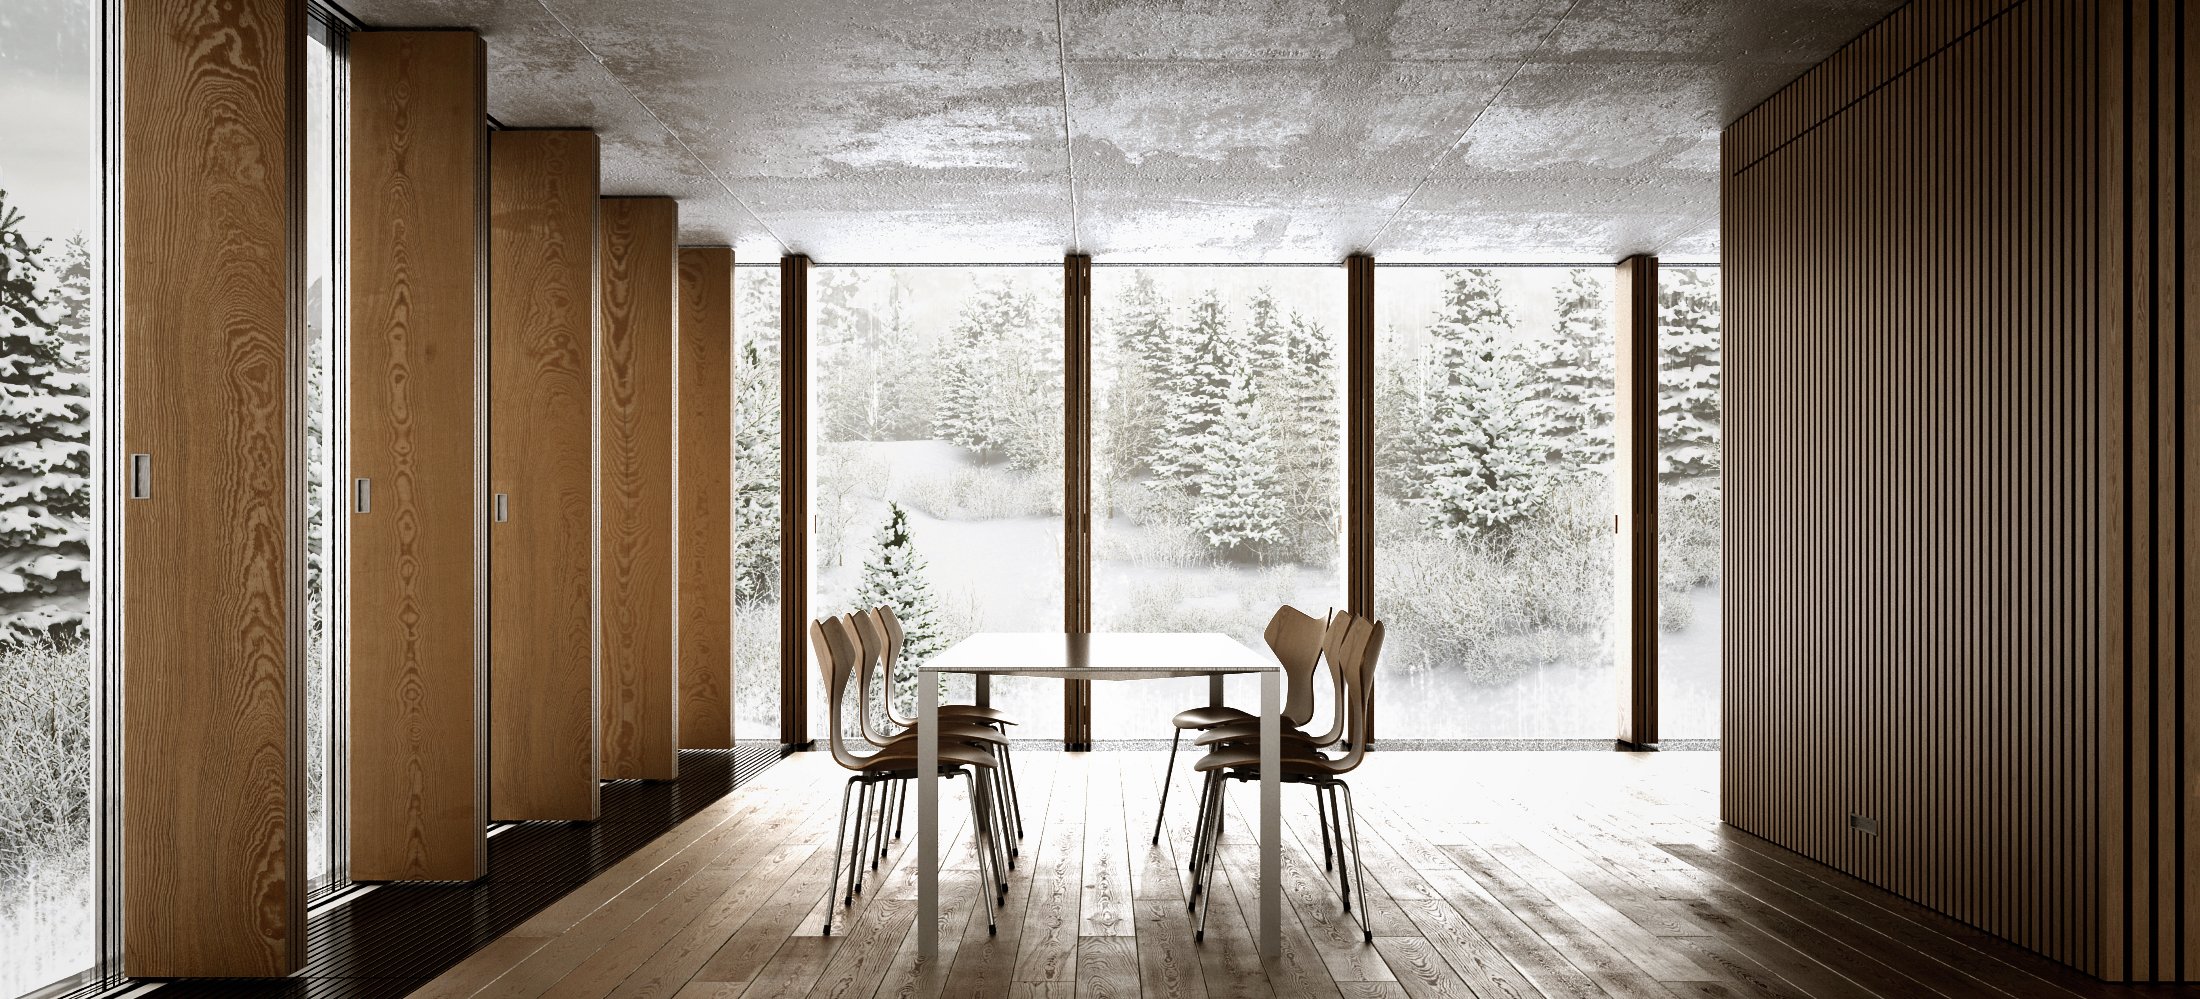
Click on image to enlarge 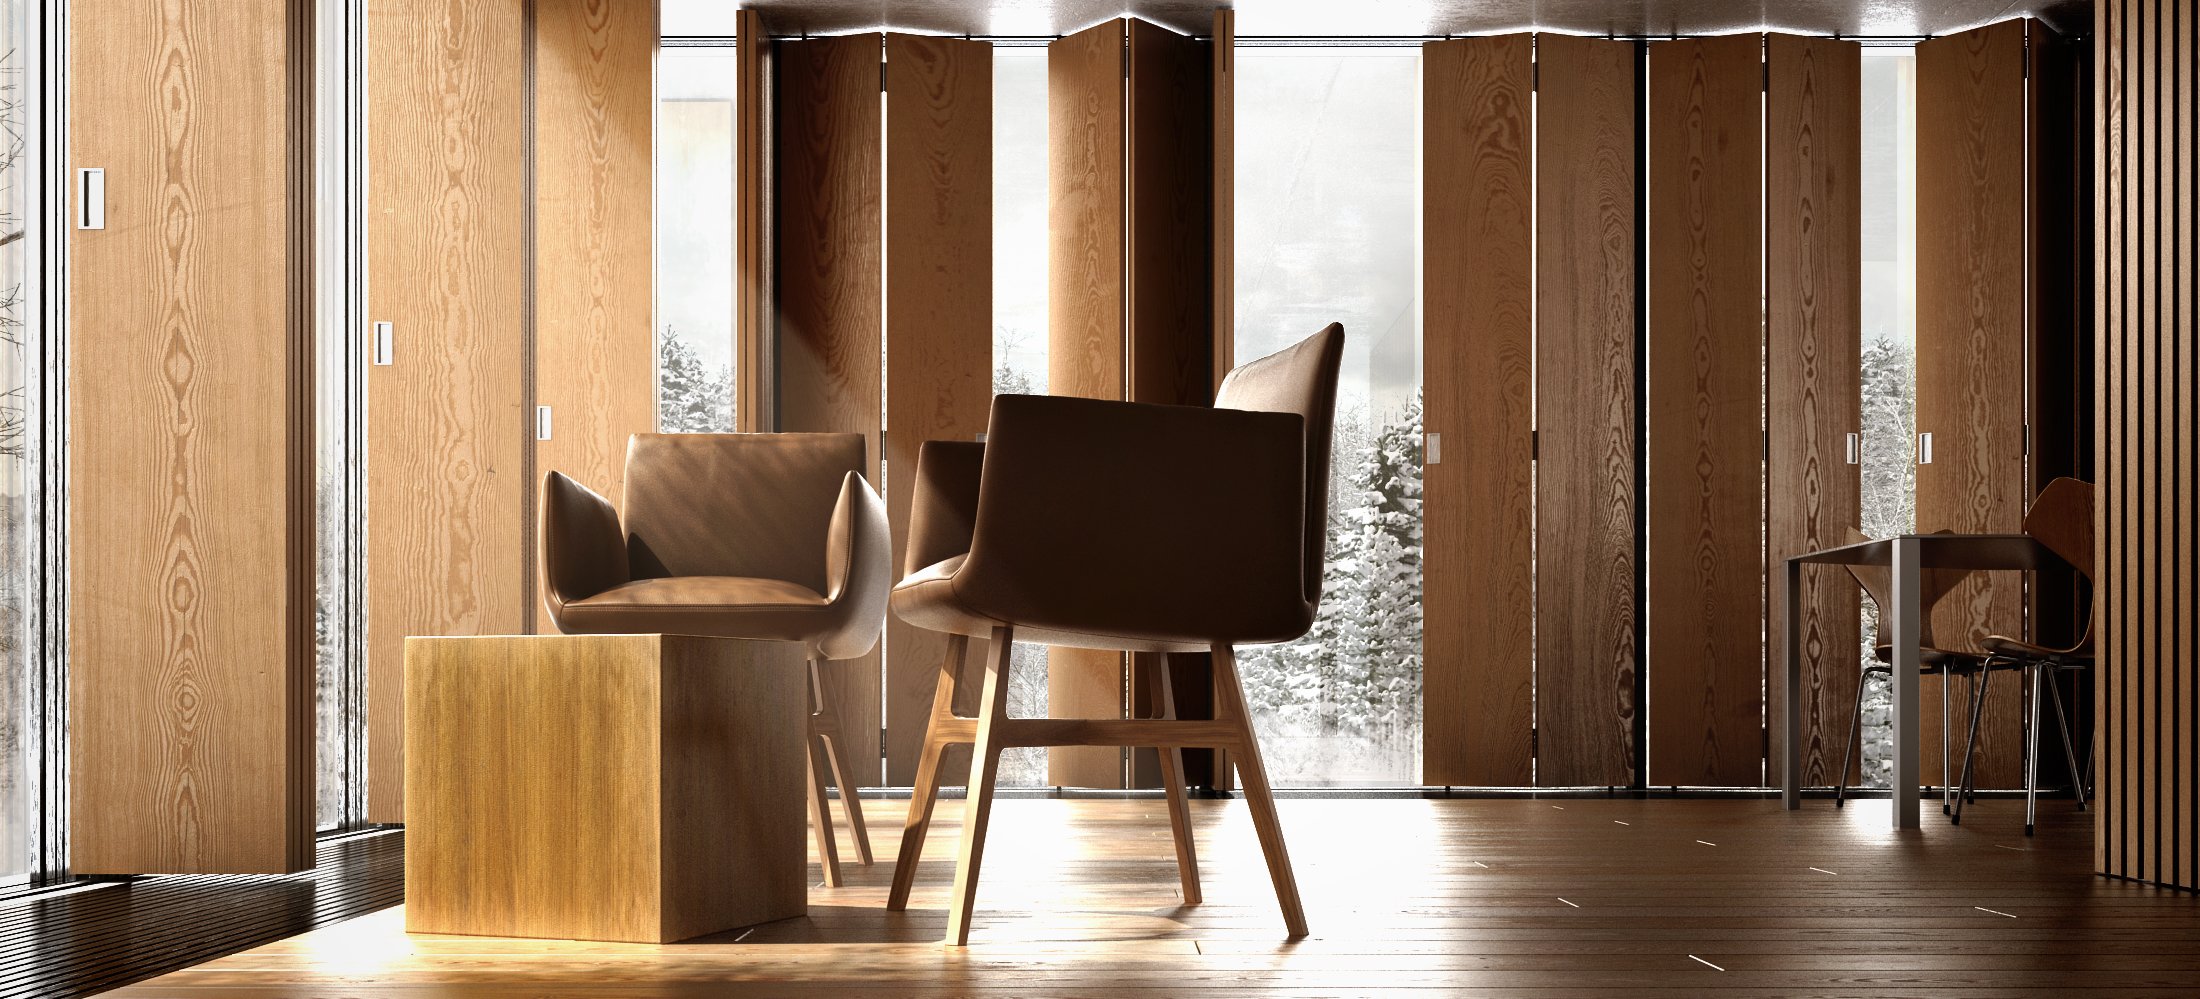
Click on image to enlarge 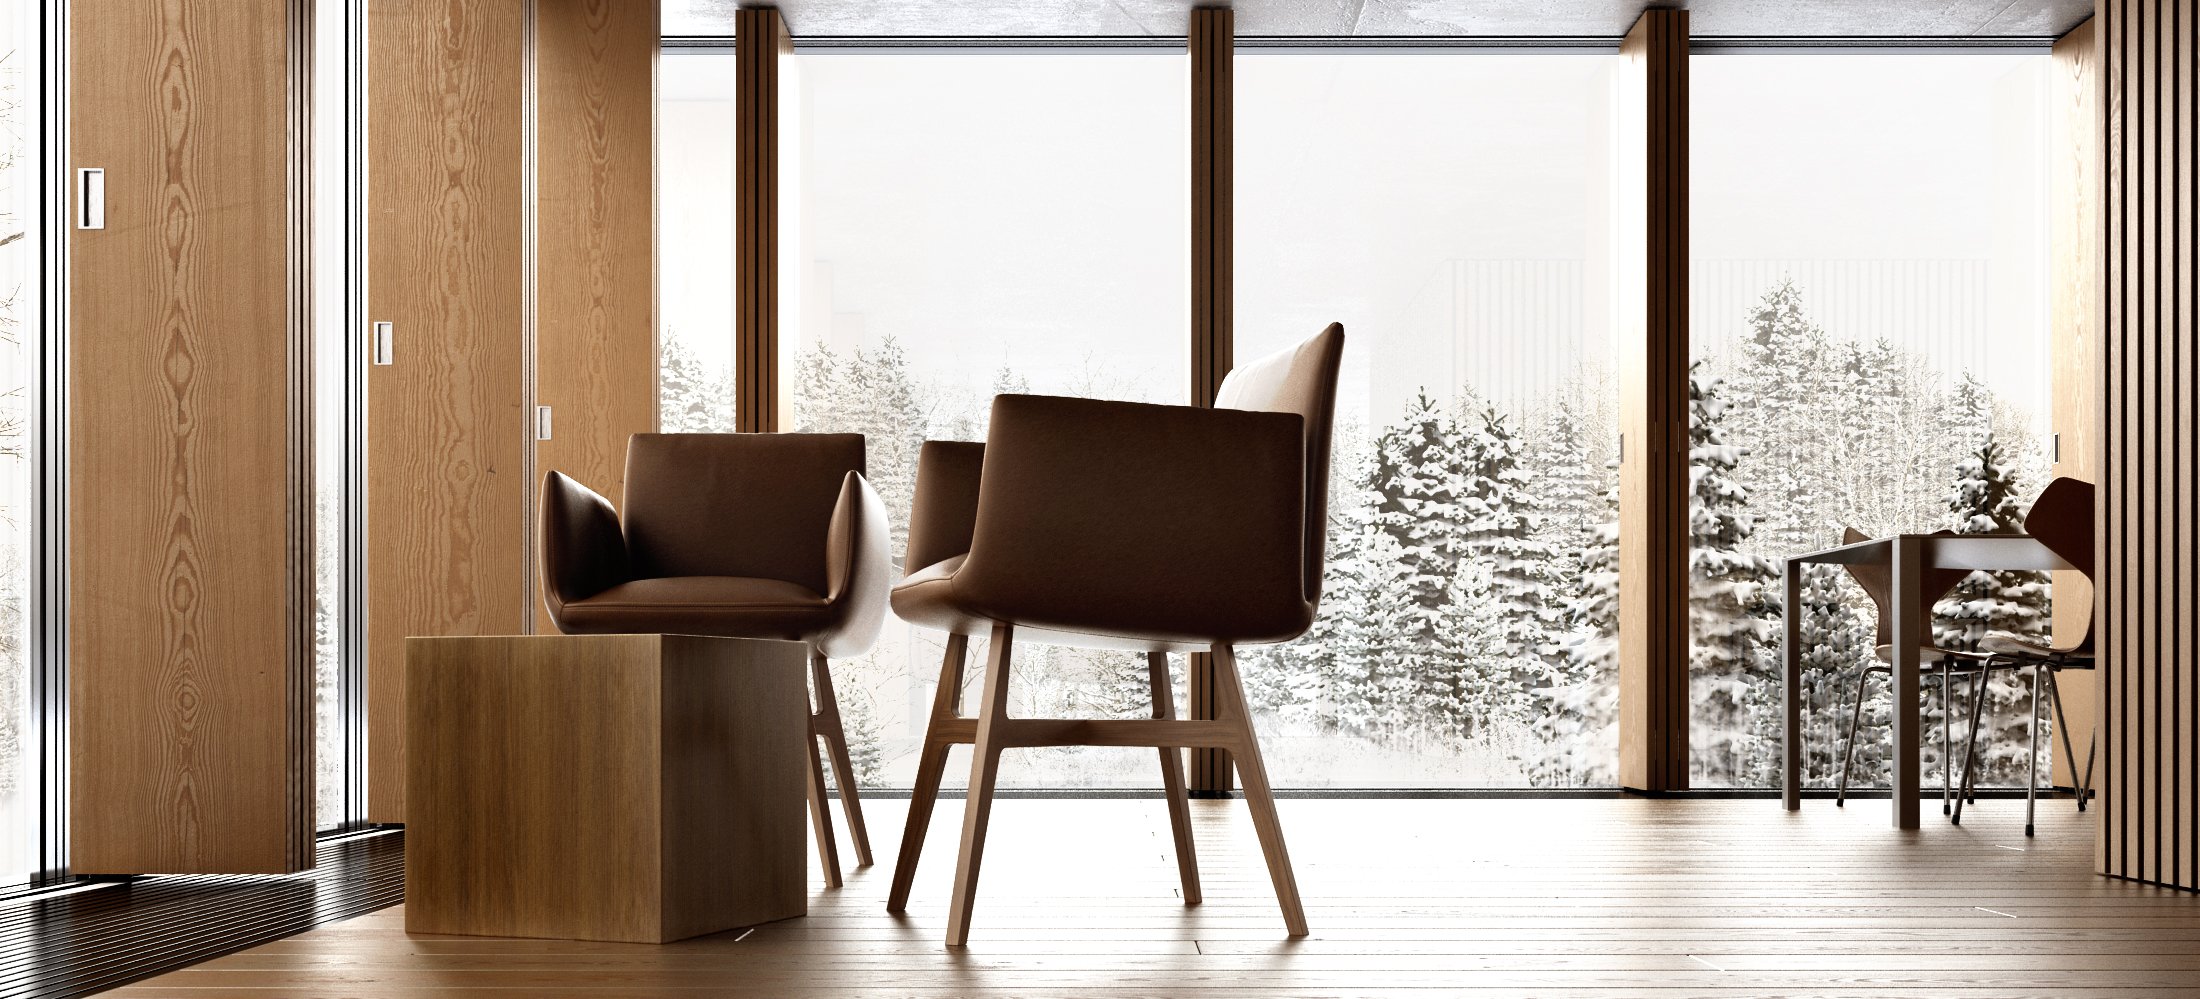
Click on image to enlarge 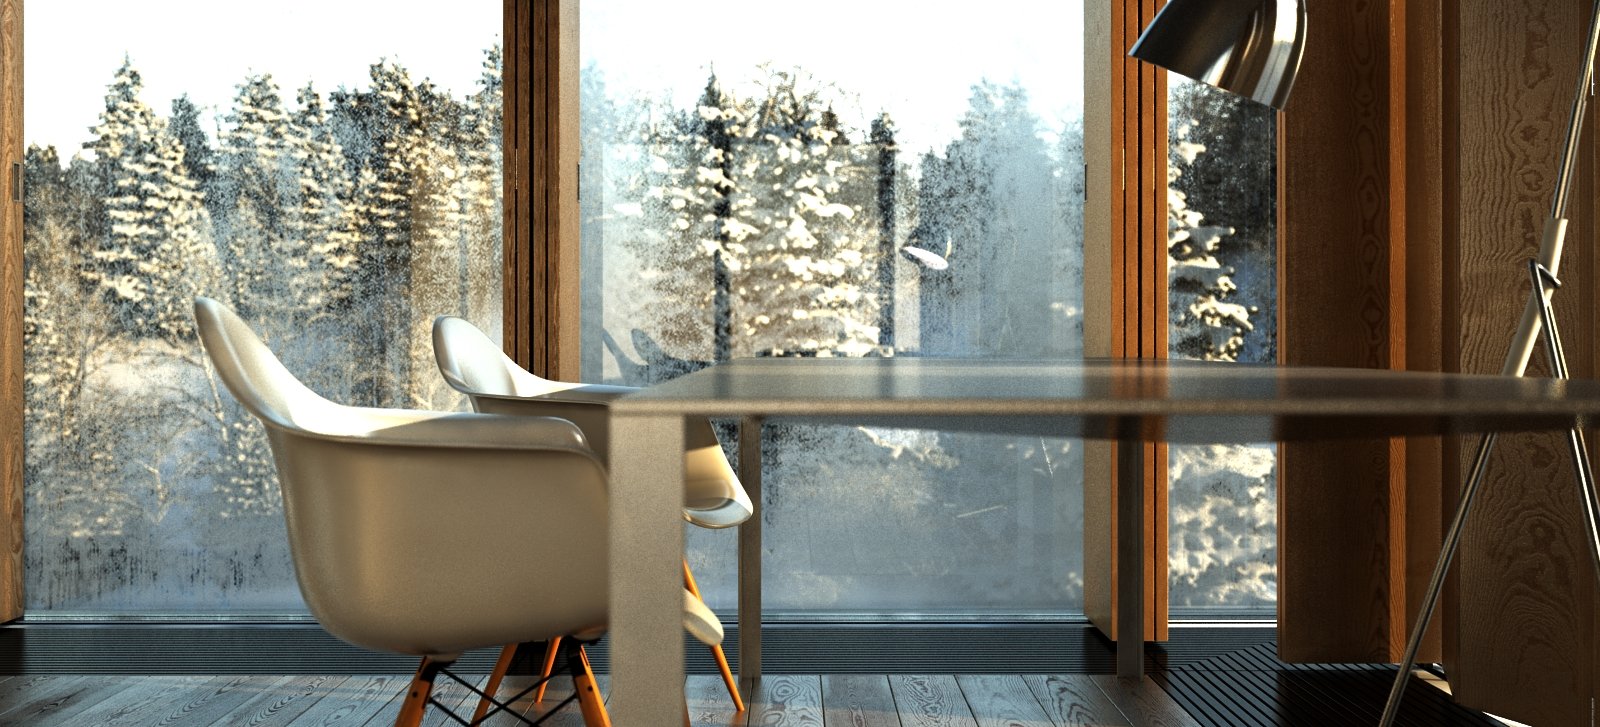
Click on image to enlarge 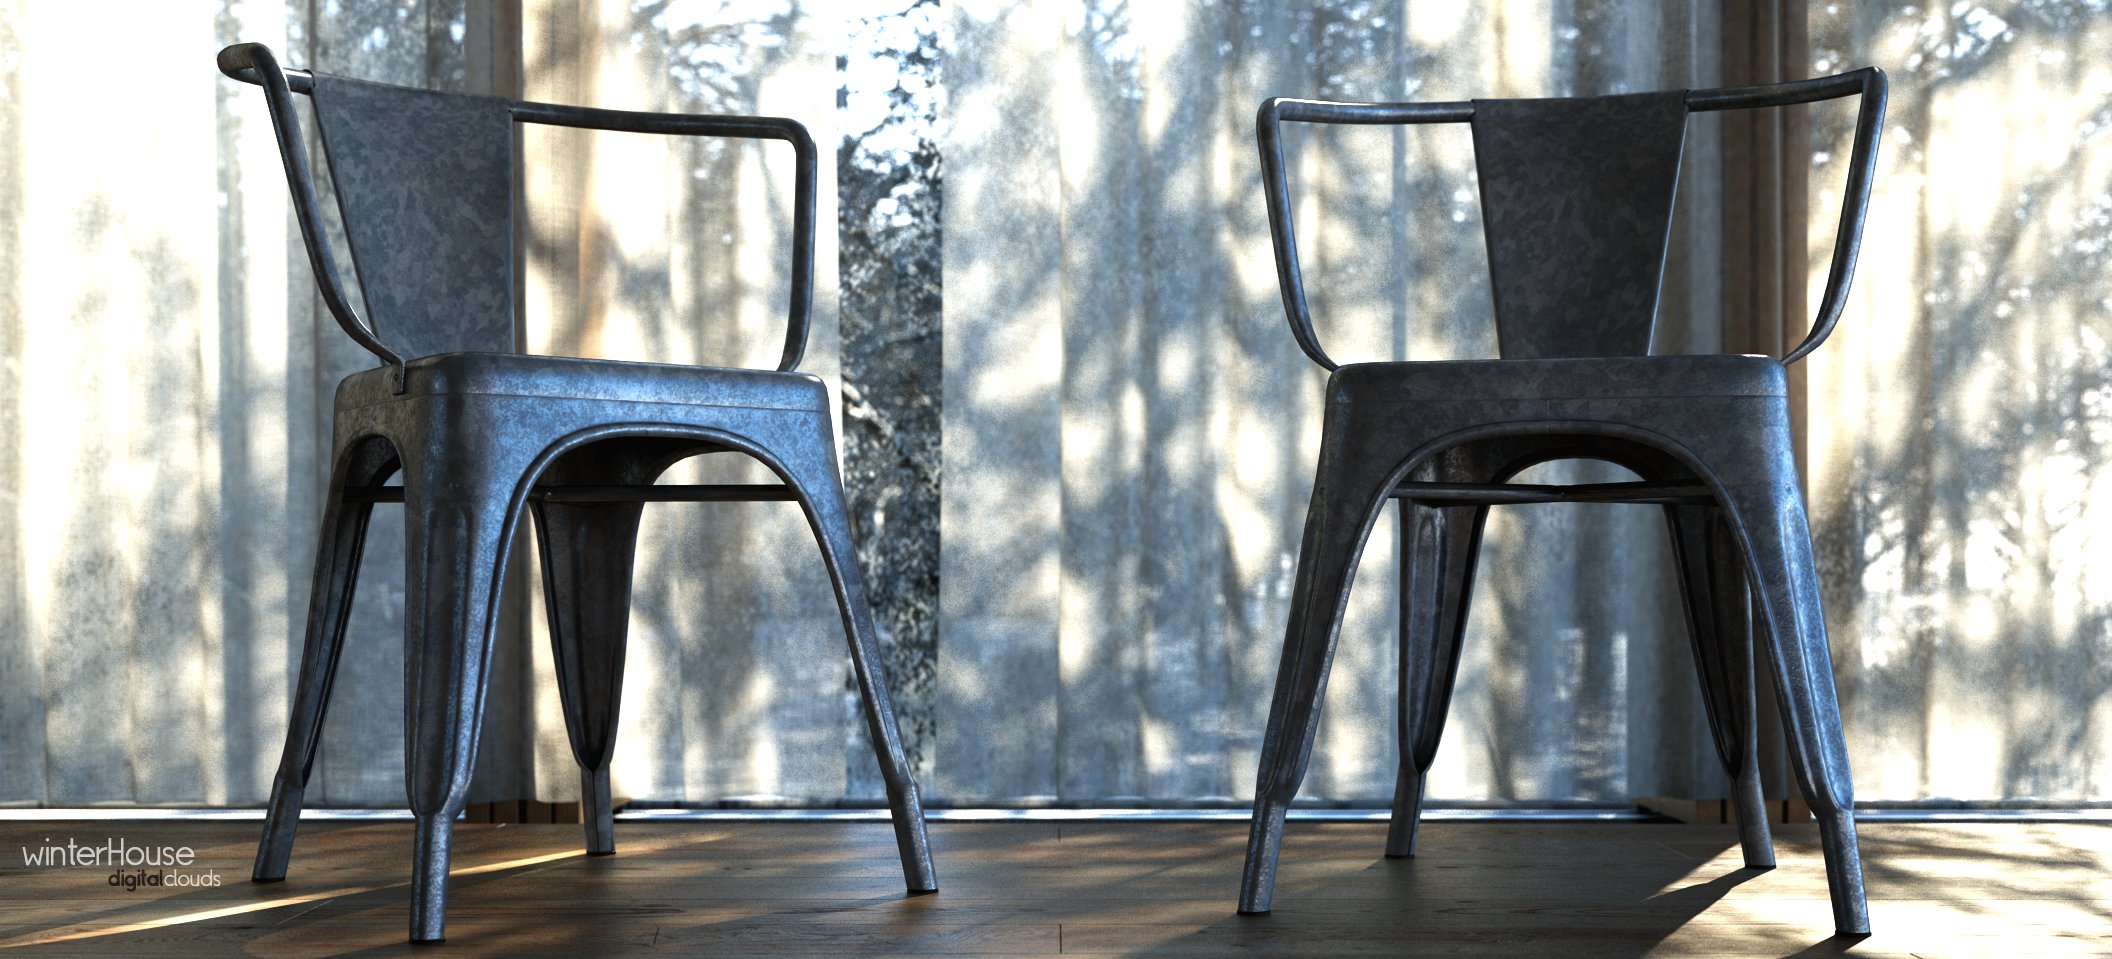
Click on image to enlarge 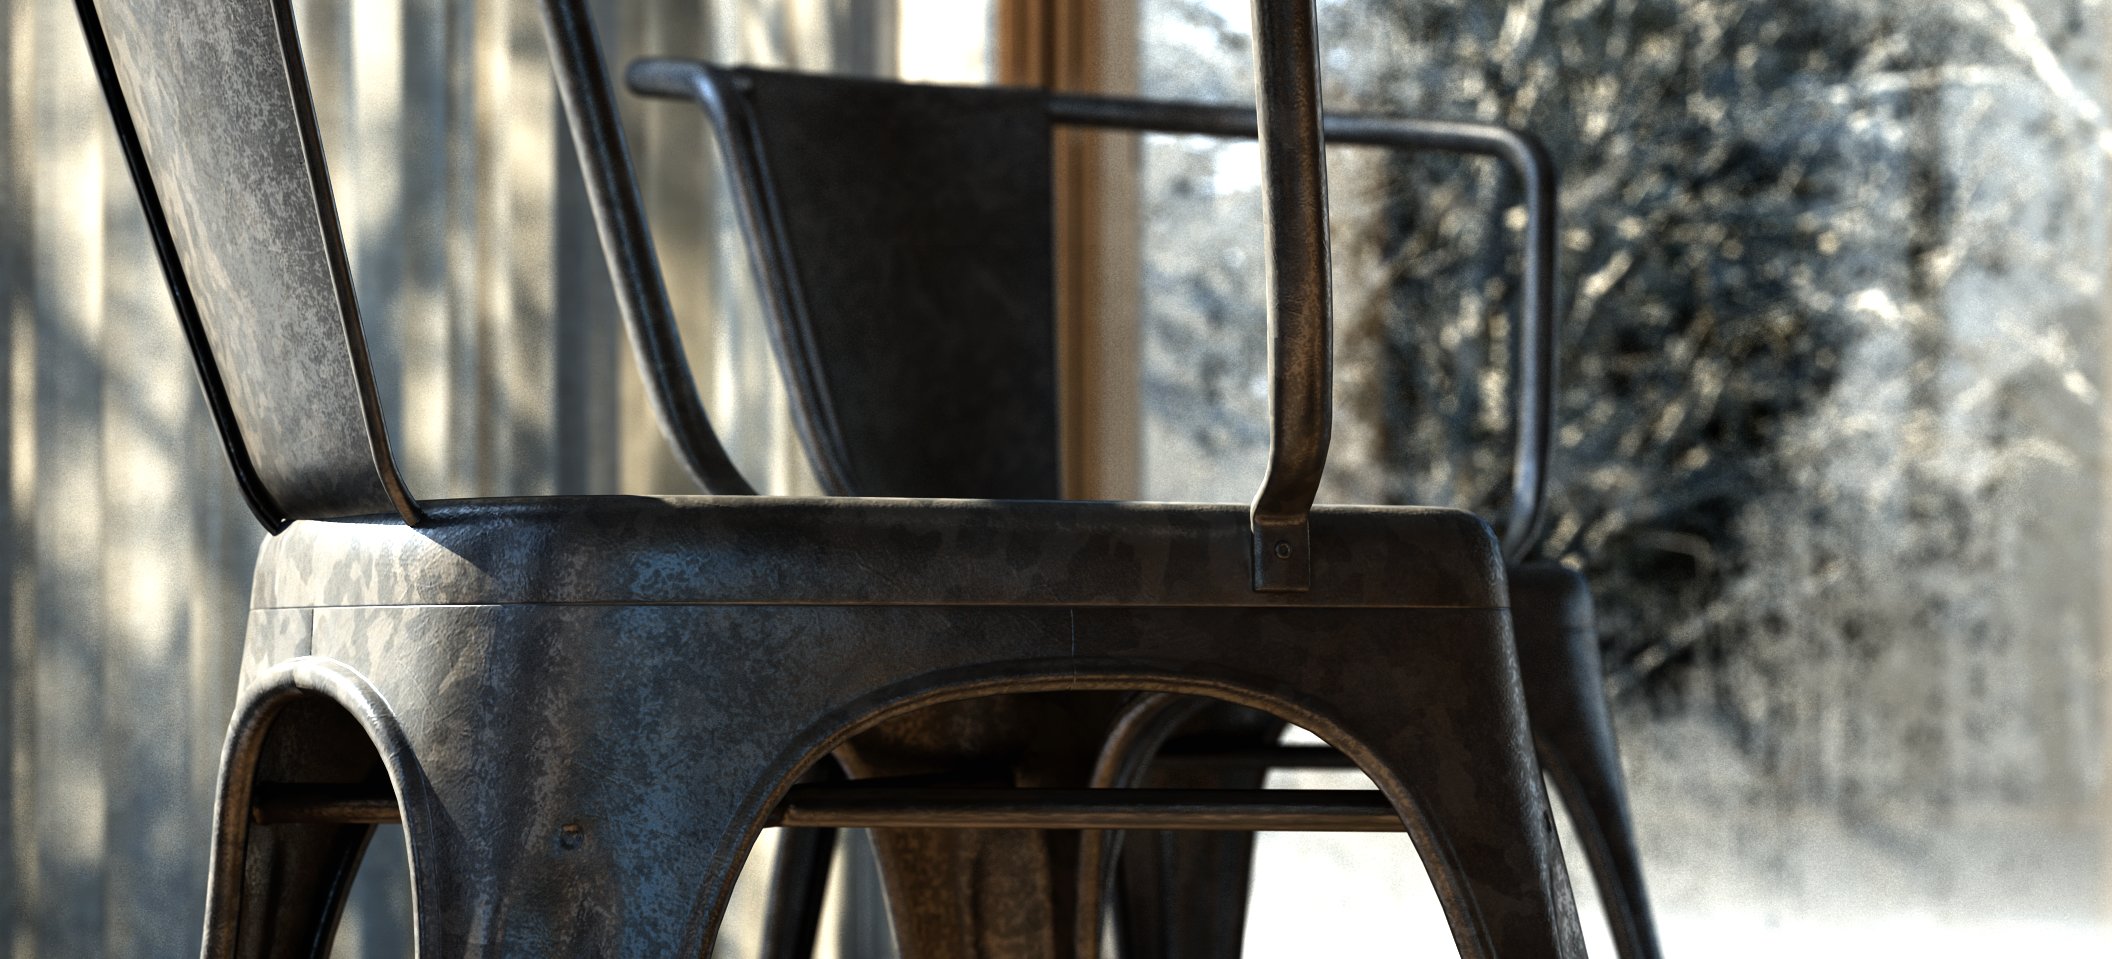
Click on image to enlarge 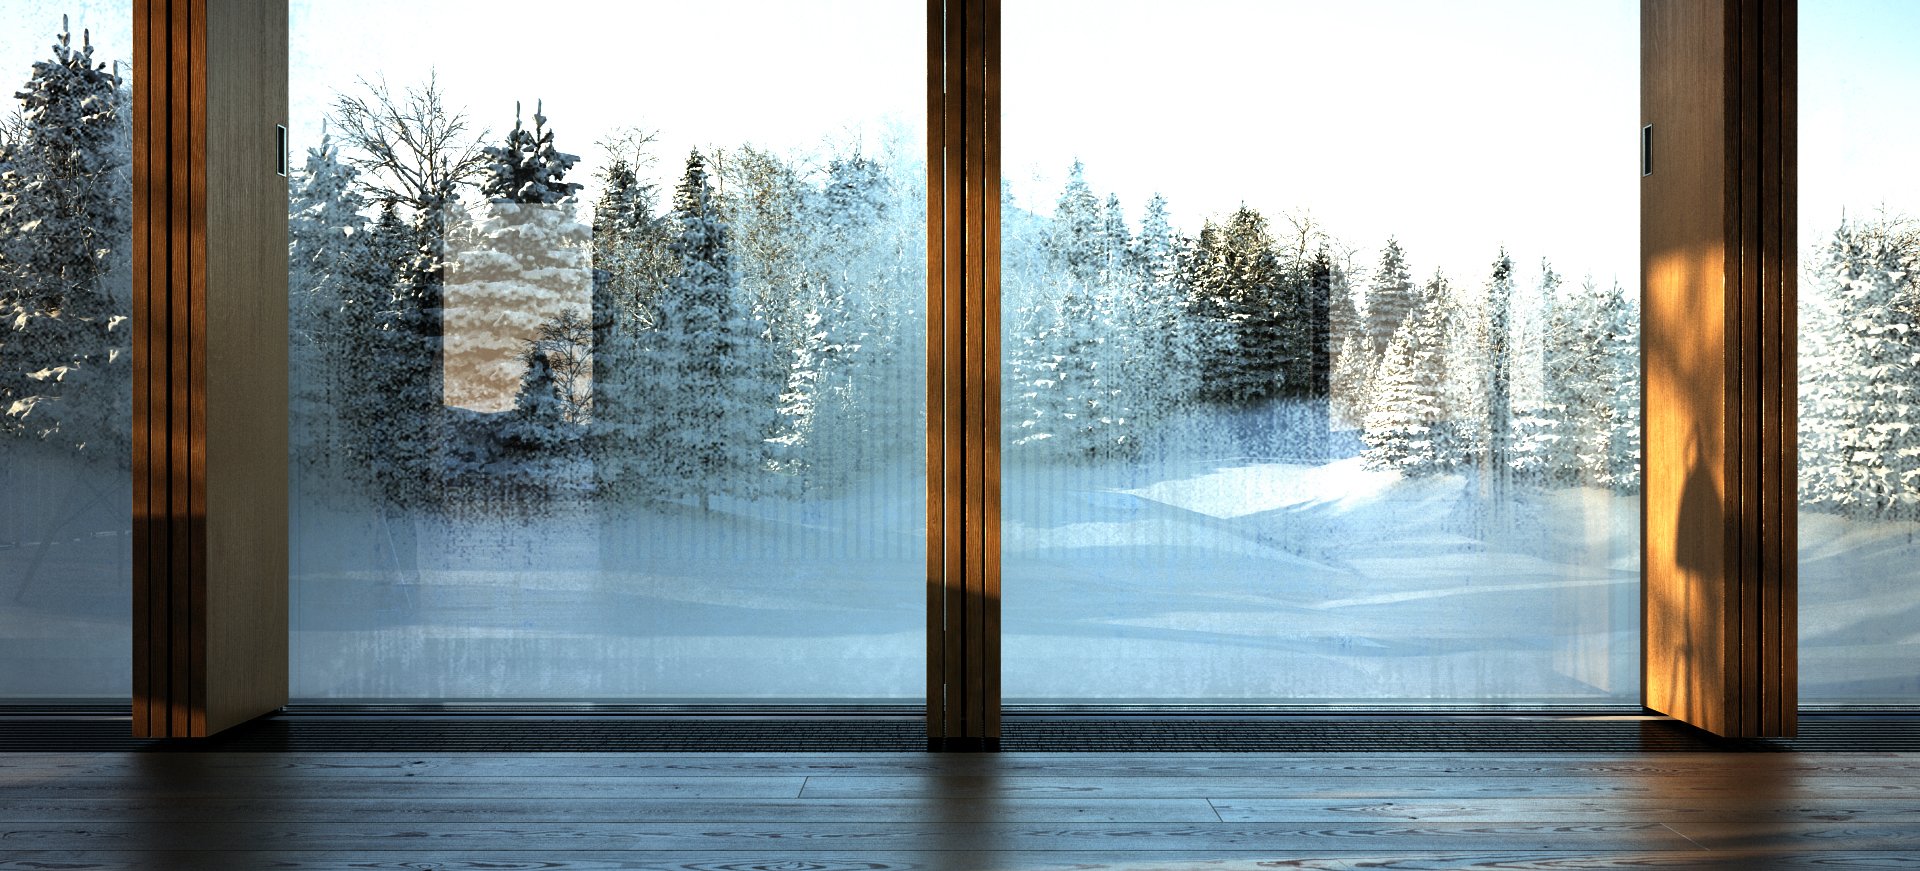
Click on image to enlarge 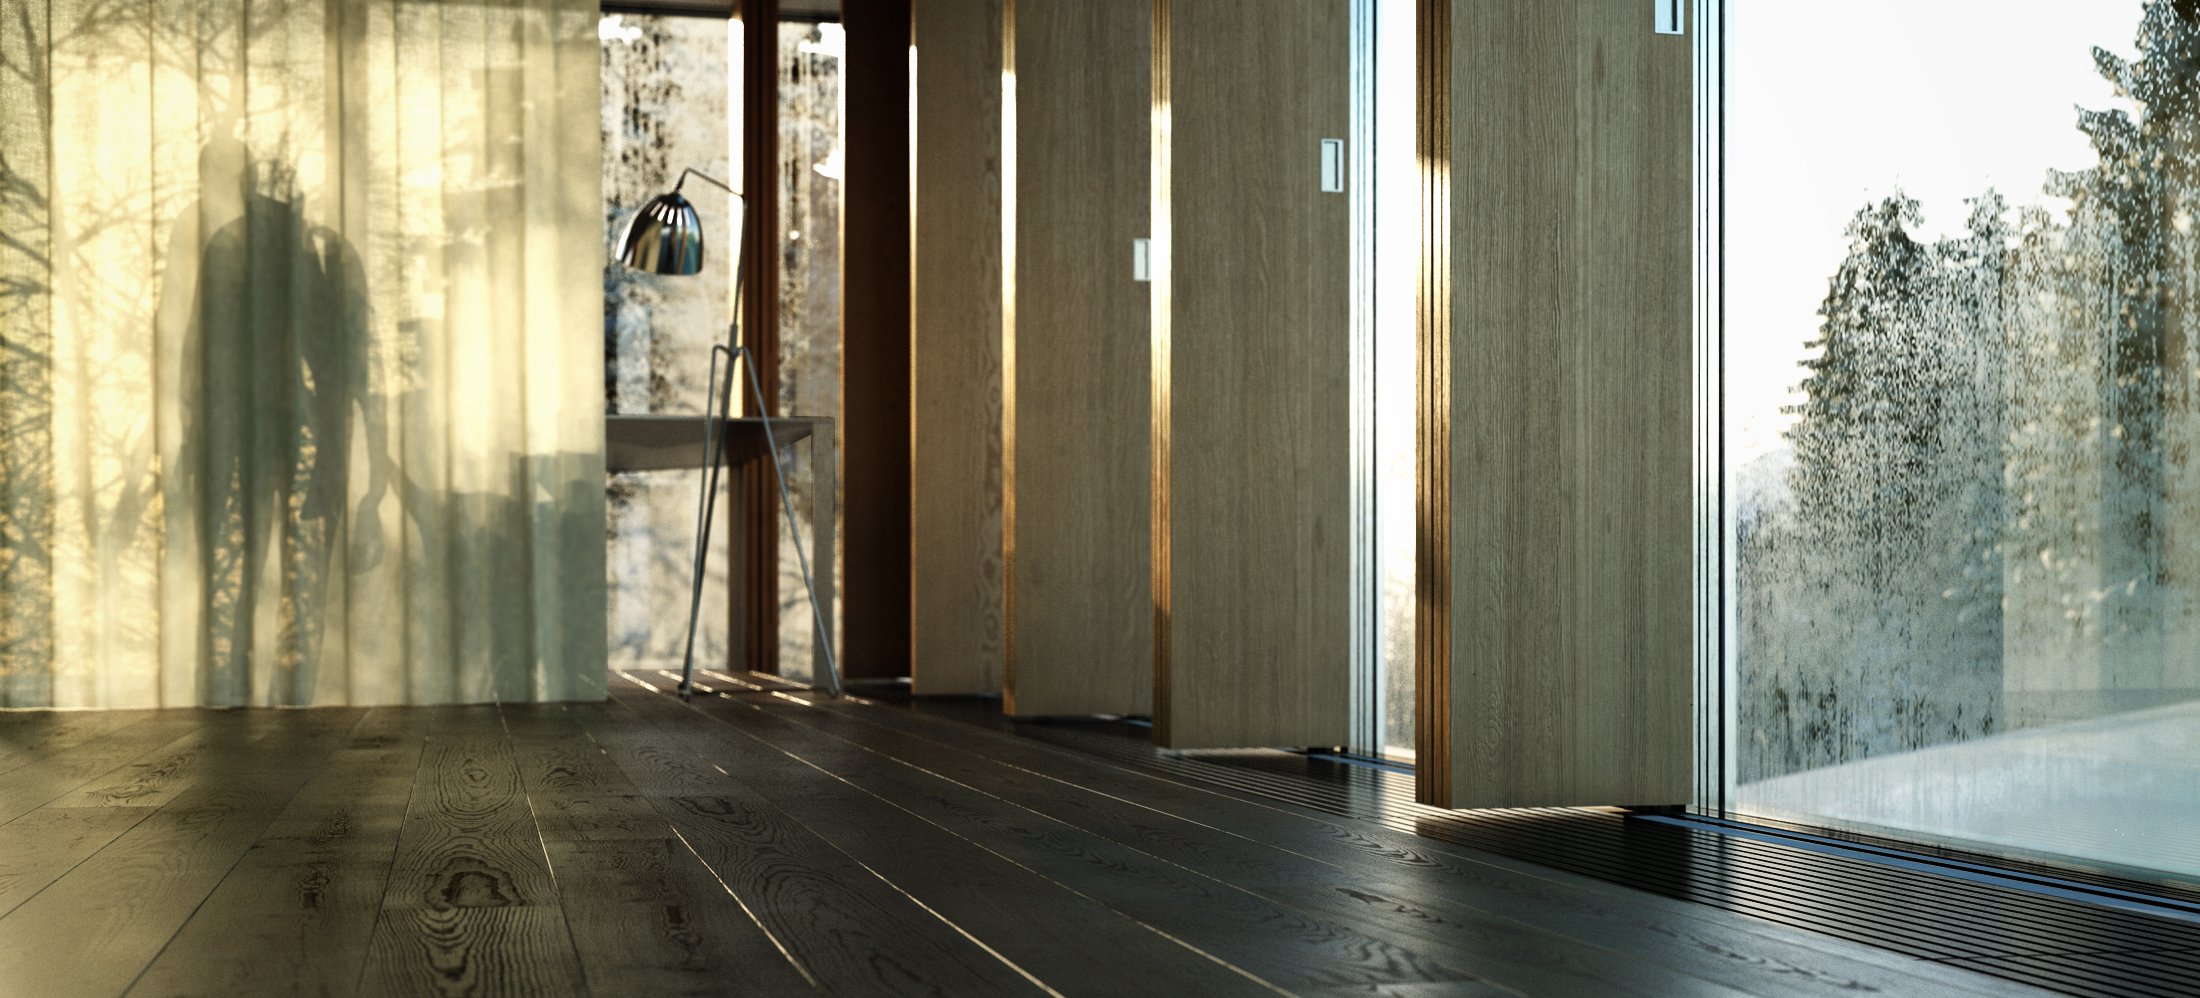
Thank you for reading this 'making of'. I hope you enjoyed it! You can find some other works on my web site, so feel free to visit digital-clouds.net:
www.digital-clouds.net
Best regards, Alexandre Martin

 Customer zone
 Your orders
 Edit account
 Add project
 Liked projects
 View your artist profile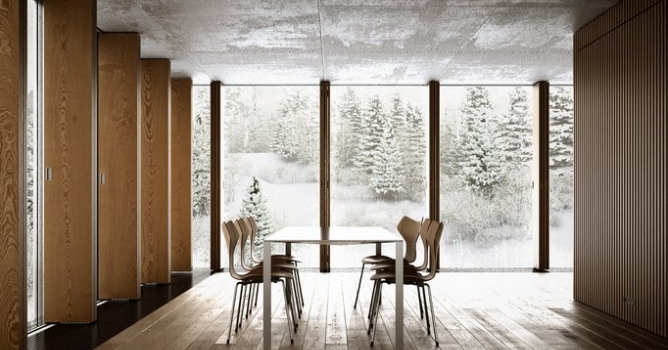










COMMENTS