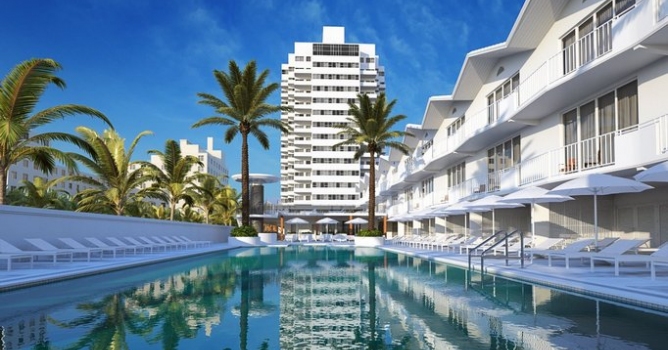
This outstanding sunny pool scene was made by Piotr Mróz from Evermotion and it is available in our recent Archexteriors vol. 23 collection. The scene was composed with simplicity in mind. It has only one light source (VraySun) and VrySky.
This scene was modeled and set with 3DS Max and rendered with V-Ray (check V-Ray price in our shop!).
Click on image to enlarge 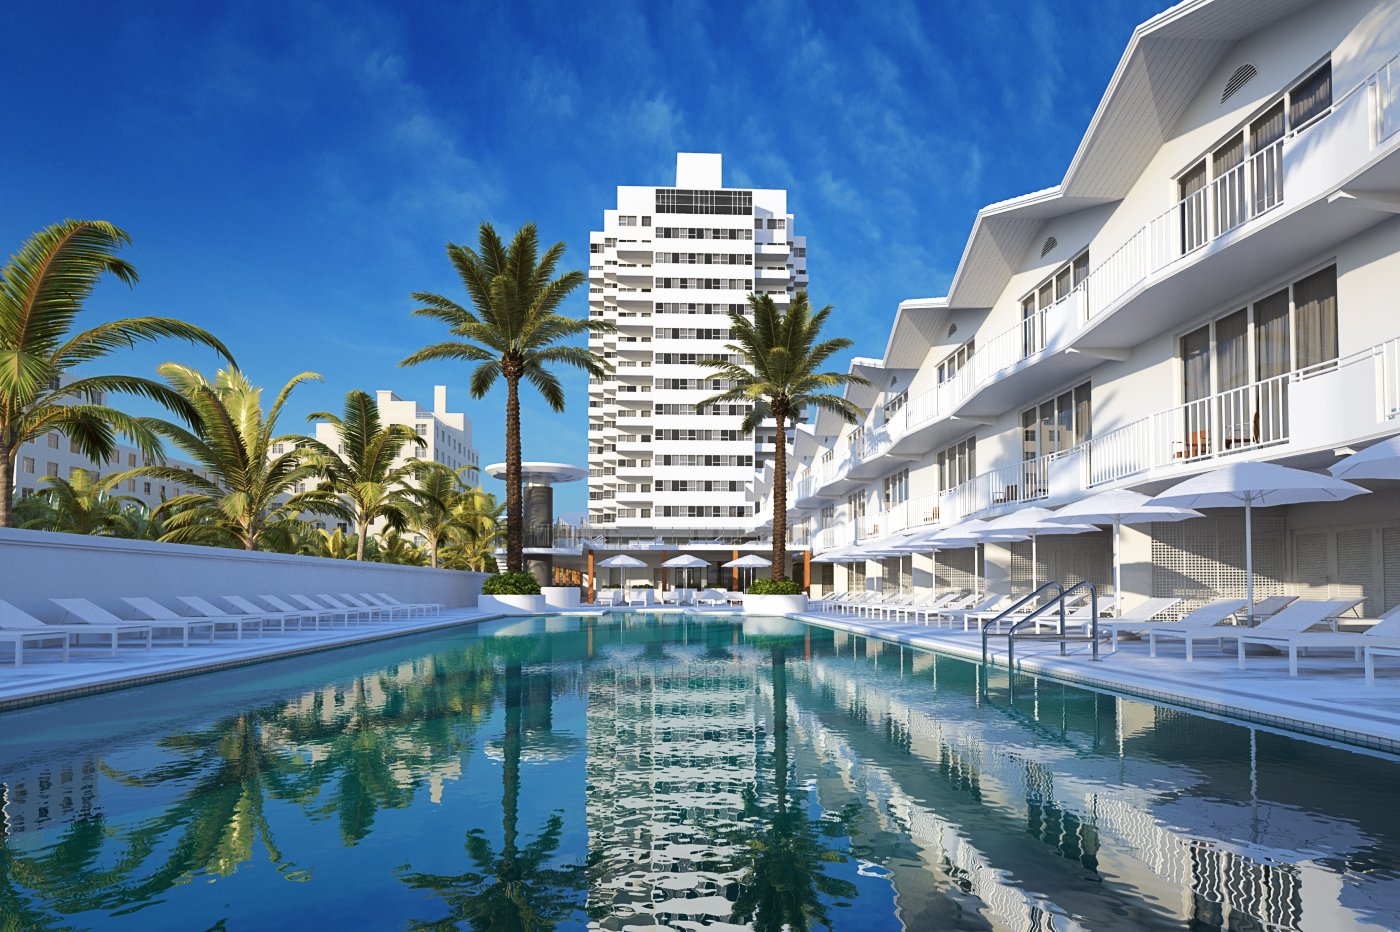
Click on image to enlarge 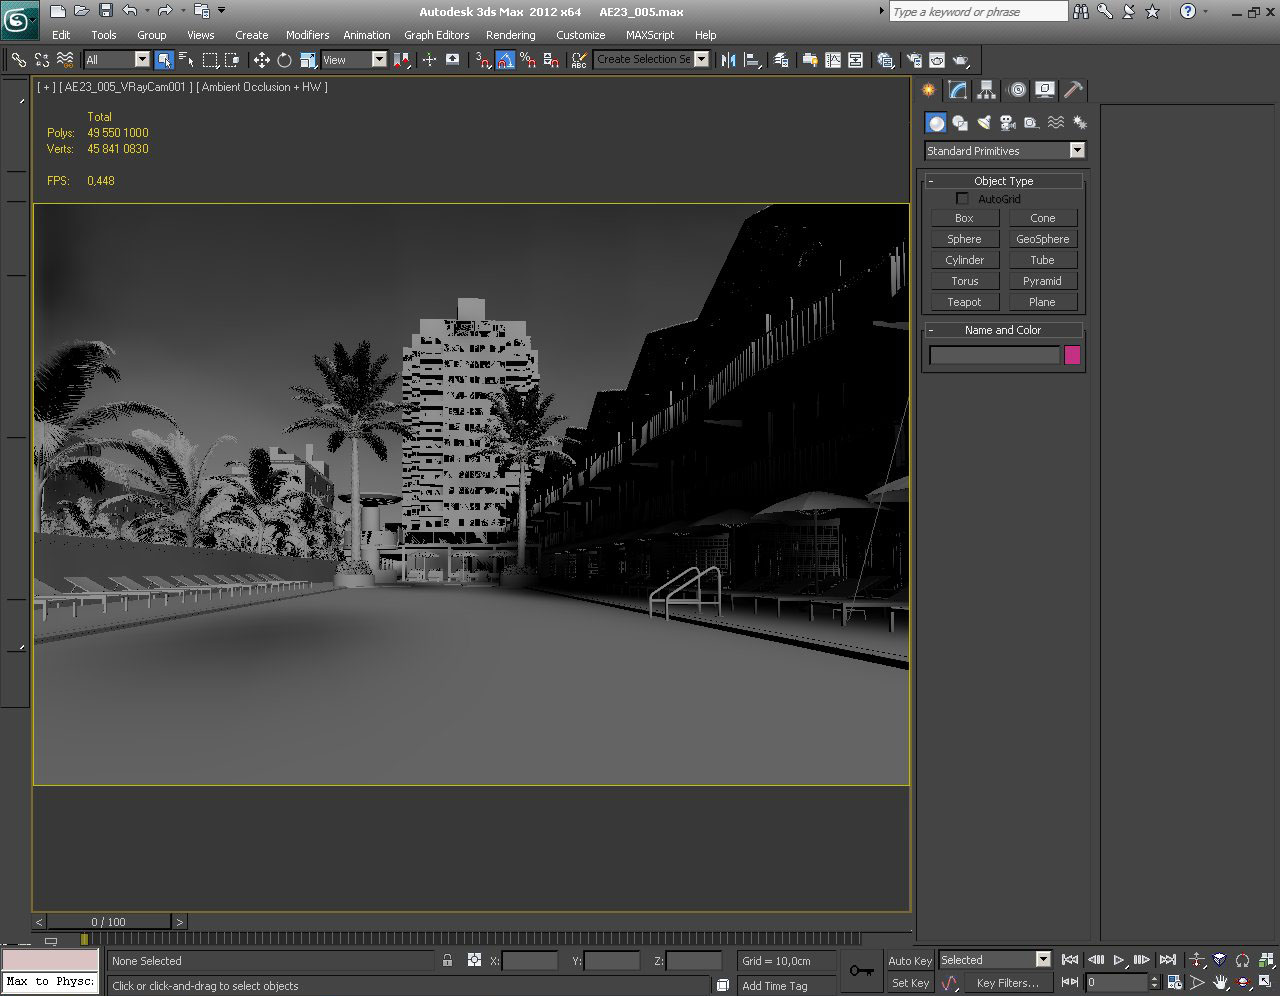
Click on image to enlarge 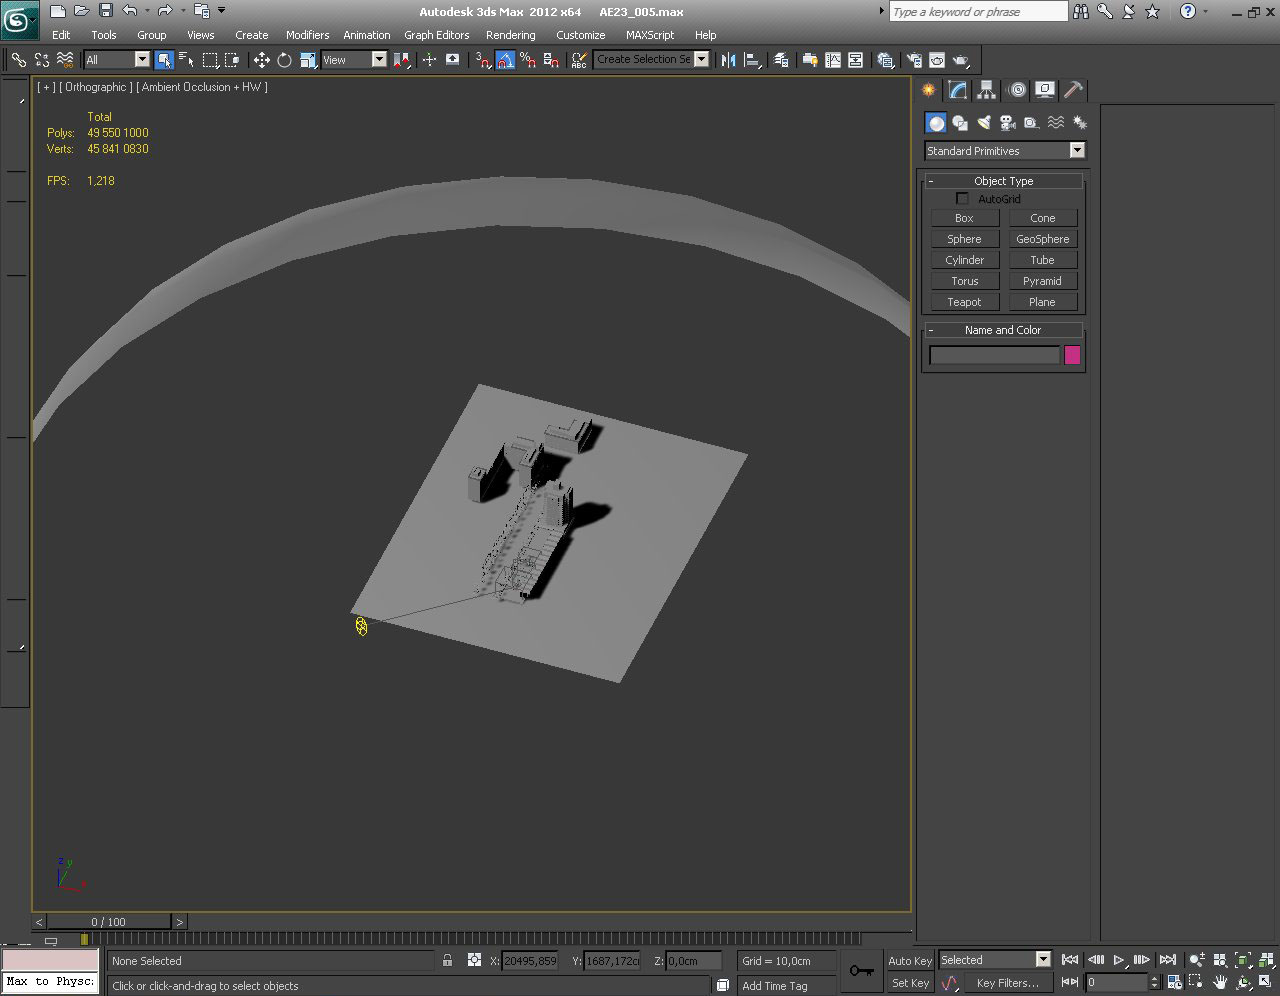
Overview of the scene. As you can see we put some buldings behind. The arc in the back is a squashed hemisphere (VrayLightMaterial) with background sky map
Click on image to enlarge 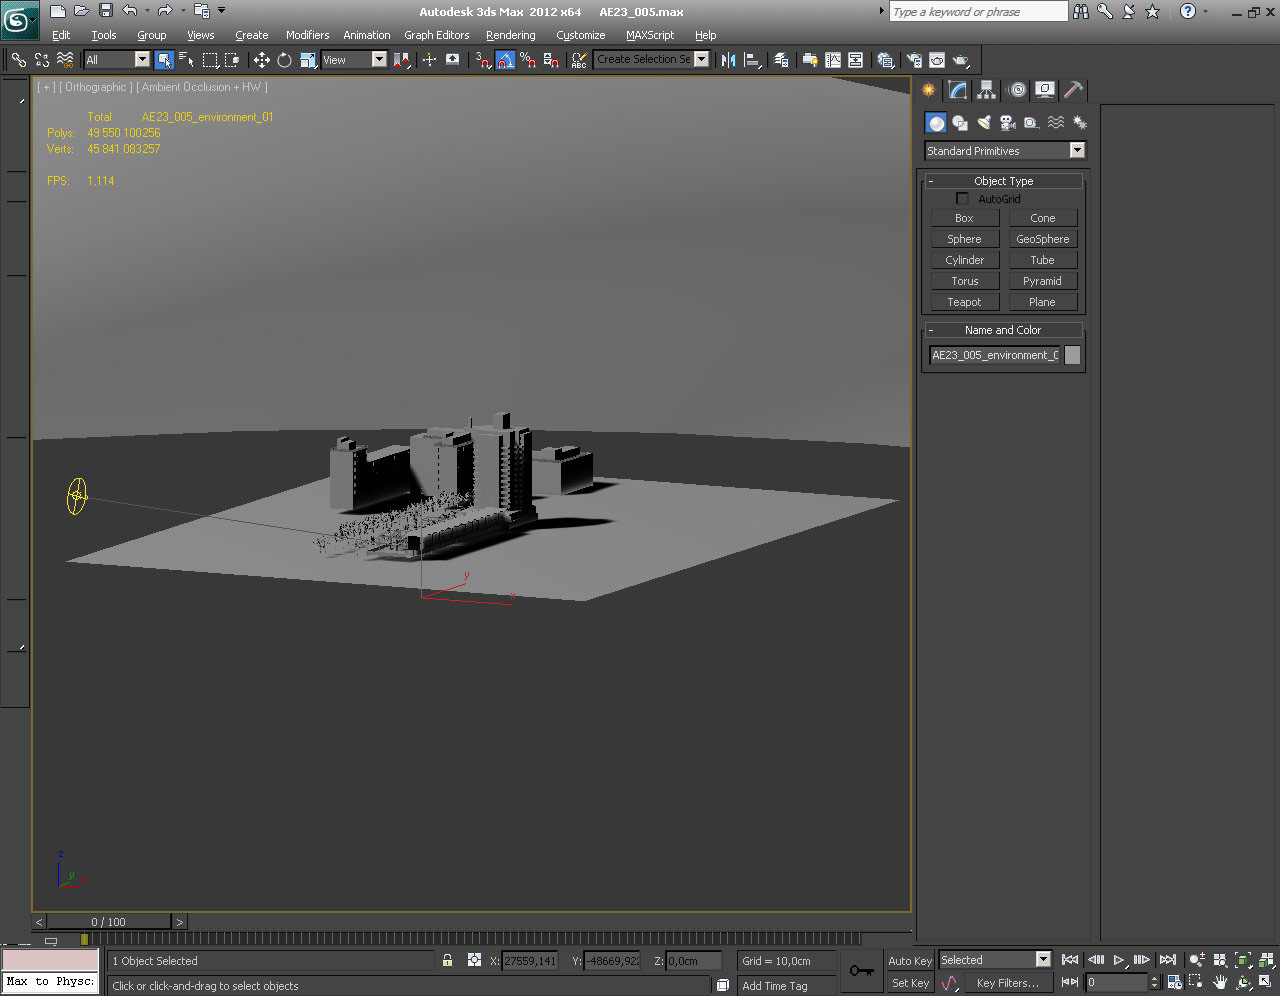
Another overview of the scene
Click on image to enlarge 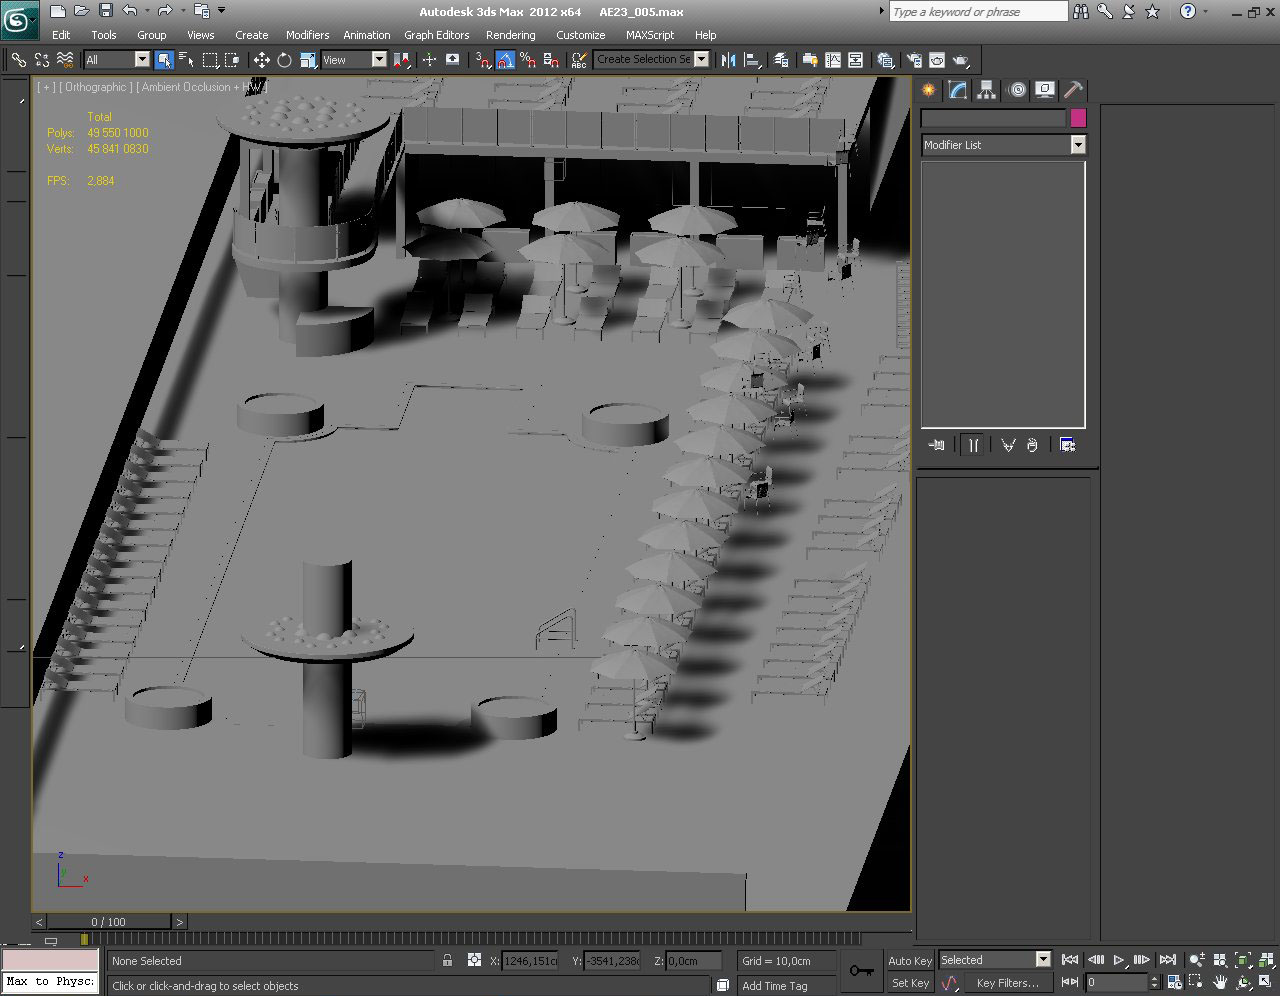
Close-up. The camera is visible below the column in the front
Click on image to enlarge 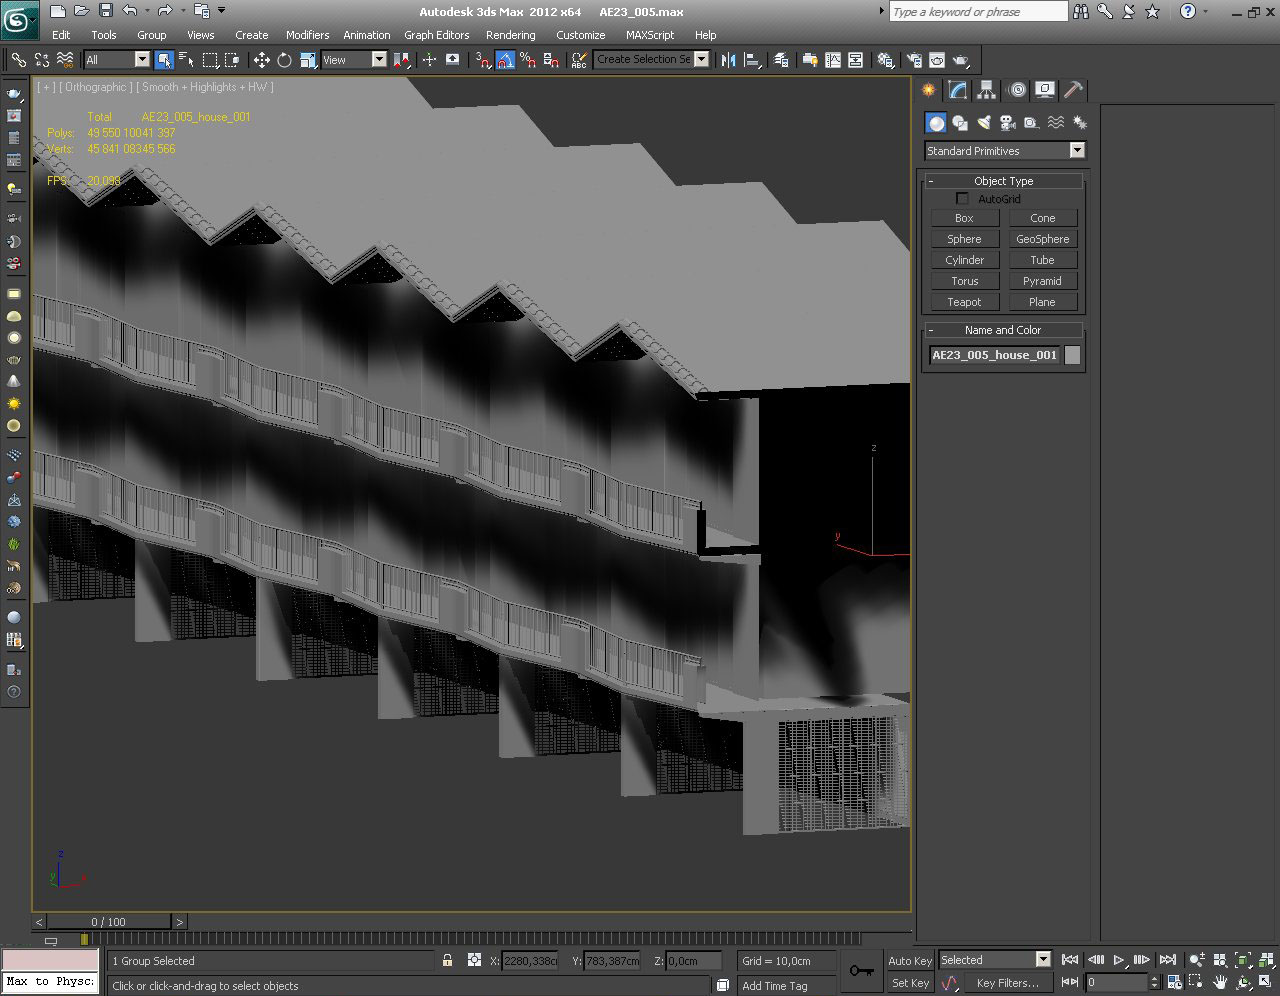
Array of buildings on the right side of the pool
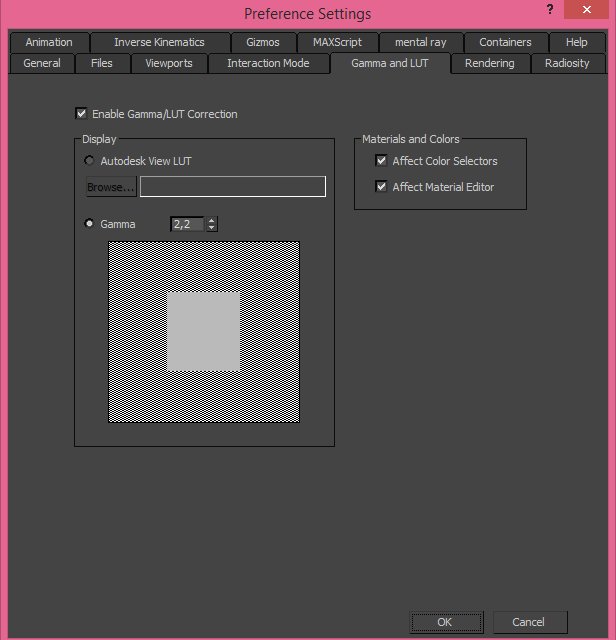
Gamma settings. to achieve realistic results, use Gamma 2,2
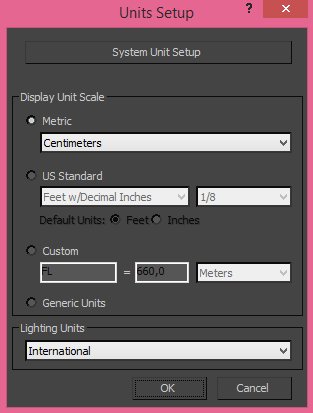
We use metric units system.
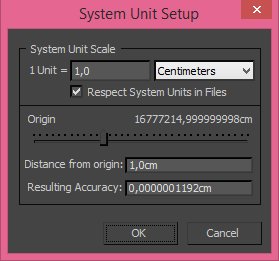
Click on image to enlarge 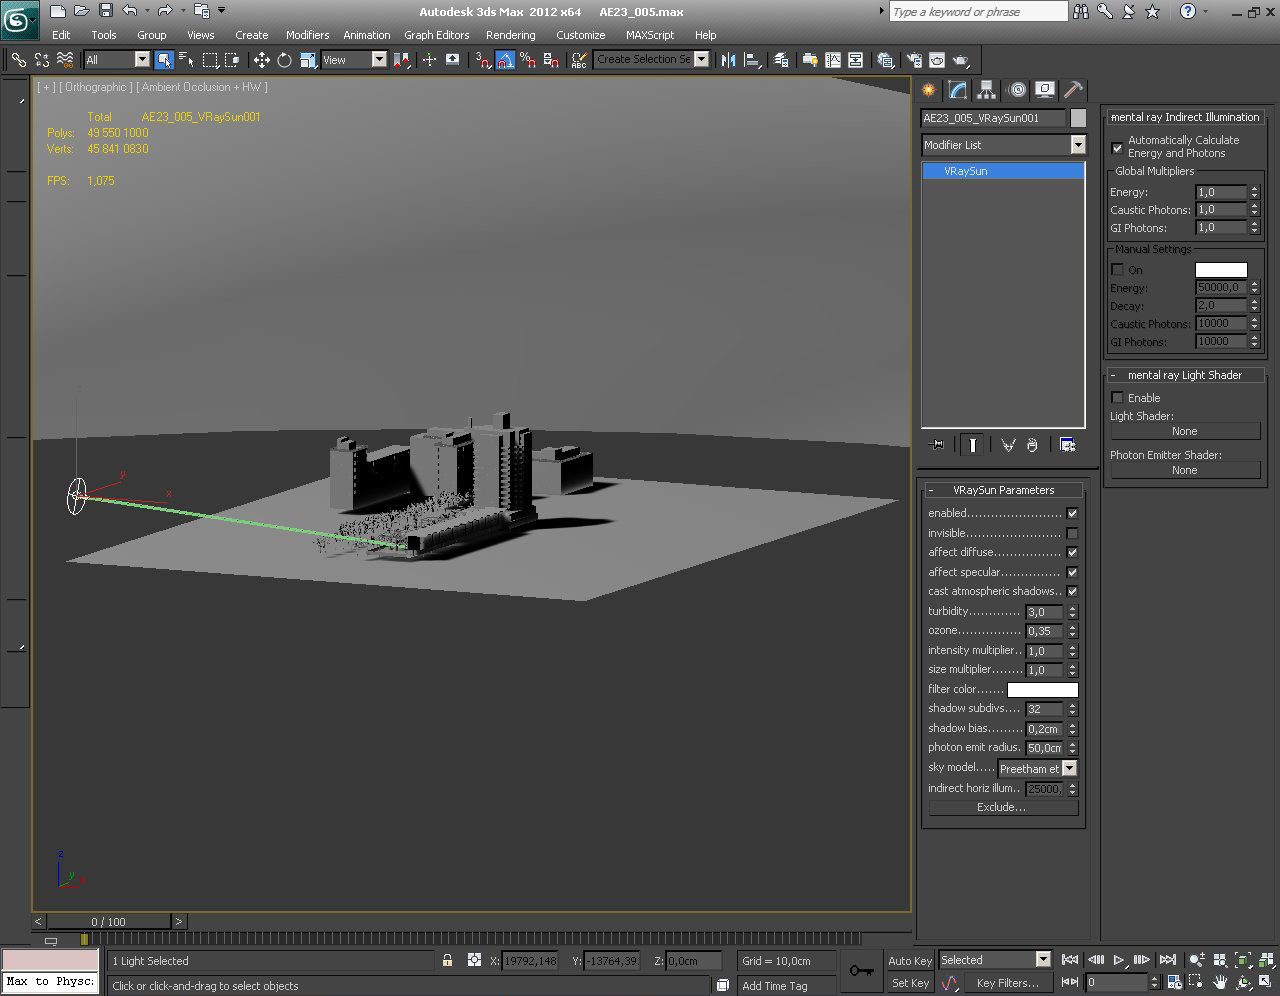
Lighting in the scene is achieved with VraySun that is placed behind the camera
Click on image to enlarge 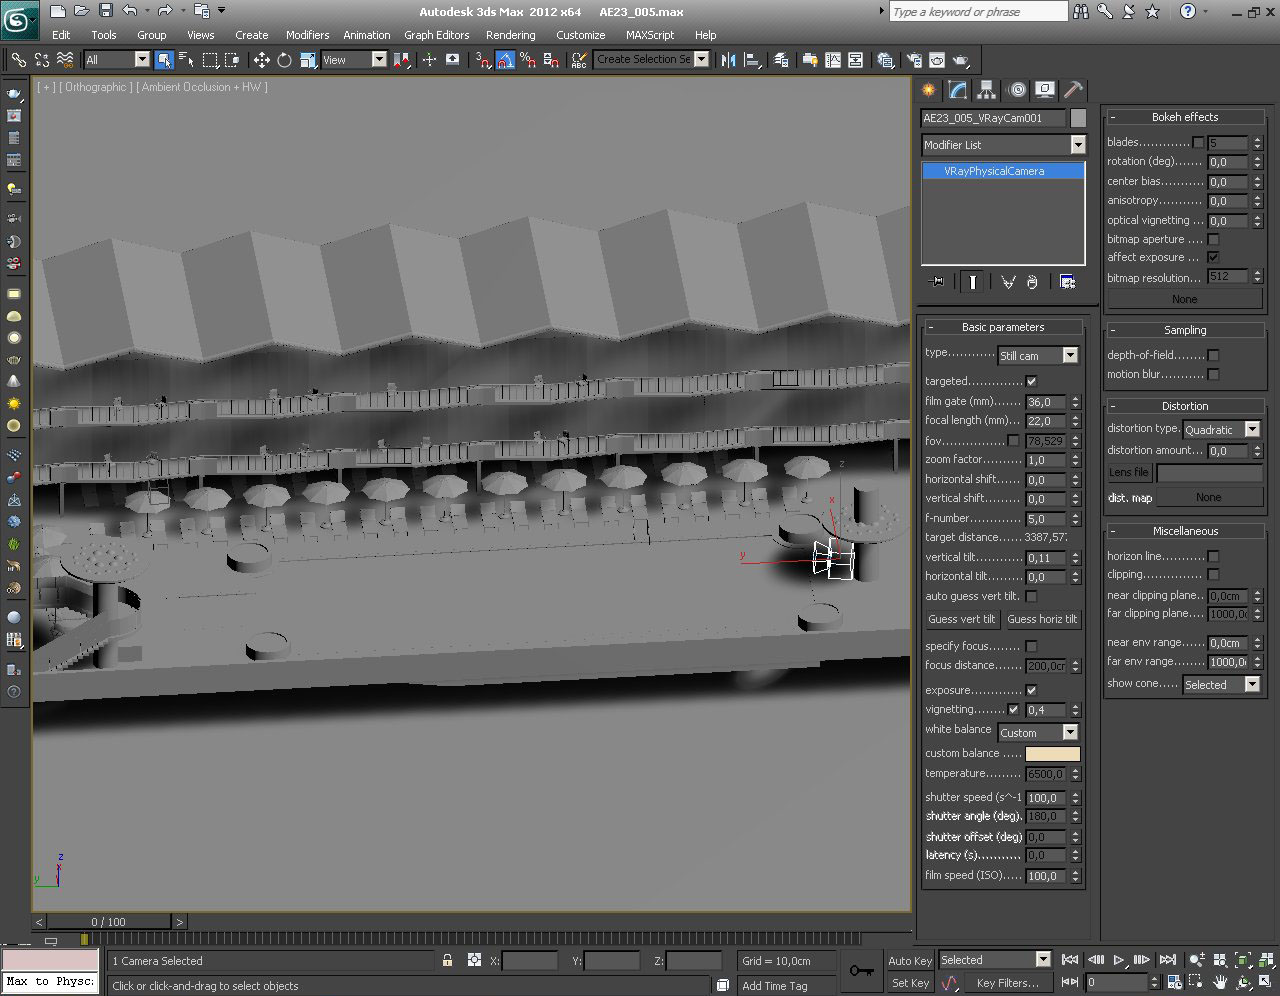
Click on image to enlarge 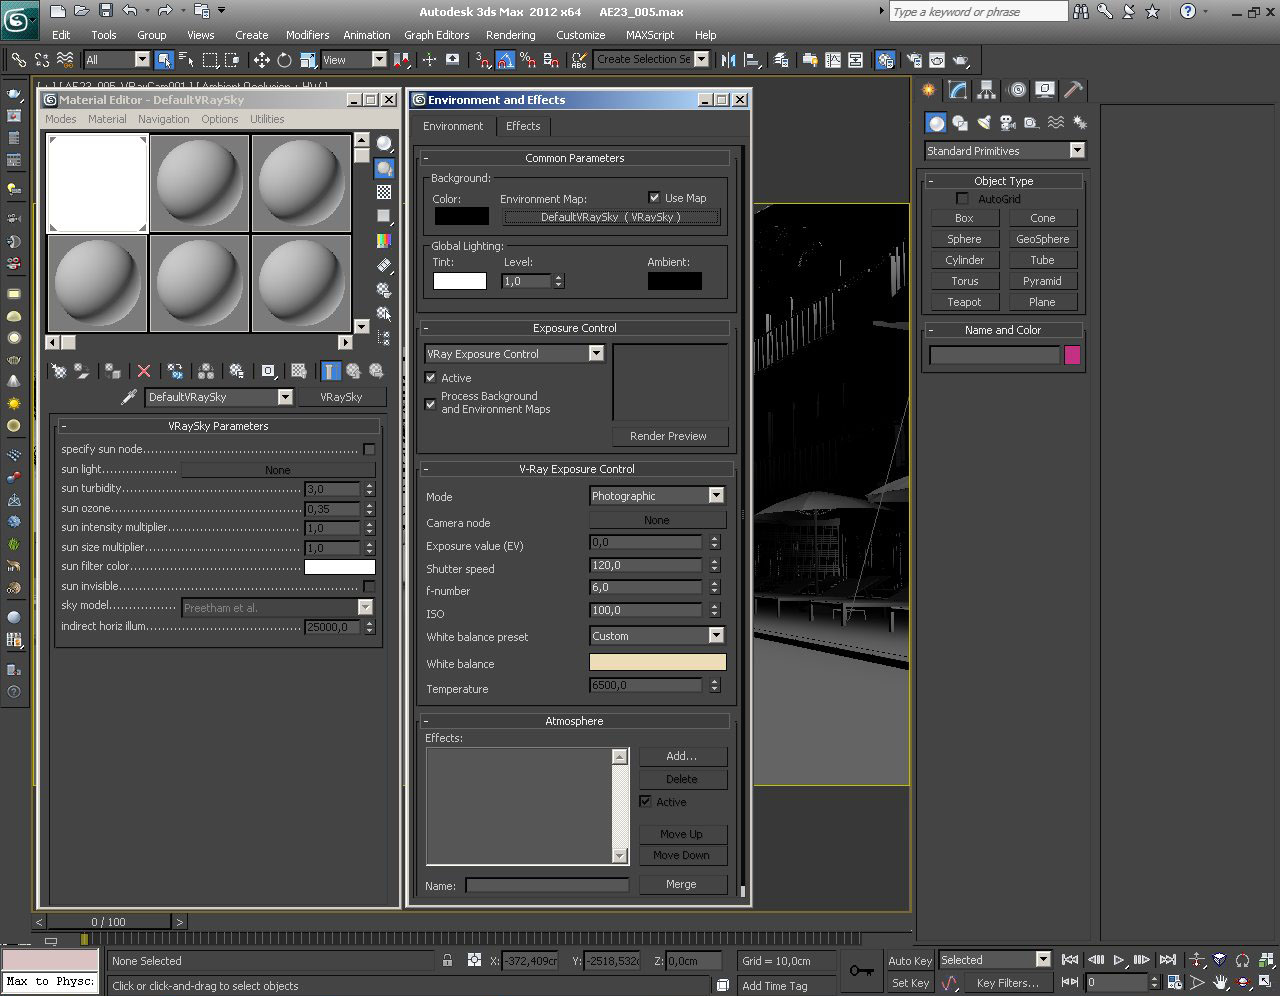
There is VraySky in Environment Map slot. Its settings are visible on the left
Click on image to enlarge 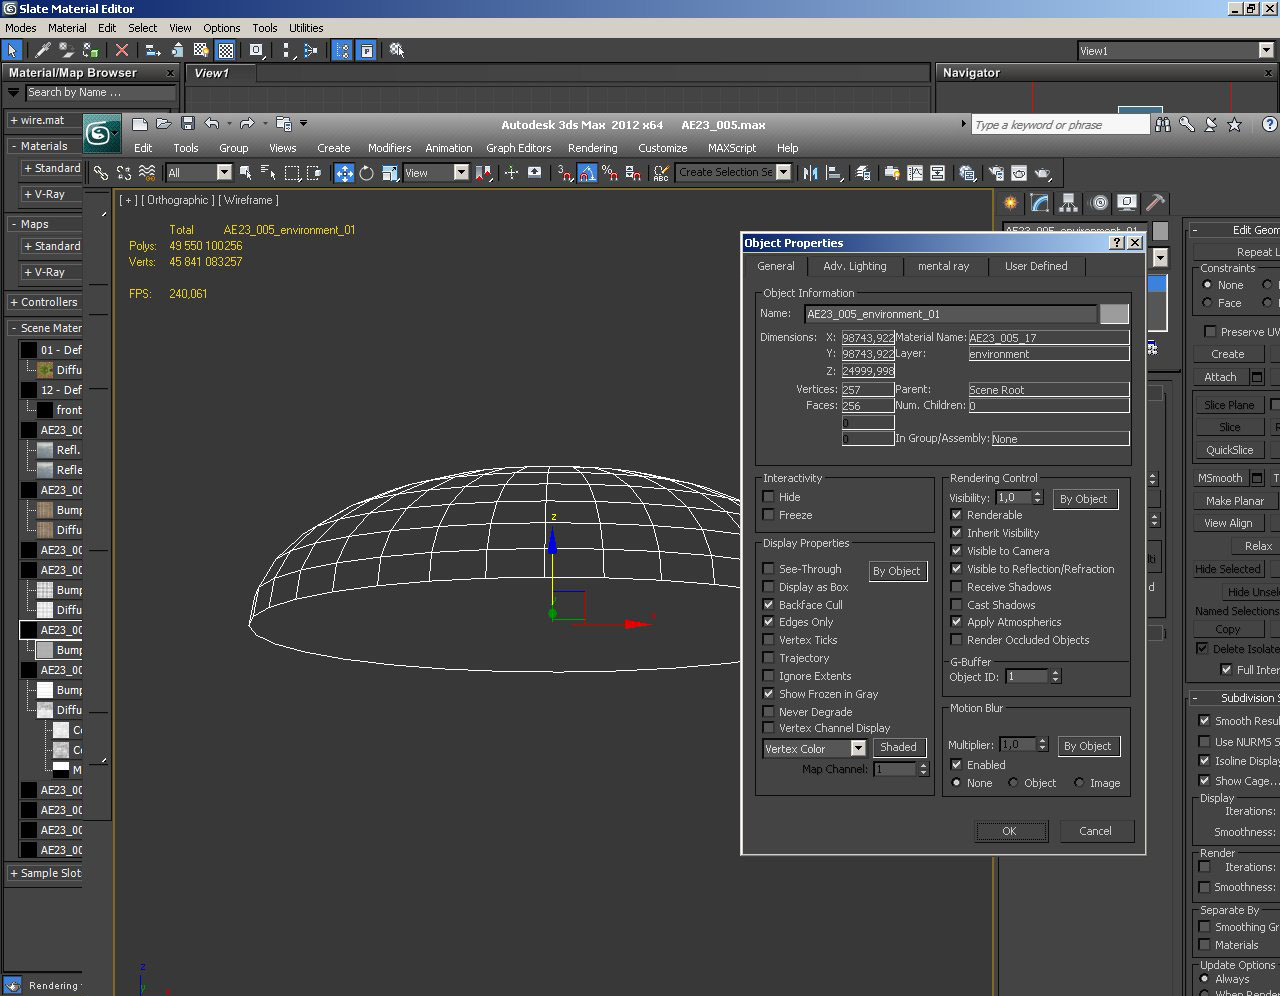
Notice that background hemisphere is not casting nor receiving any shadows
Click on image to enlarge 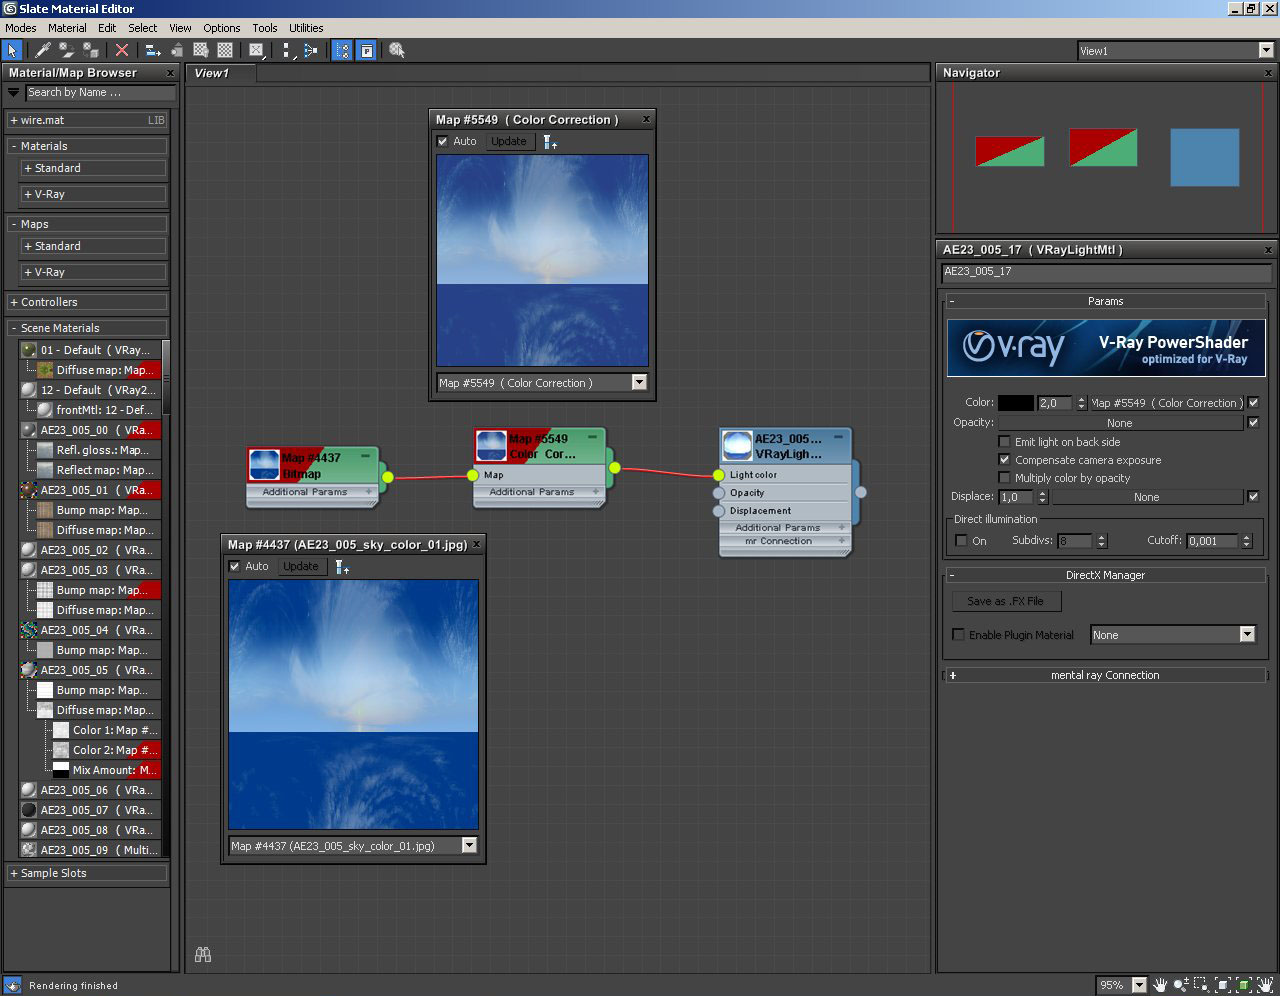
Material of hemisphere - VrayLight Material with map of blue sky slightly desaturated with Color Correction node
Click on image to enlarge 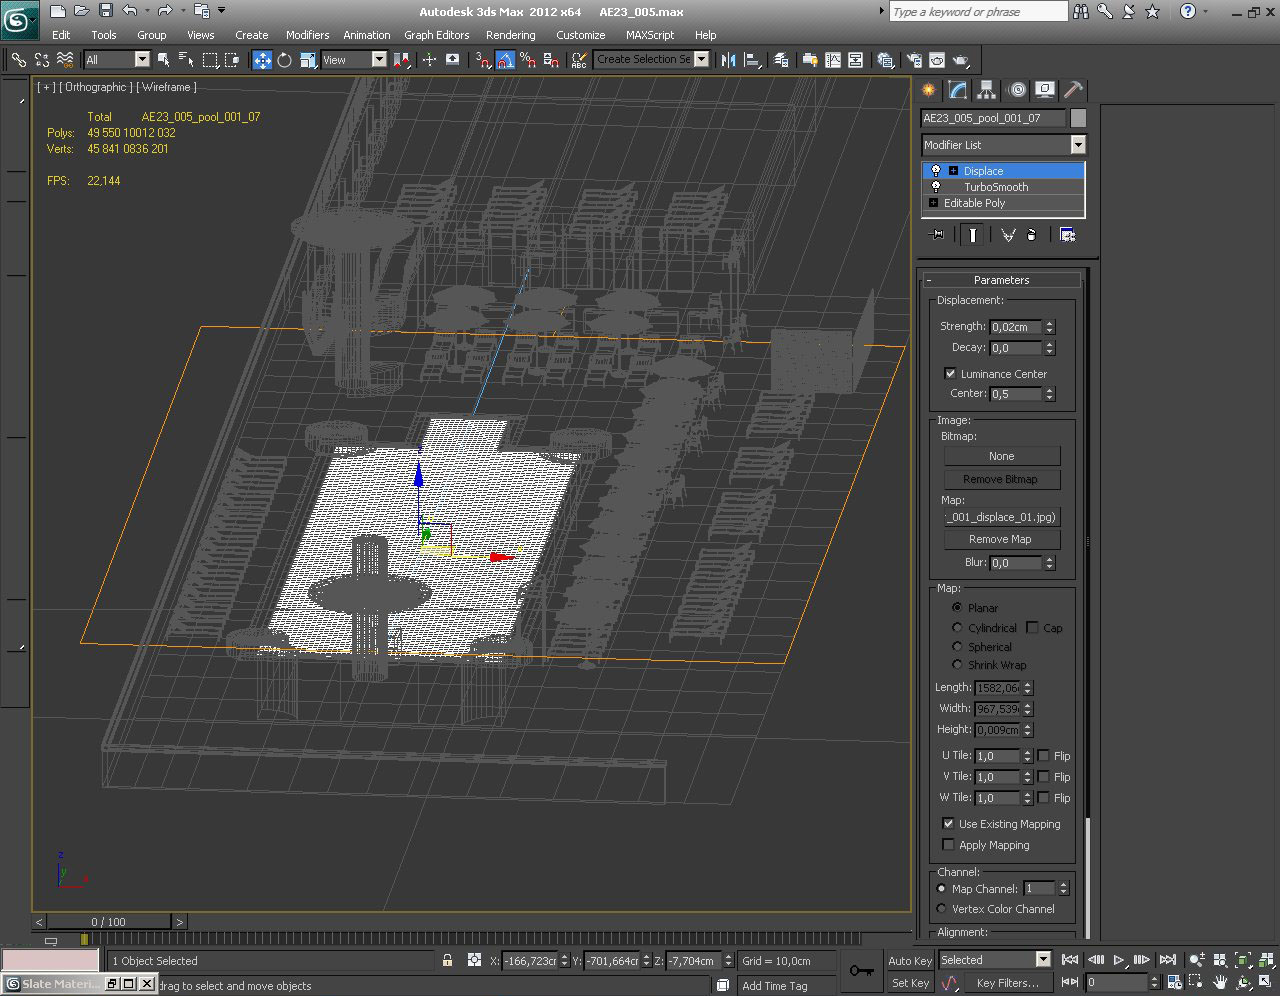
Pool water is - as you would expect - just a plane with displacement and turbosmooth. Displacement is not too strong (0,02 cm), because we just wanted a subtle waves
Click on image to enlarge 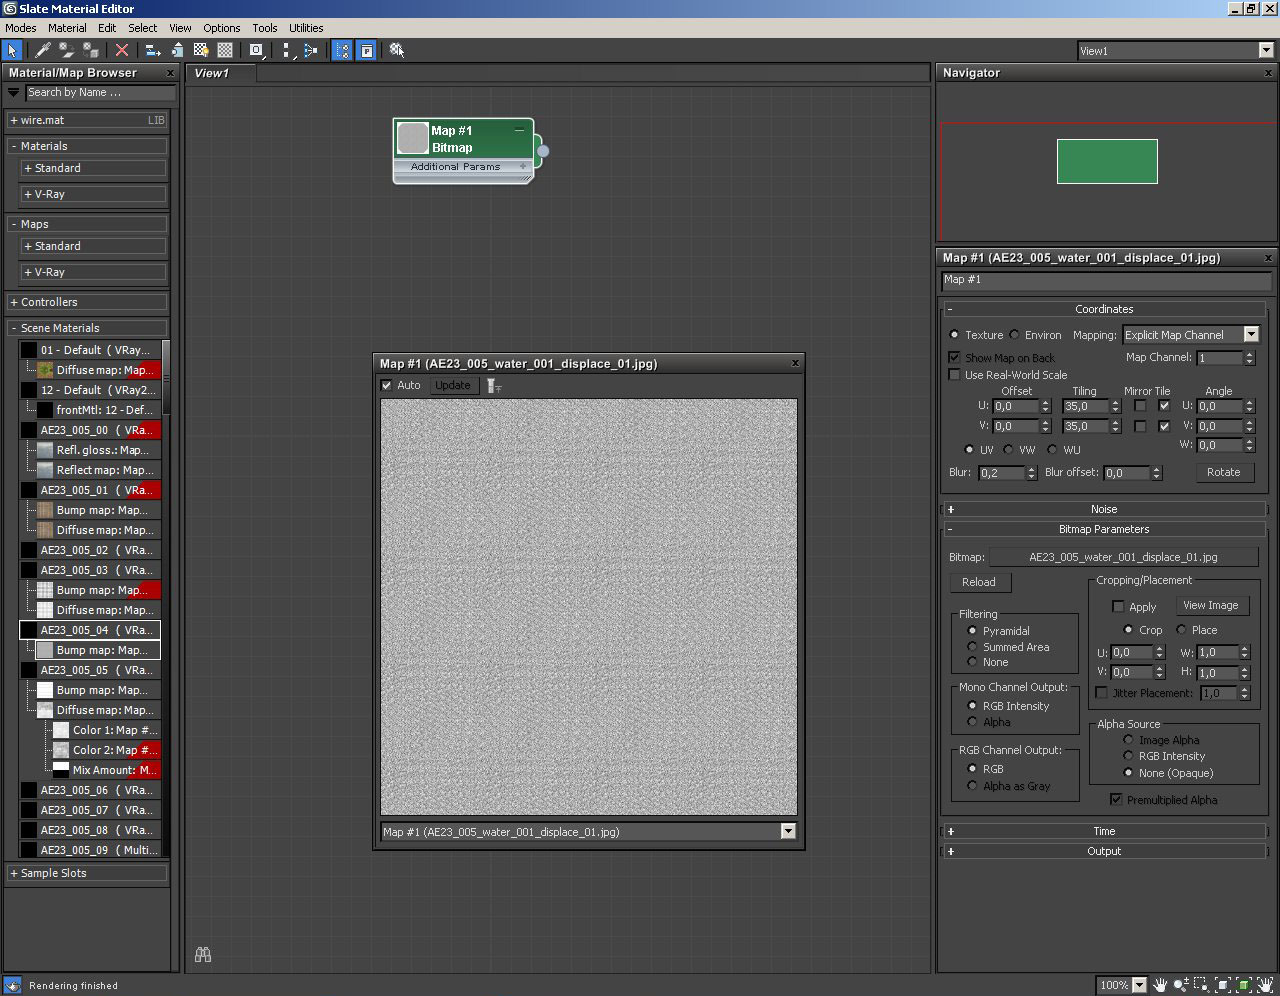
Pool water - displacement map settings
Click on image to enlarge 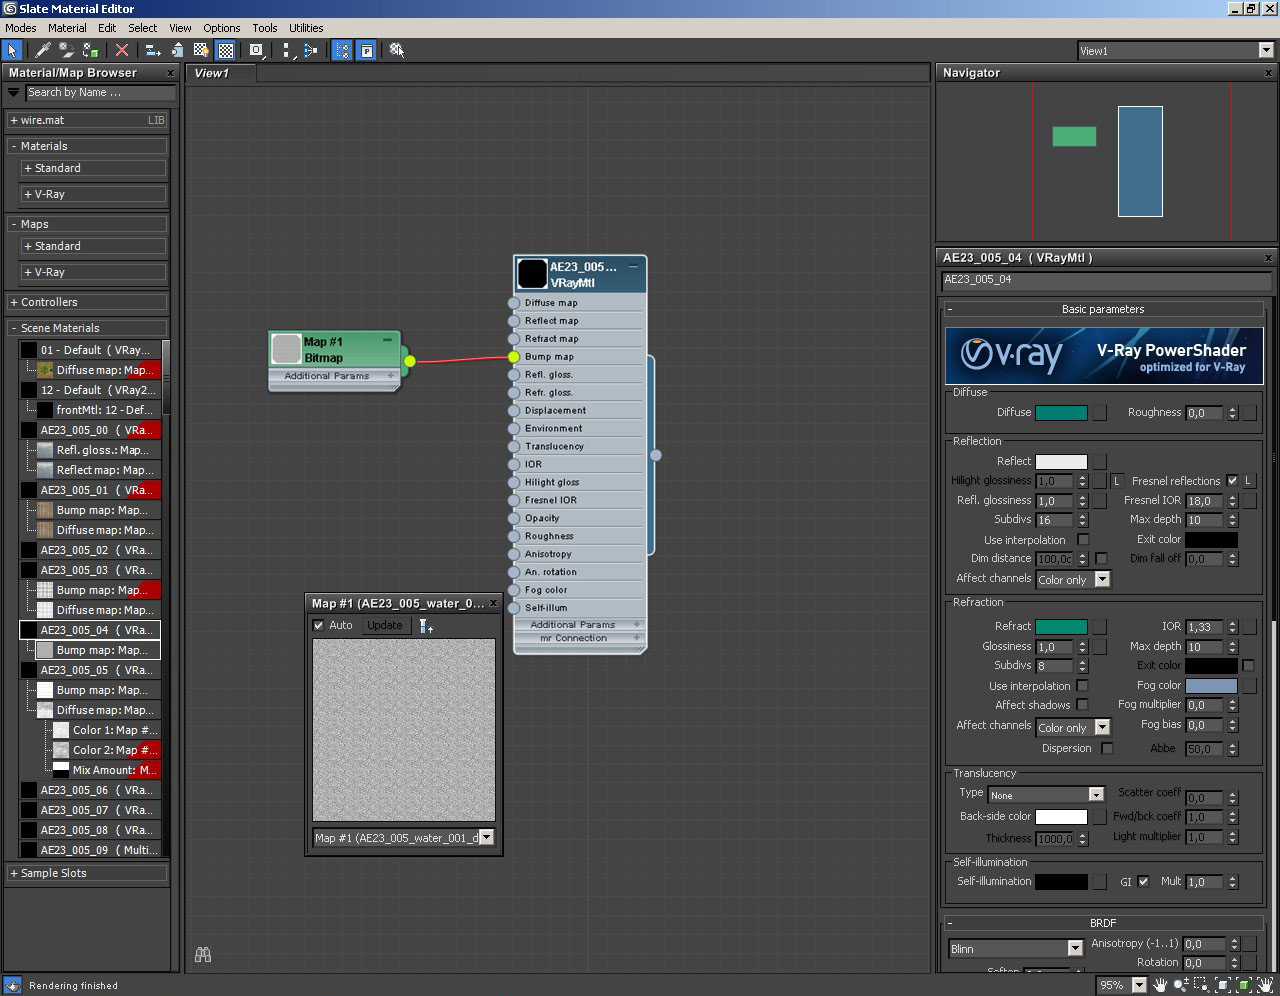
Water material with bump map. Bump map strength is only 0.5%.
Click on image to enlarge 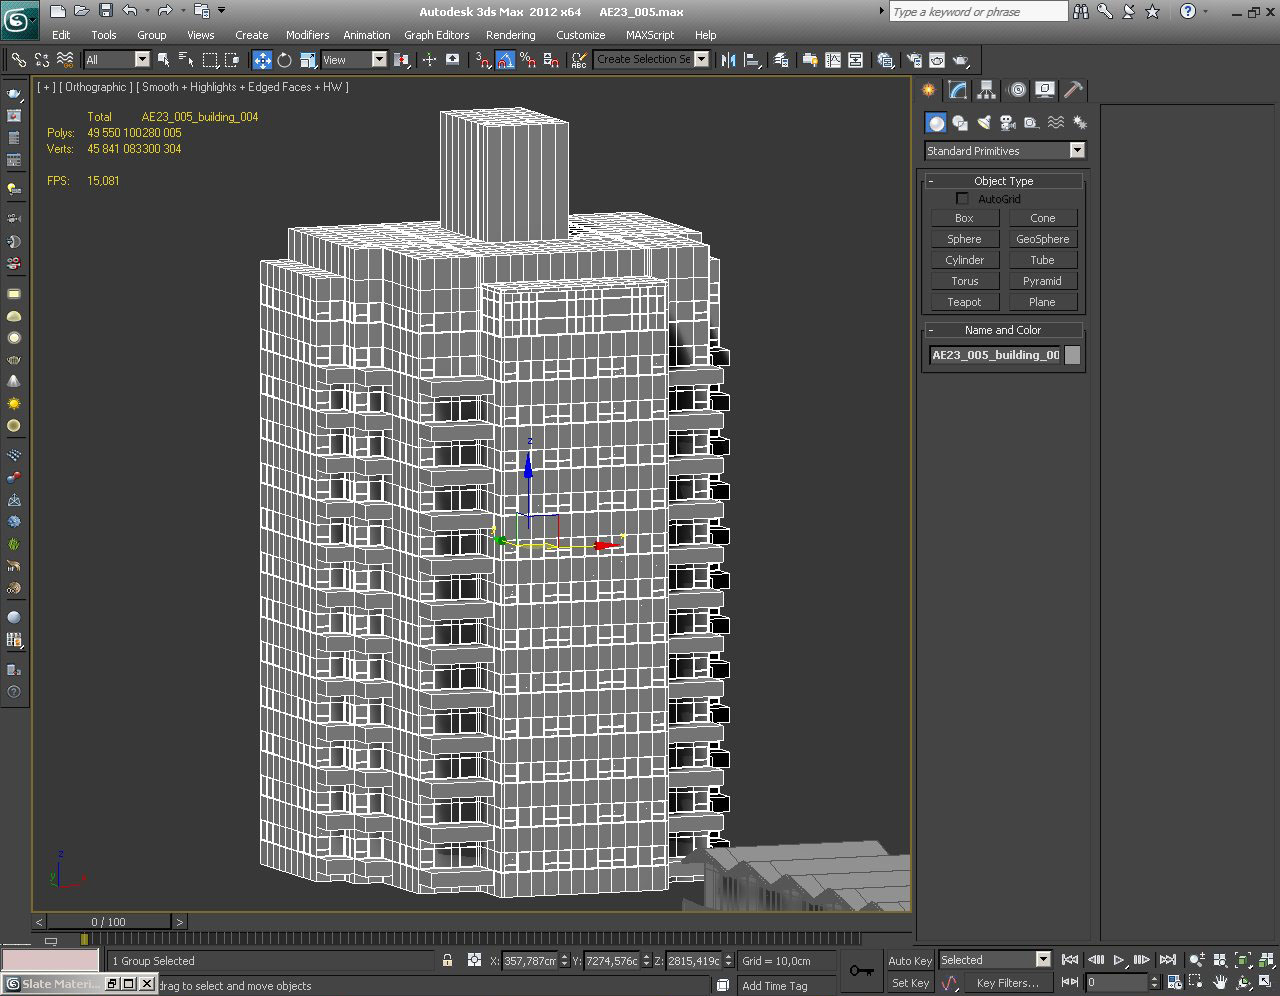
Just behind a pool we put a tall building. It consists of 5 main elements: block, windows, windows' frames, curtains and floors.
Click on image to enlarge 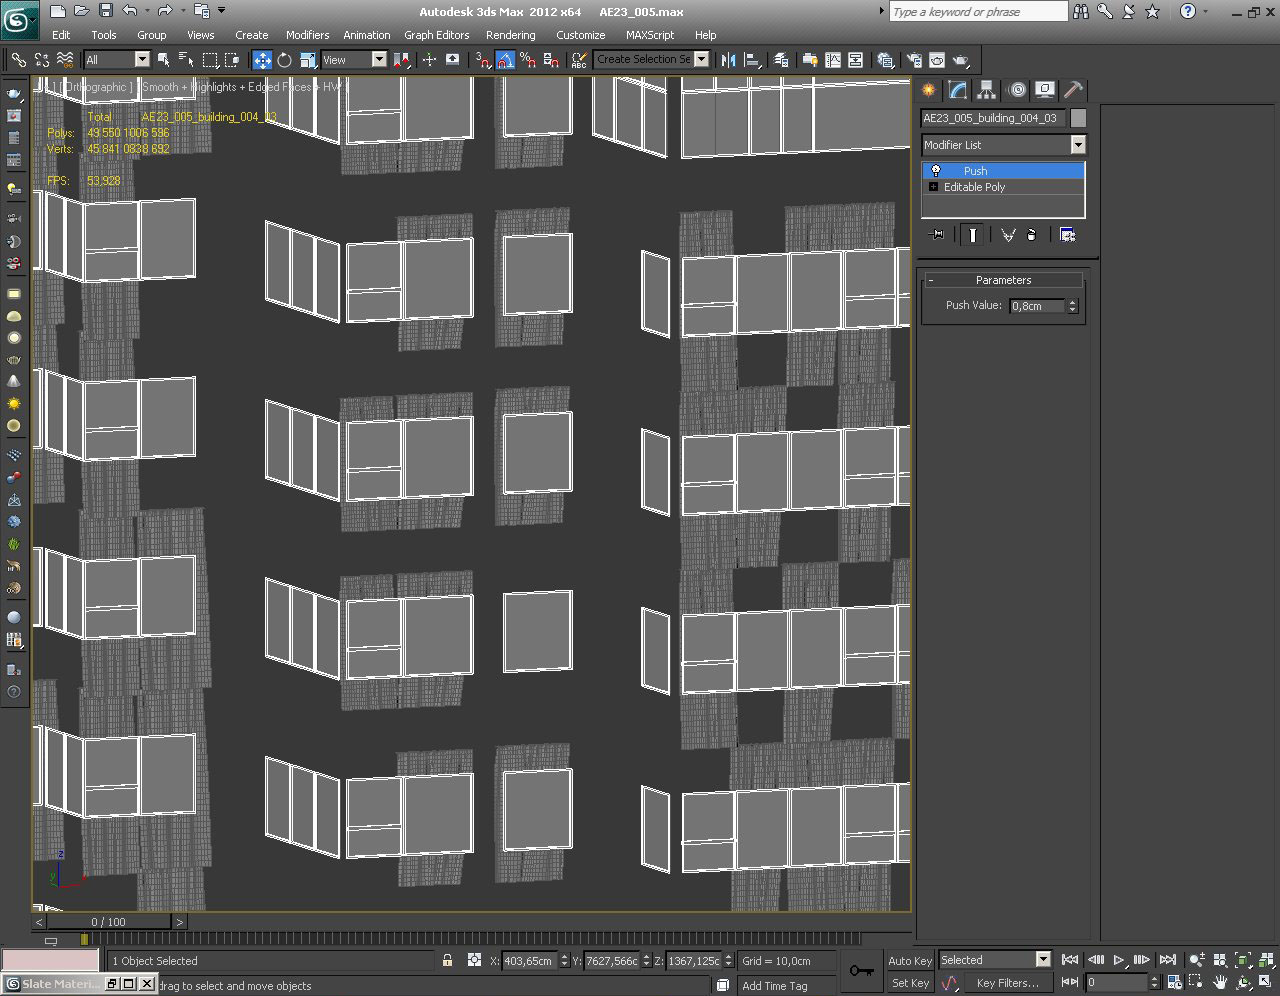
Frames, windows and curtains visible. Main block and floors are hidden.
Click on image to enlarge 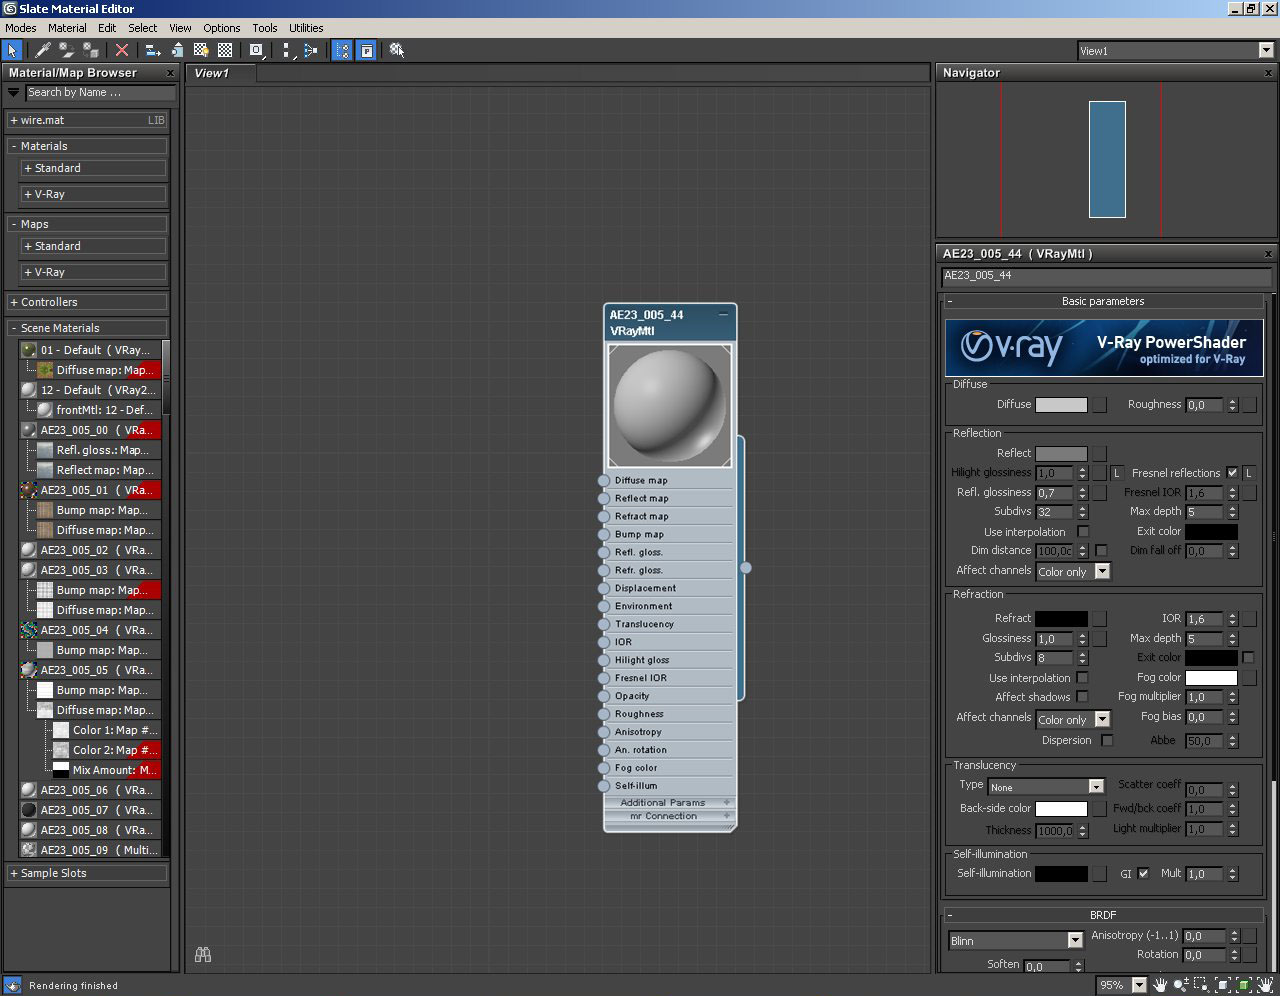
Very simple material that is shared by main block, windows' frames and floors.
Click on image to enlarge 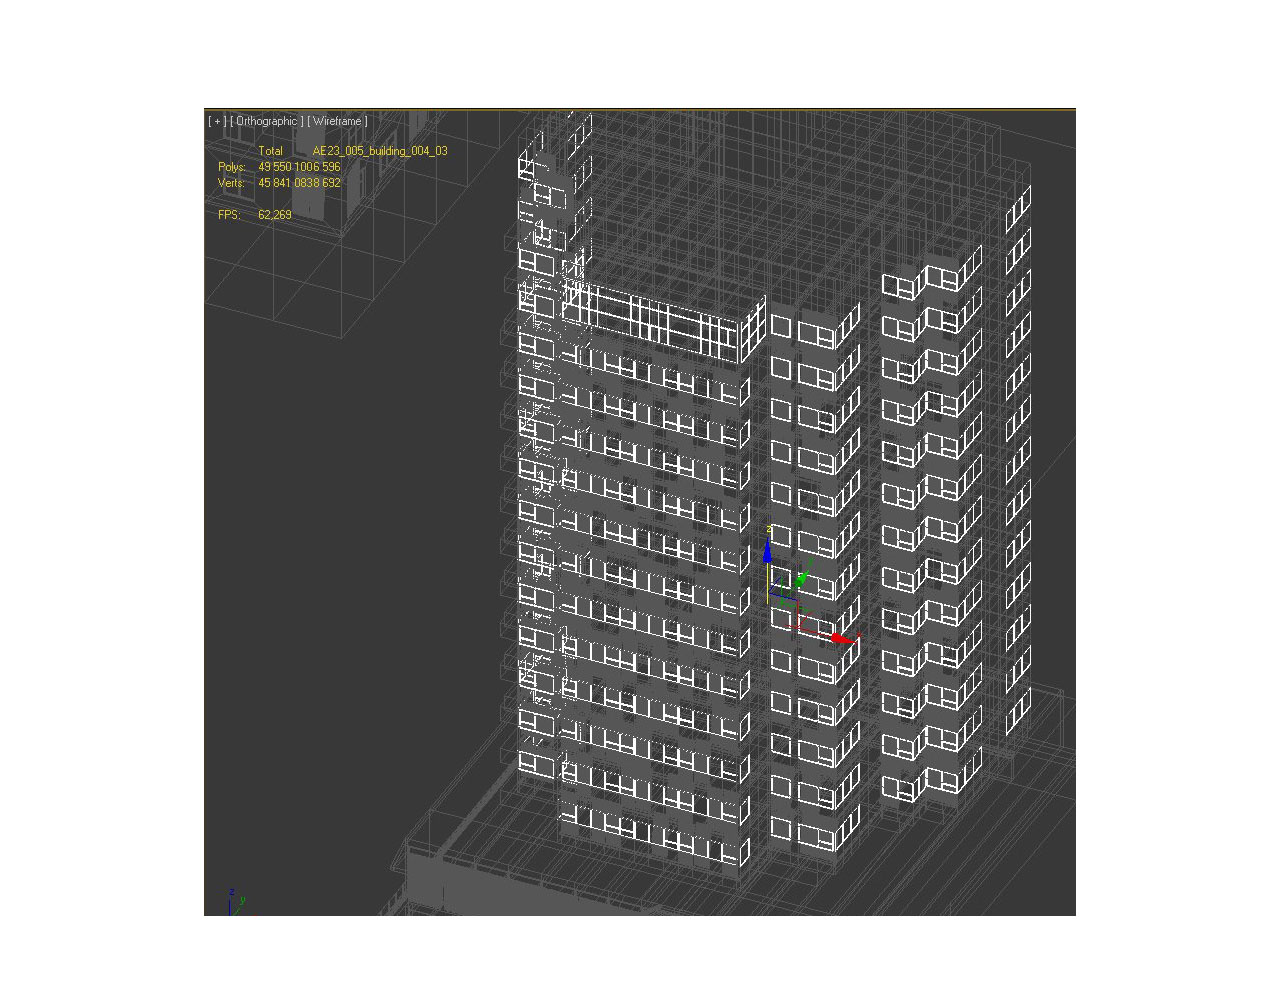
Windows and frames selected
Click on image to enlarge 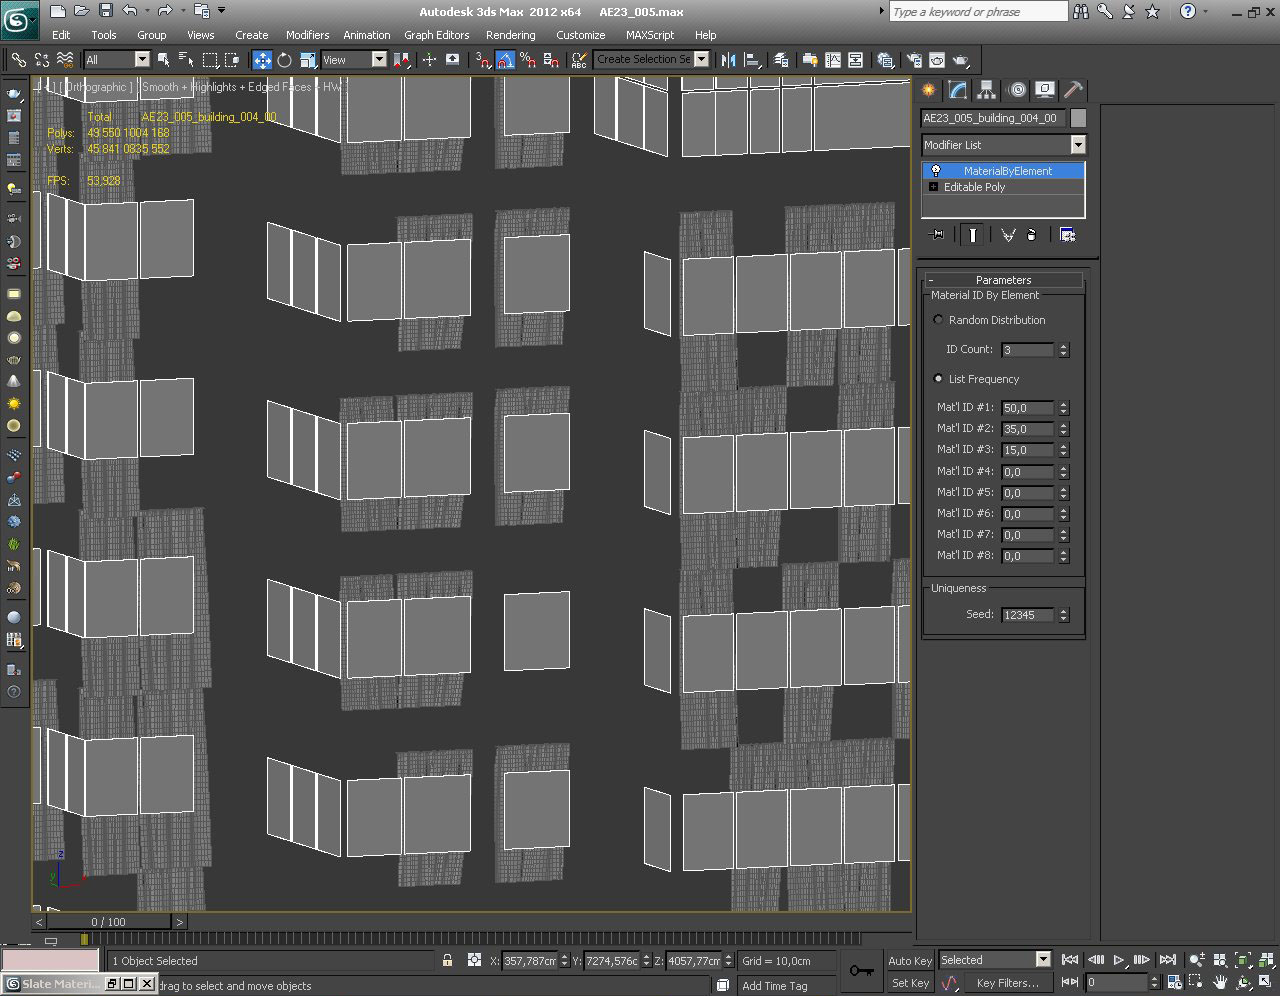
Only windows and curtains visible. As you can see we have MaterialByElement modifier in the stack. It distributes three submaterials assigned to windows with different frequency.
Click on image to enlarge 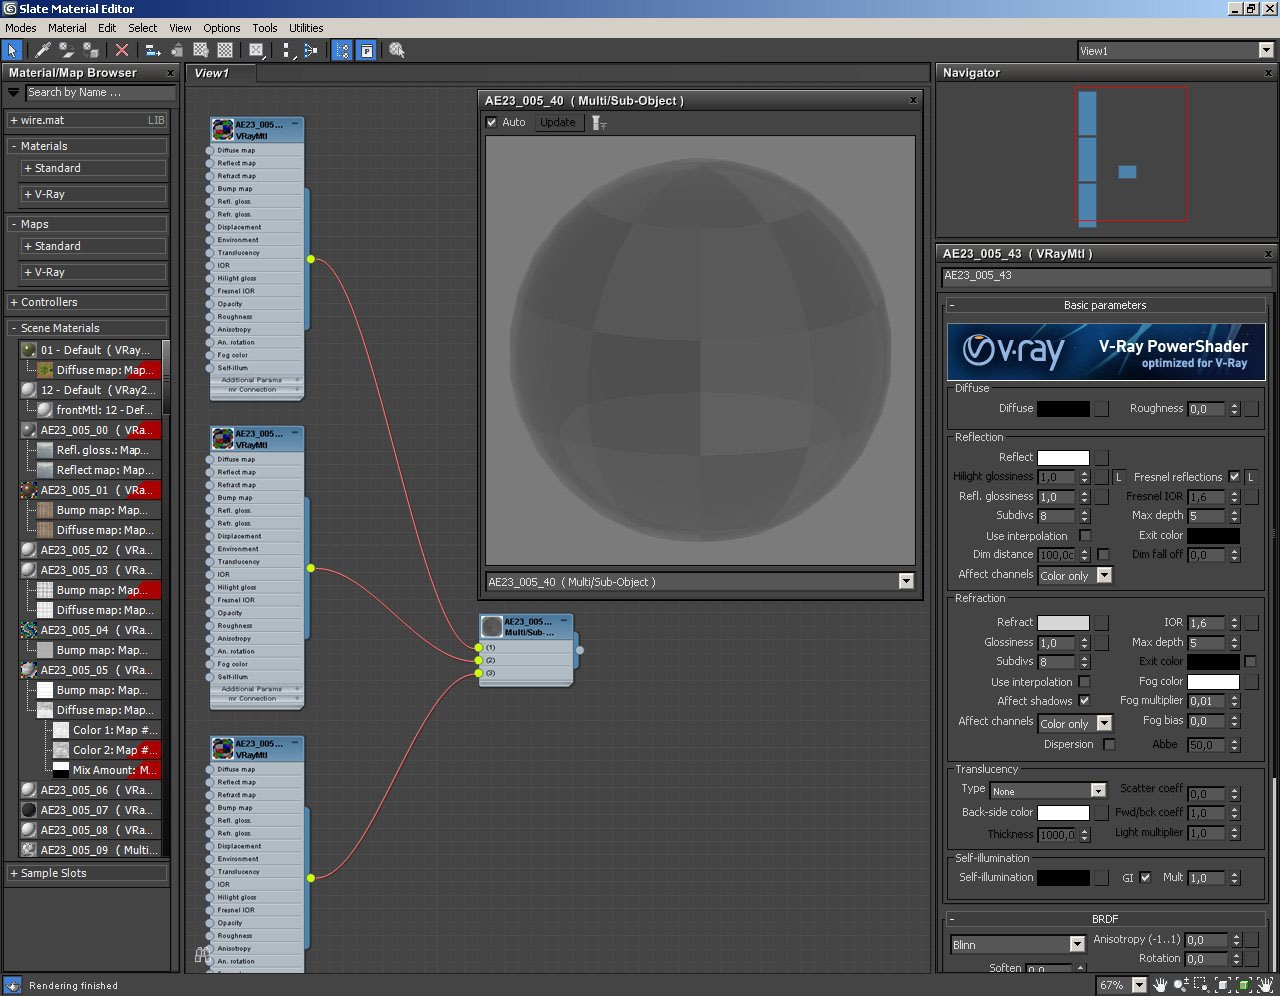
Multimaterial of windows consists of three VrayMaterials. The only difference between them is refraction value: 151, 174 and 191. This material combined with MaterialByElement modifier gives us more realism - we get different windows in our building.
Click on image to enlarge 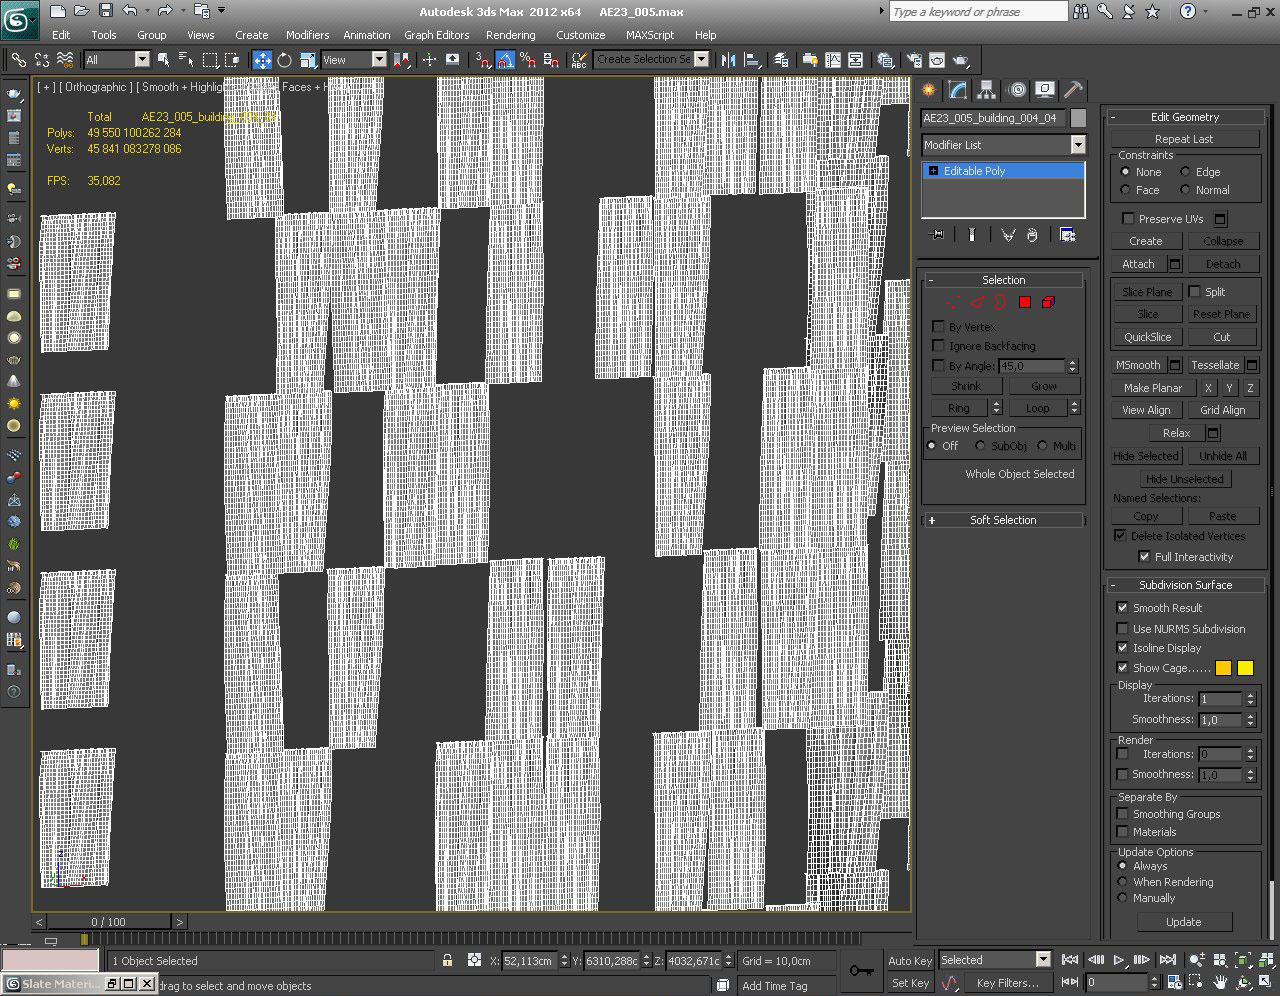
Click on image to enlarge 
Click on image to enlarge 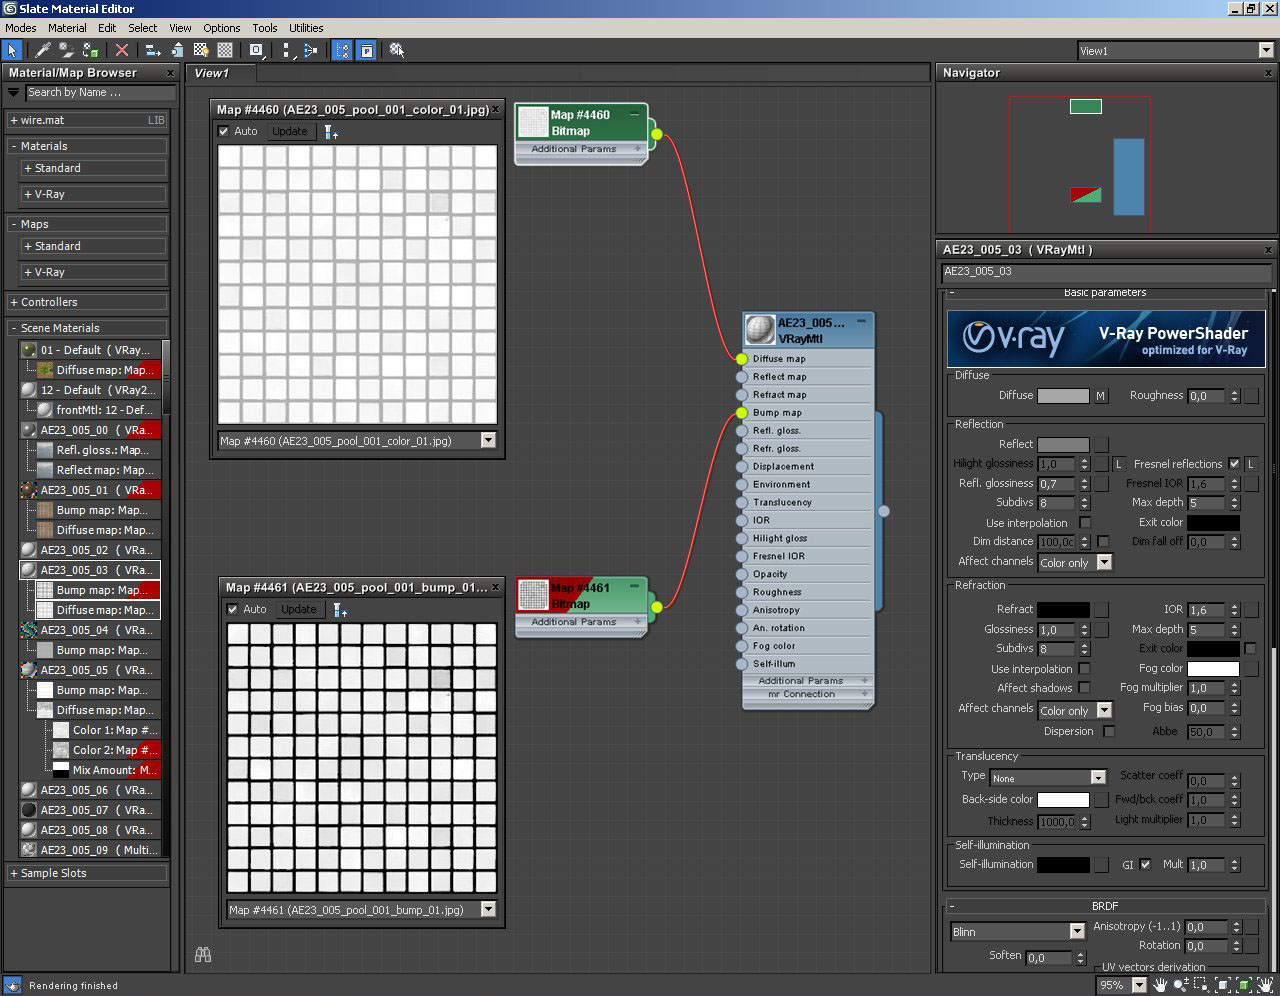
Pool material. Bump map has strength of 20%.
Click on image to enlarge 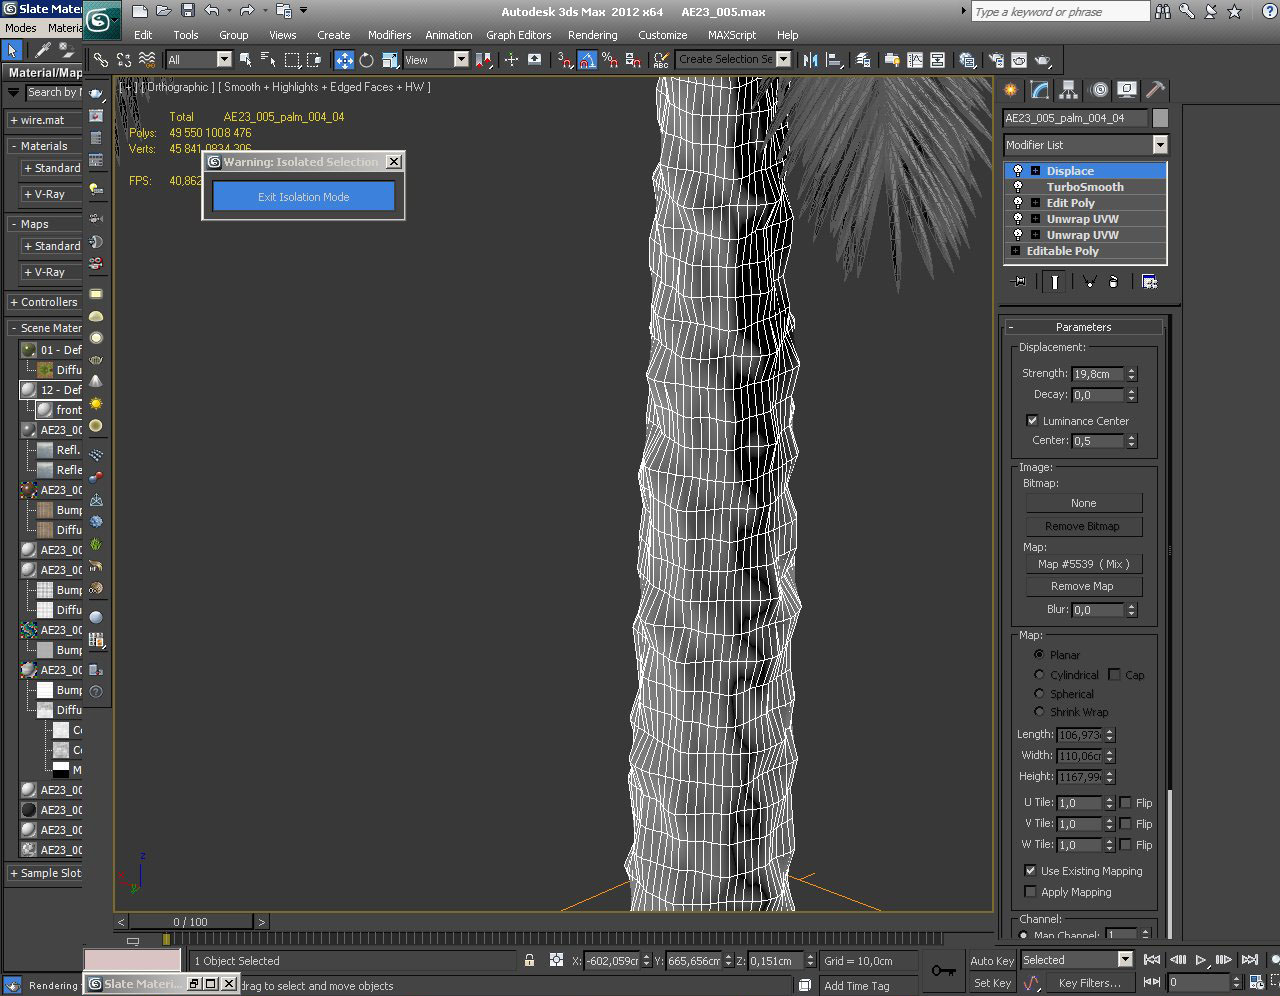
There are many plants and trees in the scene. This particular palm tree was made from simple mesh and then we added displacement modifier.
Click on image to enlarge 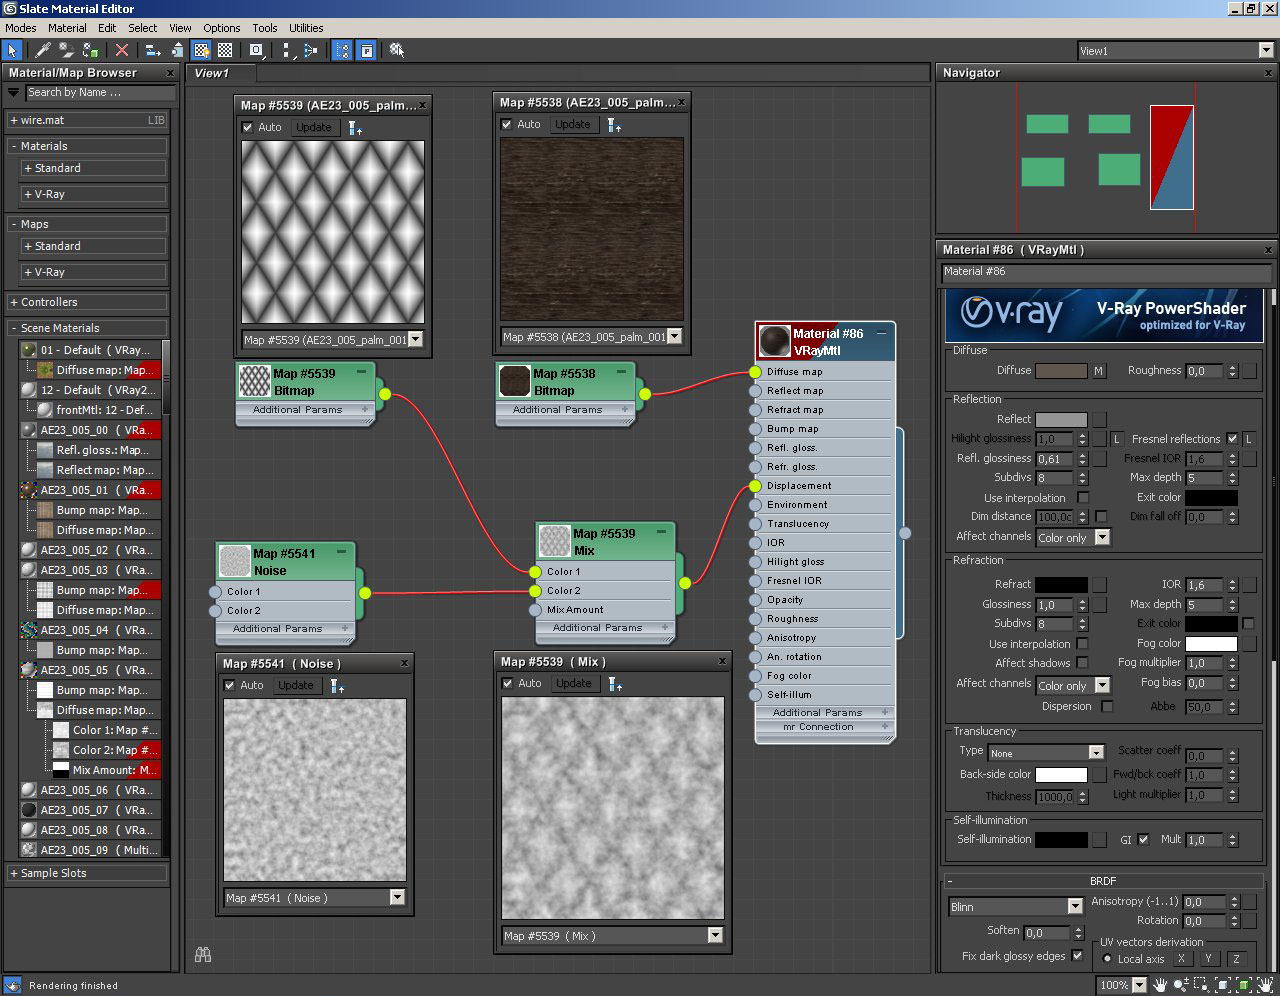
Tree trunk material. To achieve specific palm tree displacement we mixed noise map with romboid shapes
Click on image to enlarge 
Click on image to enlarge 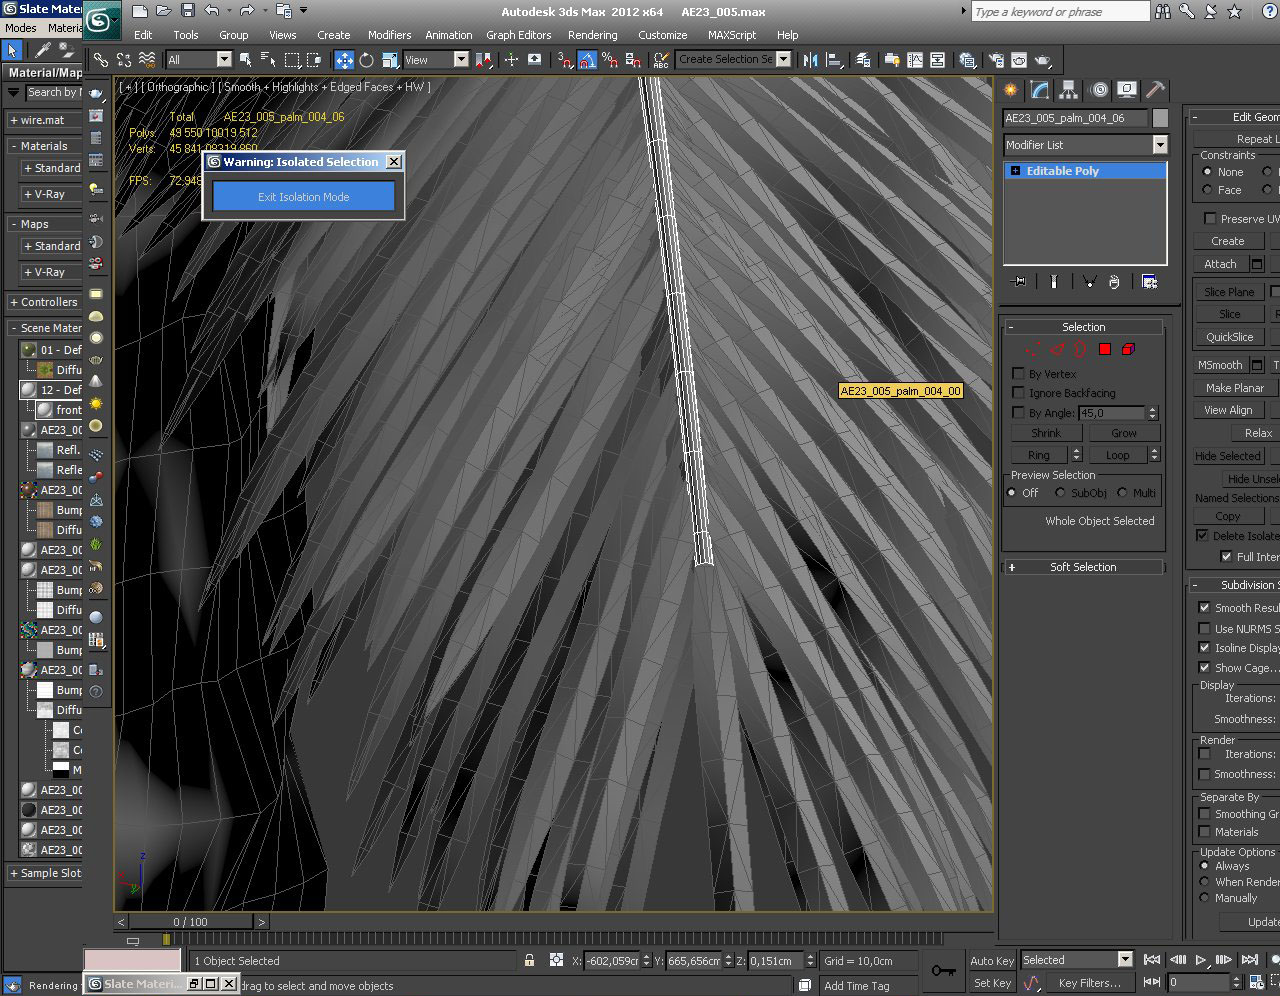
Click on image to enlarge 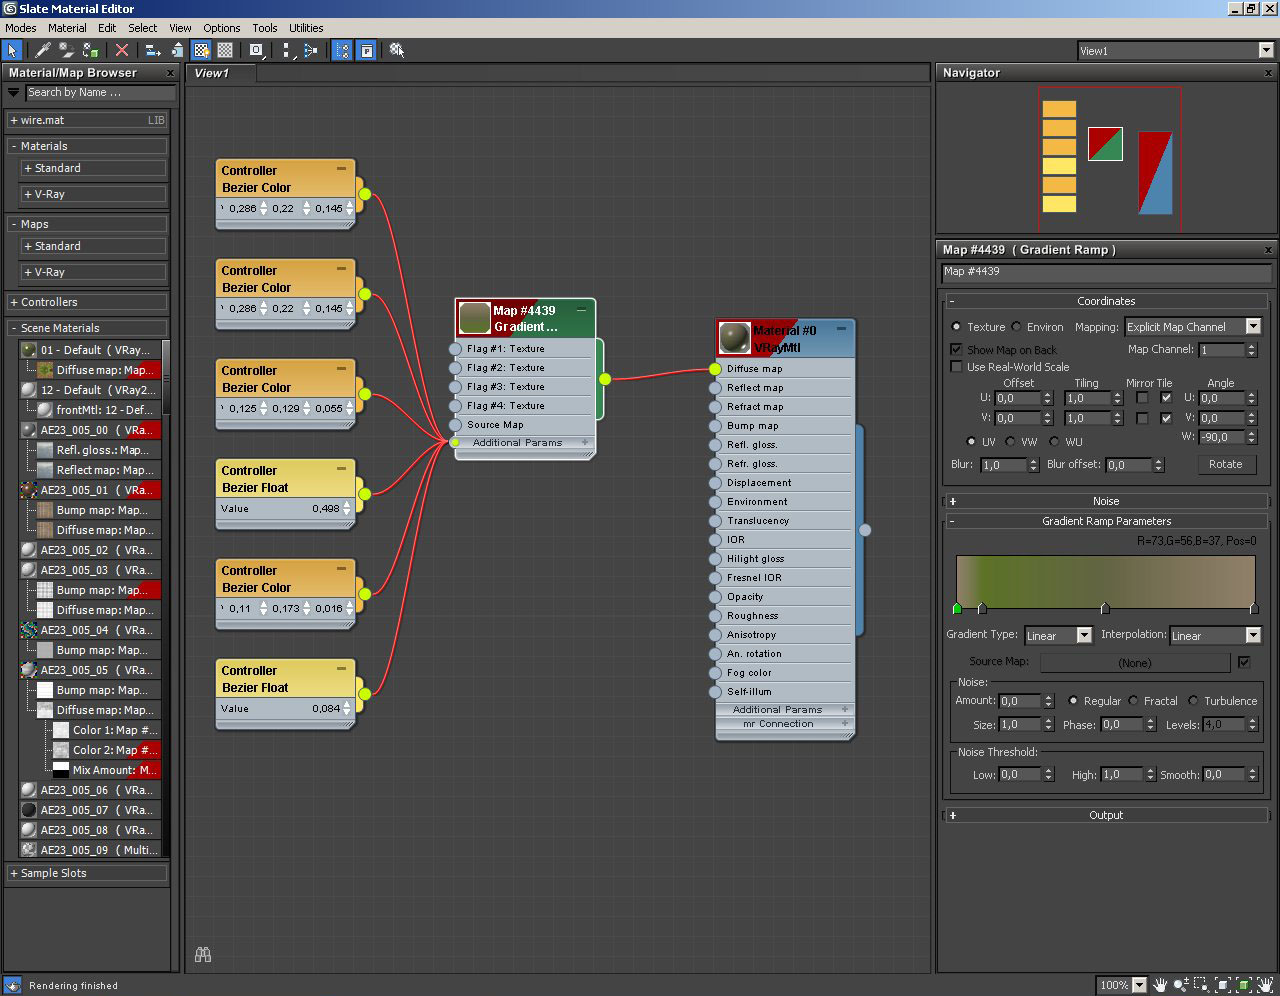
And its material which is VrayMaterial with gradient ramp
Click on image to enlarge 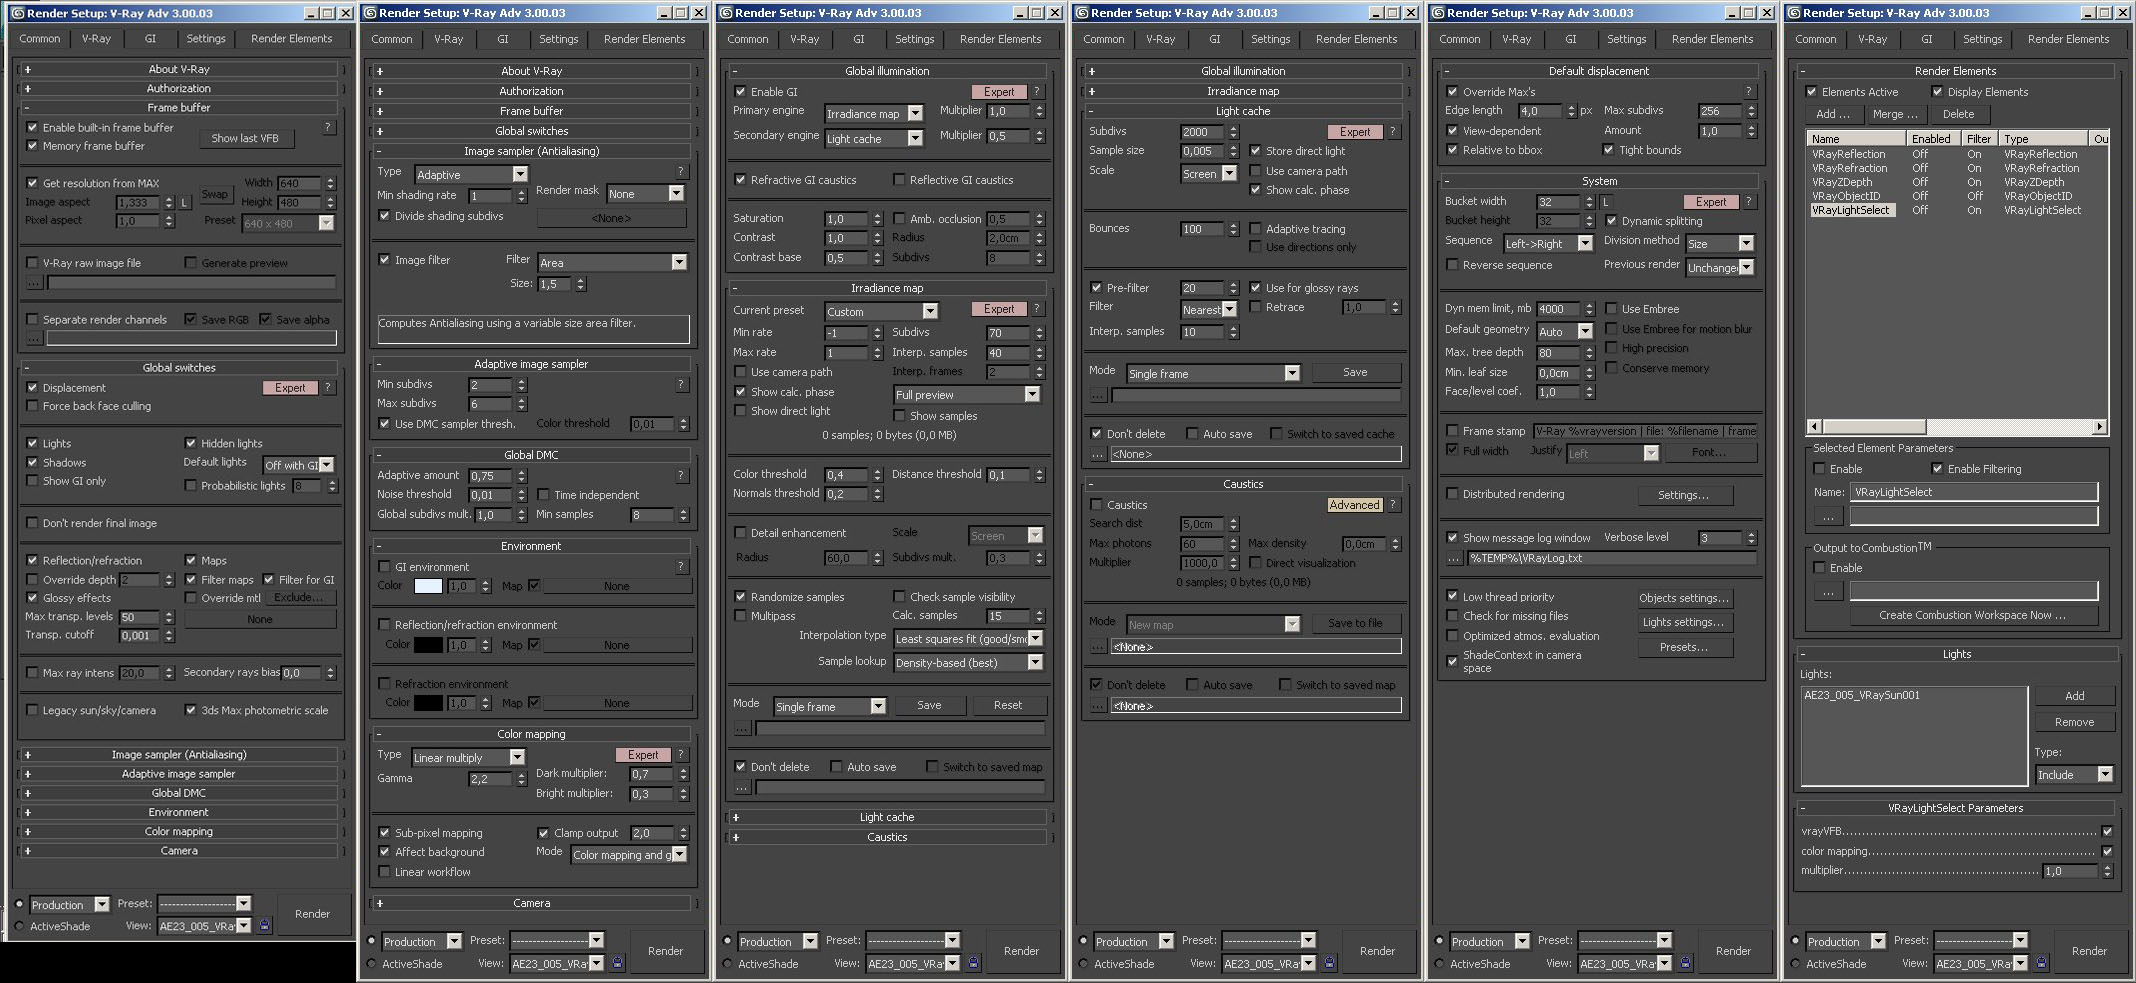
Click on image to enlarge 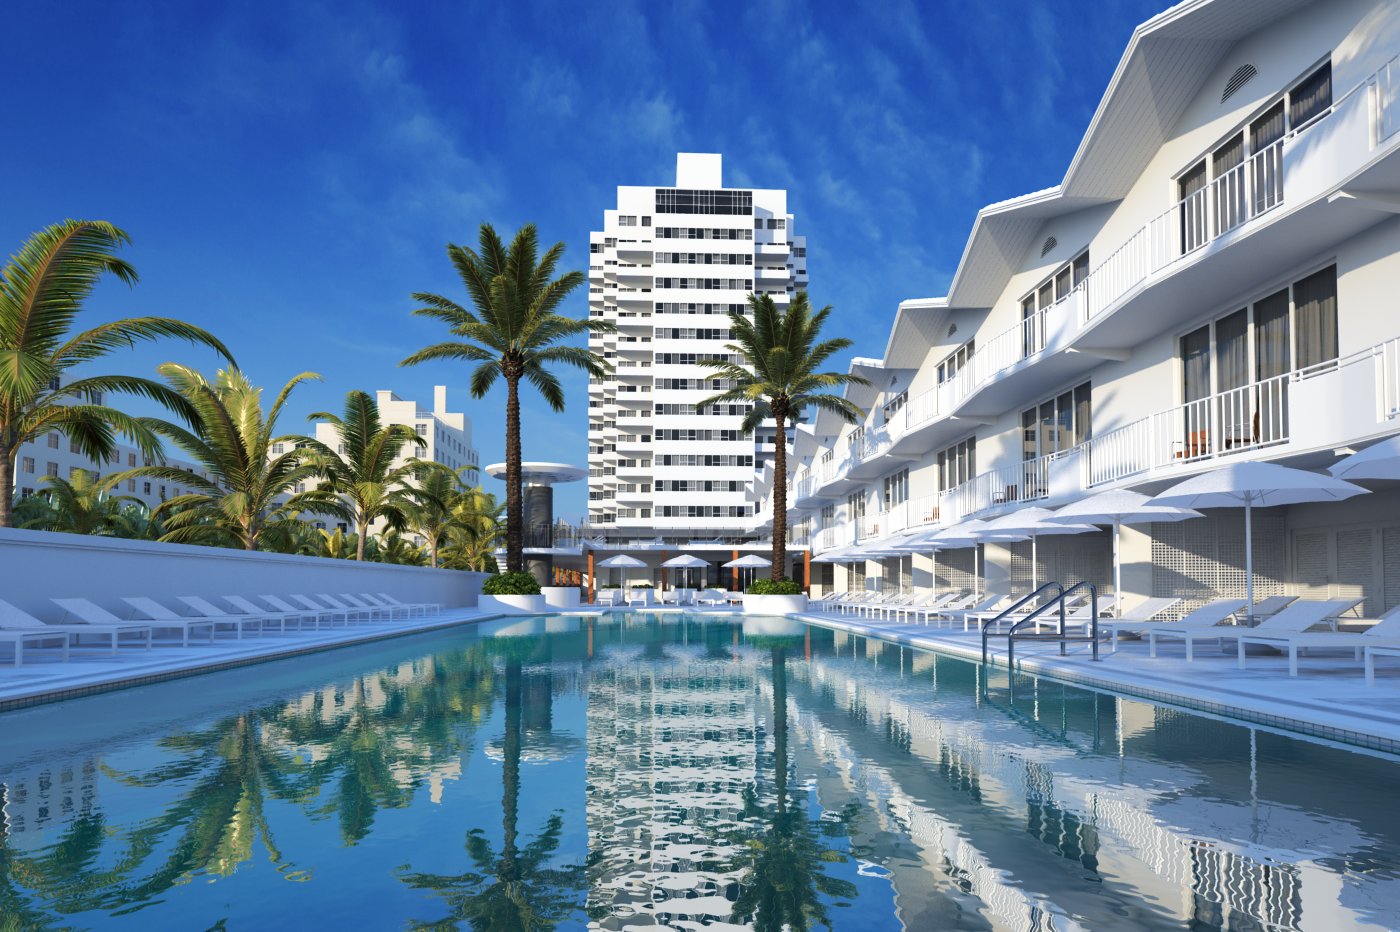
Click on image to enlarge 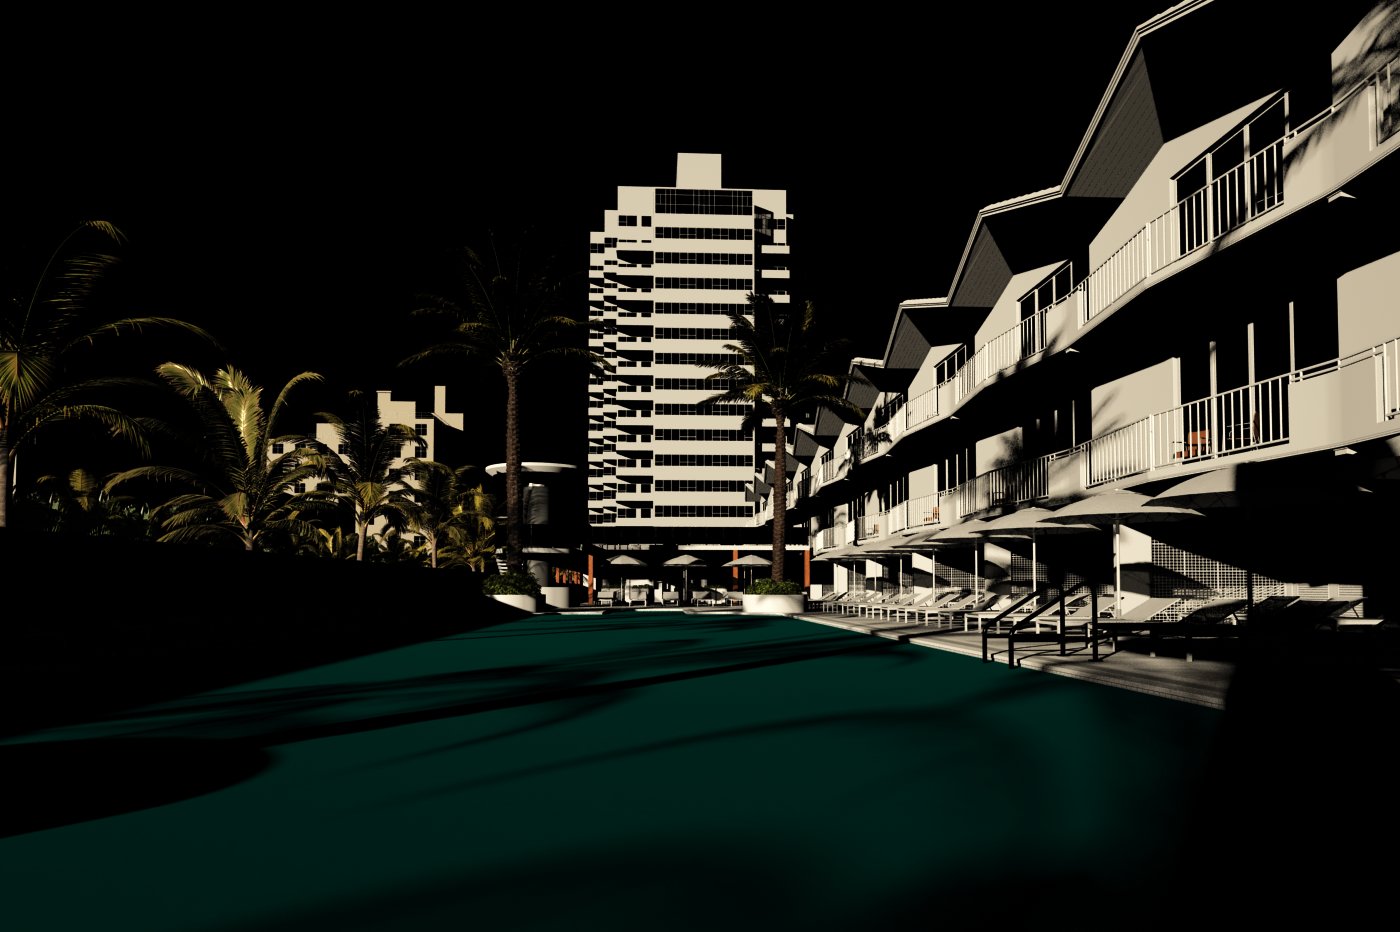
Click on image to enlarge 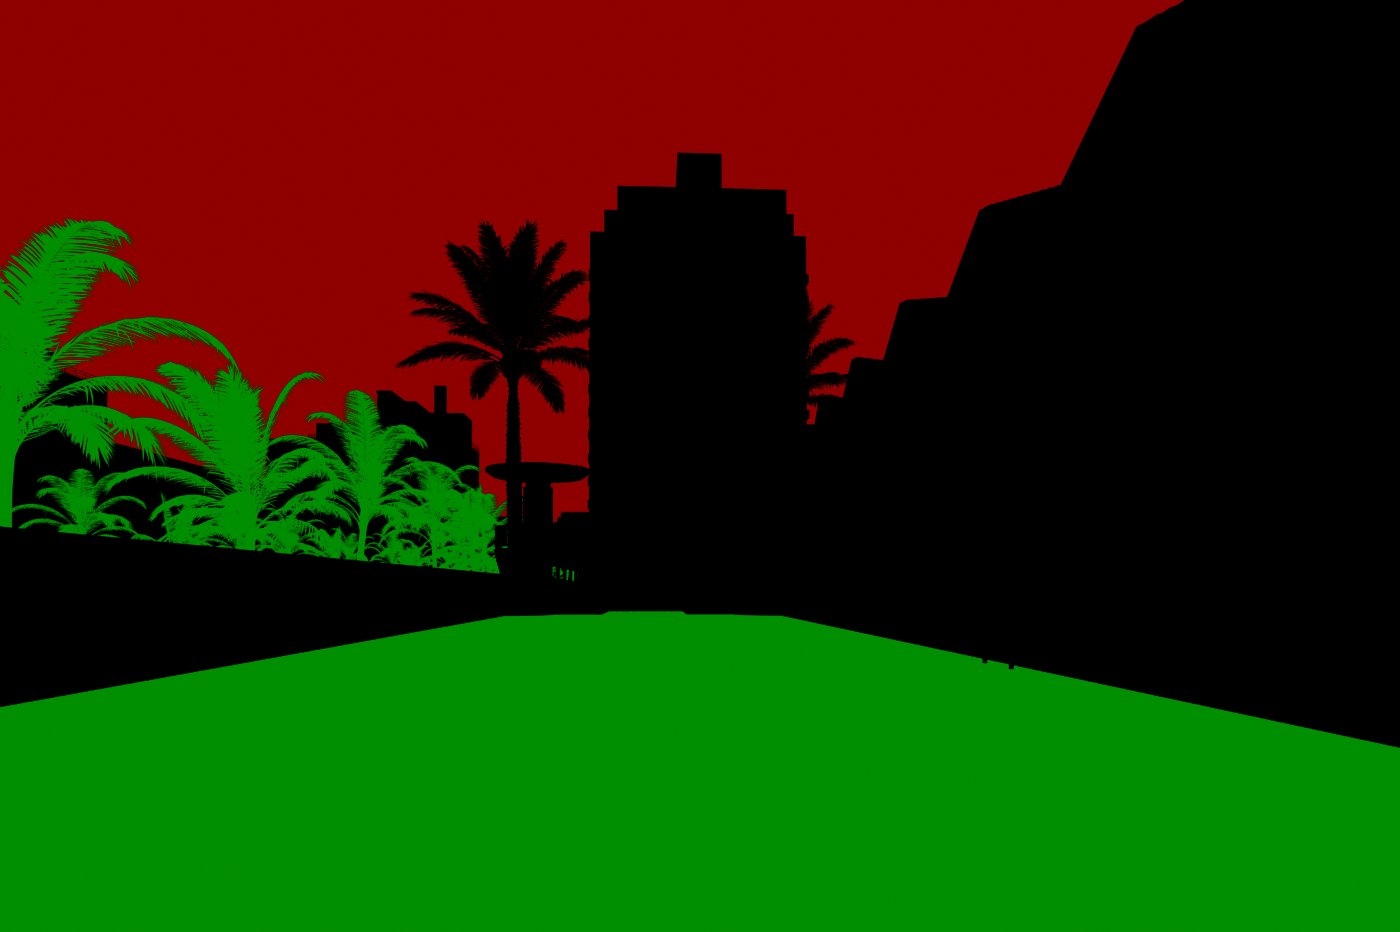
Render settings
Click on image to enlarge 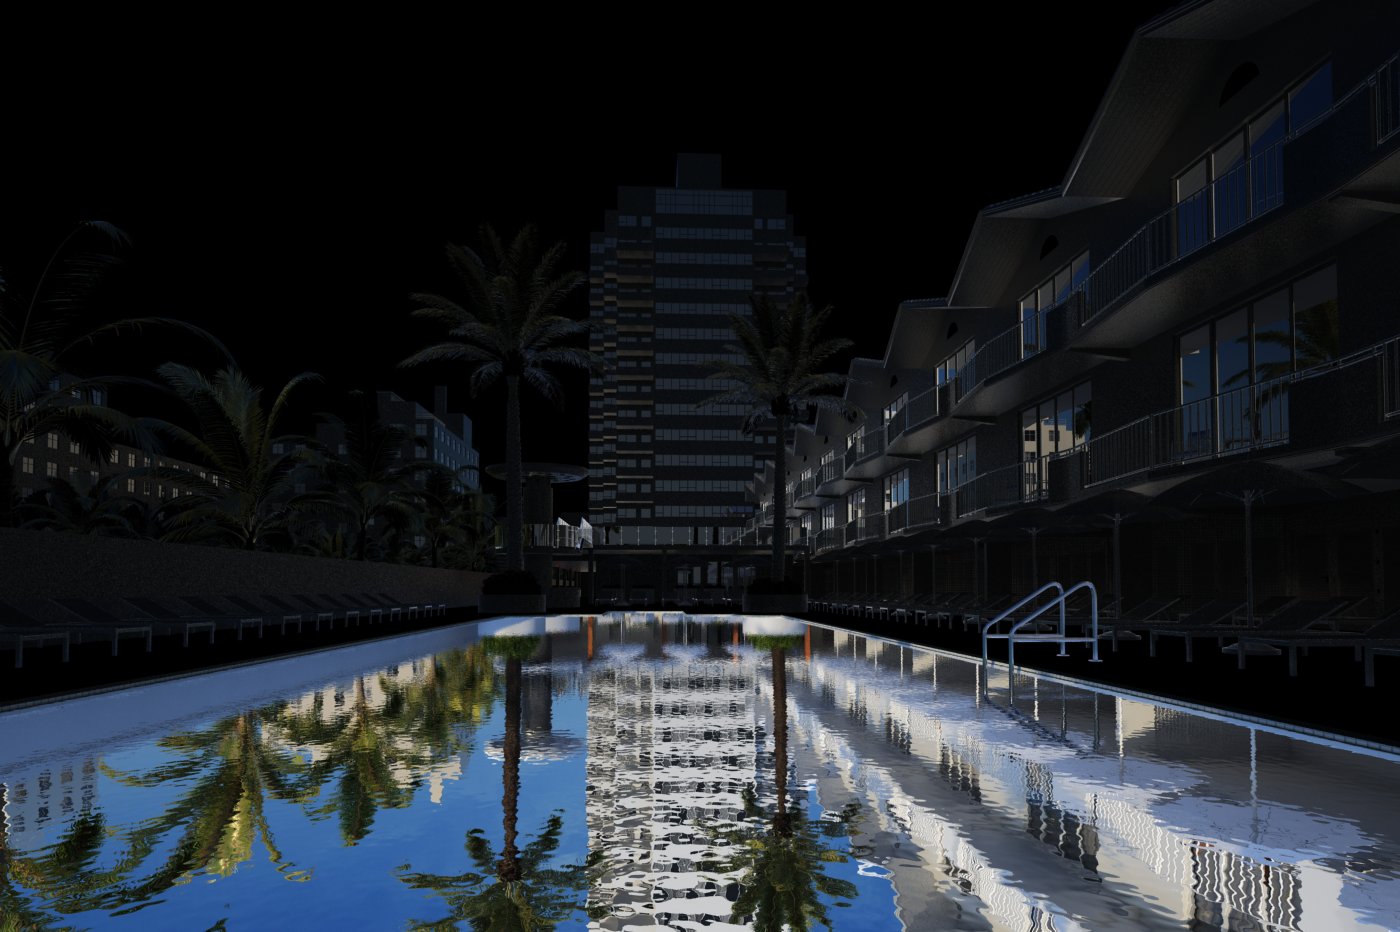
Click on image to enlarge 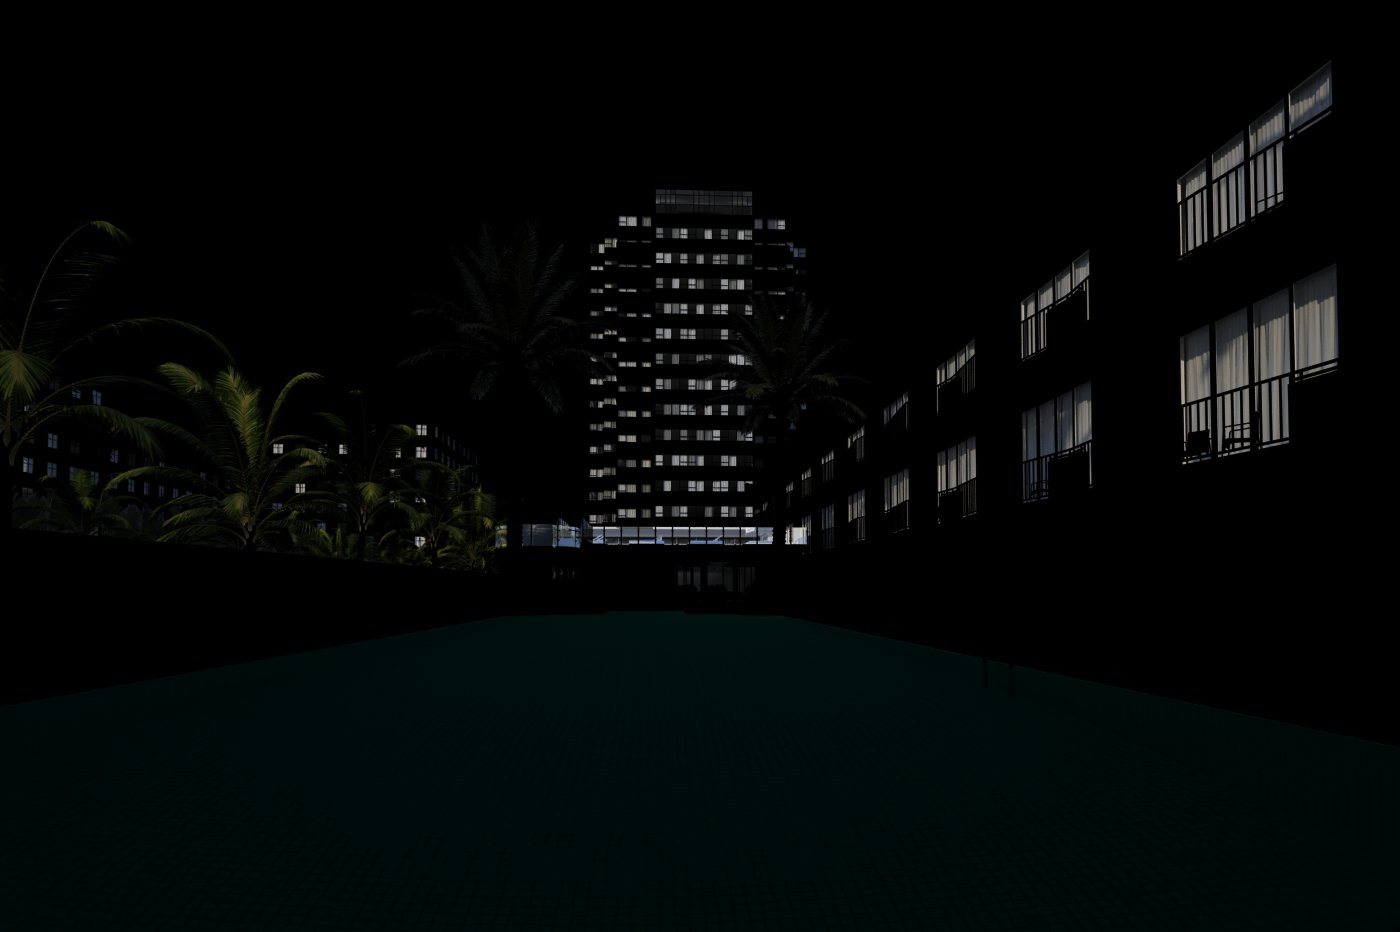
Click on image to enlarge 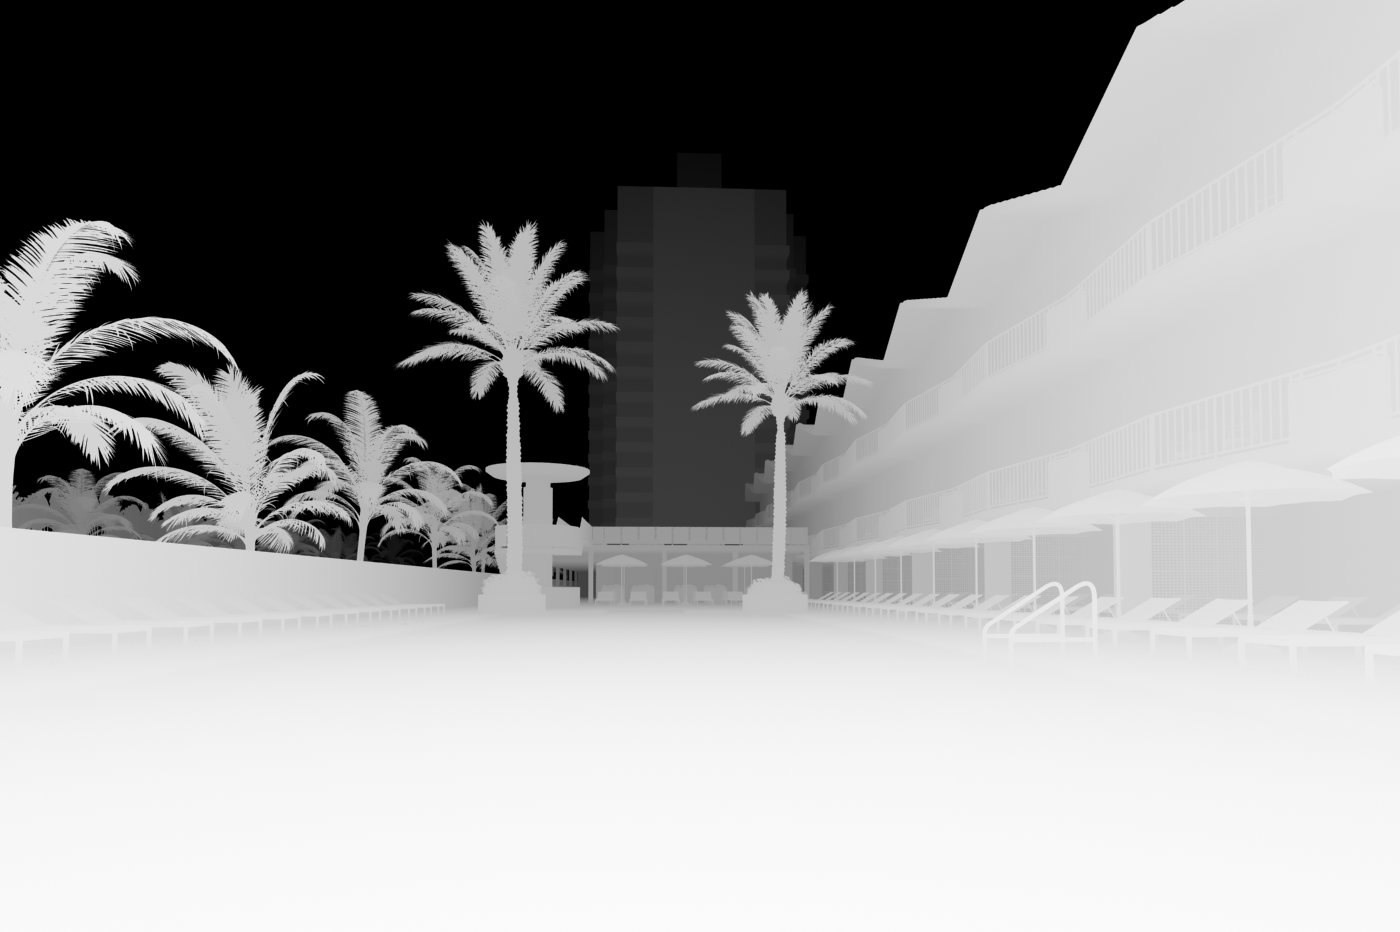
Click on image to enlarge 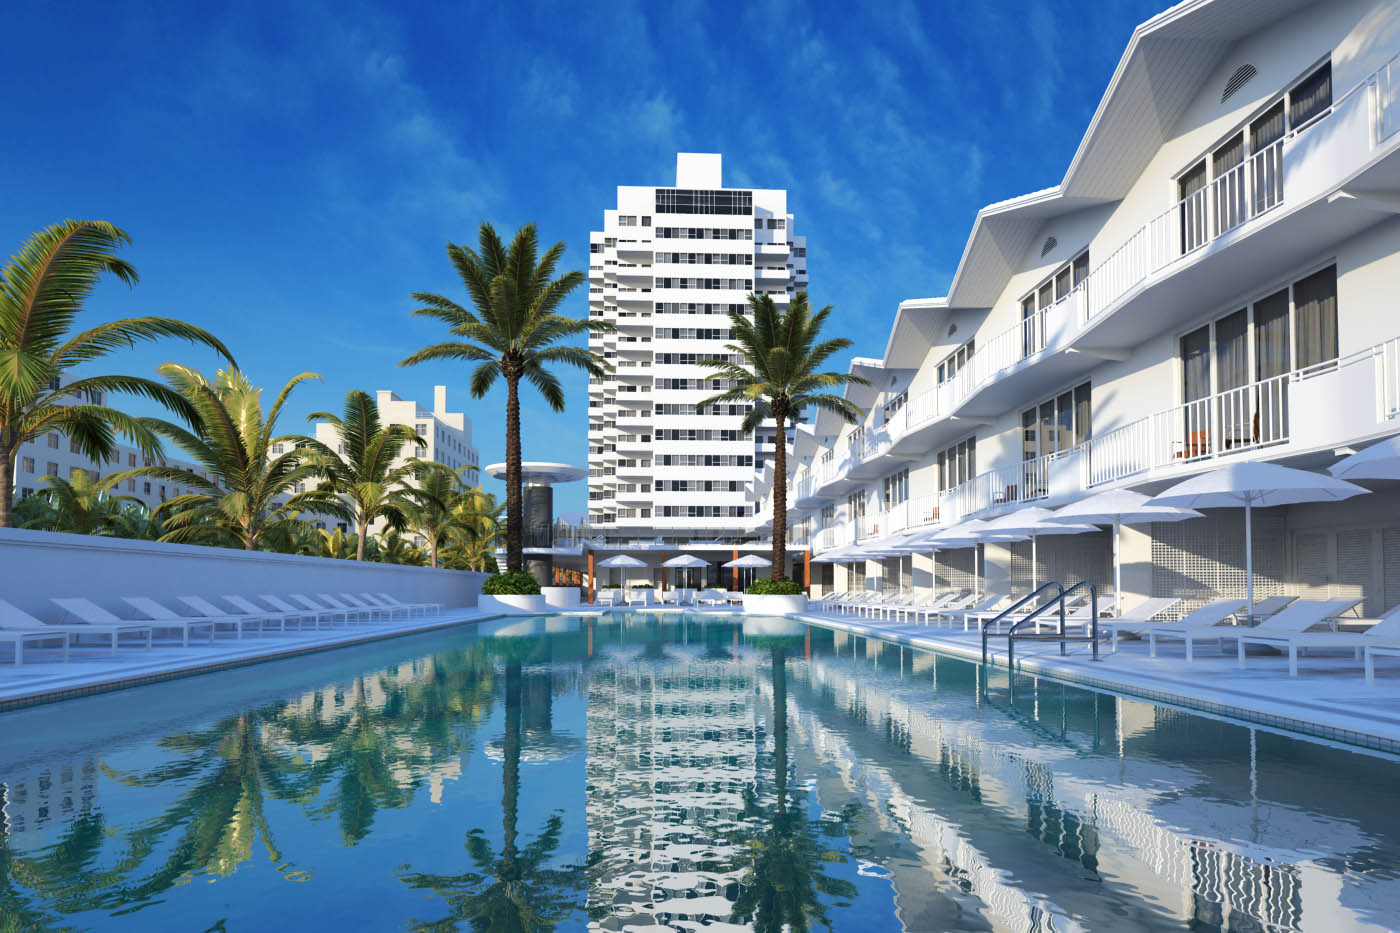
Photoshop part. First, we change hue / saturation a bit
Click on image to enlarge 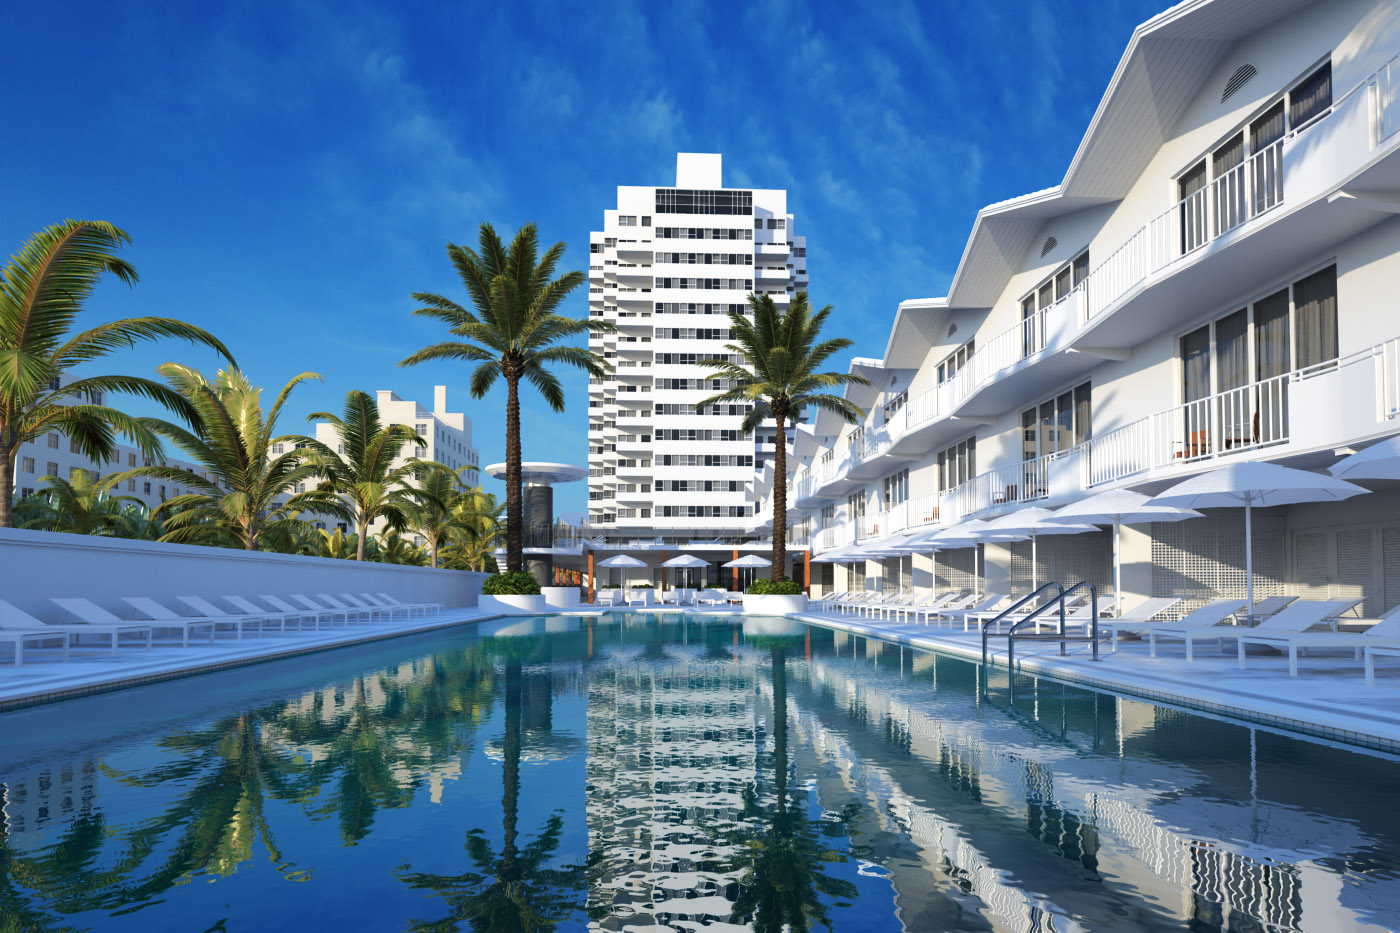
We made bottom of the image a bit darker with RGB exposure with gradient mask
Click on image to enlarge 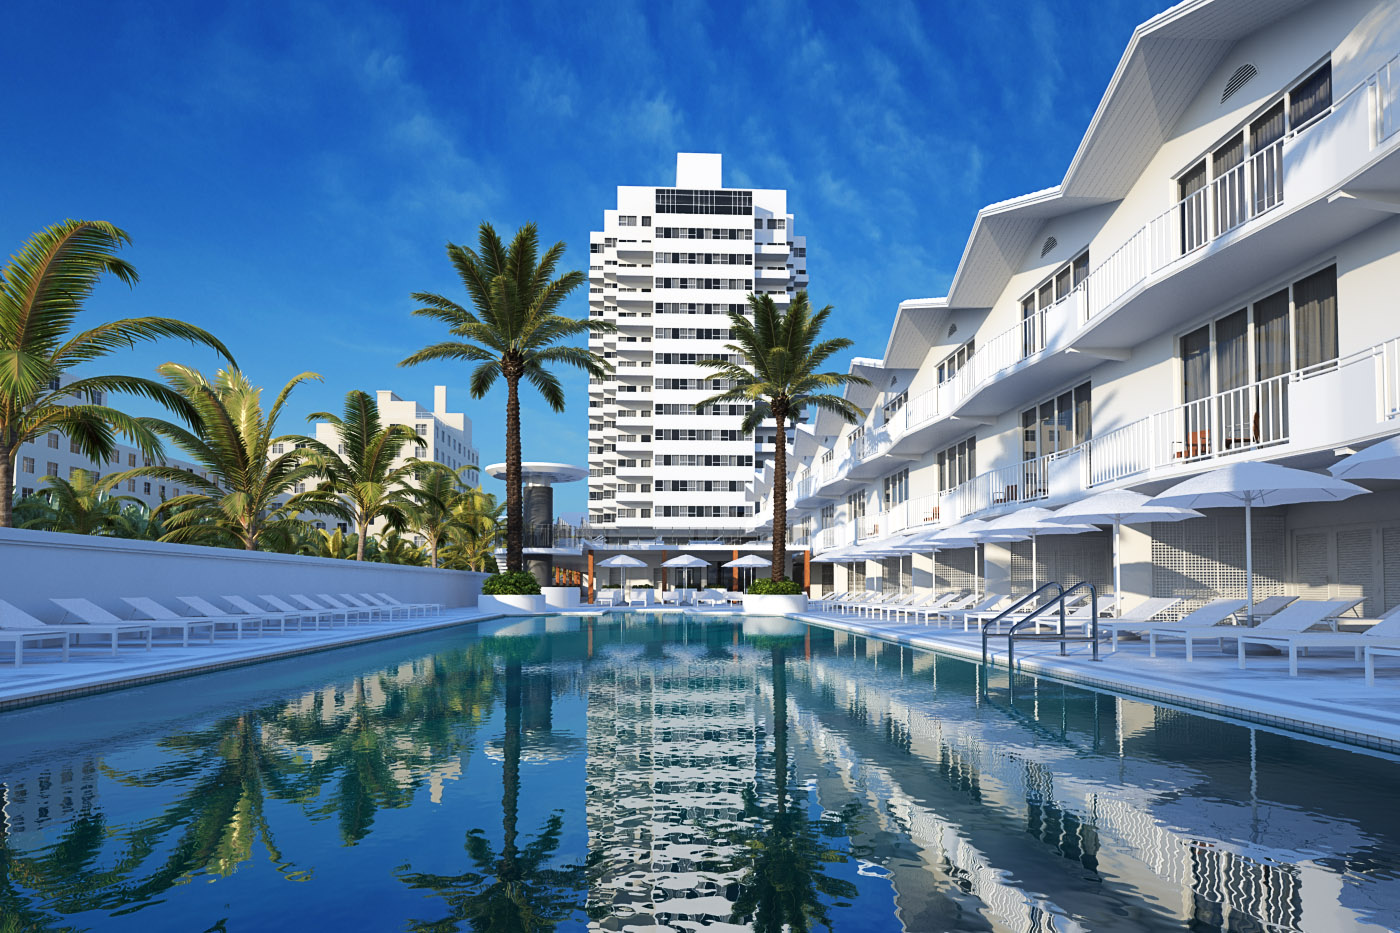
Desaturate and highpass filter
Click on image to enlarge 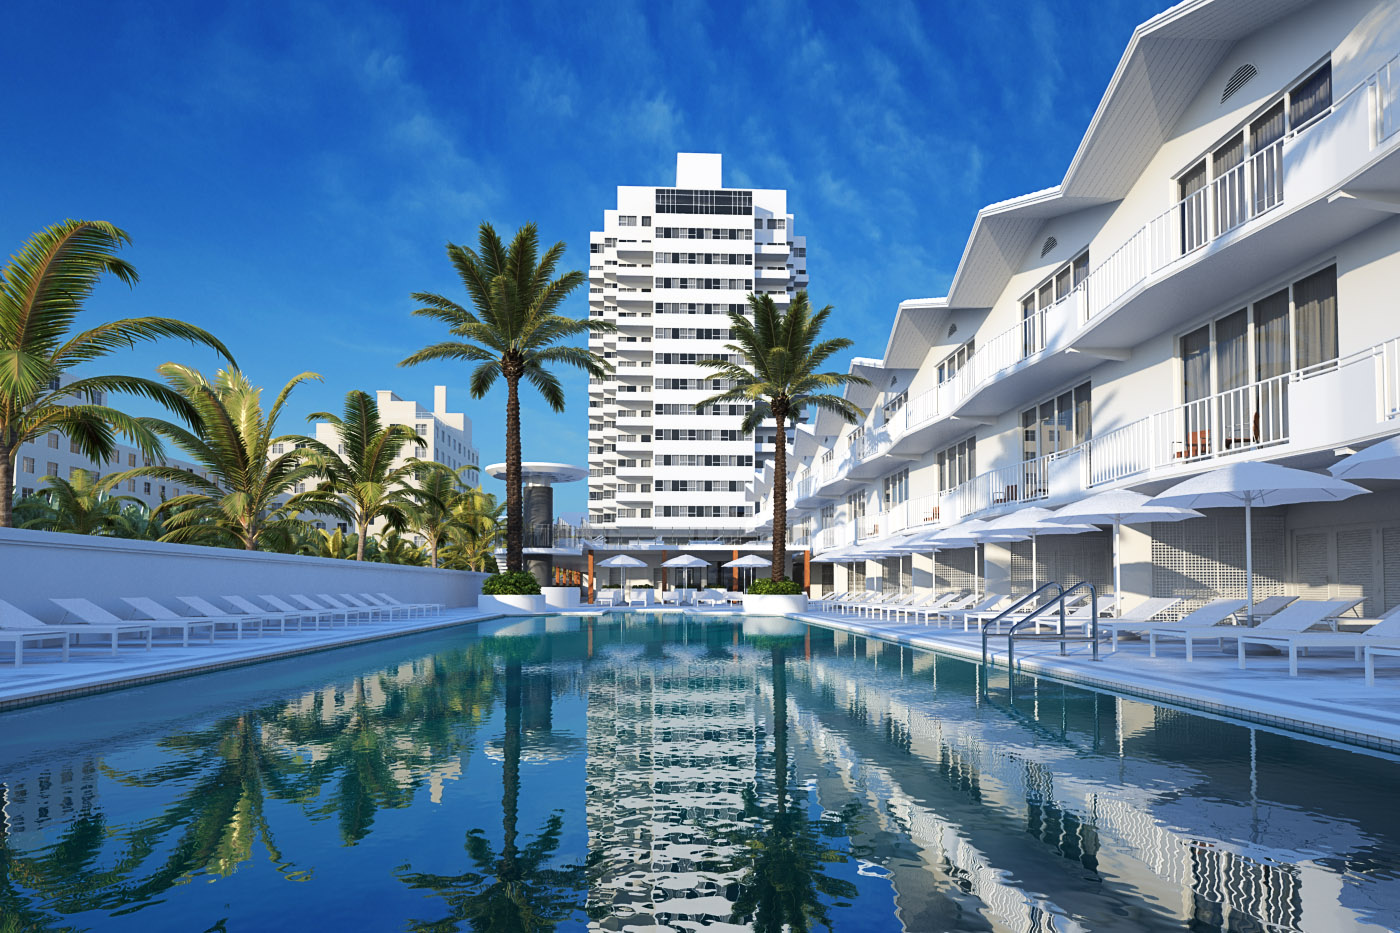
Reflection and refraction layers
Click on image to enlarge 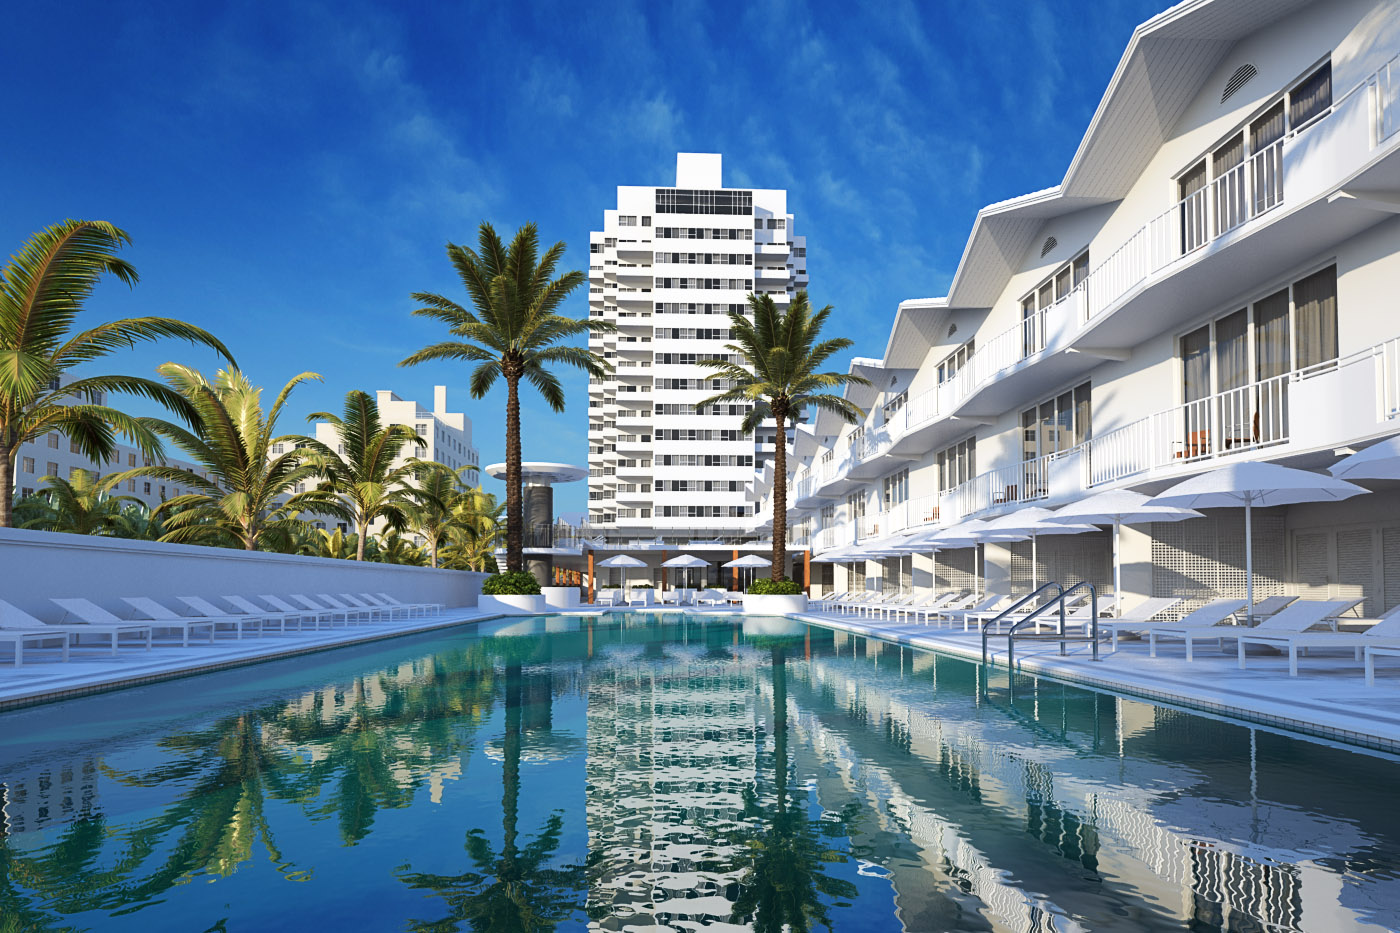
Added vignette effect in upper left corner
Click on image to enlarge 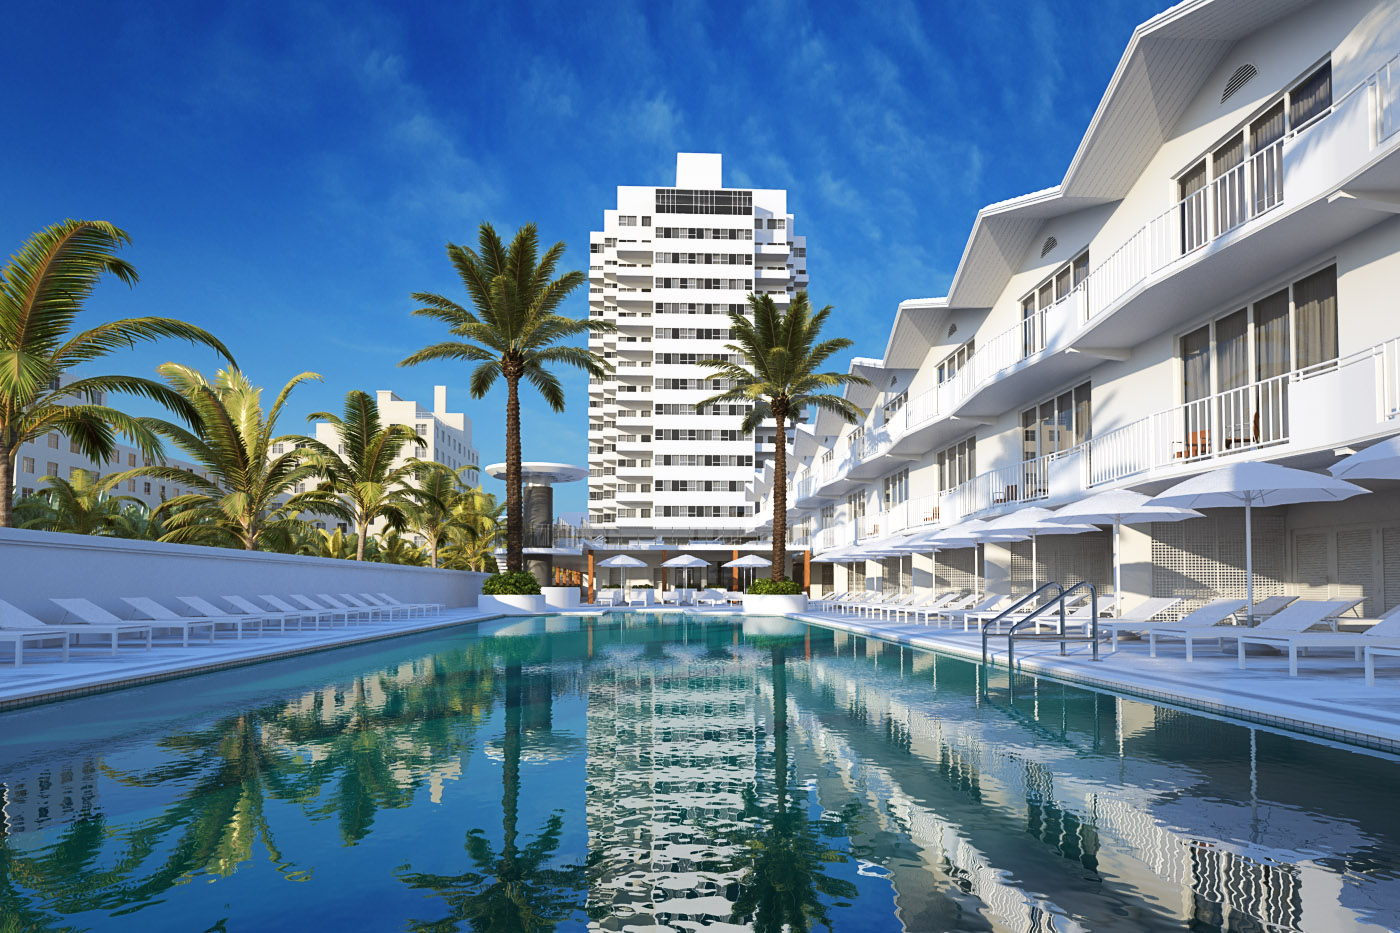
Added orange / yellow filter on the background buildings using ZDepth as mask
Click on image to enlarge 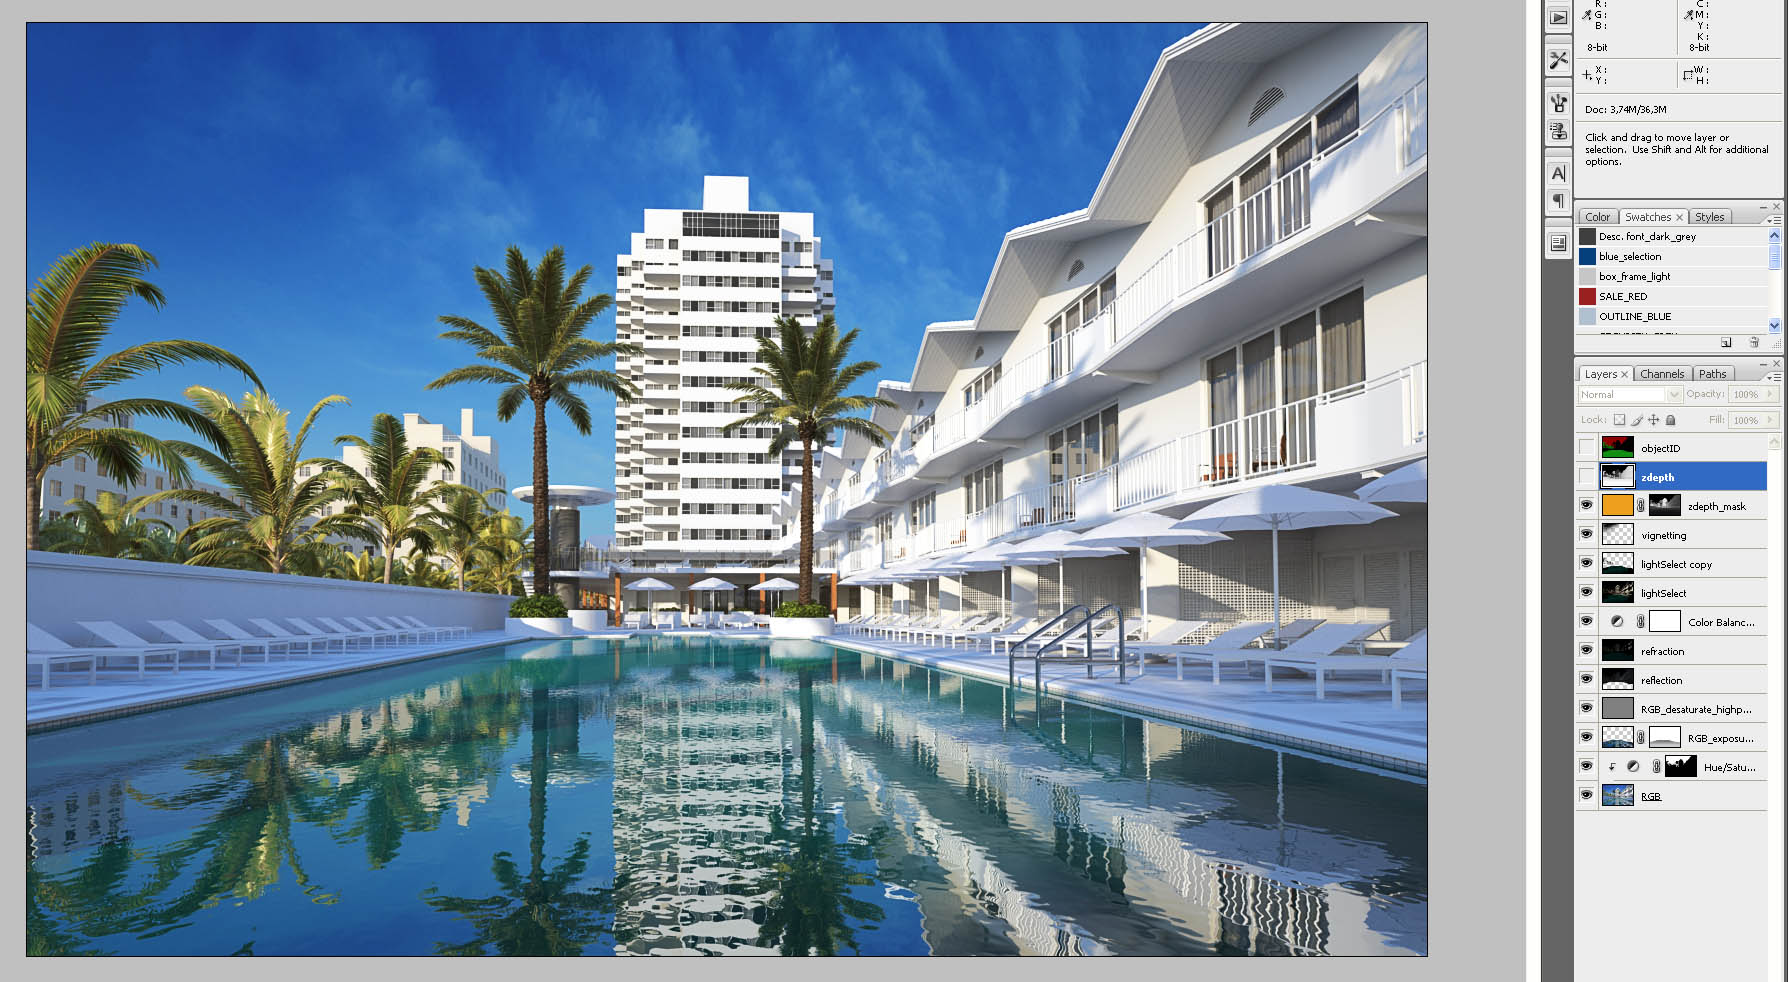
Click on image to enlarge 
And again - the final image!
Thanks for reading! Please, leave your comment if you have any questions.
Remember - you can browse and buy the scenes from Archexteriors vol. 23 in Evermotion Shop and on reseller sites. :)
Customer zone
Your special offers
Your orders
Edit account
Add project
Liked projects
View your artist profile


COMMENTS