- NEWS
- SHOP
- MENU
- Free Products
- Best Prices
- Collections
- Bundles
- All models and scenes
- All scenes
- Animals
- Appliances
- Architectural elements
- Characters
- Electronics
- Food
- Furniture
- Greenery and plants
- Lighting
- Props and gadgets
- Sport & hobby
- Textiles
- Transportation
- Materials & textures
- Software
New articlesVIEW ALL ARTICLES OCIO Color Management in 3ds Max 2024Color management is crucial for full control over your renders.
 A look at 3dsMax Video SequencerDo you know that you can edit your videos directly in 3ds Max? Renderram is showing some functionalities of 3ds Max's built in sequencer.
 FStorm Denoiser is here - First ImpressionsFirst look at new denoising tool in FStorm that will clean-up your renders.
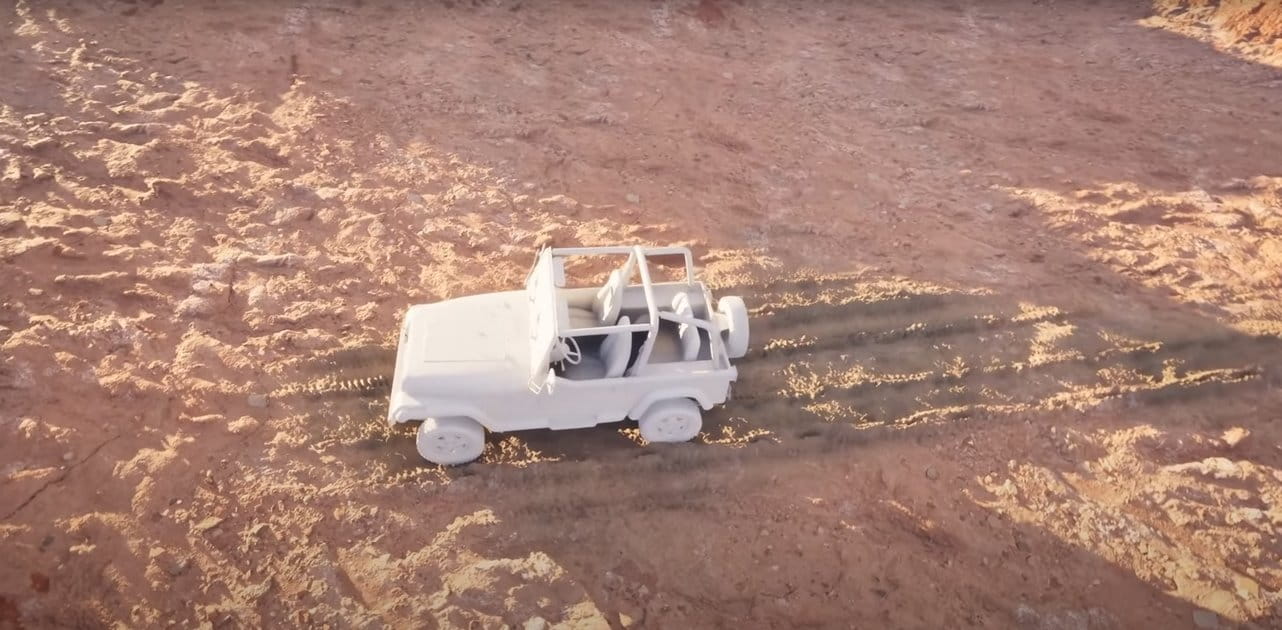
 Unreal Engine 5.4: Nanite Tessellation in 10 MinutesThis tutorial takes you through creating a stunning desert scene, complete with realistic tire tracks, using Nanite for landscapes, Gaea for terrain sculpting, and an awesome slope masking auto material.
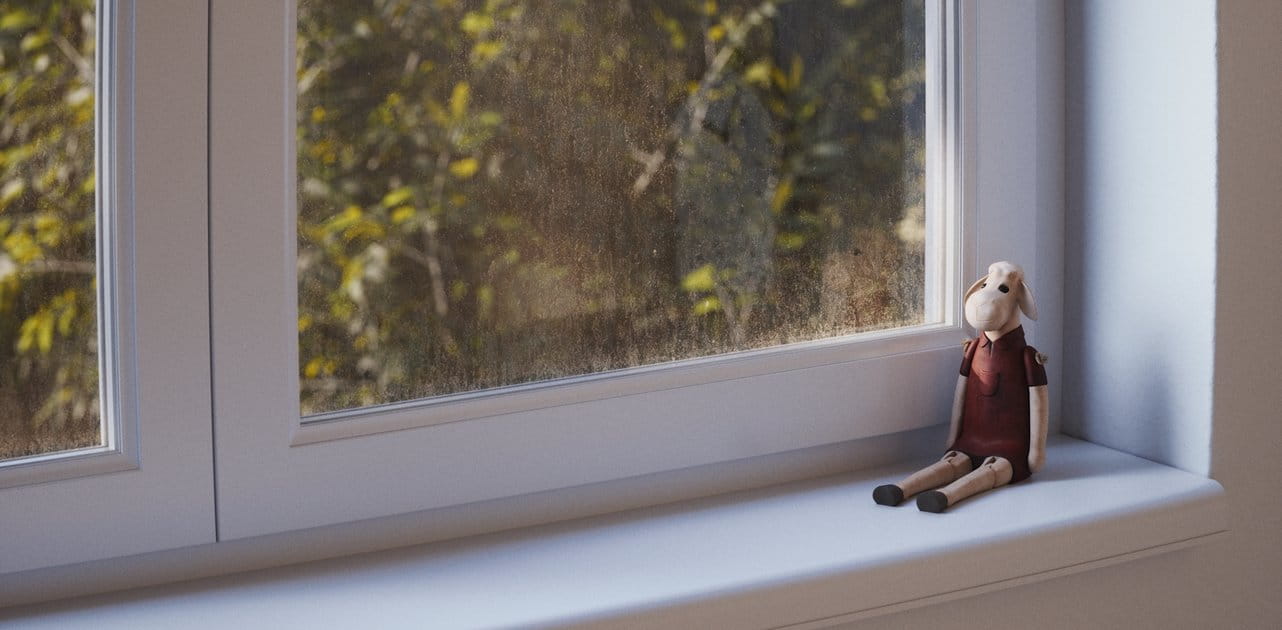
 Create Dirty Windows - material tutorialNew tutorial by RenderRam.
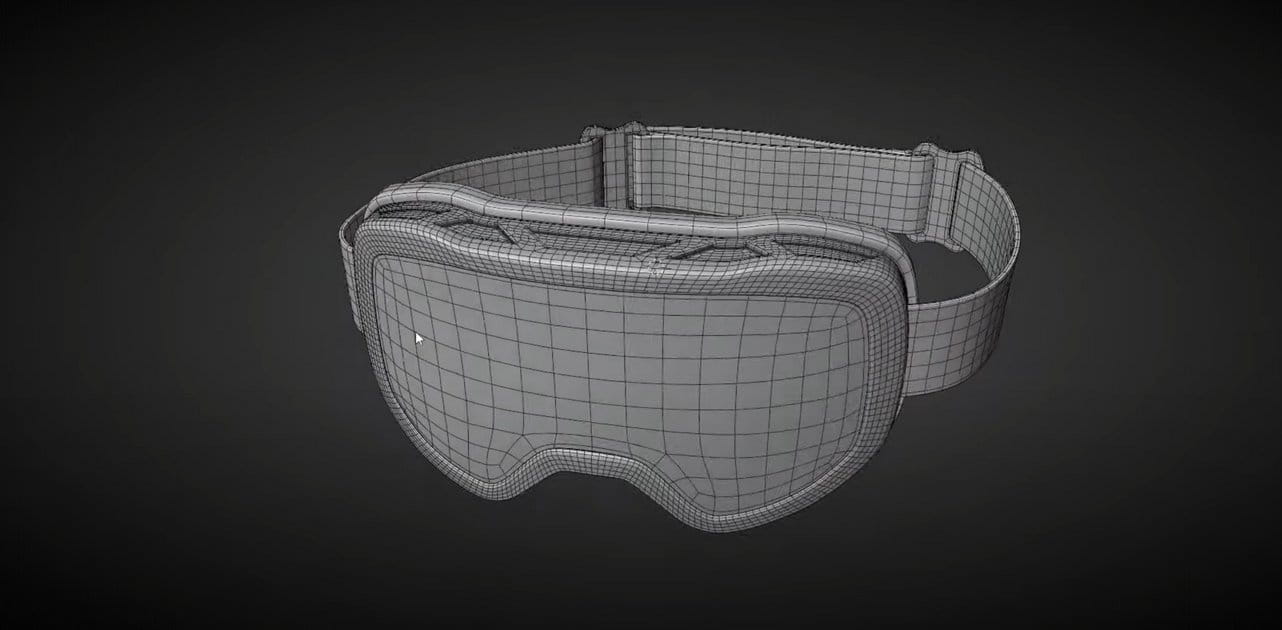
 Topology Study : How To Model Ski Googles in BlenderUsing Blender modeling tools for creating realistic ski googles.
Search
Cart
Sign in
-
Log in
Don't have an account yet?
Sign upCreate new accountLog in Customer zone
Your special offers
Your orders
Edit account
Add project
Liked projects
View your artist profile
-
Dark mode✔
Shop
- Free Products
- Best Prices
- Collections
- Bundles
- All models and scenes
- All scenes
- Animals
- Appliances
- Architectural elements
- Characters
- Electronics
- Food
- Furniture
- Greenery and plants
- Lighting
- Props and gadgets
- Sport & hobby
- Textiles
- Transportation
- Materials & textures
- Software


COMMENTS