This scene is included in Archexteriors vol. 20. It available in Evermotion Shop (check our Archexteriors vol. 20 collection). This scene was modeled and set with 3DS Max and rendered with V-Ray (check V-Ray price!).
Click on image to enlarge 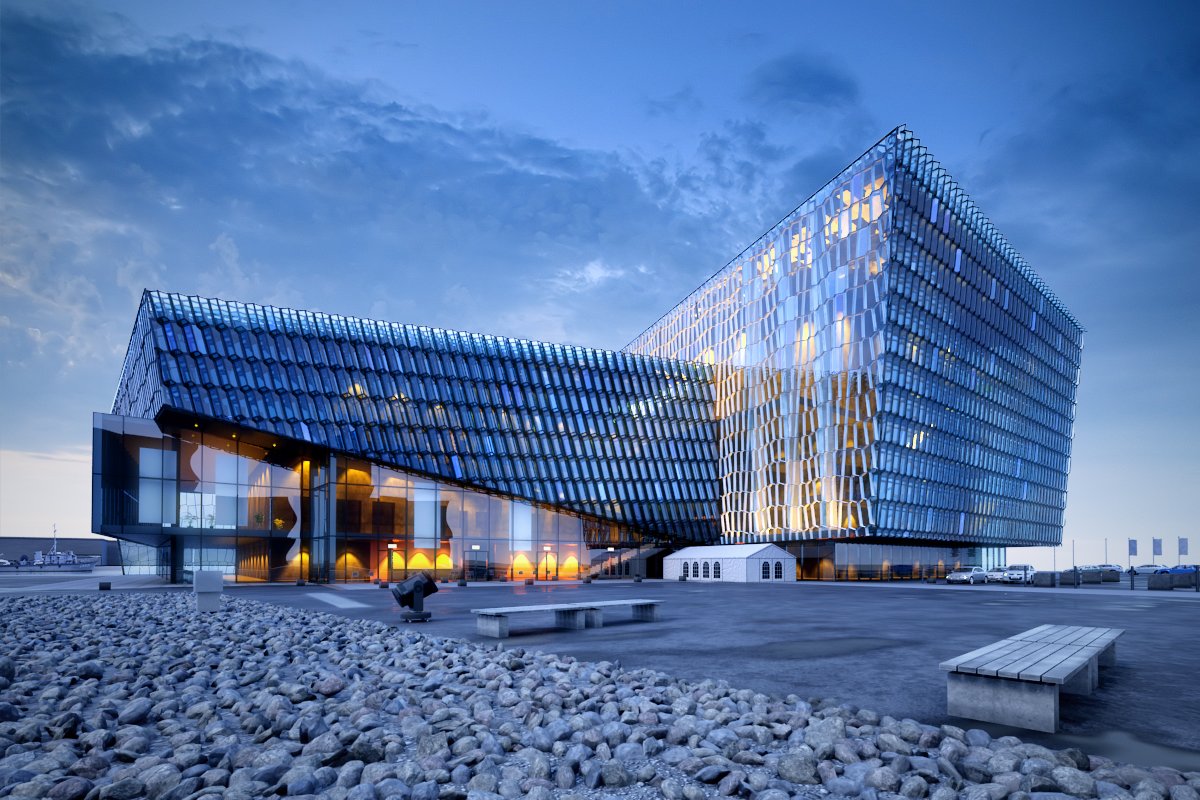
This is the final image after post production.
Click on image to enlarge 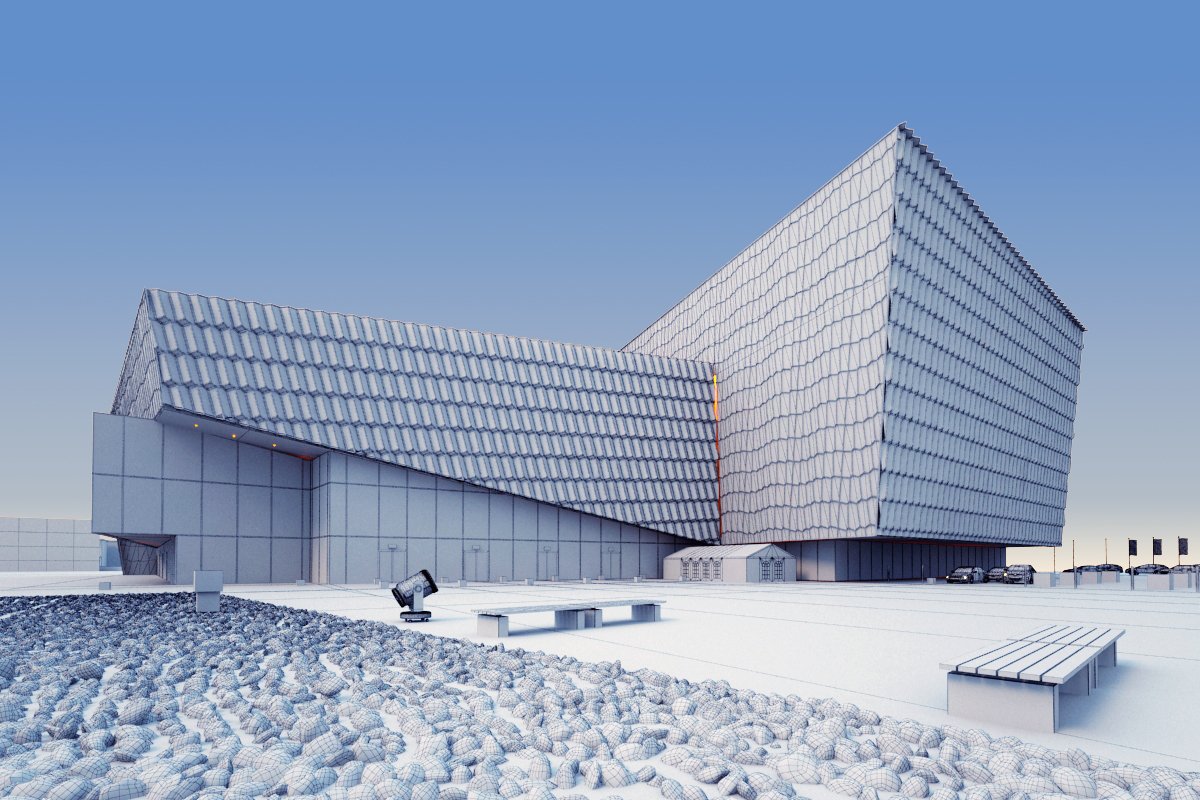
Click on image to enlarge 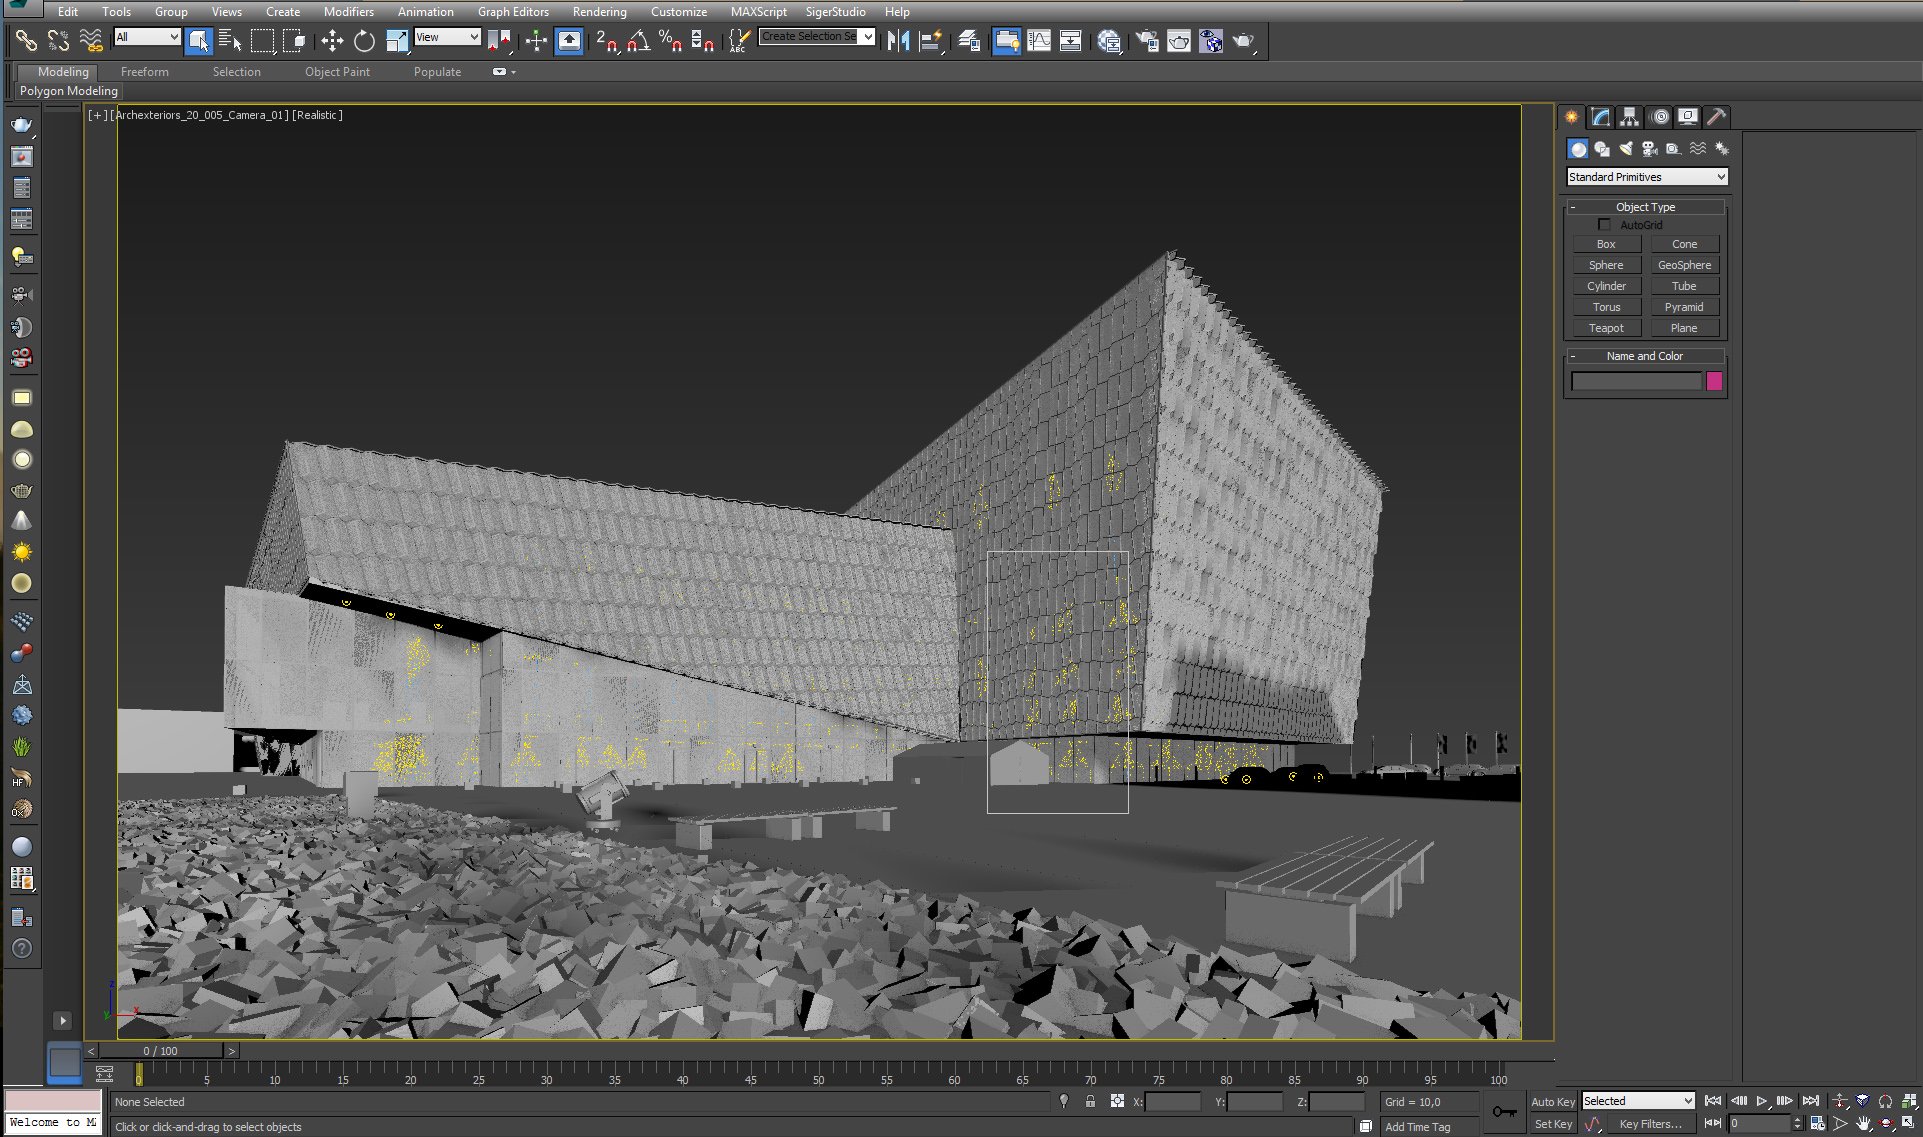
Click on image to enlarge 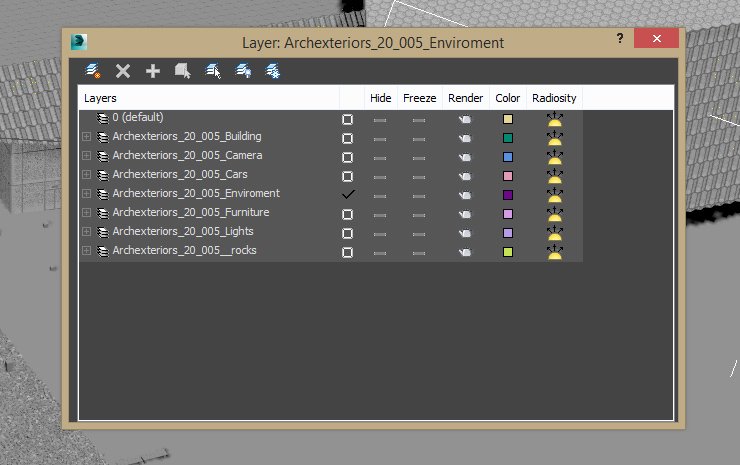
This scene is pretty heavy so it was necesarry to use layers. Thanks to them it is possible to quickly navigate this scene.
Click on image to enlarge 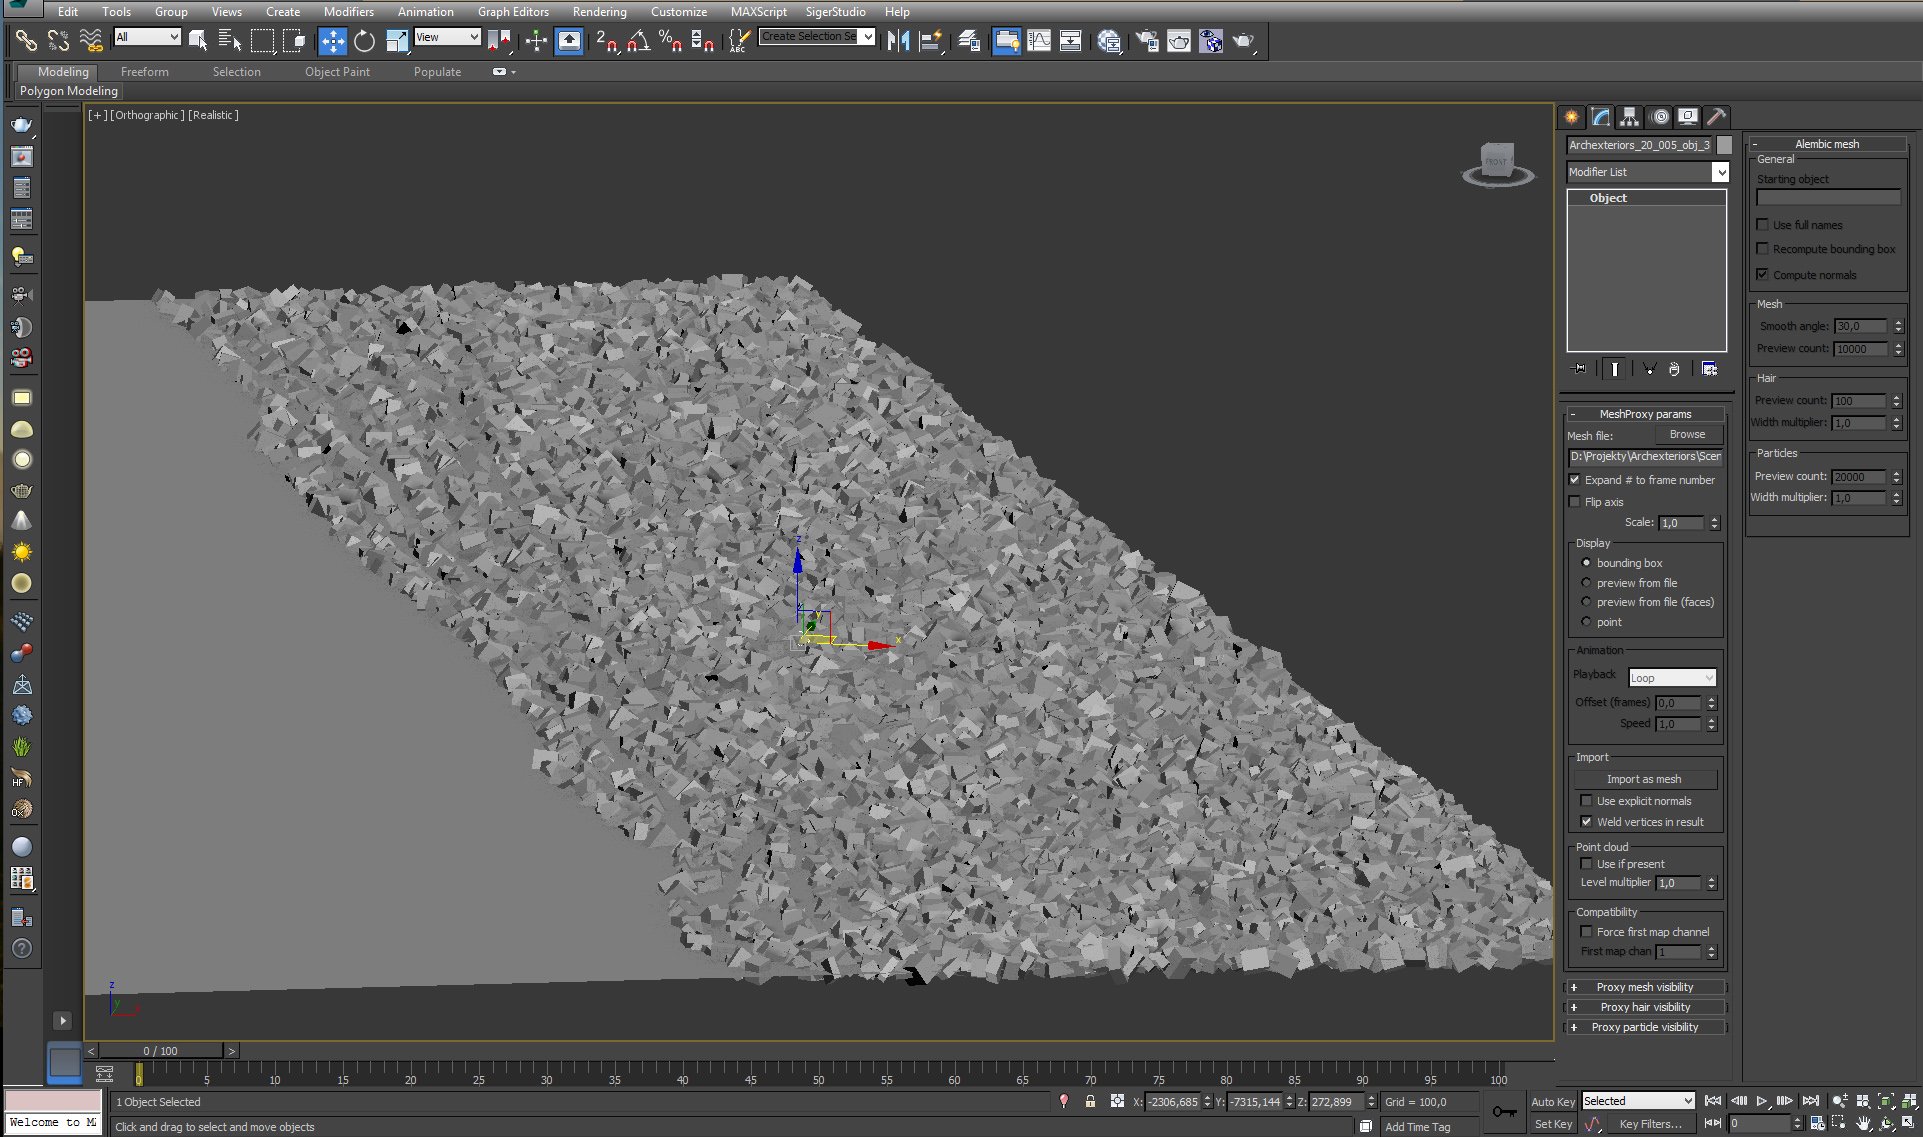
Rocks are put in the scene as VrayProxies. It speeds up viewport navigation.
Click on image to enlarge 
We placed some cars near the main building.
Click on image to enlarge 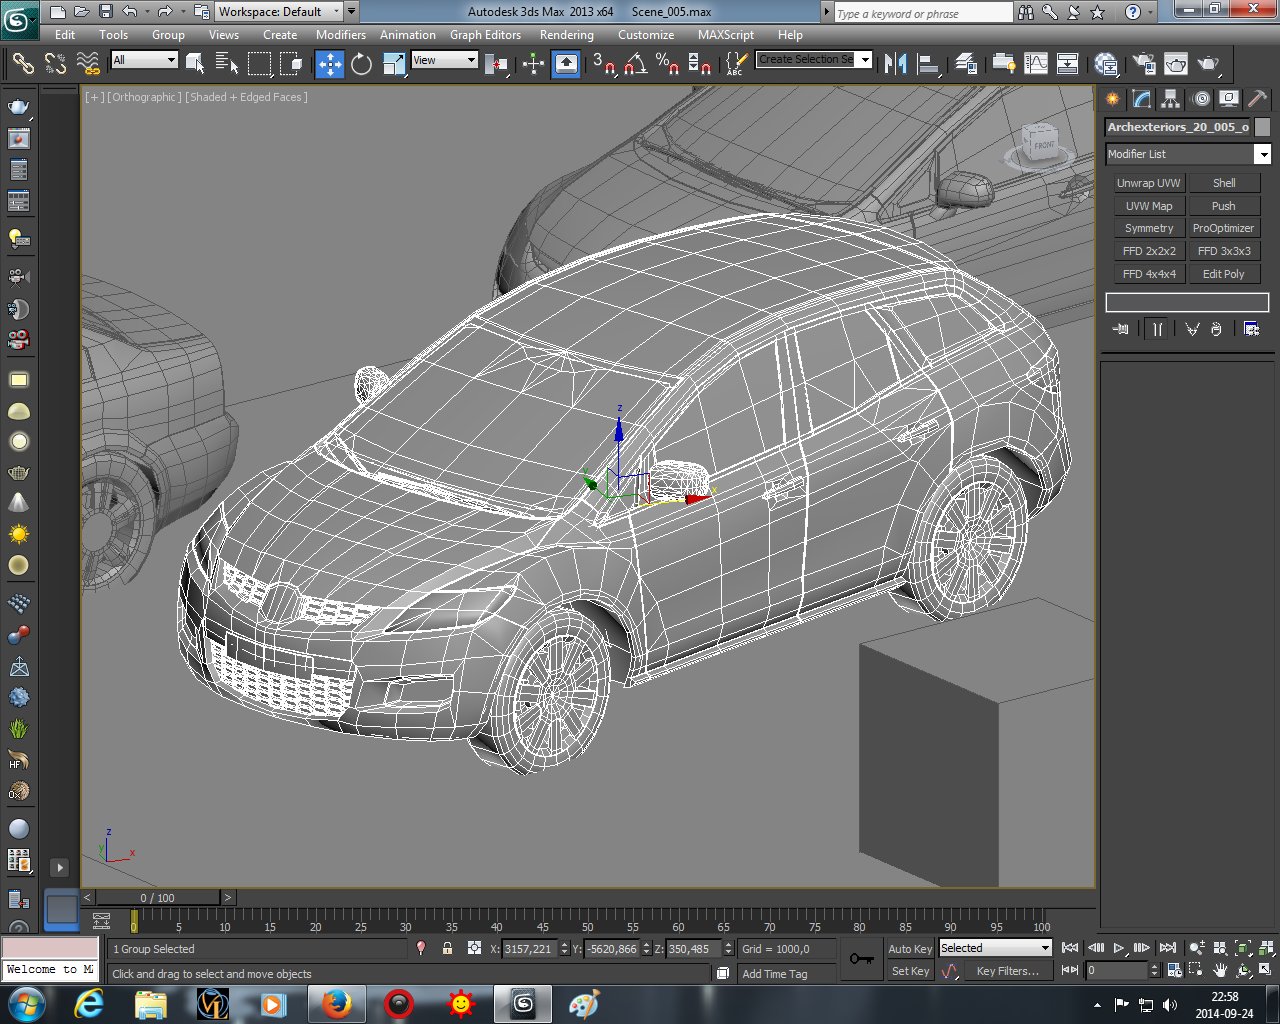
Cars are placed quite far from camera so there was no reason to use hi-poly models.
Click on image to enlarge 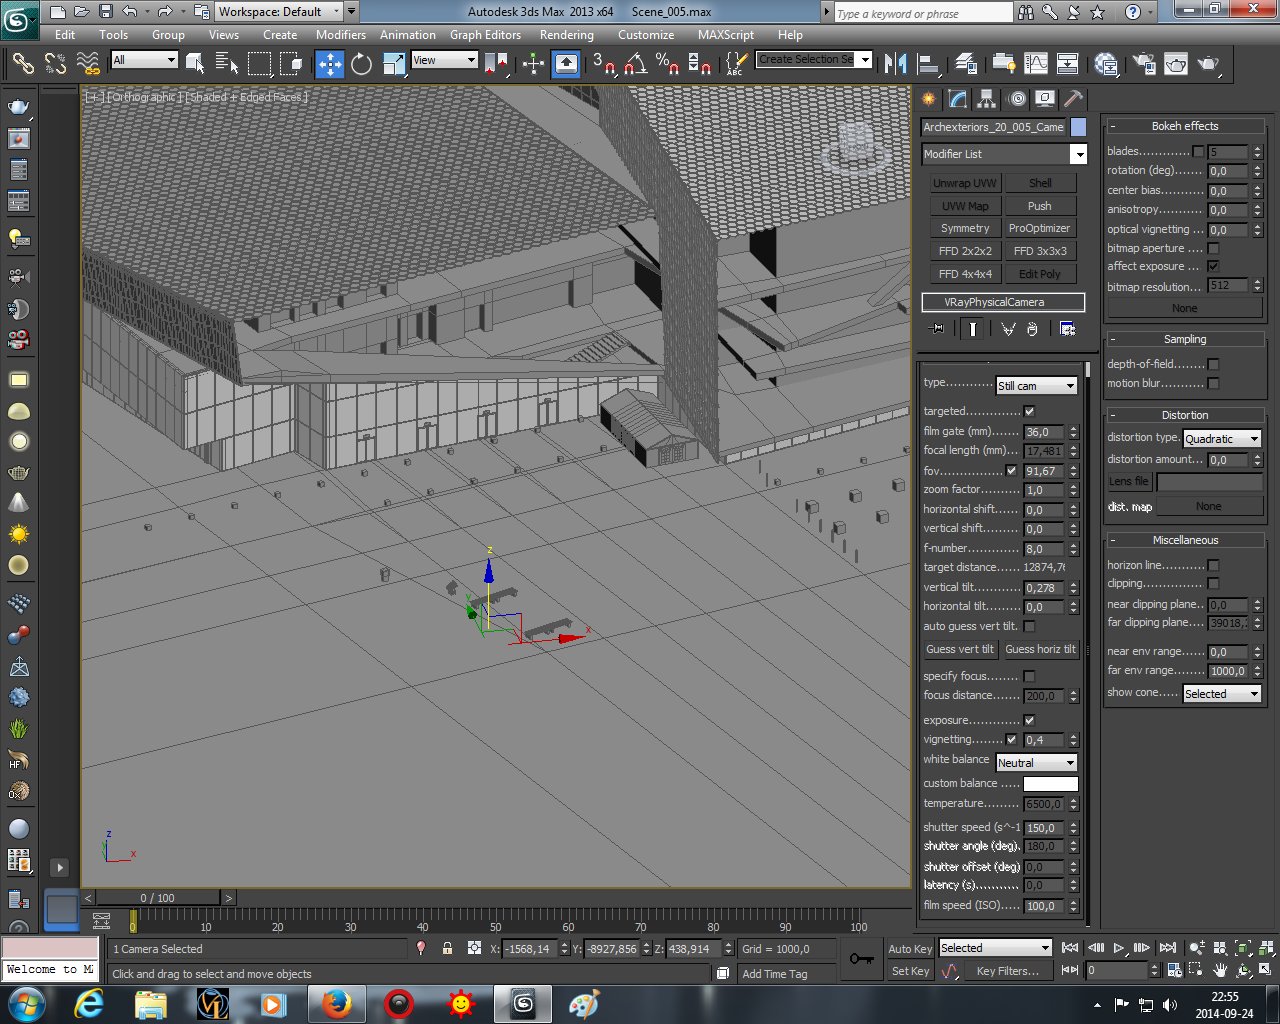
Click on image to enlarge 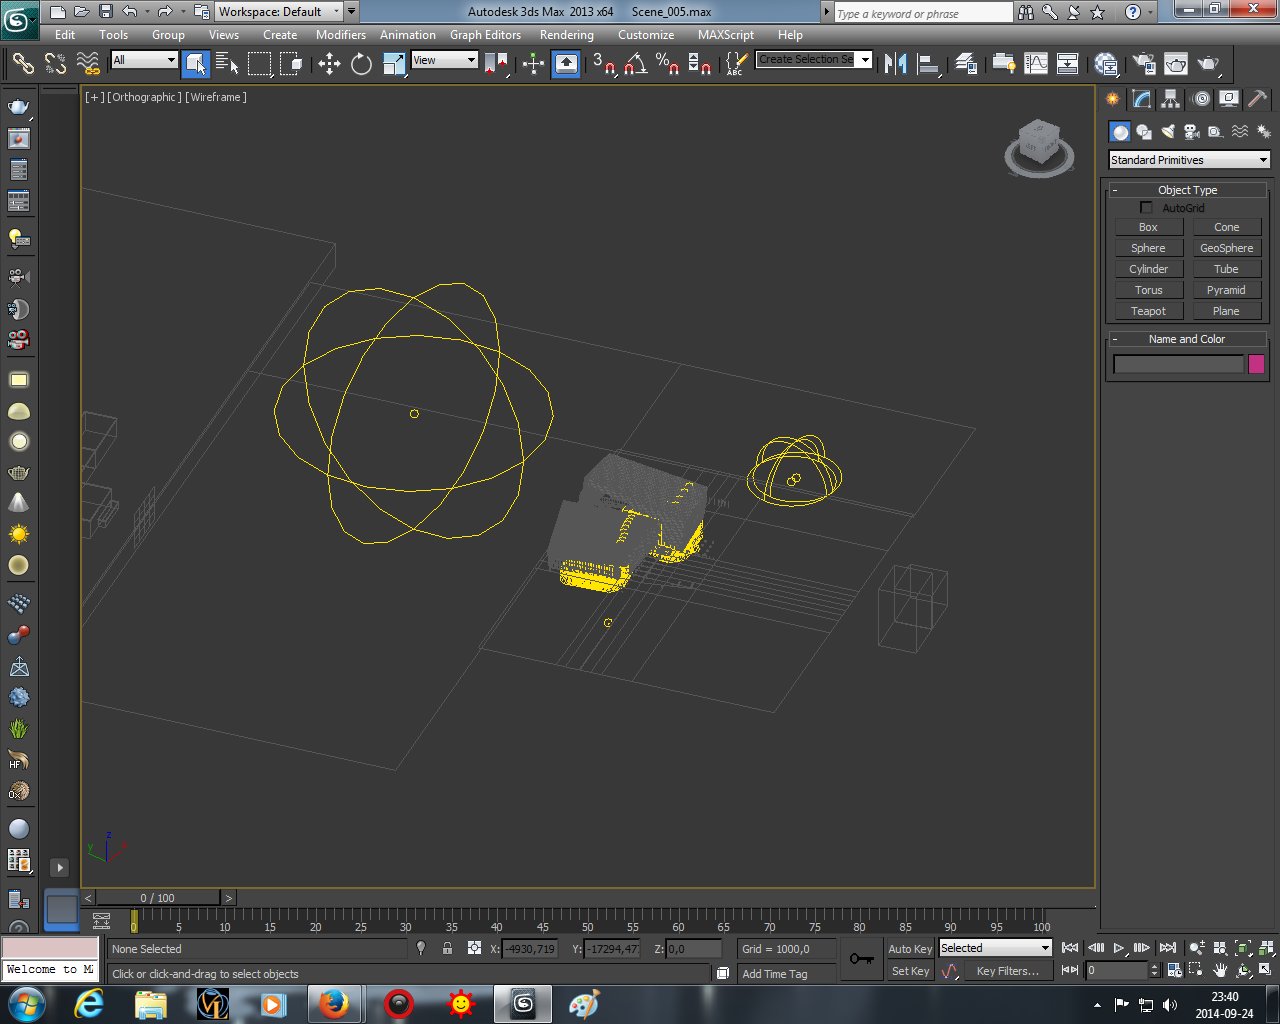
There are many lights in the scene. Main Outdoor lights are three VrayLights (2 Domes and a Sphere Light). Inside the building we placed dozens of VrayIES lights.
Click on image to enlarge 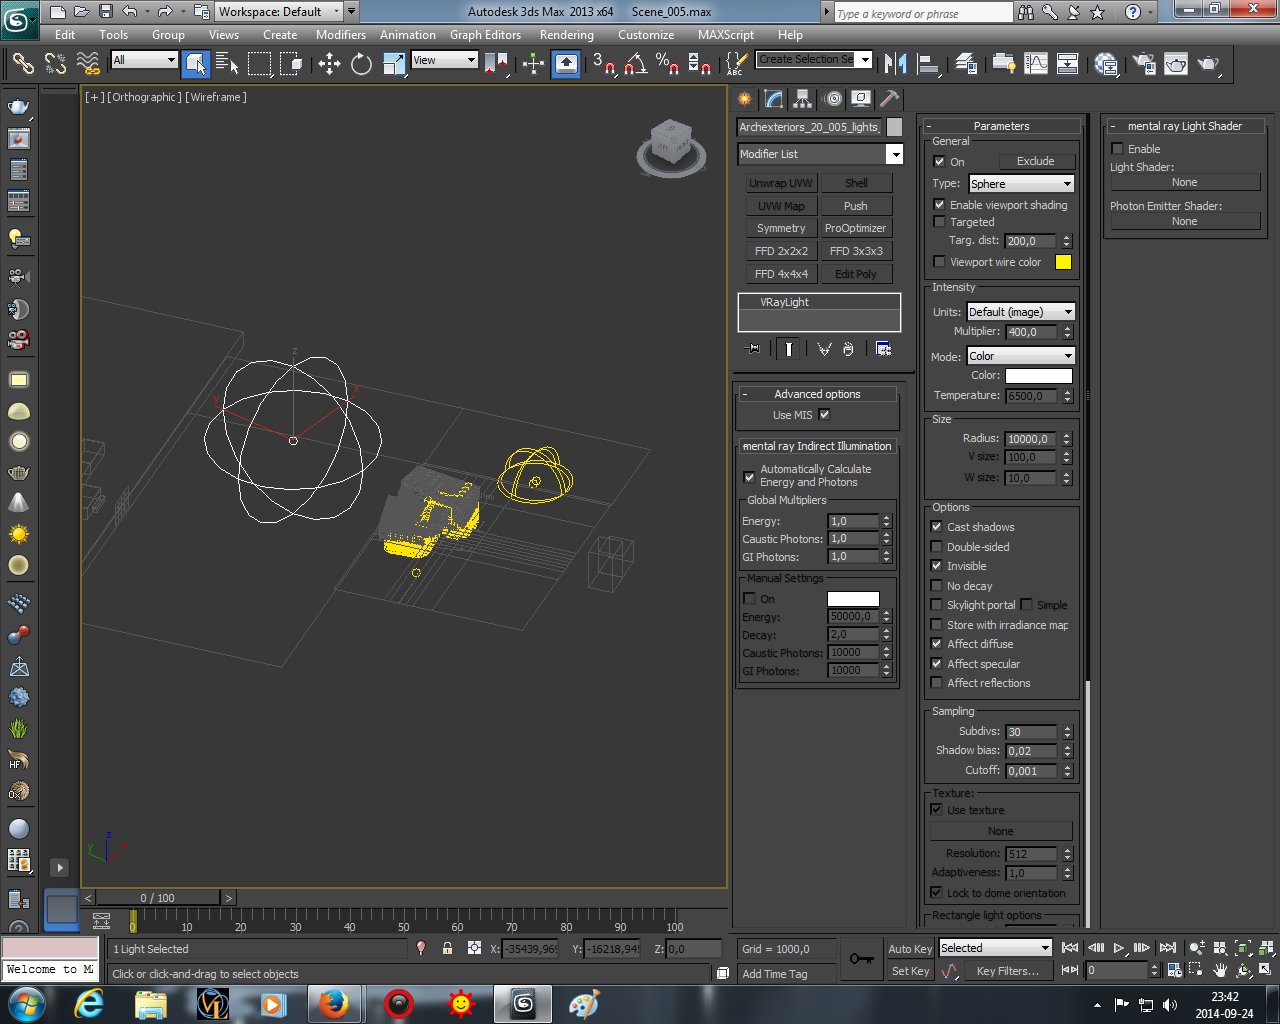
Sphere light settings. It does not affect reflections.
Click on image to enlarge 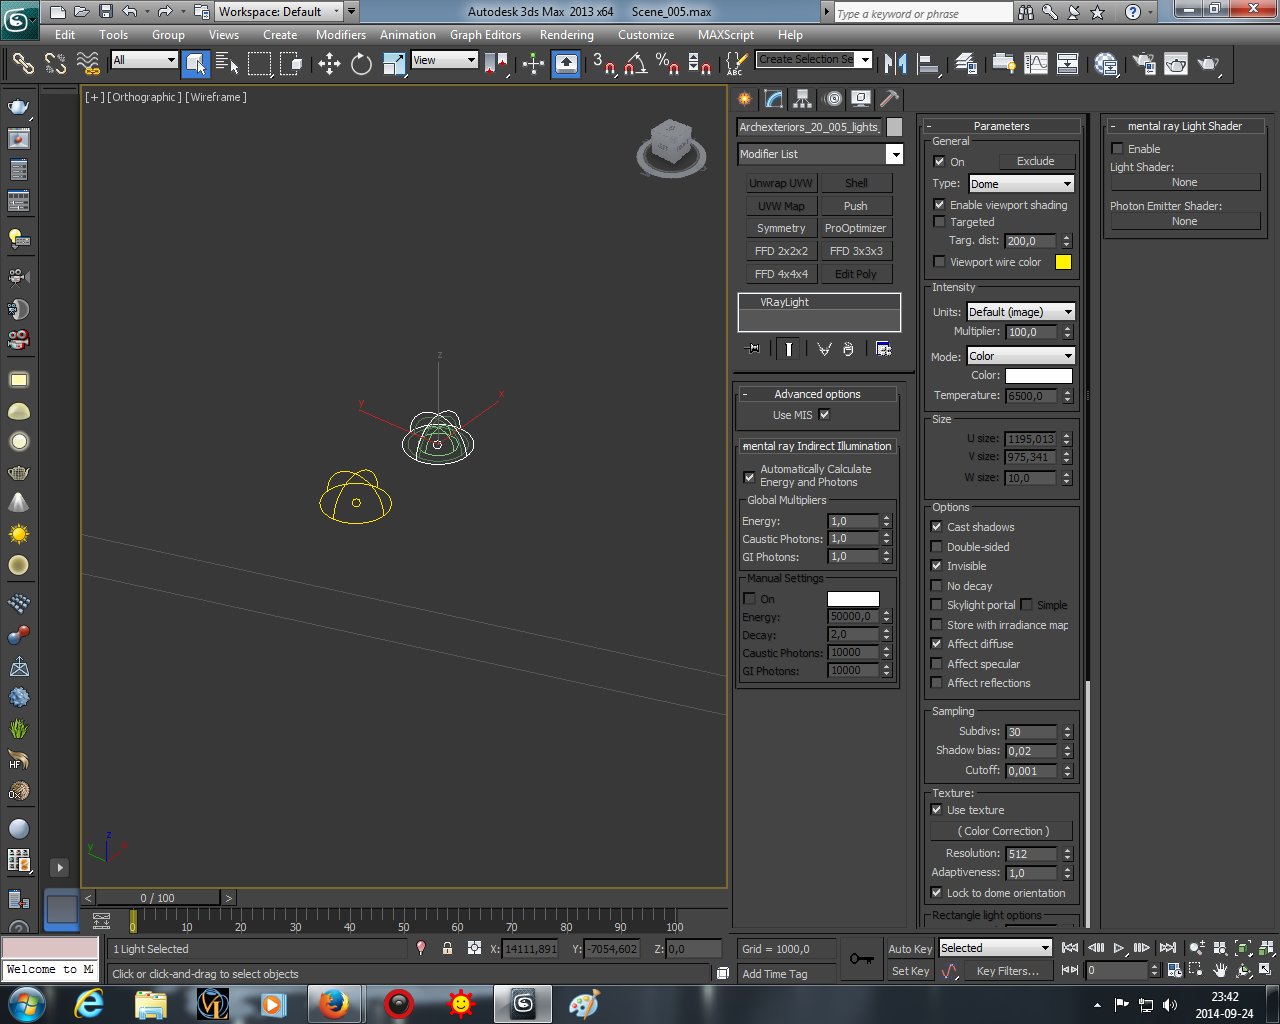
Second dome light settings are on the right. You can see that it uses texture and affects only diffuse channel.
Click on image to enlarge 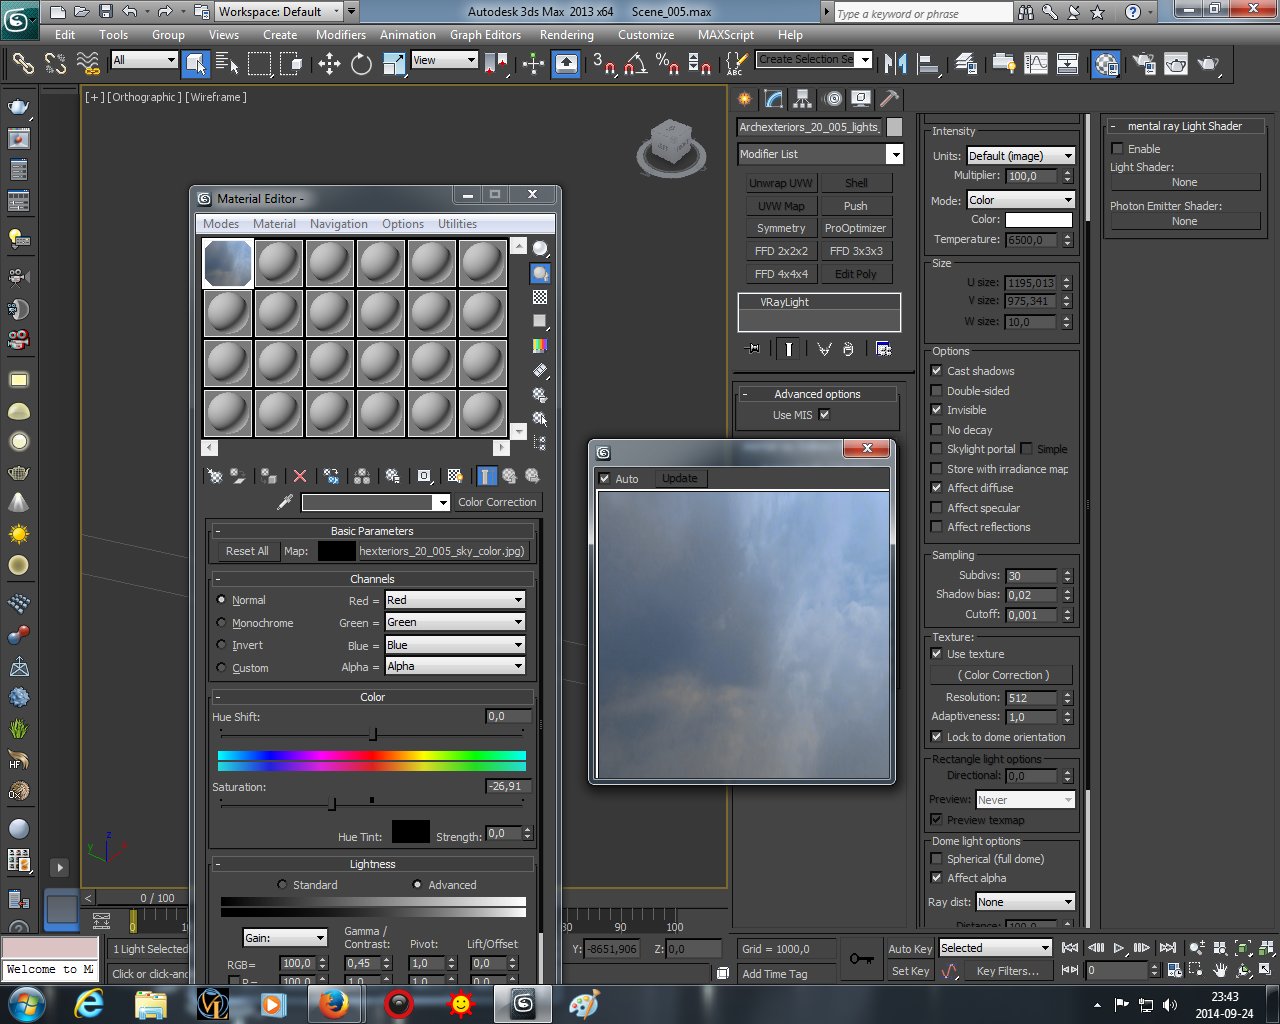
And here you have the texture that is used by second dome light.
Click on image to enlarge 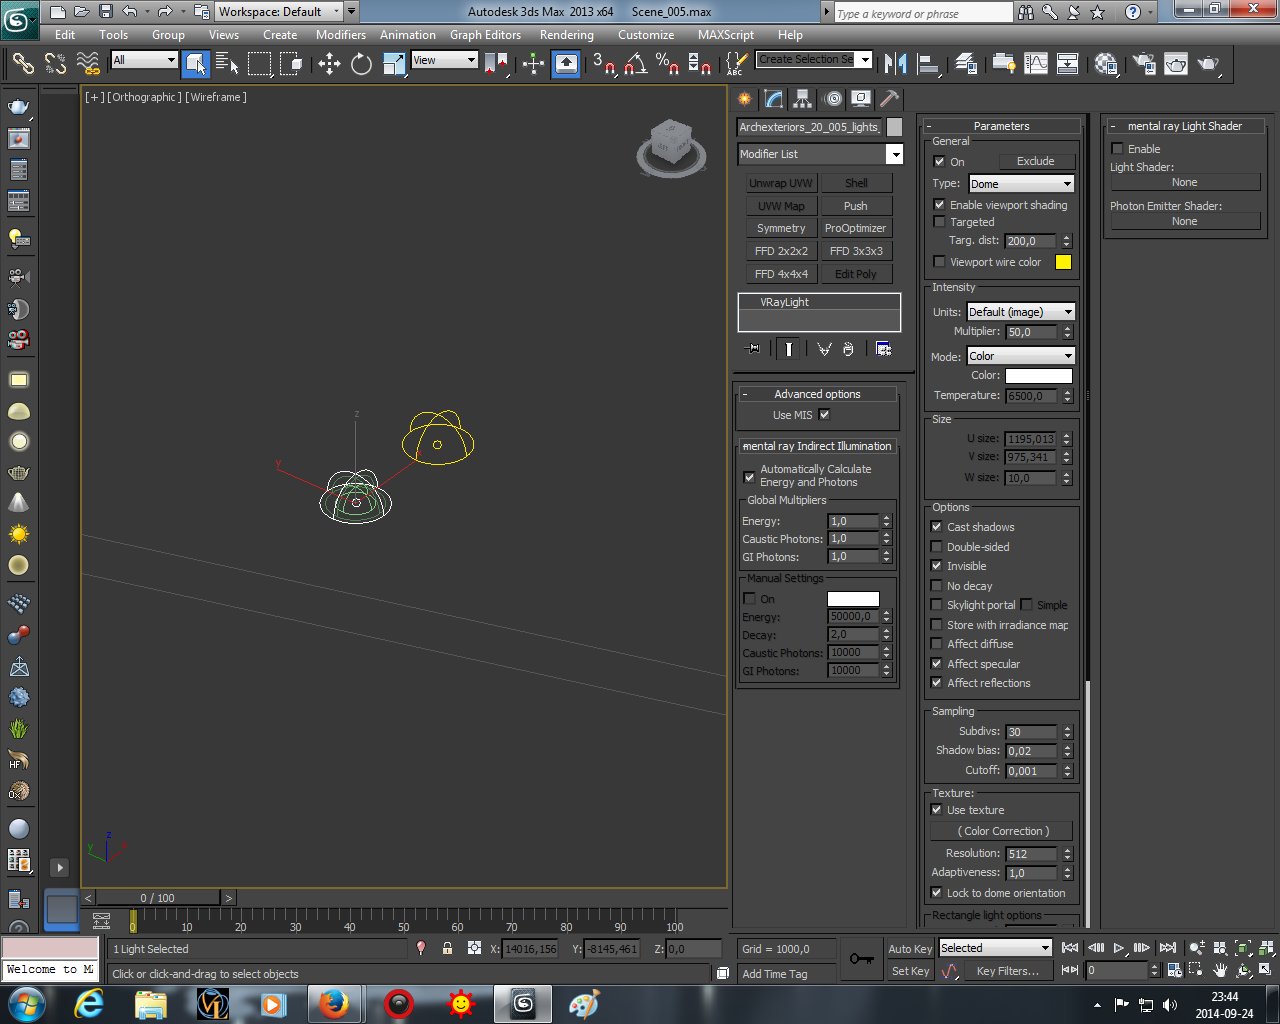
Third dome light settings. This light source also uses texture and affects only specular and reflections.
Click on image to enlarge 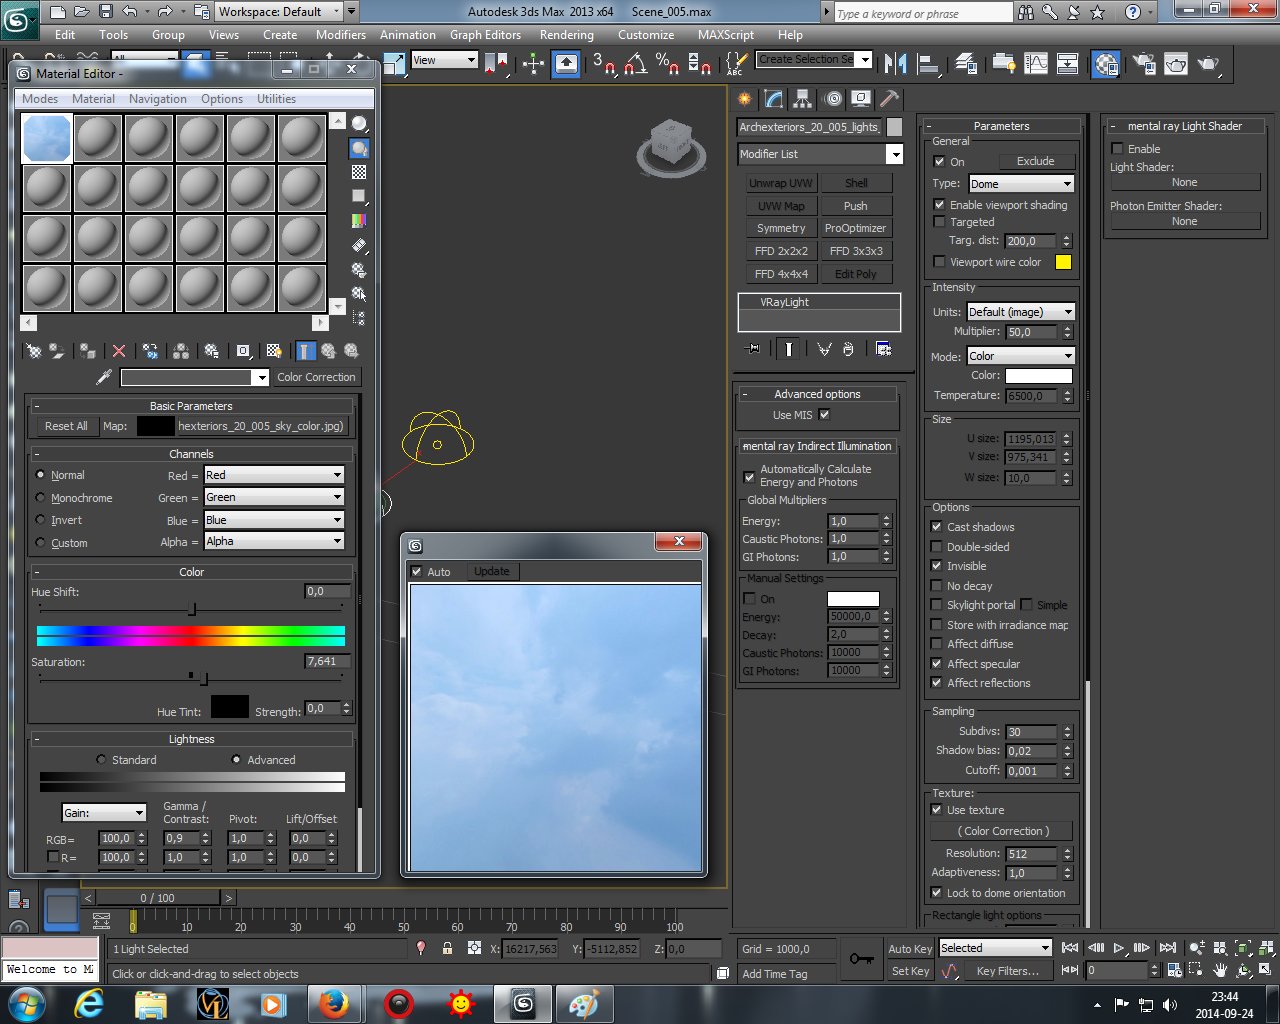
Ttexture settings of third dome light.
Click on image to enlarge 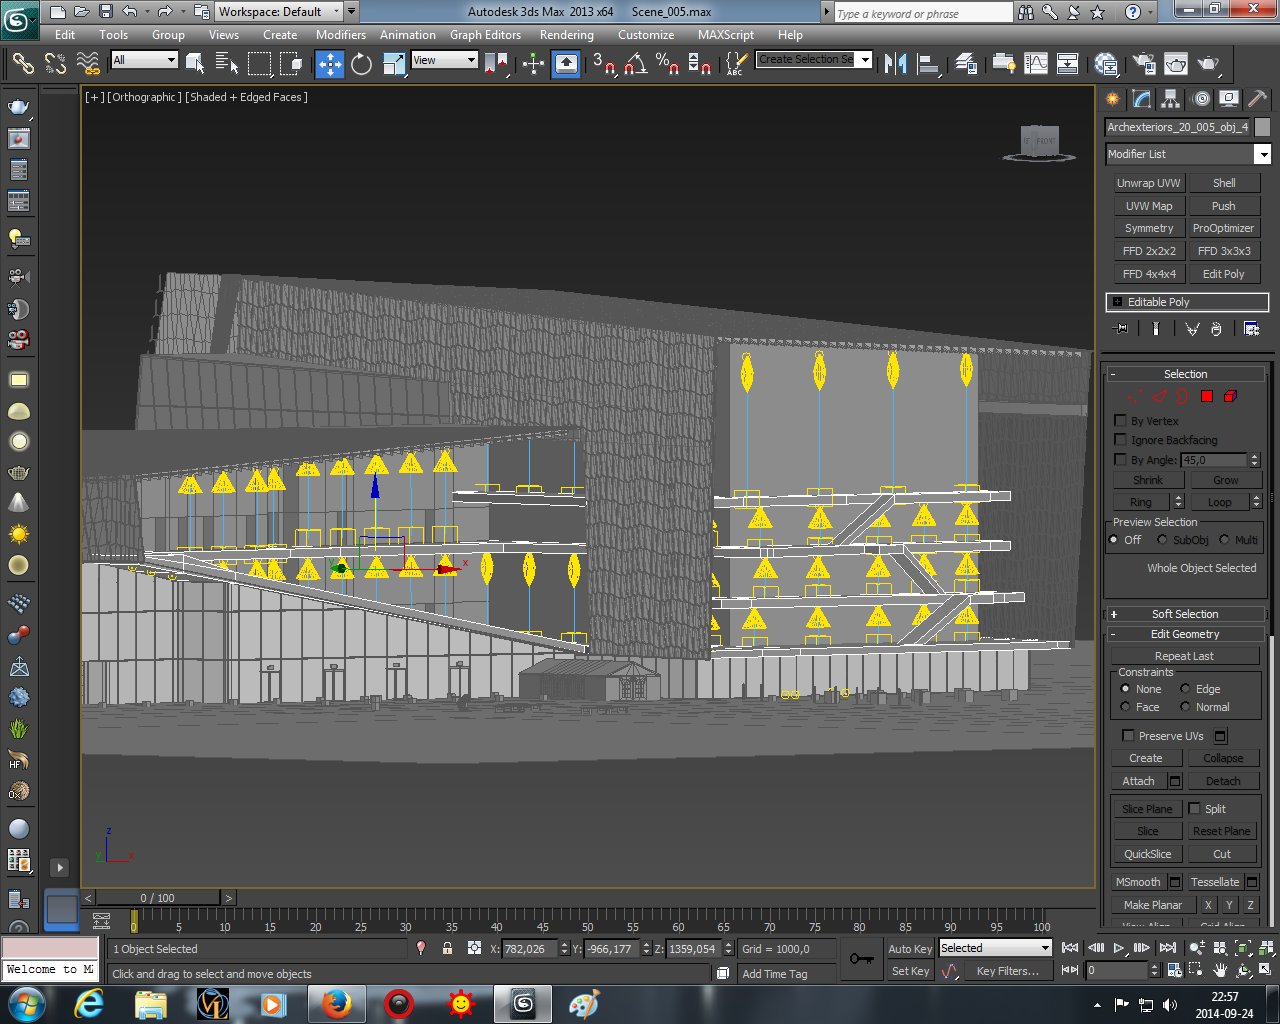
We put many light sources inside the building to give it this nice "night office" look..
Click on image to enlarge 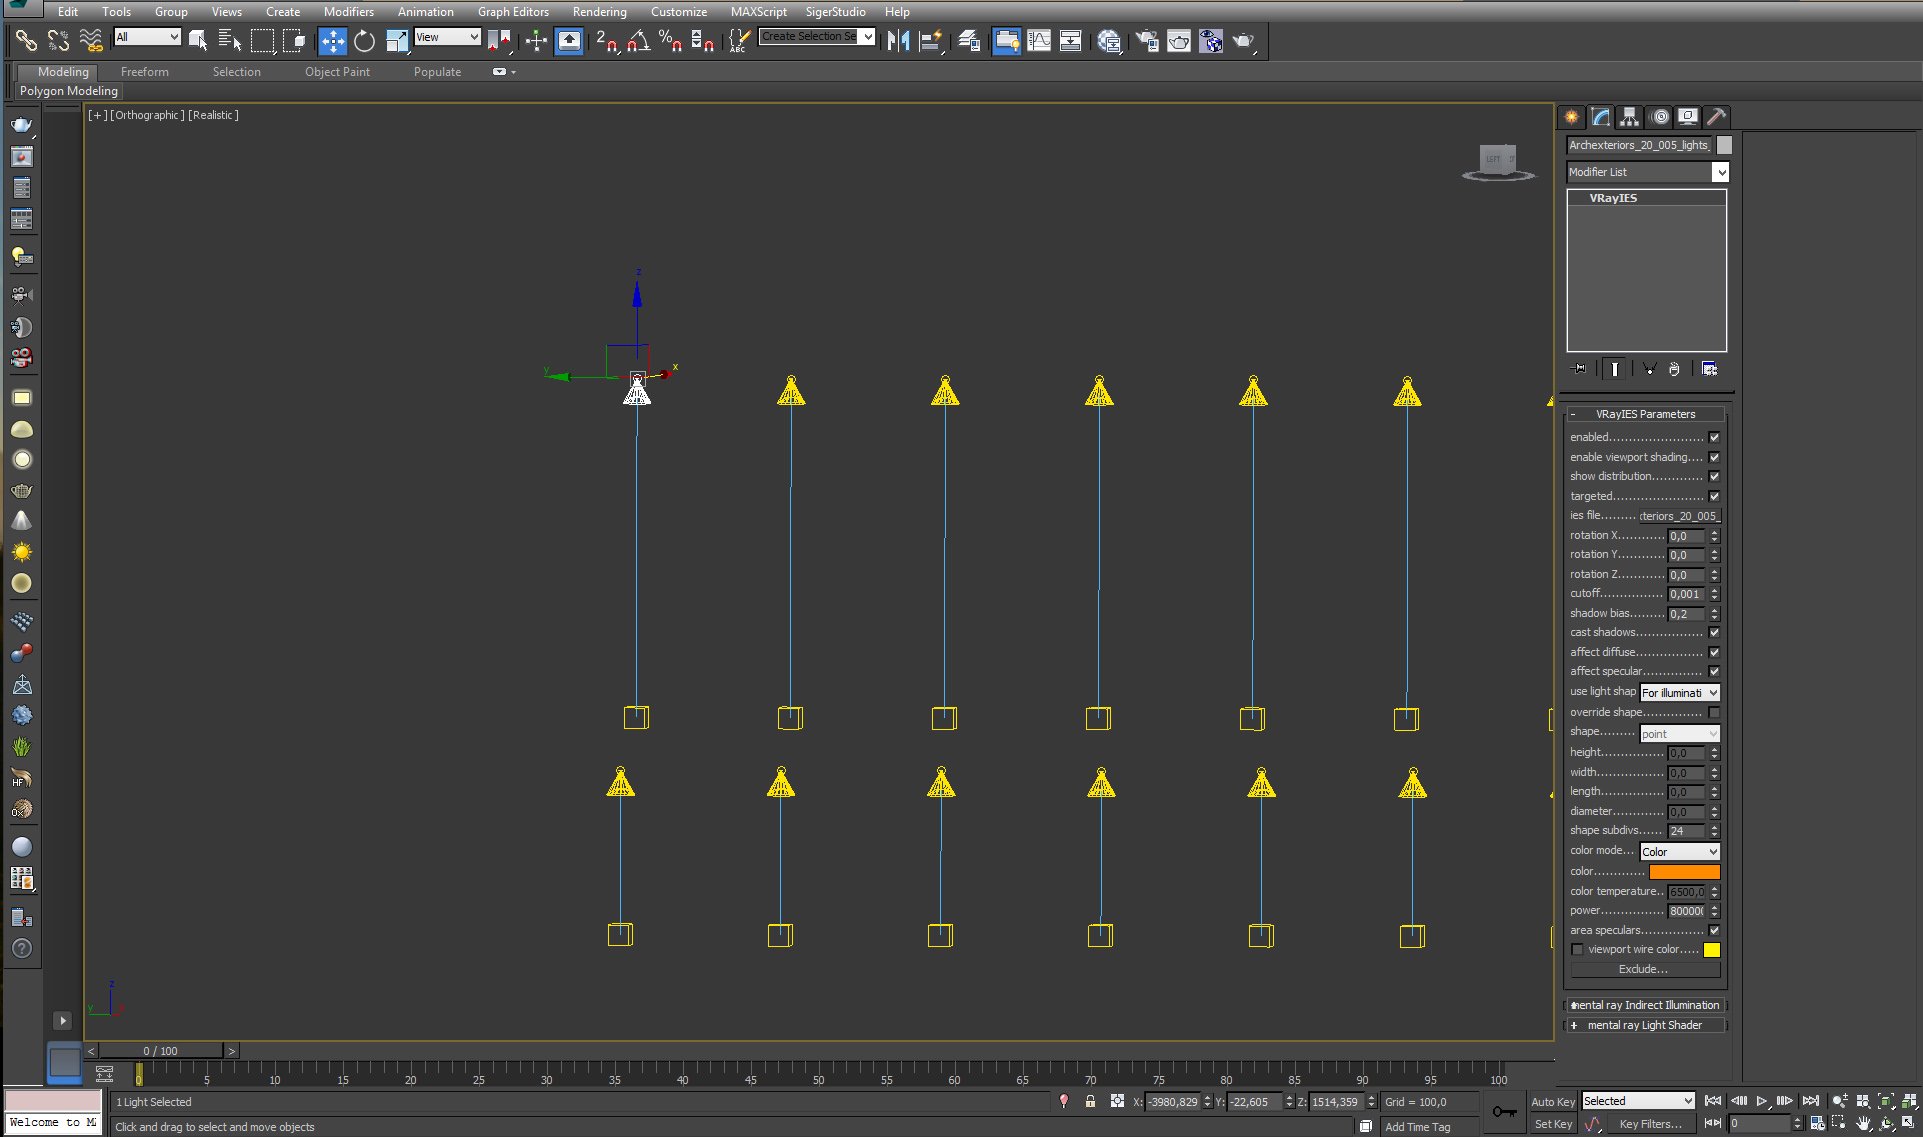
All inside lights are VrayIS with the same settings that you can see on the right of this image.
Click on image to enlarge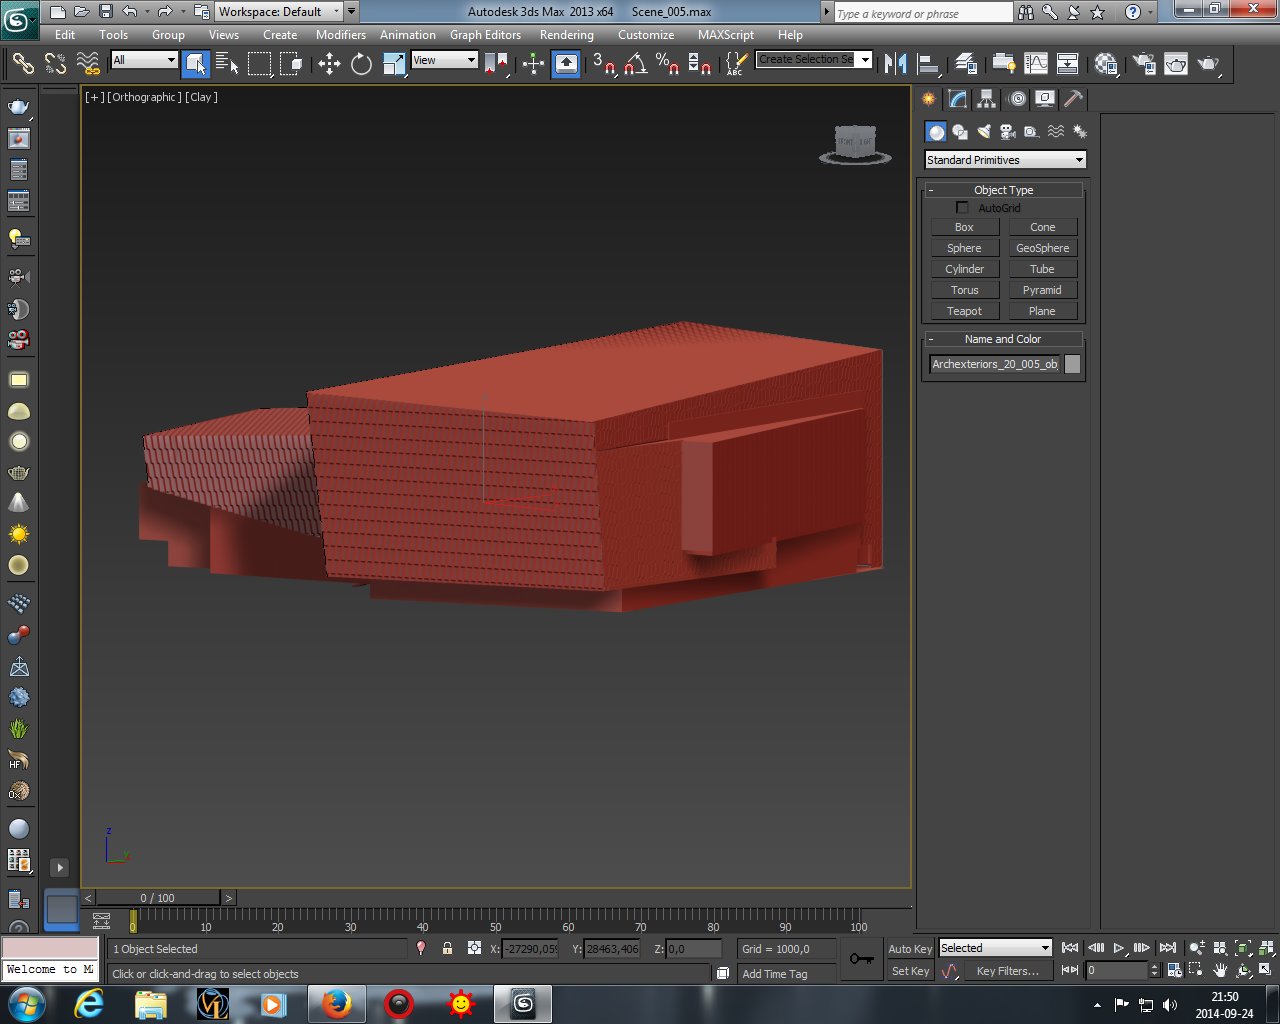
The core of the scene - main building (clay material preview)
Click on image to enlarge 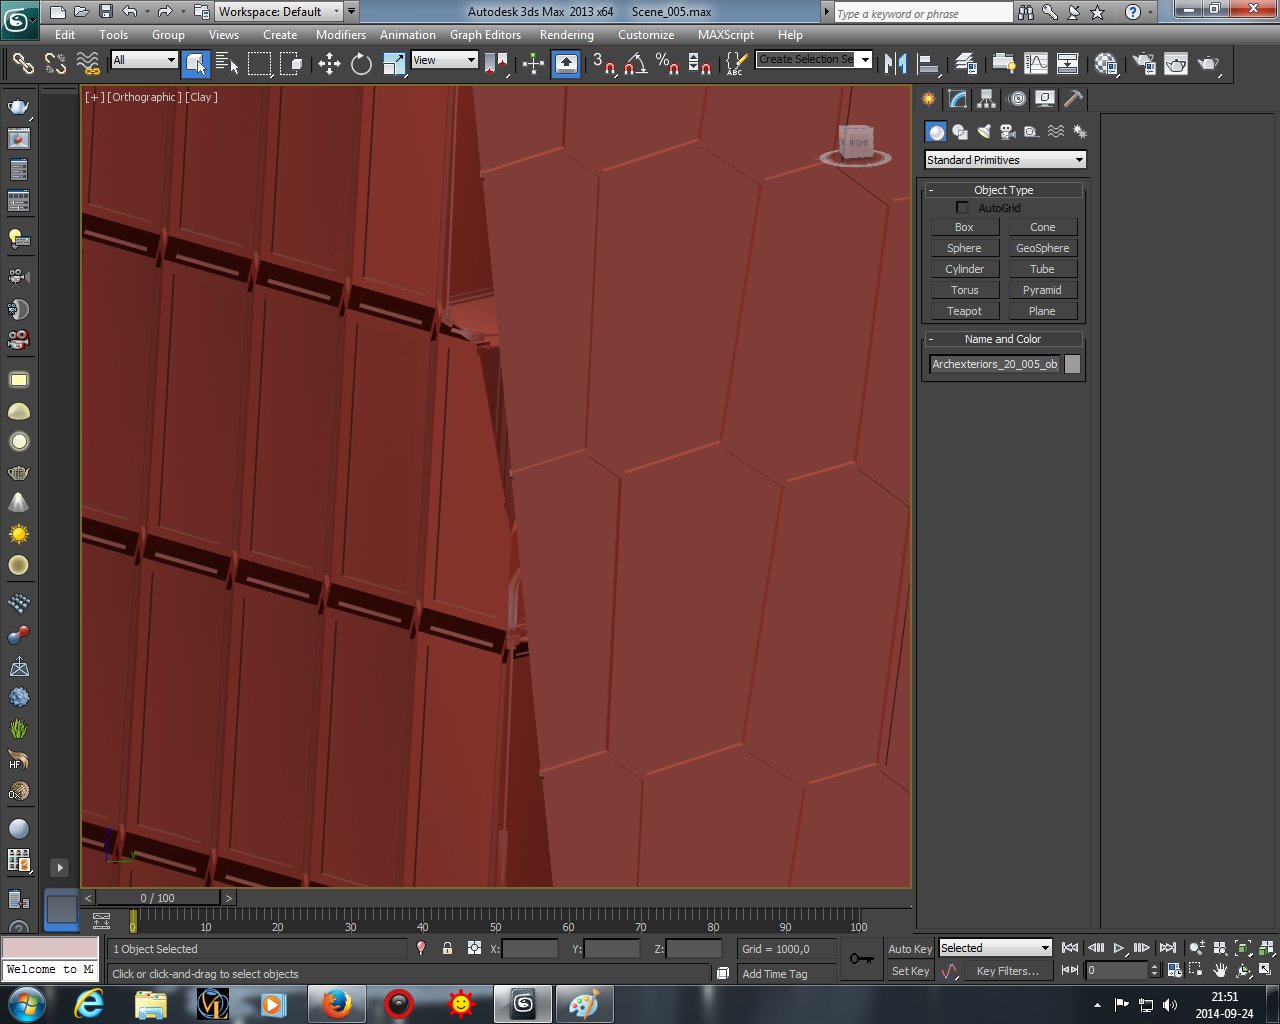
The trick is in the details - you can see that there is difference between the structure of the front and side facade.
Click on image to enlarge 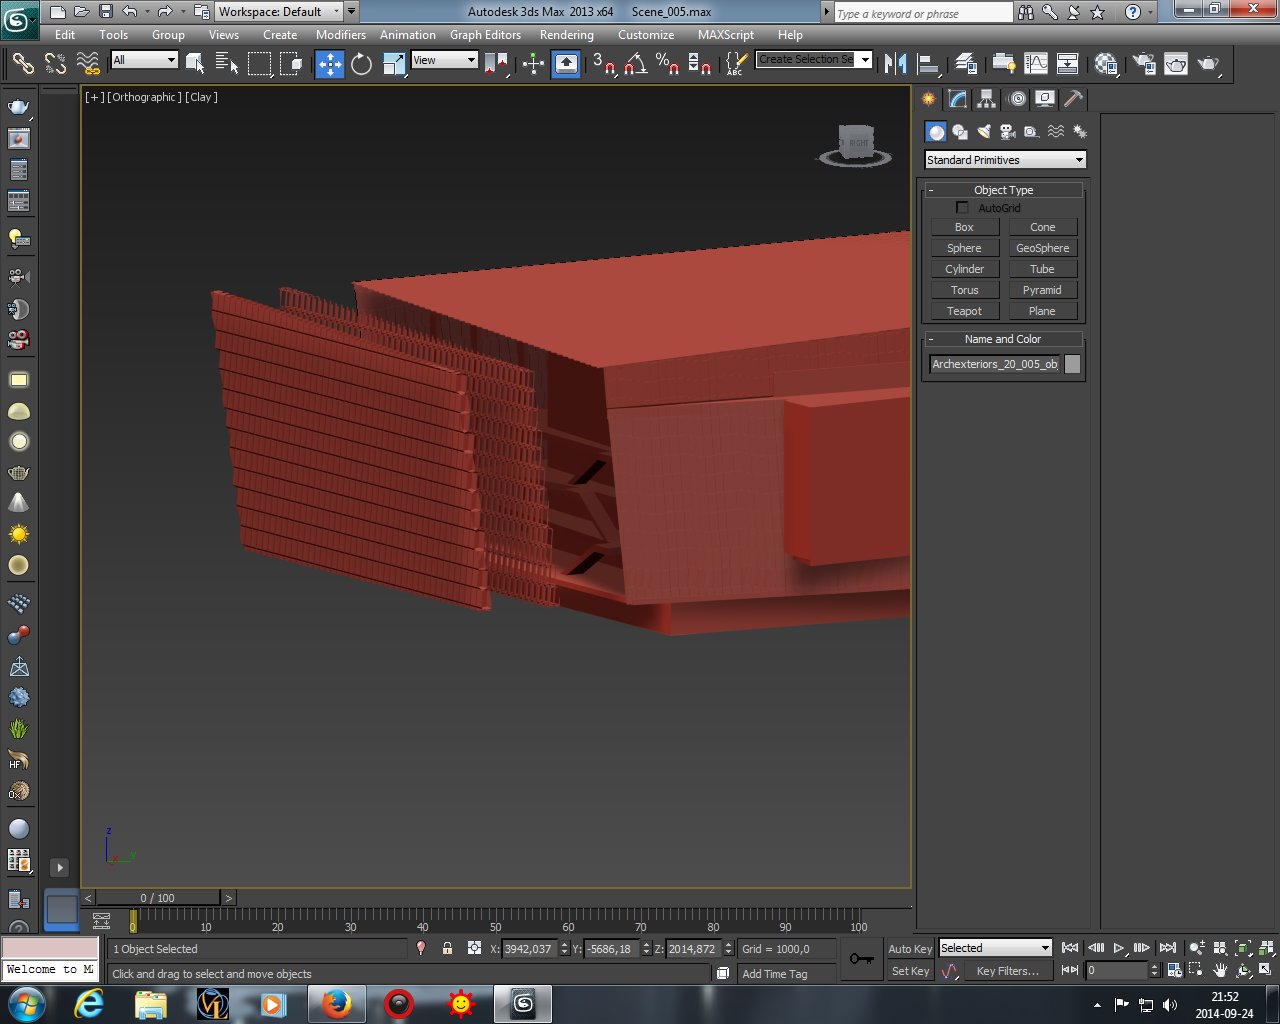
Front consists of two objects.
Click on image to enlarge 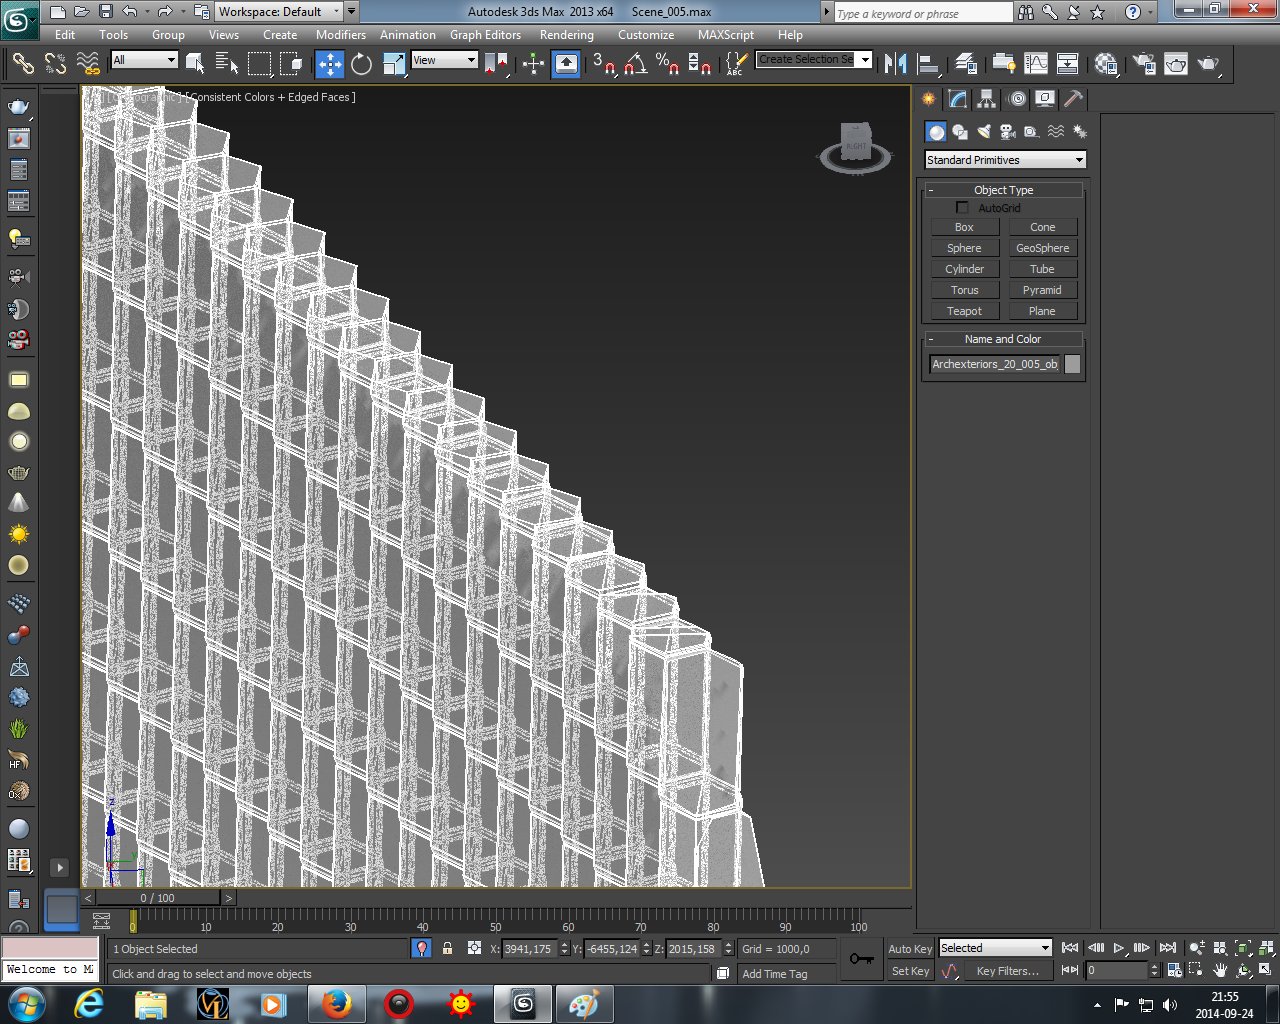
The glass part of building's front
Click on image to enlarge 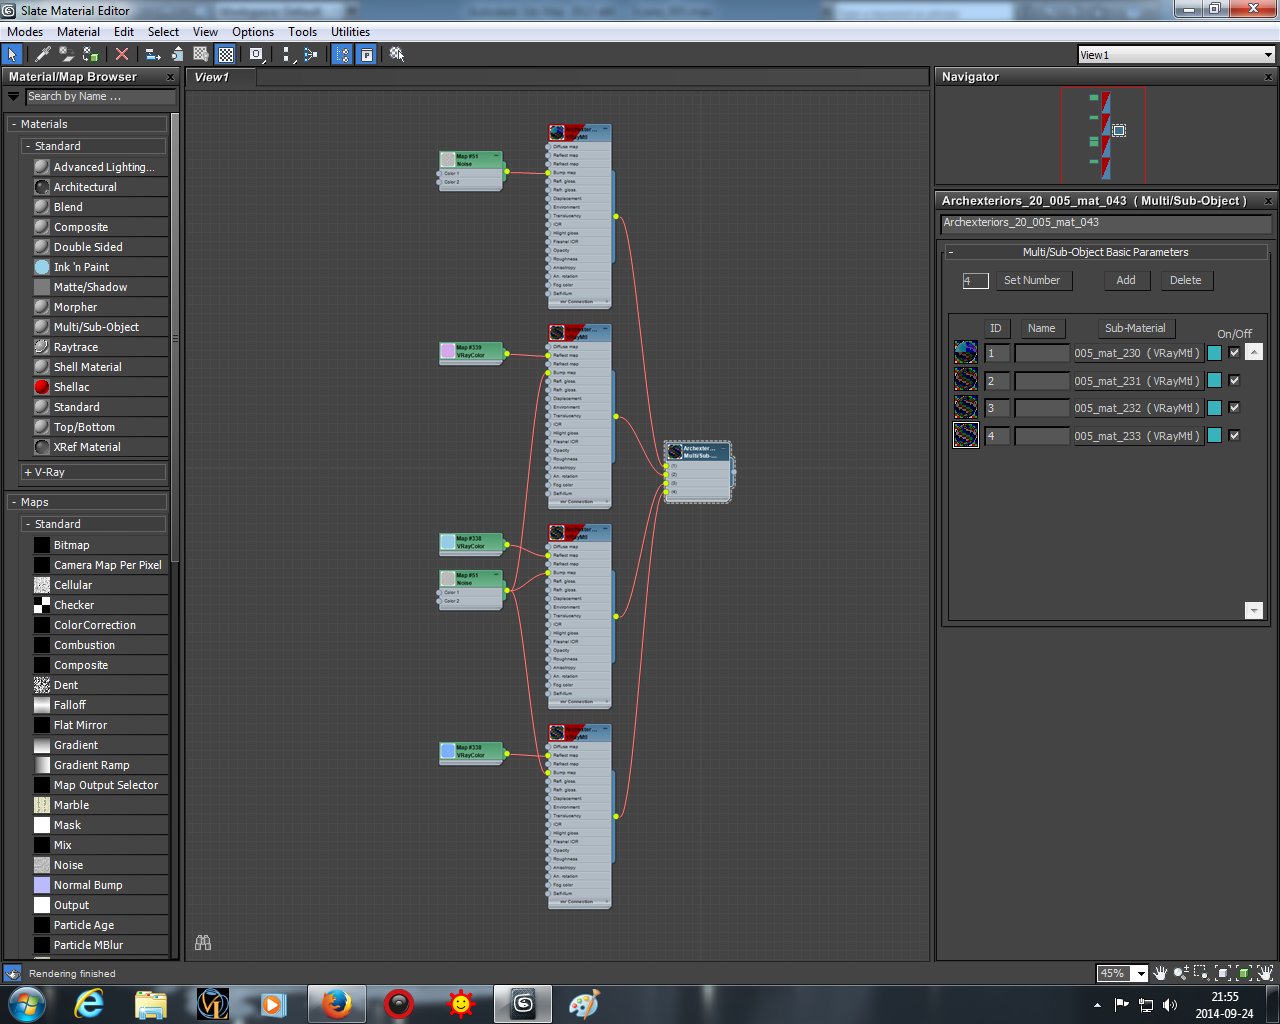
Glass material consists of four submaterials that differ slightly.
Click on image to enlarge 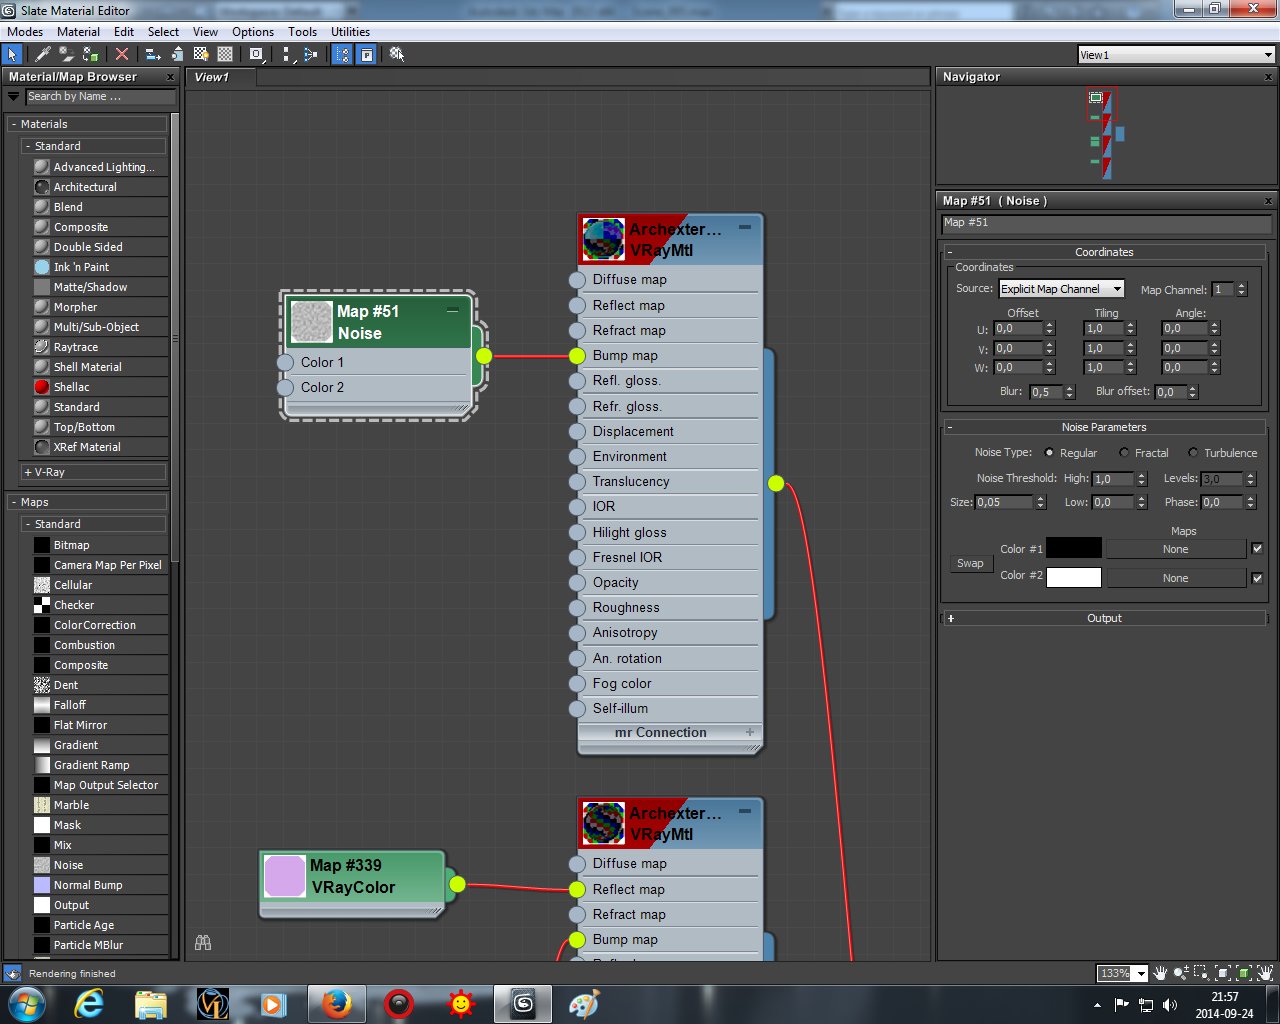
First material has noise map in the bump slot.
Click on image to enlarge 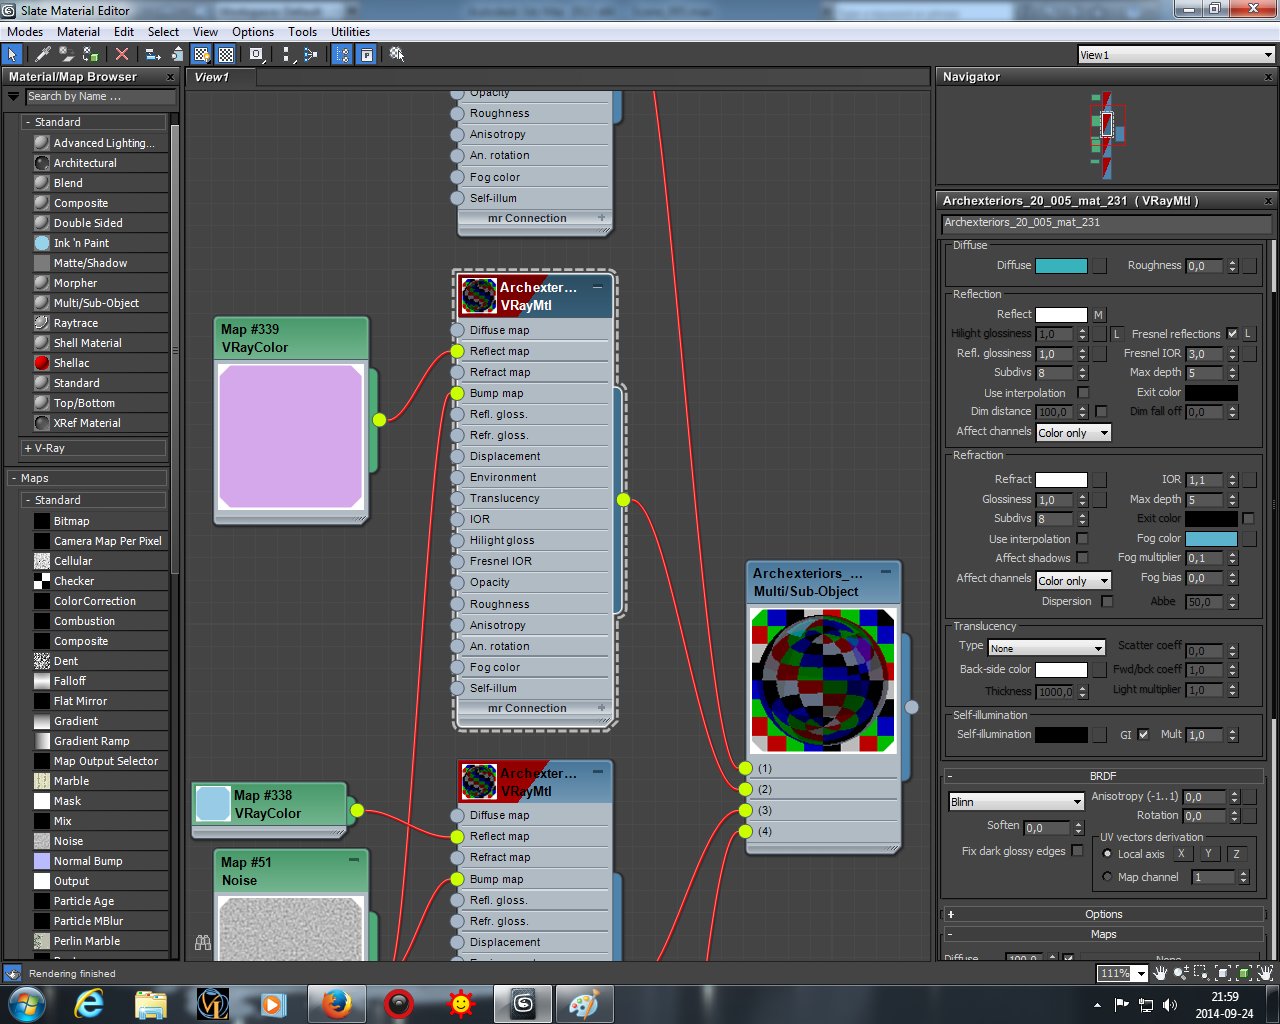
Second submaterial has different reflection color and other noise map in bump slot.
Click on image to enlarge 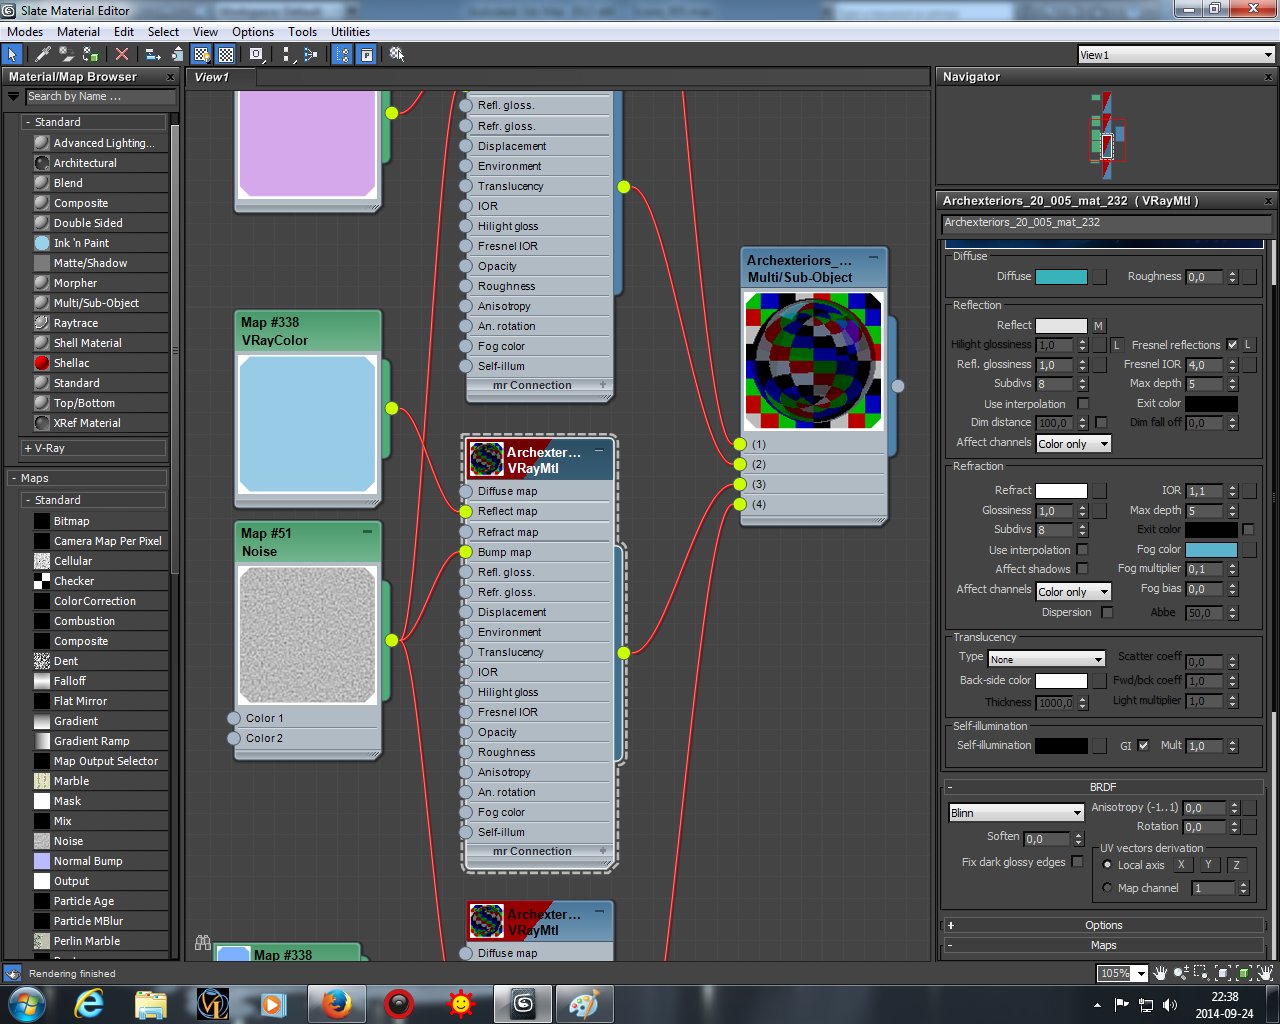
Third submaterial - again, the color in reflection slot is different.
Click on image to enlarge 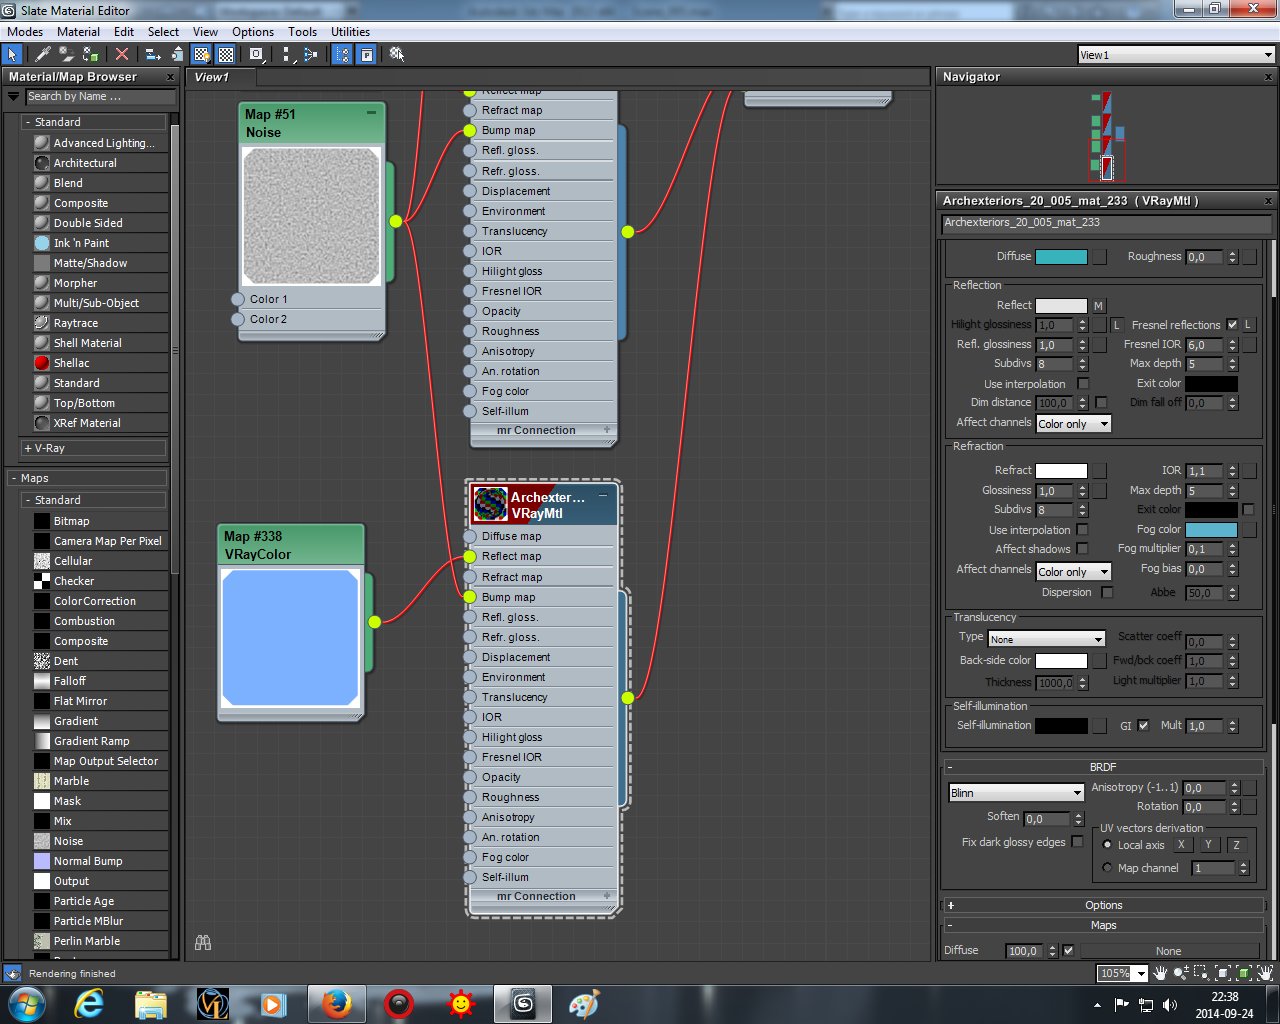
Fourth material with blue reflection color.
Click on image to enlarge 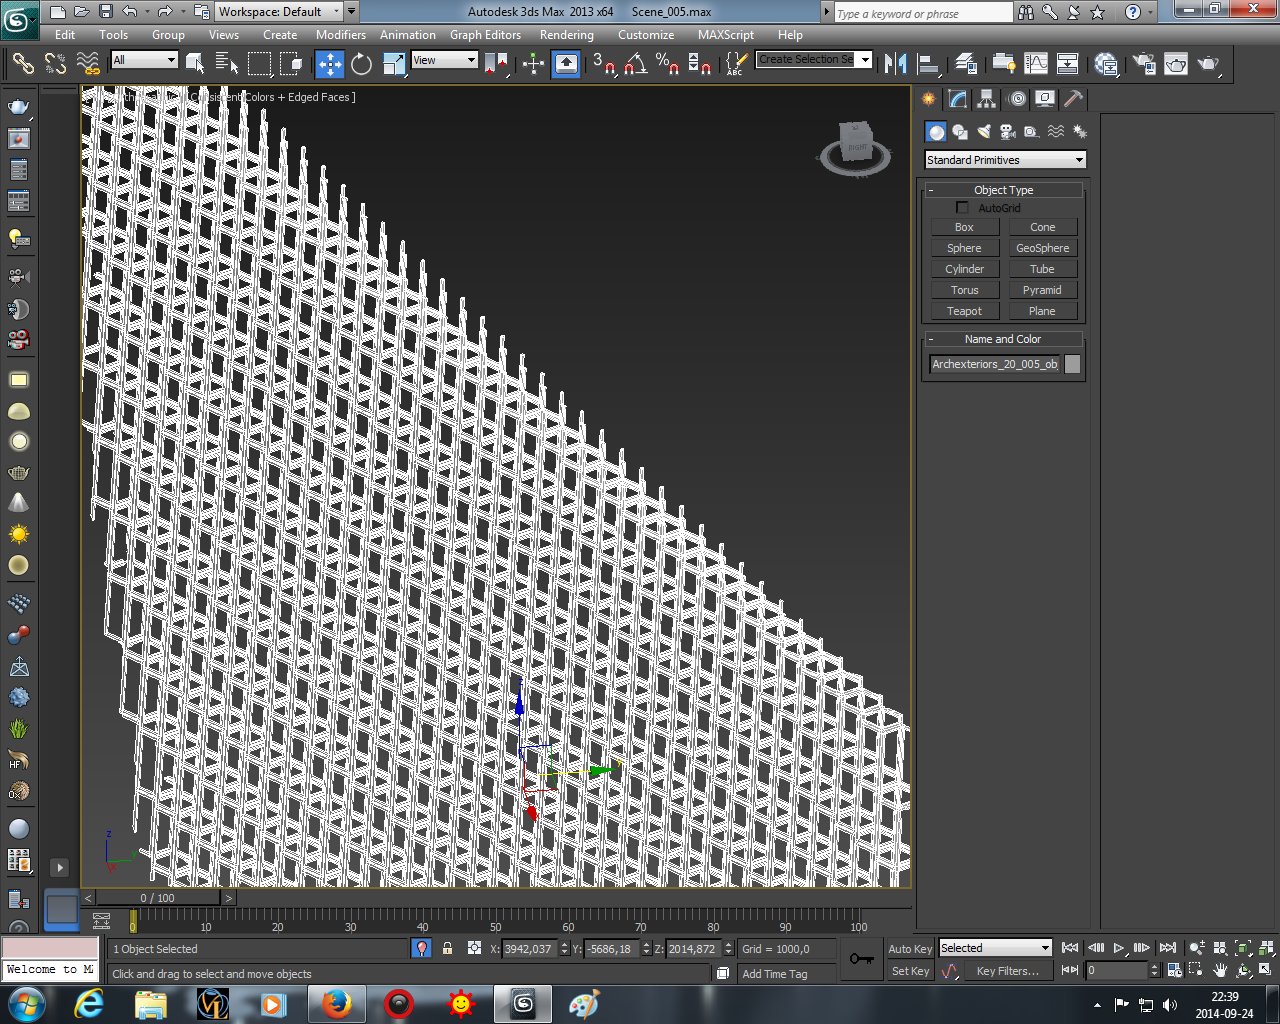
The second element of the front of the building is border.
Click on image to enlarge 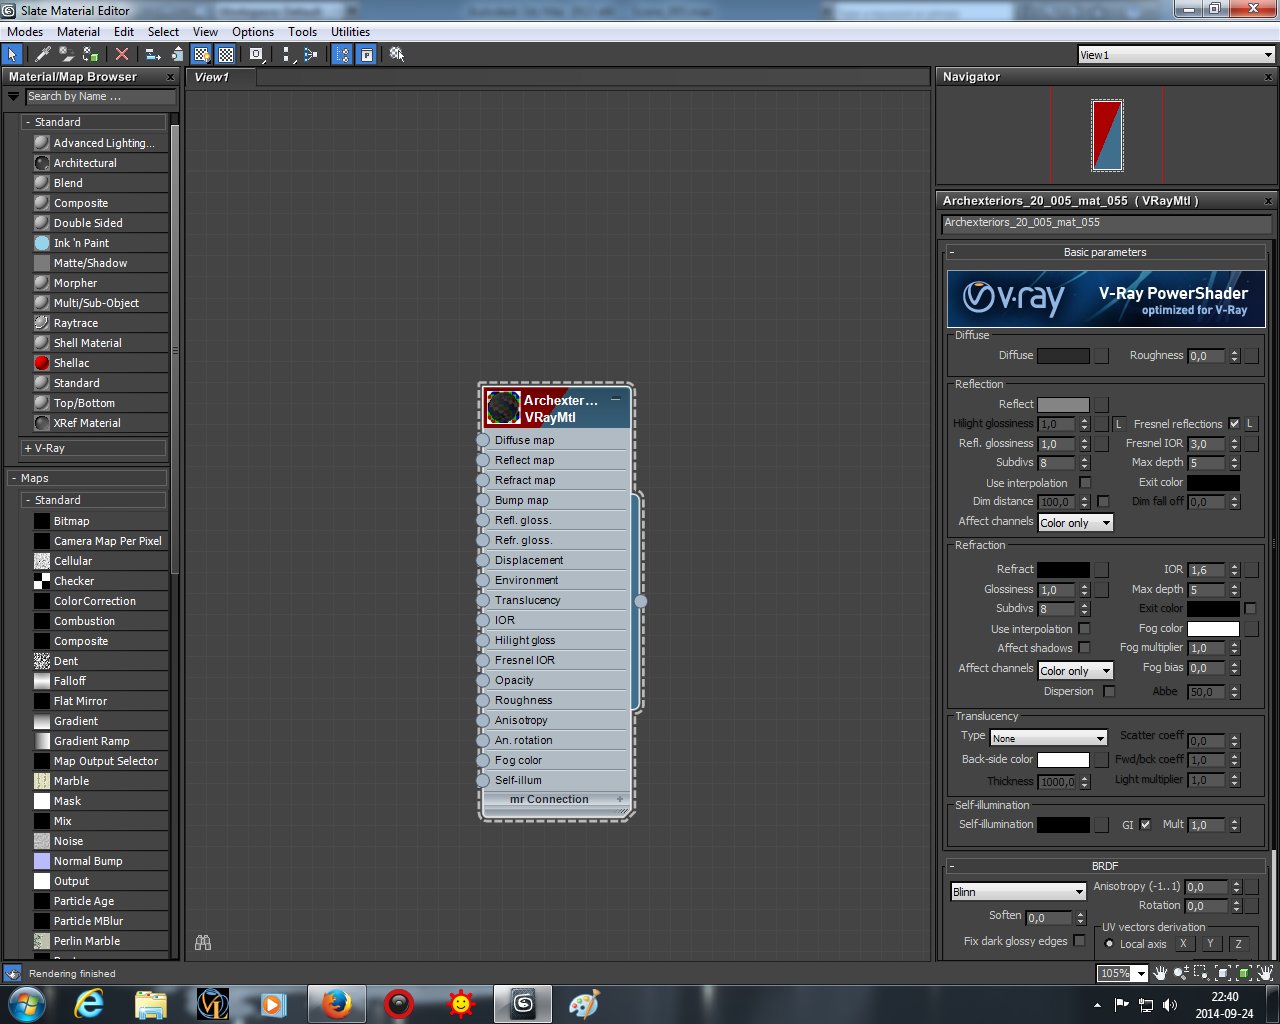
It has very simple VrayMaterial.
Click on image to enlarge 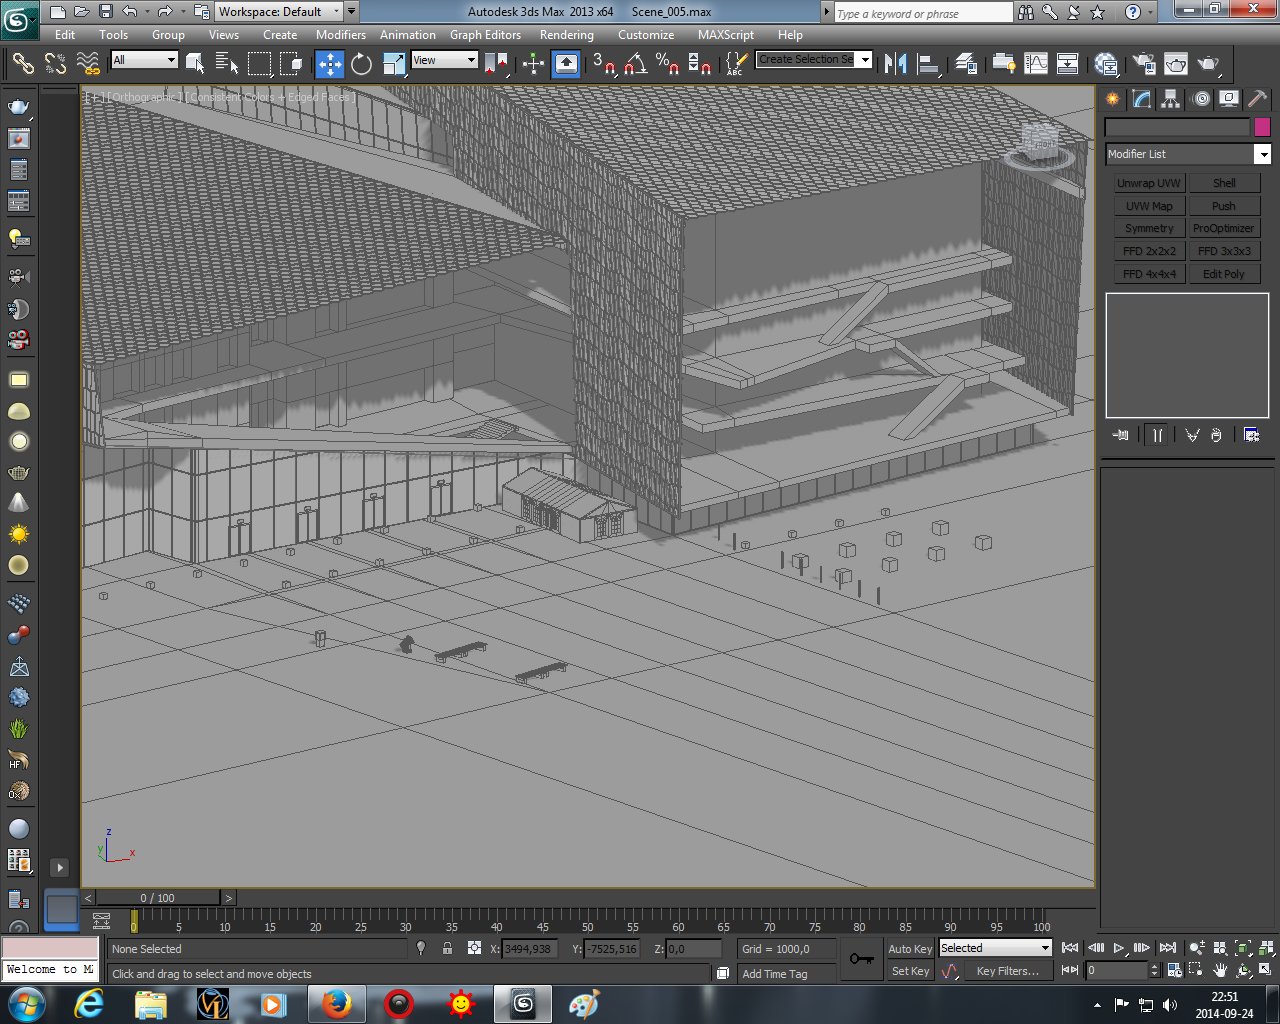
This is how building looks without front wall. We modeled inside of the building. Nothing very fancy, but it is needed to achieve greater realism.
Click on image to enlarge 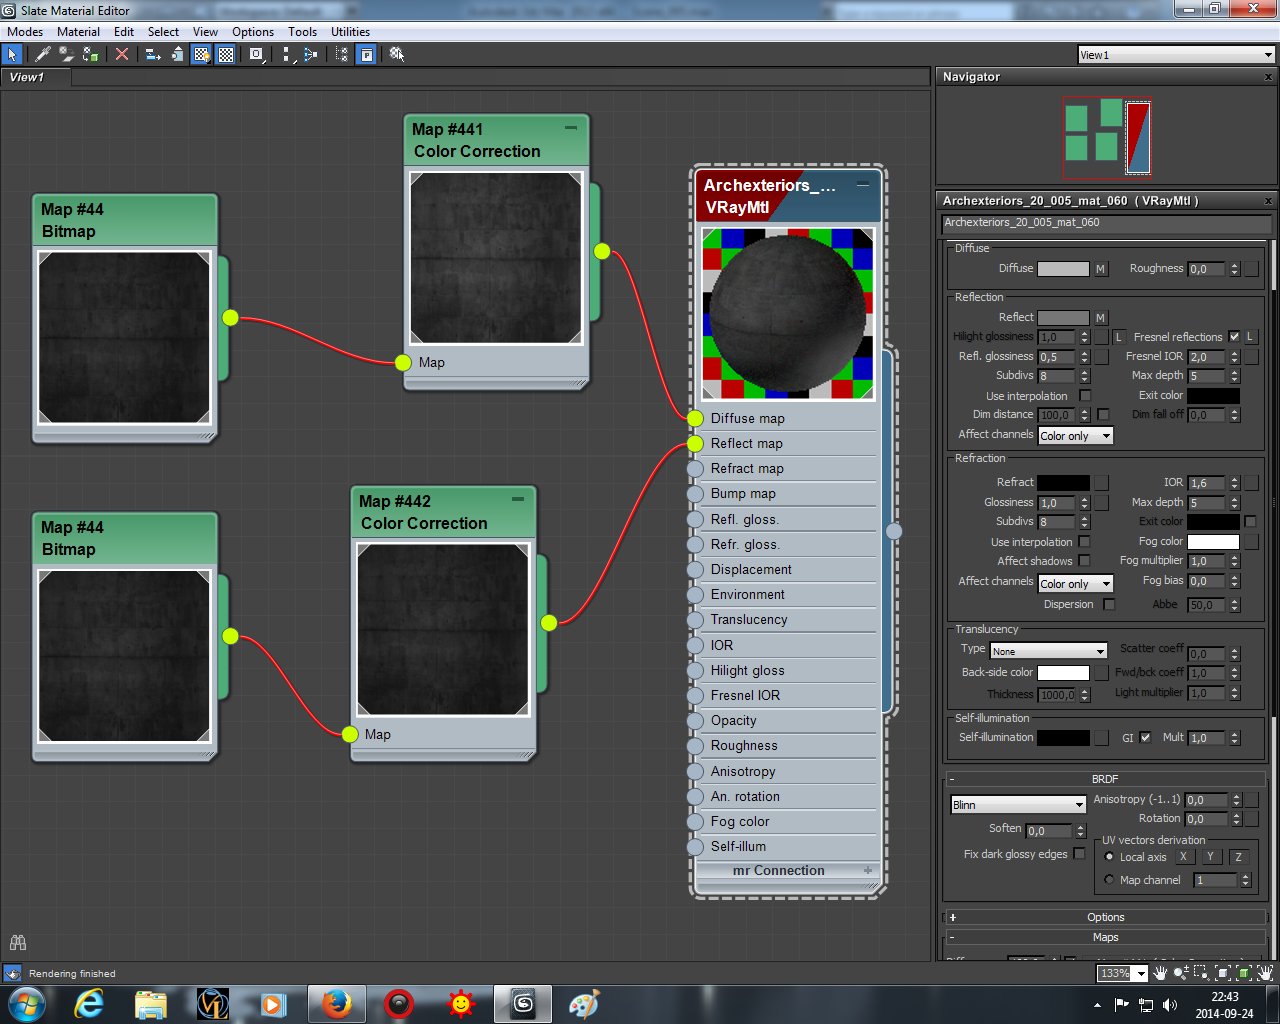
This is the material of inside walls.
Click on image to enlarge 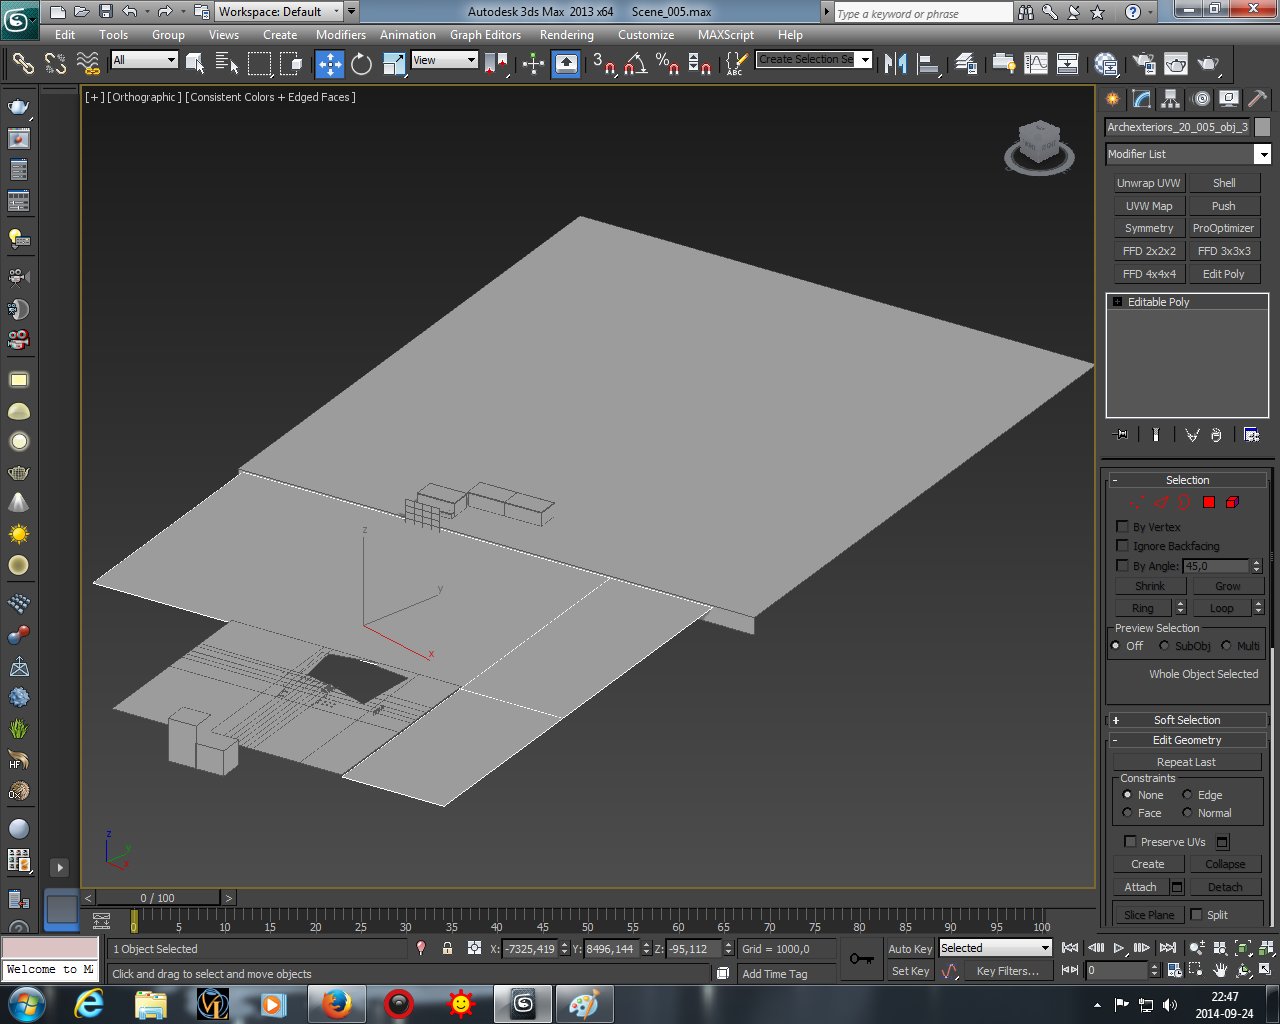
Environment is quite simple - it consists of a few planes.
Click on image to enlarge 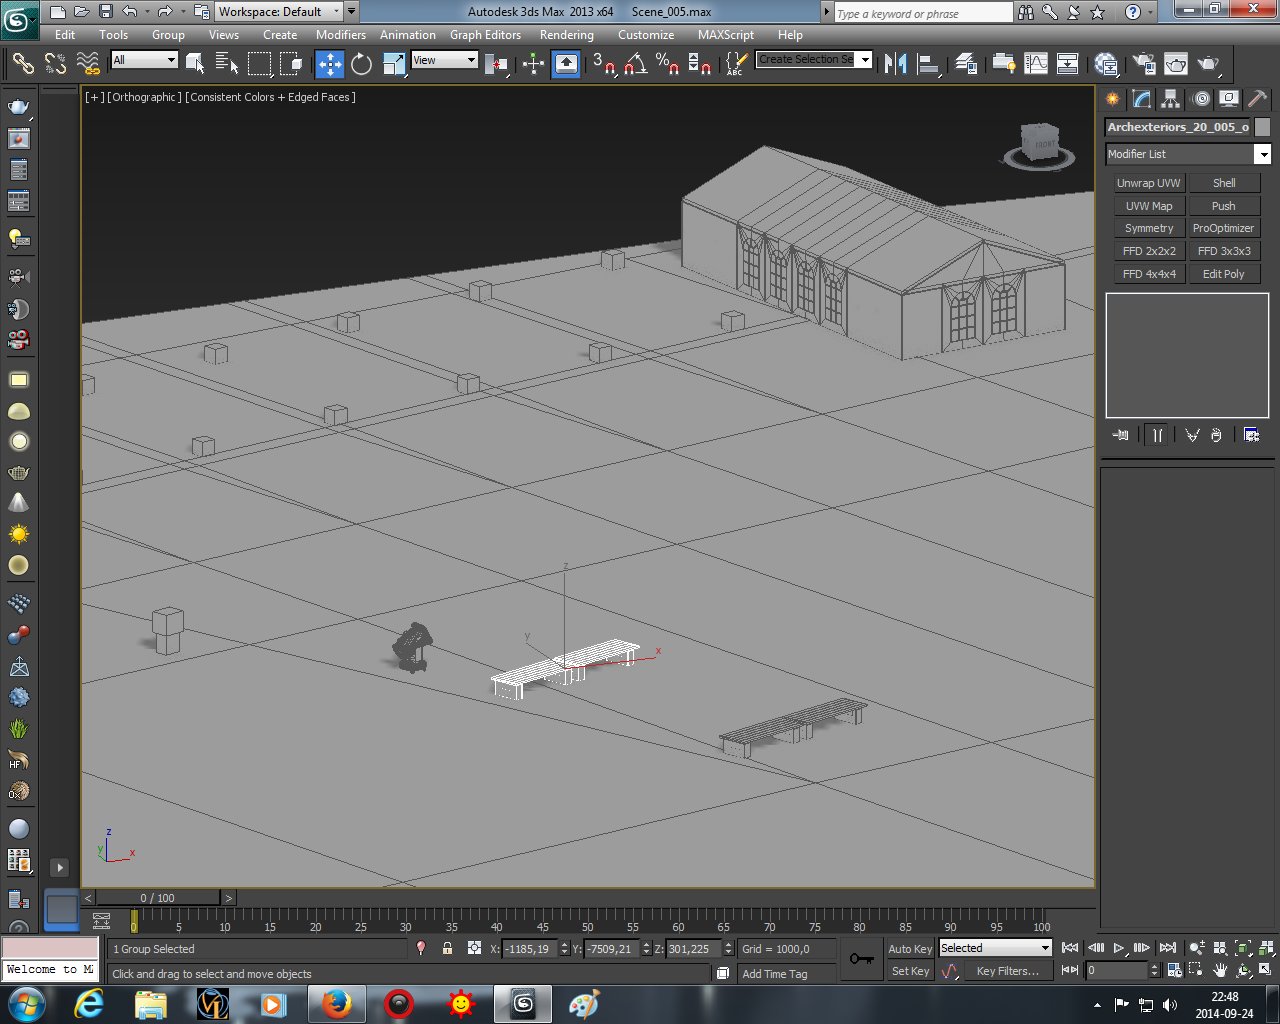
We put some benches on the first plane, near the camera.
Click on image to enlarge 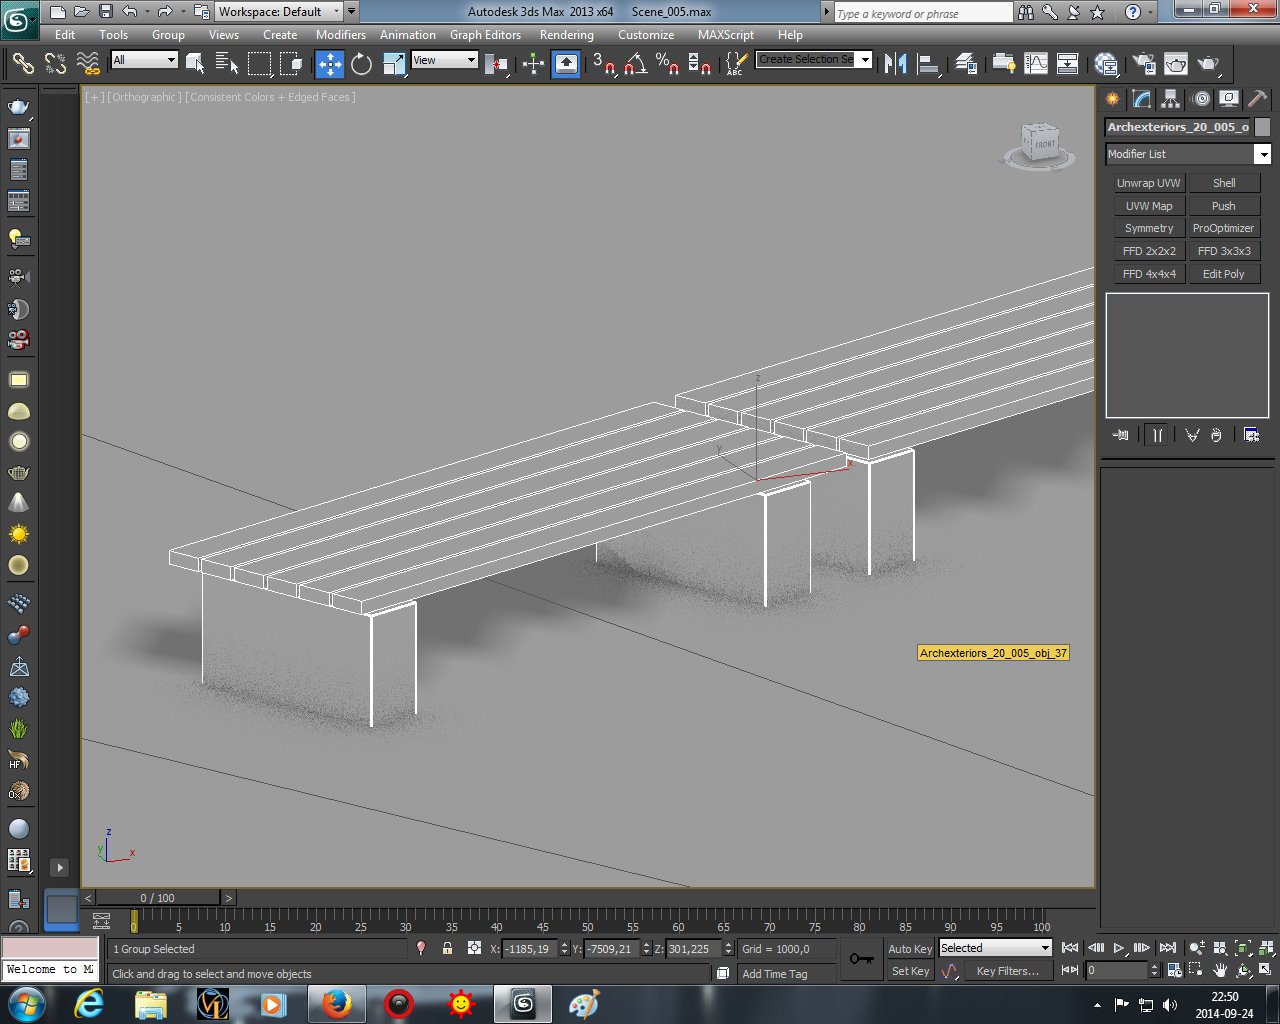
Click on image to enlarge 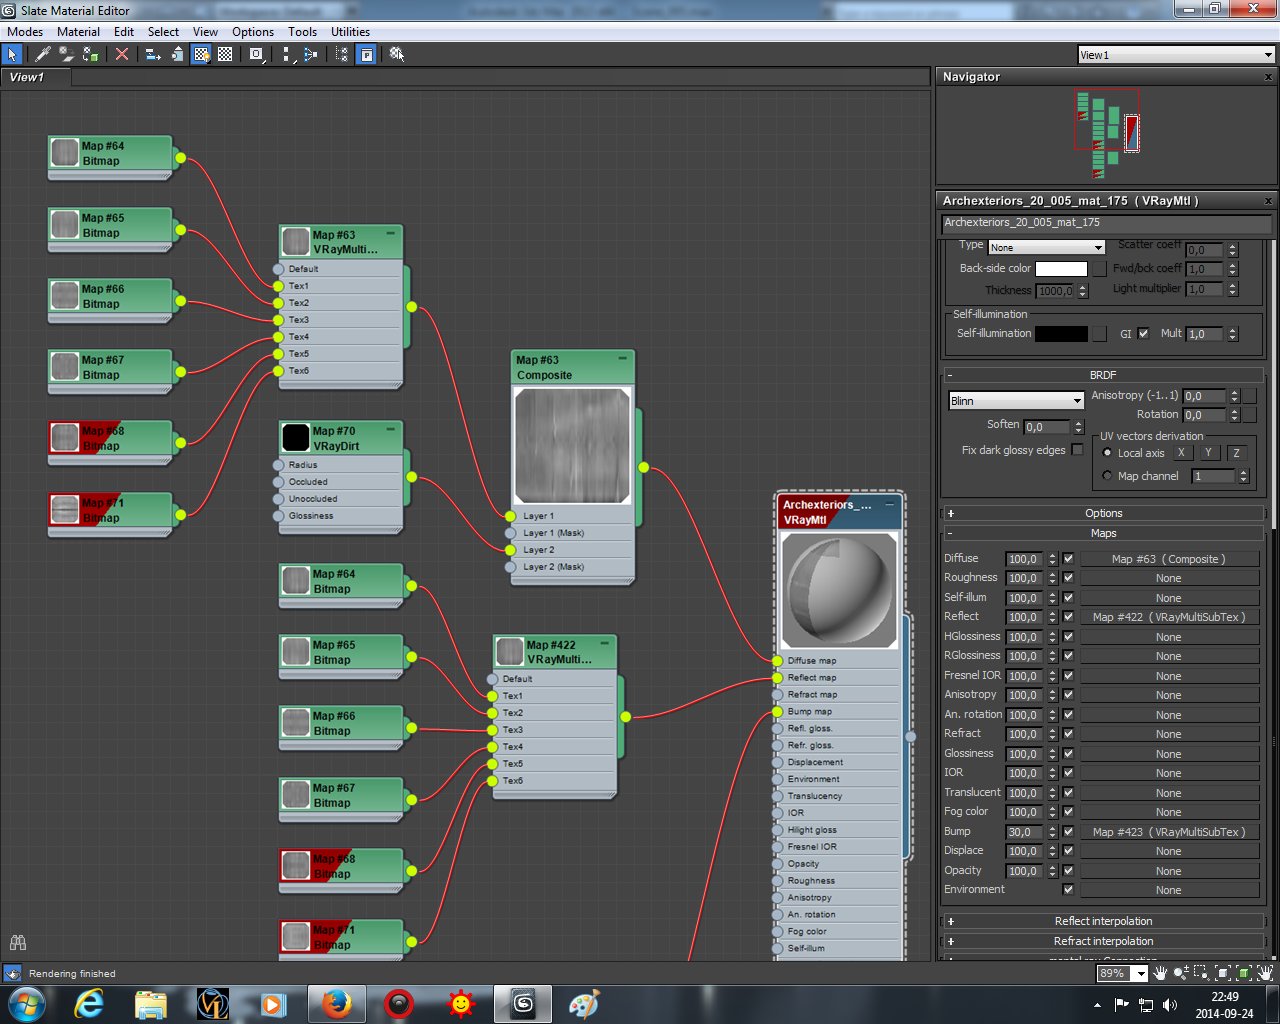
Click on image to enlarge 
Bench material (continued). Yes, we mixed a lot of maps here.
Click on image to enlarge 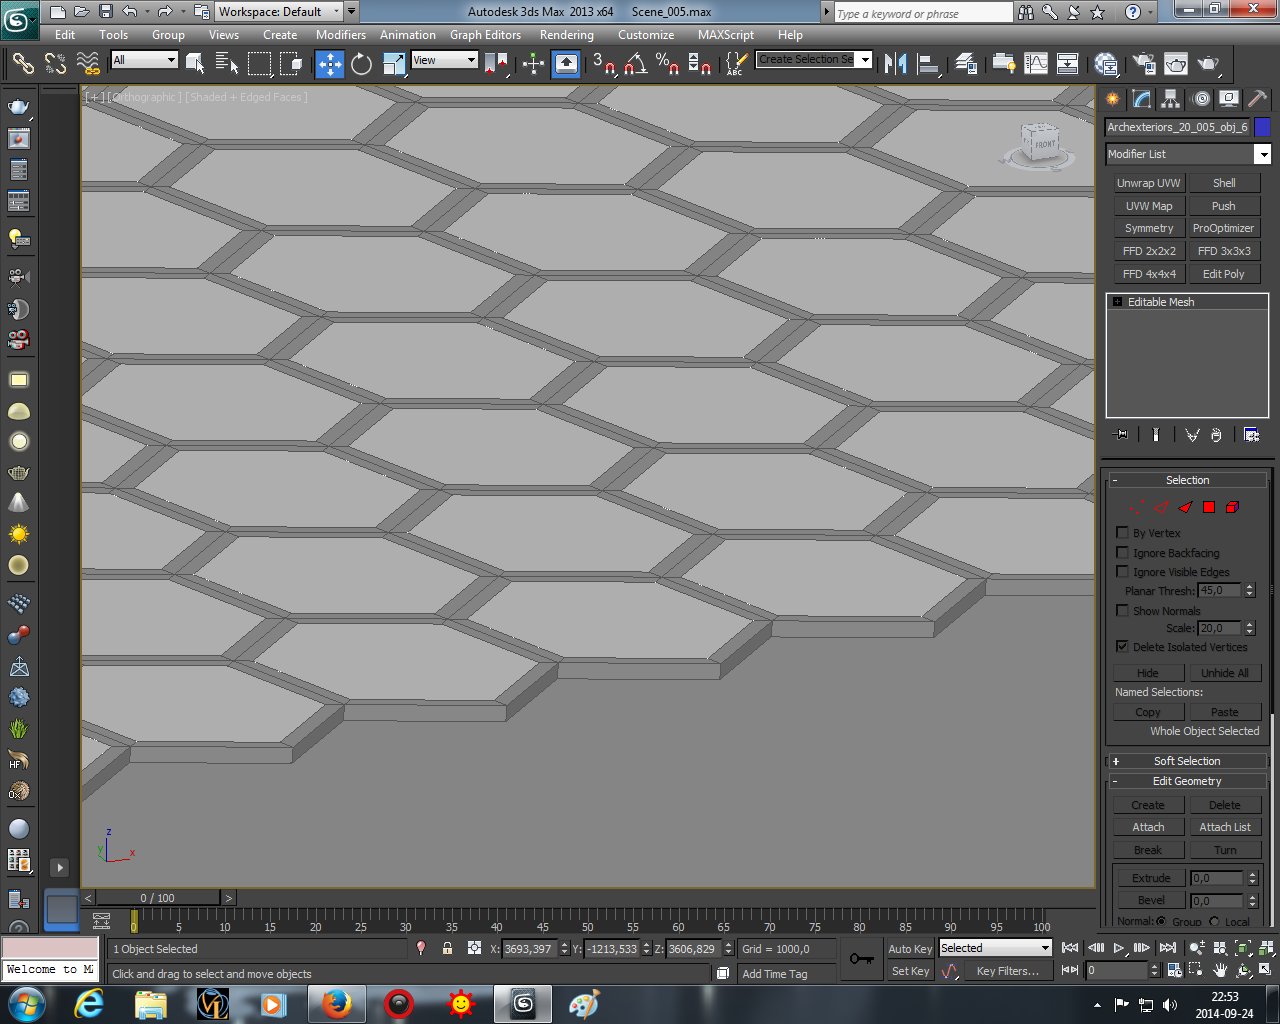
roof of the building consists of two elements - inside there are glass hexagons that use the same multi-glass material as front glass. The second element is border.
Click on image to enlarge 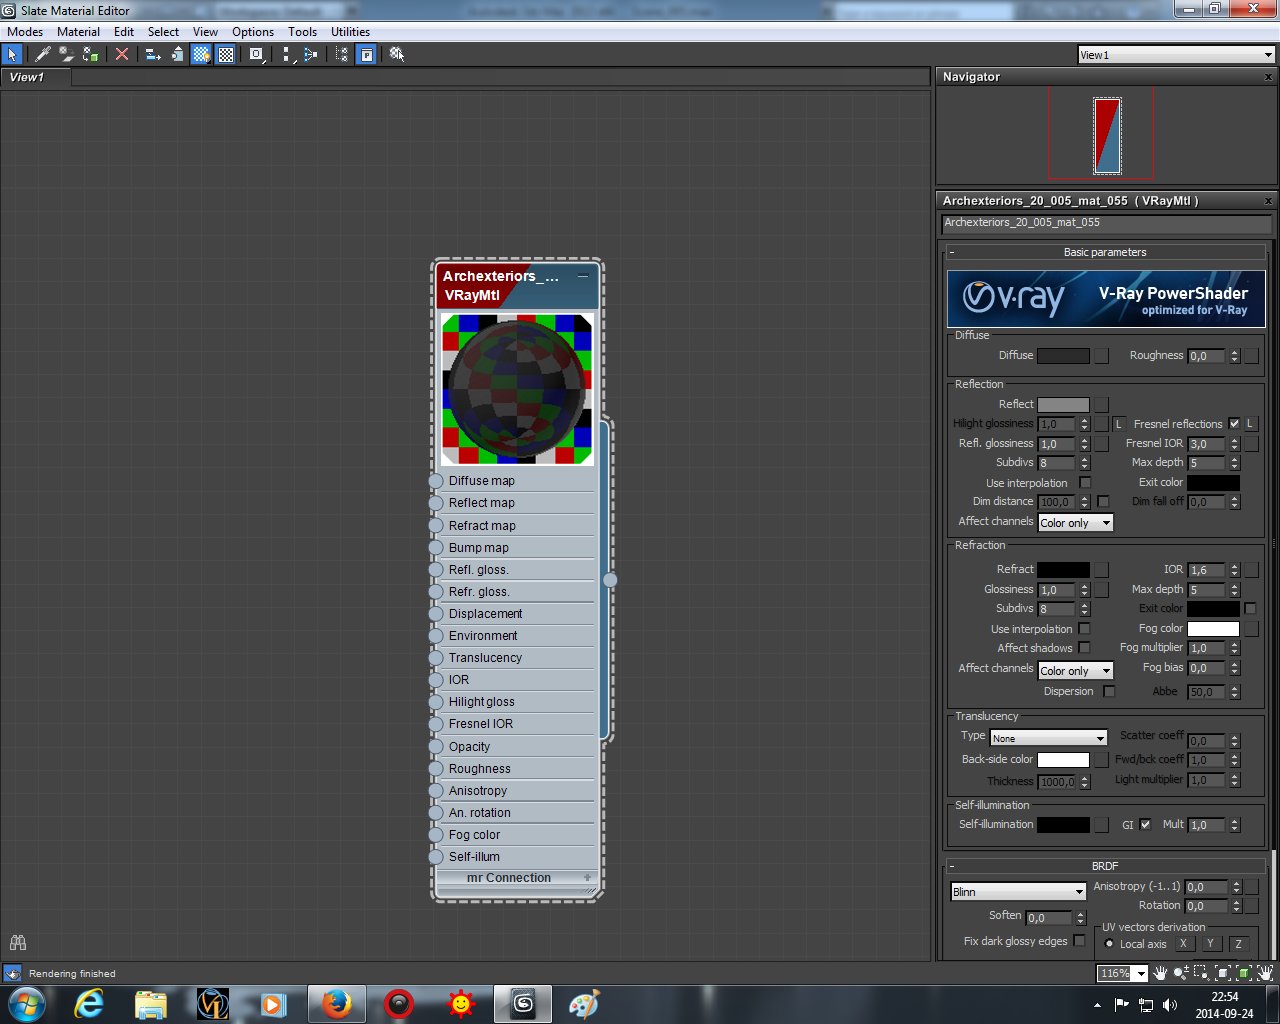
Click on image to enlarge 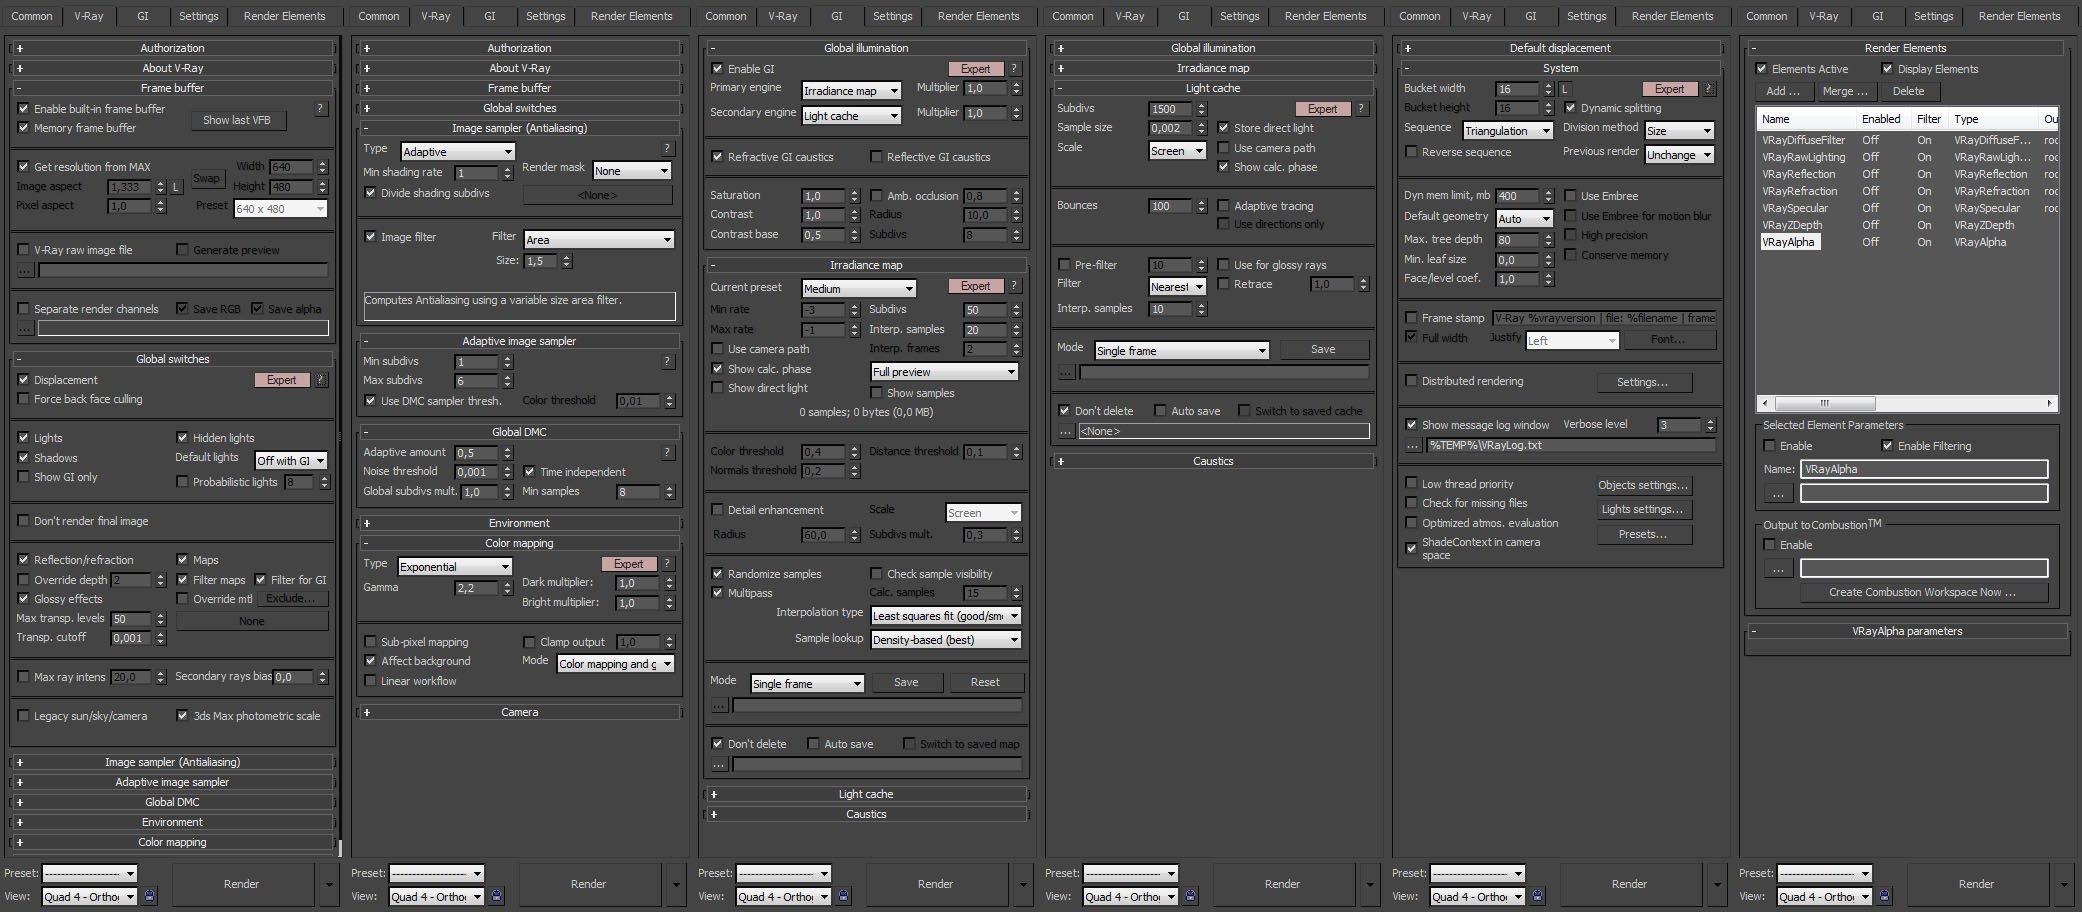
Click on image to enlarge 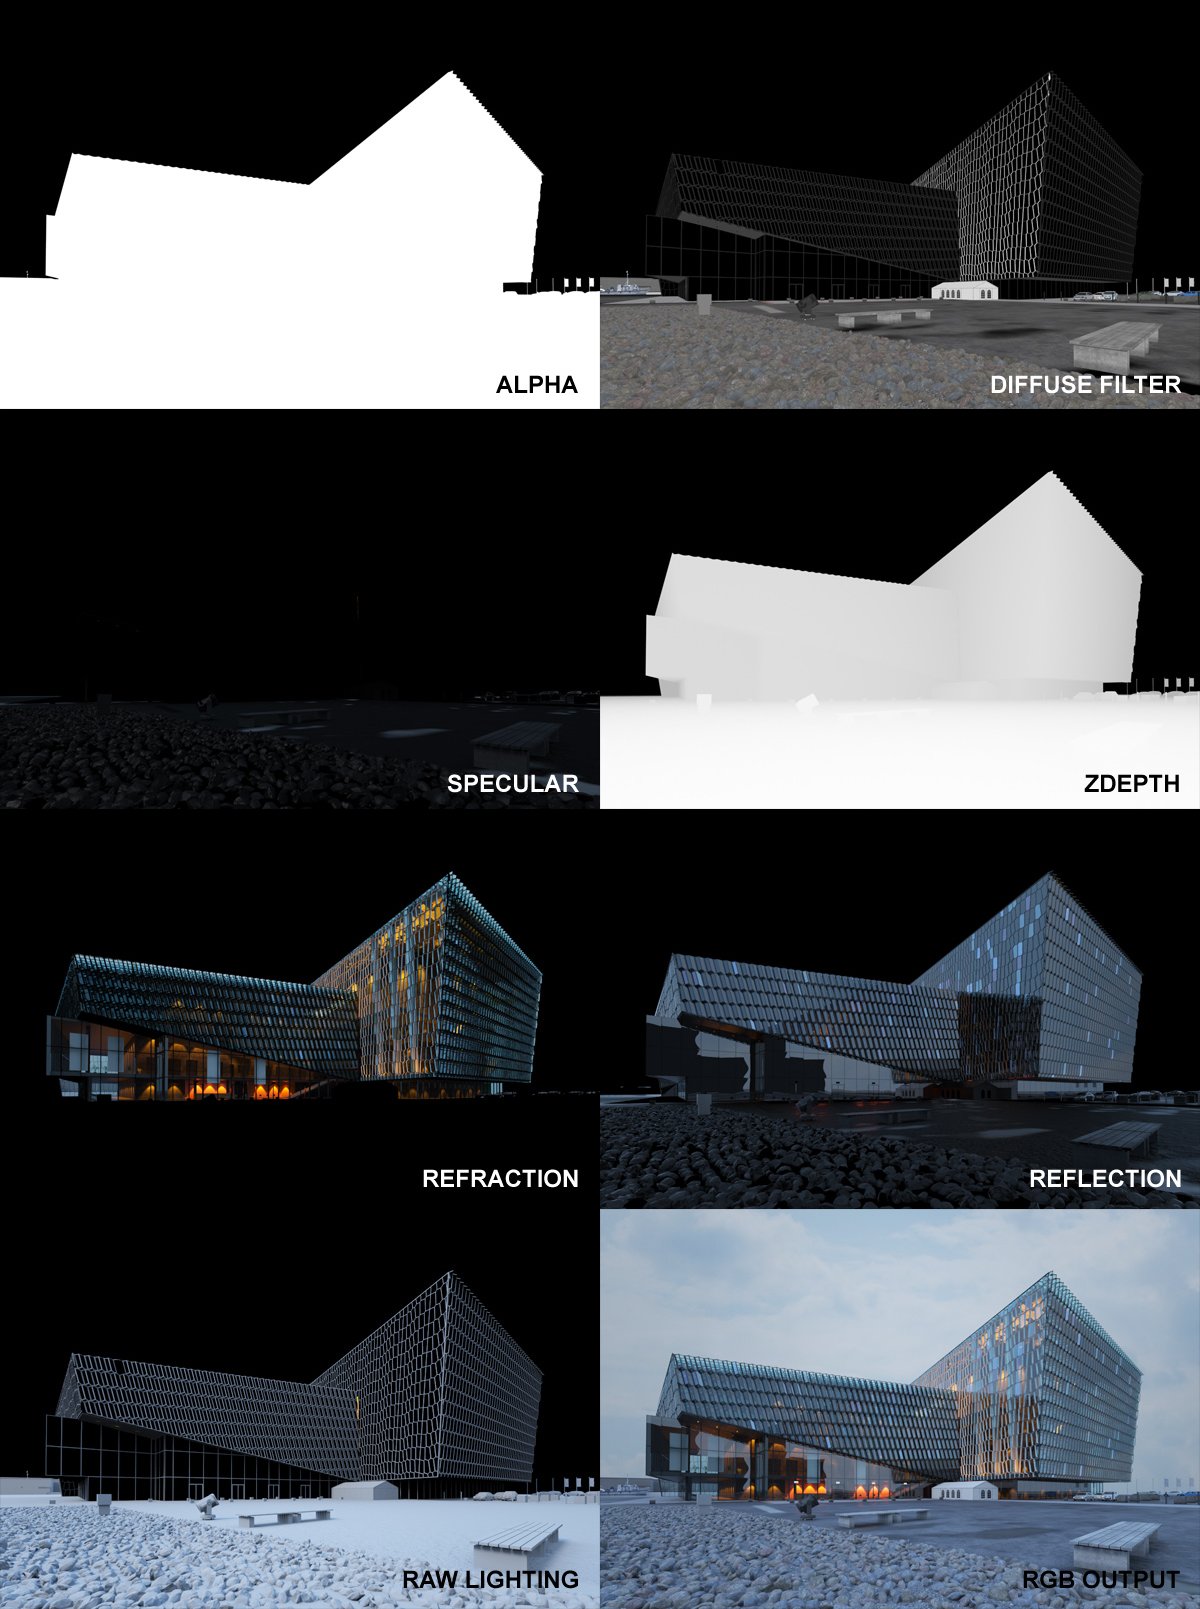
Click on image to enlarge 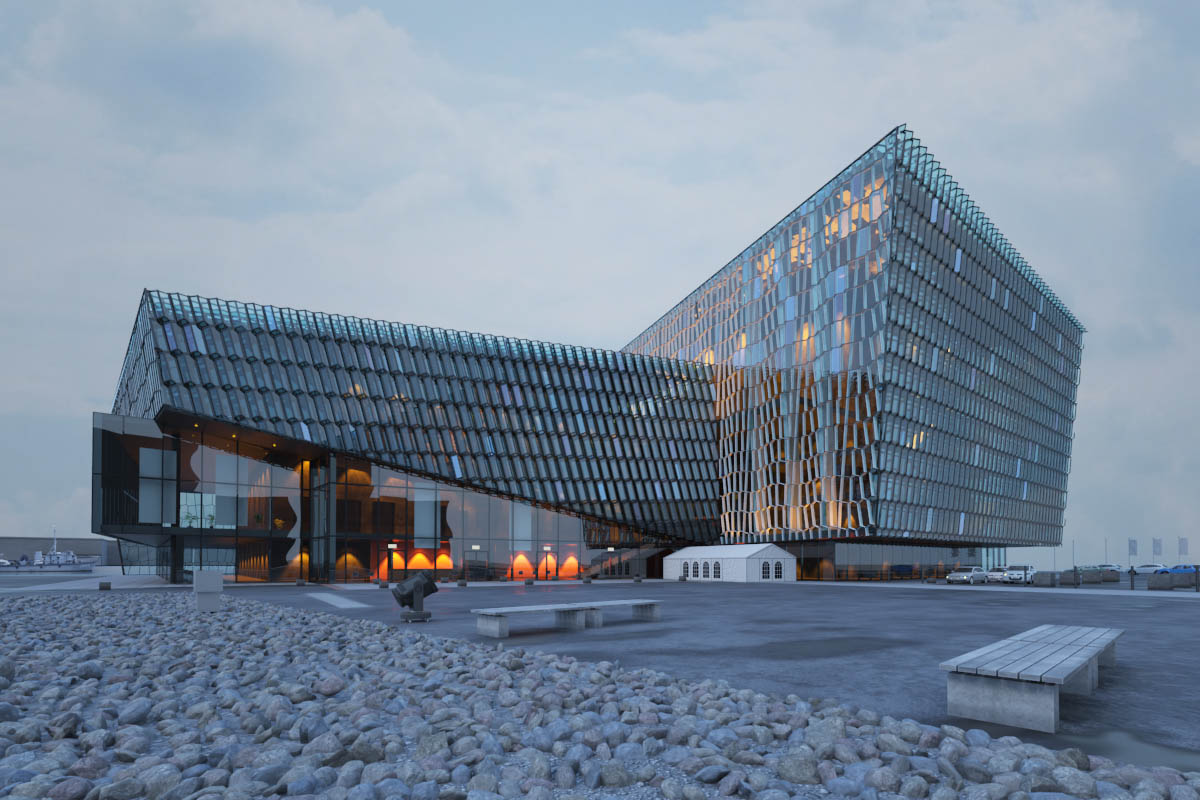
RGB output. Quite nice but far from the ideal. Now we need some serious post production.
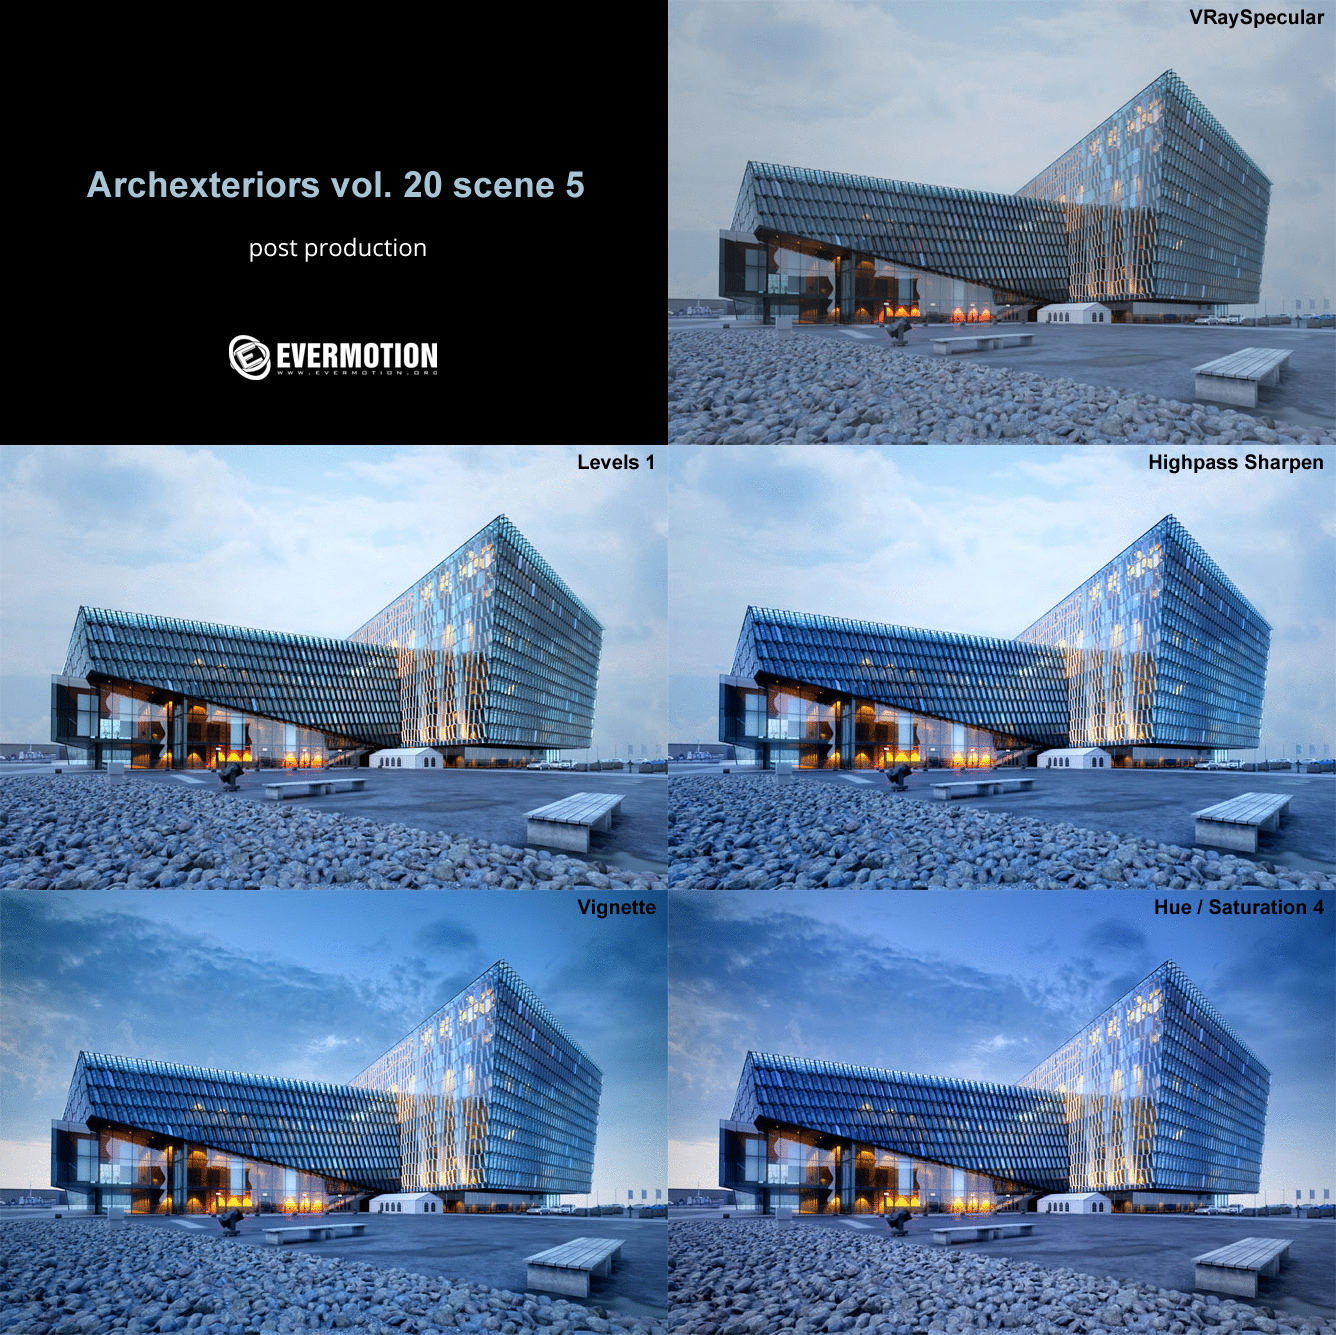
Post production animation
Click on image to enlarge 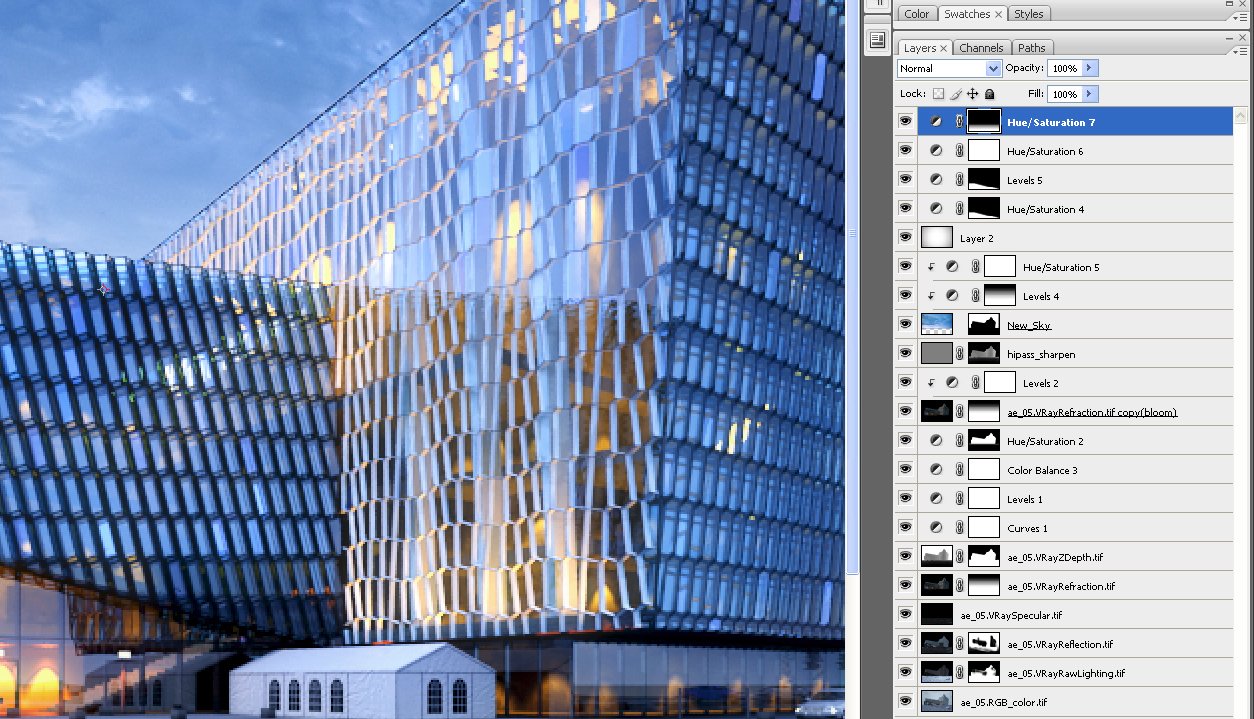
This is how our Photoshop stack look like. As you can see, post production was quite a job here.
Click on image to enlarge 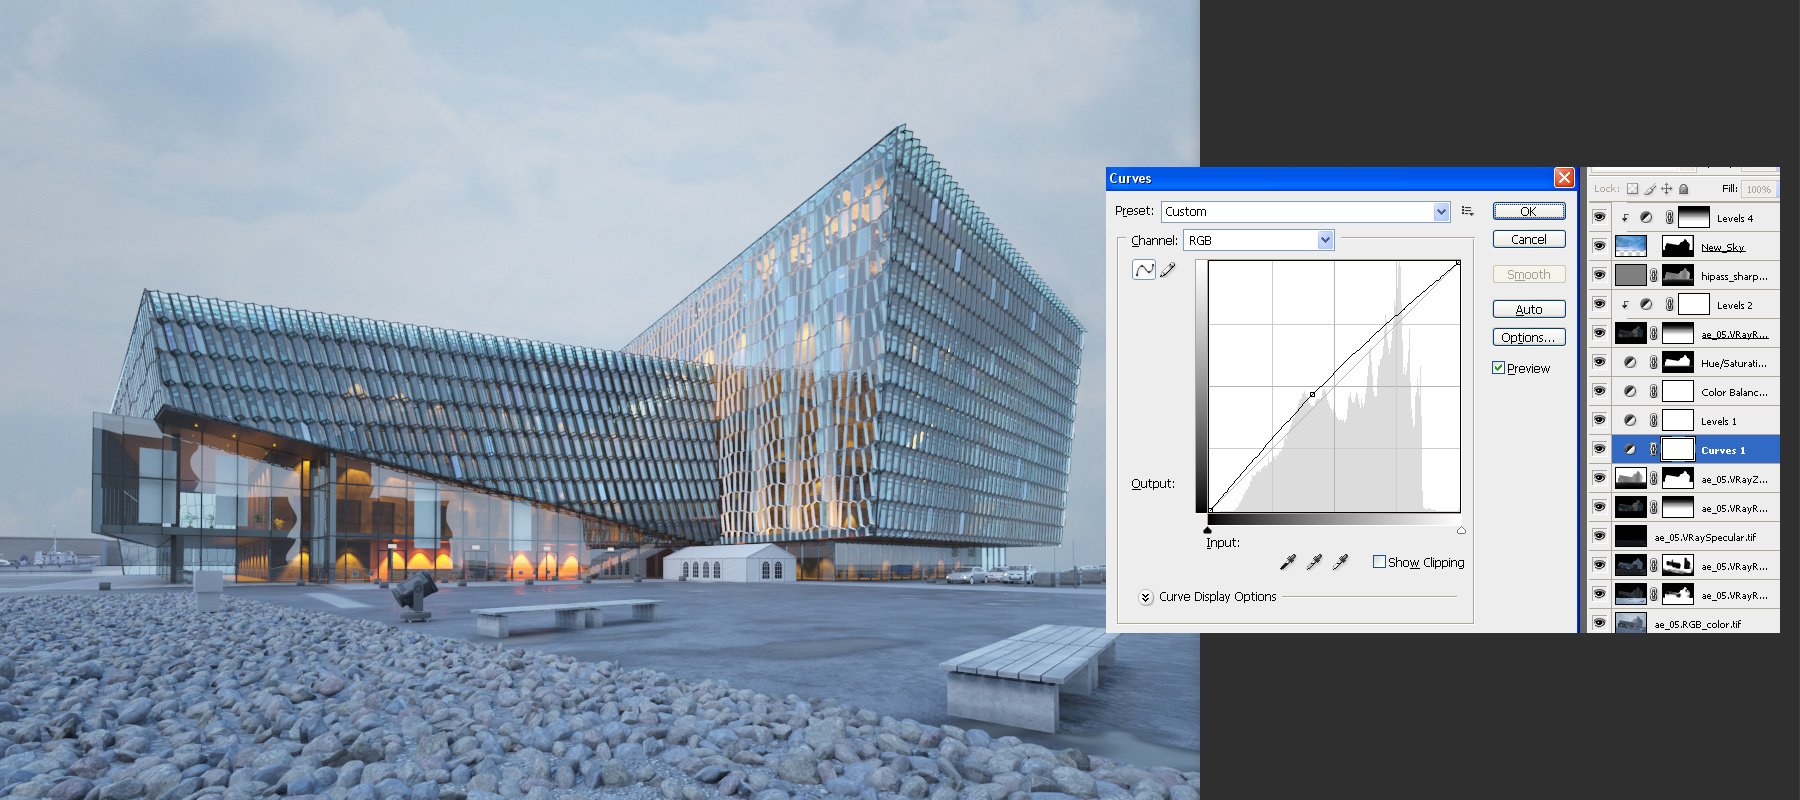
Click on image to enlarge 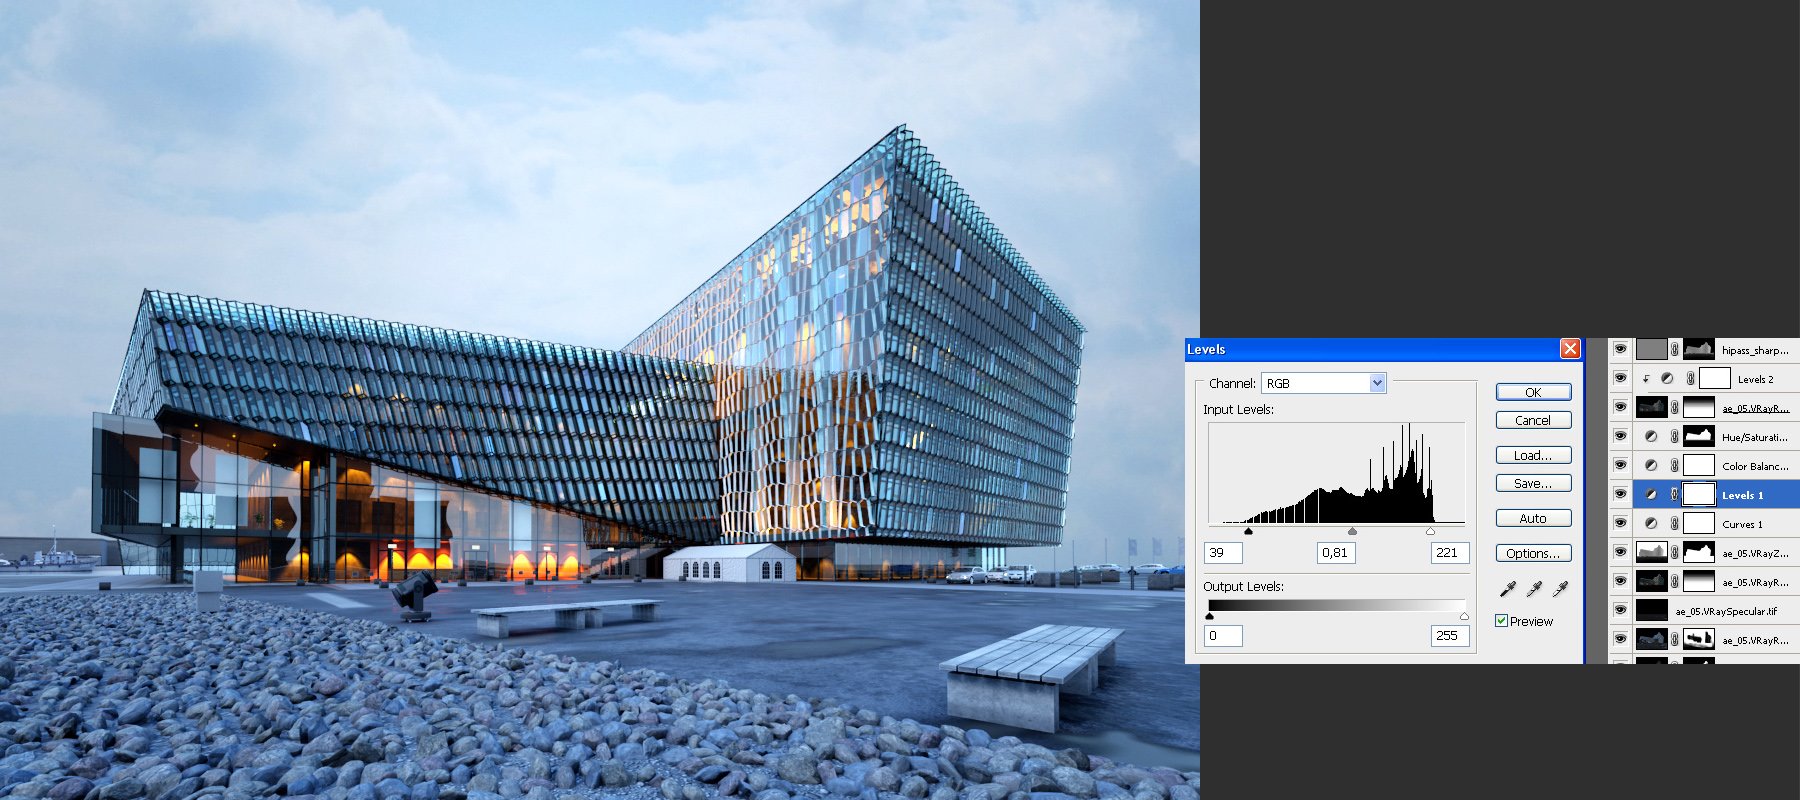
Post production - levels (bring the contrast on)
Click on image to enlarge 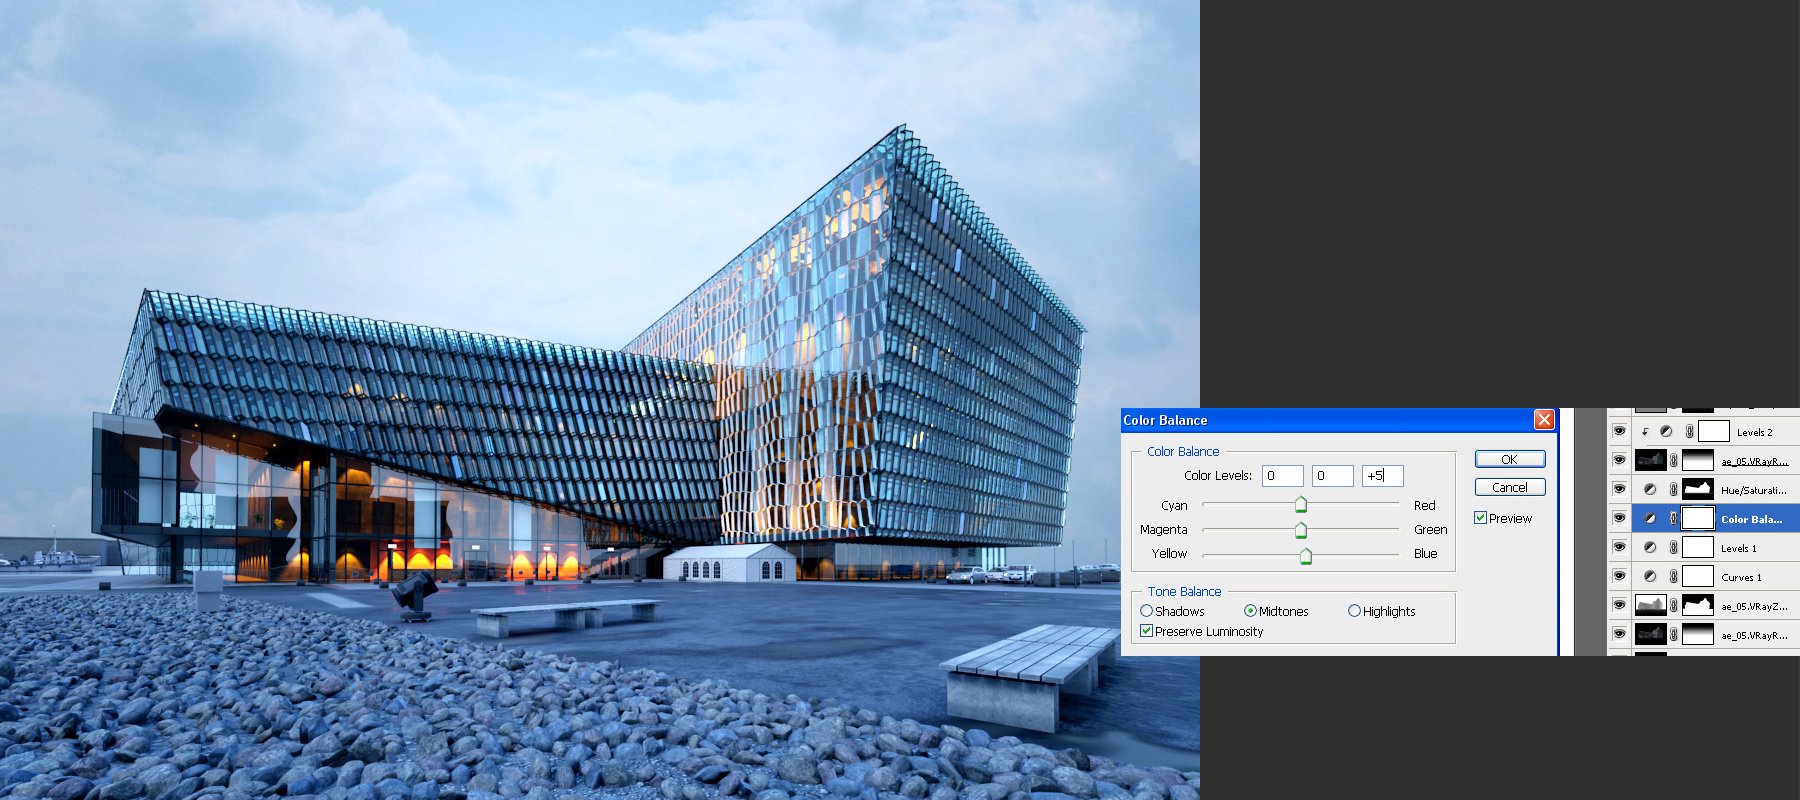
Color balance (added a slight amount of blue tint)
Click on image to enlarge 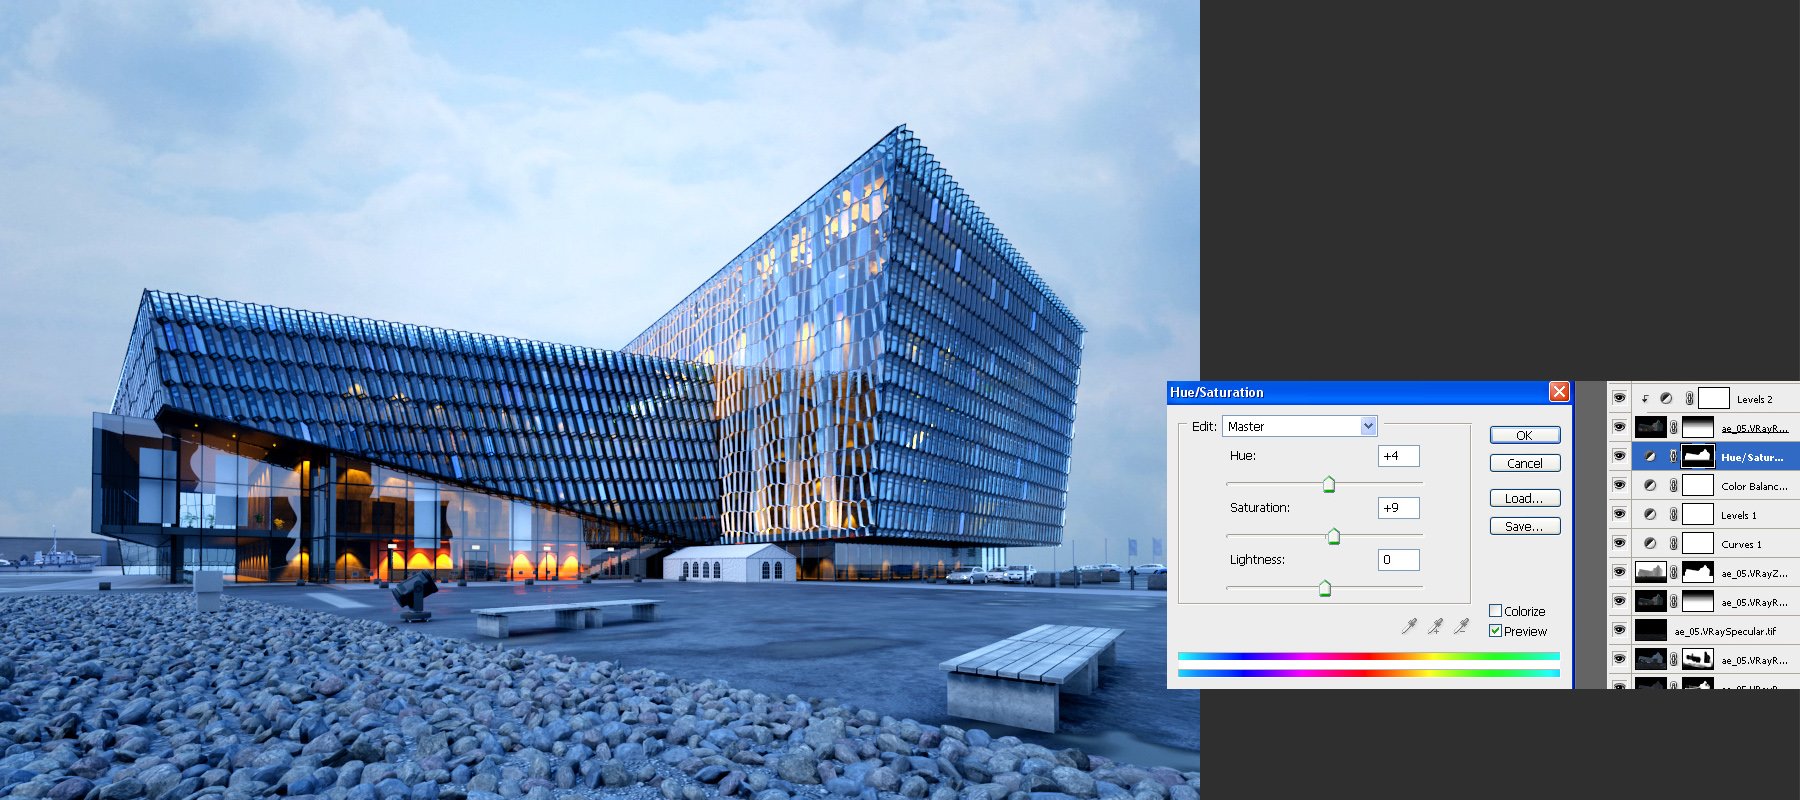
A littble bit more saturation and changed hue.
Click on image to enlarge 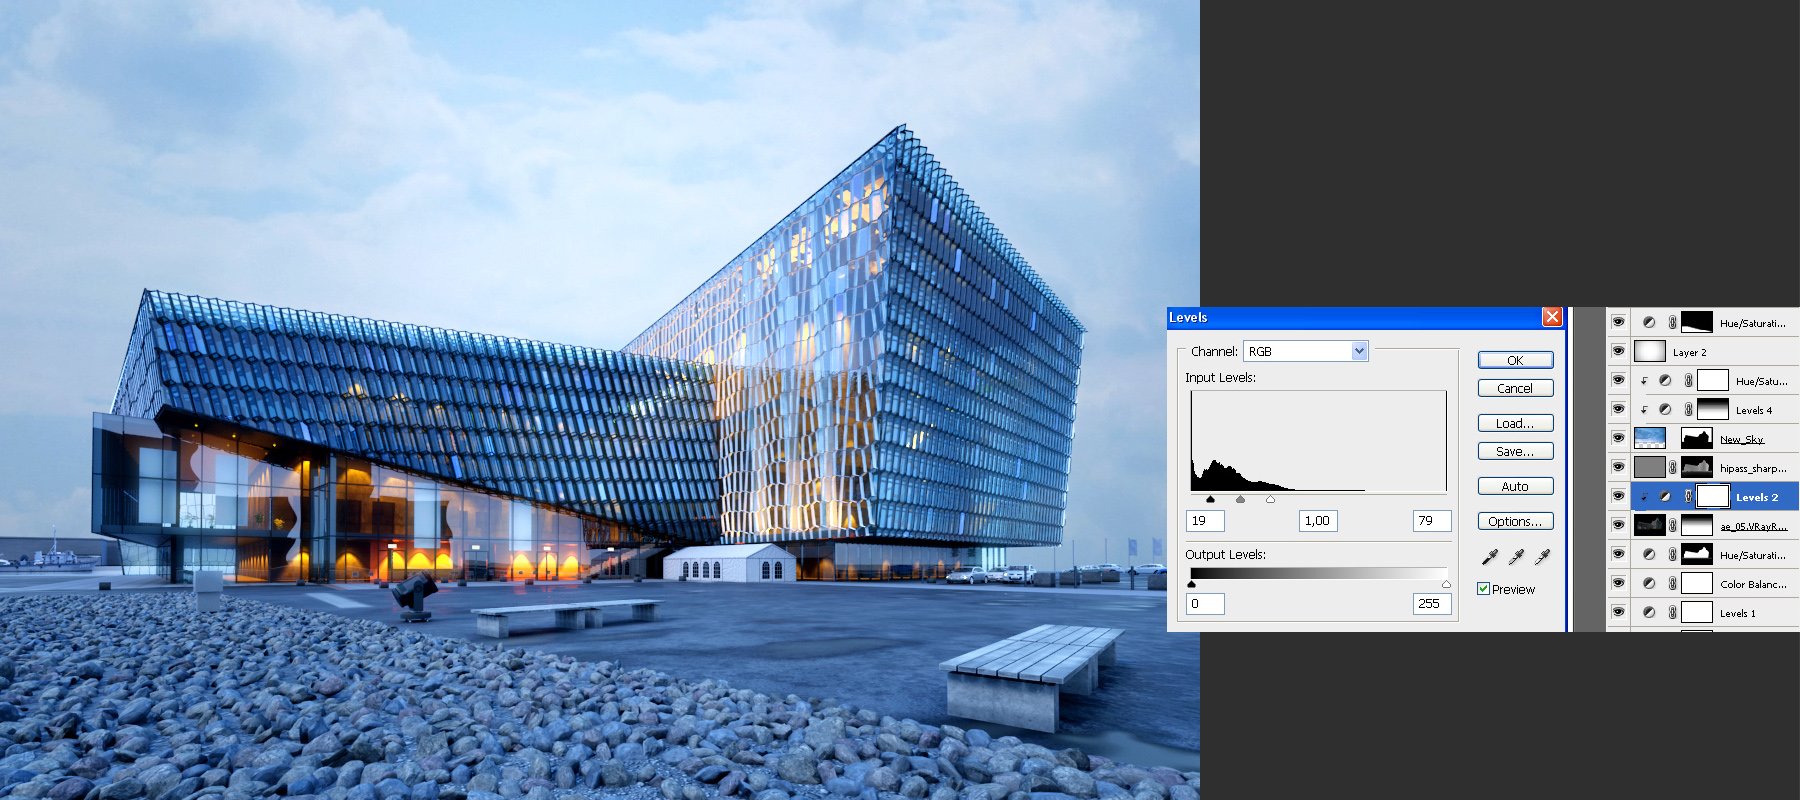
Click on image to enlarge 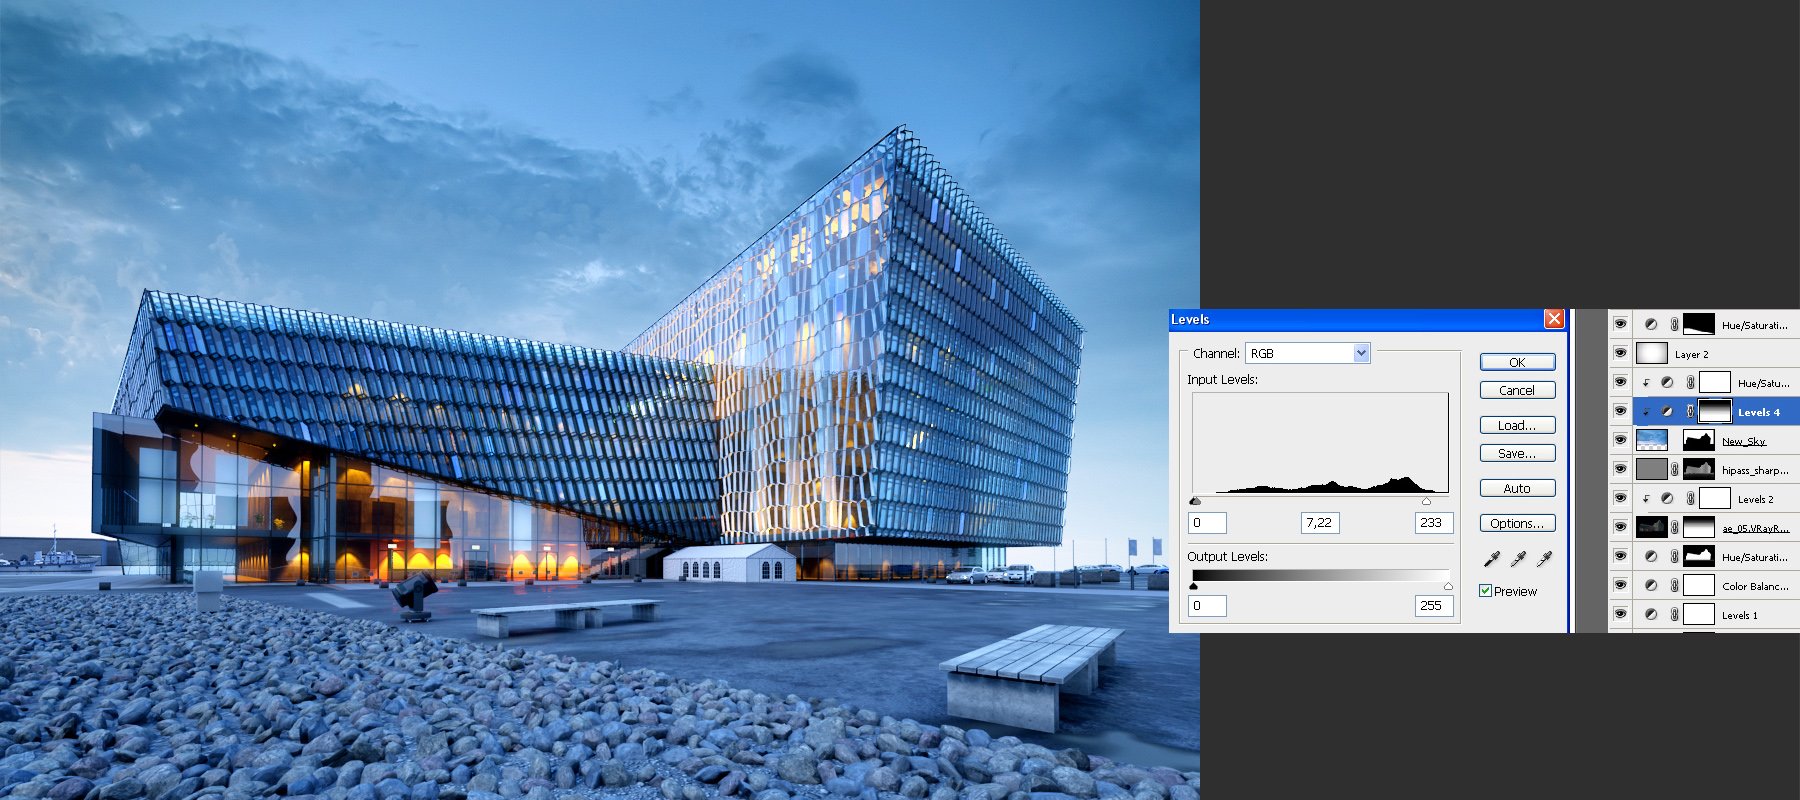
We changed the sky and changed the levels to make it more apparent.
Click on image to enlarge 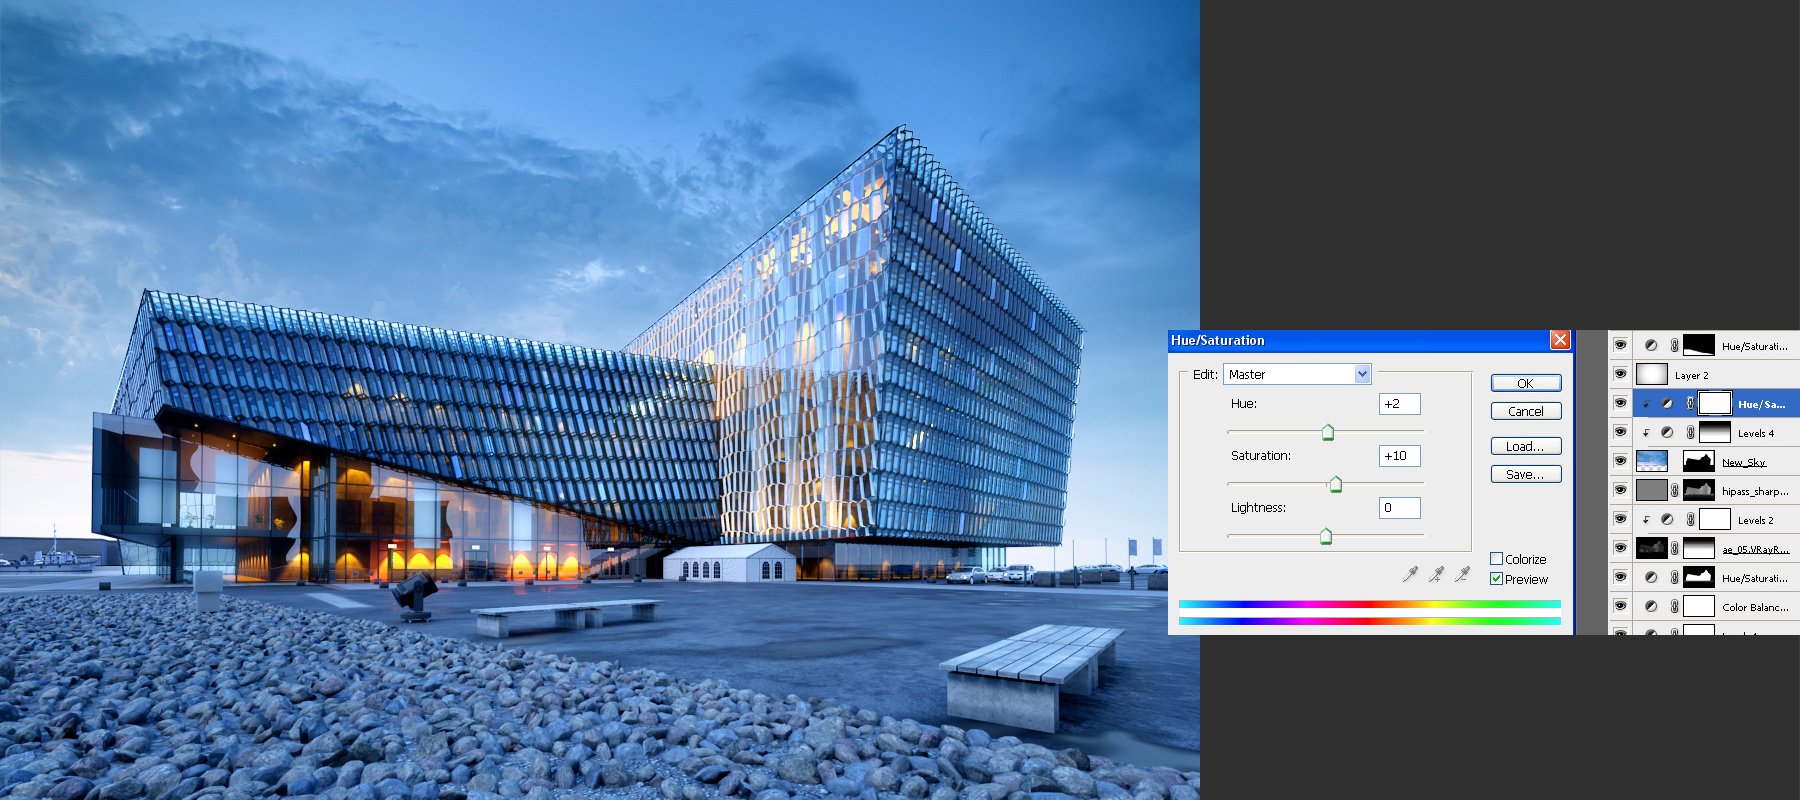
More saturation (sky only)
Click on image to enlarge 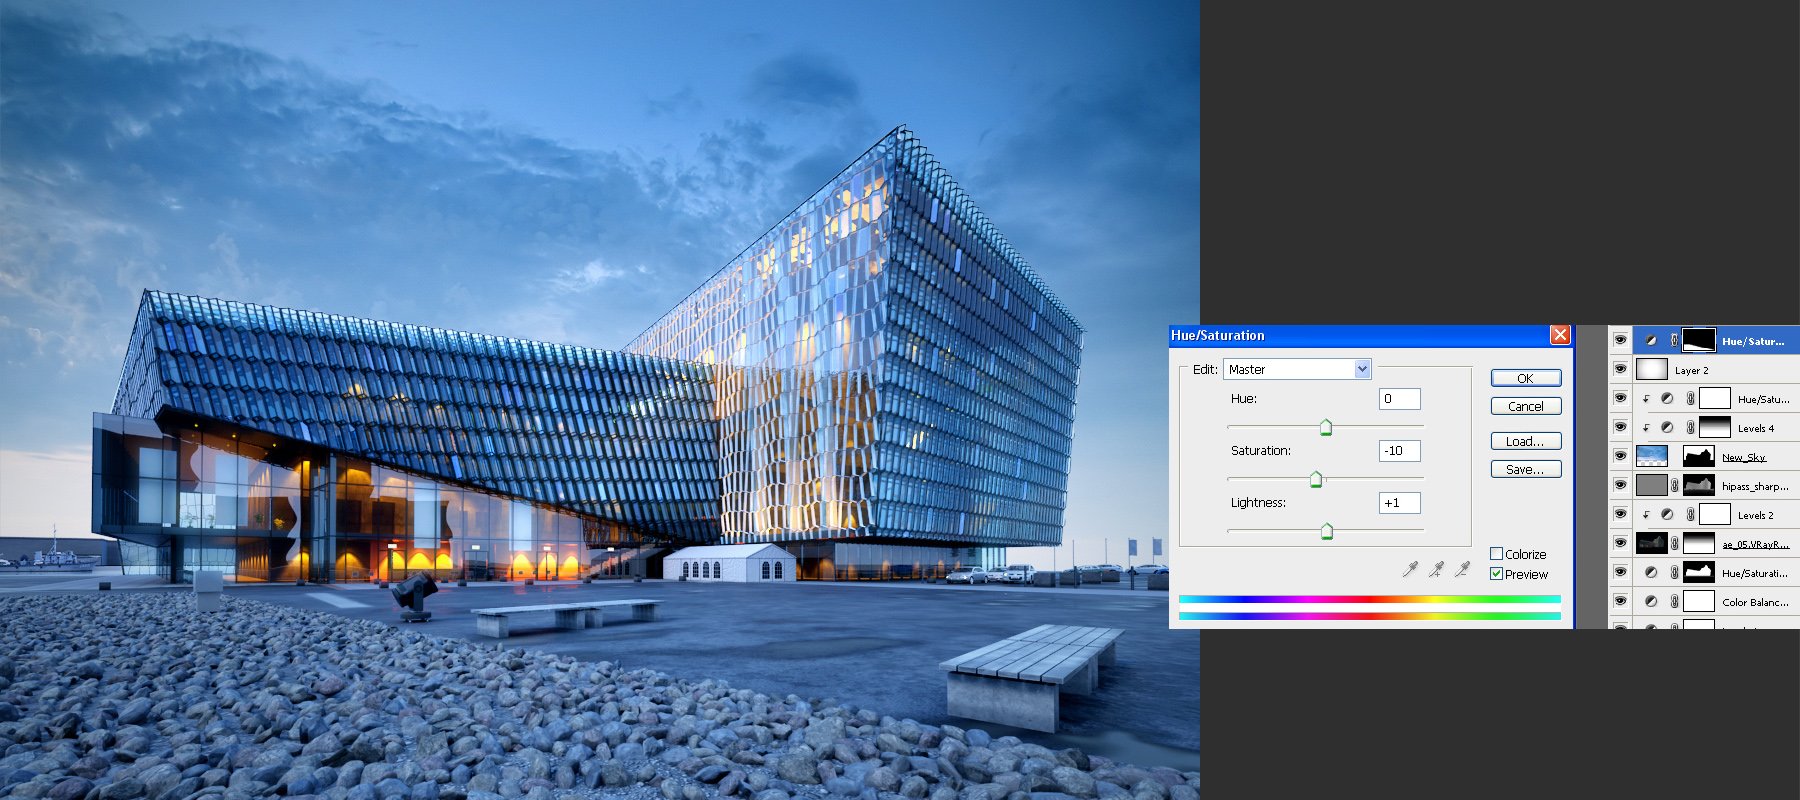
Click on image to enlarge 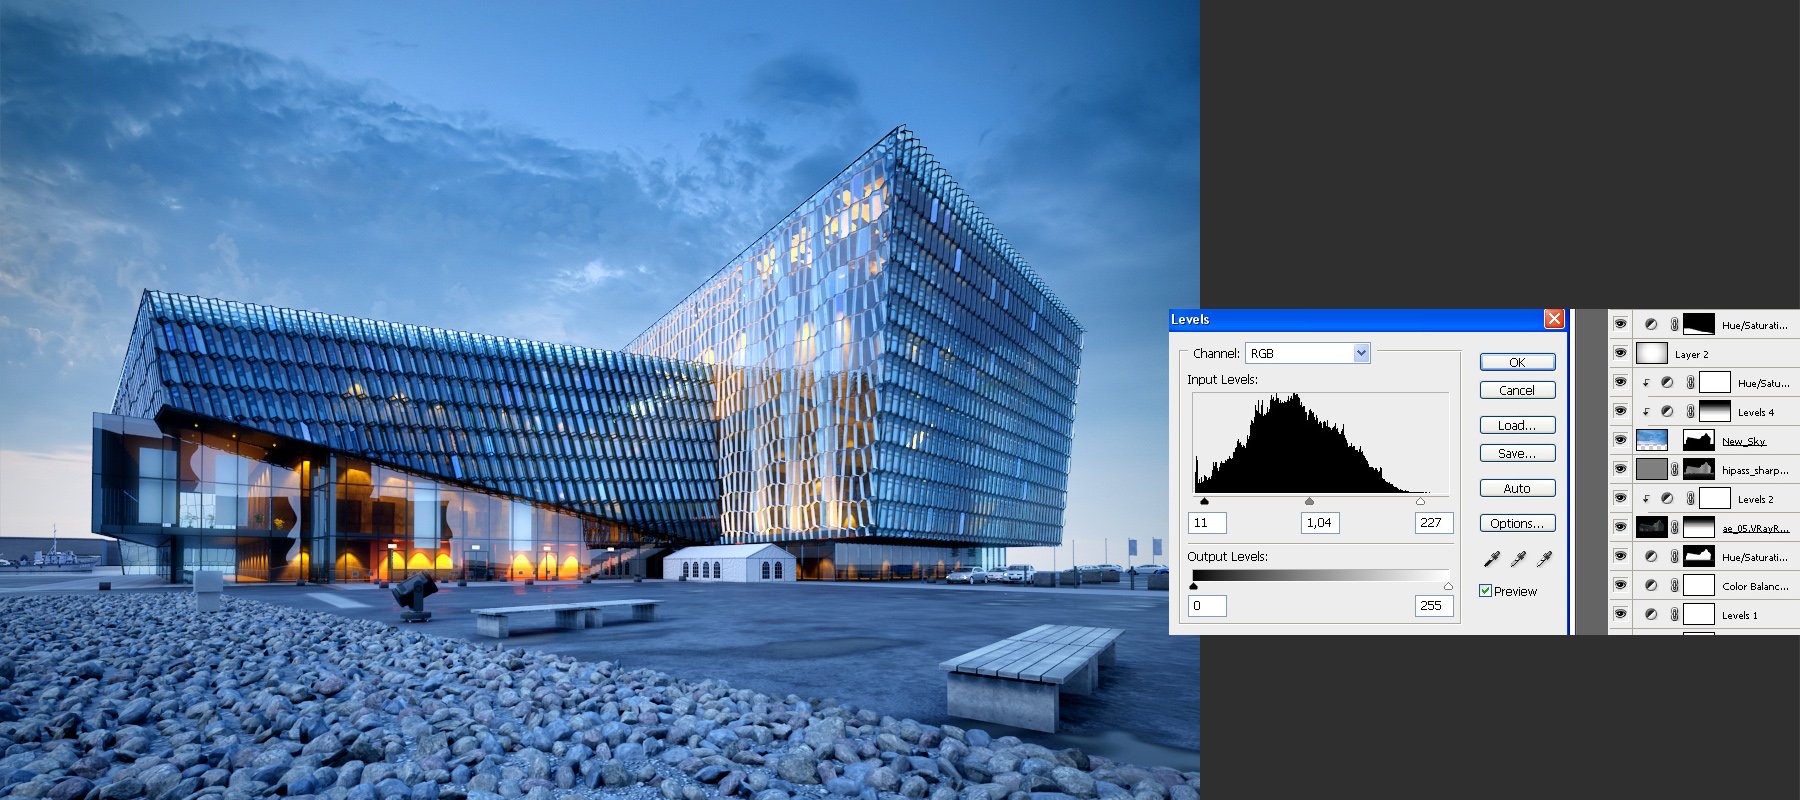
Click on image to enlarge 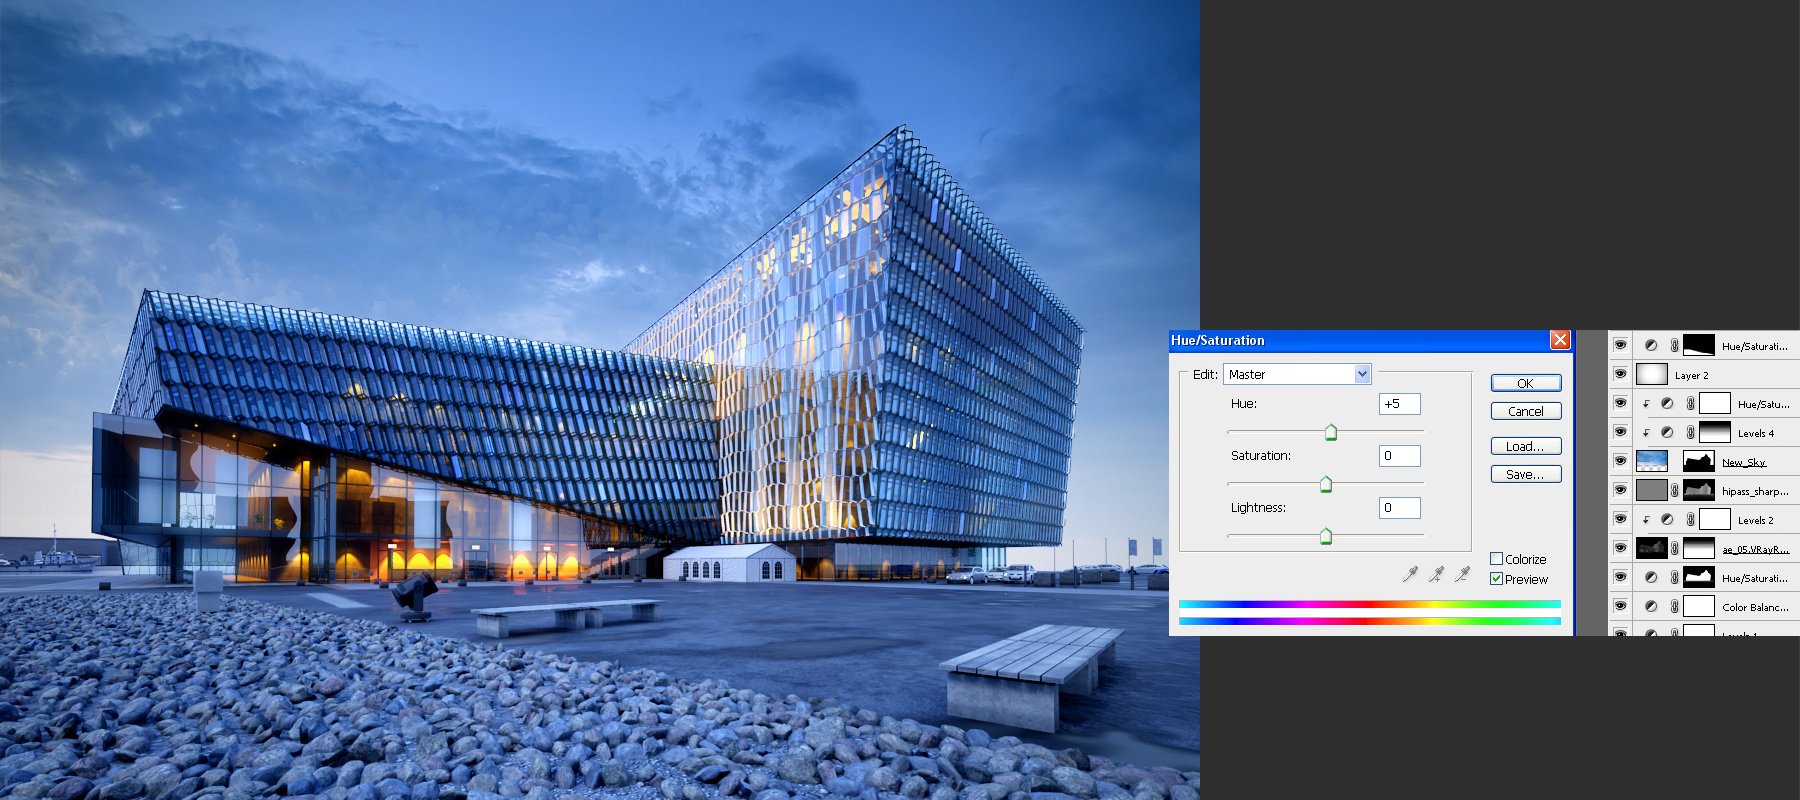
Click on image to enlarge 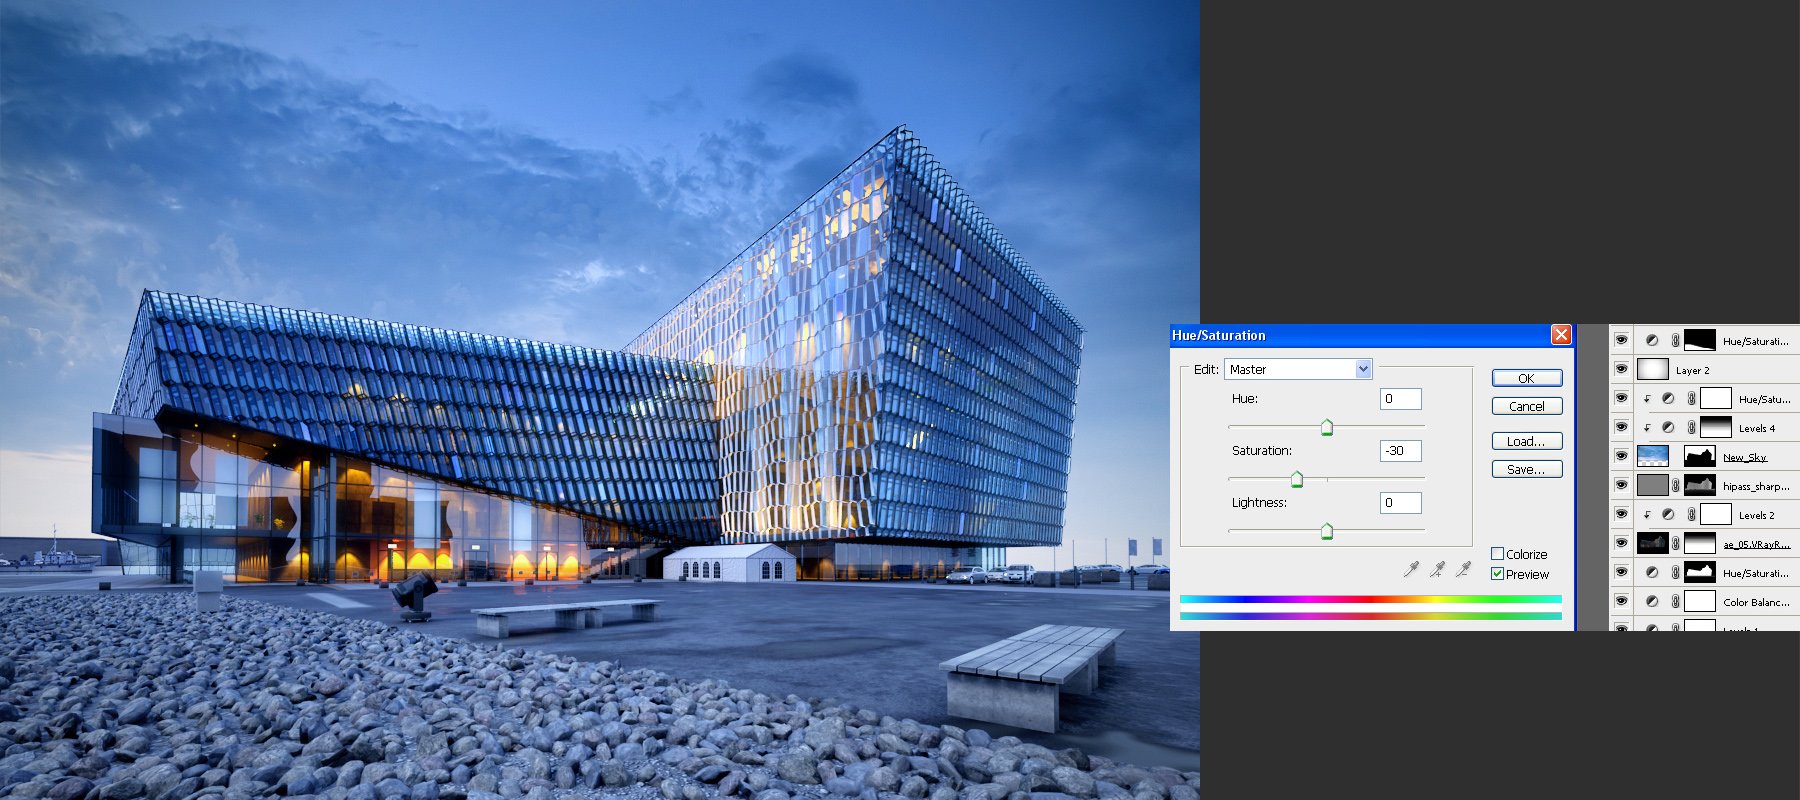
Final saturation adjustment. This is final image.
Hope you enjoyed it! Thanks for reading! :)
Customer zone
Your special offers
Your orders
Edit account
Add project
Liked projects
View your artist profile





COMMENTS