Evermotion: More Than an Asset Library
How Evermotion became a full-scale production partner for archviz, automotive and synthetic data.


Total: € 0


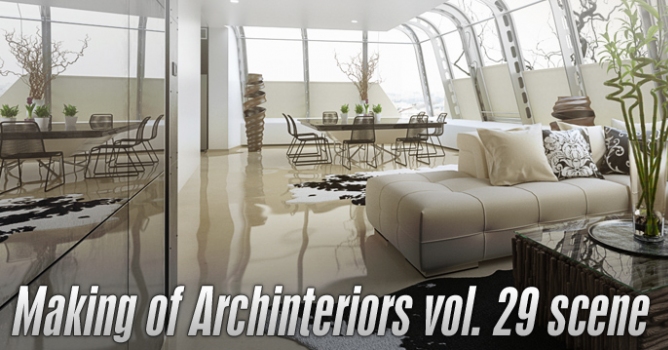
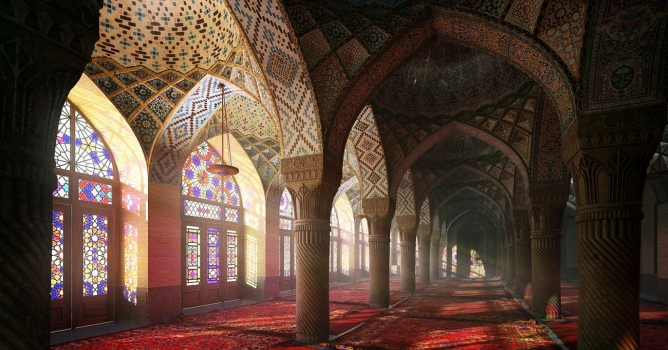
This scene was modeled from a single photo reference. Back then we had to match camera settings with the reference image manually. Now it is possible to do it much quicker, using Perpective Match tool (available in 2014 version of 3dsMax).
Click on image to enlarge 

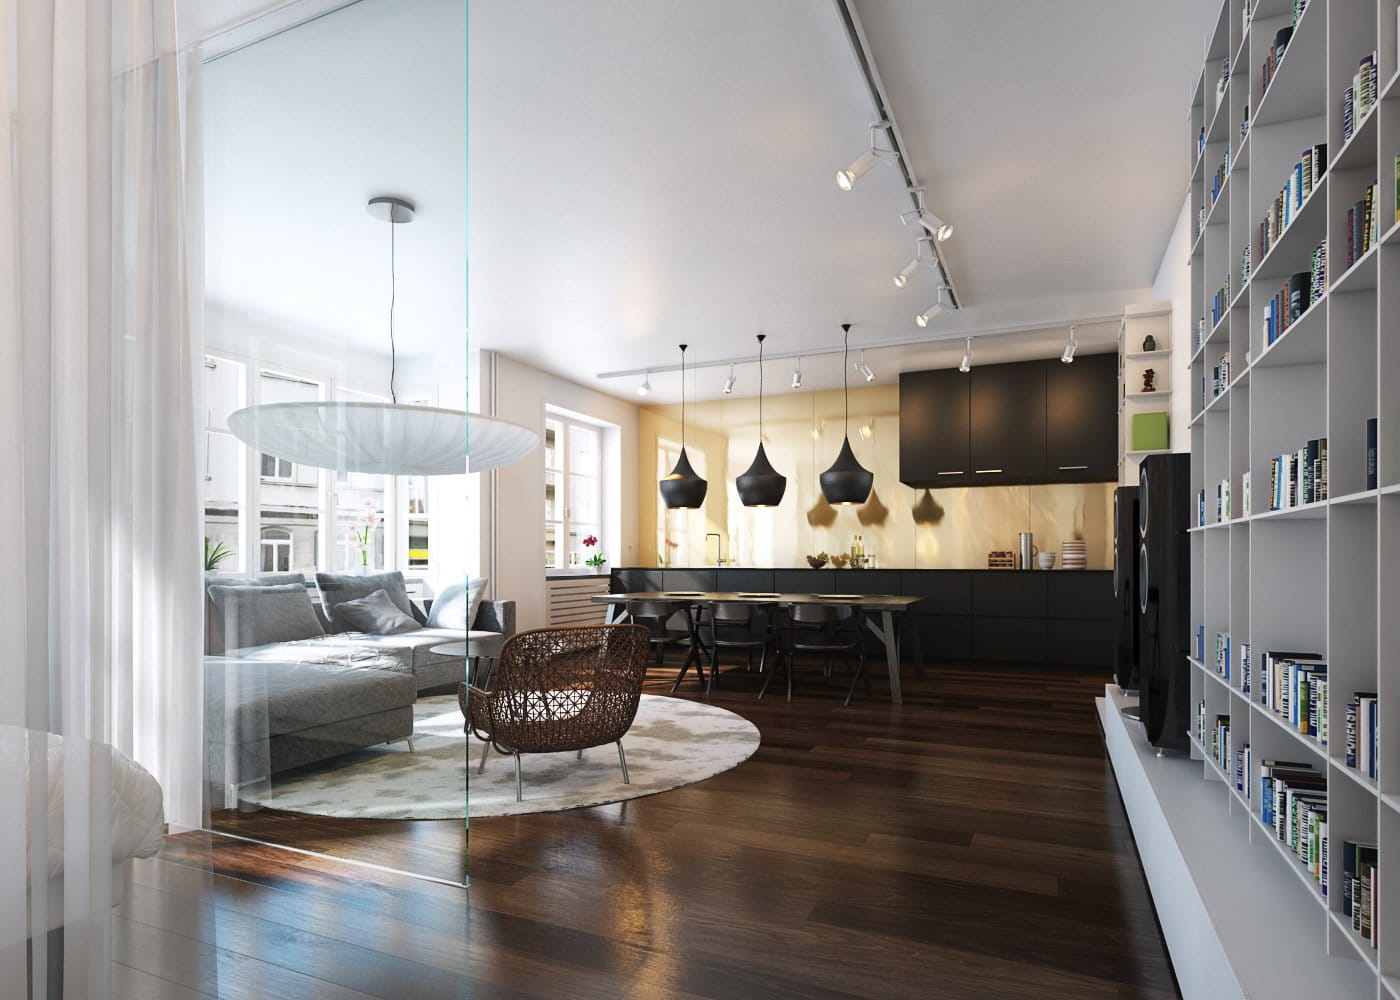
Modeling
Scene is quite simple. I focused on modeling only those things, which would be seen through the camera eye and those out of the direct view, but reflecting in the mirror, or affecting side light (curtain). I based on simple polymodeling with TurboSmooth modifier on top. It is always good to remember about adding some small imperfections and avoiding perfect symmetry. It makes the scene more believable.
Click on image to enlarge 
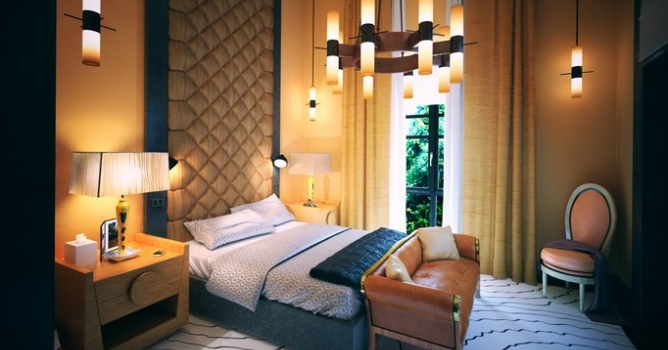
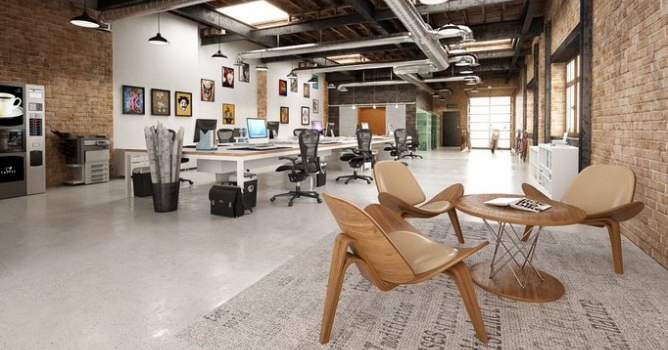
Lighting
Click on image to enlarge 
I used Target Directional Light perpendicularly to the camera, to bring out a shape of lamp, table and chaise. Far Attenuation in this light is precized, to reduce it's range. I gave it yellow tint to simulate sun light. Planar VRayLight was needed to additionally fill the lamp and chaise from 3/4 angle. 3. Following two sources of VRayLight was used to brighten specific areas of the interior: wall behind the mirror and wall behind the camera (reflecting in the mirror). Chandelier bulbs have simple VRayLightMtl with orange tint.
Materials
Variety of shaders were used here:
Click on image to enlarge 
Click on image to enlarge 
Post-production
Click on image to enlarge


LEAVE A COMMENT


|

|

|

|

|
 Customer zone
 Your orders
 Edit account
 Add project
 Liked projects
 View your artist profile
COMMENTS