This modern interior scene is a part of our popular Archinteriors vol. 27 collection (for C4D version go here: Archinteriors vol. 27 for Cinema 4D). This scene was modeled and set with 3DS Max and rendered with V-Ray (check V-Ray price in our shop!). It comes with 3 cameras.
Click on image to enlarge 
Click on image to enlarge 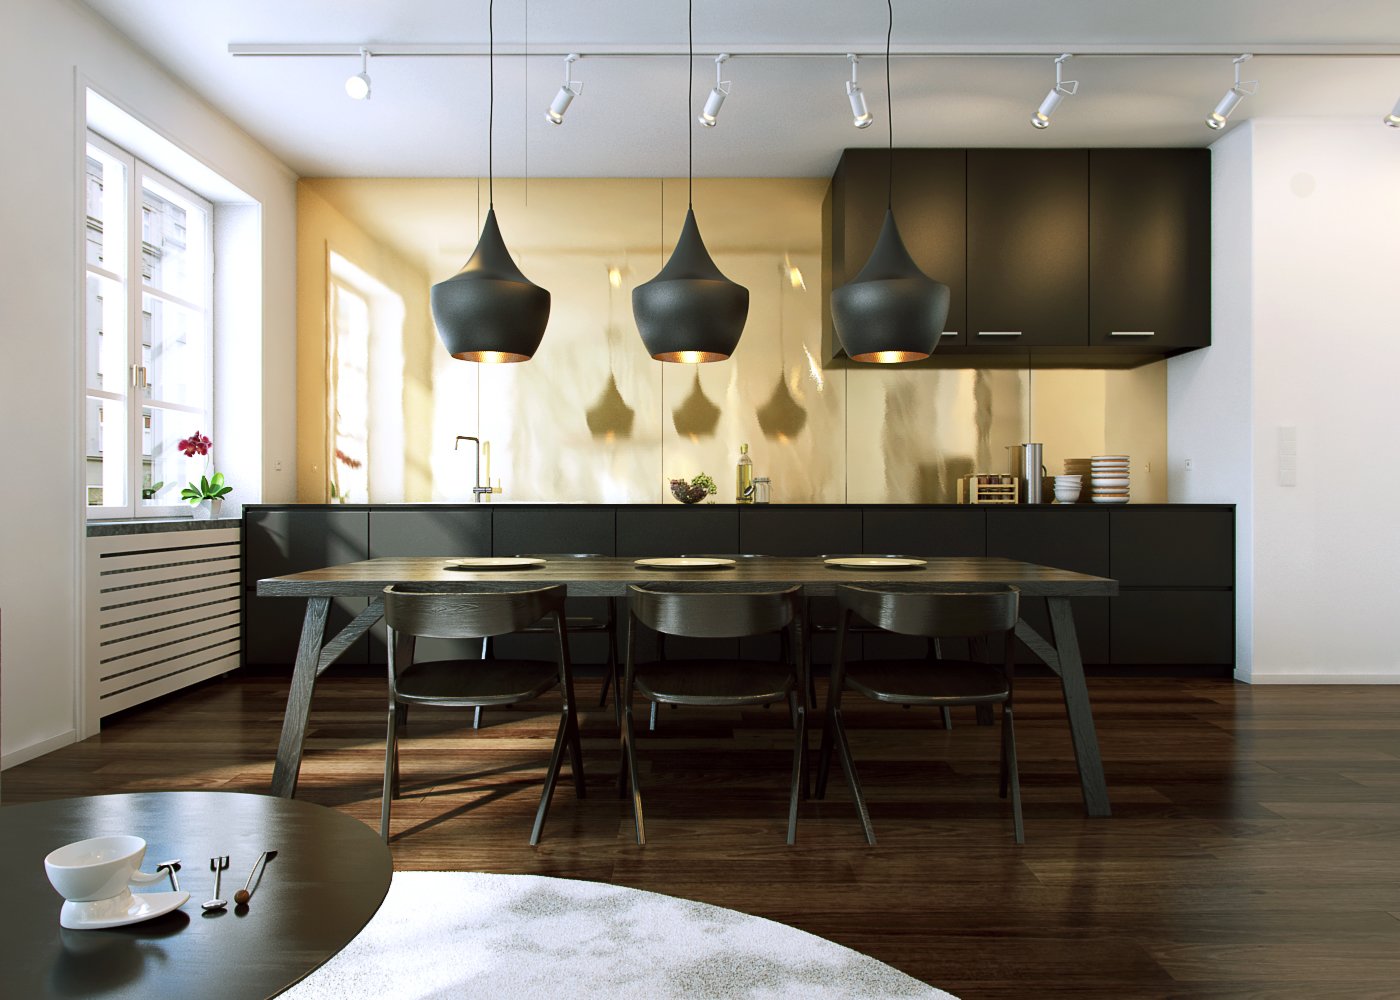
Click on image to enlarge 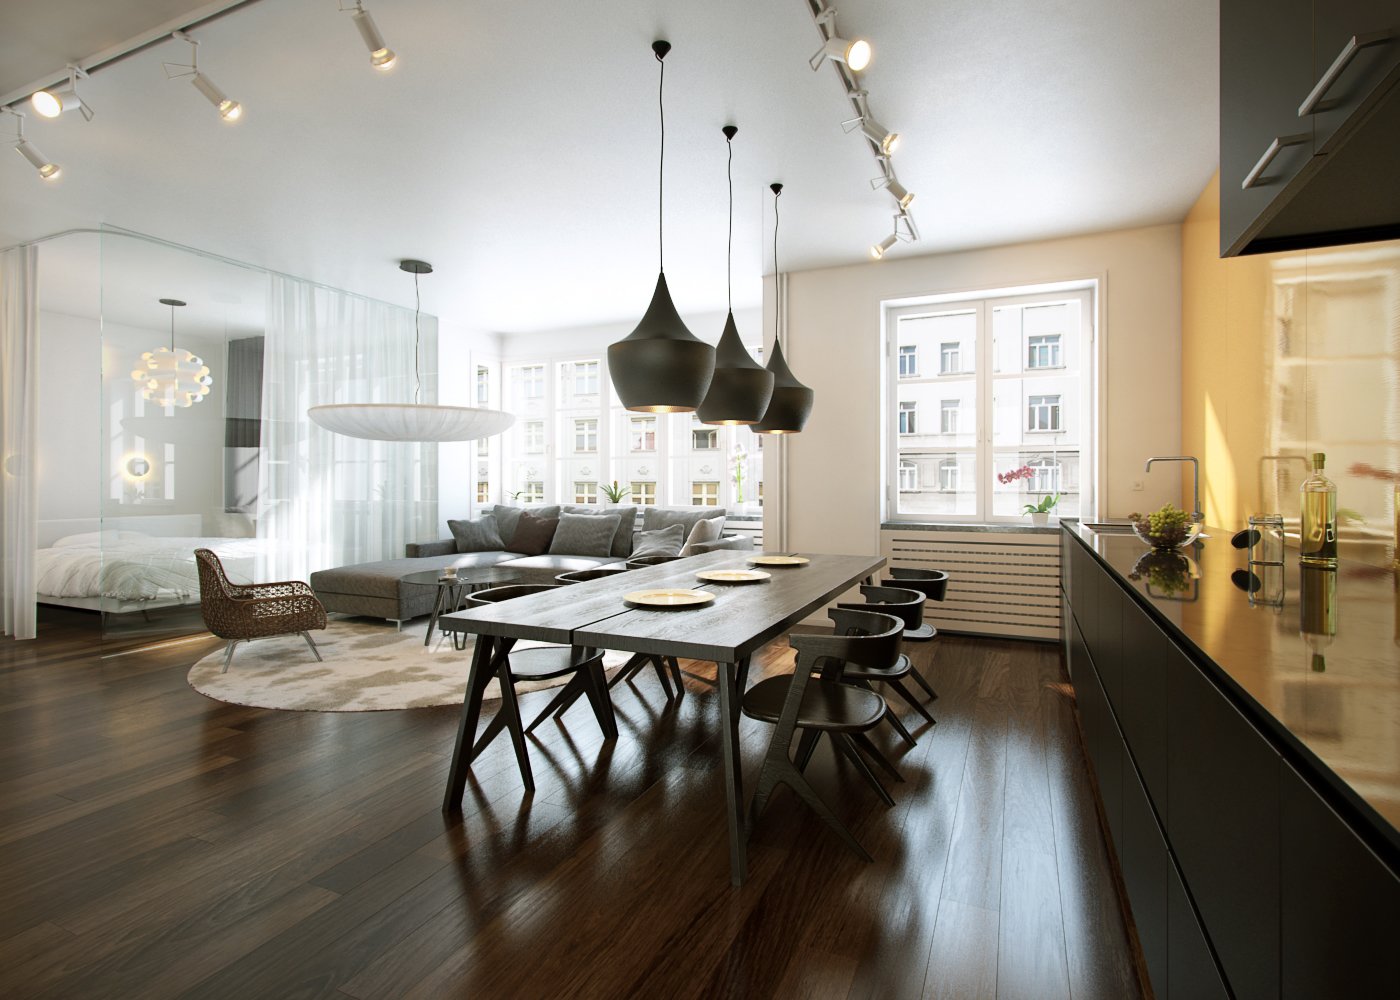
Click on image to enlarge 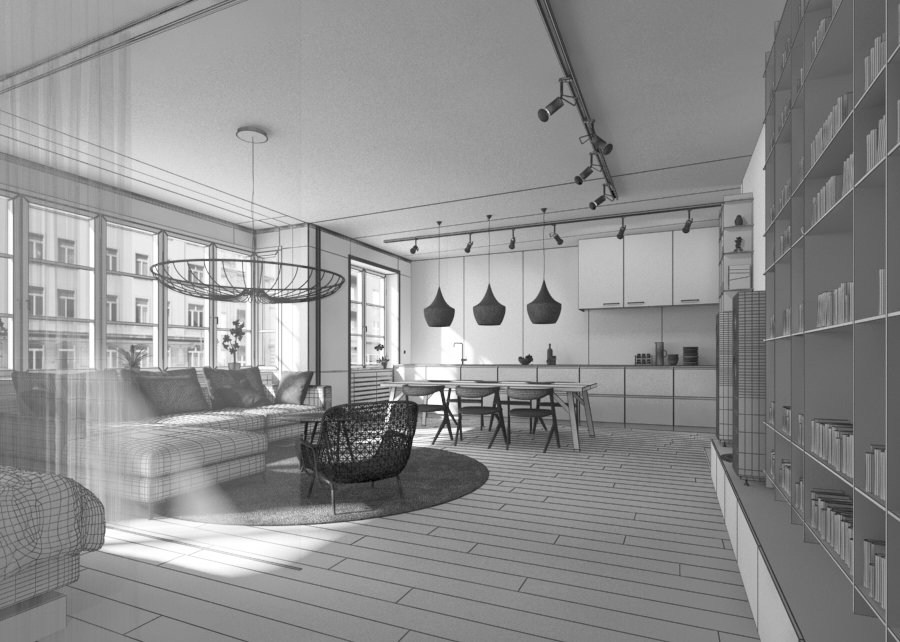
View from camera 1 - wire
Click on image to enlarge 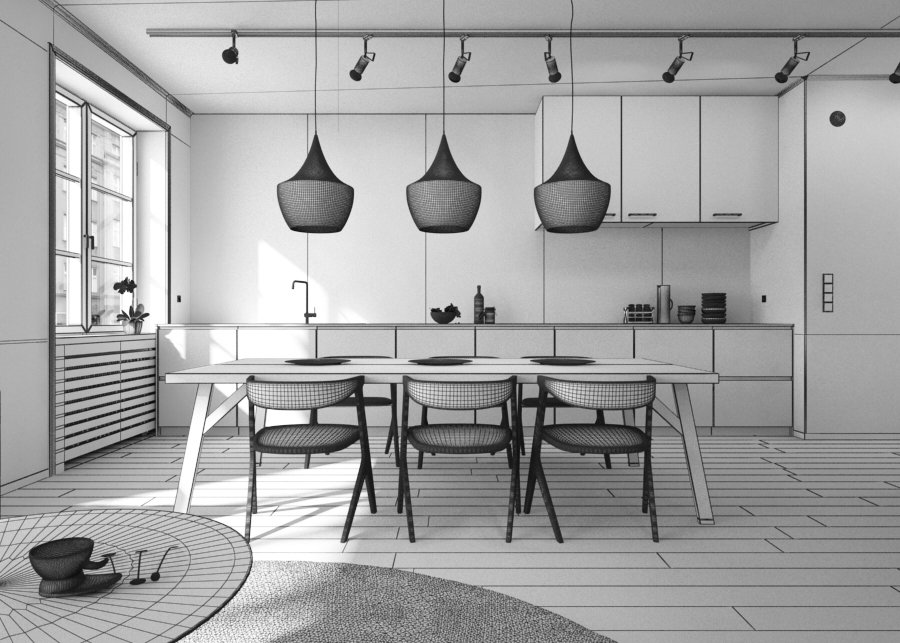
View from camera 2 - wire
Click on image to enlarge 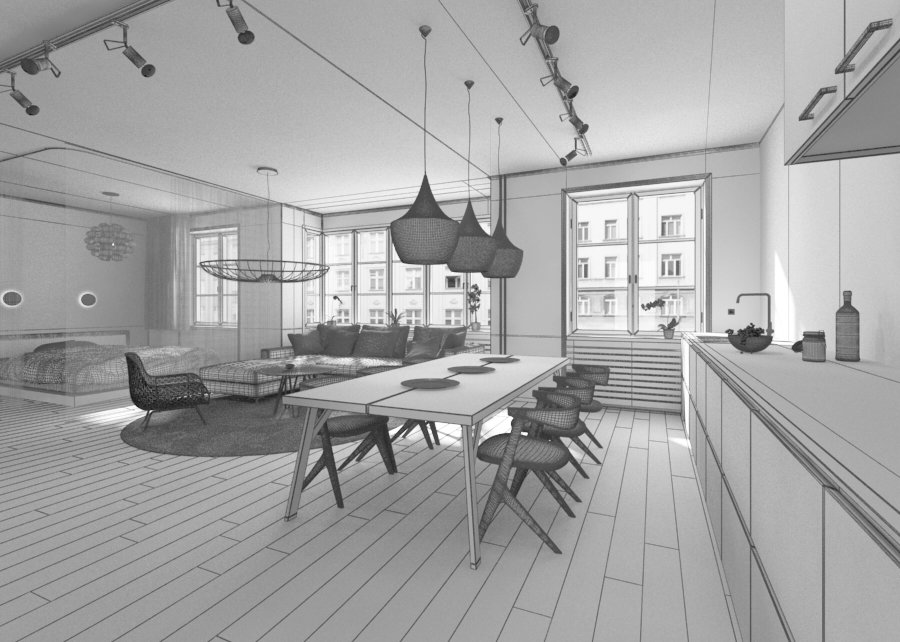
View from camera 3 - wire
Click on image to enlarge 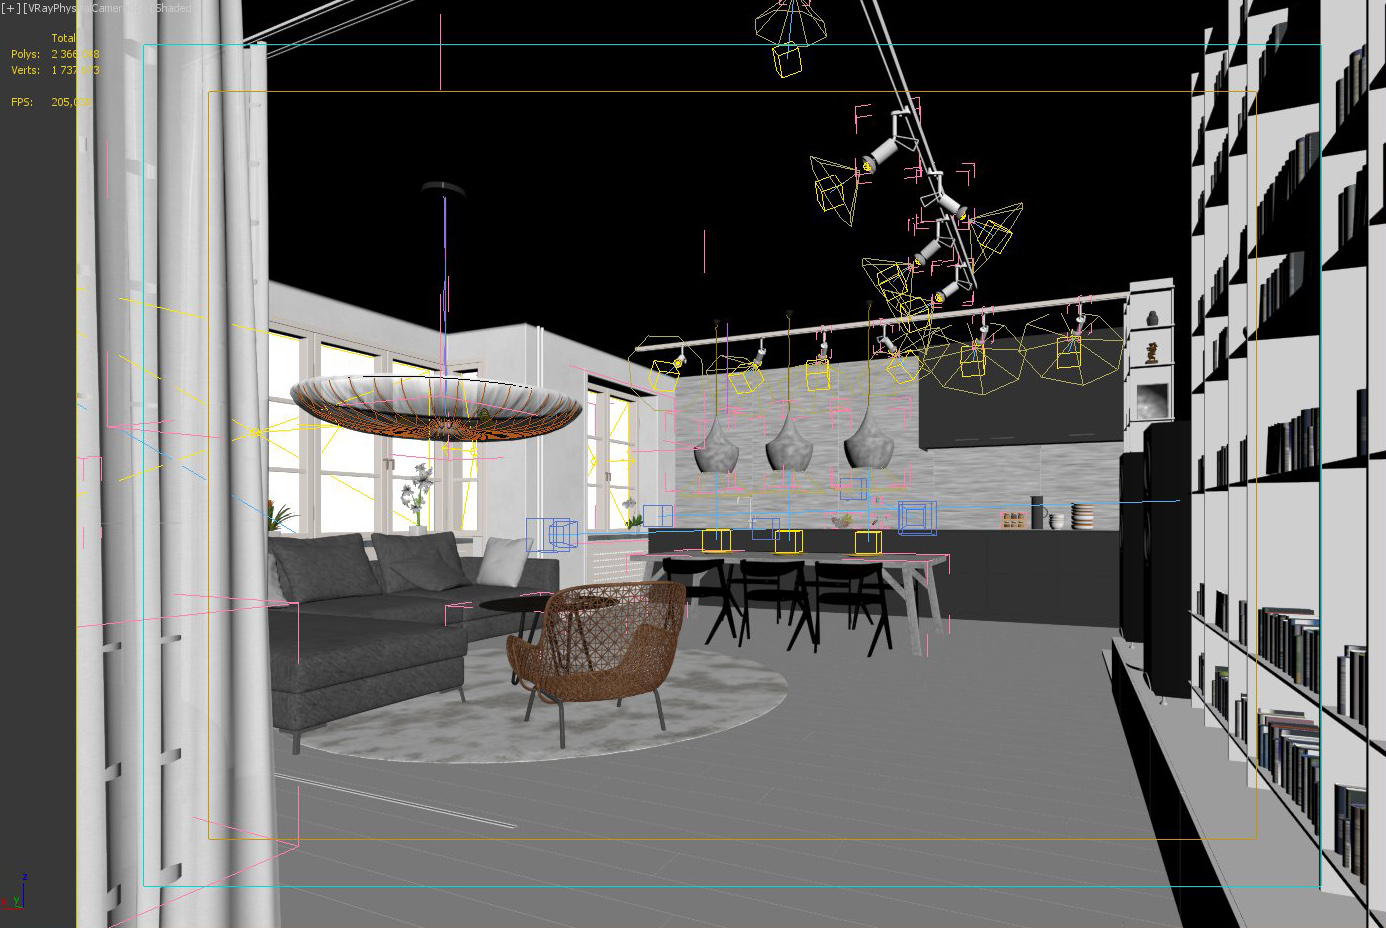
Camera 1 - overview. As you can see, it is quite simple scene. What makes it special are: nice props and furniture, realistic shaders for interior walls, ceiling and floor, many light sources and carefully picked camera angle.
Click on image to enlarge 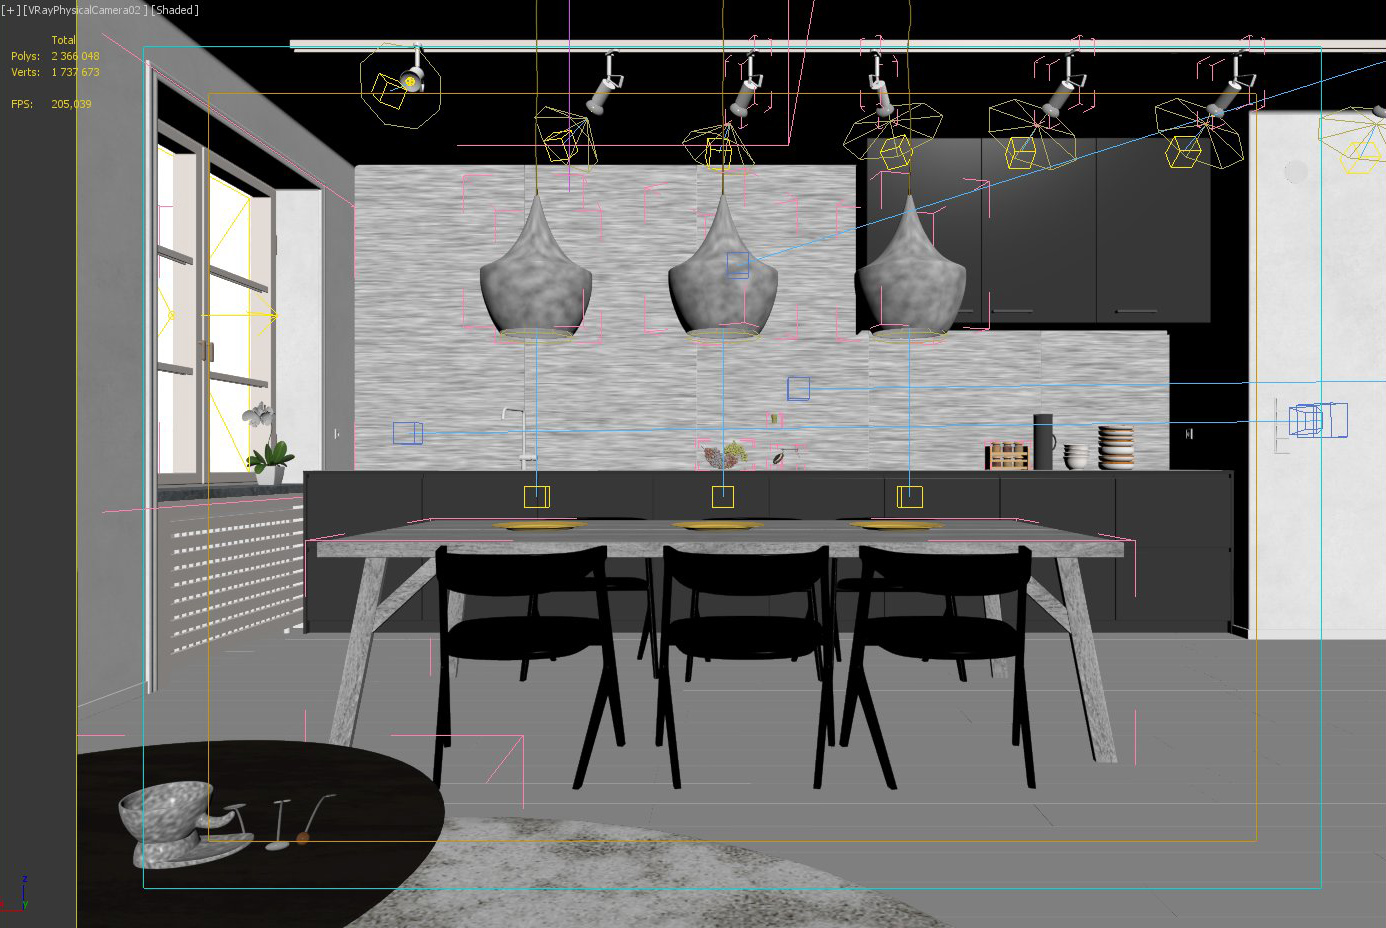
Click on image to enlarge 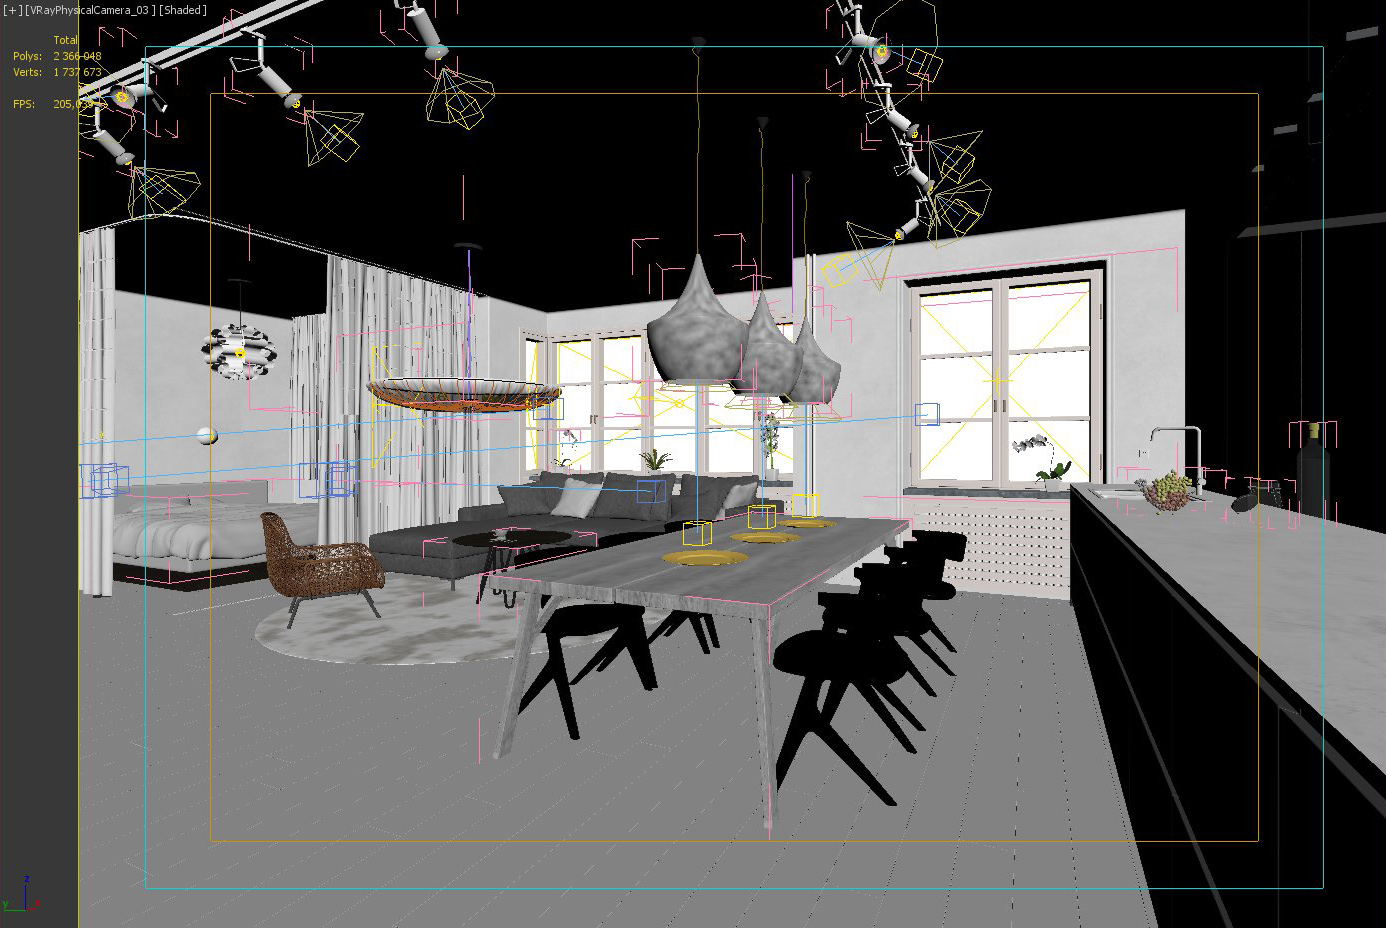
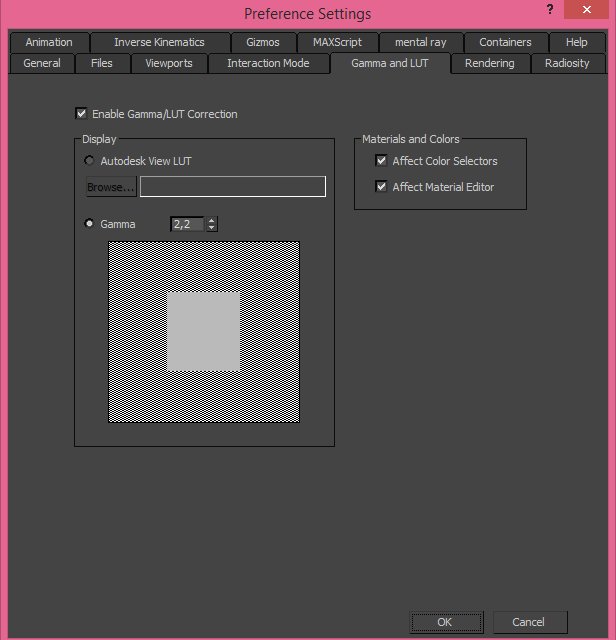
Gamma settings. to achieve realistic results, use Gamma 2,2
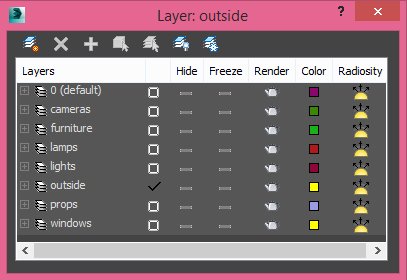
In the scene with so many elements, it is a must to distribute them on separate layers.
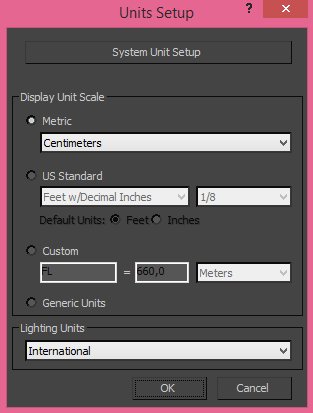
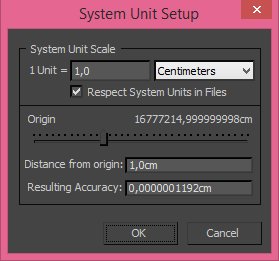
We use metric units system.
Click on image to enlarge 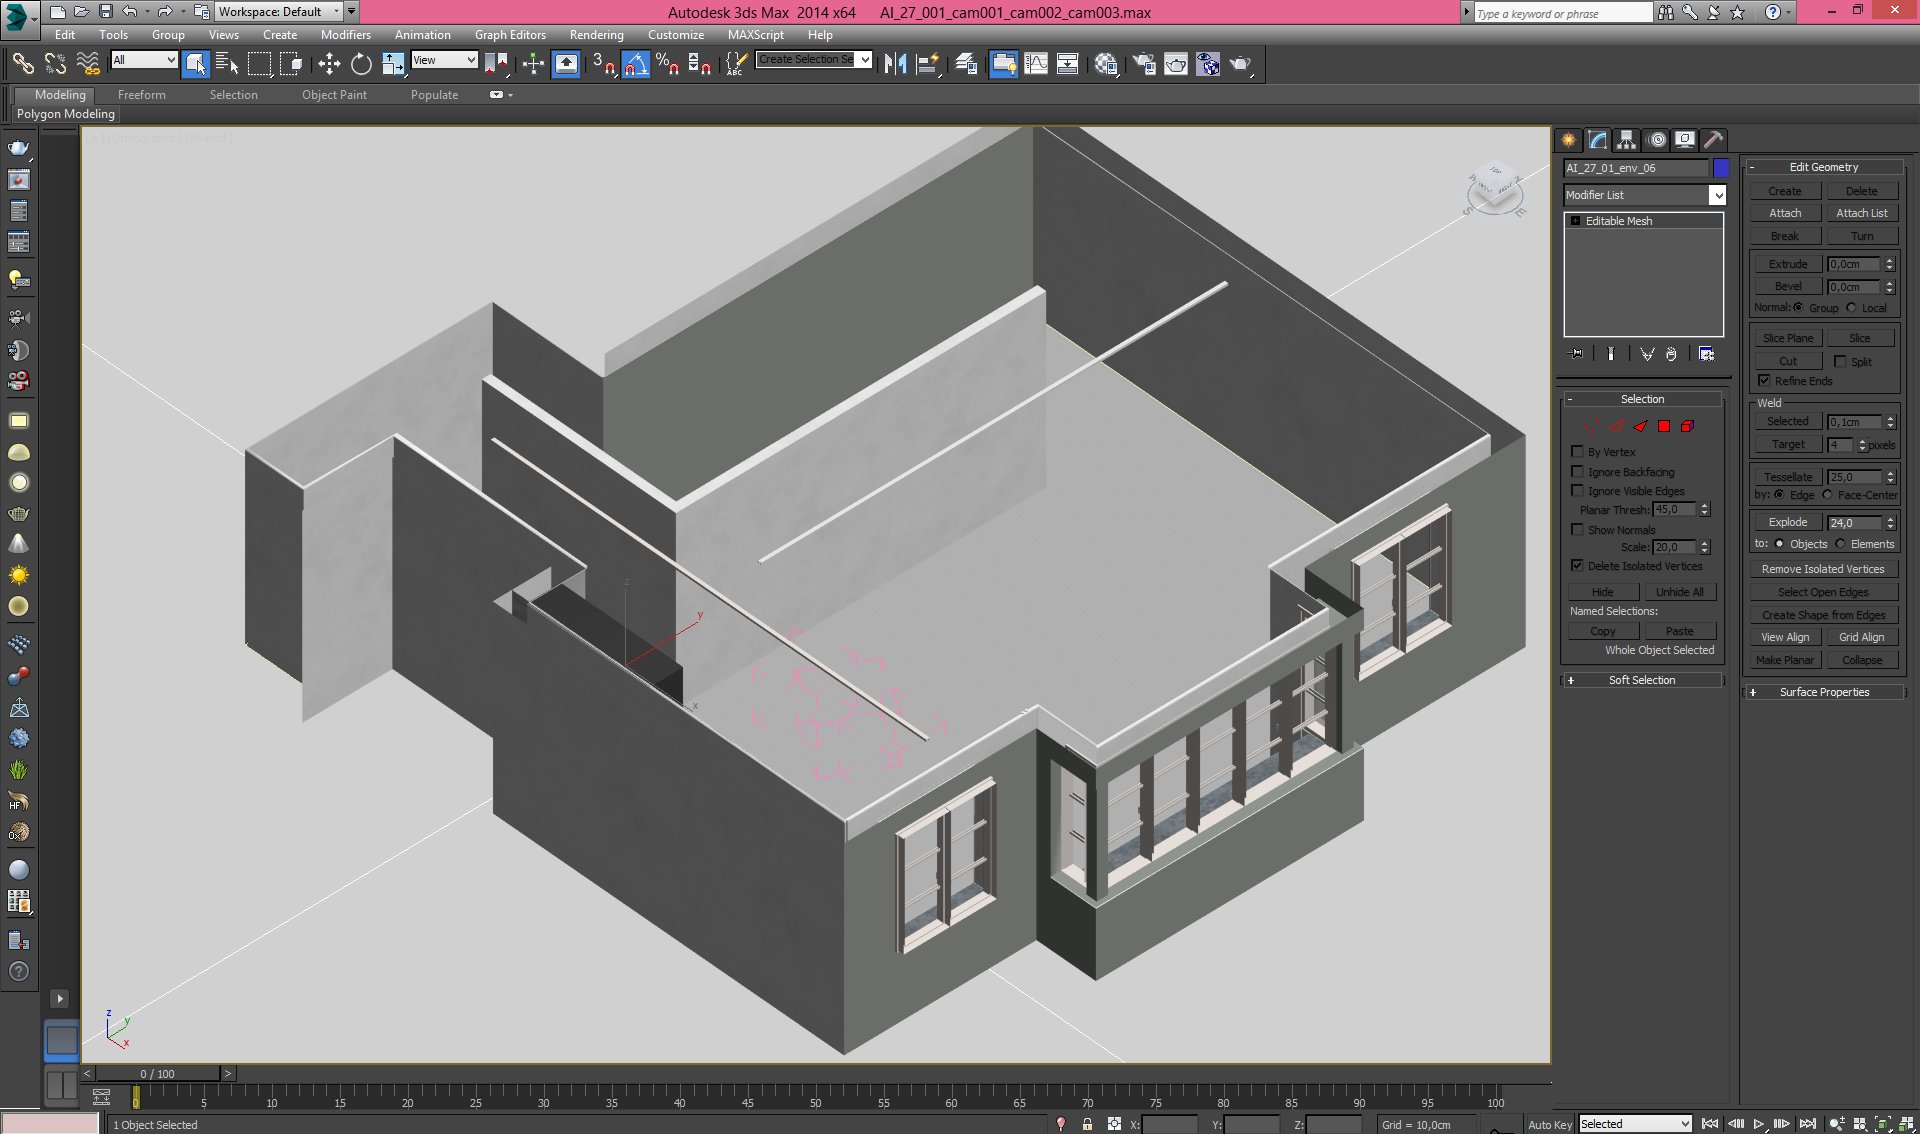
This is how the building looks from above (all elements are hidden except of walls, windows, floor and ground plane).
Click on image to enlarge 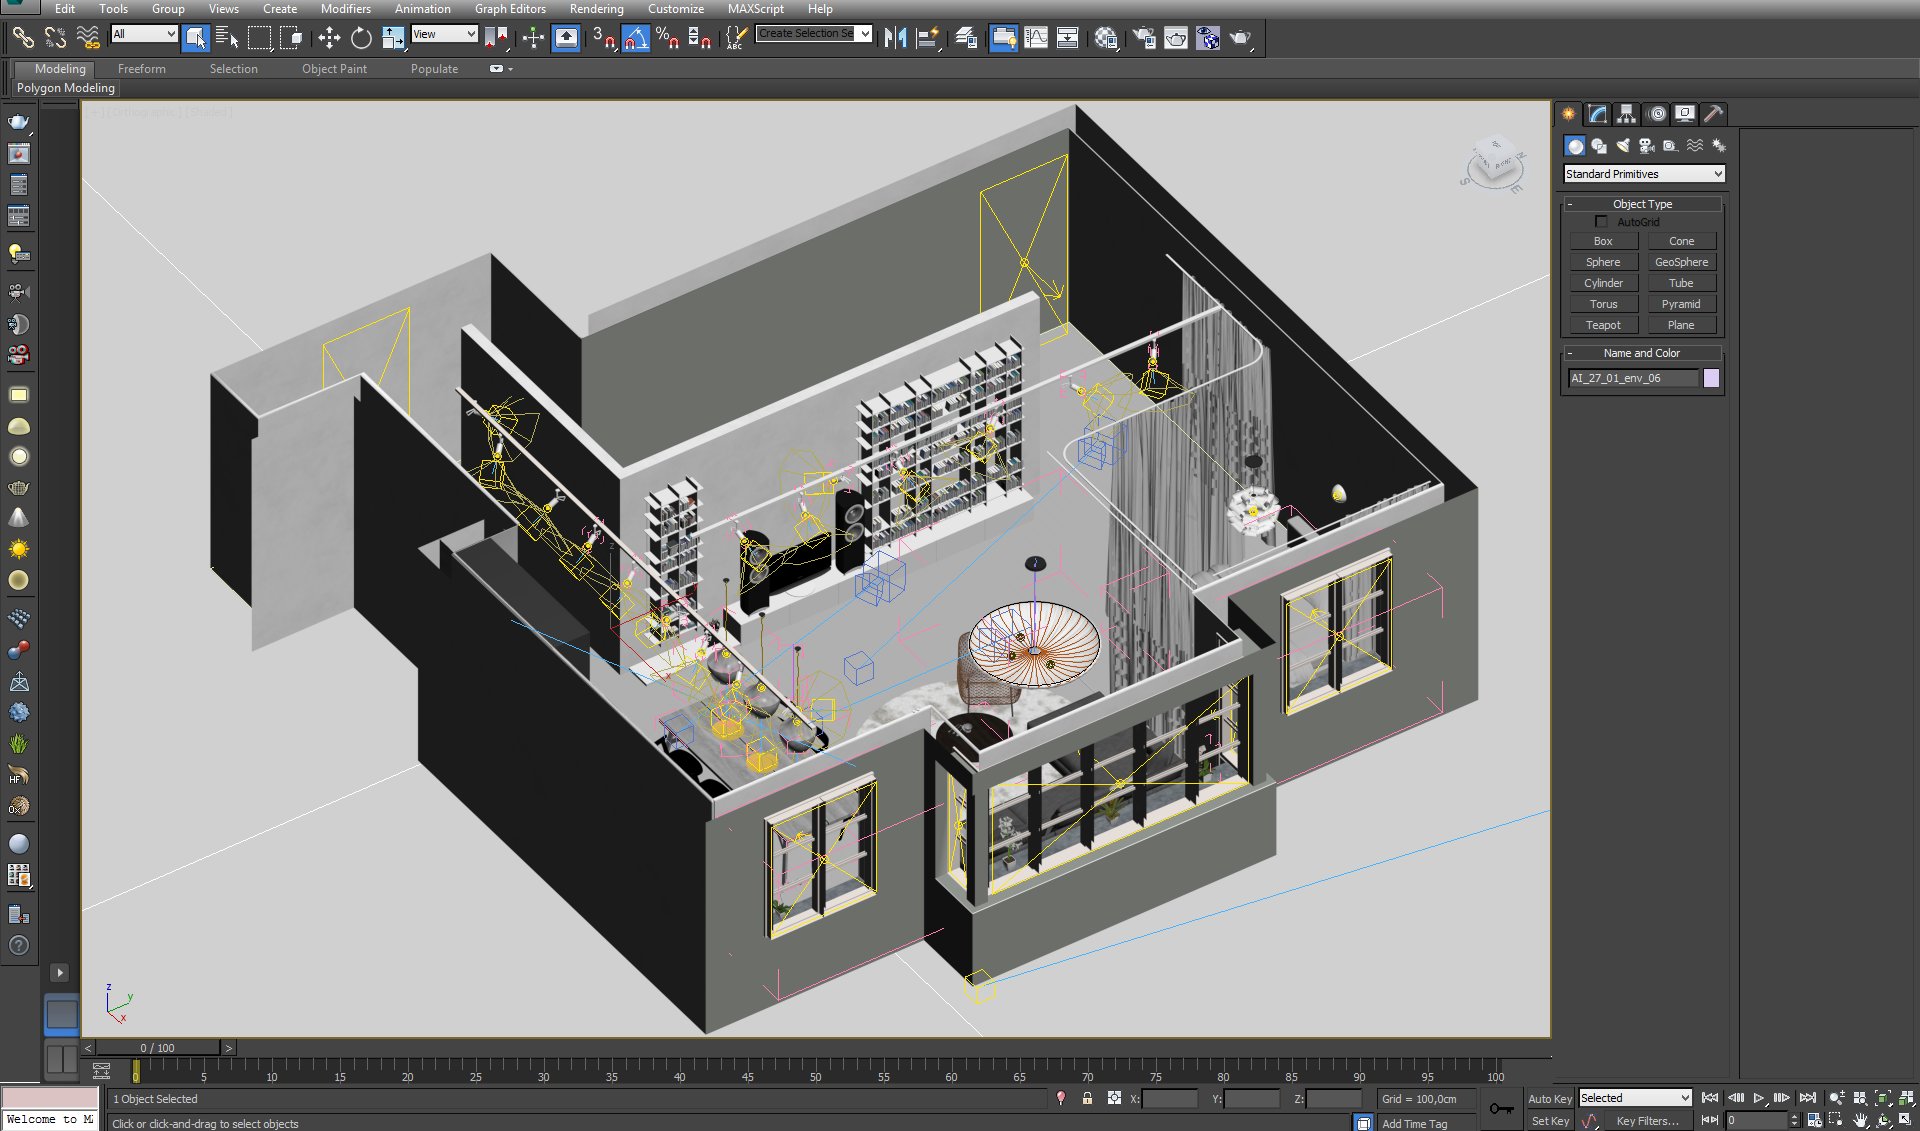
The building from above with furniture, props, cameras and lights
Click on image to enlarge 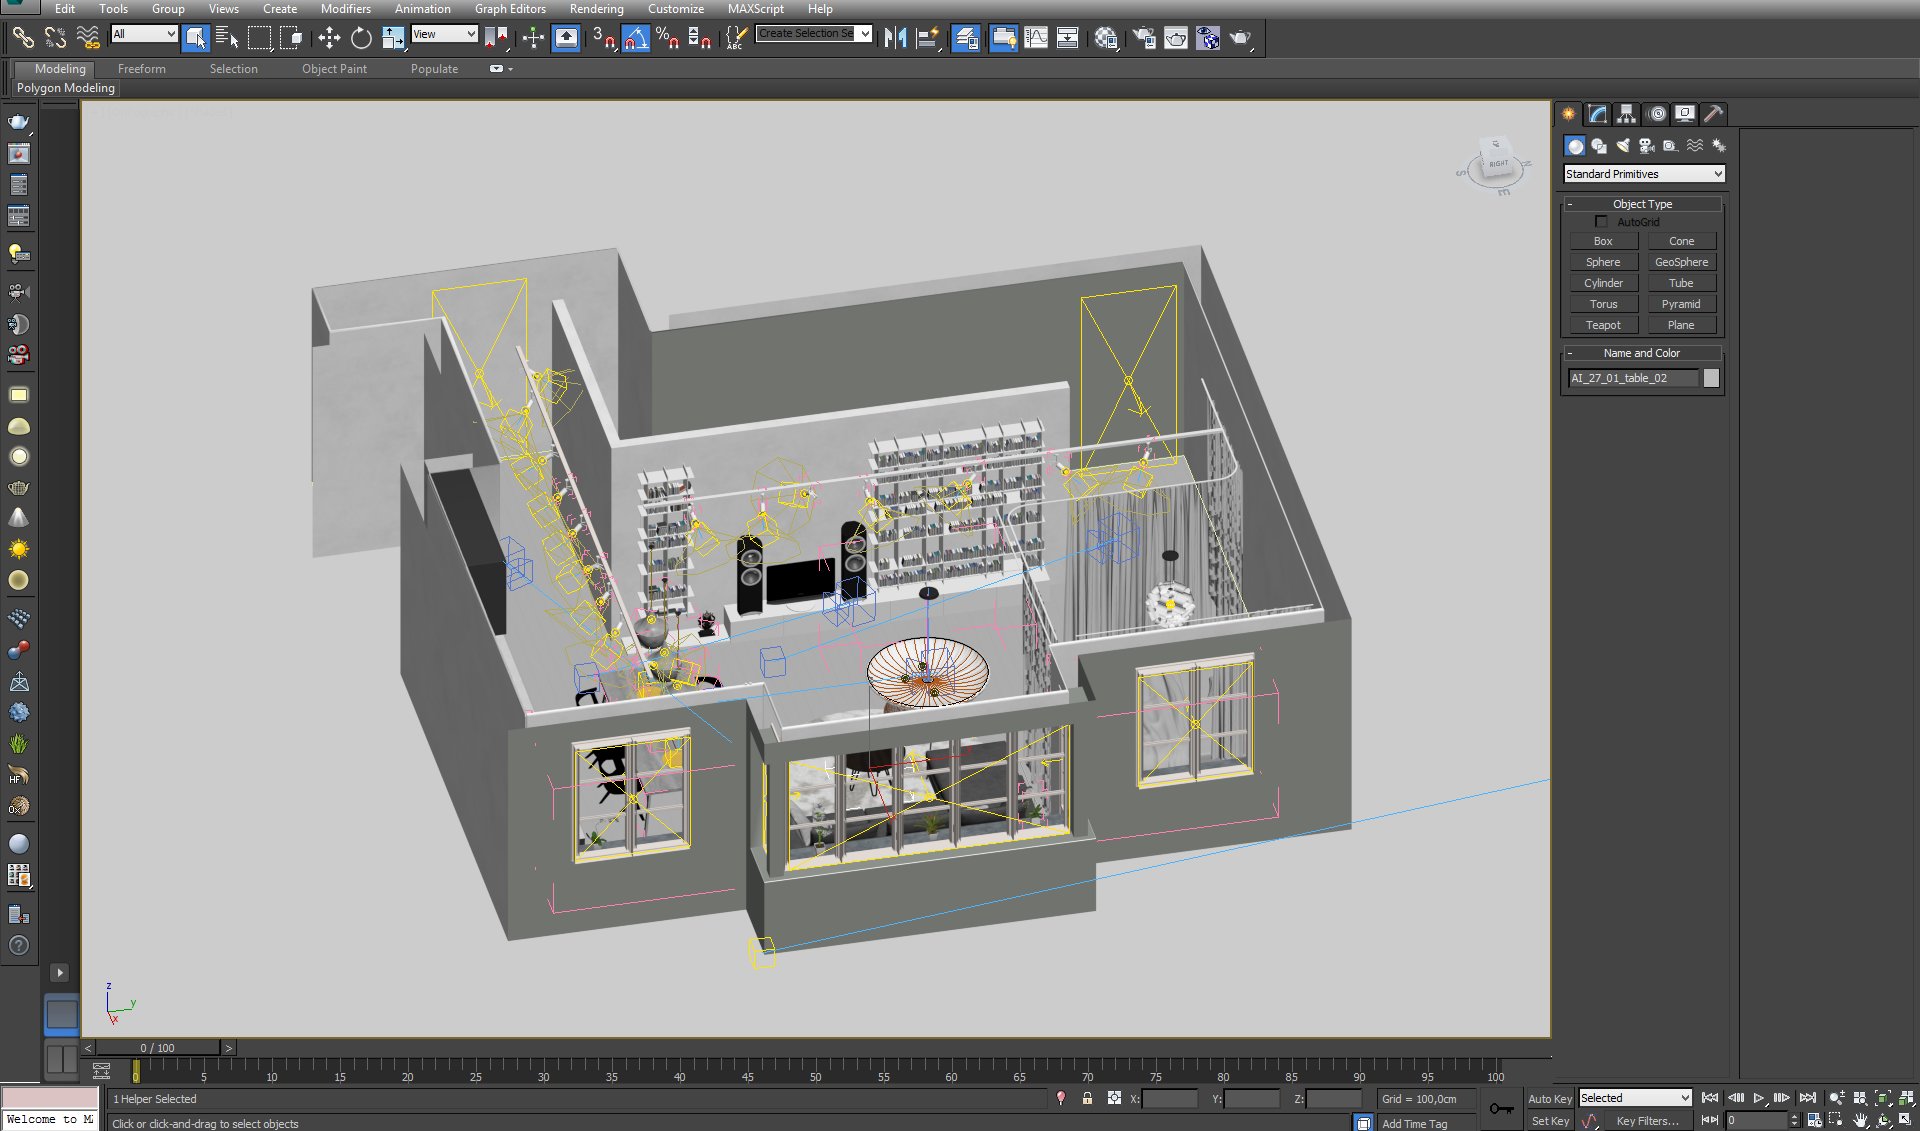
There are many light sources in this scene. 19 vray lights that act as halogens, 19 spot lights before them that are giving directional light, 7 plane lights in windows and one target directional light that acts as a sunlight.
Click on image to enlarge 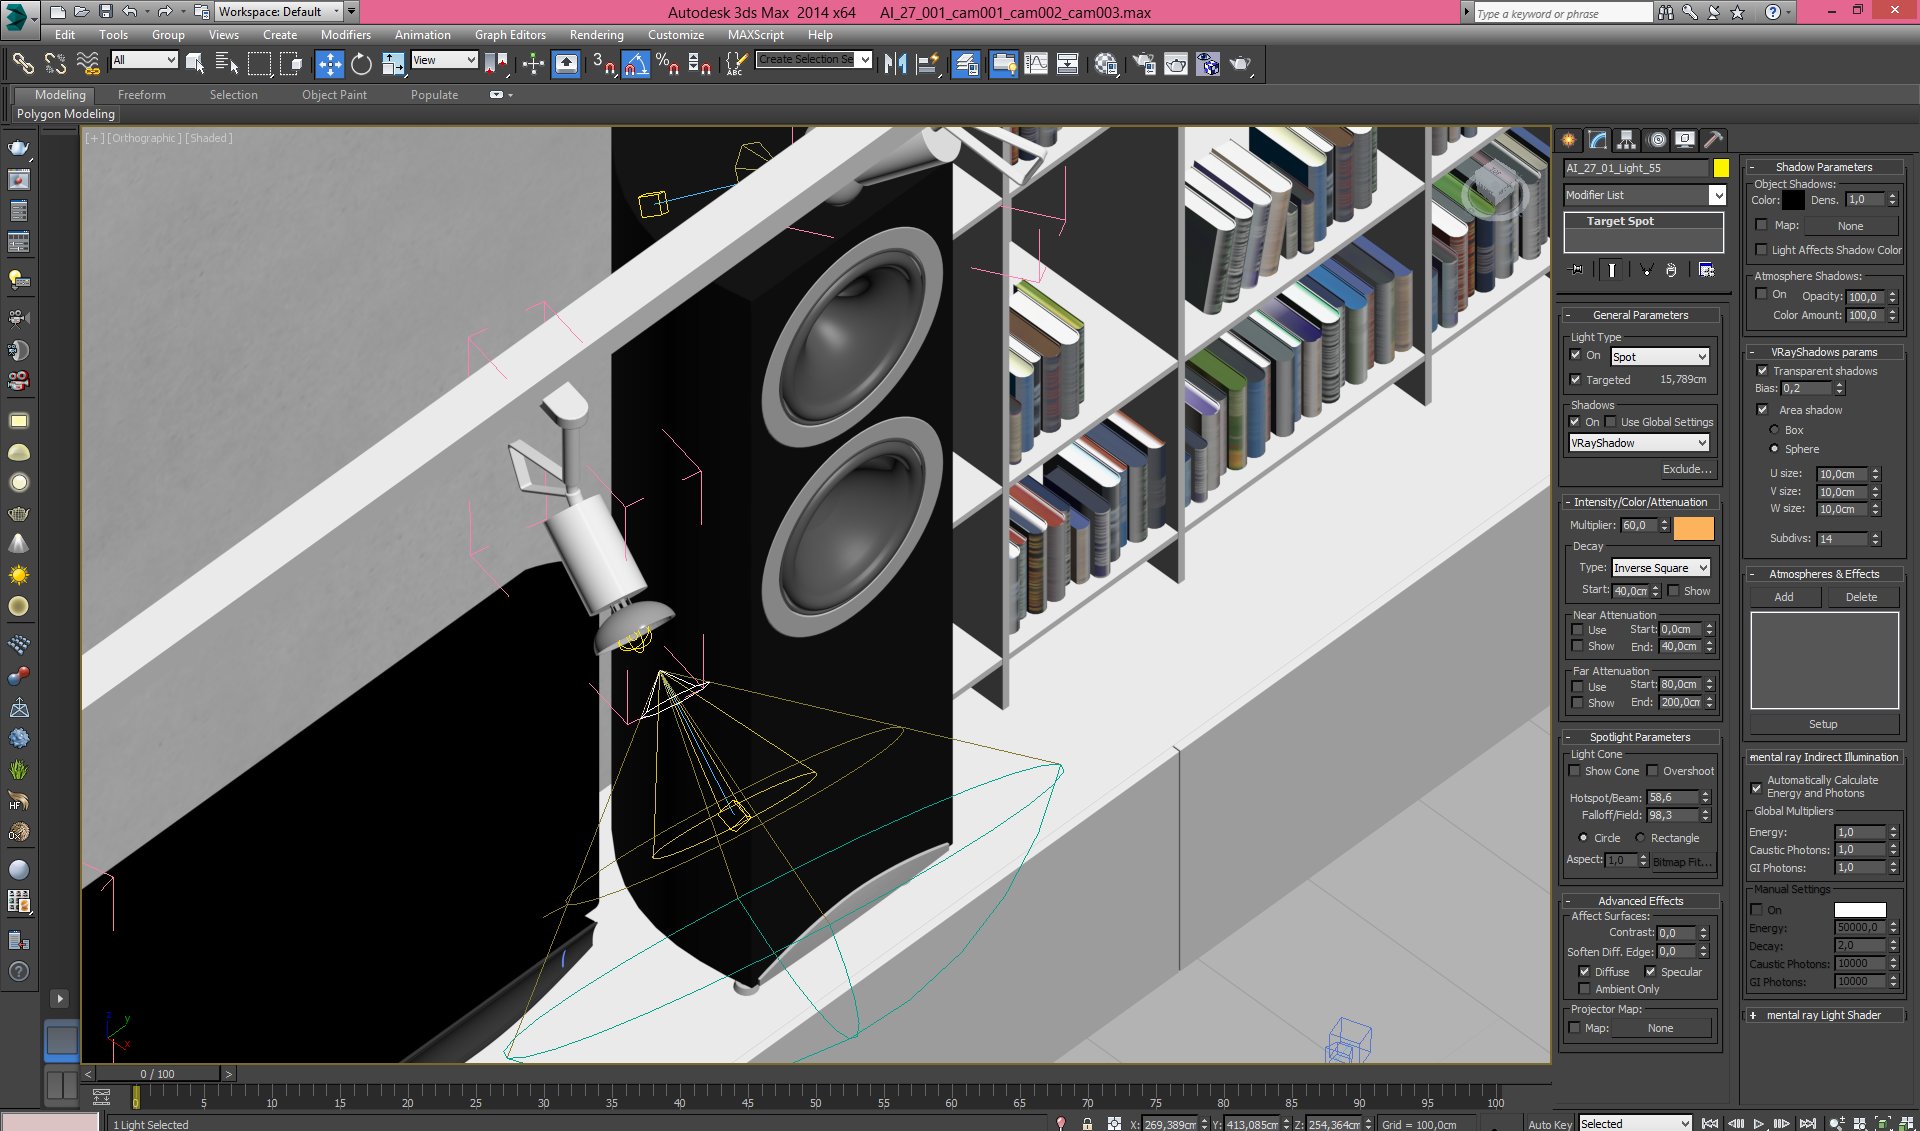
Each mounted lamp consists of a 3d model and two light sources - vray light and target spot light (settings on the right)
Click on image to enlarge 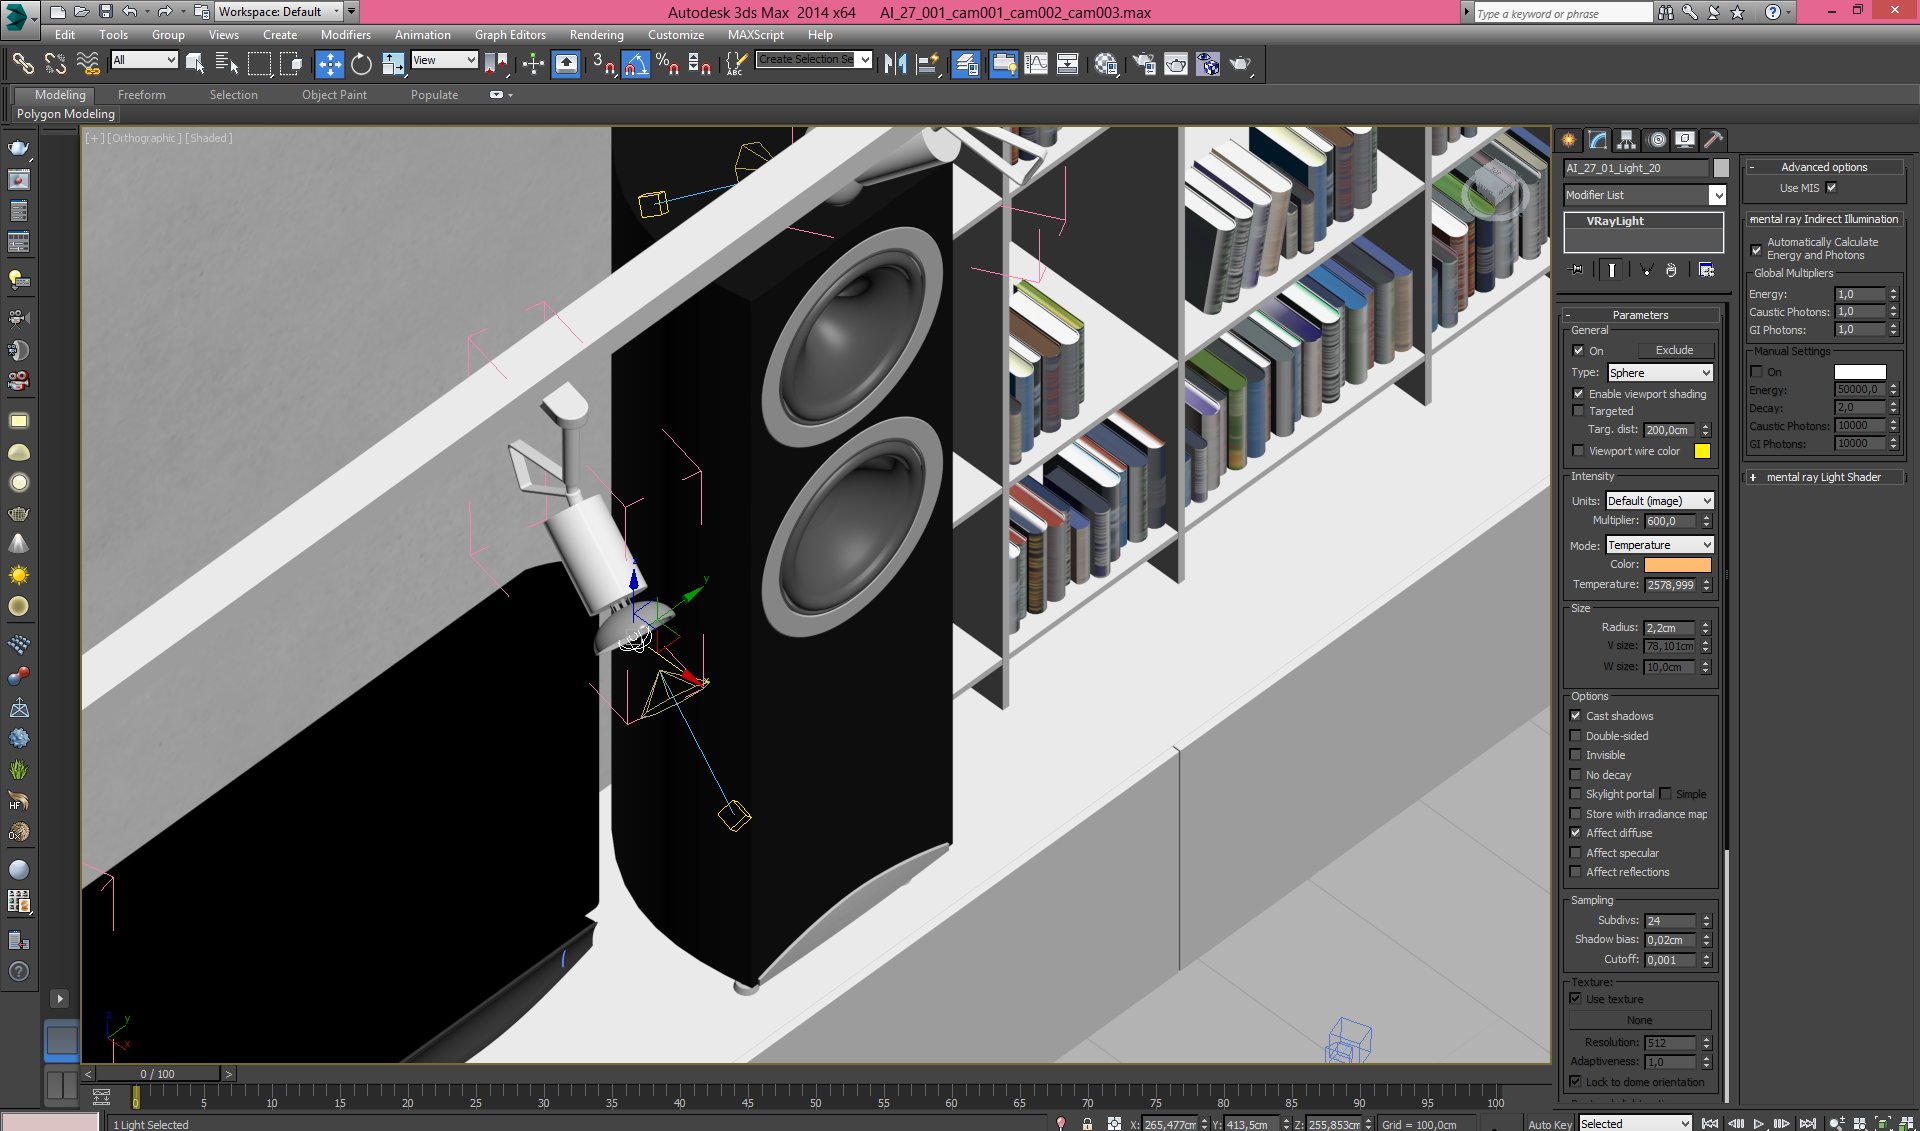
Mounted lamp - vray light settings
Click on image to enlarge 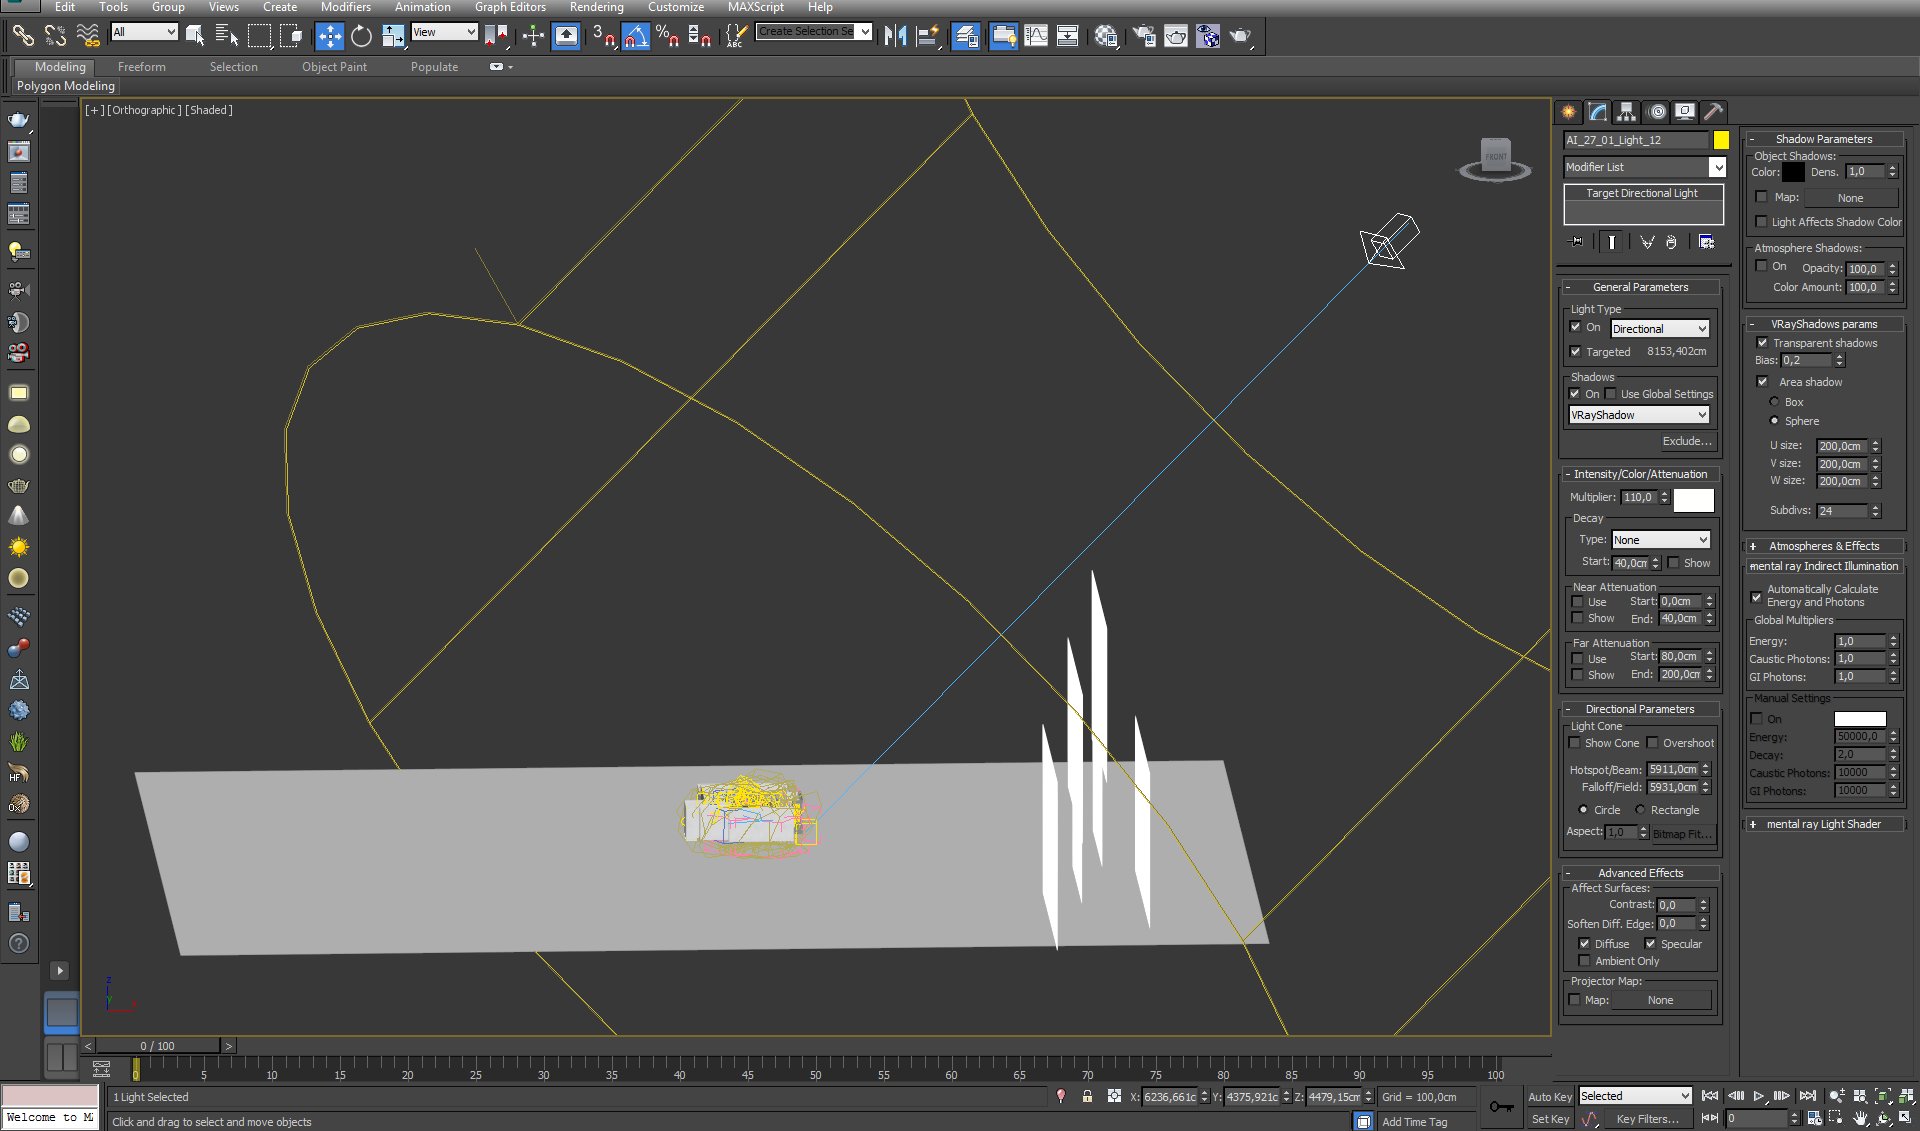
Target directional light settings. The planes that you see on the right are buildings that are visible behind the window.
Click on image to enlarge 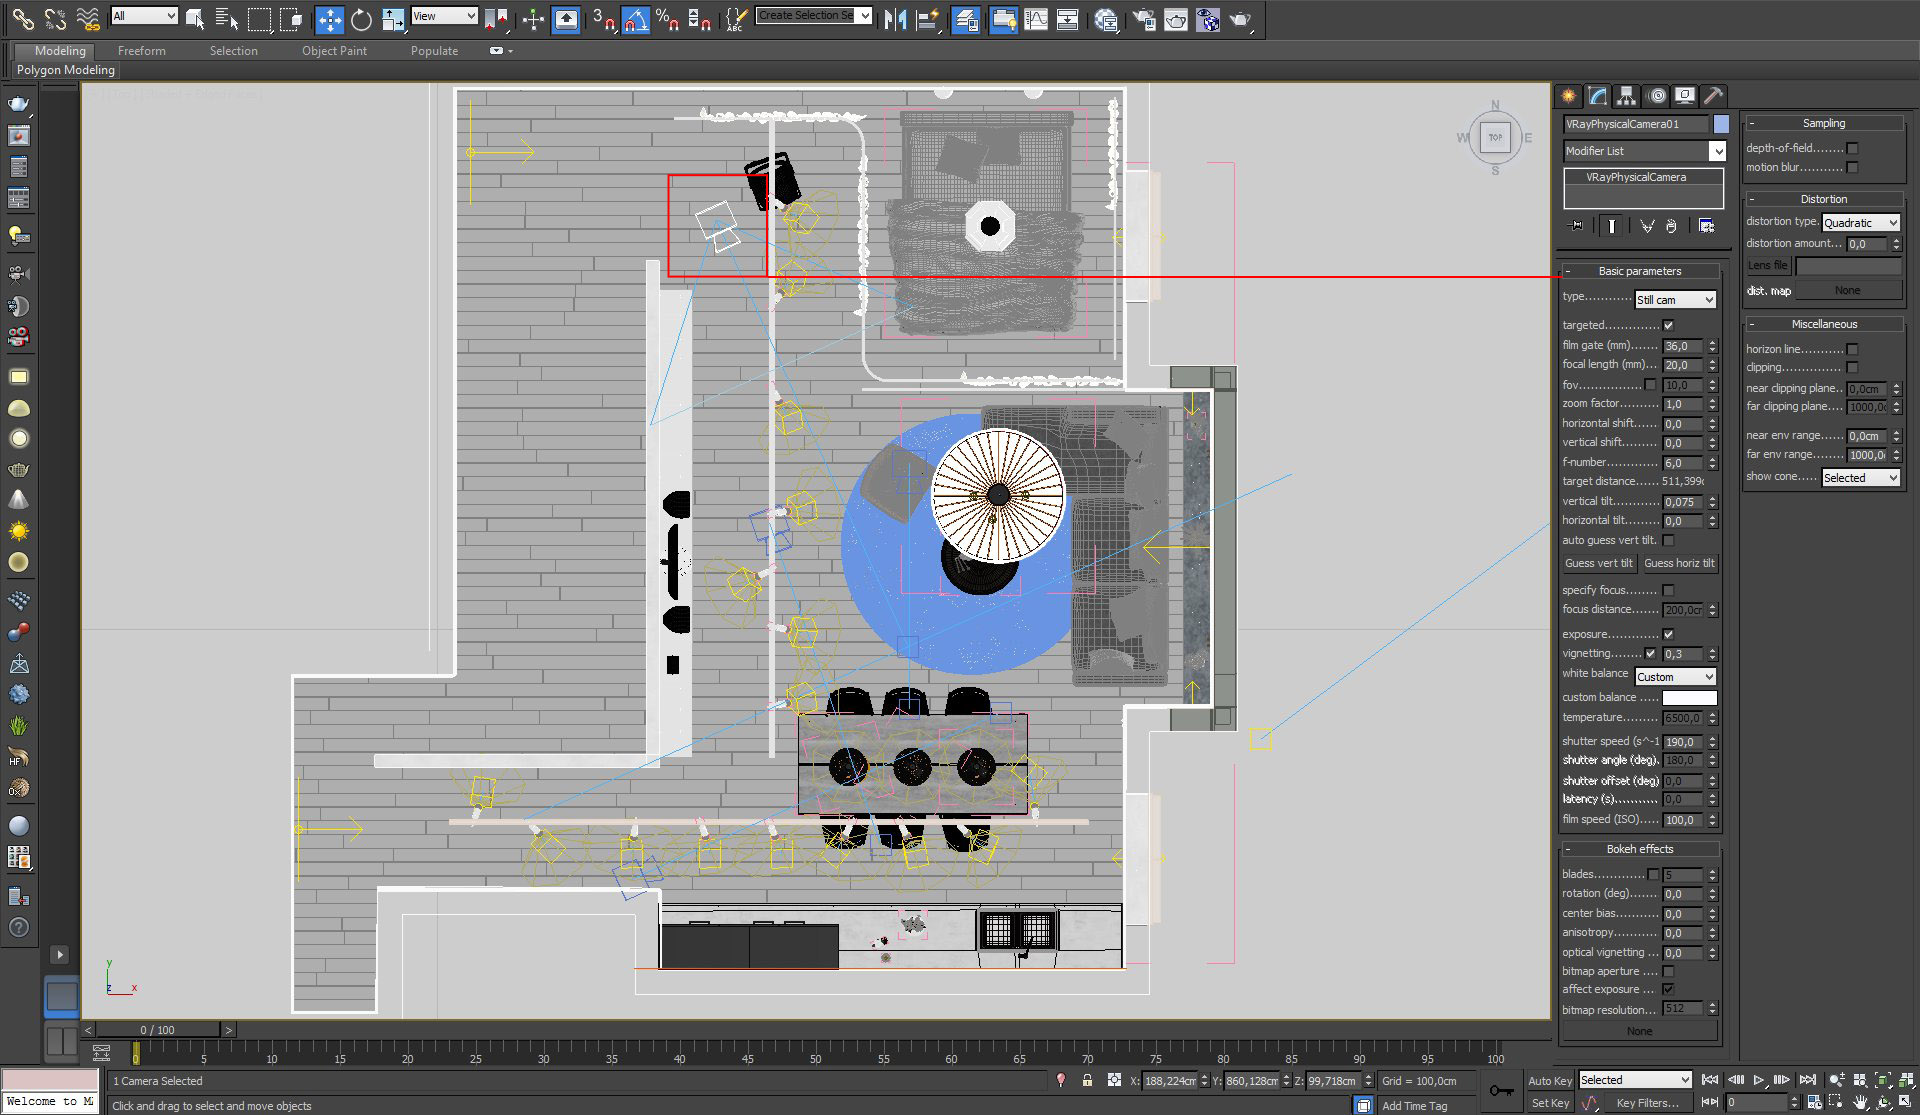
Click on image to enlarge 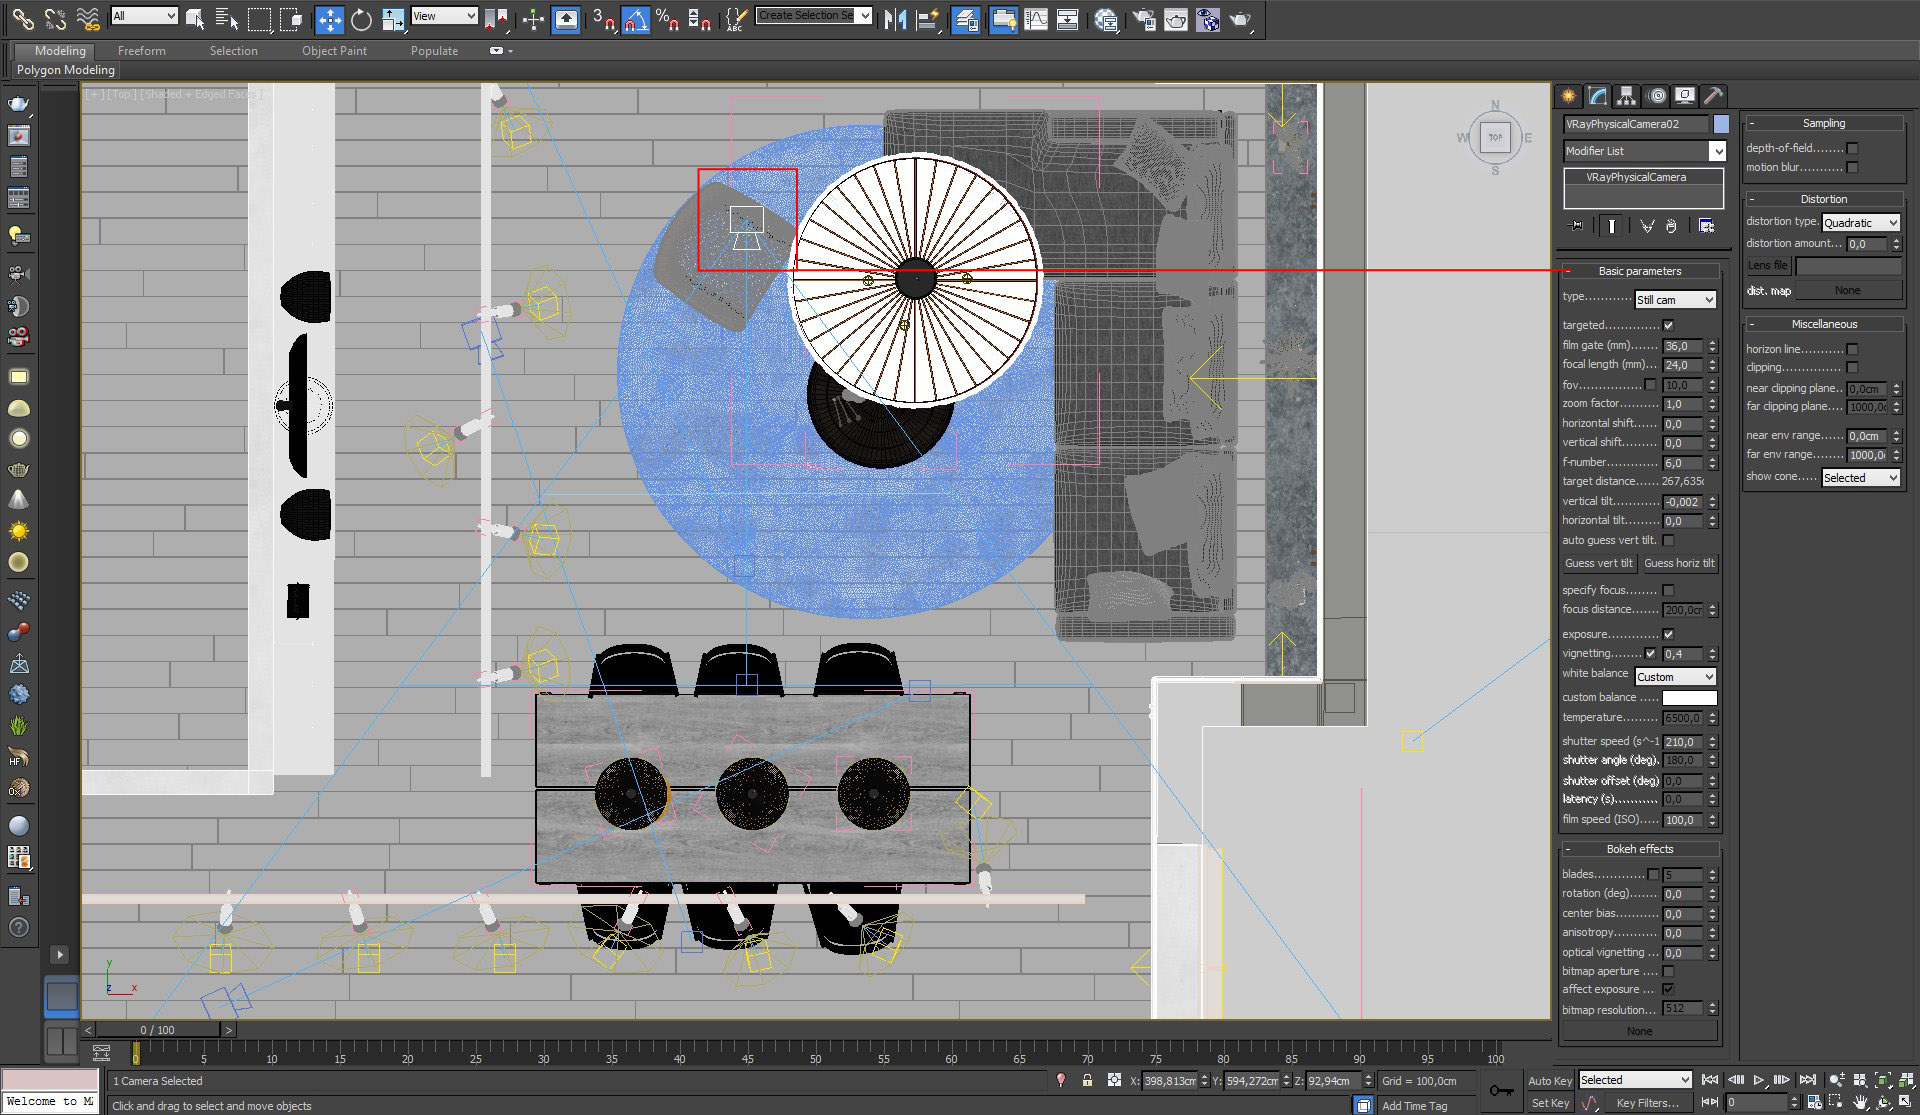
Click on image to enlarge 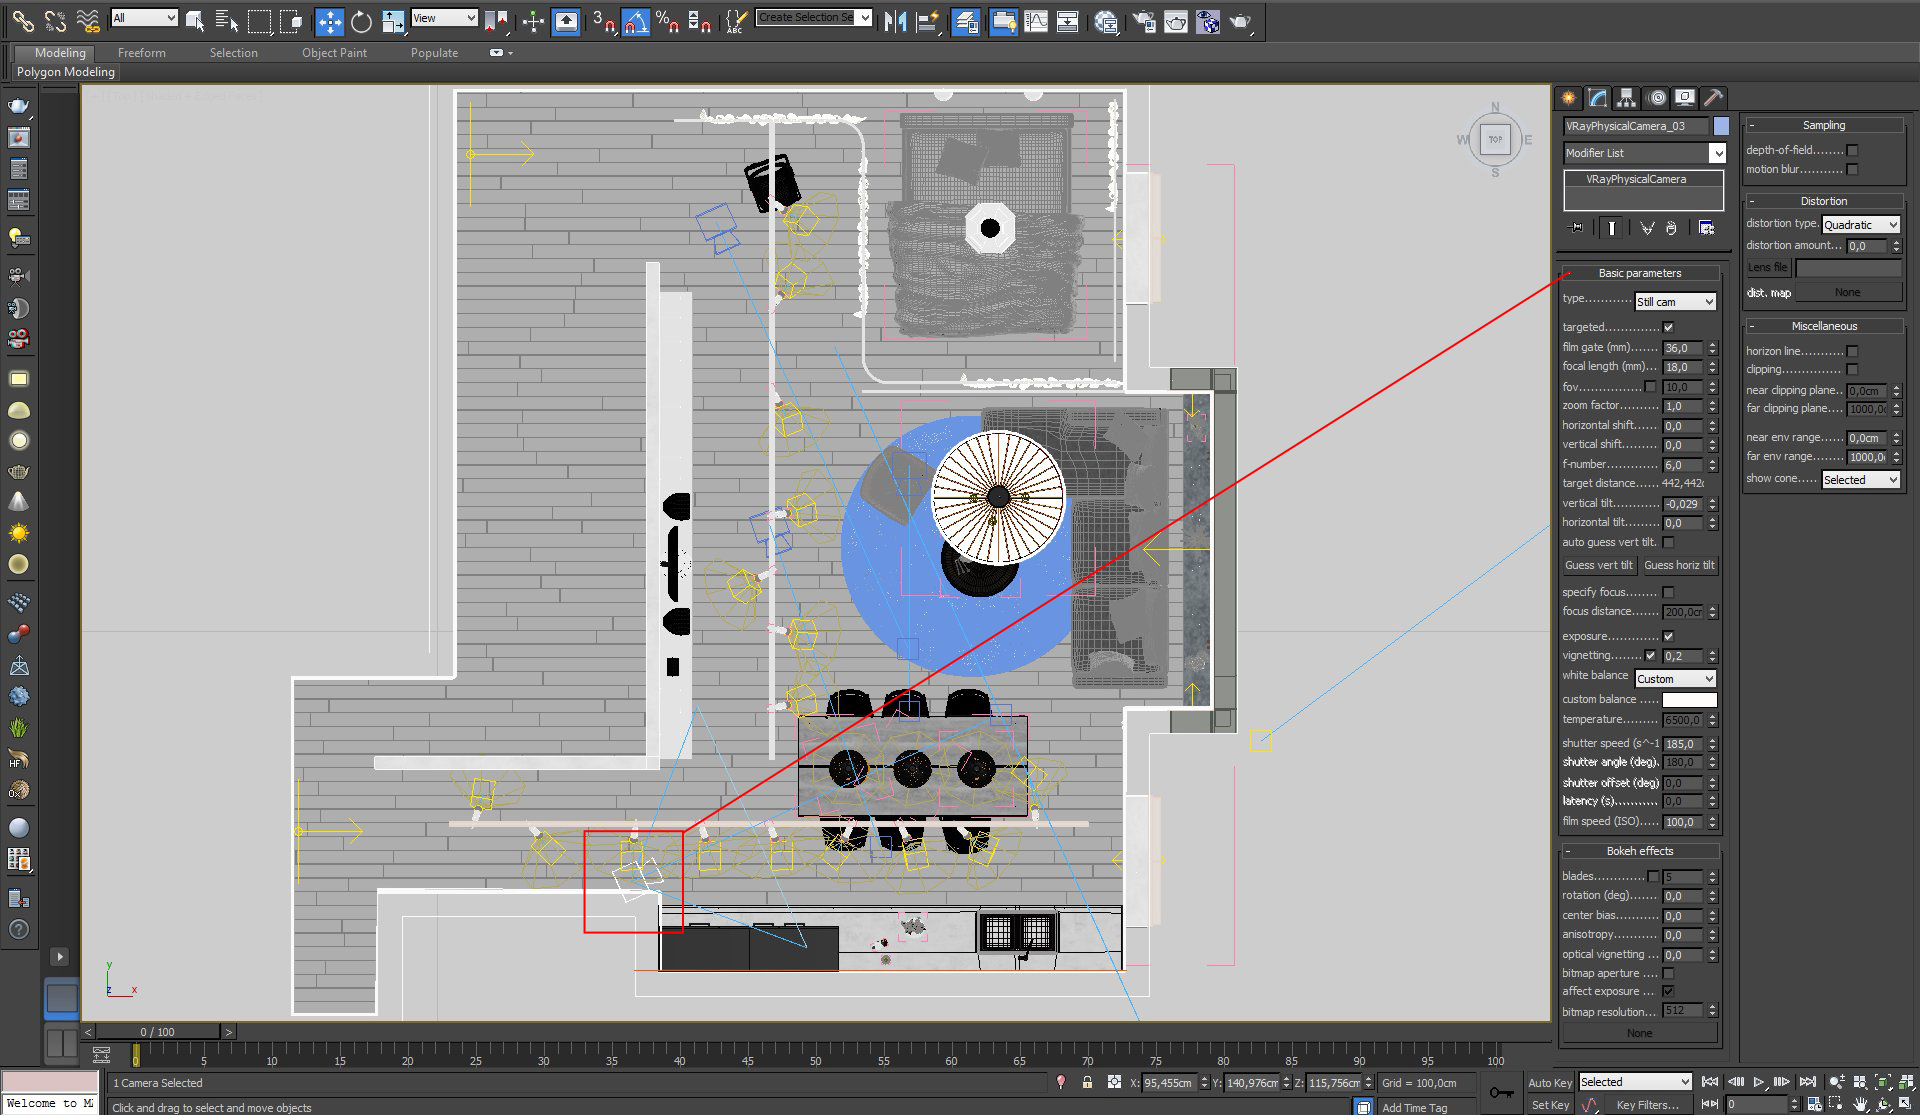
Click on image to enlarge 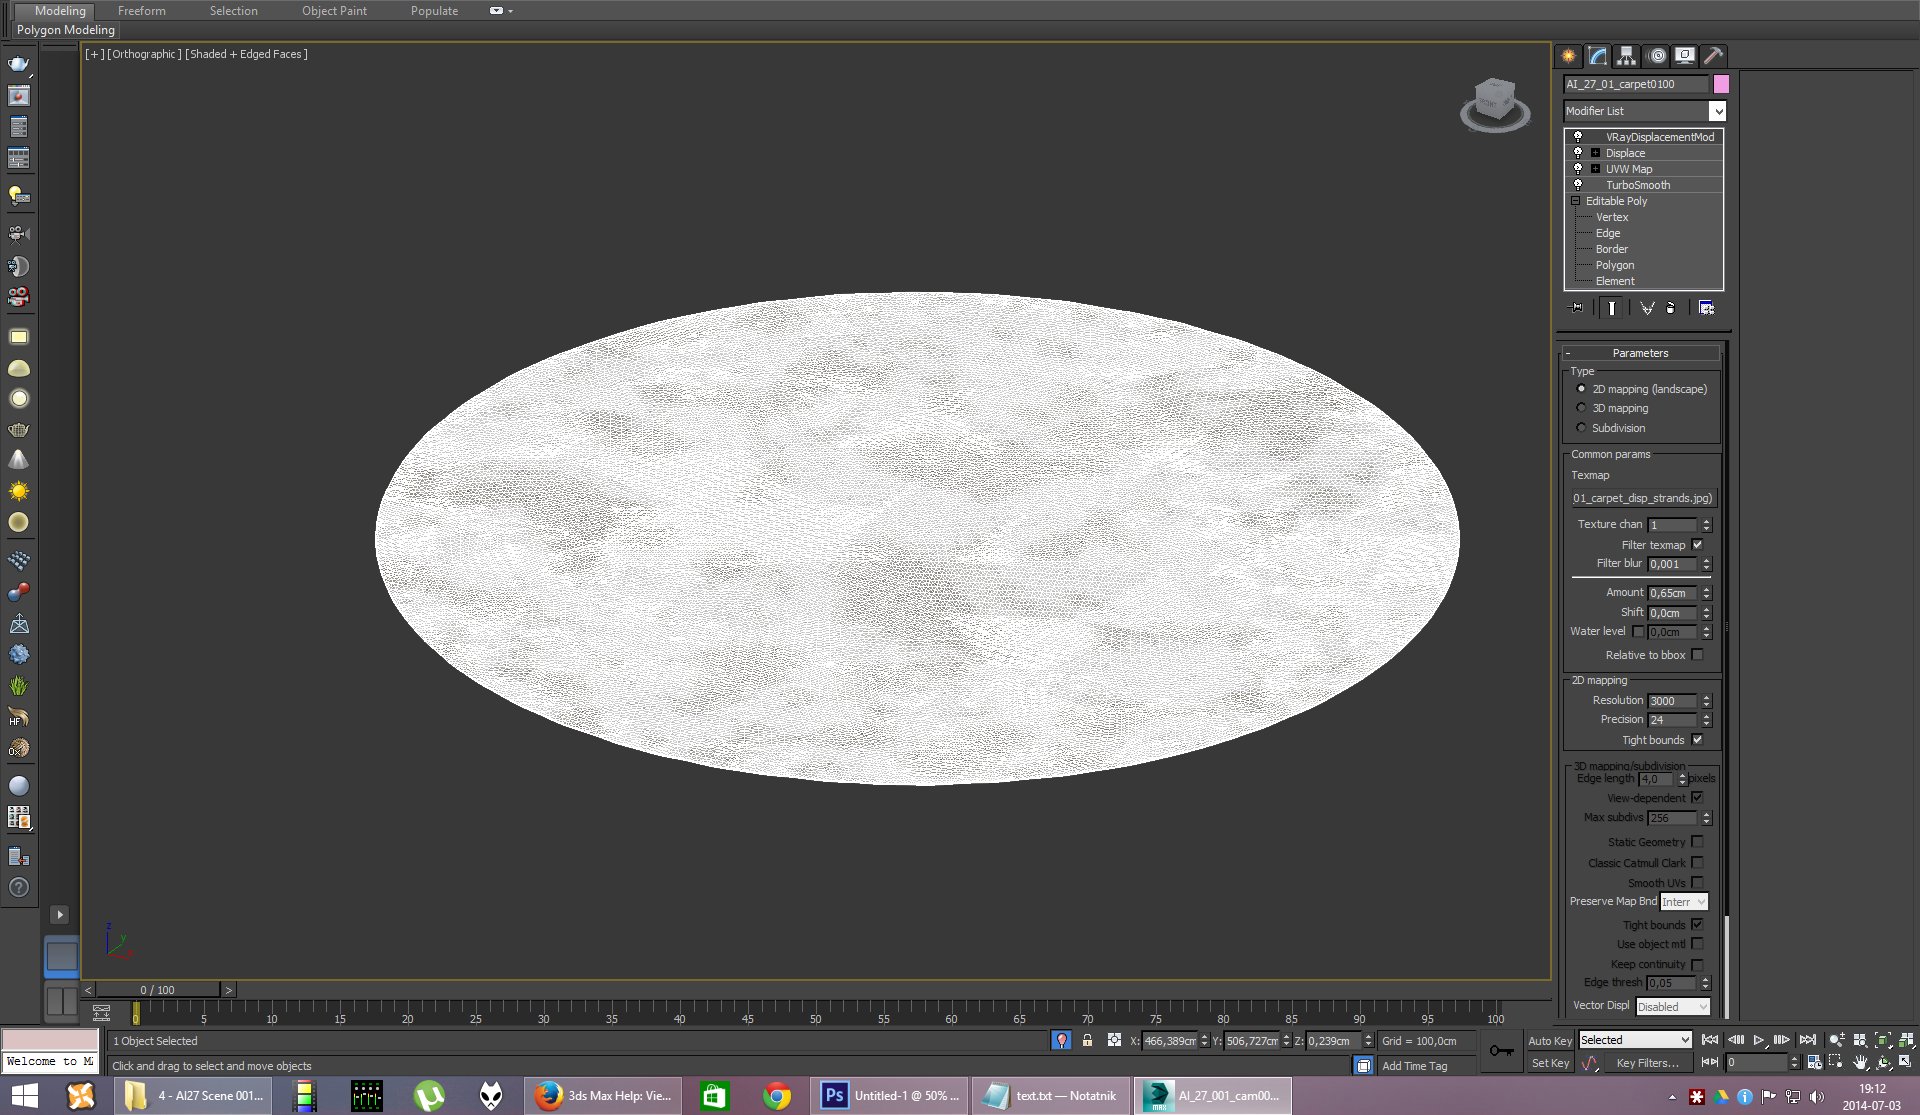
A carpet that is visible on the middle of the floor was made with displace and VraydisplacementMod. Settings of the latter are on the right.
Click on image to enlarge 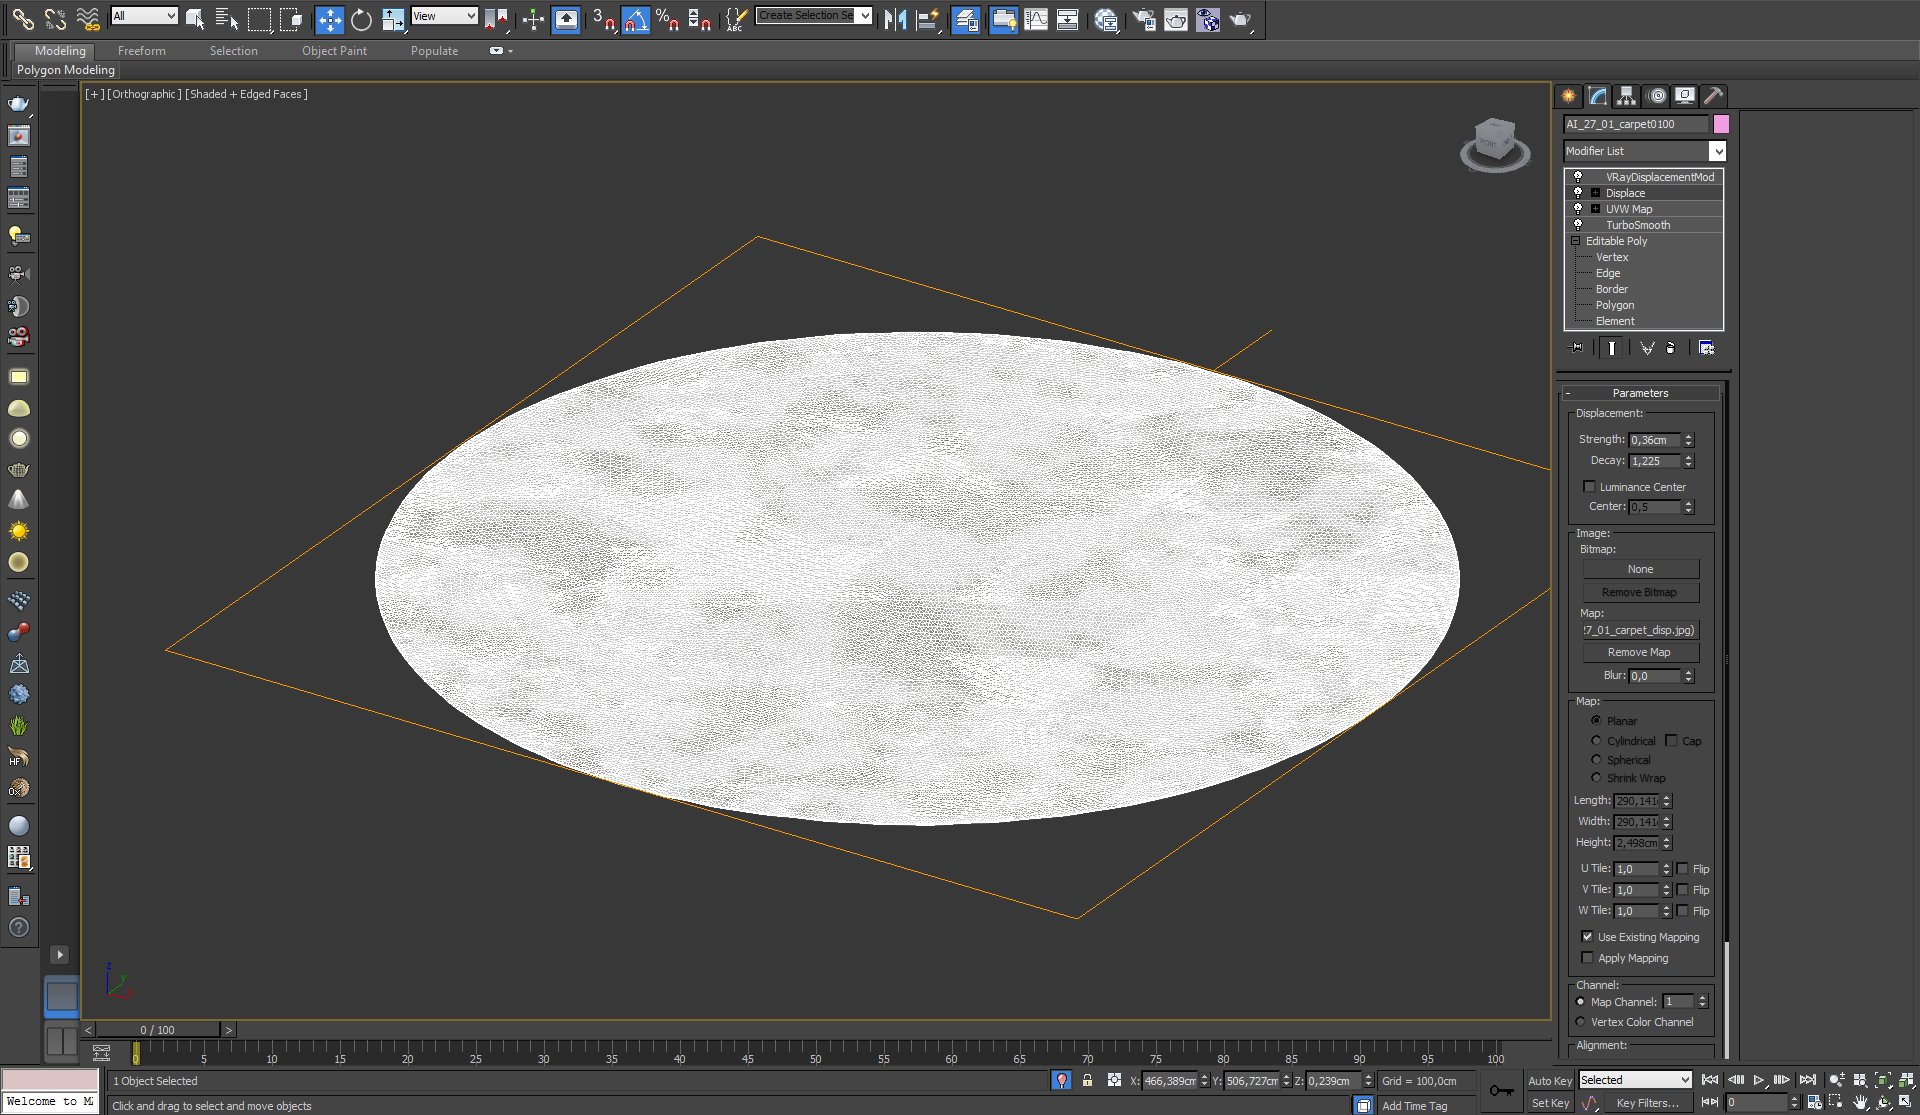
Carpet - Displace Modifier settings
Click on image to enlarge 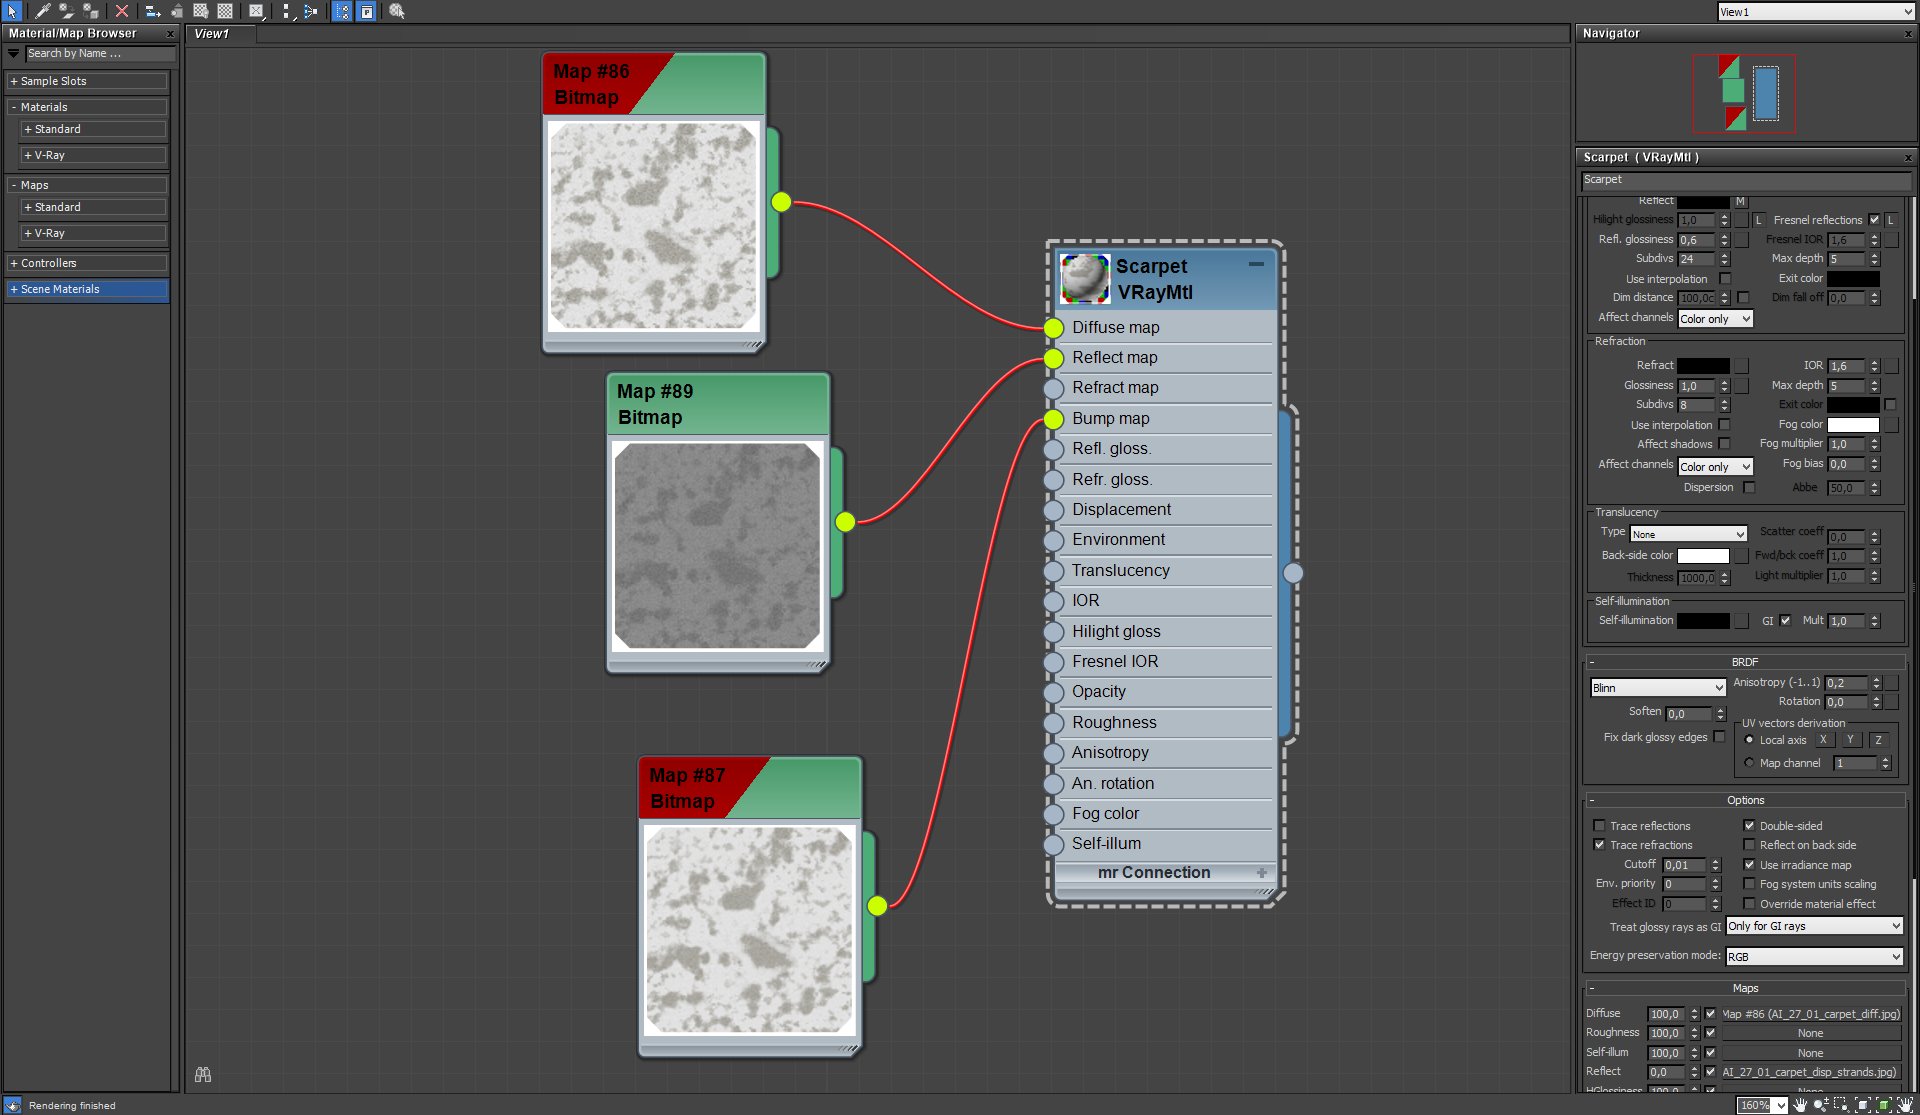
Carpet material is rather simple
Click on image to enlarge 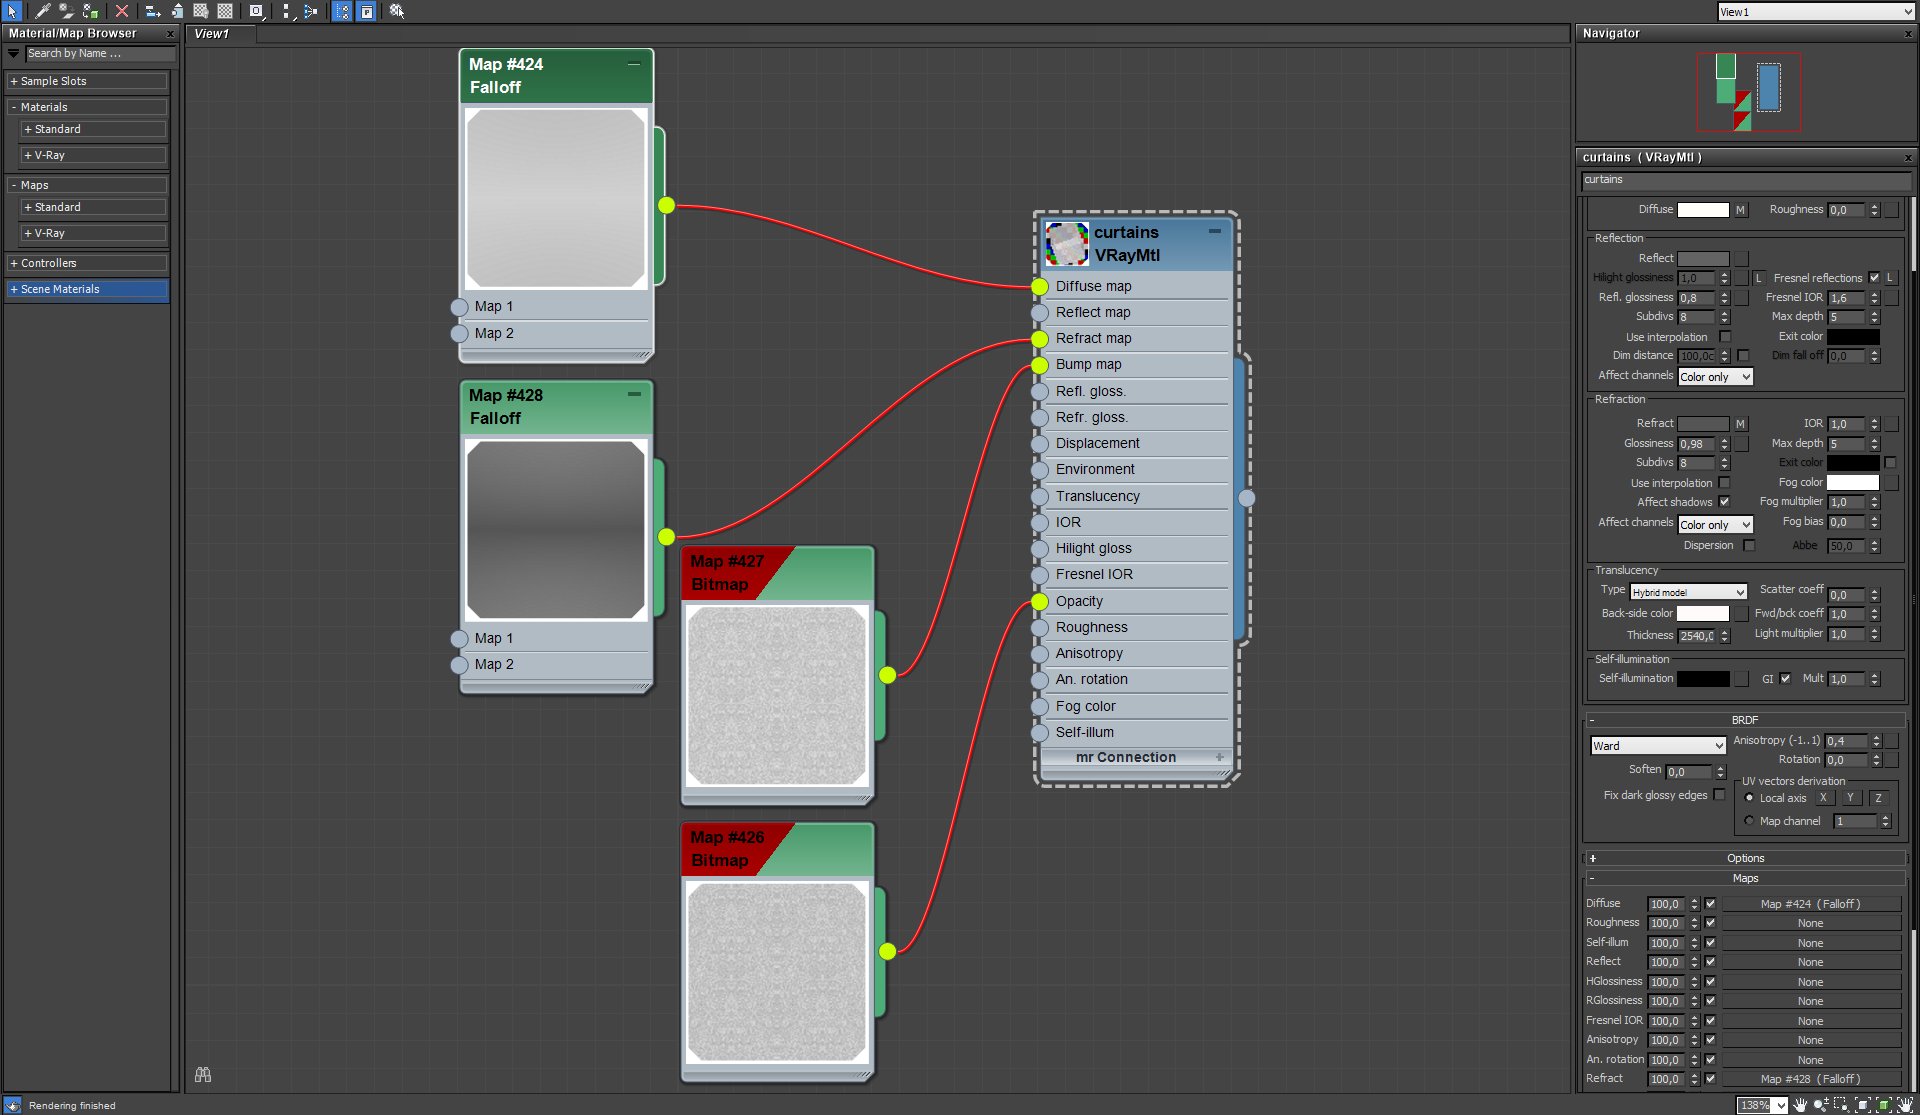
Material for curtains was made with falloff maps in Diffuse and Refract slots.
Click on image to enlarge 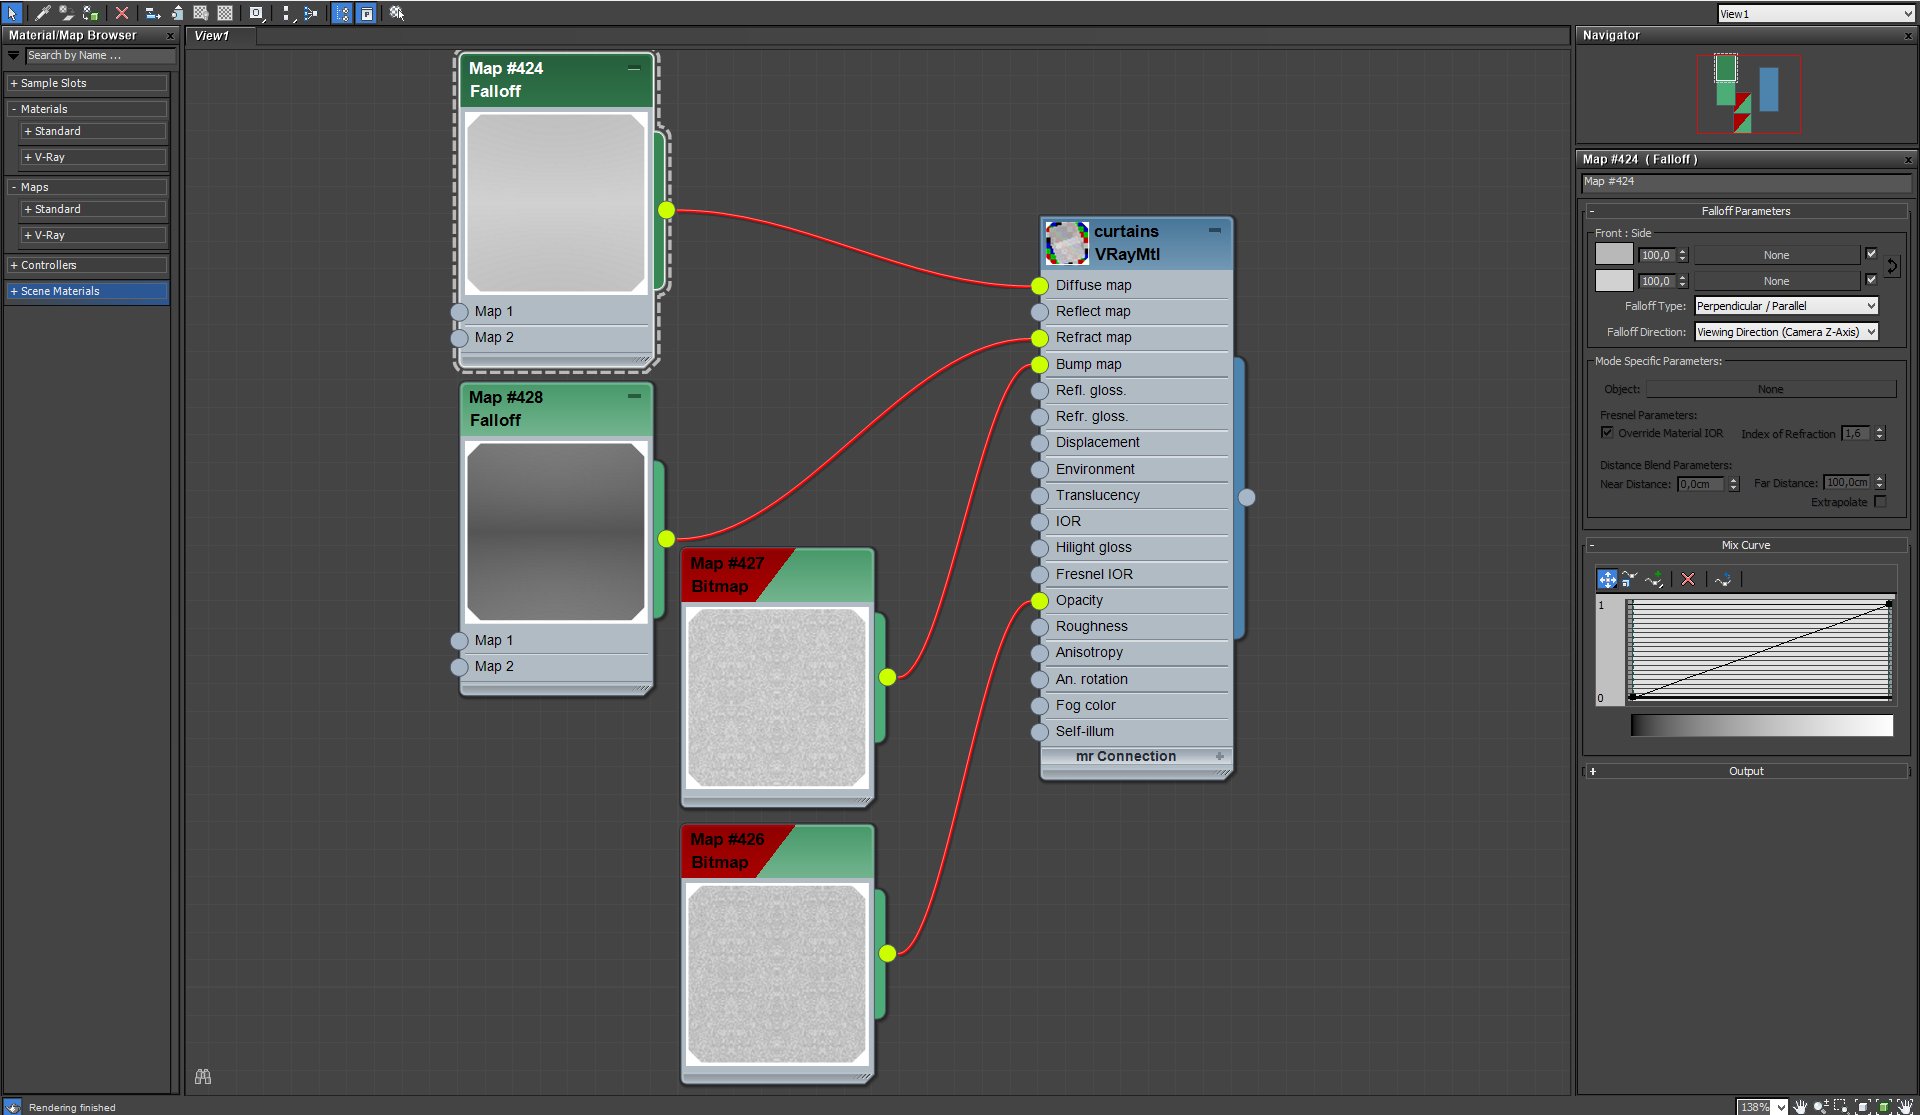
Curtains material, diffuse falloff map settings
Click on image to enlarge 
Curtains material, refract falloff map settings
Click on image to enlarge 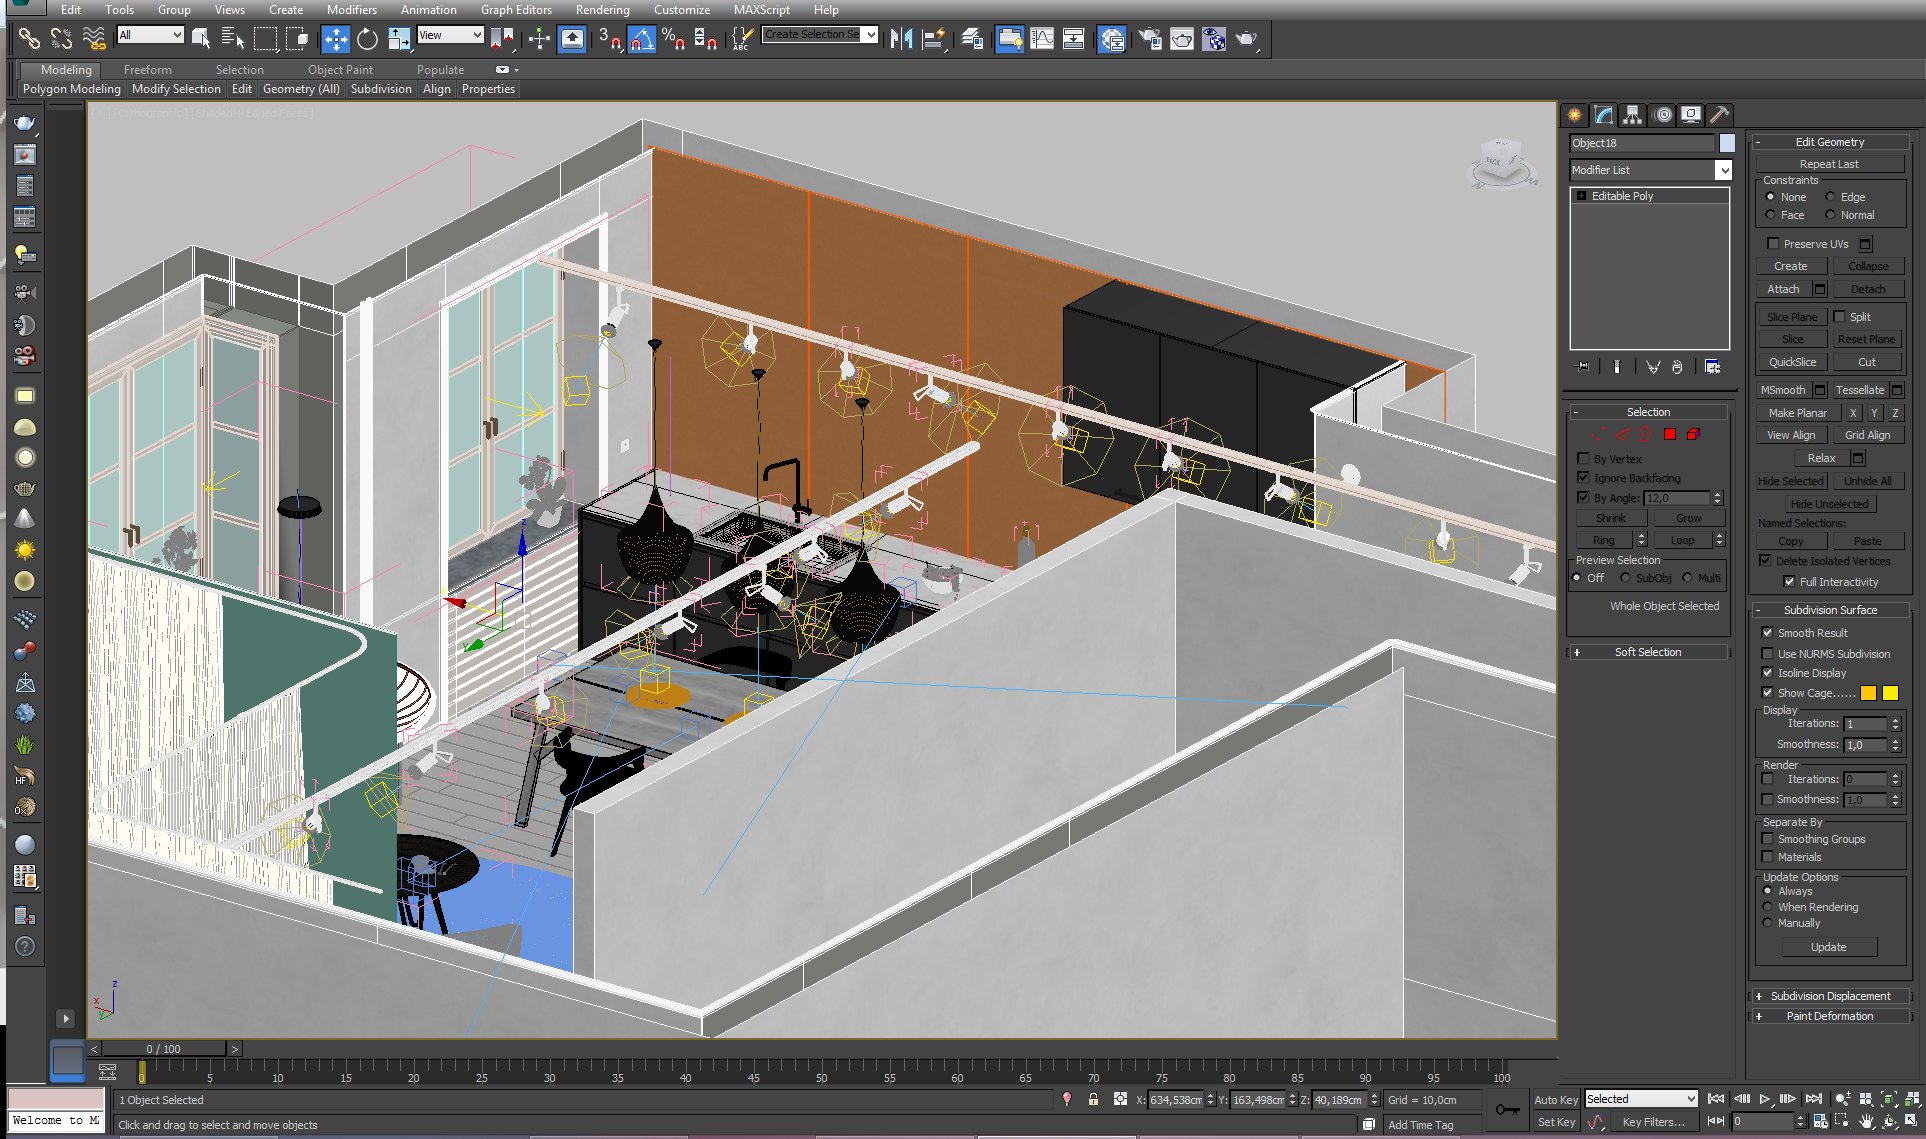
Another interesting material is a golden looking wall behind the sink.
Click on image to enlarge 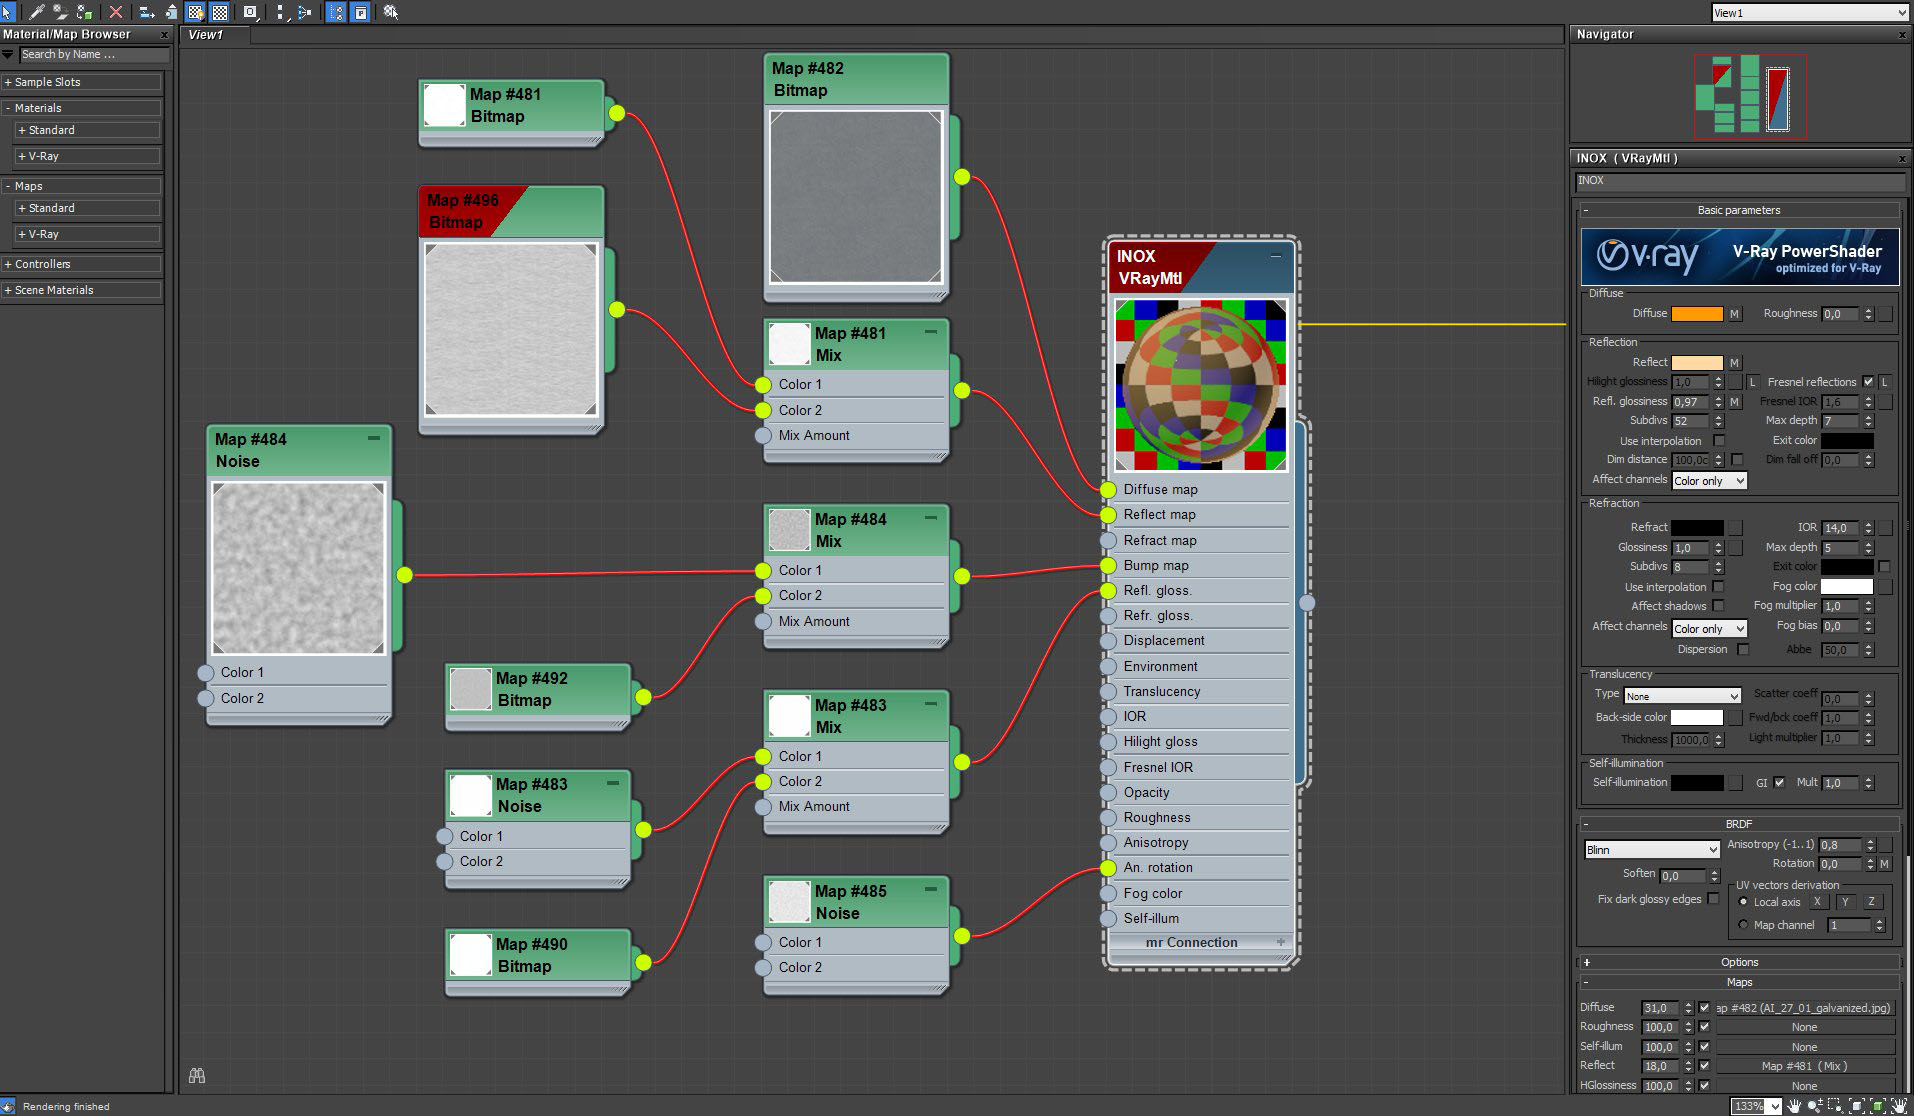
It is a VRay material with interesting bump. We used MixMap that blends a brushed metal bitmap with standard 3ds Max noise map.
Click on image to enlarge 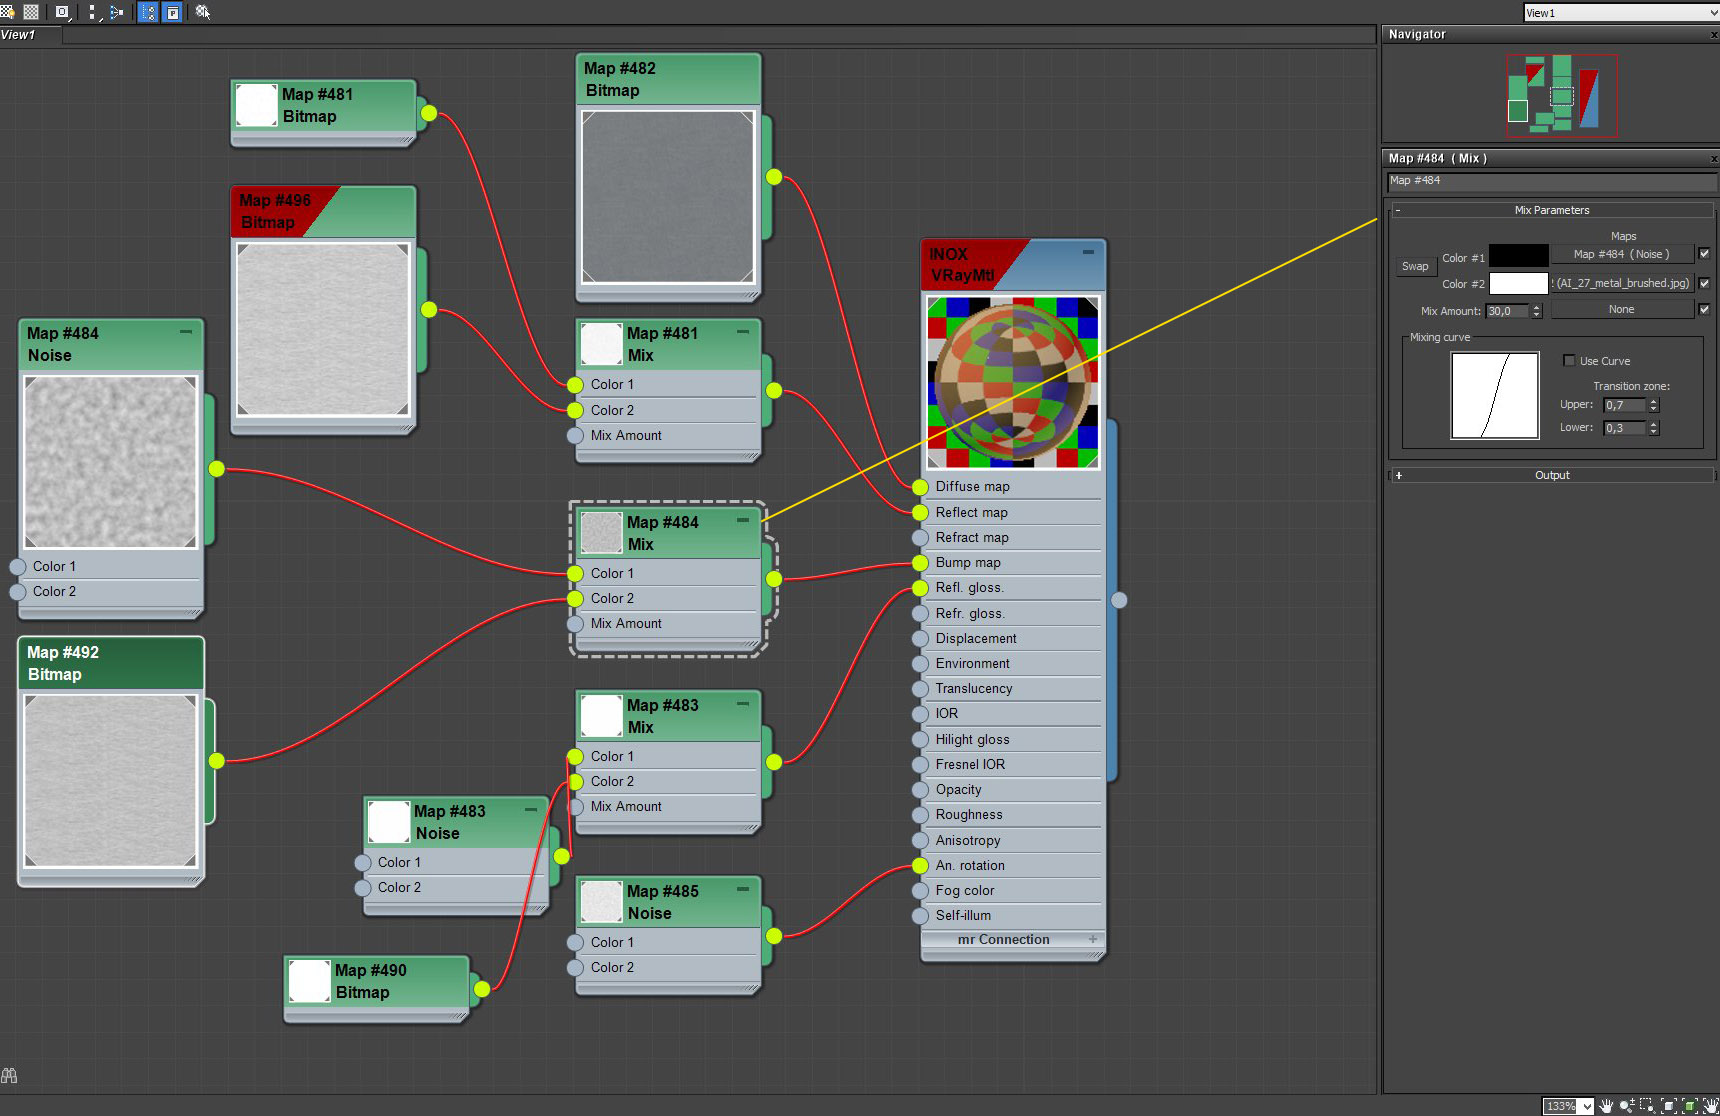
Click on image to enlarge 
Click on image to enlarge 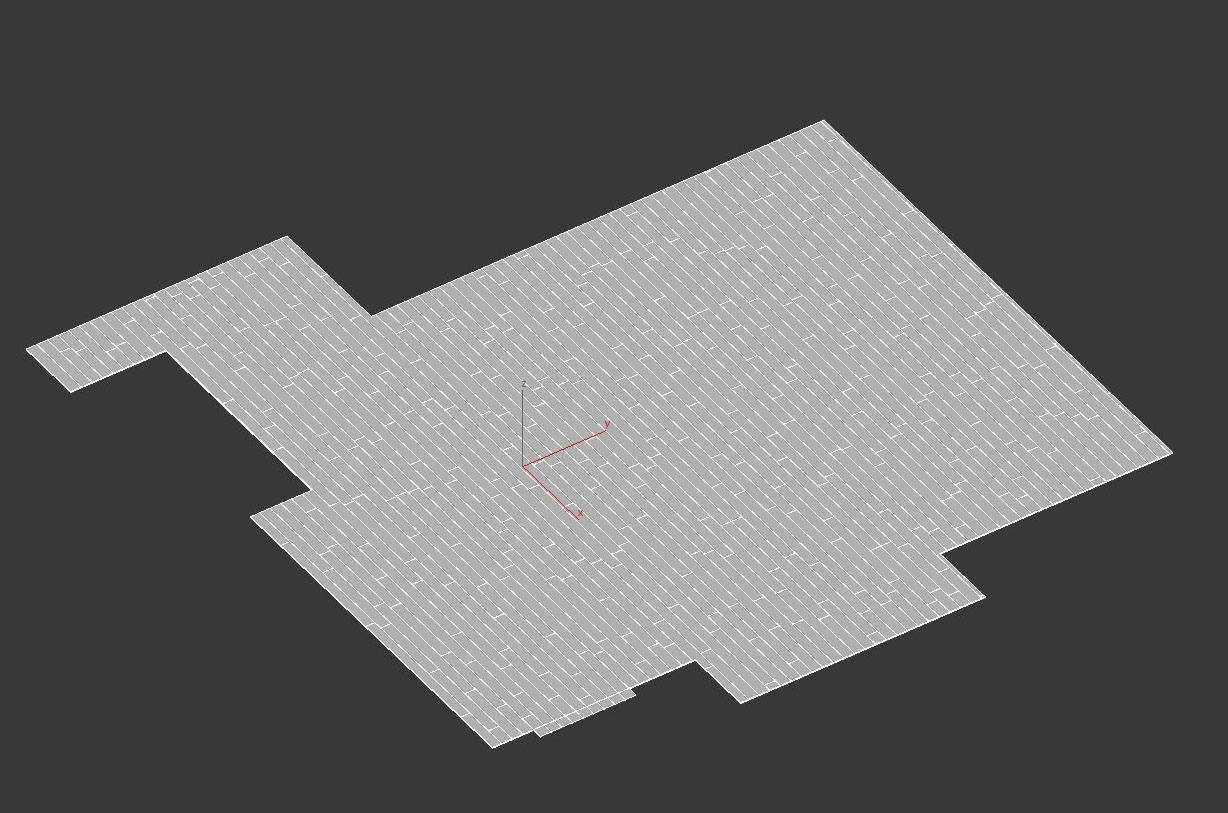
Floor was made with a floor generator script for 3ds Max and then cut to fit the shape of a building
Click on image to enlarge 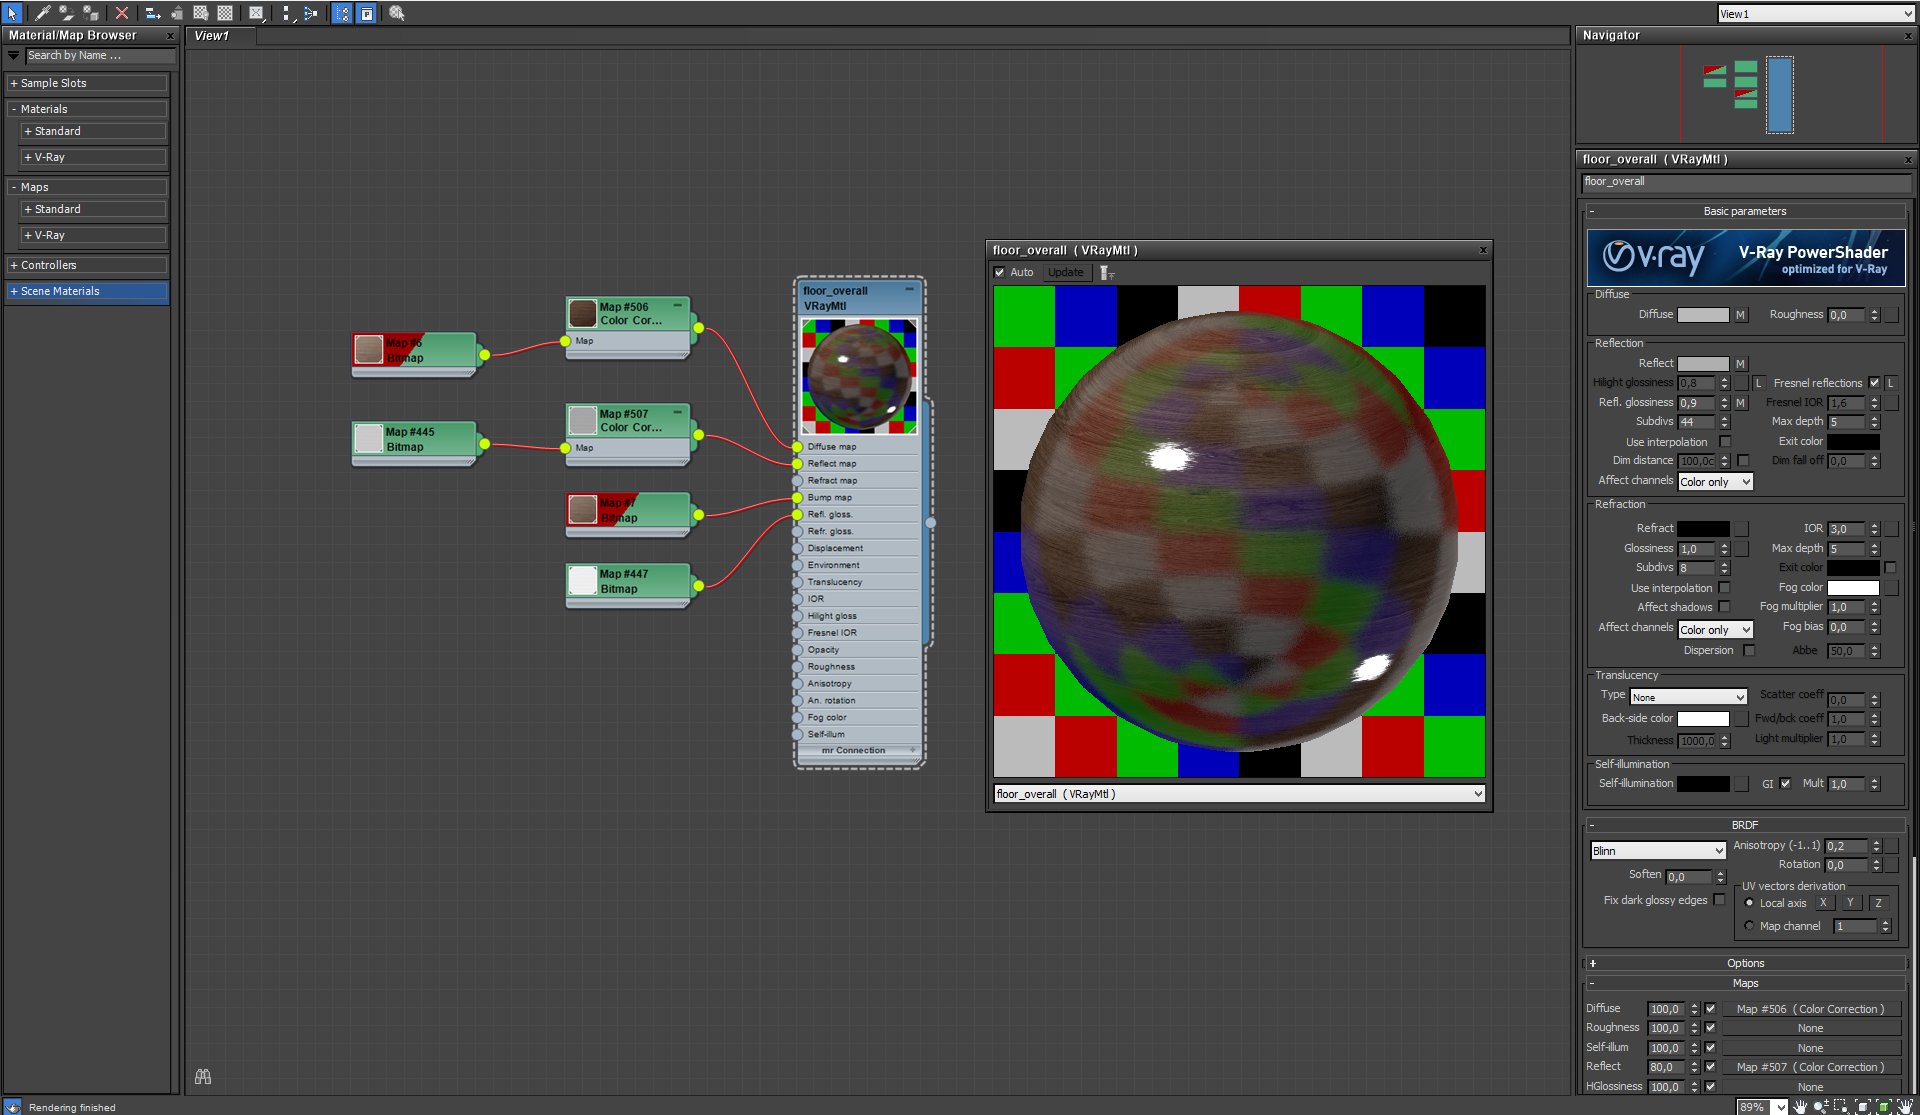
Click on image to enlarge 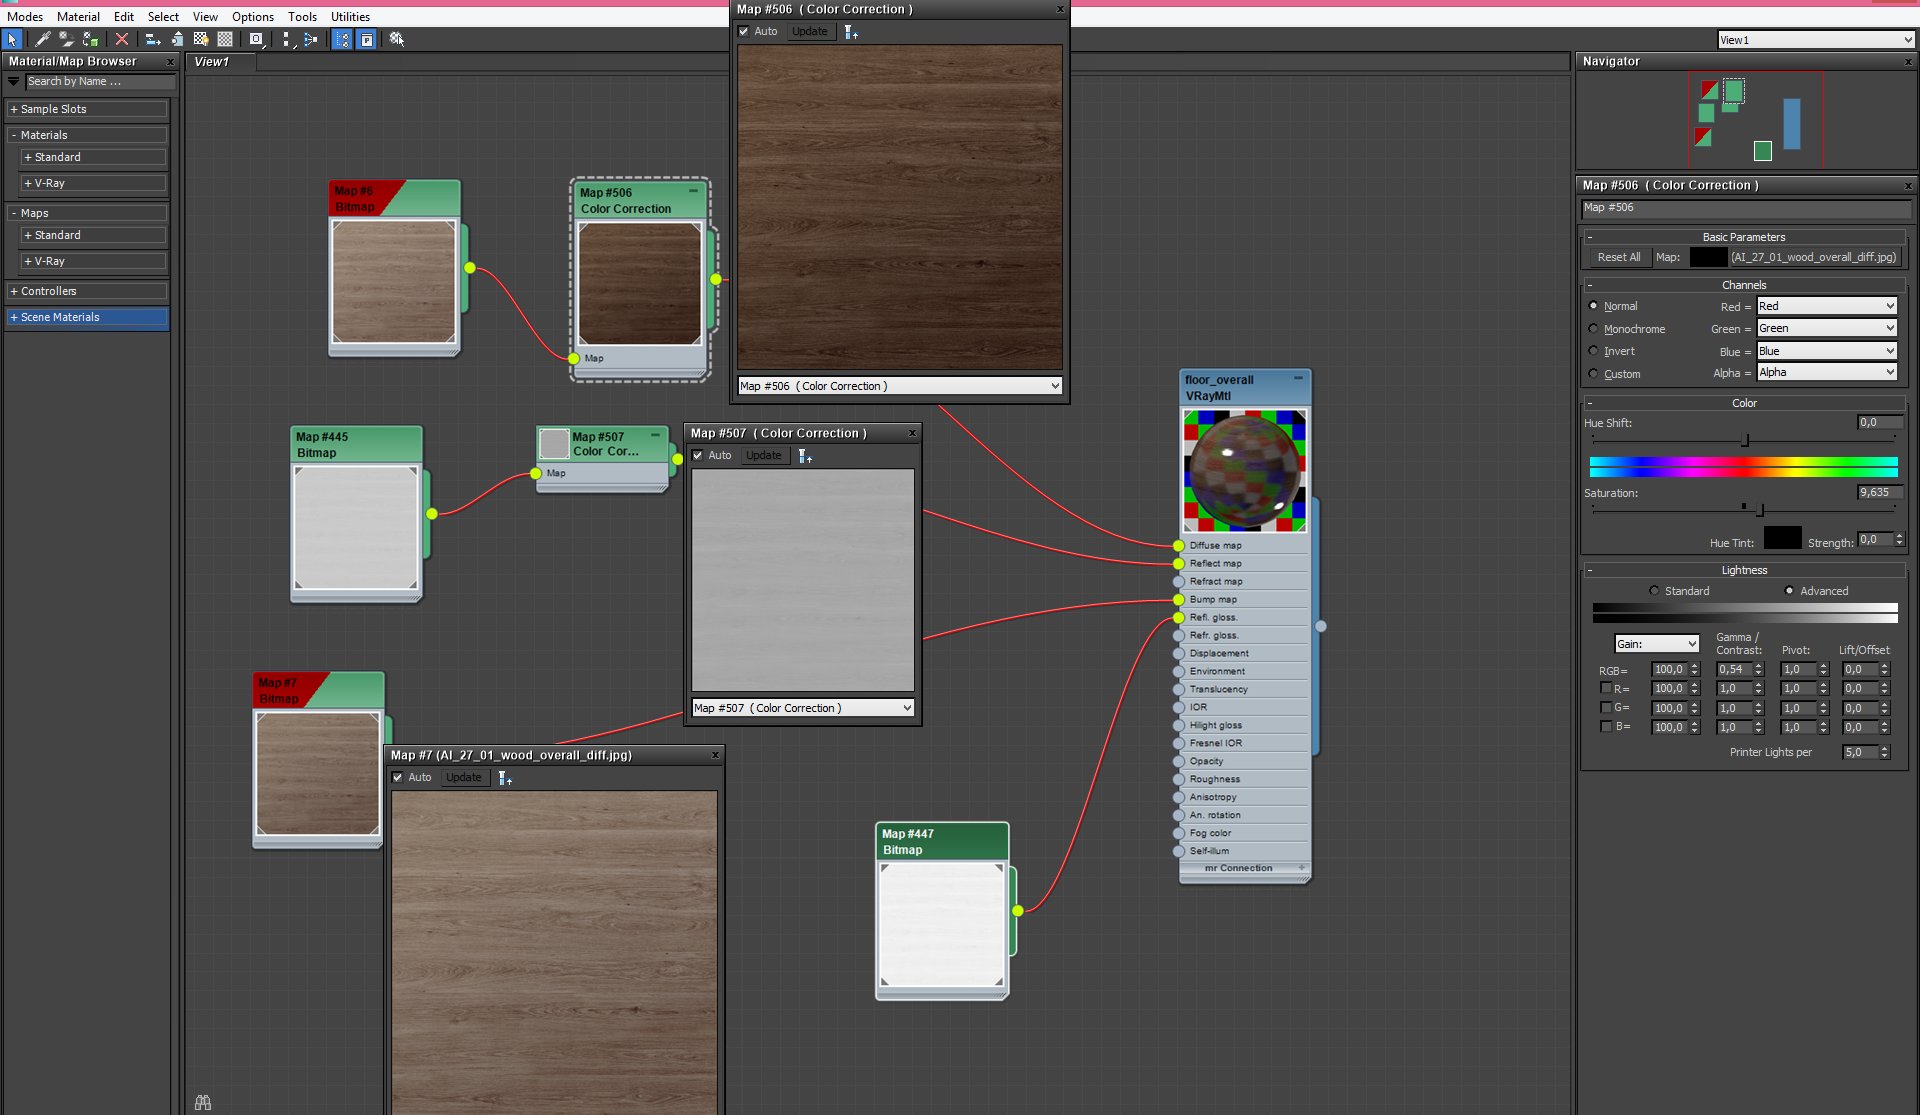
Floor material. We used Color Correction to darken diffuse map. Setting are on the right.
Click on image to enlarge 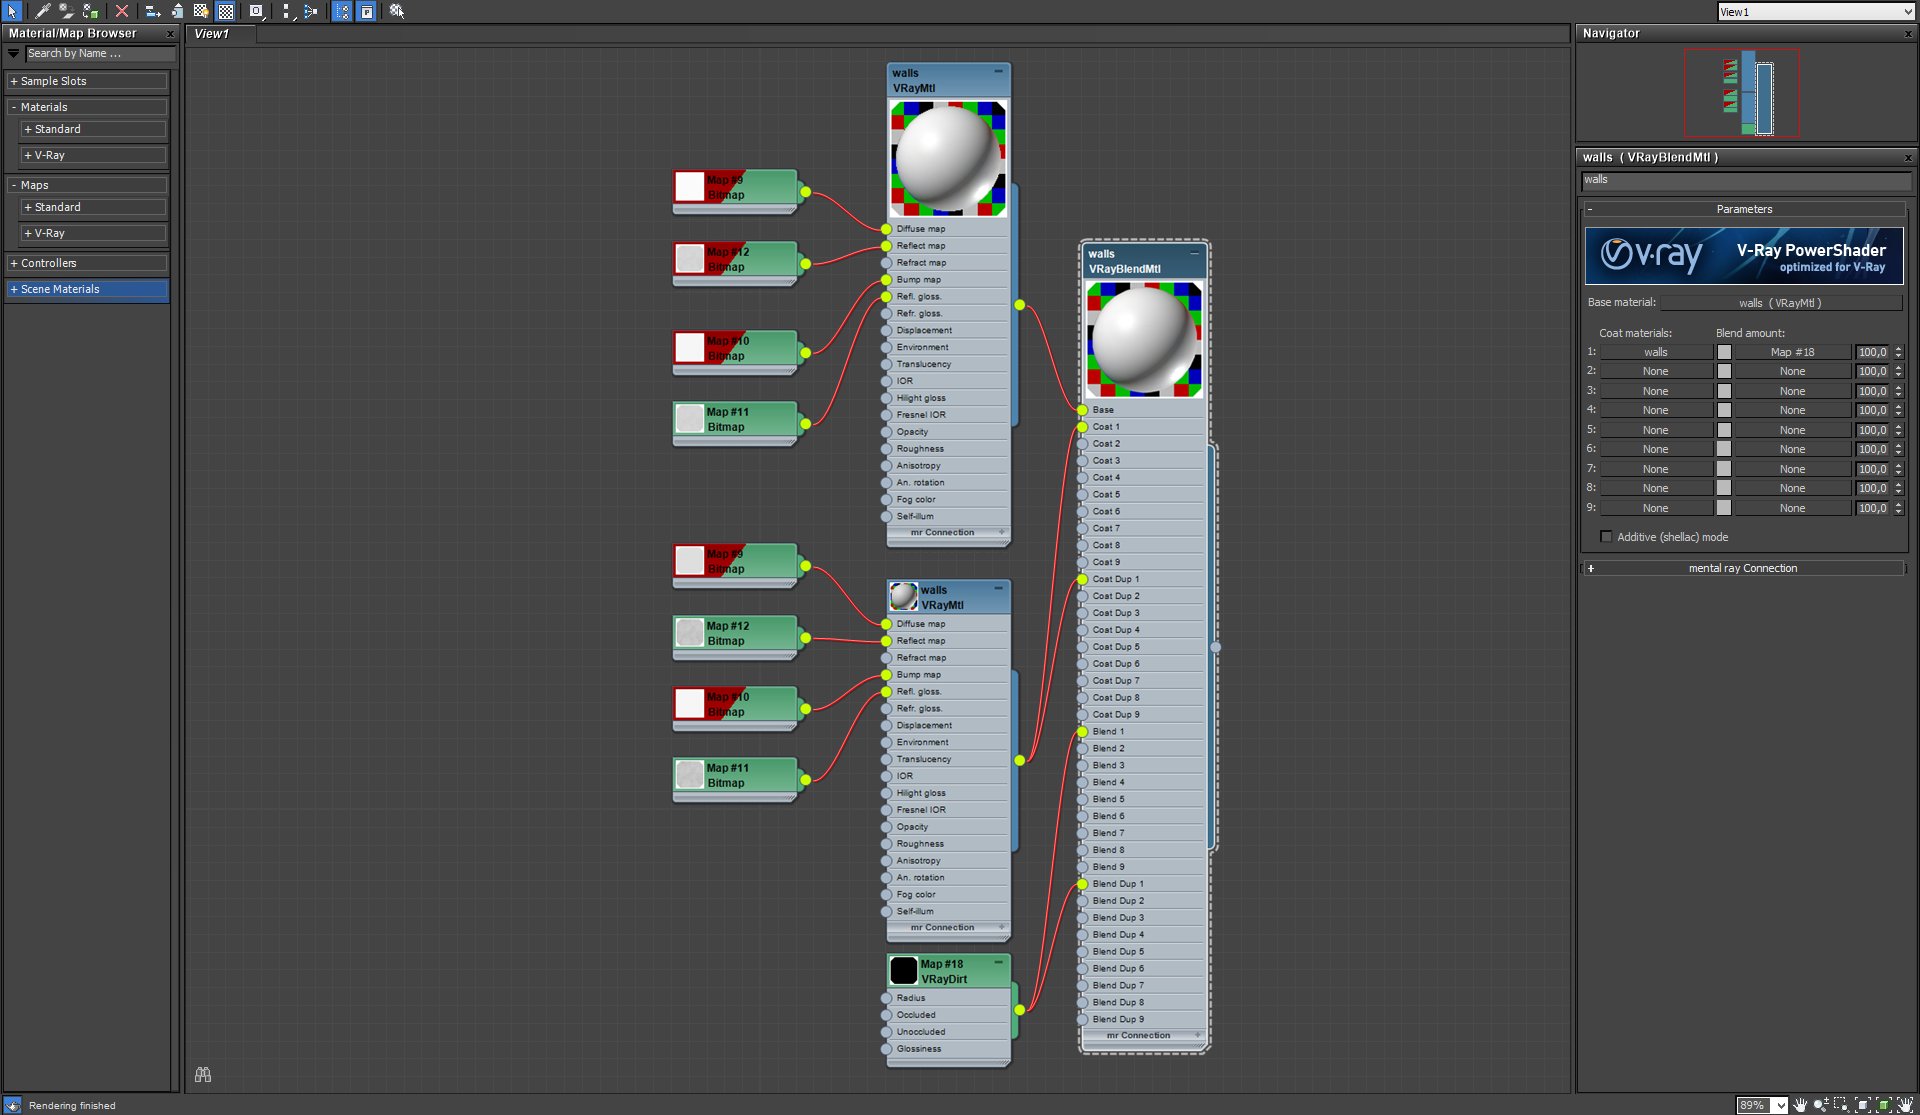
Wall material is a VrayBlendMaterial. Two, slightly different materials were blended with VrayDirt.
Render settings
Click on image to enlarge 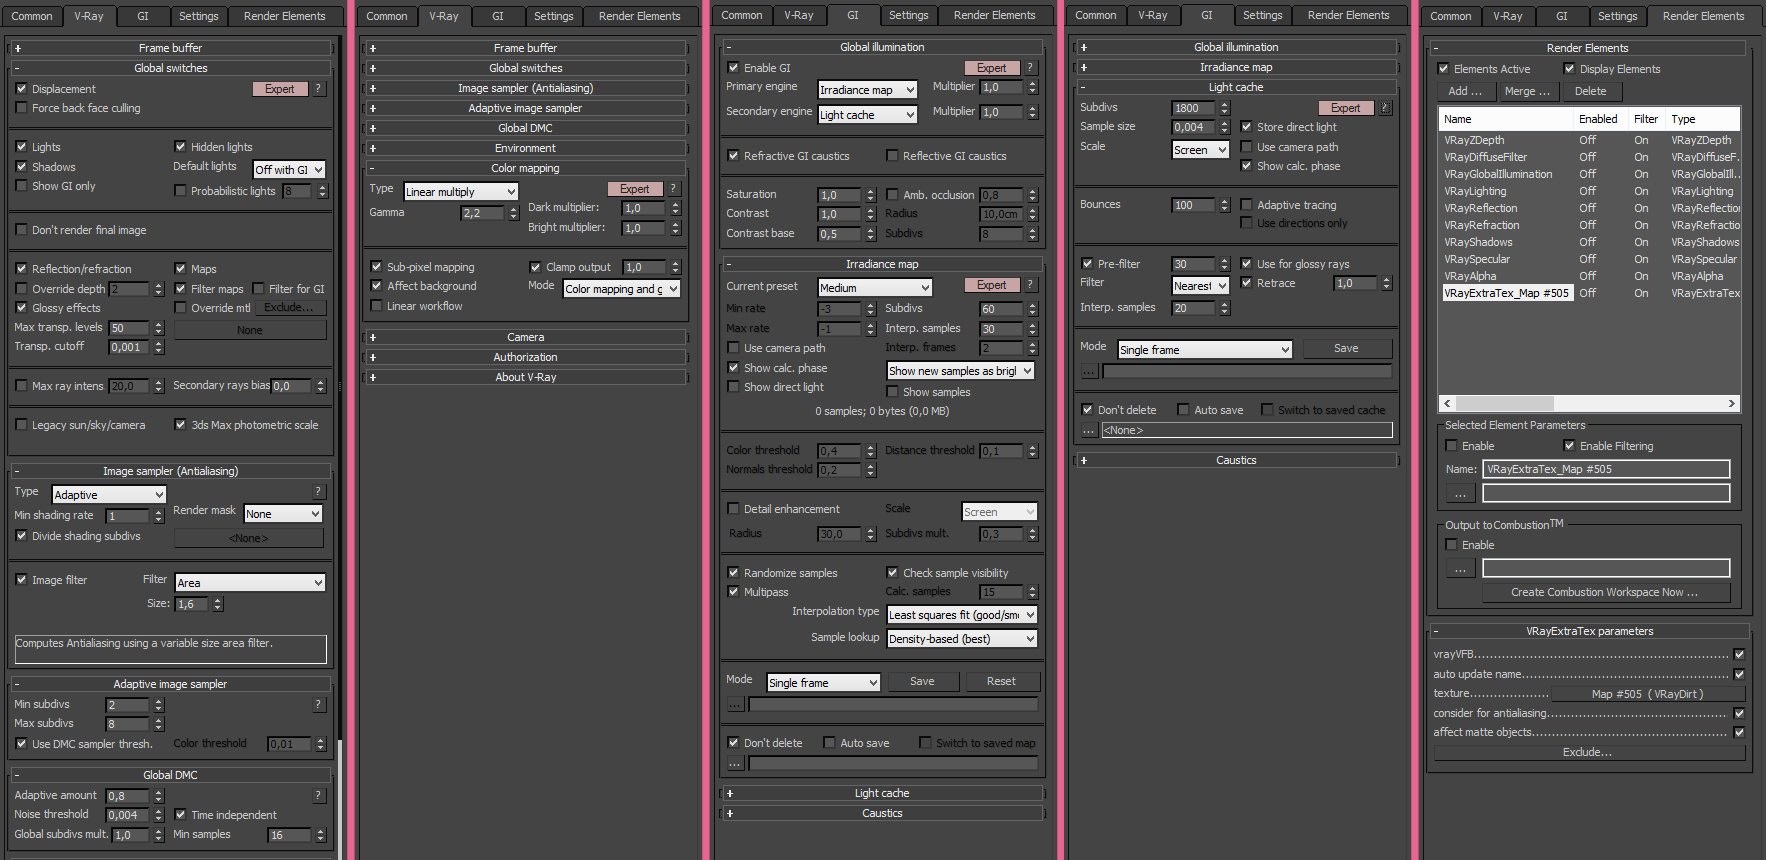
Render settings. Click on image to enlarge.
Click on image to enlarge 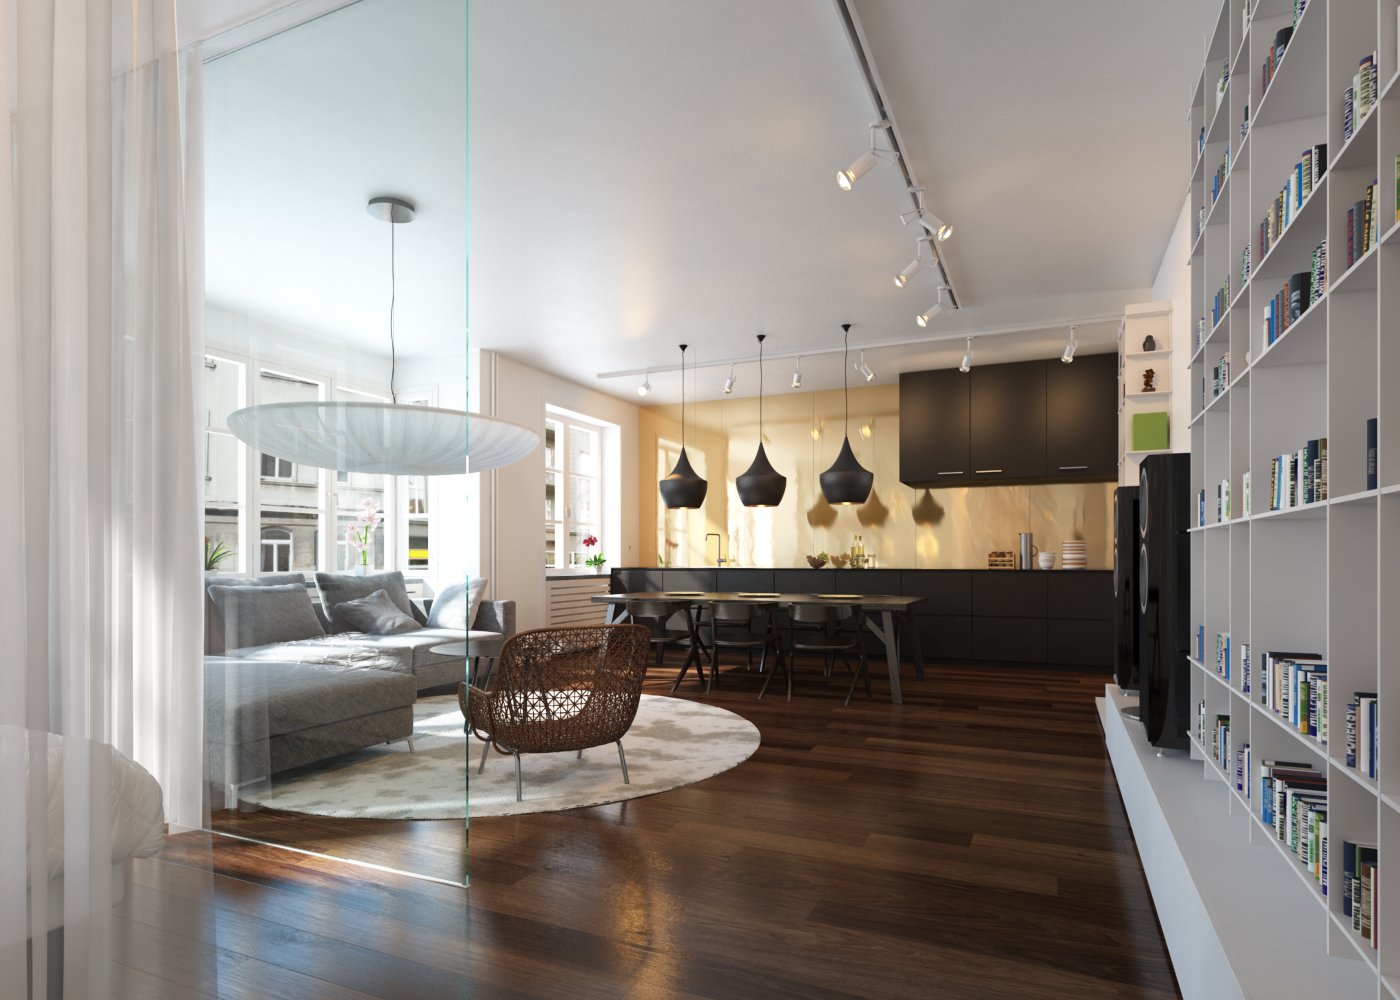
Click on image to enlarge 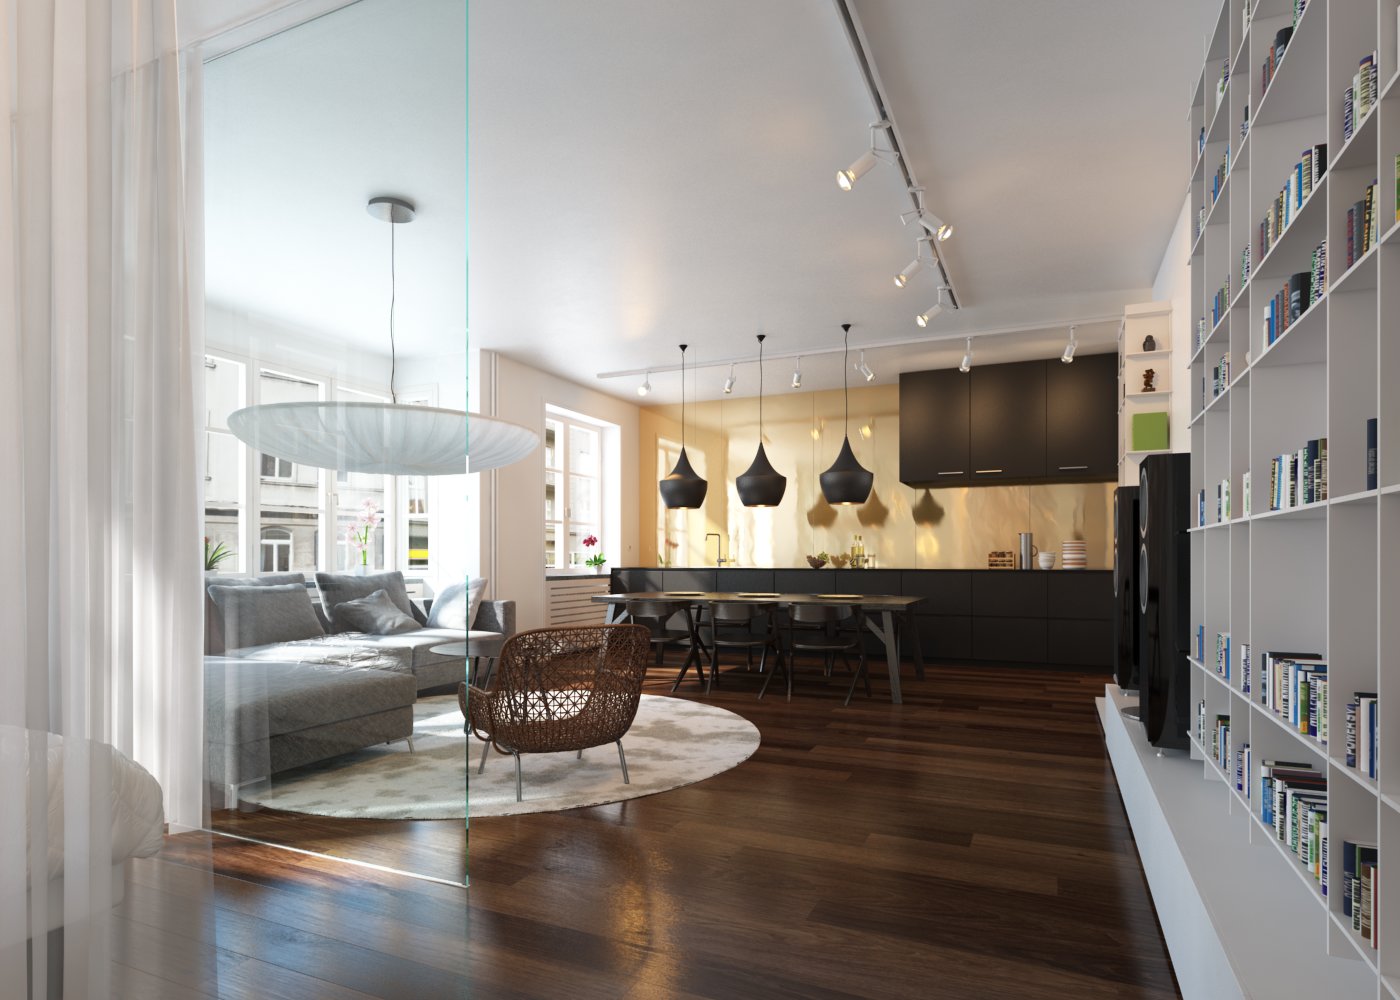
Now it is a Photoshop time. At first, we adjusted curves just a bit.
Click on image to enlarge 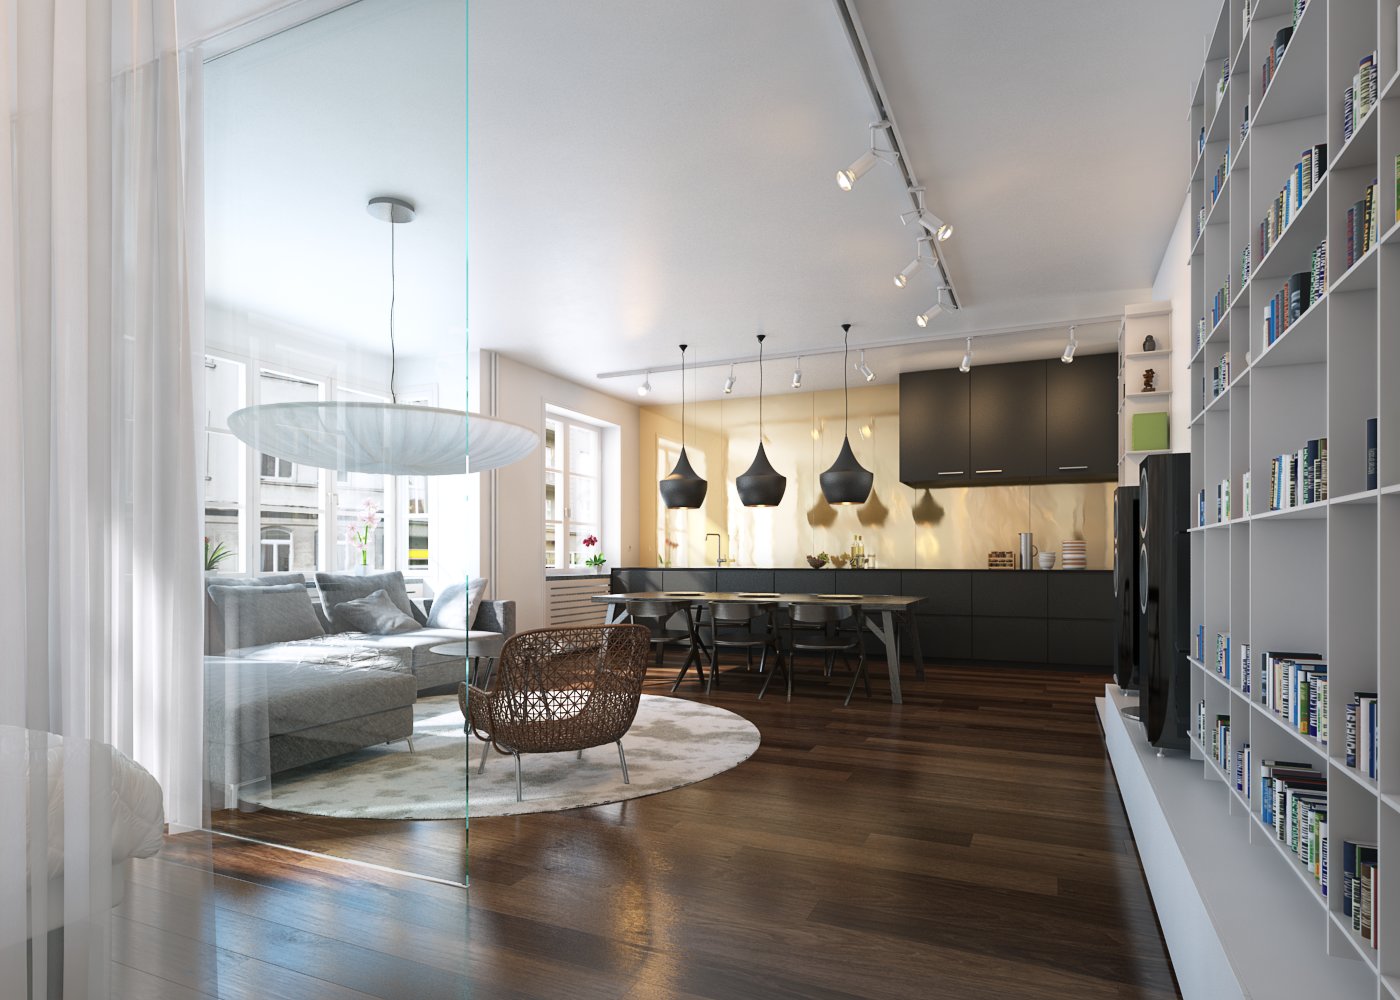
We added a layer with Vrayreflection element to emphasize reflections
Click on image to enlarge 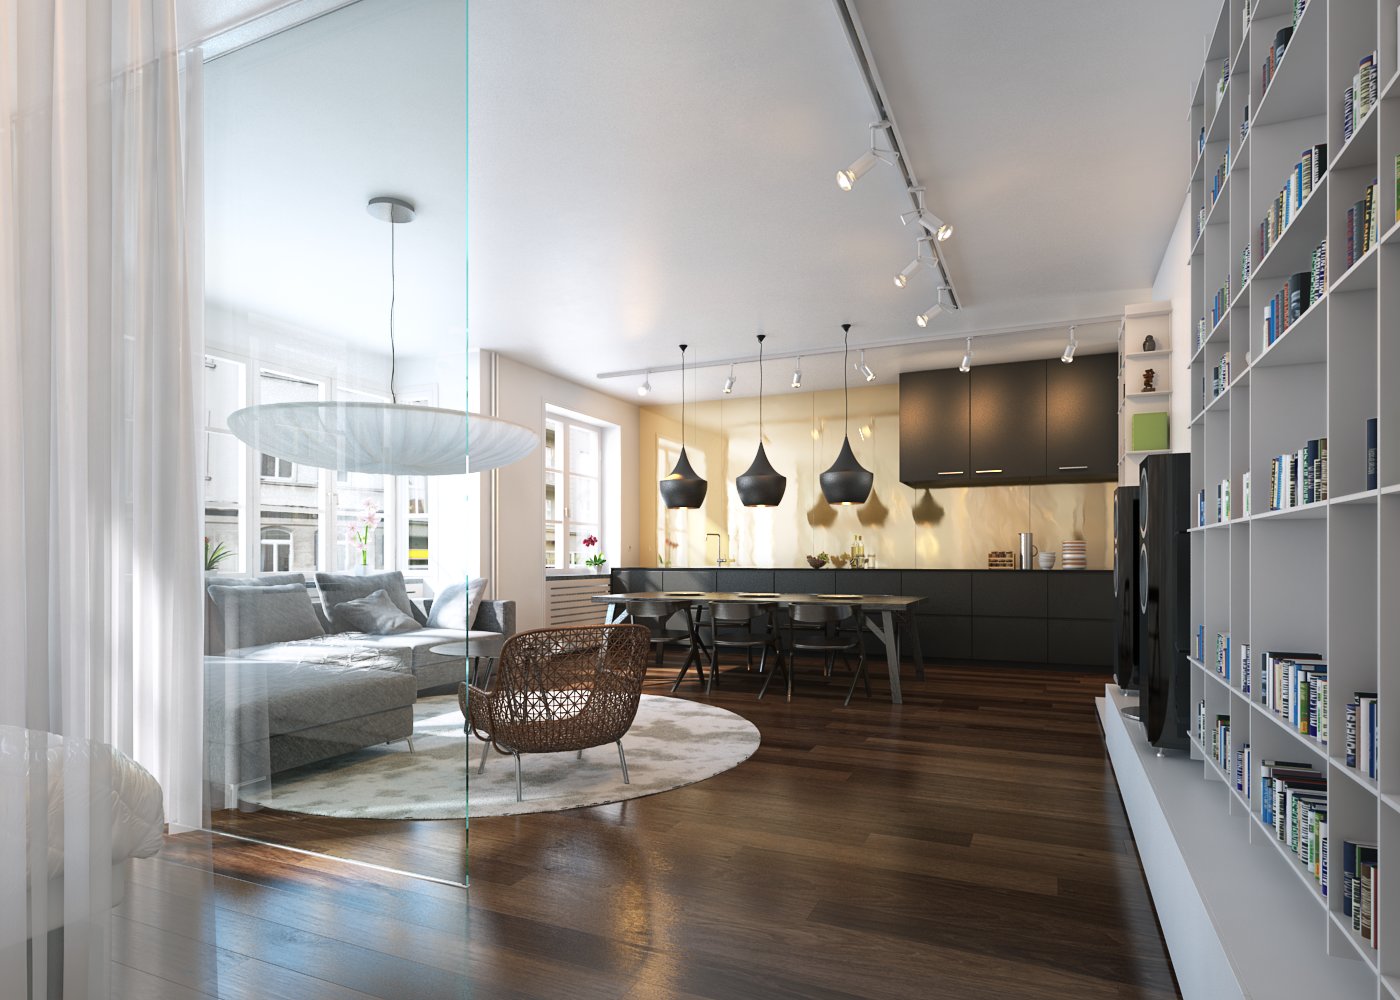
Above we put a layer with VraySpecular element.
Click on image to enlarge 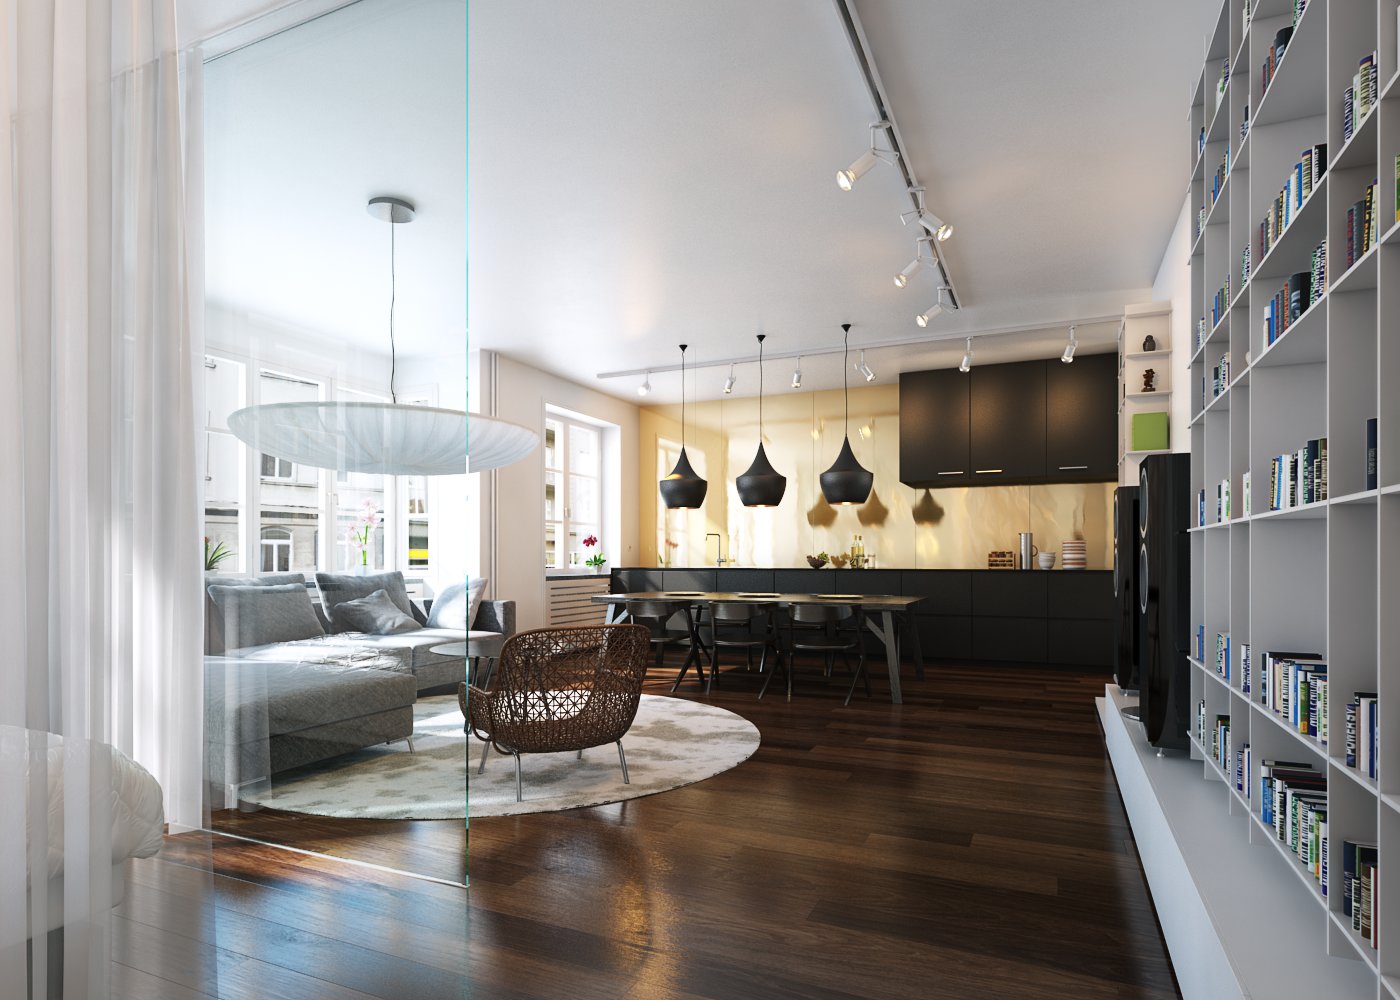
Another adjustment layer with curves correction
Click on image to enlarge 
On the top we put subtle hue / saturation correction and the final image is ready.
Thanks for reading! Please, leave your comment if you have any questions.
Remember - you can browse and buy the scenes from Archinteriors vol. 27 in Evermotion Shop and on reseller sites. :)
 Removing LUTs from Textures for better resultsRemove the LUT from a specific texture in order to get perfect looking textures in your render.
 Chaos Corona 12 ReleasedWhat new features landed in Corona 12?
 OCIO Color Management in 3ds Max 2024Color management is crucial for full control over your renders.
 A look at 3dsMax Video SequencerDo you know that you can edit your videos directly in 3ds Max? Renderram is showing some functionalities of 3ds Max's built in sequencer.
 FStorm Denoiser is here - First ImpressionsFirst look at new denoising tool in FStorm that will clean-up your renders.
 Unreal Engine 5.4: Nanite Tessellation in 10 MinutesThis tutorial takes you through creating a stunning desert scene, complete with realistic tire tracks, using Nanite for landscapes, Gaea for terrain sculpting, and an awesome slope masking auto material.
Customer zone
Your special offers
Your orders
Edit account
Add project
Liked projects
View your artist profile





COMMENTS