We are breaking down the scene inspired by Thailand's Hilton Pattaya hotel, designed by Bangkok-based Department of Architecture. This scene was modeled and rendered by Evermotion in 3ds Max and V-ray. It is included in Archinteriors vol. 44 collection. You can buy Archinteriors vol. 44 collection or this single scene in Evermotion shop.
Click on image to enlarge
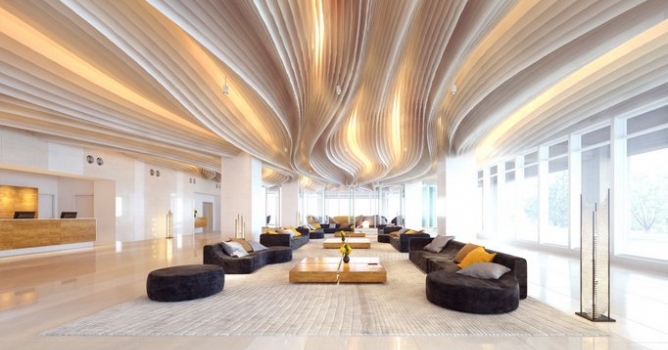
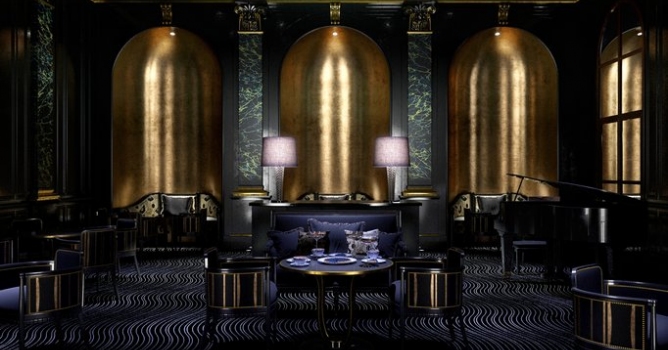
This if the final scene after post-production.
Click on image to enlarge 
Panoramic, 360 view of this scene. Click to open and then click and drag to rotate, use mouse wheel to zoom in and out.
Click on image to enlarge 
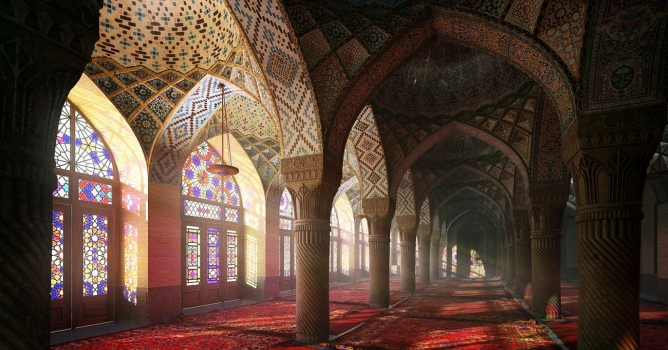
Overview of the scene. Here we have nice hotel lobby with fancy wavy ceiling, some sitting furniture and reception desk on the left. there are many small light sources beneath the ceiling and some large V-Ray rectangular lights outside the building.
Click on image to enlarge 
3ds Max viewport with materials / objects color on. We also added some greenery outside the building.
Click on image to enlarge 
Isometric view of the scene. You can see three V-Ray lights surrounding the building.
Click on image to enlarge 
V-Ray light settings on the right.
Click on image to enlarge 
Top V-Ray light settings.
Click on image to enlarge 
third V-ray light settings.
Click on image to enlarge 
spot light settings.
Click on image to enlarge 
Omni lights are placed above spot lights. Settings on the right.
Click on image to enlarge 
Camera is placed straight, to give symmetrical shot of the lobby.
Click on image to enlarge 
Click on image to enlarge 
The carpet with texture preview in viewport.
Click on image to enlarge 
The carpet material.
Click on image to enlarge 
The carpet material - one of sources of our bump map.
Click on image to enlarge 
Furniture in the lobby - isloated view.
Click on image to enlarge 
Furniture - close up, mesh.
Click on image to enlarge 
Furniture material.
Click on image to enlarge 
Furniture material - Falloff map settings.
Click on image to enlarge
Wooden table mesh.
Click on image to enlarge 
Wooden table with texture preview.
Click on image to enlarge 
Wooden table material.
Click on image to enlarge
Wooden table material - falloff map settings.
Click on image to enlarge 
Wooden table material - wood texture.
Click on image to enlarge 
Ceiling mesh.
Click on image to enlarge
The celing is a bit complicated to model and shade. The shader was a semi-tranparent materiał with very long rendering time so we decided to bake it.
1. First, you have to uv map it without overlapping - remember to use a differnt uv channel than the original texture mapping.
2. Using bake map (shortkey "0") choose Vray complete map, resolution and hit "bake" - it took several hours on our 24 machine core but the effect is almost the same as the original shader and you only have to do it once.
3. You have to create a new shader using the baked map - screen shaders.
Click on image to enlarge
Ceiling material.
Click on image to enlarge
Ceiling material - texture.
Click on image to enlarge
The floor is made of two materials - one is beige and one is white.
Click on image to enlarge
floor - white material settings - blend material.
Click on image to enlarge
Floor, white material settings - base VrayMaterial.
Click on image to enlarge
floor - white material settings, coat material.
Click on image to enlarge
floor - white material, glossy faloof map settings.
Click on image to enlarge
floor, white material - diffuse texture.
Click on image to enlarge
floor, beige material, VrayBlendMaterial settings.
Click on image to enlarge
floor, beige material, base VrayMaterial settings.
Click on image to enlarge
floor, beige material, coat material settings.
Click on image to enlarge
floor, beige material, diffuse texture.
Click on image to enlarge
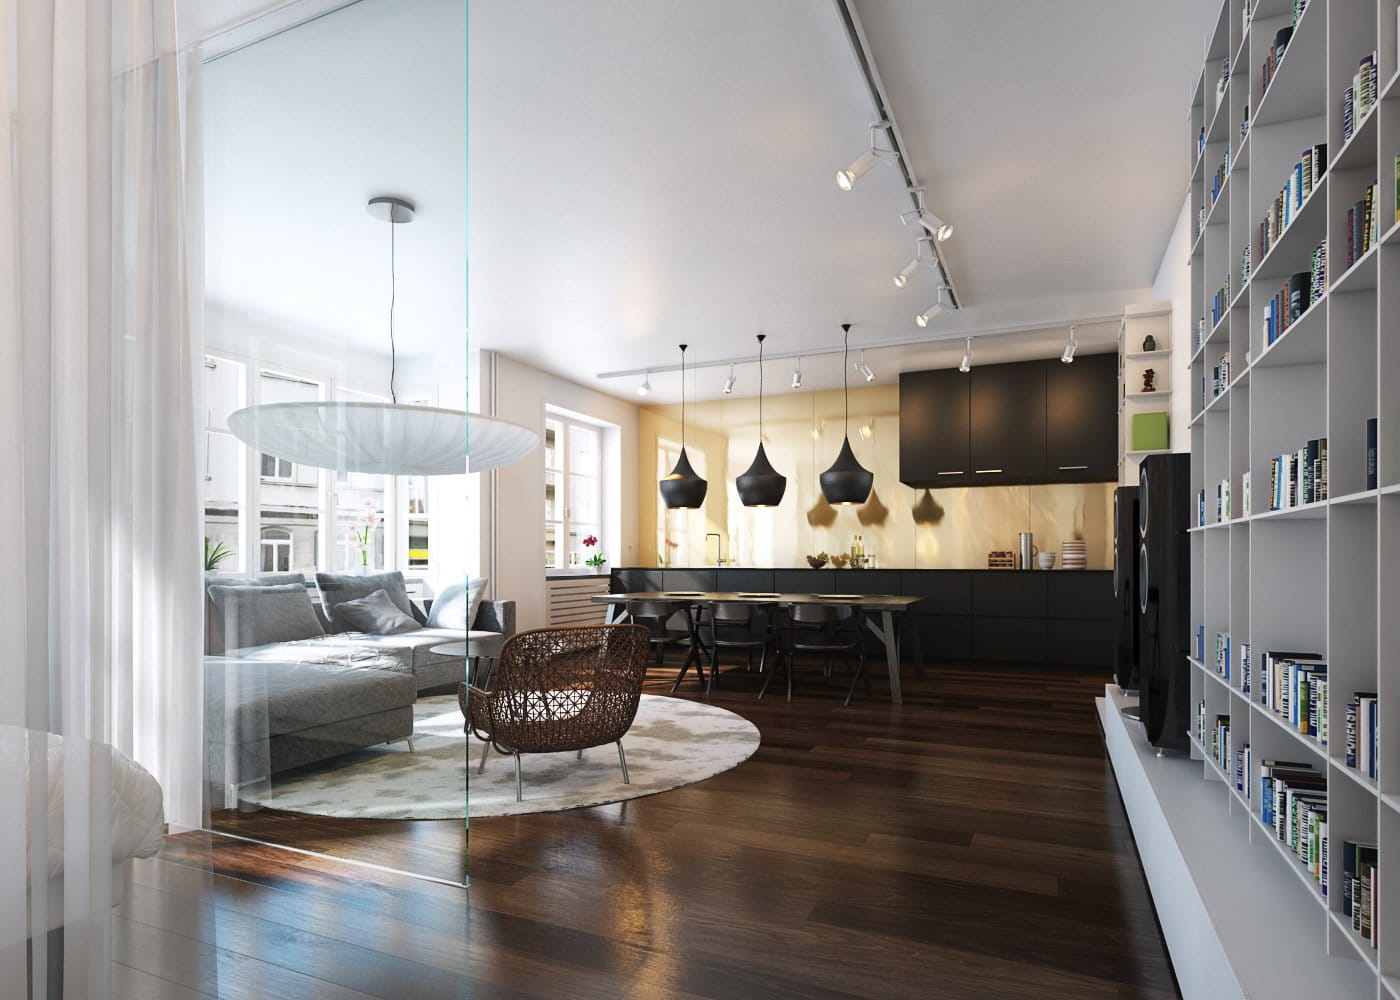
Another shot of the scene, some more sitting furniture.
Click on image to enlarge
render settings.
Click on image to enlarge
Post-production in Photoshop. the first goes base RGB layer, next four layers affect ceiling only. They make it more saturated and interesting. Glow ceiling layer adds glow to light areas in the ceiling. glow blur 50 px and 15px layers add glow to windows area. Top curves layer is "S" shaped and it increased contrast of the whole scene.
Click on image to enlarge
Final image after post-production.
Click on image to enlarge
Final image after post-production, camera 2.


 Customer zone
 Your orders
 Edit account
 Add project
 Liked projects
 View your artist profile
COMMENTS