Hello, greetings to all Evermotion community. My name is Romuald Chaigneau and I have the chance to present you the development of my last project thanks to Evermotion. This is a small hut lost in woods.
To start, here are the four final renders.
Click on image to enlarge 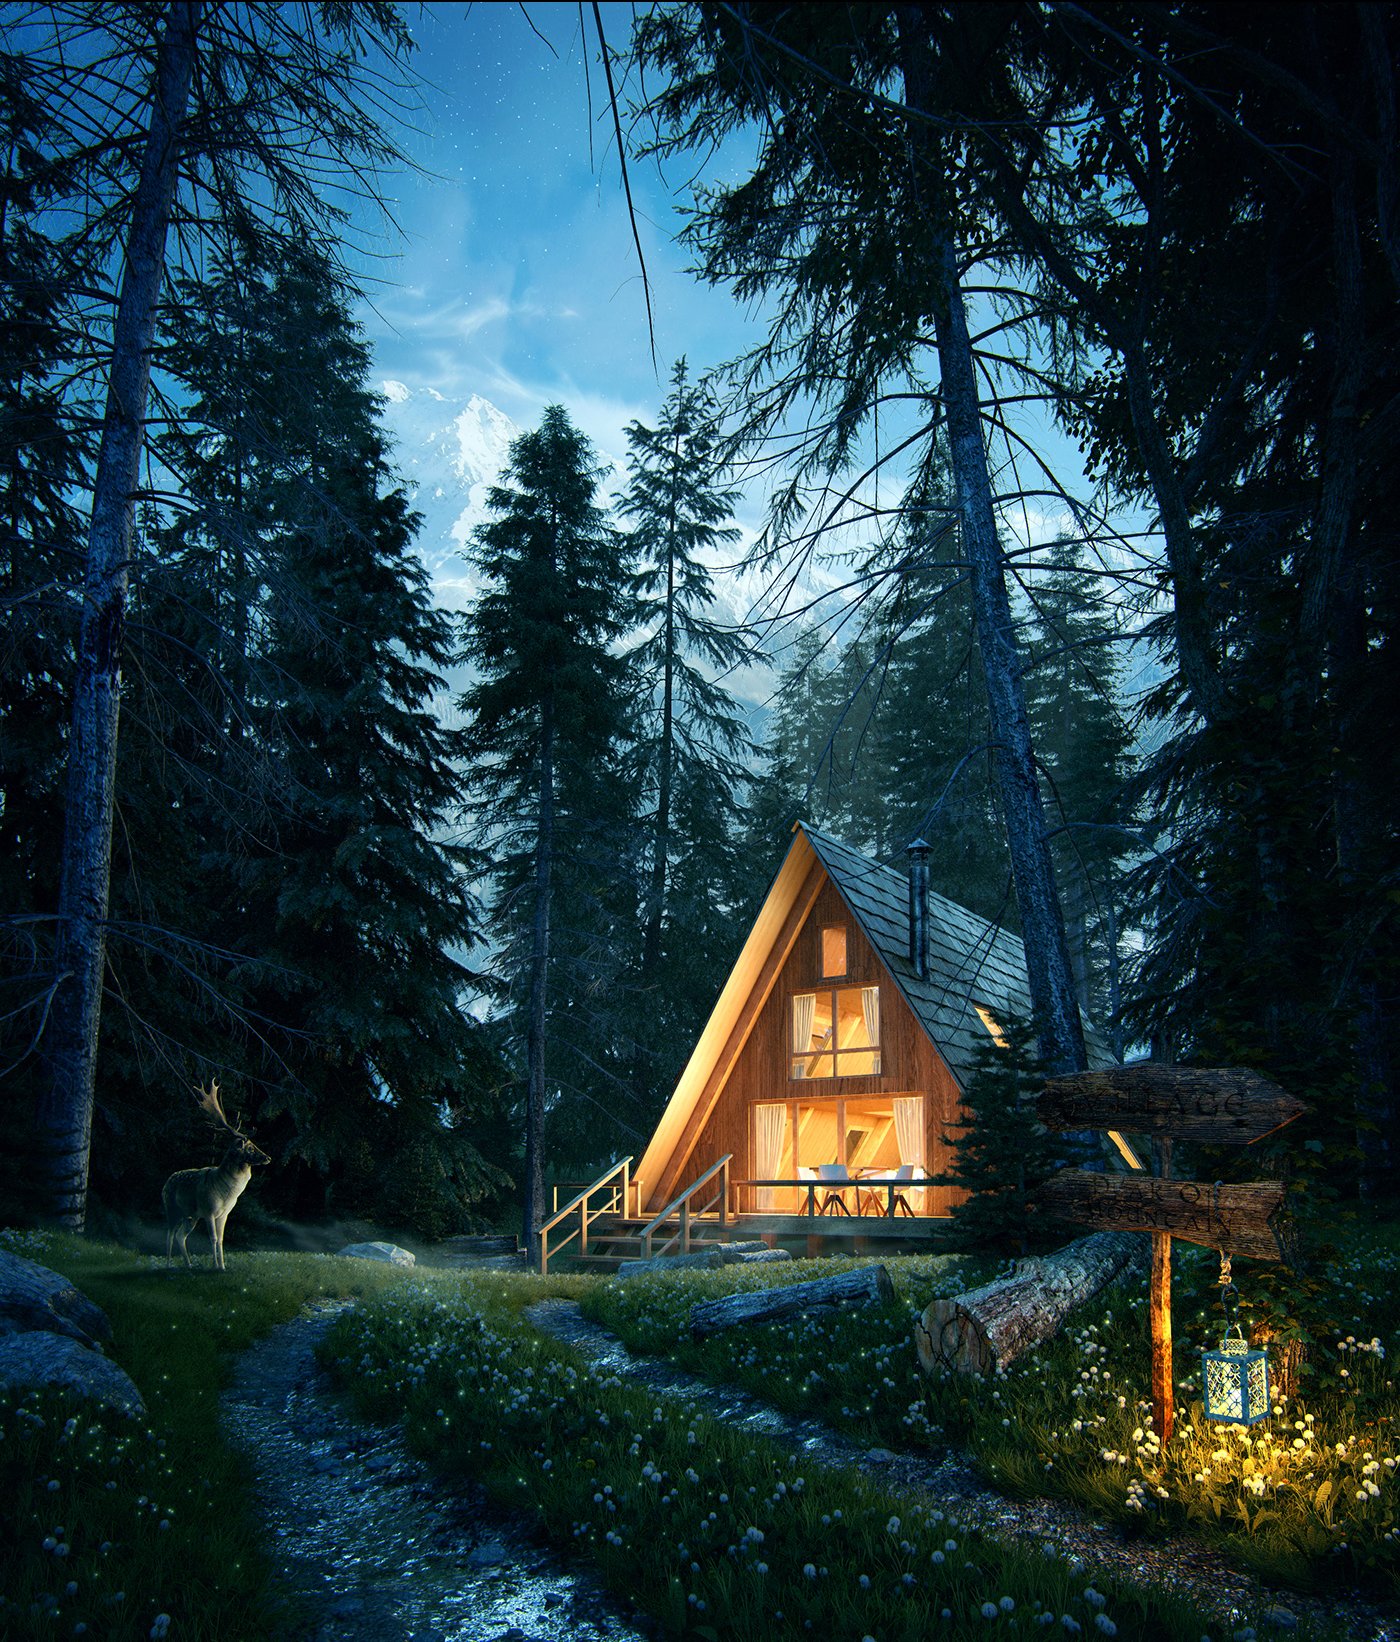
Click on image to enlarge 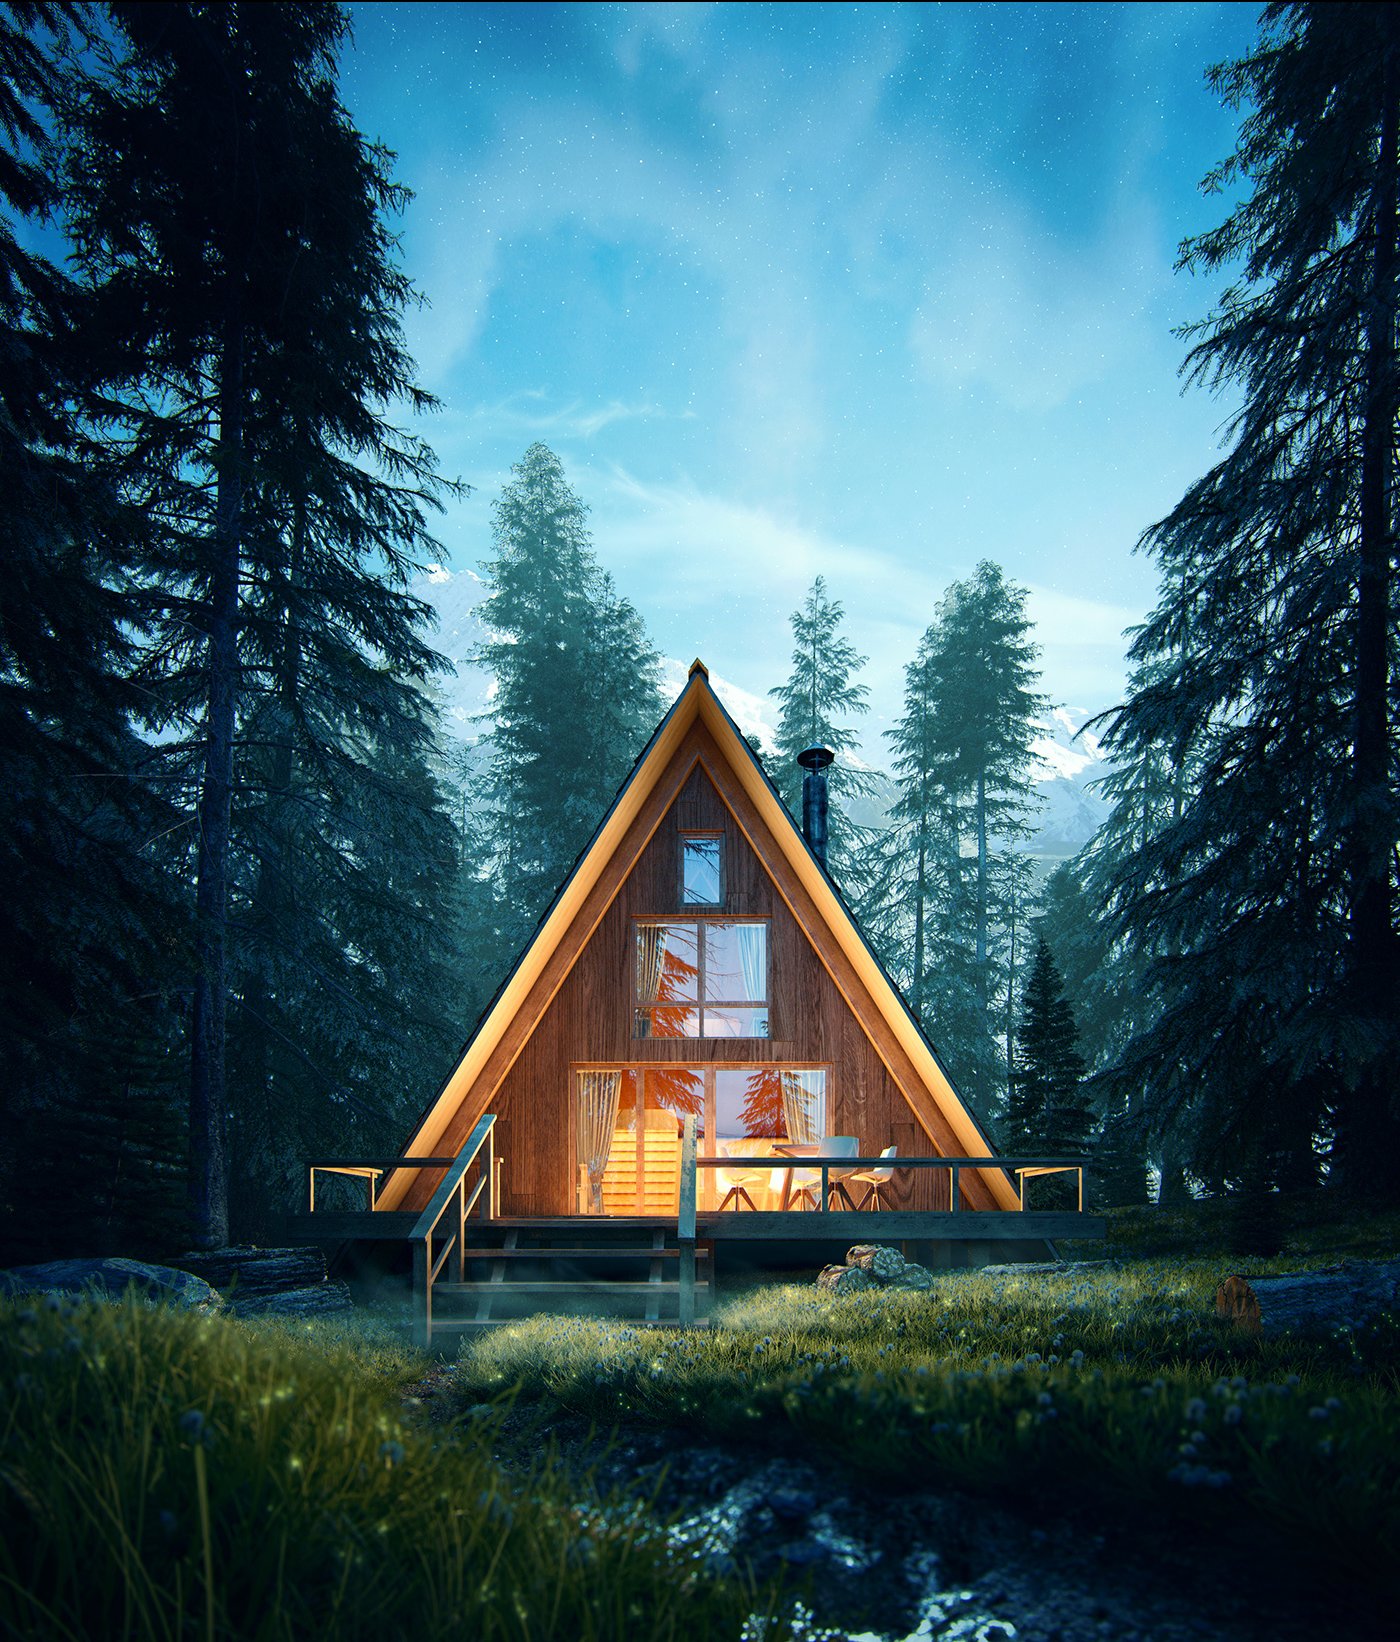
Click on image to enlarge 
Click on image to enlarge 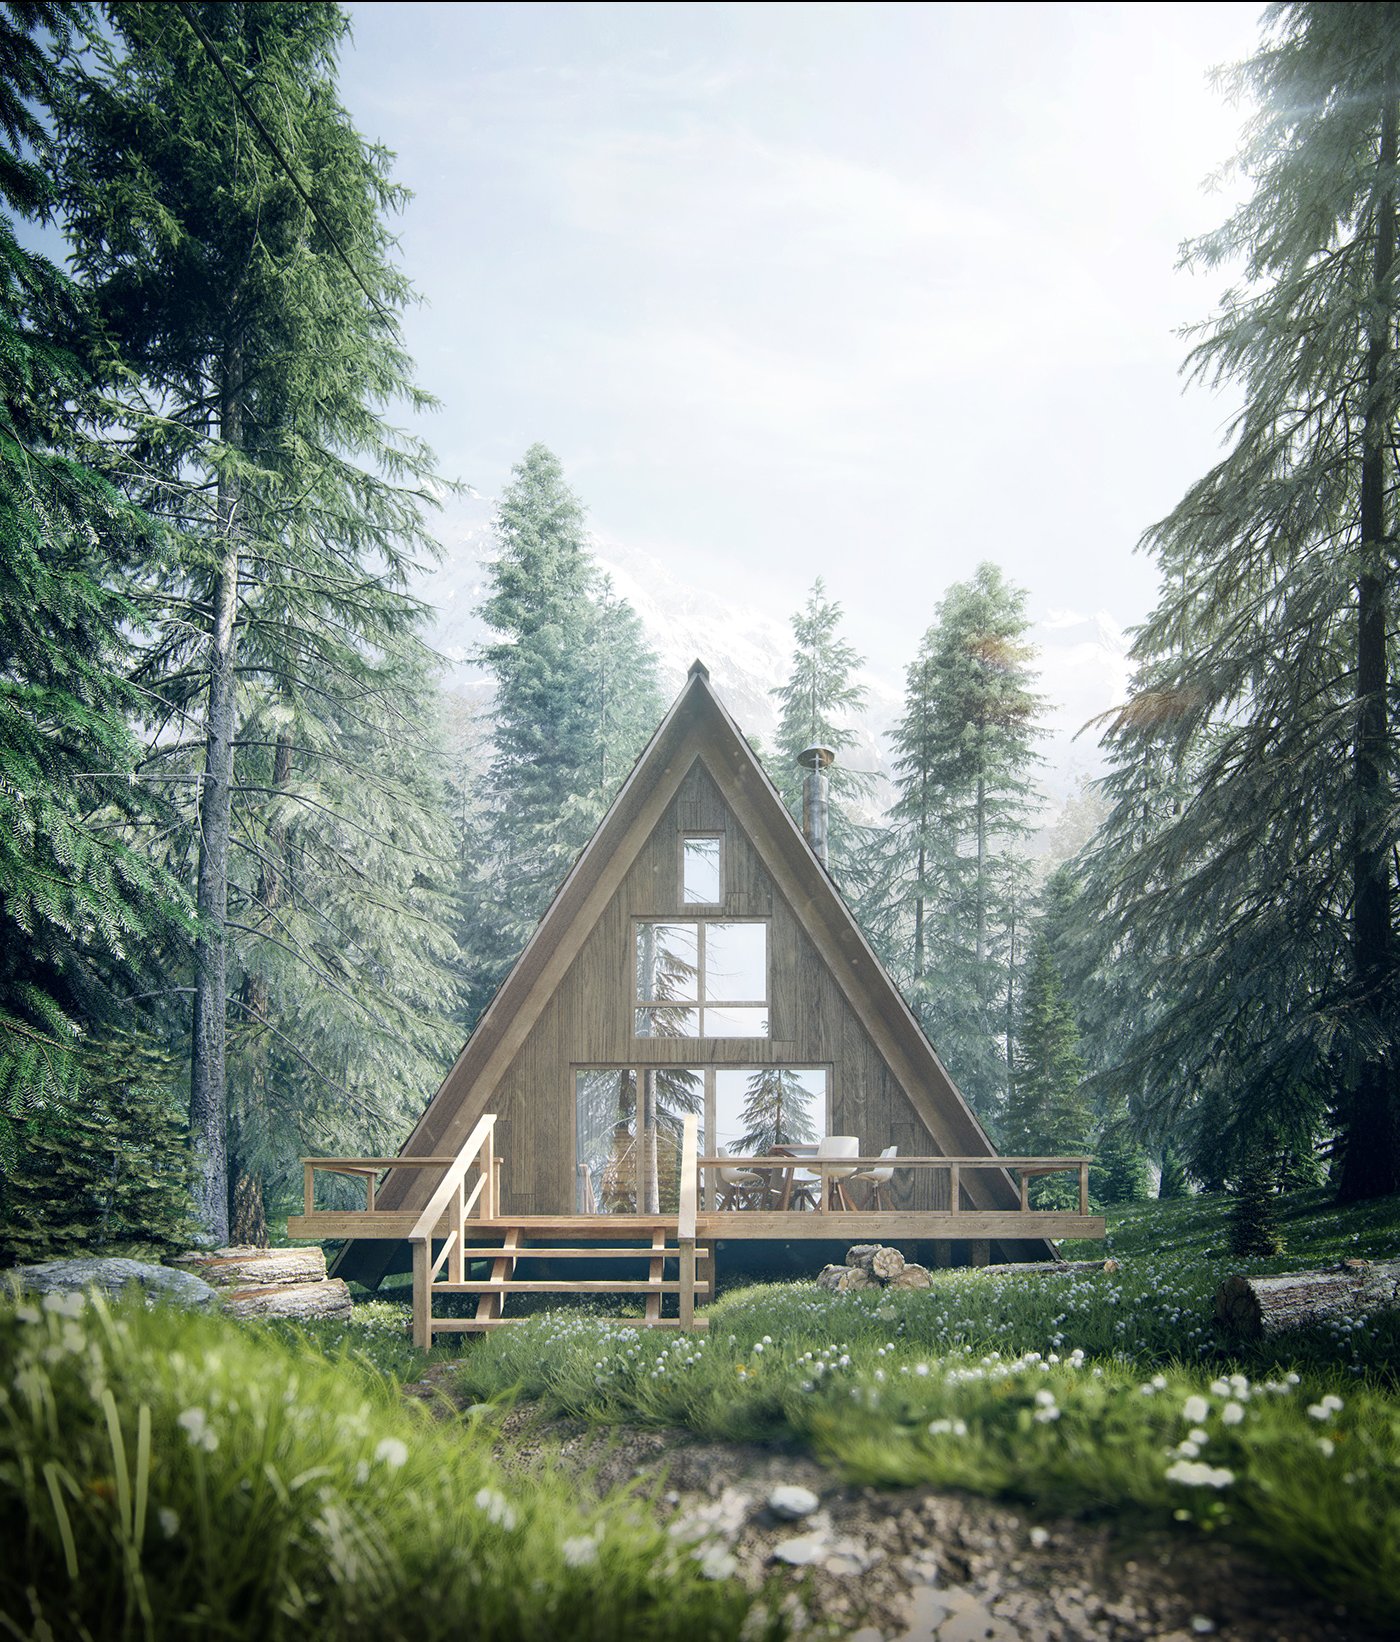
Introduction and reference
All began on Instagram. There are a few months, I came across a photograph. A little hut in the woods in a night atmosphere. From this moment, I thought it would be a great exercise to try to reproduce a scene in the same atmosphere. So I started looking for some additional references to guide me in this project.
Click on image to enlarge 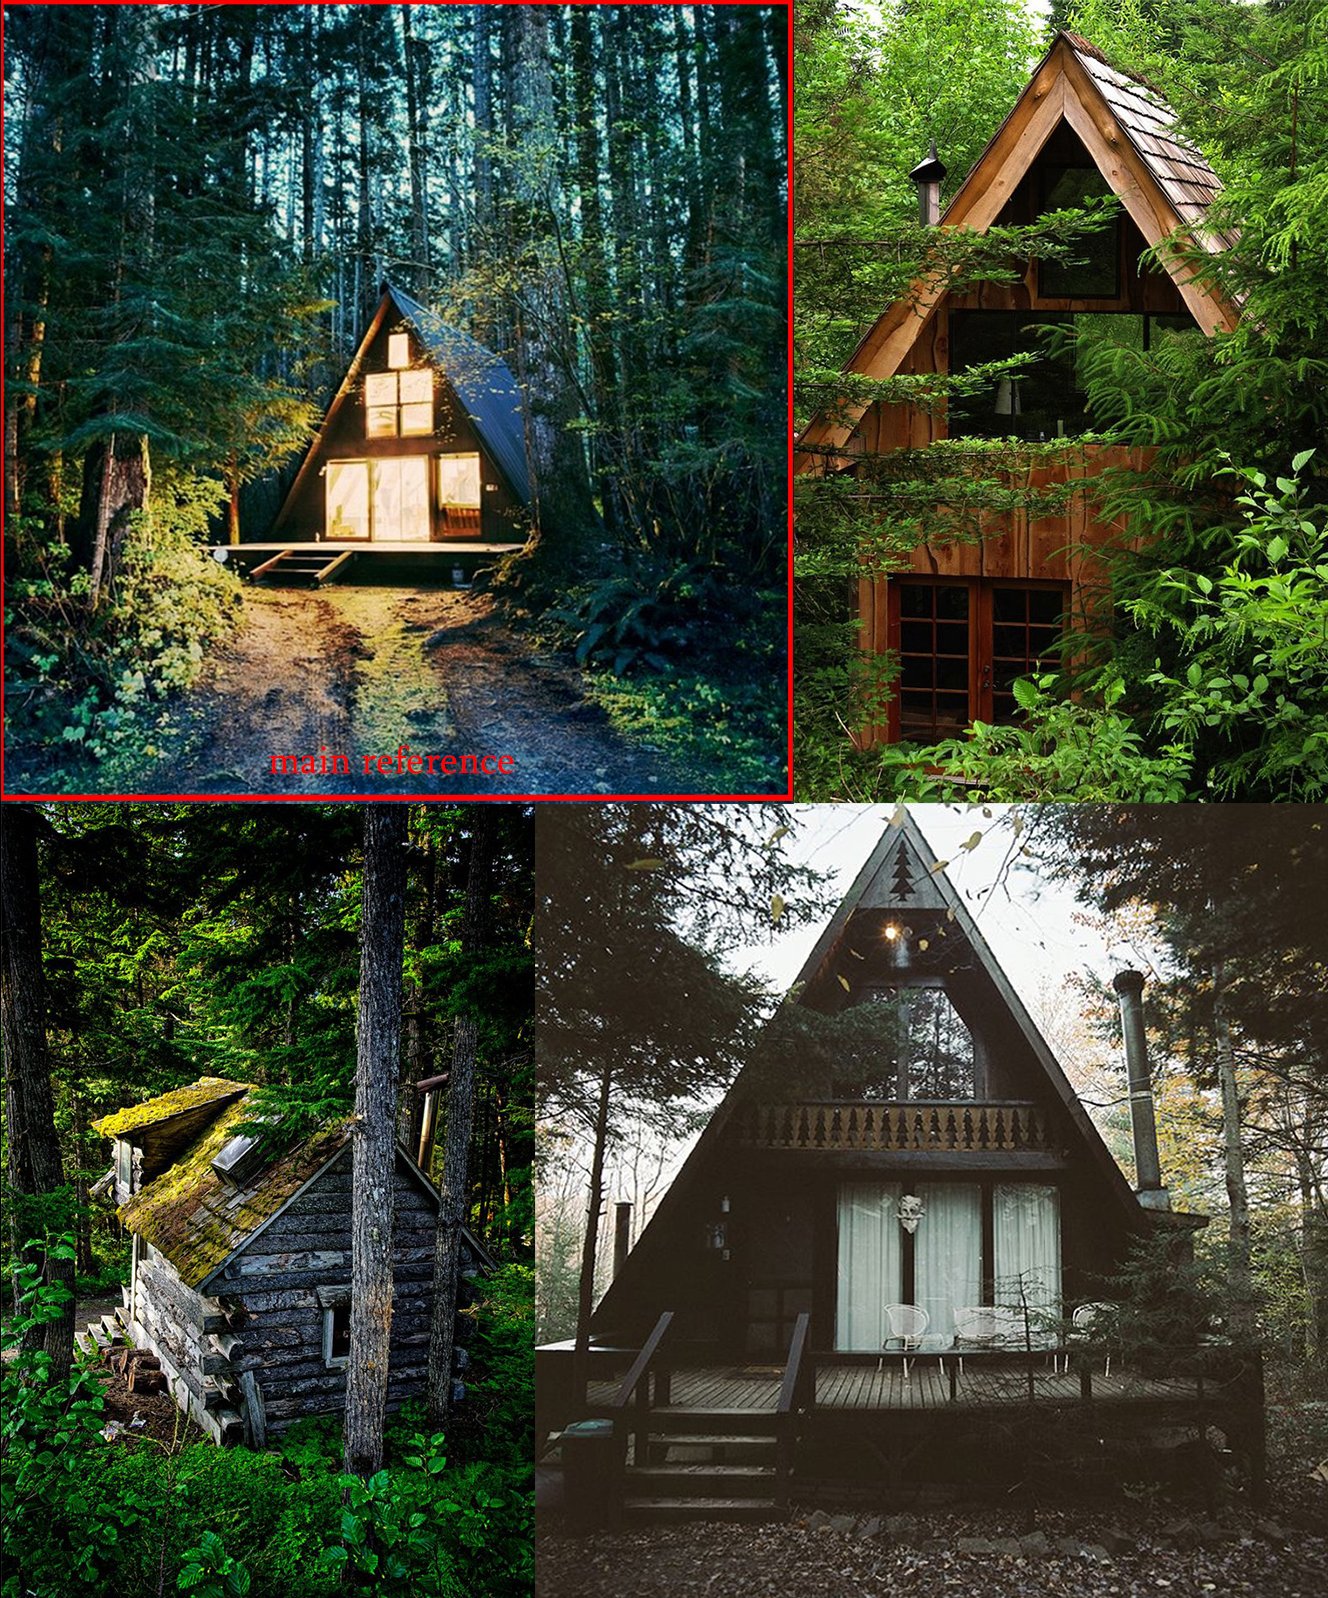
Modeling
Click on image to enlarge 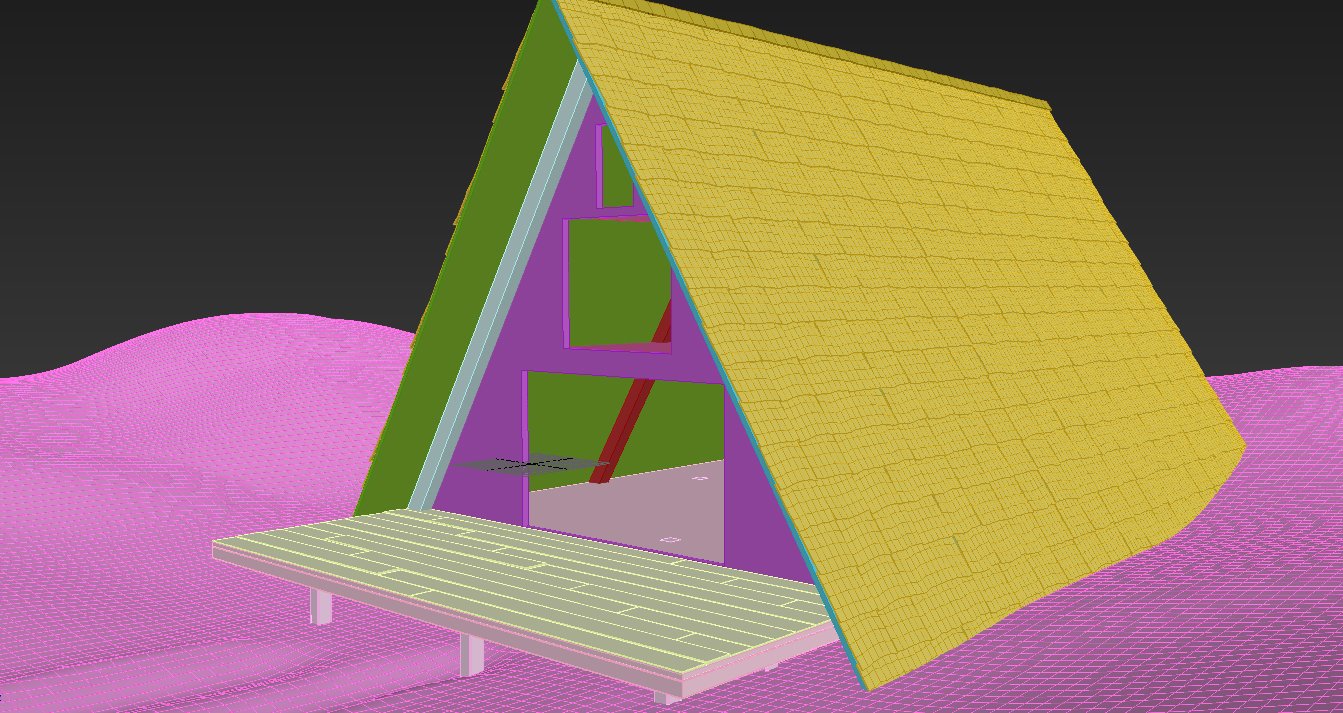
As you can see, the modeling of the hut is very simple. It is only few boxes and few extruded splines.
Click on image to enlarge 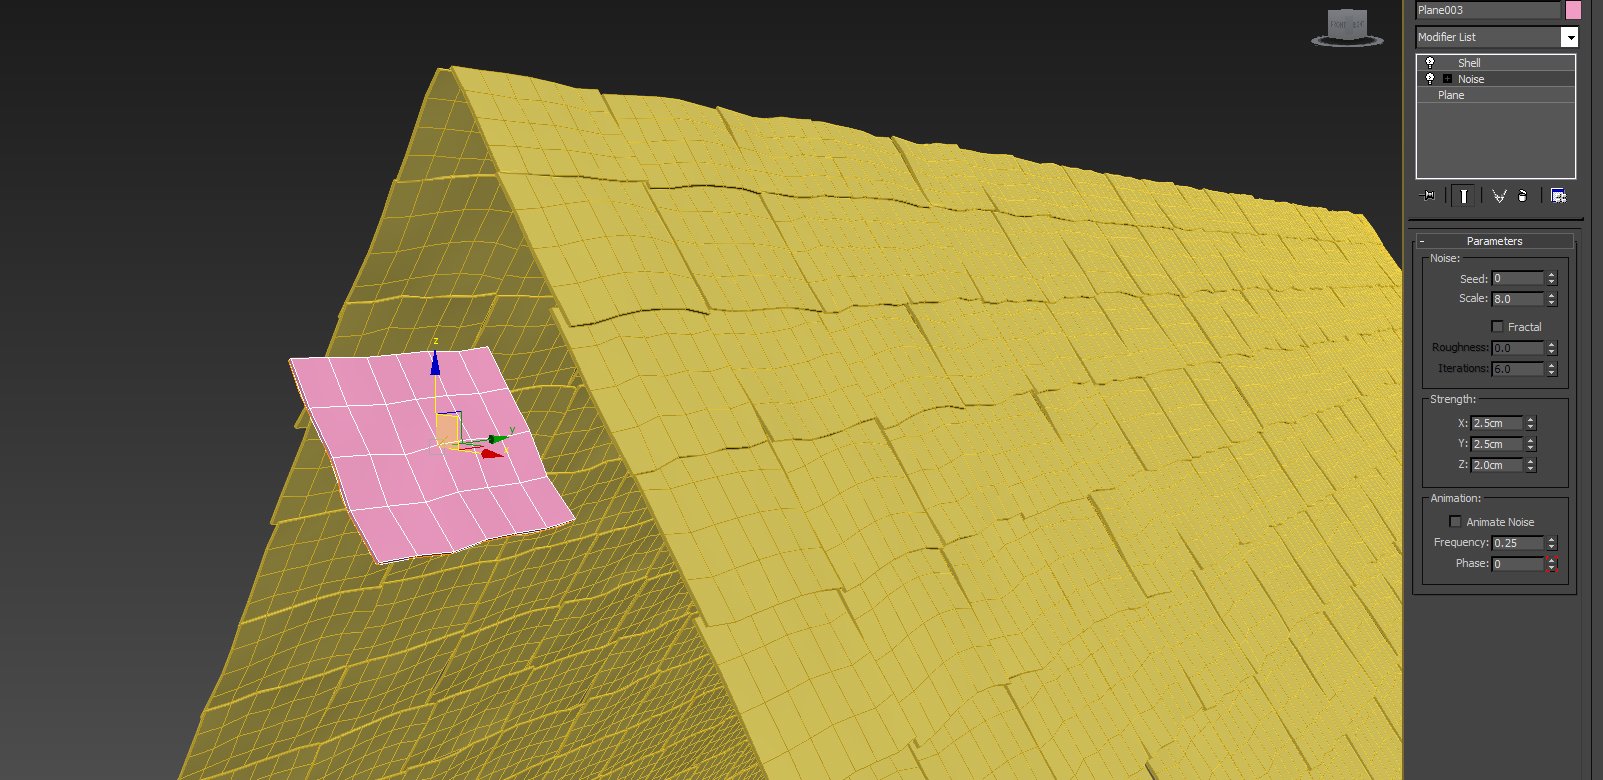
To make the tiles, I simply create a "plane" with a "noise" and a "shell" to give a thickness. It remained for me to duplicate and changing the "seed" in the "noise" to create different variations.
Click on image to enlarge 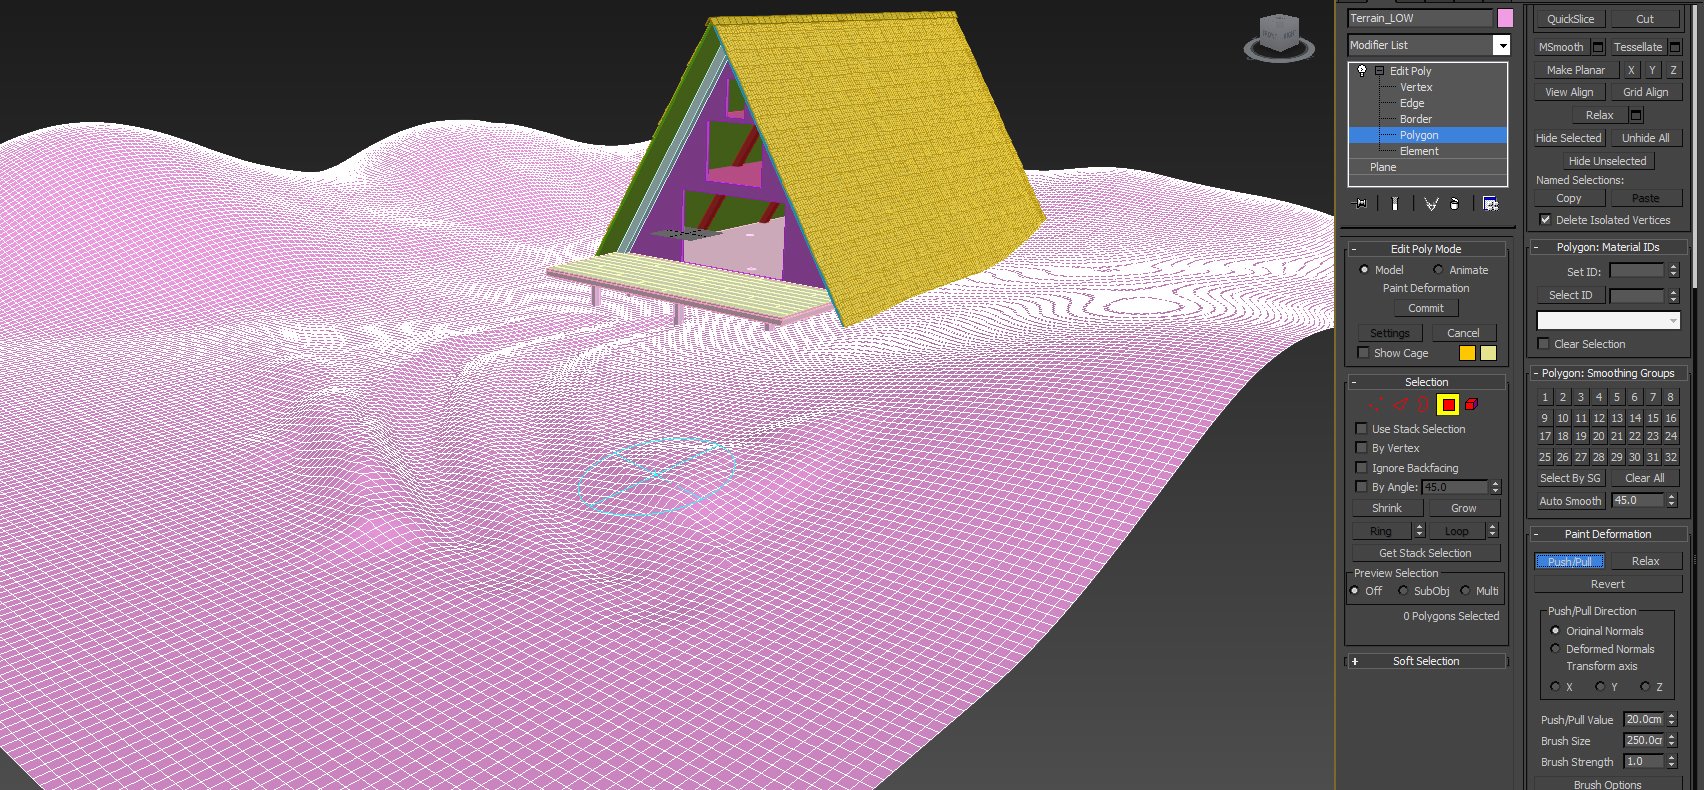
I created the field with a "plane", and I realized variations with the tool "paint deformation."
Click on image to enlarge 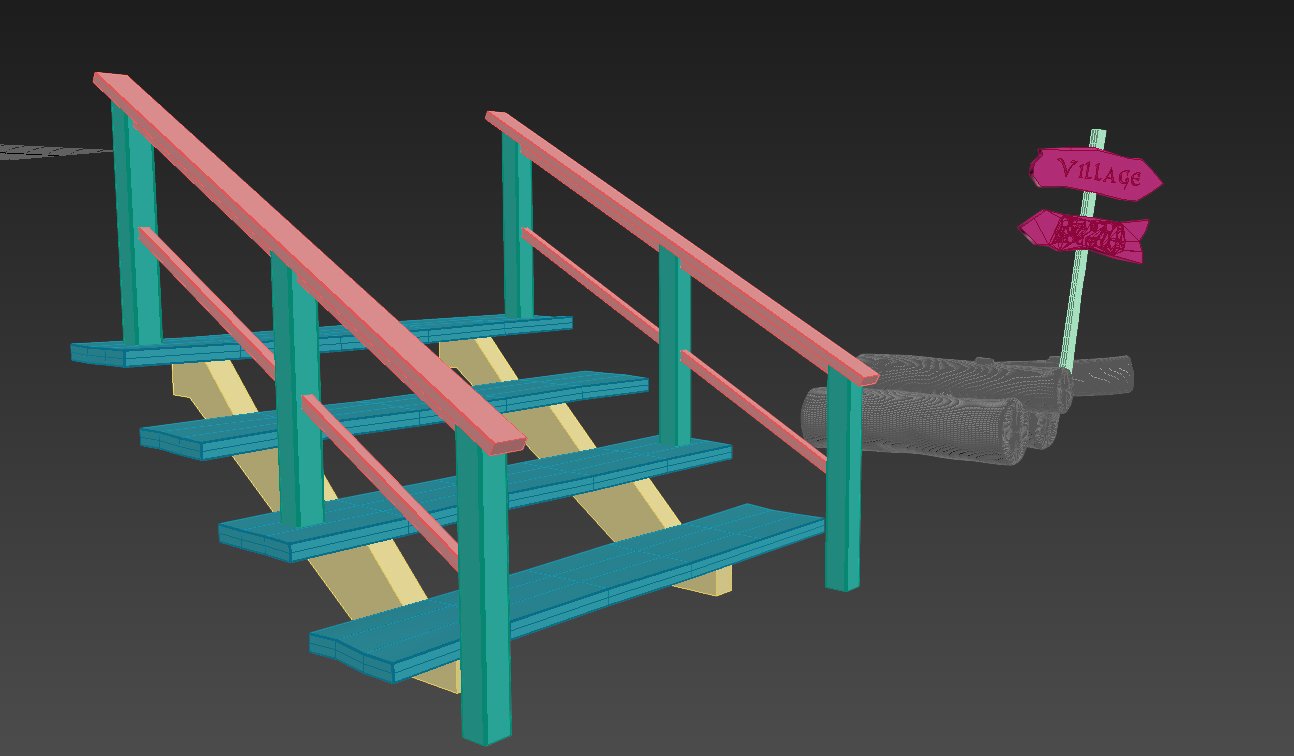
I also modeled some small decorative elements to add more details.
Camera and composition
The first goal was to create an image similar to my reference. So I placed several camera in the same direction as my reference photography, and here the one I have chosen.
Click on image to enlarge 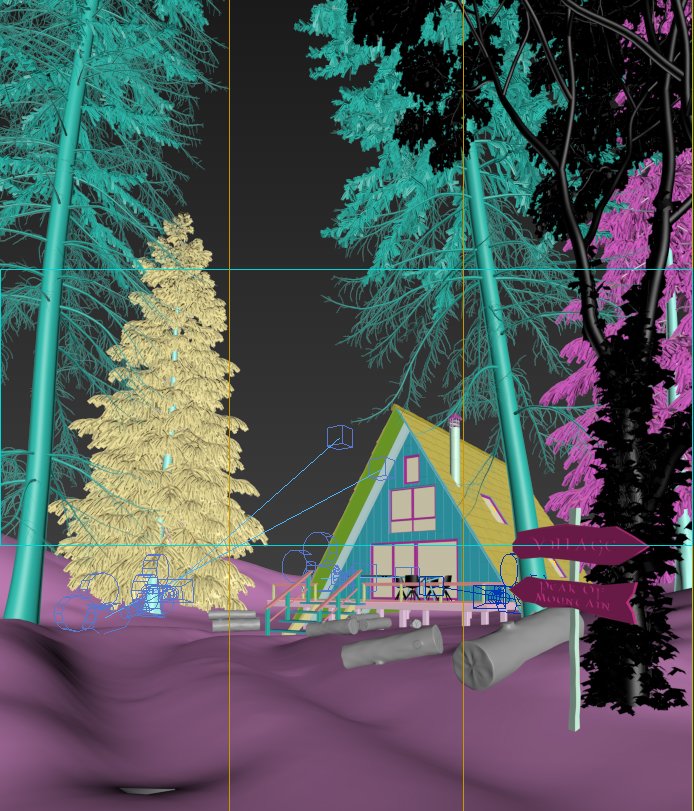
I also added some trees by hand in order to properly control my composition.
Click on image to enlarge 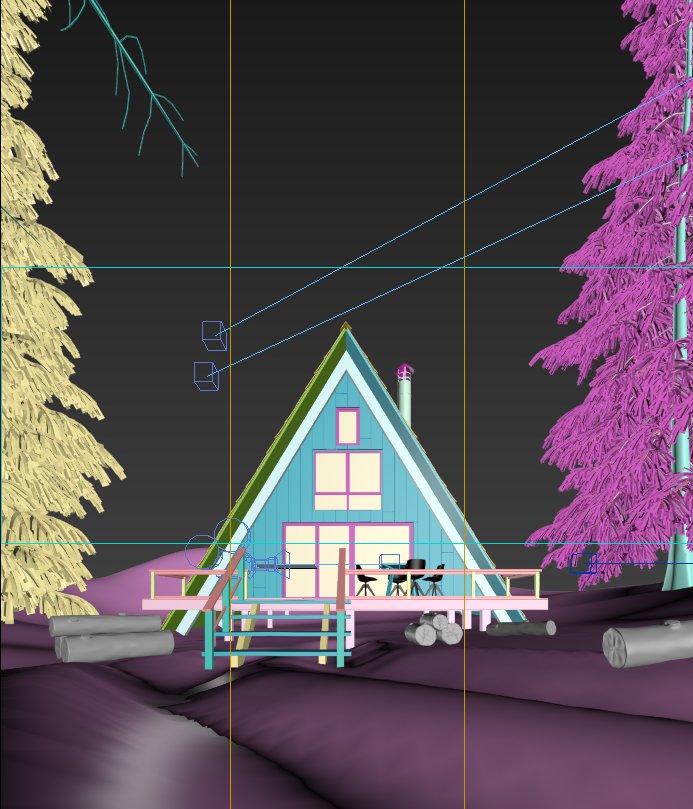
Then I had the urge to create a front camera for fun.
Vegetation, plants
Once the camera composition created, I could start placing all vegetation.
Click on image to enlarge 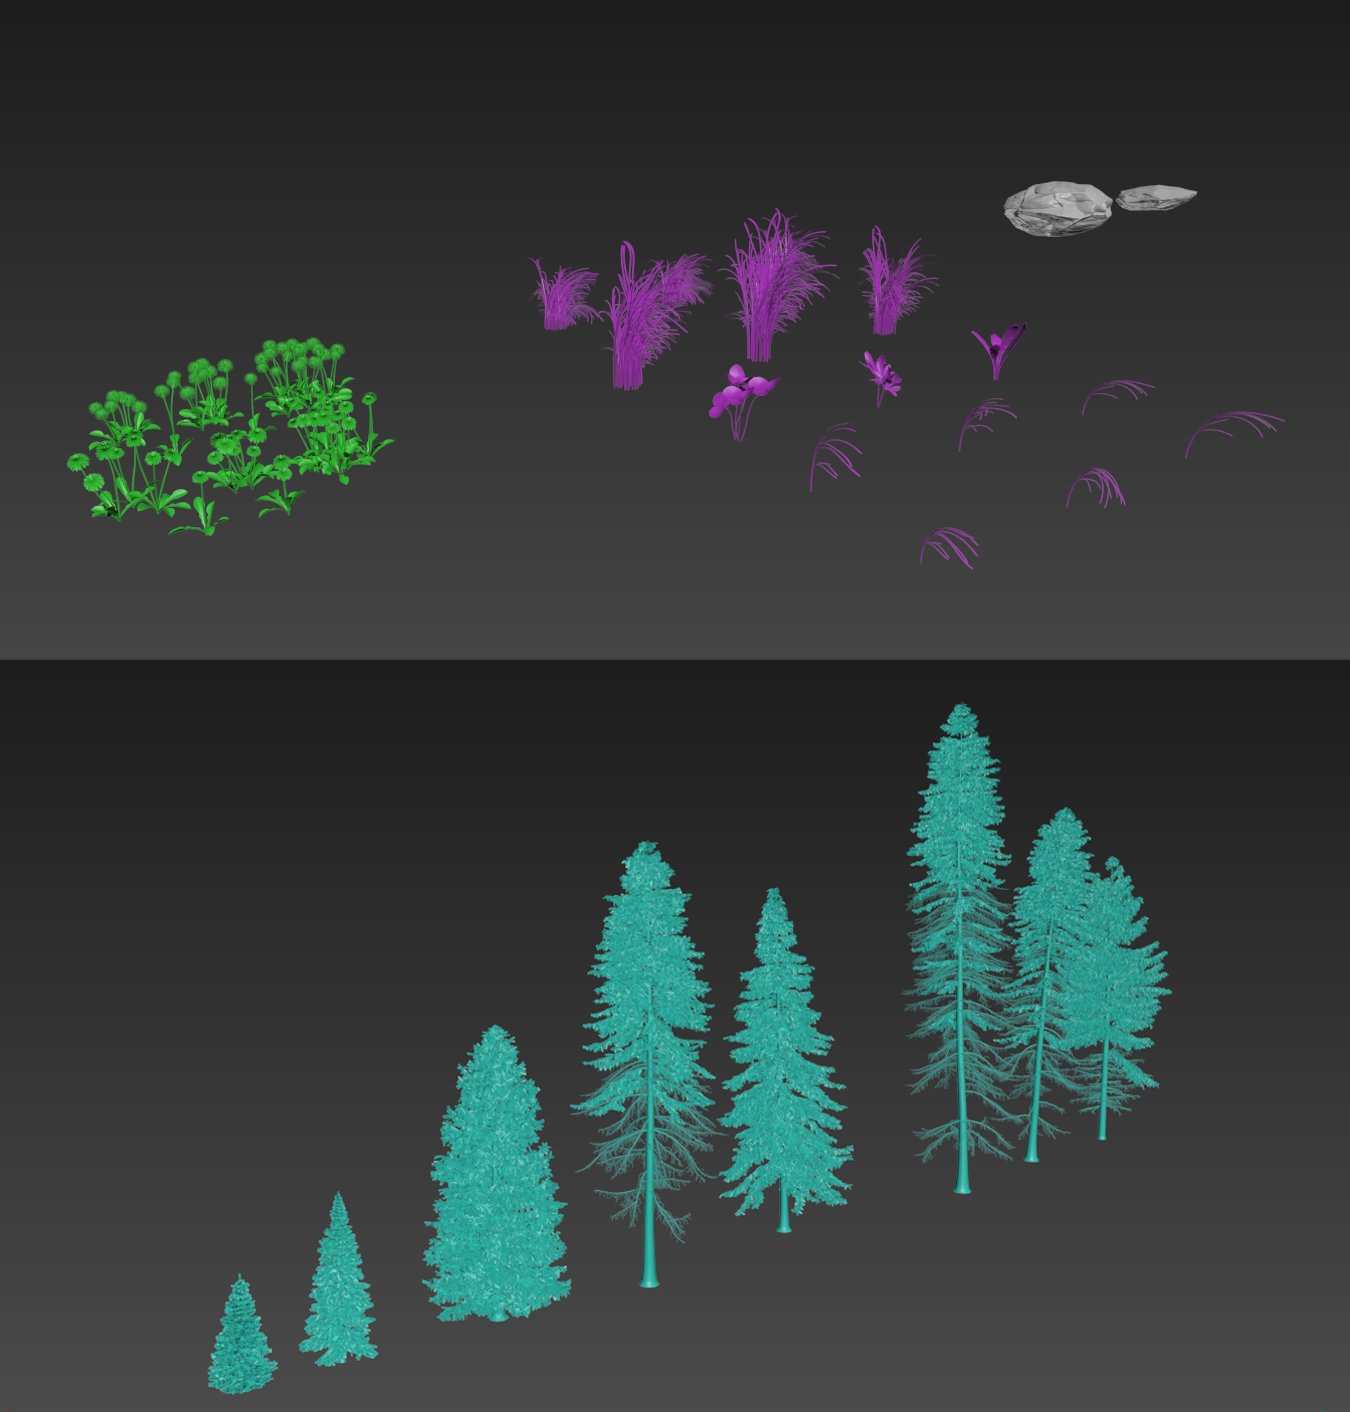
Click on image to enlarge 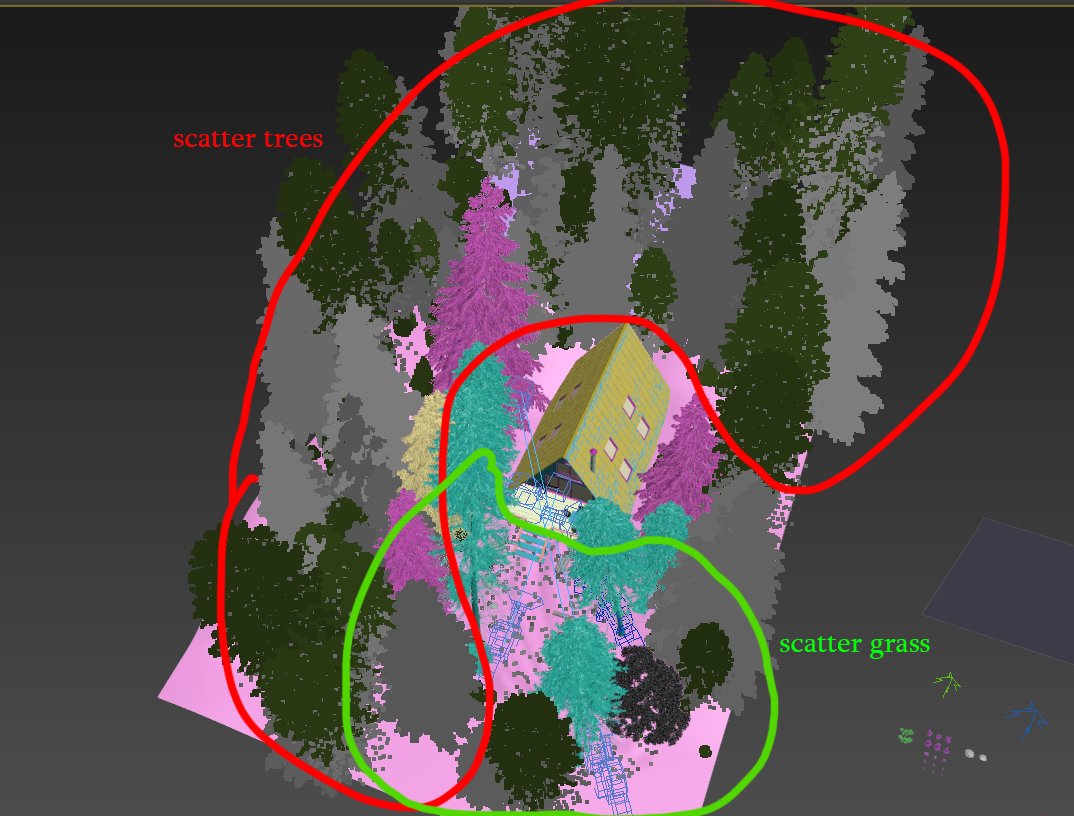
I put the grass on the area that I wanted with a multiscatter. No need to put everywhere, it will not show in the final image. Then another multiscatter for trees. Nothing complicated.
Click on image to enlarge 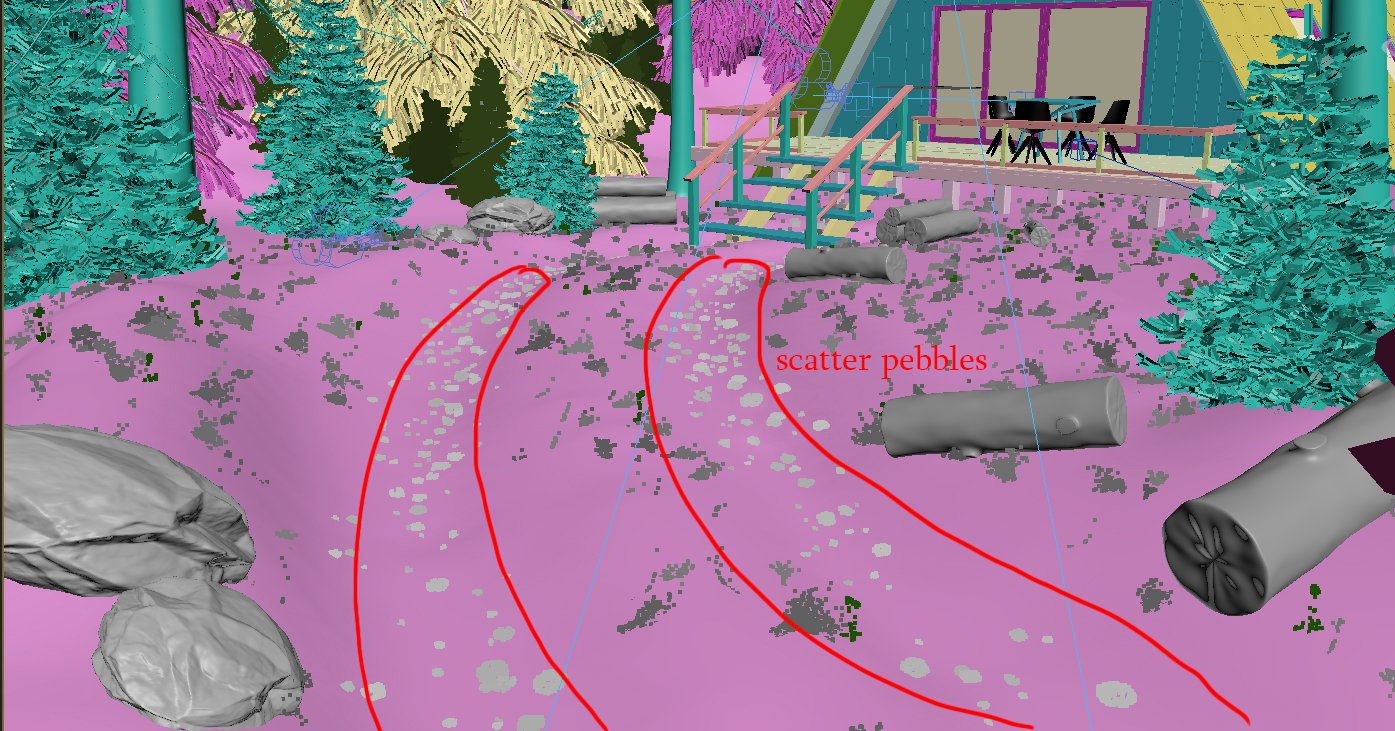
A final multiscatter to distribute few small pebbles in the way, modeled using the script "rock generator".
Day lighting
As I have said, the first goal was to create an image with a night atmosphere. But first I preferred to create a day lighting to properly control my material later, and then create a night lighting.
I think it is very important to first set a good lighting and then create the materials. Doing the opposite is a huge mistake in my opinion.
To summarize: day lighting with white material -> creation of materials -> Night lighting
Click on image to enlarge 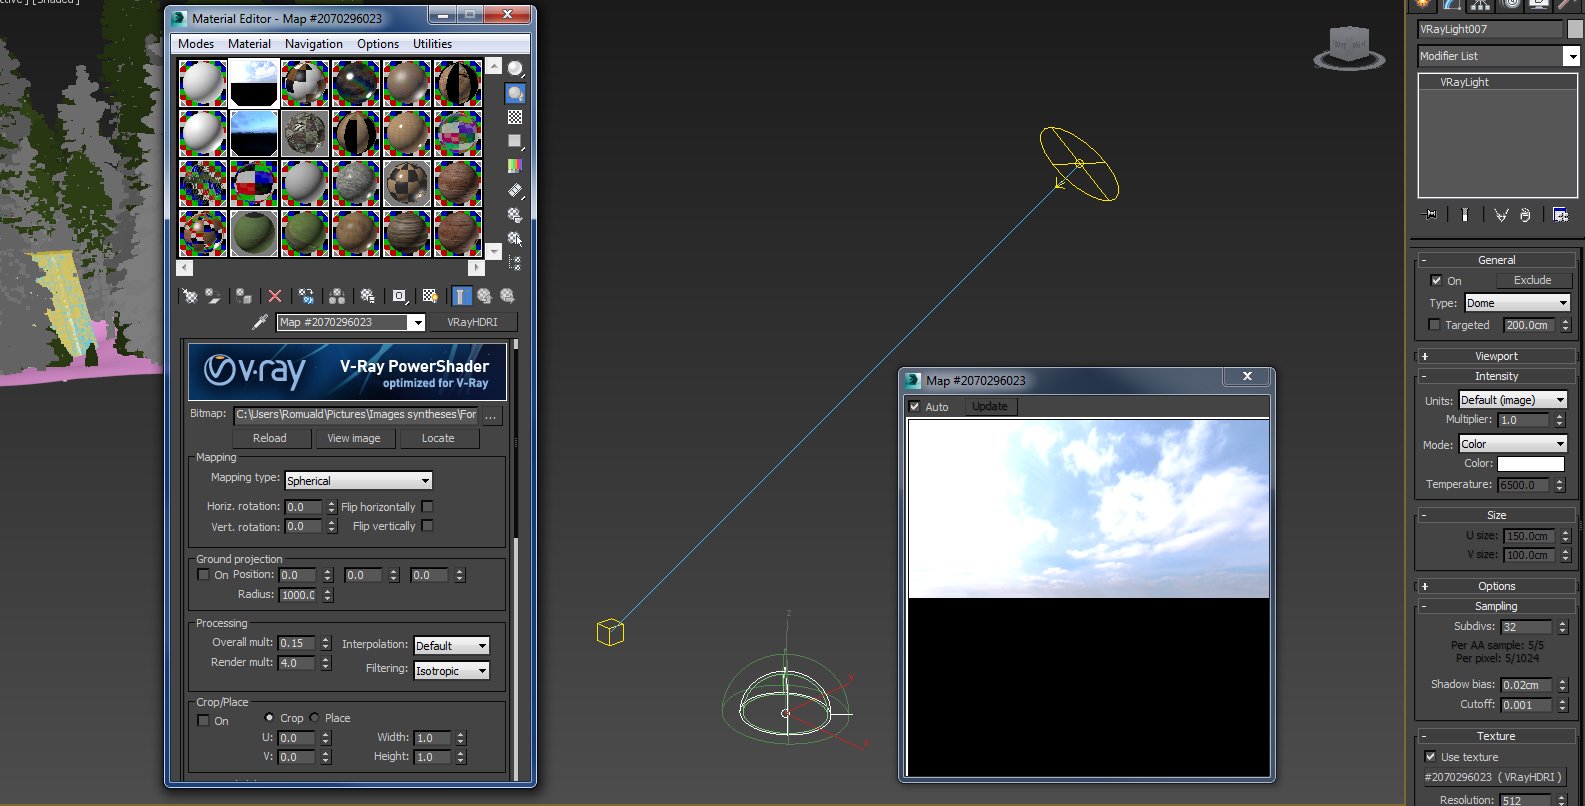
My lighting is very simple. This is a dome with a HDRI and a small light to accentuate the light and shadows.
Click on image to enlarge 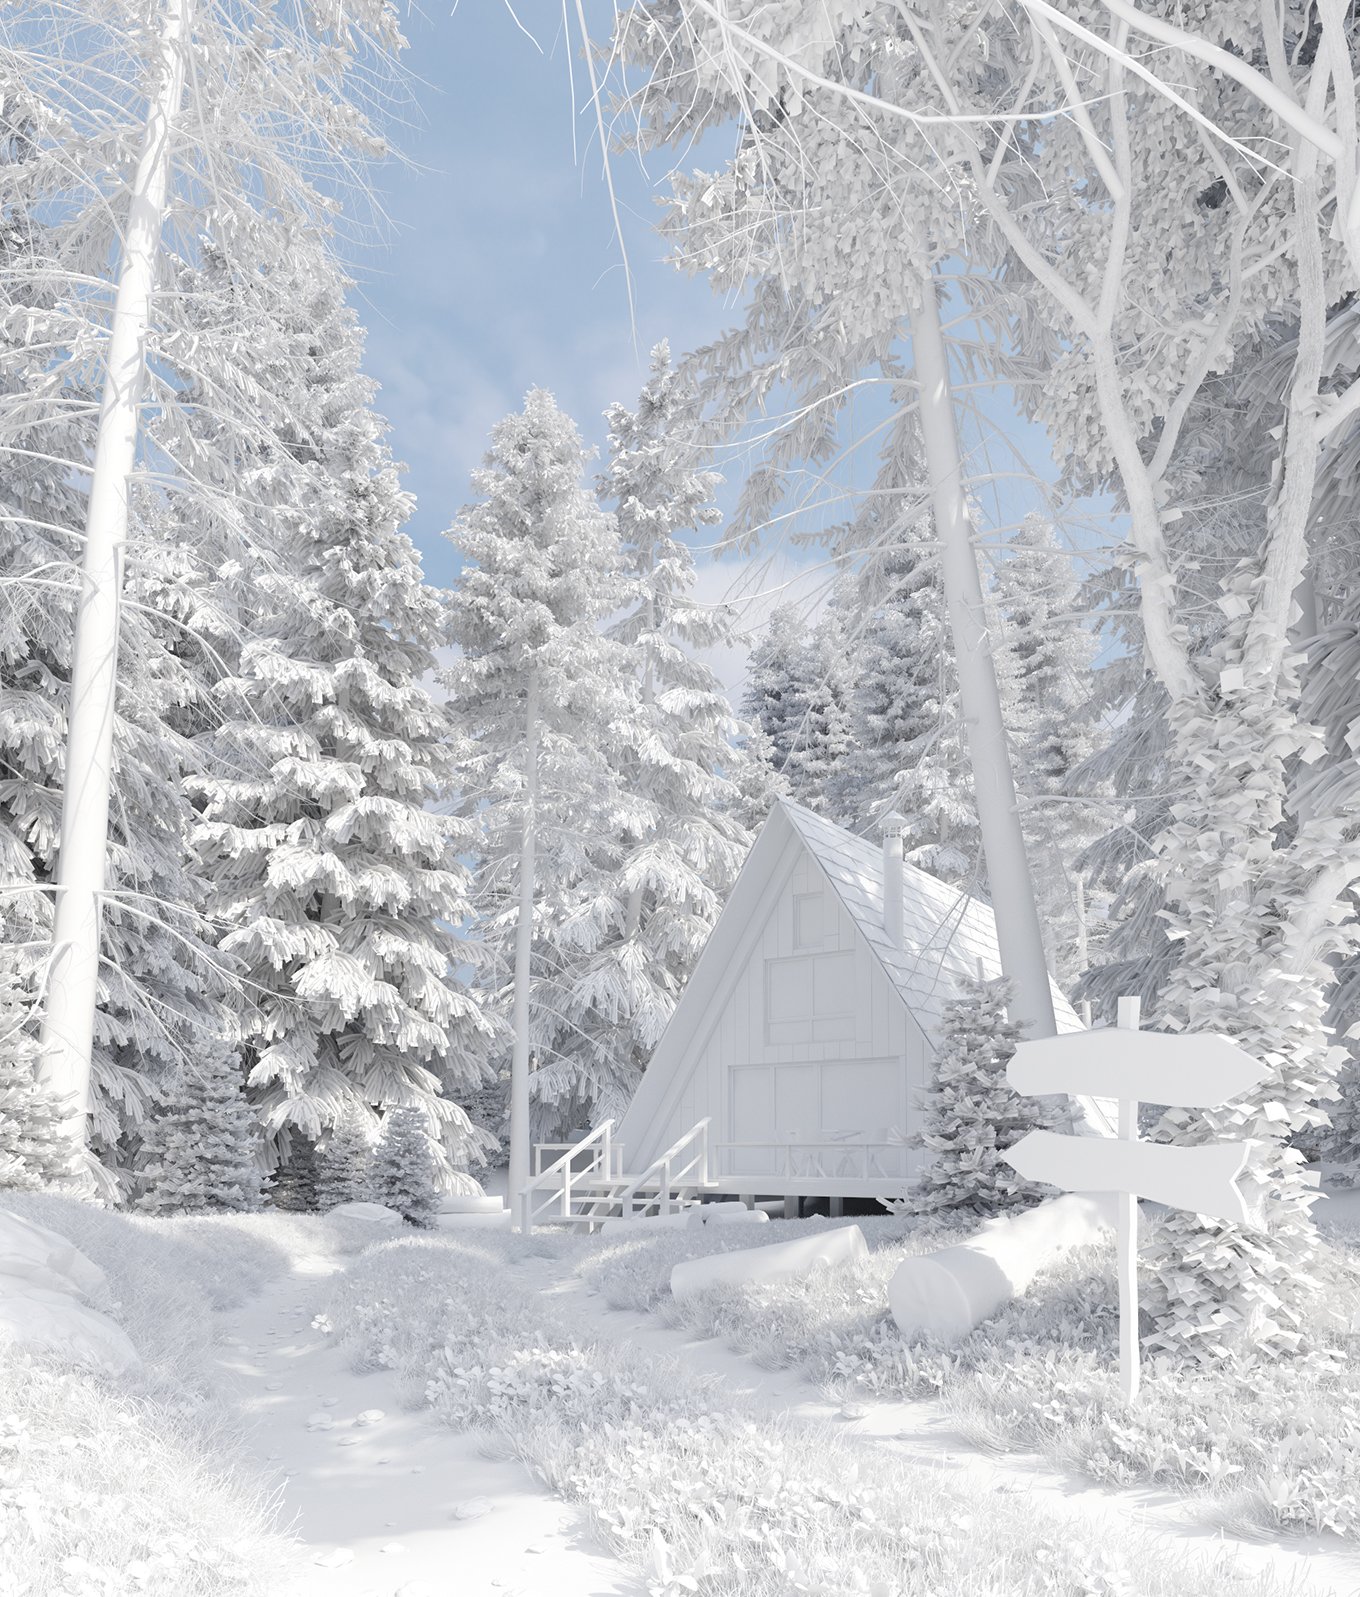
Materials
Click on image to enlarge 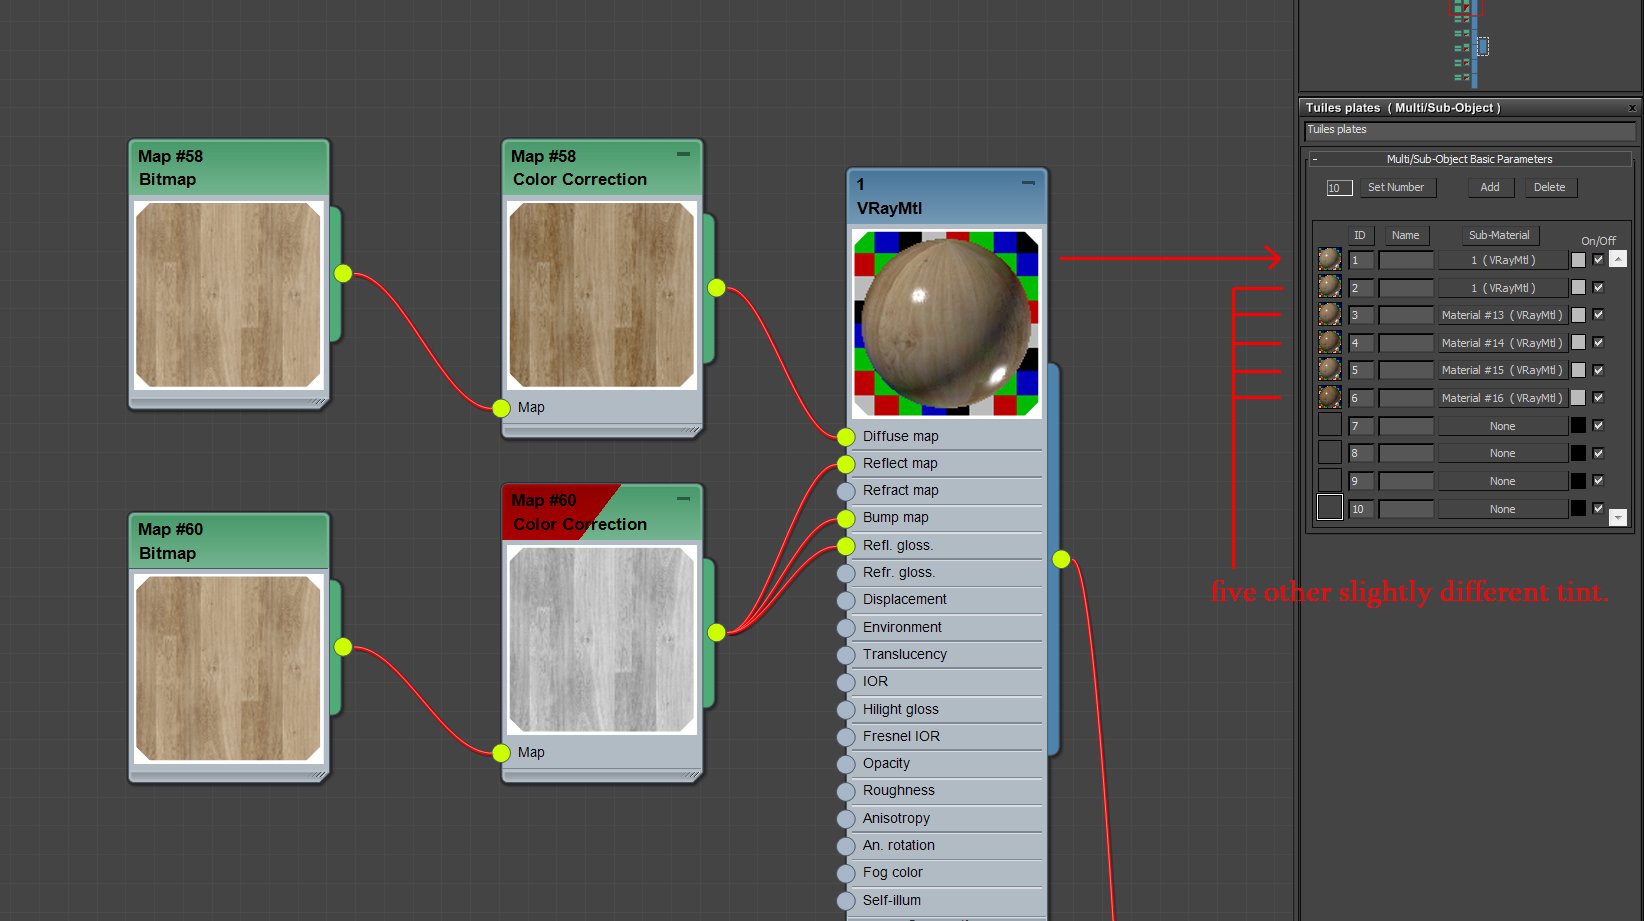
Here's my wooden tile material.
Click on image to enlarge 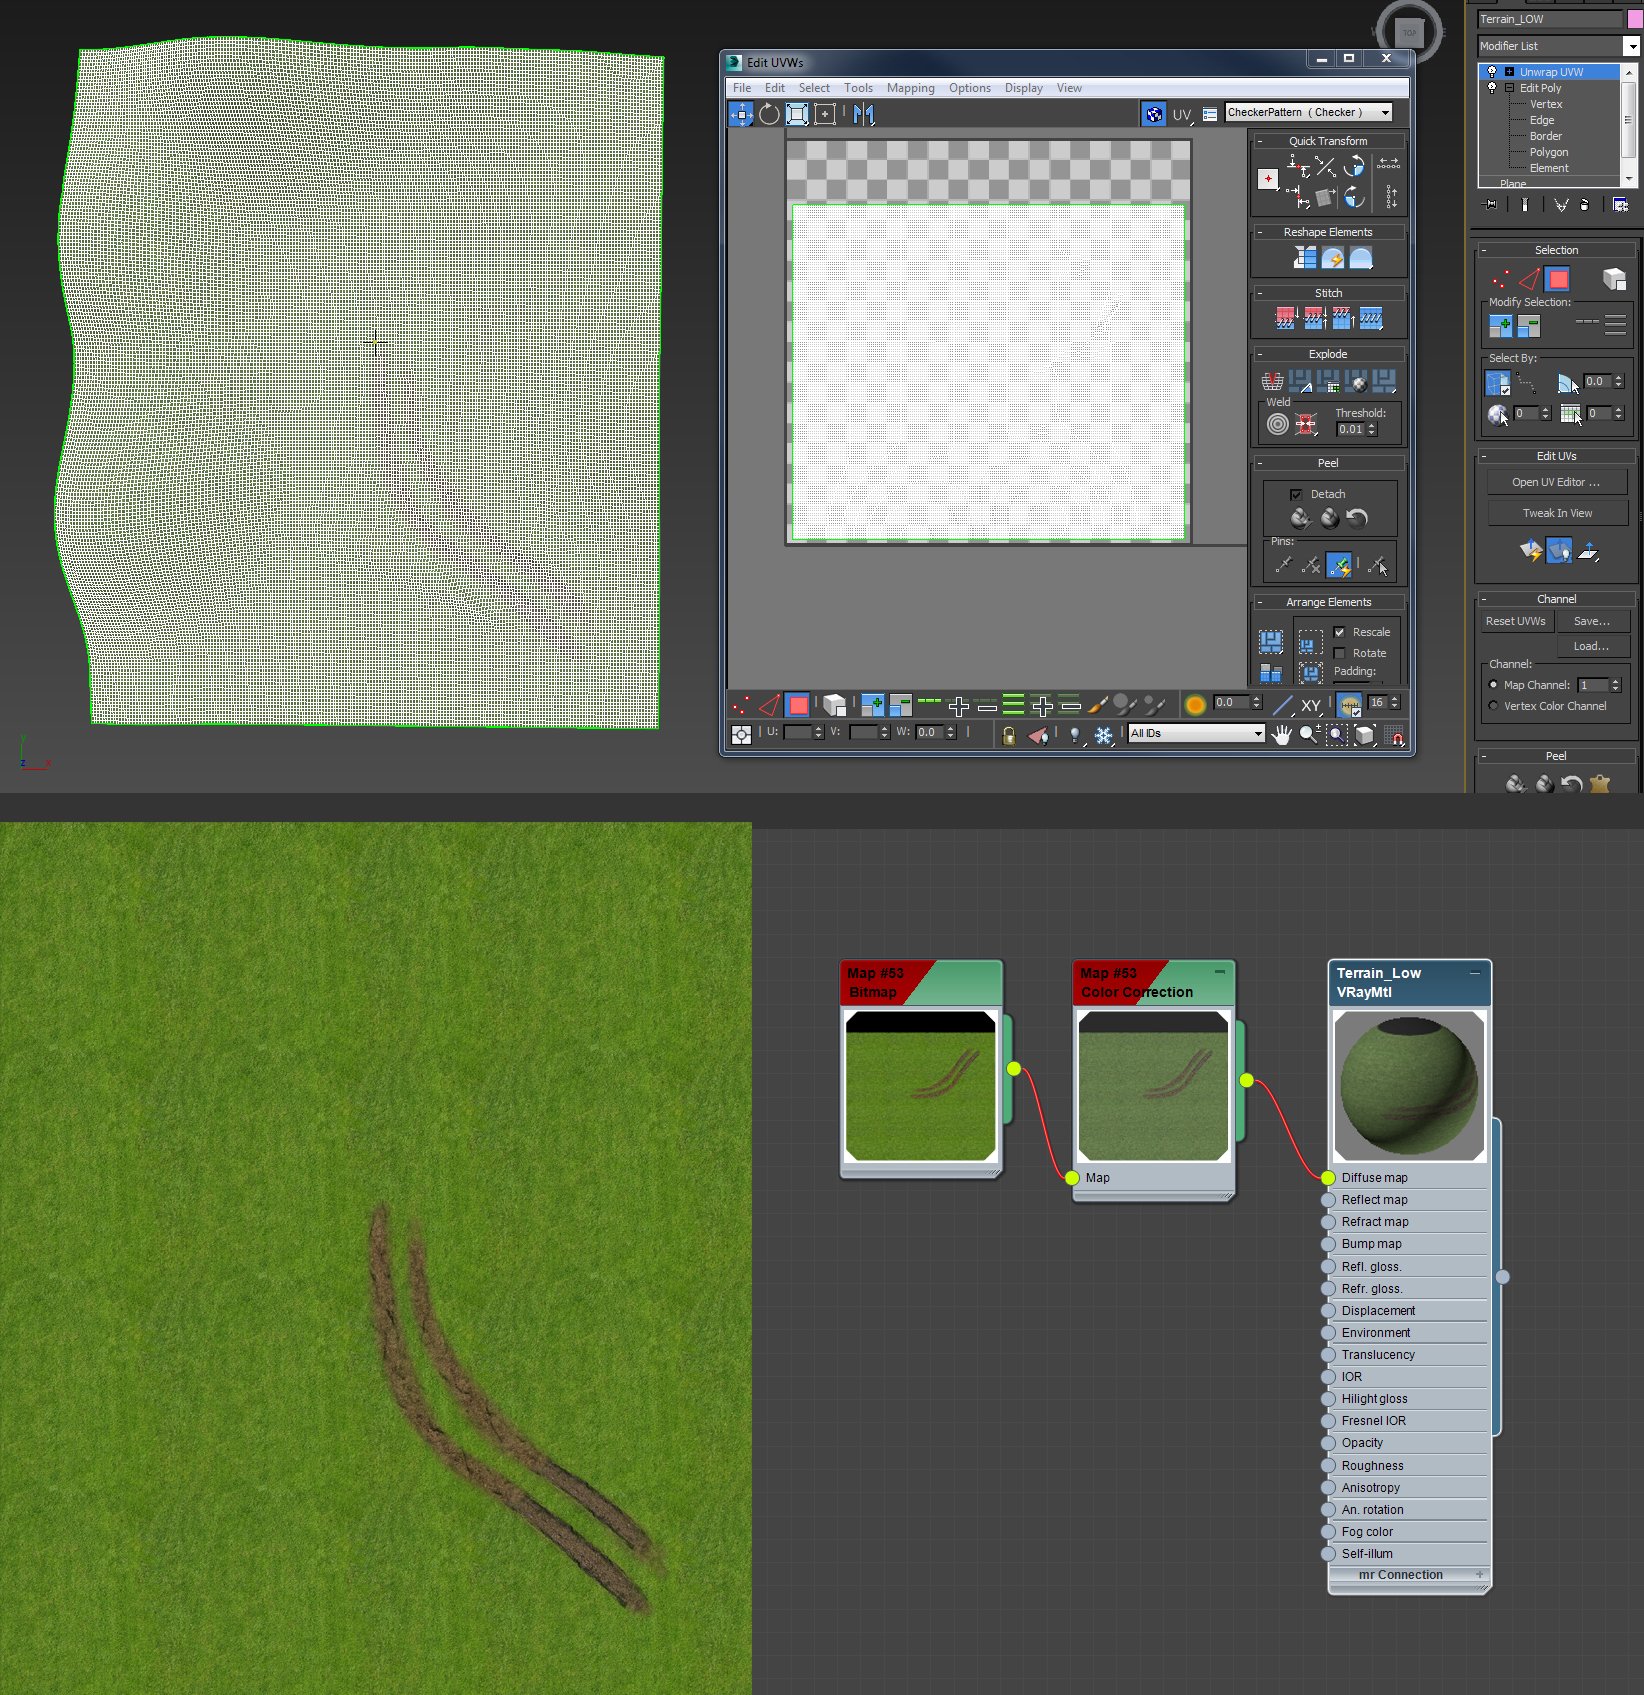
For the field, first I unfolded my object to create a diffuse map.
Click on image to enlarge 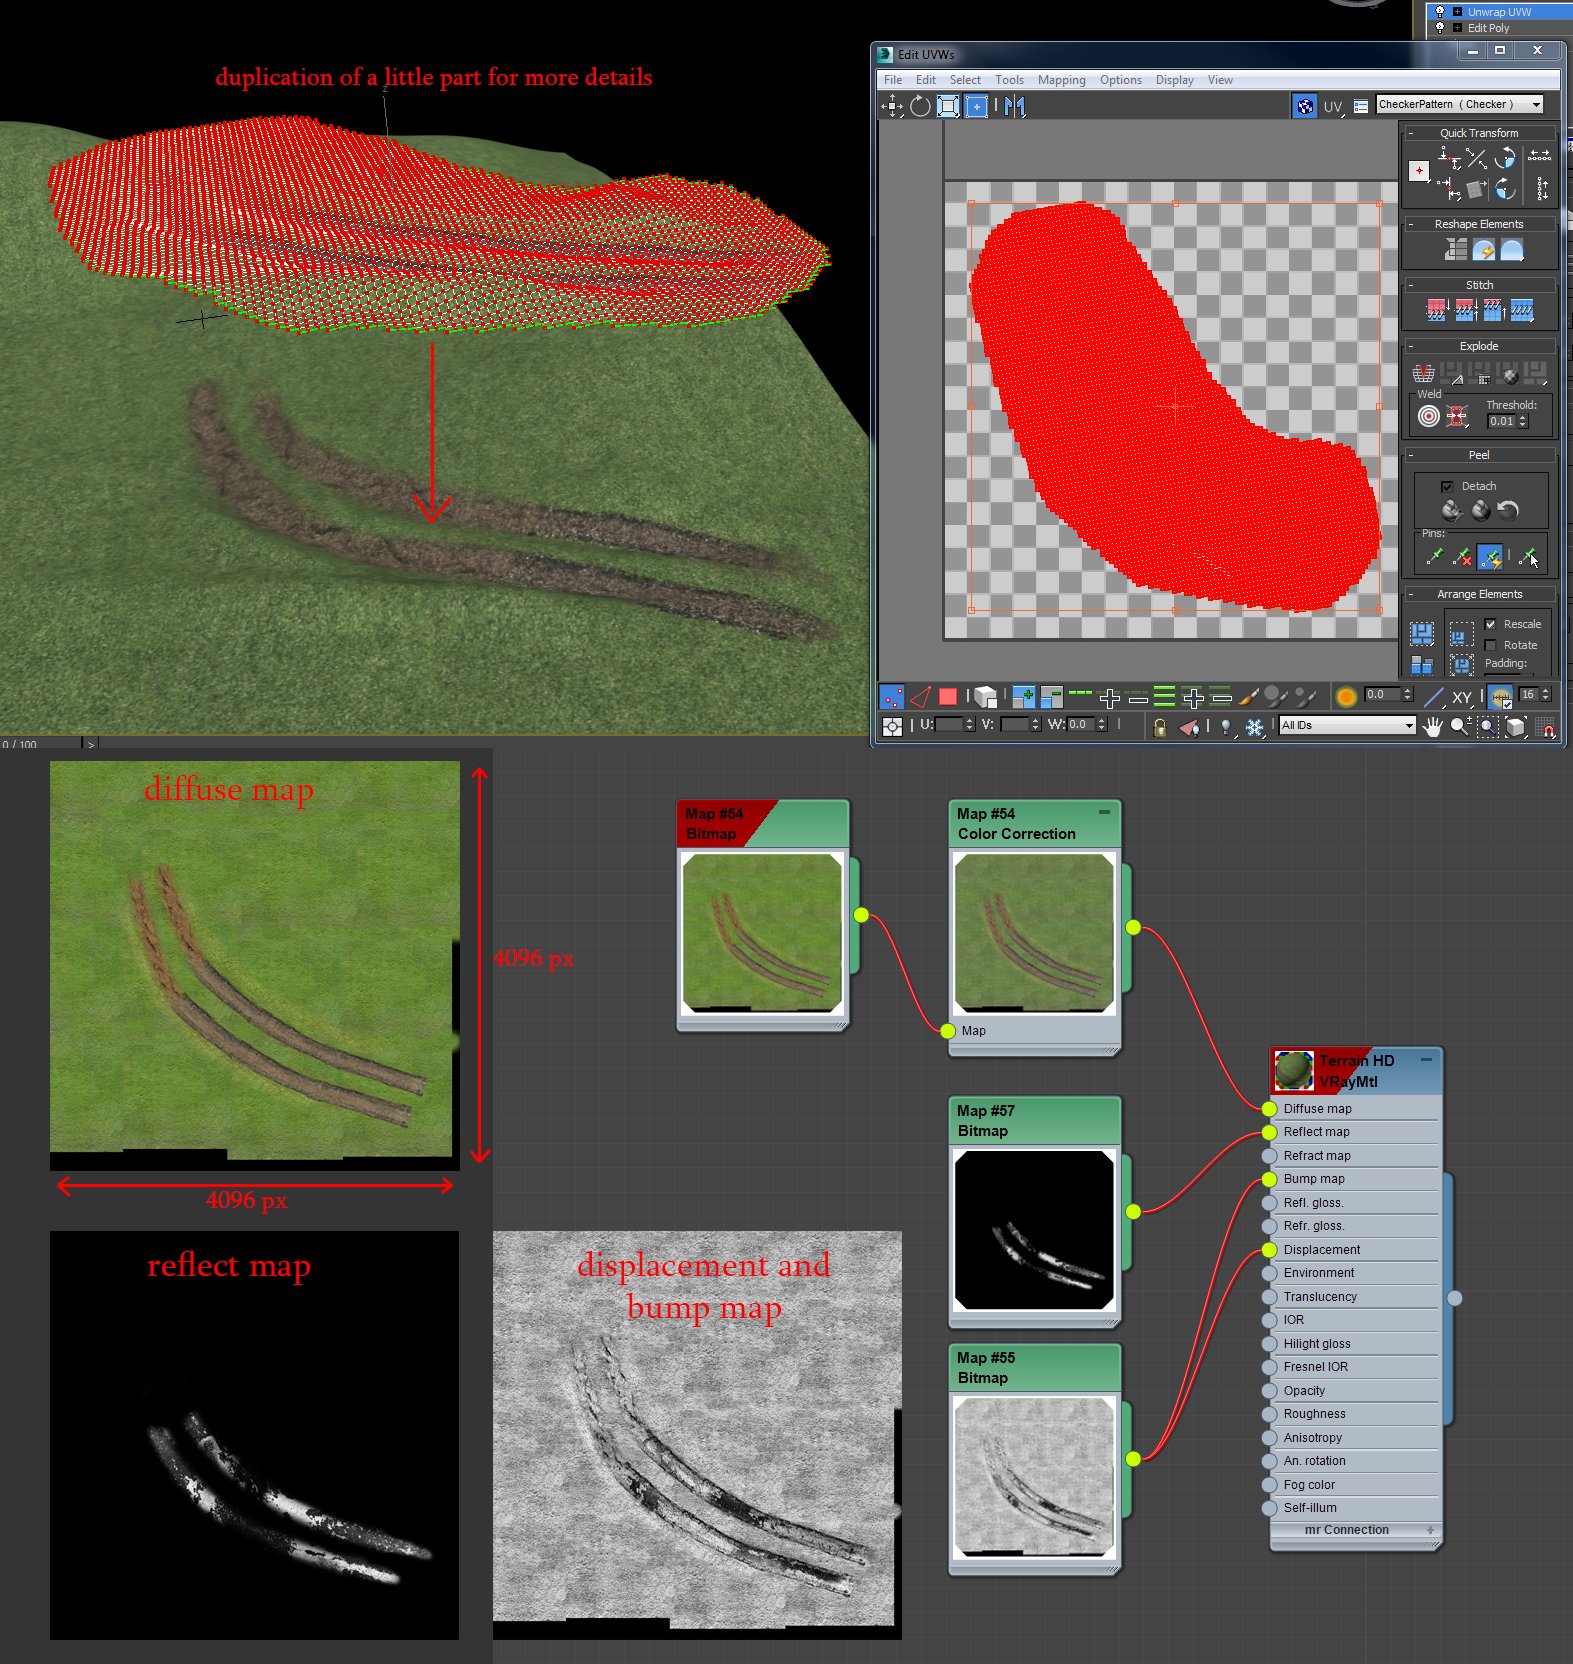
But to have more details on the path, I duplicated a part of the object to add a more detailed map. I also created a reflection map to add a puddle effect. I thought it added details on the night view.
Night lighting
Click on image to enlarge 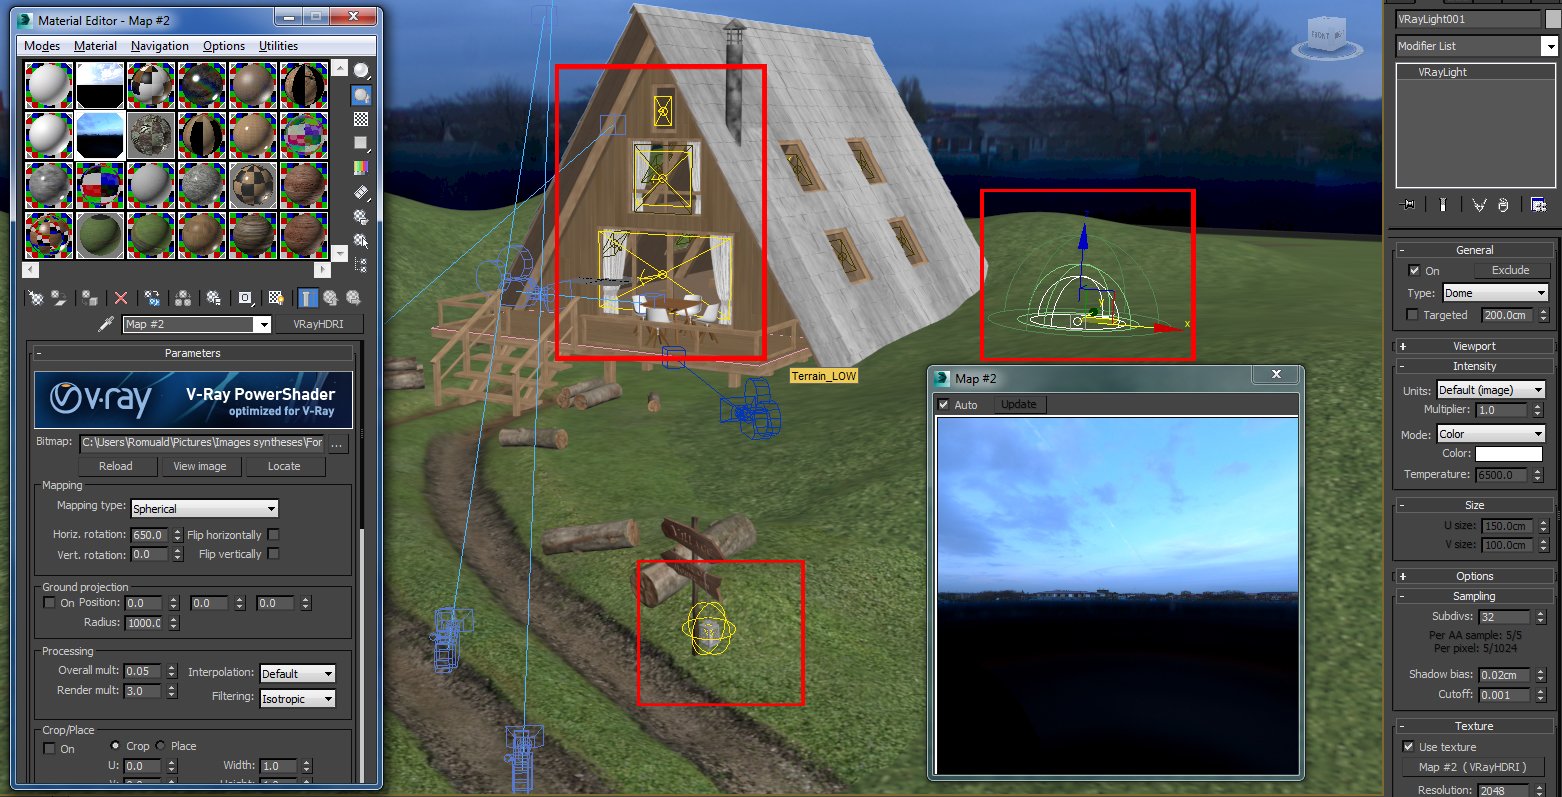
For night lighting, it is a dome with HDRI and some light to the interior of the hut and on the lantern. The goal was to create a hot / cold contrast between the blue of the night and the orange of the interior of the hut.
Postproduction
Click on image to enlarge 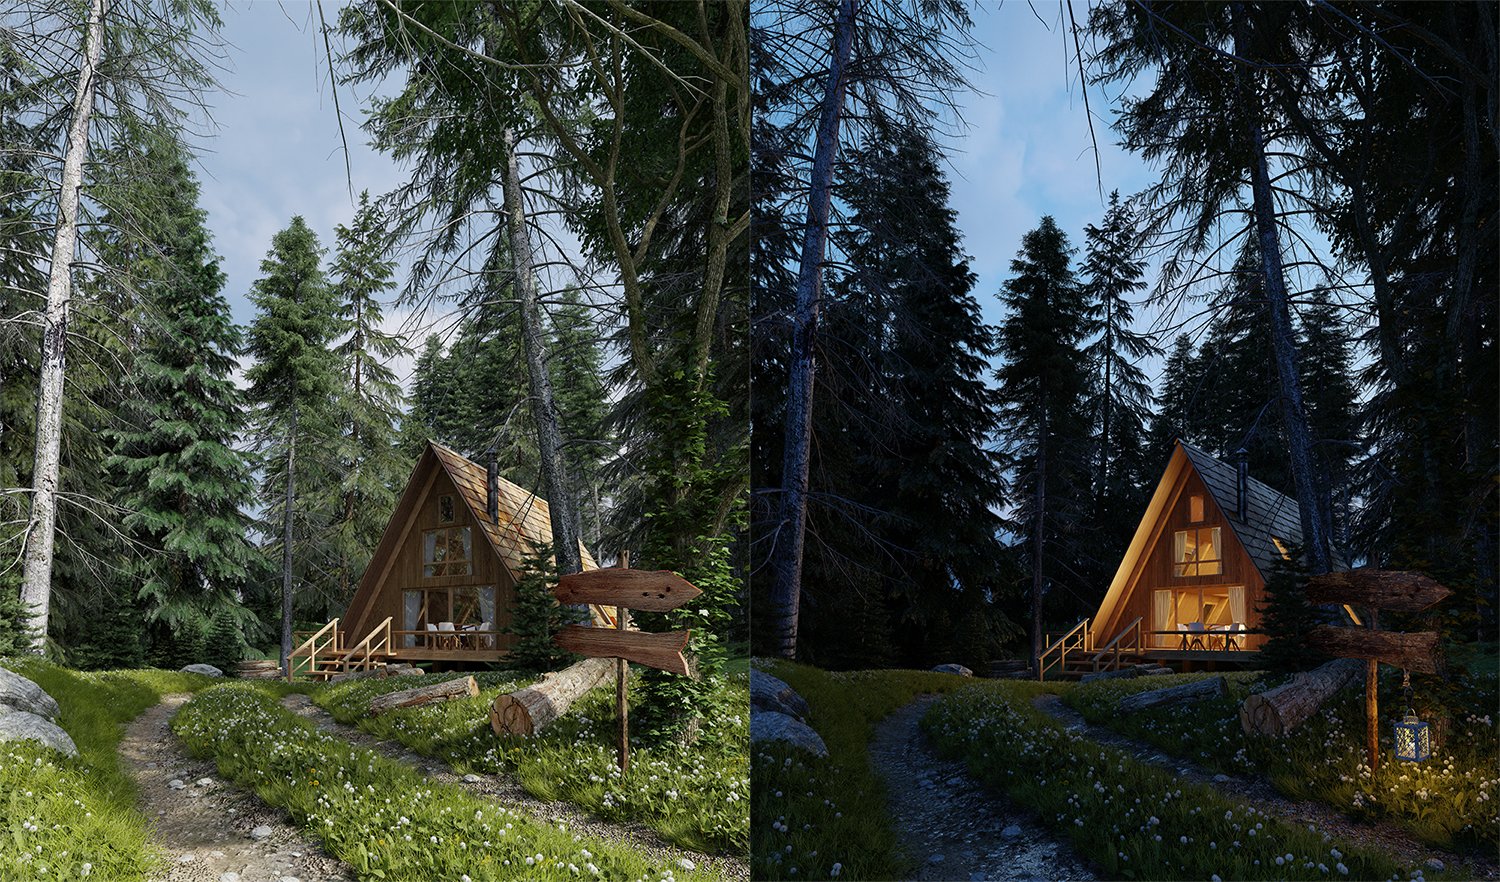
To start, here are two raw renders.
Click on image to enlarge 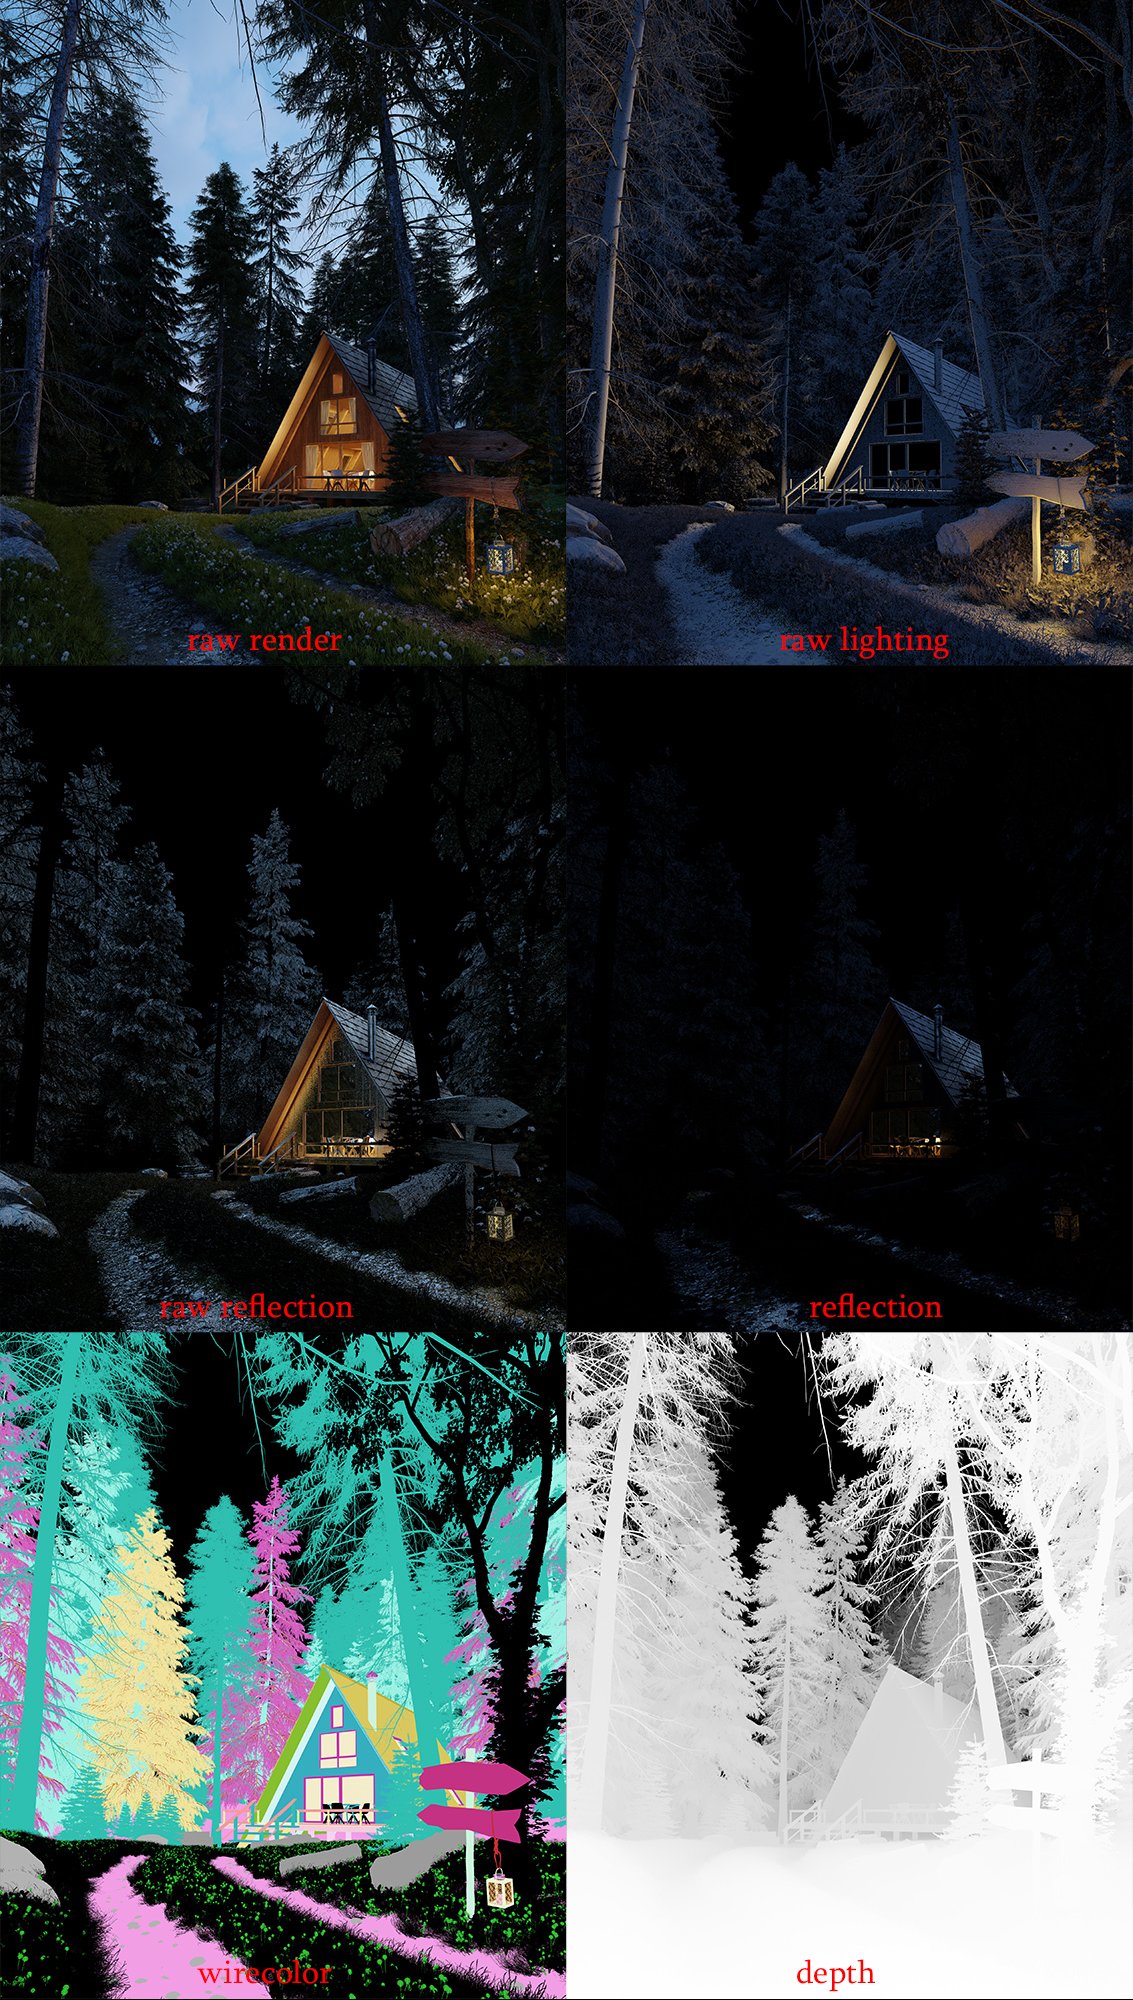
We will take as example the night view. Here are the pass which I used.
Click on image to enlarge 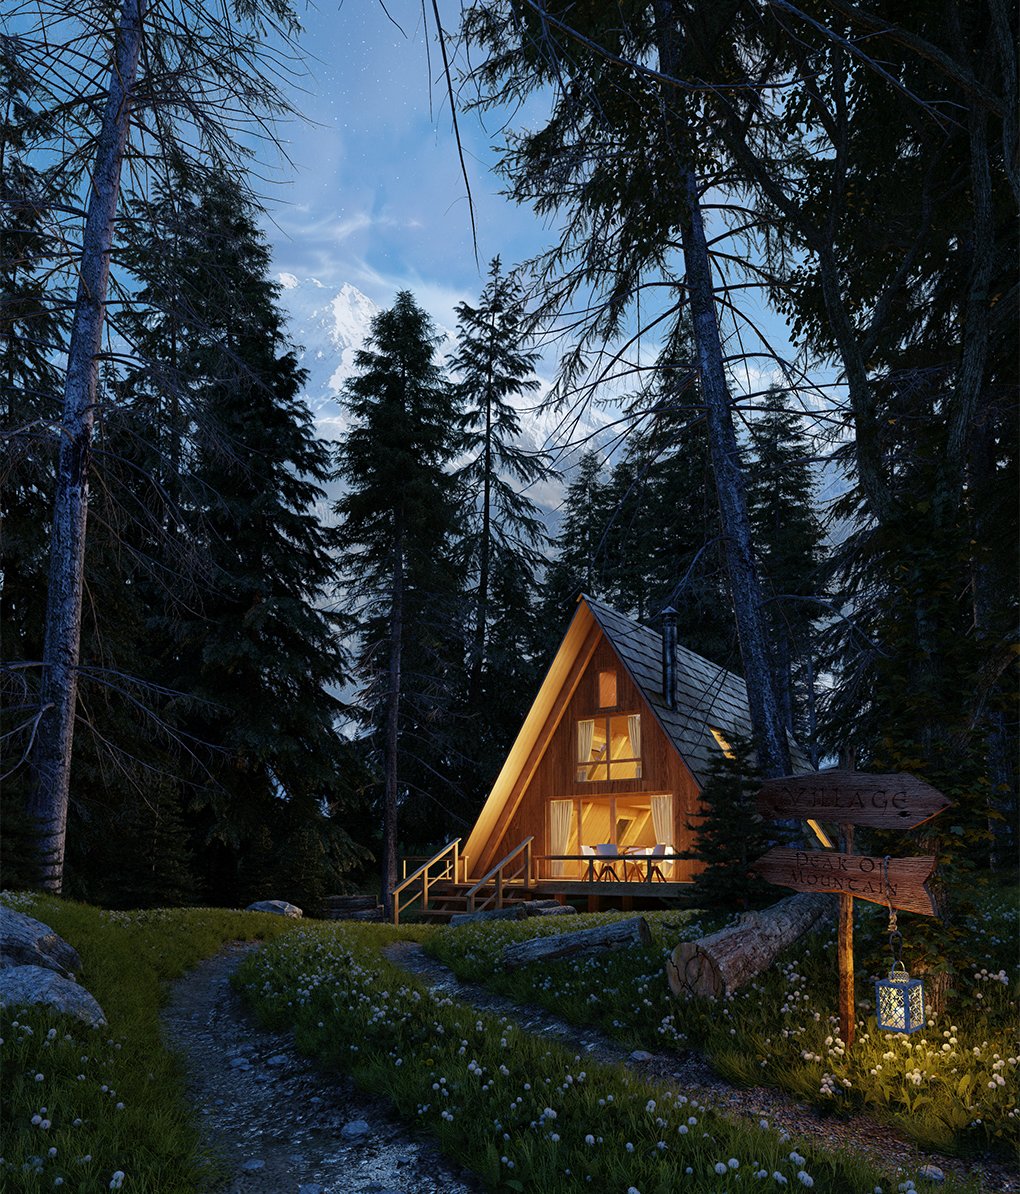
I started to working the background and the sky.
Click on image to enlarge 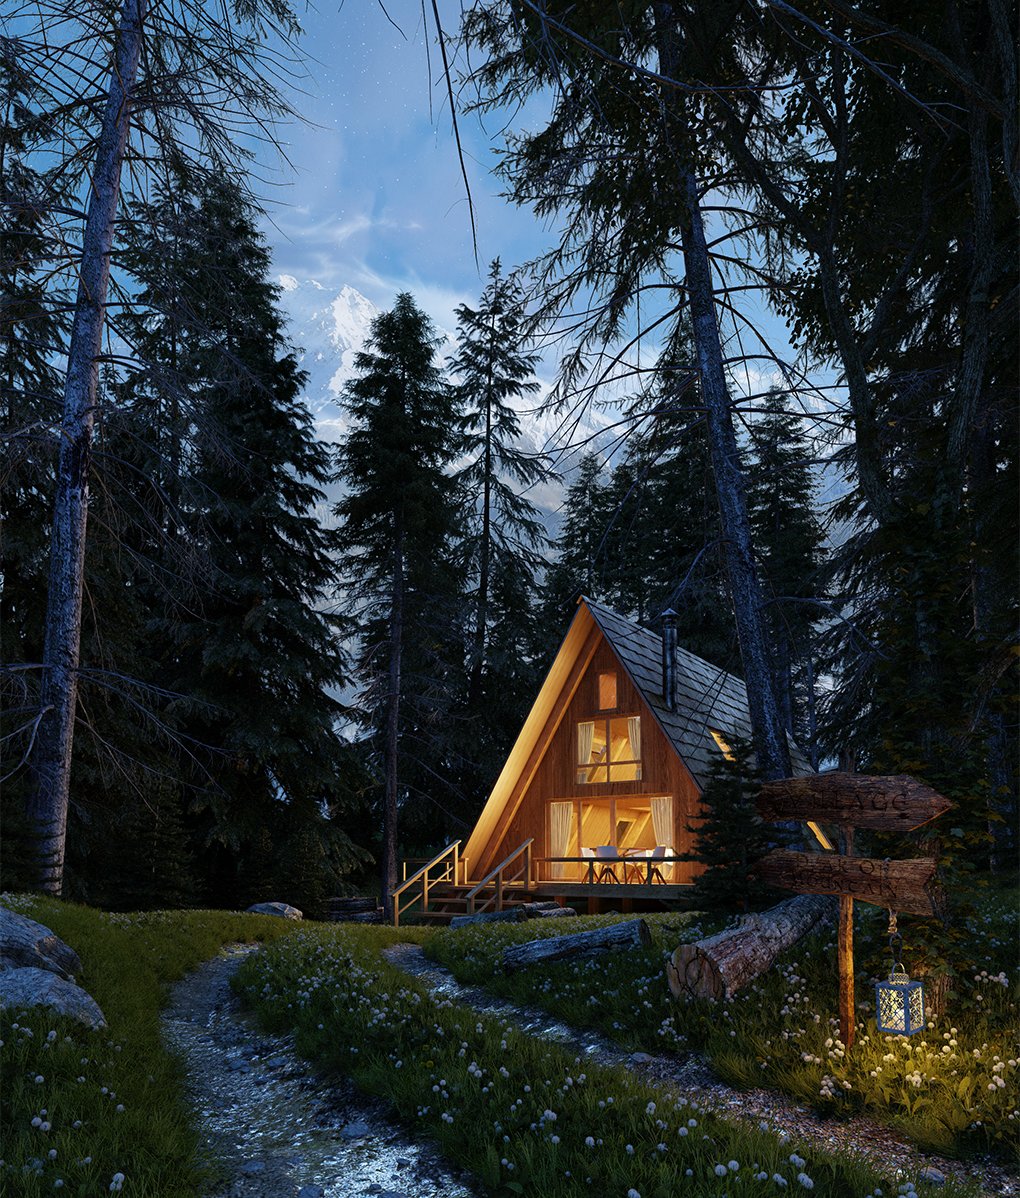
Then added few reflection on some elements of the image.
Click on image to enlarge 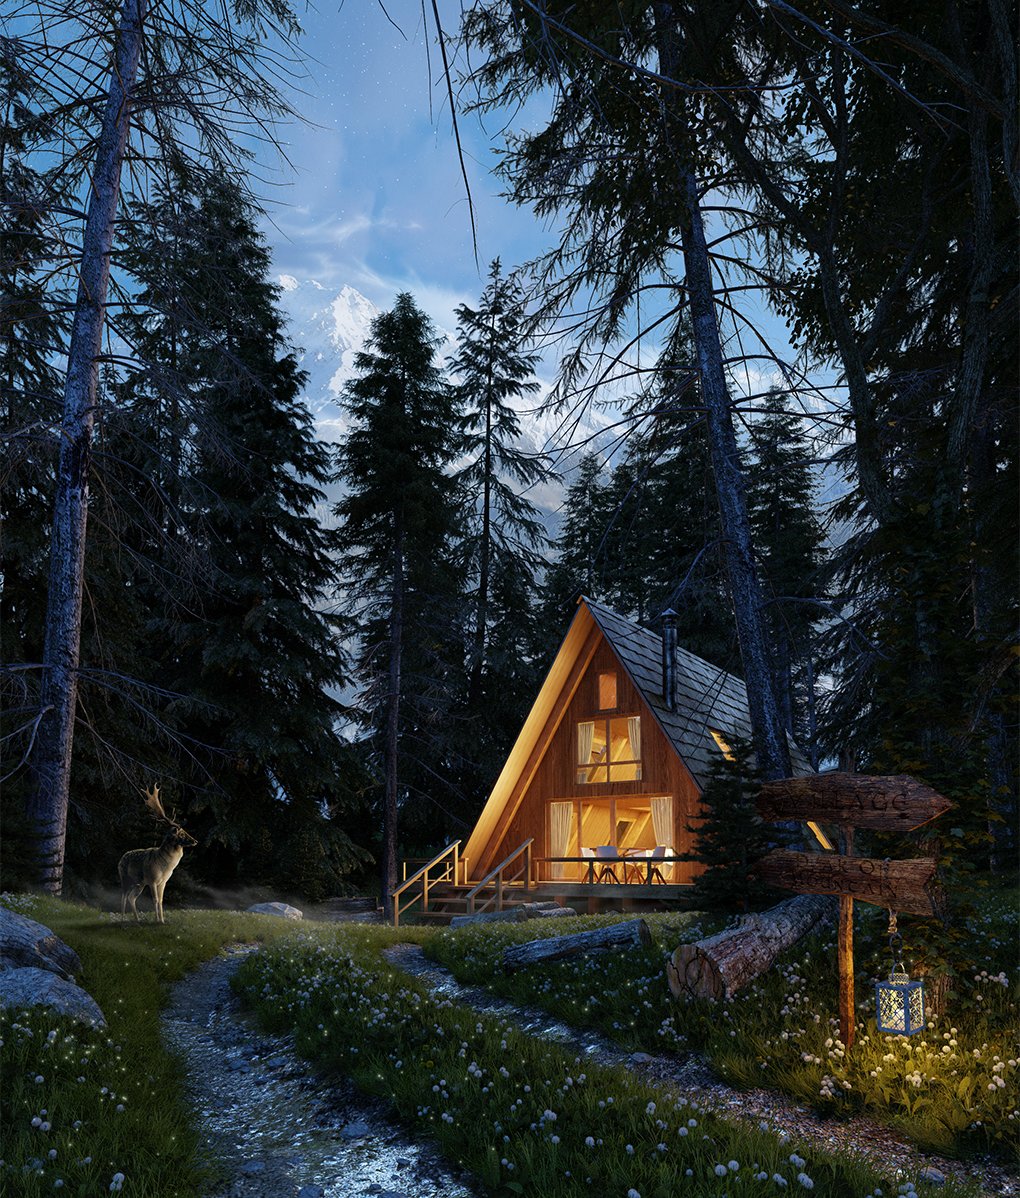
Adding animals, fireflies and mists.
Click on image to enlarge 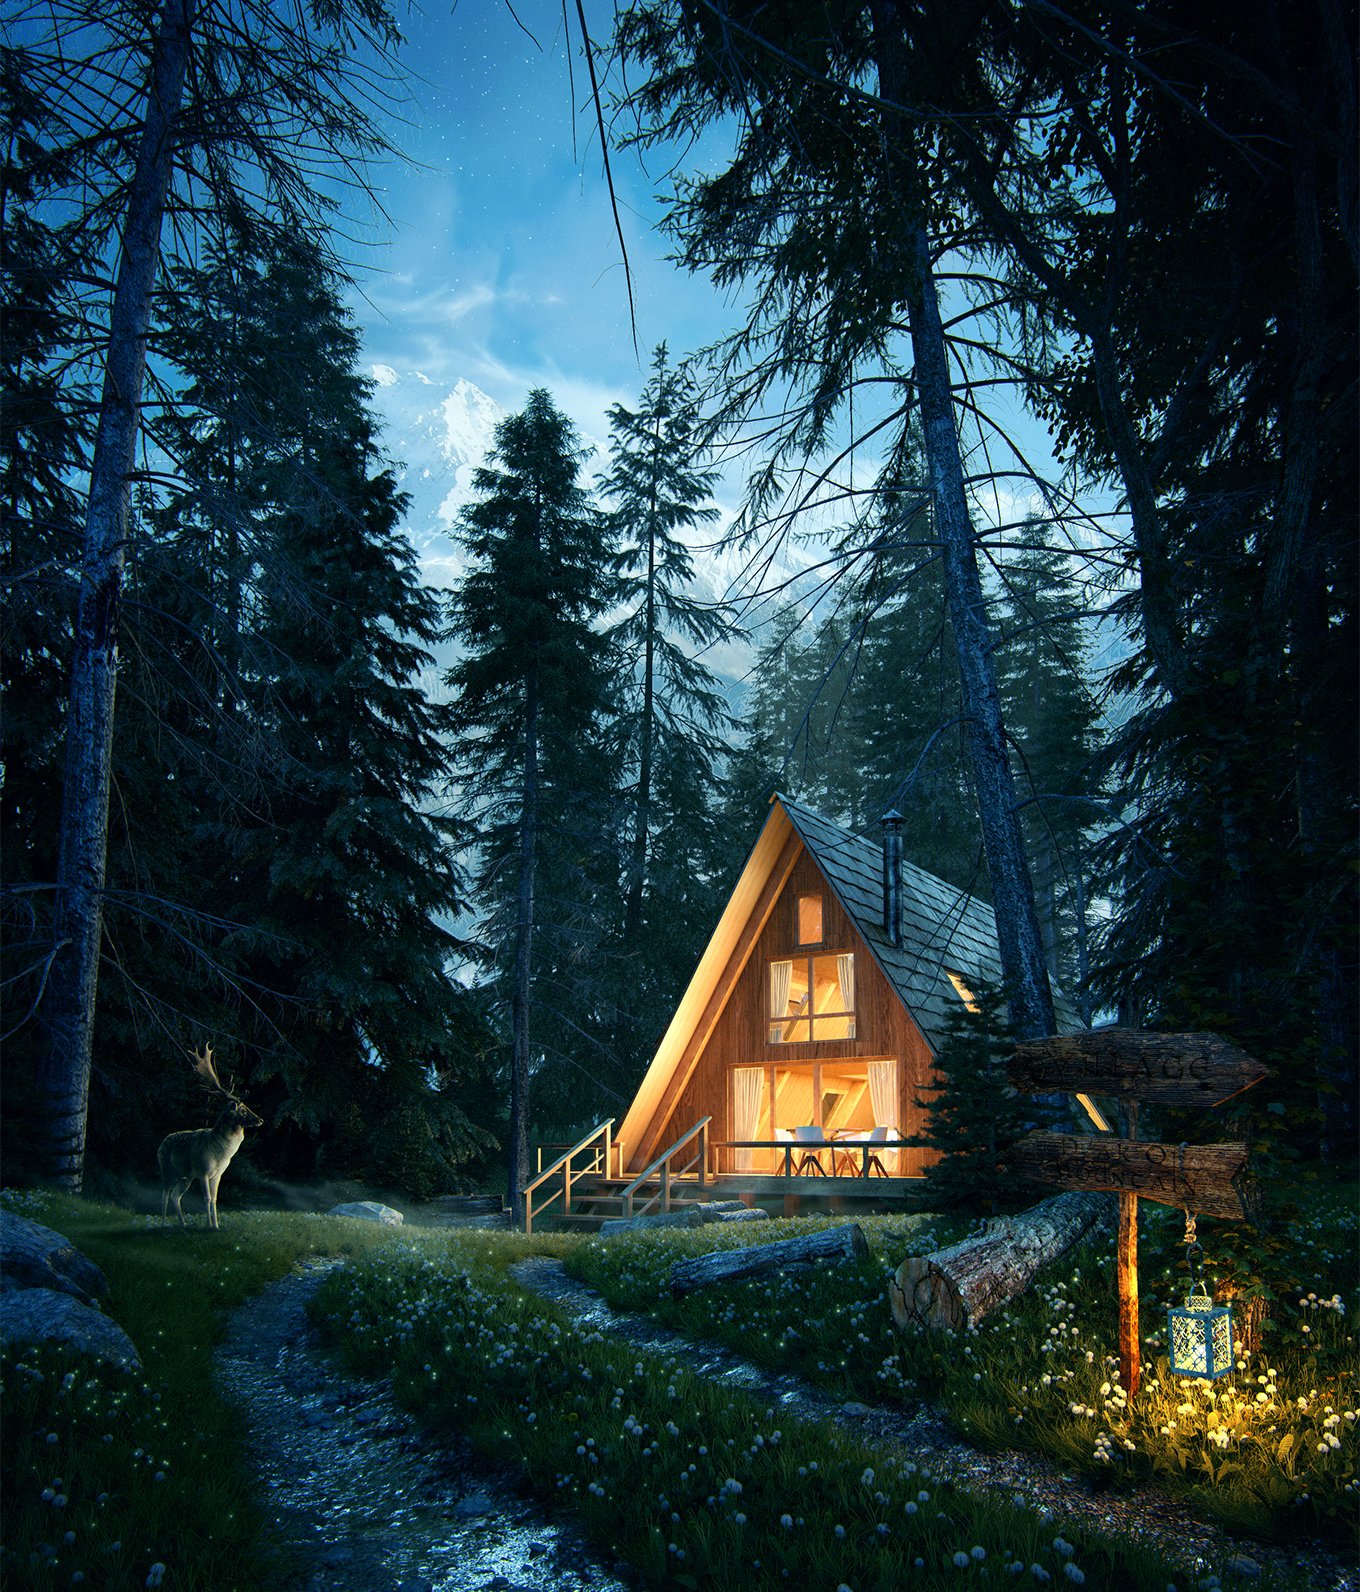
Finally, color retouching, adding depth and mist with pass depth and accentuation of lights.
Thank you all for reading these few lines. I hope this has helped you or simply inspired. Thank you again to Evermotion for giving me the chance to share this work, thank to the community, and all those who support me.
Customer zone
Your special offers
Your orders
Edit account
Add project
Liked projects
View your artist profile


COMMENTS