This exterior scene was made by Marcin Białecki from Evermotion. It was set in 3ds Max and rendered in V-Ray.
You can:
Click on image to enlarge
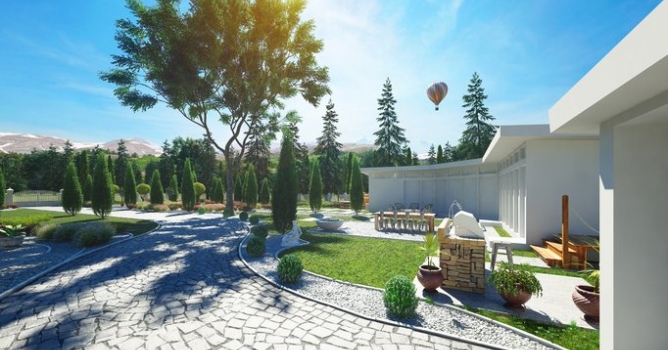
This if the final scene after post-production, as seen by the camera 1. All elements, except distant mountains and sky are 3d models.
Click on image to enlarge 
Camera 1 - wireframe view.
Click on image to enlarge 
Final scene after post-production - camera 2, placed on the left of the scene..
Click on image to enlarge 
Camera 2 - wireframe view.
Click on image to enlarge 
Final image after post-production - camera 3 is looking towards the driveway to the garage.
Click on image to enlarge 
View from camera 3 - wireframe.
Click on image to enlarge 
Camera 1 - view in 3ds Max viewport with material / object color on. There are many proxies in this scene - mainly foliage - trees, plants, clover leaves and grass.
Click on image to enlarge 
Overview of the scene. we placed two templates in the scene - main building and garage. It's a luxury estate, so we have nice fence and gate, many stone paths, a driveway and some decorative elements.
Click on image to enlarge 
Top view of the scene. You can see three cameras (Vray physical cameras) that are used in this exterior scene. The most top is camera 3, on the right of it is camera 1 and on the bottom we have camera 2.
Click on image to enlarge 
Camera 1 settings.
Click on image to enlarge 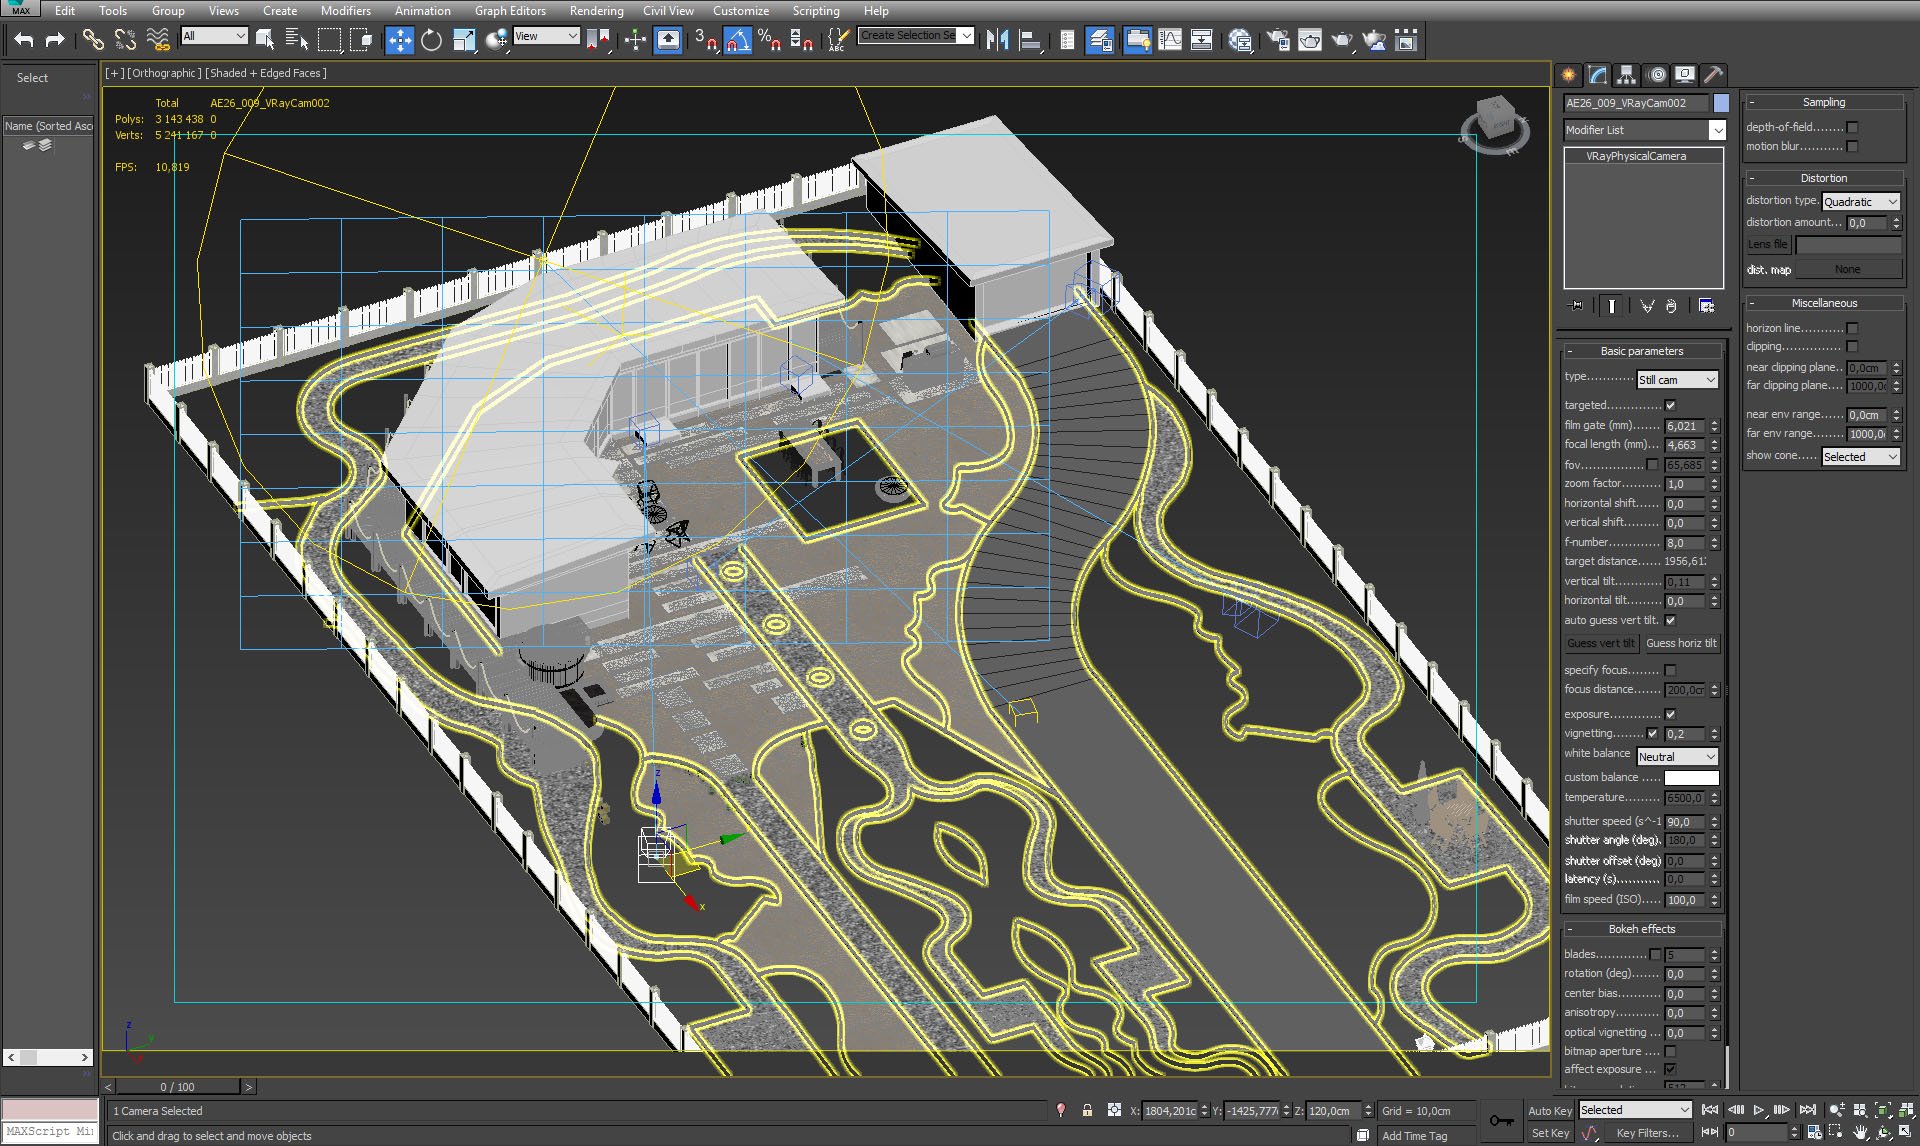
Camera 2 settings.
Click on image to enlarge 
Camera 3 settings.
Click on image to enlarge 
VraySun is the main light source in this scene. There is also VraySky and a dome with VrayLight material.
Click on image to enlarge 
We placed VrayPlane to make infinite ground to avoid artifacts.
Click on image to enlarge 
A dome over the scene with environment map.
Click on image to enlarge 
Dome material - VrayLightMaterial with sky and distant mountains bitmap is assigned to a dome.
Click on image to enlarge 
A sneak peek under the dome, you can see how big it is compared to a scene (the whole estate is the small spot with blue vray cameras)
Click on image to enlarge 
A stone fence is surrounding the estate.
Click on image to enlarge 
Fence mesh.
Click on image to enlarge 
Fence material.
Click on image to enlarge 
Click on image to enlarge 
Driveway material.
Click on image to enlarge 
There are also smaller stone paths.
Click on image to enlarge
Stone paths - isometric view / isolated.
Click on image to enlarge 
Stone paths - material.
Click on image to enlarge 
We placed a wooden vat on the left of the main building, near wooden terrace.
Click on image to enlarge 
Click on image to enlarge 
Wooden vat (material).
Click on image to enlarge 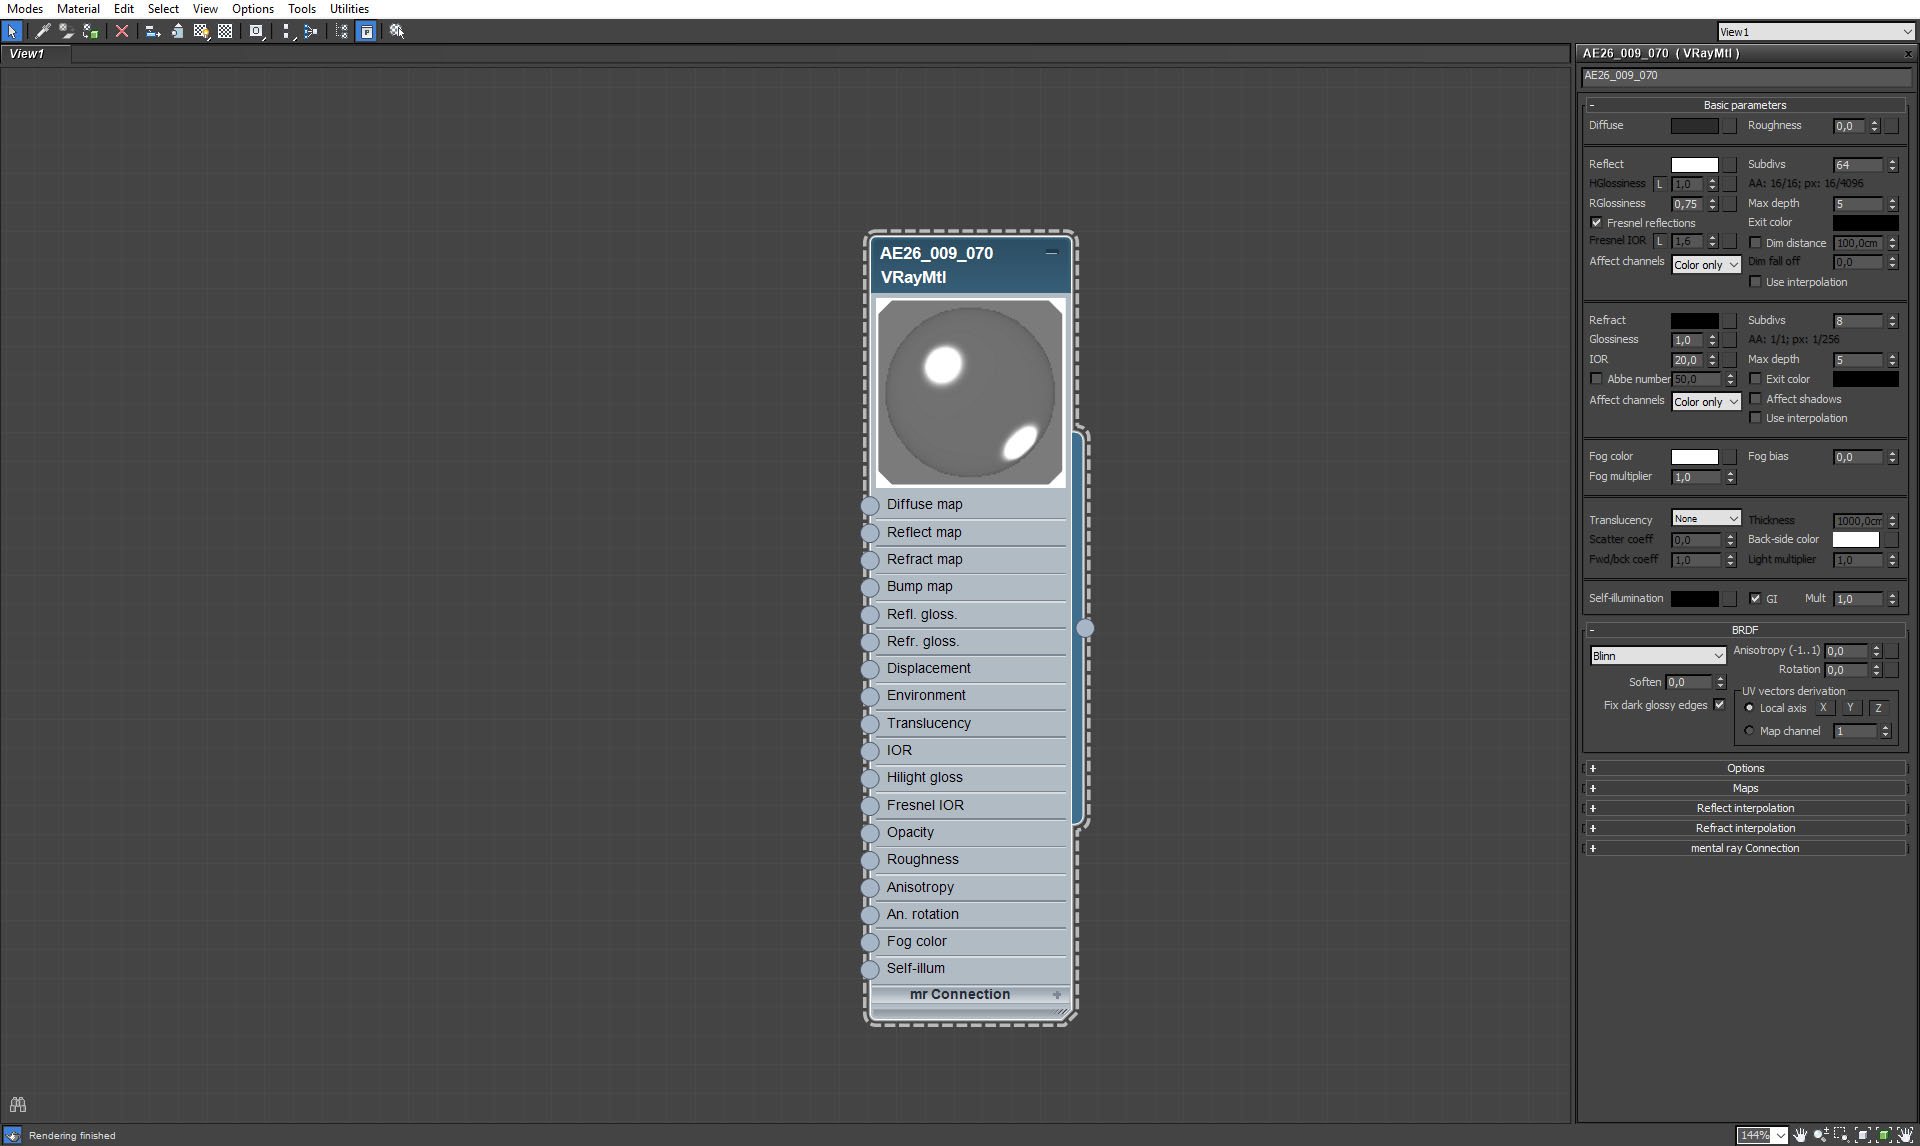
Vat has two supporting metal rings. Here are their material settings.
Click on image to enlarge 
Some garden chairs surrounding stone parterre.
Click on image to enlarge 
Chair mesh.
Click on image to enlarge 
For thujas that are surrounding the property we used VrayProxies.
Click on image to enlarge
Another layer of proxies was used for cloverleaves (small white dots).
Click on image to enlarge
Ground plane with VrayDisplacementMod.
Click on image to enlarge
Ground plane mesh.
Click on image to enlarge
Ground plane material.
Click on image to enlarge
Isometric view with building templates and without them (gif animation).
Click on image to enlarge
Wooden terrace material.
Click on image to enlarge
We have two baloons that are floating above the estate.
Click on image to enlarge
Baloon mesh.
Click on image to enlarge
Baloon - shell material.
Click on image to enlarge
Baloon - basket material.
Click on image to enlarge
Stone plates in front of the building.
Click on image to enlarge
Stone plates material.
Click on image to enlarge
The estate is placed in the middle of the forest, we placed trees (VrayProxies) around it.
Click on image to enlarge
Close-up, just to give a bette sense of the scale of this scene.
Click on image to enlarge
The last element that contributes to light in this scene is VraySky. Settings on the right.
Click on image to enlarge
Render settings.
Click on image to enlarge

Photoshop stack of post-production layers of camera 1 render. Selective color layer affects only 3d elements, without the sky. It gives warmer look for the foliage (cyans -10, whites and neutrals + 10). Two high pass layers are sharpening the image. then comes reflection layer. After that we have hue / saturation layer to increase saturation of tops of the trees. Then we have Levels for increased contrast and refraction layer. The similar post-processing was used for all raw renders.
This exterior scene was made by Marcin Białecki from Evermotion. It was set in 3ds Max and rendered in V-Ray.
You can:
 How To Make Your CGI Walls More RealisticRealistic walls with noise modifier.
 Removing LUTs from Textures for better resultsRemove the LUT from a specific texture in order to get perfect looking textures in your render.
 Chaos Corona 12 ReleasedWhat new features landed in Corona 12?
 OCIO Color Management in 3ds Max 2024Color management is crucial for full control over your renders.
 A look at 3dsMax Video SequencerDo you know that you can edit your videos directly in 3ds Max? Renderram is showing some functionalities of 3ds Max's built in sequencer.
 FStorm Denoiser is here - First ImpressionsFirst look at new denoising tool in FStorm that will clean-up your renders.
Customer zone
Your special offers
Your orders
Edit account
Add project
Liked projects
View your artist profile


COMMENTS