Search
Cart
Sign in
  • offerCustomer zone
  • offerYour special offers
  • offerYour orders
  • offerEdit account

  • offerAdd project
  • offerLiked projects
  • offerView your artist profile

  • Dark mode

Information Clause

In accordance with the art. 13 section 1 and 2 of the European Parliament and Council Regulation 2016/679 of the 27th April, 2016 on the protection of natural persons, with regard to the processing of personal data and on the free movement of such data, and repealing Directive 95/46/EC (General Data Protection Regulation), hereafter RODO, I hereby inform that:

1. EVERMOTION S.C., 8 Przędzalniana Str., 15-688 Białystok, Poland is the Administrator of your Personal Data (APD)

2. Data Protection Inspector can be reached through e-mail: iod@evermotion.org

3. Your personal data are to be processed on the basis of art. 6 section 1 letter a, b and f of RODO in order to:
a) prepare, conclude and execute the agreement and for other purposes approved by you,
b) to execute the legitimate interest like marketing of products and the agreement, claim assertion or defence against claims resulting from the law regulations.
4. Entities entitled to the reception of your personal data may be the authorised public bodies; mail providers; providers of the services covered by the agreement; responsible for debt recovery, keeping the archives, document utilization, legal consulting, technical services, IT services and accountancy.

5. Your personal data shall not be transferred to the third country, nor to the international bodies.

6. Your personal data shall be processed within the period of the agreement and upon your additional consent until you withdraw it. APD shall keep the data for the period of any civil law claim execution connected with the agreement.

7. You have the right to demand an access to your personal data, to correct or to delete the data if there is no other basis for the processing or any other purpose of such processing or to limit the processing of the data, to transfer the data to another administrator and to raise objections to the further data processing if there is no legal basis for further processing and to withdraw any previous consent.

8. You provide the personal data voluntarily, however they are necessary to conclude the agreement. The refusal of providing such data may result in the refusal of the agreement conclusion.

9. You have the right to lodge a complaint to the Personal Data Protection Office when in your opinion the data processing violates the regulations of General Data Protection Regulation of the 27 April, 2016 (RODO).

10. Your data will be automatically processed, including the form of profiling.
11. You are obligated to forward above mentioned information to your representative, especially if you appointed this person in the agreement as the contact person or as the representative for the agreement execution.

OK

Making of Rest House

Robert Laguerta 2015-08-10 11:30 tutorial  > 3ds MAX  > rendering

Archviz tutorial by Robert Laguerta.

Greetings everyone! My name is Robert Laguerta, working as CG artist at Architect Design Practice, Malaysia.

I would like to share with you the “Making of Rest House". It’s a house designed and modeled by Rasco Architecture, a company based in Hong Kong.

Click on image to enlarge nr_1_215.jpg

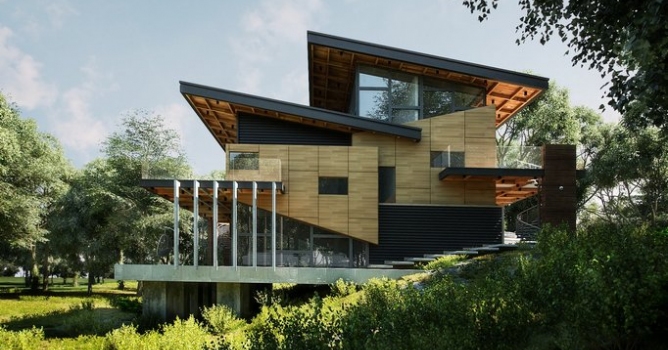
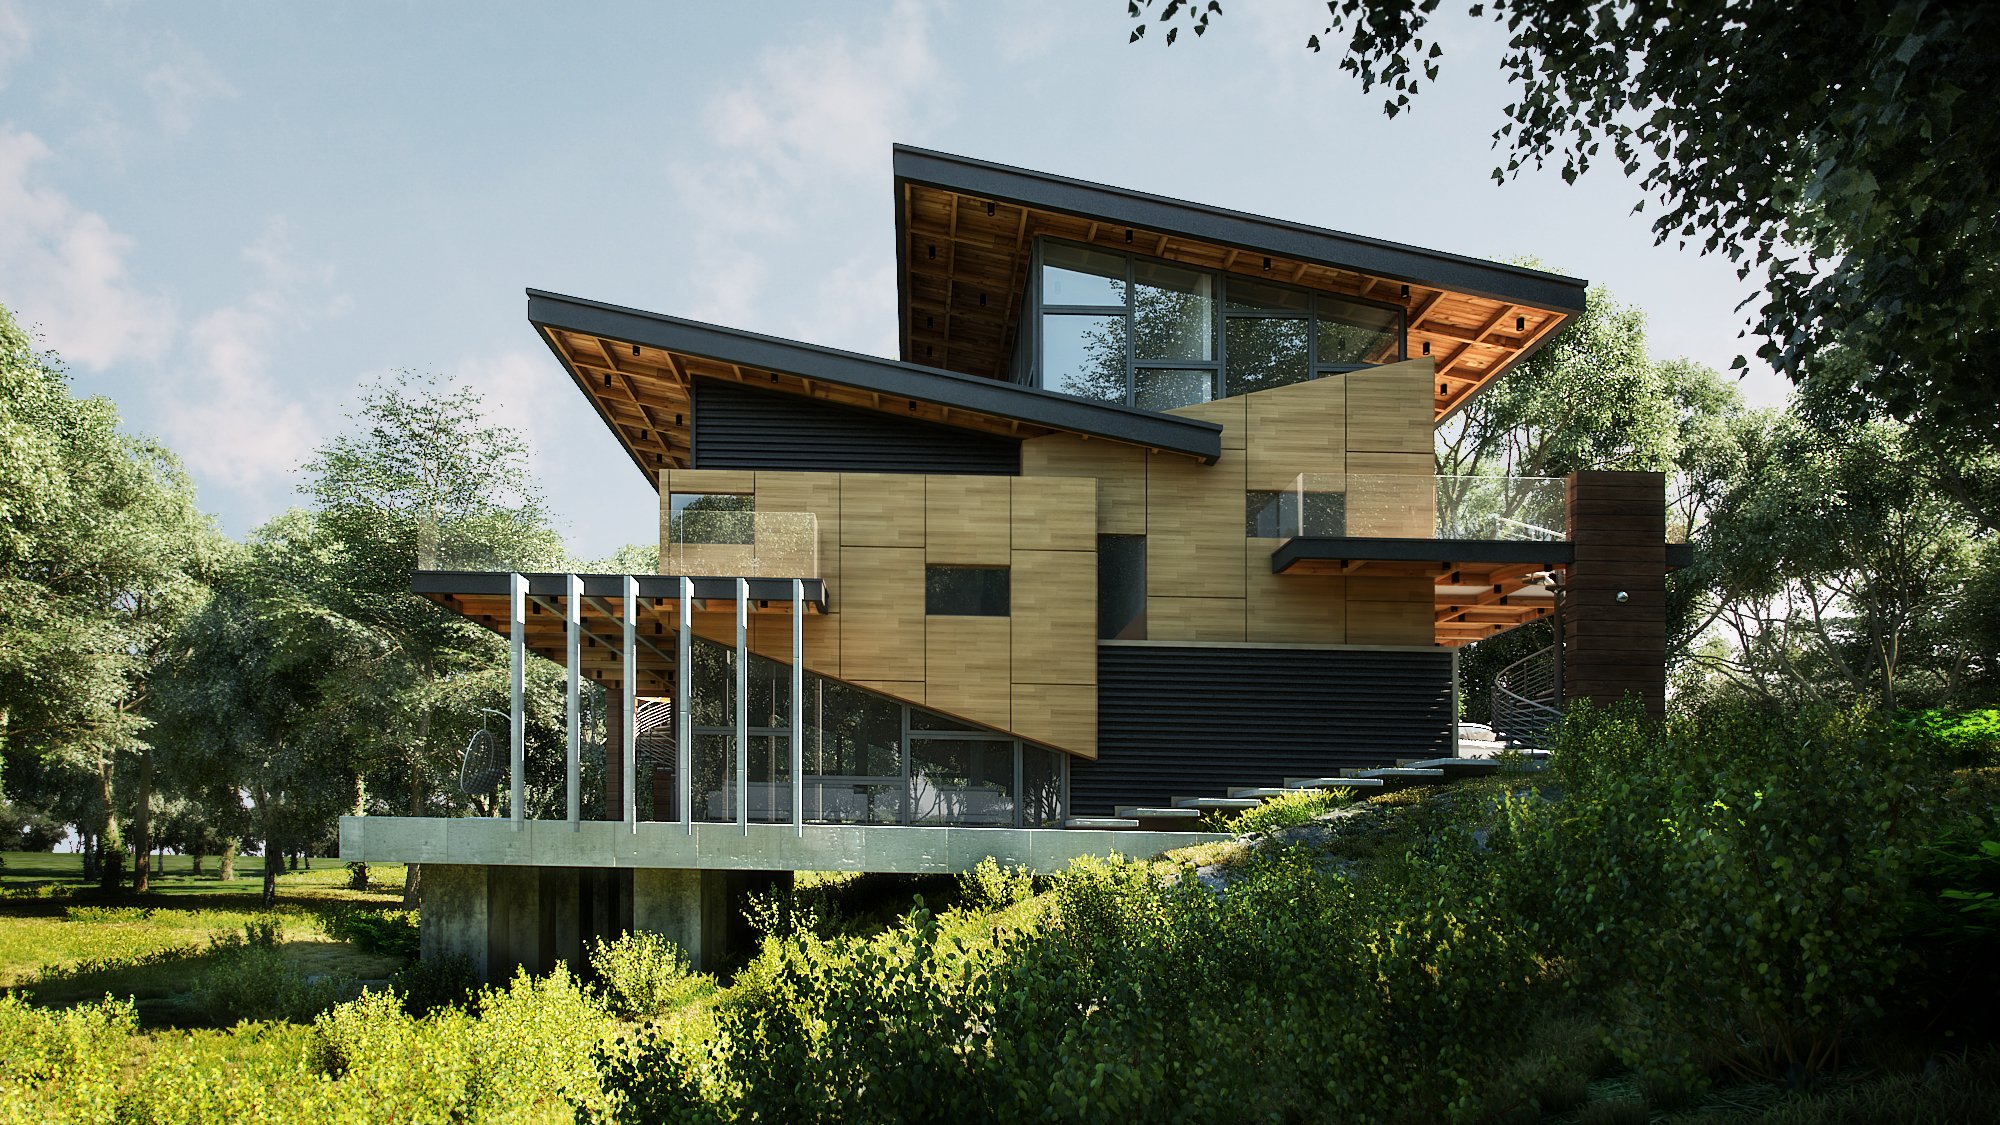
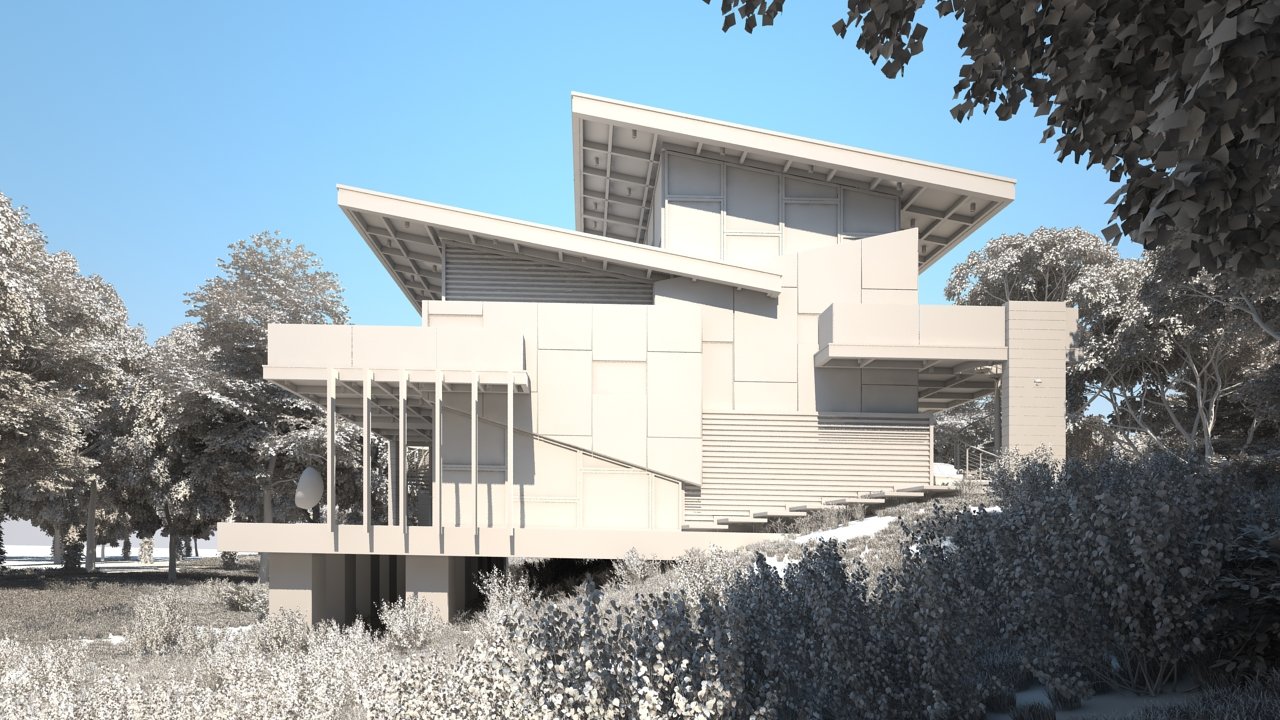
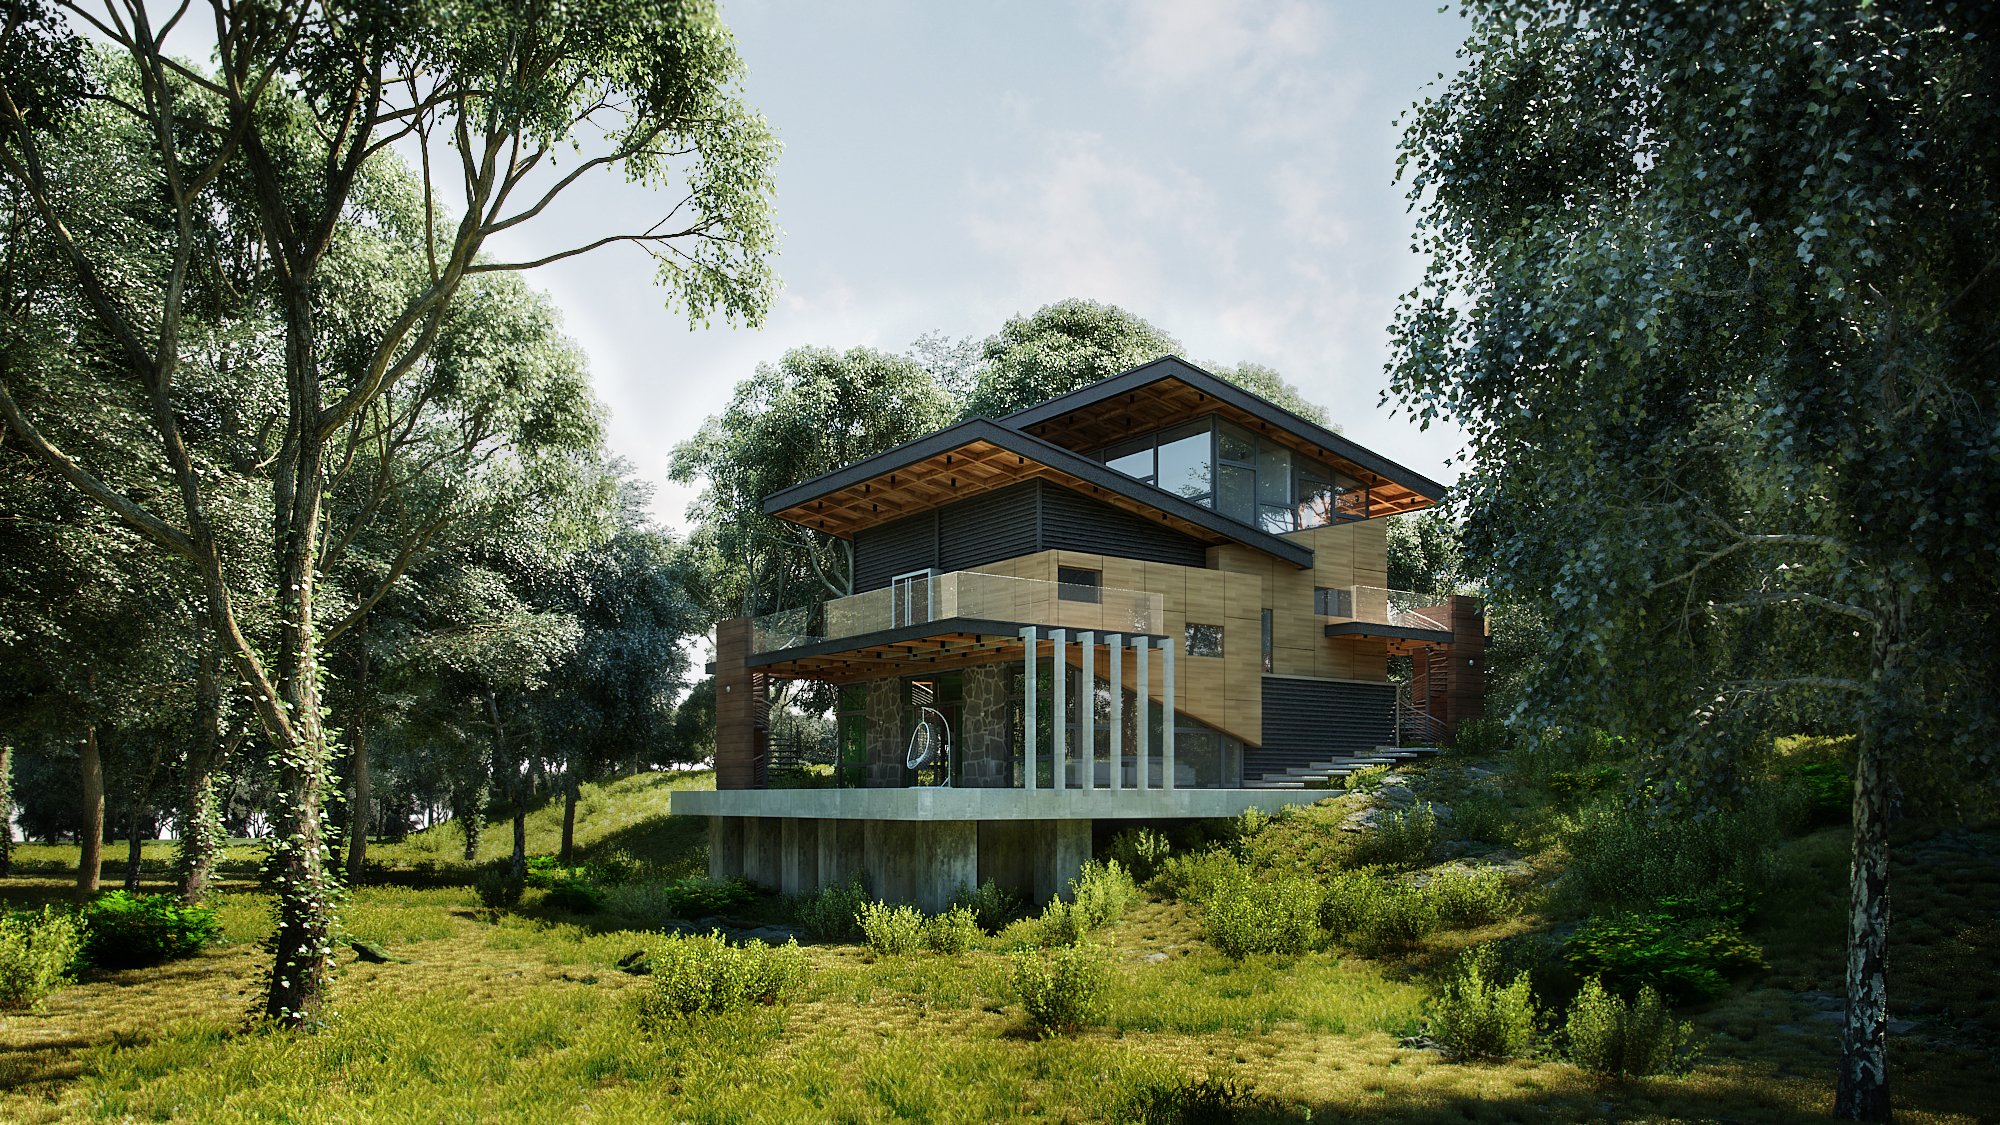
First we check our final render...
 

The objective of the rendering is to create an environment that will complement the house with the surrounding landscape.
Software used: Sketch up, 3ds Max, V-Ray and Photoshop.

Modeling:

Click on image to enlarge nr_2_216.jpg

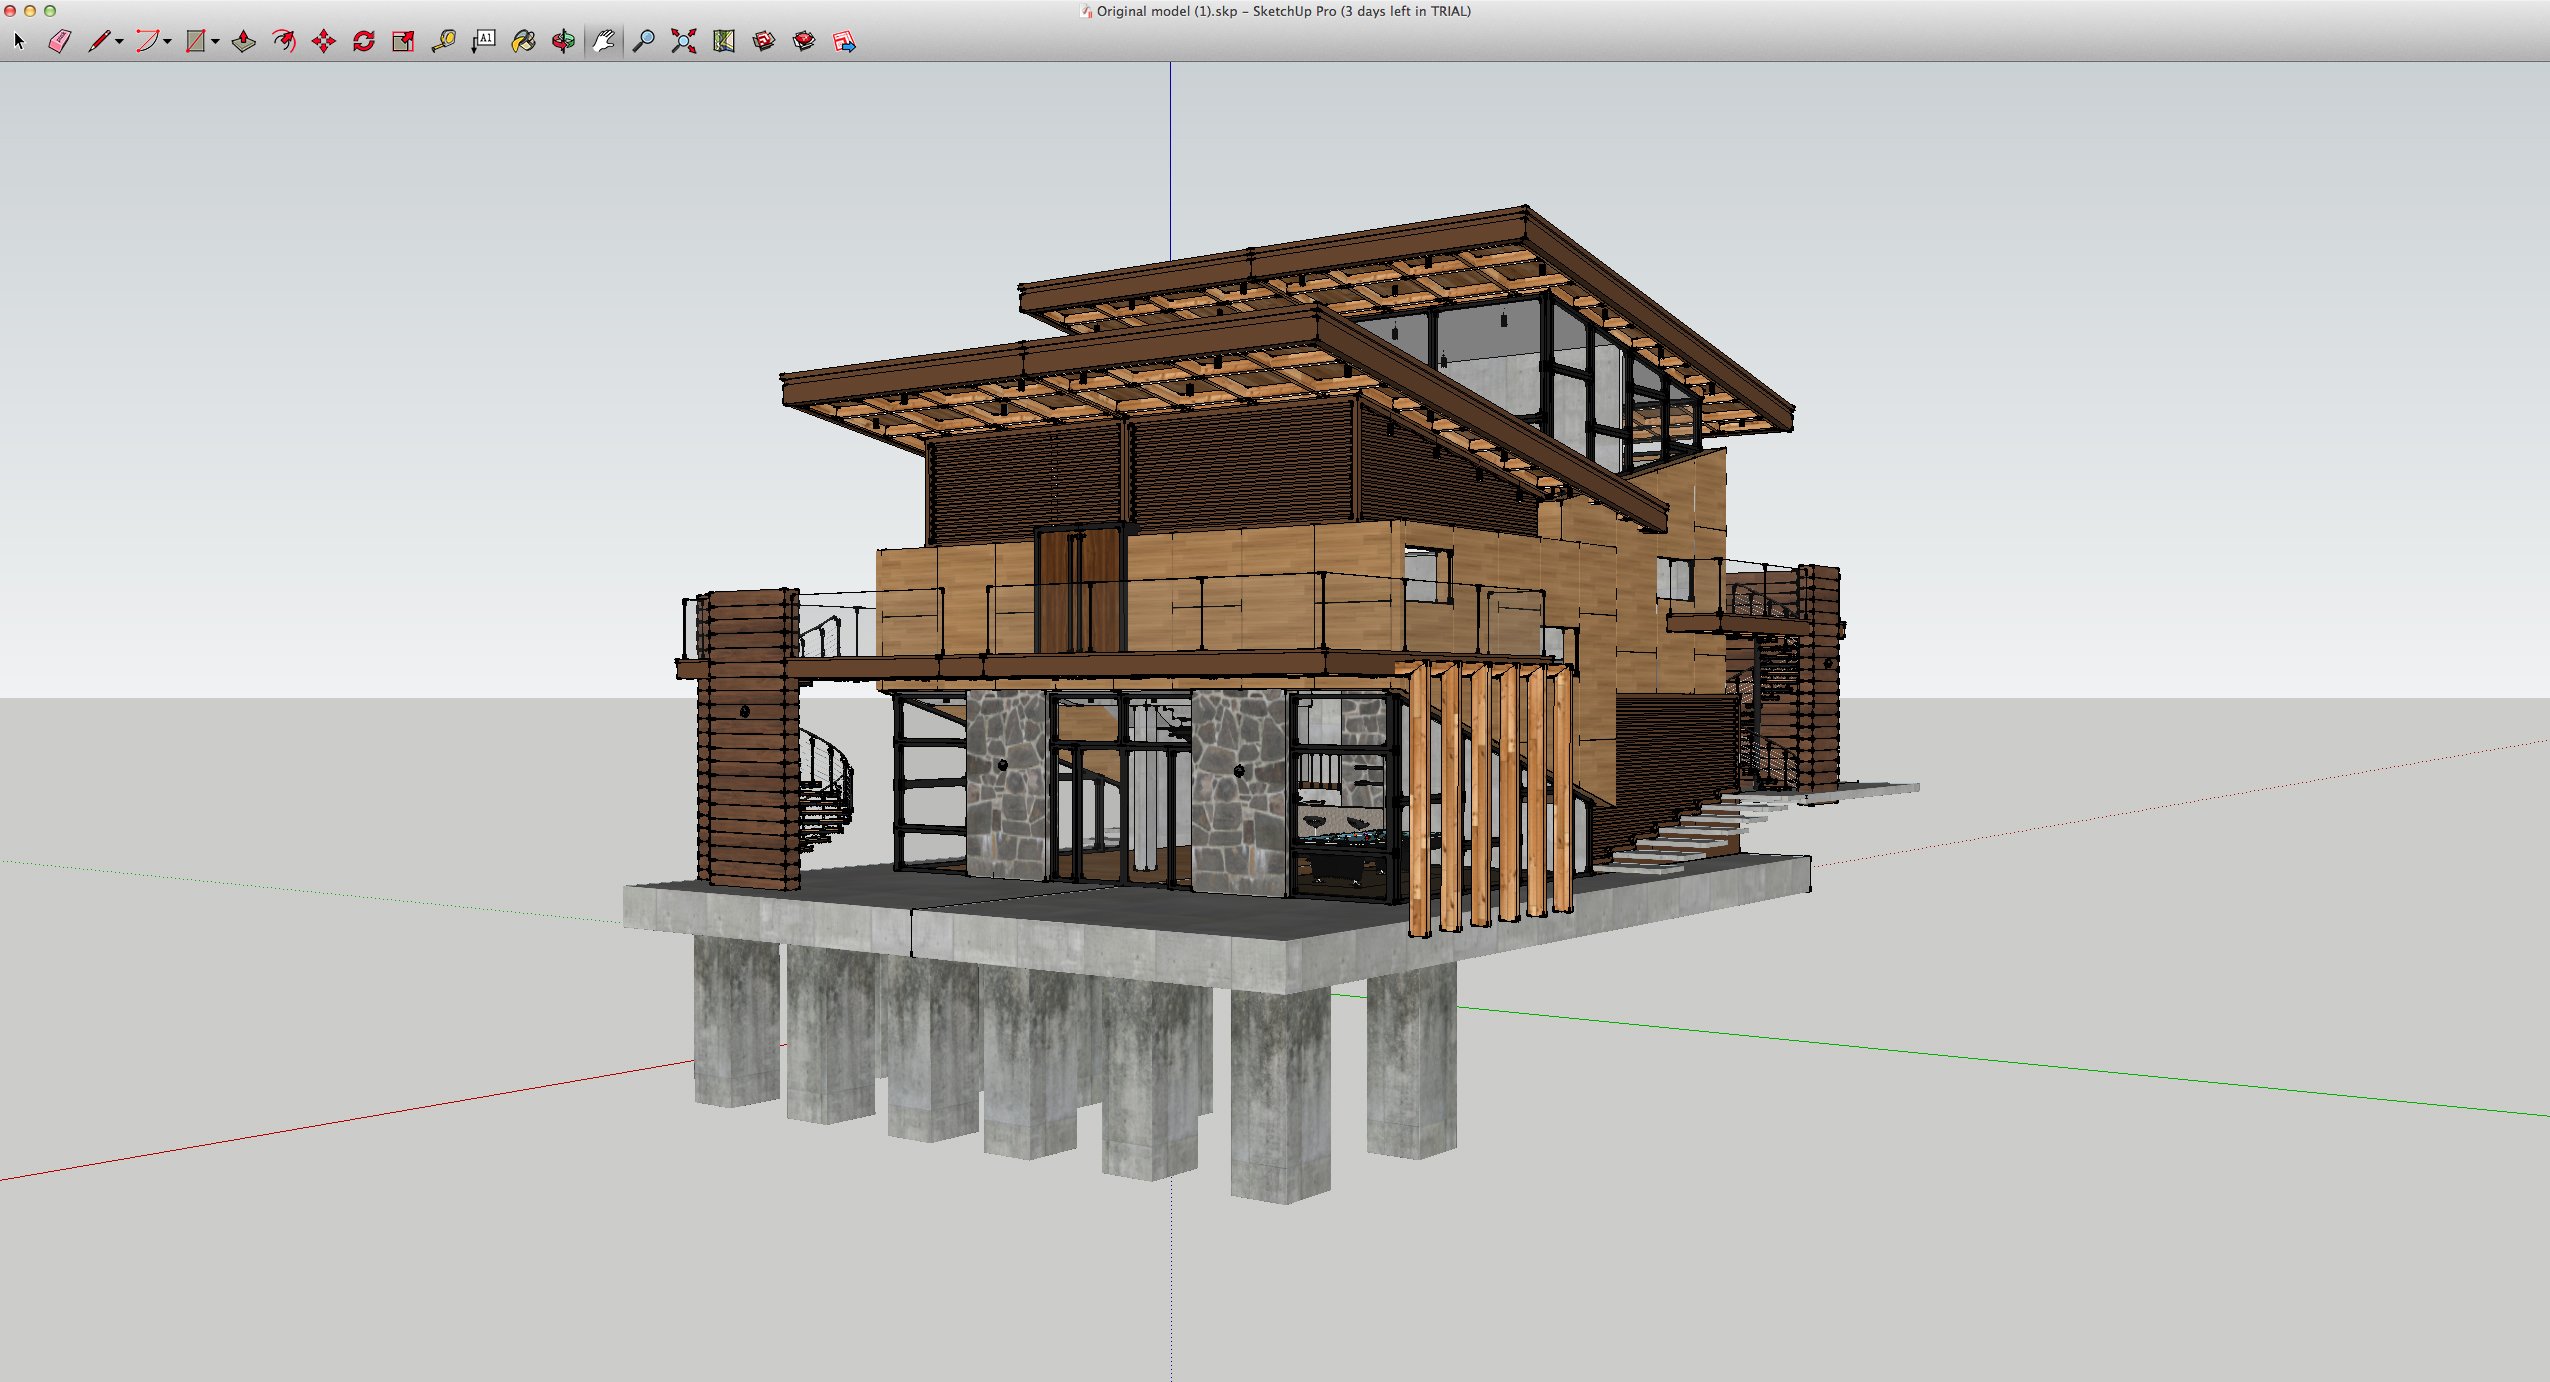
House is modeled using SKP then imported to 3ds Max. Terrain is added using Plane standard object, adding segments to follow the House structure using (push/pull) in Paint Deformation option to create some bumps.
 

This work based on 5SRW principle (Read an article: "Five steps to realistic renders"):


Click on image to enlarge nr_4_218.jpg

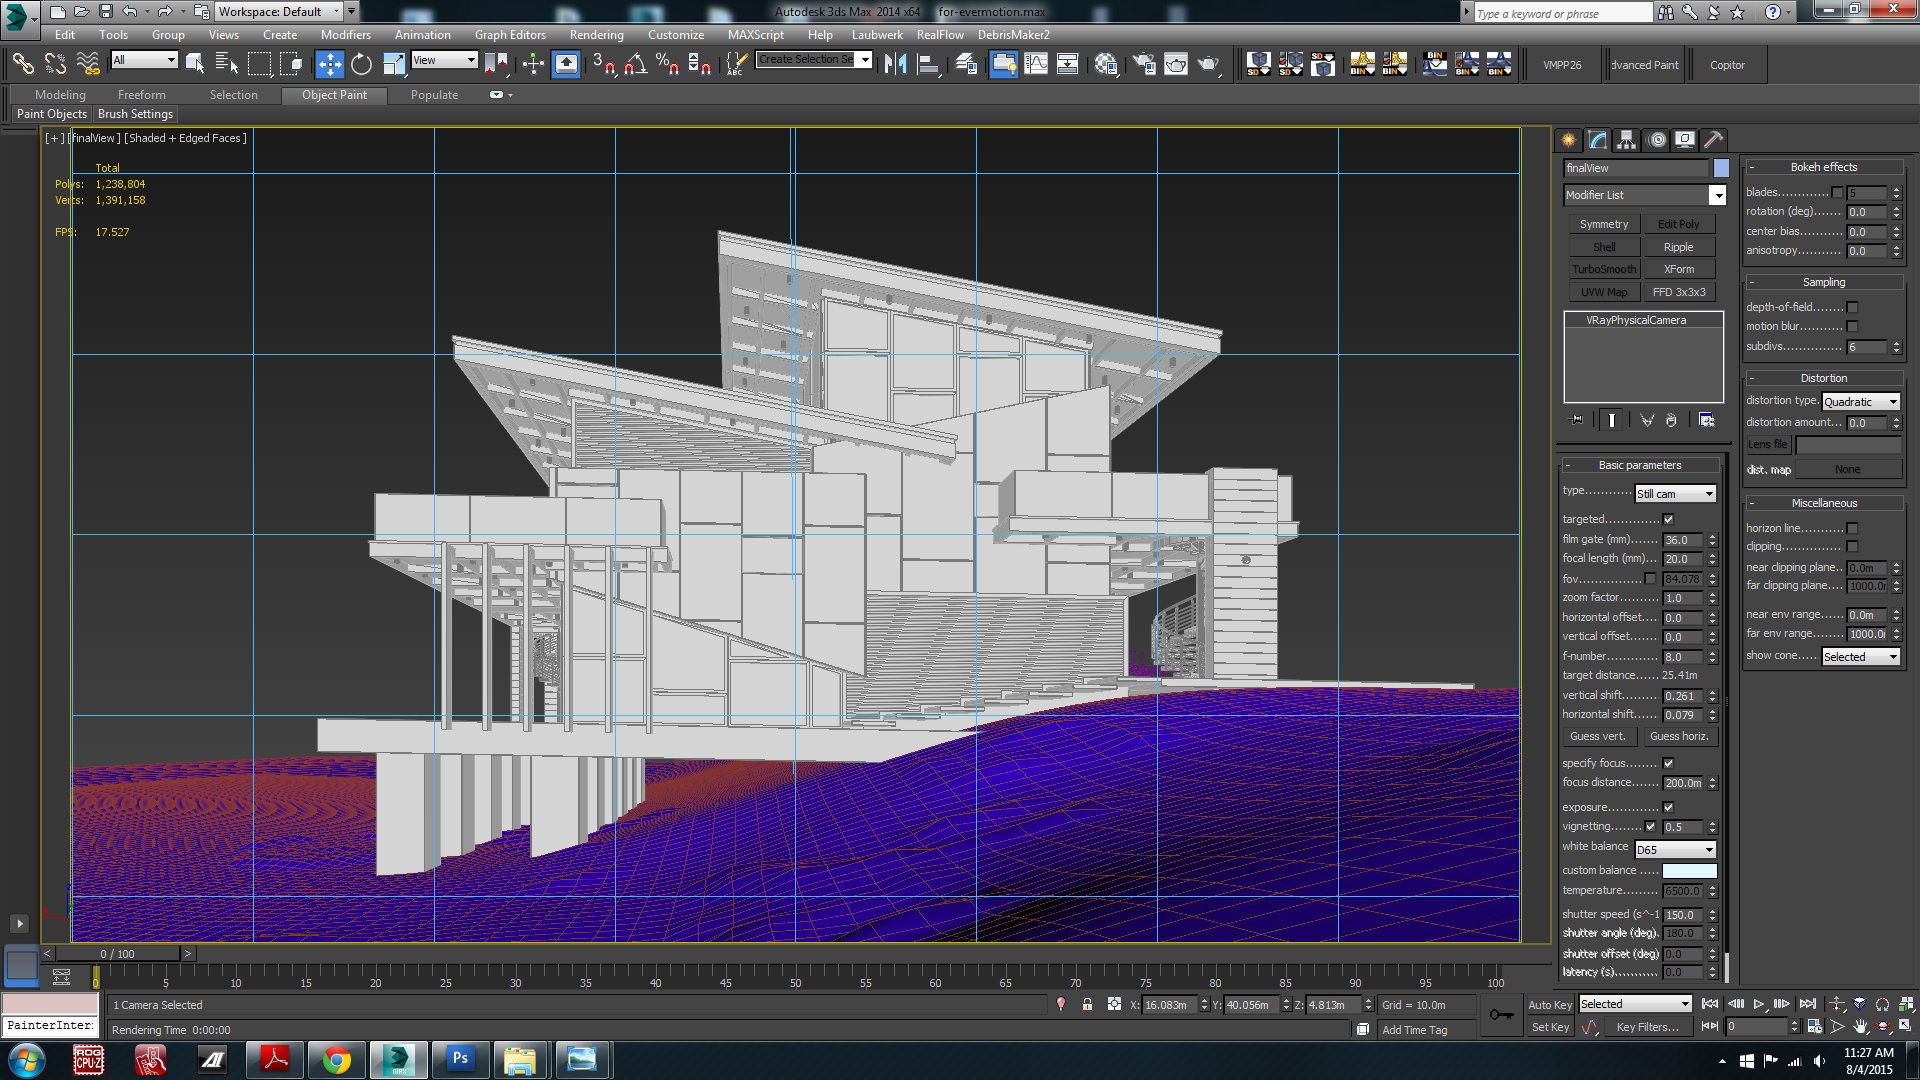
Step one: camera settings (framing)


Click on image to enlarge nr_5_219.jpg

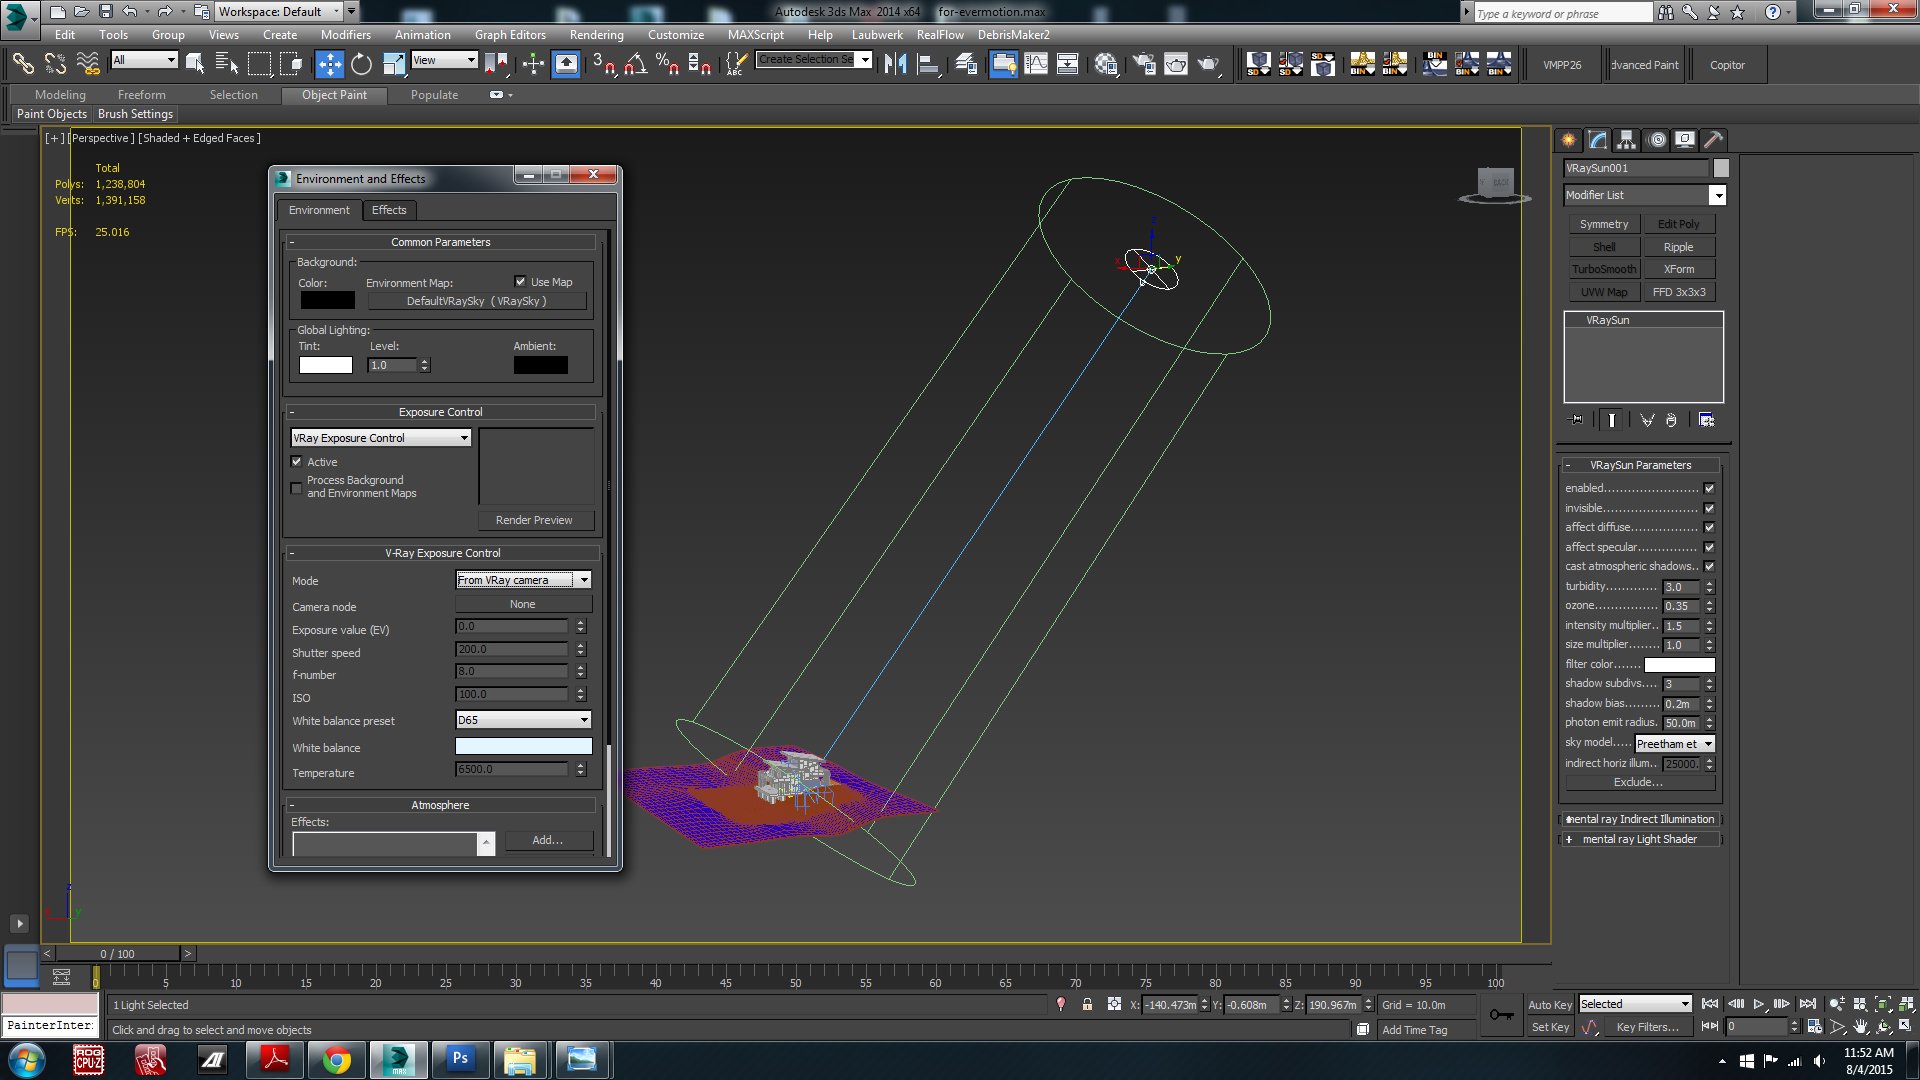
Step two: Vray Sun Setting (light balance). Only VRaysun and VRaysky are used for this scene.


Click on image to enlarge nr_lightbalance_210.jpg

Light balance


Click on image to enlarge nr_6_220.jpg

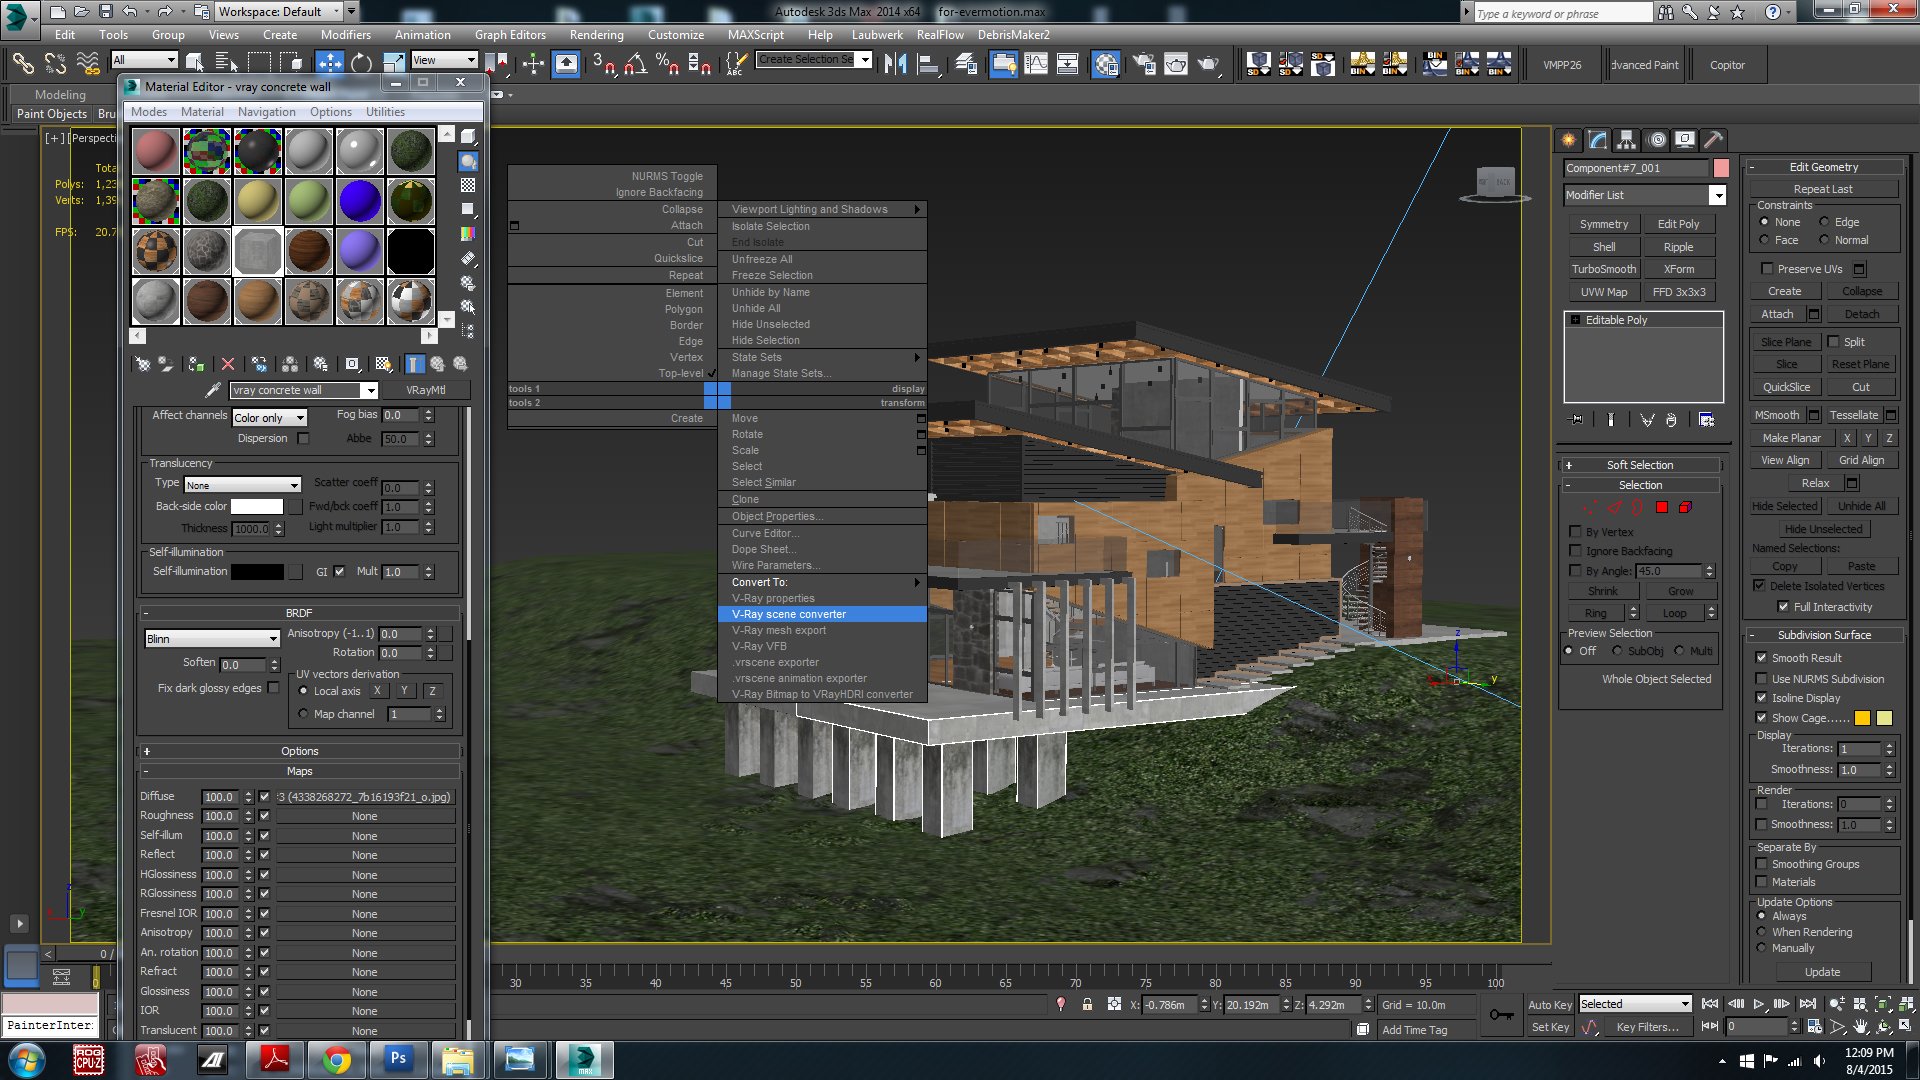
Step 3: materials. House materials are all attached inside SKP, and converted using “V-ray Scene Converter”.


Click on image to enlarge nr_7_221.jpg

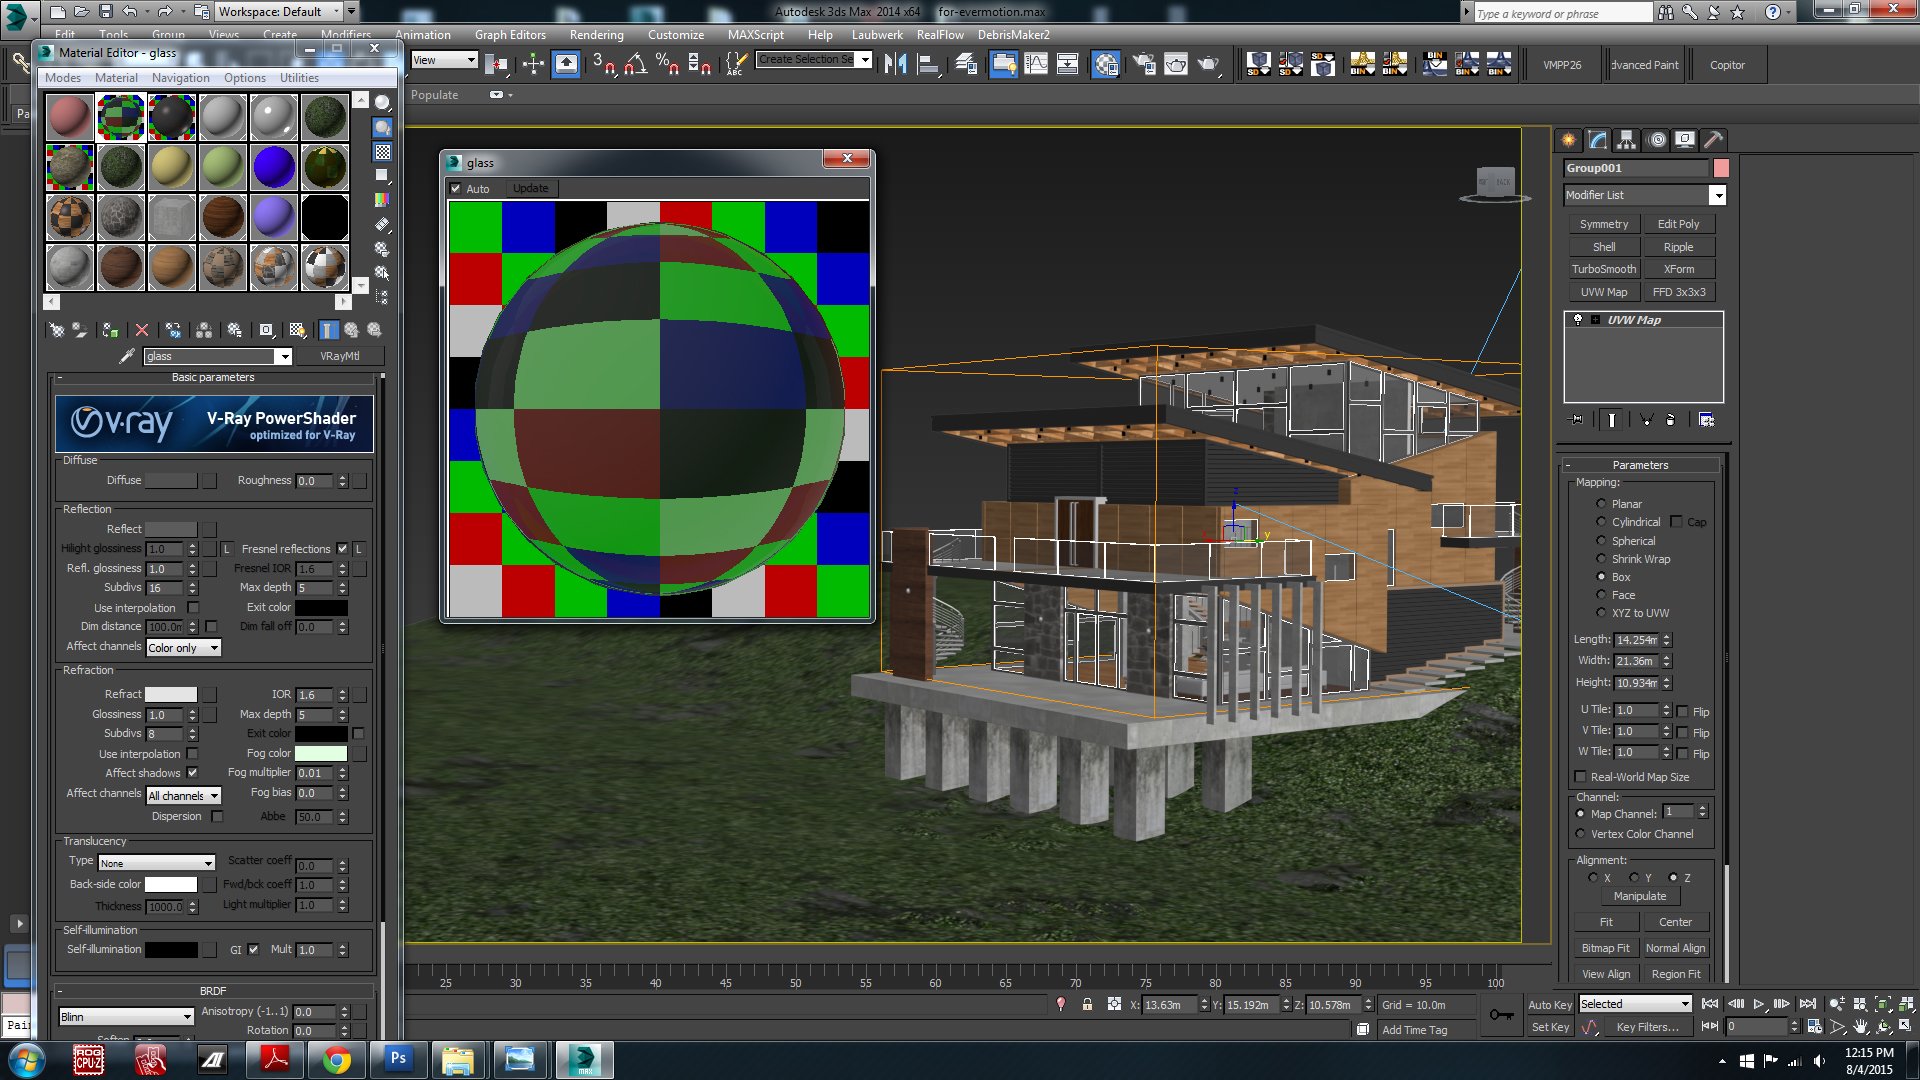
Only Glass and Terrain Materials are created. Glass material settings.


Click on image to enlarge nr_8_222.jpg

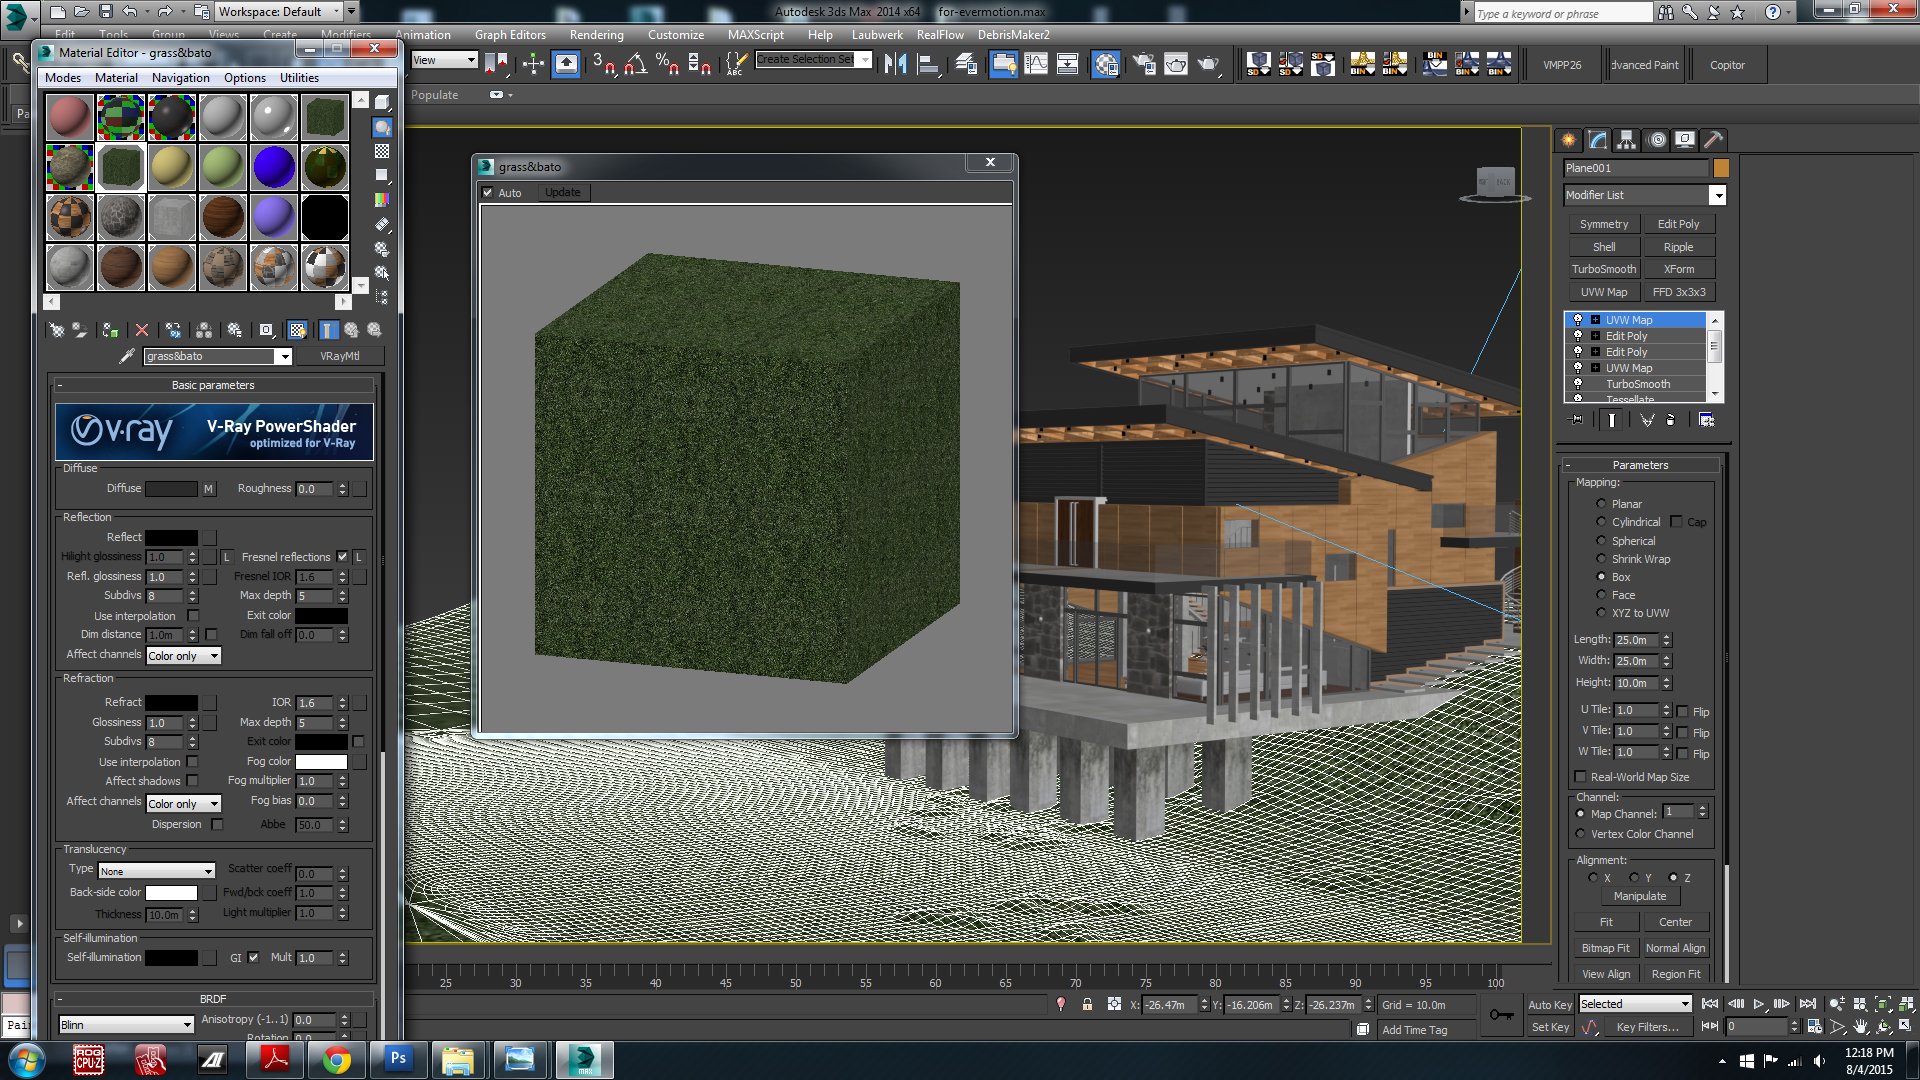
Terrain material settings.


Click on image to enlarge nr_10_193.jpg

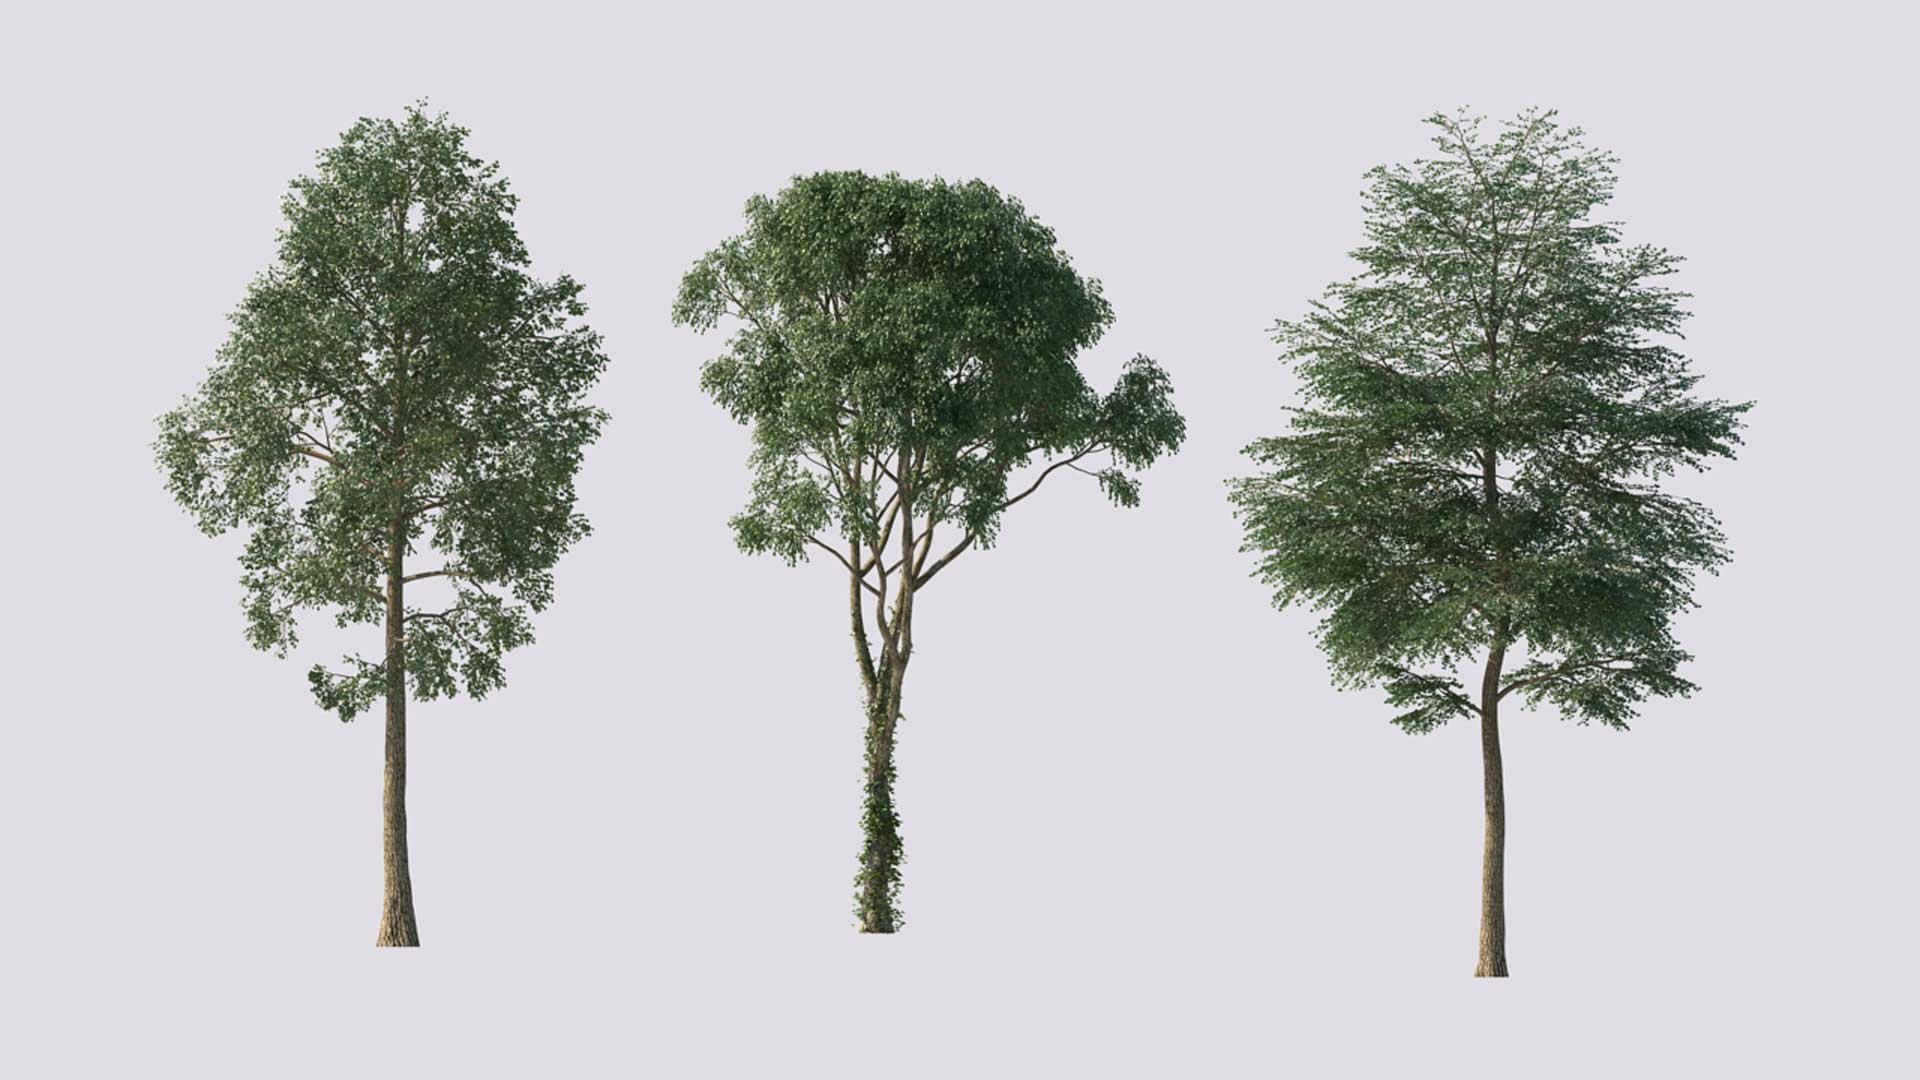
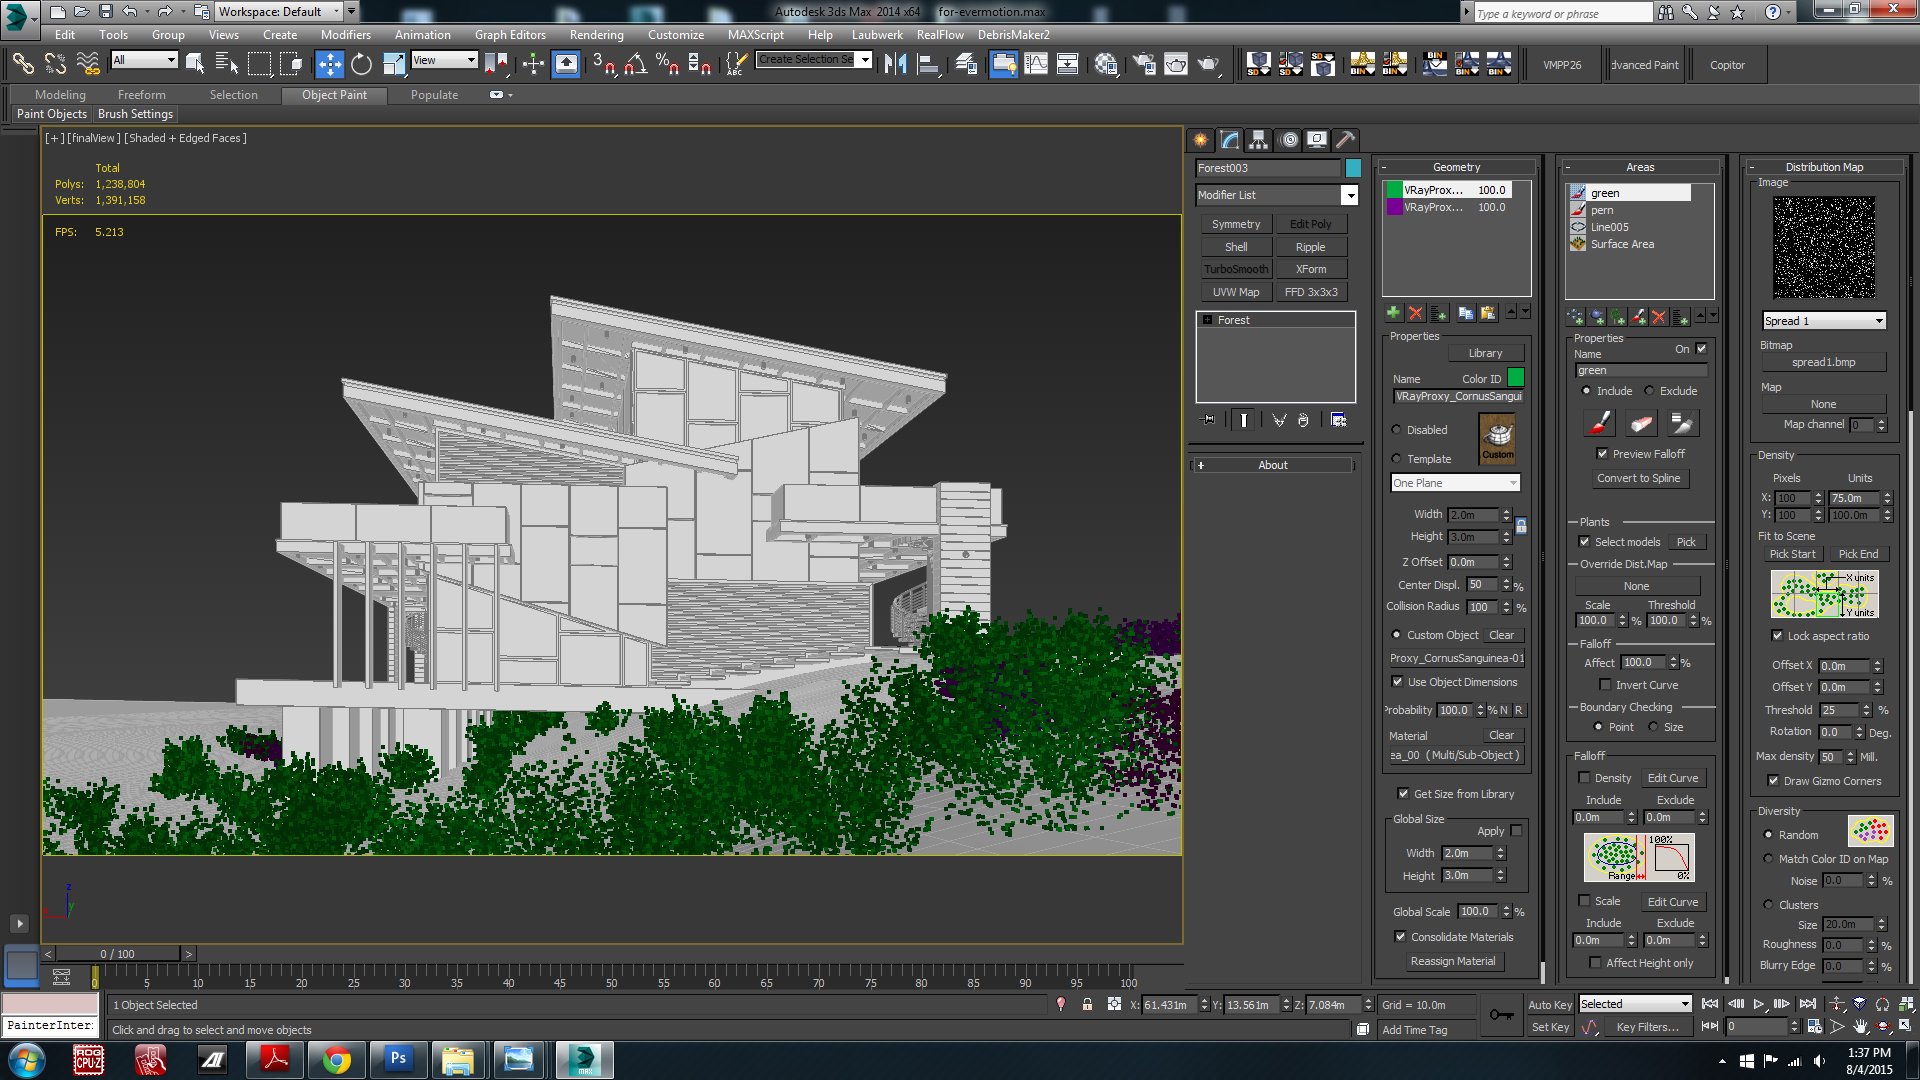
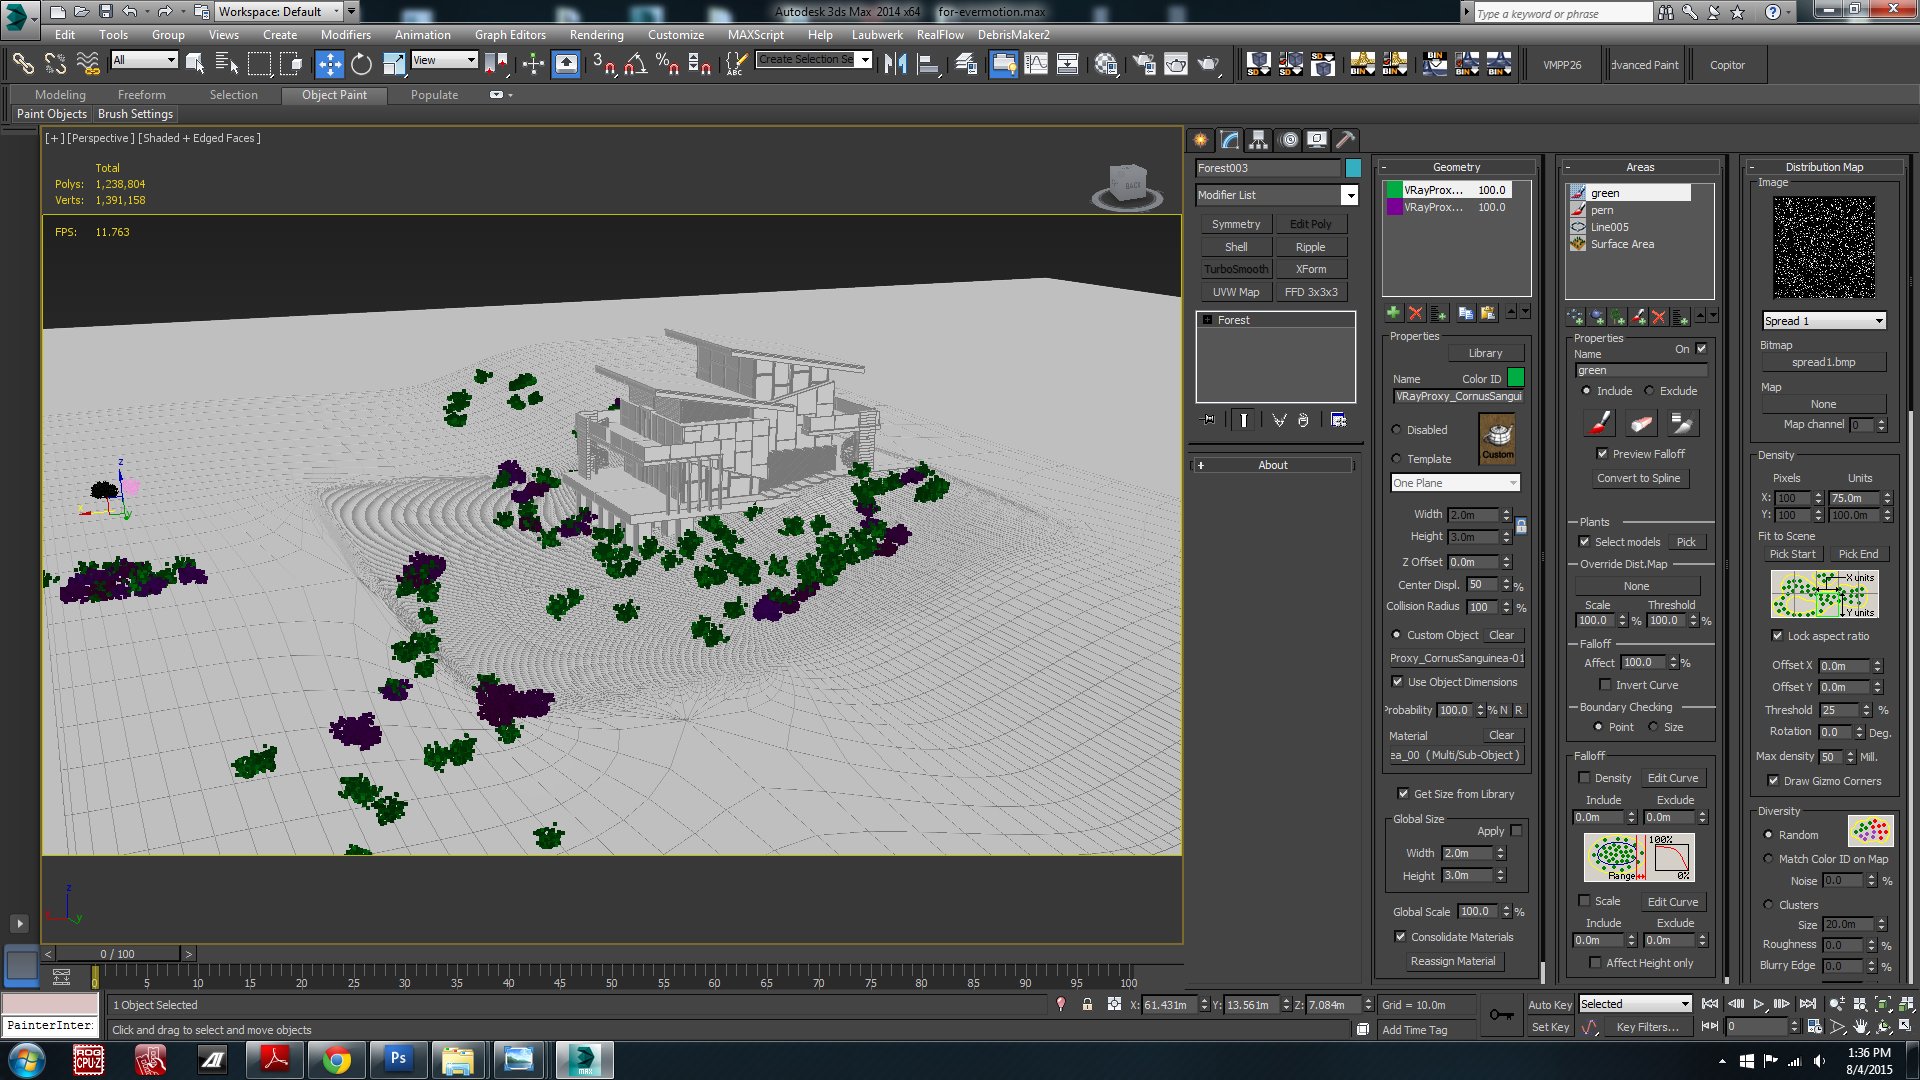
Now for the fun part, adding the Landscape. I used Evermotion models from Archmodels vol. 117 for the trees.


Click on image to enlarge nr_11_194.jpg

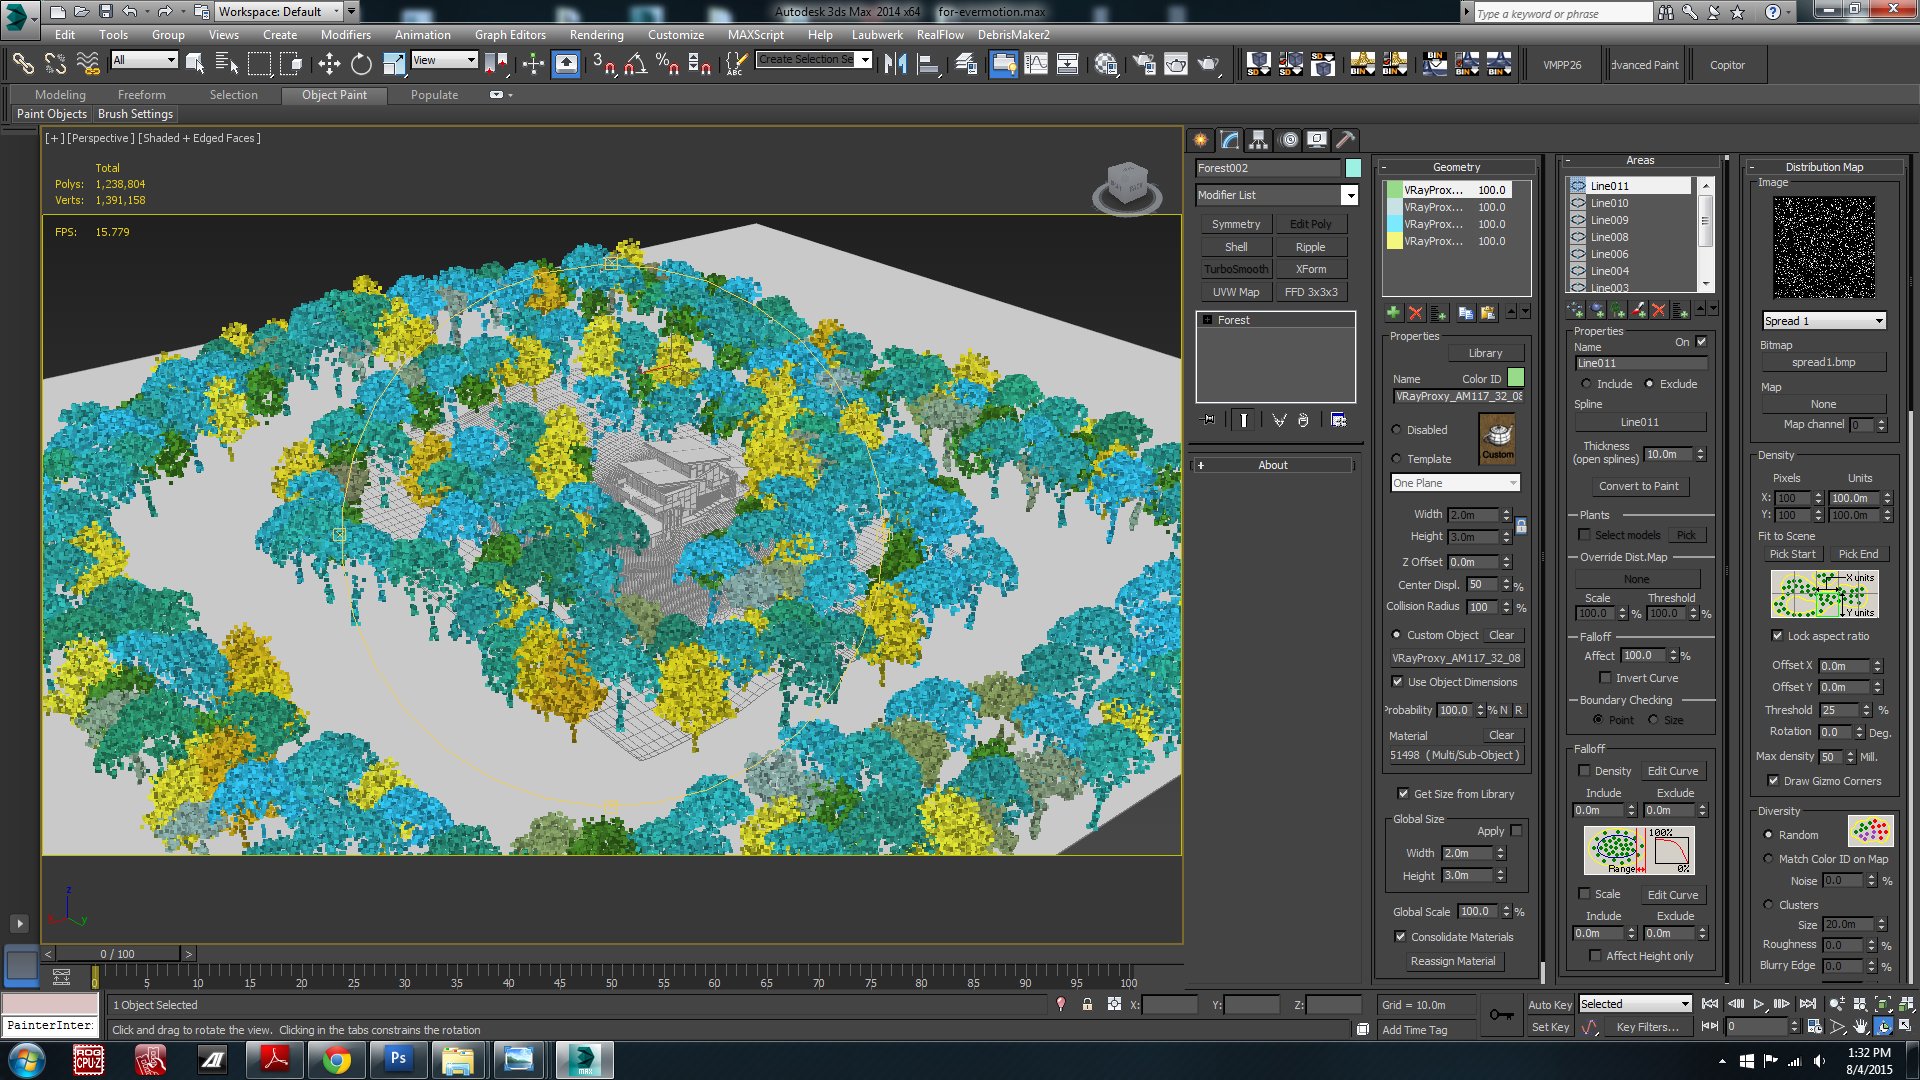
Trees placement.


Click on image to enlarge nr_9_192.jpg


Click on image to enlarge nr_12_195.jpg

Top view of the scene.


Click on image to enlarge nr_13_196.jpg

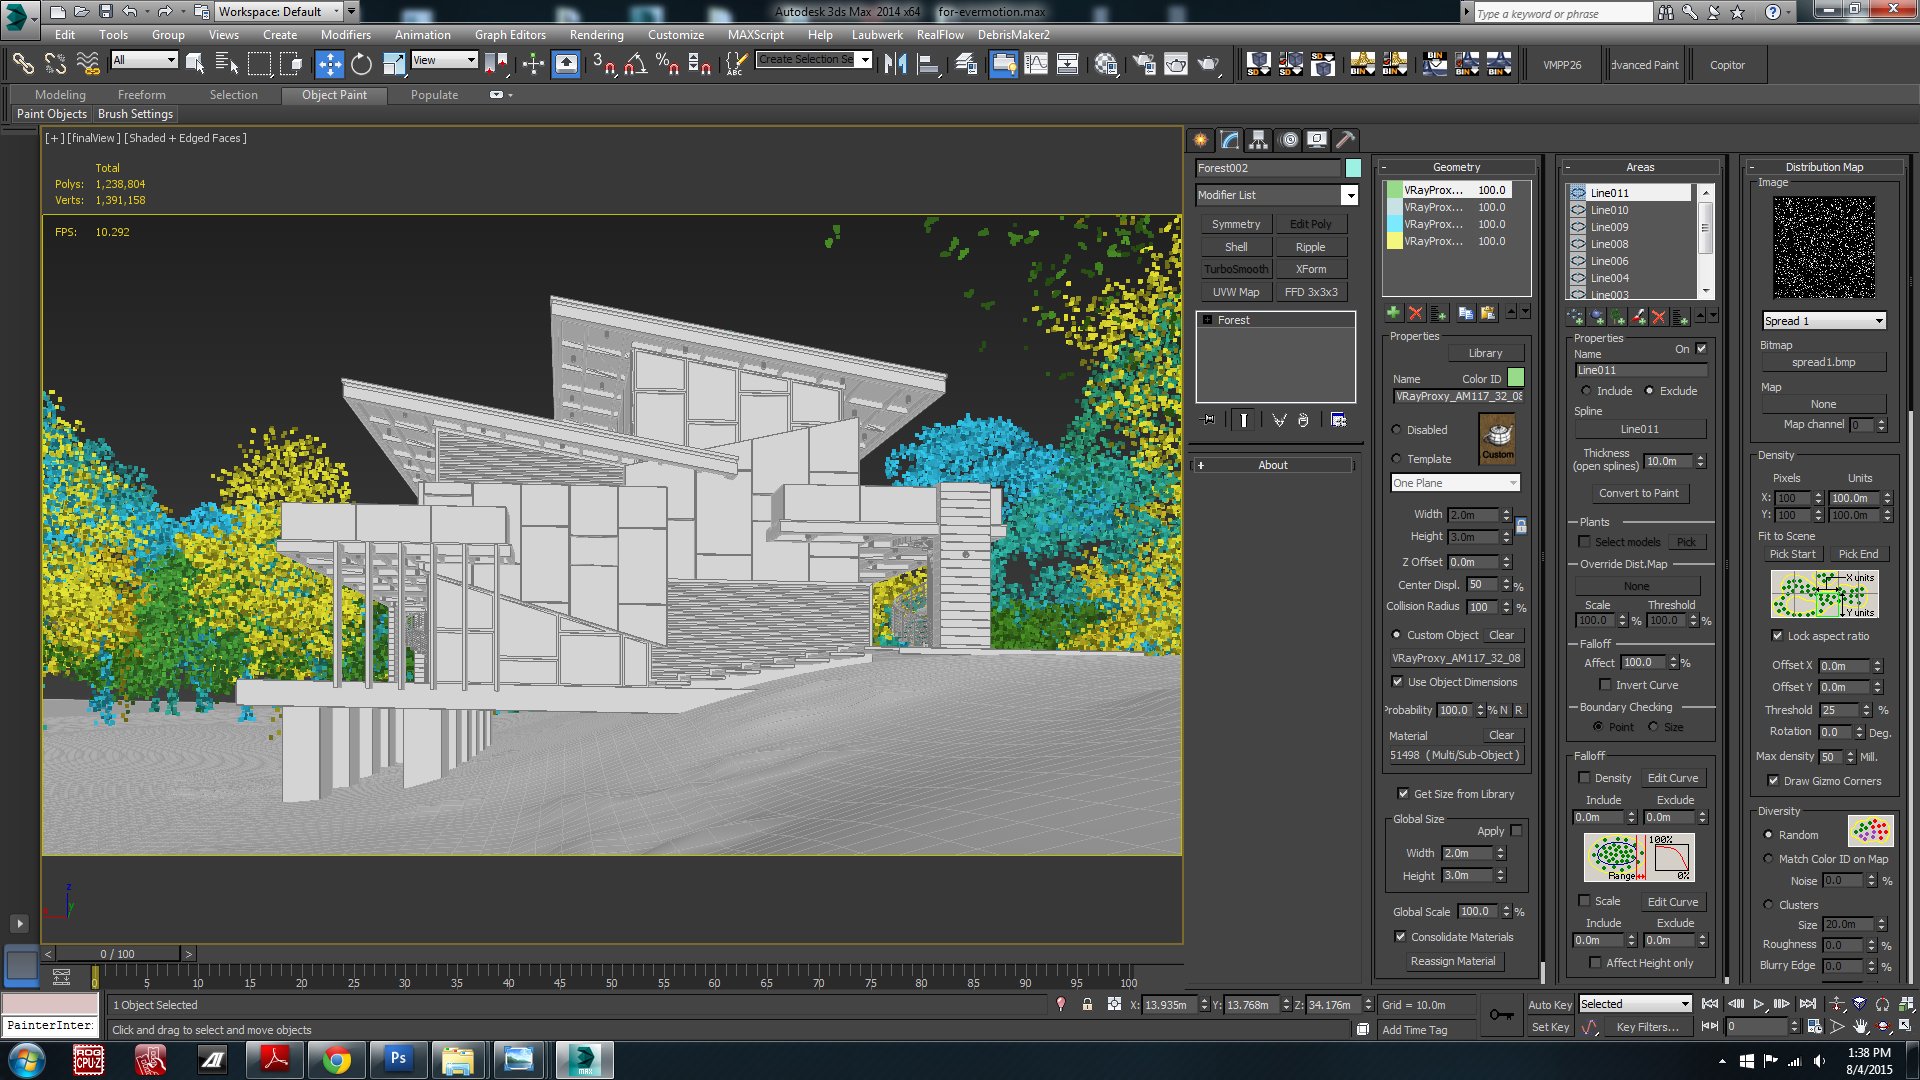
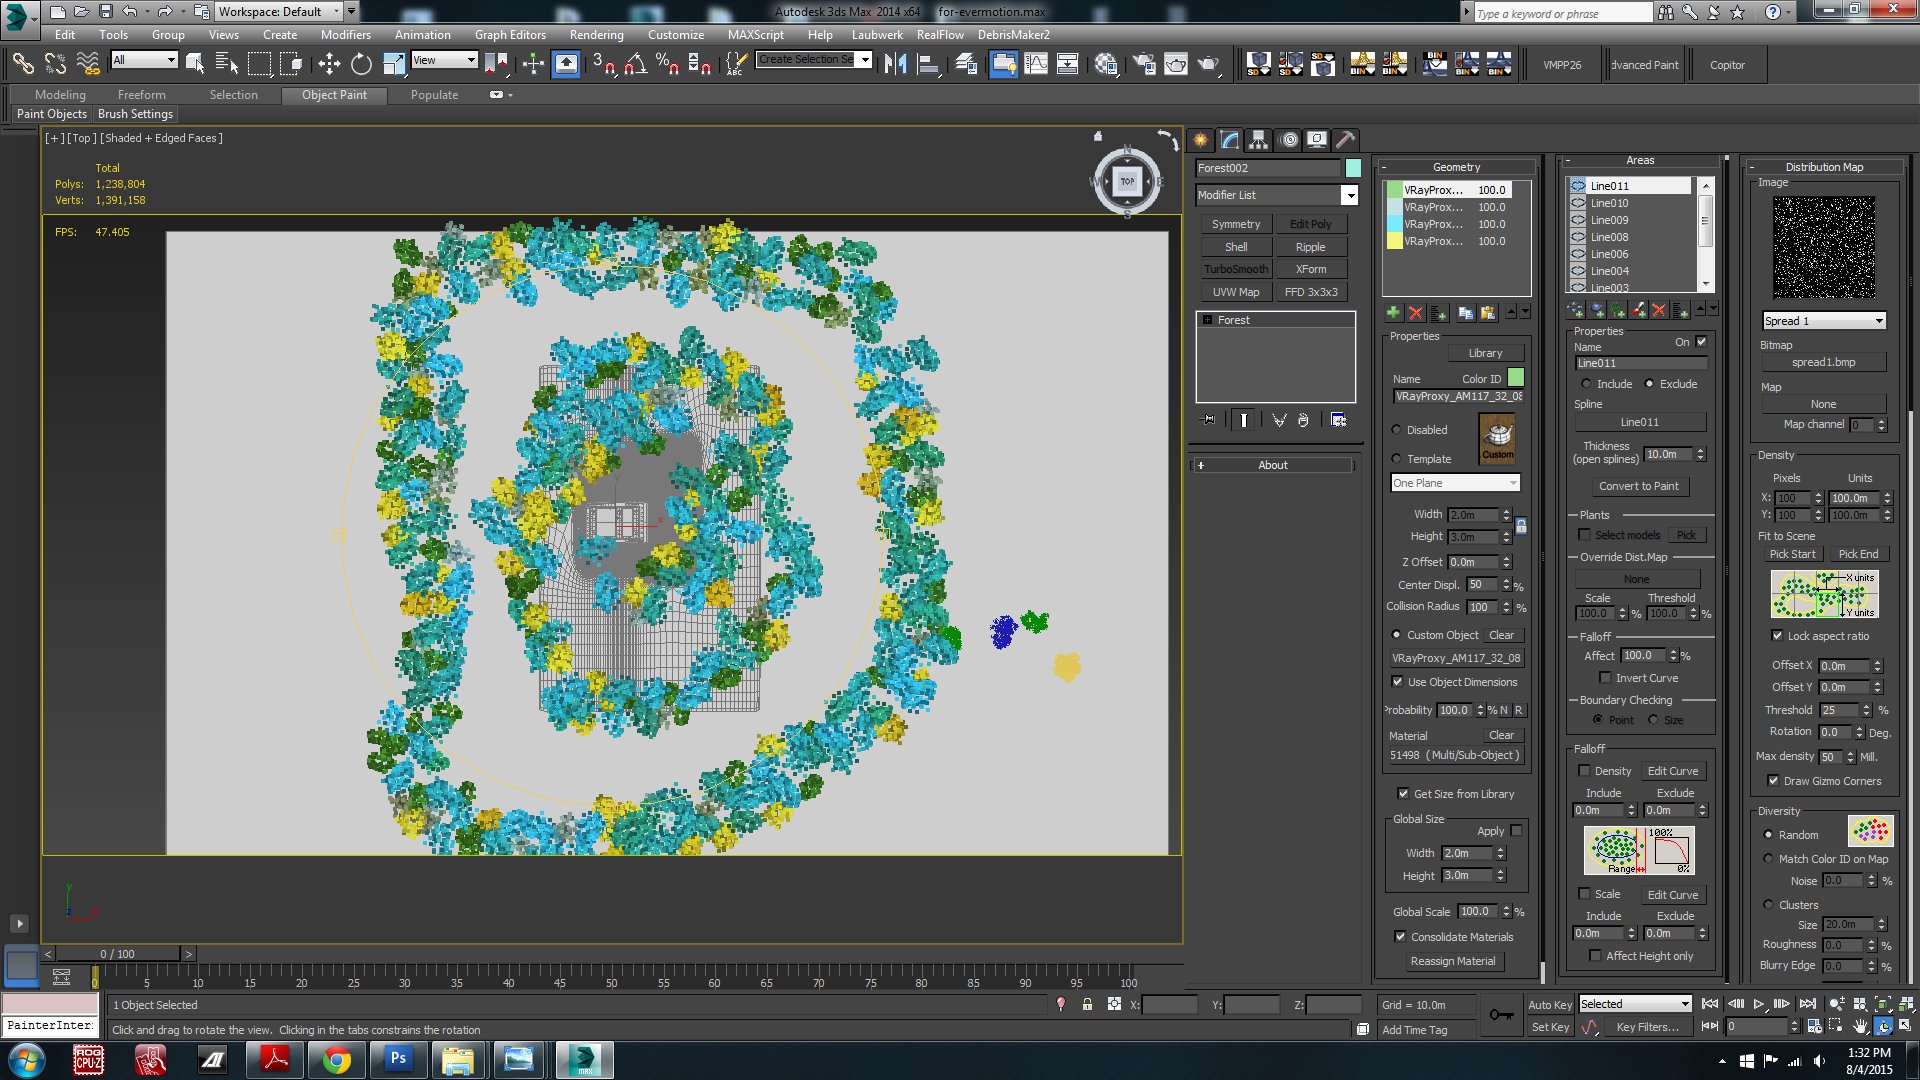
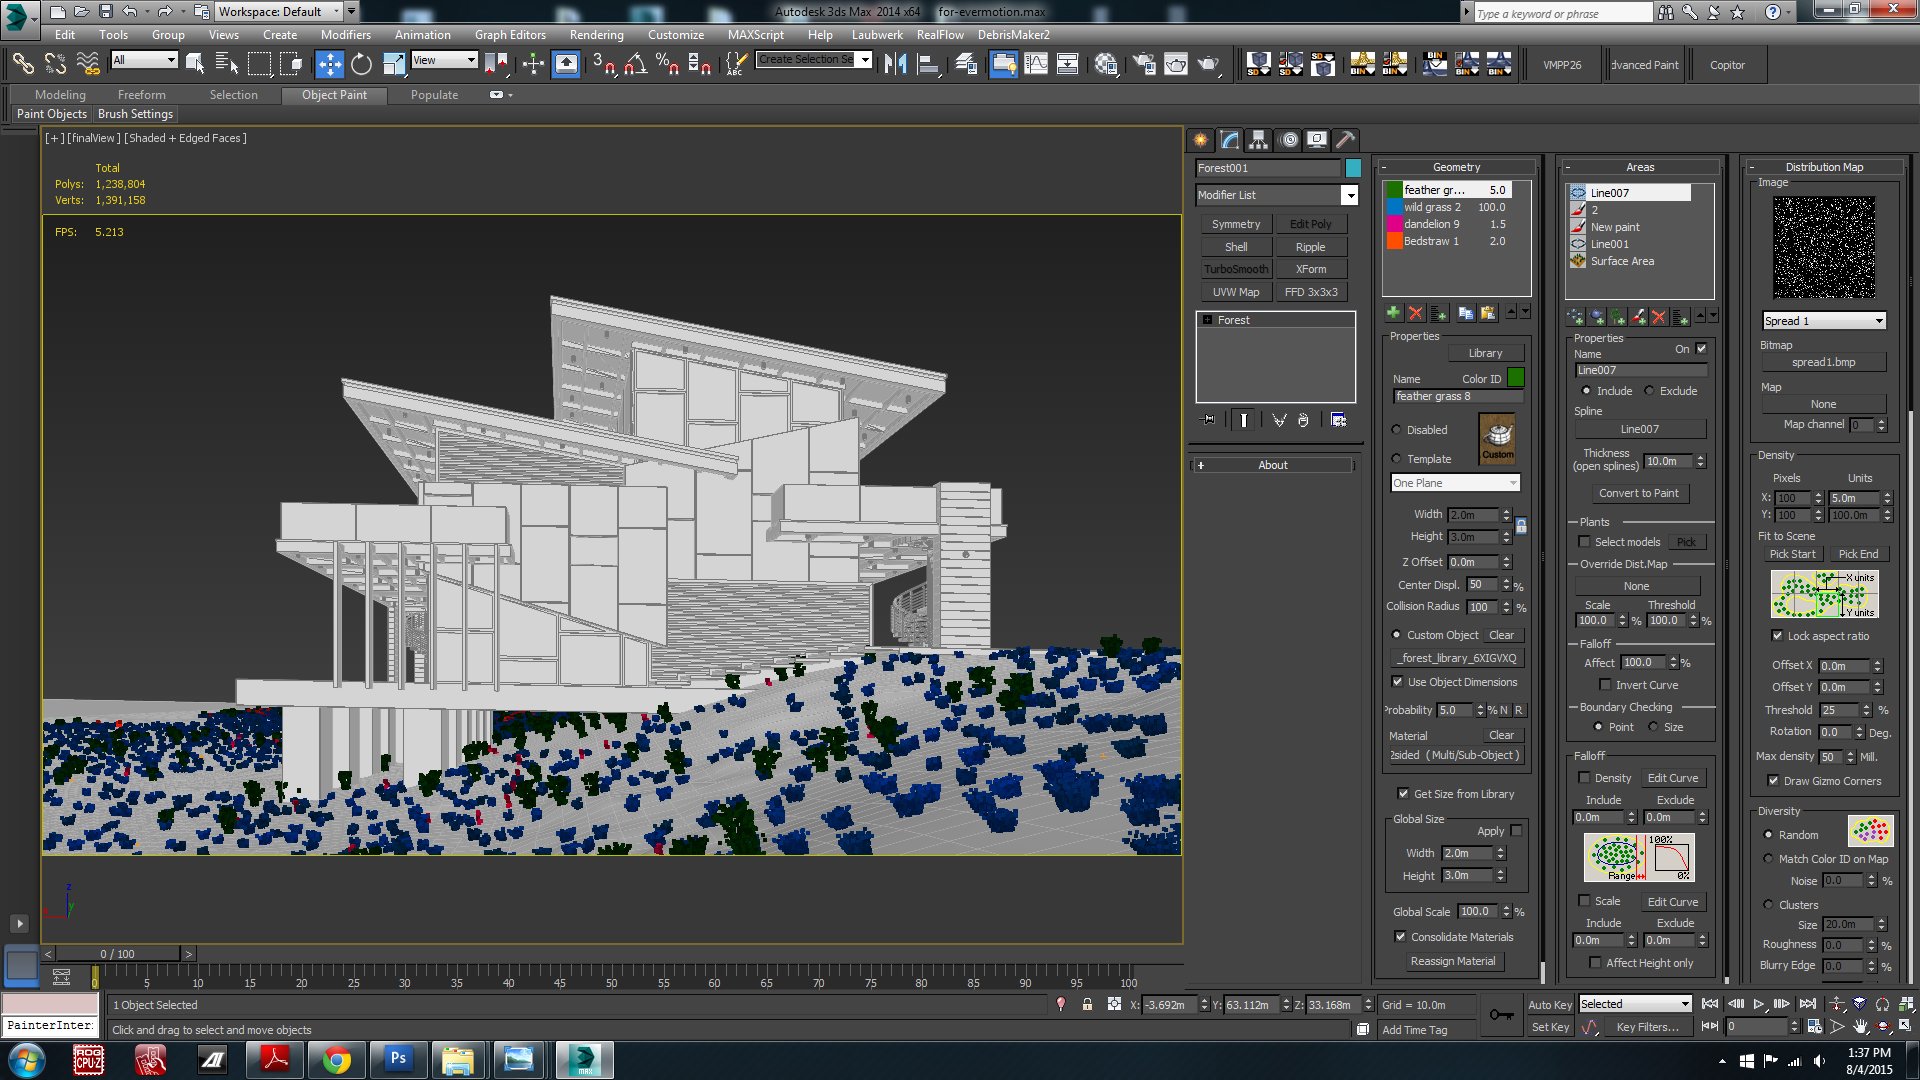
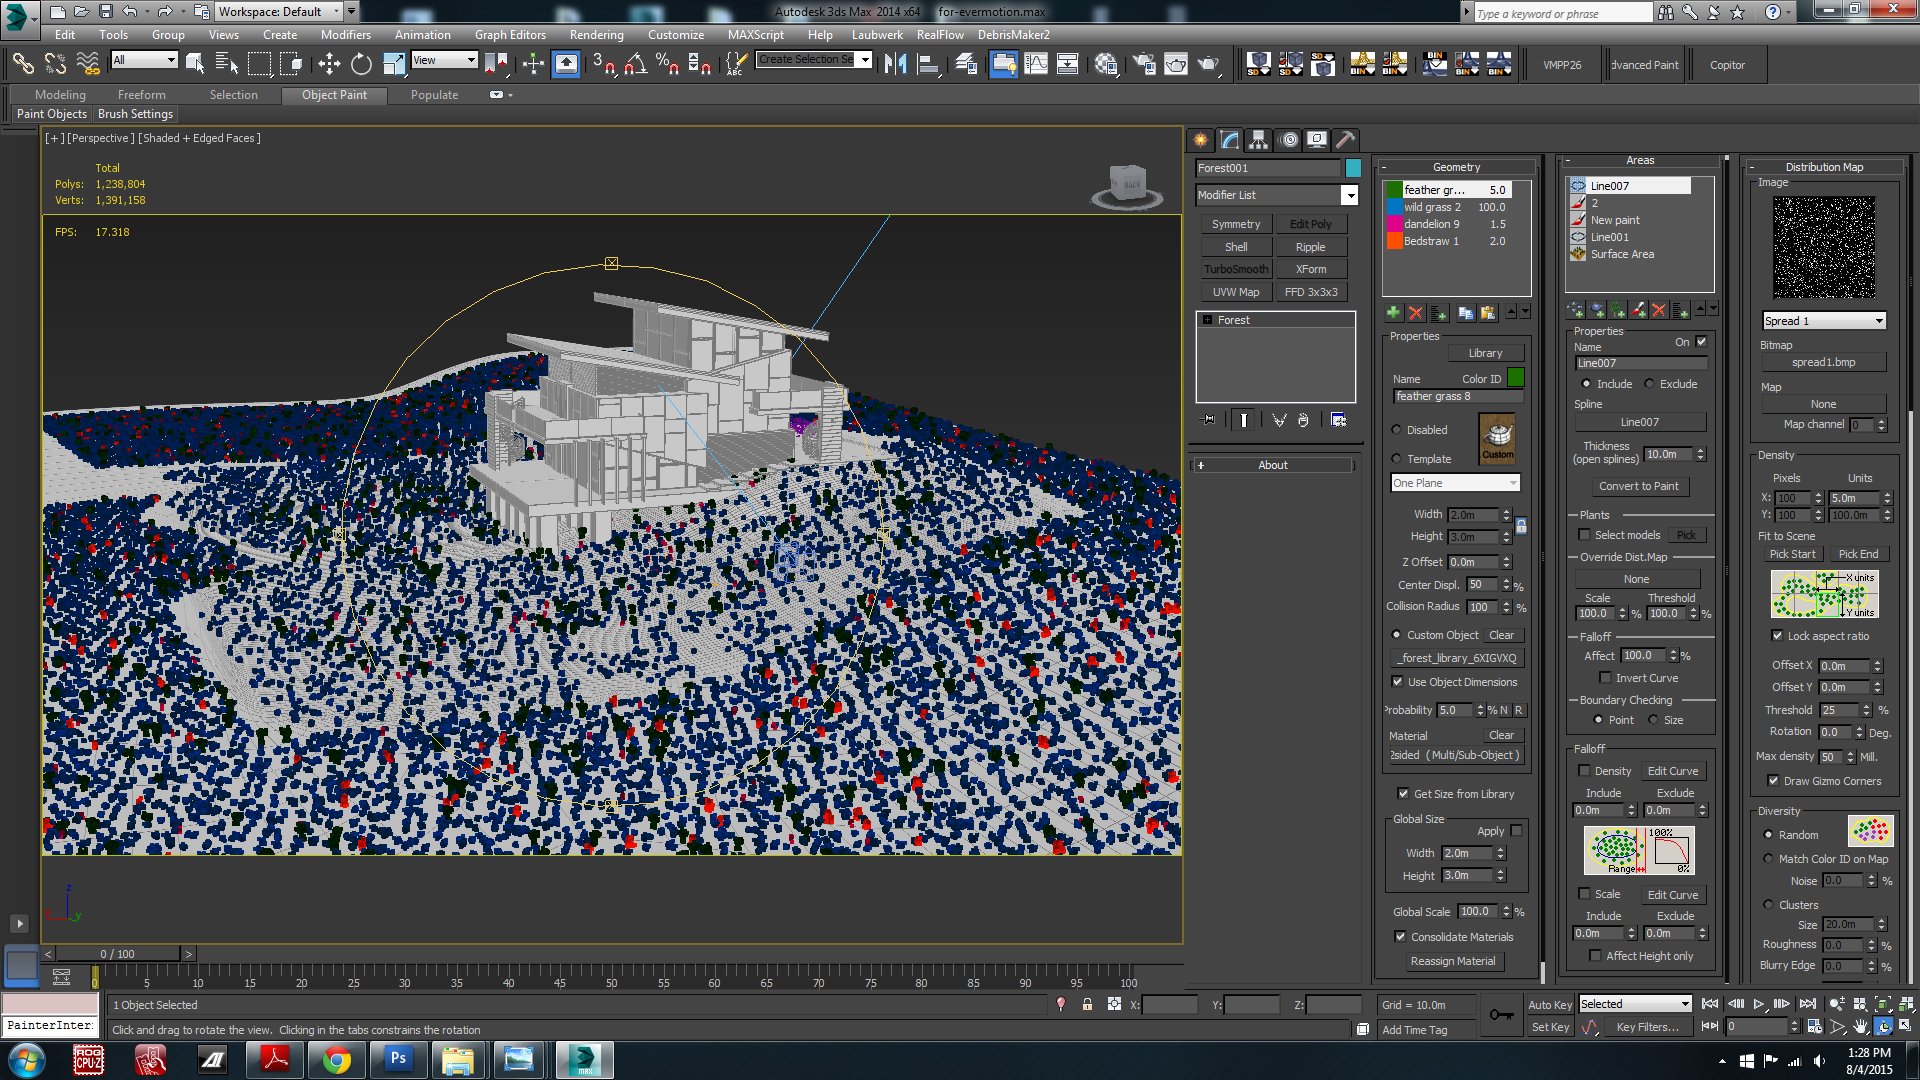
I used Itoo Forest Pack Pro for scattering trees and shrubs. Shrubs settings on the right.


Click on image to enlarge nr_15_198.jpg

Shrubs scattering.


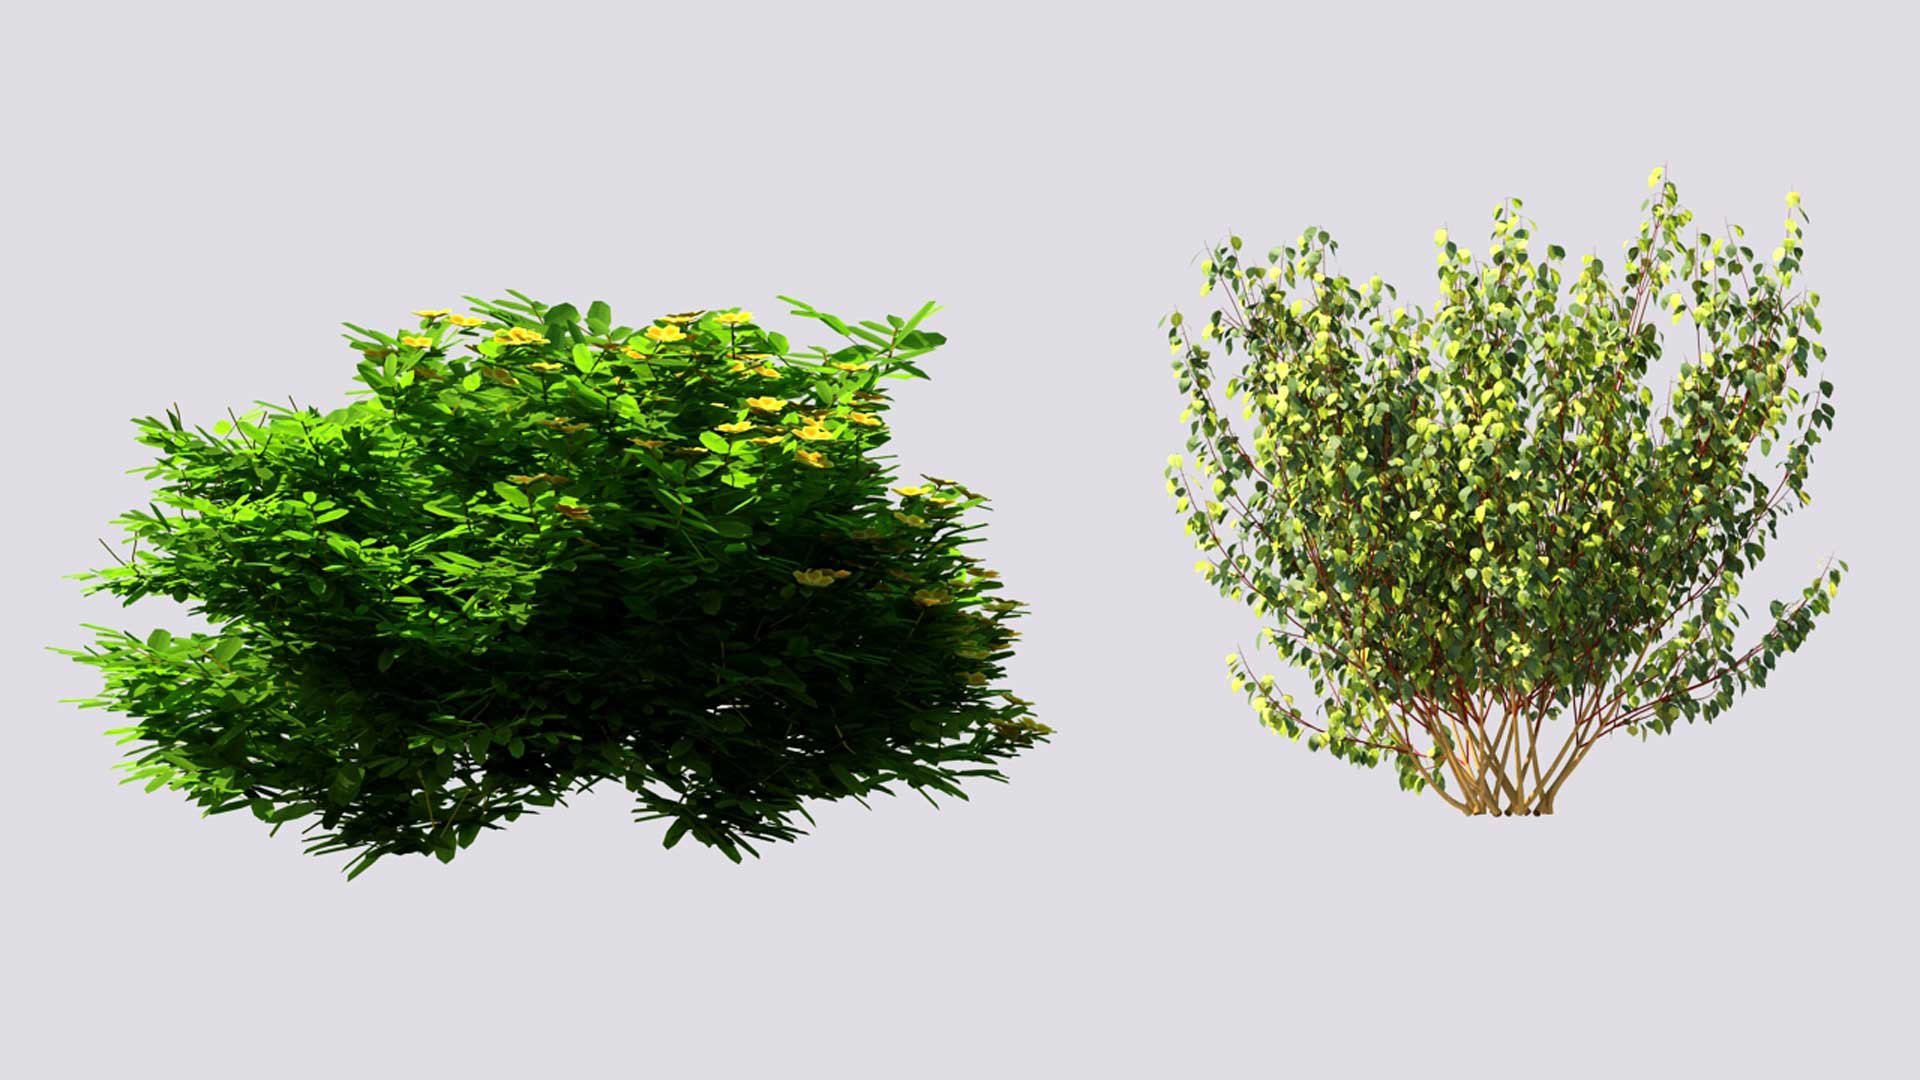
Click on image to enlarge nr_14_197.jpg

Shrubs used in this scene.


Click on image to enlarge nr_16_199.jpg

Grass settings.


Click on image to enlarge nr_17_200.jpg

...and grass distribution.


Click on image to enlarge nr_18_201.jpg

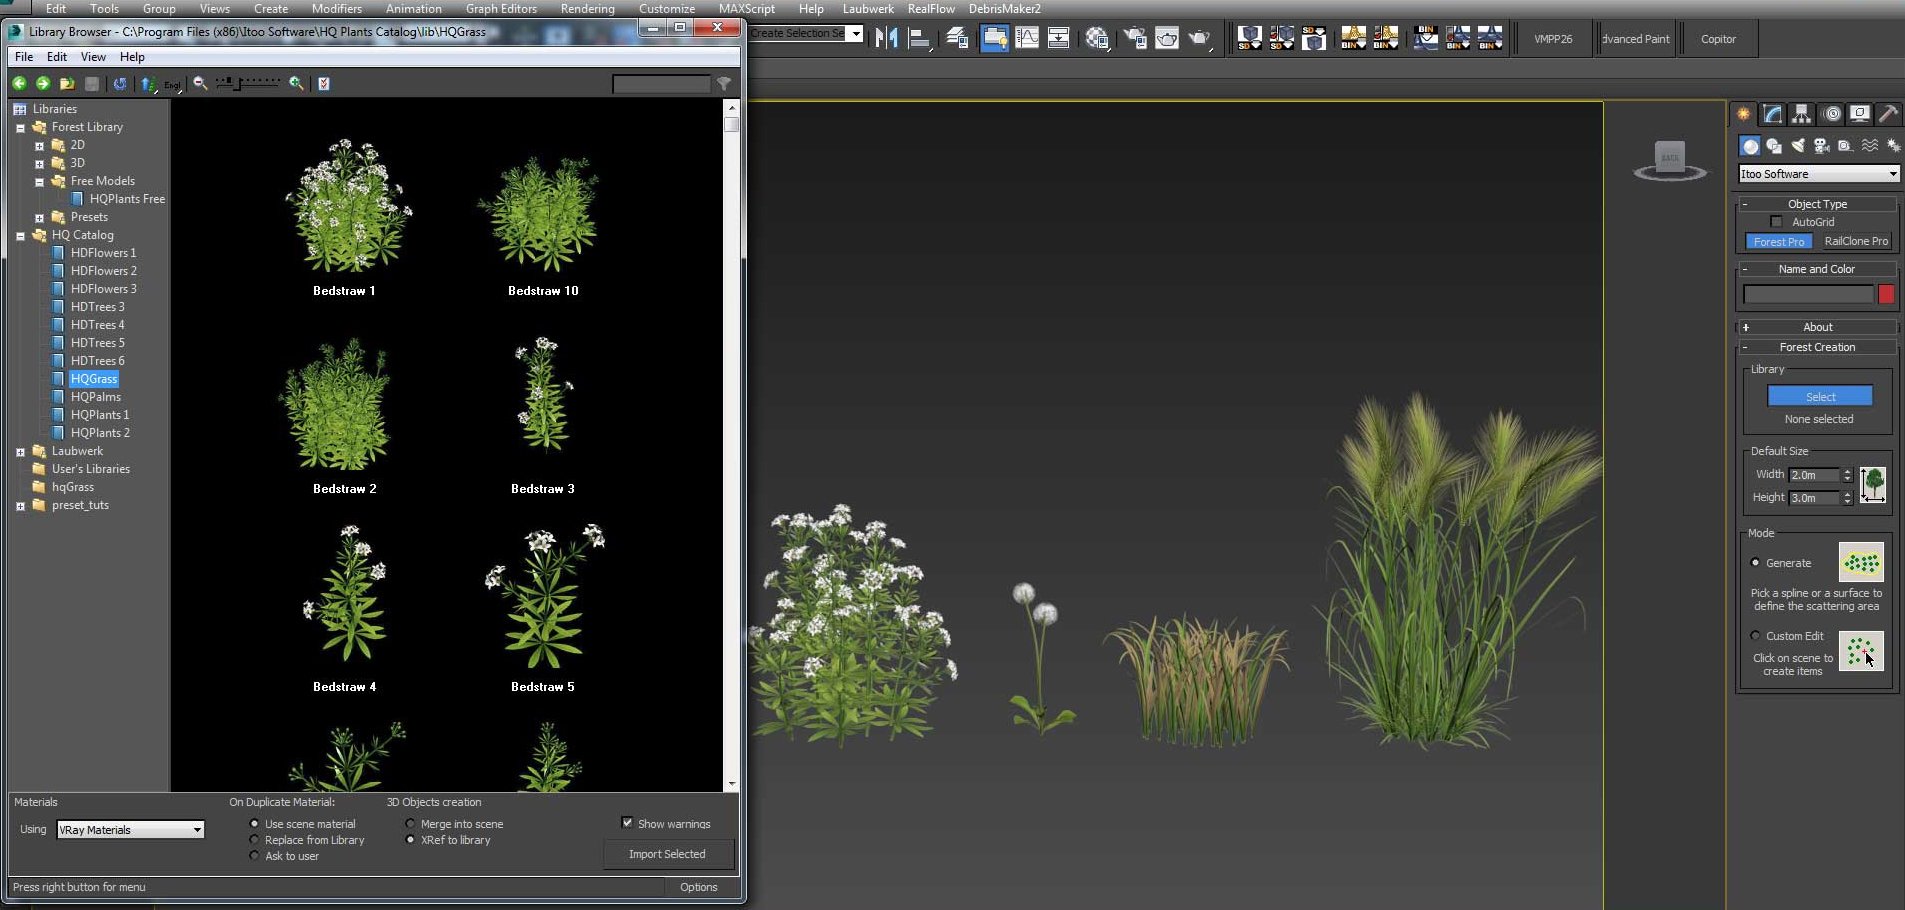
Grass models.


Click on image to enlarge nr_19_202.jpg

Everything is in place. Now we are ready to render!


Click on image to enlarge nr_21_204.jpg

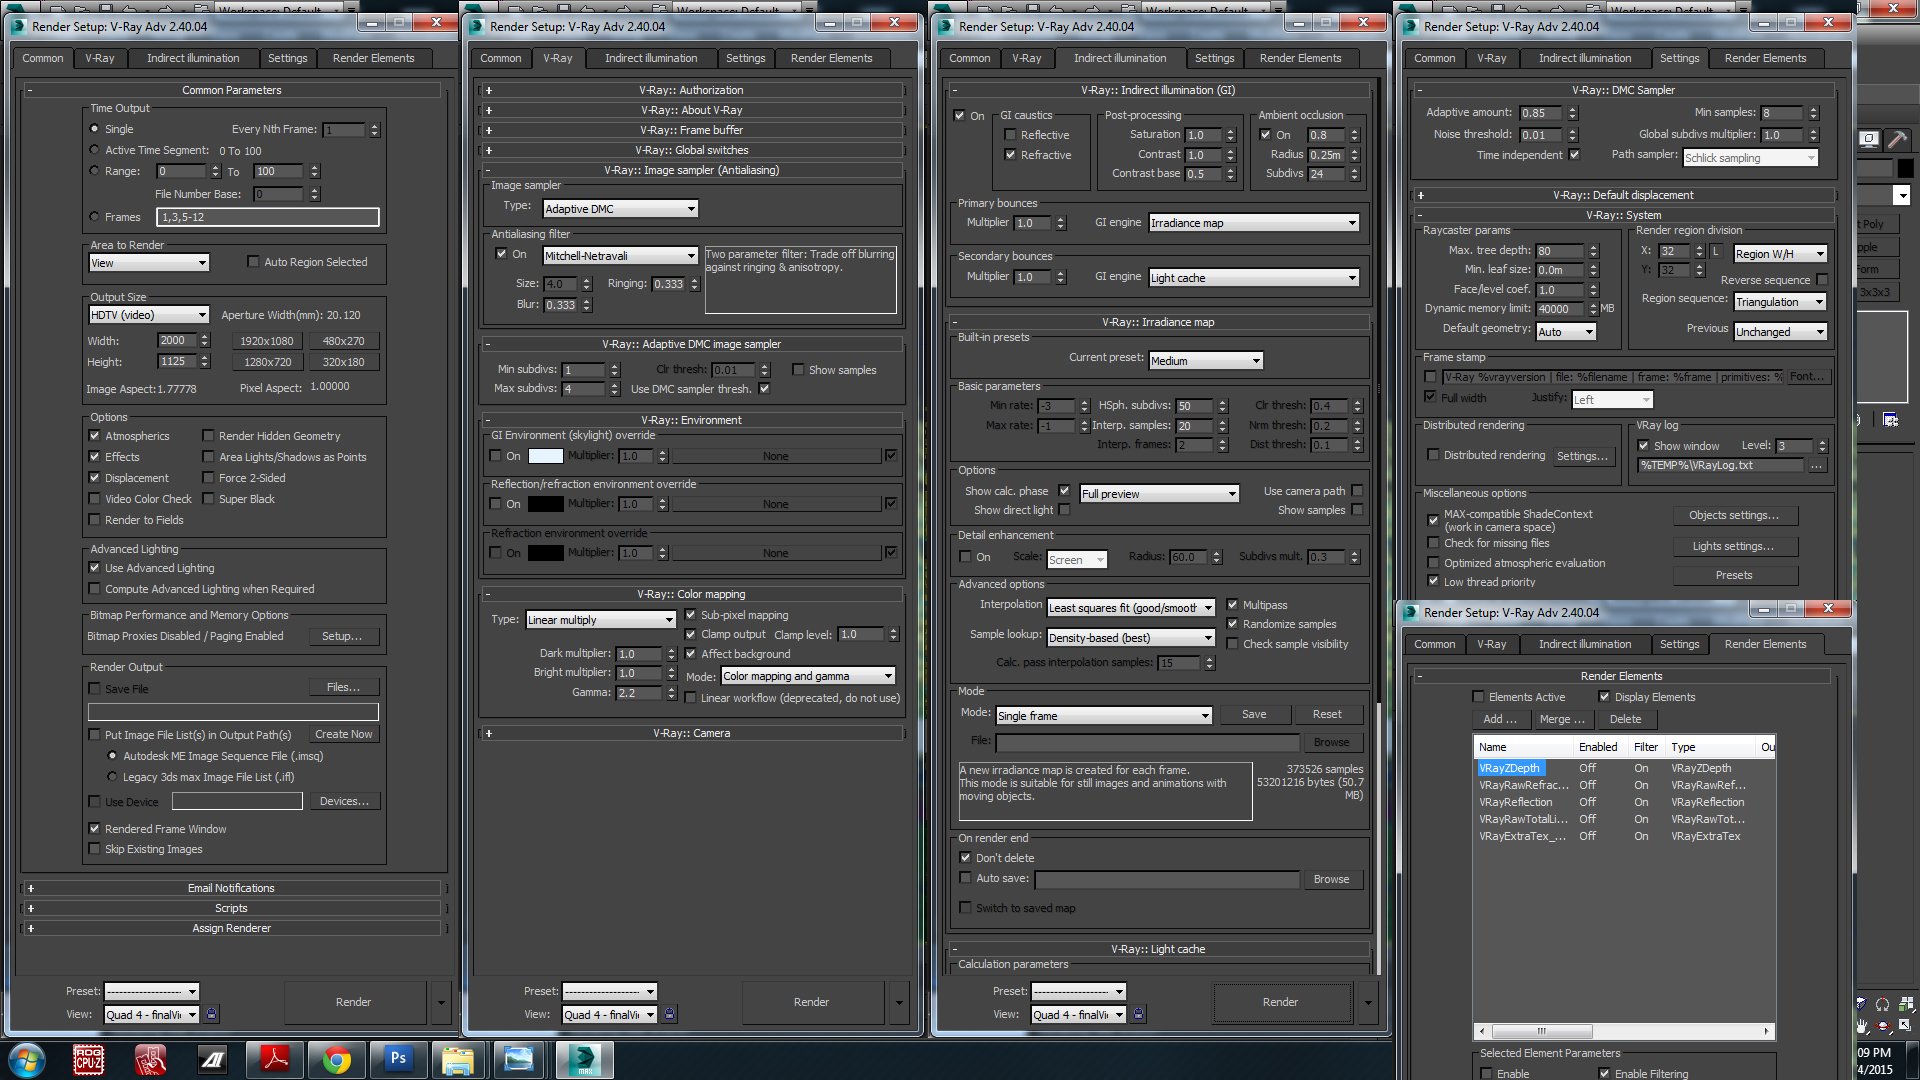
Render settings.


Click on image to enlarge nr_20_203.jpg

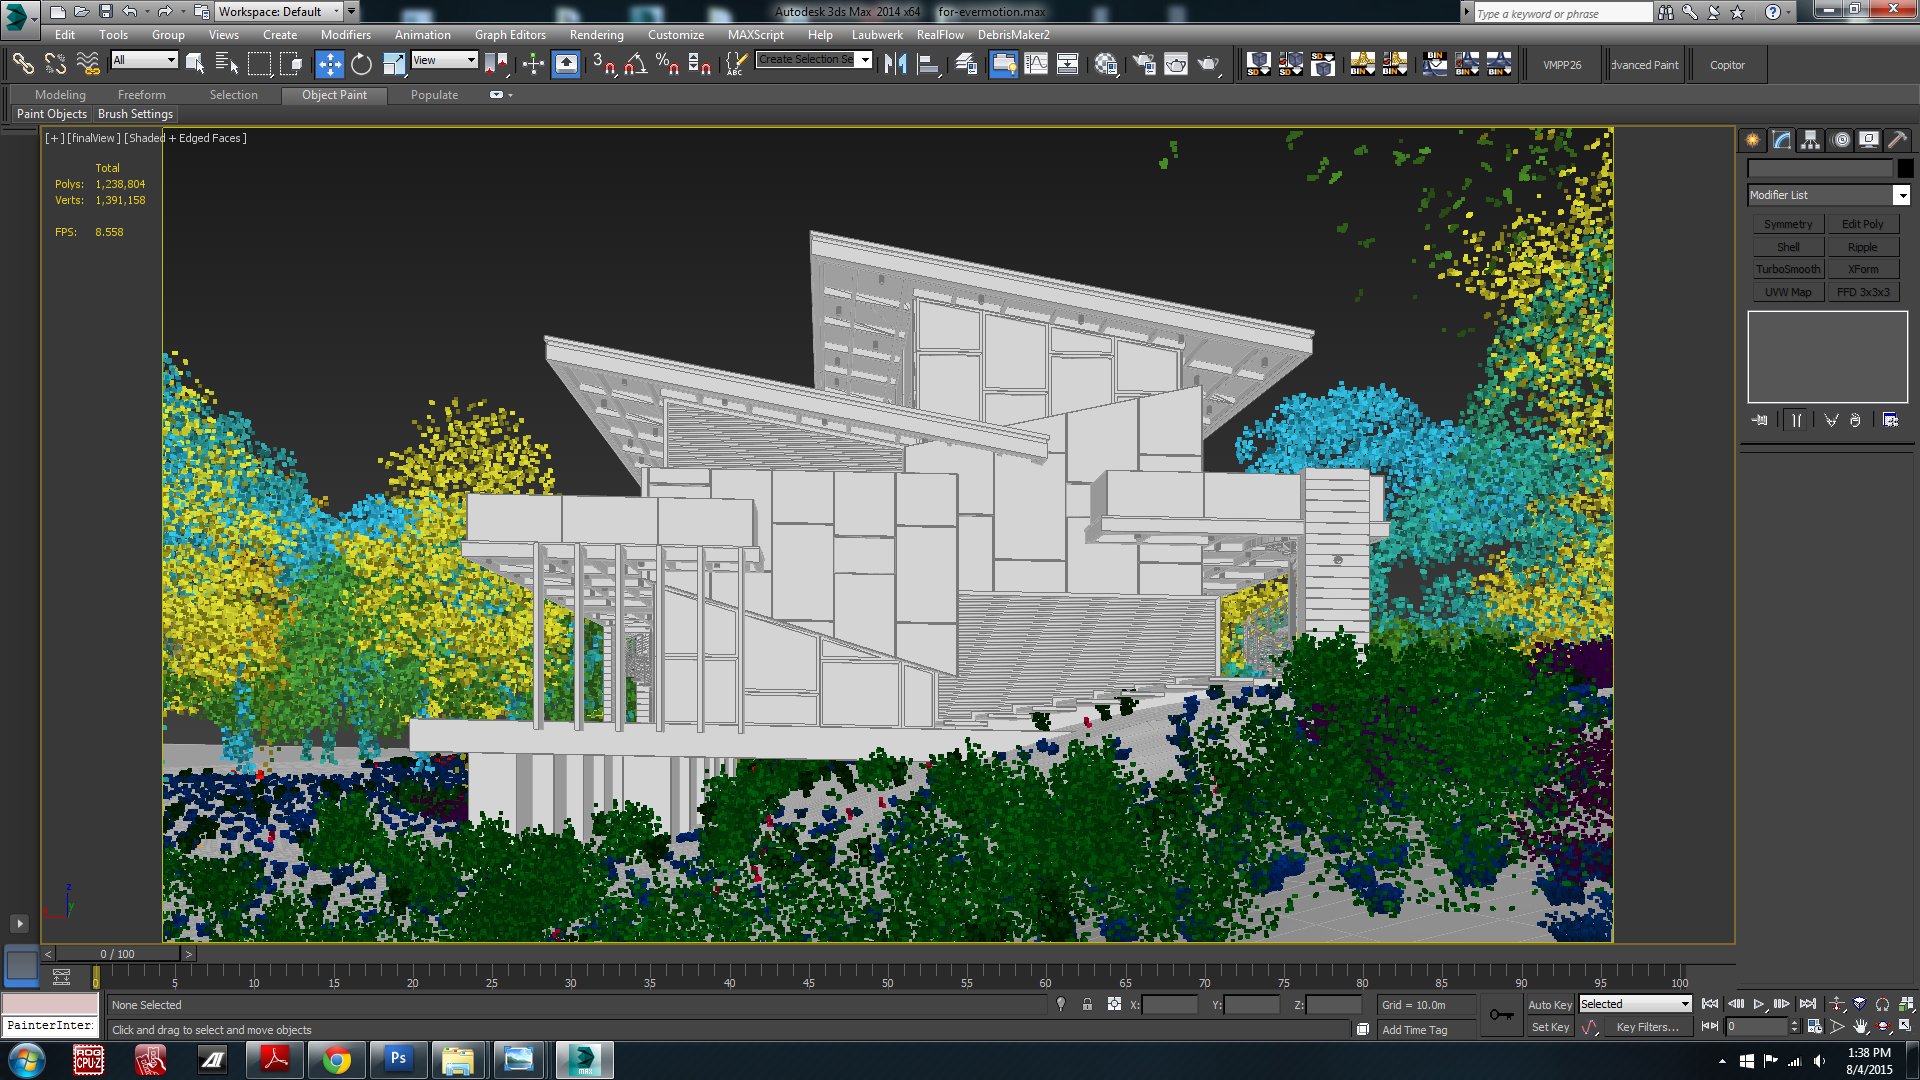
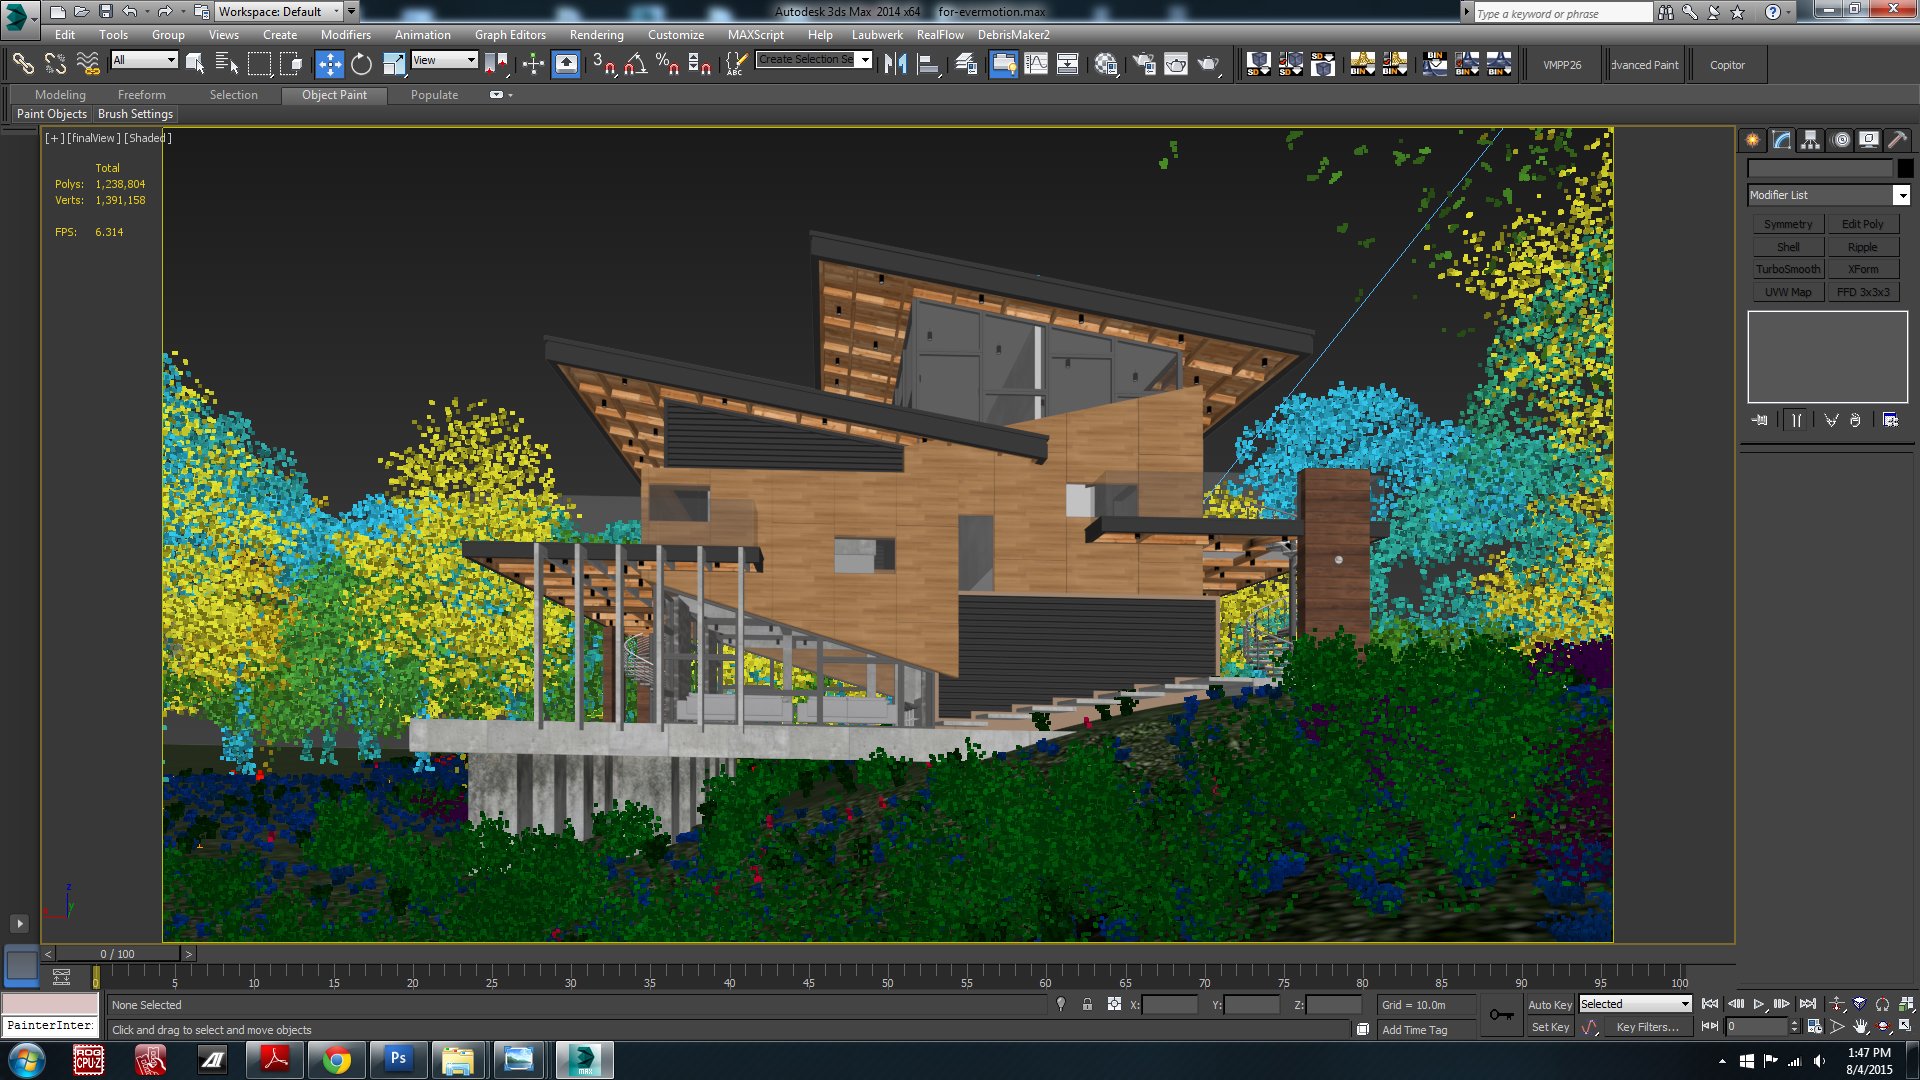
Scene in 3ds Max viewport.
 

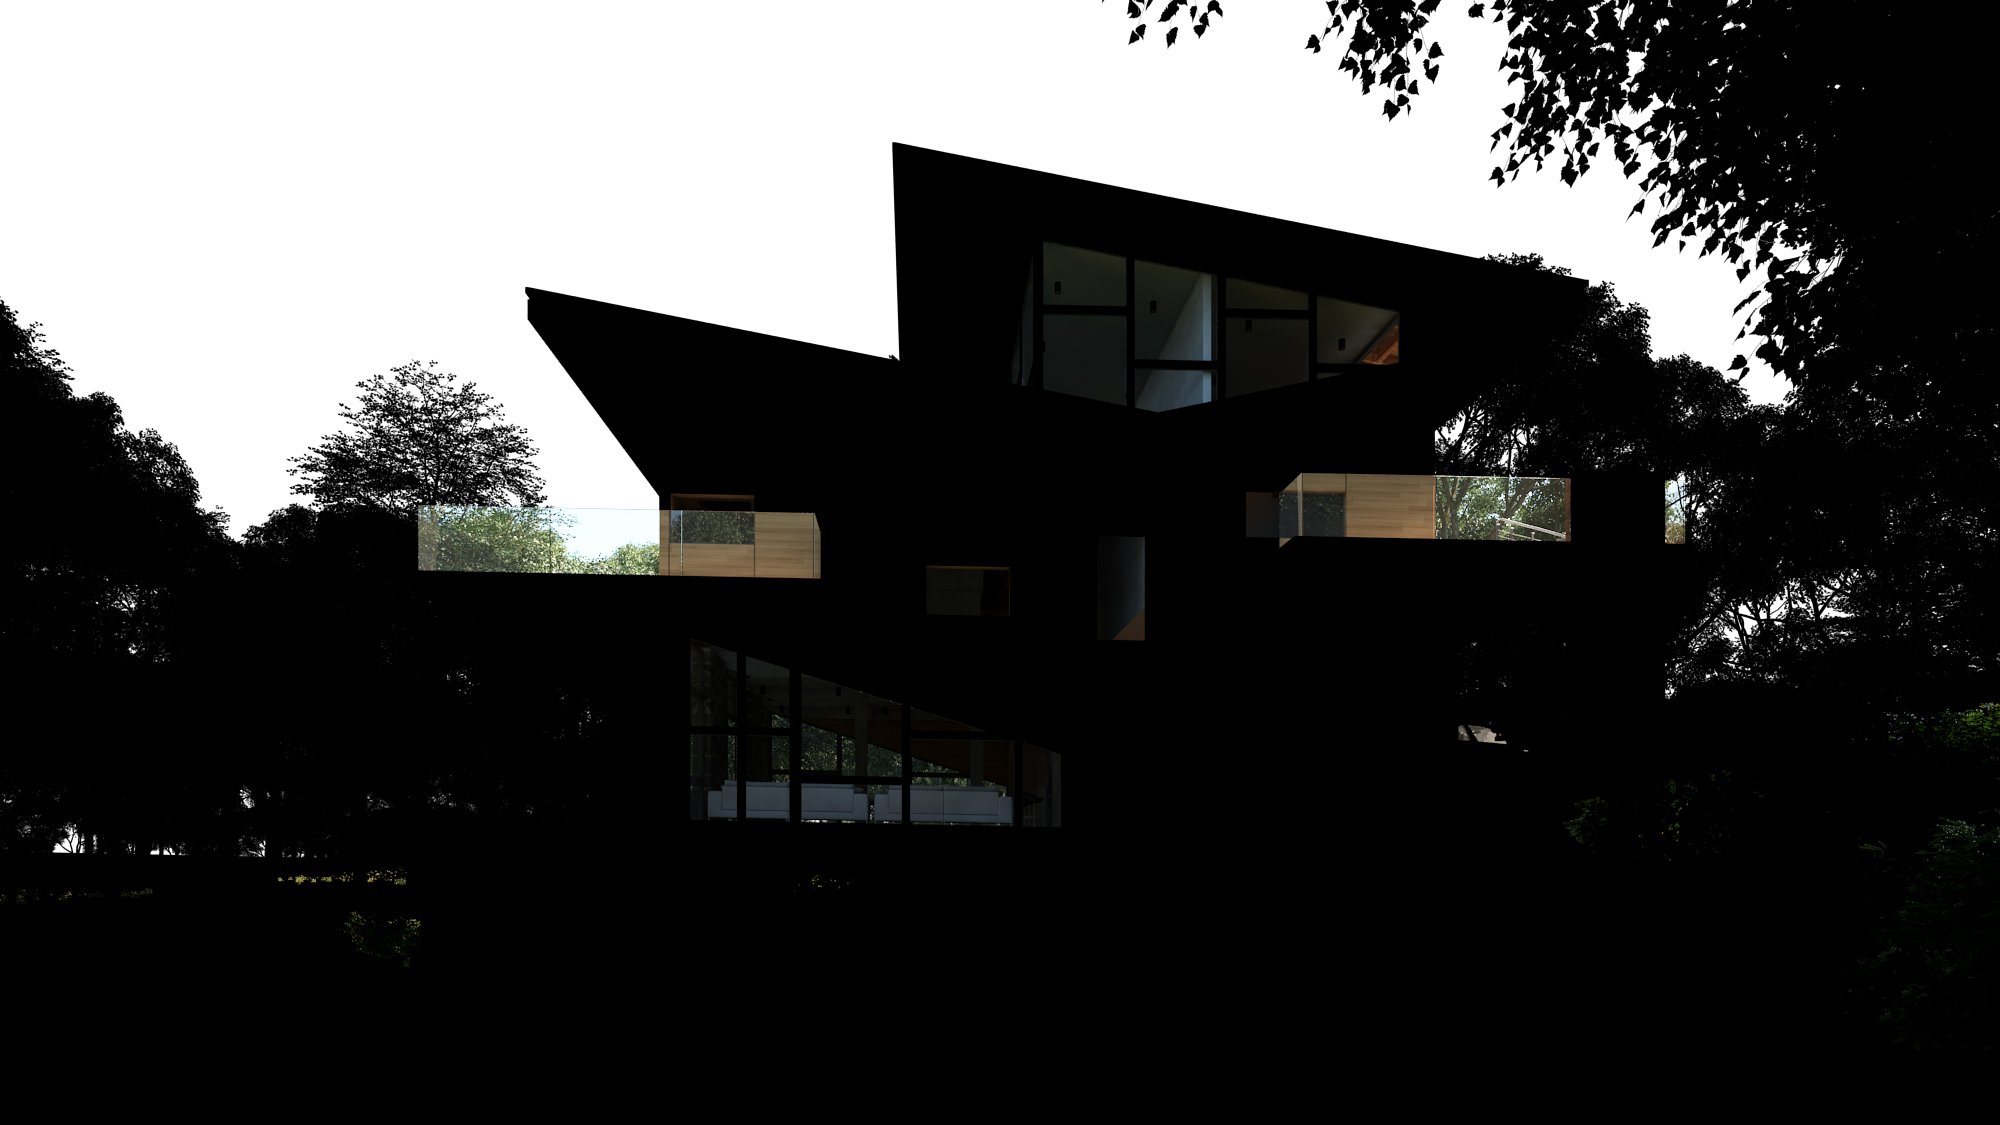
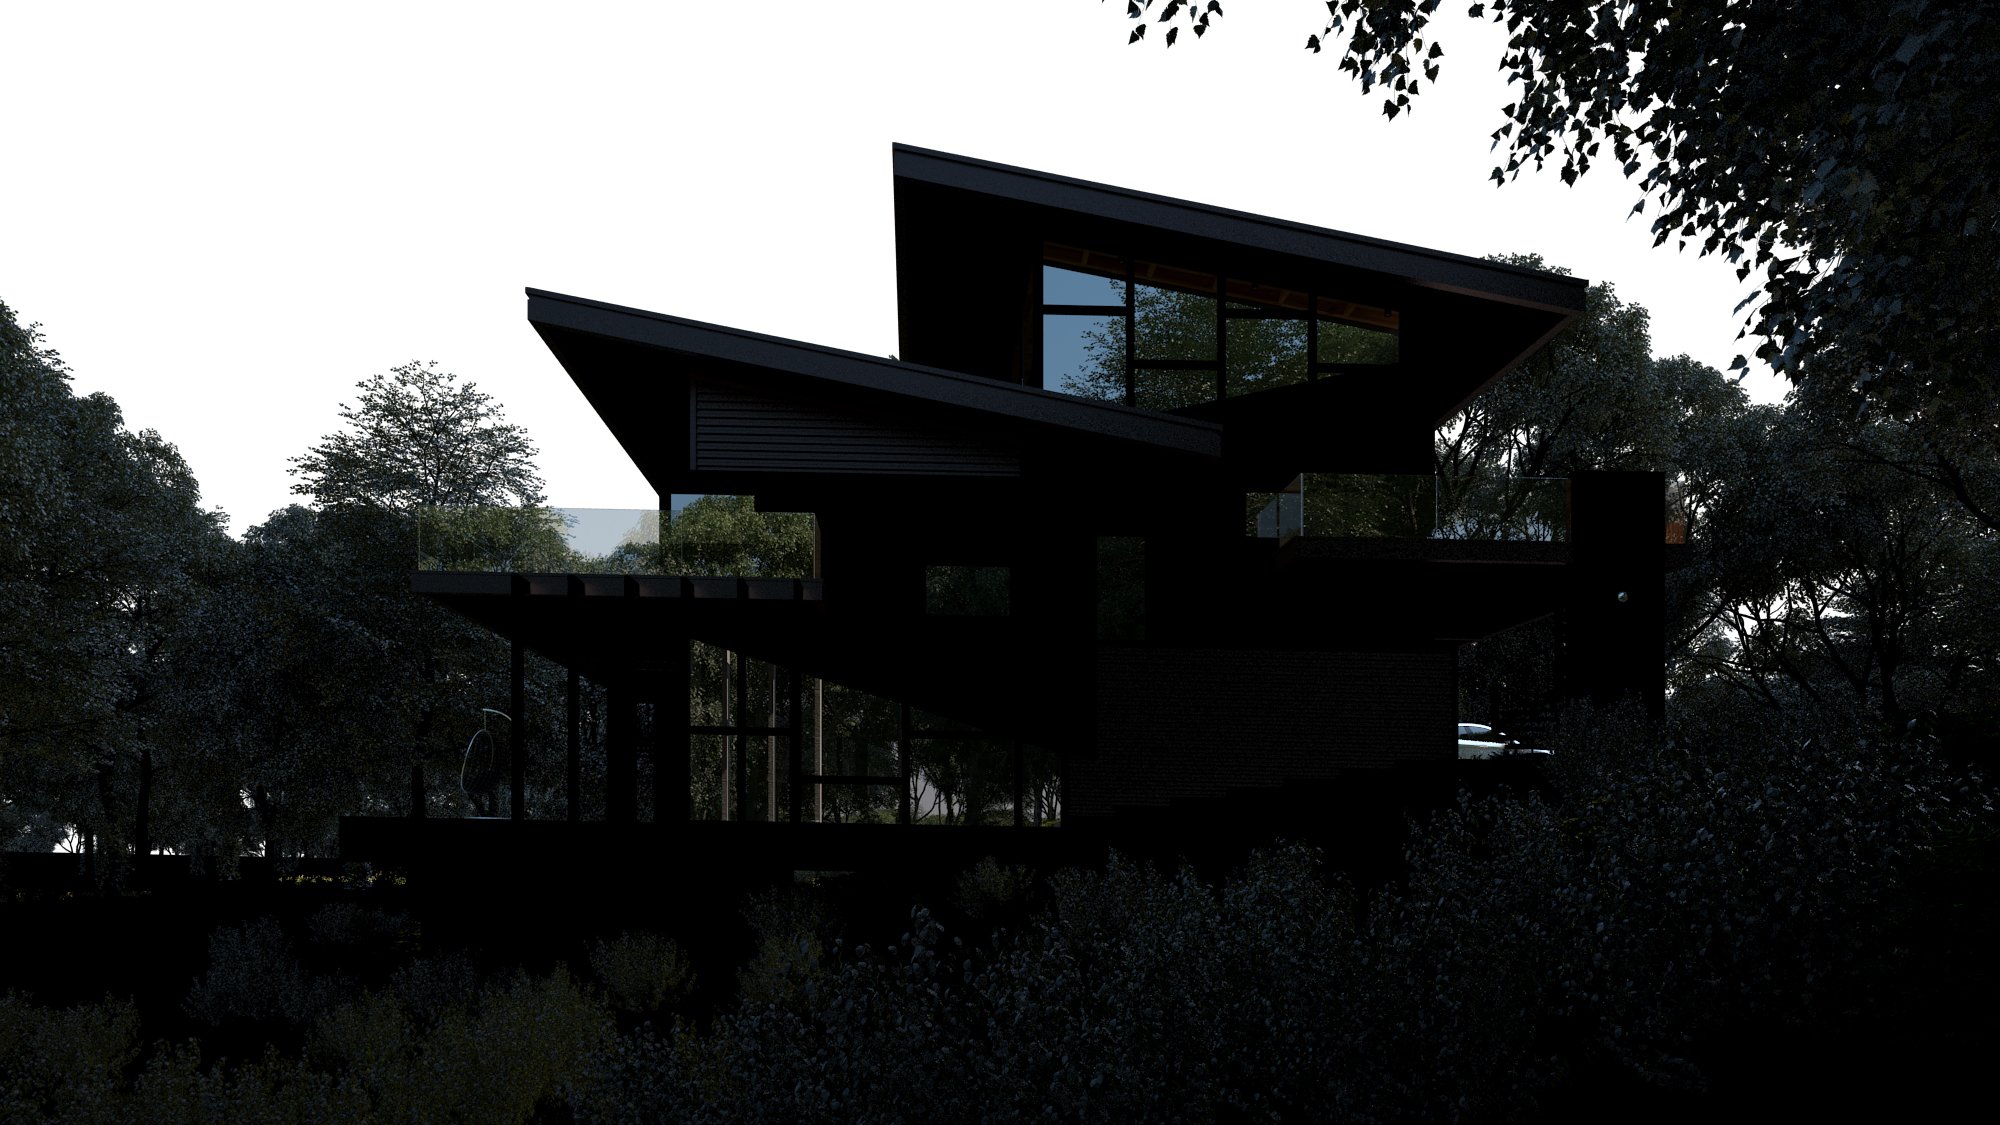
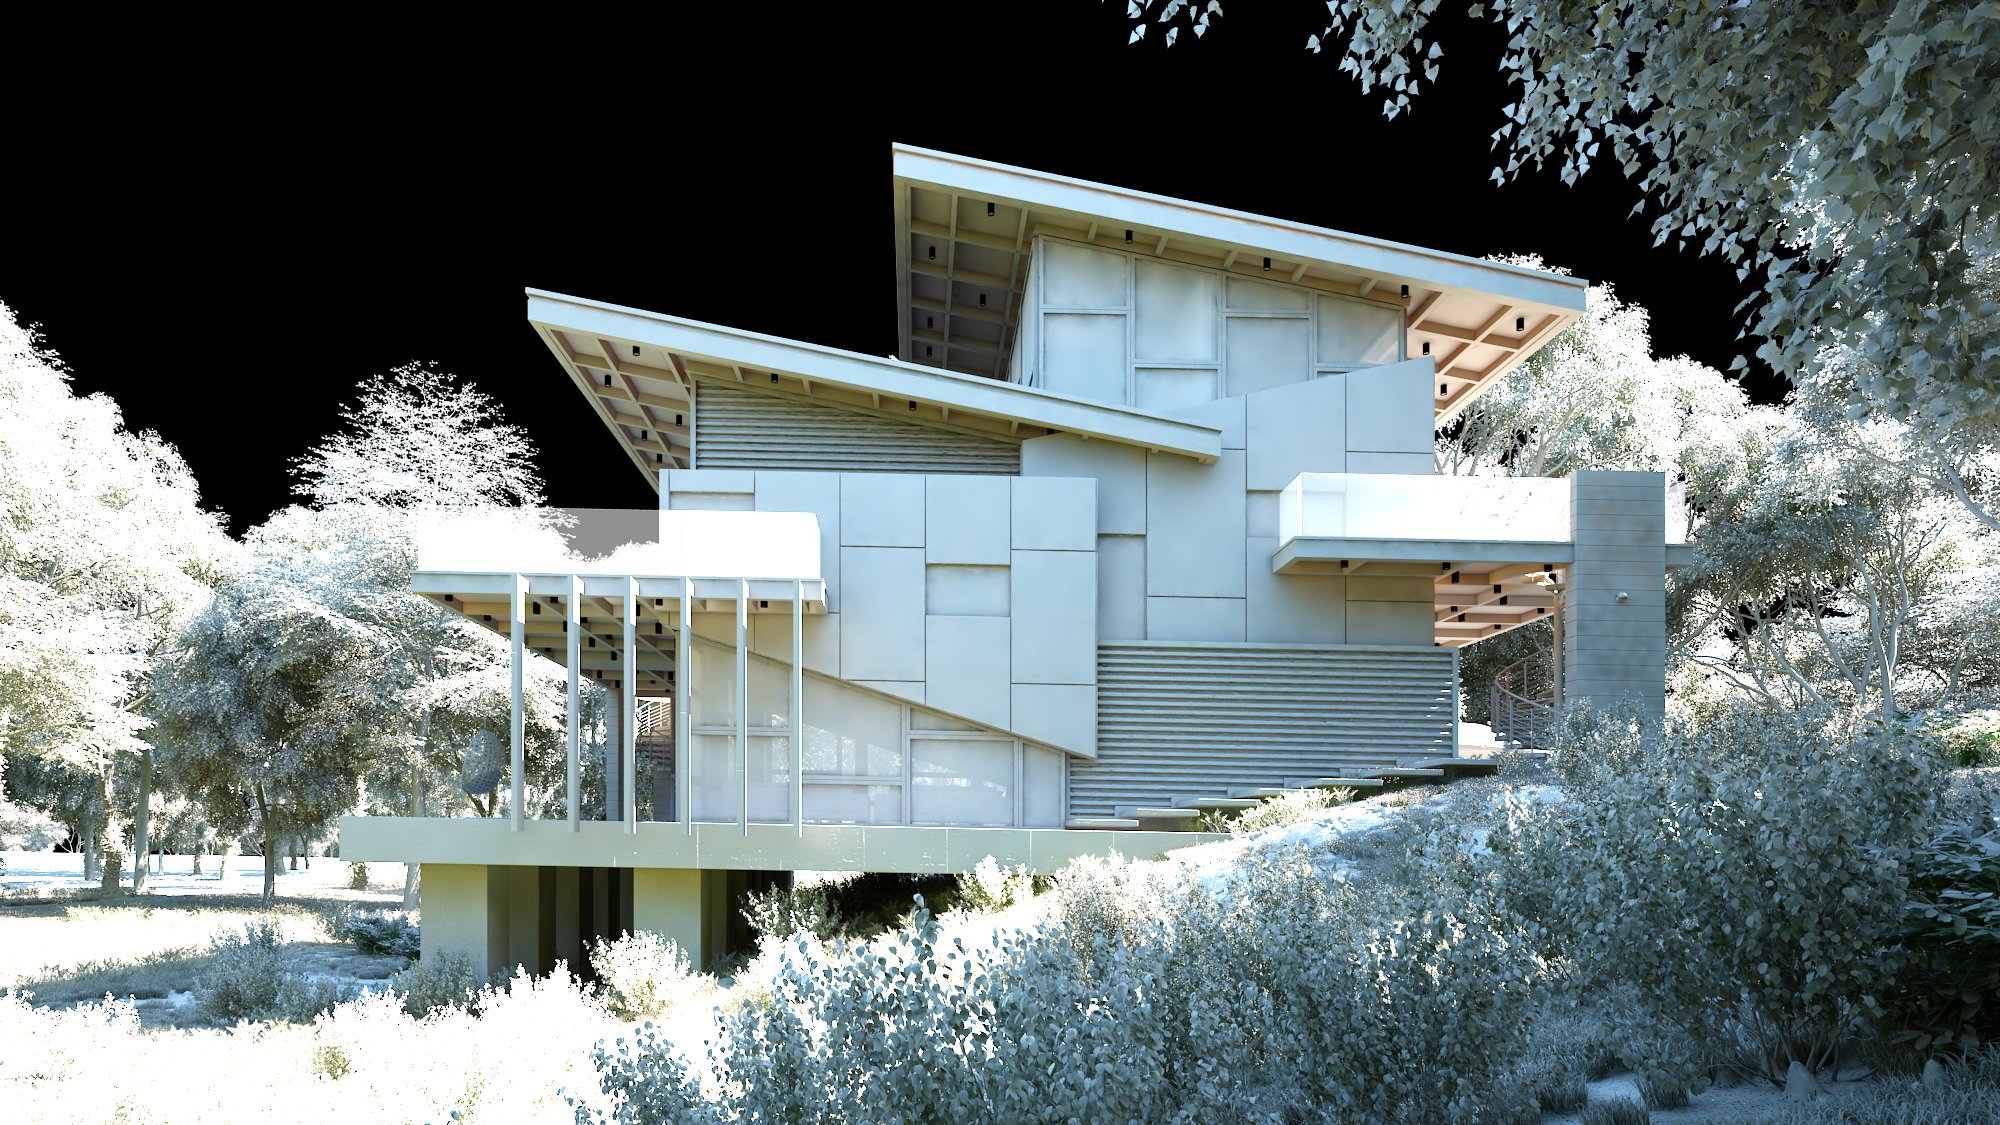
Render elements

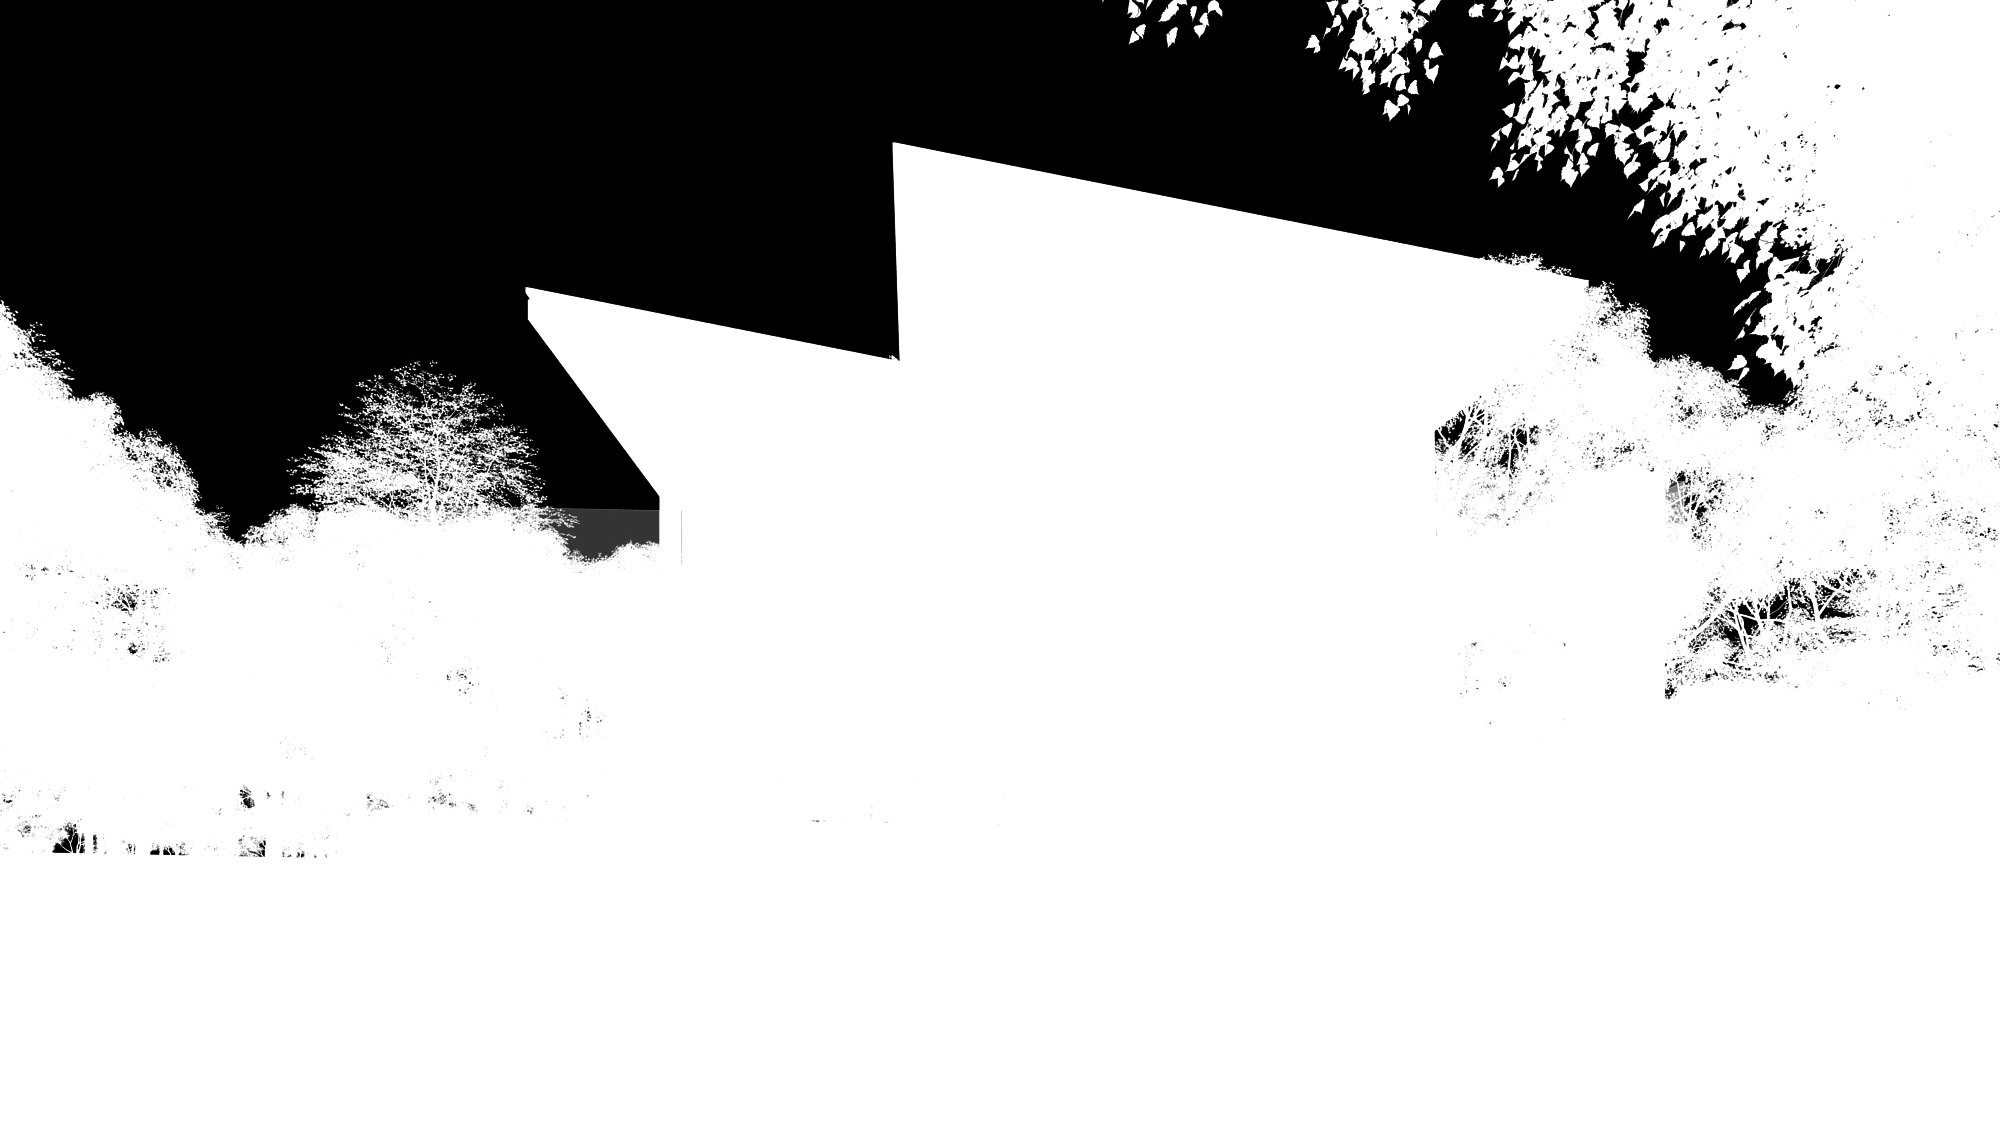
Click on image to enlarge nr_alpha_208.jpg

Alpha


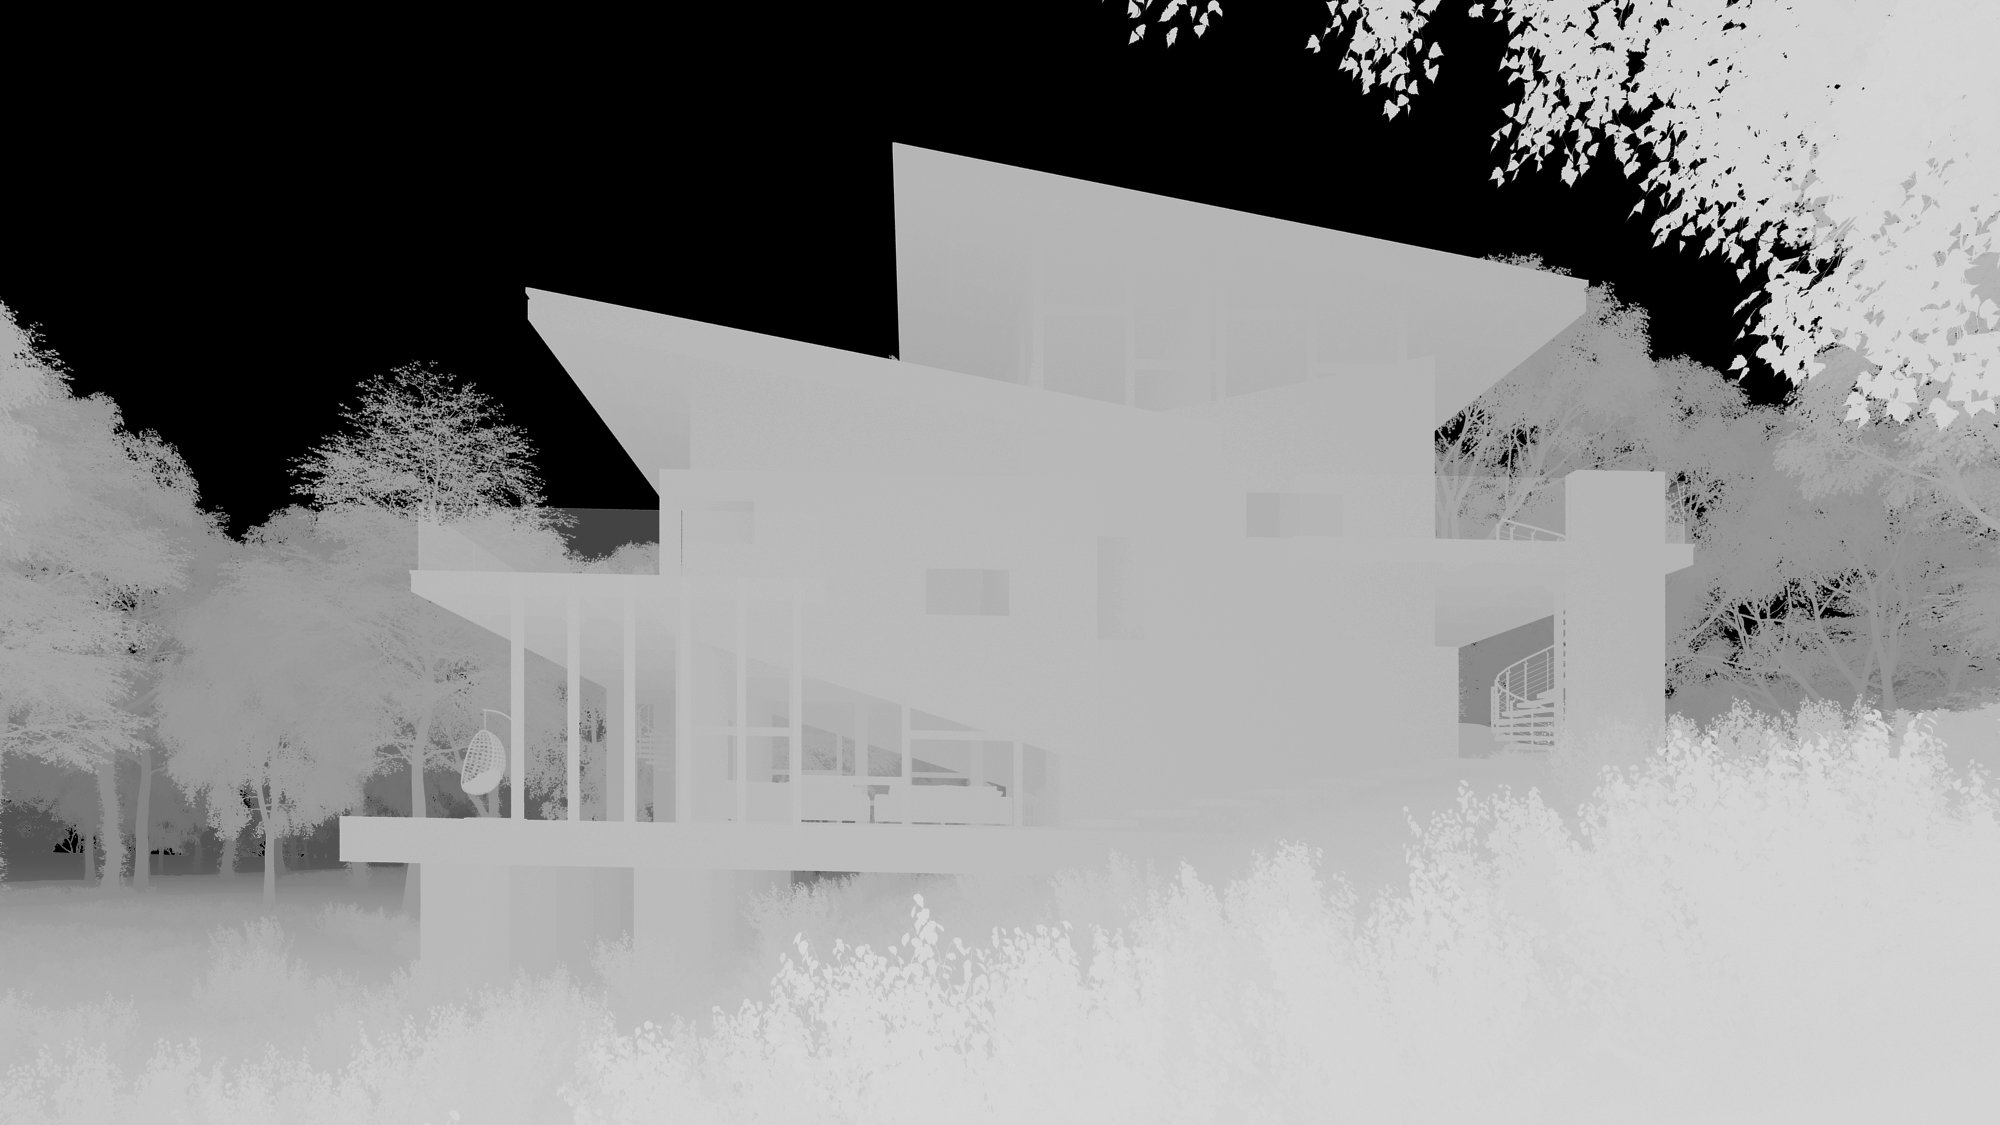
Click on image to enlarge nr_depth_209.jpg

VRayZdepth


Click on image to enlarge nr_vrayDirt_211.jpg

Vray Dirt.


Click on image to enlarge nr_vrayRawRefraction_212.jpg

VRayRawRefraction


Click on image to enlarge nr_vrayReflection_214.jpg

VRayReflection


Click on image to enlarge nr_VrayRawTotalLighting_213.jpg

VRayRawTotalLighting


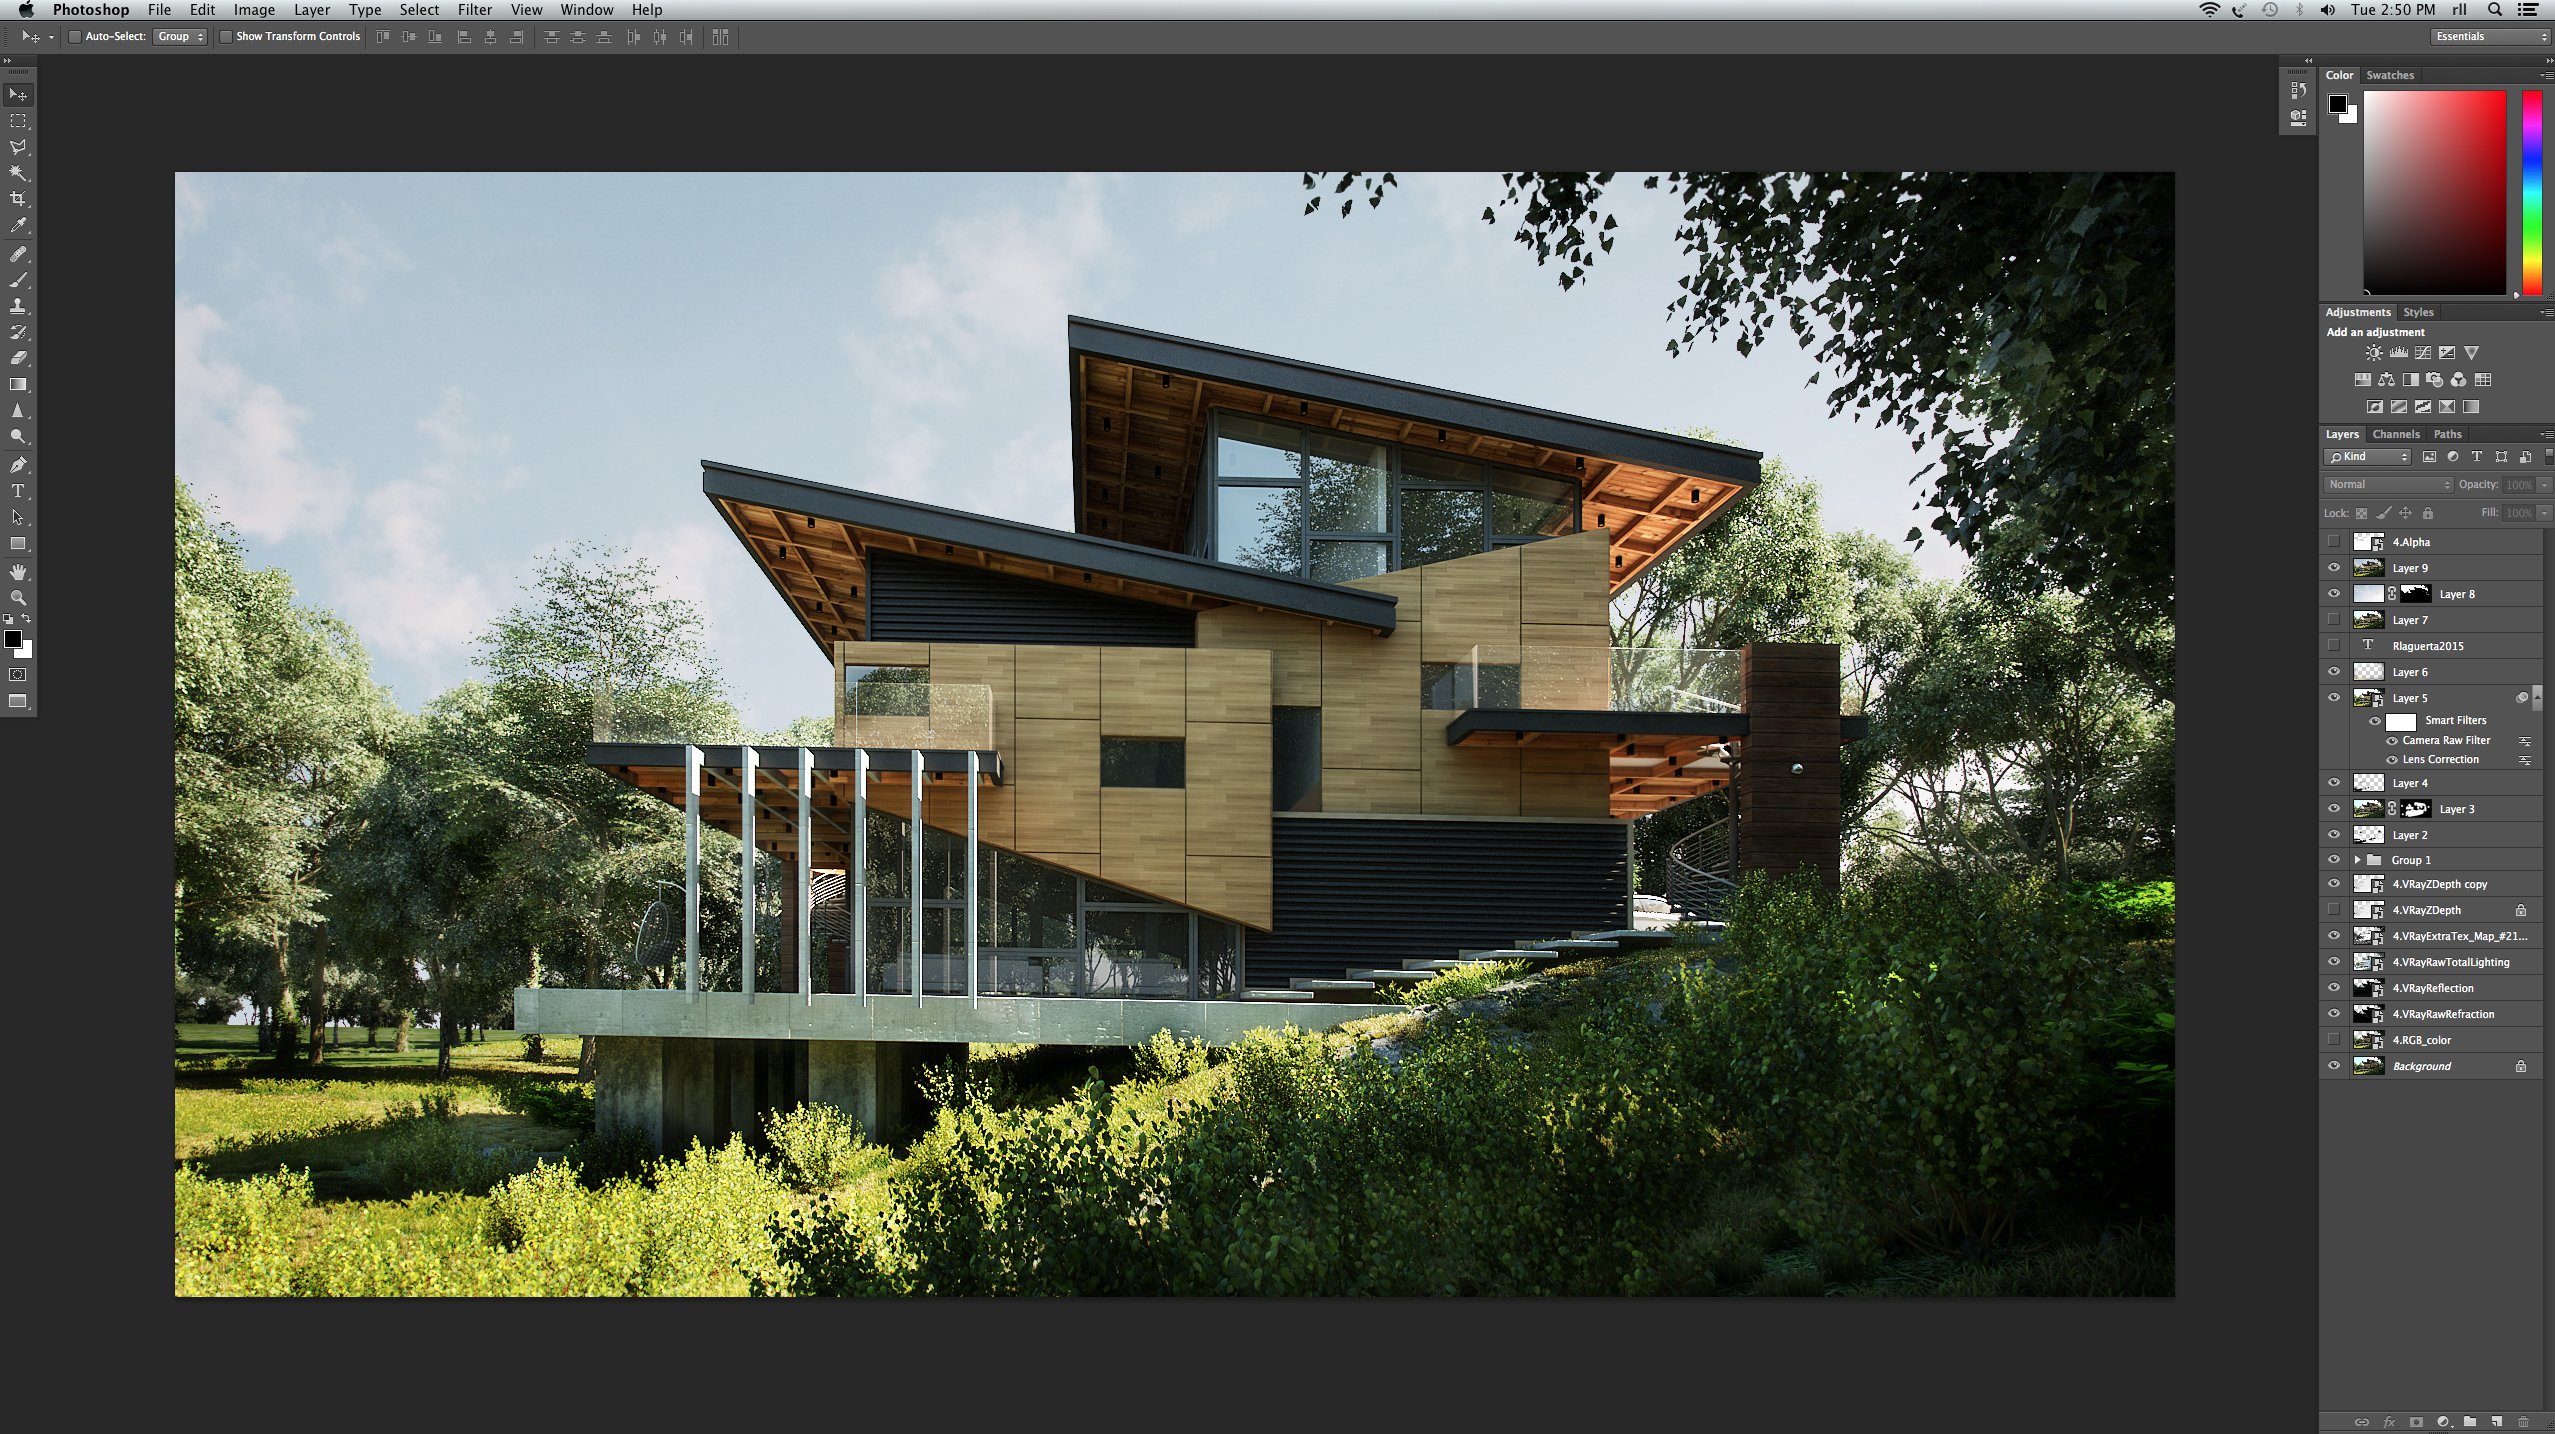
Click on image to enlarge nr_22_205.jpg

I used Photoshop to combine all the render elements to achieve the final result.


Click on image to enlarge nr_add2_206.jpg

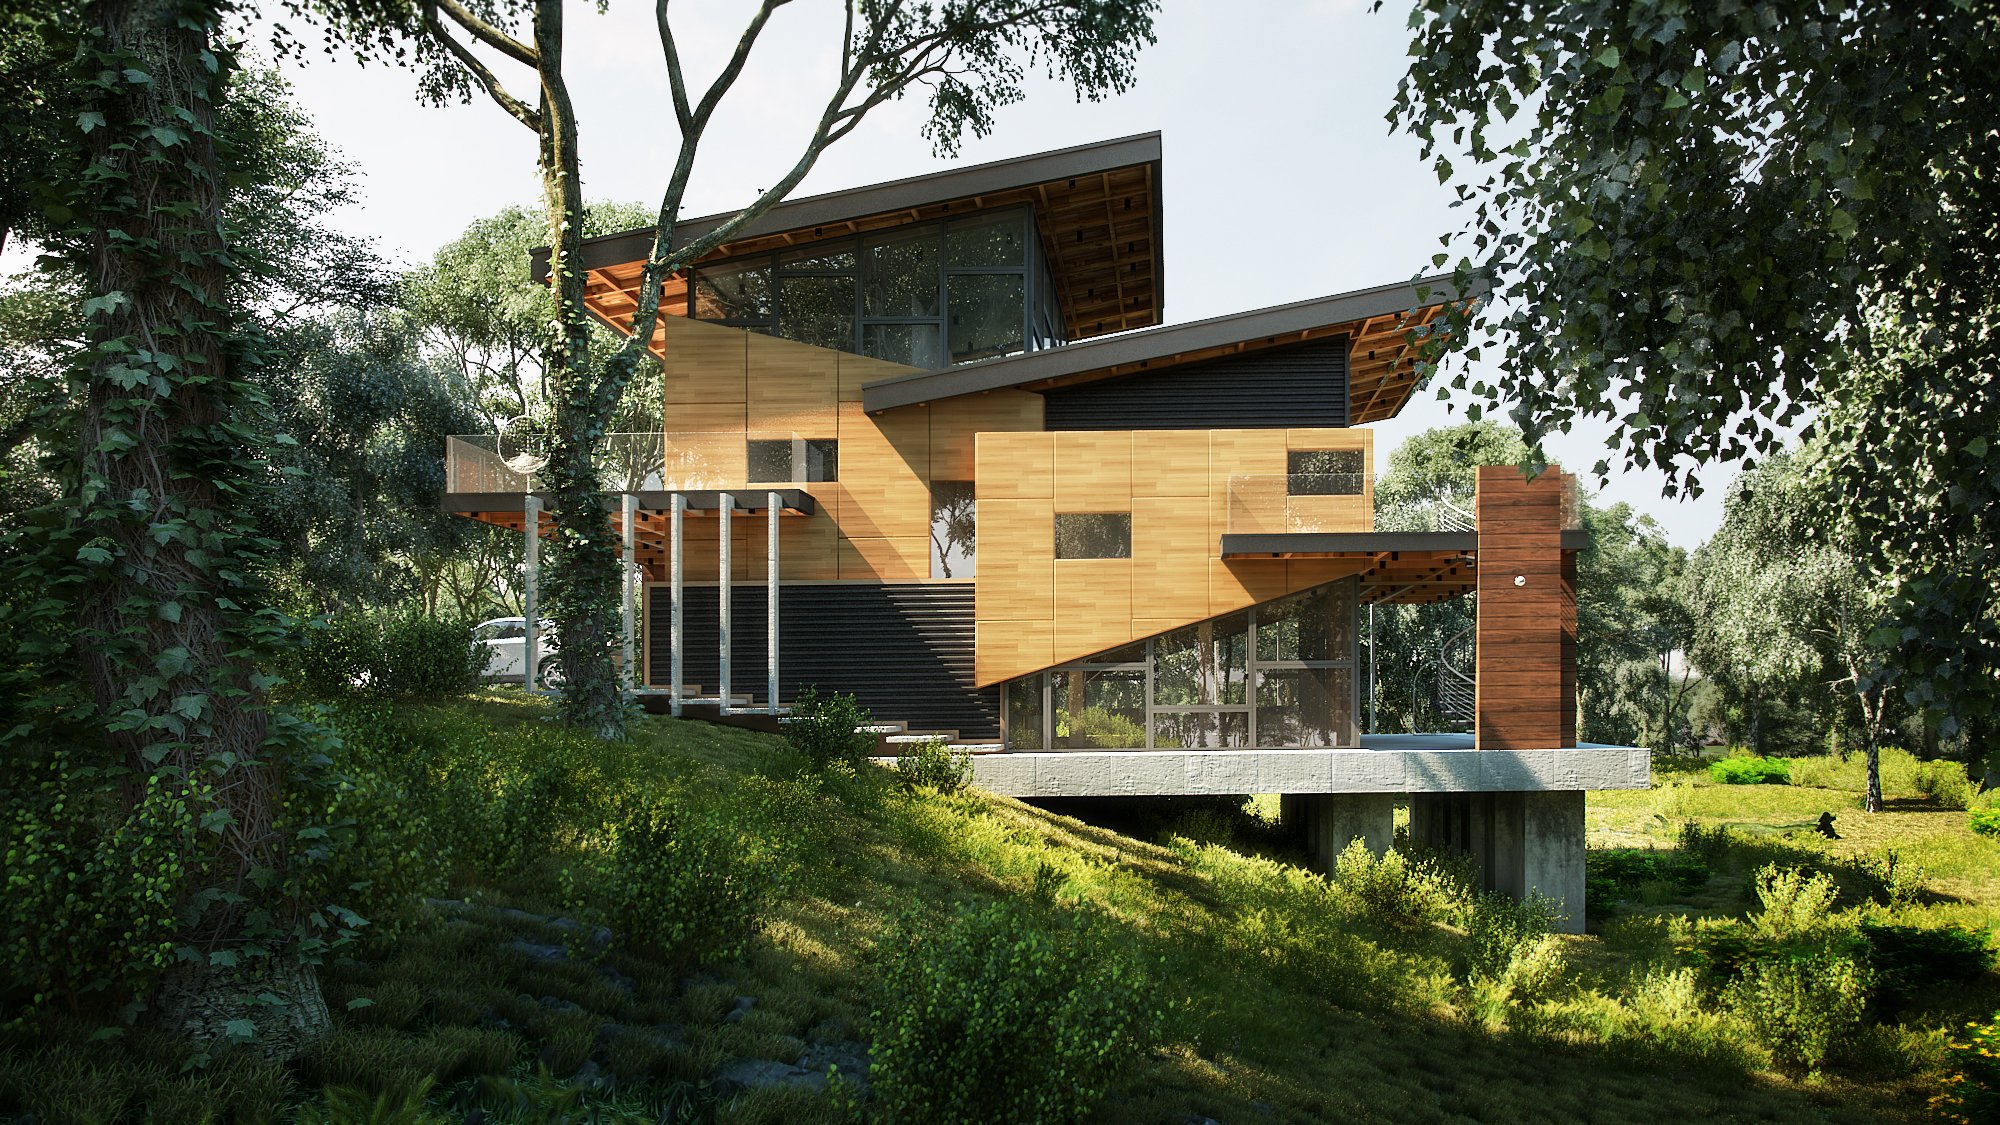
Additional View 1.


Click on image to enlarge nr_add3_207.jpg

Additional View 2.


Click on image to enlarge nr_1_215.jpg

Final render again.
 

Thanks for reading! Hope you find this useful. I also want to thank Evermotion for giving me the opportunity to share this with you!

Author: Robert Laguerta Editor: Michał Franczak
Tags: exterior laguerta robert resthouse
You may also like...
Swimming Pool in Miami - Tip of the Week

Swimming Pool in Miami - Tip of the Week

Making of Archexteriors vol. 23 scene number 5.
×

LEAVE A COMMENT

You need to be logged in to leave a comment. Don't have account? Register now.

suryaratheesh 12:47:14  |  10-08-2015
realyyyyyyyyyy.................. what i say realyyy grate,.. No its amazinggggg..
bingbong 00:02:21  |  11-08-2015
How about you show us the raw rendering before you do you post in Photoshop?
glenn1979 03:28:19  |  11-08-2015
awesome
ArtGomez17 06:46:28  |  11-08-2015
Hi, first of all i want to say congratulations for your amazing work and your time to share this tutorial. Then i want to ask you this: i´ve been working with 3D Max and VRay for about a year, but it happens that in the office i work they only use Vray for sketchup so i´ve been using and learning it, i edited my materials and all, but when i export it to 3D Max all my materials are reset, so i edit them, no problem with that. After some rough images for the client and after some changes in sketchup, i export it once again into my 3dMax File, but all the materials are reset again, is there a way to fix this or what can i do? because i see that you only did glass and terrain material, but what about other materials? do you edit them all again? Thank you so much!
rlaguerta 08:44:41  |  11-08-2015
thanks everyone.! ArtGomez17 im not sure how vray for skp is working if exported to 3dmax, bec this file is only textured using the basic map in skp, maybe u can try 1.put all ur materials(skp) to material editor ball (max) after bringing ur skp file to max, 2. use vray-scene converter . 3, re-attach the materials stored in material balls this way uvw coordinates is preserve.
a-squared 10:34:15  |  11-08-2015
EPIC!!! I added this page to my favorites. Thanks for this tutorial.
kurdaps! 08:57:05  |  23-08-2015
Great job! Congratulatons!
Anastasia91 16:19:02  |  26-08-2015
Hello! Wery good job....How many time rendering????
arrey 18:53:35  |  29-08-2015
awesome....regards
szmnaung 03:43:31  |  30-08-2015
WOW! awesome!
architect.aliqais 09:17:33  |  02-09-2015
Hi simple and excellent lesson >>>>> I have some Questions for you 1- Forest Modifier ? can you add the link for that plugin 2- I too software for the shrubs ... link please Thanks
chikedominic 14:19:01  |  06-09-2015
cool i love this
ericktorio 04:36:01  |  30-05-2018
Boom Panes, complete and detailed tutorial. Good job and congrats! (Napakomento tuloy ako)