Evermotion: More Than an Asset Library
How Evermotion became a full-scale production partner for archviz, automotive and synthetic data.


Total: € 0
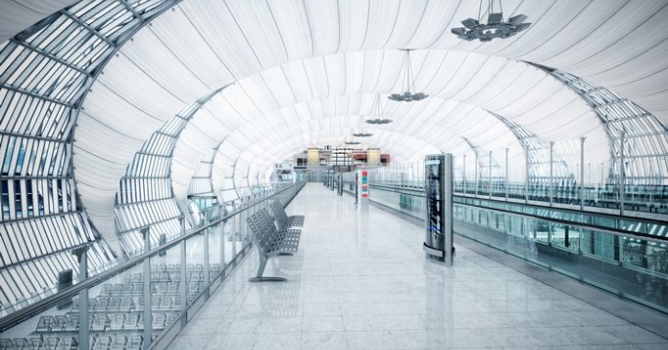

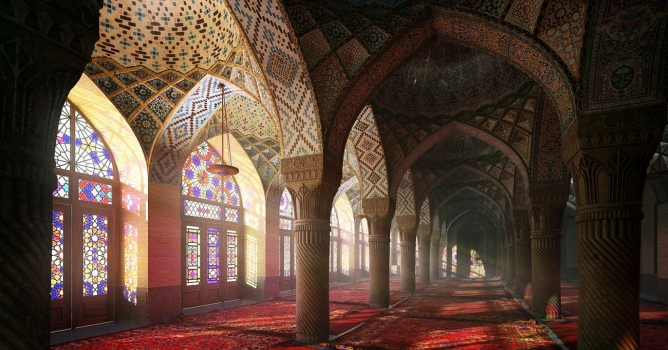
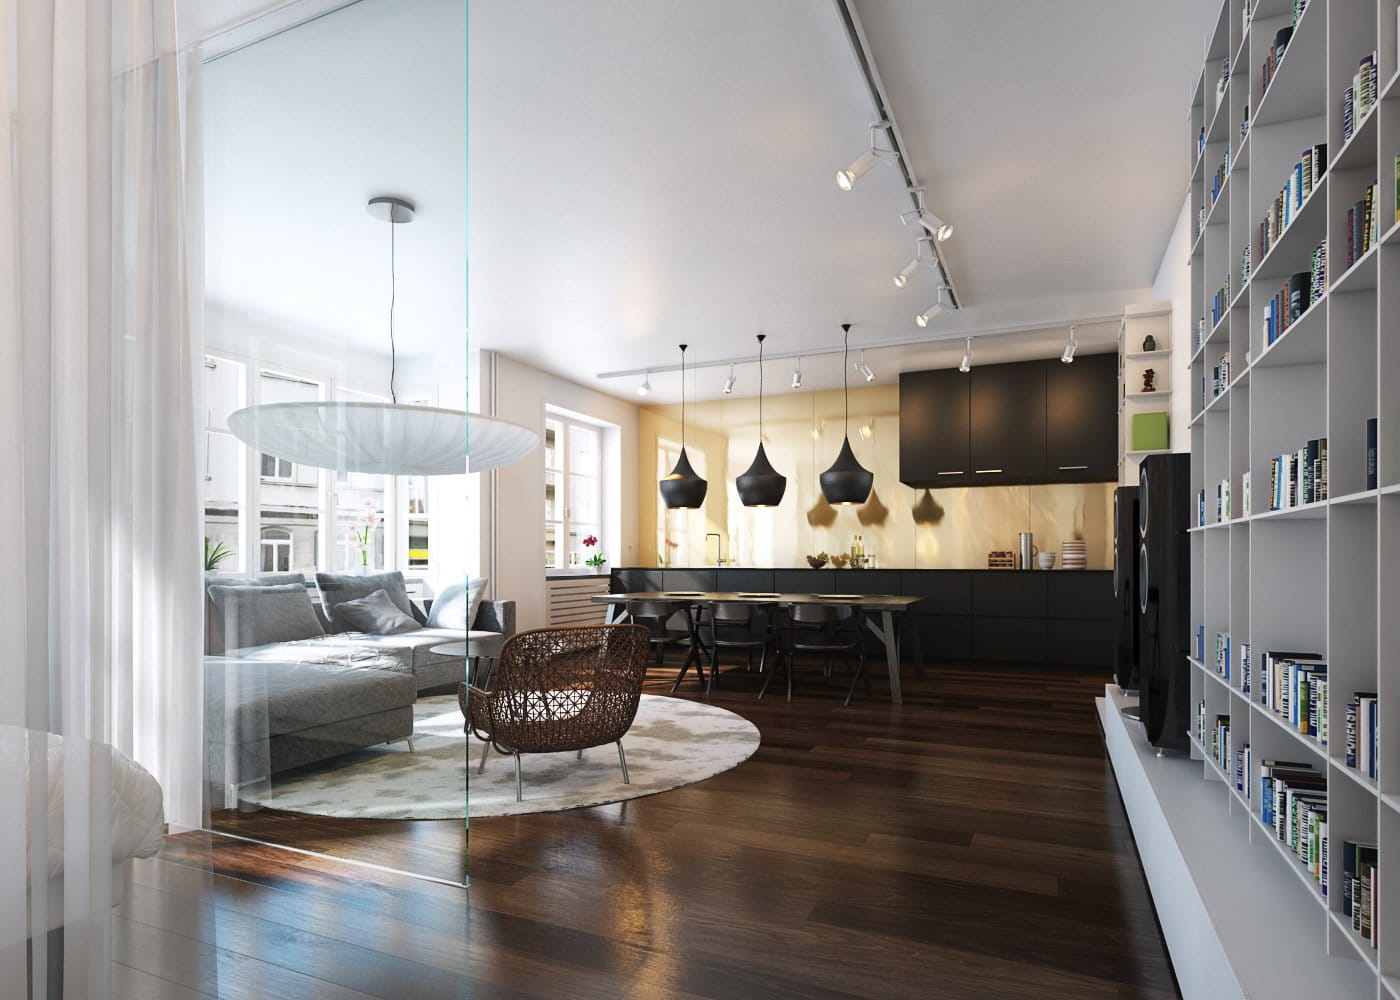
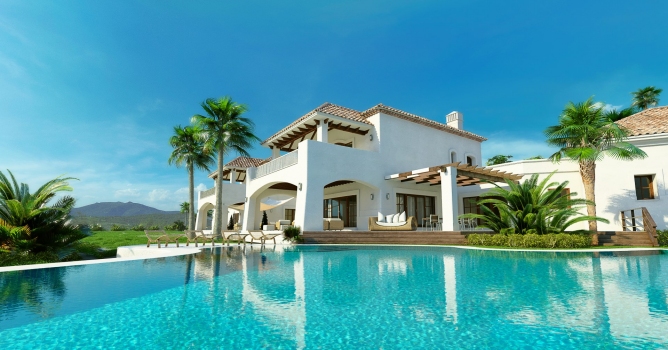
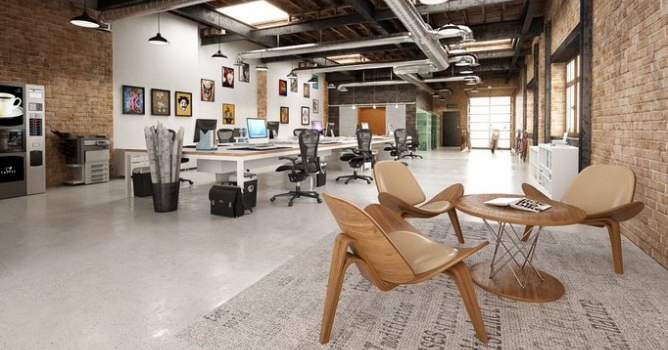
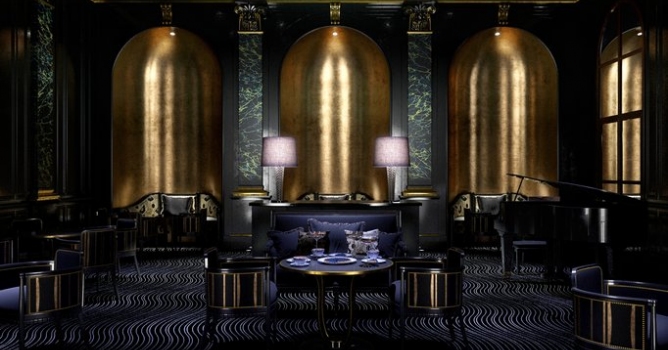
It is a big and well lit open space with many props. It has sophisticated, bended roof construction and modern "cold" look - these are the main features of this scene, based on Bangkok Suvarnabhumi Airport terminal interior. This scene comes with Archinteriors vol. 38 and it will also be available separately in Evermotion Shop from 17th of March, 2015.
Today we will show you how it was made.
Click on image to enlarge 
Click on image to enlarge 
Click on image to enlarge 
Click on image to enlarge 
Click on image to enlarge 
Click on image to enlarge 
Click on image to enlarge 
Click on image to enlarge 
Click on image to enlarge 
Click on image to enlarge 
Click on image to enlarge 
Click on image to enlarge 
Click on image to enlarge 
Click on image to enlarge 
Click on image to enlarge 
Click on image to enlarge 
Click on image to enlarge 
Click on image to enlarge 
Click on image to enlarge 
Click on image to enlarge 
Click on image to enlarge 
Click on image to enlarge 
Click on image to enlarge 
Click on image to enlarge 
Click on image to enlarge 
Click on image to enlarge 
Click on image to enlarge 
Click on image to enlarge 
Click on image to enlarge 
Click on image to enlarge 
Click on image to enlarge

LEAVE A COMMENT


|

|

|

|

|
 Customer zone
 Your orders
 Edit account
 Add project
 Liked projects
 View your artist profile
COMMENTS