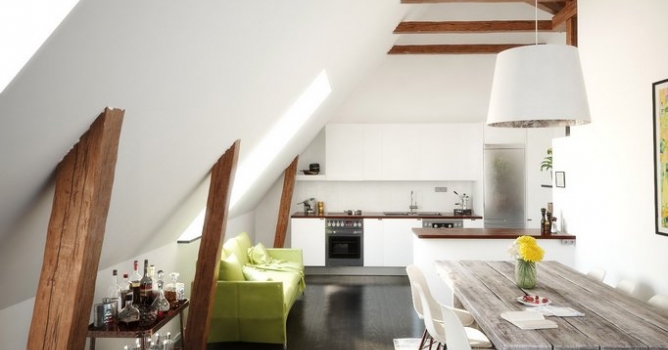
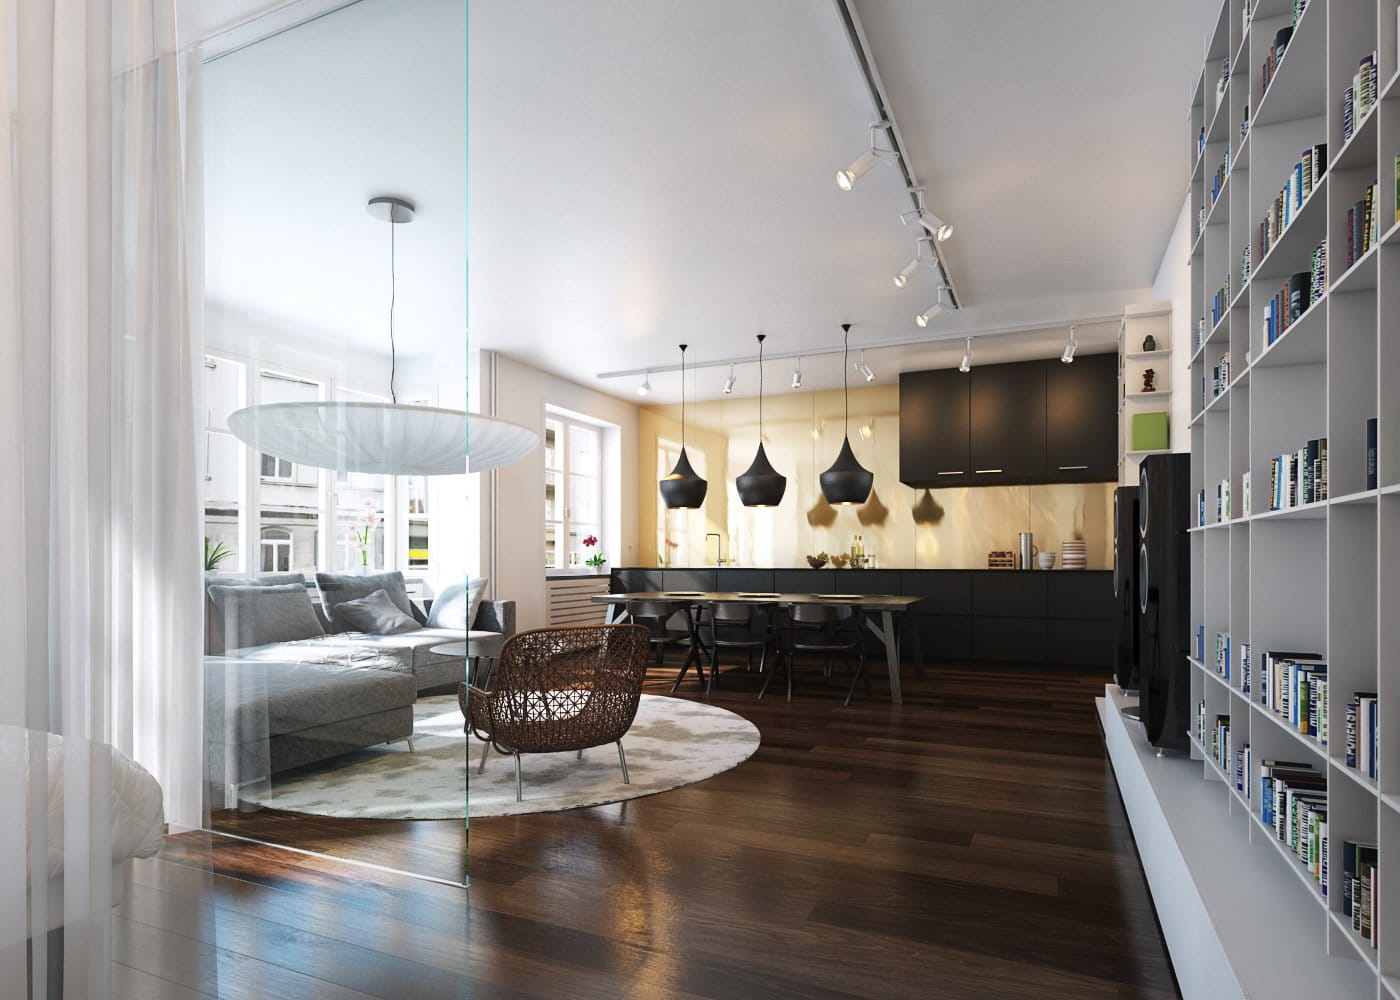
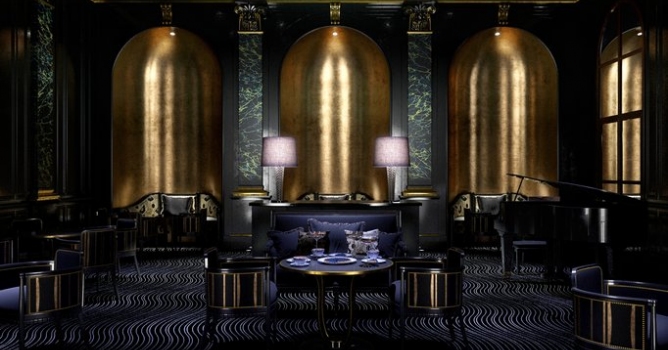
This is a scene 10 from Archinteriors vol. 45 made by Kamil Kuklo from Evermotion. You can buy this scene or an entire collection in Evermotion Shop.
Camera 1: wireframe / post-production view.
Camera 2: wireframe / post-production view.
Click on image to enlarge

Scene in 3ds Max viewport.
Click on image to enlarge

The main source of light in the scene is V-Ray Sun / V-Ray Sky. V-Ray Sun settings are on the right panel.
Click on image to enlarge

We placed V-Ray light portals in the windows on the top.
Click on image to enlarge

And in the windows on the front wall.
Click on image to enlarge

V-Ray Sky settings.
Click on image to enlarge

Mesh is split in three parts: floor, walls and roof with front wall.
Click on image to enlarge

Inside the room.
Click on image to enlarge

Wall / roof material.
Click on image to enlarge

Second wall material.
Click on image to enlarge

Bottles with some beverages on thesmall table.
Bottle mesh: without Turbosmooth and with turbosmooth - drag the slider to check the mesh, righ click and "open image in the new tab" to see bigger versions.
Click on image to enlarge

Bottle material.
Click on image to enlarge

Bottle bump map.
Click on image to enlarge

Beverage (liquid) material.
Crystal container without and with turbosmooth.
Click on image to enlarge

Table mesh.
Click on image to enlarge

Table material. We used this "black dot" map to make some bumps.
Click on image to enlarge

Map #94 is our bump bitmap, it is tiled around sides of the table.
Click on image to enlarge

Wooden ribs have some sophisticated material - they are close to the camera so we had to be sure they will look awesome.
Click on image to enlarge

Our diffuse map is made of several bitmaps, added and multiplied together. It is not only wood material, but also a small amount of painted wood in the place where wooden element meets the ceiling. It gives that extra bit of realism.
Click on image to enlarge

There is also V-Ray dirt to make some light occlusion effect.
Click on image to enlarge

We used V-Ray curvature to control the next diffuse layers.
Click on image to enlarge

Falloff map in reflect map slot.
Click on image to enlarge

Fallof map in roughness slot.
Click on image to enlarge

Kitchen furniture mesh.
Click on image to enlarge

Kitchen furniture mesh - details.
Click on image to enlarge

Kitchen furniture material.
Click on image to enlarge

Fridge door.
Click on image to enlarge

Fridge door - detail.
Click on image to enlarge

Fridge door material.
Click on image to enlarge

Flower mesh.
Click on image to enlarge

Floor mesh.
Click on image to enlarge

Floor mesh - close up.
Click on image to enlarge

Floor material.
Click on image to enlarge

Floor material - composite map in diffuse map slot.
Click on image to enlarge

Floor material - composite map of bump map slot.
Click on image to enlarge

Render settings.
Camera 1: raw render / post-production. Drag the slider to see the differnces, right click and open image in the new window to see the bigger version.
Camera 2: raw render / post-production. Drag the slider to see the differnces, right click and open image in the new window to see the bigger version.
This is a scene 10 from Archinteriors vol. 45. You can buy this scene or an entire collection in Evermotion Shop.
Thanks for reading! :)


 Customer zone
 Your orders
 Edit account
 Add project
 Liked projects
 View your artist profile
COMMENTS