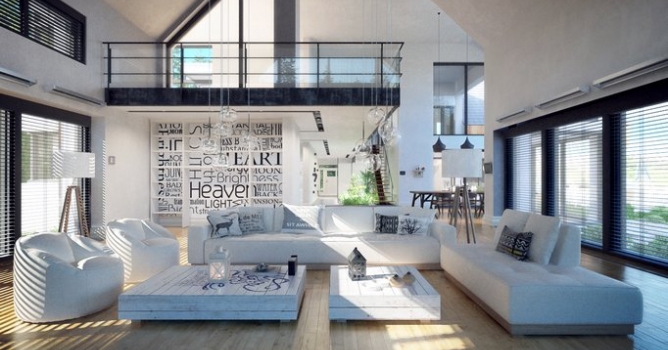
This sunny living room is a part of Evermotion's Archexteriors vol. 29 collection. Archexteriors vol. 29 is a one big scene that includes full house with 9 interiors, several exterior cameras, vegetation, outside buildings and a dozens of props. This is the most complete and coherent visualization of big area - great resource scene for anybody that needs to present some suburbian house or nice villa.
> Buy Archexteriors vol. 29 collection in Evermotion Shop.
Click on image to enlarge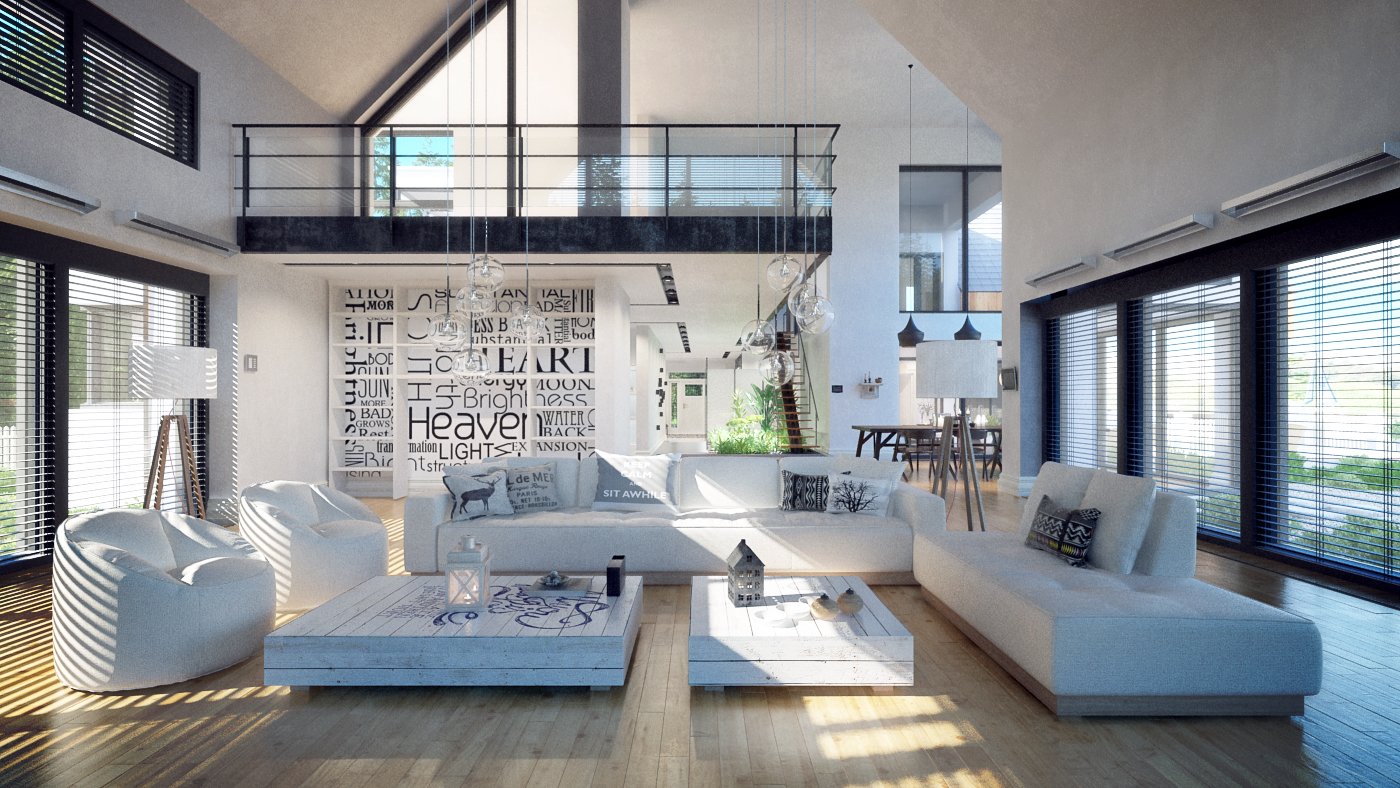
This is a final image after post-production. Our living room has a modern style and it looks a bit like loft adapted for residental purposes. Large, open space is easy to arrange, we placed some couches here, rustical, wooden tables, couple of small props and lamps. Light is coming mainly from outside, but there are also small halogens in the ceiling that lit the wall covered weith text.
Click on image to enlarge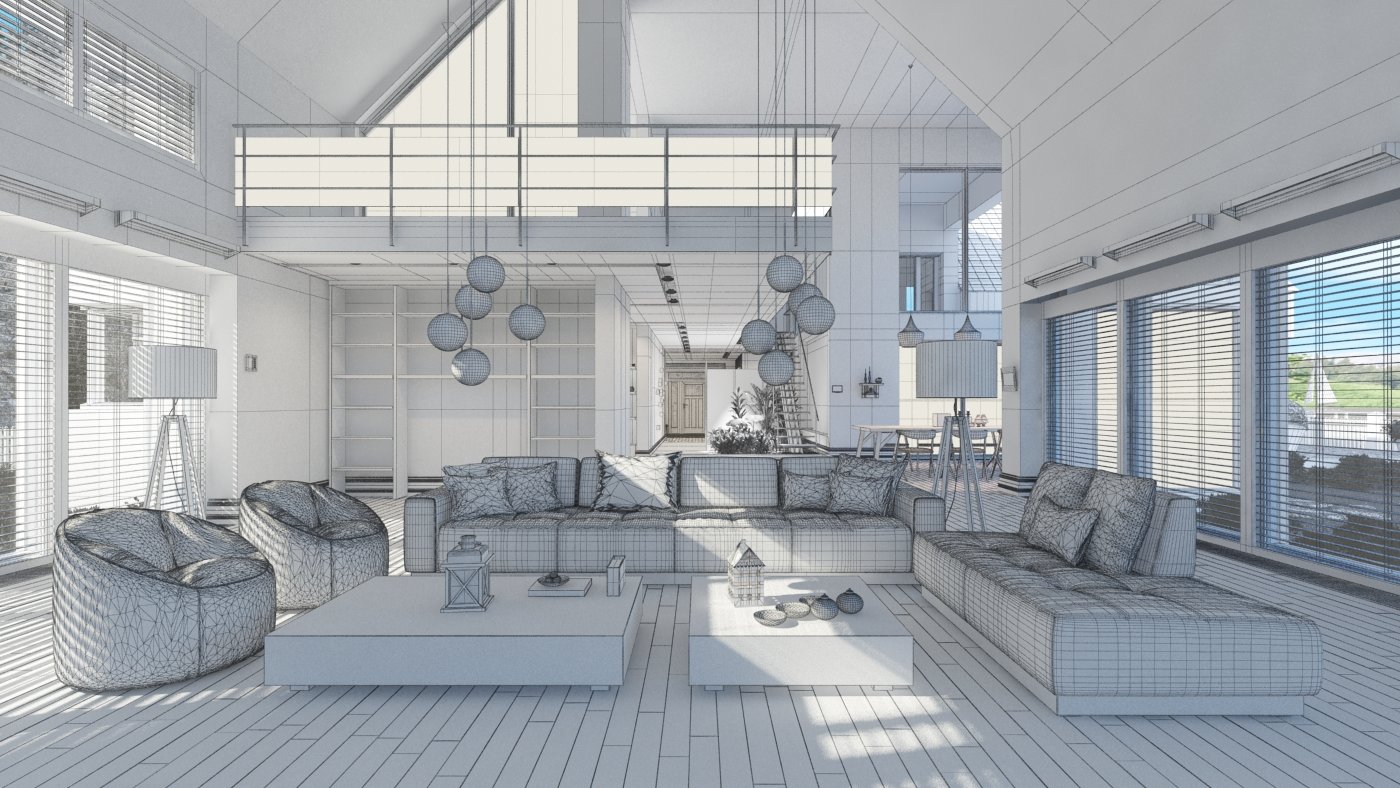
A wireframe view of this scene.
Click on image to enlarge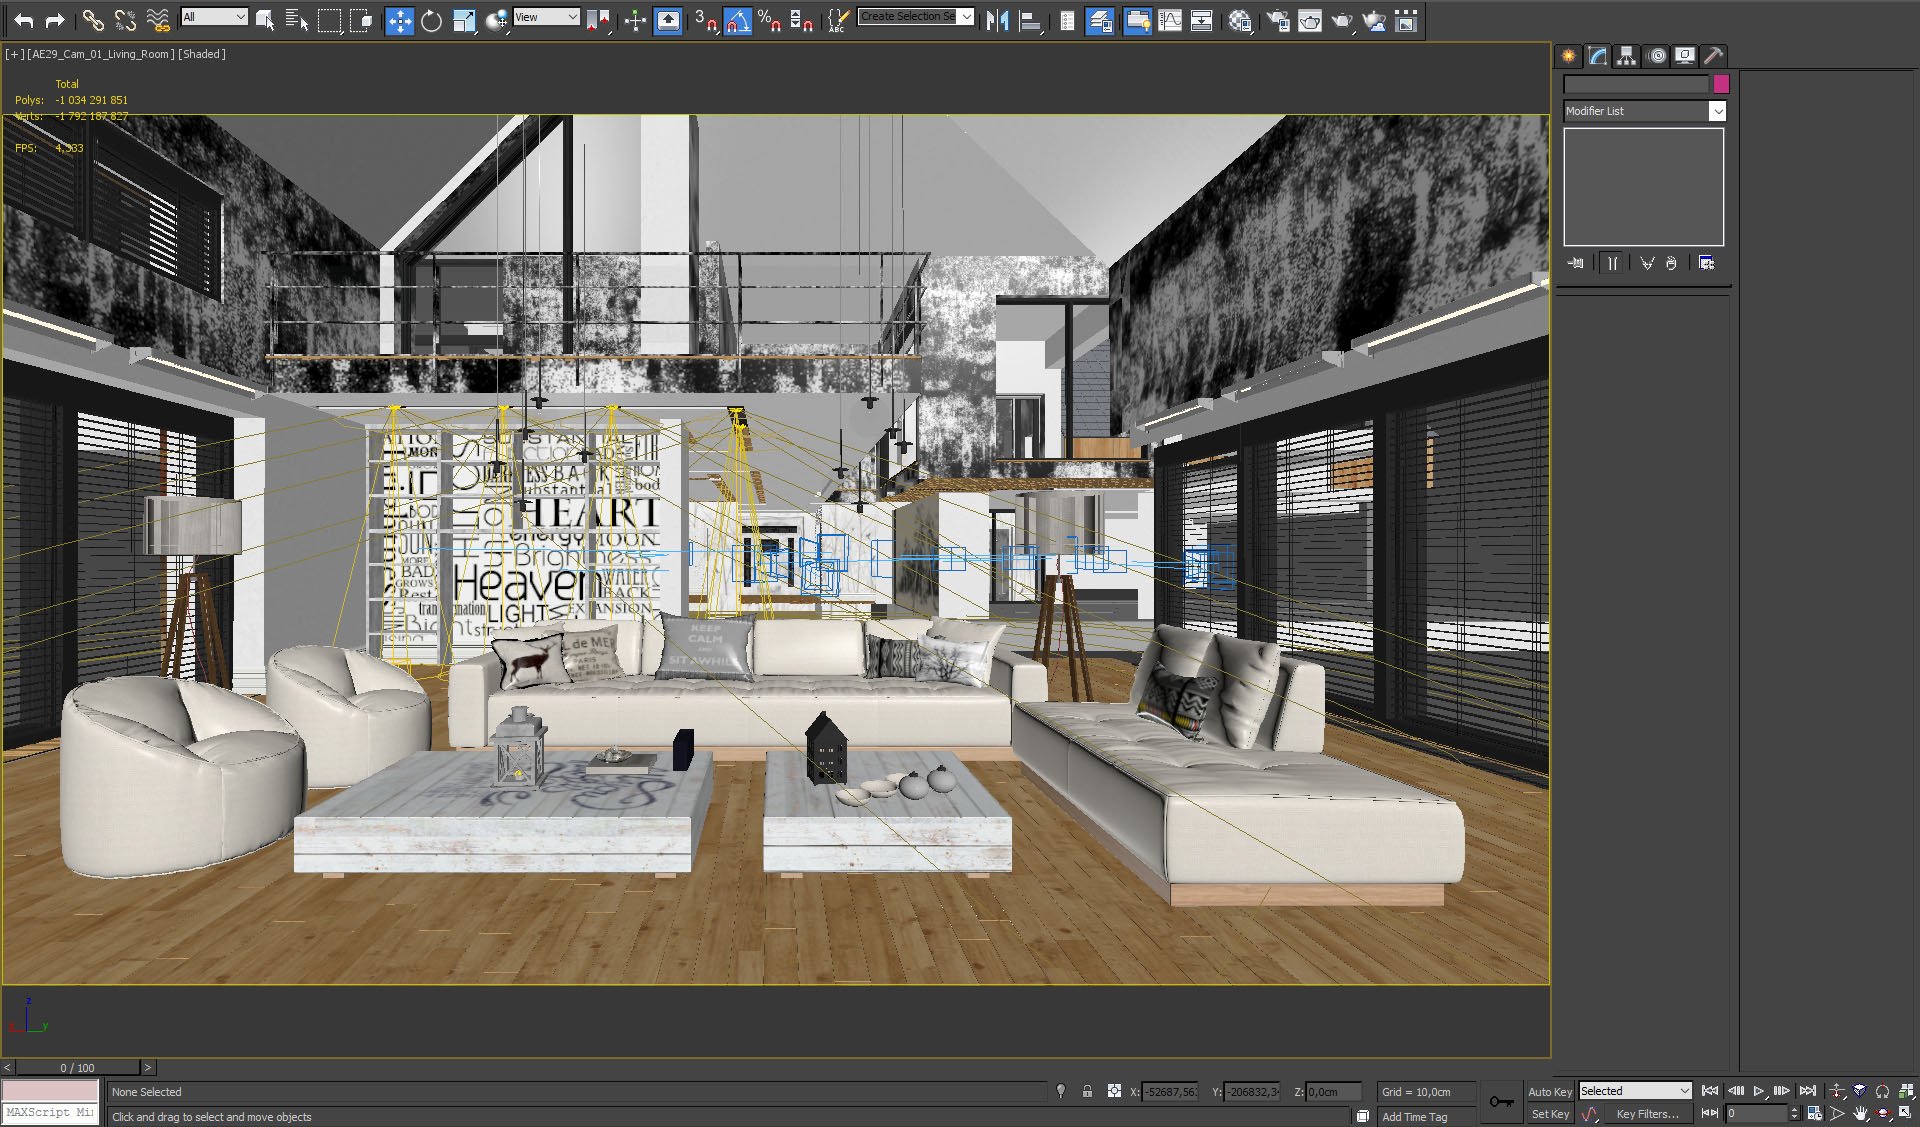
And this is how our living room looks in 3ds Max viewport.
Click on image to enlarge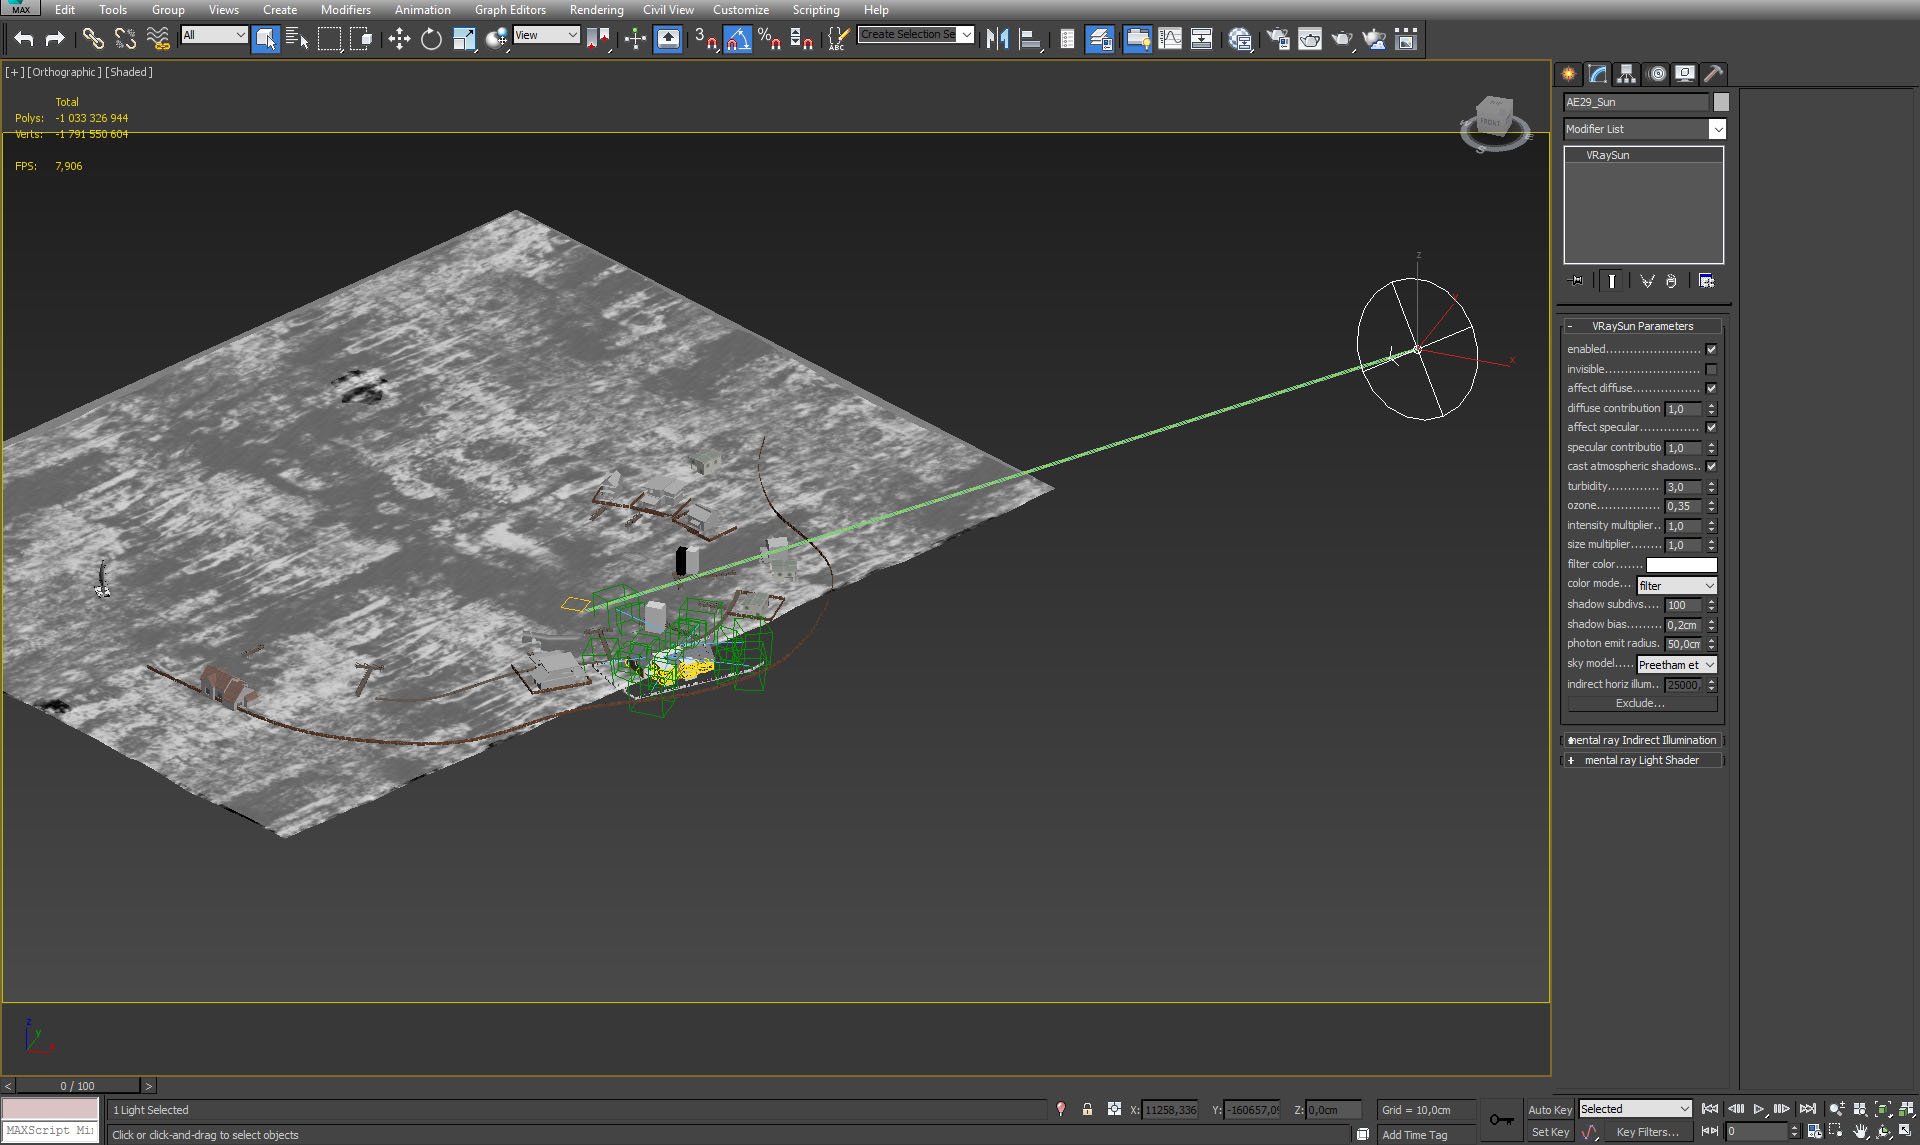
Main source of light - VraySun settings.
Click on image to enlarge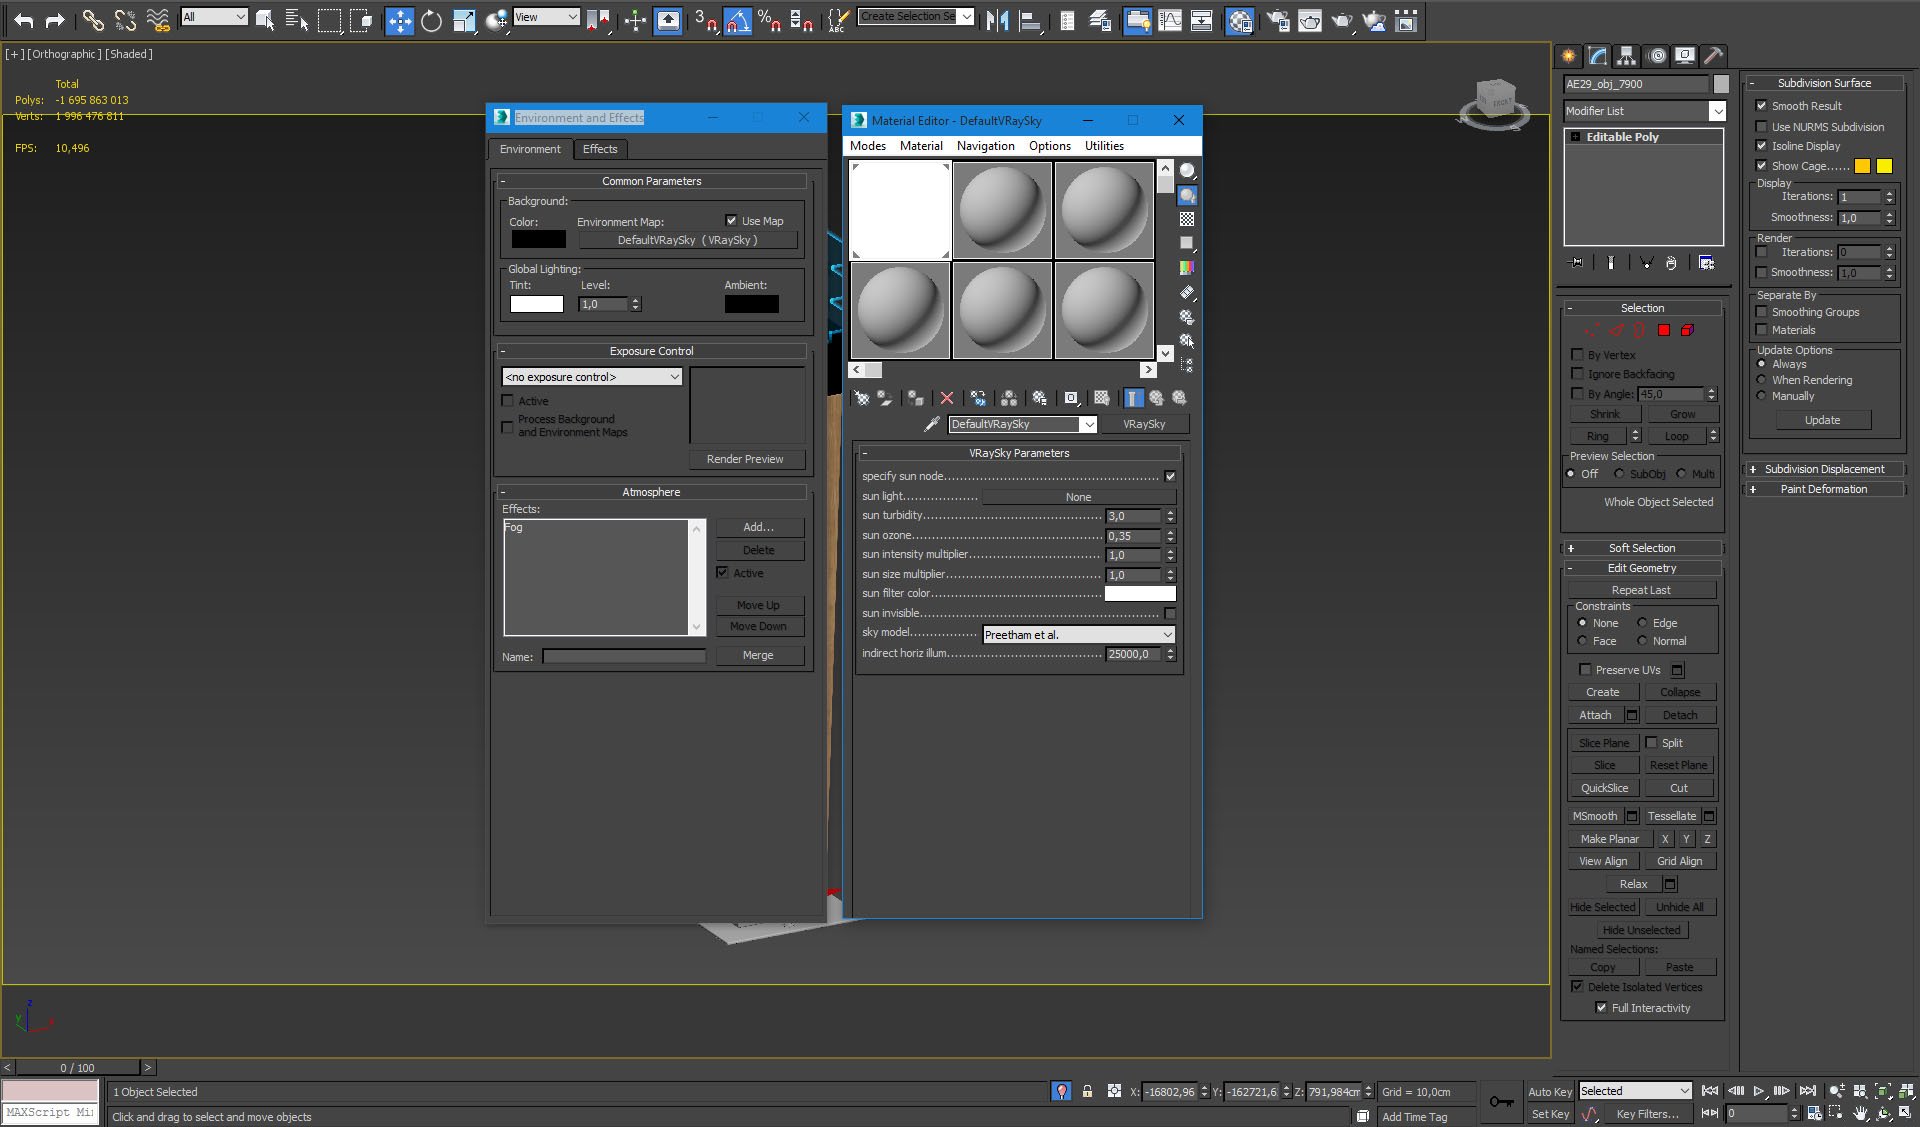
We used also VraySky to compliment VraySun color.
Click on image to enlarge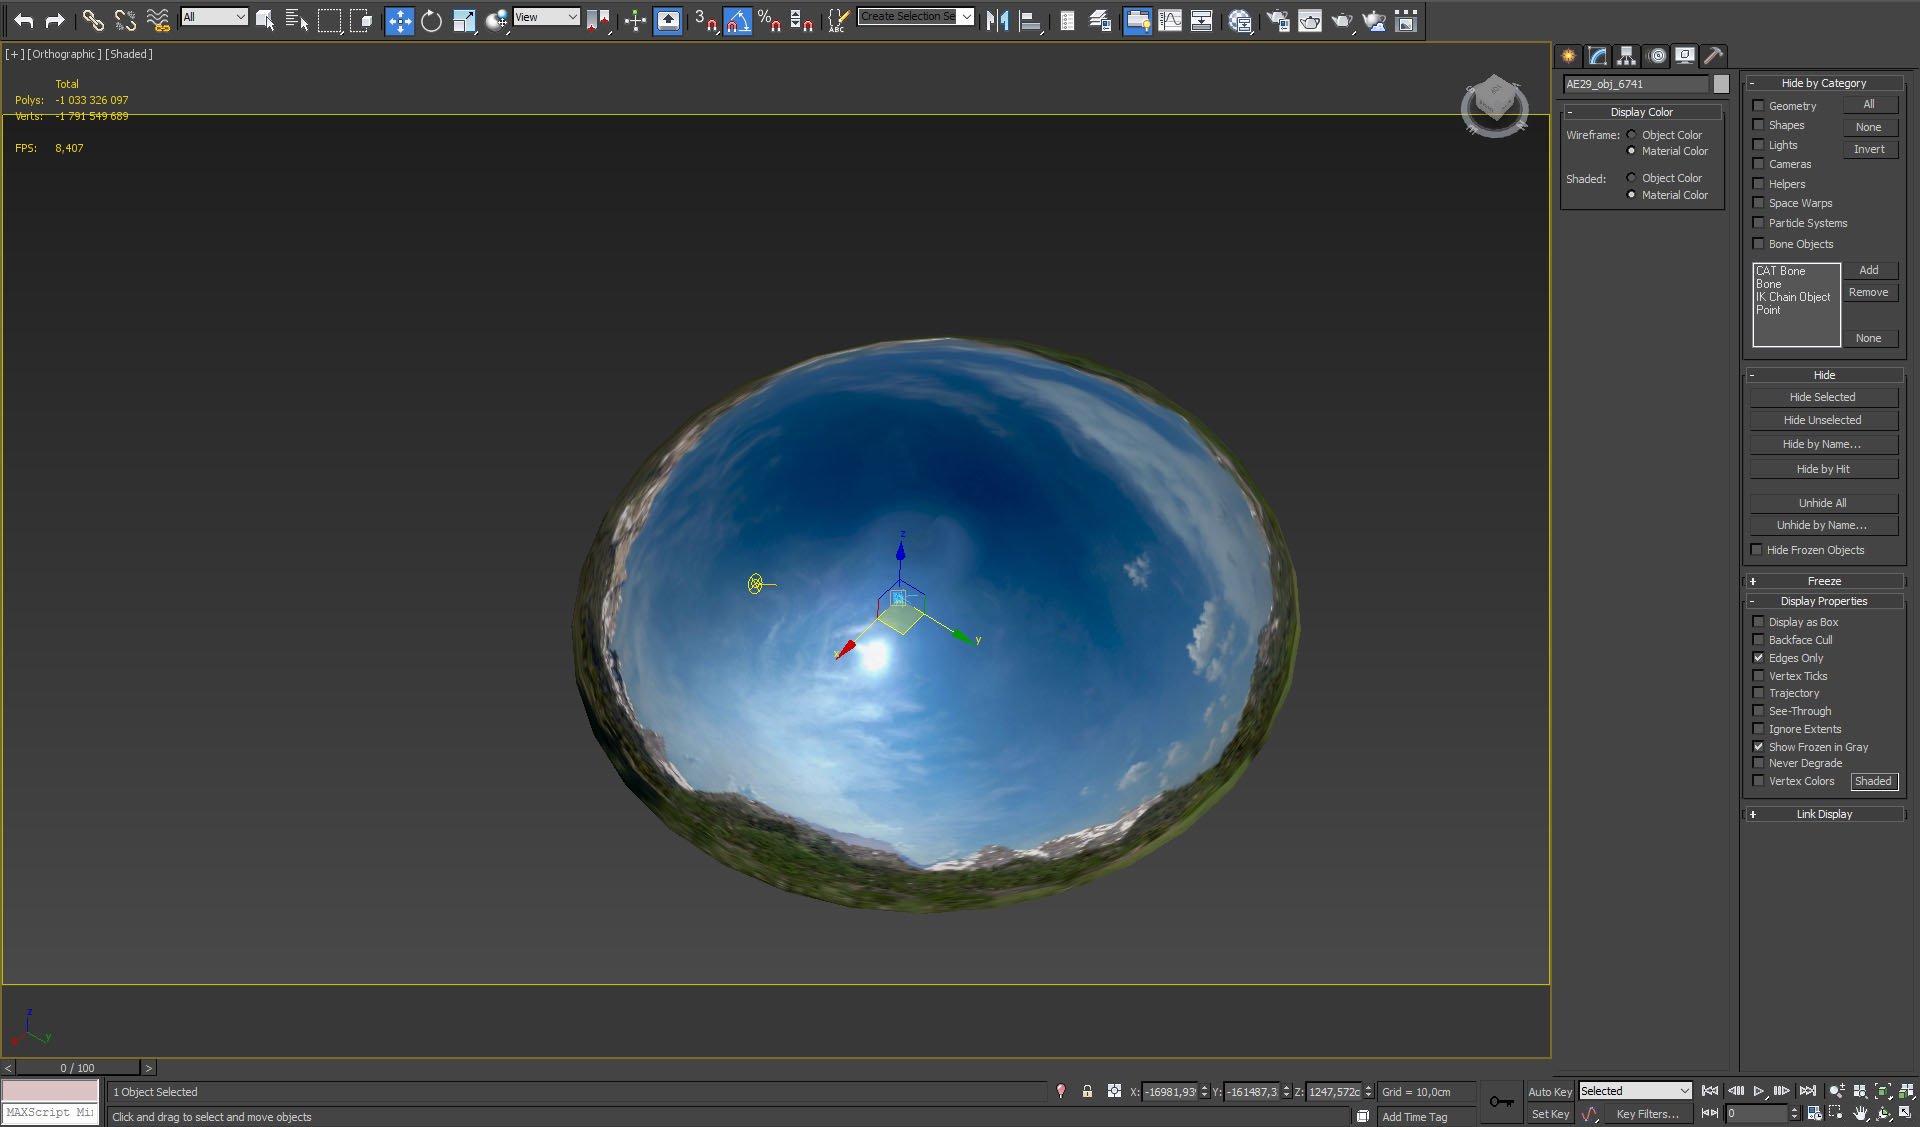
the whole scene was surrounded by a dome.
Click on image to enlarge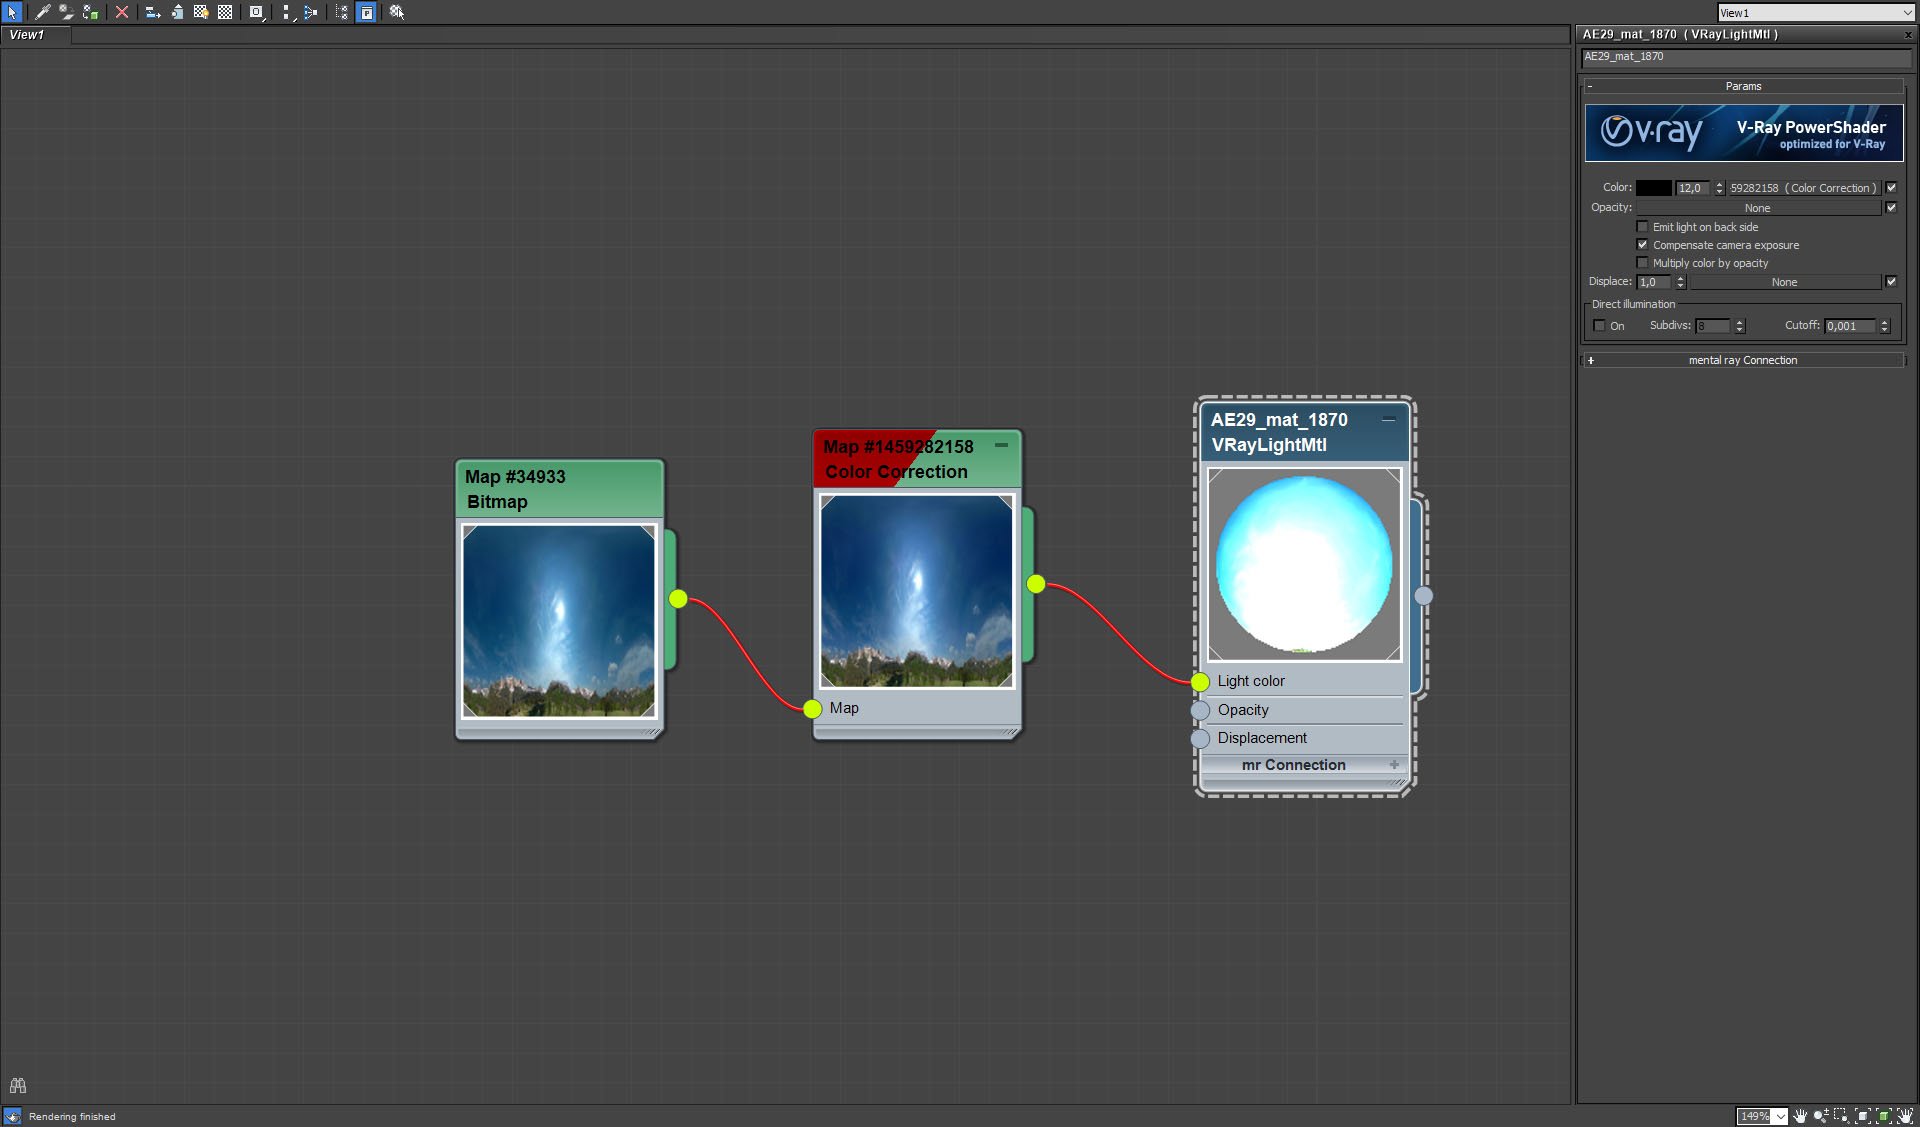
Dome material settings.
Click on image to enlarge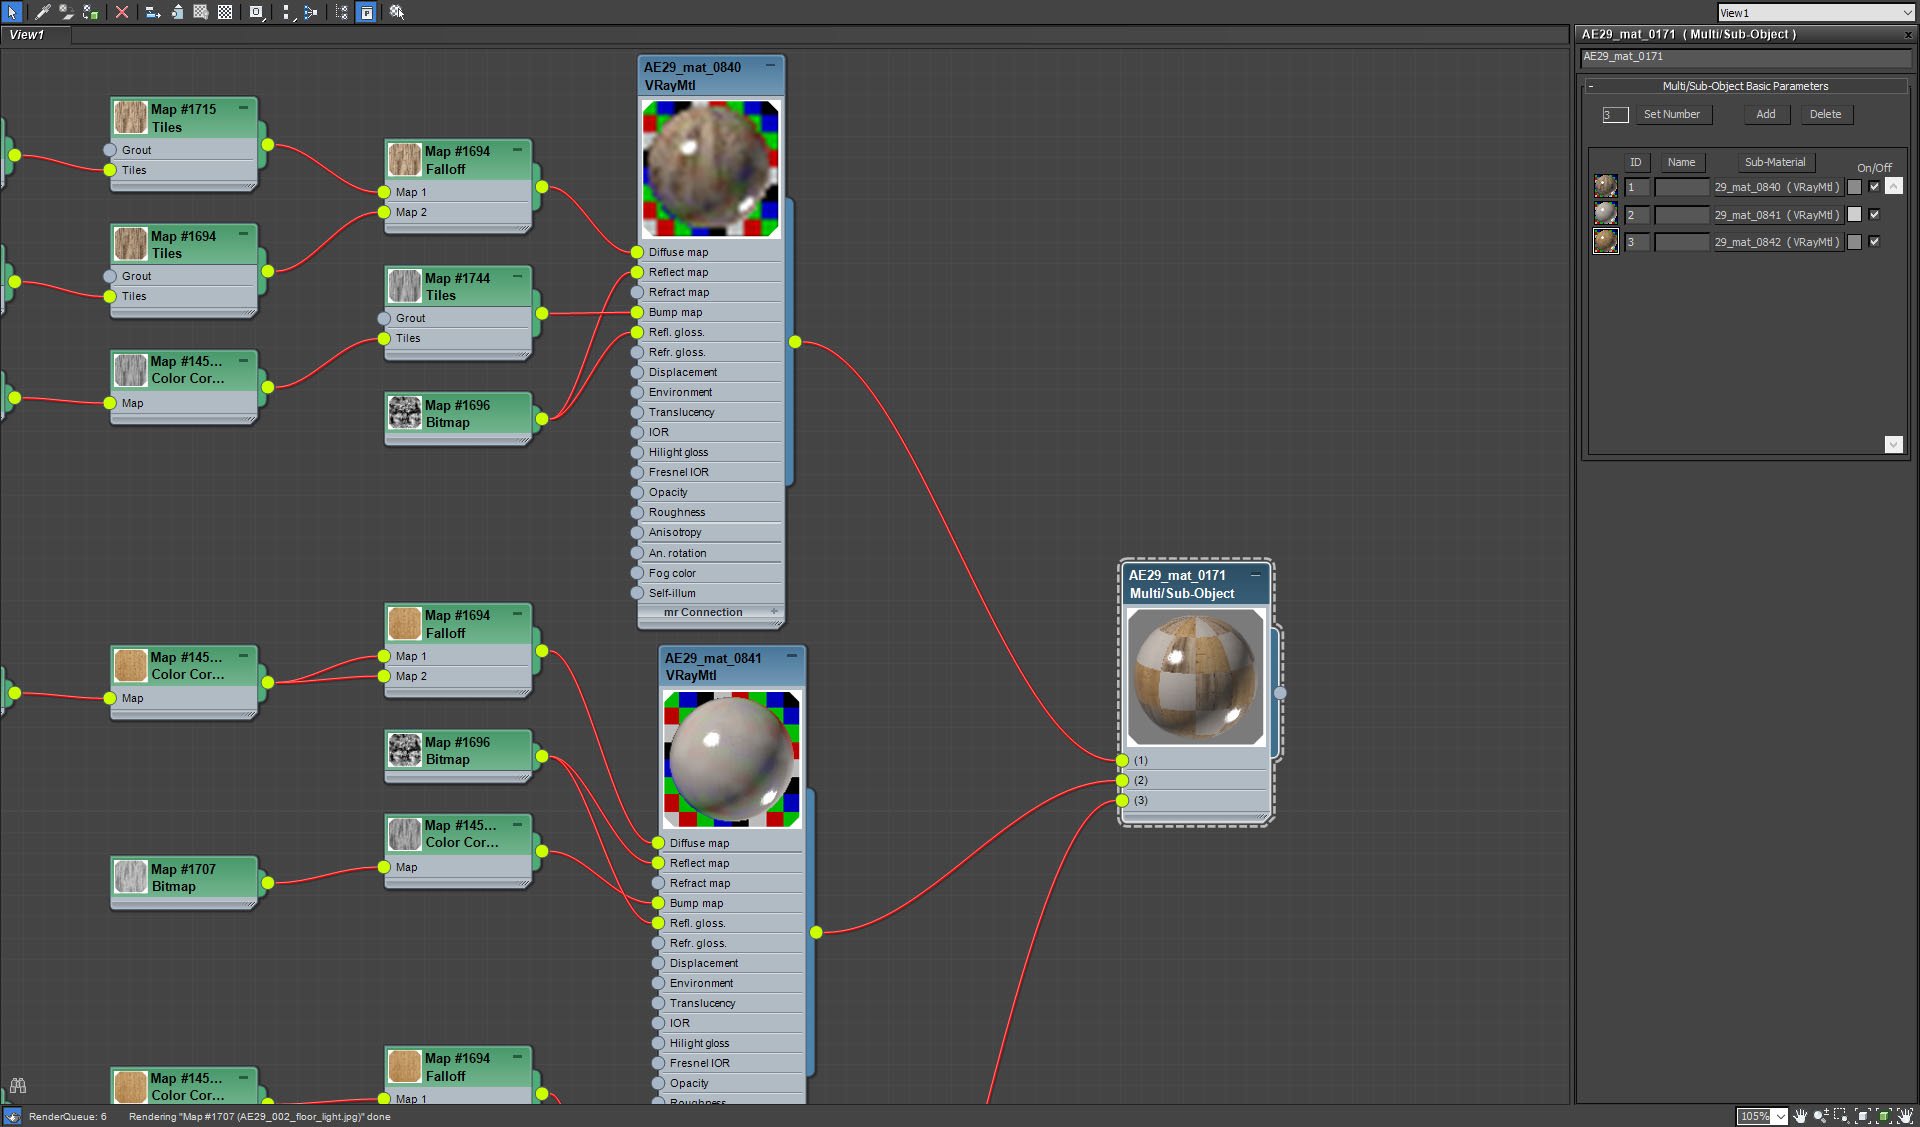
Floor material - it is a Multi/Sub-Object material.
Click on image to enlarge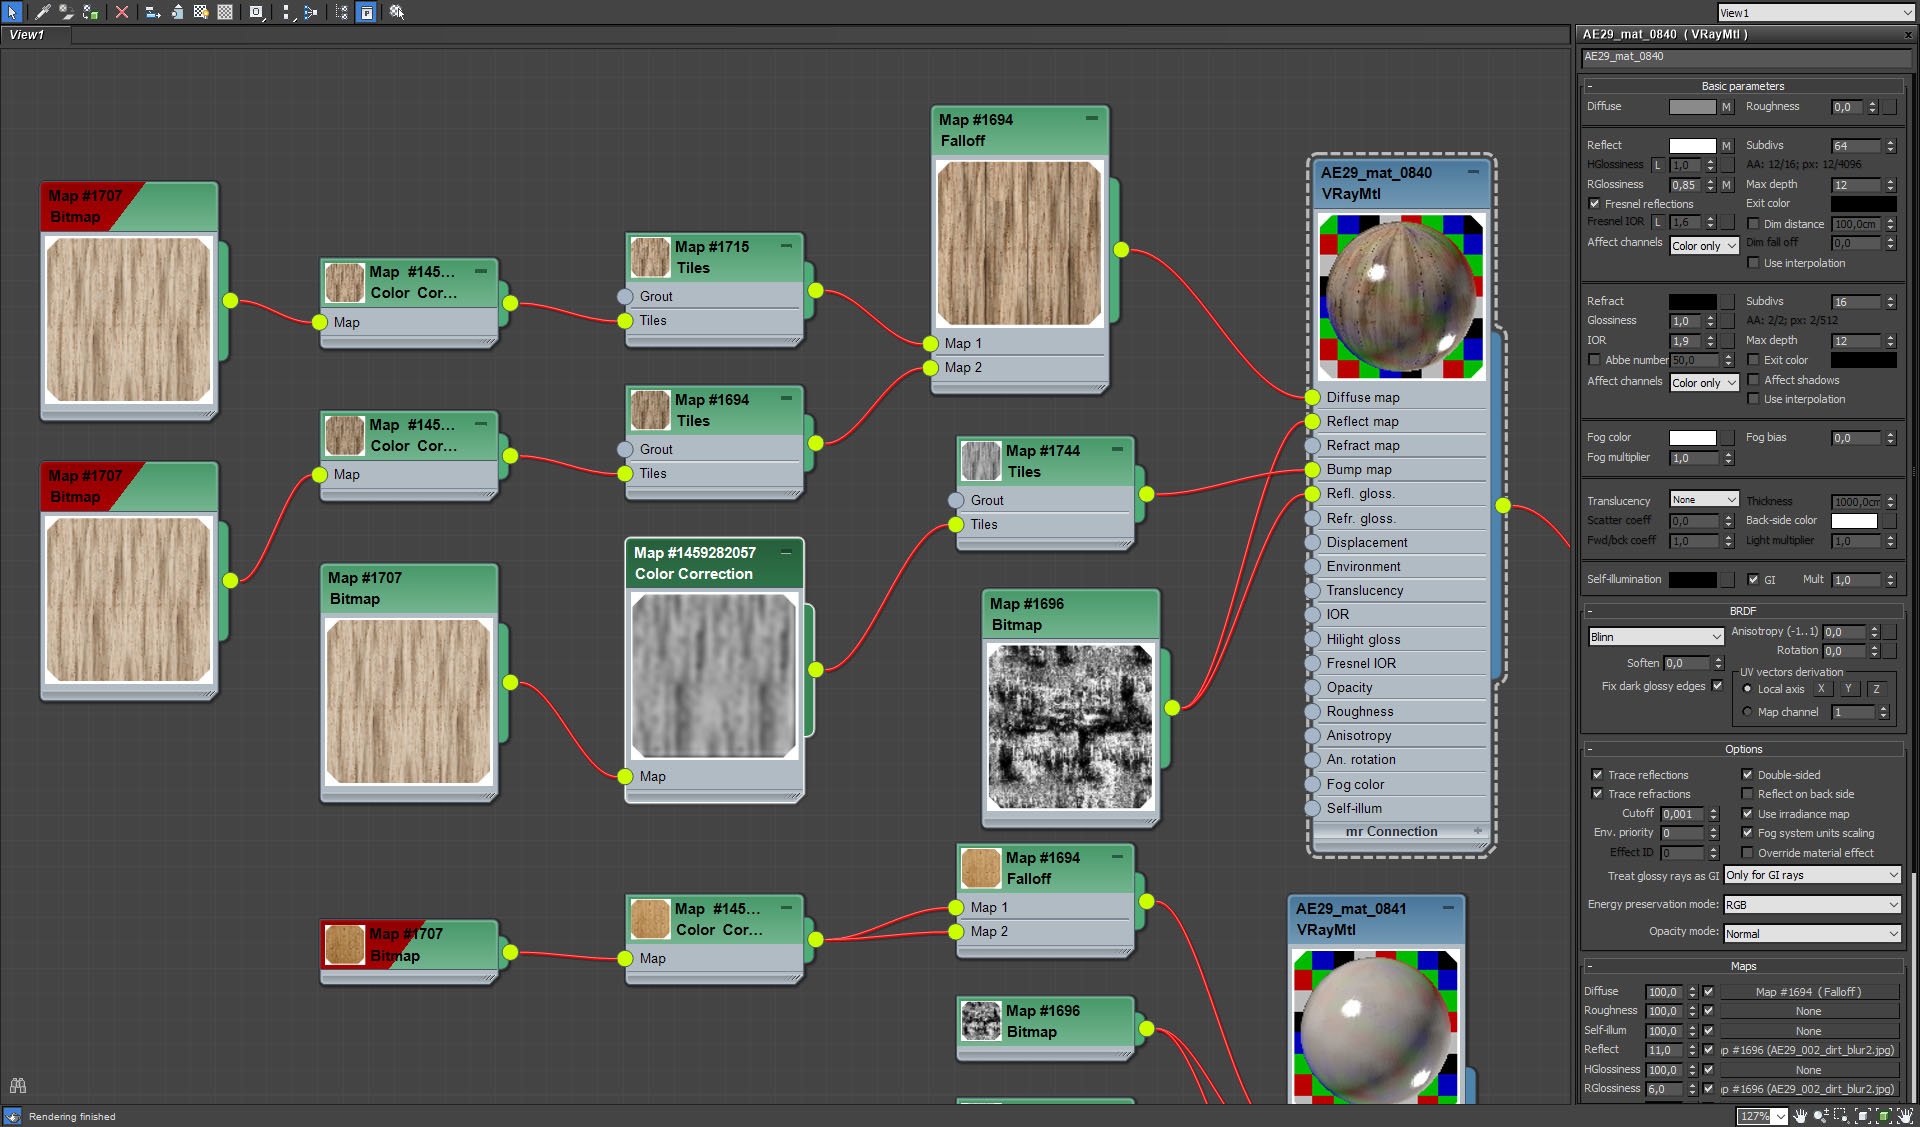
Wooden floor material settings. We mixed some wood bitmaps to achieve "tiled wood" result. Reflection and glossiness map has a high contrast to vary floor reflections,
Click on image to enlarge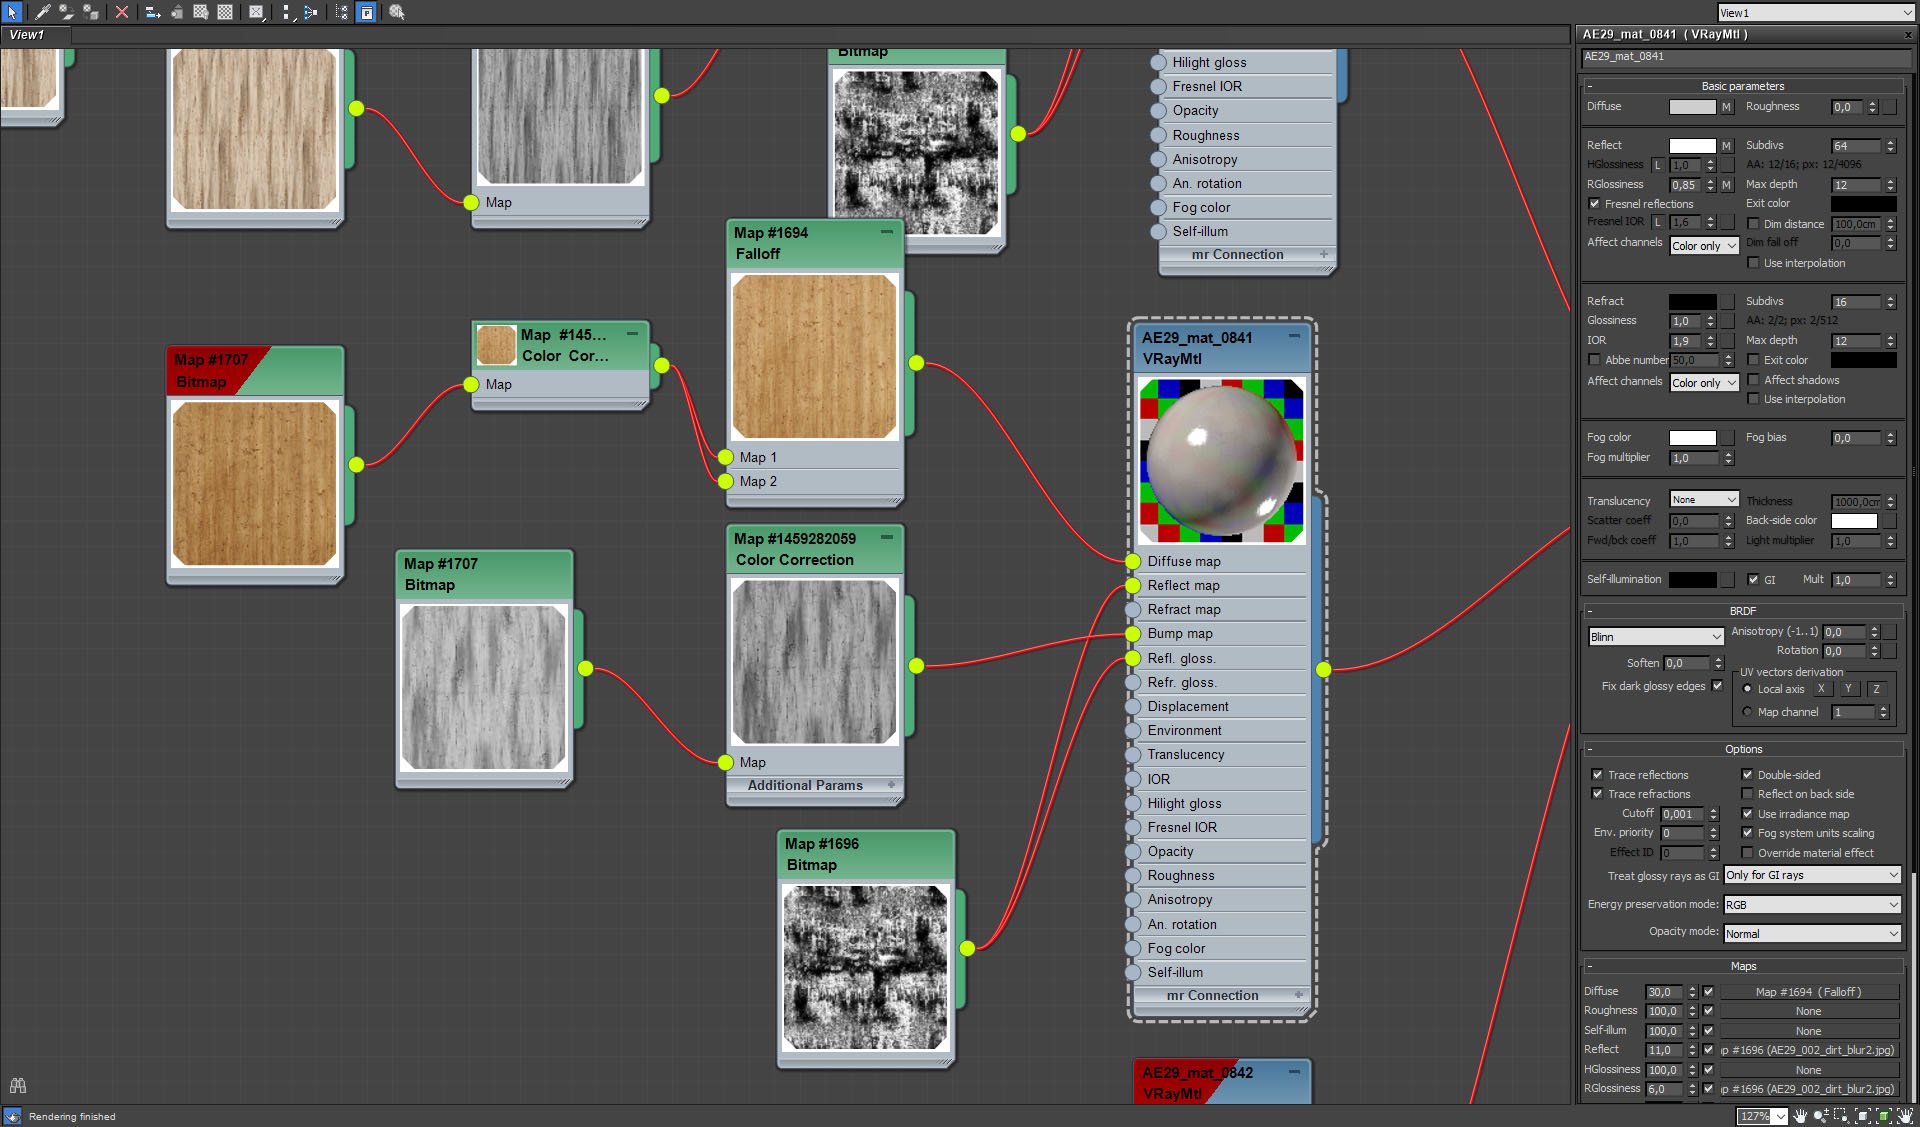
Painted wood material settings. Wood texture is less visible thanks to different falloff map settings.
Click on image to enlarge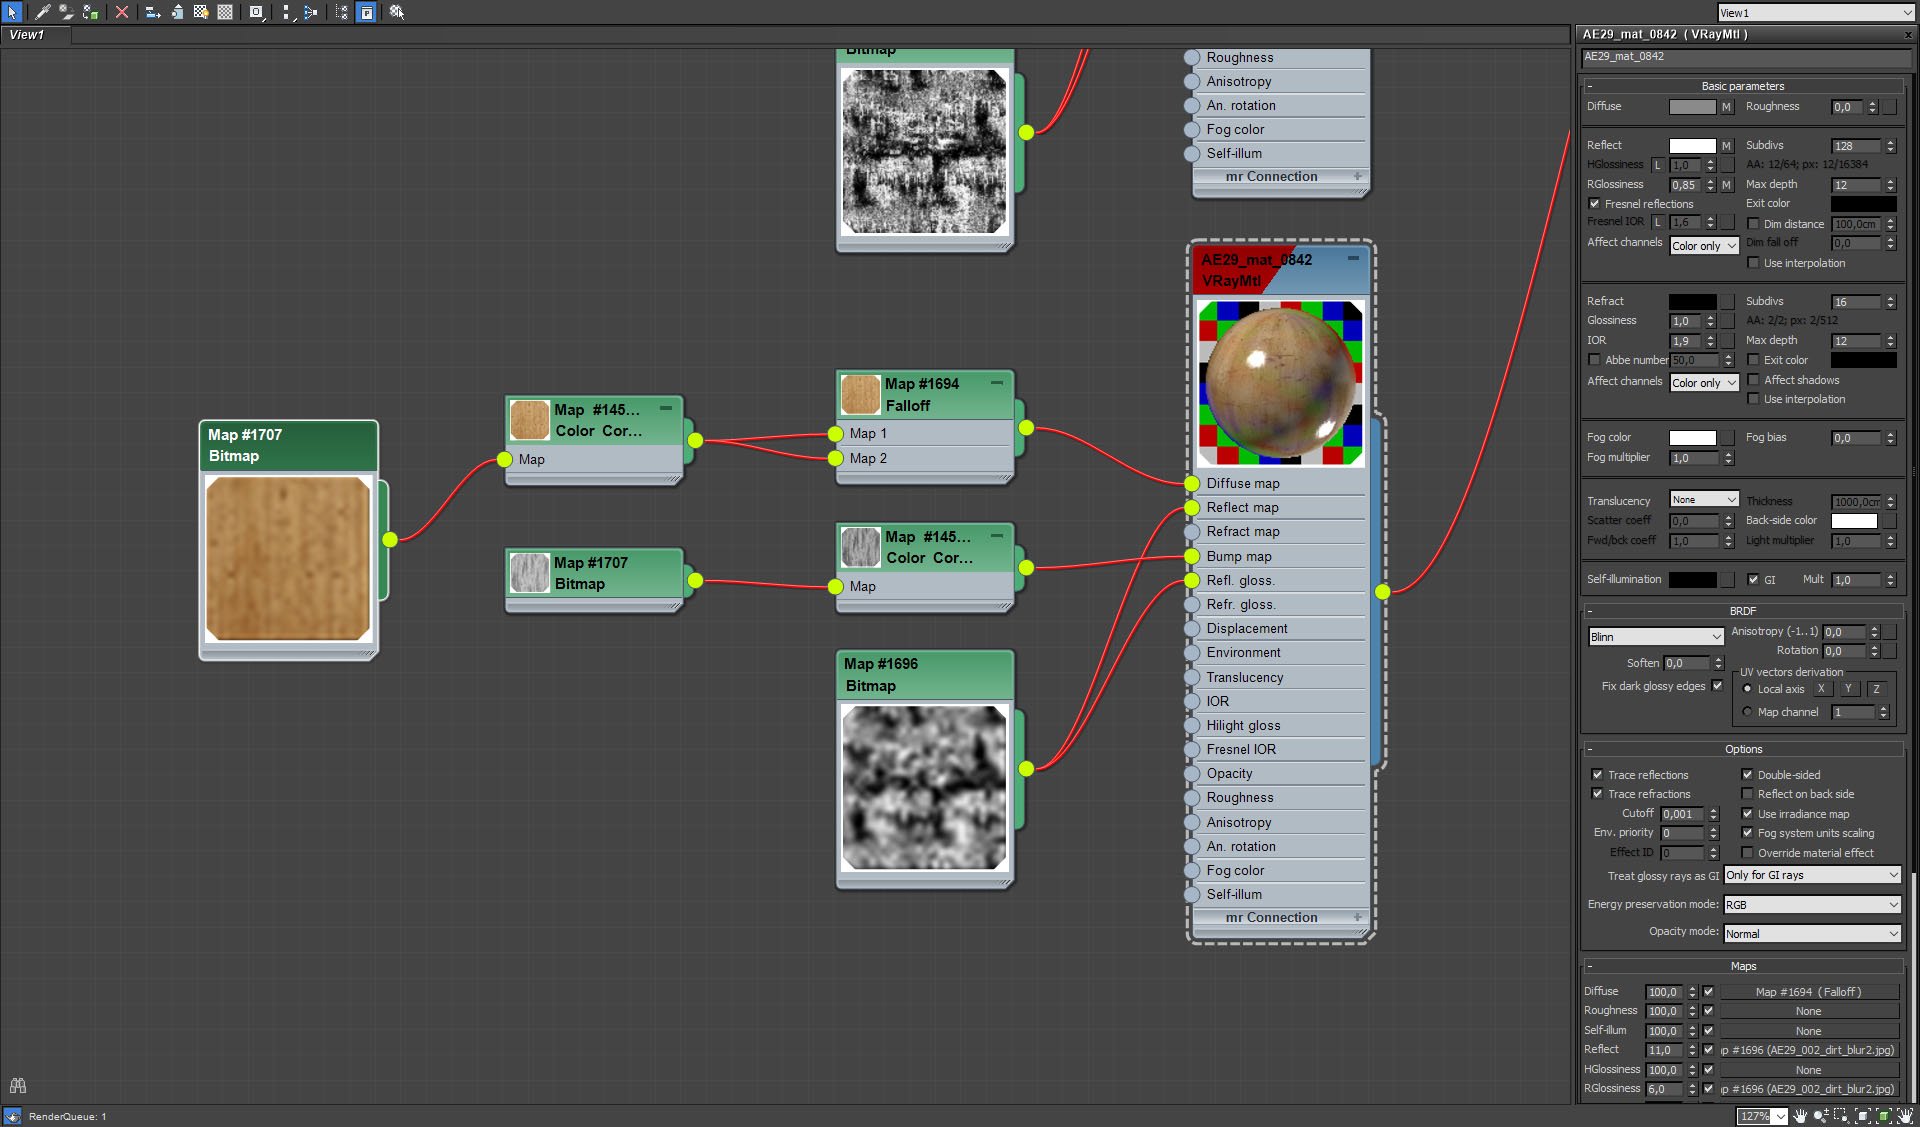
The third wood material has similar settings like the first one, but it has a slightly different texture.
Click on image to enlarge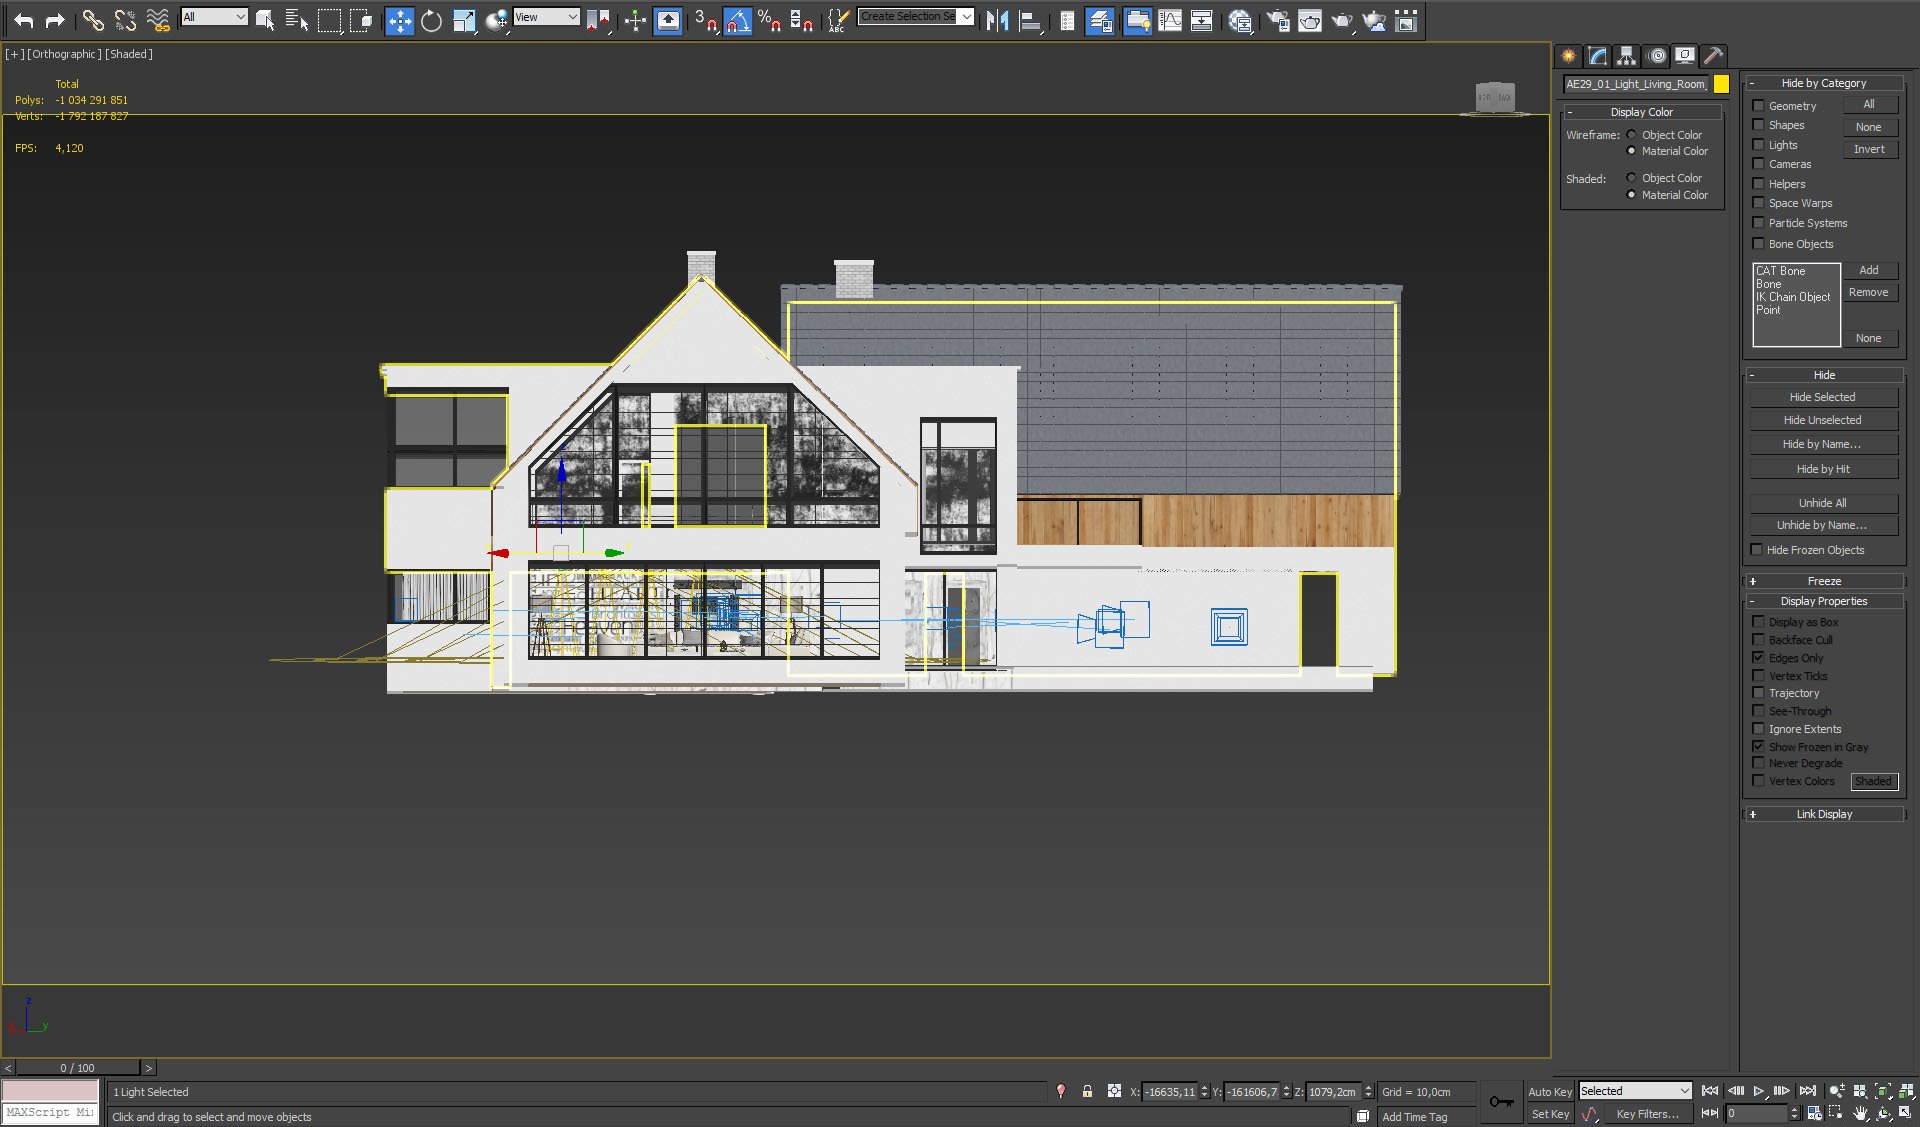
The building front view. you can see the living room behind the windows.
Click on image to enlarge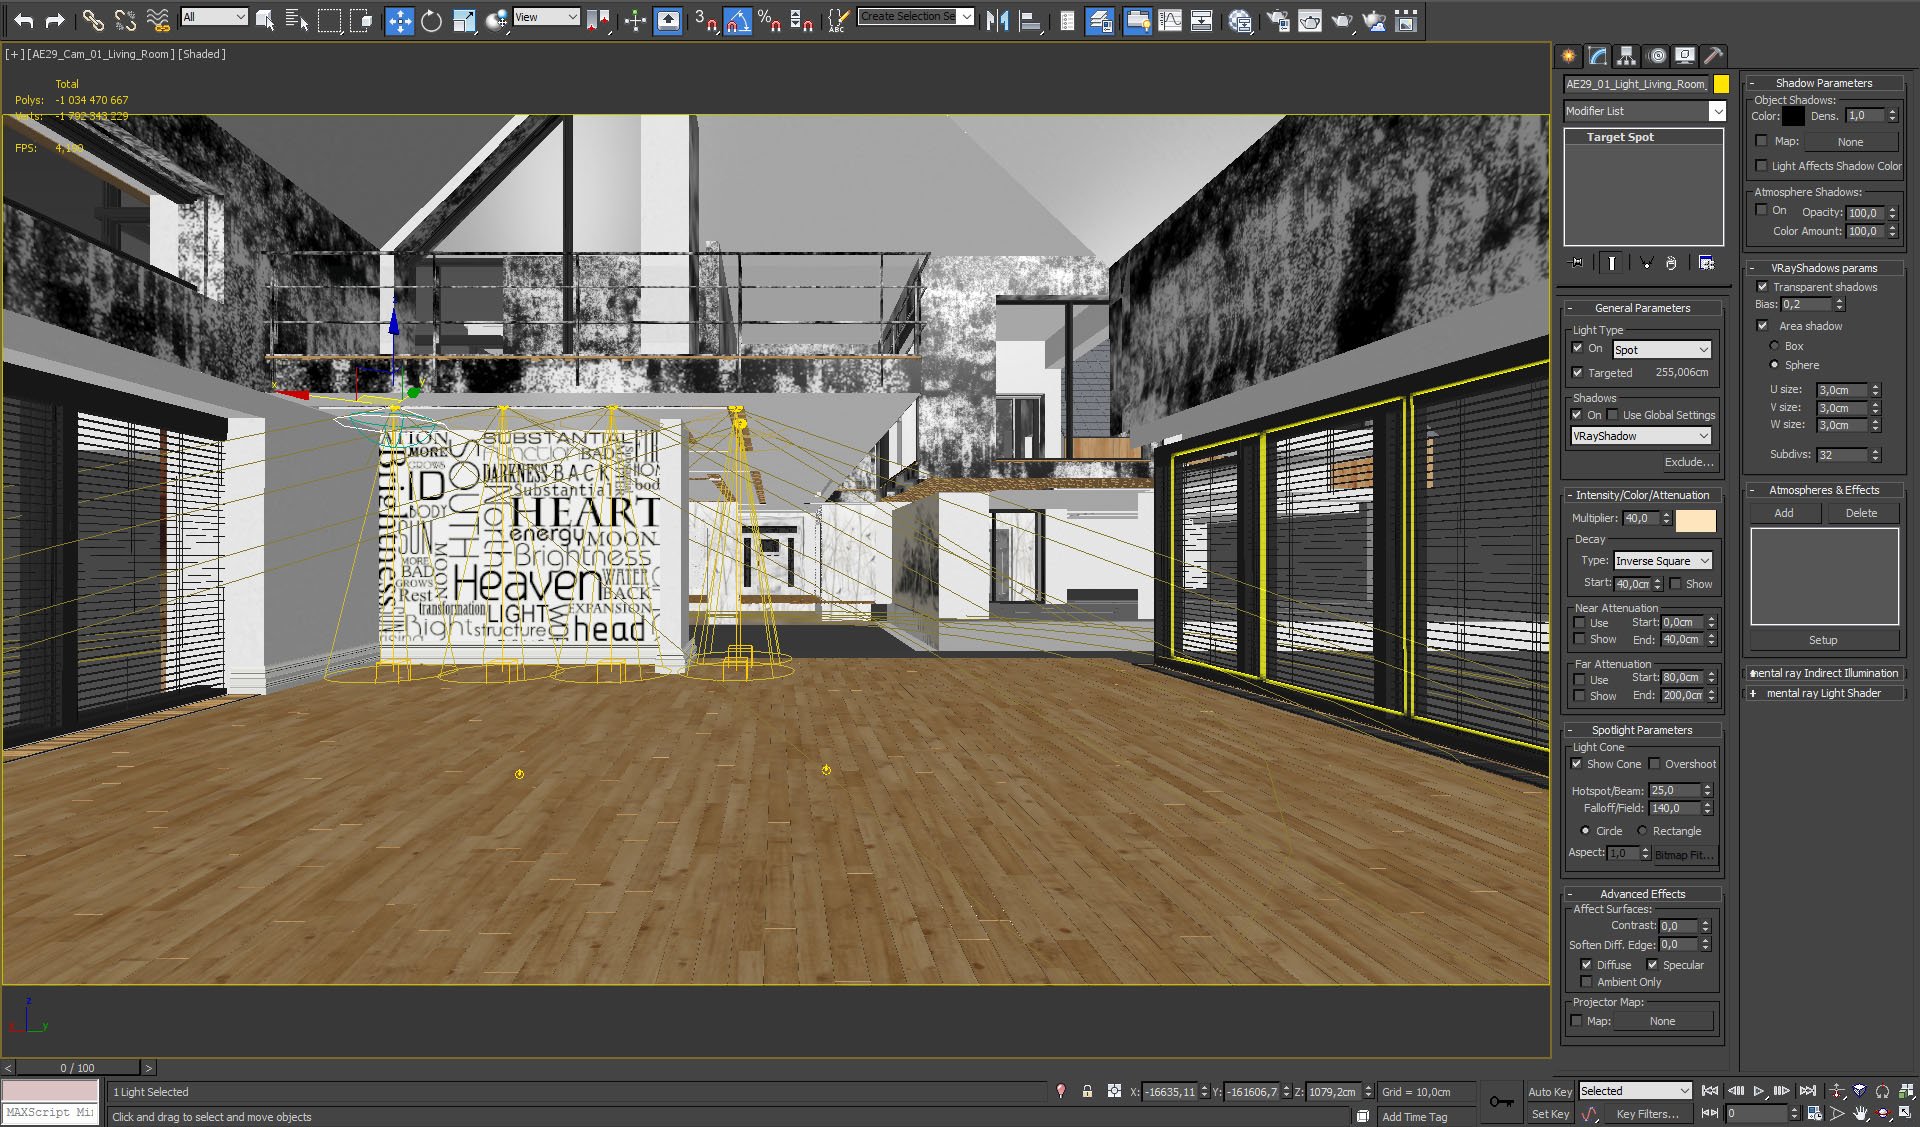
We removed furniture and props on this screen to show you light sources that are placed in the ceiling. Settings are on the right.
Click on image to enlarge
Wall with text texture settings.
Click on image to enlarge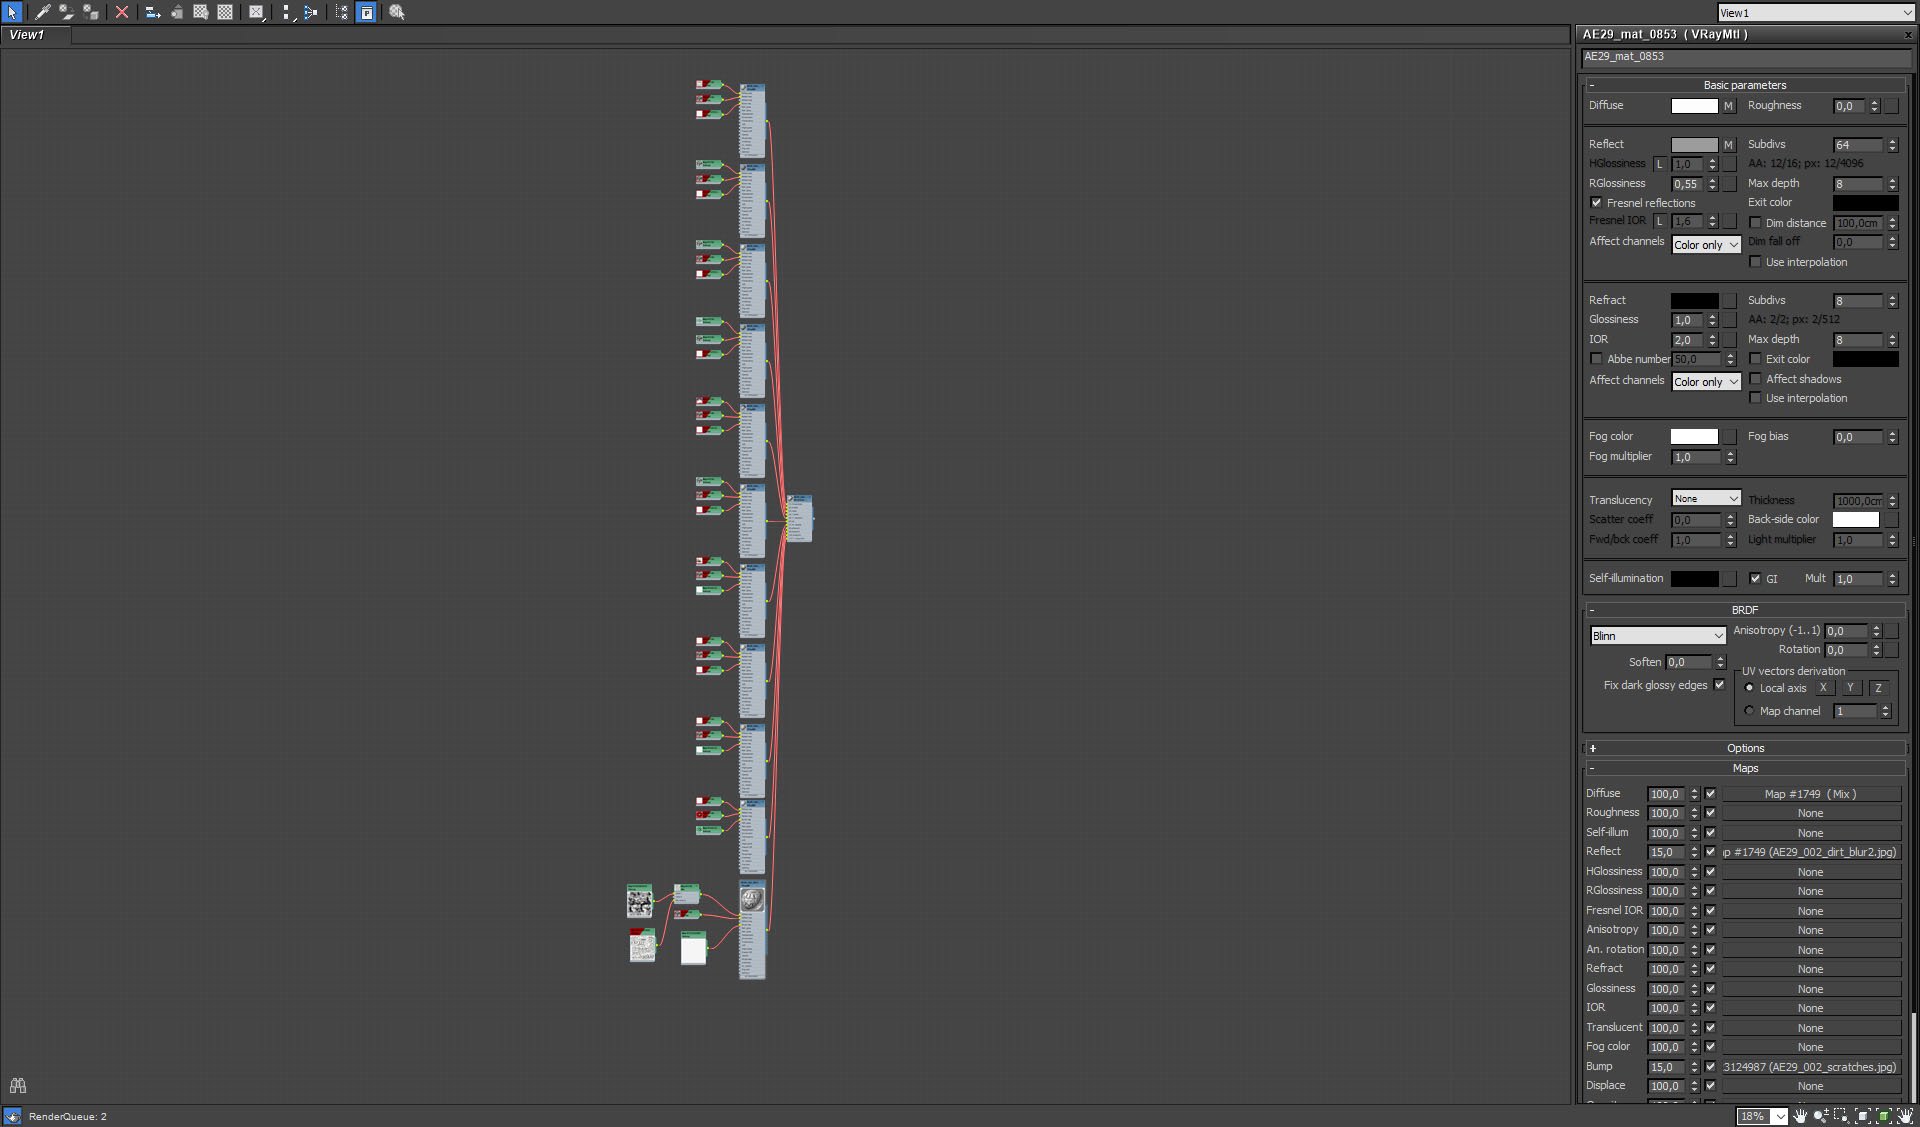
In such big visualization like this (many interiors and exterior views), it's a good practice to use multi-sub/object materials. here you can see wall materials from this scene. Our living room wall with text is on the bottom. We will not show settings of other walls, because it is beyond the scope of this tip.
Click on image to enlarge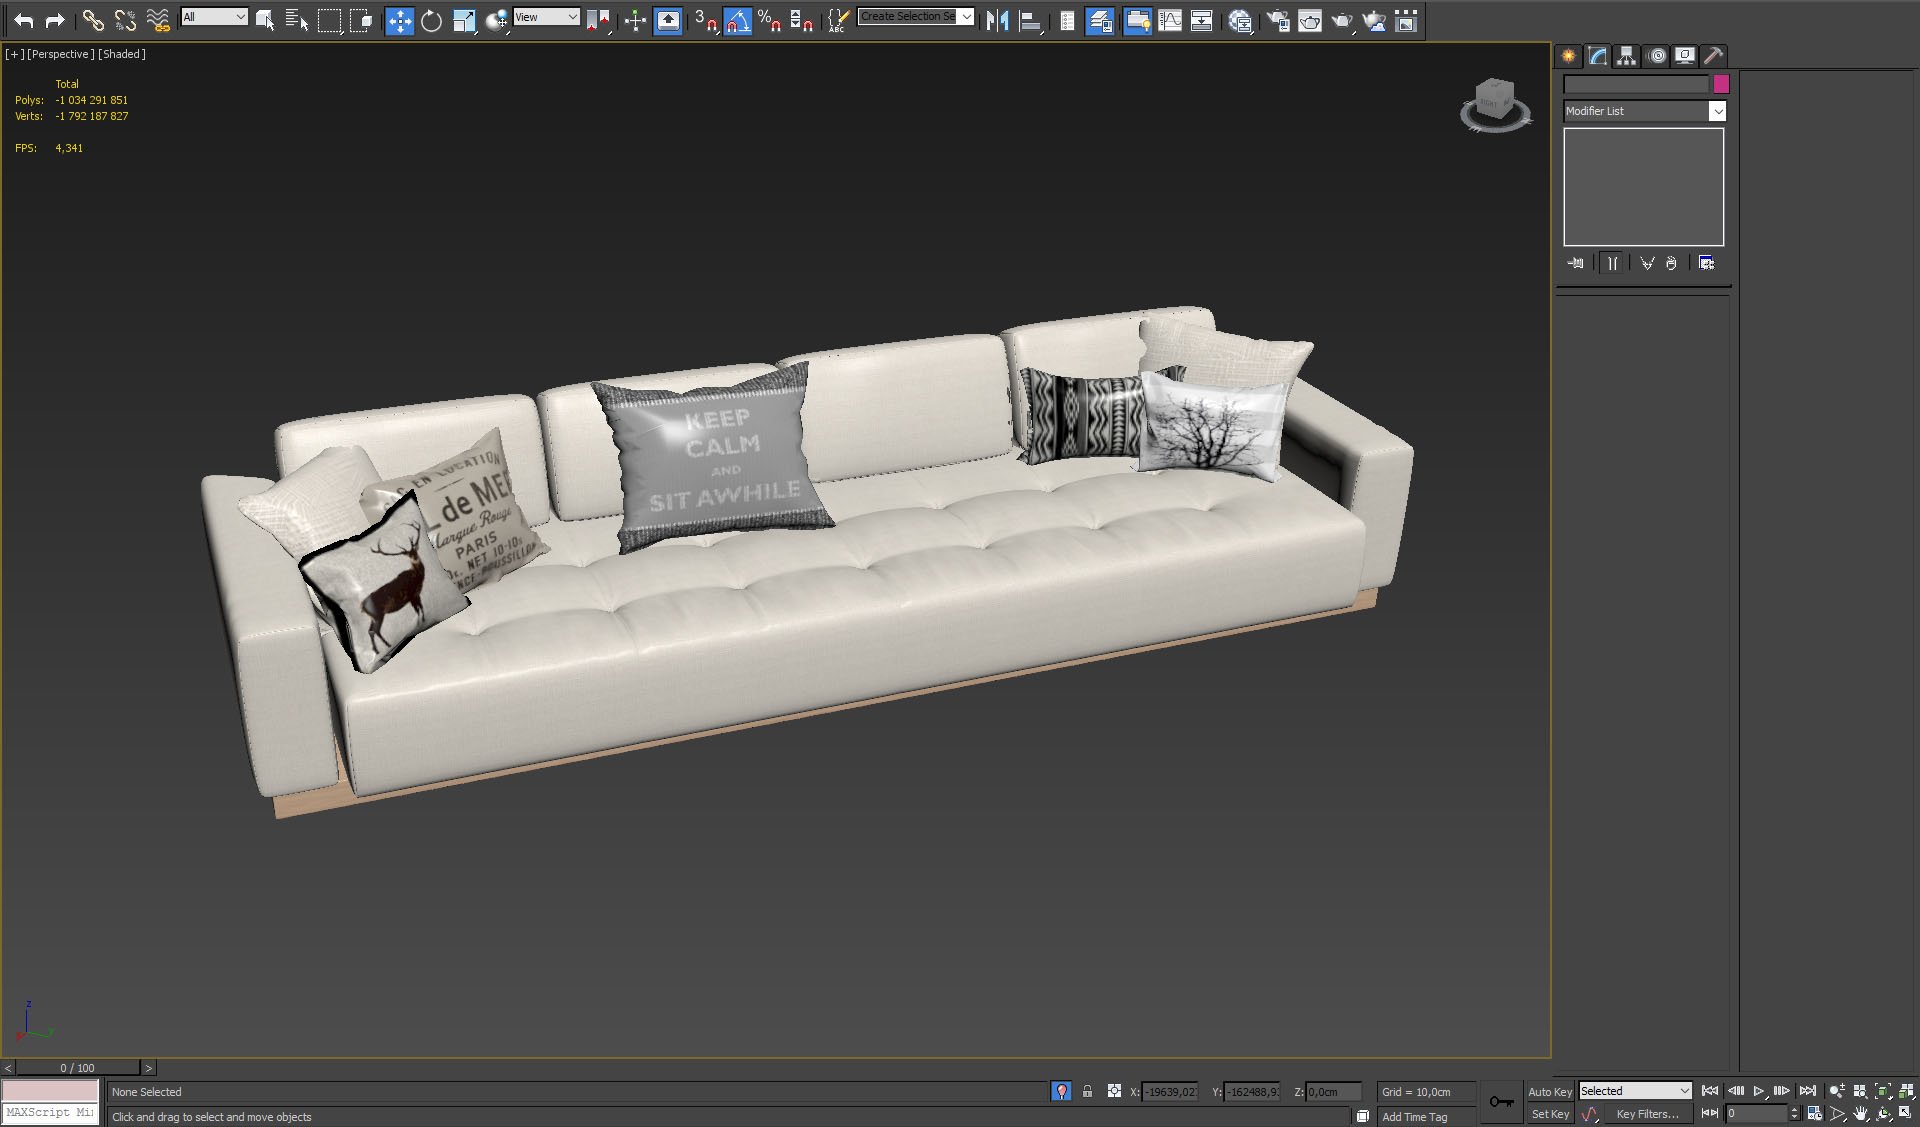
A couch model and some pillows.
Click on image to enlarge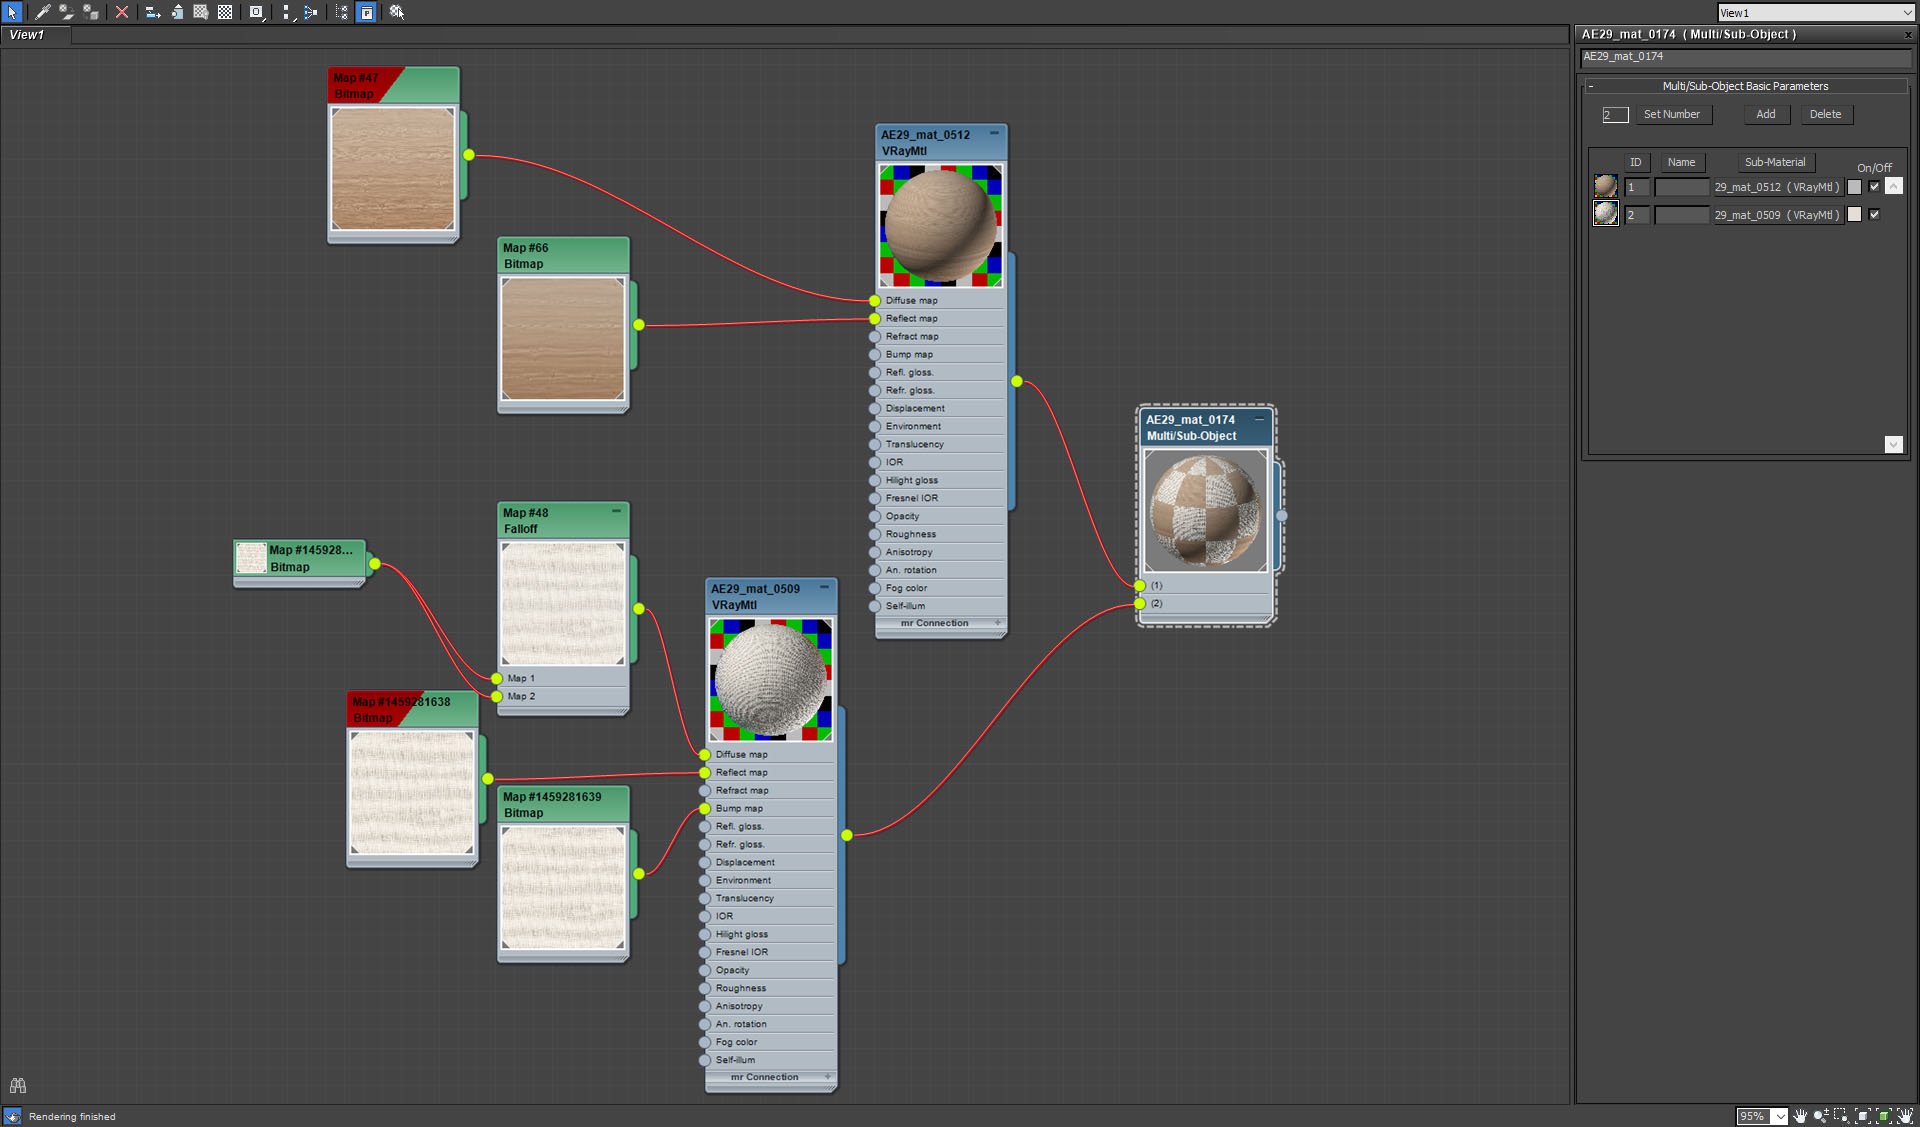
Our couch also uses multi'sub-object material. Top material is wood and the bottom - fabric.
Click on image to enlarge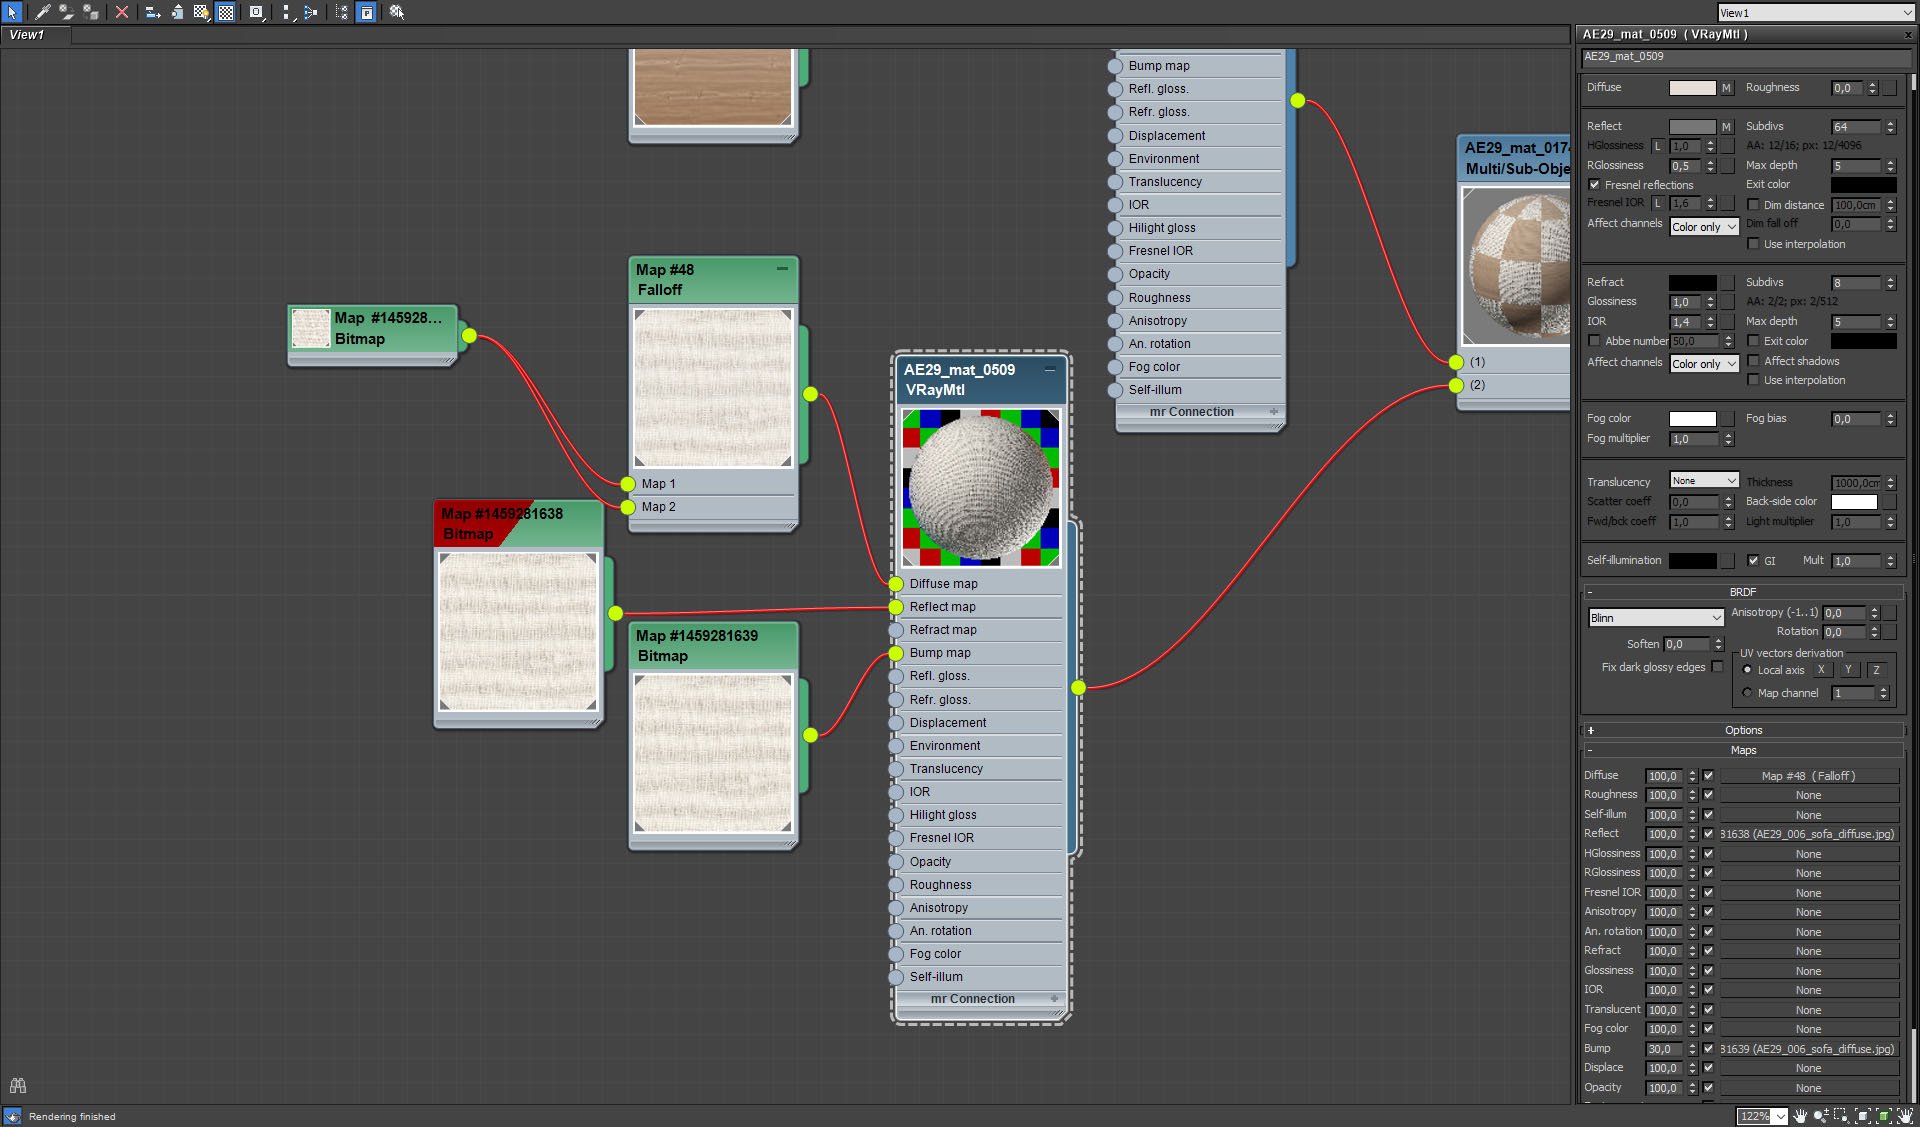
Fabric material settings.
Click on image to enlarge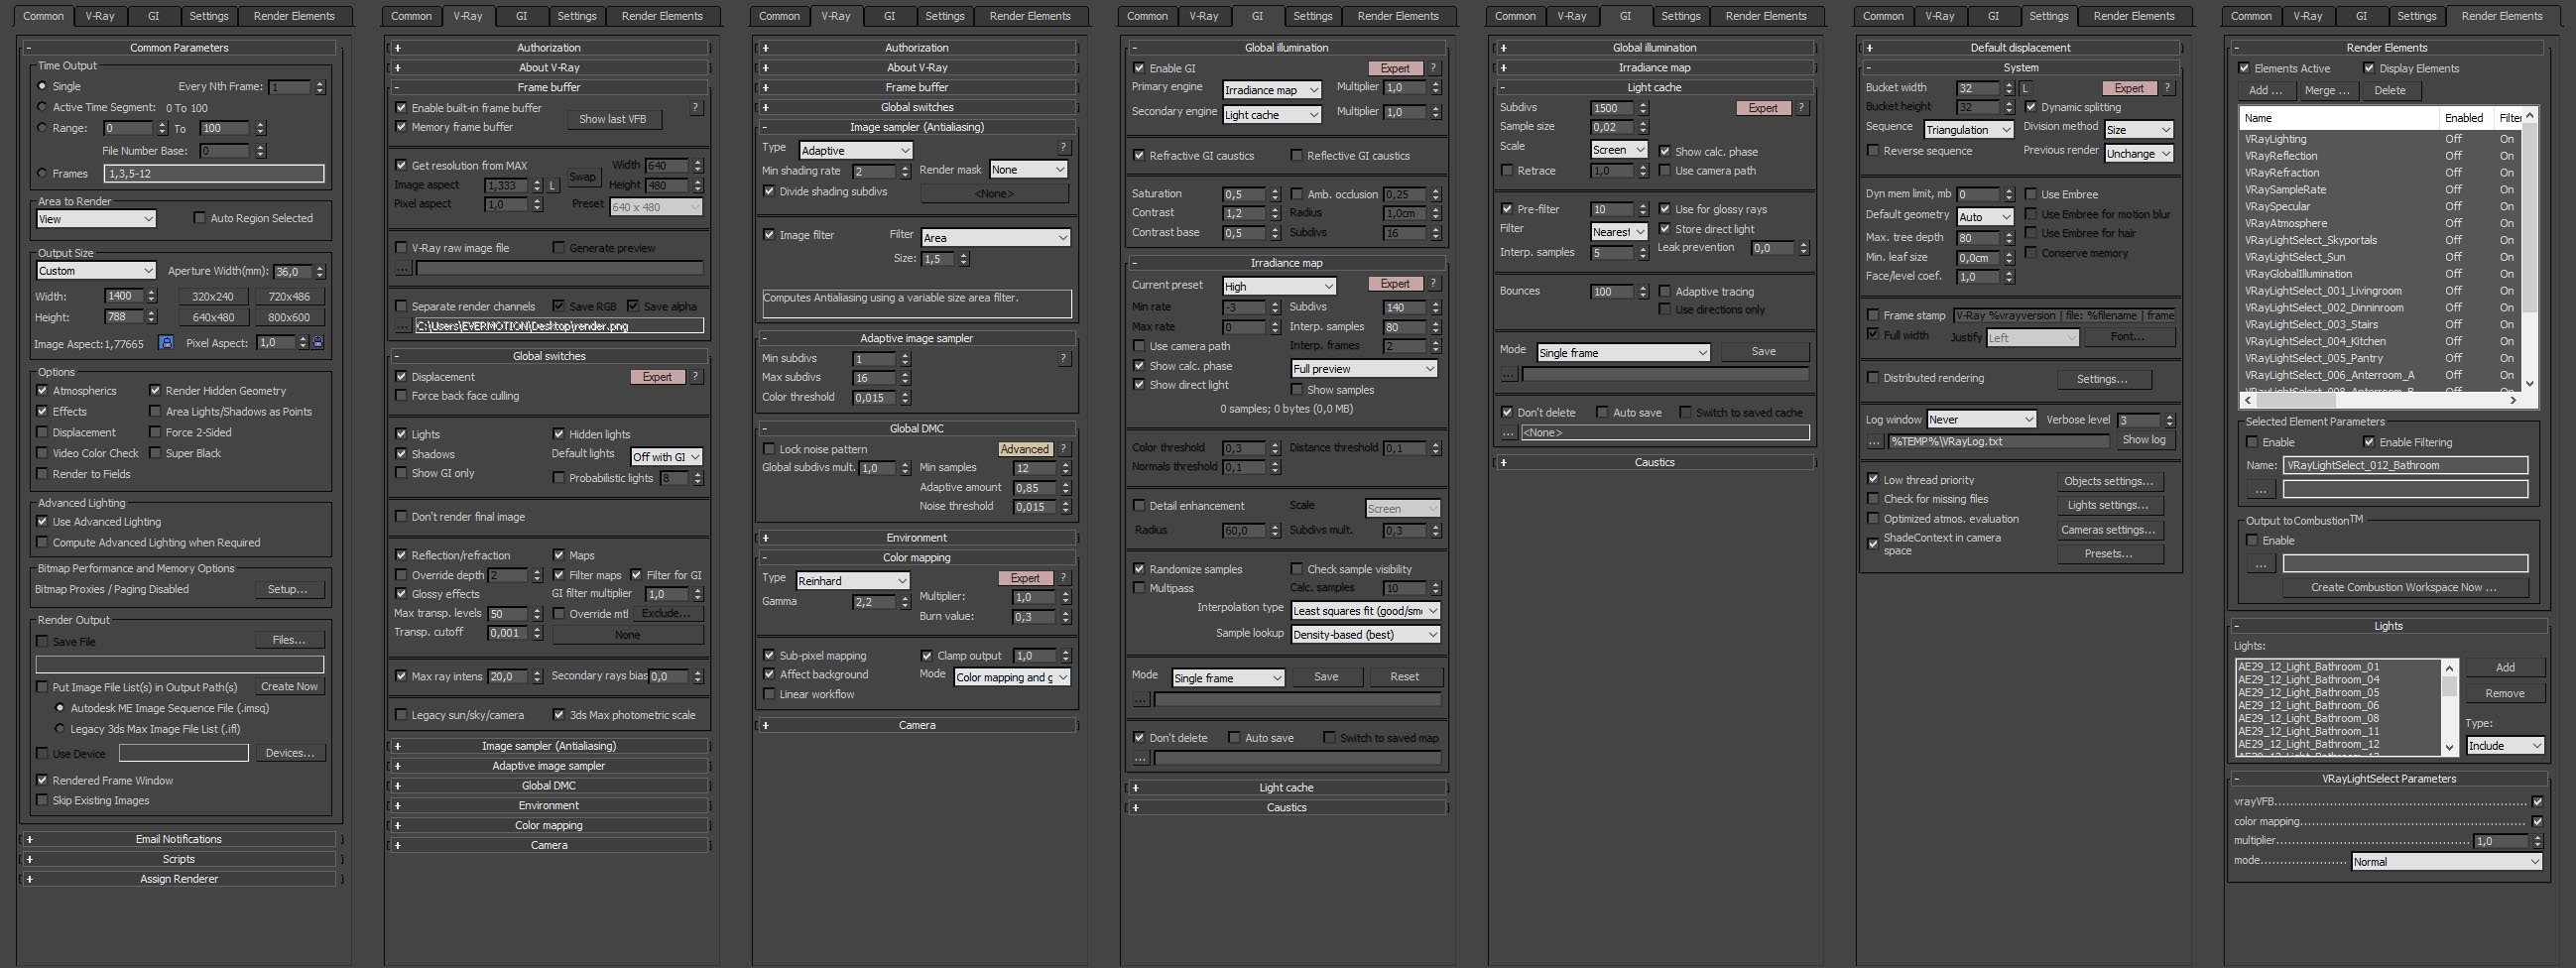
Render settings.
Click on image to enlarge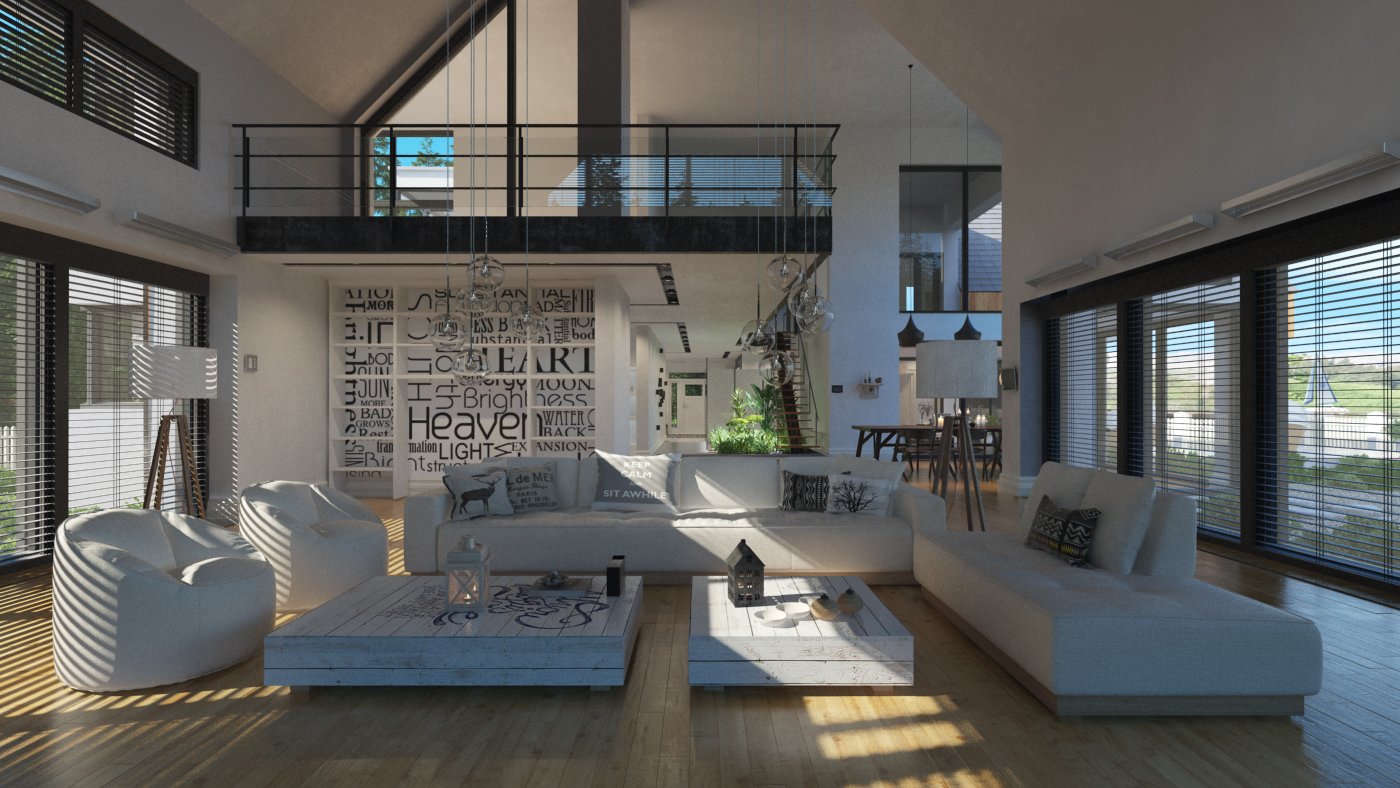
Raw render.
Click on image to enlarge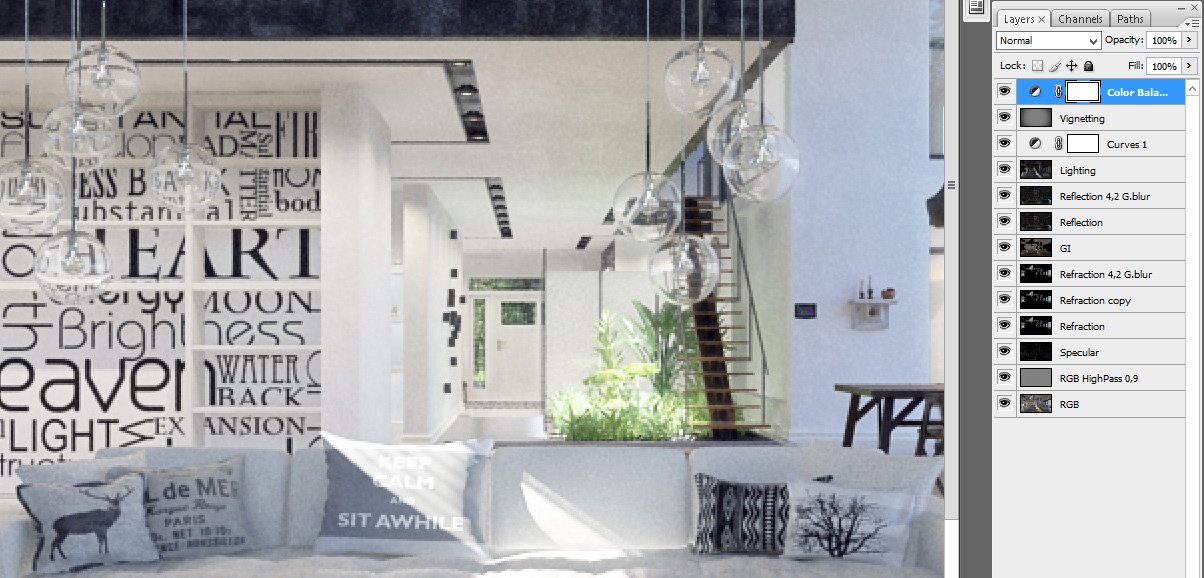
Photoshop layers and post-production. the most bottom layer is our raw render. We use highpass 0.9 filter to make it a bit sharper, then we blended (screen) our specular layer, and two instances of refraction layer. they increased contrast and make the scene lighter. Refraction blur layer adds a small glow around bright areas of the image. Gi and reflection layers (blended with screen mode) increase brightness even further, as do Lighting and Reflection Blur layers. After all that brightening we need to bring back some contrast, so we used Curves layer. some vignetting on top of that and color balance layer to make the interior a bit colder.
Click on image to enlarge
Final image after post-production.
> Buy Archexteriors vol. 29 collection in Evermotion Shop.
 How To Make Your CGI Walls More RealisticRealistic walls with noise modifier.
 Removing LUTs from Textures for better resultsRemove the LUT from a specific texture in order to get perfect looking textures in your render.
 Chaos Corona 12 ReleasedWhat new features landed in Corona 12?
 OCIO Color Management in 3ds Max 2024Color management is crucial for full control over your renders.
 A look at 3dsMax Video SequencerDo you know that you can edit your videos directly in 3ds Max? Renderram is showing some functionalities of 3ds Max's built in sequencer.
 FStorm Denoiser is here - First ImpressionsFirst look at new denoising tool in FStorm that will clean-up your renders.
Customer zone
Your special offers
Your orders
Edit account
Add project
Liked projects
View your artist profile




COMMENTS