I made many interiors and other projects for Evermotion. Today I will show you the latest scene I've been working on. It will be included in upcoming Archinteriors collection. It isn't available in Evermotion Shop yet, so you have an unique opportunity to sneak peek what we are making for you right now. Let`s begin!
Click on image to enlarge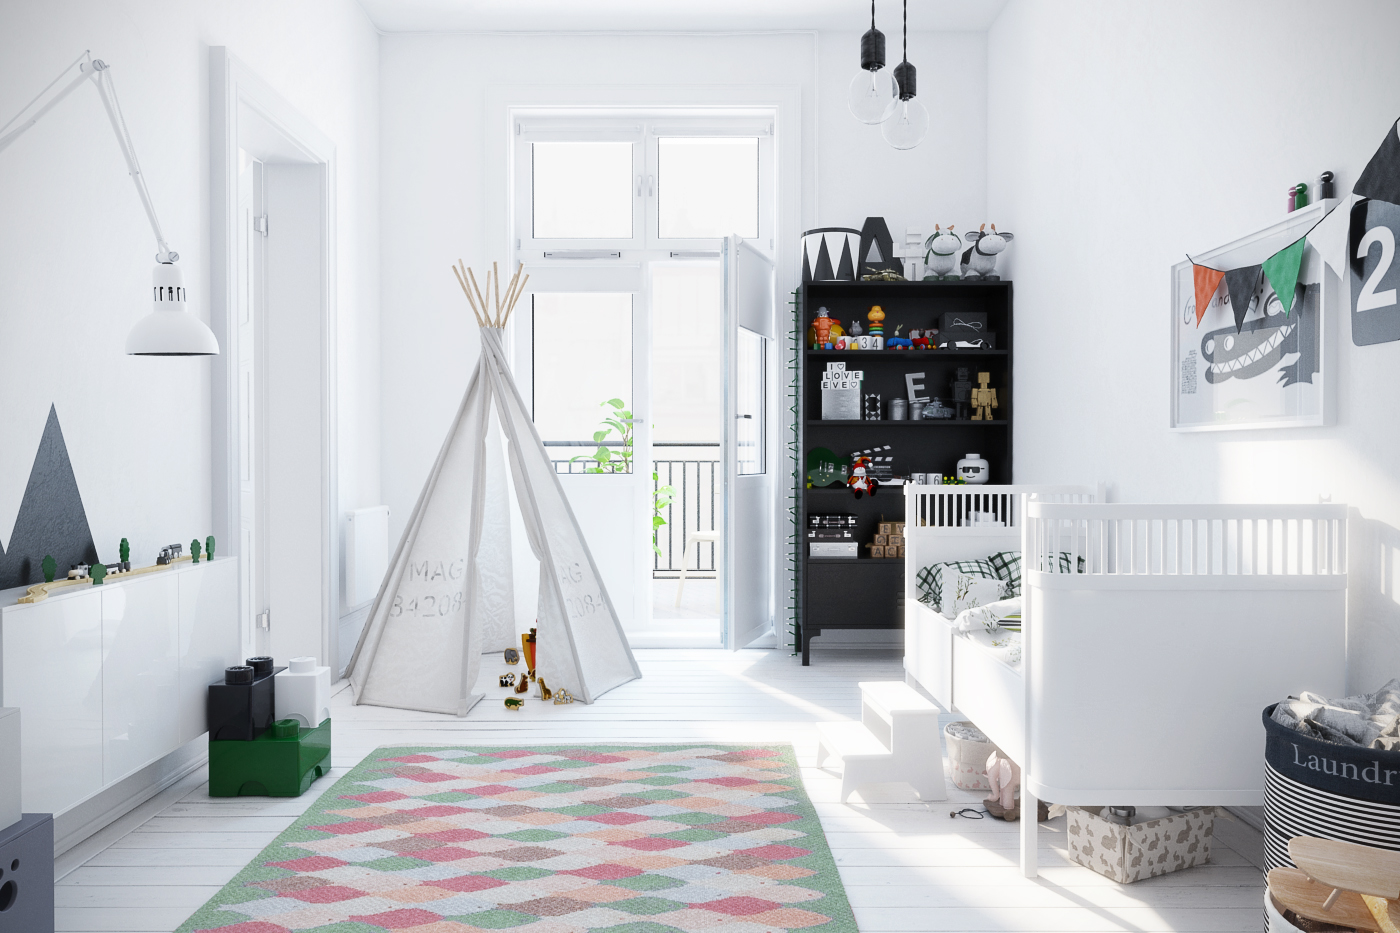
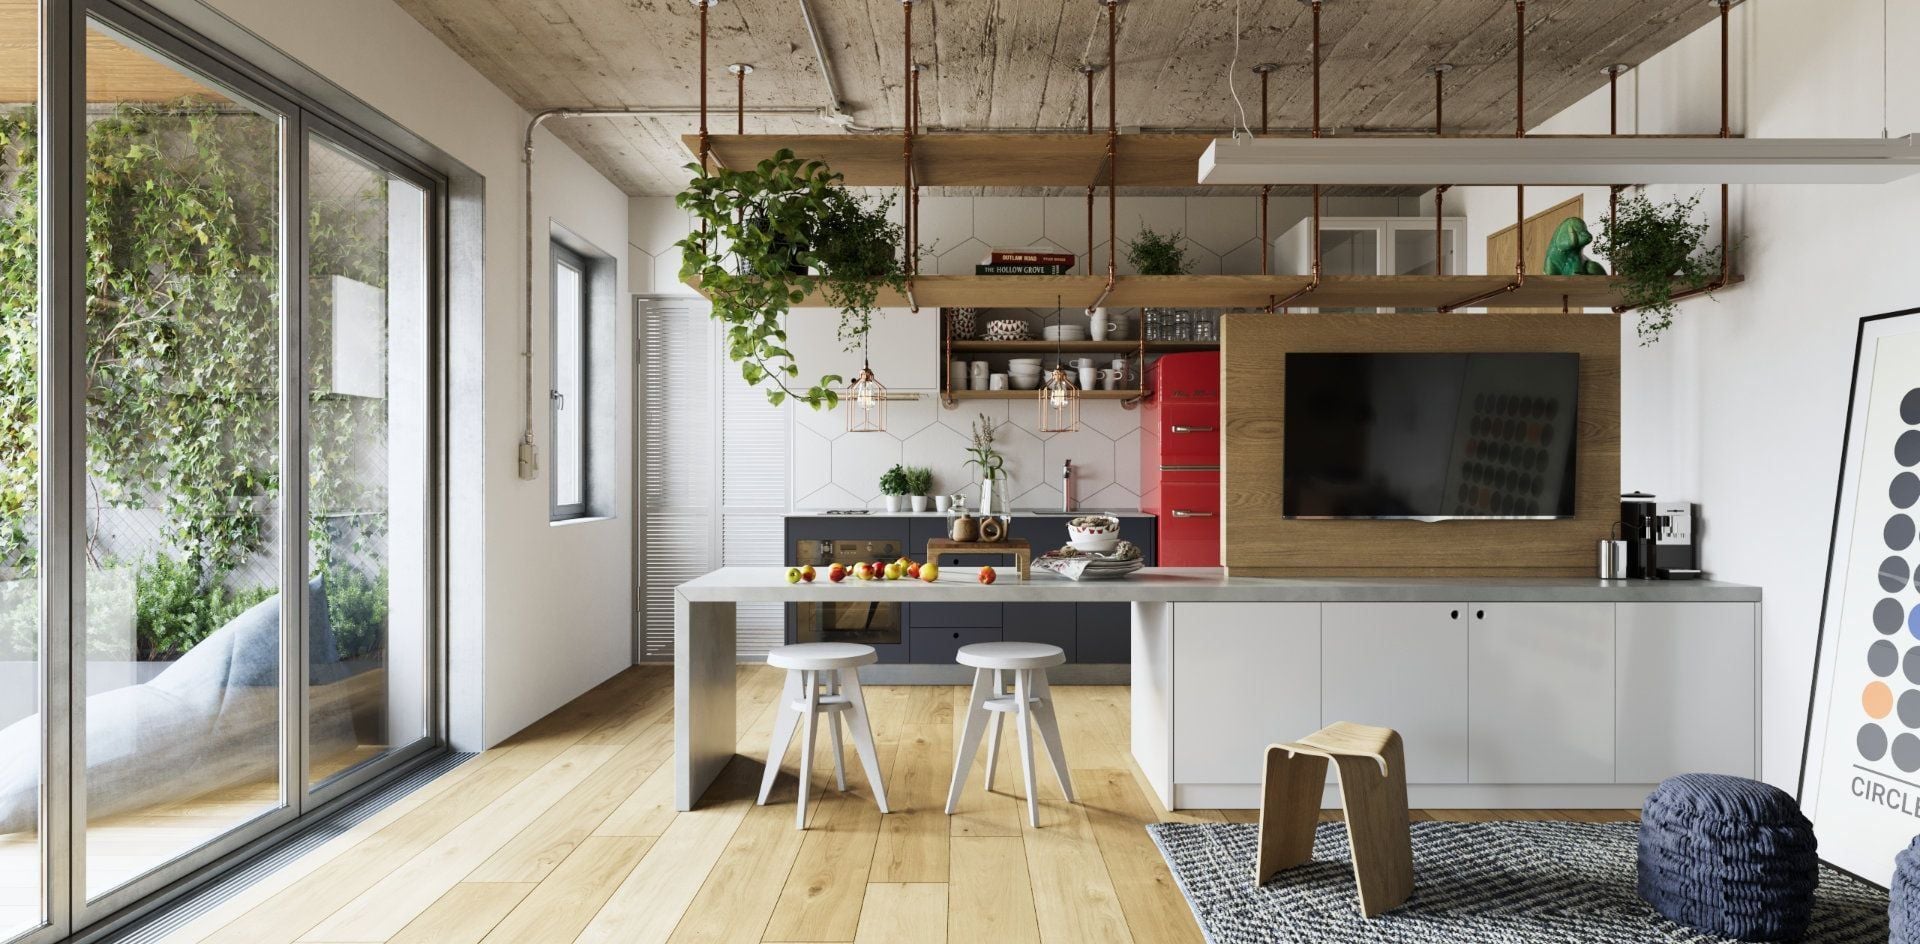
Final render - camera 1.
Click on image to enlarge
Wireframe - camera 1.
Click on image to enlarge
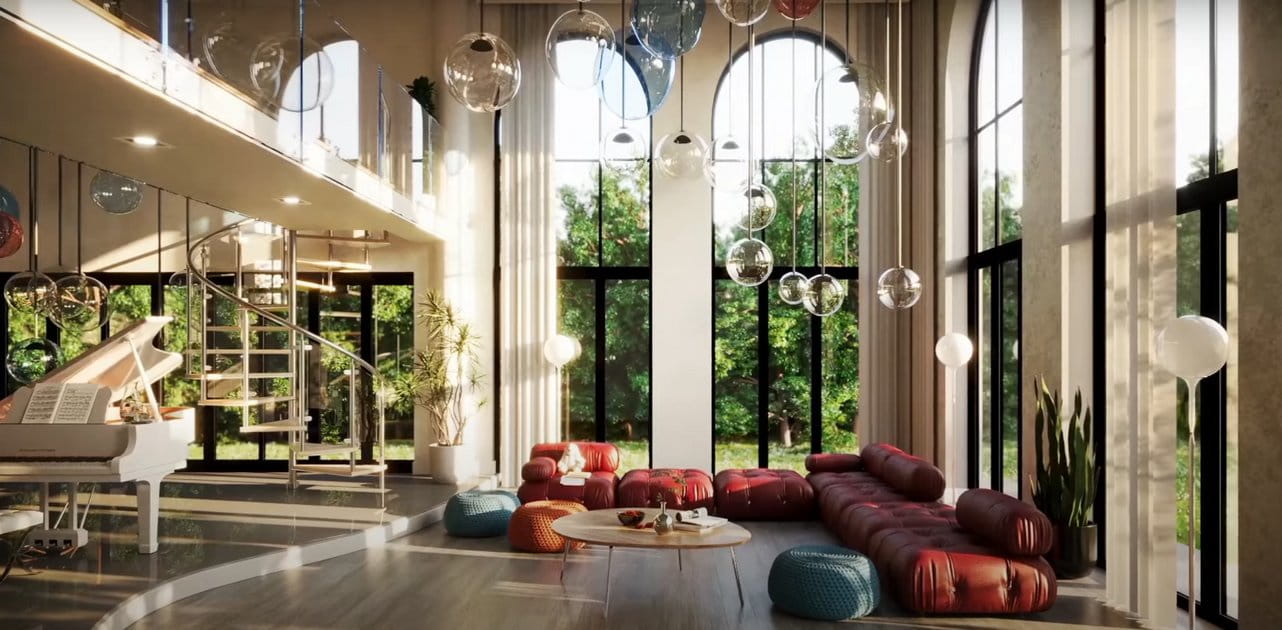
Final render - camera 2.
Click on image to enlarge
Wireframe - camera 2.
Click on image to enlarge
The more references you use, it's easier to model and texture your interior. It`s important to stick to the plans and references during the whole modeling and arranging process.

Color mapping settings.
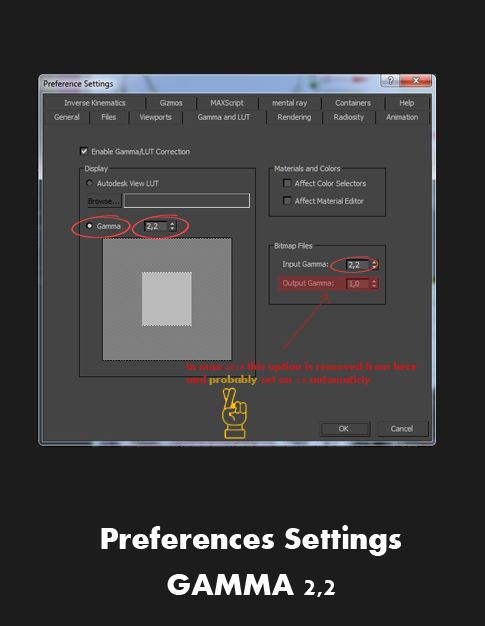
Preferences. If you what to know more about Gamma setup, read interesting article
here.
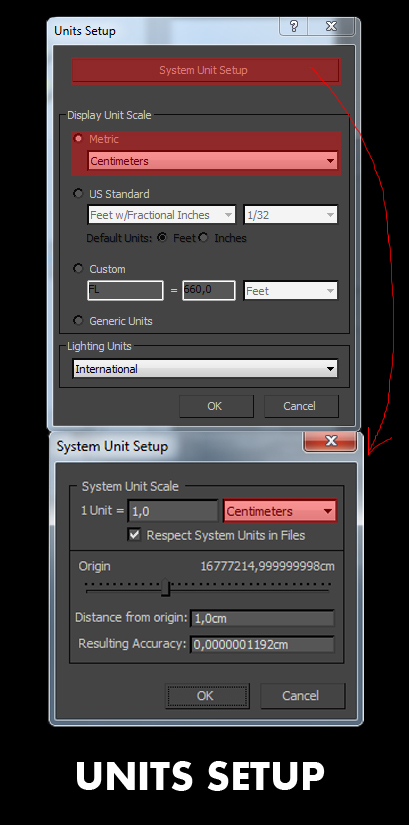
Change system units before you import or create geometry. Do not change system units of an existing scene.

How to make custom button for V-Ray Frame Buffer? Watch
this video.
Click on image to enlarge
This button alows you to quick access all the lights in the scene. In Vray v.3.20.03 there is a toolbar with easy shortcuts to some of
the most commonly used V-Ray components including V-ray Light Lister button and Frame buffer button as well.
Click on image to enlarge
If you use an older version of Vray, there is quick access to this option in TOOLS menu.
Click on image to enlarge
Now you can change easily multipliers, colors, Temperatures, Subdivs etc.
I use also SoulburnScripts - a bunch of useful scripts like "Attach selectet object" or "Transform Randomizer". You can
download SoulburnScripts here.
Click on image to enlarge
The main rule of my workflow is to make the most of modeling before I make any test render. It's a good way to prevent the waste of time. Some time in the past I ended looking at rendering buckets before everything was modeled and later it turned out that it was necessary to change the whole concept of lighting, colors, textures etc. Therefore, before making test renders, you need to model the walls, floor, frames, shutters, windows and so on.
Wall modeling: There are at least 2 ways for modeling walls I know. From Spline or from solid objects. I personaly prefer 2nd way - In this project I made them from the box.
Click on image to enlarge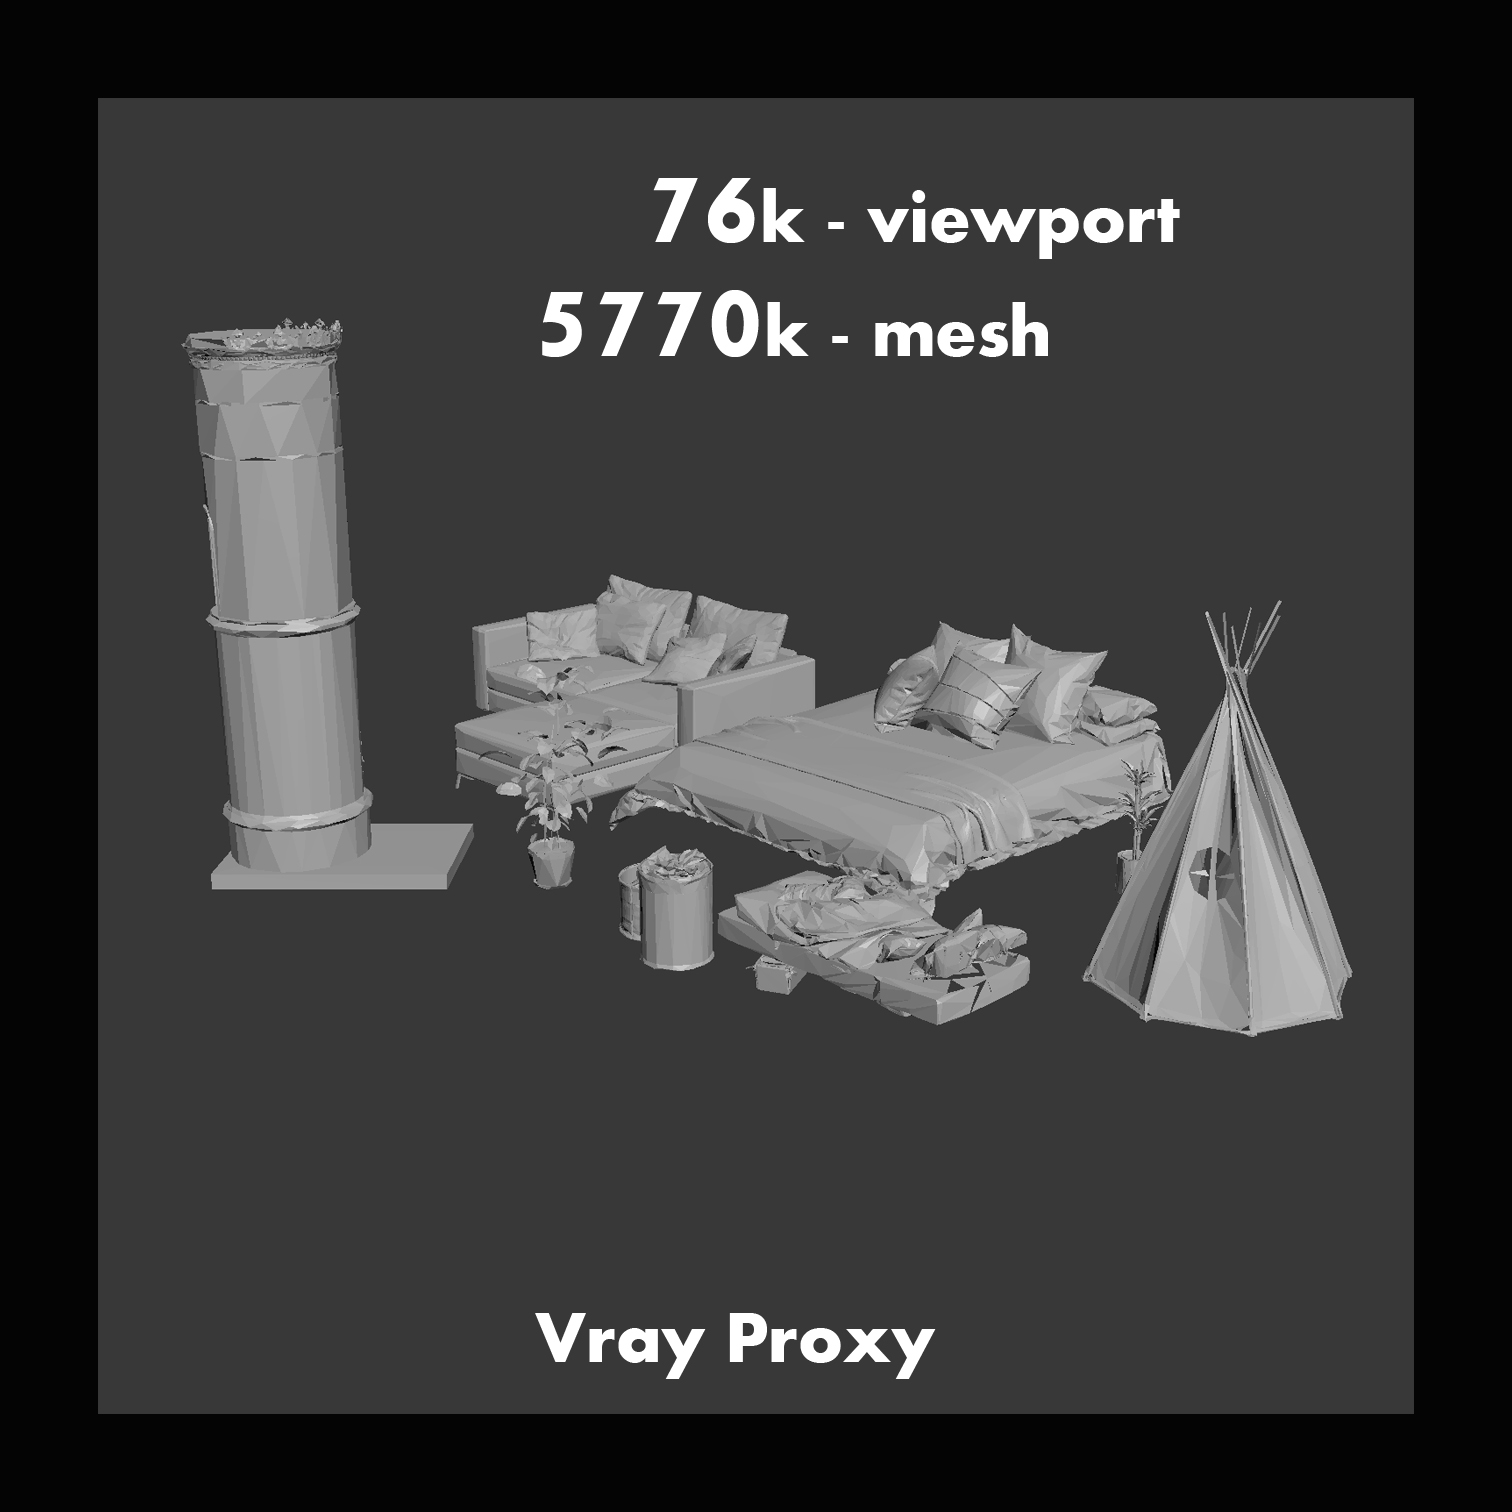
The scenes that we usually make in Evermotion are full of props, good shaders and nice lighting. Even a single scene sometimes is a good library of props and shaders which you can use in other projects.
Click on image to enlarge
Props - books.
Click on image to enlarge
50 toys in the scene!
Click on image to enlarge
During the work you should write to the history of frame buffer in case of any changes. You can then easily see whether the change of a color, light, texture was right or is it maybe worth to return to the previous version. Here's a story of camera 1 (GIF animation).
Click on image to enlarge
Without color correction.
Click on image to enlarge
With color correction.
Click on image to enlarge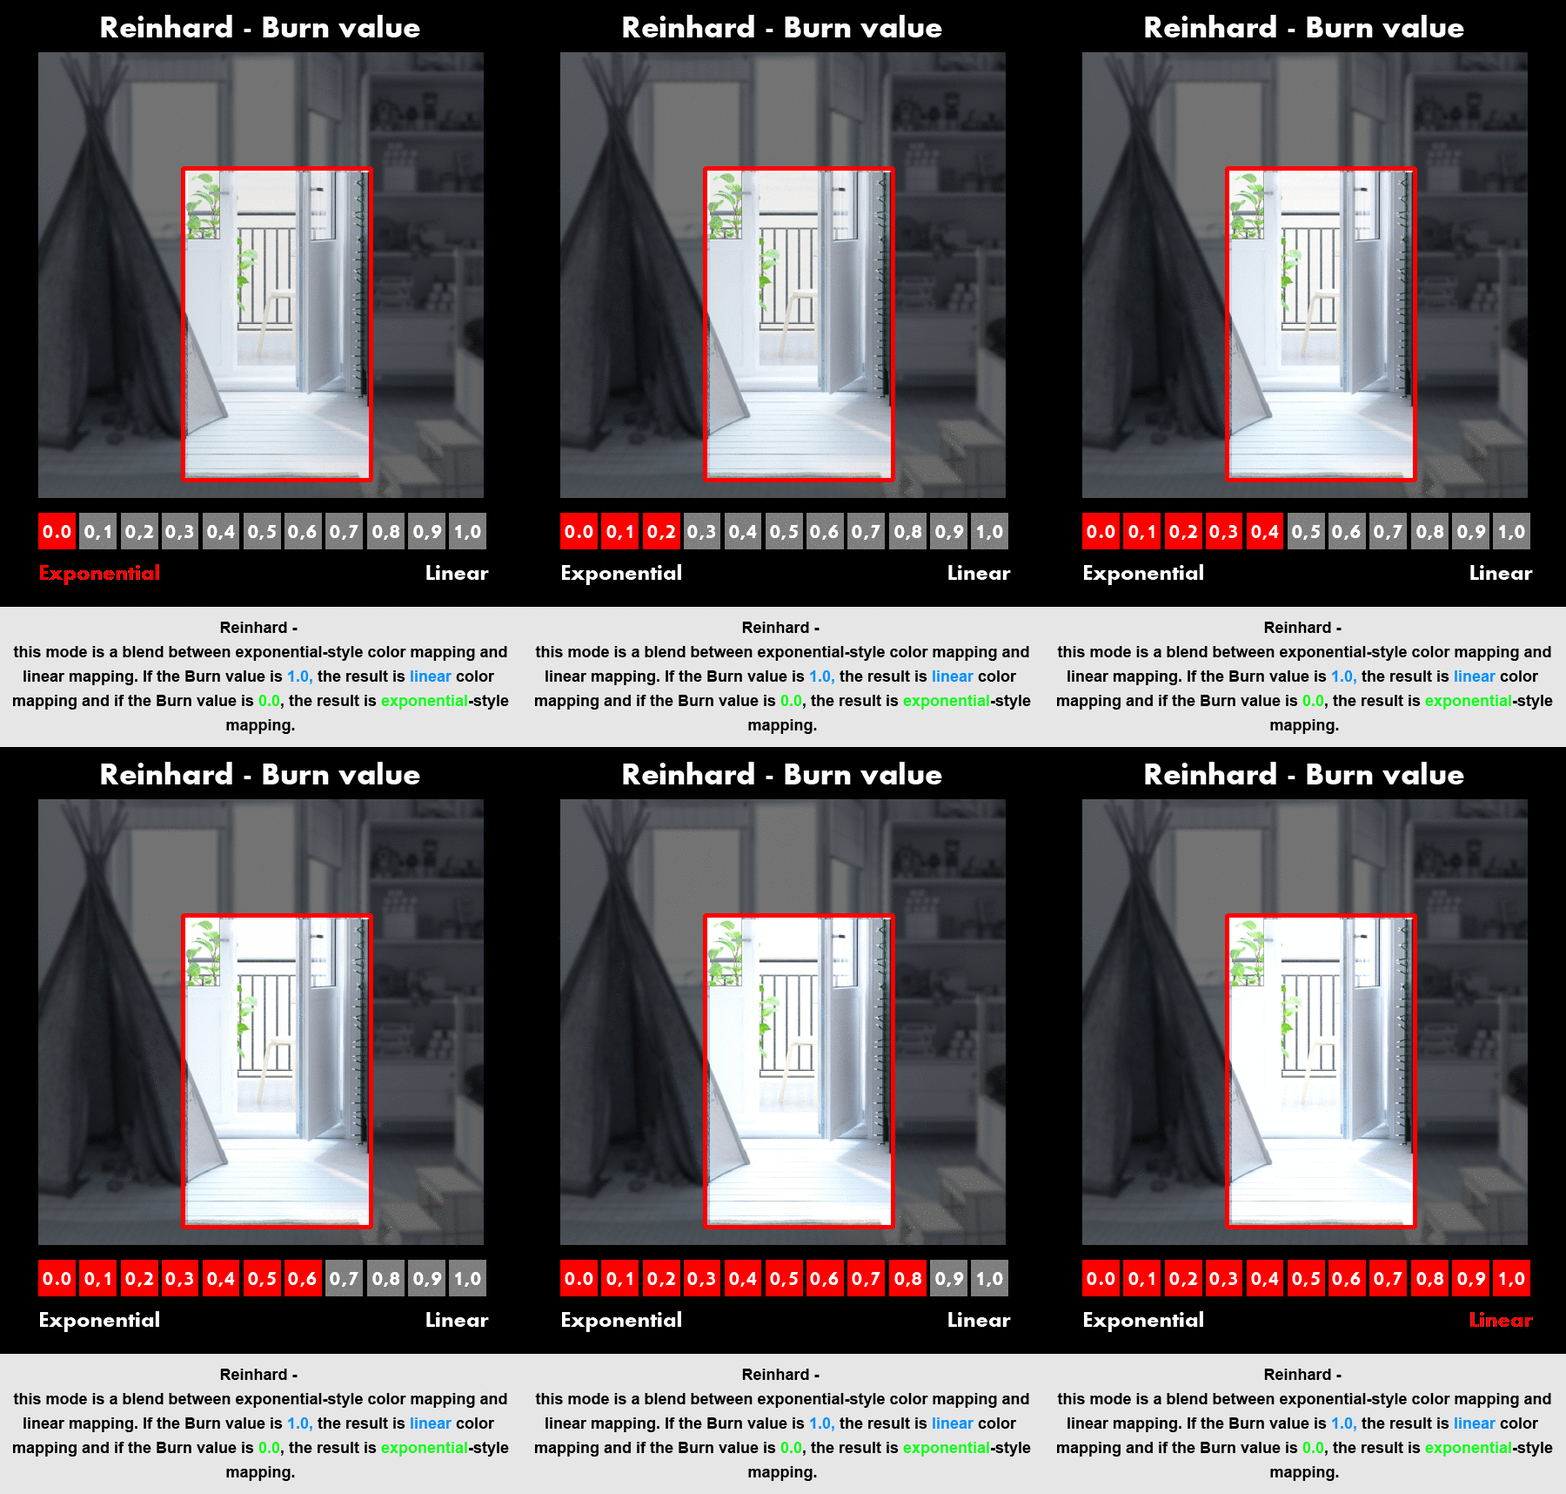
Rheinhard color mapping (GIF animation).
Click on image to enlarge
Rendering - testing multiple angles.
Click on image to enlarge
Rendering - testing multiple angles.
Click on image to enlarge
Rendering - testing multiple angles.
Click on image to enlarge
Rendering - testing multiple angles.
Click on image to enlarge
Rendering - testing multiple angles.
Click on image to enlarge
Rendering - testing multiple angles.
Click on image to enlarge
Rendering - testing multiple angles.
Click on image to enlarge
Rendering - testing multiple angles.
Click on image to enlarge
Rendering - testing multiple angles.
Click on image to enlarge
Rendering - testing multiple angles.
Click on image to enlarge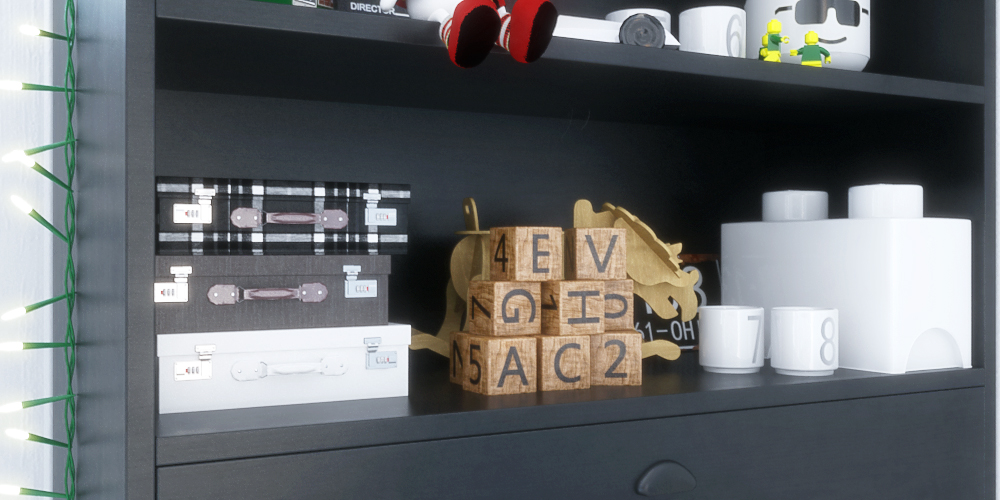
Rendering - testing multiple angles.
Click on image to enlarge
Rendering - testing multiple angles.
Click on image to enlarge
Rendering - testing multiple angles.
Click on image to enlarge
Render setup.

Click on image to enlarge
Sun and Sky.
Click on image to enlarge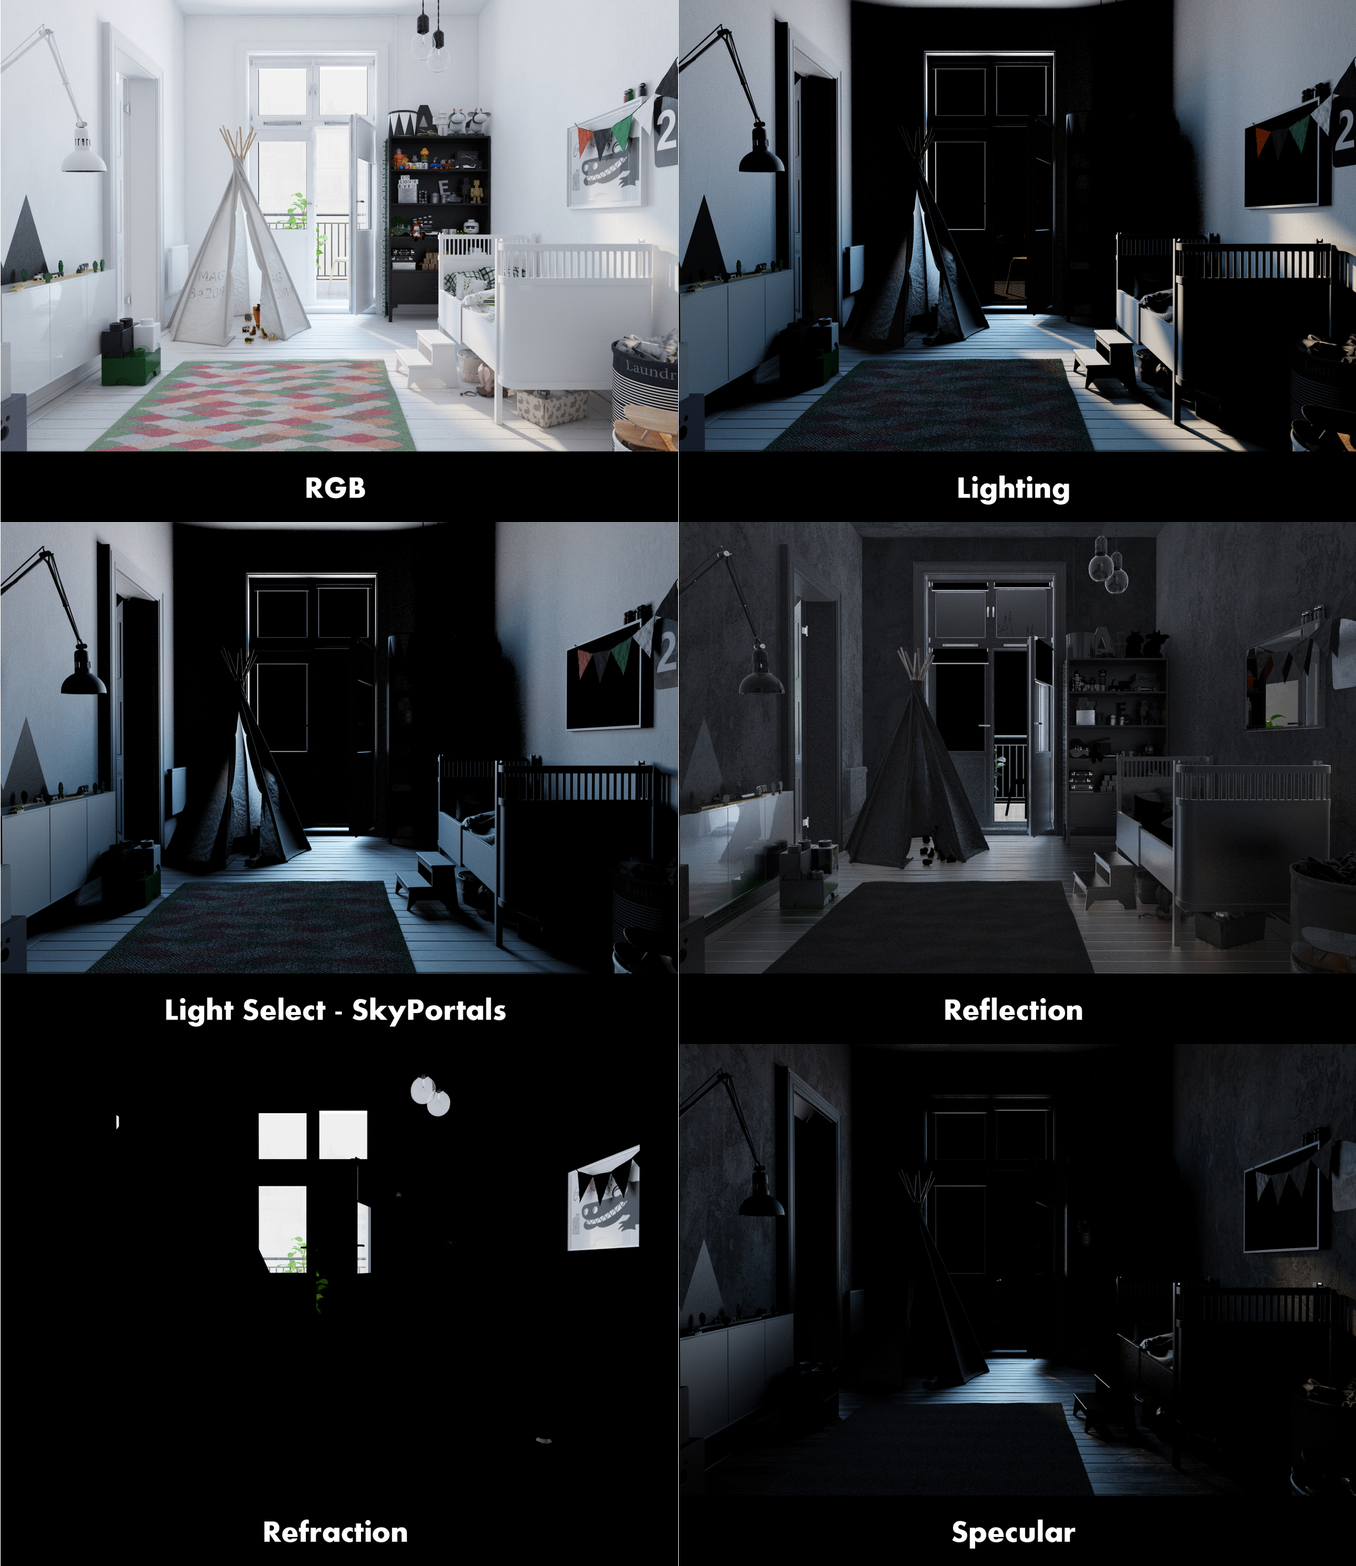
Render elements - camera 1 (GIF animation).
Click on image to enlarge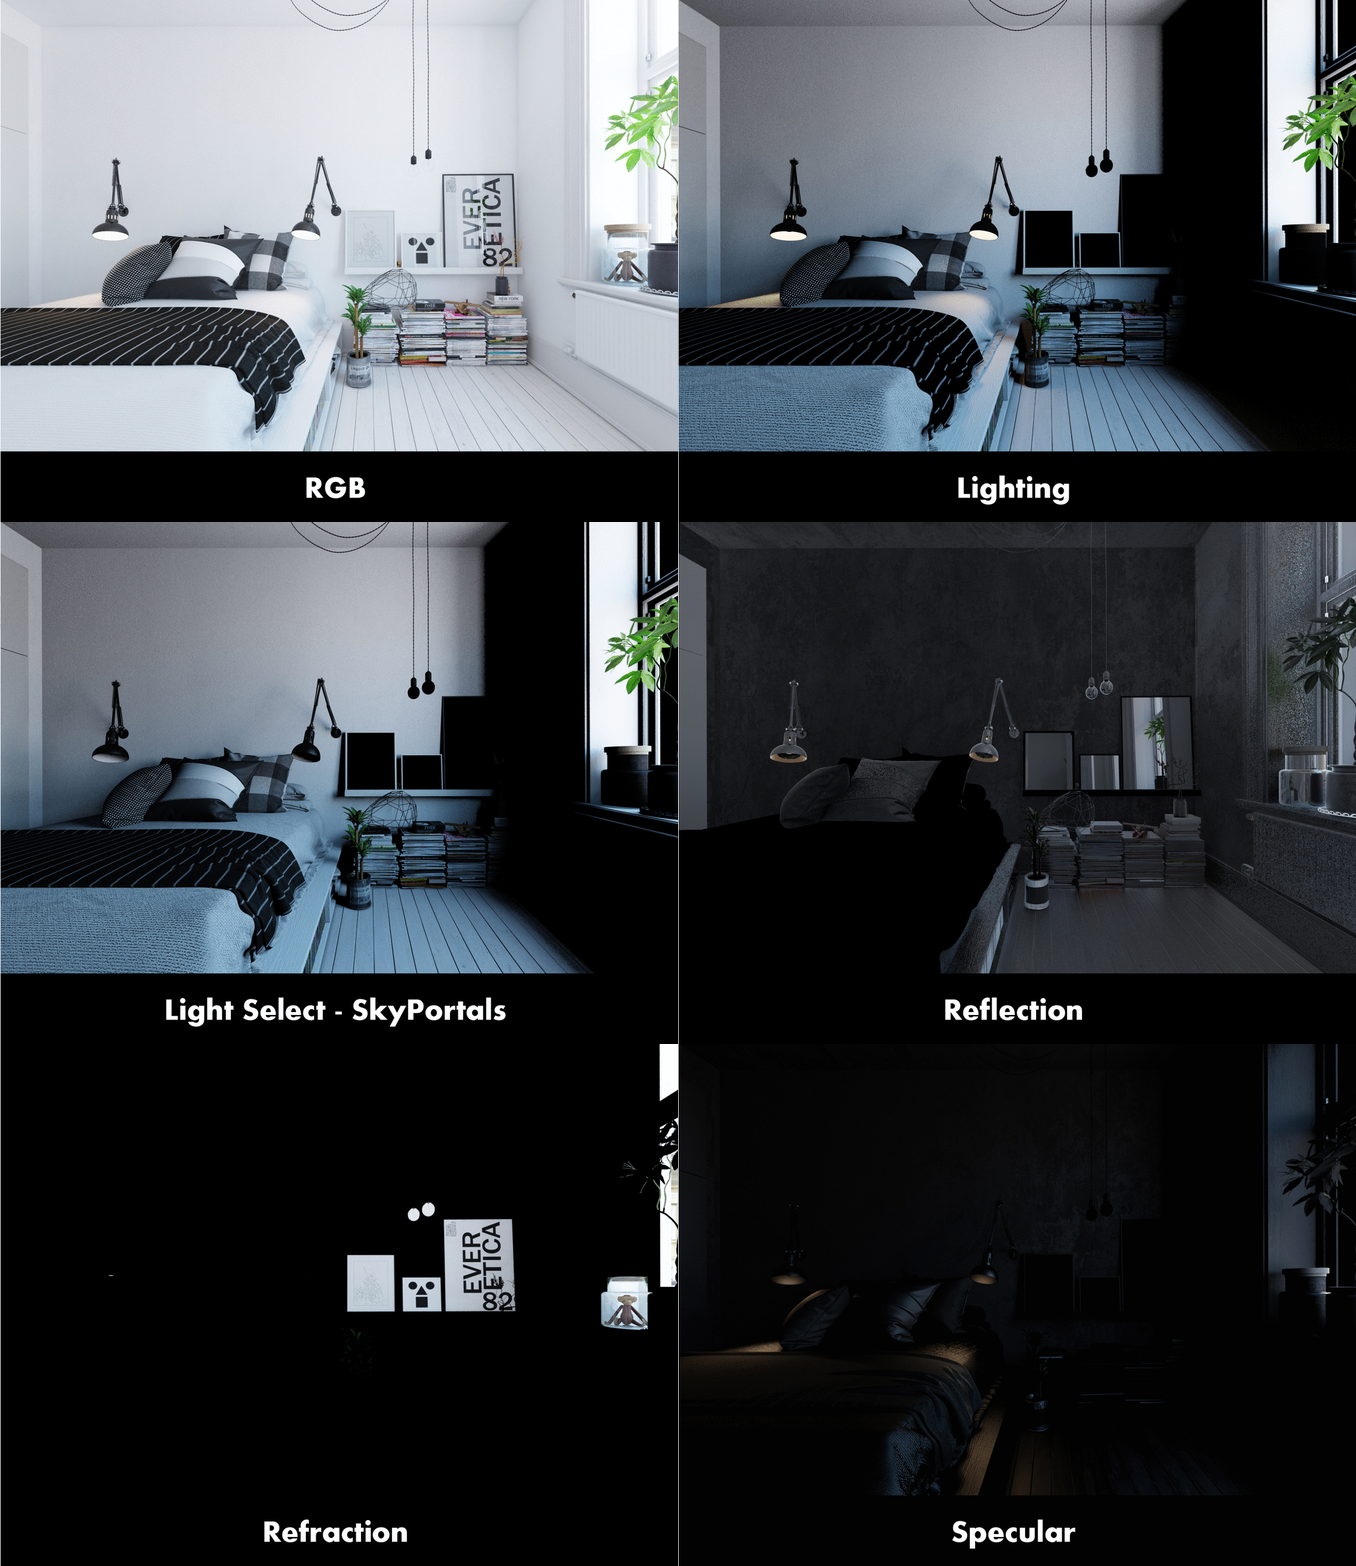
Render elements - camera 2 (GIF animation).
Click on image to enlarge
Post production (GIF animation).
Click on image to enlarge
Final render - camera 1.
Click on image to enlarge
Wireframe - camera 1.
Click on image to enlarge
Final render - camera 2.
Click on image to enlarge
Wireframe - camera 2.
Thanks for reading! Feel free to ask about my workflow. I will gladly answer. Regards, Marcin.

 Customer zone
 Your orders
 Edit account
 Add project
 Liked projects
 View your artist profile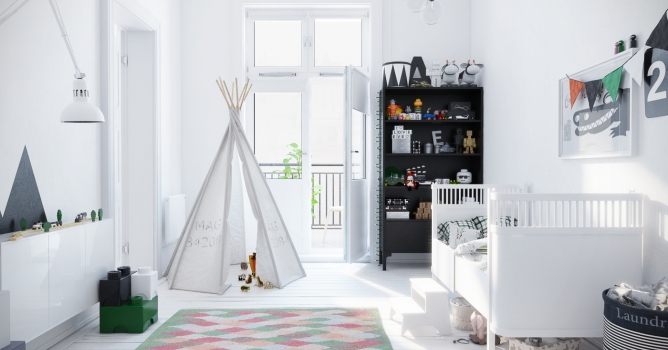











COMMENTS