Search
Cart
Sign in
  • offerCustomer zone
  • offerYour orders
  • offerEdit account

  • offerAdd project
  • offerLiked projects
  • offerView your artist profile

  • Dark mode

We care about your privacy

We use cookies to provide you with the best possible experience. They also allow us to analyze user behavior in order to constantly improve the website for you. The consent is voluntary. You can withdraw it at any time or renew it in Cookie settings on the home page. Withdrawal of your consent does not affect the lawfulness of processing performed before the withdrawal. Privacy Protection Policy
Accept all
Accept selection
Reject all

Making of "House in the Forest" - Tip of the Week

Michał Franczak 2016-04-15 15:47 tutorial  > 3ds MAX  > texturing

Behind the scenes of a beautiful forest scene from Archexteriors vol. 26.

This forest exterior is included in Archexteriors vol. 26 as scene 10. The scene was made in 3ds Max and rendered in V-Ray by Evermotion.

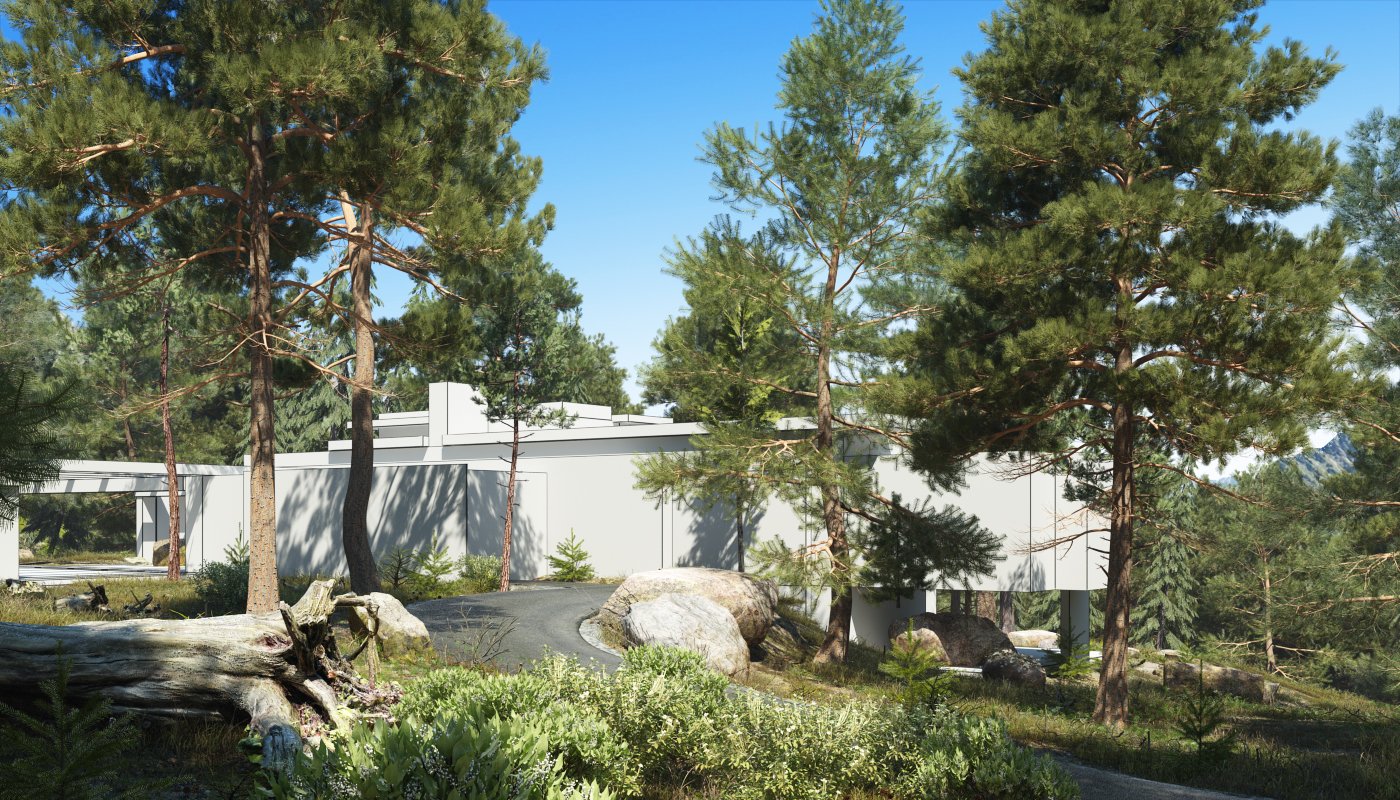
Click on image to enlargeAE26_010_cam_001_PP_evermotion.jpg

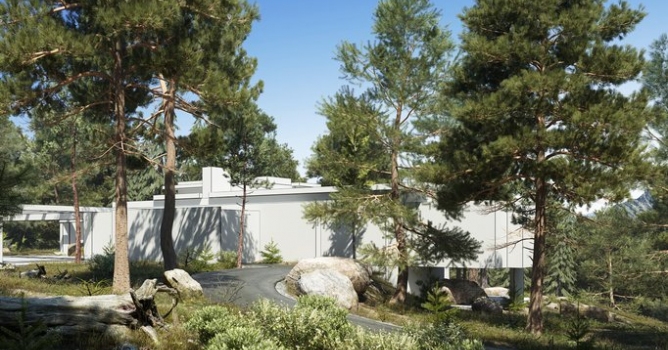
Final scene after post-production, camera 1. This scene has three cameras.
 

Click on image to enlargeAE26_010_cam_002_PP_evermotion.jpg

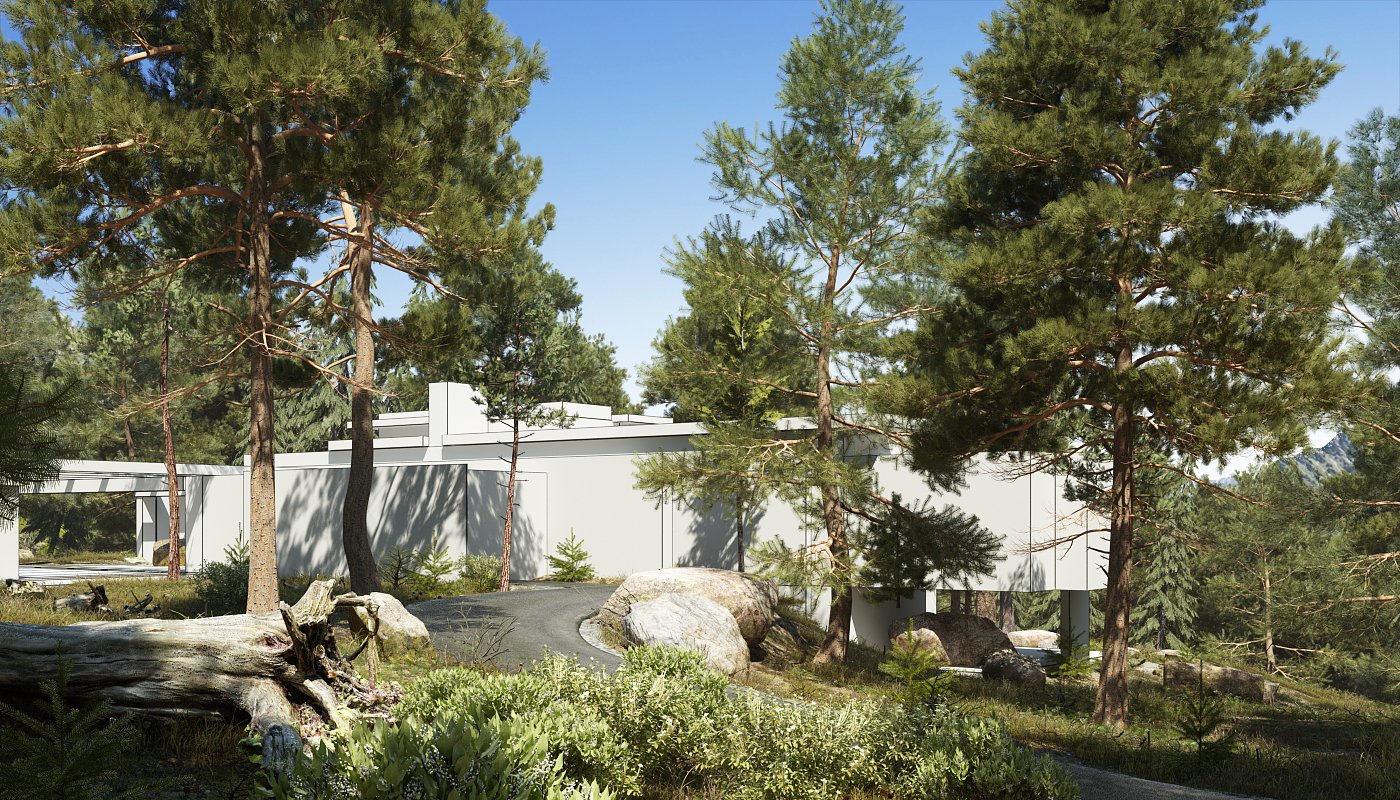
Final image, camera 2.
 

Click on image to enlargeAE26_010_cam_003_PP_evermotion.jpg

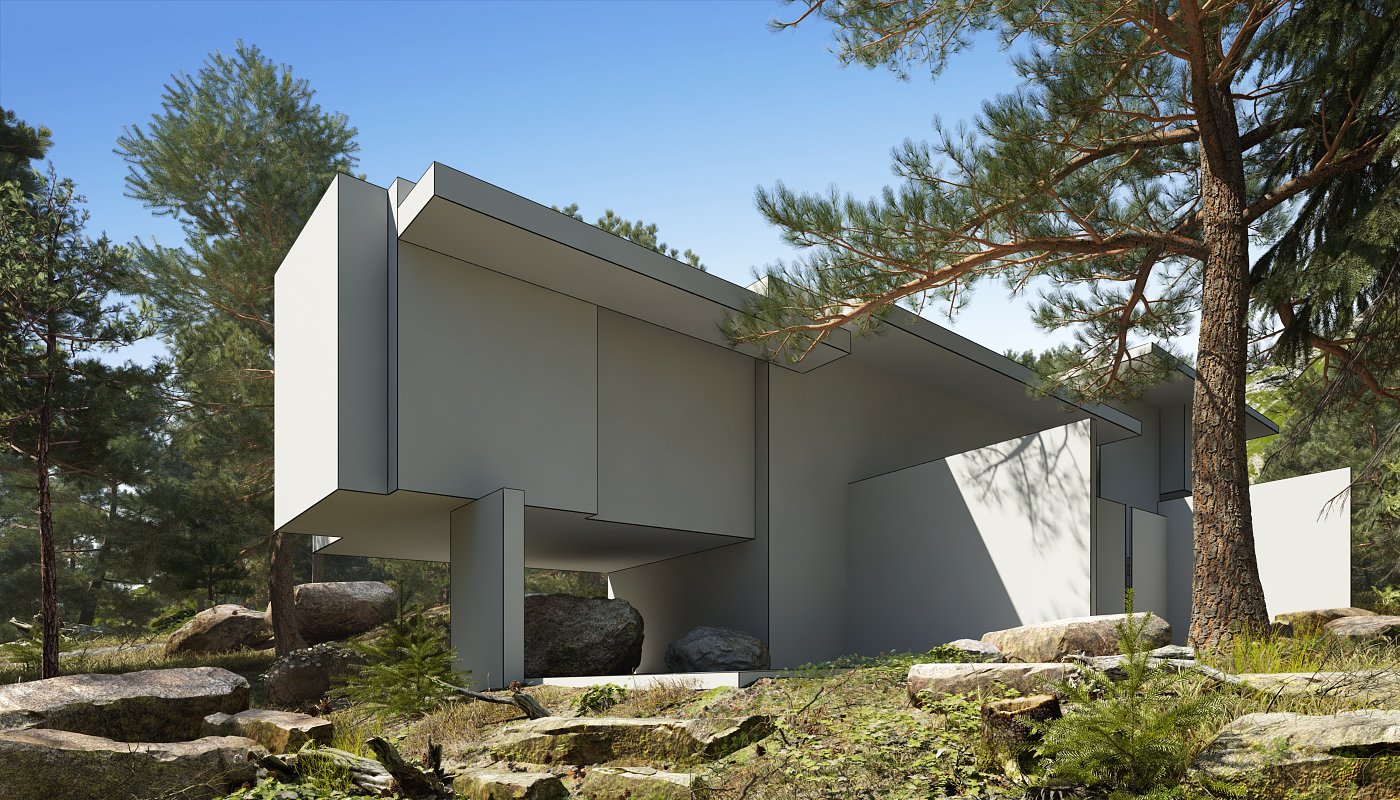
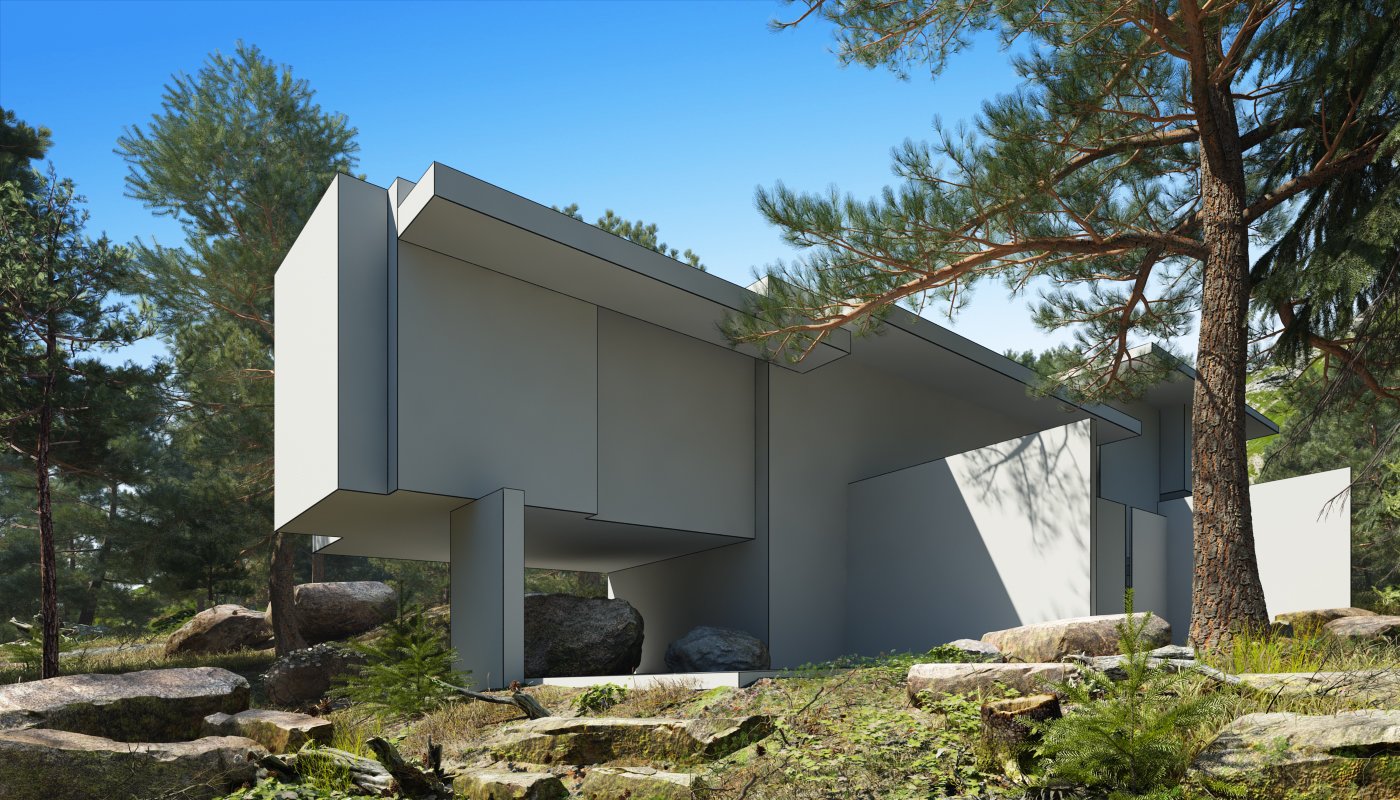
Final image, camera 3.


Click on image to enlargeAI26S10_0001_Layer_1_evermotion.jpg

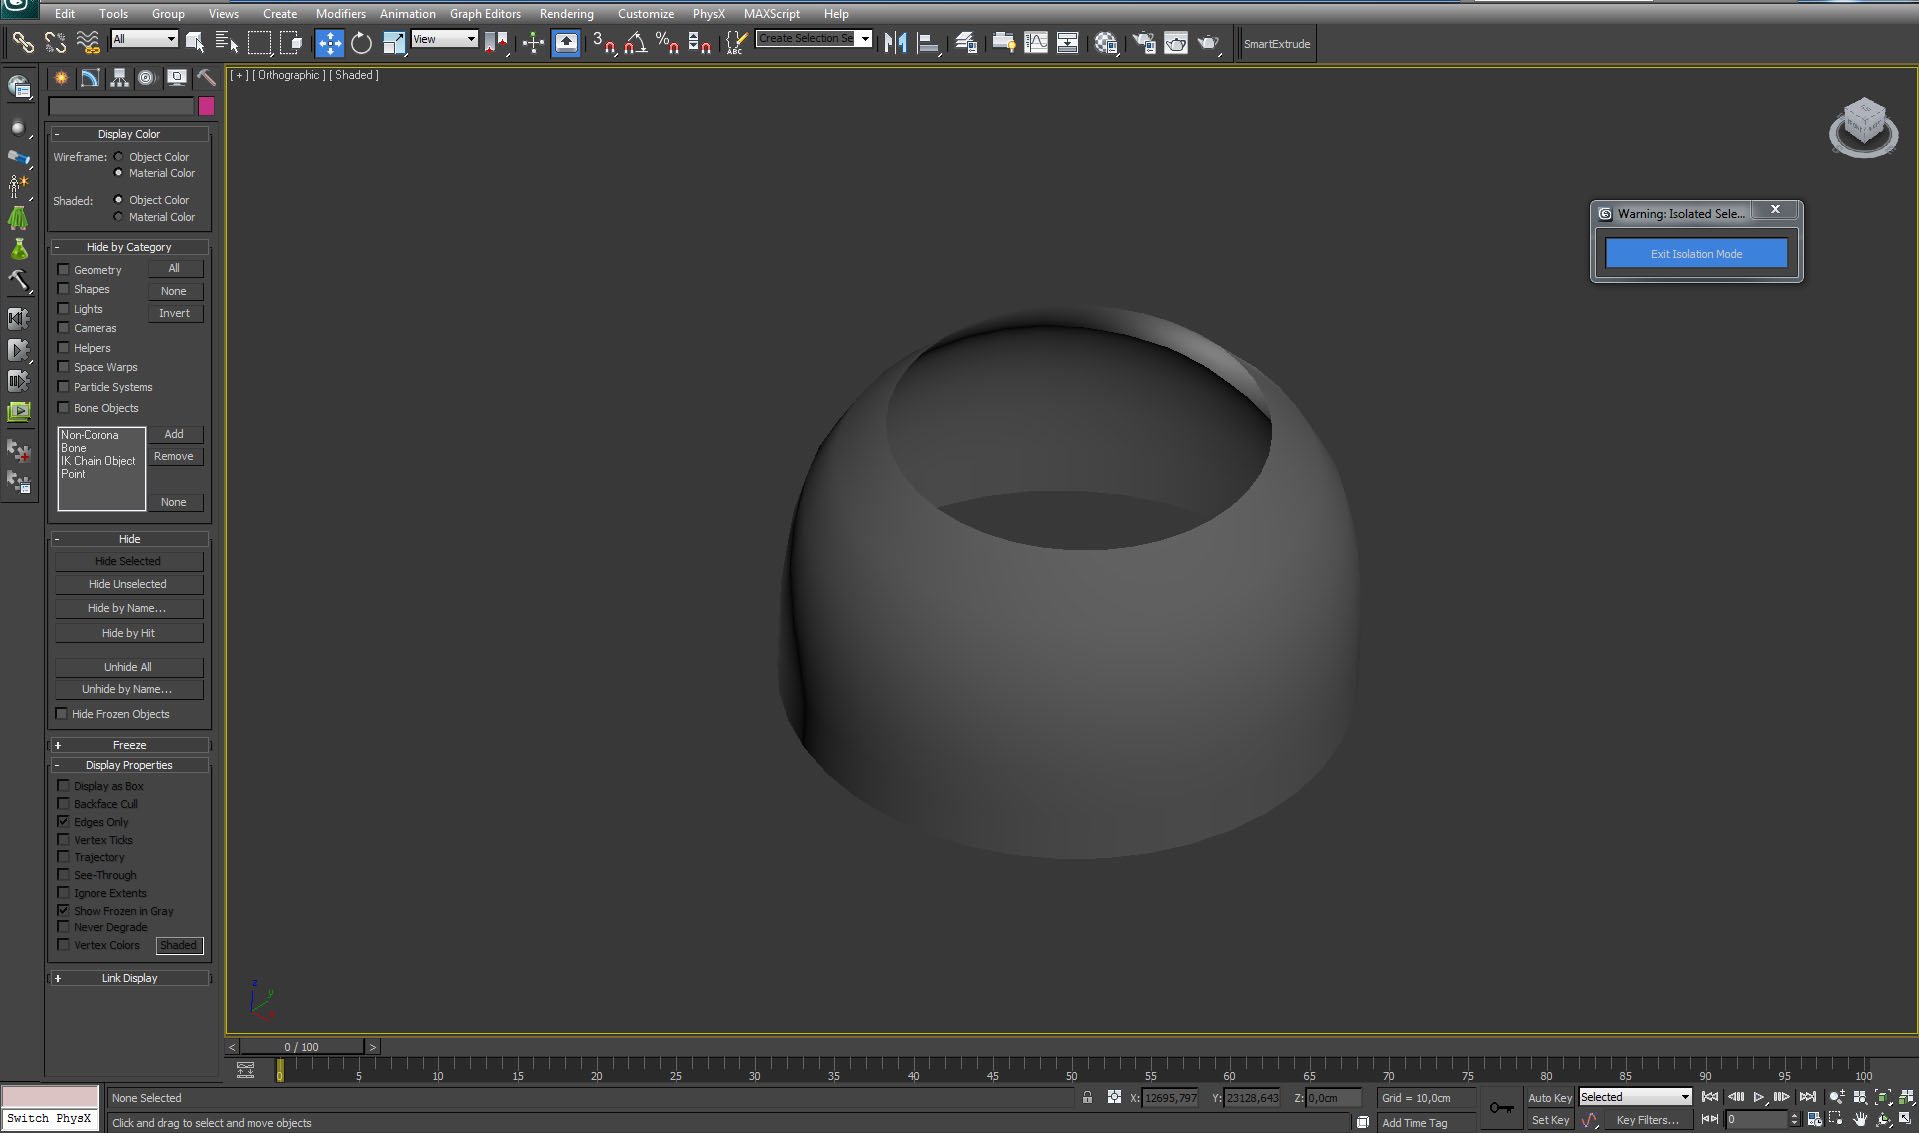
The scene is surrounded by dome that simulates distant trees.


Click on image to enlargeAI26S10_0000_Layer_2_evermotion.jpg

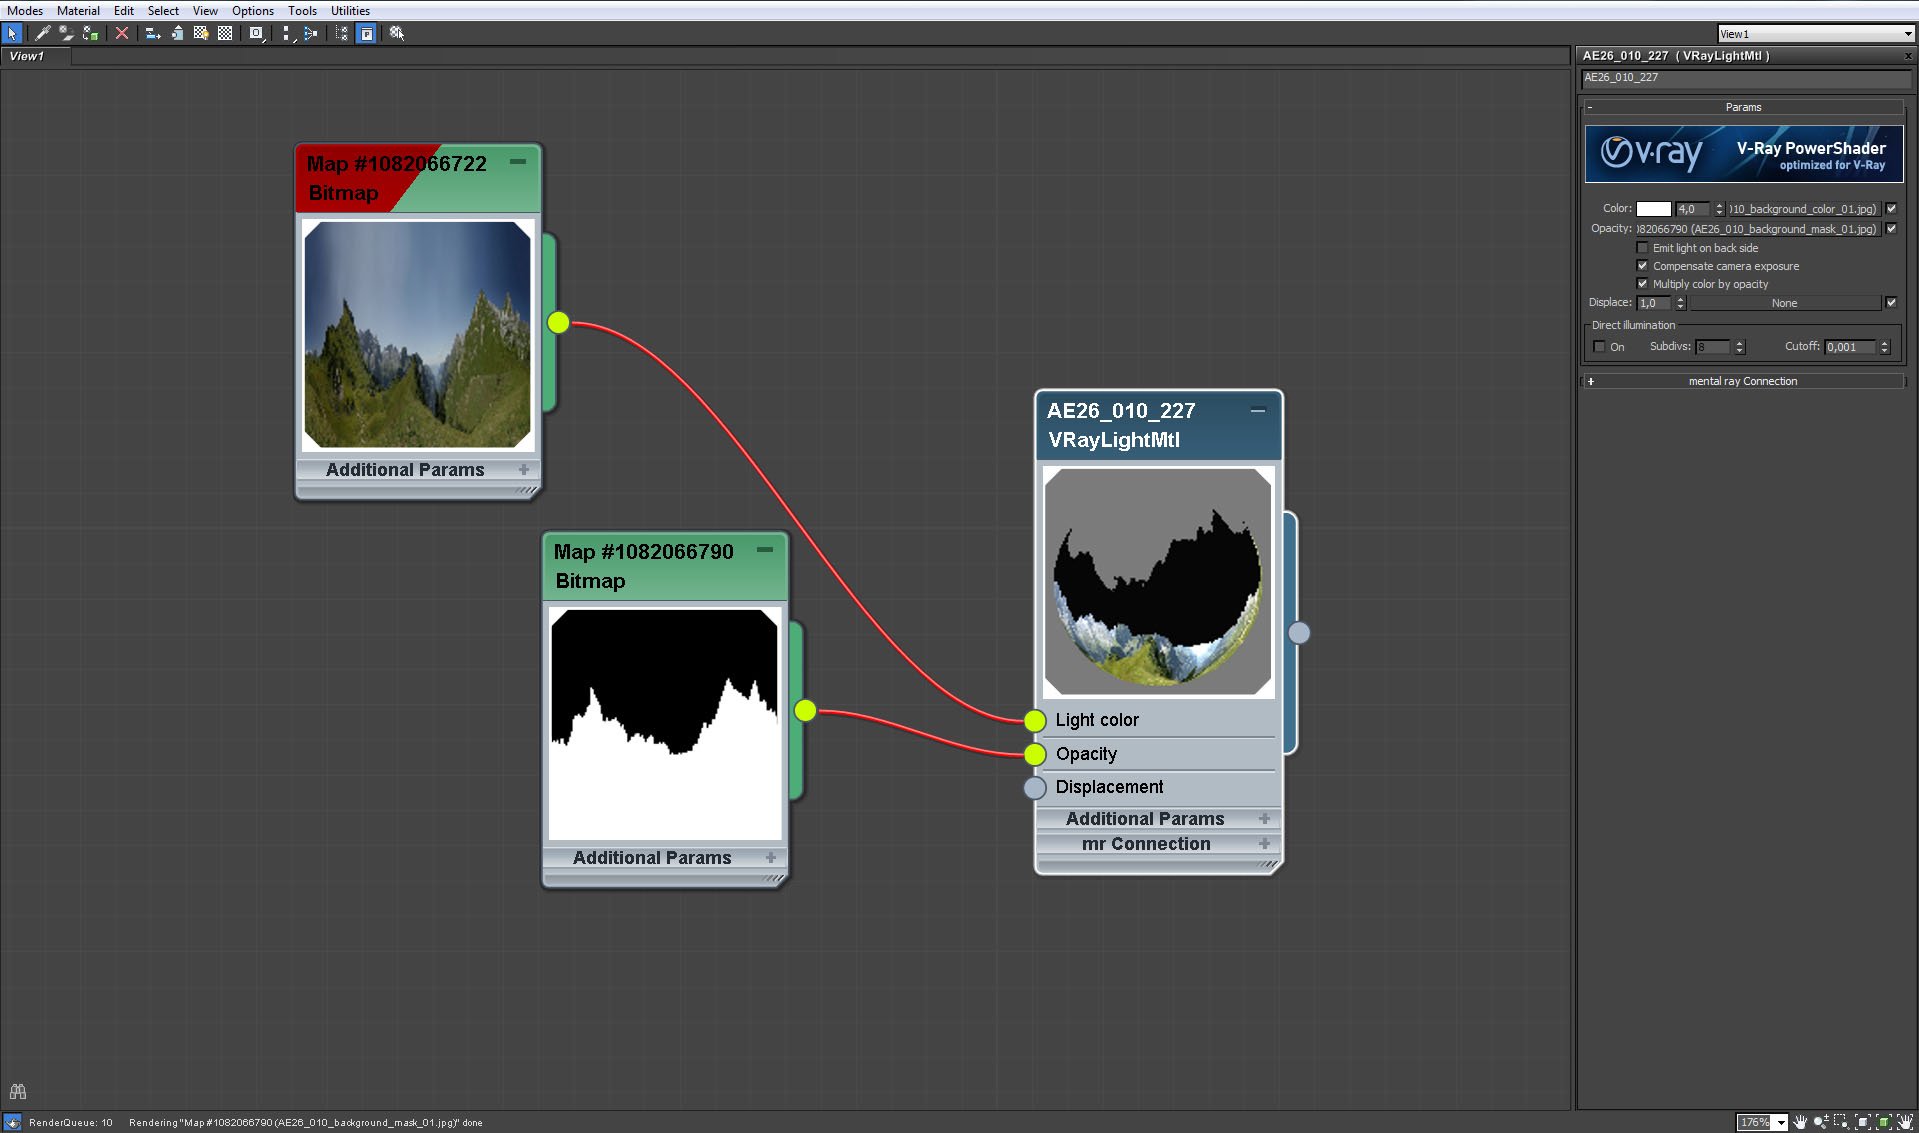
Dome material.


Click on image to enlargeAI26_S10_0034_Layer_1_evermotion.jpg

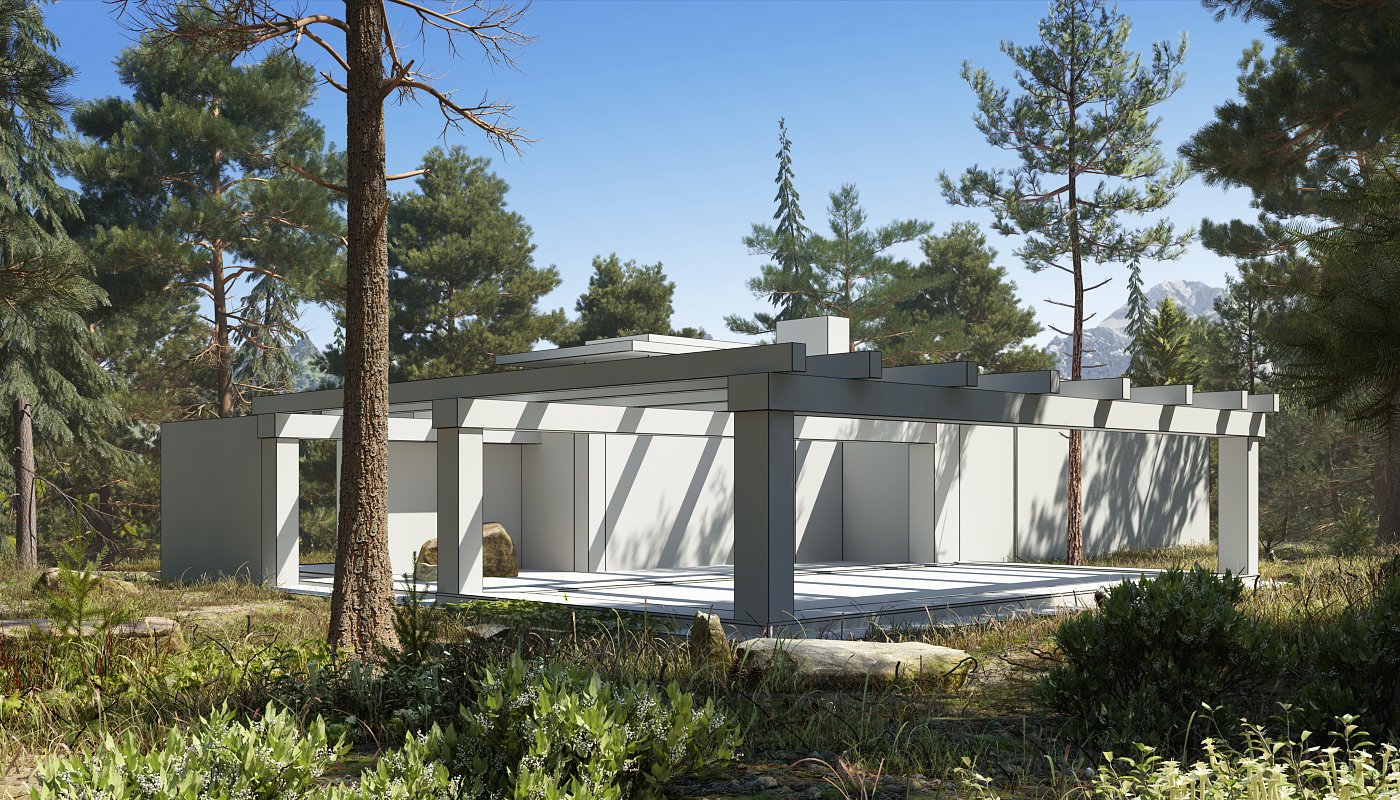
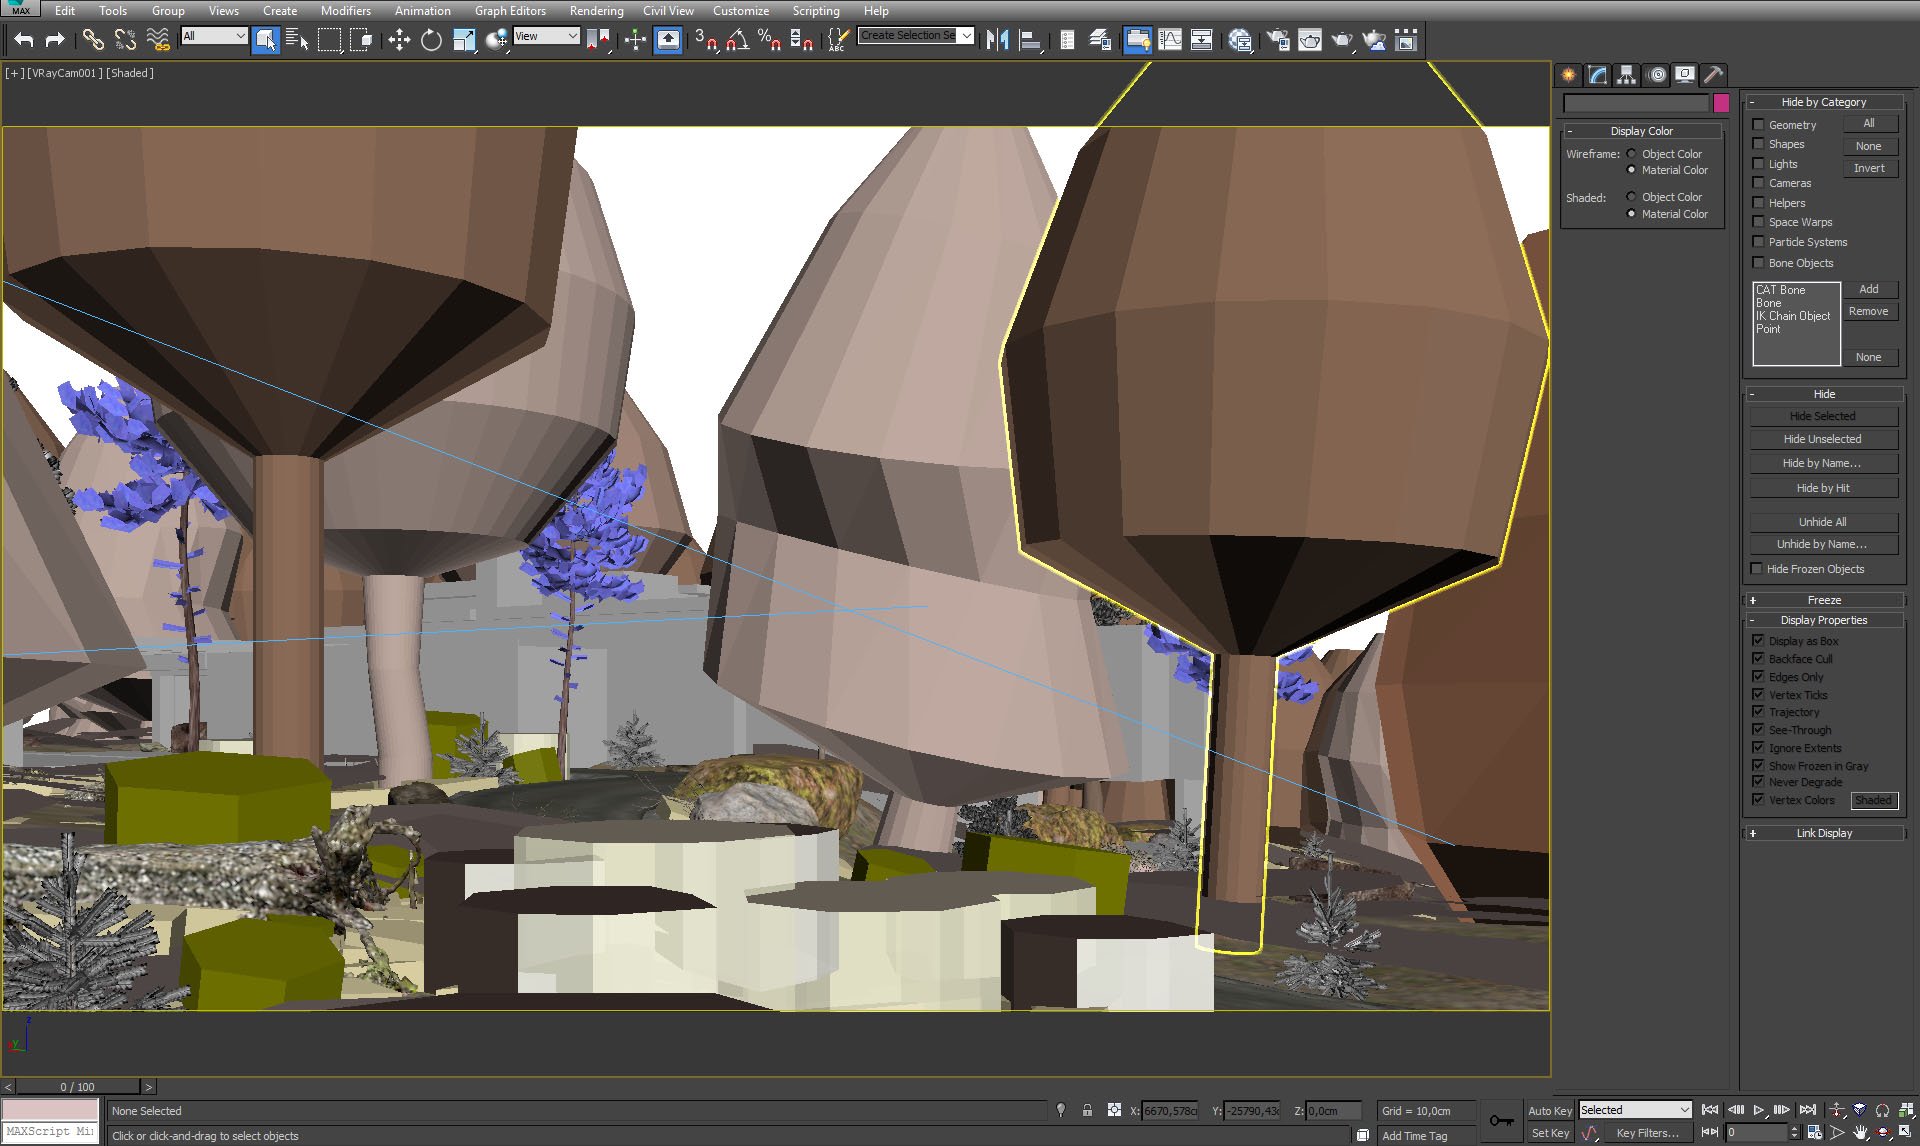
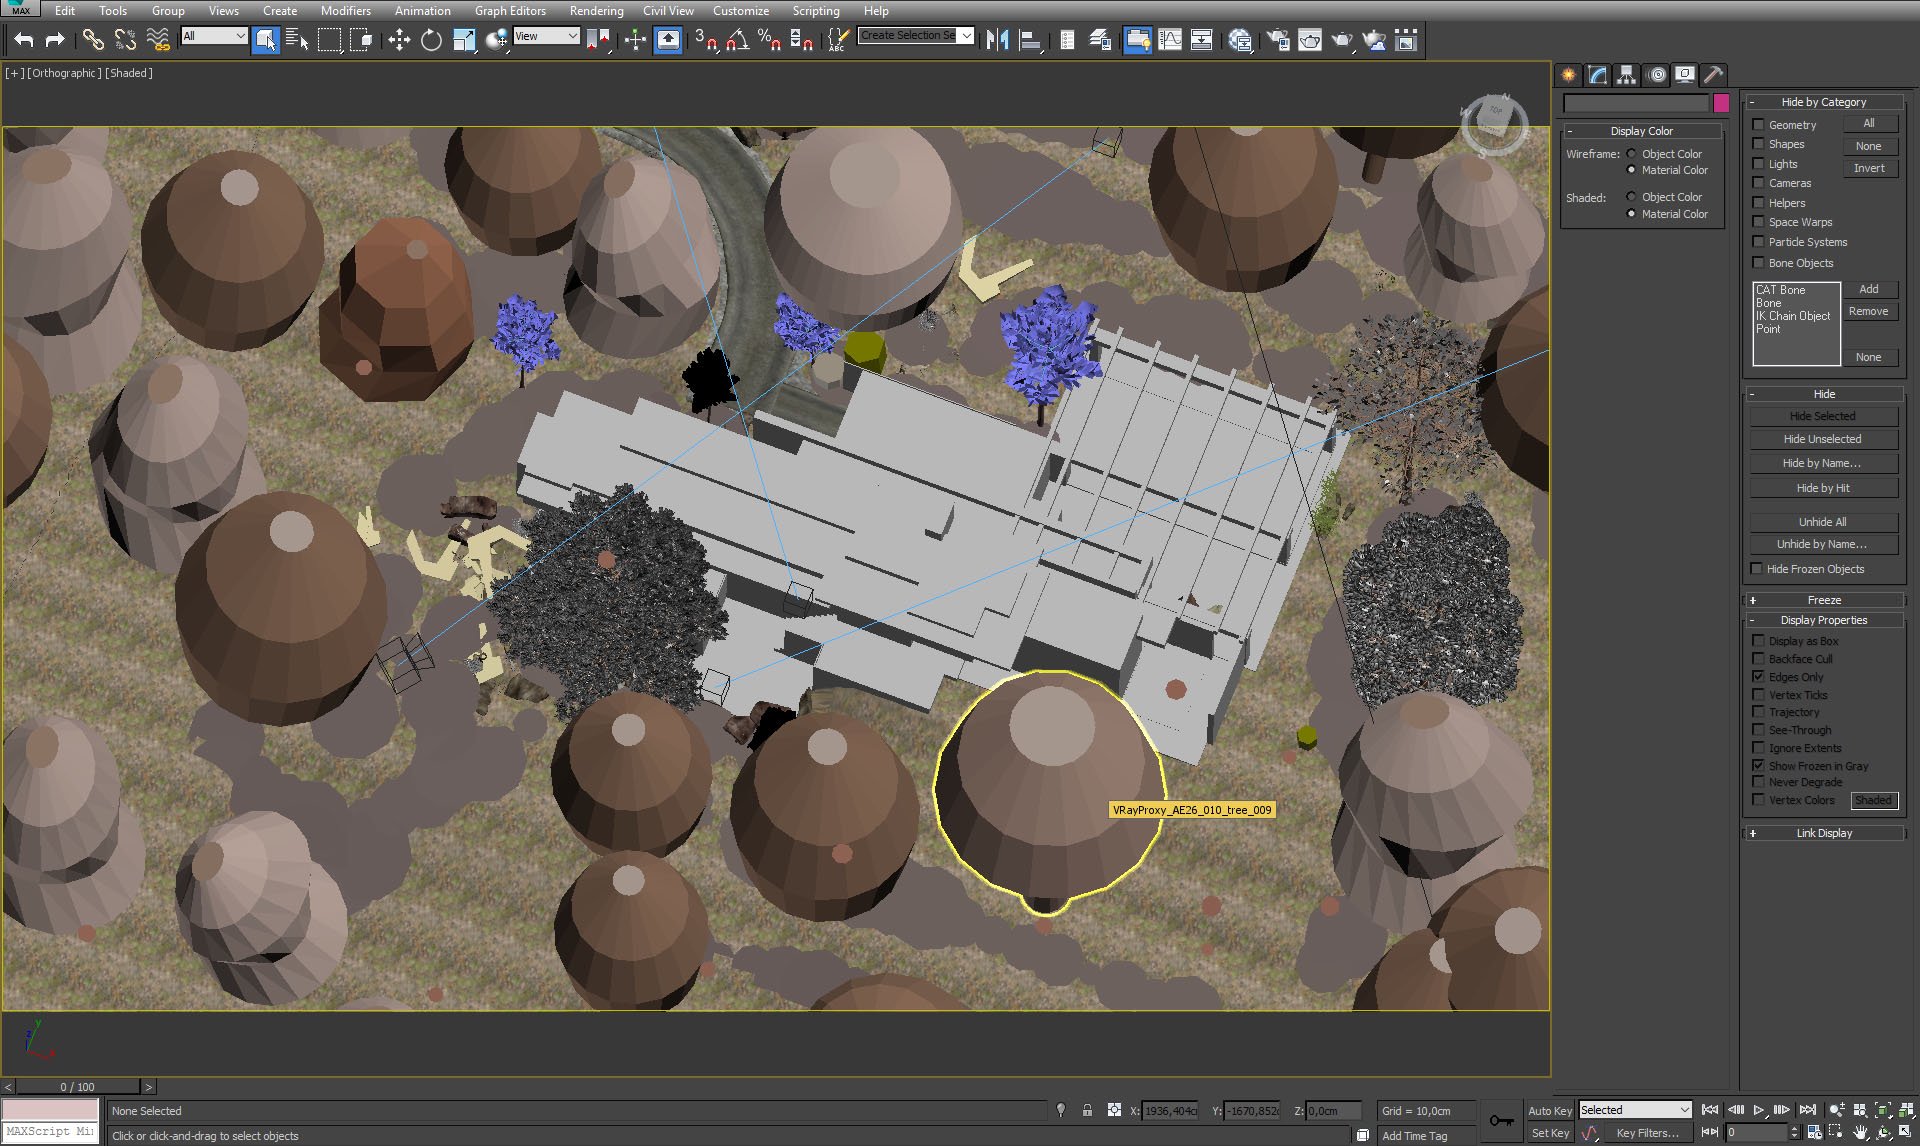
This is how this scene looks through camera 1. You can see proxies of trees, some stones. There are also cylinder-shaped proxies of bushes.
 

Click on image to enlargeAI26_S10_0033_Layer_2_evermotion.jpg

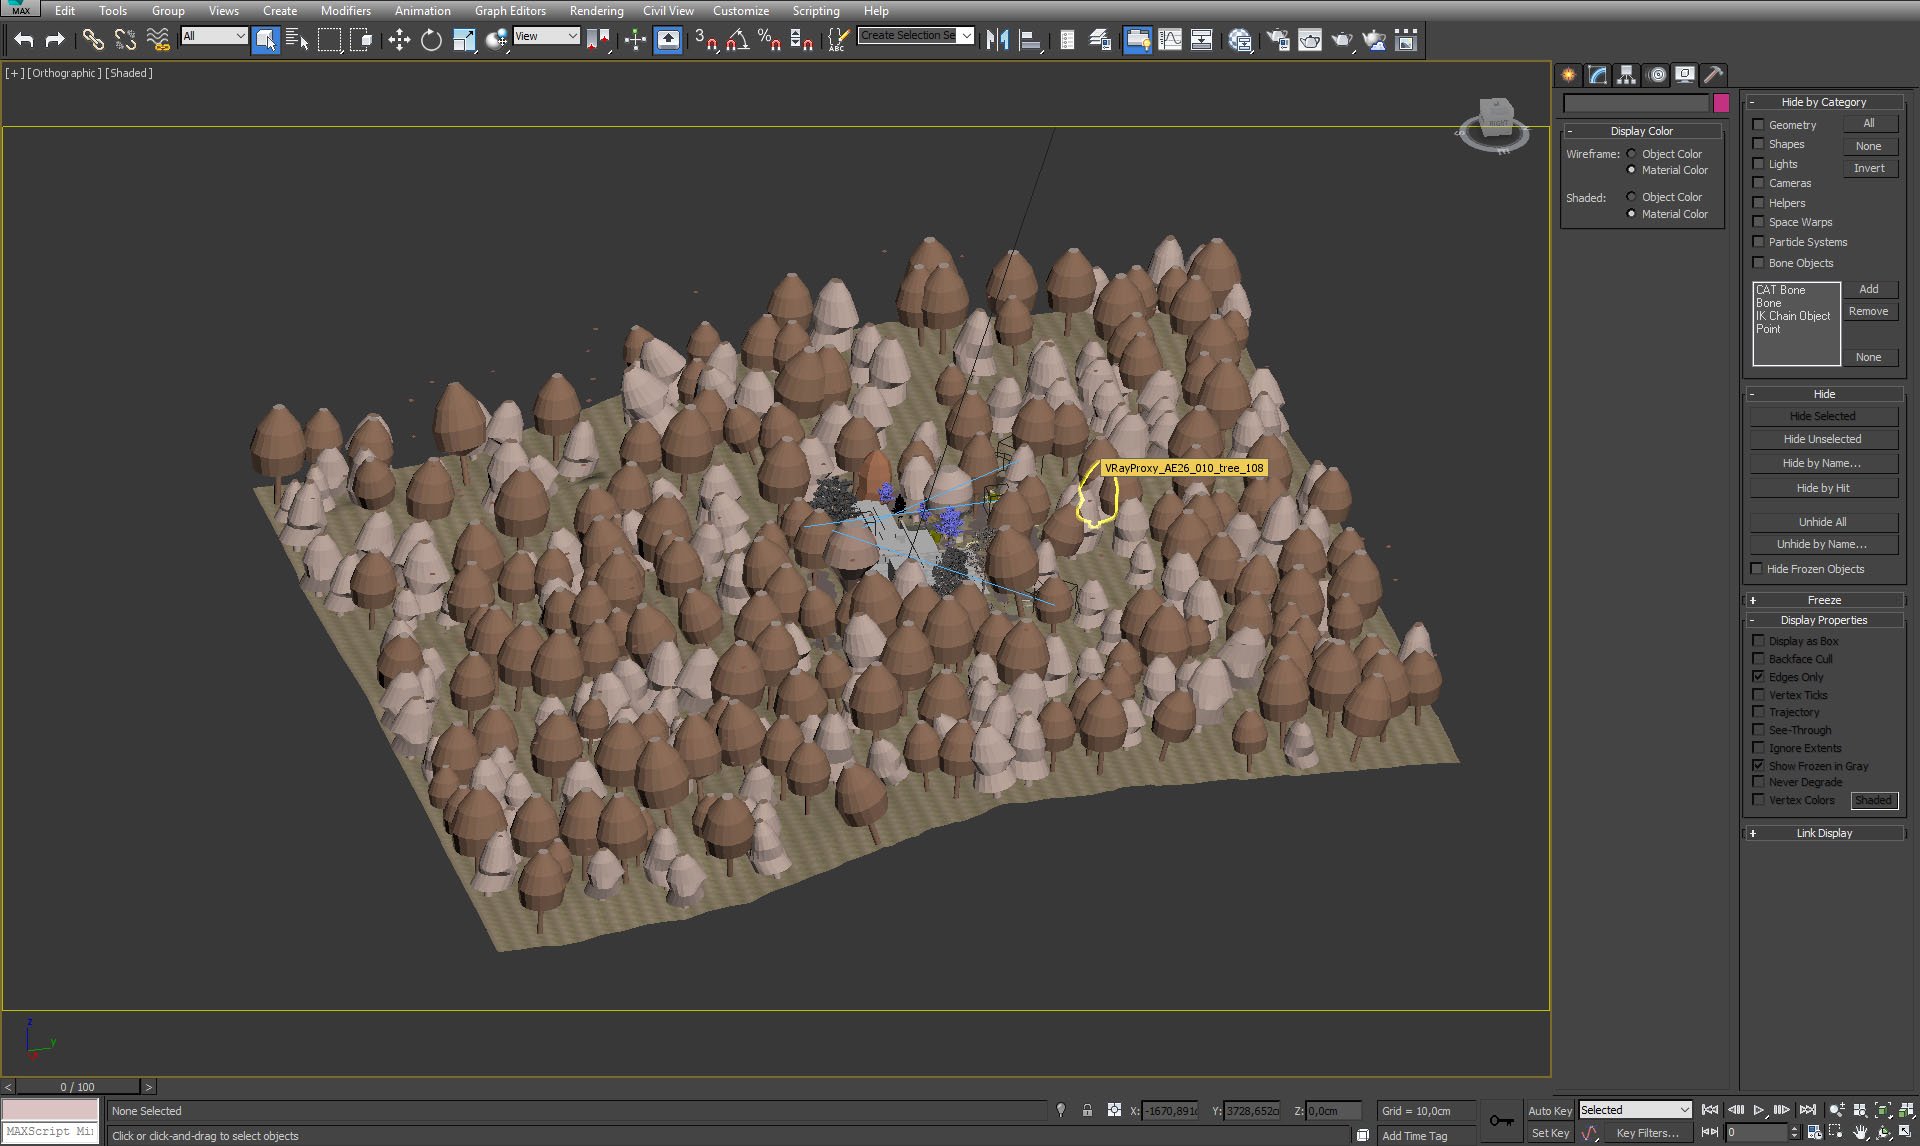
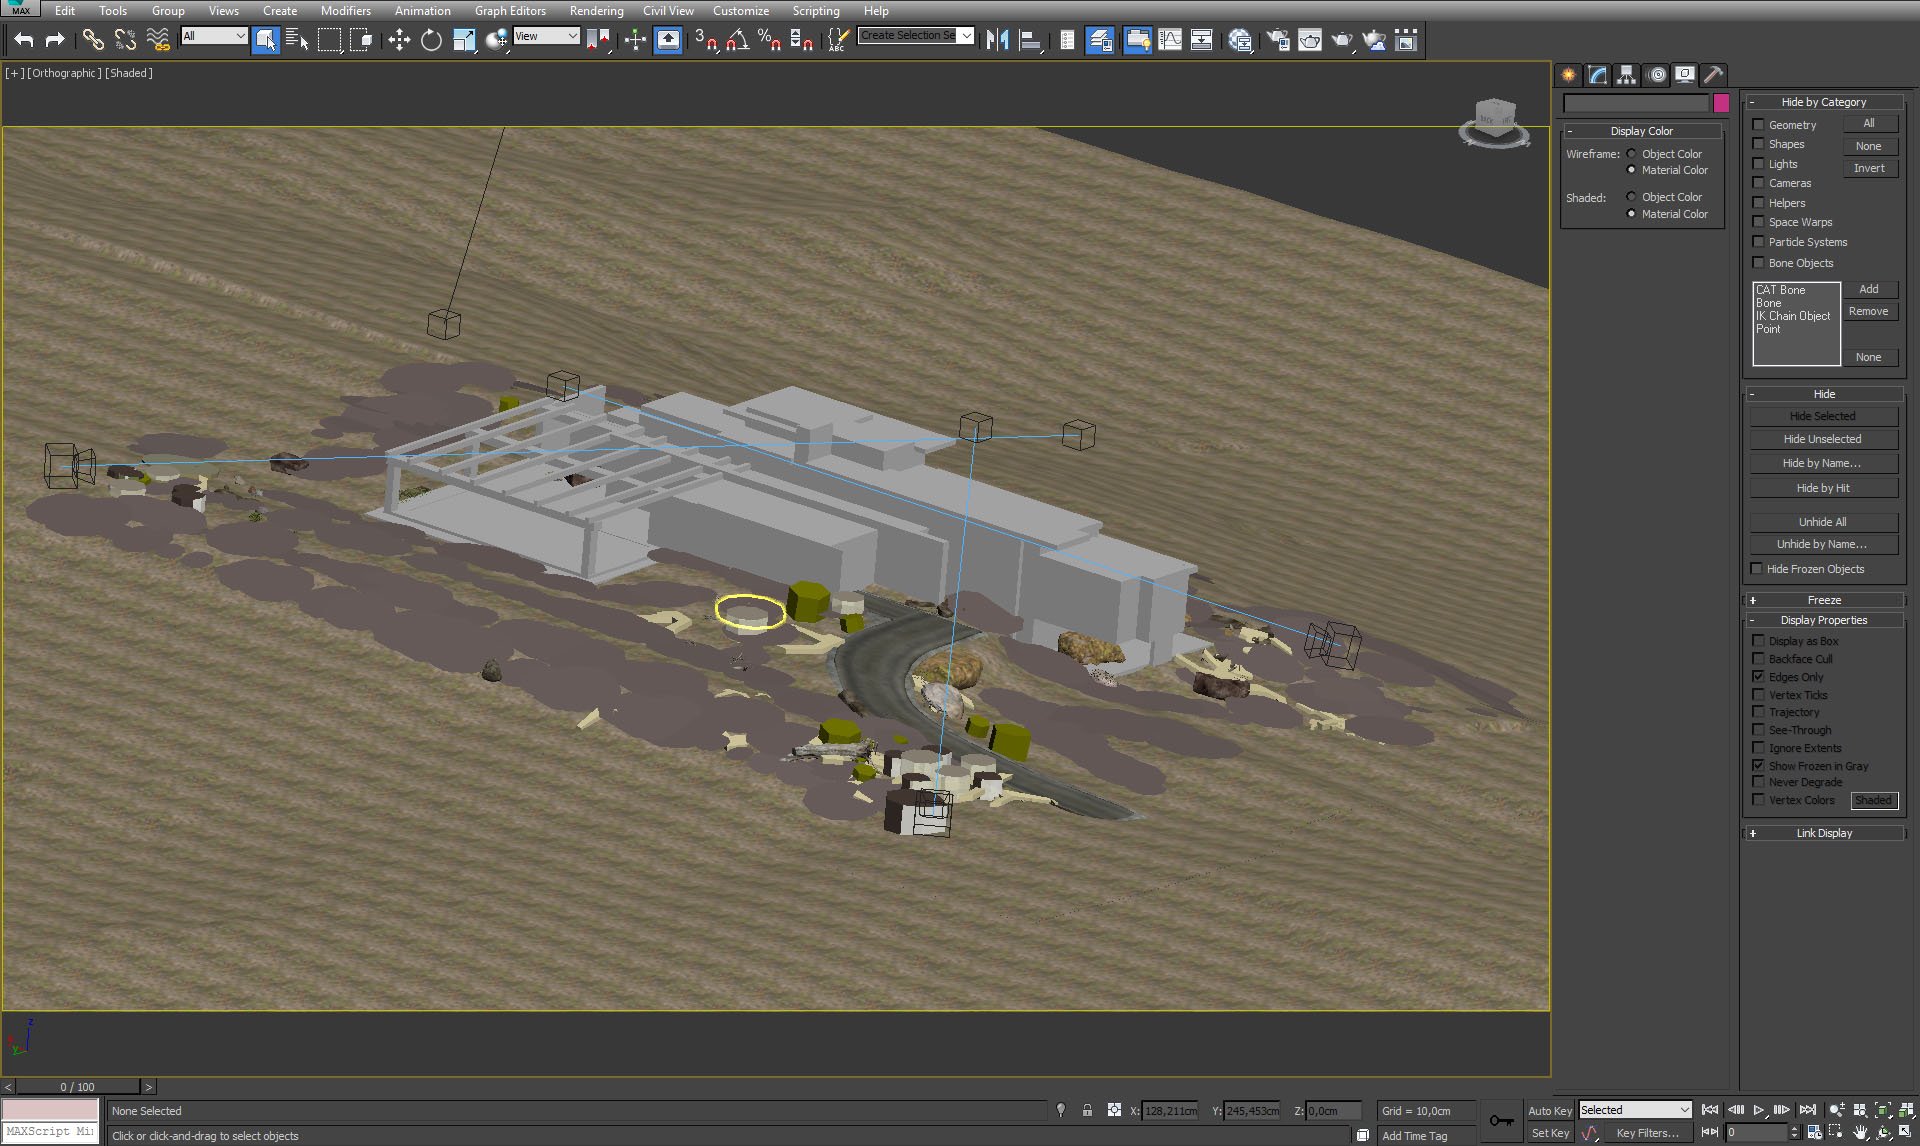
The scene from isometric view.
 

Click on image to enlargeAI26_S10_0032_Layer_3_evermotion.jpg

A bit closer look.
 

Click on image to enlargeAI26_S10_0031_Layer_4_evermotion.jpg

The scene with hidden trees layer.
 

Click on image to enlargeAI26_S10_0030_Layer_5_evermotion.jpg

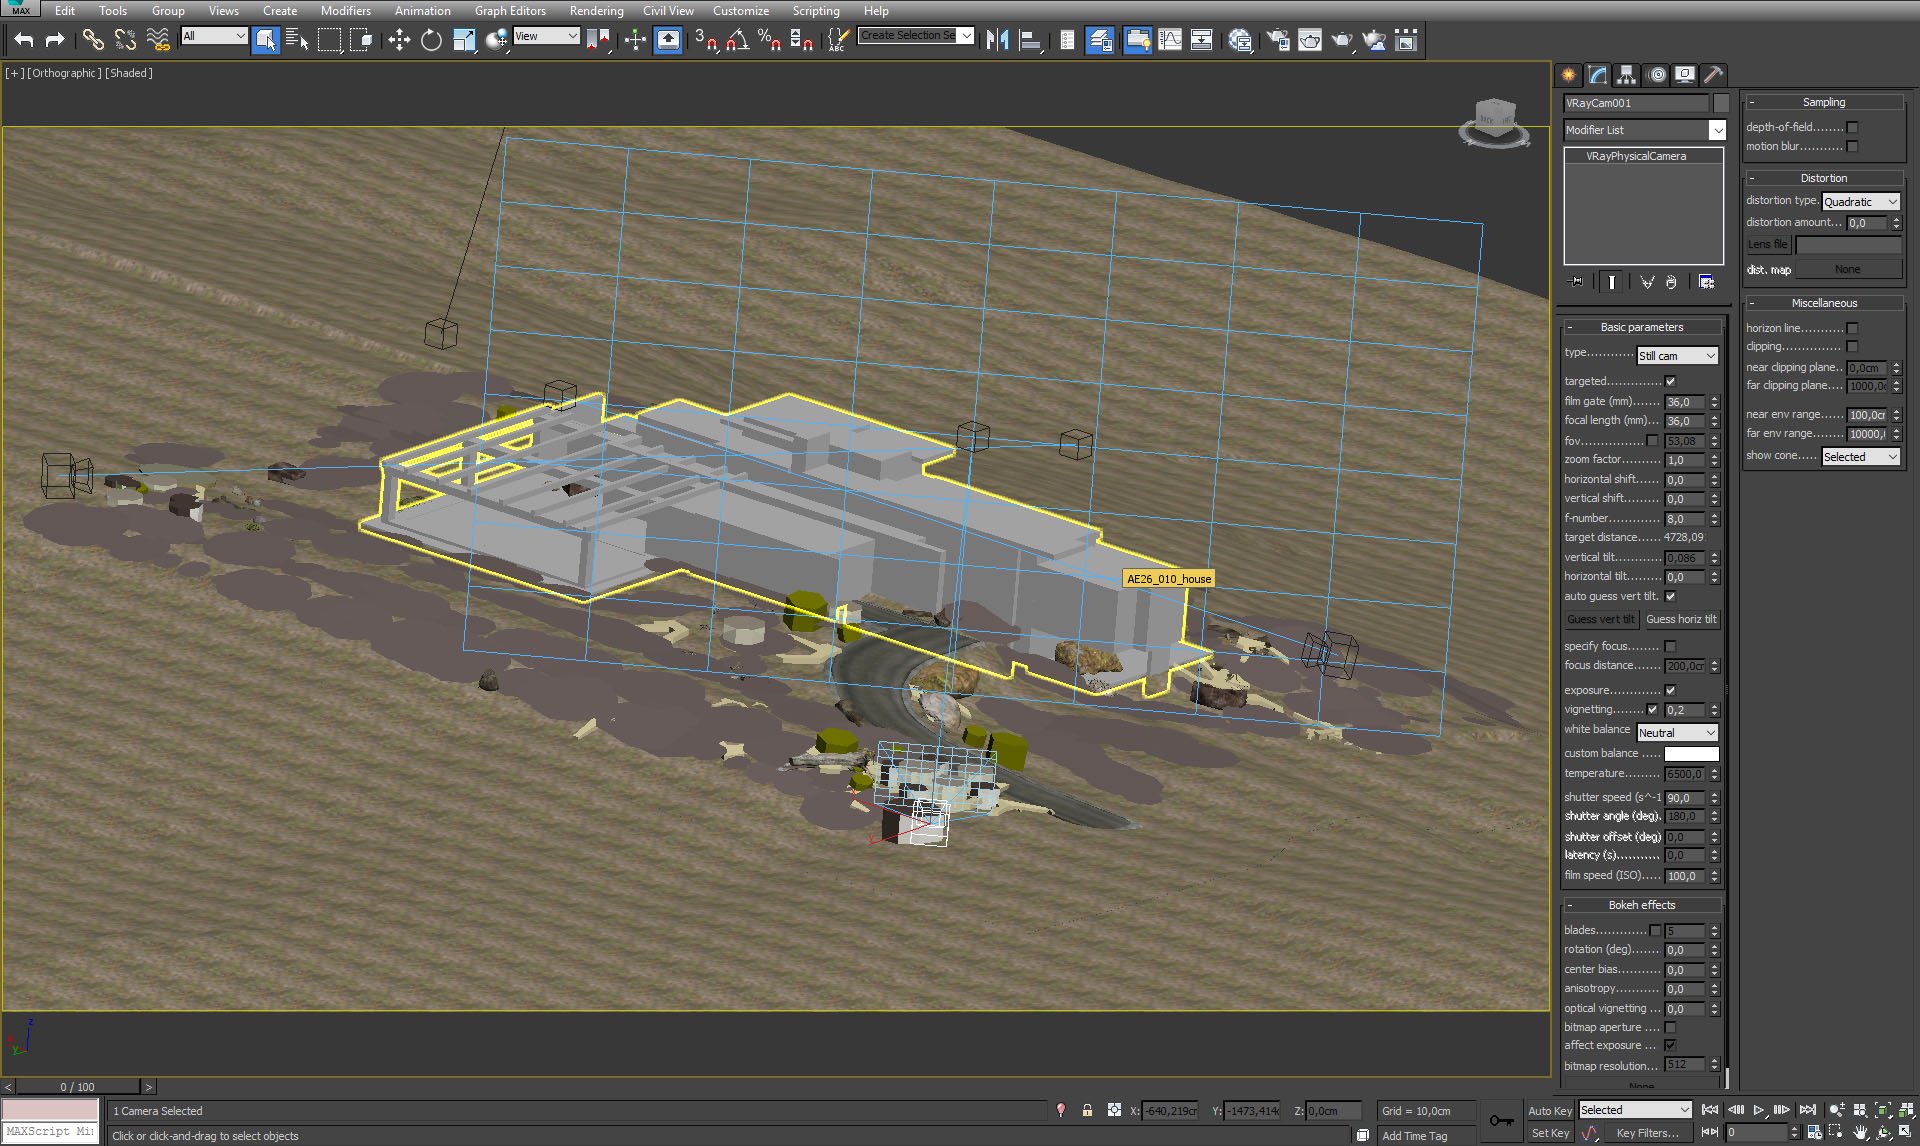
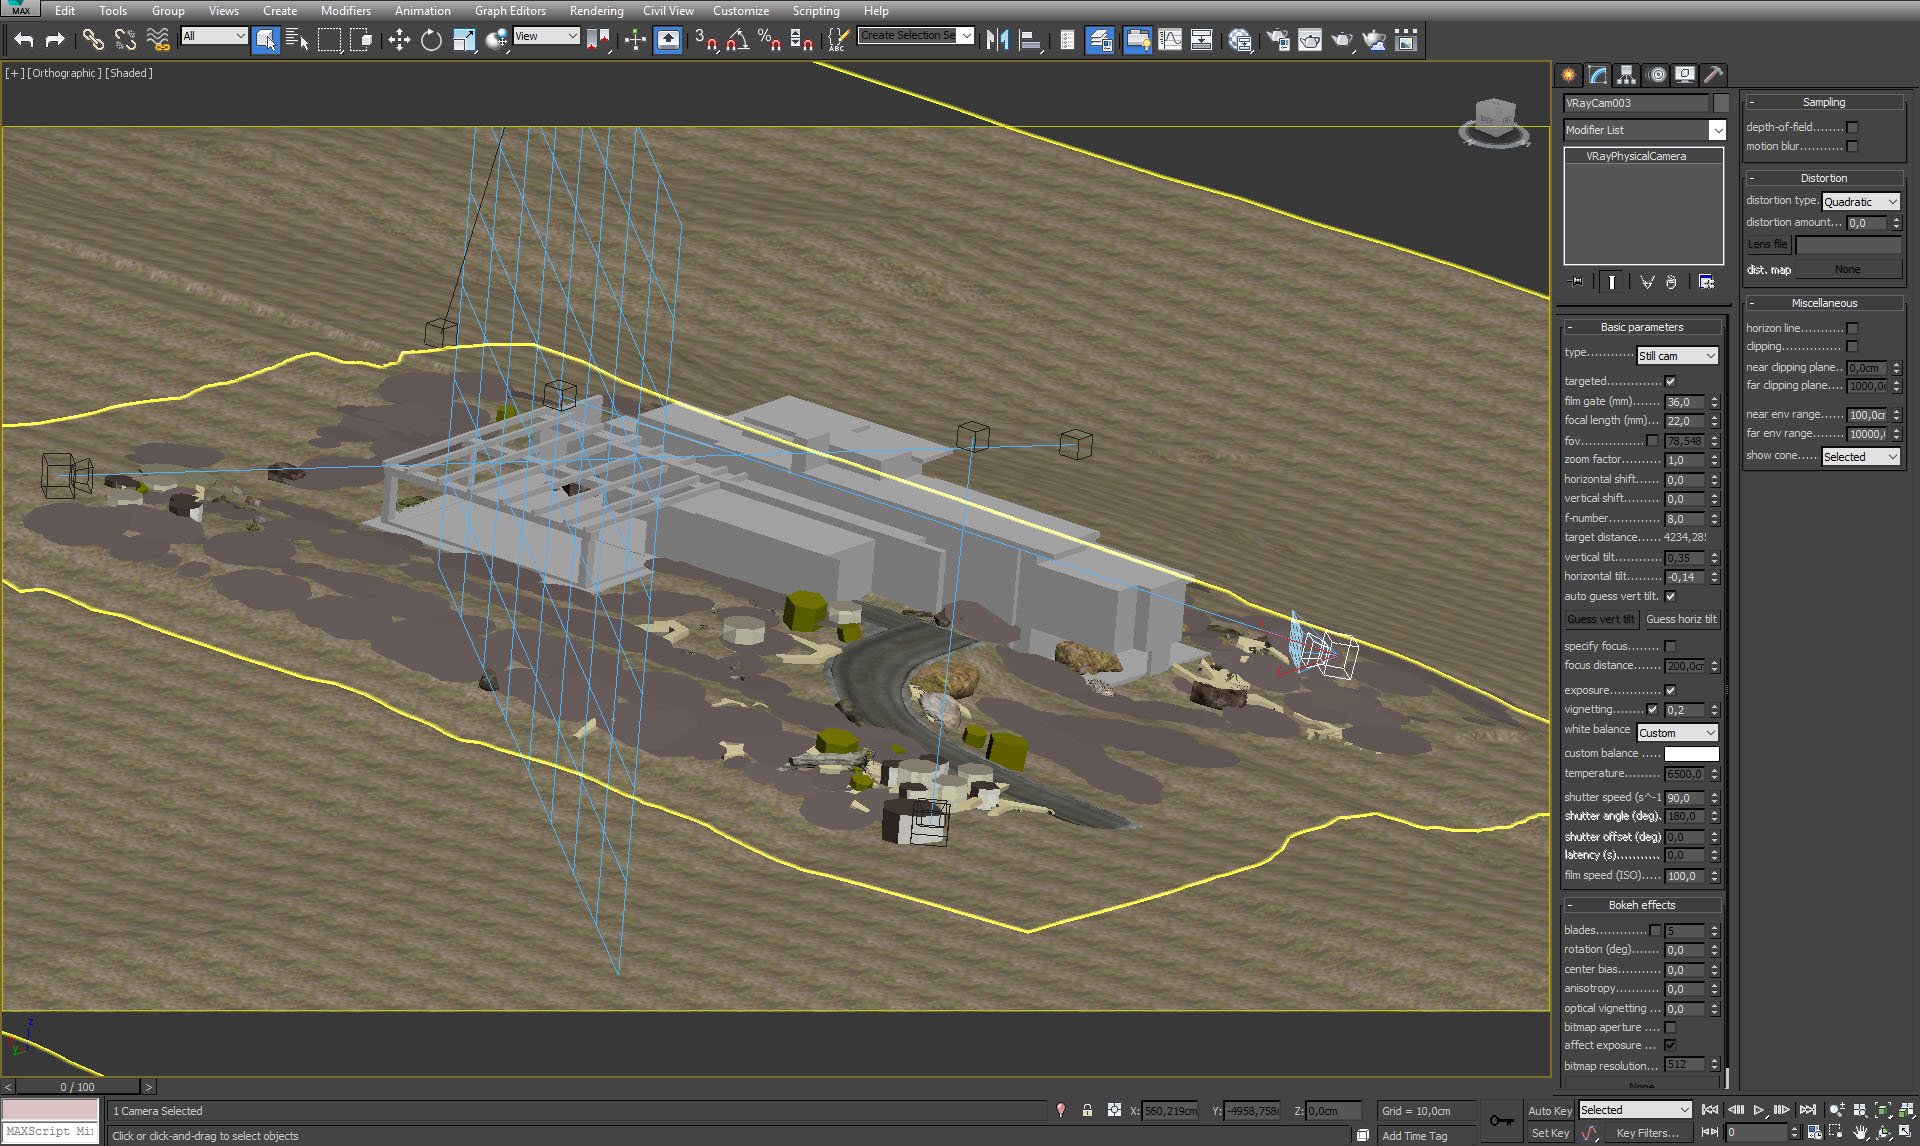
Camera 1 settings.
 

Click on image to enlargeAI26_S10_0029_Layer_6_evermotion.jpg

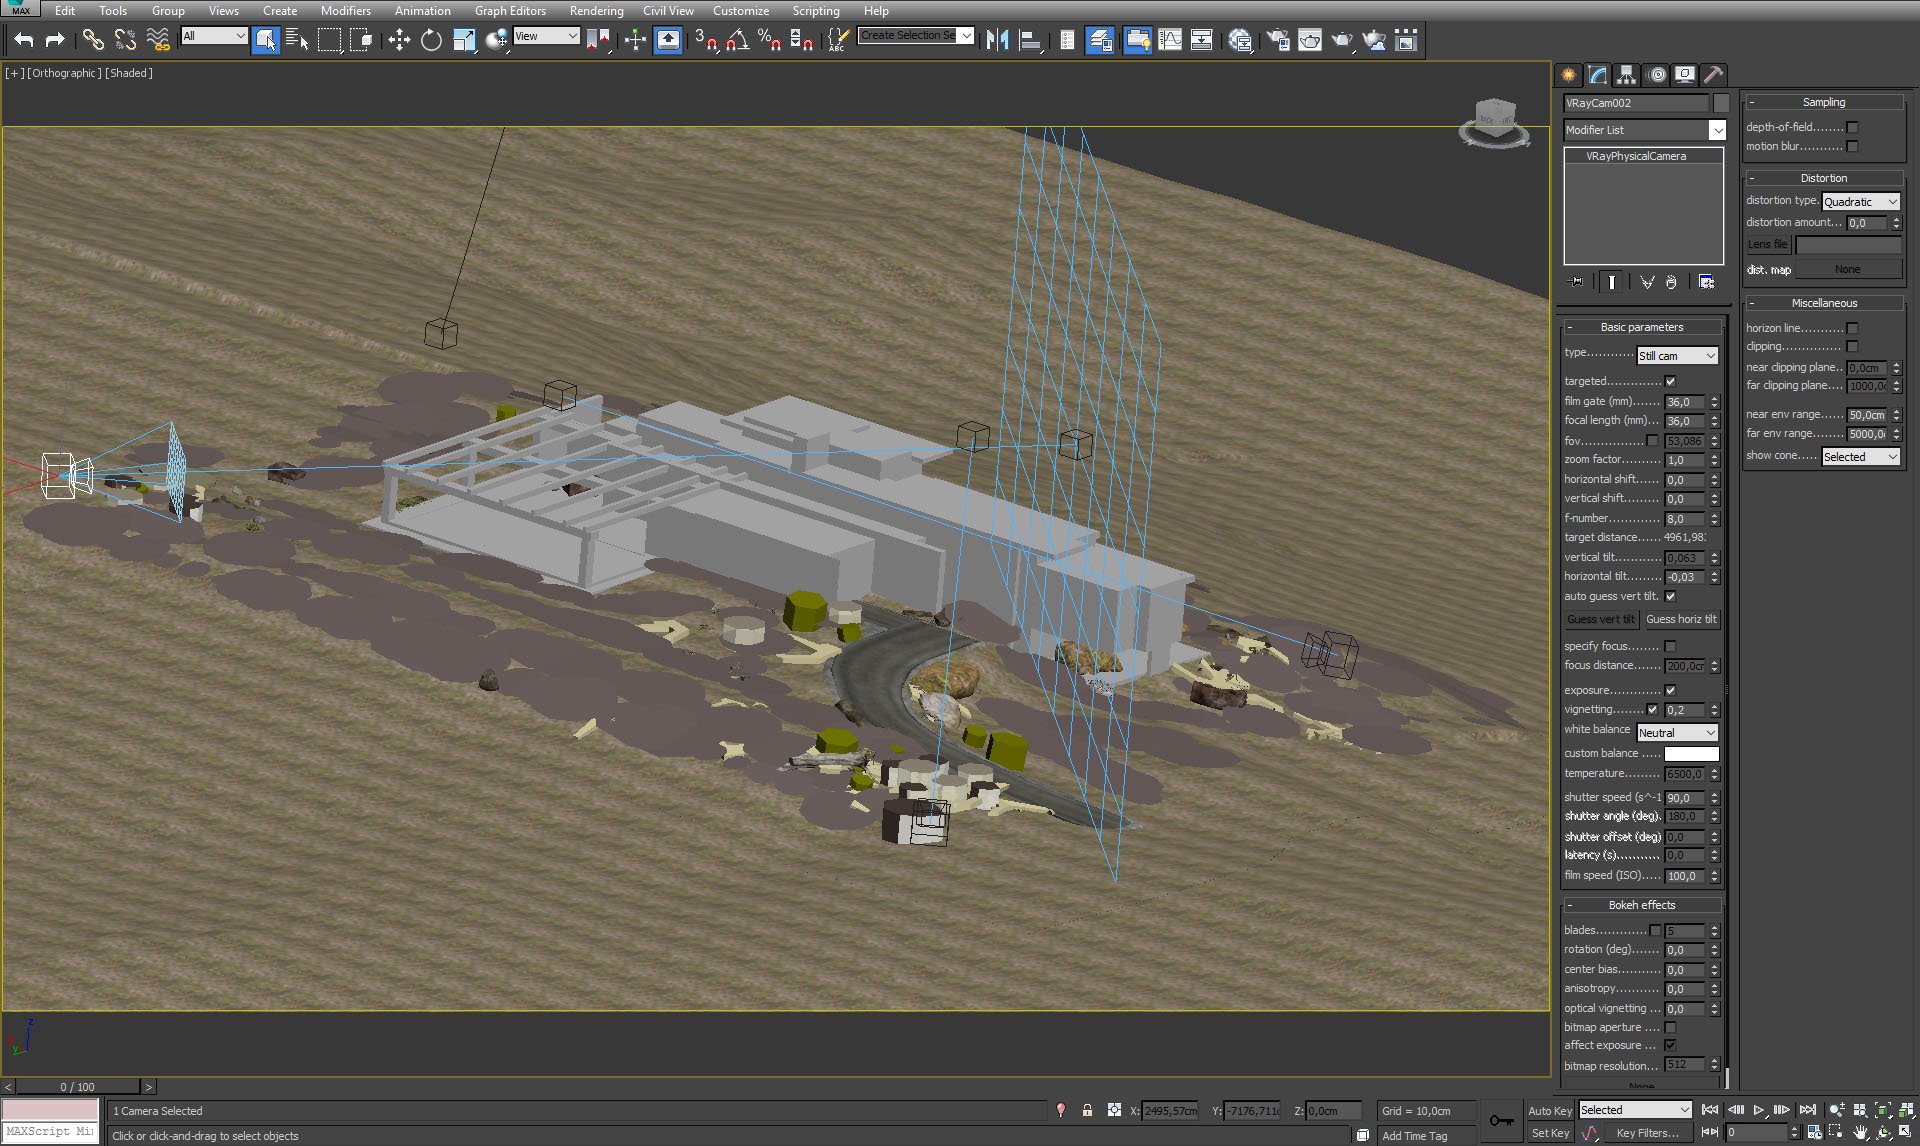
Camera 2 settings.
 

Click on image to enlargeAI26_S10_0028_Layer_7_evermotion.jpg

Camera 3 settings.
 

Click on image to enlargeAI26_S10_0027_Layer_8_evermotion.jpg

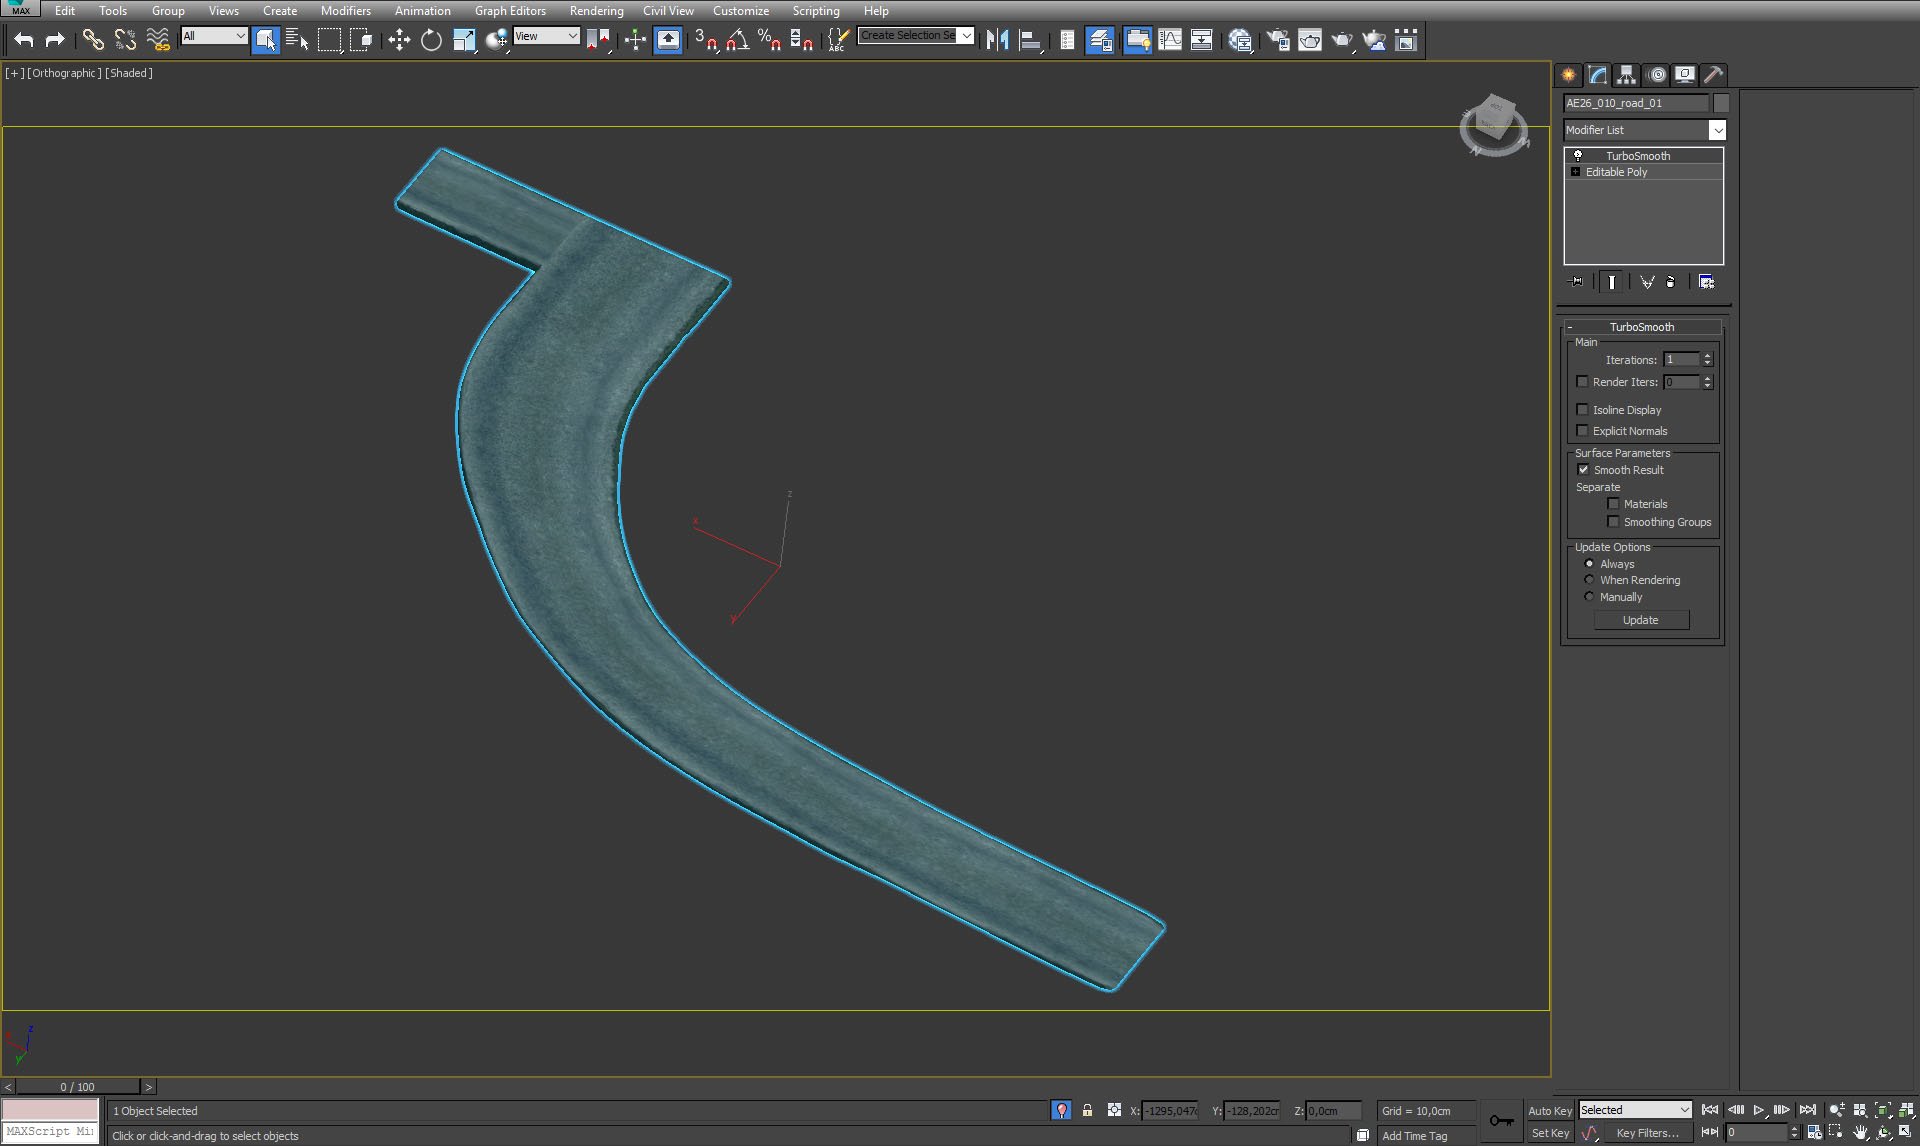
Asphalt driveway.
 

Click on image to enlargeAI26_S10_0026_Layer_9_evermotion.jpg

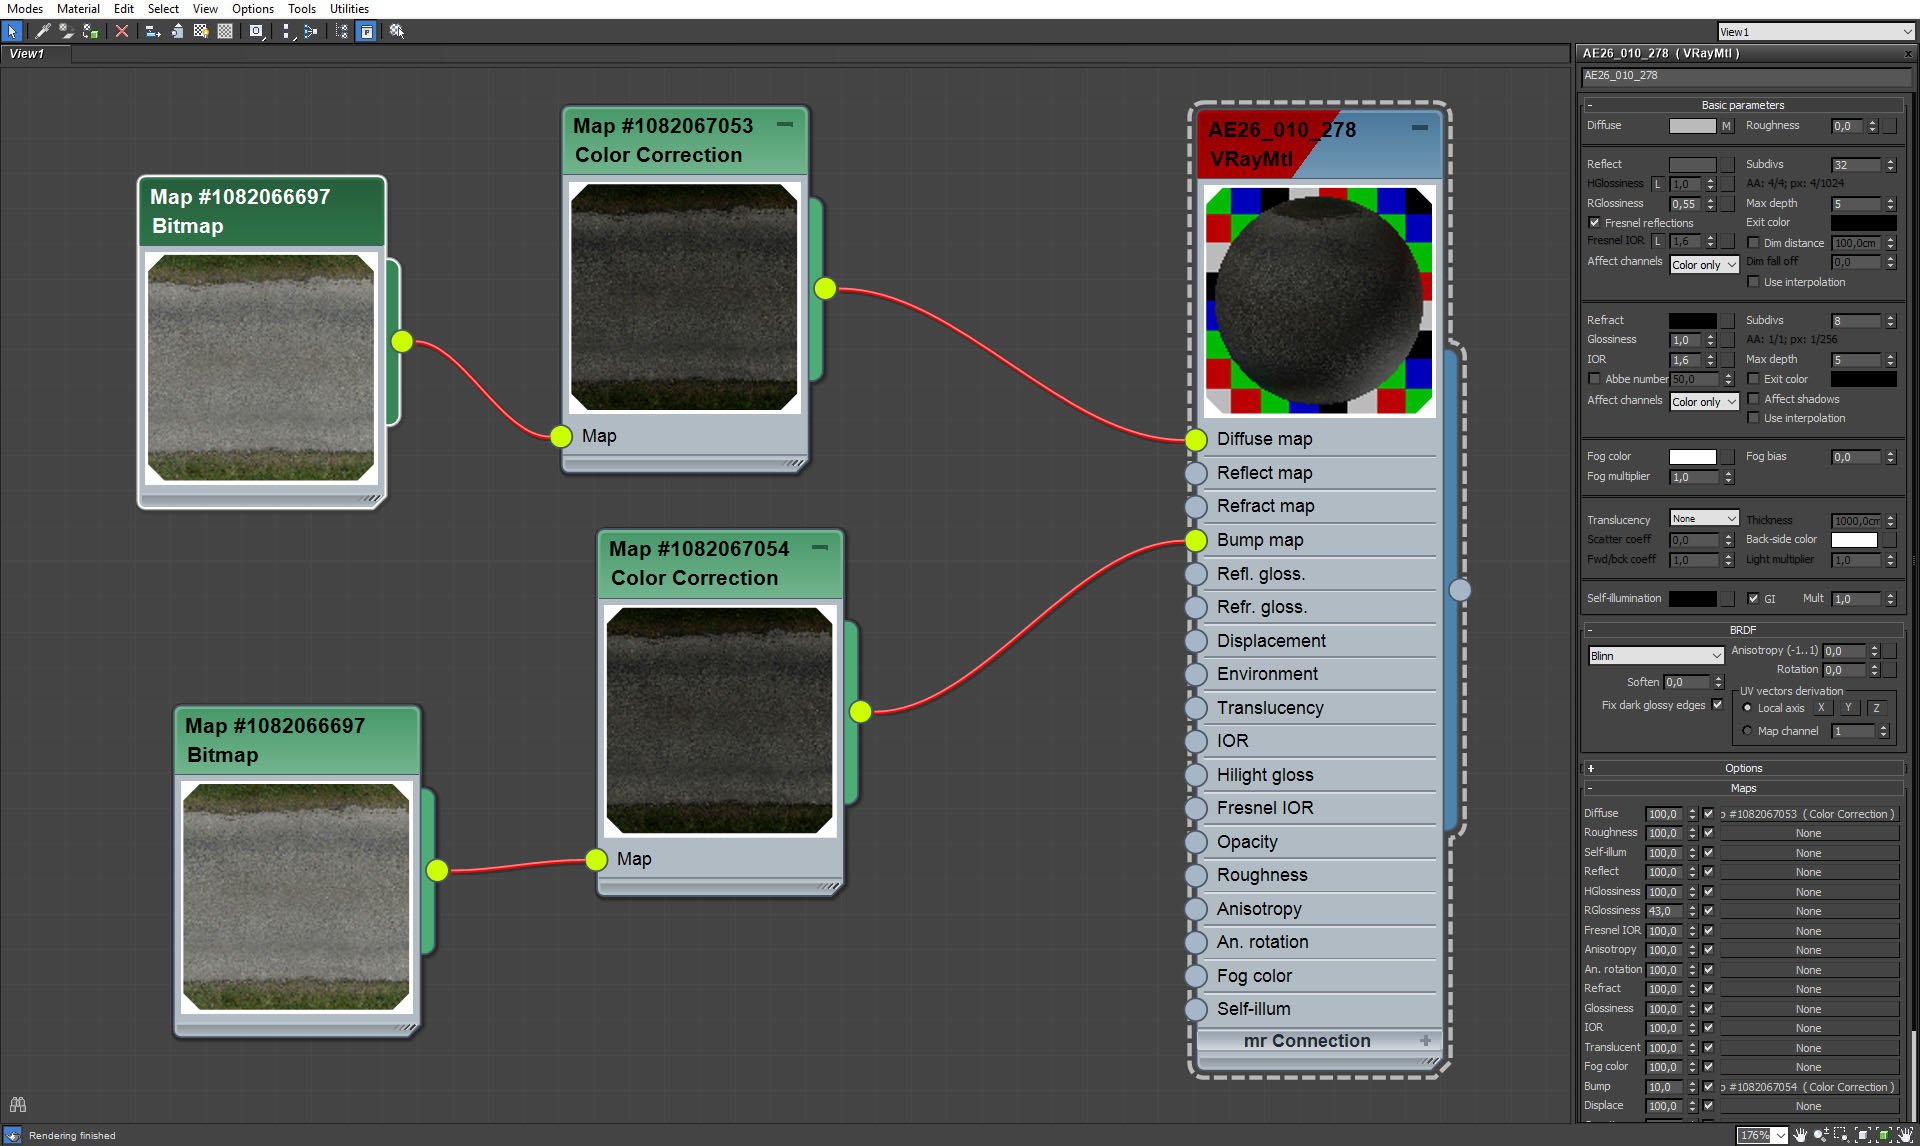
Driveway material.
 

Click on image to enlargeAI26_S10_0025_Layer_10_evermotion.jpg

Huge bough laying on the ground.


Click on image to enlargeAI26_S10_0024_Layer_11_evermotion.jpg

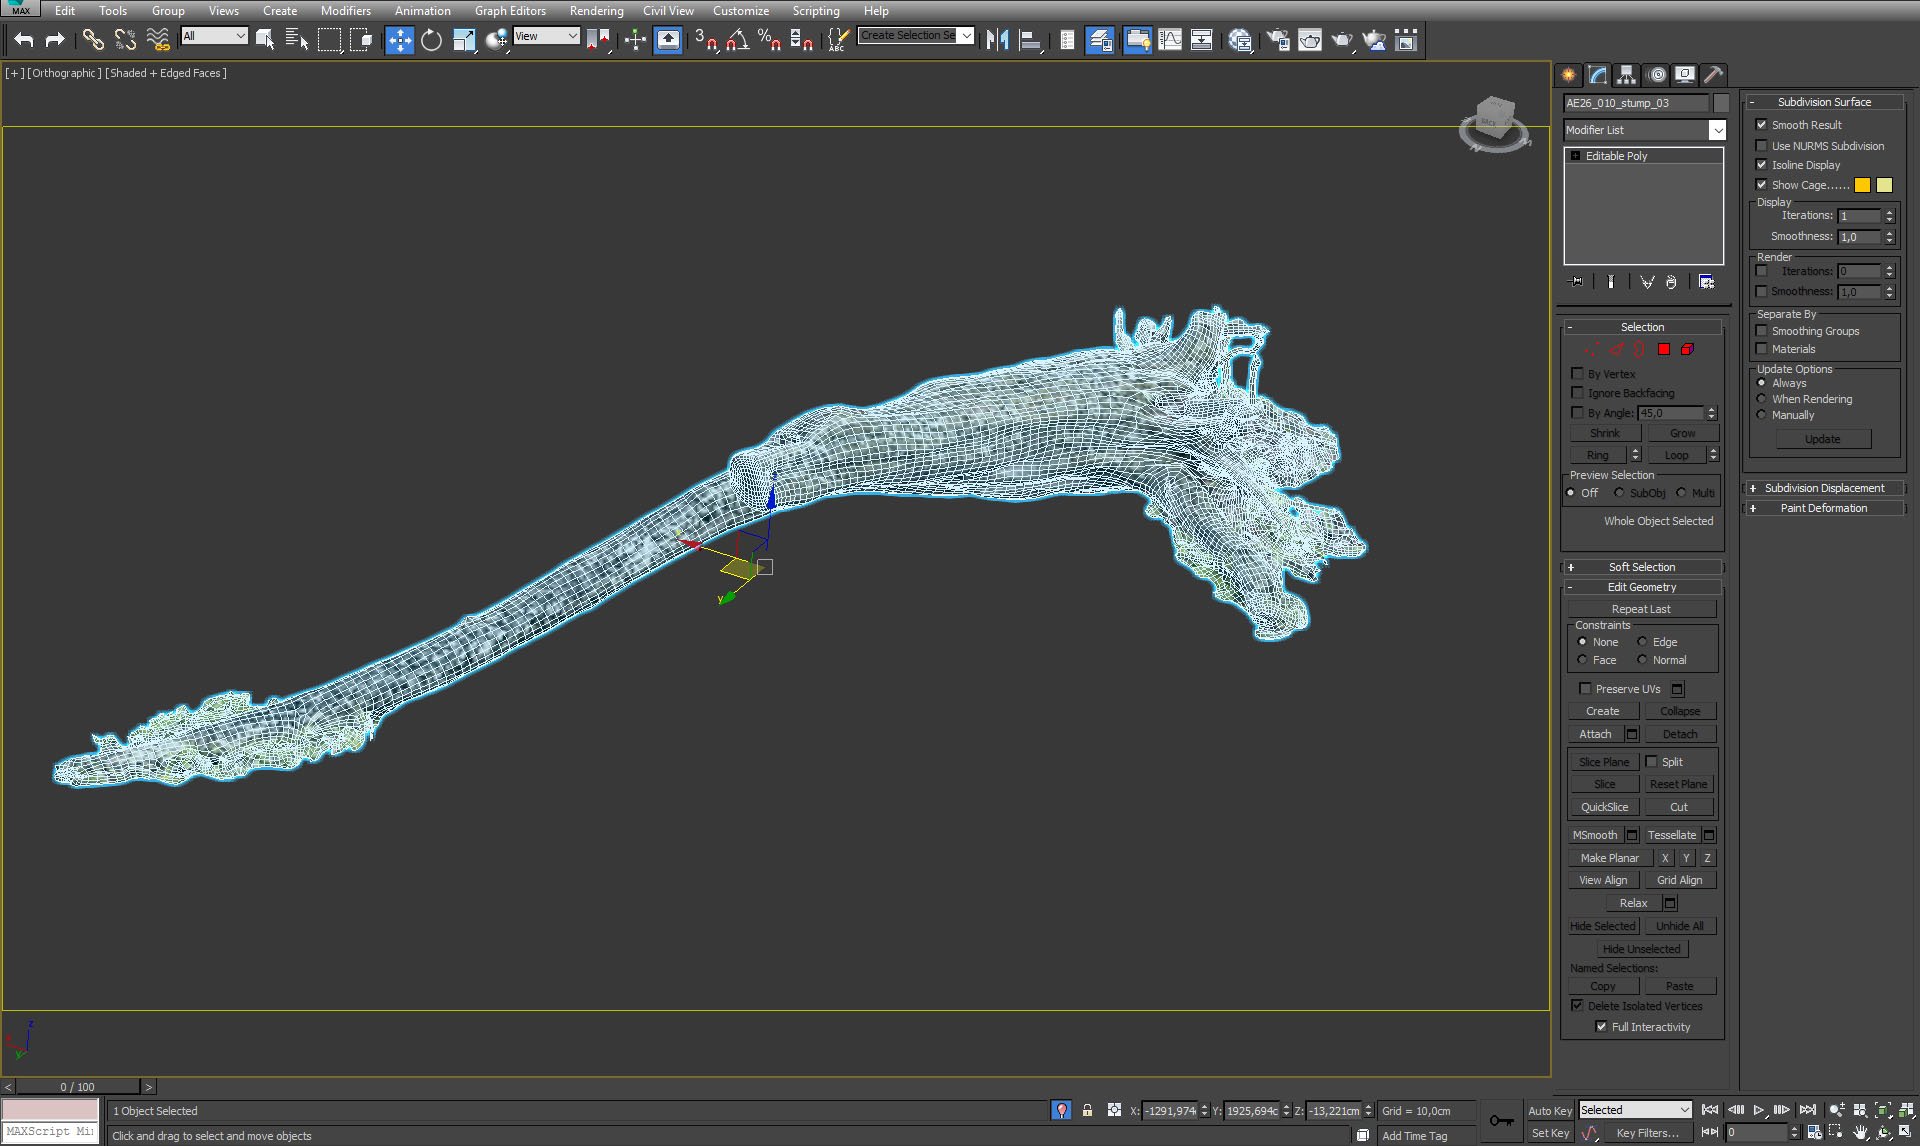
Bough mesh.


Click on image to enlargeAI26_S10_0023_Layer_12_evermotion.jpg

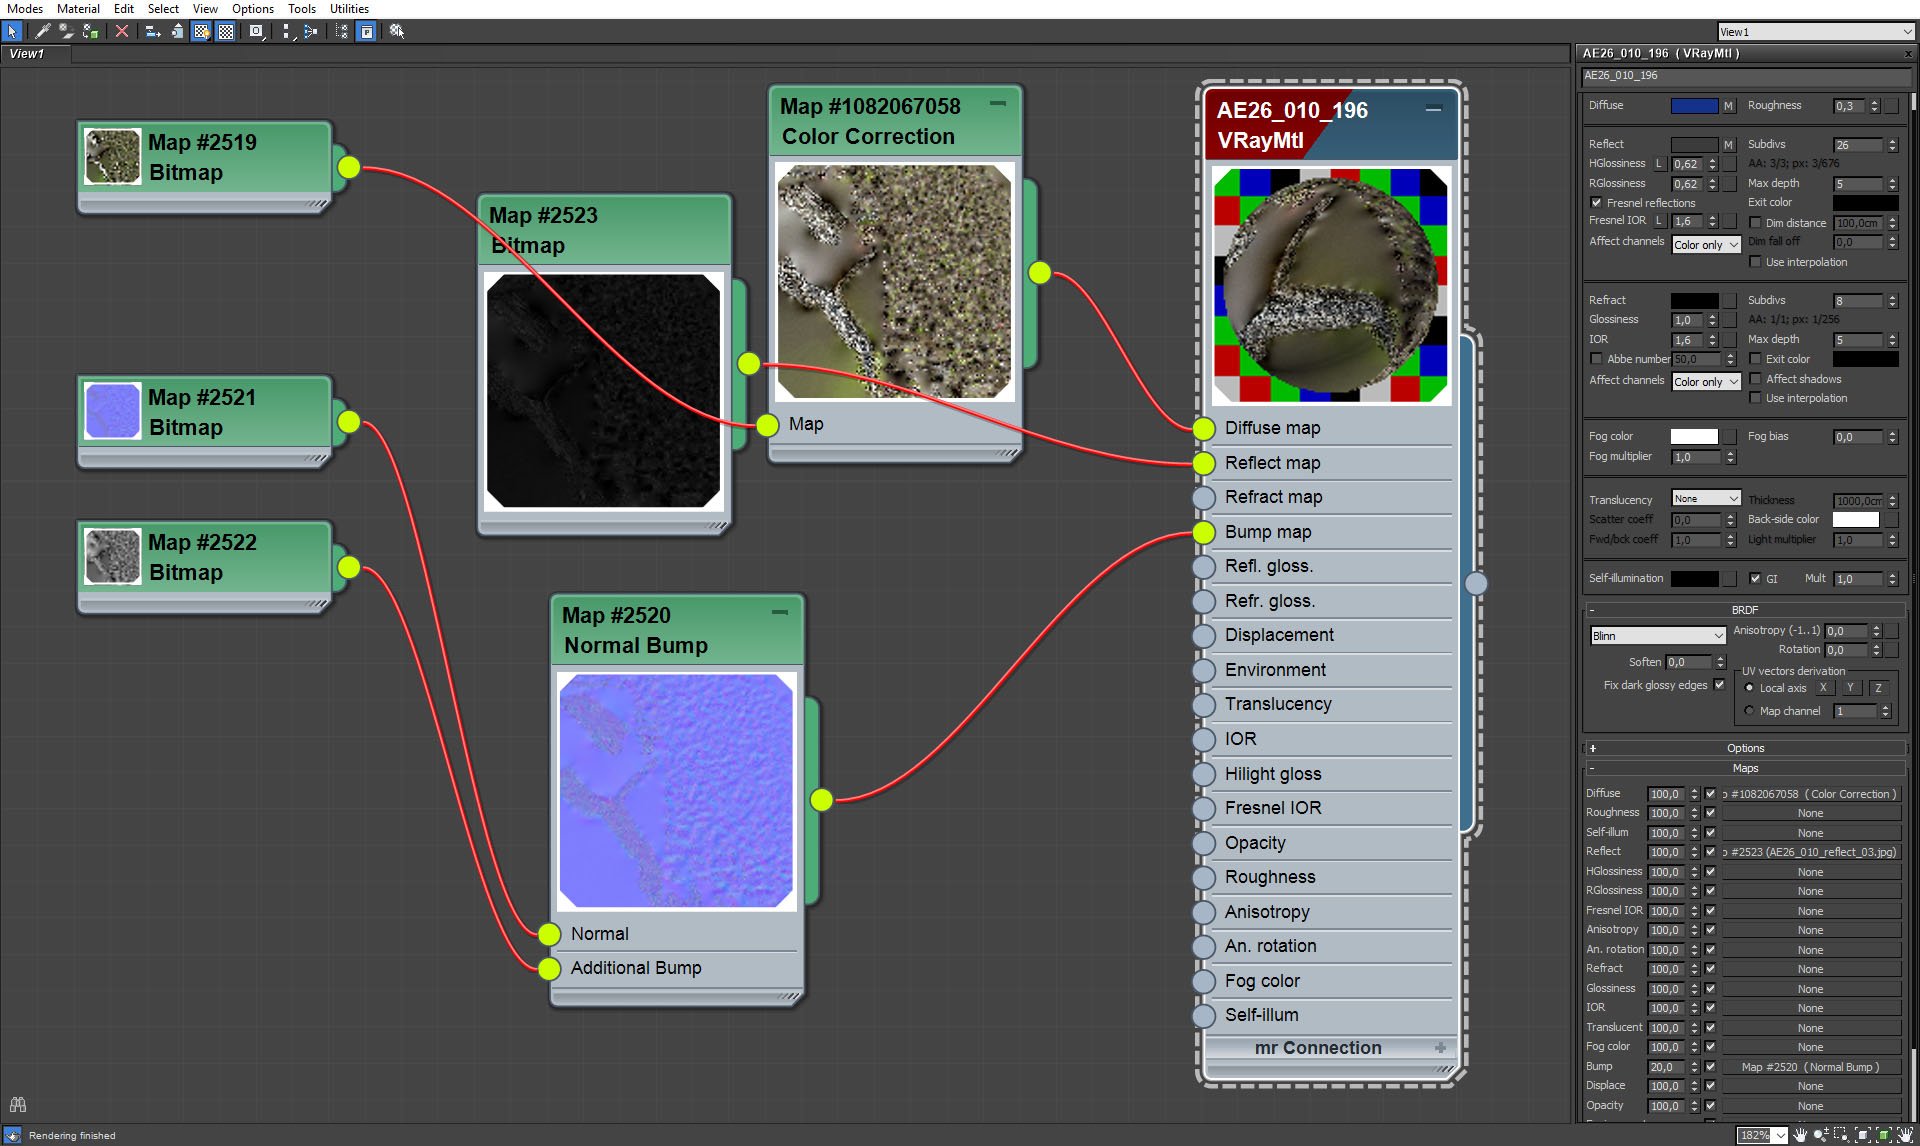
Bough material.


Click on image to enlargeAI26_S10_0022_Layer_13_evermotion.jpg

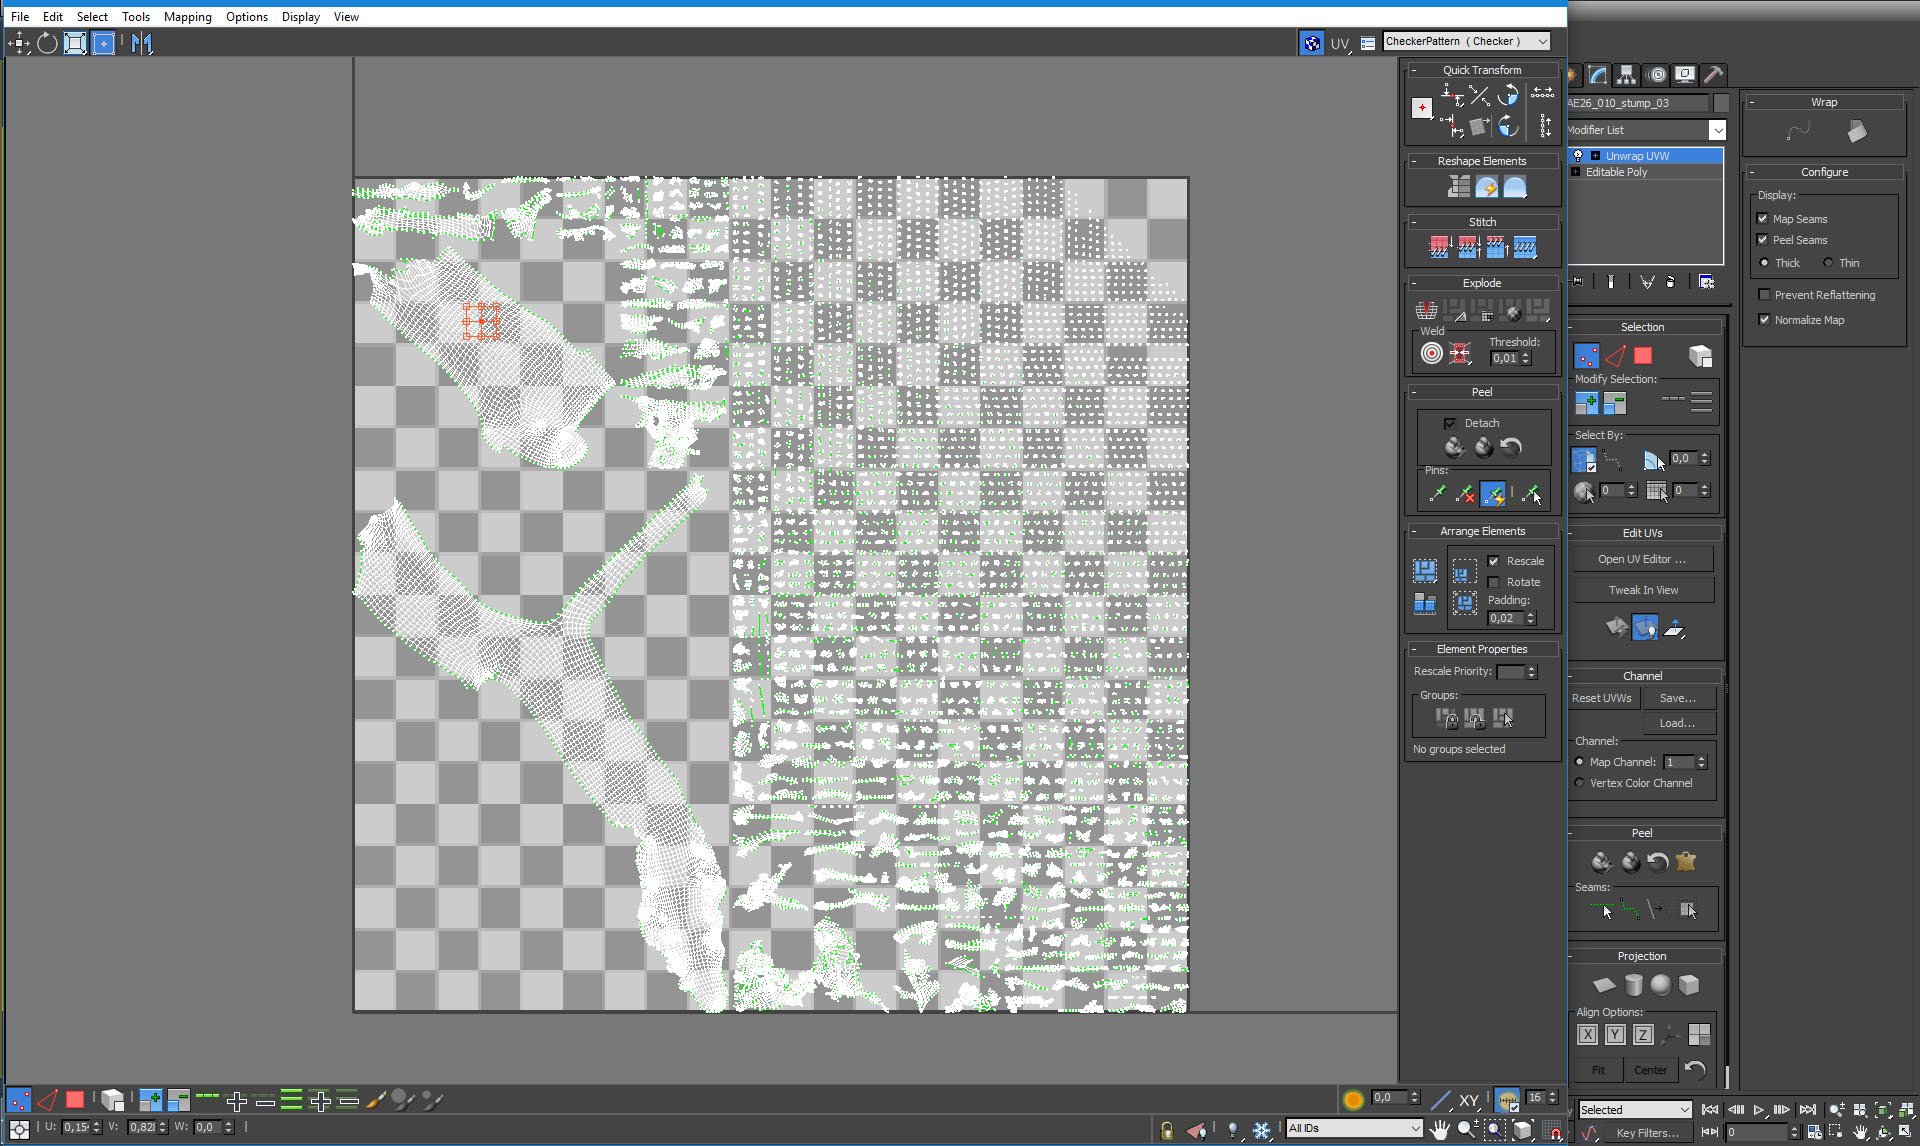
Bough in UV editor.
 

Click on image to enlargeAI26_S10_0021_Layer_14_evermotion.jpg

A rock.


Click on image to enlargeAI26_S10_0020_Layer_15_evermotion.jpg

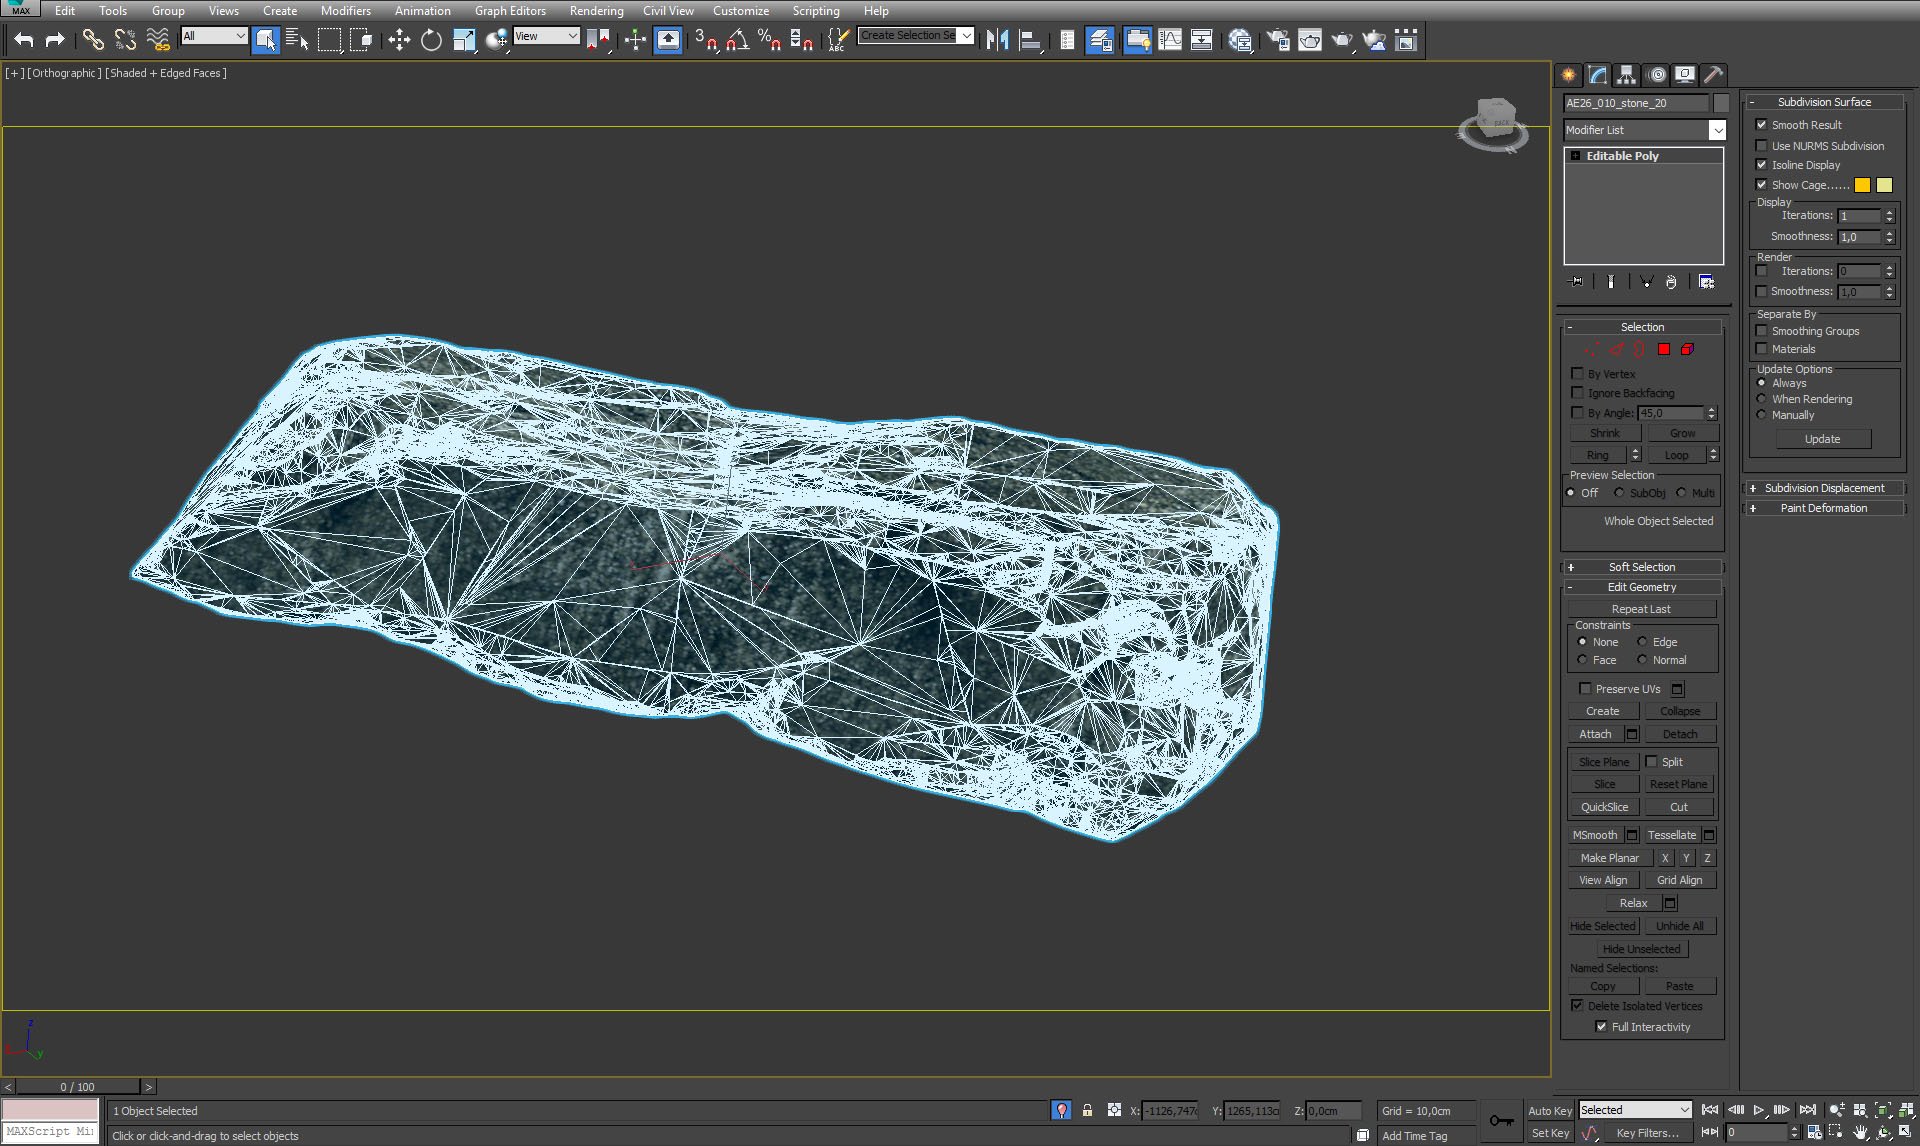
A rock mesh.


Click on image to enlargeAI26_S10_0019_Layer_16_evermotion.jpg

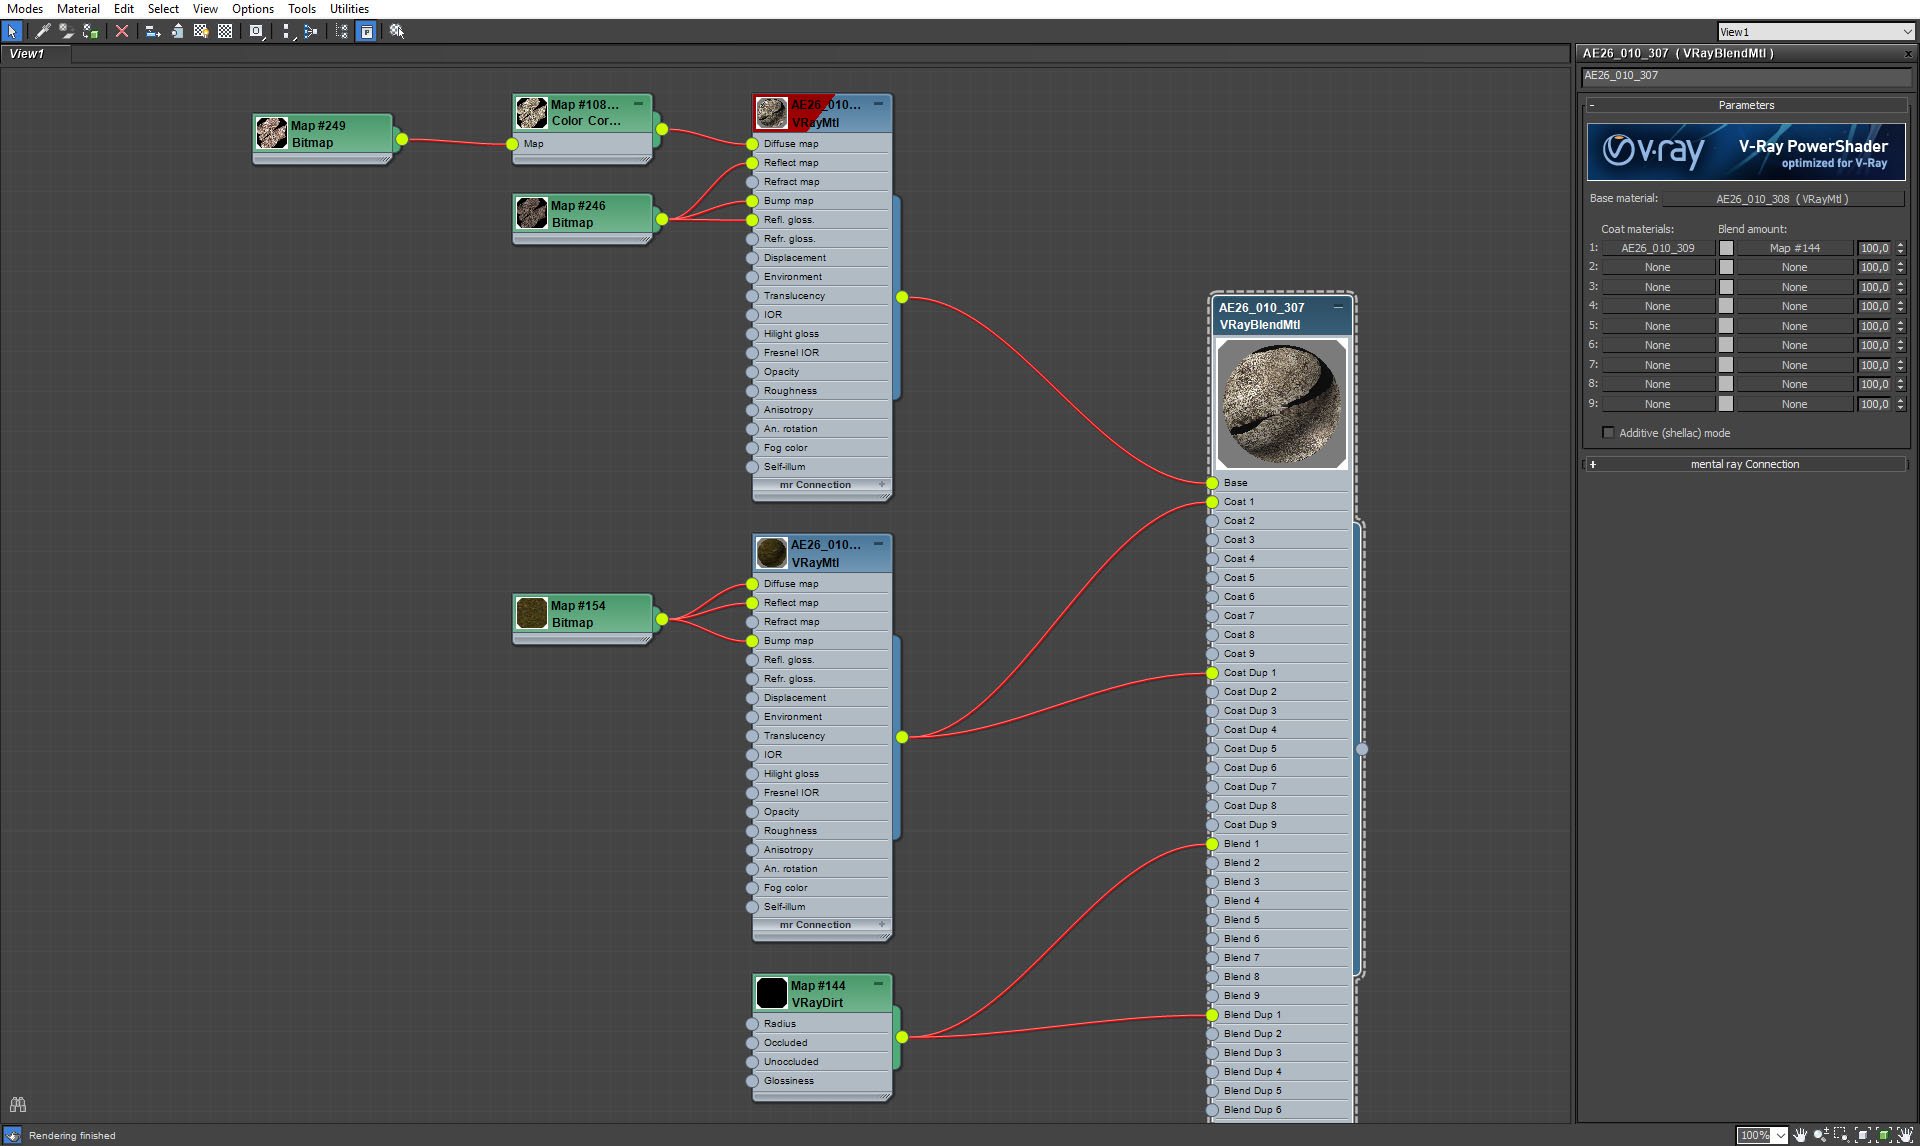
Rock material.
 
 
Click on image to enlargeAI26_S10_0018_Layer_17_evermotion.jpg
A rock material, base.


Click on image to enlargeAI26_S10_0017_Layer_18_evermotion.jpg

A rock material, coat.


Click on image to enlargeAI26_S10_0016_Layer_19_evermotion.jpg

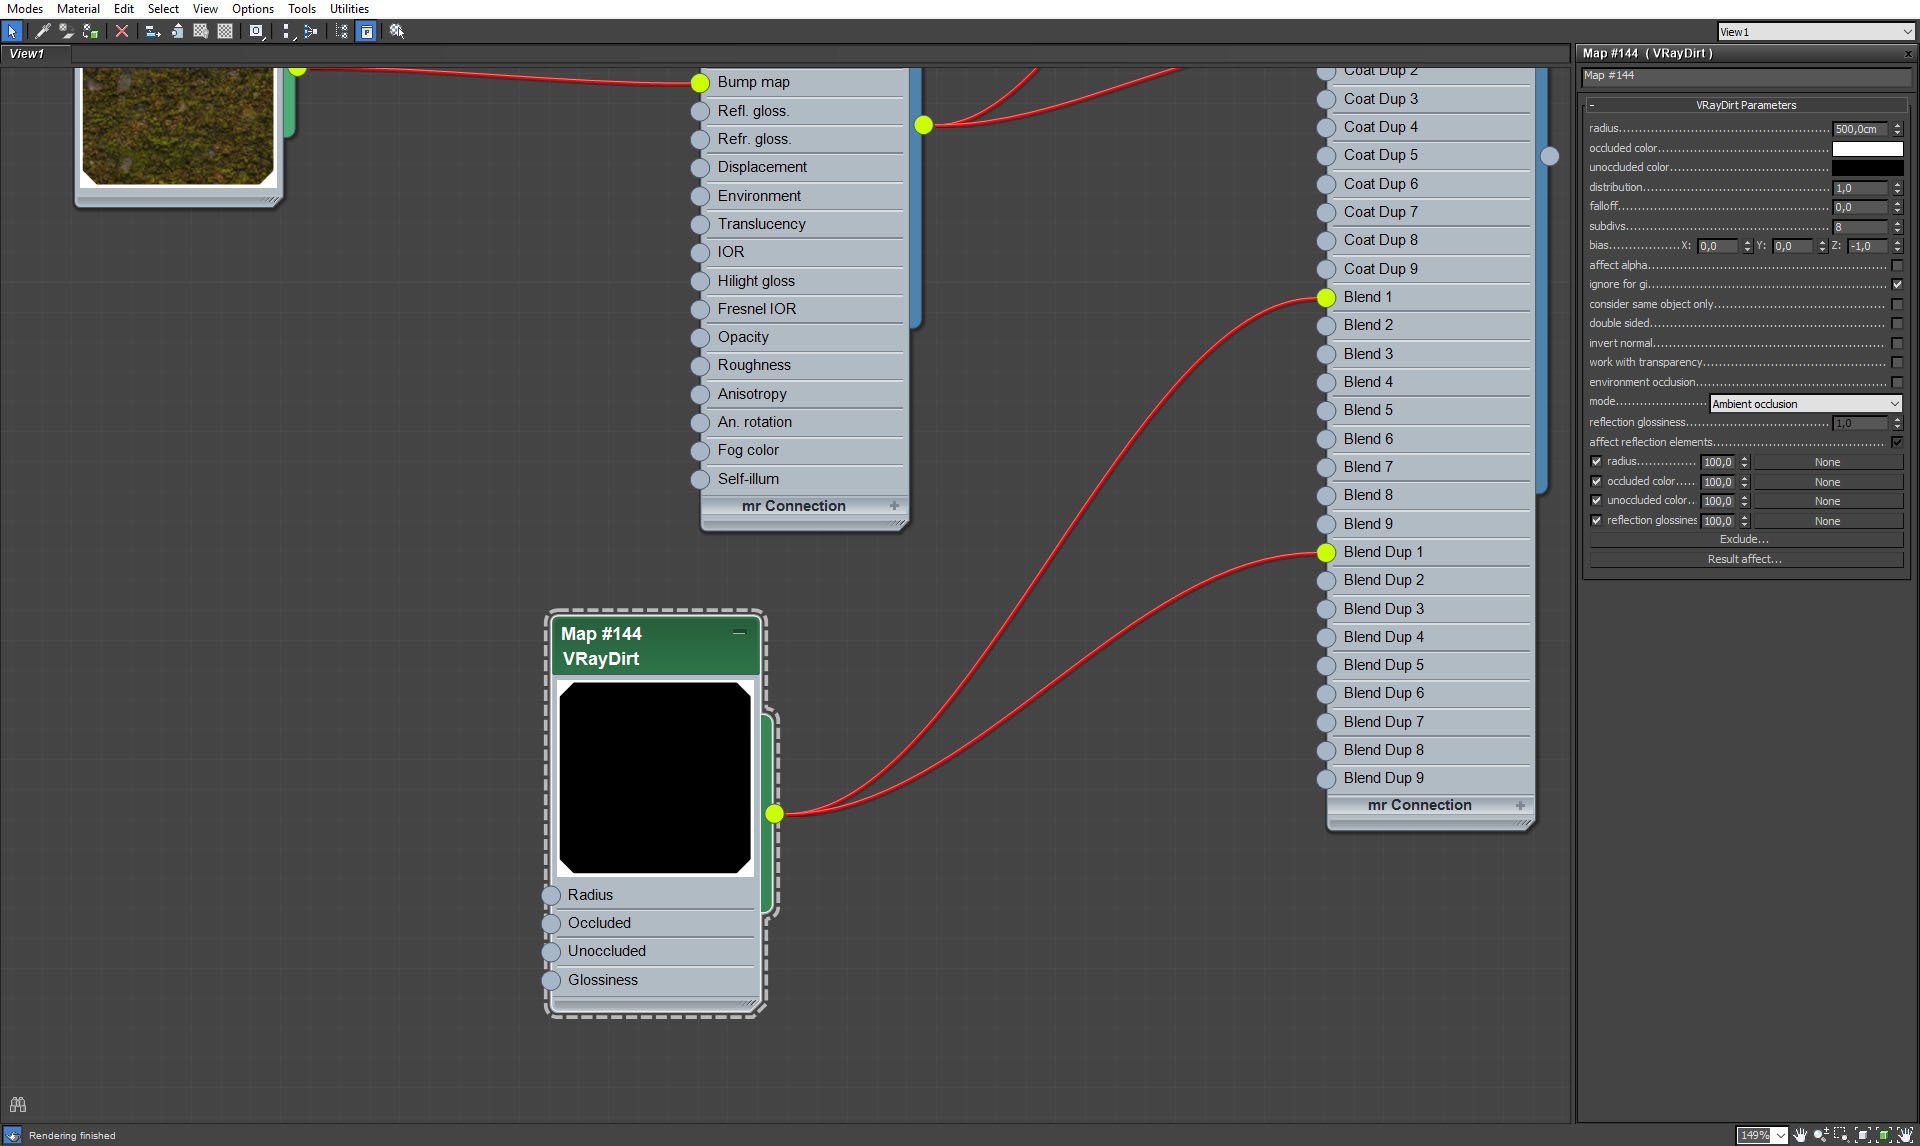
A rock material, VrayDirt settings.


Click on image to enlargeAI26_S10_0015_Layer_20_evermotion.jpg

Ground plane, displaced with modifier.


Click on image to enlargeAI26_S10_0014_Layer_21_evermotion.jpg

Ground material.


Click on image to enlargeAI26_S10_0013_Layer_22_evermotion.jpg

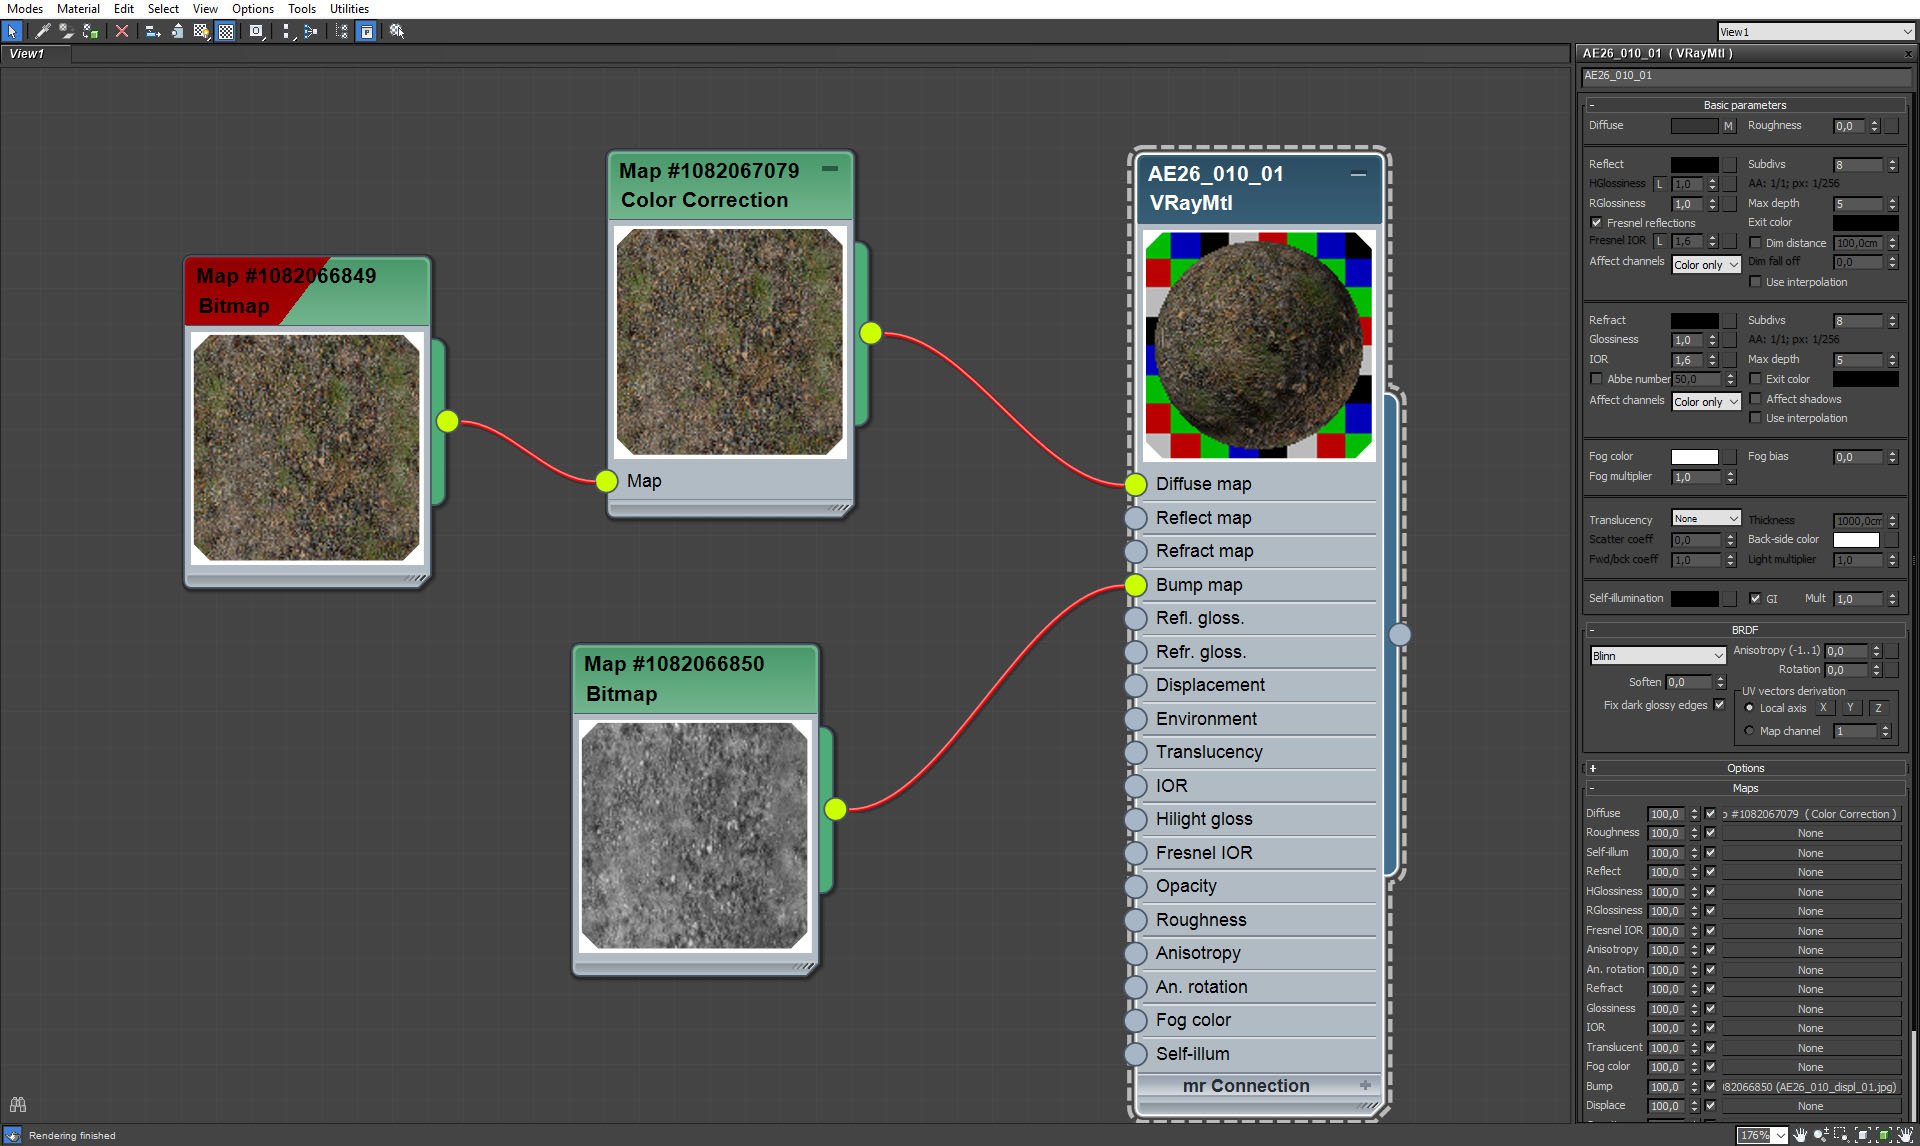
Texture in diffuse slot.


Click on image to enlargeAI26_S10_0012_Layer_23_evermotion.jpg

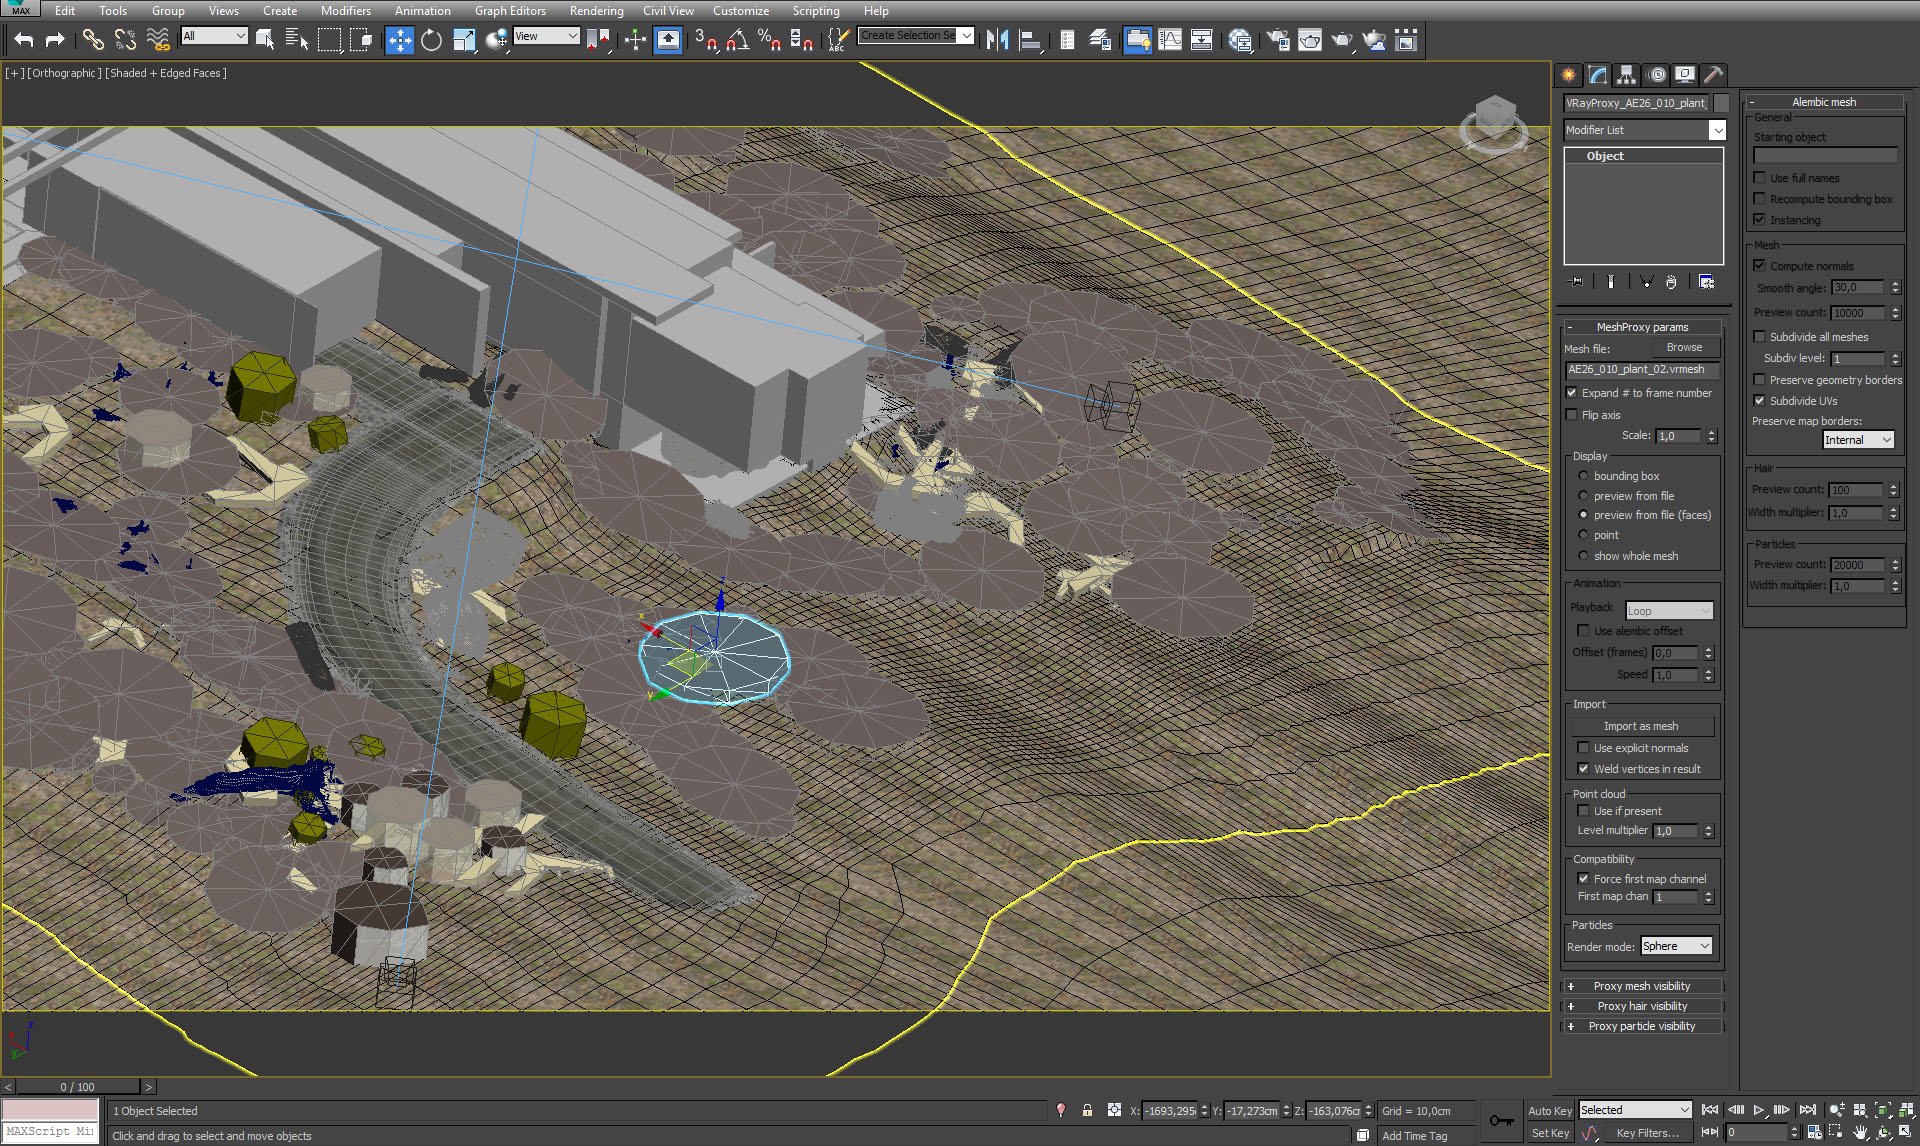
Those cylinders are proxies of bushes.


Click on image to enlargeAI26_S10_0011_Layer_24_evermotion.jpg

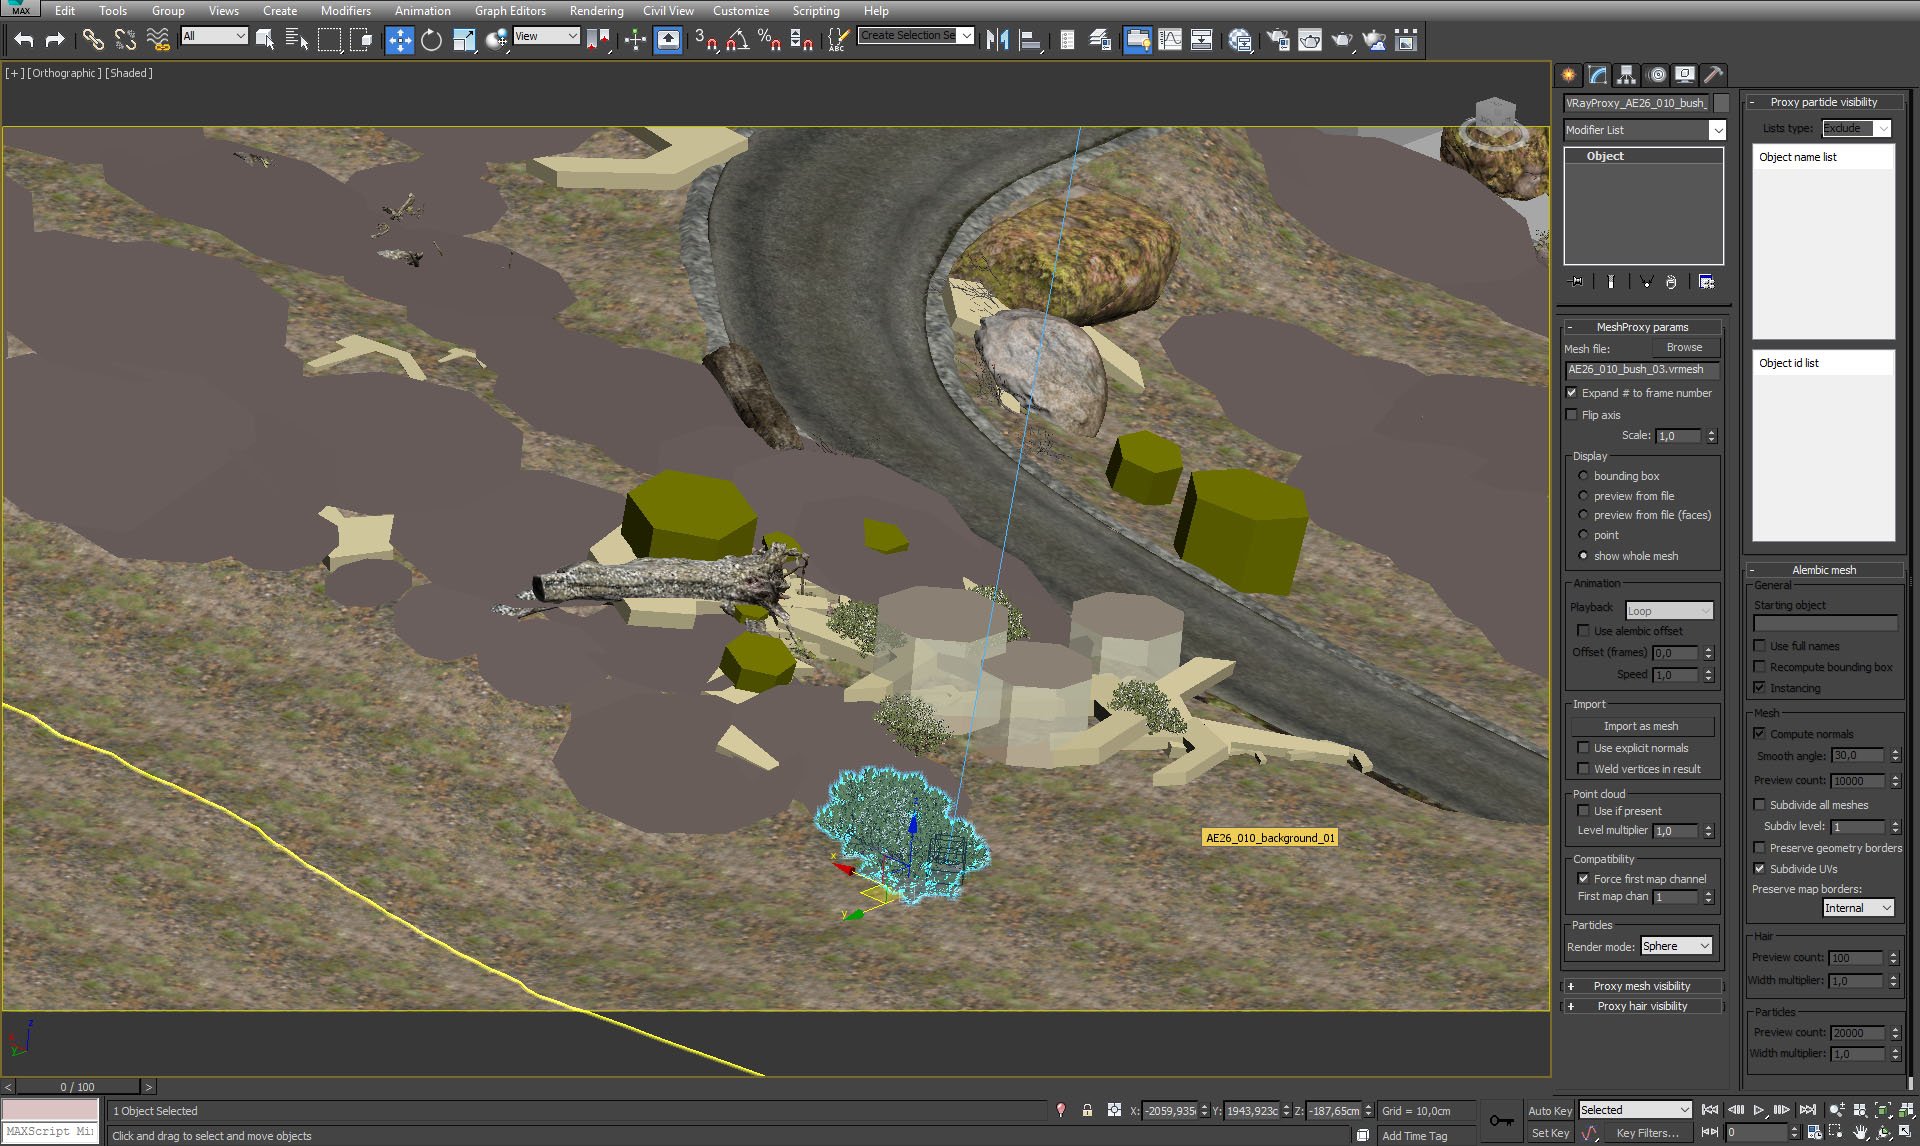
When we select "show whole mesh" in proxy settings, we can see bush shape.


Click on image to enlargeAI26_S10_0010_Layer_25_evermotion.jpg

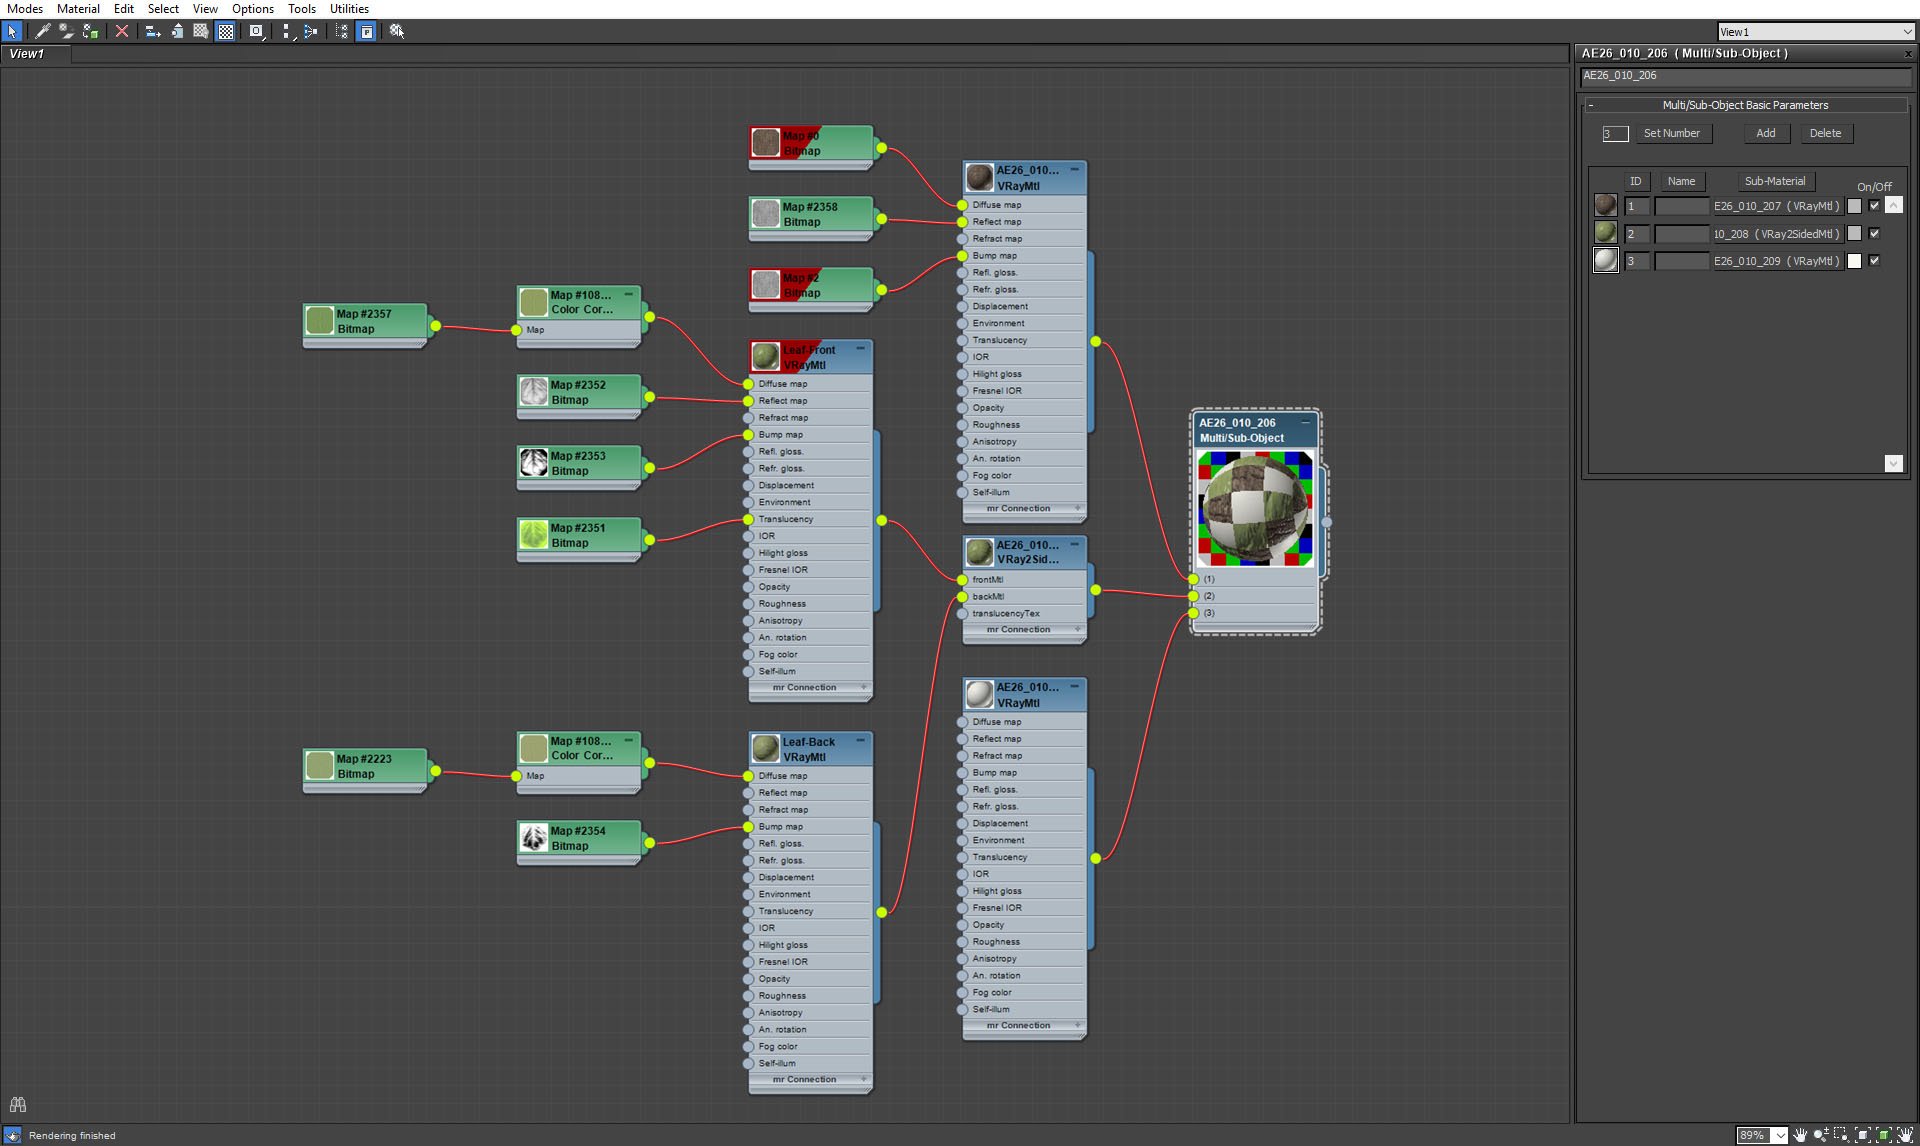
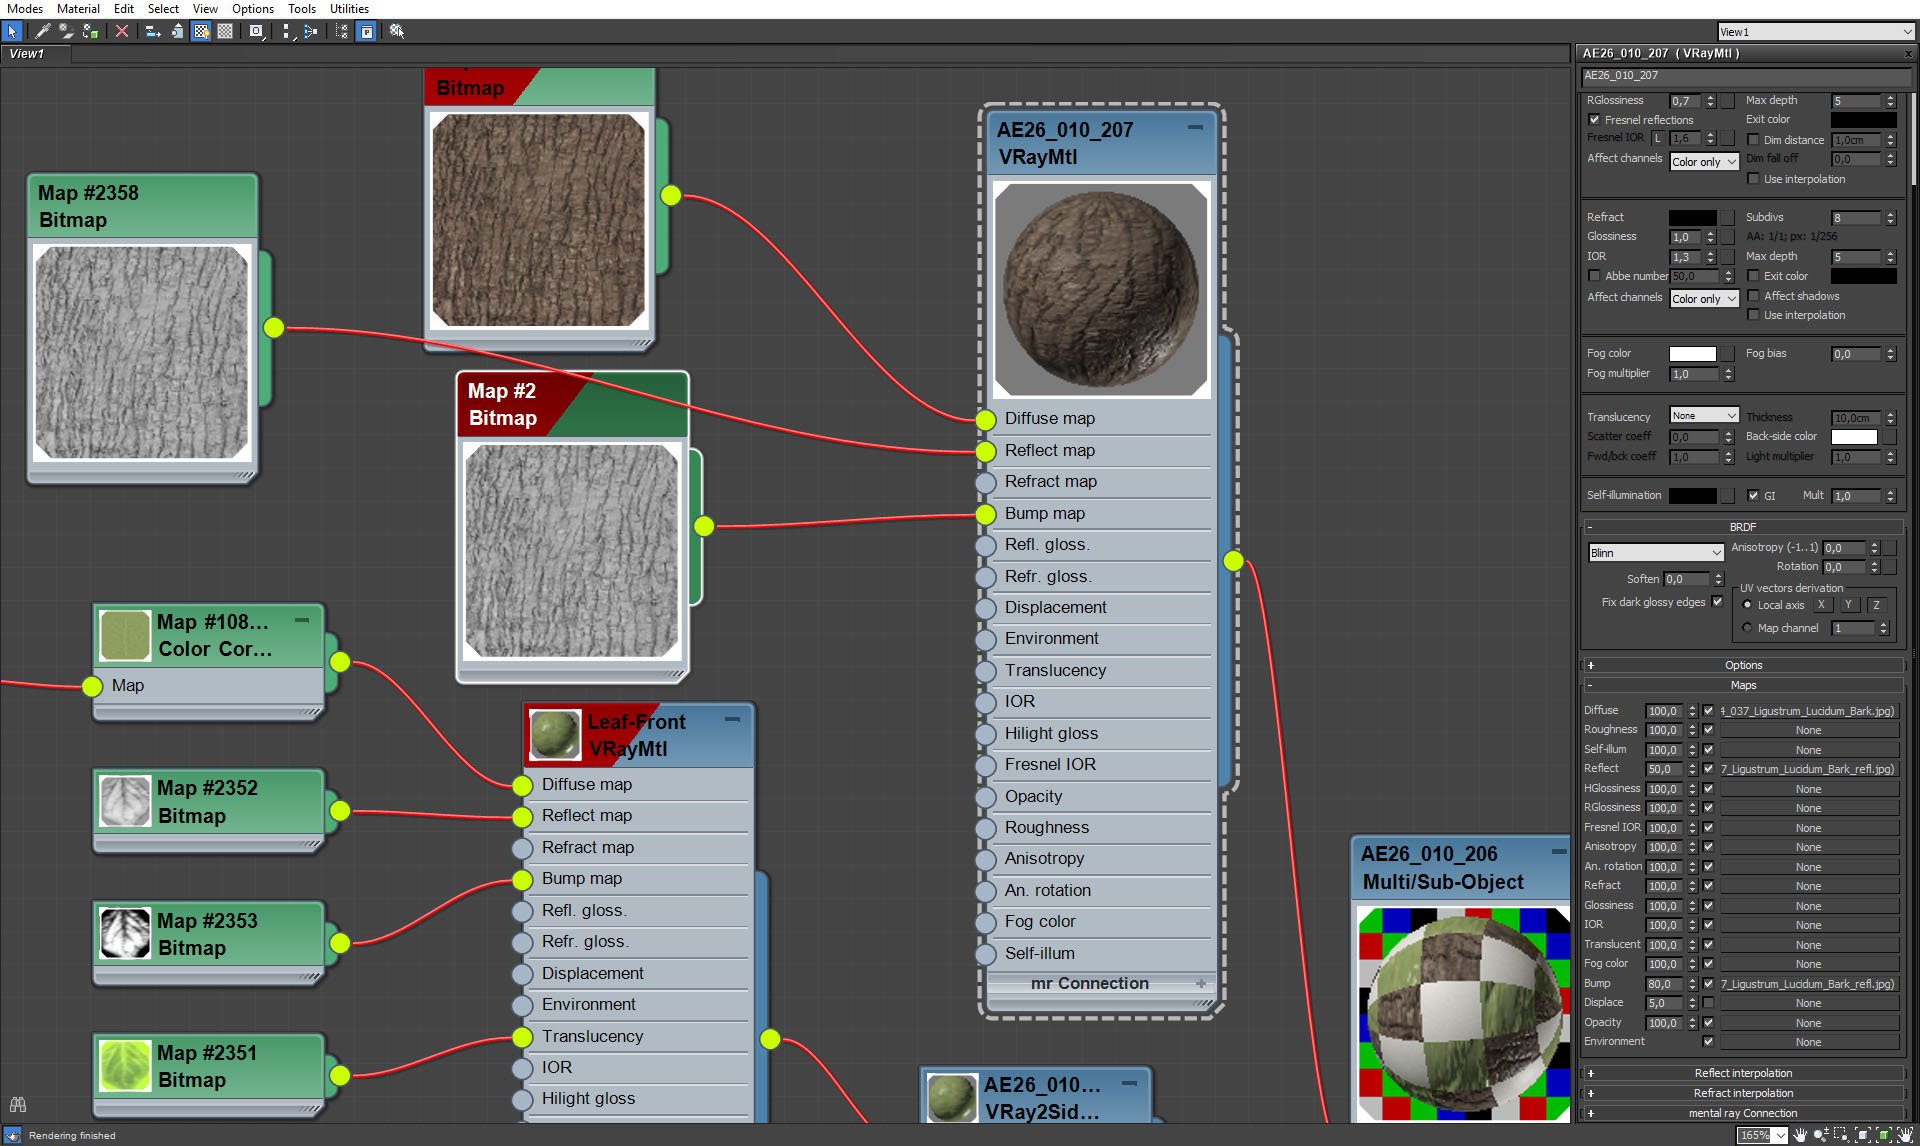
Bush material.


Click on image to enlargeAI26_S10_0009_Layer_26_evermotion.jpg

Bush material - branches.


Click on image to enlargeAI26_S10_0008_Layer_27_evermotion.jpg

Bush material - leaves.


Click on image to enlargeAI26_S10_0007_Layer_28_evermotion.jpg

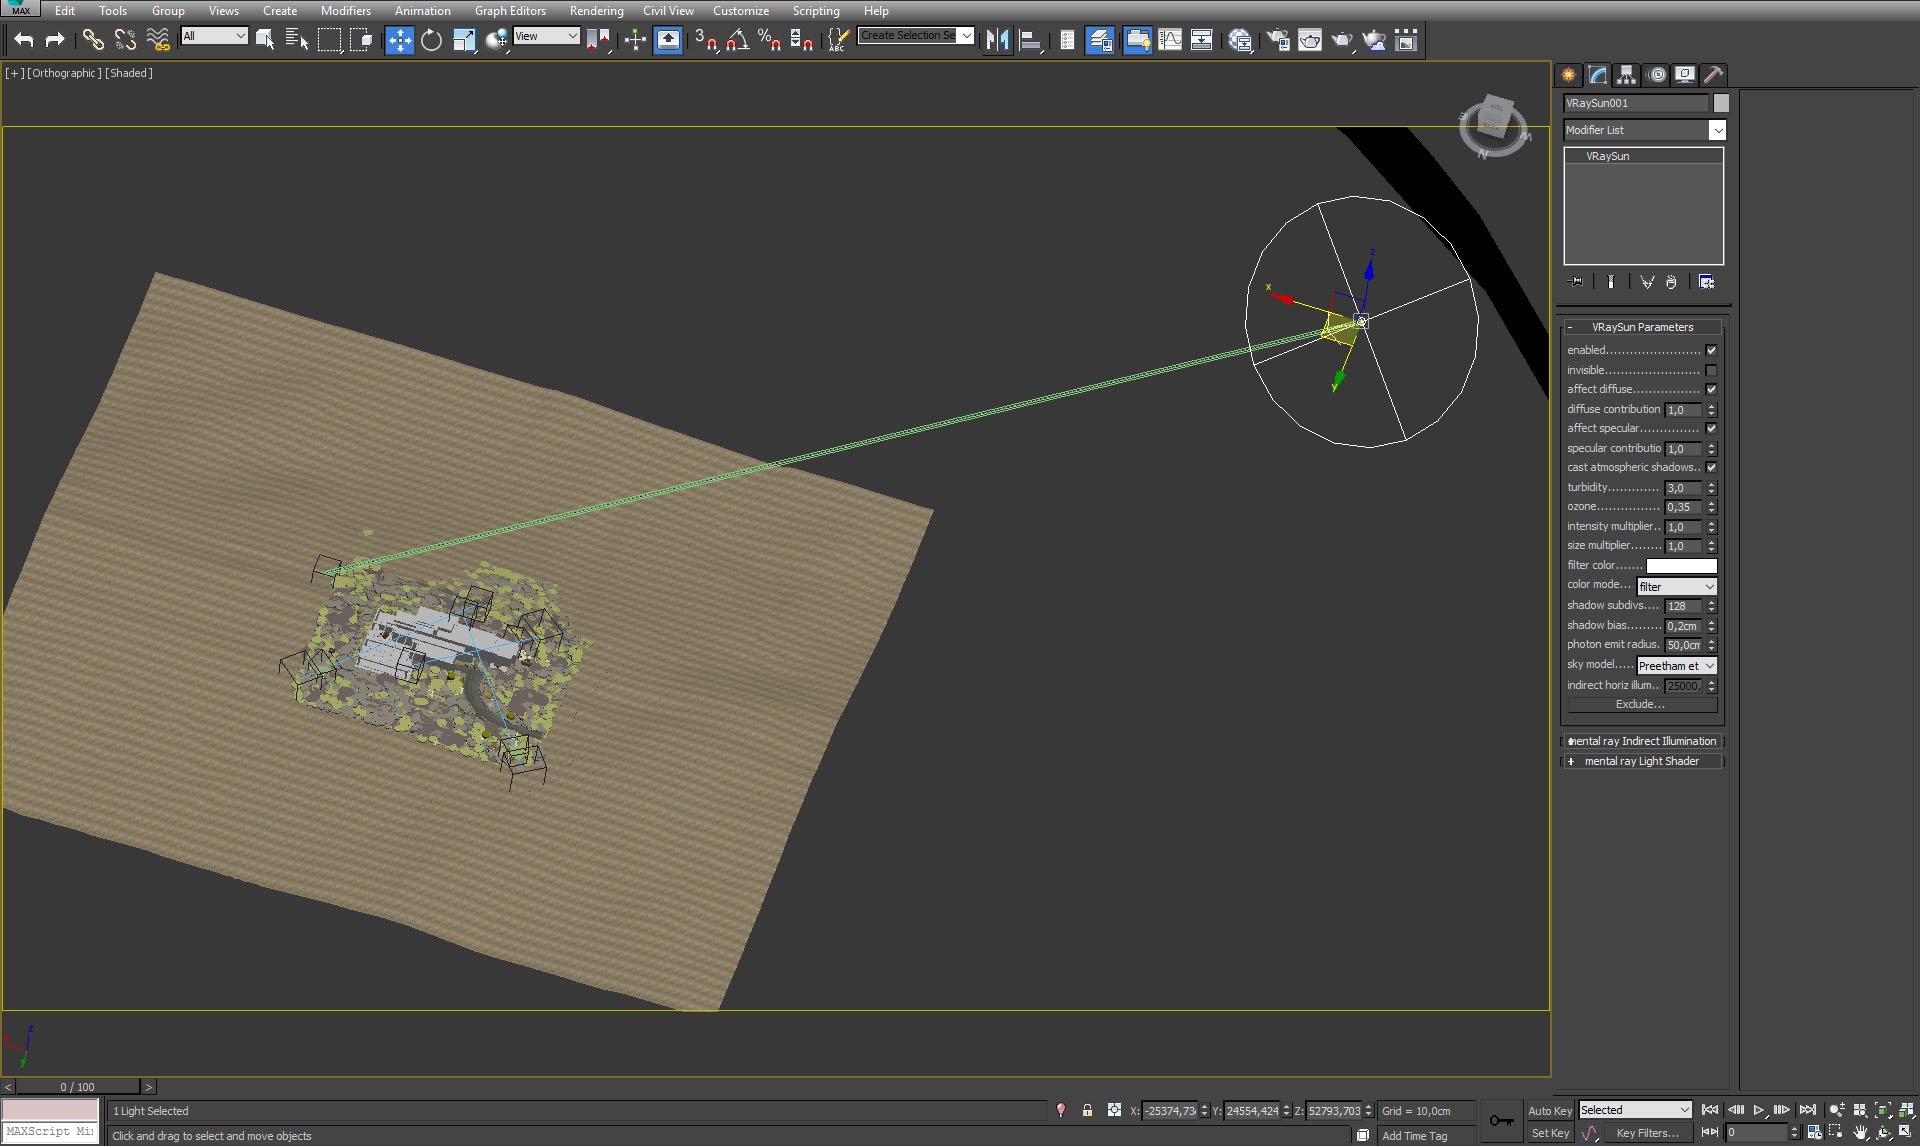
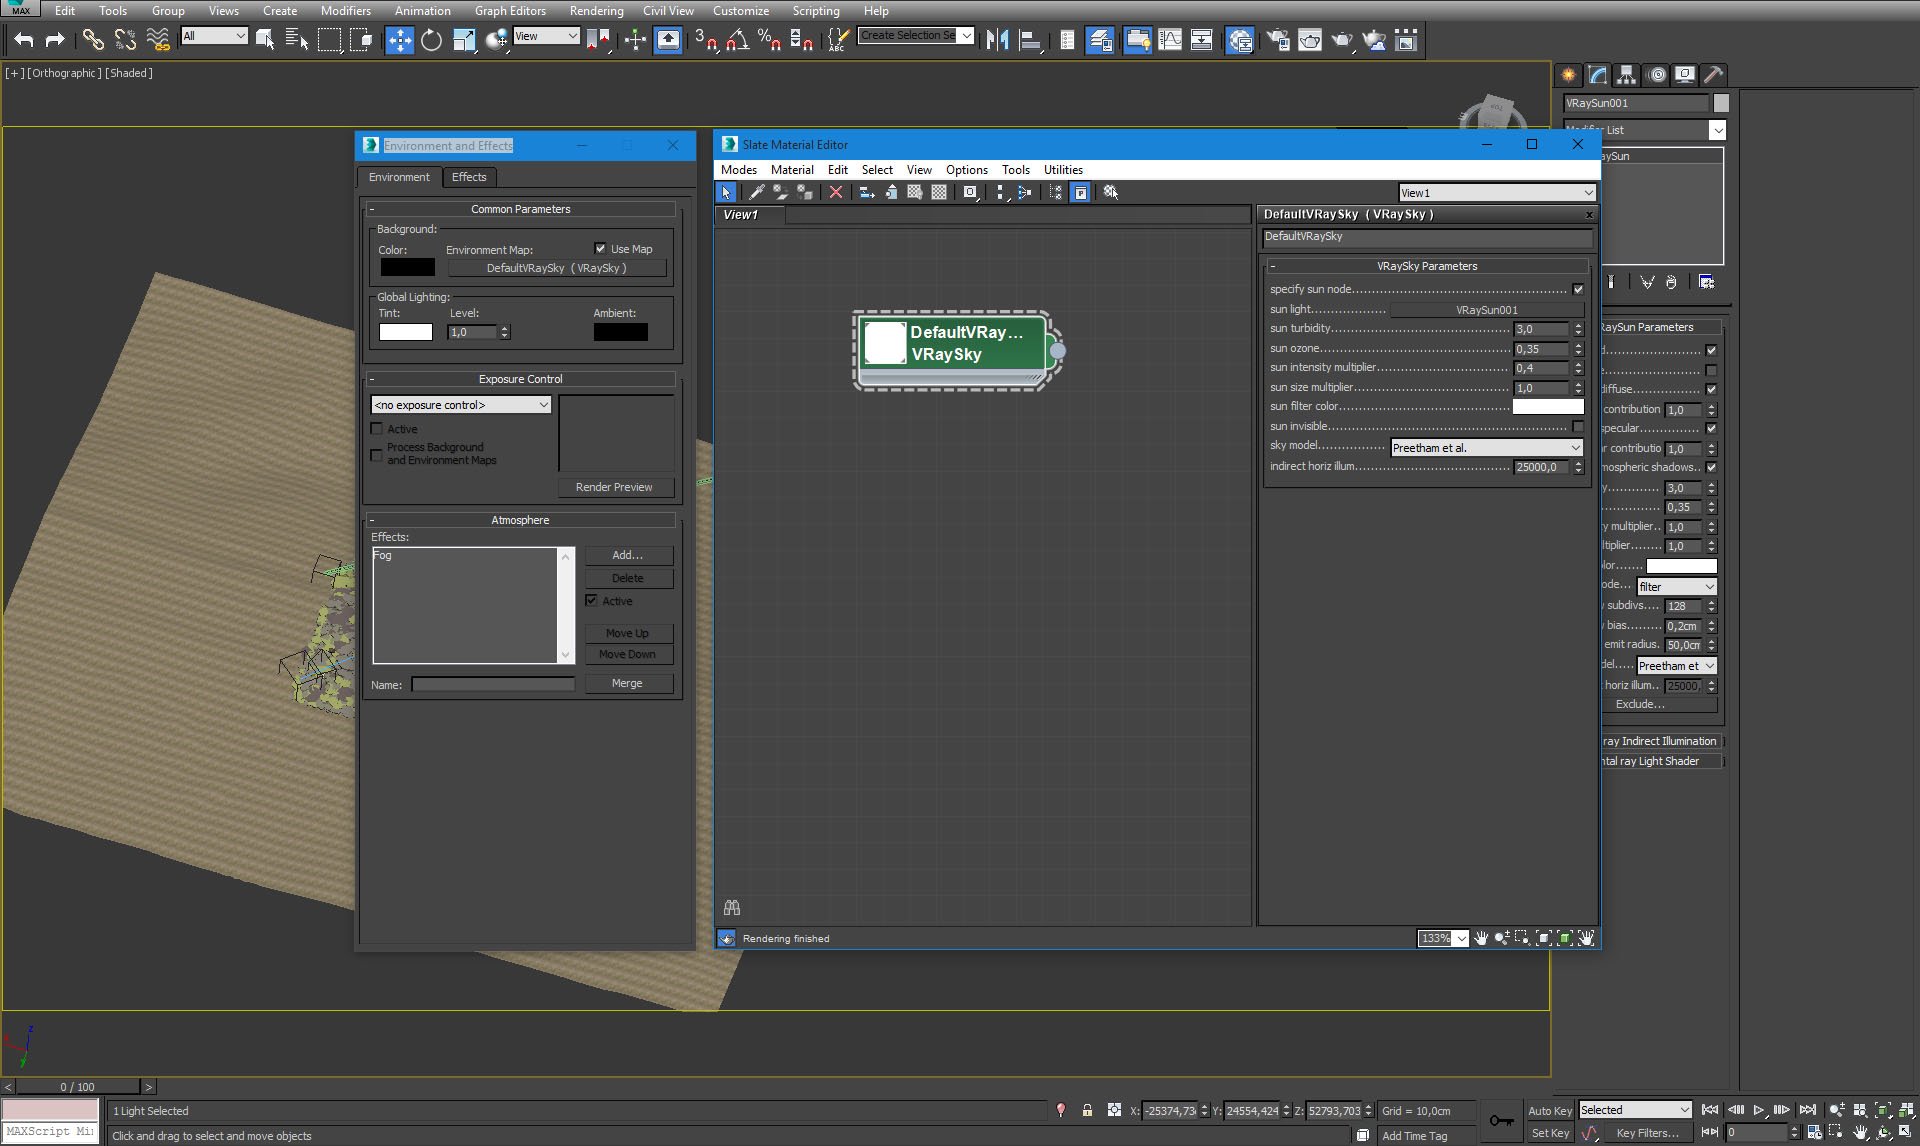
The scene is lit by sun and sky. Sun settings on the right.


Click on image to enlargeAI26_S10_0006_Layer_29_evermotion.jpg

VraySky settings.


Click on image to enlargerender_settings_12.jpg

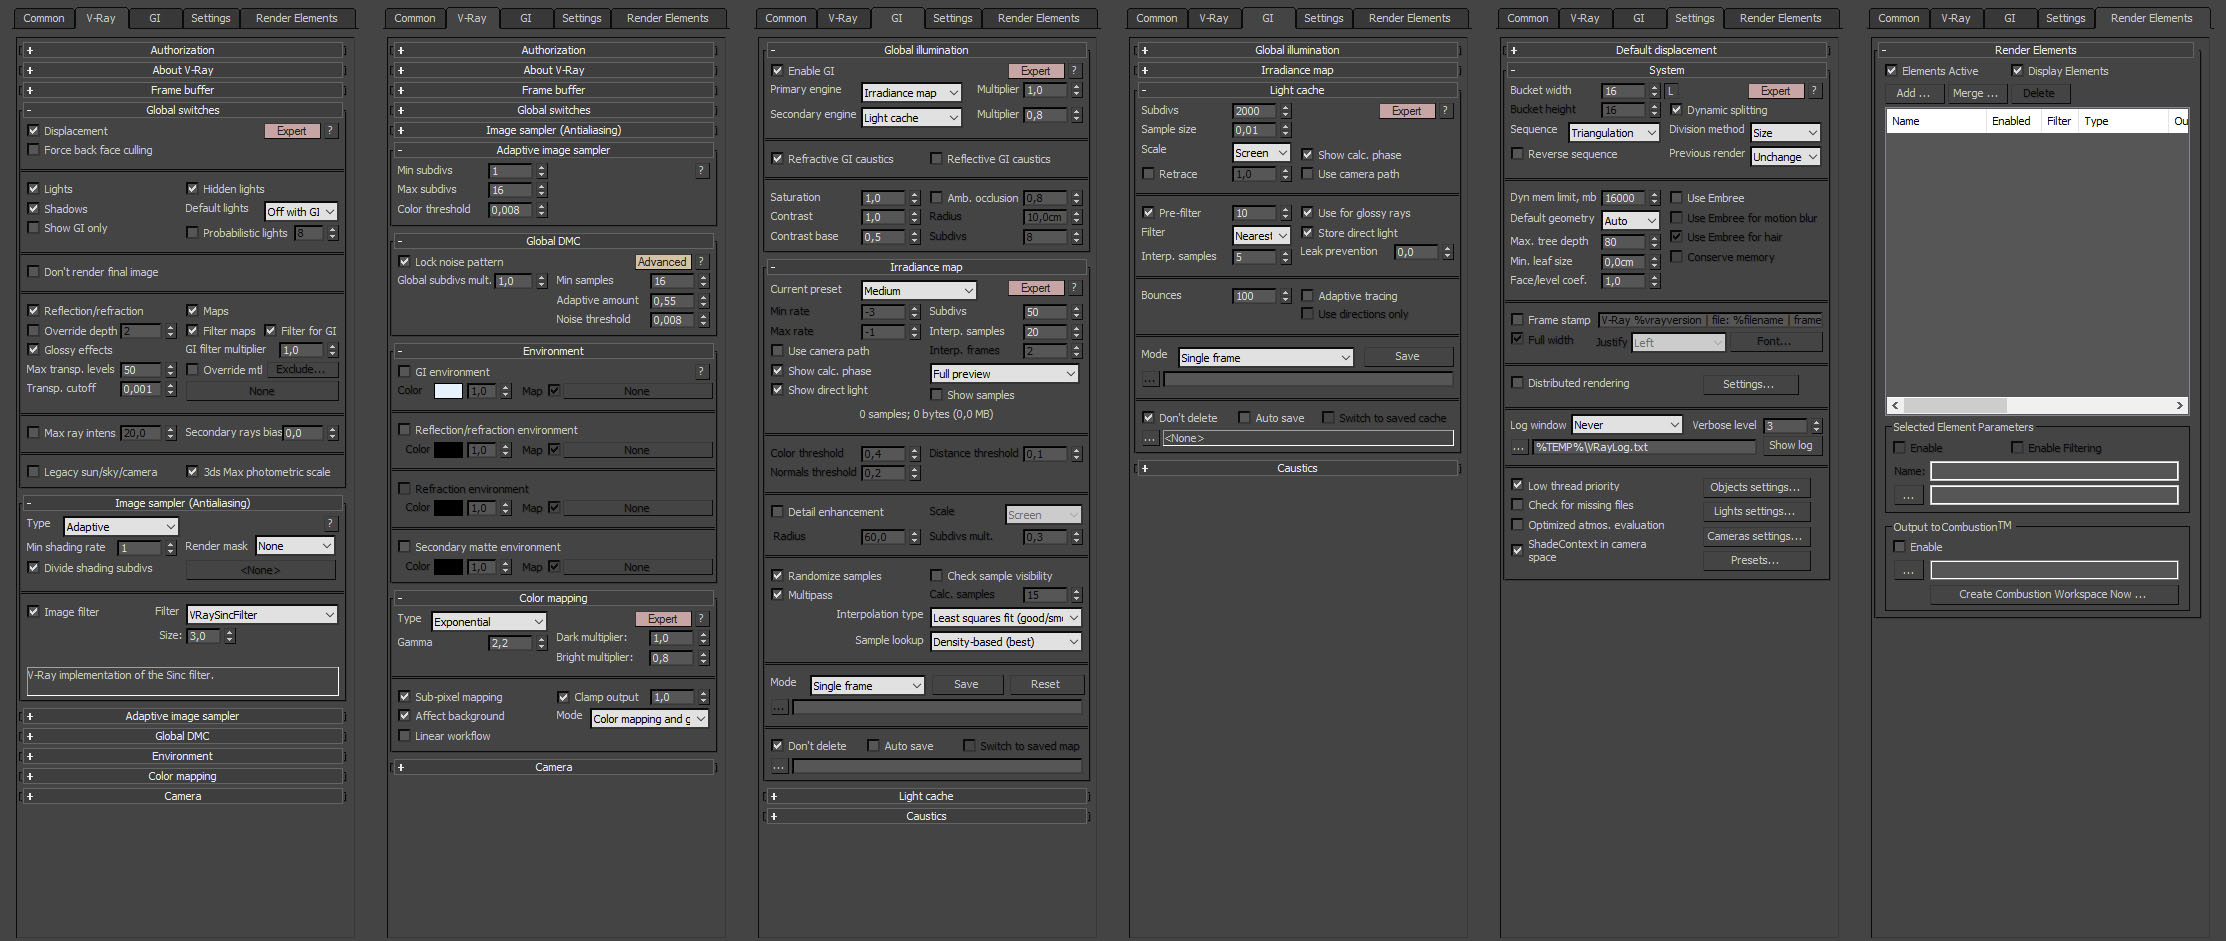
Render settings.


Click on image to enlargeAE26_010_cam_001_raw_evermotion.jpg

Raw render, camera 1.


Click on image to enlargecam_1_ps_stack_evermotion.jpg

Photoshop stack, camera 1. There is a very subtle post-production here. We only tweaked levels to shift the blackpoint to deeper black and desaturated (-10) the image.


Click on image to enlargeAE26_010_cam_001_PP_evermotion.jpg

Final image after post-production, camera 1.


Click on image to enlargeAE26_010_cam_002_raw_evermotion.jpg

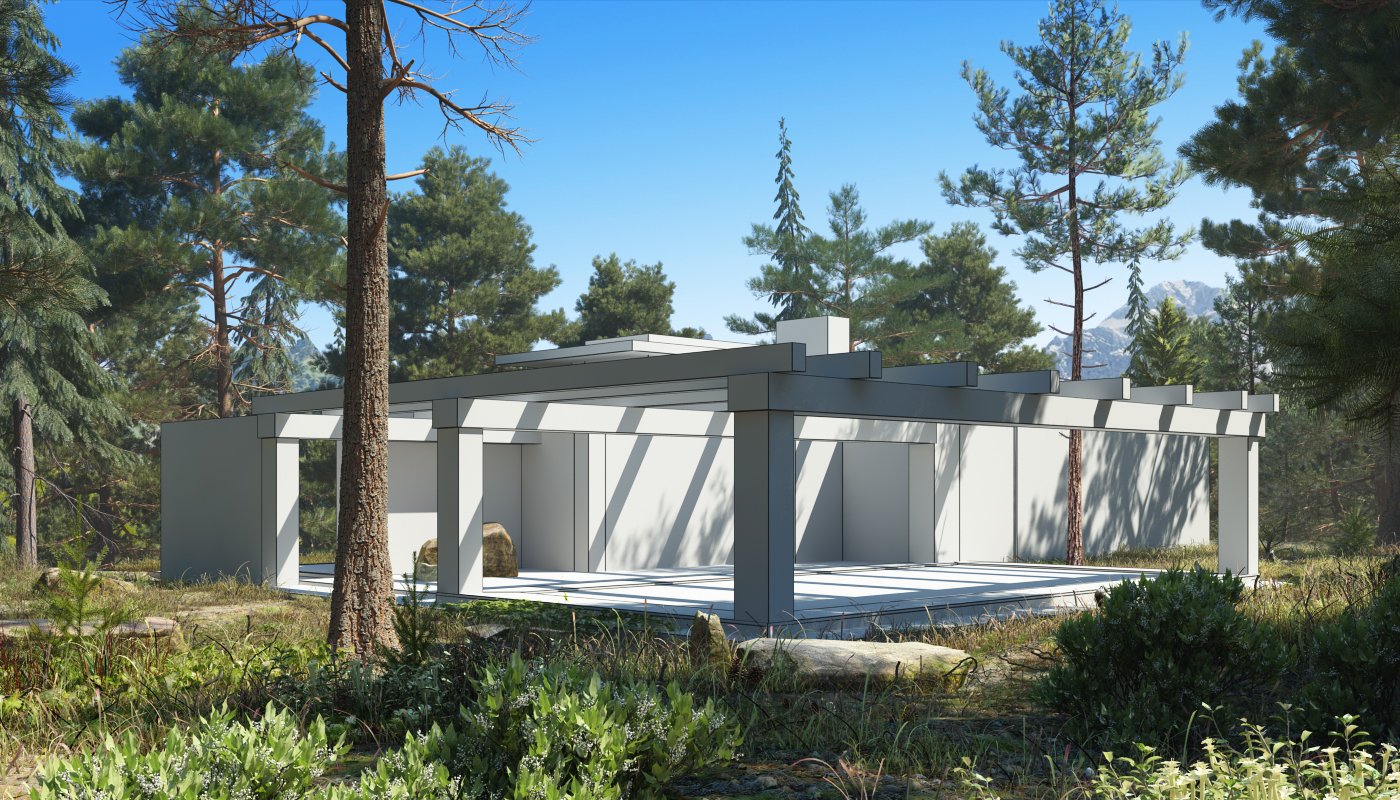
Raw render, camera 2.


Click on image to enlargecam_2_ps_stack_evermotion.jpg

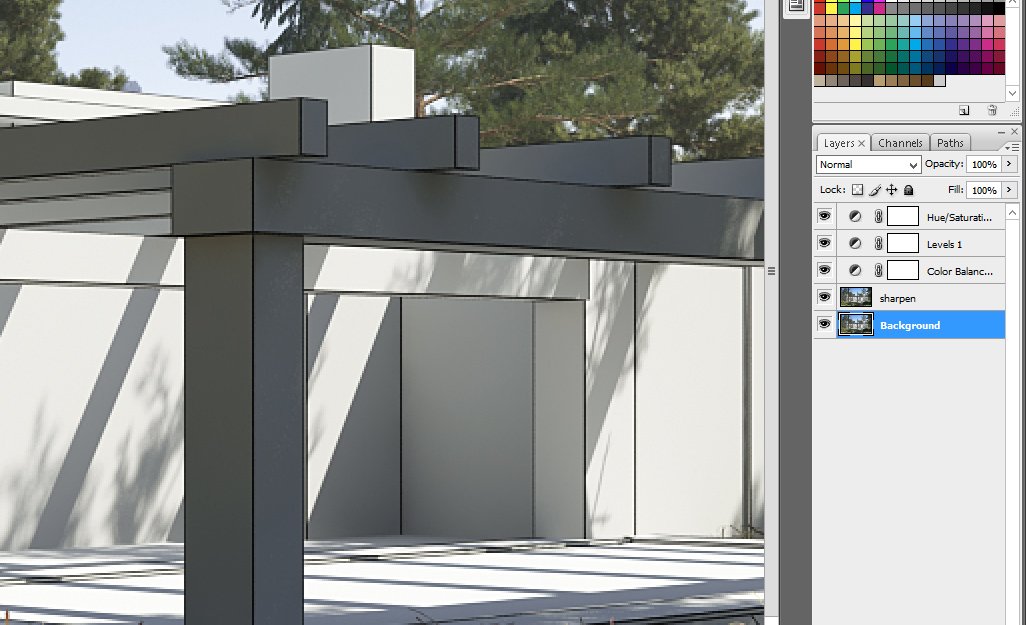
Photoshop layers, camera 2 - color balance to increase yellows and decrease blues, levels for increased contrast and a slight desaturation.


Click on image to enlargeAE26_010_cam_003_raw_evermotion.jpg

Final image after post-production, camera 2.


Click on image to enlargecam_2_ps_stack_evermotion.jpg

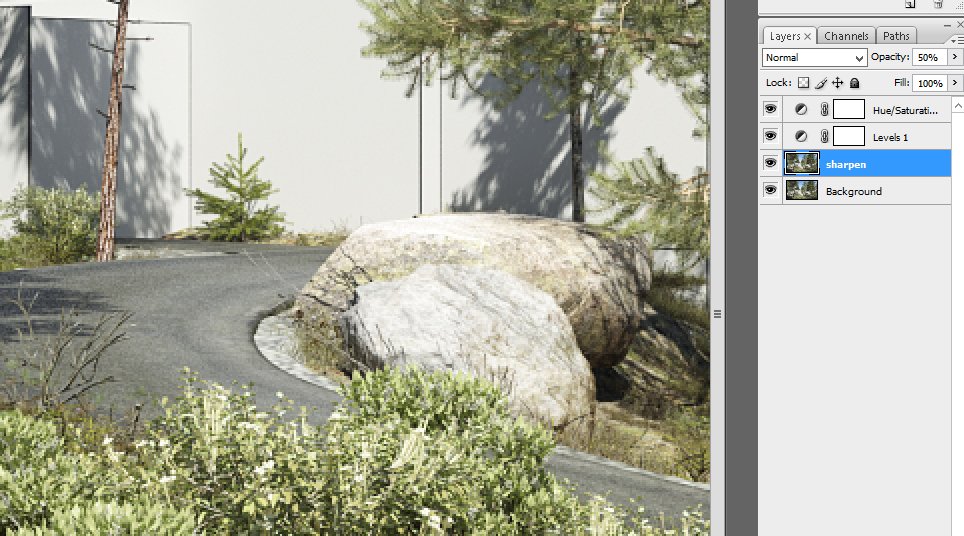
Photoshop stack, camera 3. As in previous examples - there is only sharpening and color correction.
 

Click on image to enlargeAE26_010_cam_003_PP_evermotion.jpg

Final image after post-production, camera 3.
 

This forest exterior is included in Archexteriors vol. 26 as scene 10. The scene was made in 3ds Max and rendered in V-Ray by Evermotion.


Author: Michał Franczak Editor: Michał Franczak
Tags: archexteriors scene10 forest villa template vol.26
You may also like...
Make fast realistic visualisations with Archexteriors vol. 18

Make fast realistic visualisations with Archexteriors vol. 18

Making realistic visualisations is not an easy task when you have to start from a scratch. But You don't have to setup everything by yourself.
×

LEAVE A COMMENT

You need to be logged in to leave a comment. Don't have account? Register now.

min90 17:21:37  |  18-04-2016
Thanks evermotion for tutorial!
Weedboss 12:49:51  |  20-04-2016
The "Final image after post-production, camera 2." is the same image as "Final image after post-production, camera 3." Also, thank you for the tutorial. :)
Macker 17:07:53  |  10-05-2016
How did you UV the road?