Search
Cart
Sign in
  • offerCustomer zone
  • offerYour orders
  • offerEdit account

  • offerAdd project
  • offerLiked projects
  • offerView your artist profile

  • Dark mode

We care about your privacy

We use cookies to provide you with the best possible experience. They also allow us to analyze user behavior in order to constantly improve the website for you. The consent is voluntary. You can withdraw it at any time or renew it in Cookie settings on the home page. Withdrawal of your consent does not affect the lawfulness of processing performed before the withdrawal. Privacy Protection Policy
Accept all
Accept selection
Reject all

Making of a sunny Villa - Tip of the Week

Michał Franczak 2015-09-25 13:48 tutorial  > 3ds MAX  > texturing

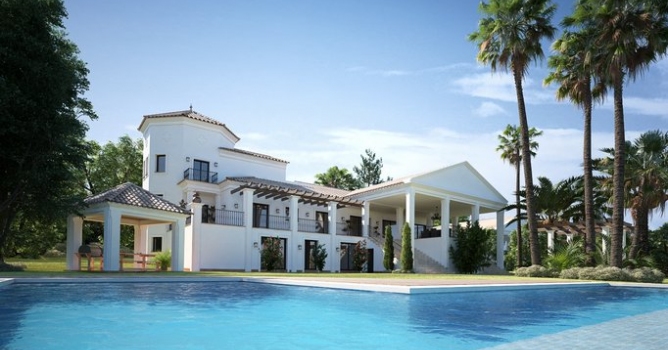
We break to pieces sunny villa exterior from Archexteriors vol. 25.

This exterior scene was made by Evermotion in 3ds Max and V-Ray. It is a scene 10 from Archexteriors vol. 25. You can purchase this single scene or entire Archinteriors vol. 25 collection in Evermotion Shop.

Click on image to enlarge nr_AE25_010_PP_845.jpg

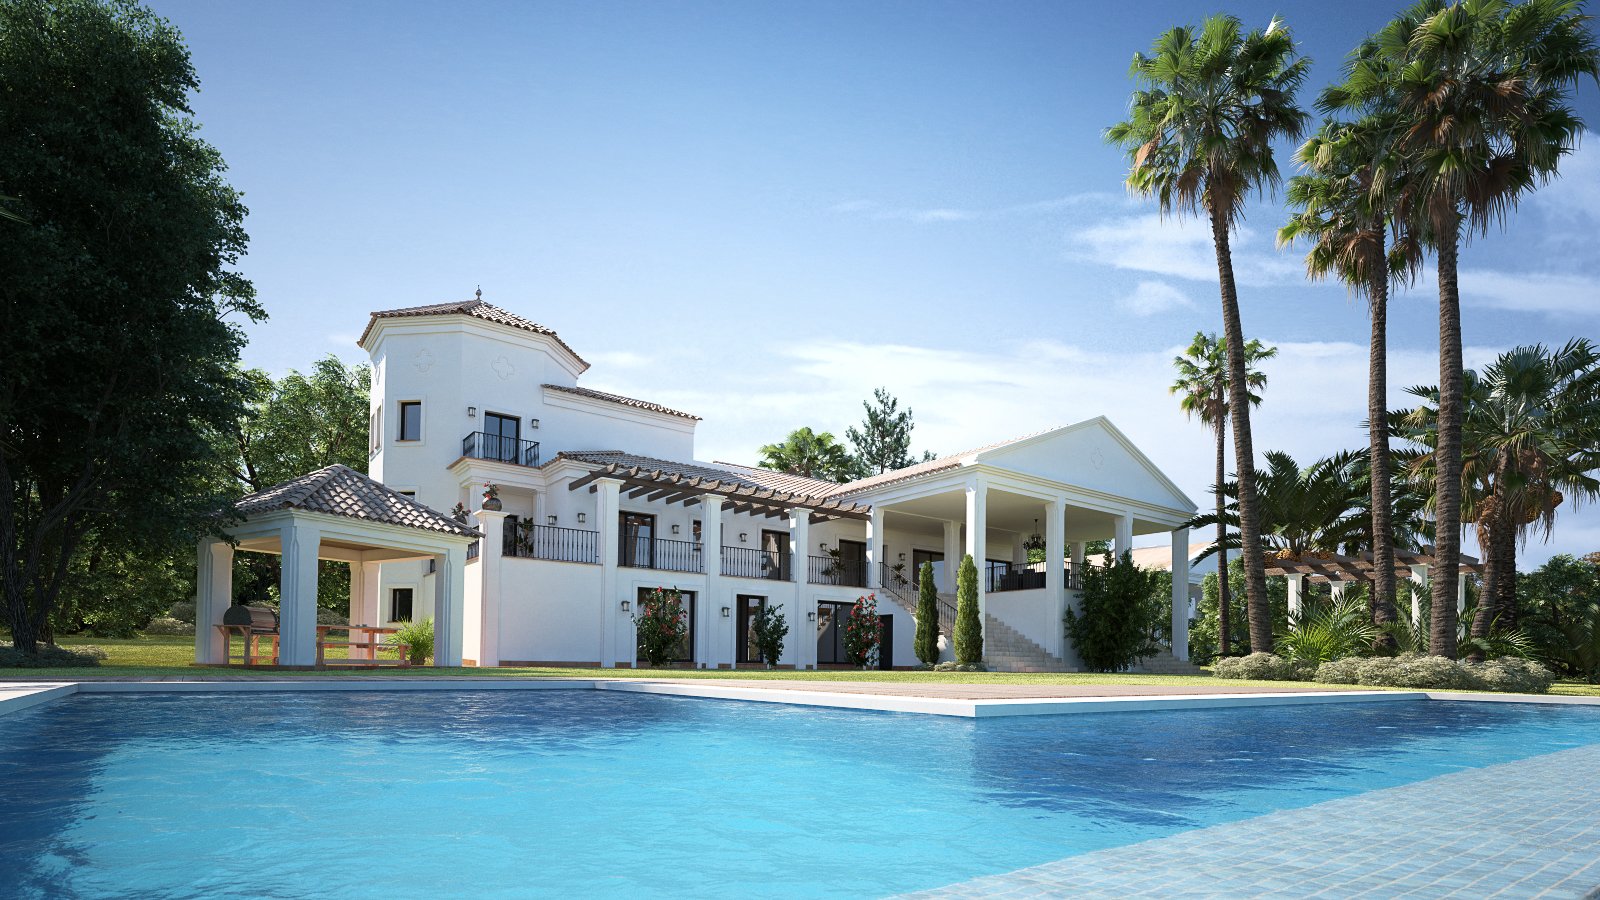
This scene features white villa with tiled roof, a pool created with the use of displacement map, simple (sun and sky) lighting and many trees models. All scene models are surrounded by two background maps - one for trees and one for sky.


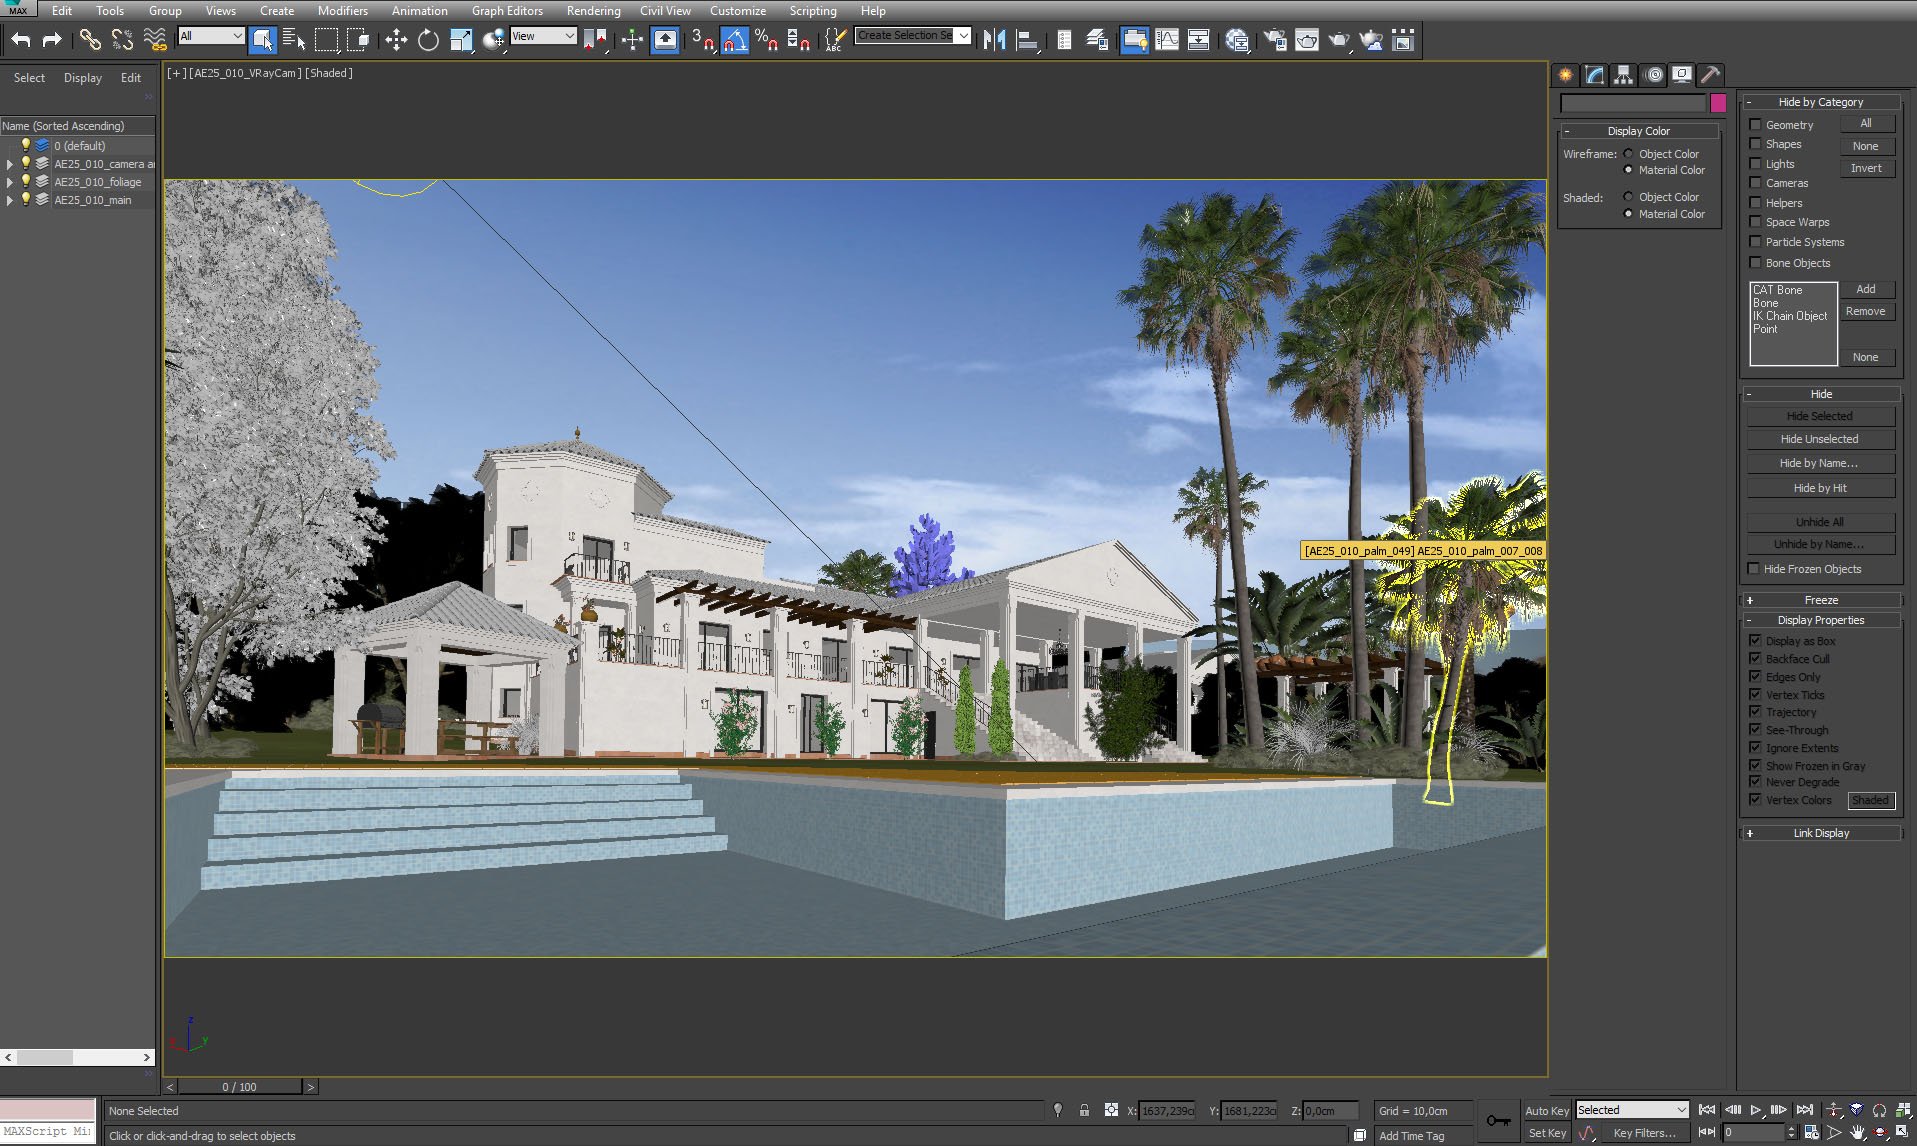
Click on image to enlargenr_ae25s10__0038_Layer_1_843.jpg

Scene view from the 3ds Max viewport.


Click on image to enlarge nr_ae25s10__0036_Layer_3_841.jpg

The poolwater is just a simple mesh with displacement map.


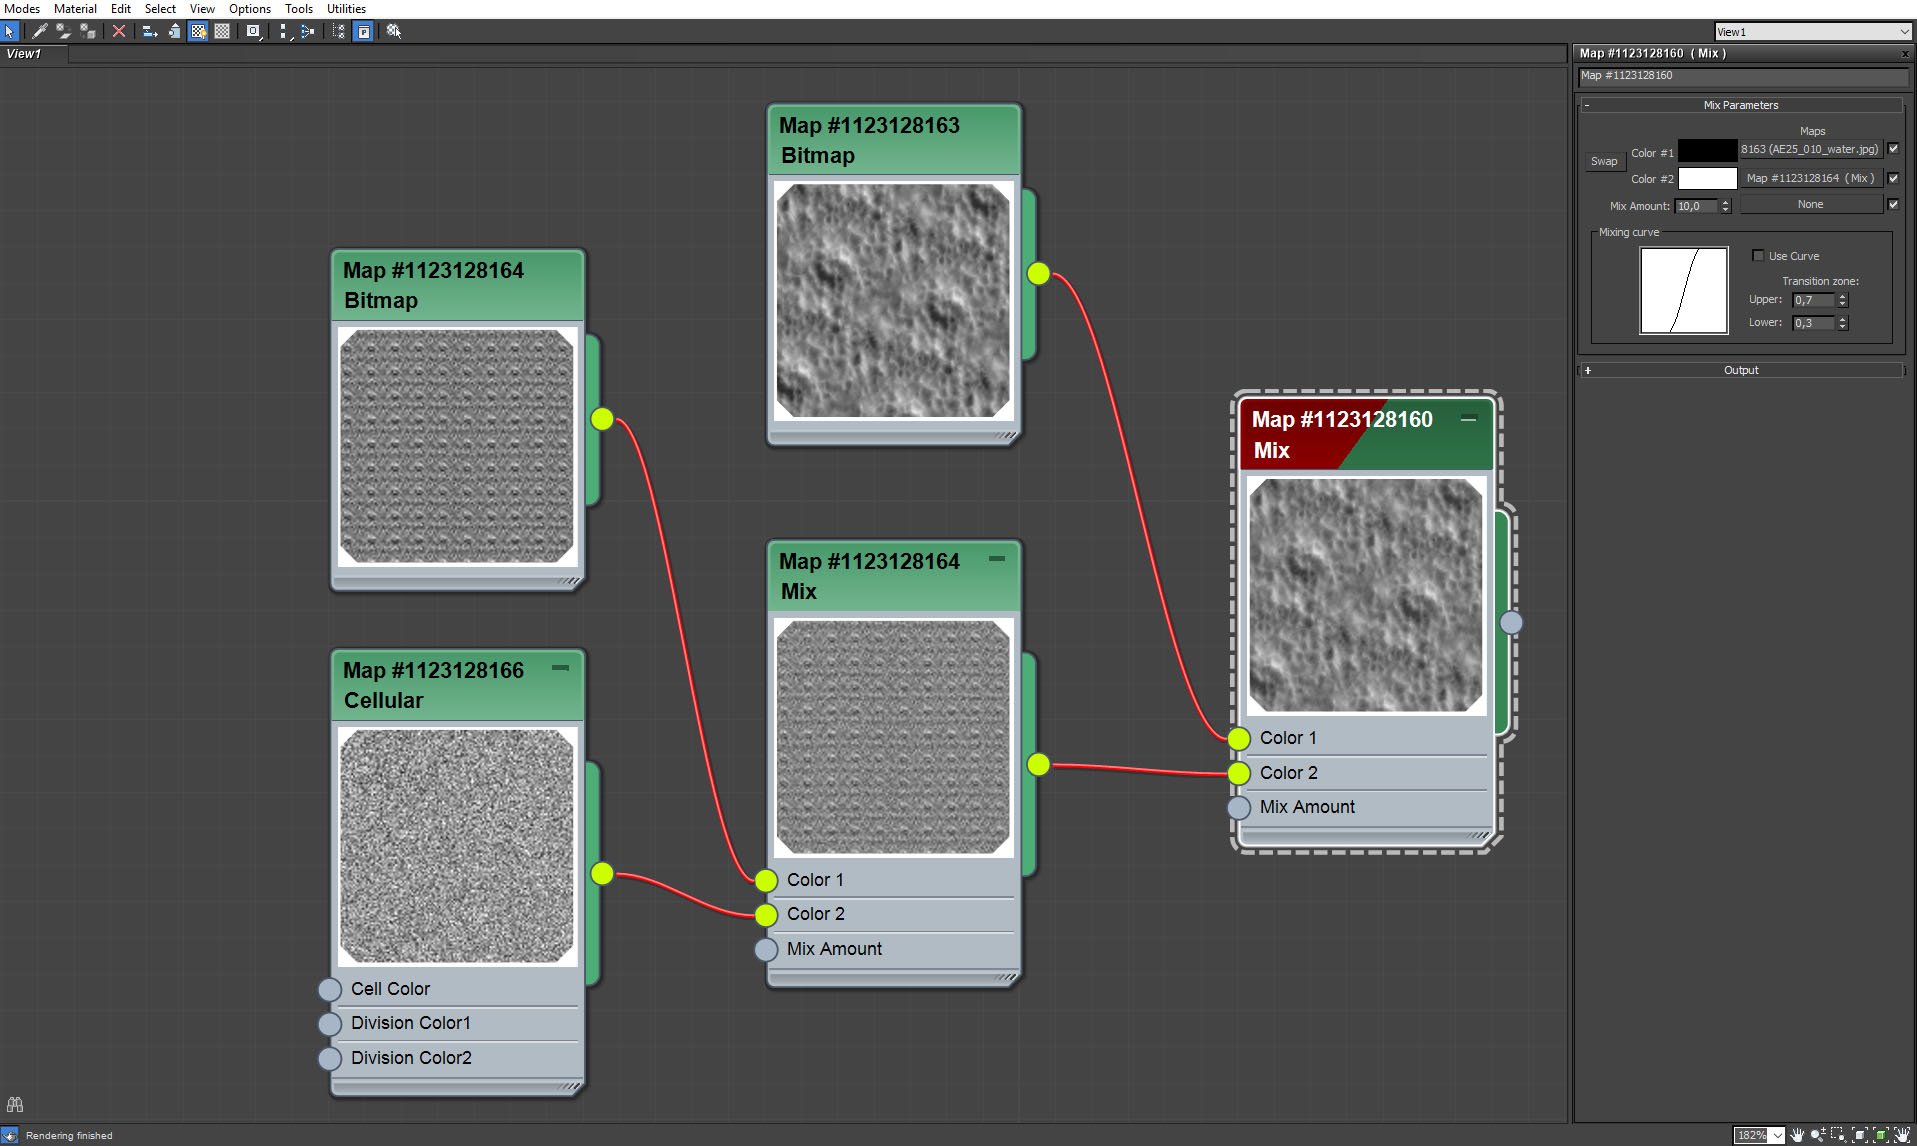
Click on image to enlarge nr_ae25s10__0035_Layer_4_840.jpg

Pool mesh displacement map settings.


Click on image to enlarge nr_ae25s10__0034_Layer_5_839.jpg

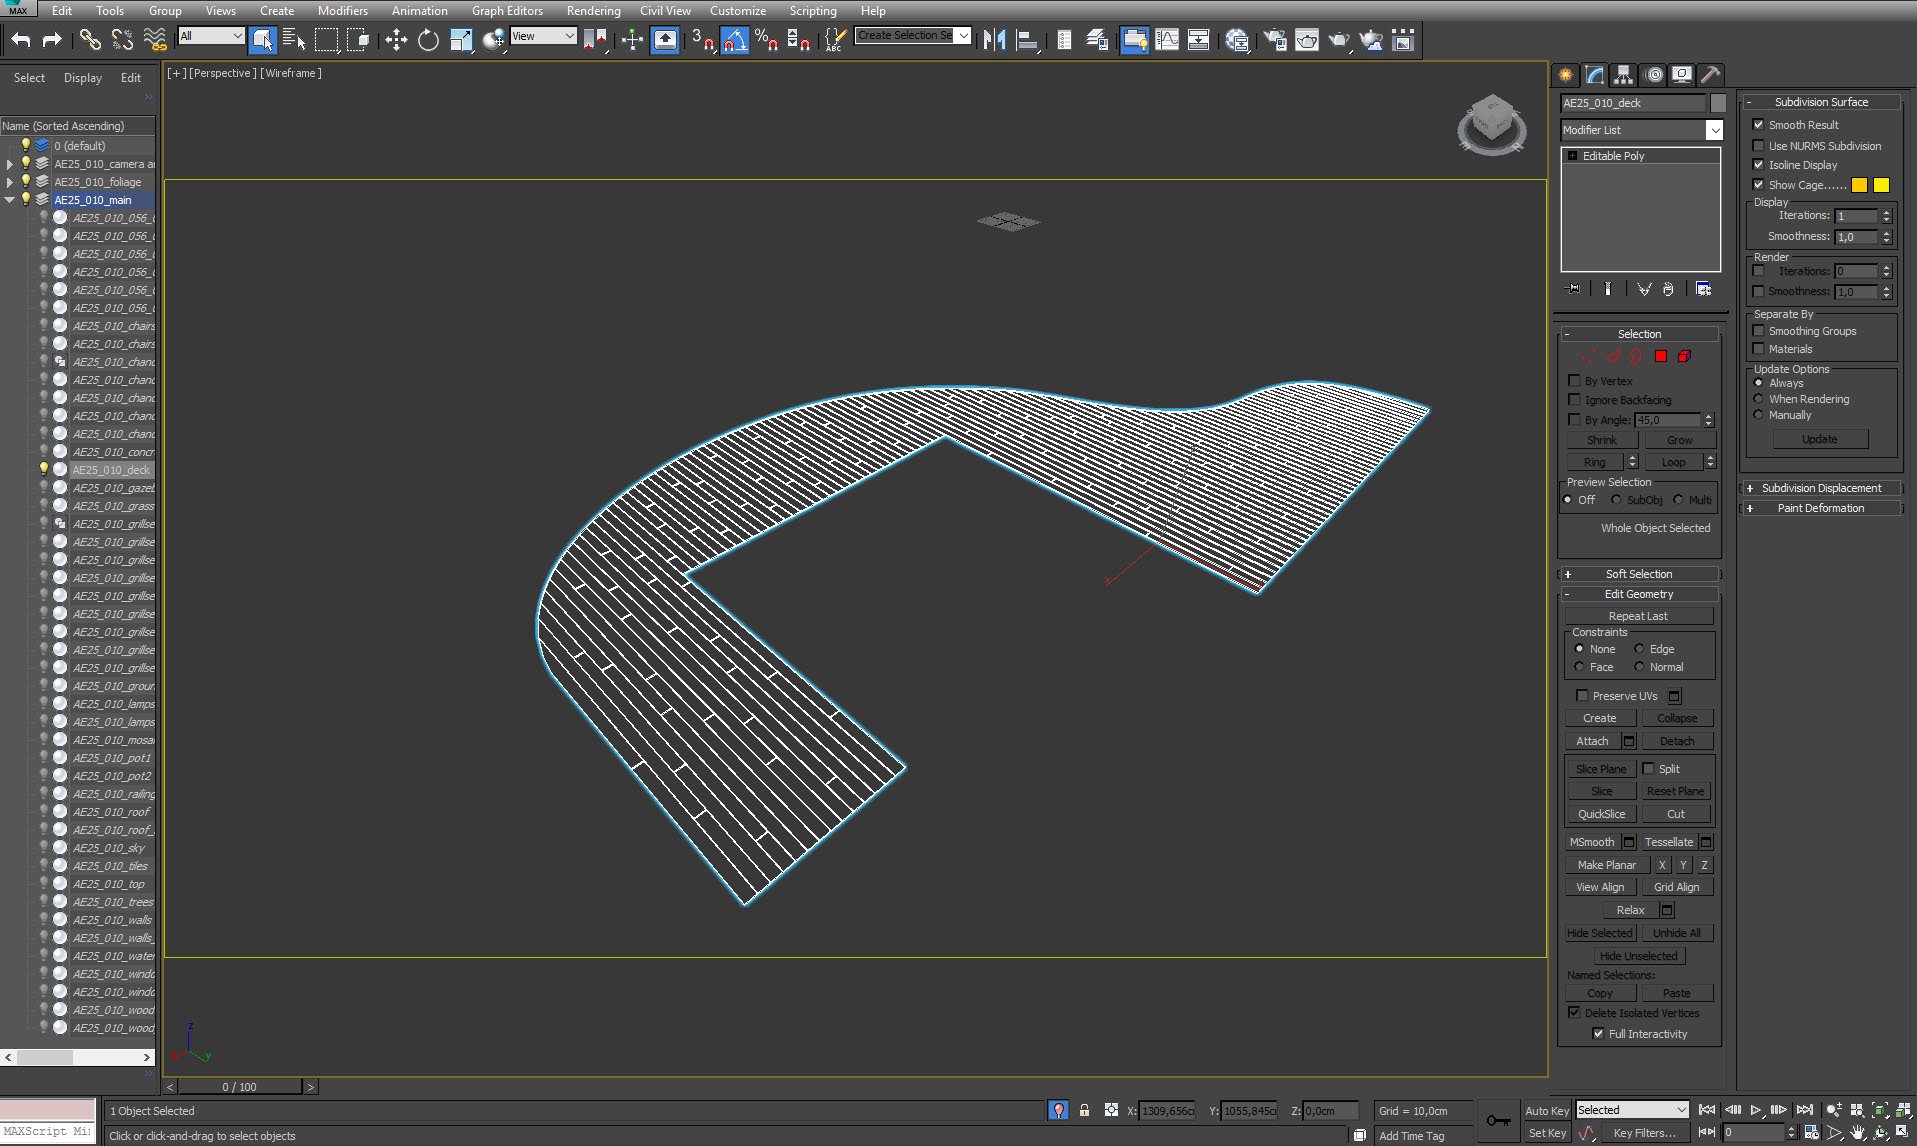
Board floor surrounding pool. First we made a shape and then filled it with boards.


Click on image to enlarge nr_ae25s10__0033_Layer_6_838.jpg

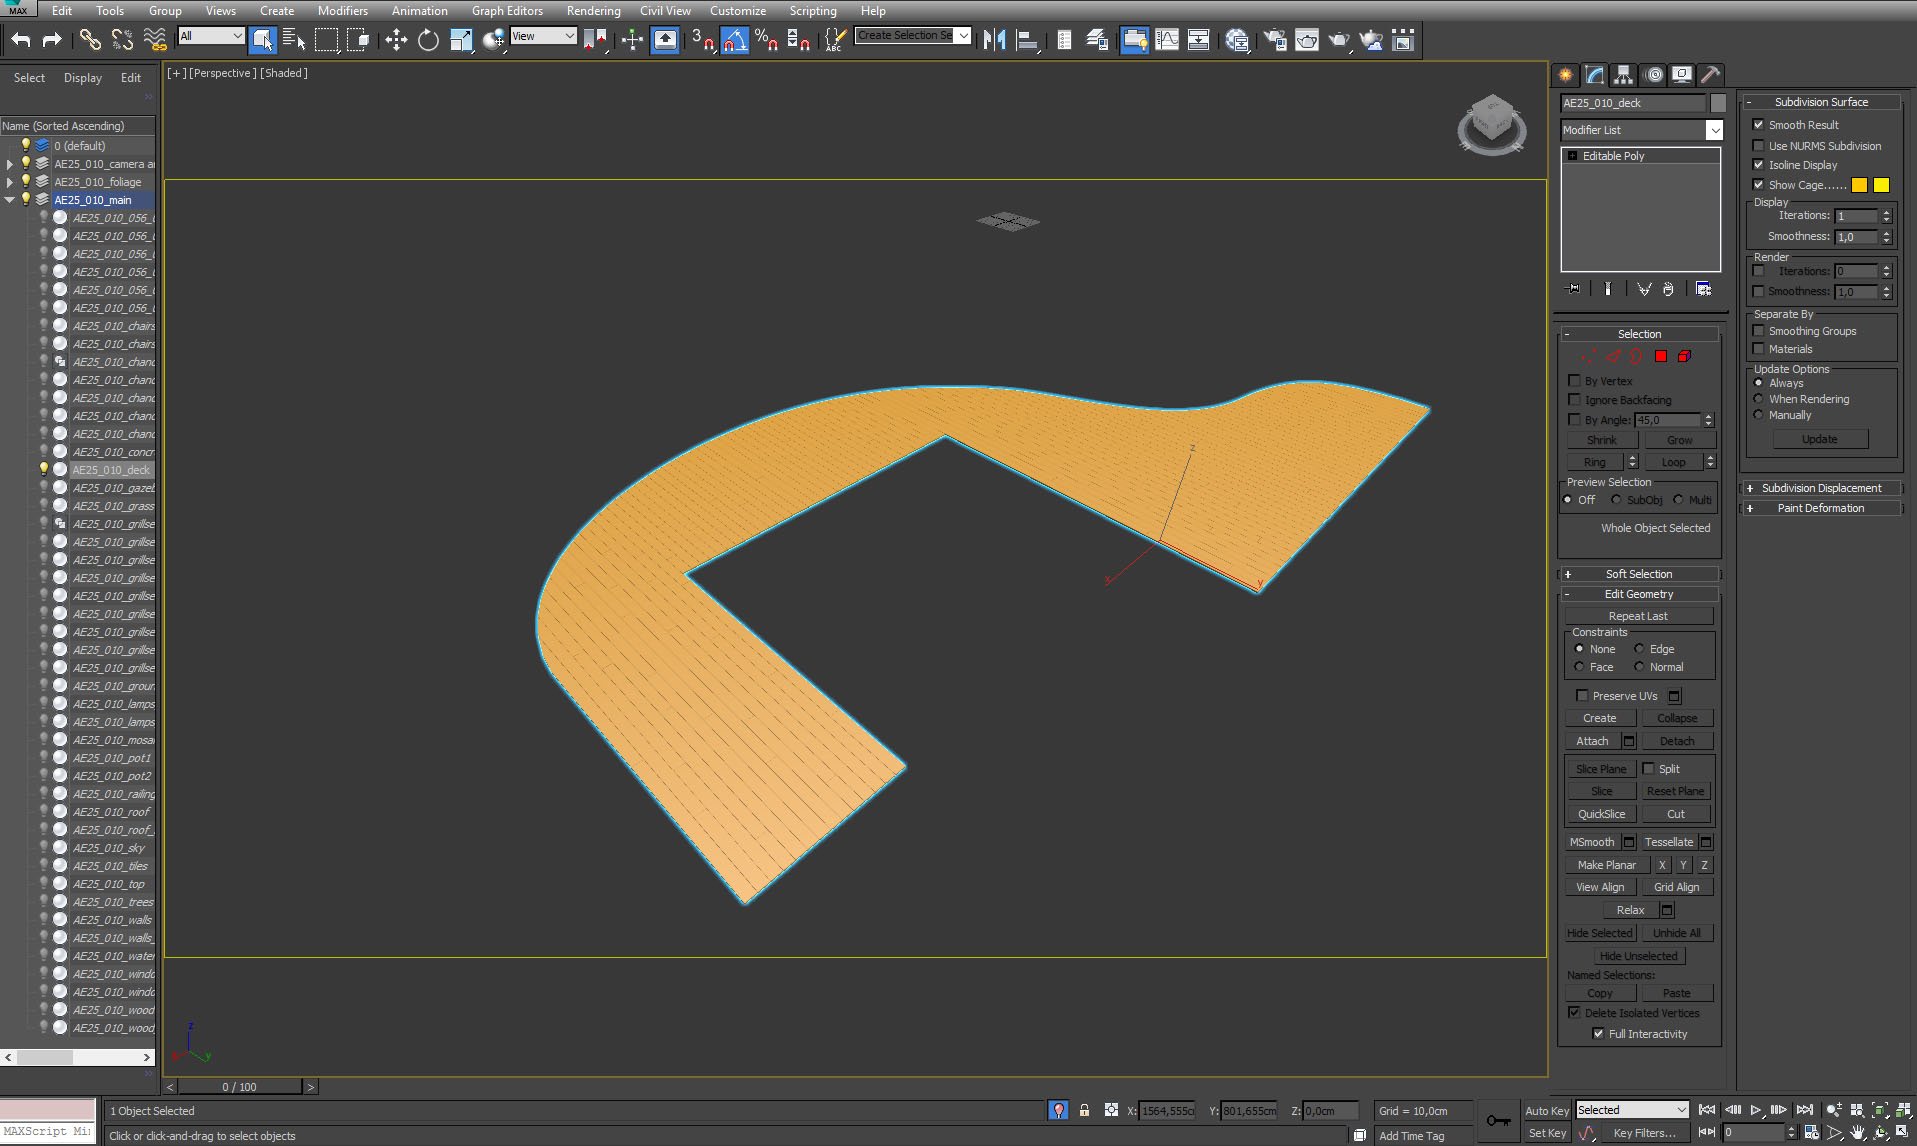
floor - material and object colors enabled.


Click on image to enlarge nr_ae25s10__0032_Layer_7_837.jpg

Floor material.


Click on image to enlarge nr_ae25s10__0031_Layer_8_836.jpg

A pool as seen through 3ds Max viewport.


Click on image to enlarge nr_ae25s10__0030_Layer_9_835.jpg

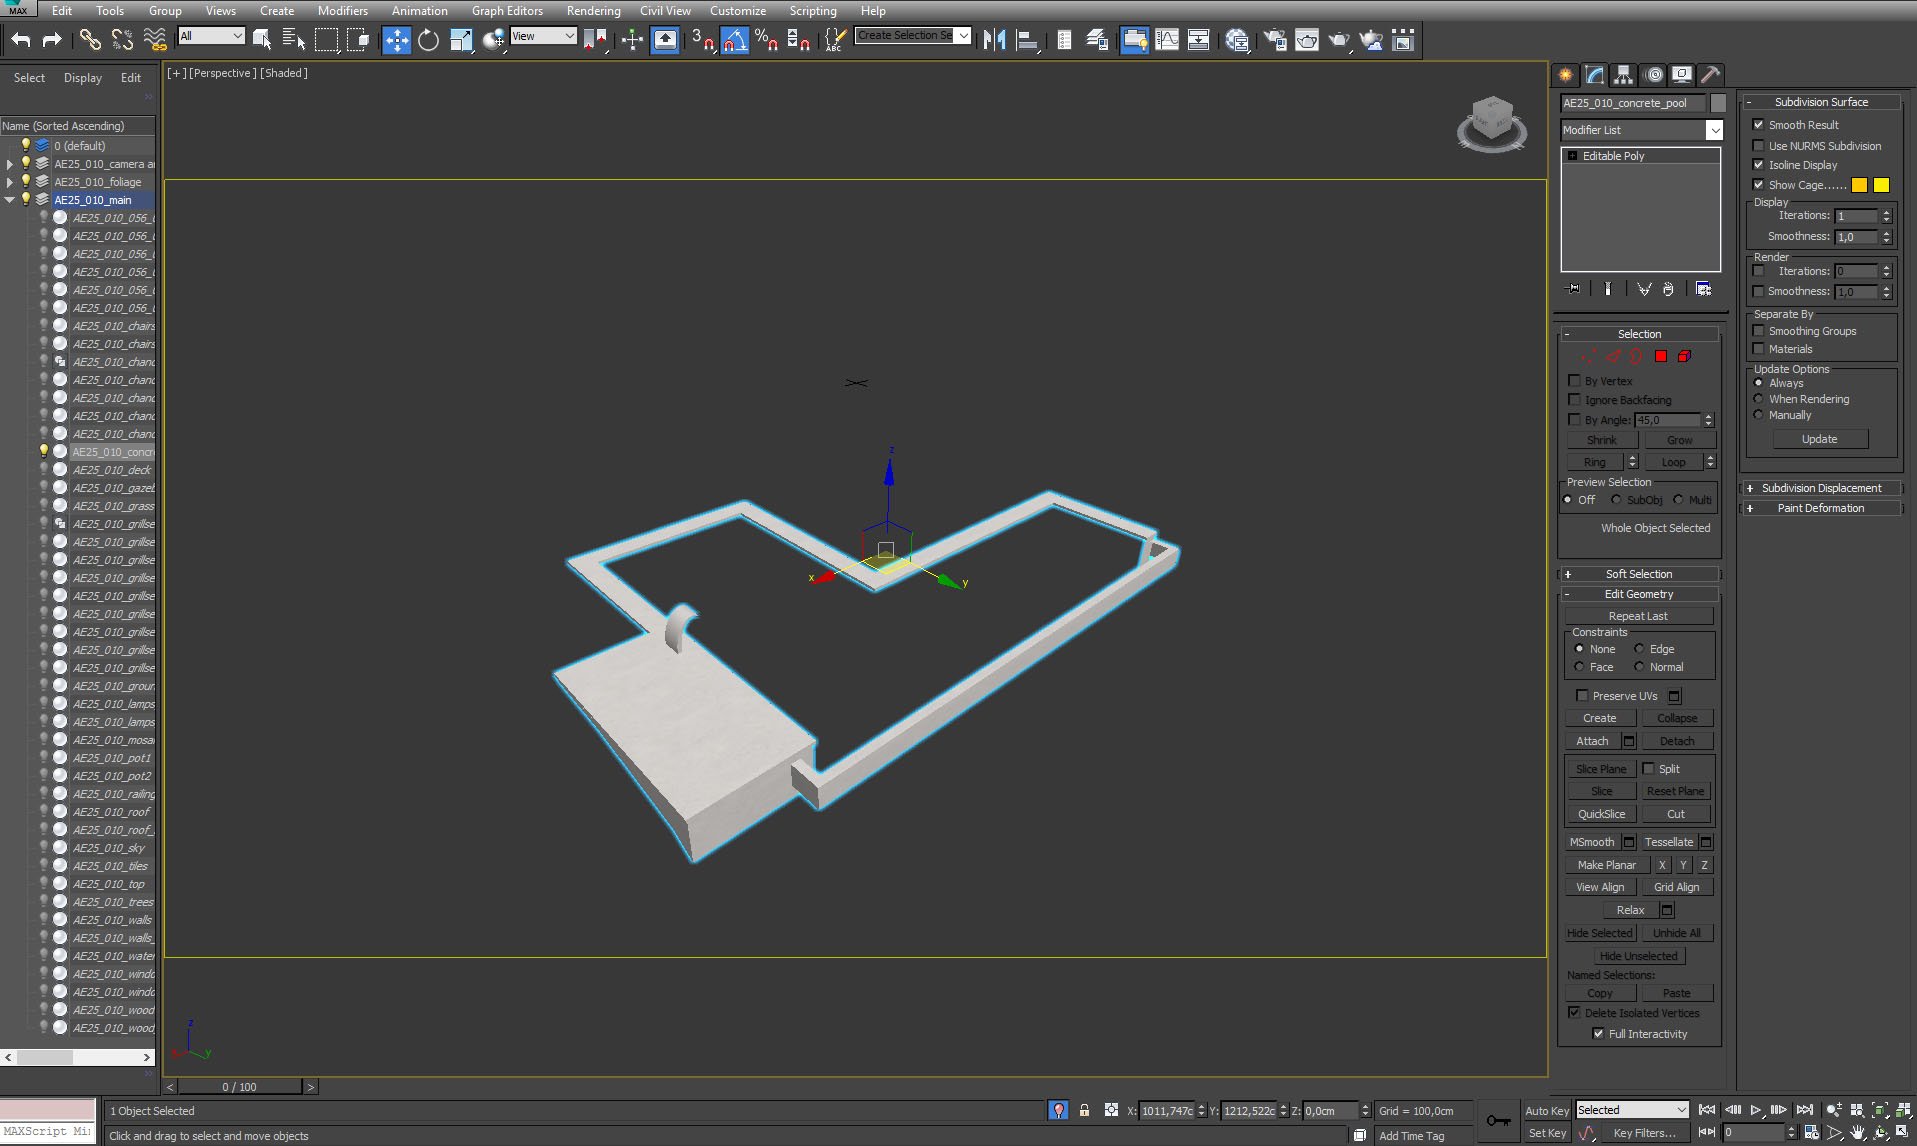
Pool framing mesh.


Click on image to enlarge nr_ae25s10__0029_Layer_10_834.jpg

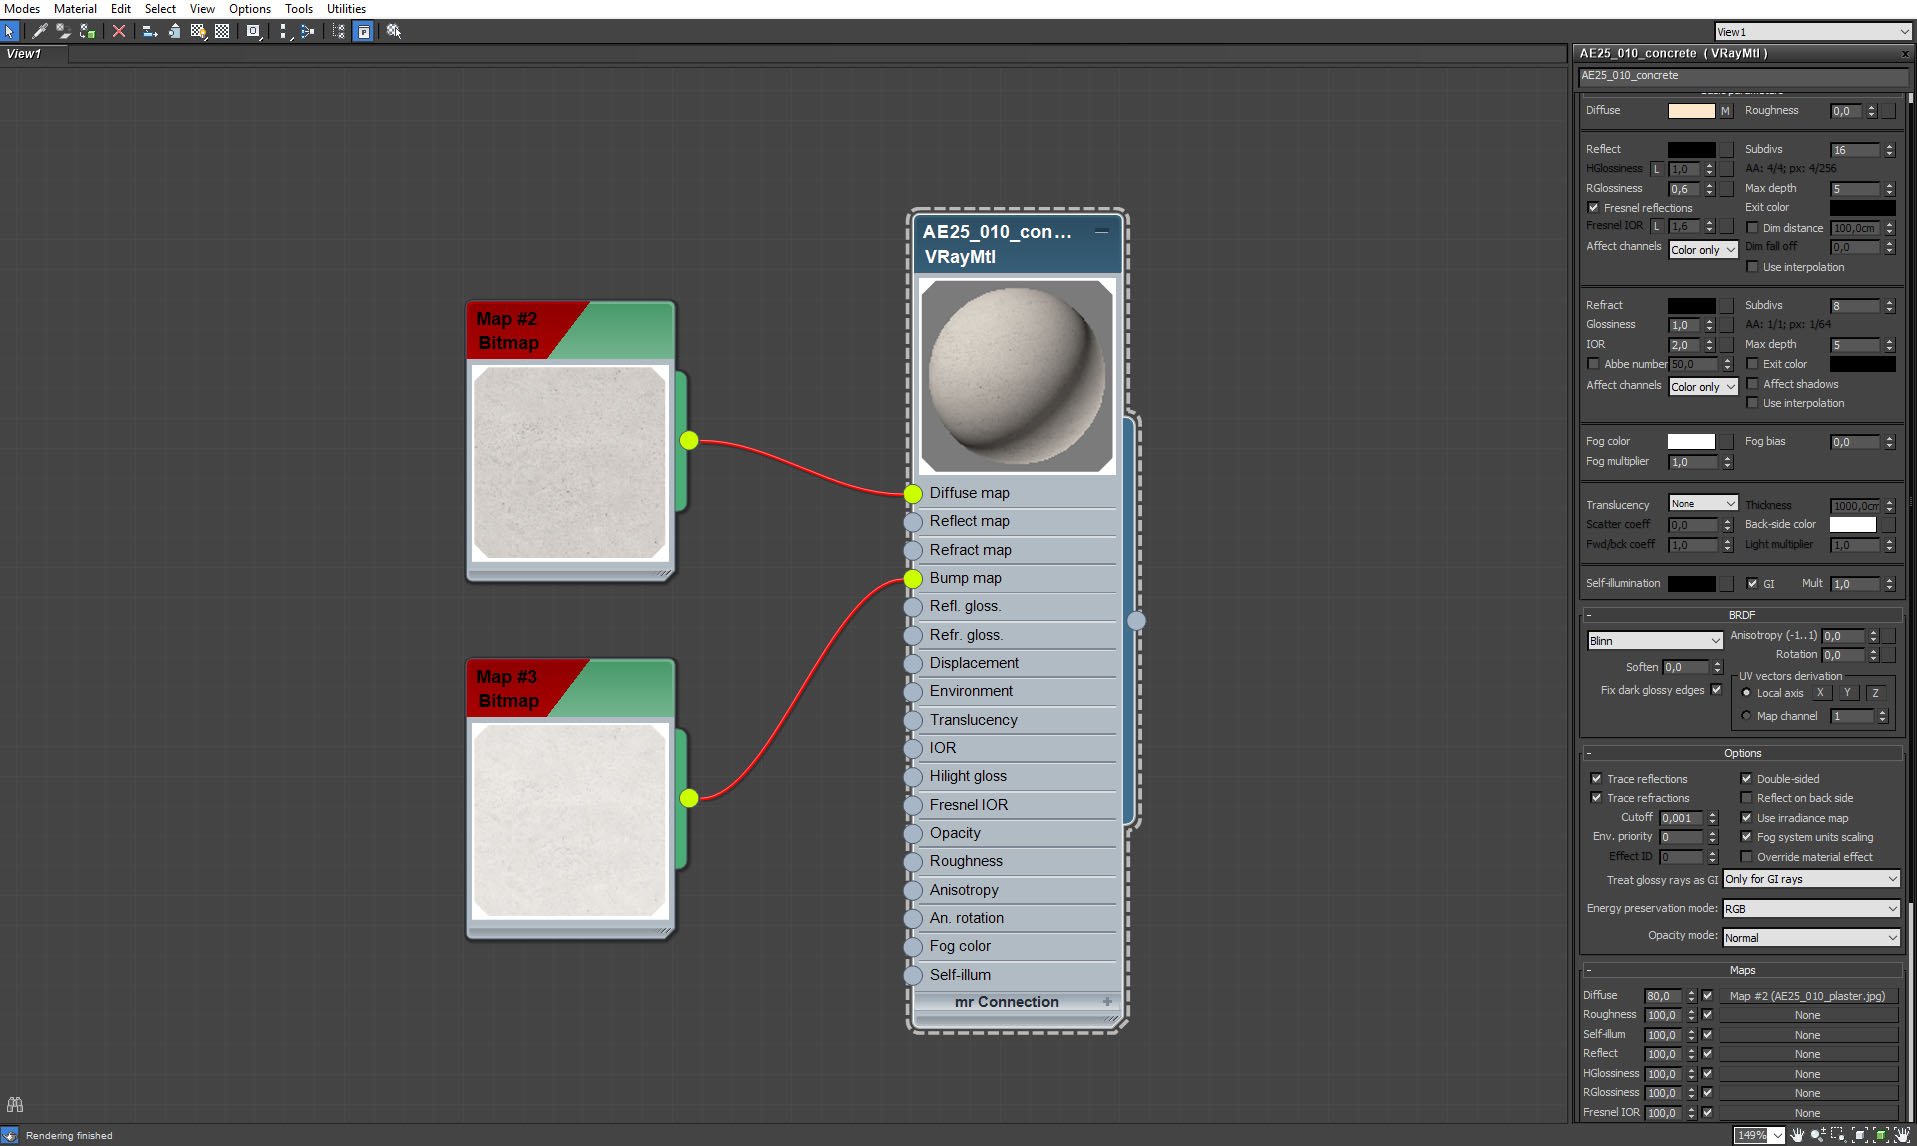
Pool framing material.


Click on image to enlarge nr_ae25s10__0028_Layer_11_833.jpg

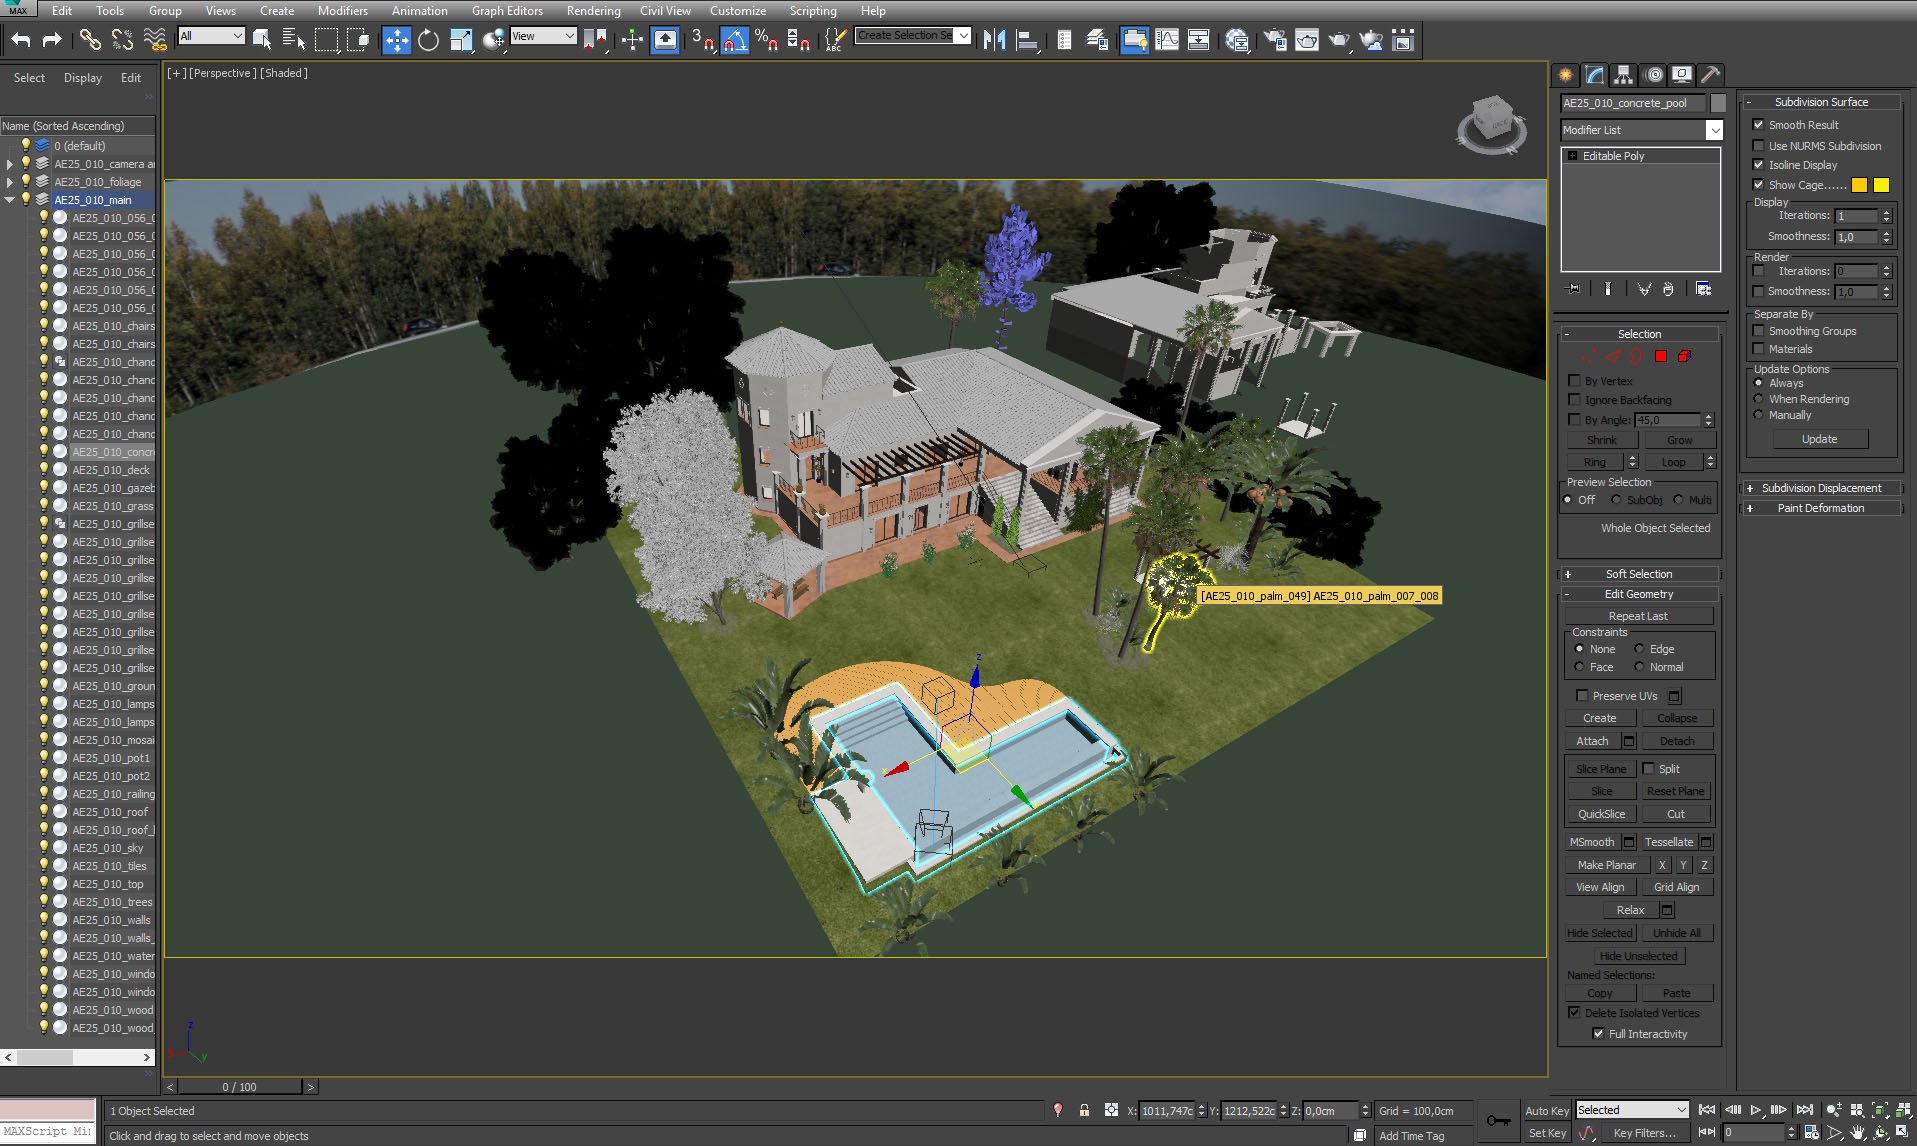
Scene overview - all models are placed on grass plane. The building that is far from camera is barely visible in the final scene, so we didn't put complete model here.


Click on image to enlarge nr_ae25s10__0027_Layer_12_832.jpg

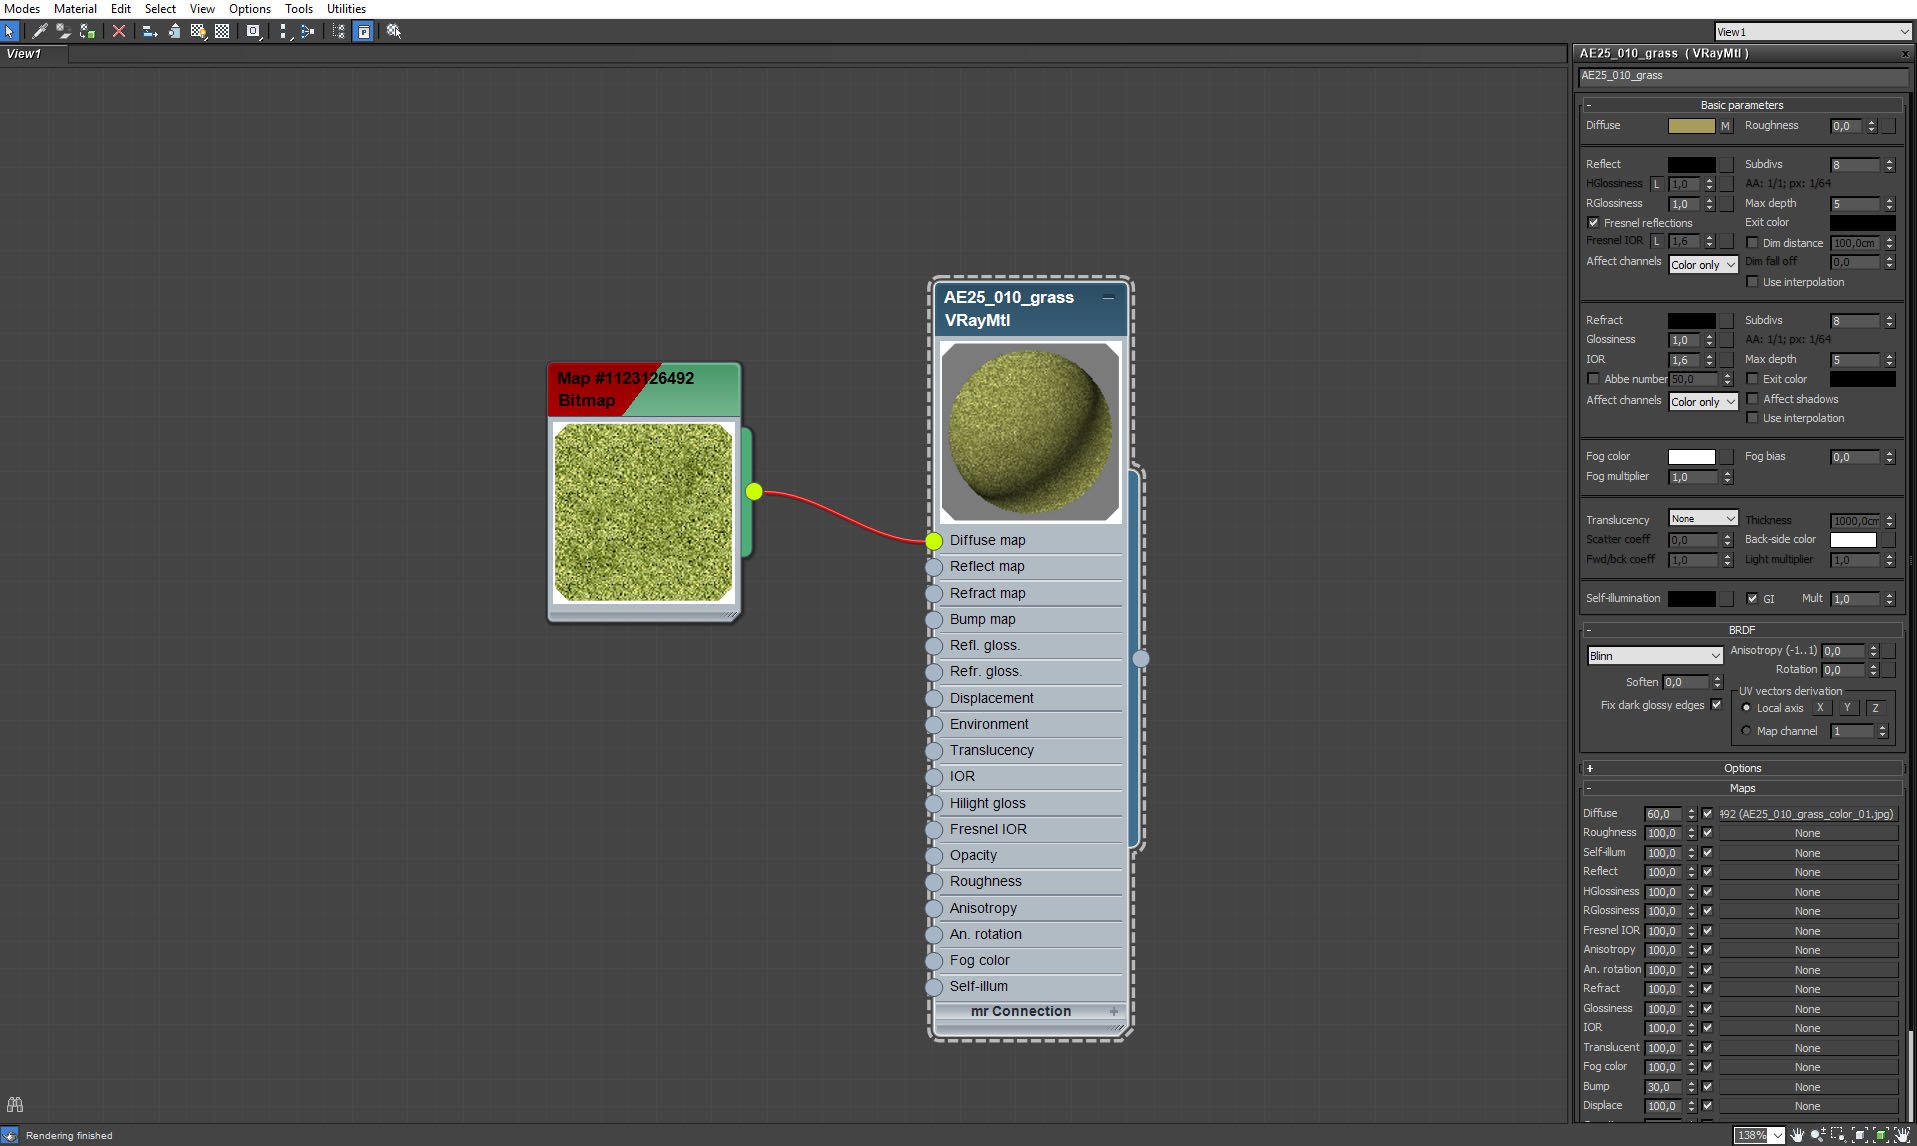
Grass plane material is simple and fast to render.


Click on image to enlarge nr_ae25s10__0026_Layer_13_831.jpg

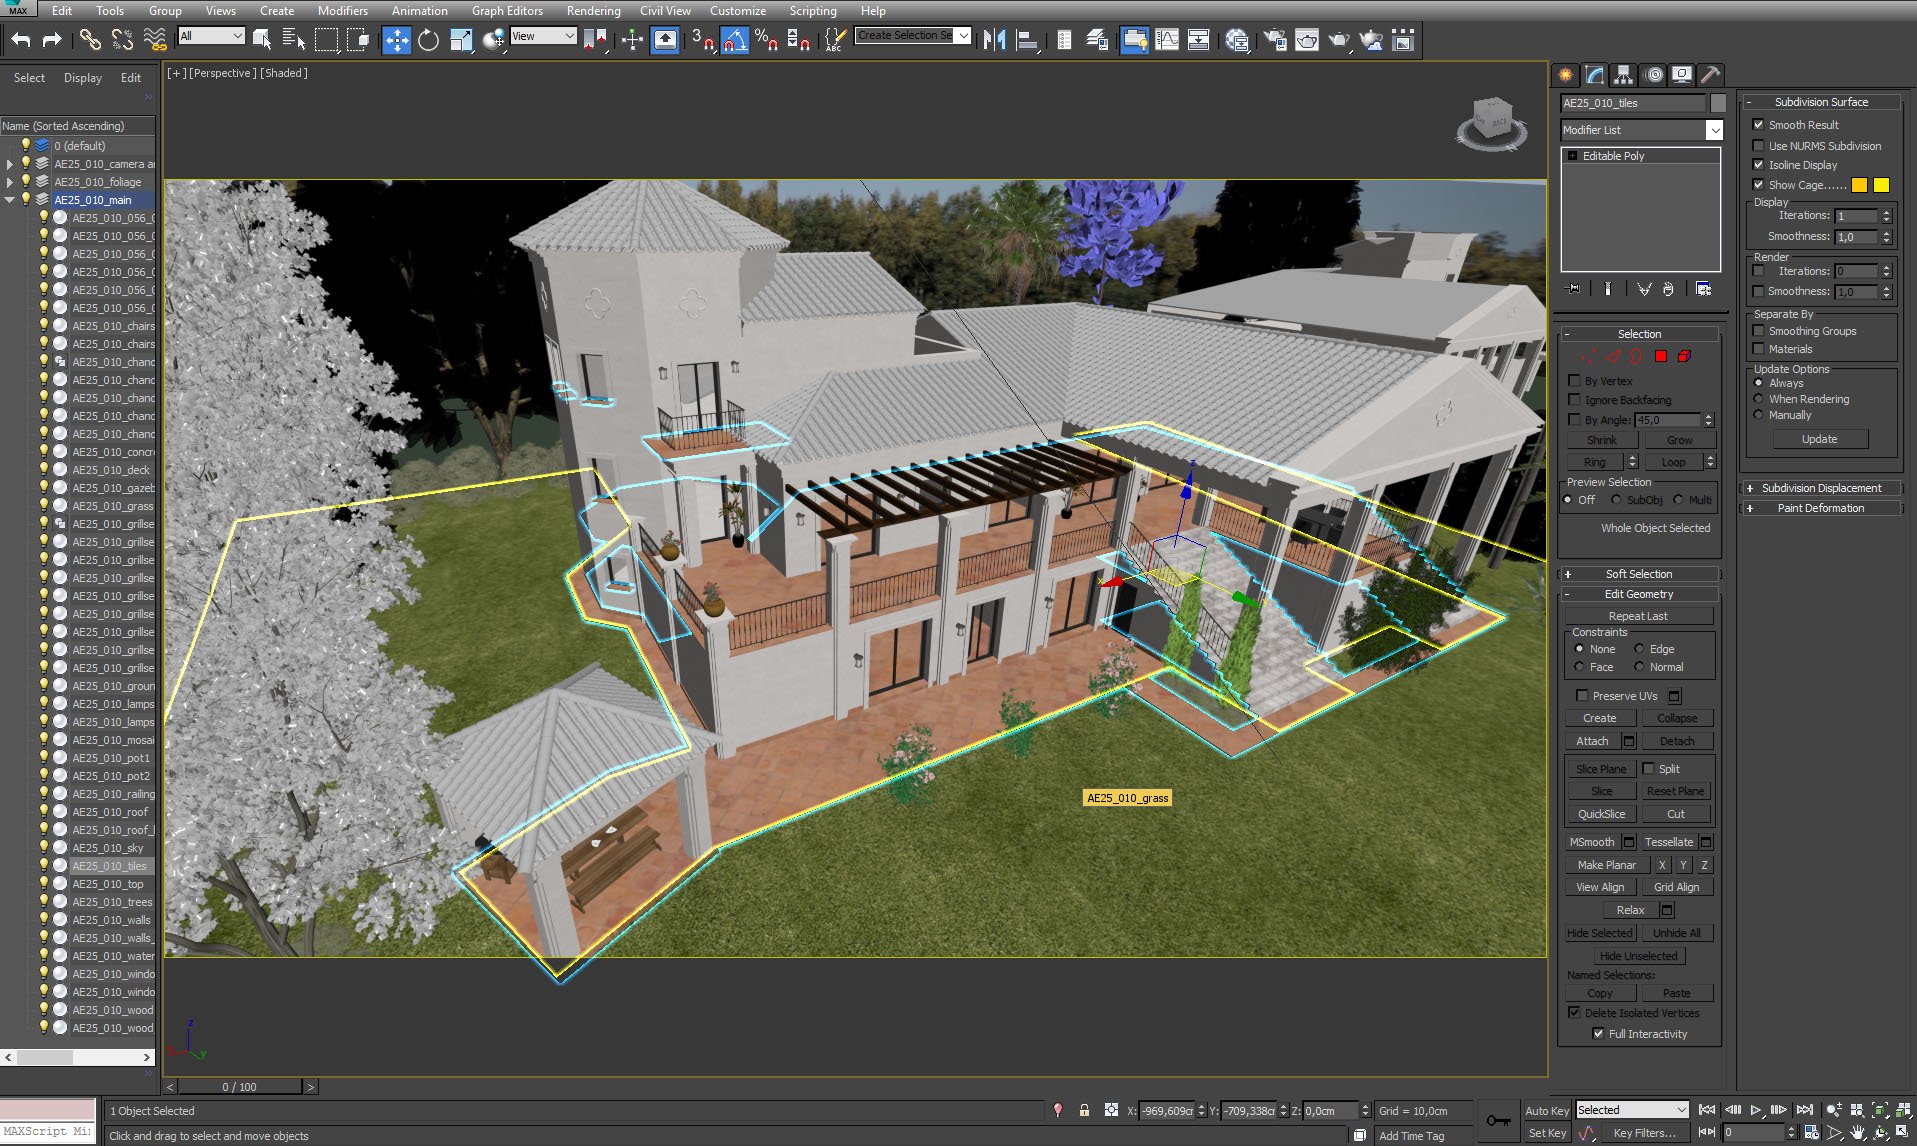
A tiled floor mesh is the base of the whole building.


Click on image to enlarge nr_ae25s10__0025_Layer_14_830.jpg

Tiled mesh isolated.


Click on image to enlarge nr_ae25s10__0024_Layer_15_829.jpg

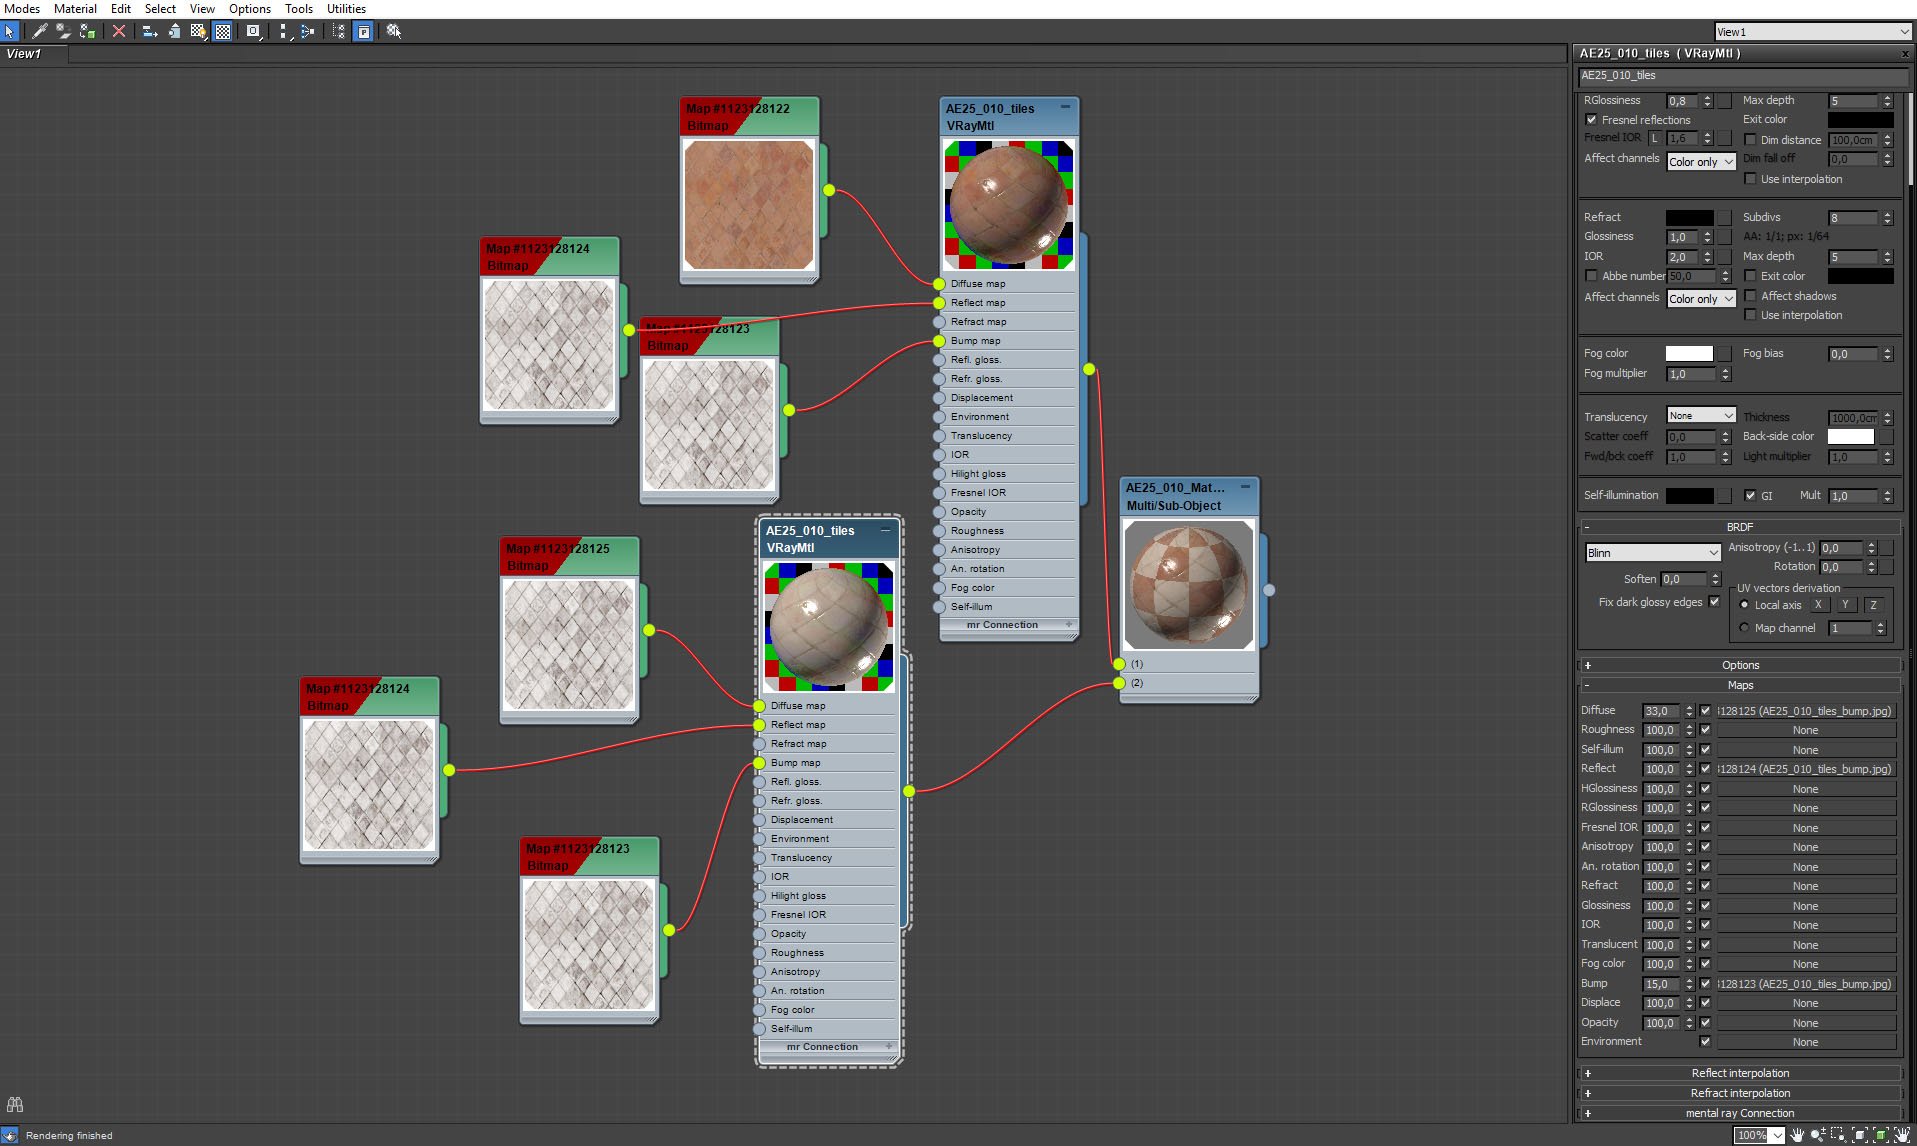
Tiled mesh material.


Click on image to enlarge nr_ae25s10__0023_Layer_16_828.jpg

Tiled mesh material - continued.


Click on image to enlarge nr_ae25s10__0022_Layer_17_827.jpg

Tiled mesh material - continued.


Click on image to enlarge nr_ae25s10__0021_Layer_18_826.jpg

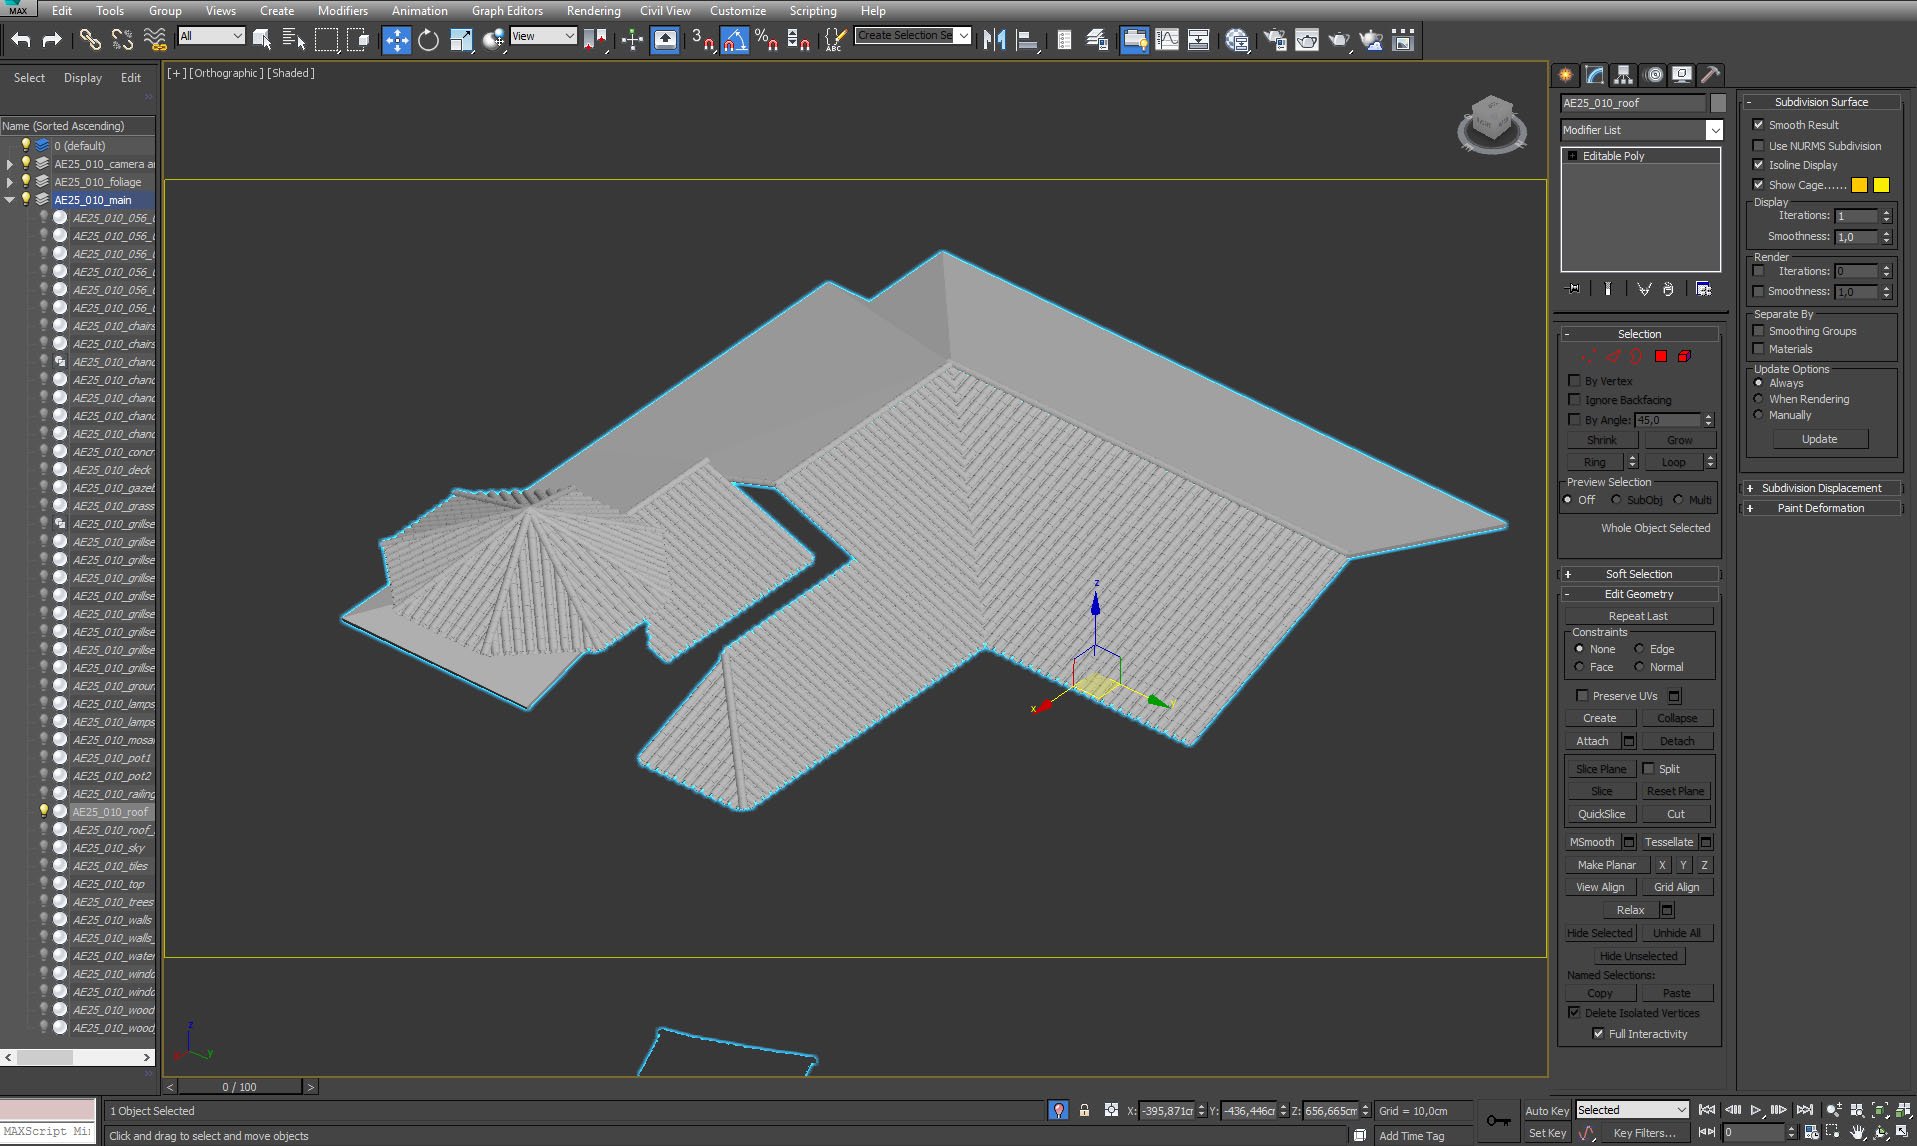
Roof was made by hand with rooftiles meshes.


Click on image to enlarge nr_ae25s10__0020_Layer_19_825.jpg

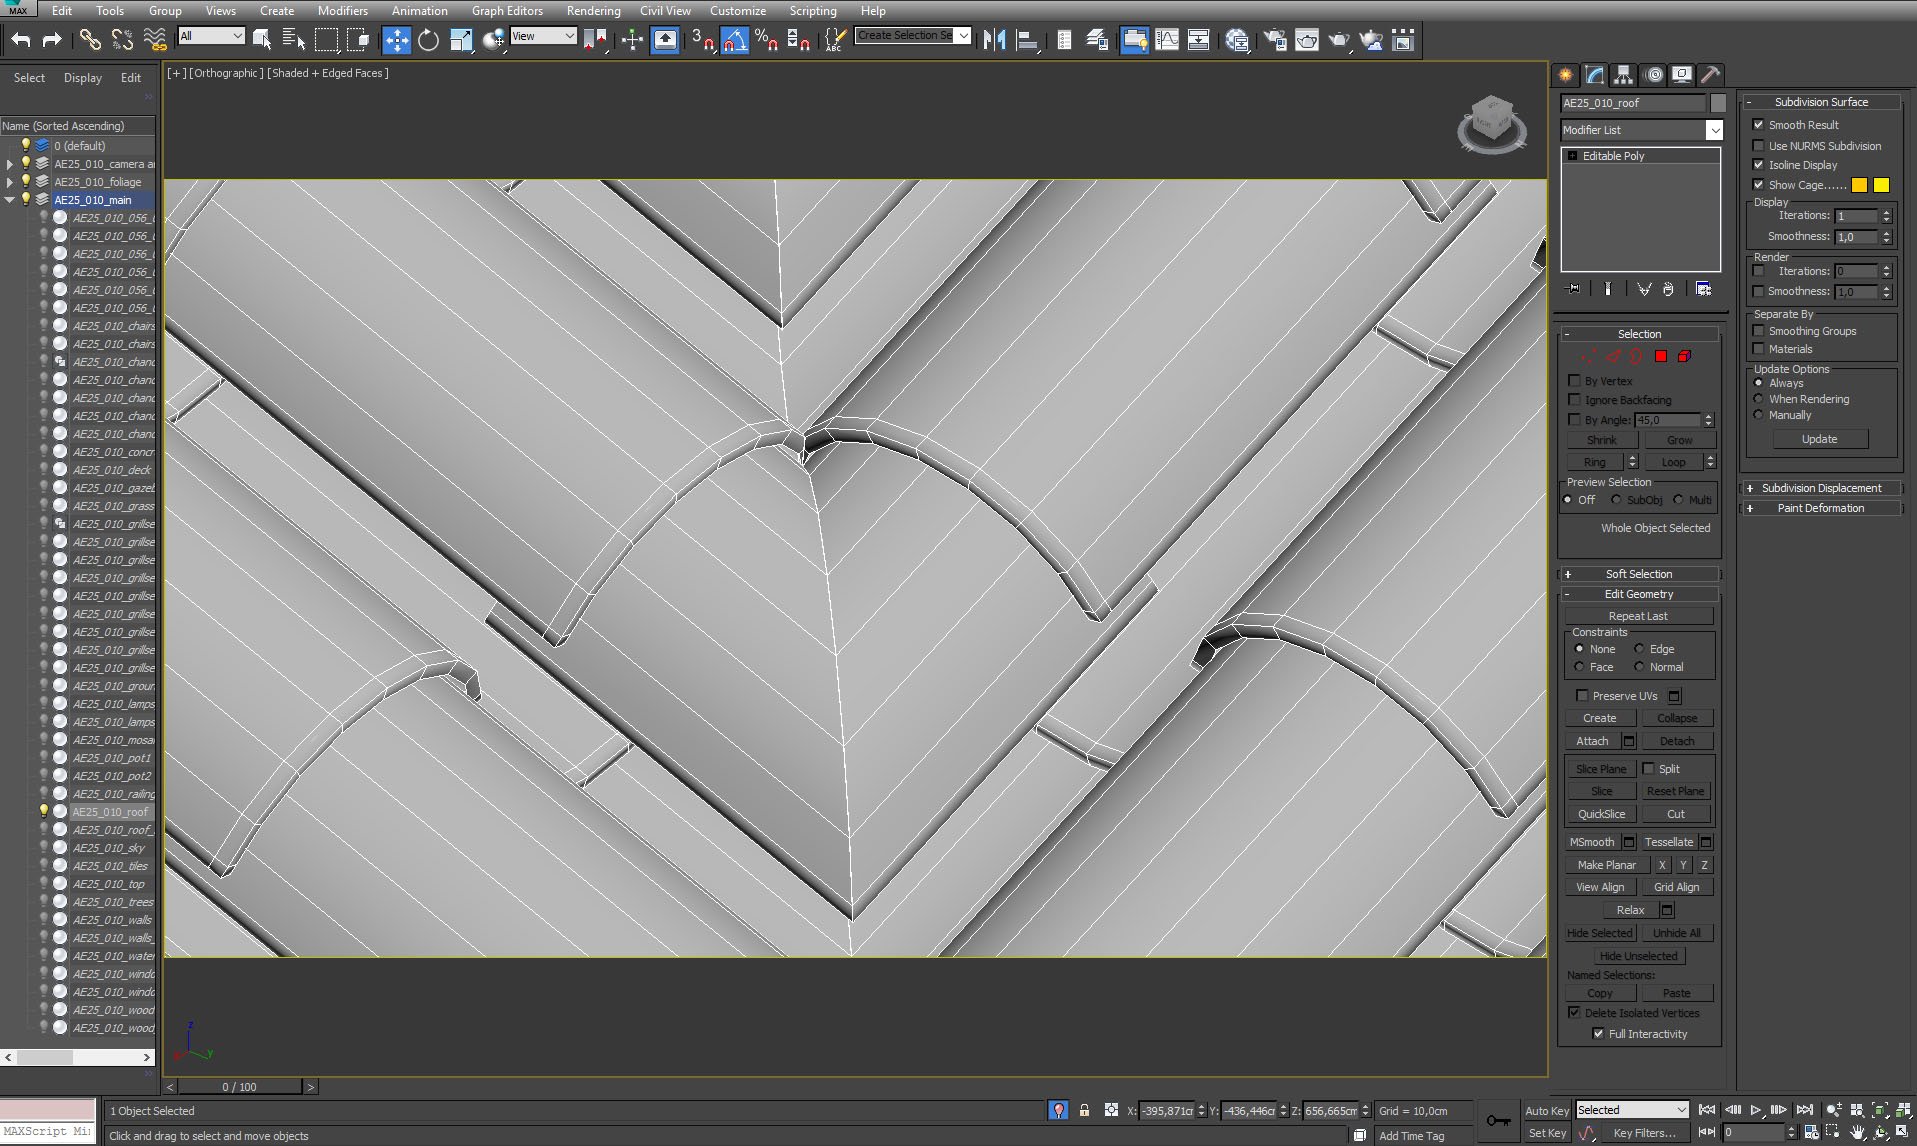
Rooftiles corner - close up.


Click on image to enlarge nr_ae25s10__0019_Layer_20_824.jpg

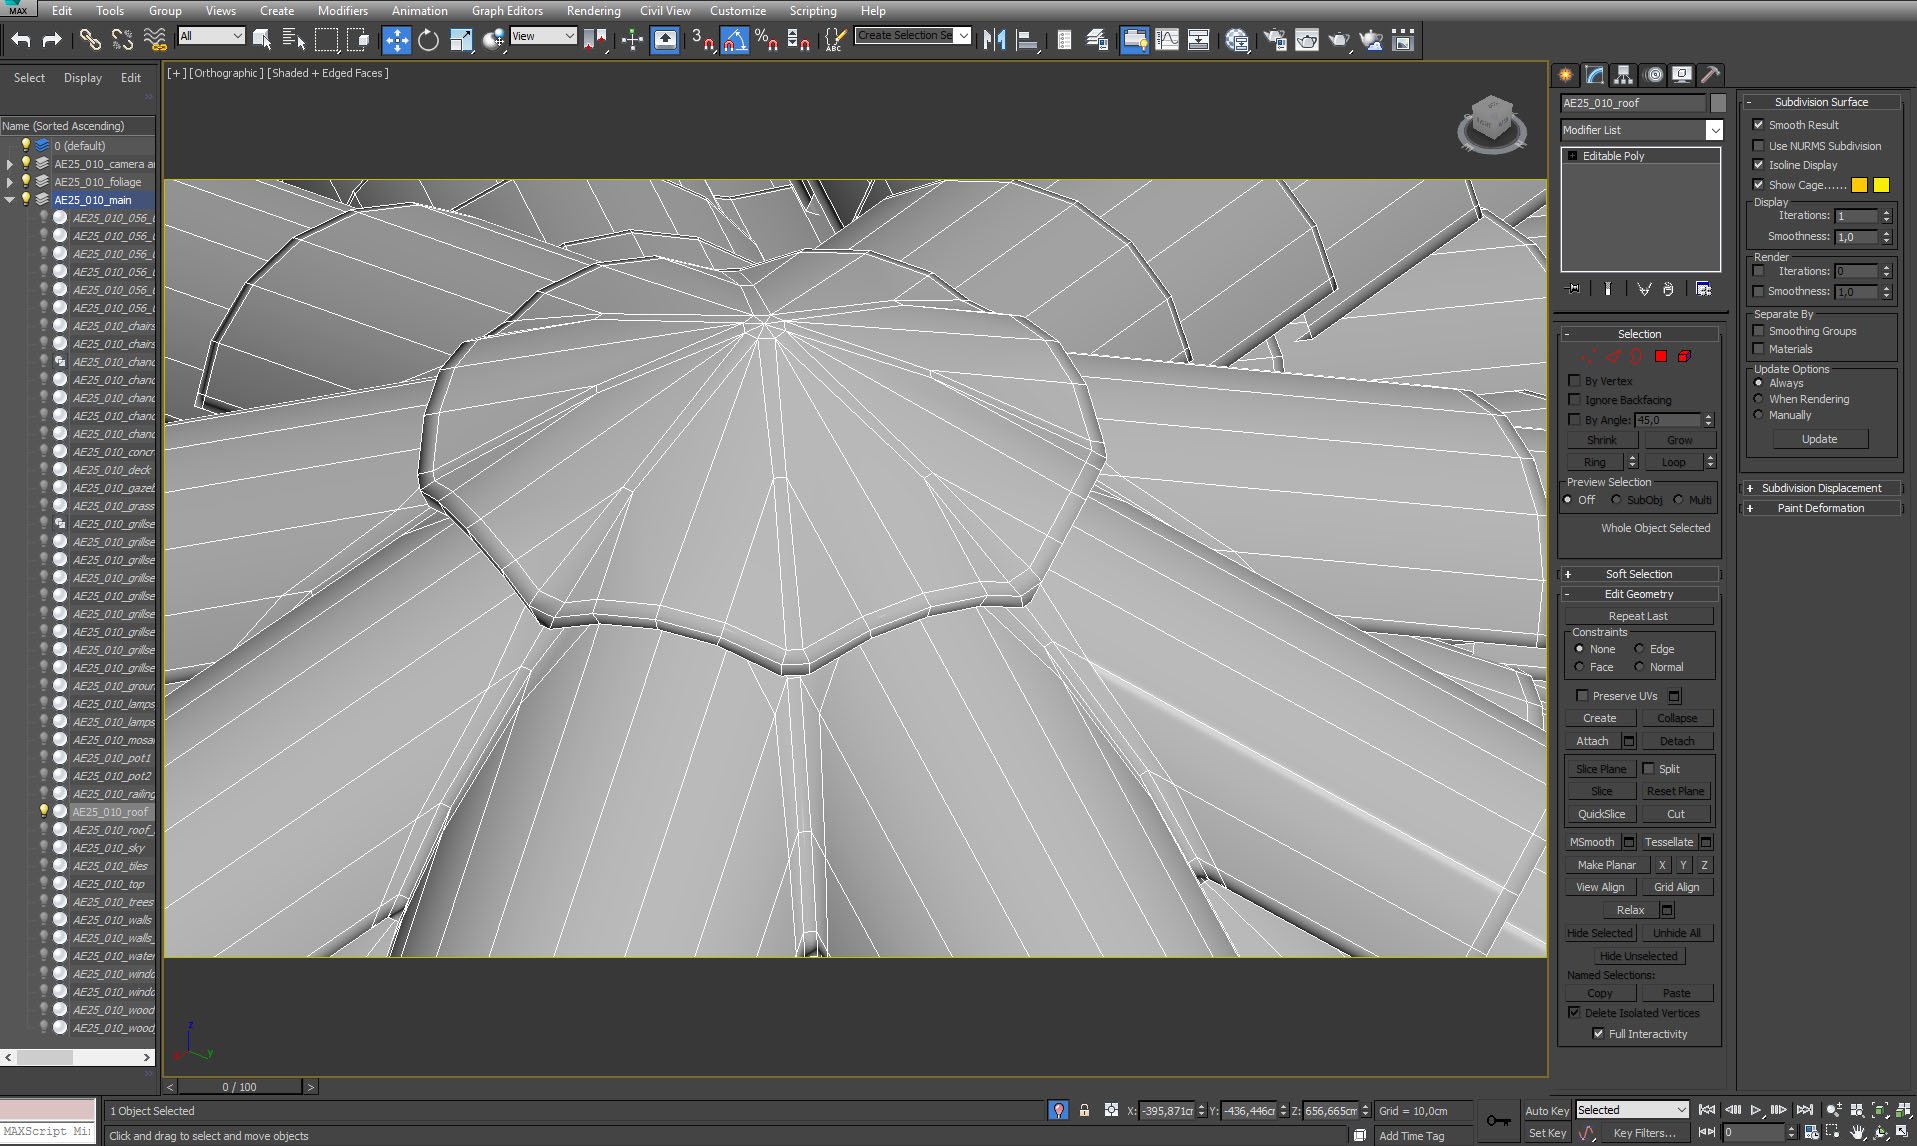
Rooftiles top - close up.


Click on image to enlarge nr_ae25s10__0018_Layer_21_823.jpg

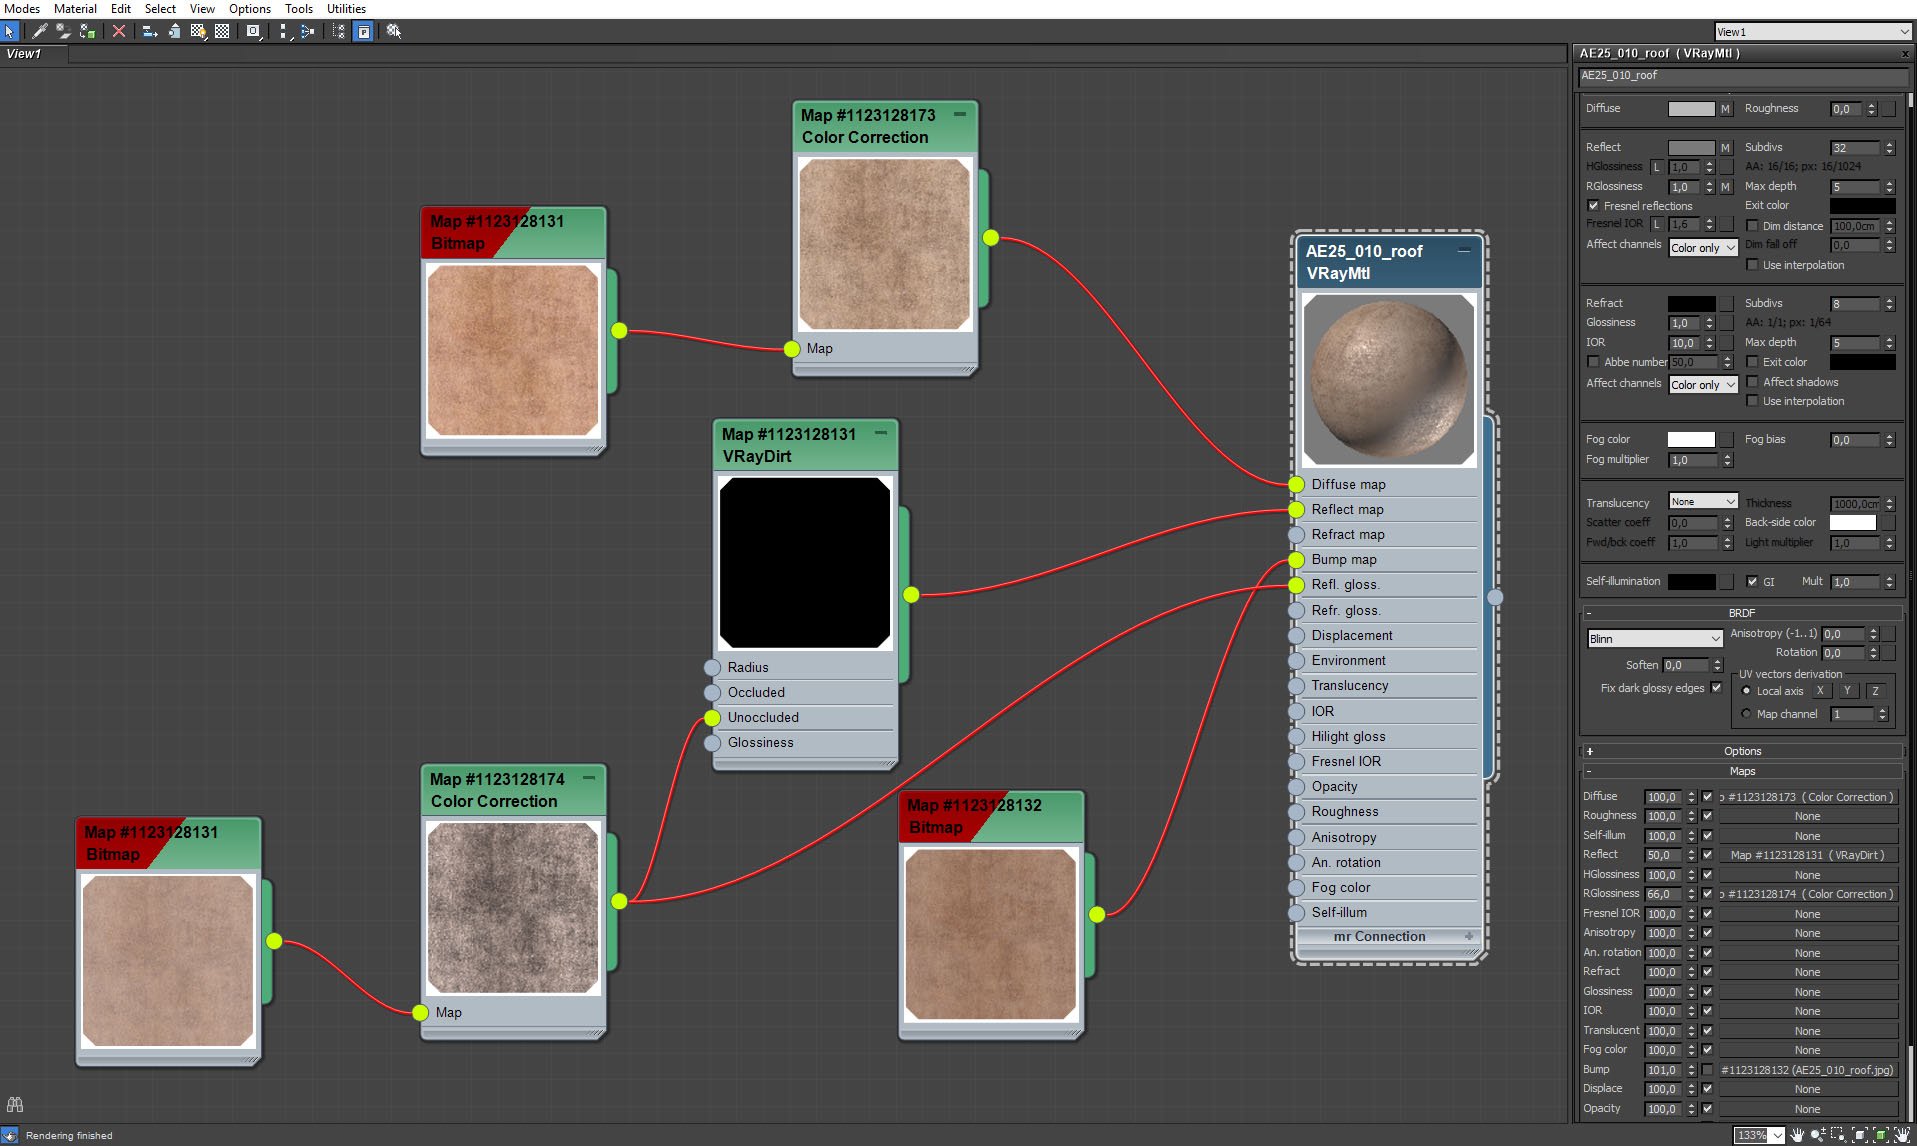
Rooftiles material.


Click on image to enlarge nr_ae25s10__0017_Layer_22_857.jpg

Rooftiles material - VrayDirt settings.


Click on image to enlarge nr_ae25s10__0016_Layer_23_856.jpg

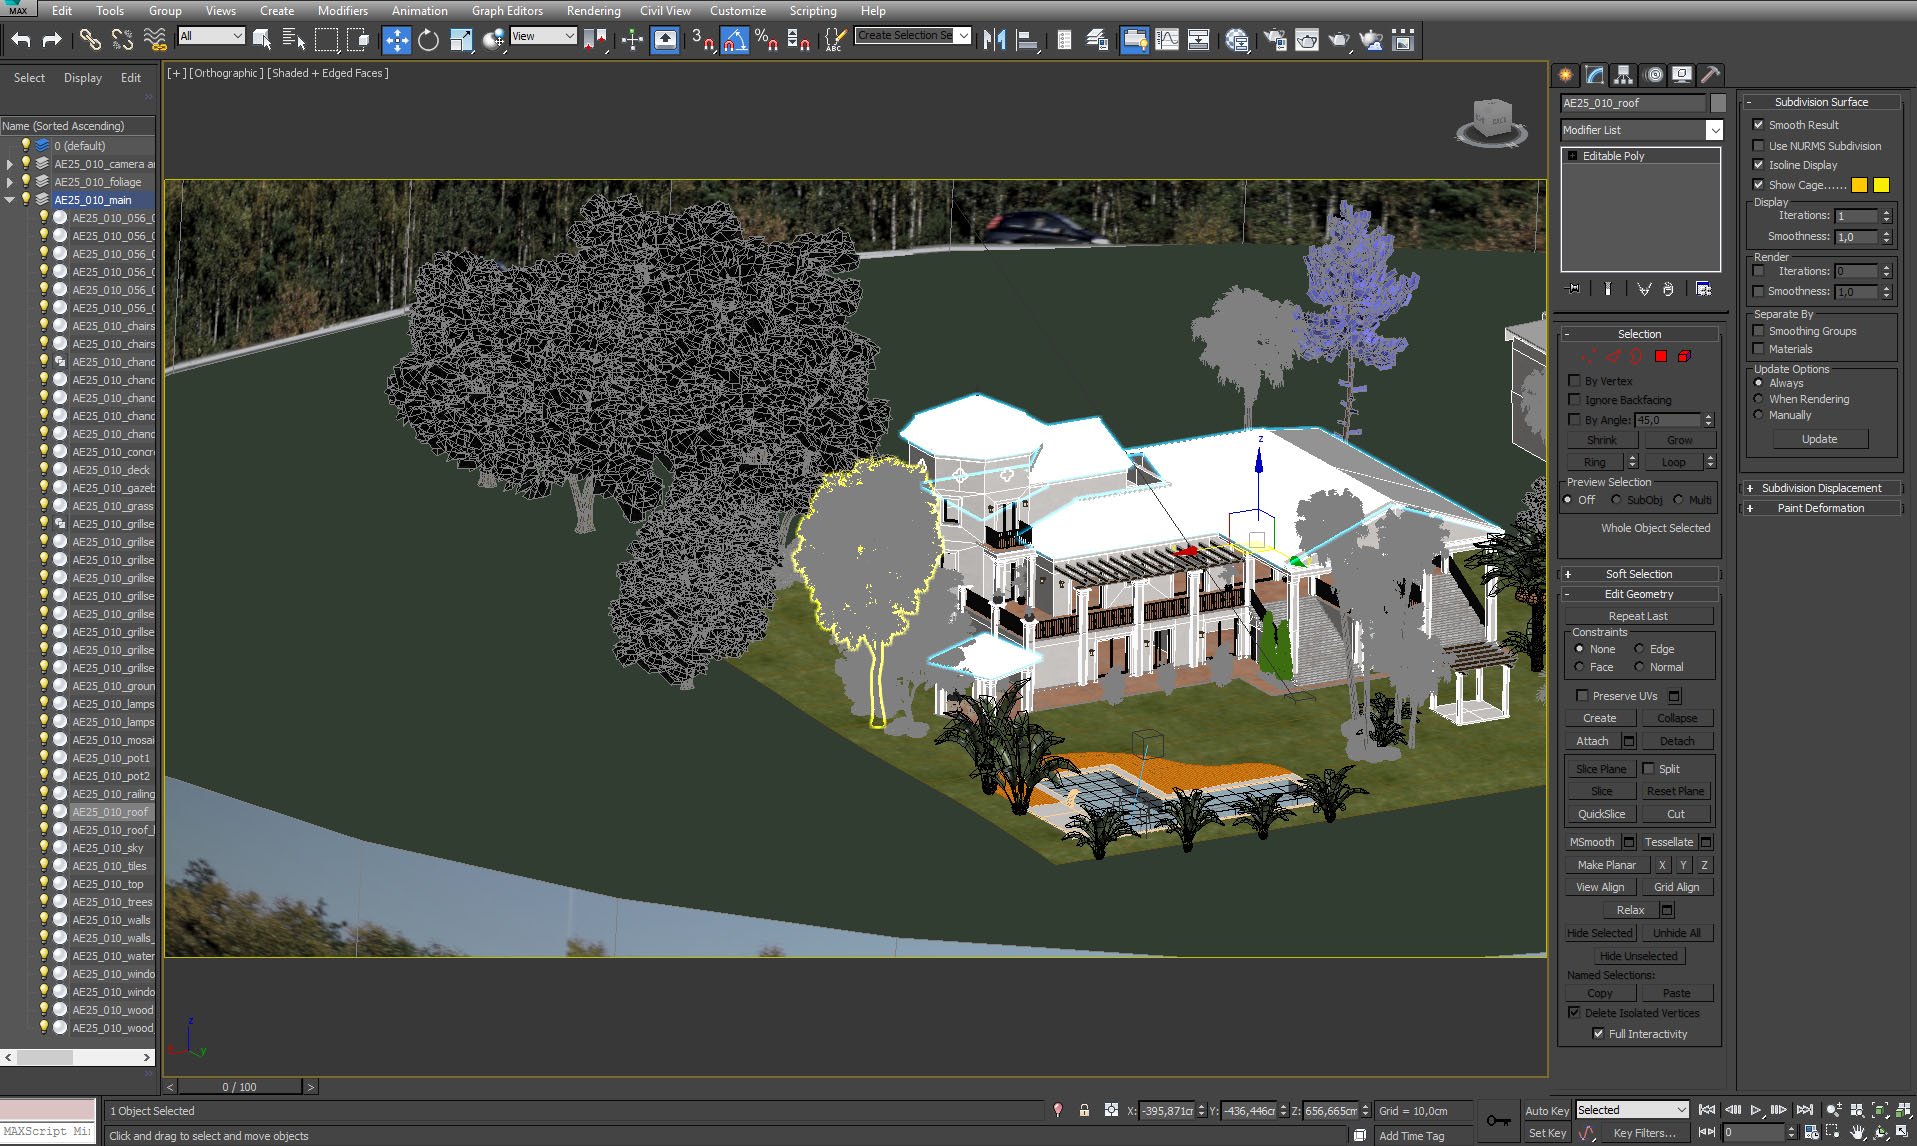
Some trees in the back use simplified display mode.


Click on image to enlarge nr_ae25s10__0015_Layer_24_855.jpg

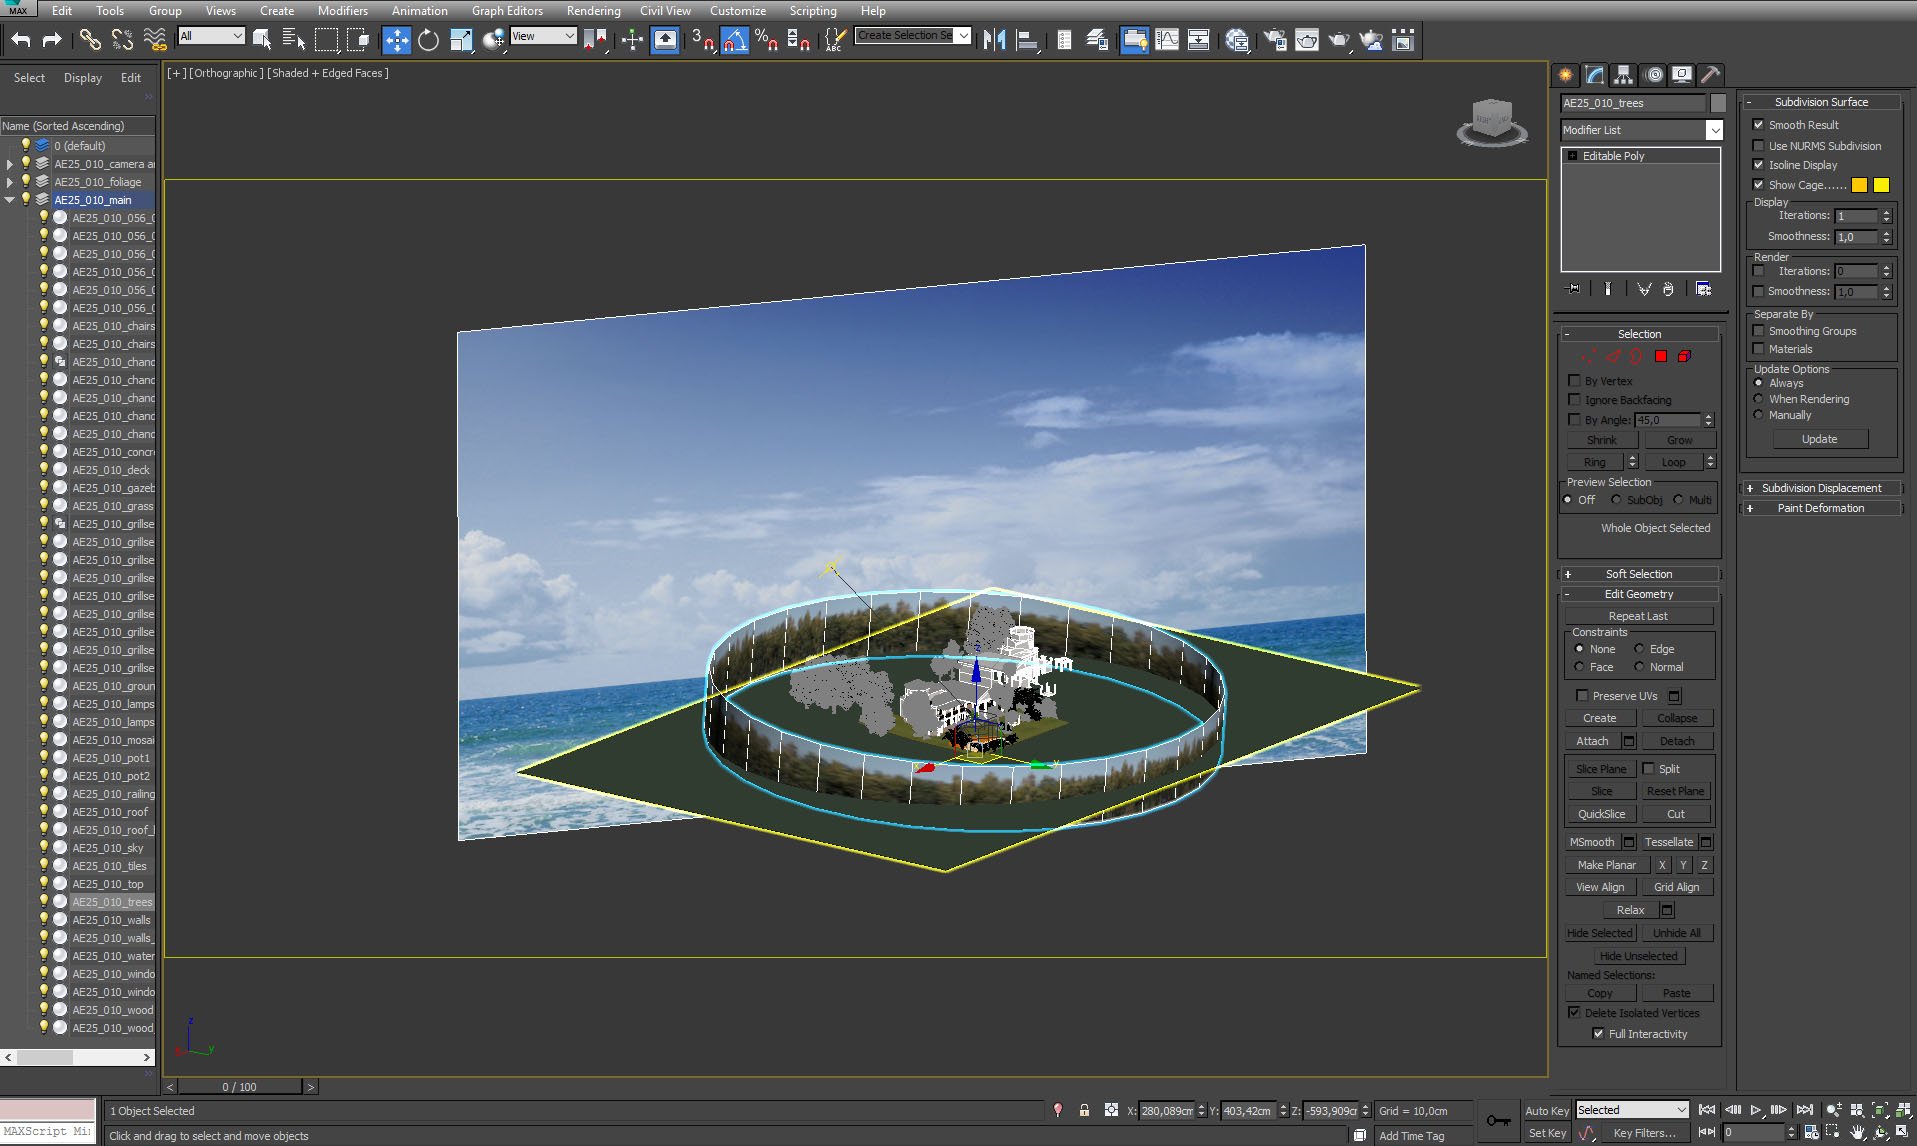
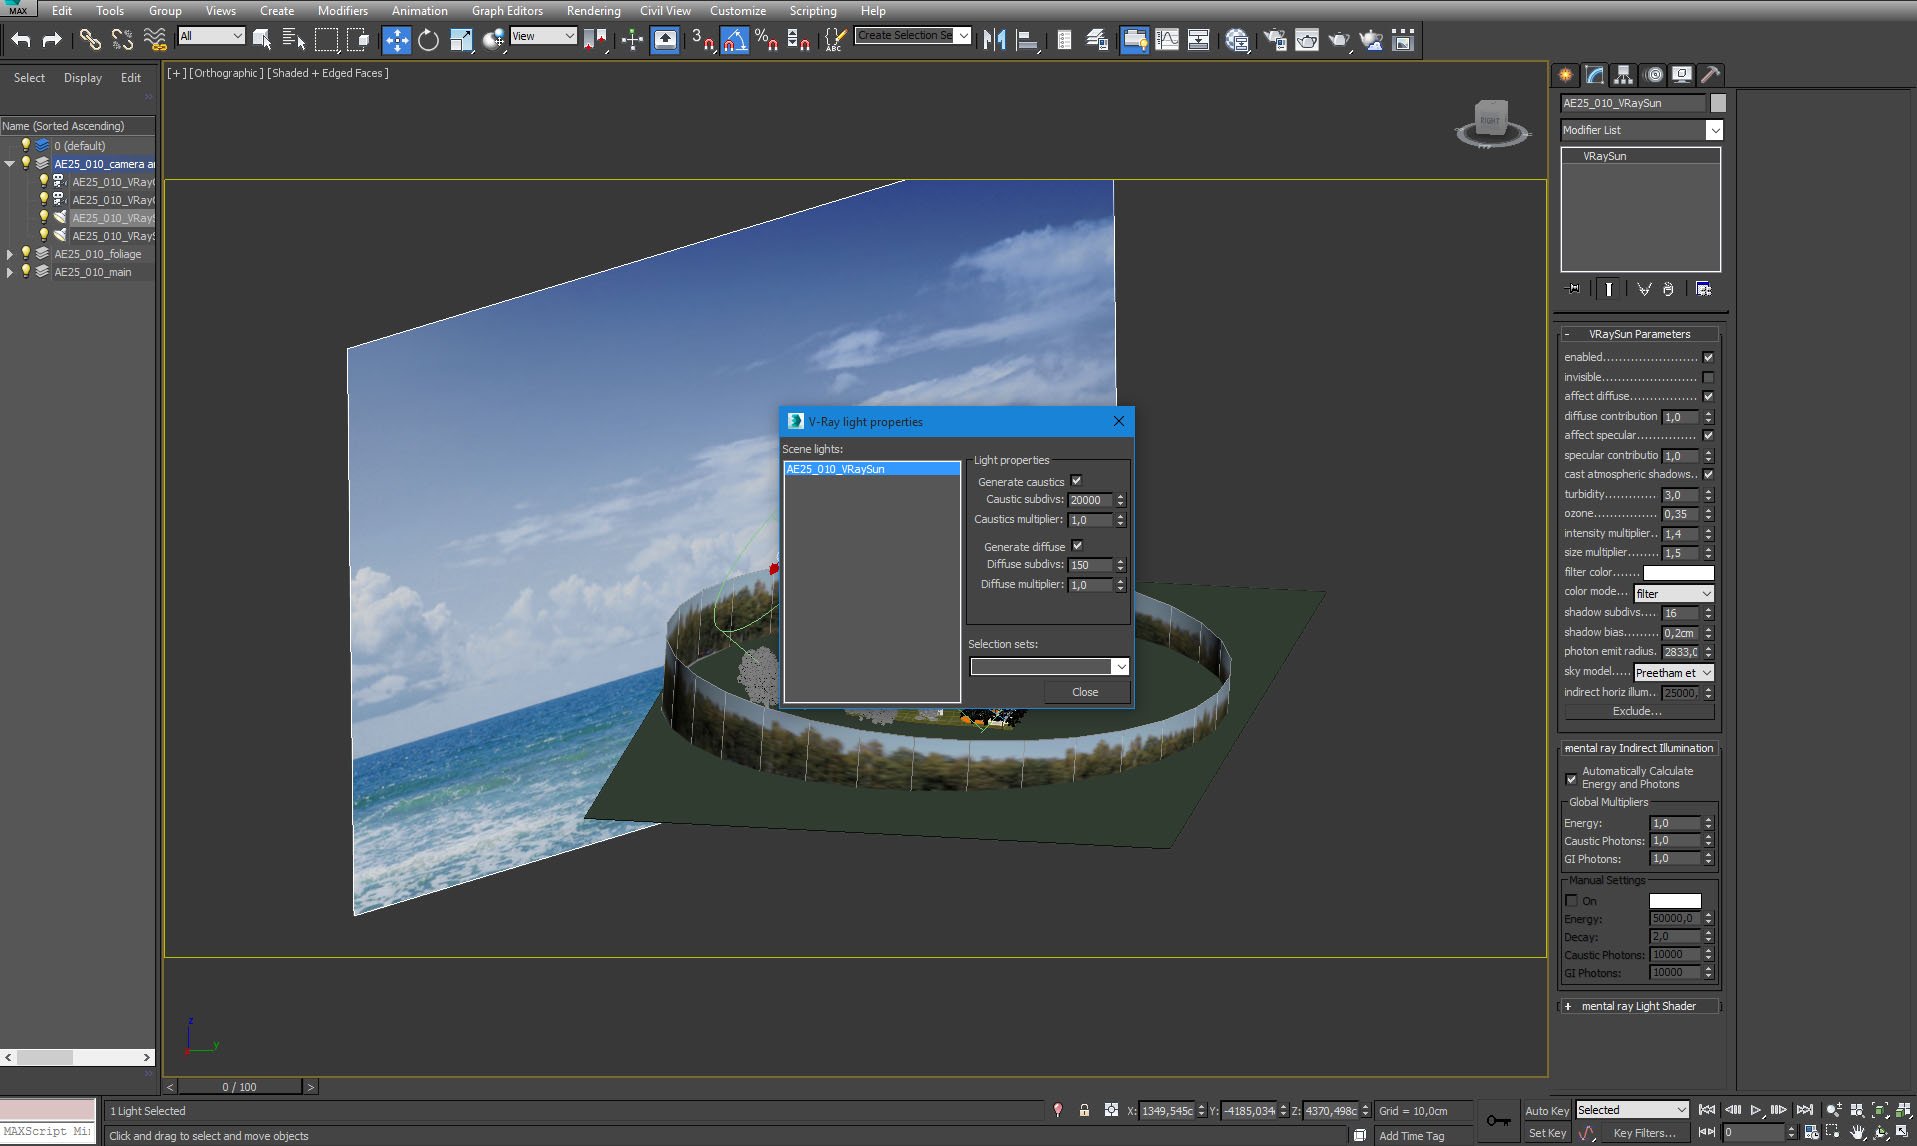
Whole plane with the building and trees is surrounded with cylinder with trees map. It has also sky plane in the back.


Click on image to enlarge nr_ae25s10__0013_Layer_26_853.jpg

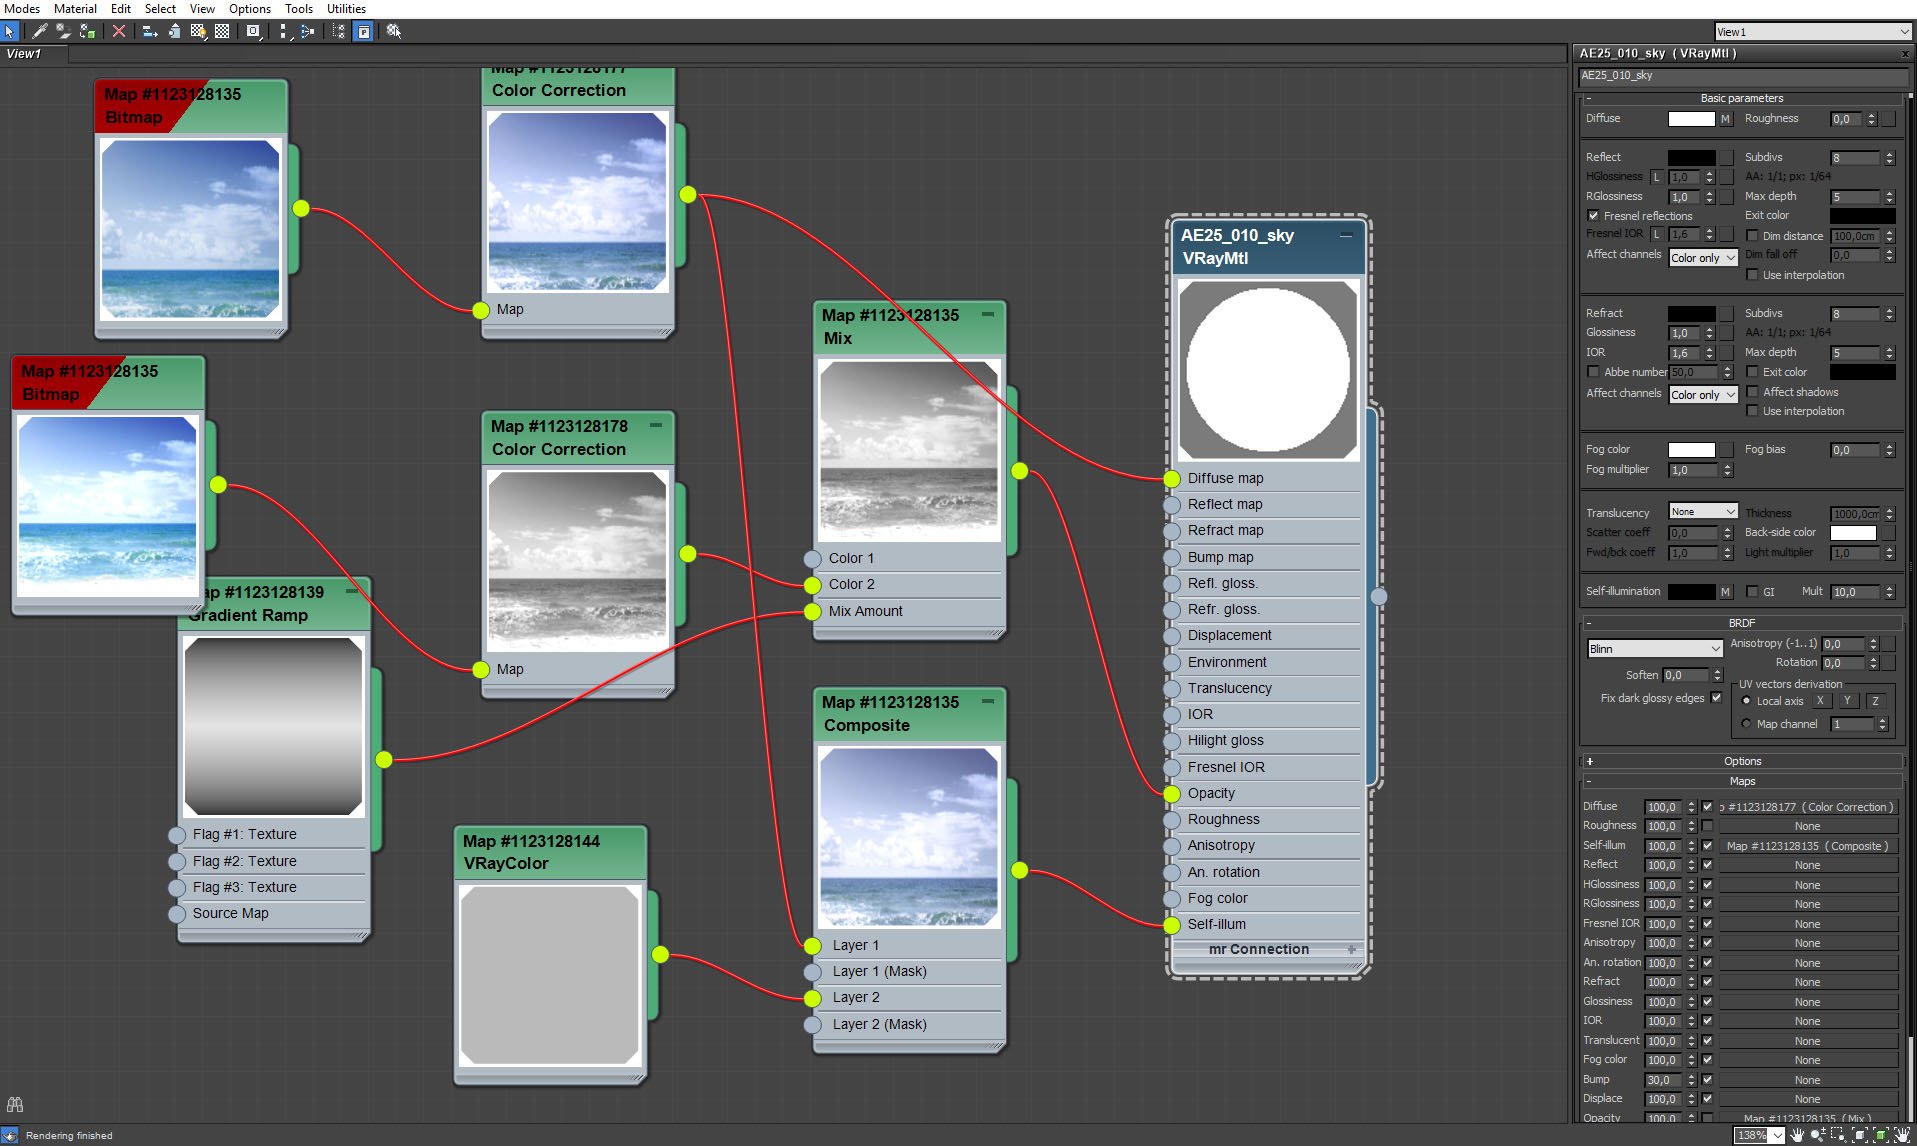
Sky background map.


Click on image to enlarge nr_ae25s10__0012_Layer_27_852.jpg

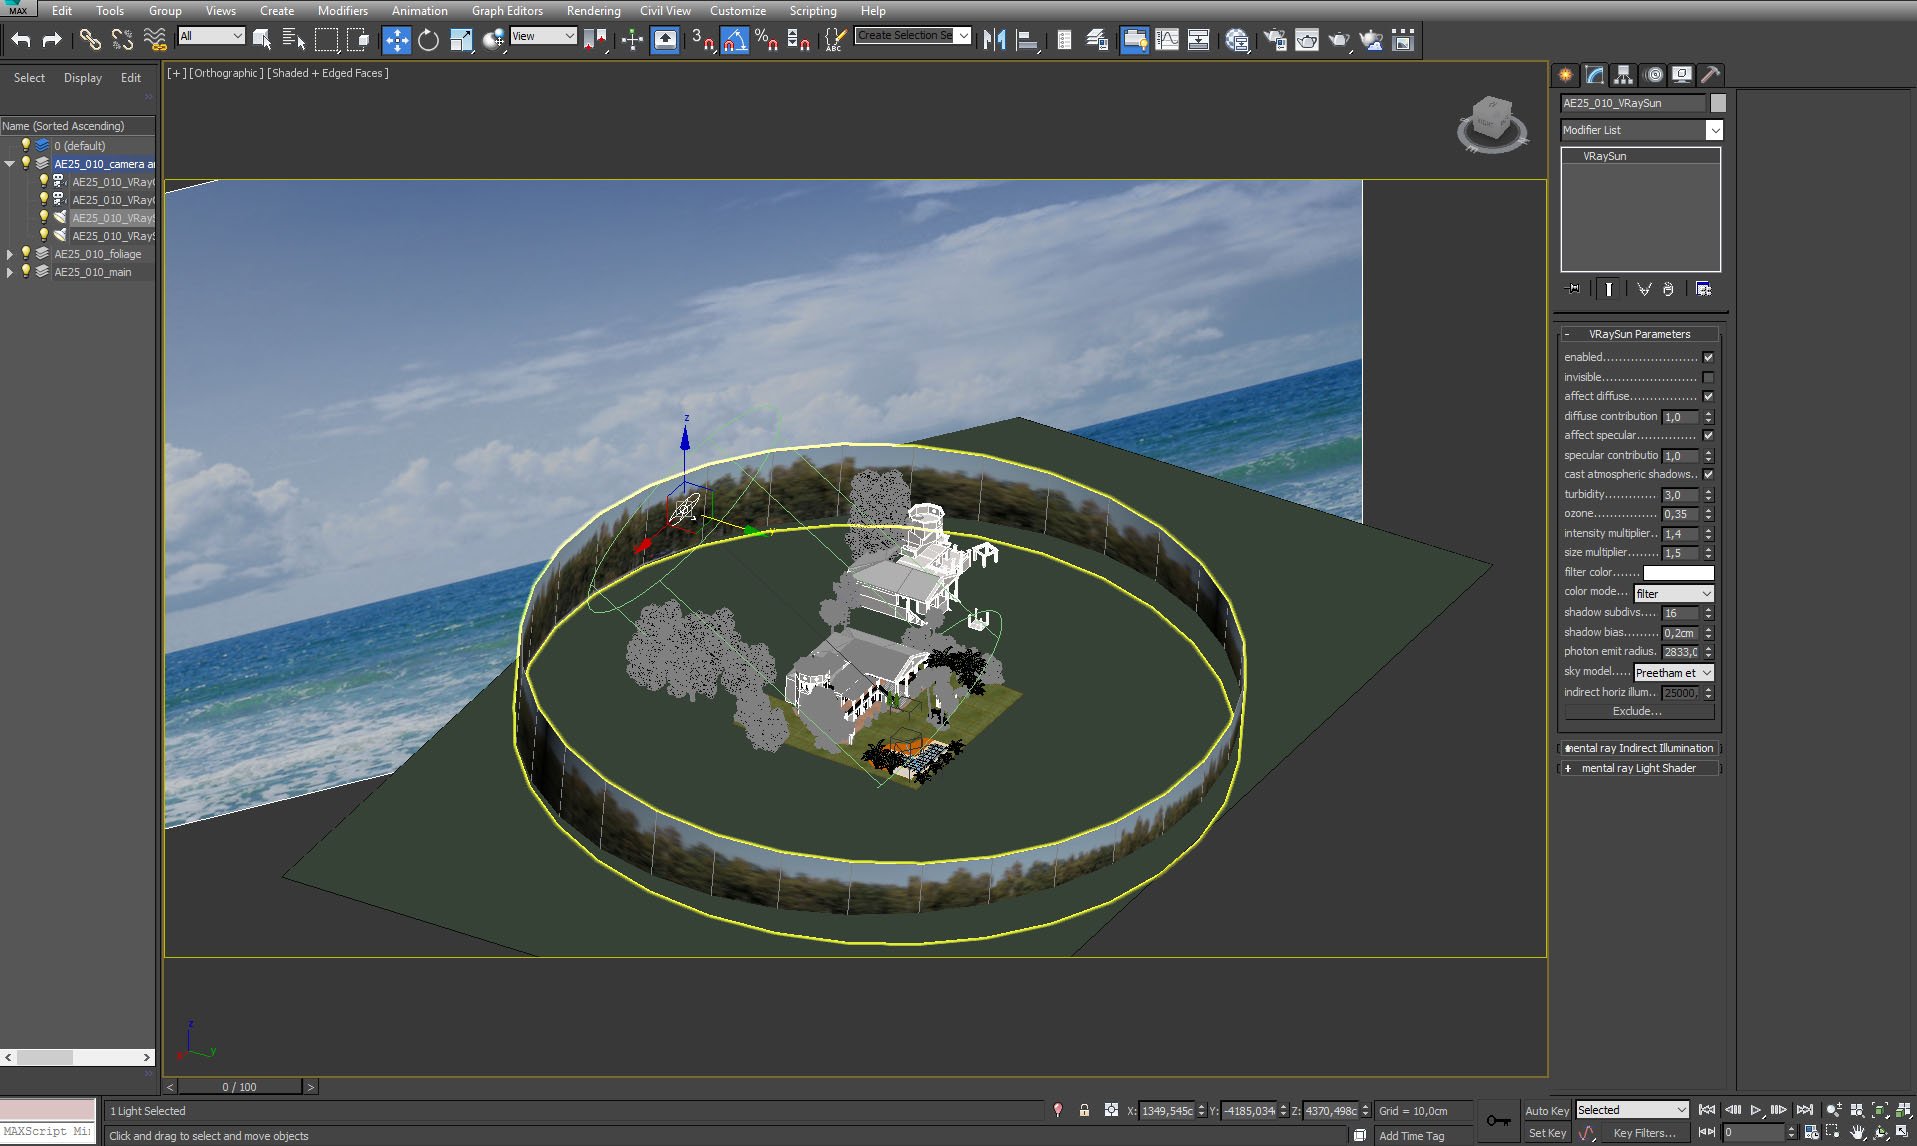
The one and only VrayLight in the scene is VraySun, parametres on the right.


Click on image to enlarge nr_ae25s10__0011_Layer_28_851.jpg

We also used VraySky map in environment slot.


Click on image to enlarge nr_ae25s10__0010_Layer_29_850.jpg

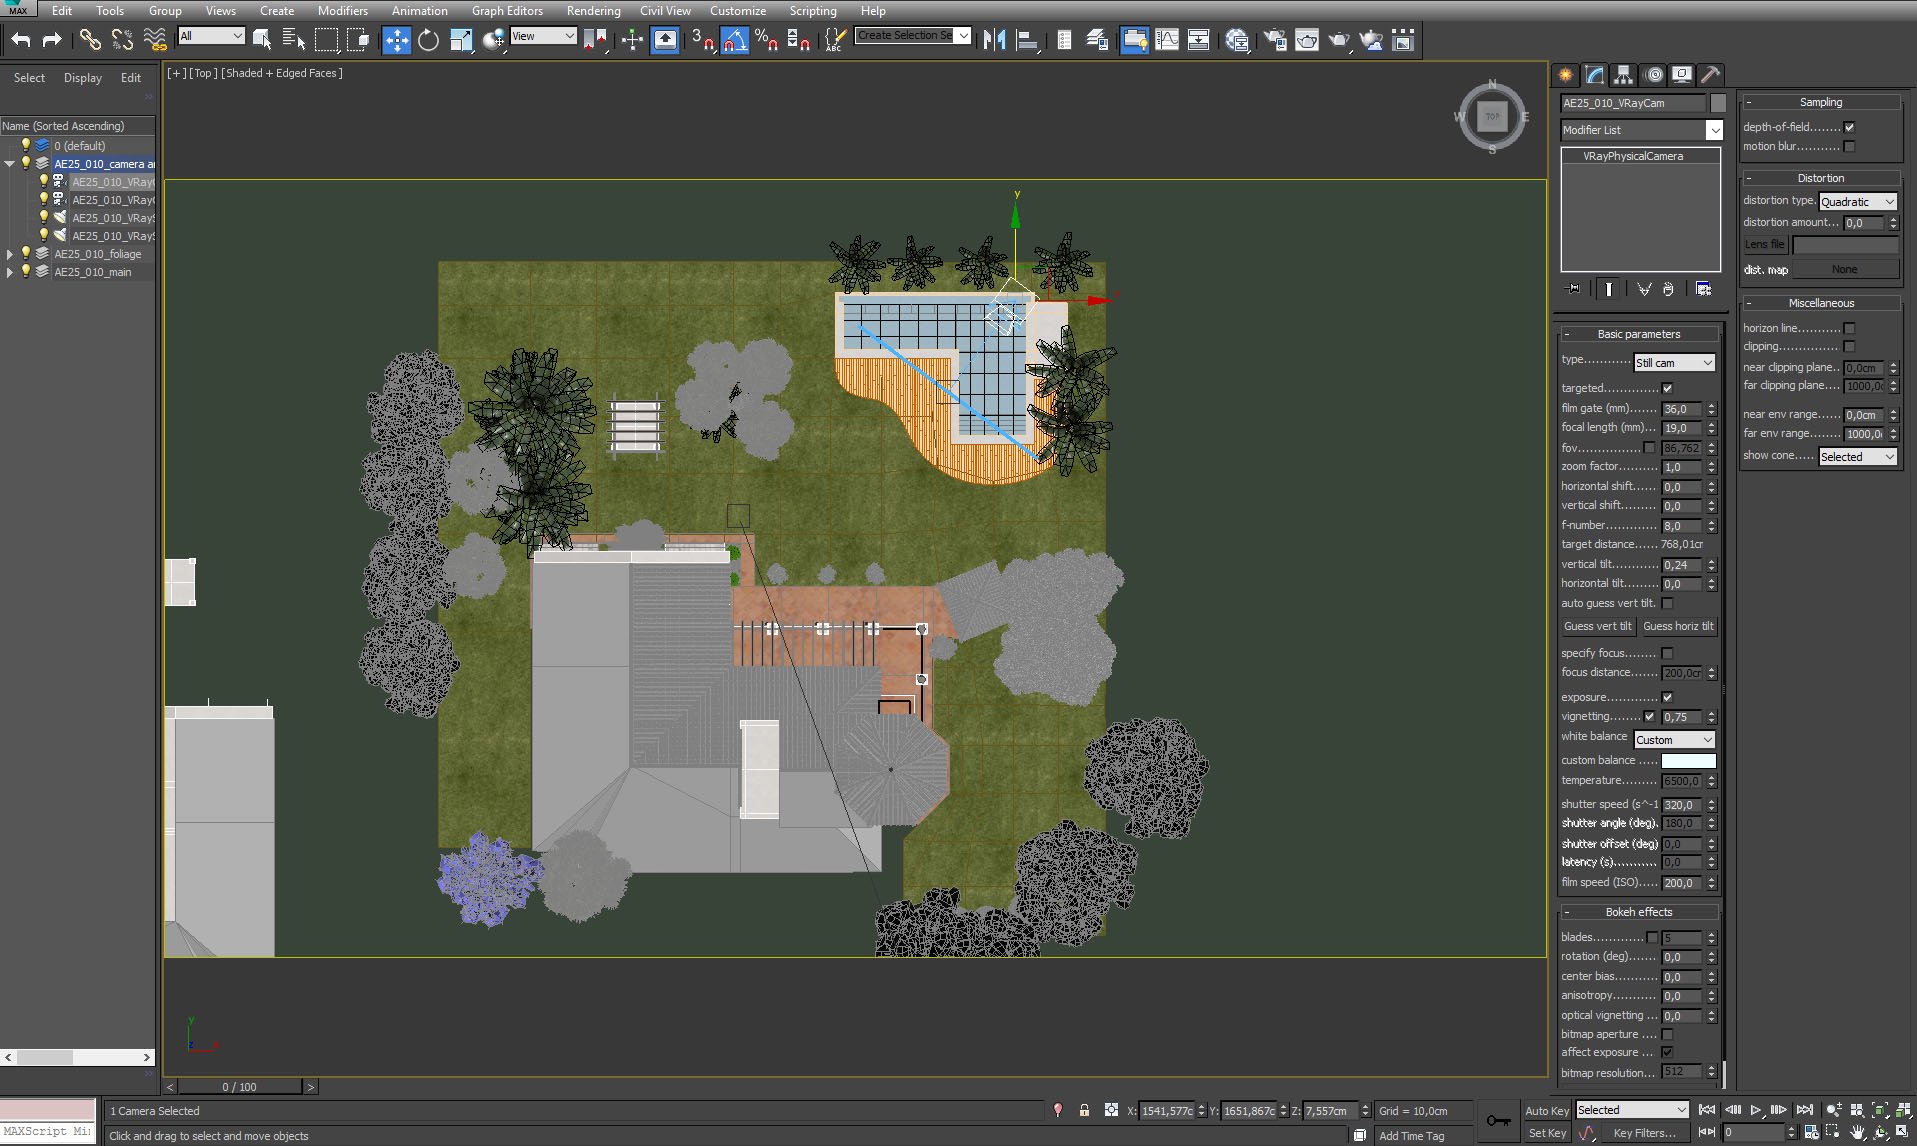
Camera placement and settings.


Click on image to enlarge nr_ae25s10__0009_Layer_30_849.jpg

Camera placement - another view.


Click on image to enlarge nr_ae25s10__0007_Layer_39_847.jpg

VraySun generates caustics (because we need some of them in a water on the first plane).


Click on image to enlarge nr_render_settings_844.jpg

Render settings.


Click on image to enlarge nr_AE25_010_RGB_color_846.jpg

Raw render, without post-production.


Click on image to enlargeps_stack_7.jpg

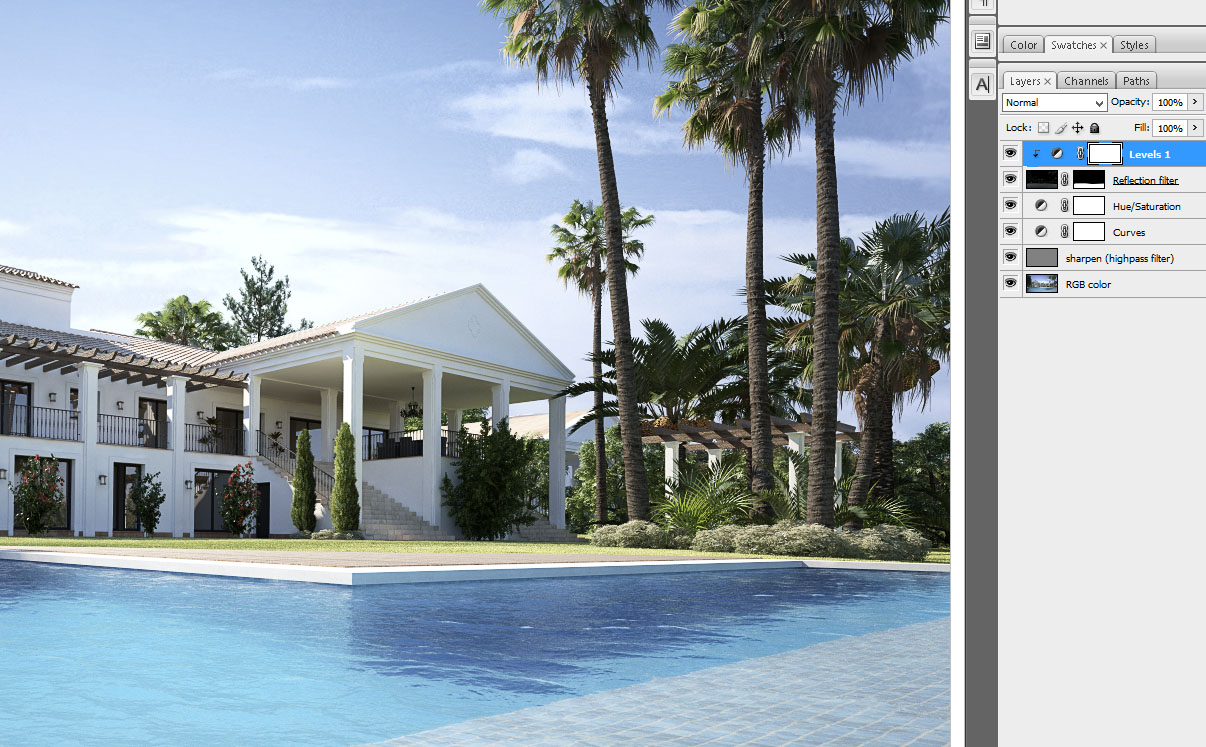
Photoshop stack. First, we used sharpen layer, above that we put curves layer to increase brightness / contrast (all channels). Hue / saturation layer is used to desaturate (-10) image a bit. reflection filter makes water reflections more prominent. Levels layer on the top adds a bit of a contrast to final image.


Click on image to enlarge nr_AE25_010_PP_845.jpg

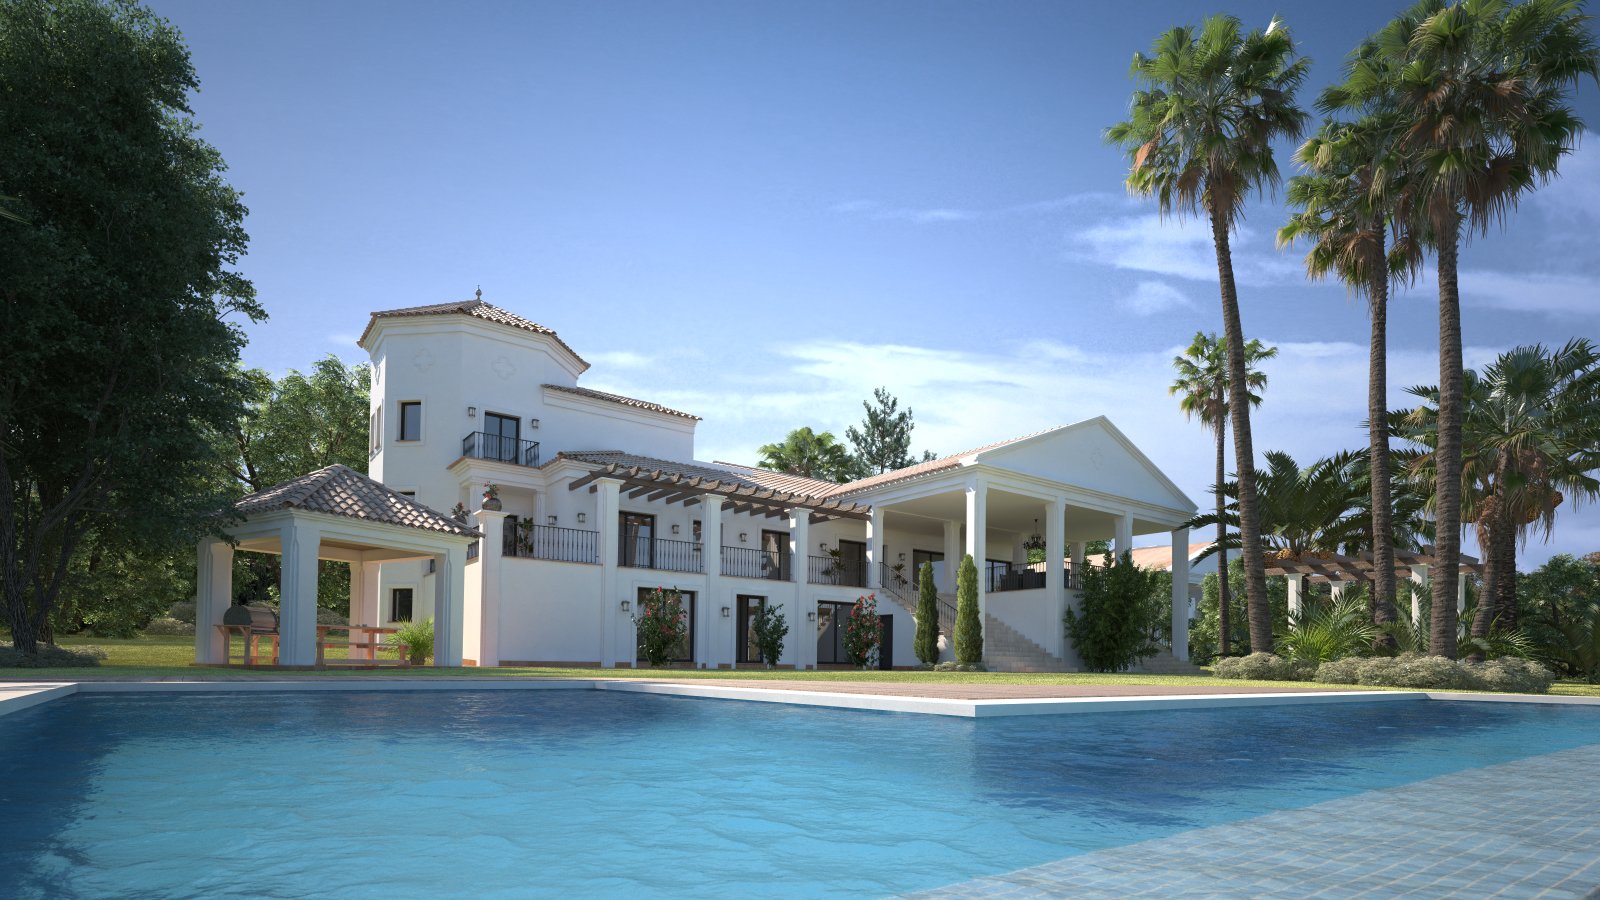
Final render, after post-production.


This exterior scene was made by Evermotion in 3ds Max and V-Ray. It is a scene 10 from Archexteriors vol. 25. You can purchase this single scene or entire Archinteriors vol. 25 collection in Evermotion Shop.

Author: Michał Franczak Editor: Michał Franczak
Tags: archexteriors
You may also like...
Making of Villa Verona in the evening

Making of Villa Verona in the evening

Breakdown of a scene inspired by Villa Verona from Archexteriors vol. 25.
×

LEAVE A COMMENT

You need to be logged in to leave a comment. Don't have account? Register now.

choade 11:20:56  |  19-06-2016
good job .nice picture.I want to study