How To Make Your CGI Walls More Realistic
Realistic walls with noise modifier.
Total: € 0
Continue Shopping
In accordance with the art. 13 section 1 and 2 of the European Parliament and Council Regulation 2016/679 of the 27th April, 2016 on the protection of natural persons, with regard to the processing of personal data and on the free movement of such data, and repealing Directive 95/46/EC (General Data Protection Regulation), hereafter RODO, I hereby inform that:
1. EVERMOTION S.C., 8 Przędzalniana Str., 15-688 Białystok, Poland is the Administrator of your Personal Data (APD)
2. Data Protection Inspector can be reached through e-mail: iod@evermotion.org
3. Your personal data are to be processed on the basis of art. 6 section 1 letter a, b and f of RODO in order to:
a) prepare, conclude and execute the agreement and for other purposes approved by you,
b) to execute the legitimate interest like marketing of products and the agreement, claim assertion or defence against claims resulting from the law regulations.
4. Entities entitled to the reception of your personal data may be the authorised public bodies; mail providers; providers of the services covered by the agreement; responsible for debt recovery, keeping the archives, document utilization, legal consulting, technical services, IT services and accountancy.
5. Your personal data shall not be transferred to the third country, nor to the international bodies.
6. Your personal data shall be processed within the period of the agreement and upon your additional consent until you withdraw it. APD shall keep the data for the period of any civil law claim execution connected with the agreement.
7. You have the right to demand an access to your personal data, to correct or to delete the data if there is no other basis for the processing or any other purpose of such processing or to limit the processing of the data, to transfer the data to another administrator and to raise objections to the further data processing if there is no legal basis for further processing and to withdraw any previous consent.
8. You provide the personal data voluntarily, however they are necessary to conclude the agreement. The refusal of providing such data may result in the refusal of the agreement conclusion.
9. You have the right to lodge a complaint to the Personal Data Protection Office when in your opinion the data processing violates the regulations of General Data Protection Regulation of the 27 April, 2016 (RODO).
10. Your data will be automatically processed, including the form of profiling.
11. You are obligated to forward above mentioned information to your representative, especially if you appointed this person in the agreement as the contact person or as the representative for the agreement execution.

Hello everybody!
We want to tell you a little about our project — “Voices of the sea”. This tutorial will contain general principles and techniques, and some interesting details that we applied to create the project. The idea of the project is to recreate a series of stories scattered over time, but related to only one place.
Crushing
The basic composition was created using a set of rocks, boat, and ship models. Models were assembled from different sites, for example the boat was taken directly from 3dsky and slightly changed to the colors of our project.
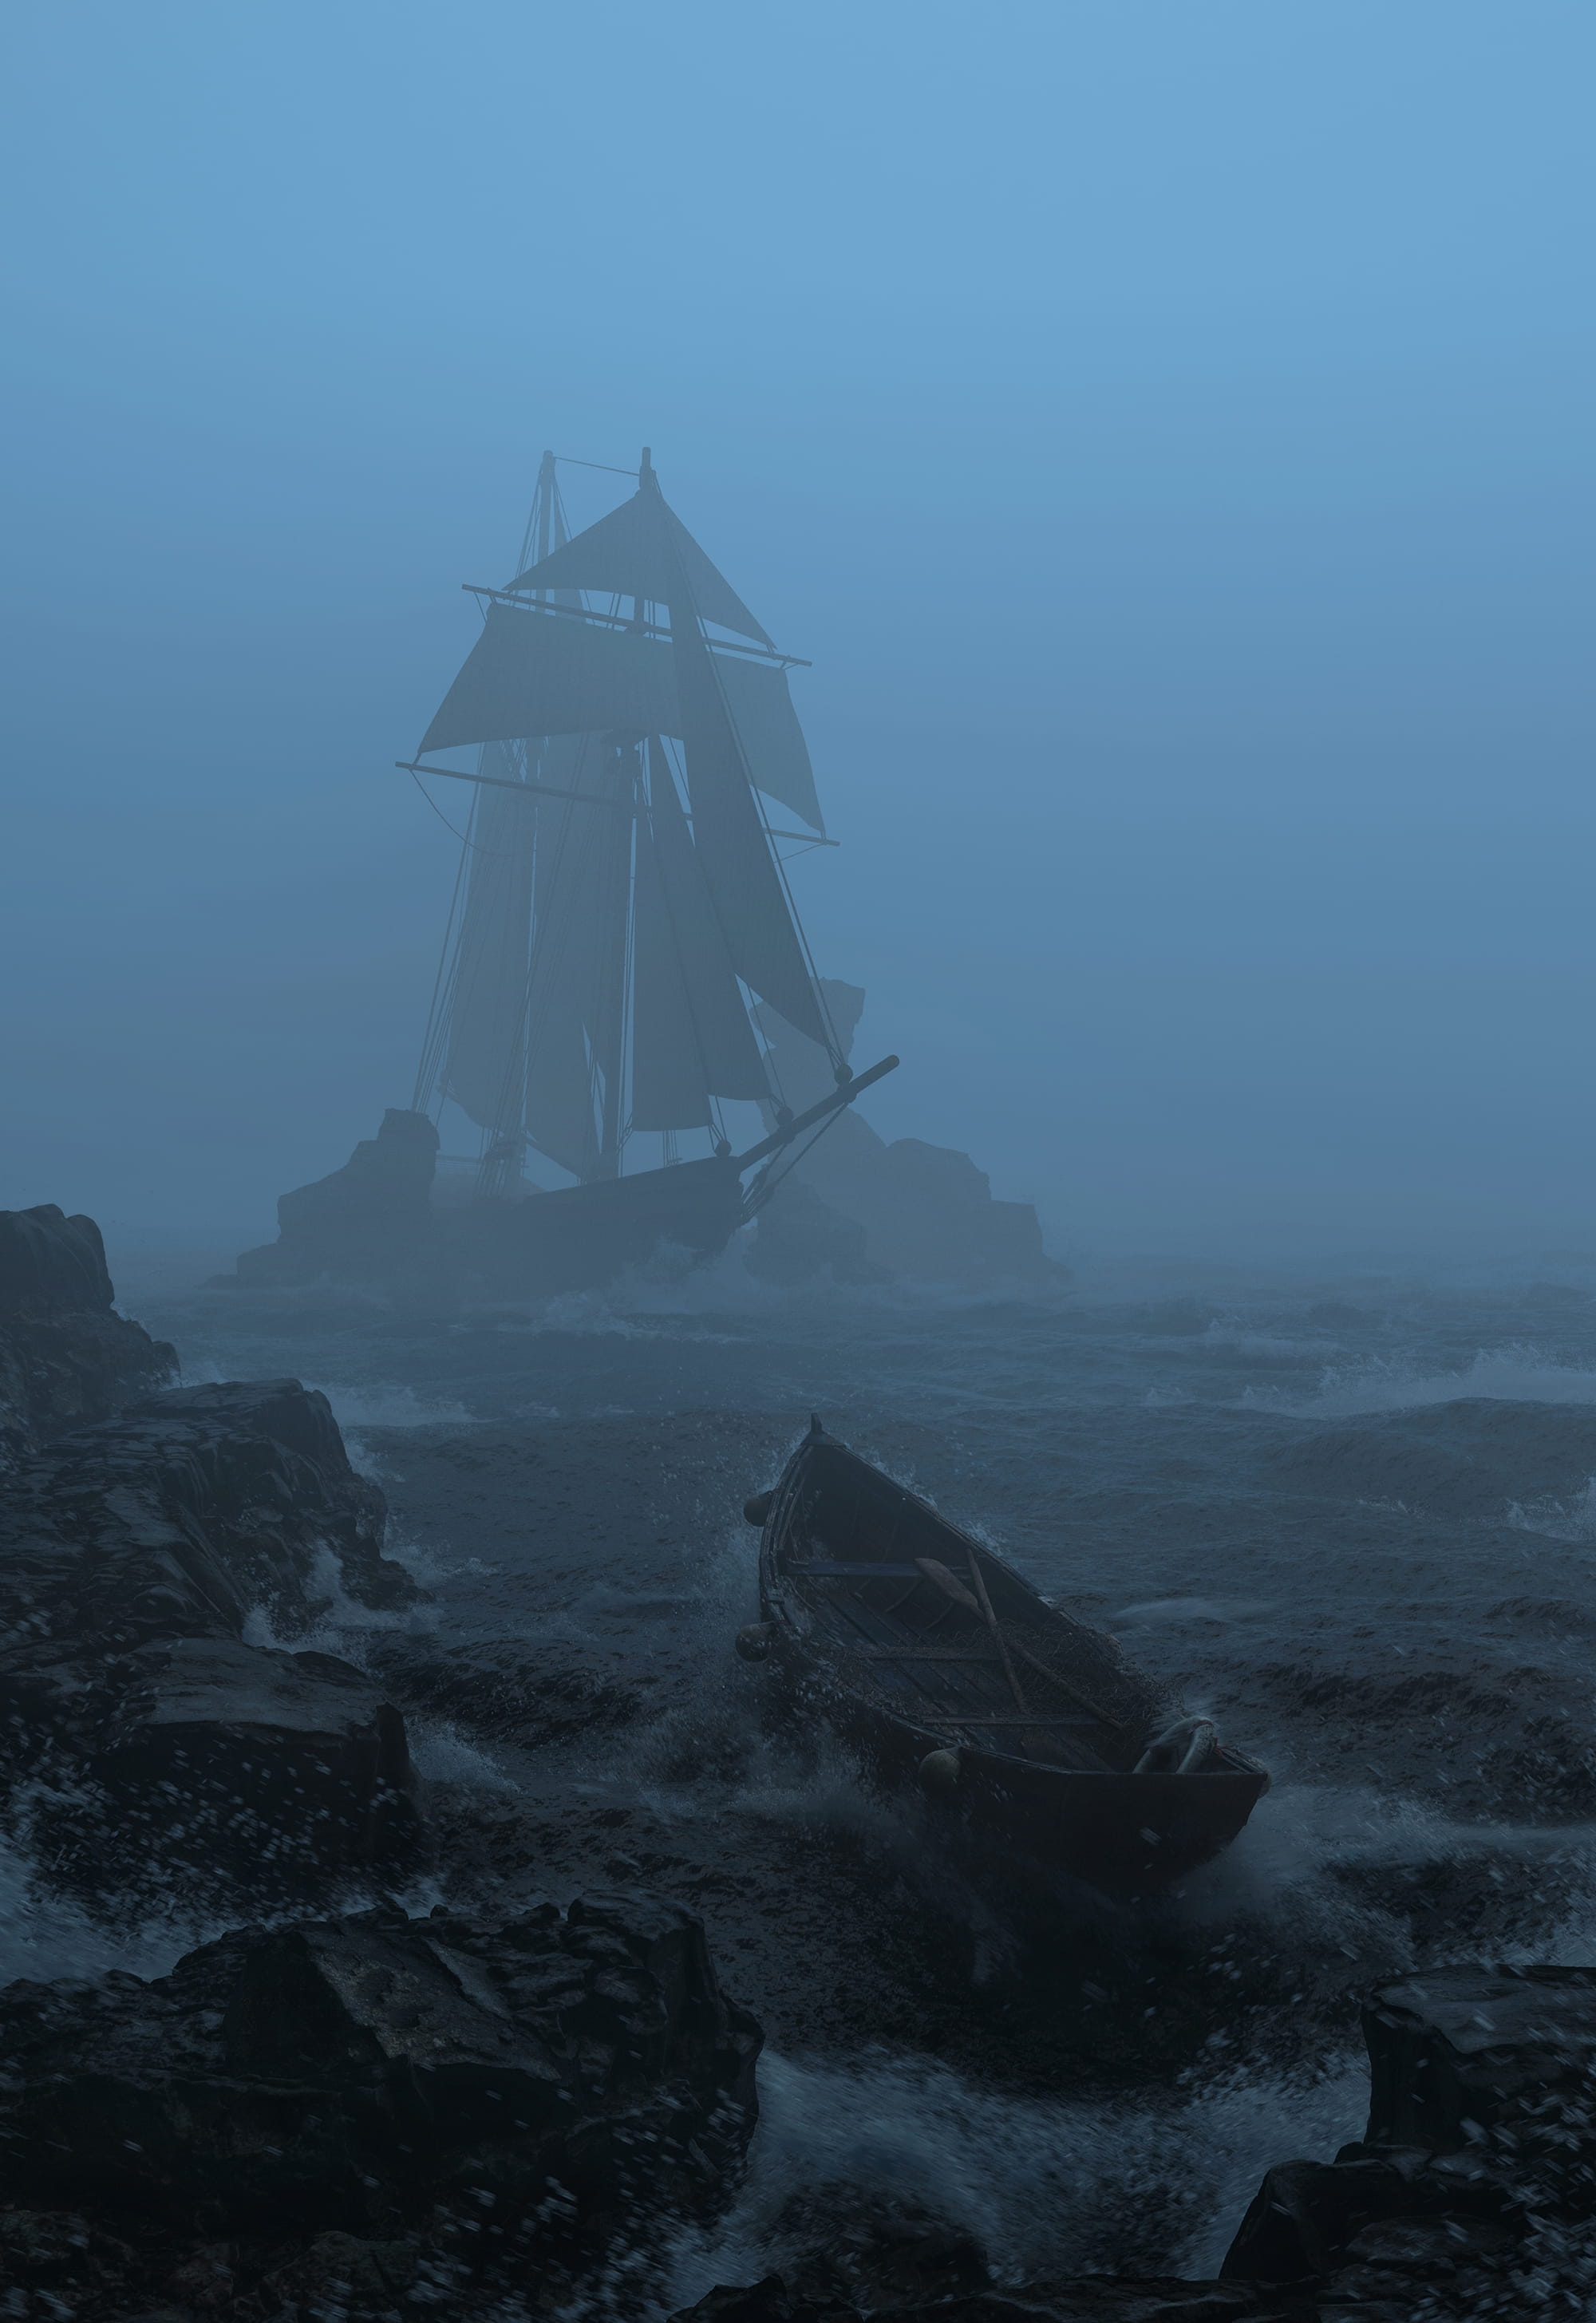
Crushing - final render

Crushing (in white)
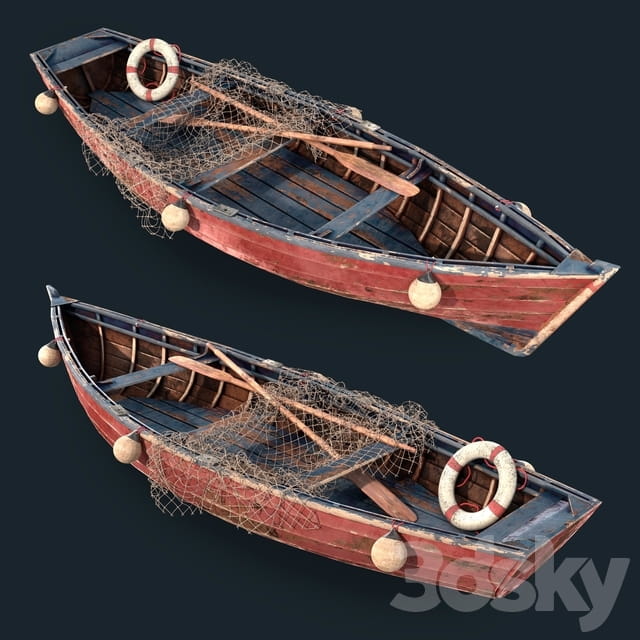
One of the ready models used in the scene
Water geometry was created as a fluid simulation in Phoenix FD.
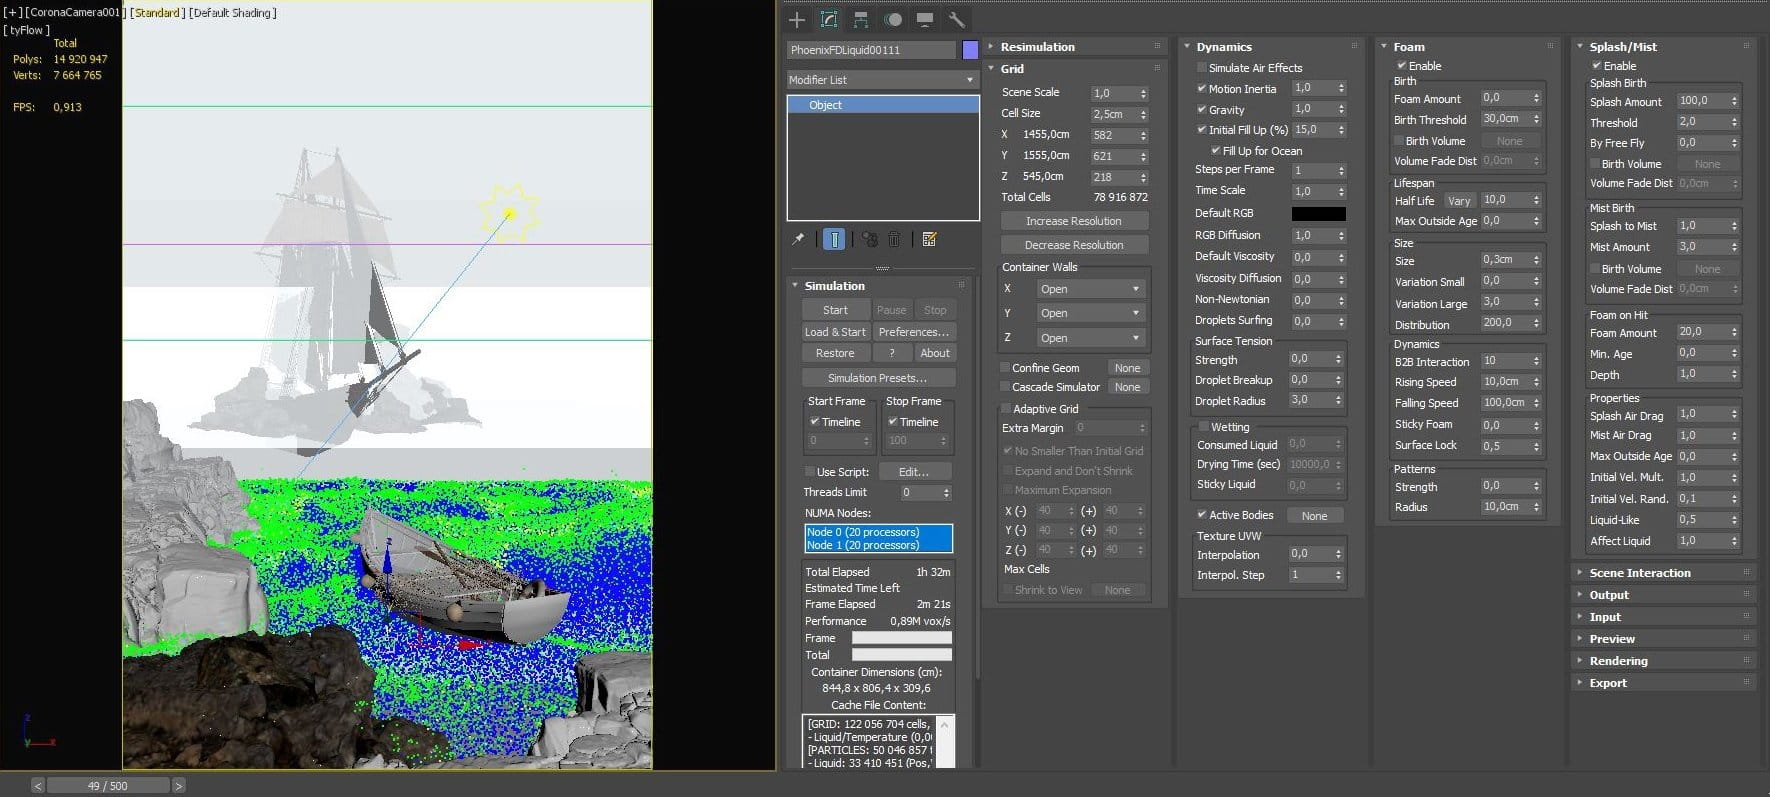
Crushing (Phoenix FD settings)
Since the work was done in Corona 5, this render engine does not support some connections with Phoenix FD, so the animated particle cloud sequences were converted to geometry using tools of the TyFlow plugin in a few steps:

Crushing - TyFlow settings

Crushing - TyMesher result
To make the water surface more realistic, we used the Corona Displacement modifier with the PhoenixFdOceanTex map.

Crushing - PhoenixFDOceanTexMap
To create the effect of the glowing atmosphere, we made several cubes textured with Corona Volume mtl and highlighted Corona sun.
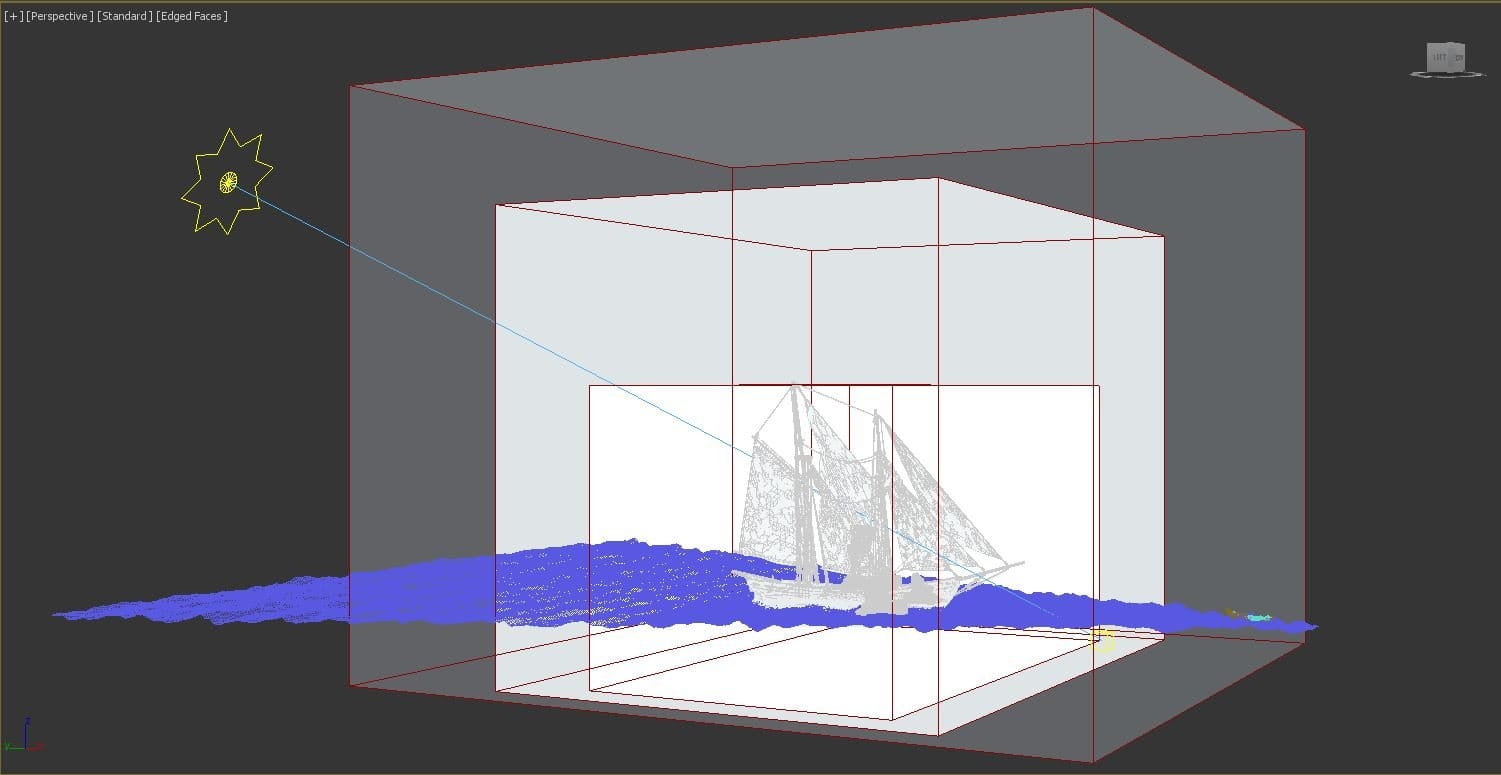
Crushing - Illumination
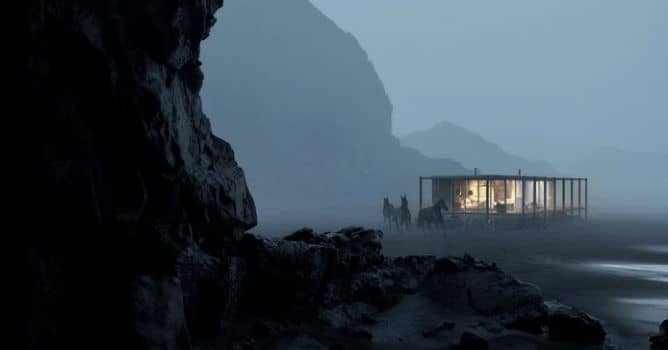
Lighthouse
There are two characters in this picture — a stranger with a lantern and his horse. For the character of the horse, we used a static model, which we upgraded - we made it a RIG to create the illusion of movement. A skeleton was inserted into the shell to allow the character to move.
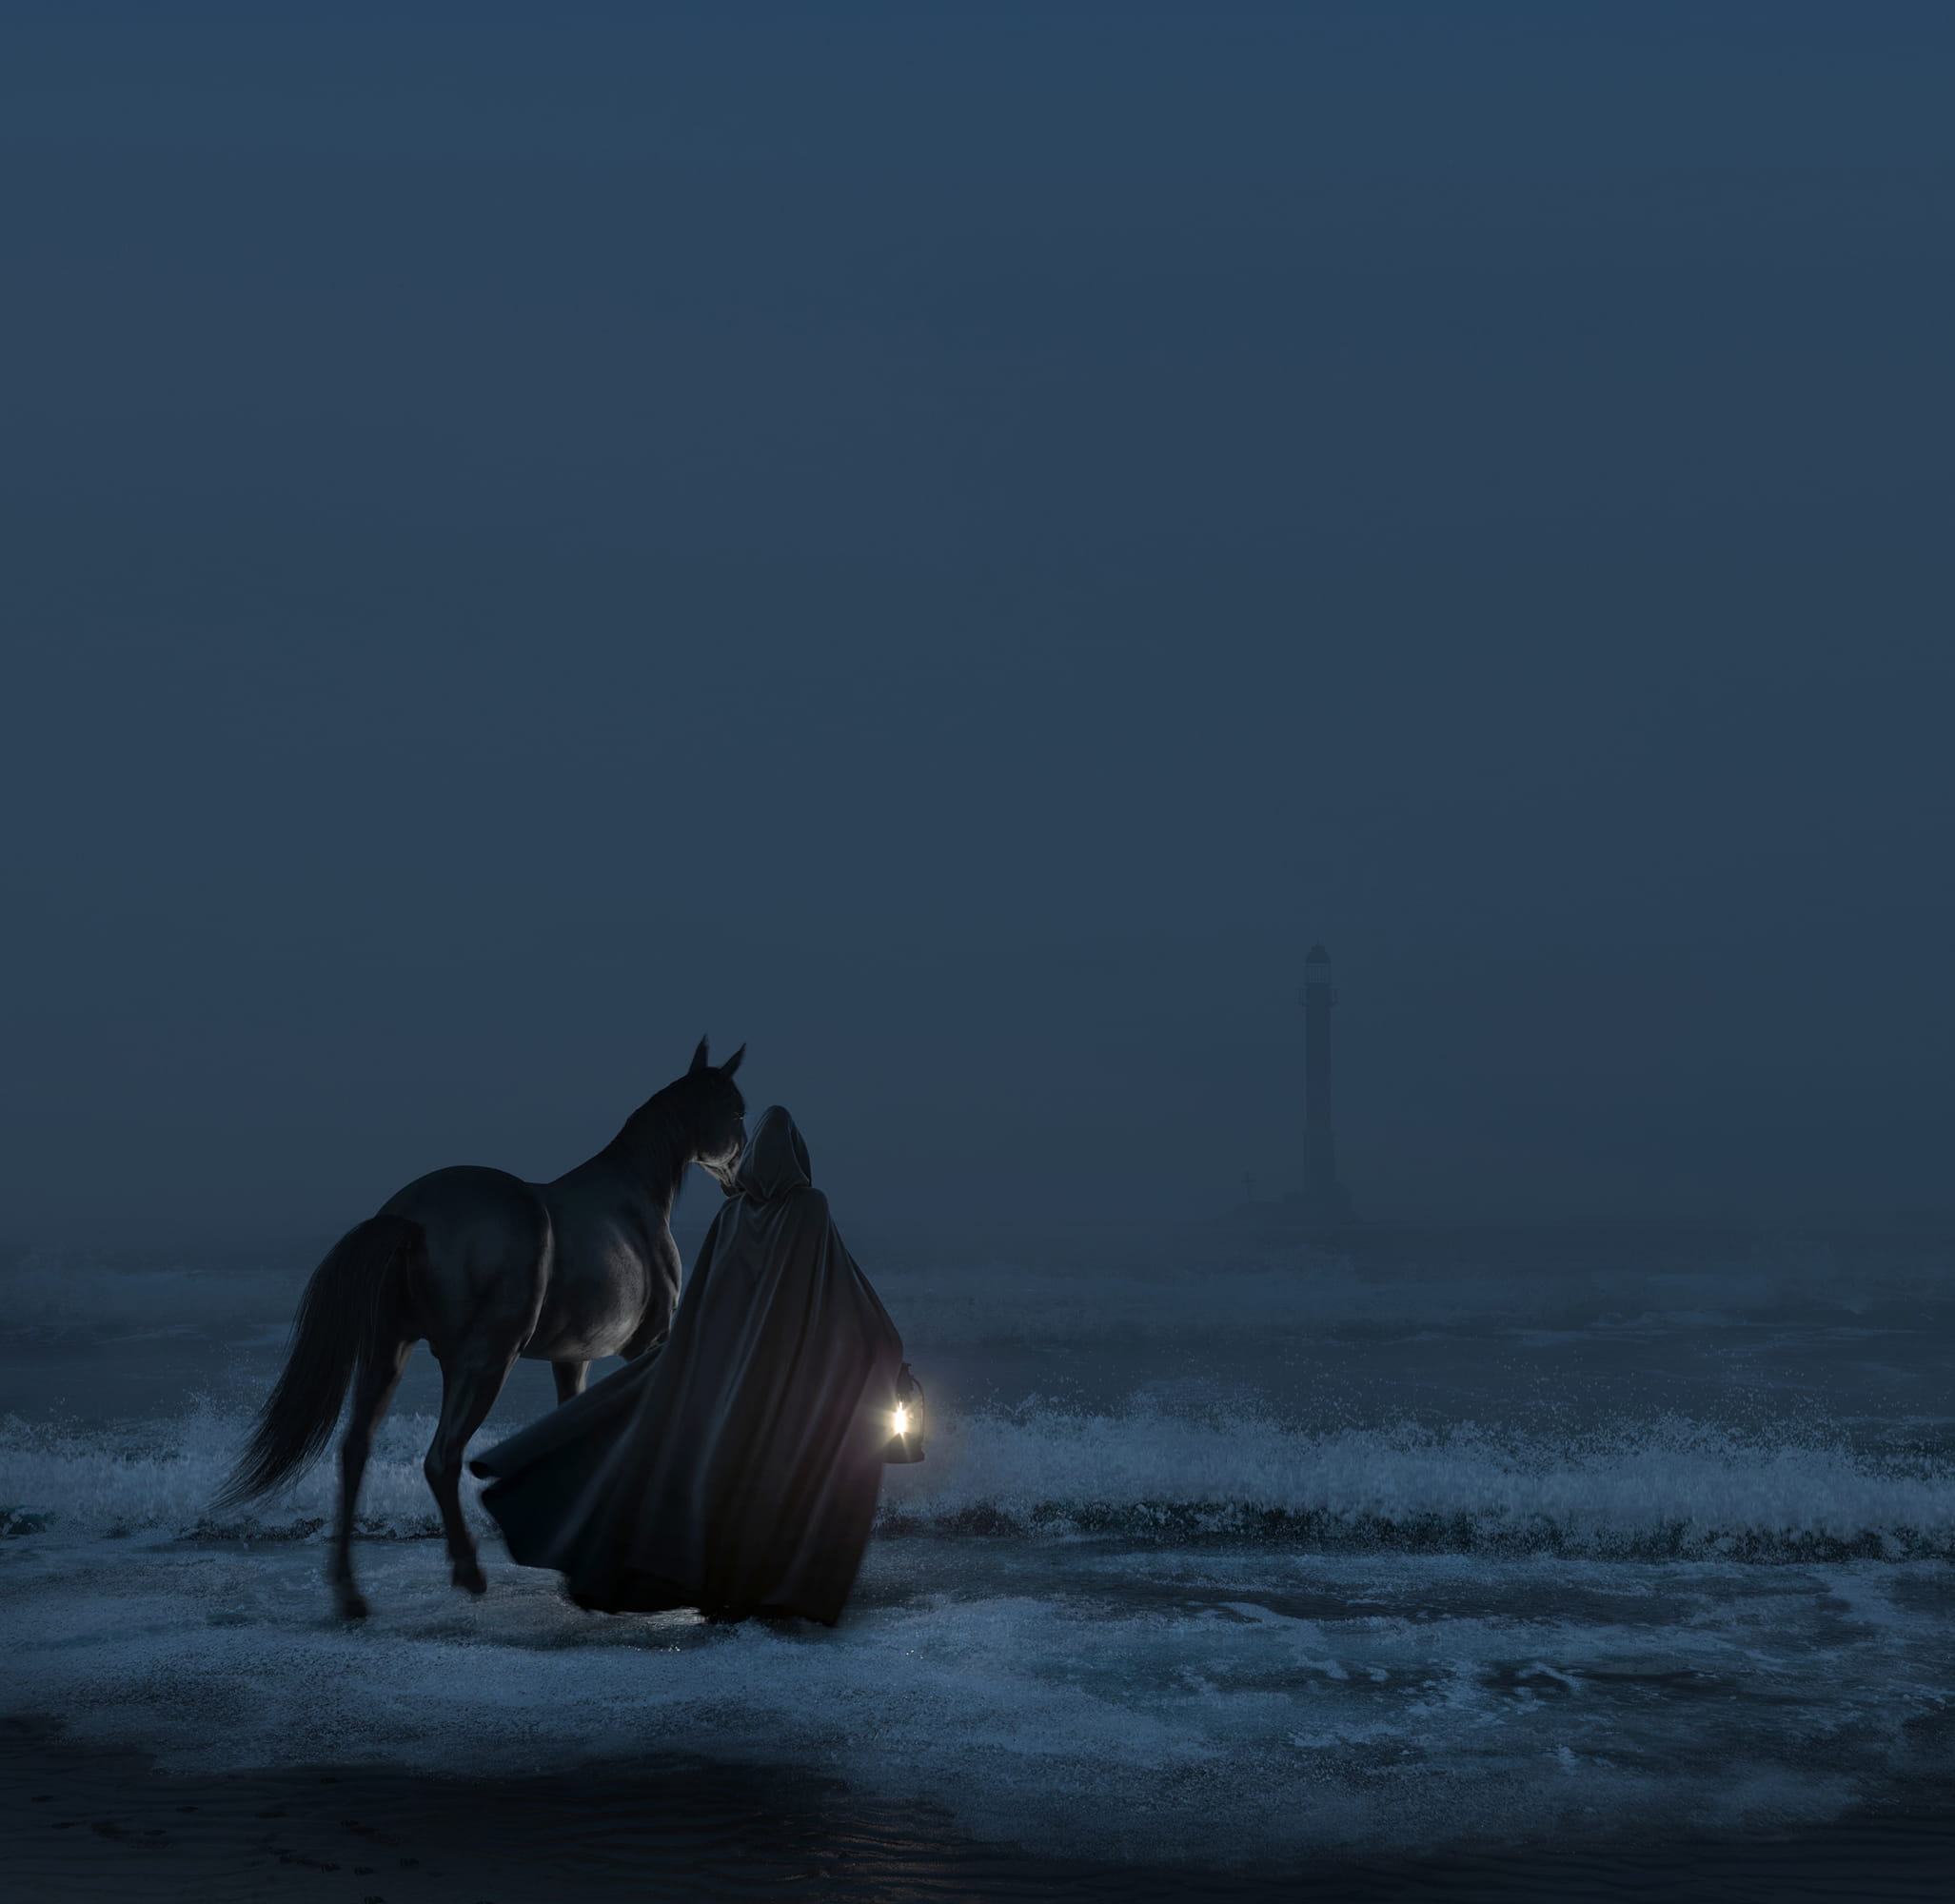
Lighthouse - final render
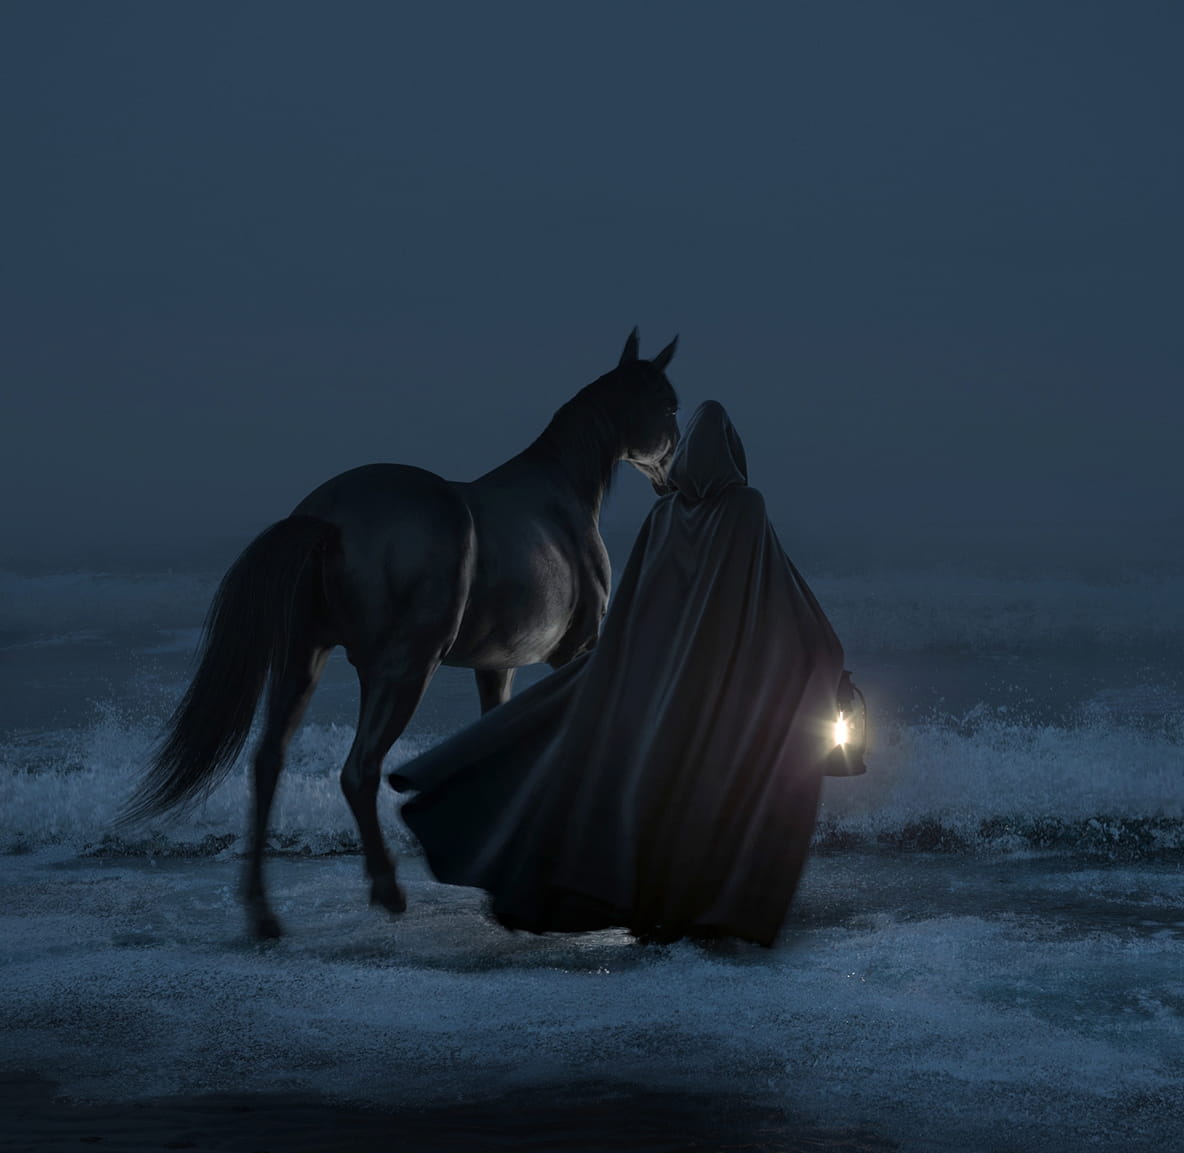
Lighthouse - characters

Lighthouse - search for a mood and composition, first tests
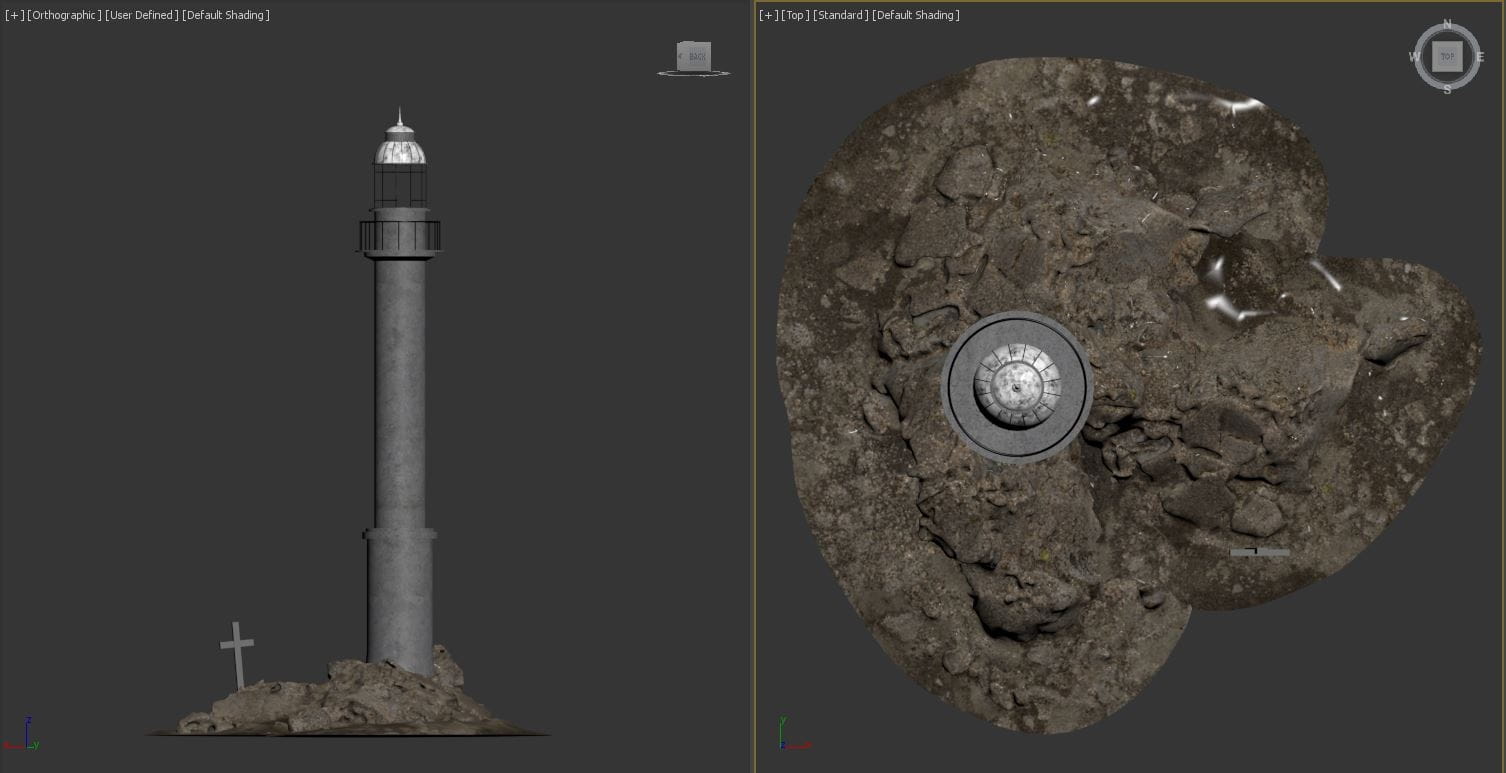
Lighthouse and island (modeling)

Static horse model
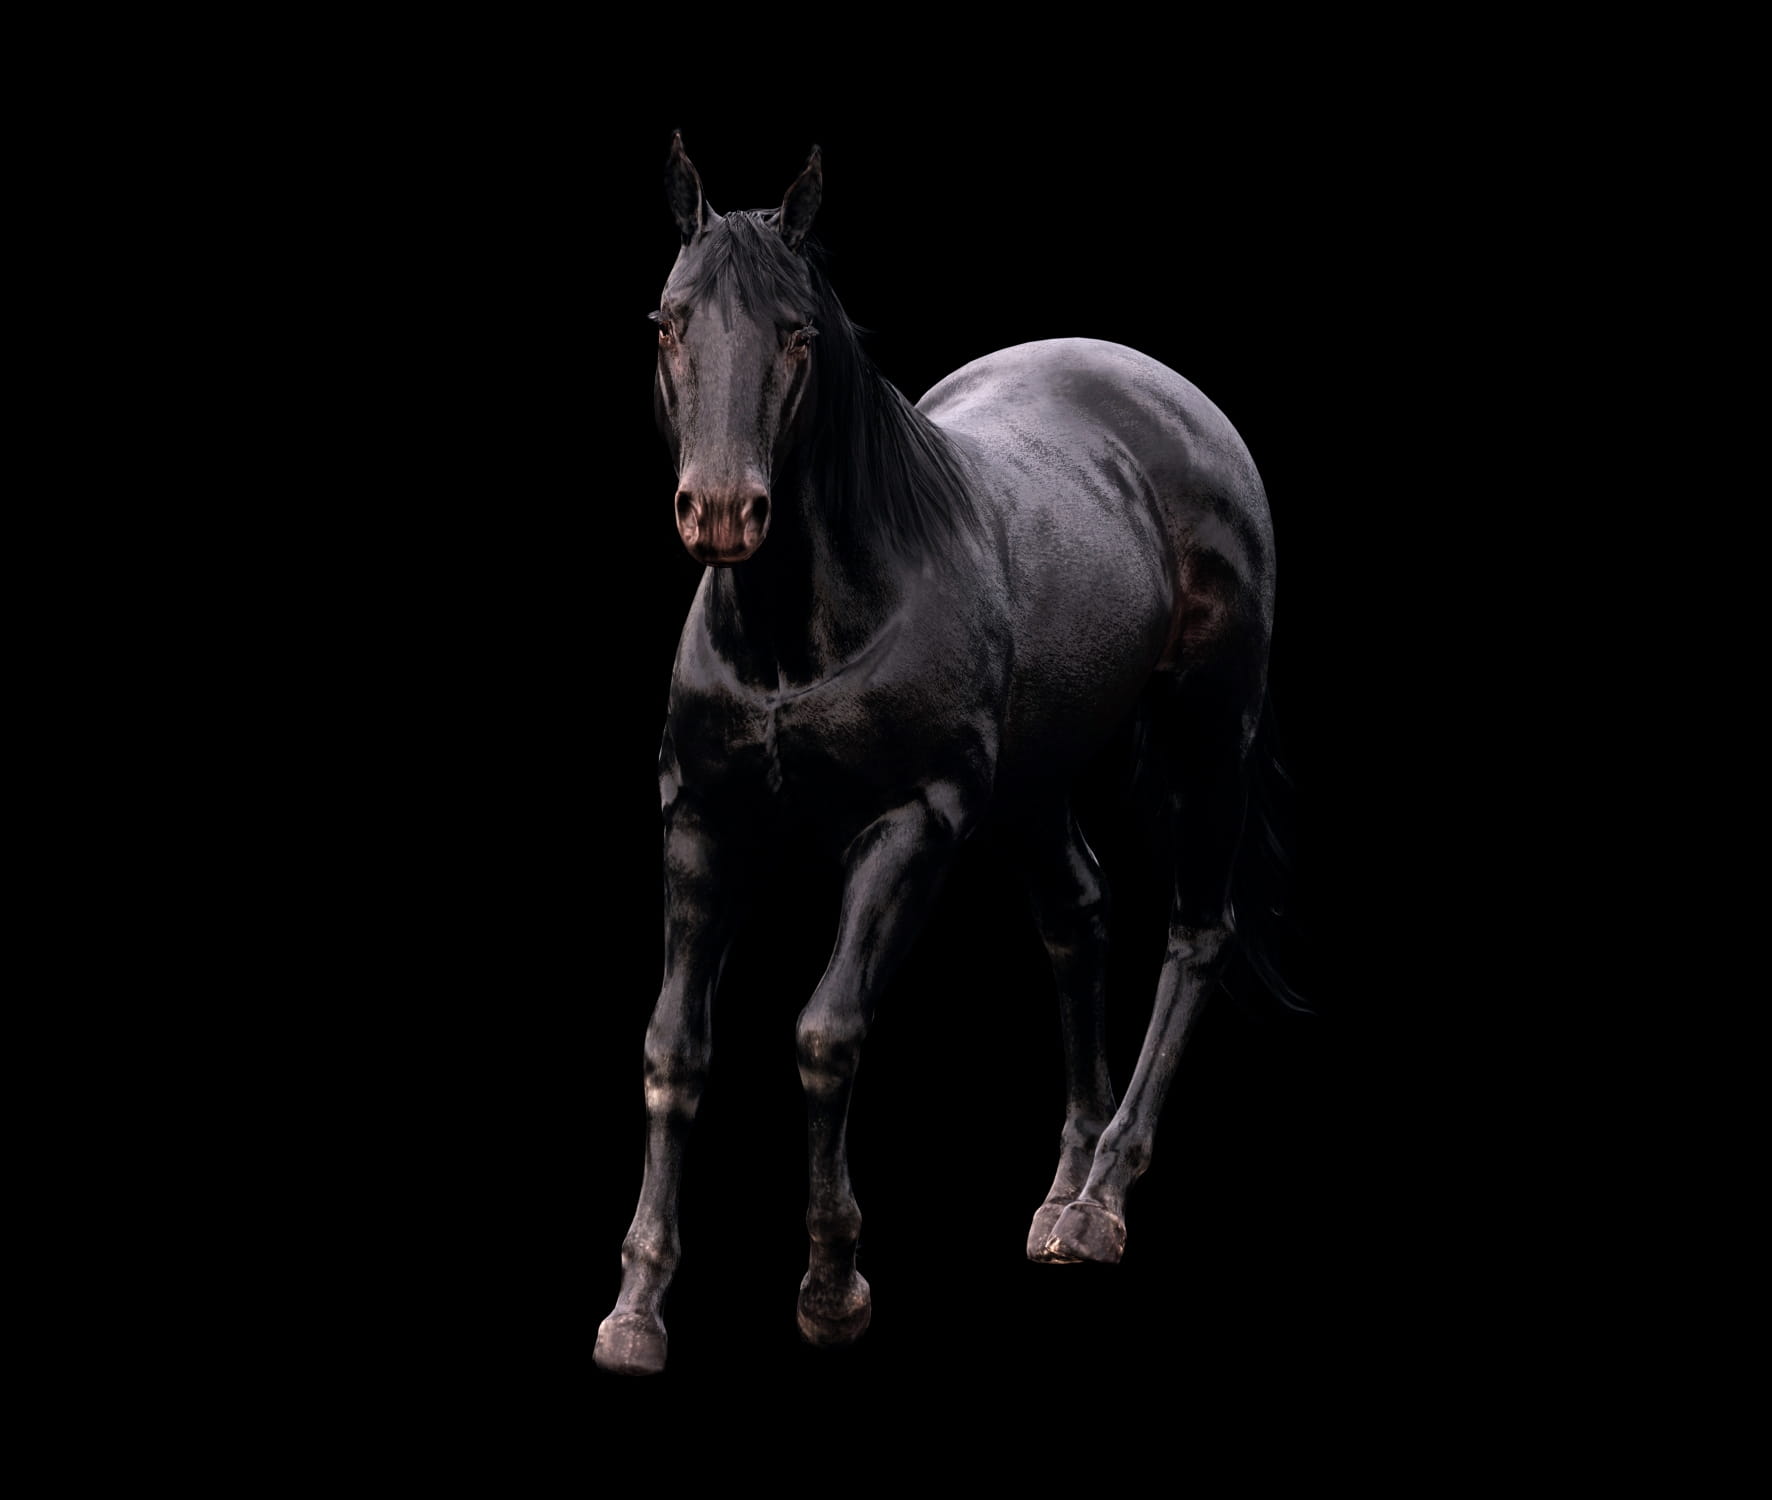
Modifications of horse texture and pose
To create the silhouette of a stranger in a cloak, we used anatomical reference Female 3D scan from Turbosquid, which was in the most appropriate position as an avatar – for the fabric simulation in Marvelous Designer.

Silhouette avatar

Lighthouse - cloak simulation
The most difficult element is water with foam and splashes. Water was created with Phoenix FD and converted to geometry using TyFlow.

Lighthouse - testing water simulation
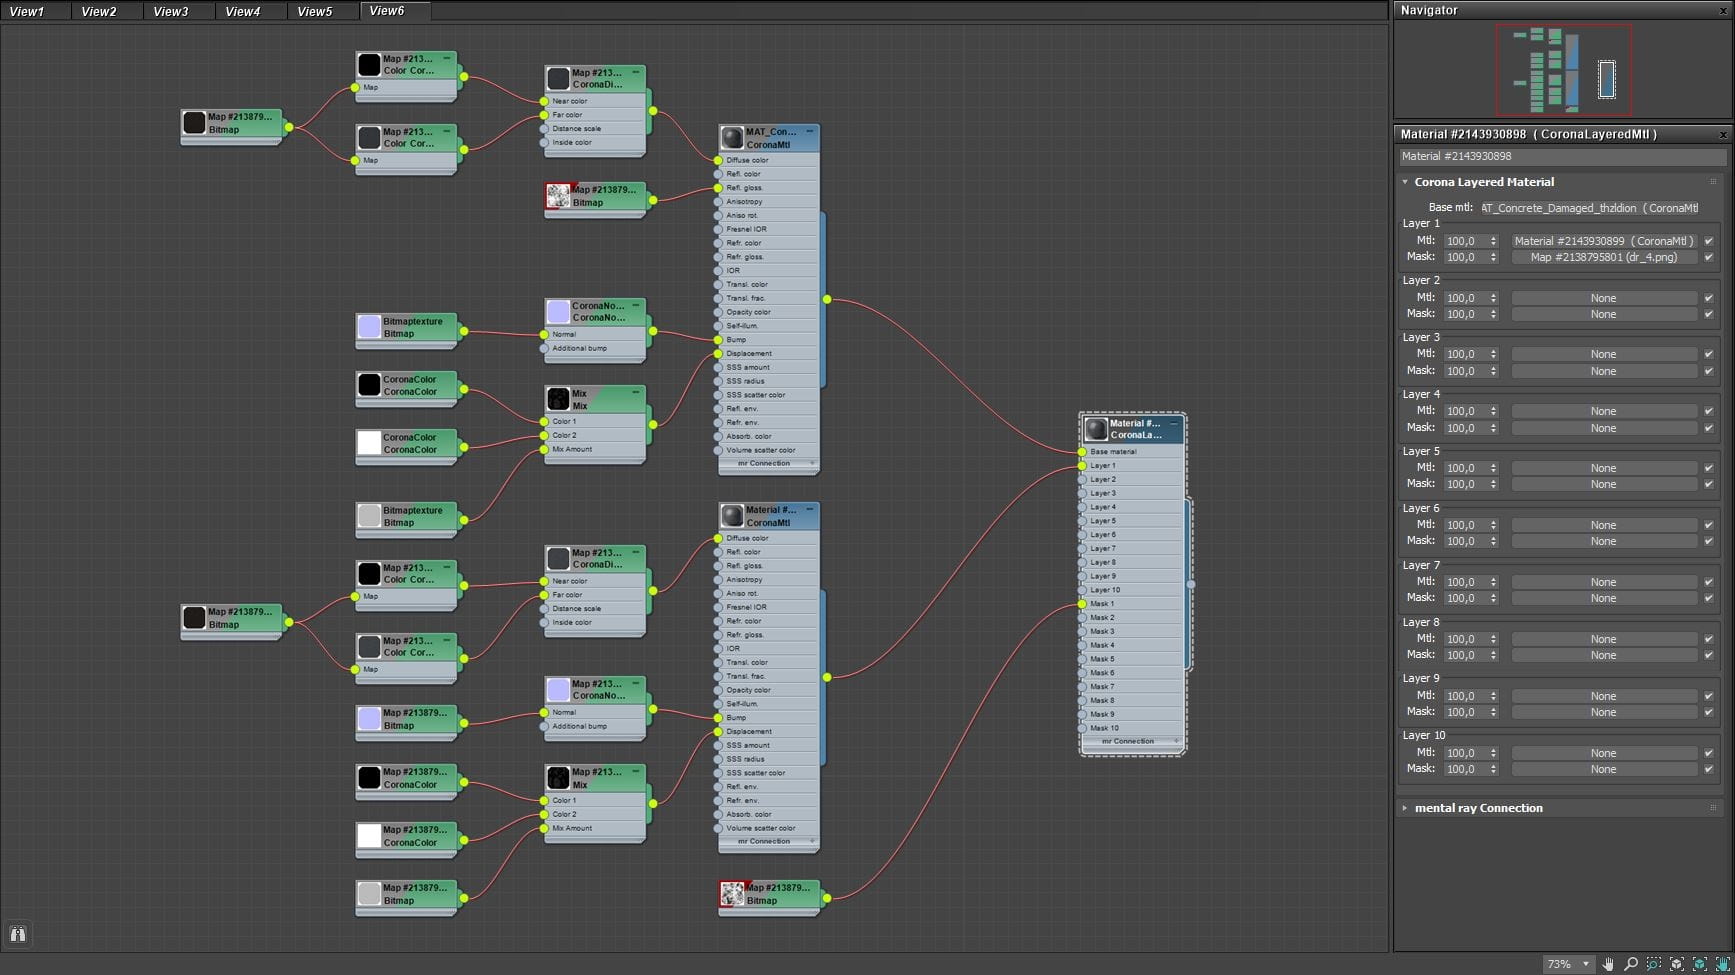
To enhance the foam water effect, we used a CoronaLayered material. For more detail in the foreground, we used a set of planes with Opacity material.
The effect of dry and wet sand on the beach was achieved using CoronaLayeredMaterial — two materials with different Reflection and Diffuse values combined with a mask.

Lighthouse - water modification
An enhancement of the glow effect of the atmosphere around the lantern was created using a spheres with emissive CoronaVolumeMaterial.

Lighthouse - emissive spheres
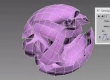
Rock
The foreground — the silhouette of the rock, and the mountains in the background was assembled from several sets of stones and rocks. There are no such ready-made solid models, so we collected rocks from different stones, which were adjusted to each other with the standard tool Push and Pull in 3Ds Max, textured with one stone texture, so that the shape looks complete at the end.

Rock - final render
Rock - collected foreground
The depth of the atmosphere was achieved used the CoronaVolumeMaterial. The house model with detailed interior and exterior elements, compositionally integrated onto the beach.

Rock - collected scene
The effect of dry and wet sand on the beach was achieved using a CoronaLayeredMaterial of two materials with different Reflection and Diffuse values and composited with a mask. Also this time with the help of a mask on the sand were added traces of horses. The mask with the traces was drawn in Photoshop with the help of a brush in the shape of a hoof print on the sand.

Rock - mask for footprints
Arranged horse model with pre-configured RIG animation. The same horse model you saw in the Lighthouse image was used here, but for variety, with different skeleton animation settings and fur color.

Rock - horses animation
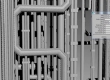
Meeting
The main task of this part of the project was the integration of the 3d model into the video. First, we do a video tracking in the SynthEyes to get a 3D camera on which in the future we will shoot our house.
![]()
Meeting - camera tracking
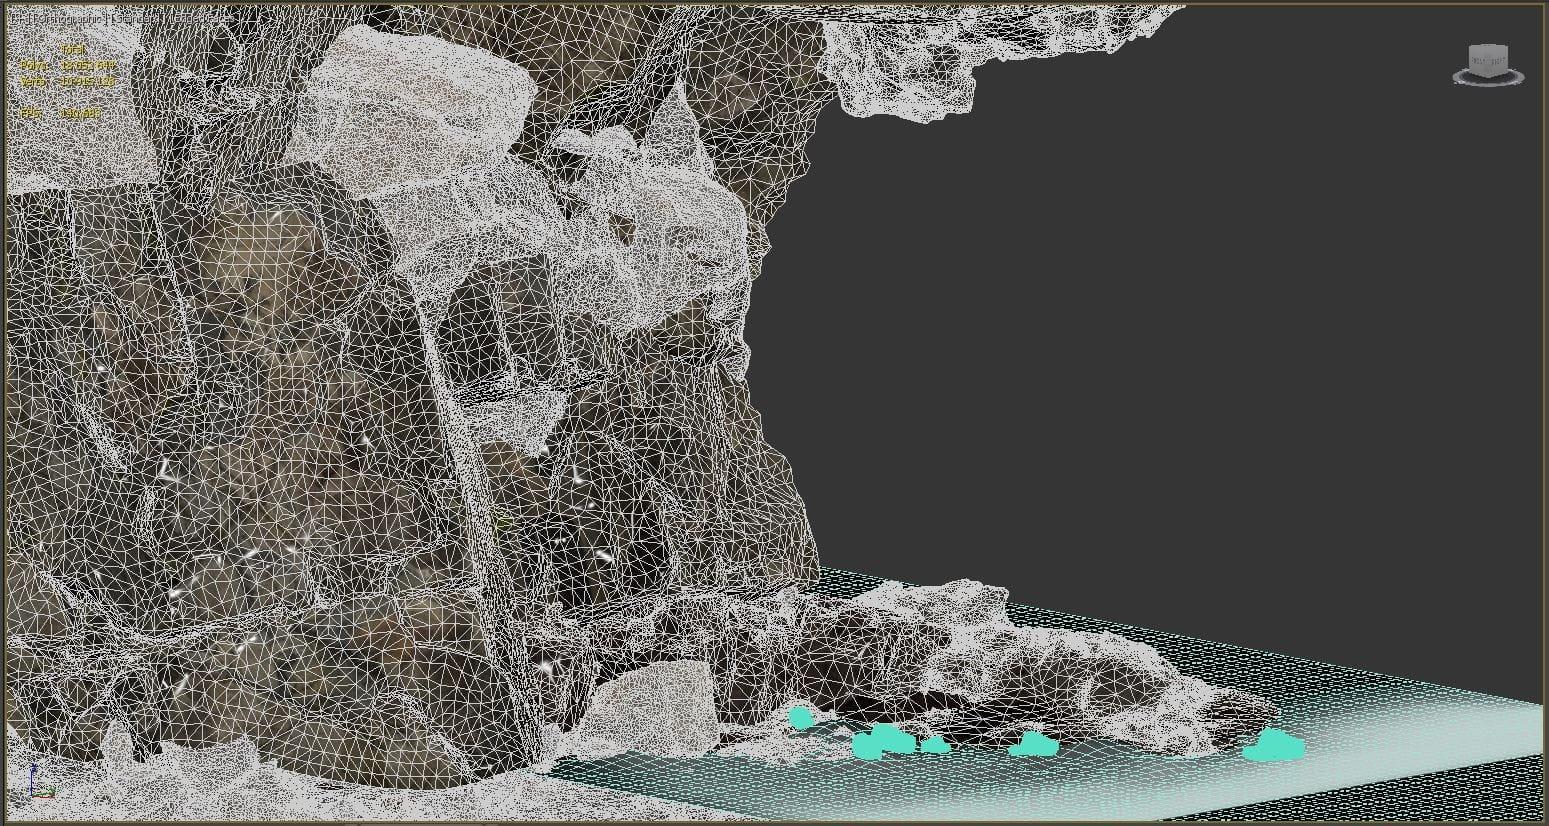
Next, we make a house model for scaling the camera in SynthEyes. Scale and import the camera into the 3DS Max environment. Putting together a detailed scene for integration into the video. We set up the light, similar to the video. Set up a CoronaShadowCatcher material for the surface that mimics the beach surface in the video. Setting up the masks for rendering. We render and save the sequence in EXR format, it will include all rendered masks for post-correction.

Meeting - house rendering
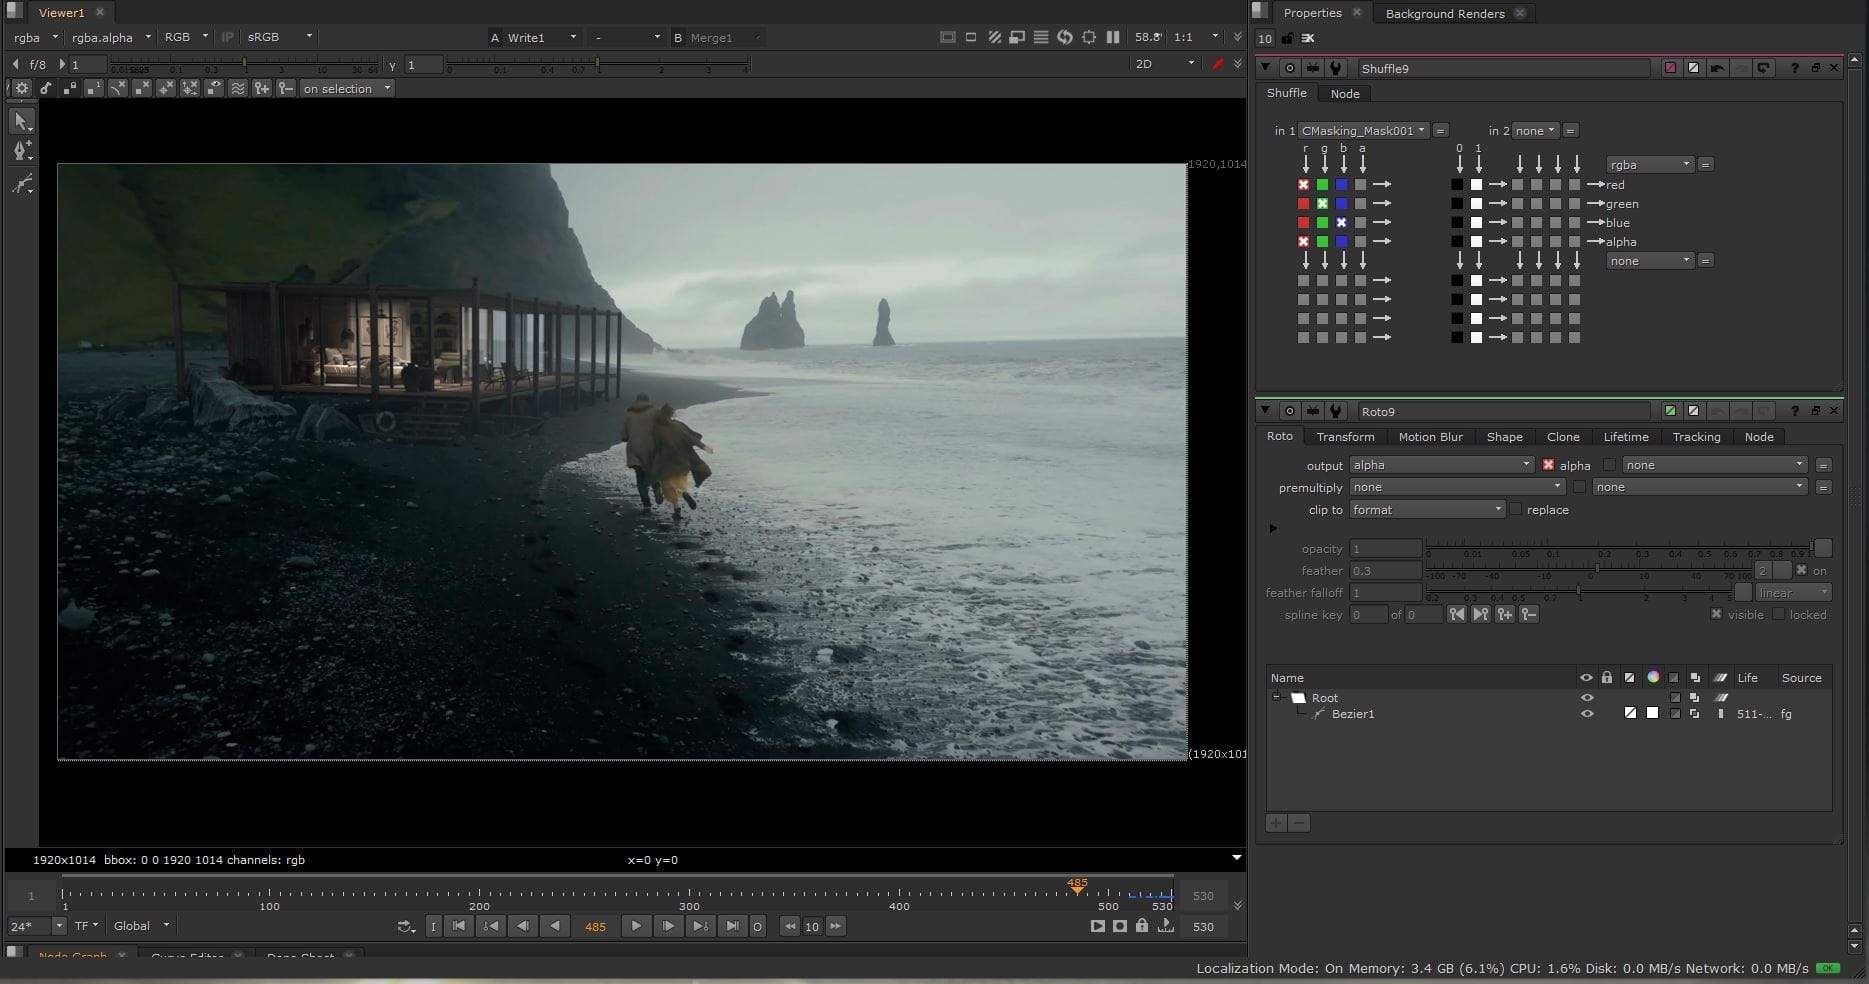
Next, we import the sequence into the Foundry Nuke environment. Cut out the plan of the running people that are superimposed on the rendered house.

Meeting - work in Nuke
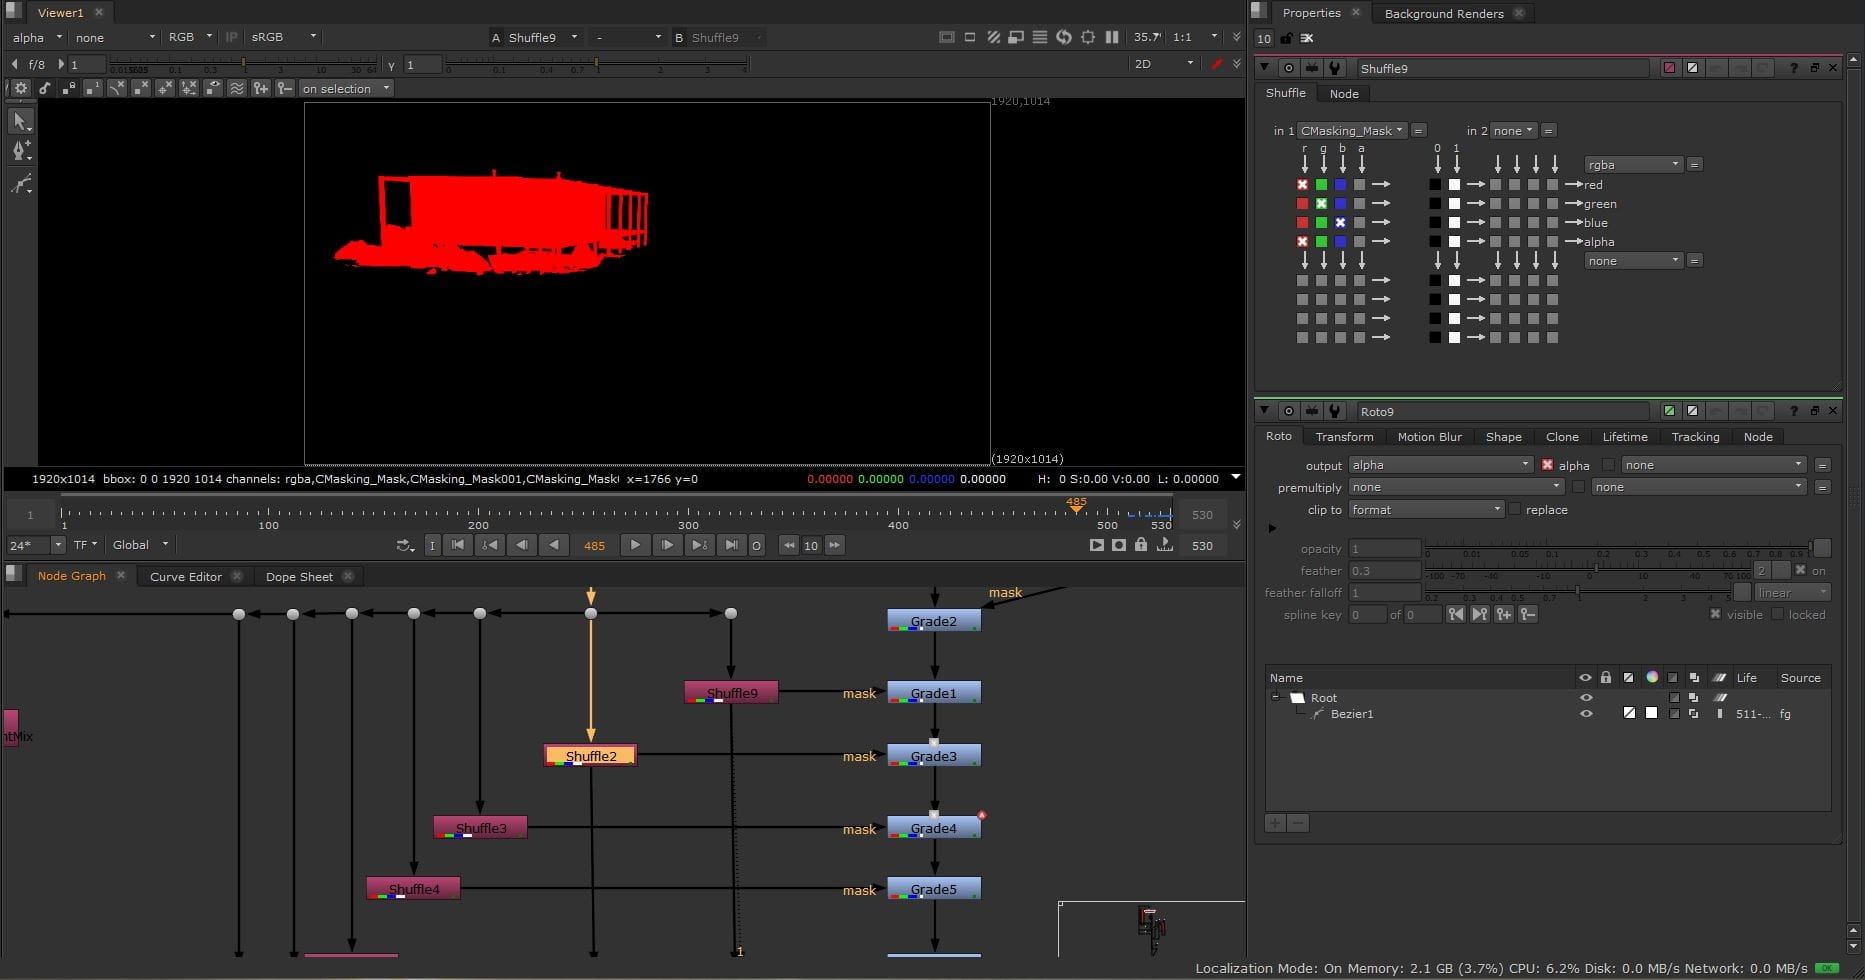
Meeting - using masks in post correction

Meeting - using masks in post correction, pt.2
Finally, we made our post-correction using masks and Nuke tools.

Meeting - a map of the fog that was rendered for the house

Meeting render (without post-processing)
Meeting render (with post-processing)

Meeting (frames)
Meeting - wipe transition
Sculptures
We have created a composition of sculptures with characteristic light to emphasize the silhouettes of foreground objects.

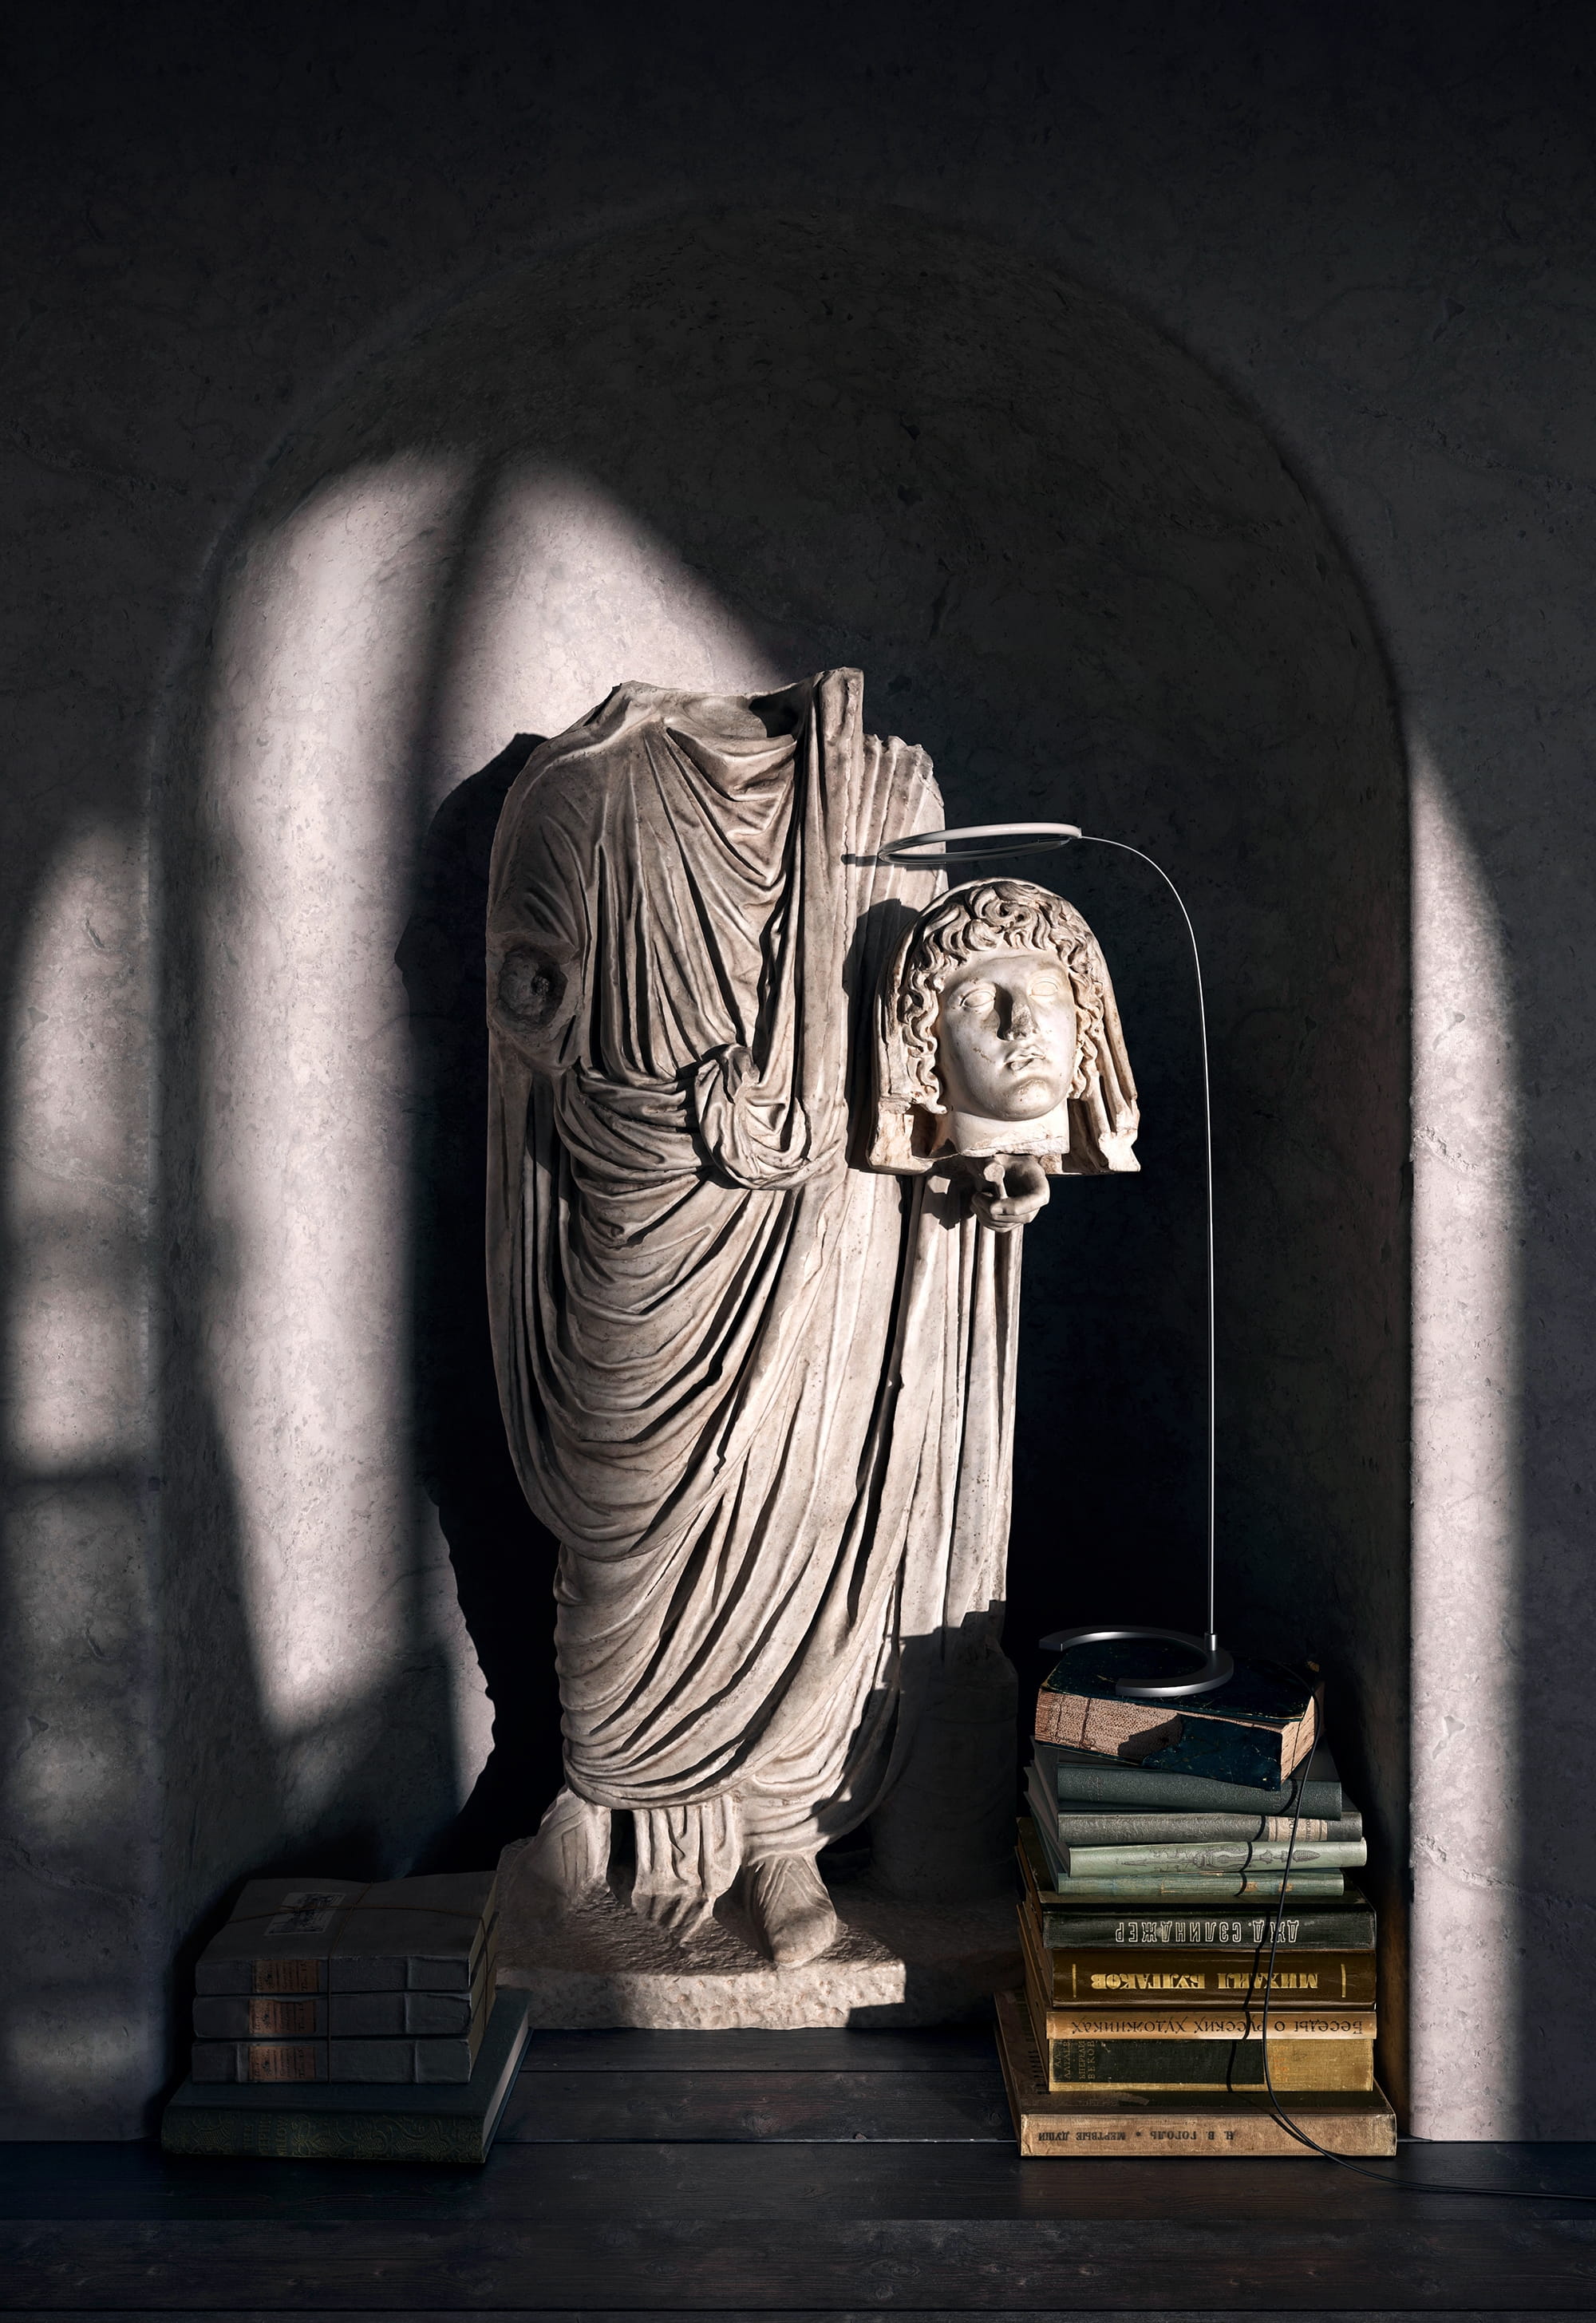
Scuptures - first picture, final render without cape

Scuptures - first picture, final render with cape
A cape simulation was created in MarvelousDesigner.

Sculptures - cape simulation
For the cape, we created a material with a translucent effect as PVC film.

Sculptures - material test
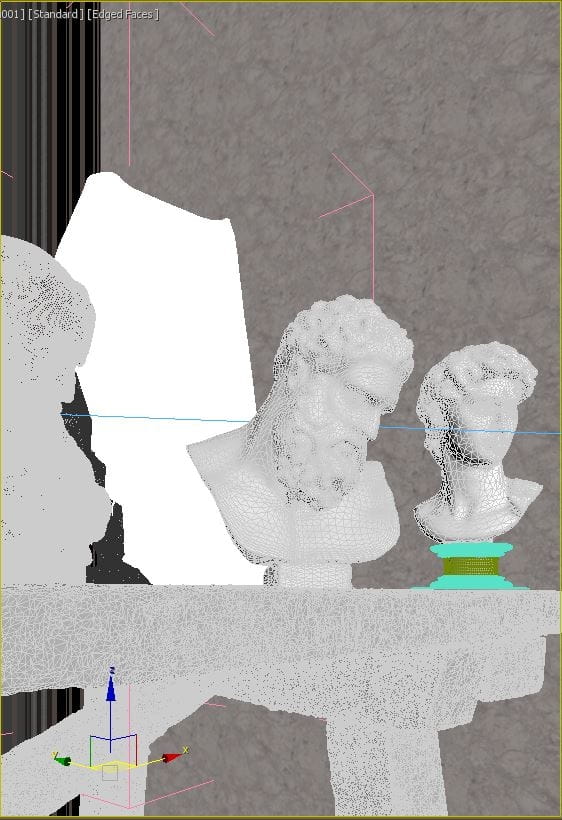
Sculptures - first scene

Sculptures - first scene, PVC film material
Sculptures - second picture, final render, static
We collect another composition.

Sculptures, second picture - scene
And set up lighting like neon flickering in AdobePremiere.
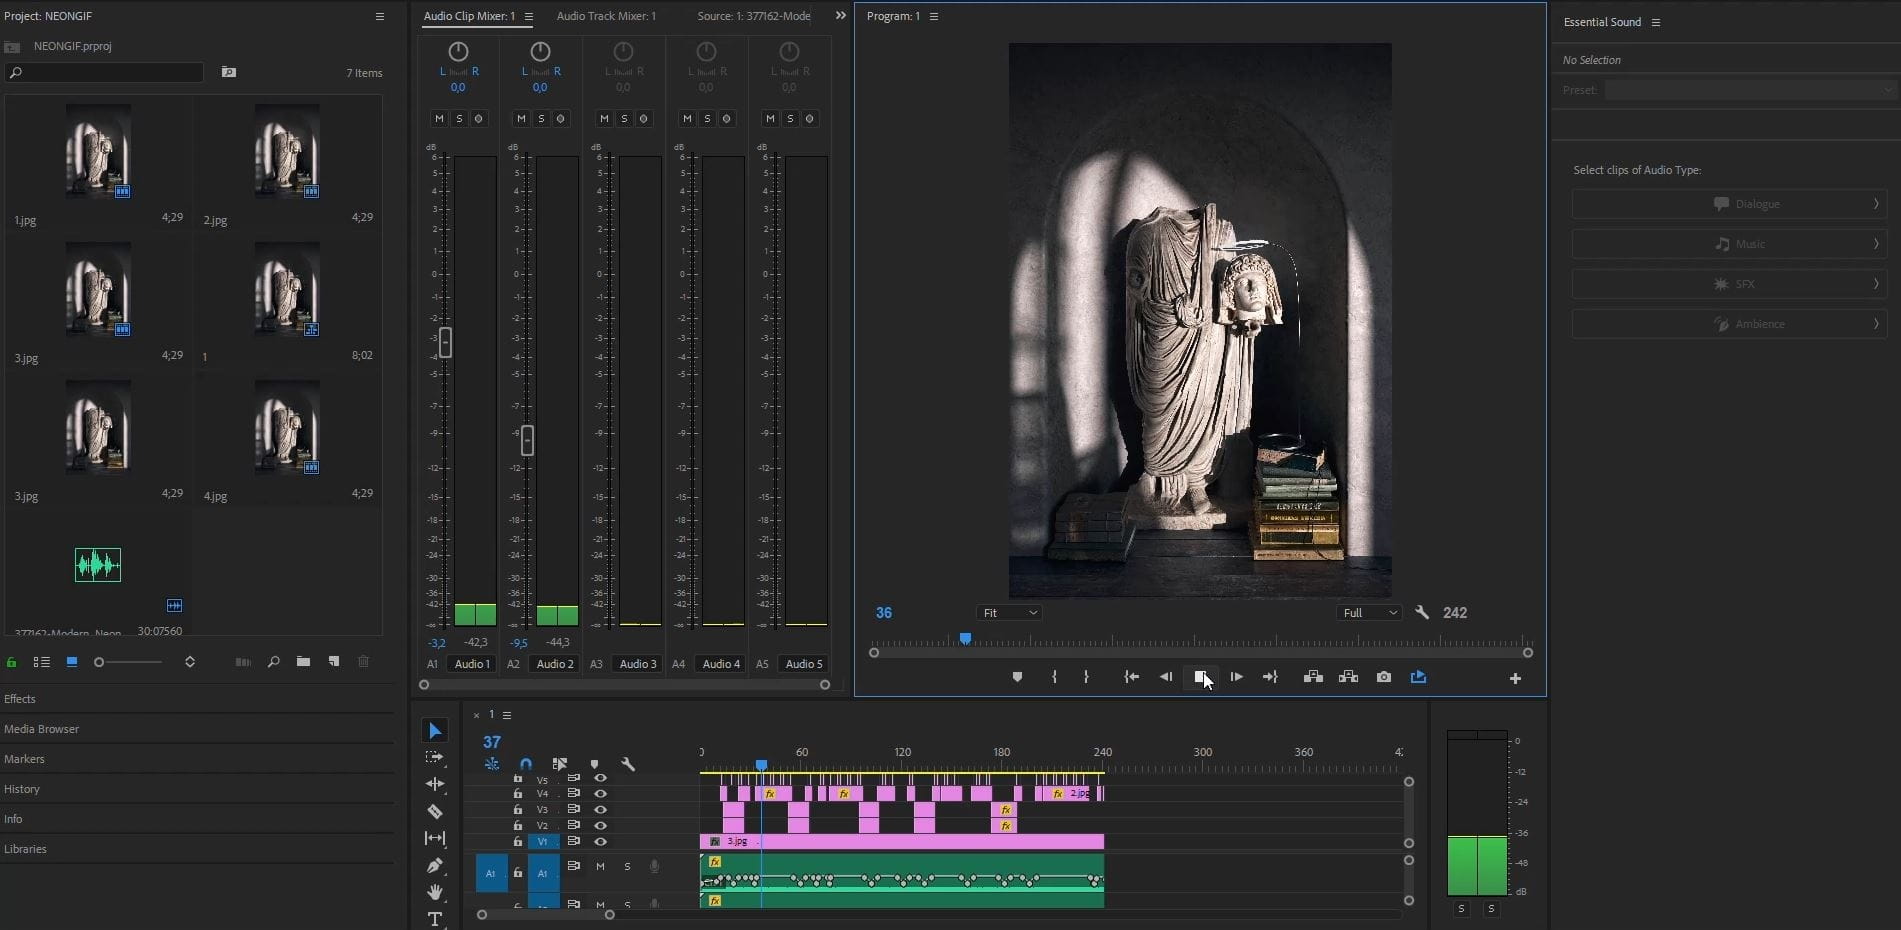
Sculptures - masking of flickering effect
Sculptures - animation
Aquarium
To emphasize the composition of this image, we applied the DeptOfField effect.

Aquarium - final render, static

Aquarium scene
The most interesting elements are the fishes in the aquarium. We animated the static model of the fish in 3ds Max by creating a skeleton for the shell and setting up RIG. We created two layers of animation — one for animating the skeleton of the fish, and the second for animating their trajectory.

Aquarium - rig animation
Post-correction was done in Photoshop — to enhance contrast and emphasize image elements and after we render animation in Adobe Premiere.
Aquarium - final animation
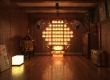
Bathroom
The most interesting elements of this image are the materials of the surfaces.

Bathroom - final render
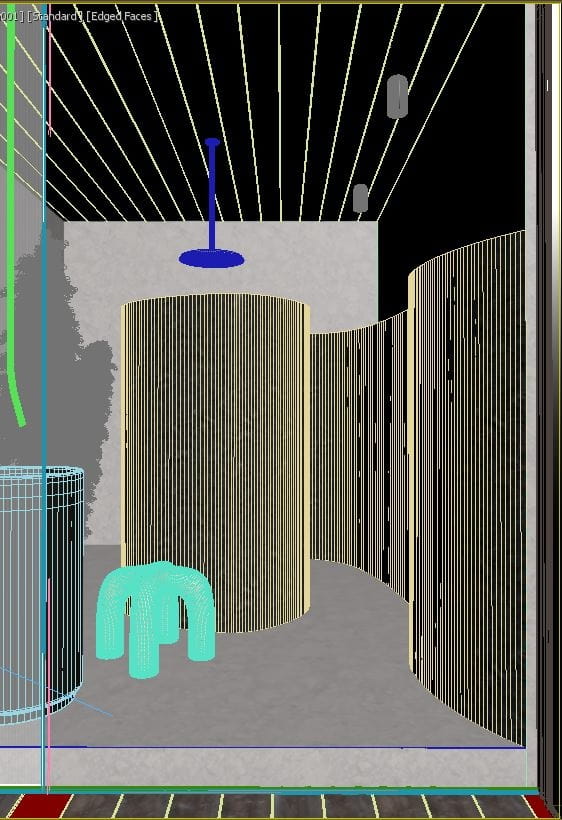
Bathroom scene
Bathroom, shower material sample
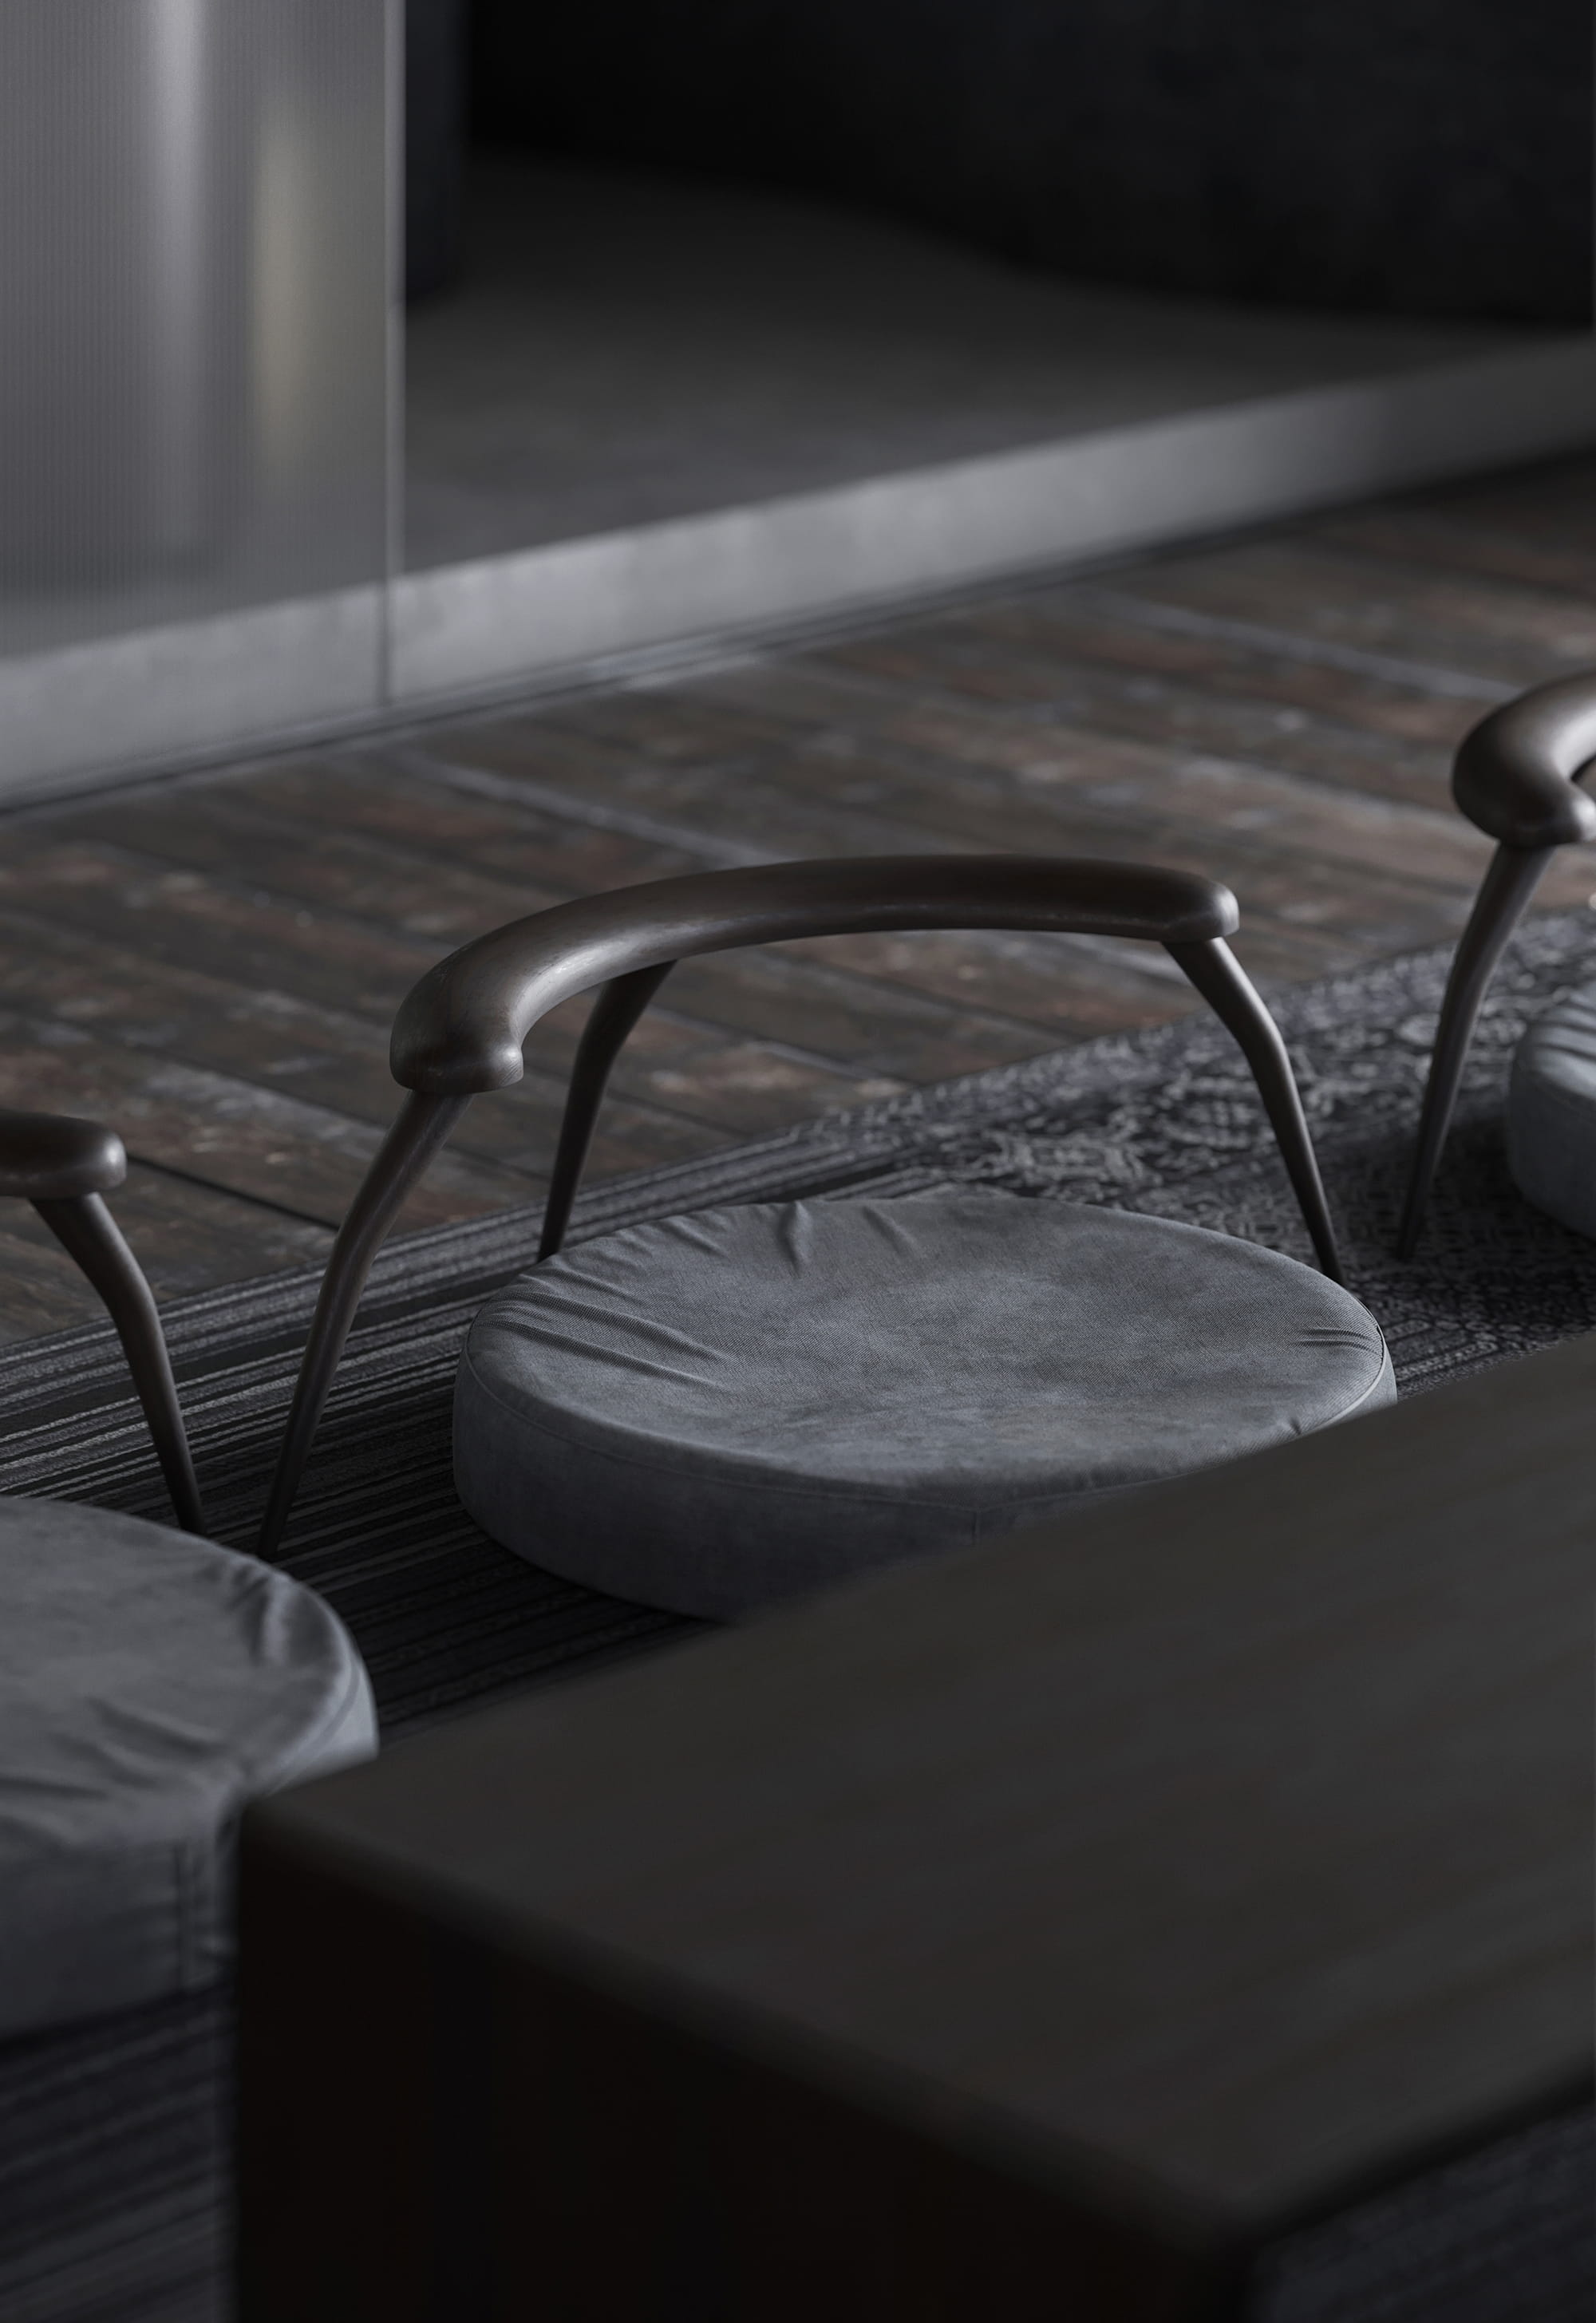
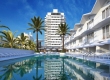
Living rooms
The main goal of this compositions was to integrate the animated background into the static renders.
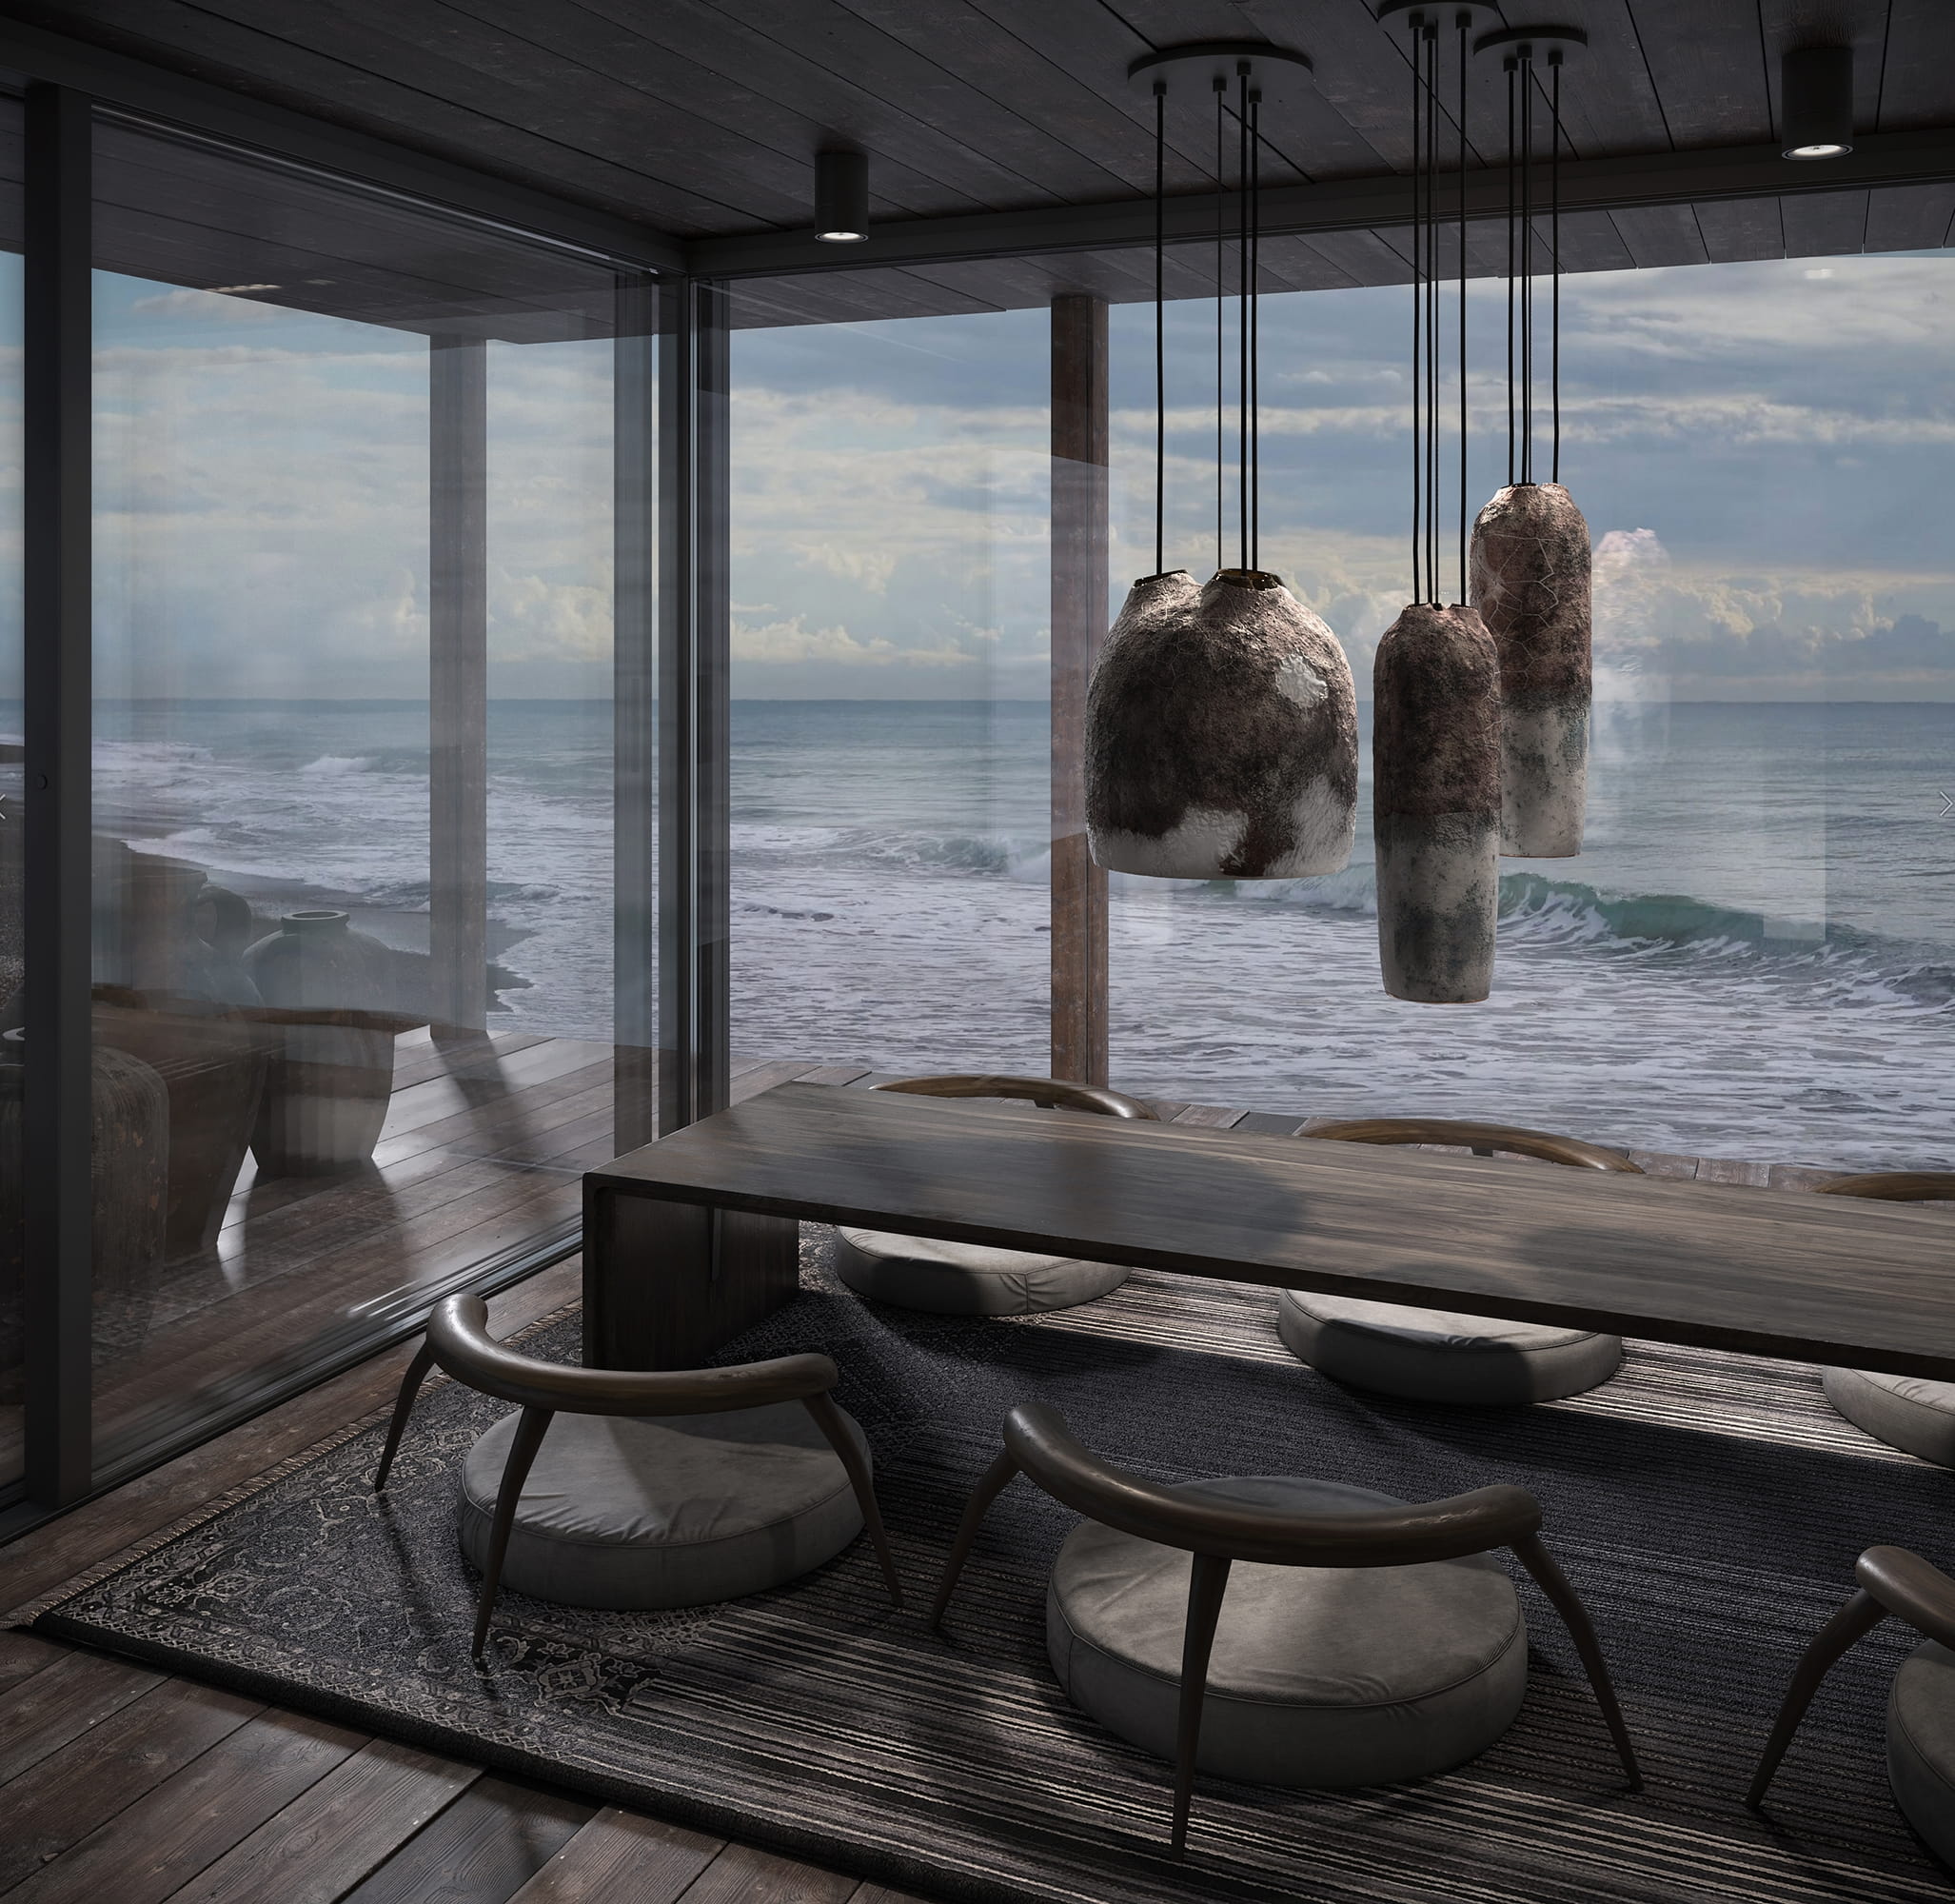
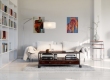
Living room 1 final render
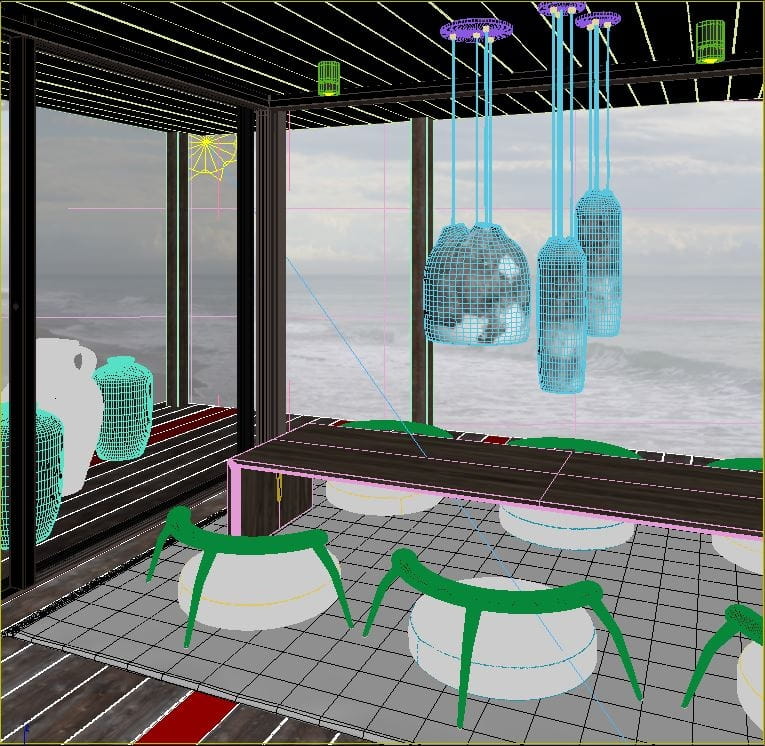
Living room 1 scene

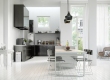
Living room 2 final render

Living room 2 scene
For the interior, we model chairs and a table in 3ds Max.

Living room - modeling
Importing the chair seat model into MarvelousDesigner. We make a pattern of elements and sew with the following settings.
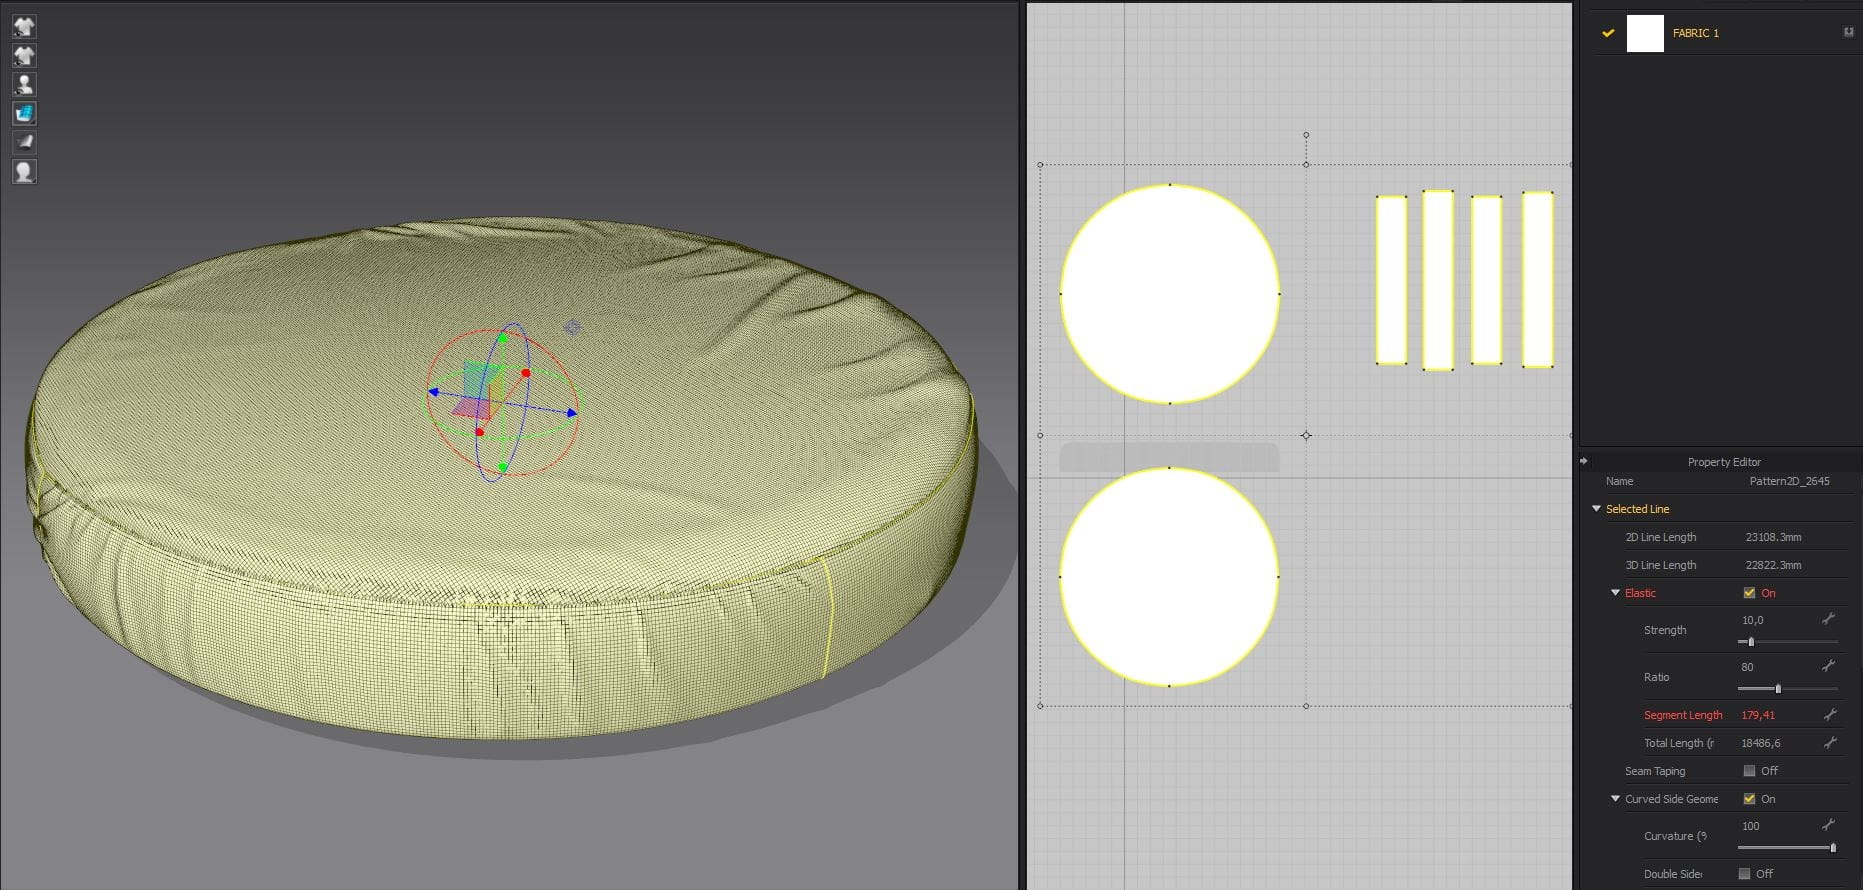
Living room - Marvelous Designer simulation
Import the seats into 3ds Max, set up Unwrap UVW. Setting up wood and fabric materials.

Living room - Unwrap UV
Living room - material testing
We perform post-correction of the render. Importing the render and animated background into Adobe Premiere. Loops the background animation, doing color correction.

Living room - compositing
Living room 1 animation
Living room 2 animation
Making of (movie)
We hope that you were interested and this tutorial will help you with your projects.

LEAVE A COMMENT


|

|

|

|

|
 Customer zone
 Your special offers
 Your orders
 Edit account
 Add project
 Liked projects
 View your artist profile
COMMENTS