We use cookies to provide you with the best possible experience. They also allow us to analyze user behavior in order to constantly improve the website for you.
The consent is voluntary. You can withdraw it at any time or renew it in Cookie settings on the home page. Withdrawal of your consent does not affect the lawfulness of processing performed before the withdrawal.
Privacy Protection Policy
The breakdown of the fourth scene from Archinteriors for Unreal Engine vol. 3.
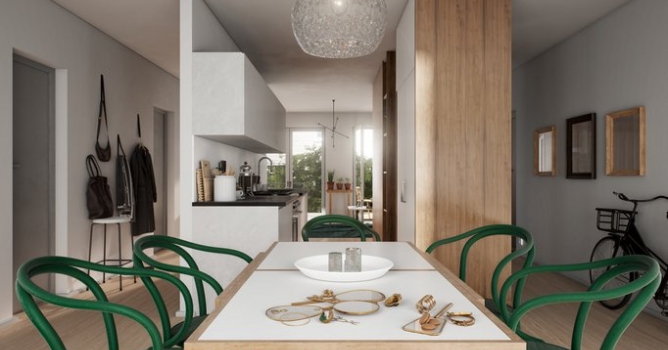
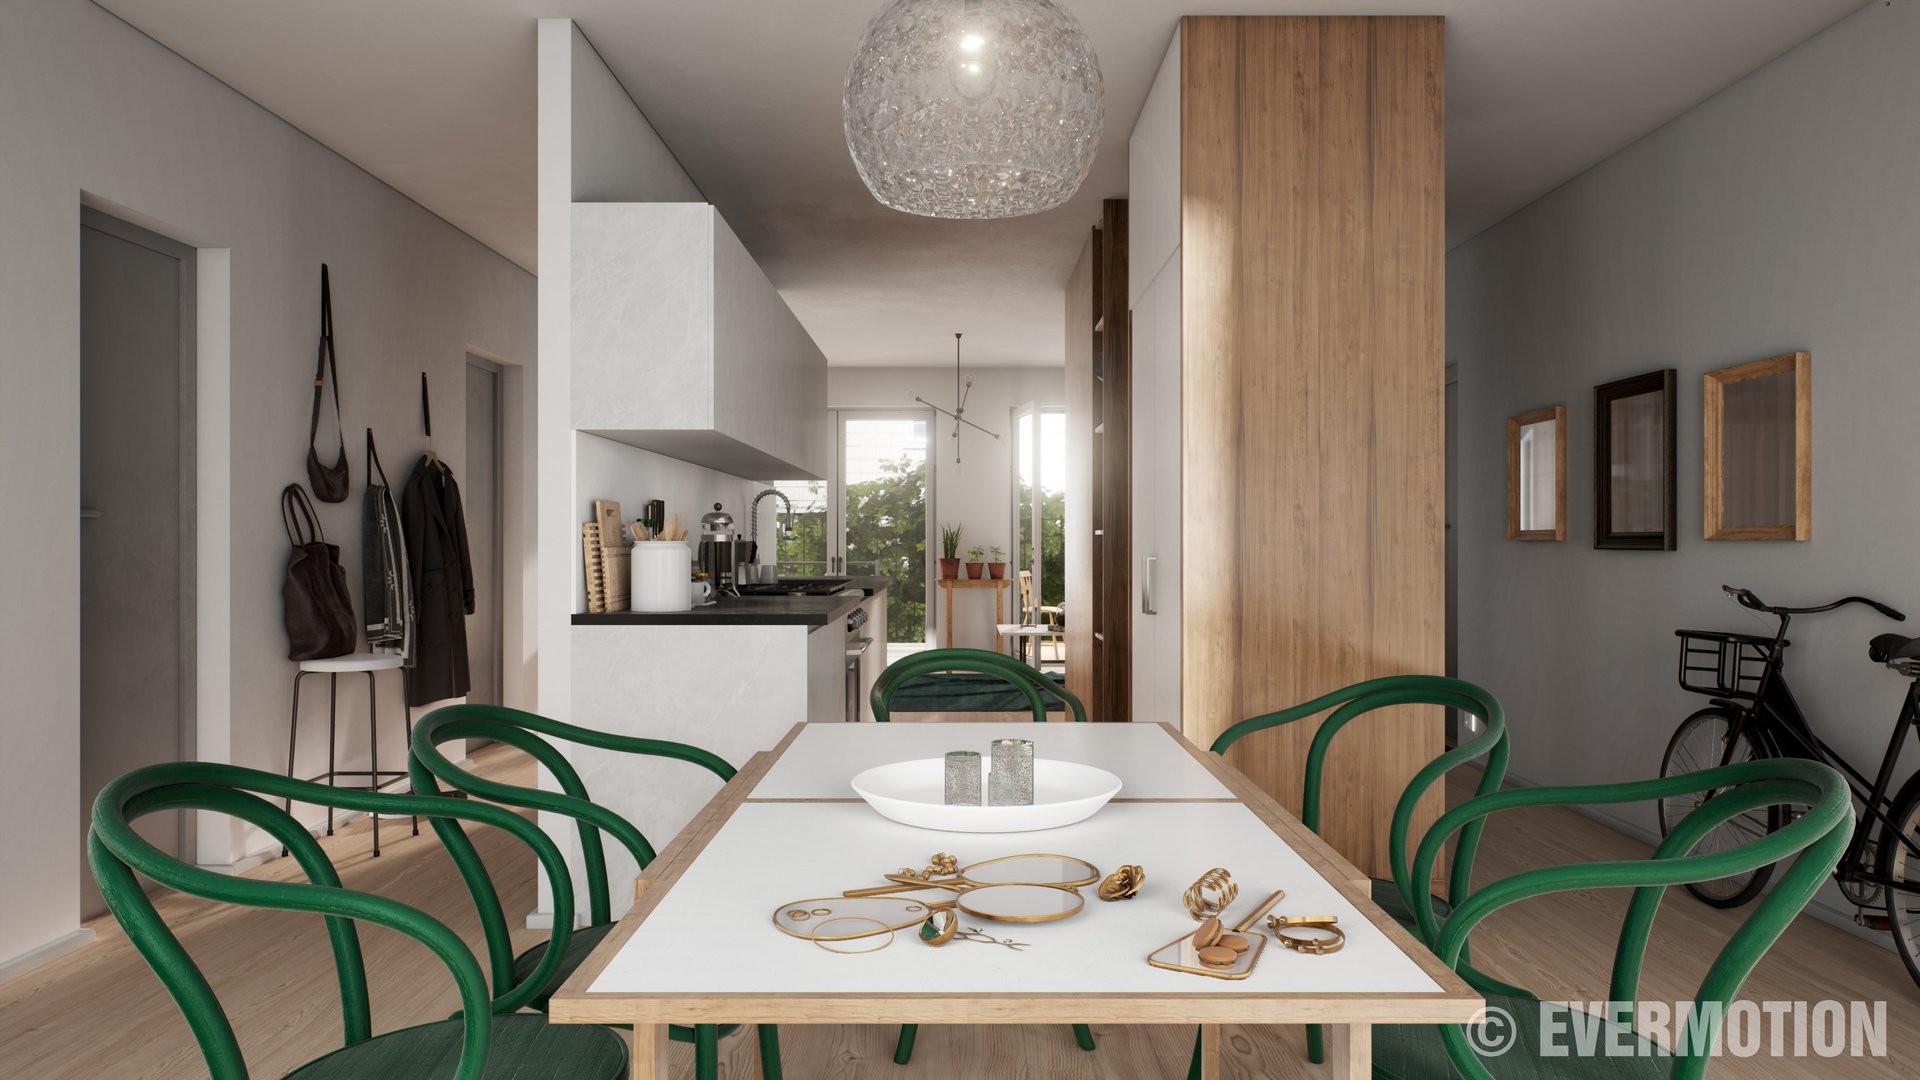
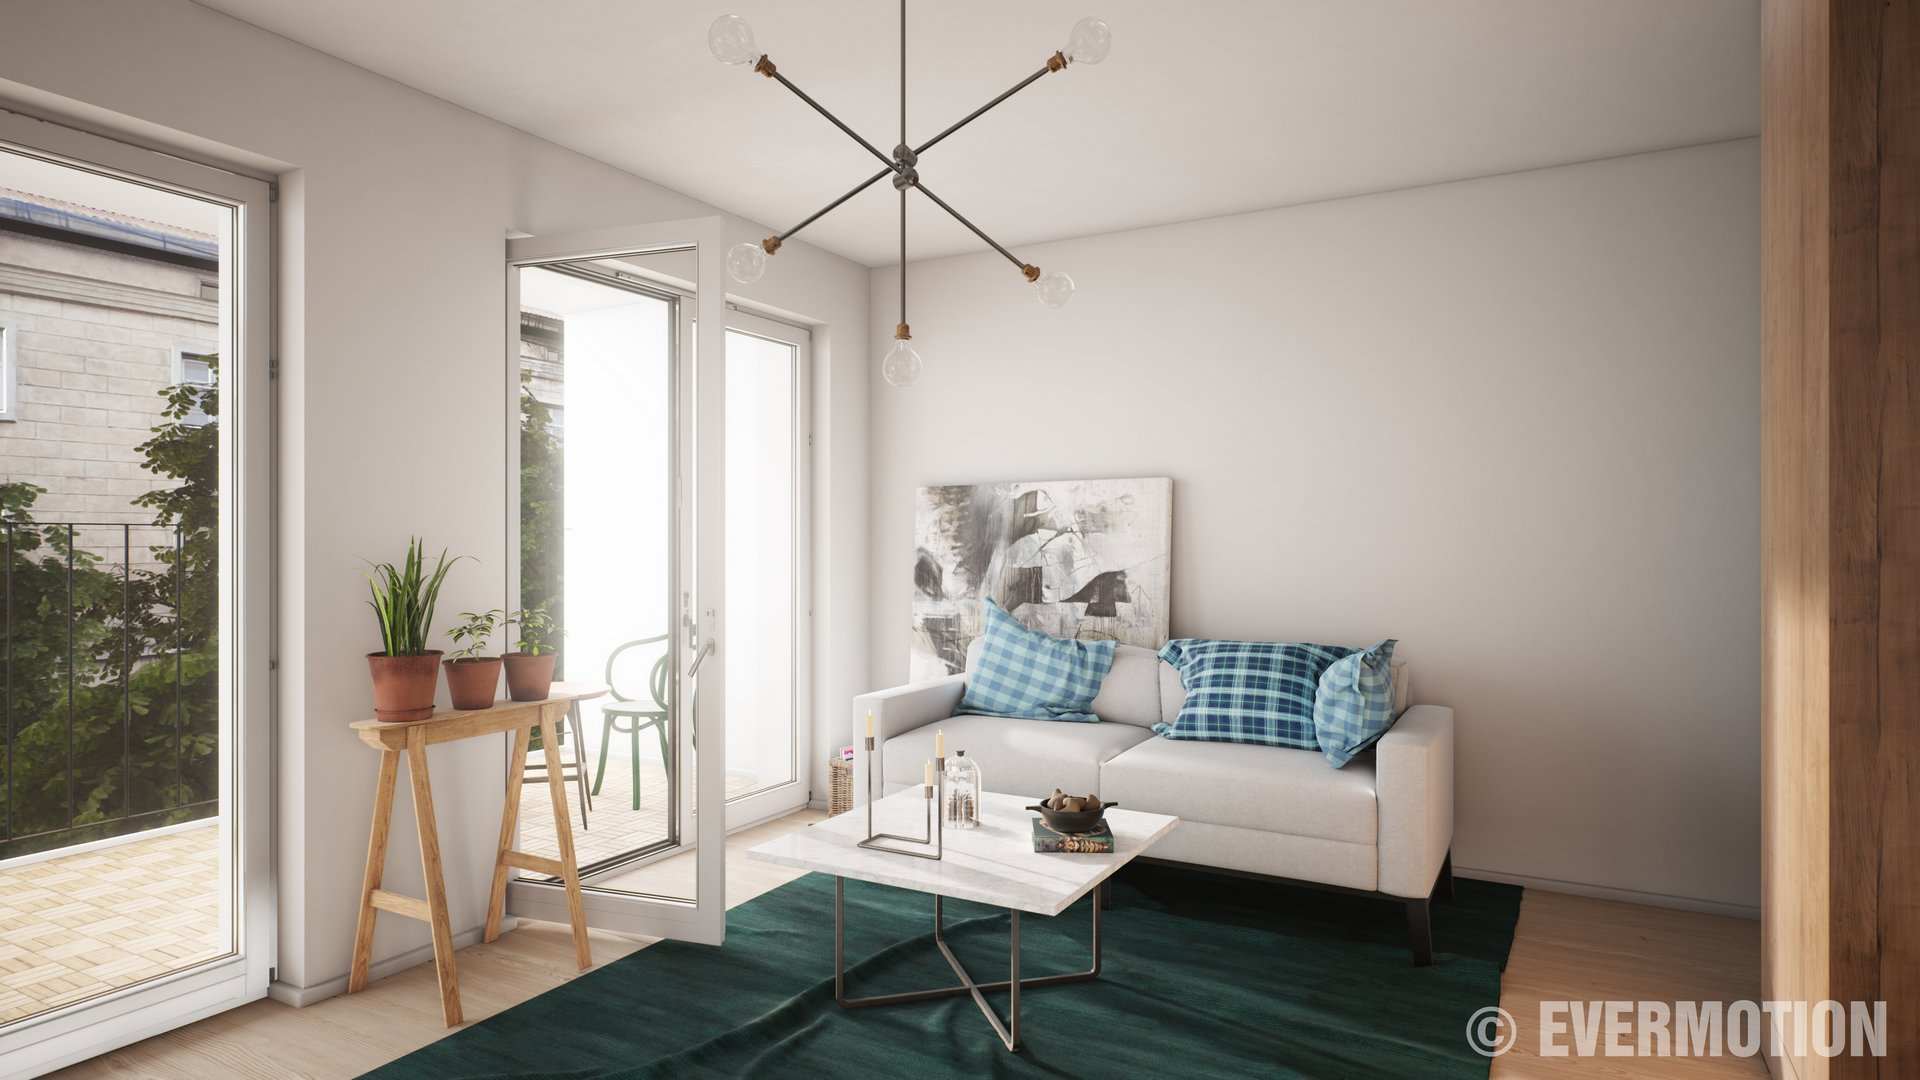
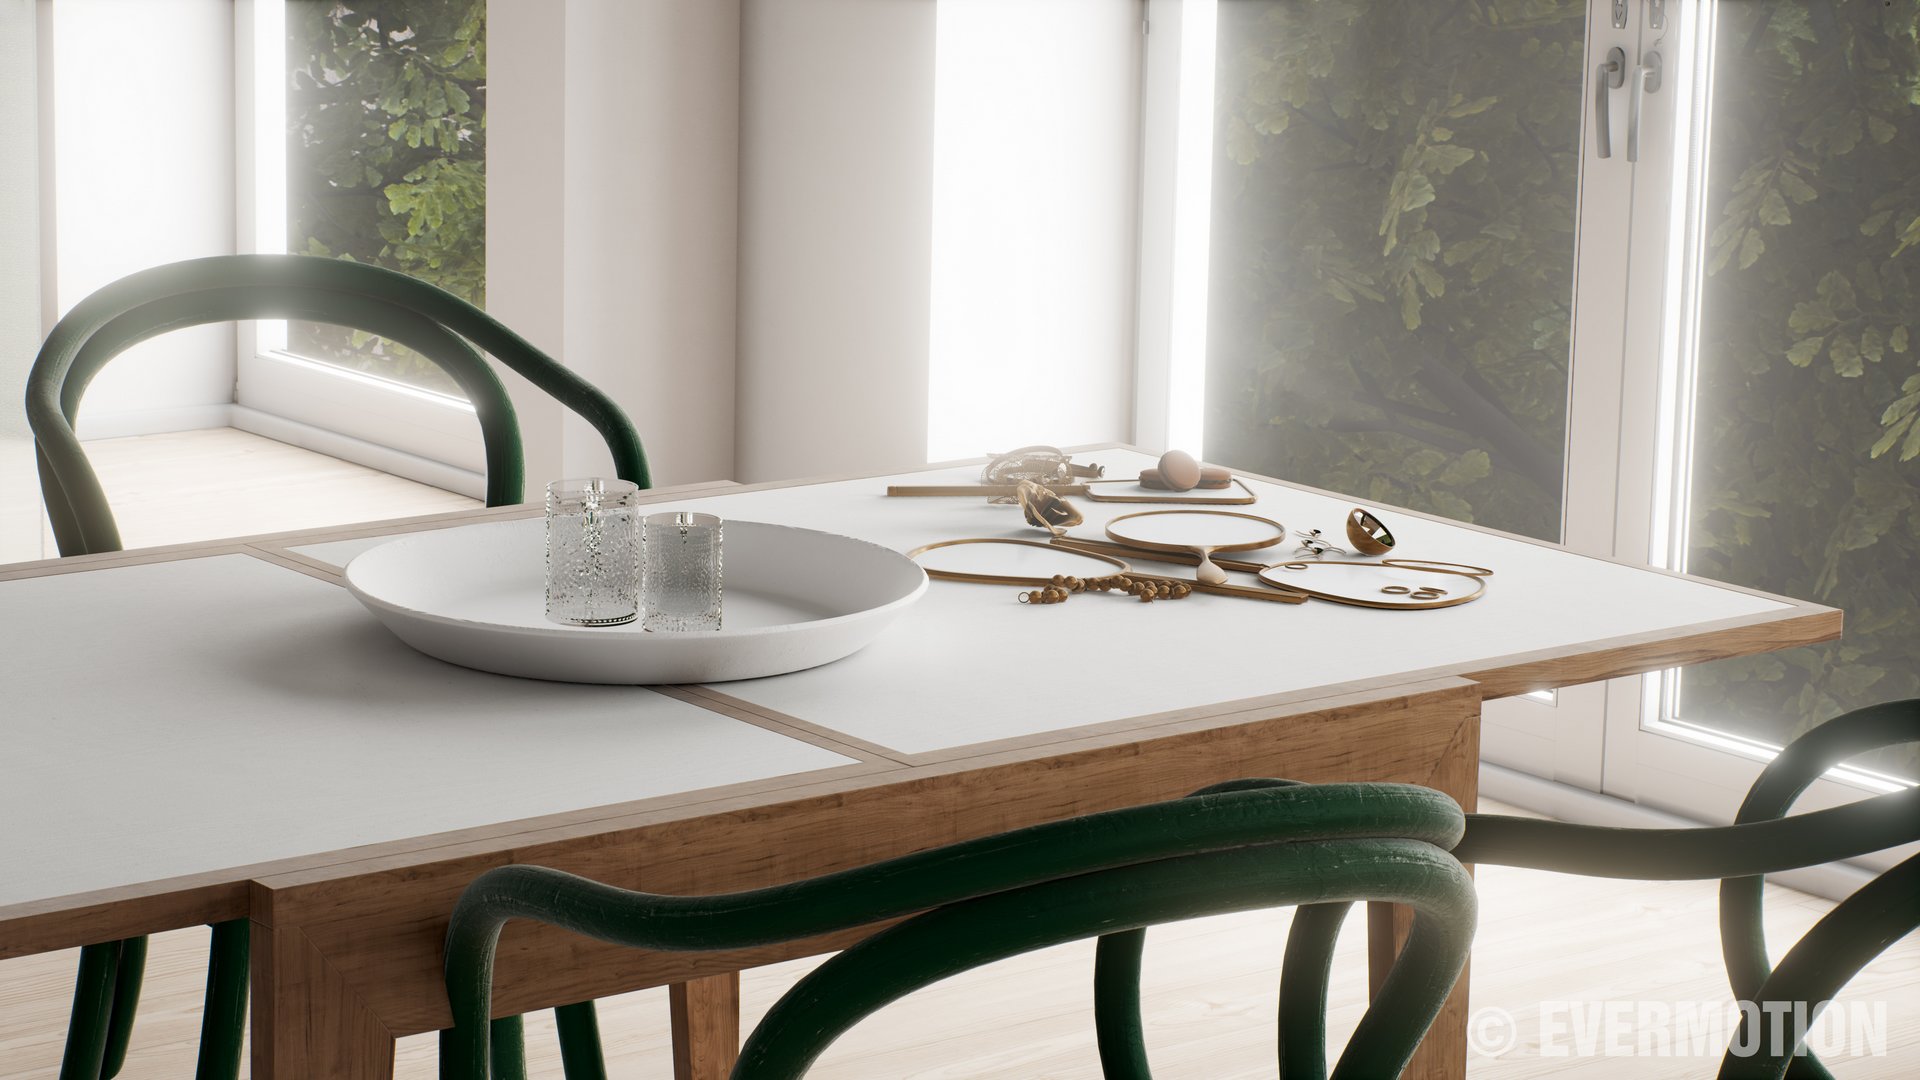
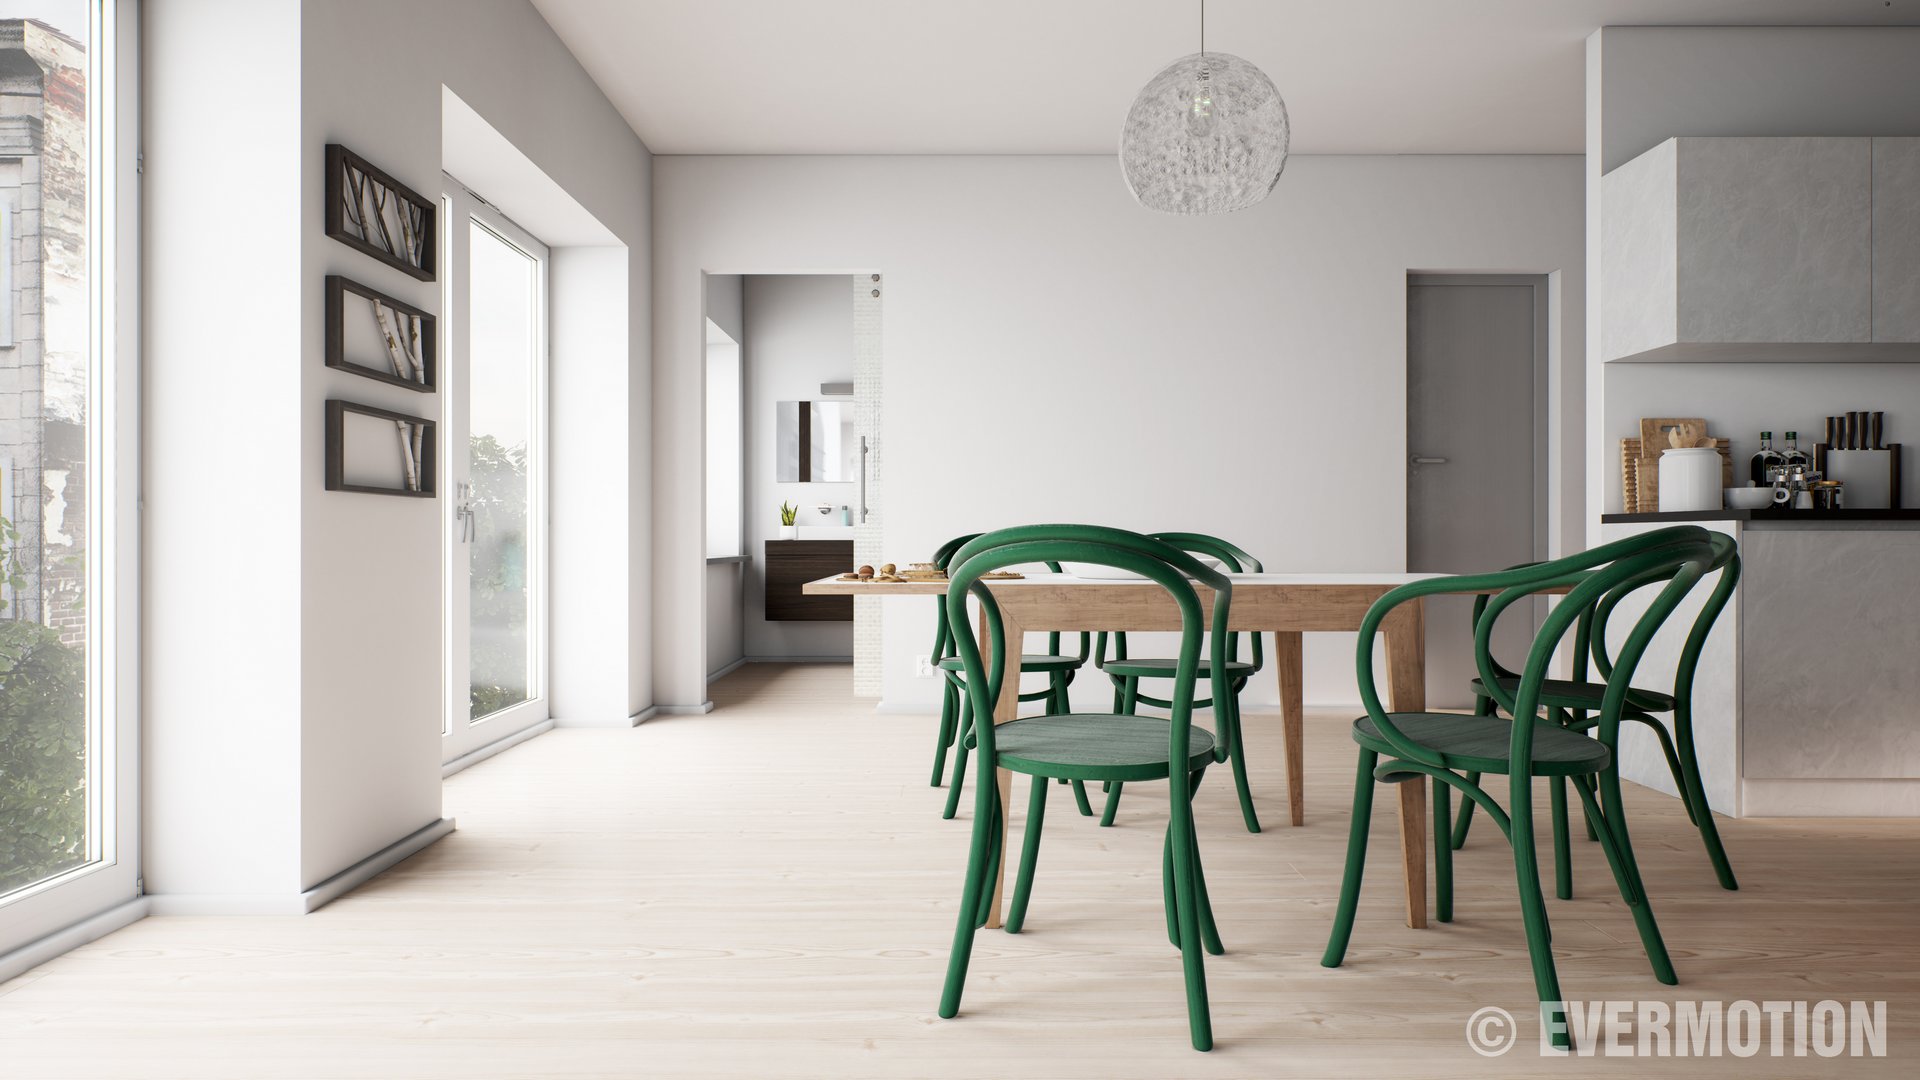
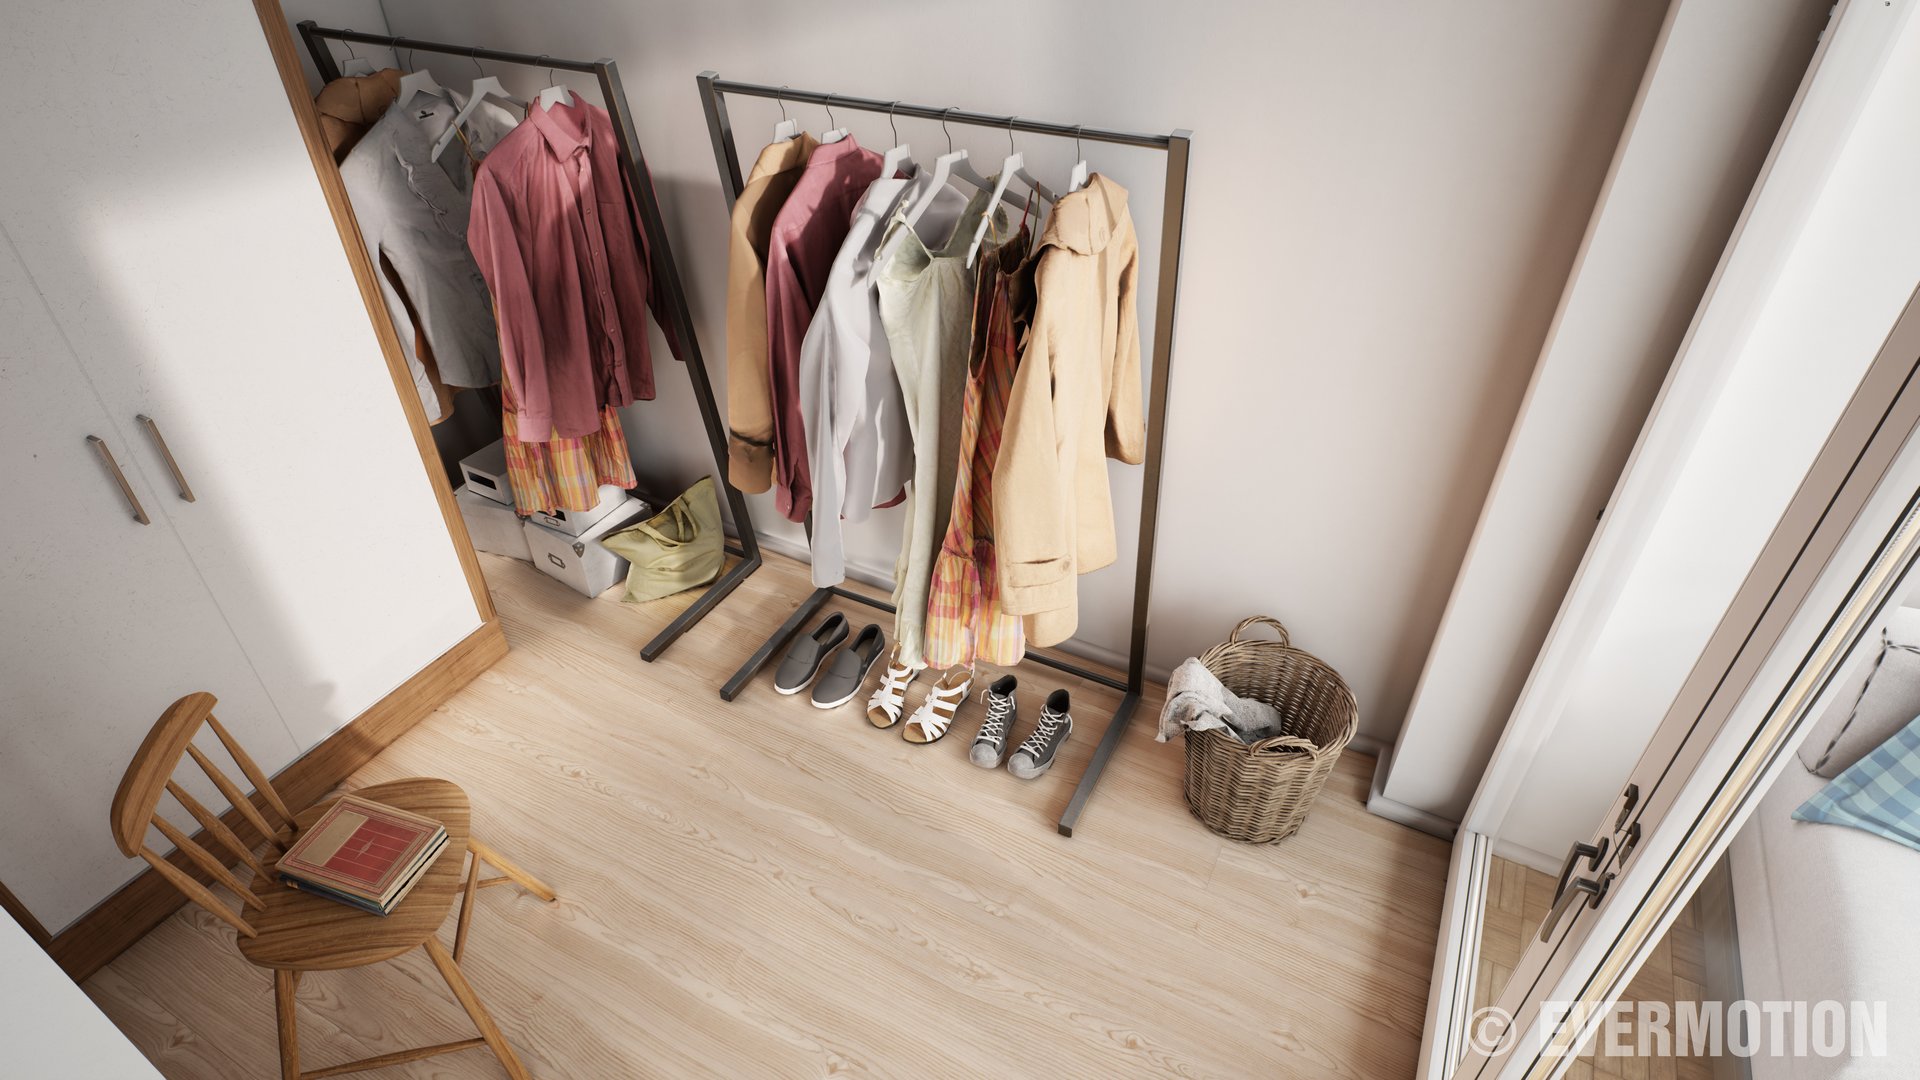
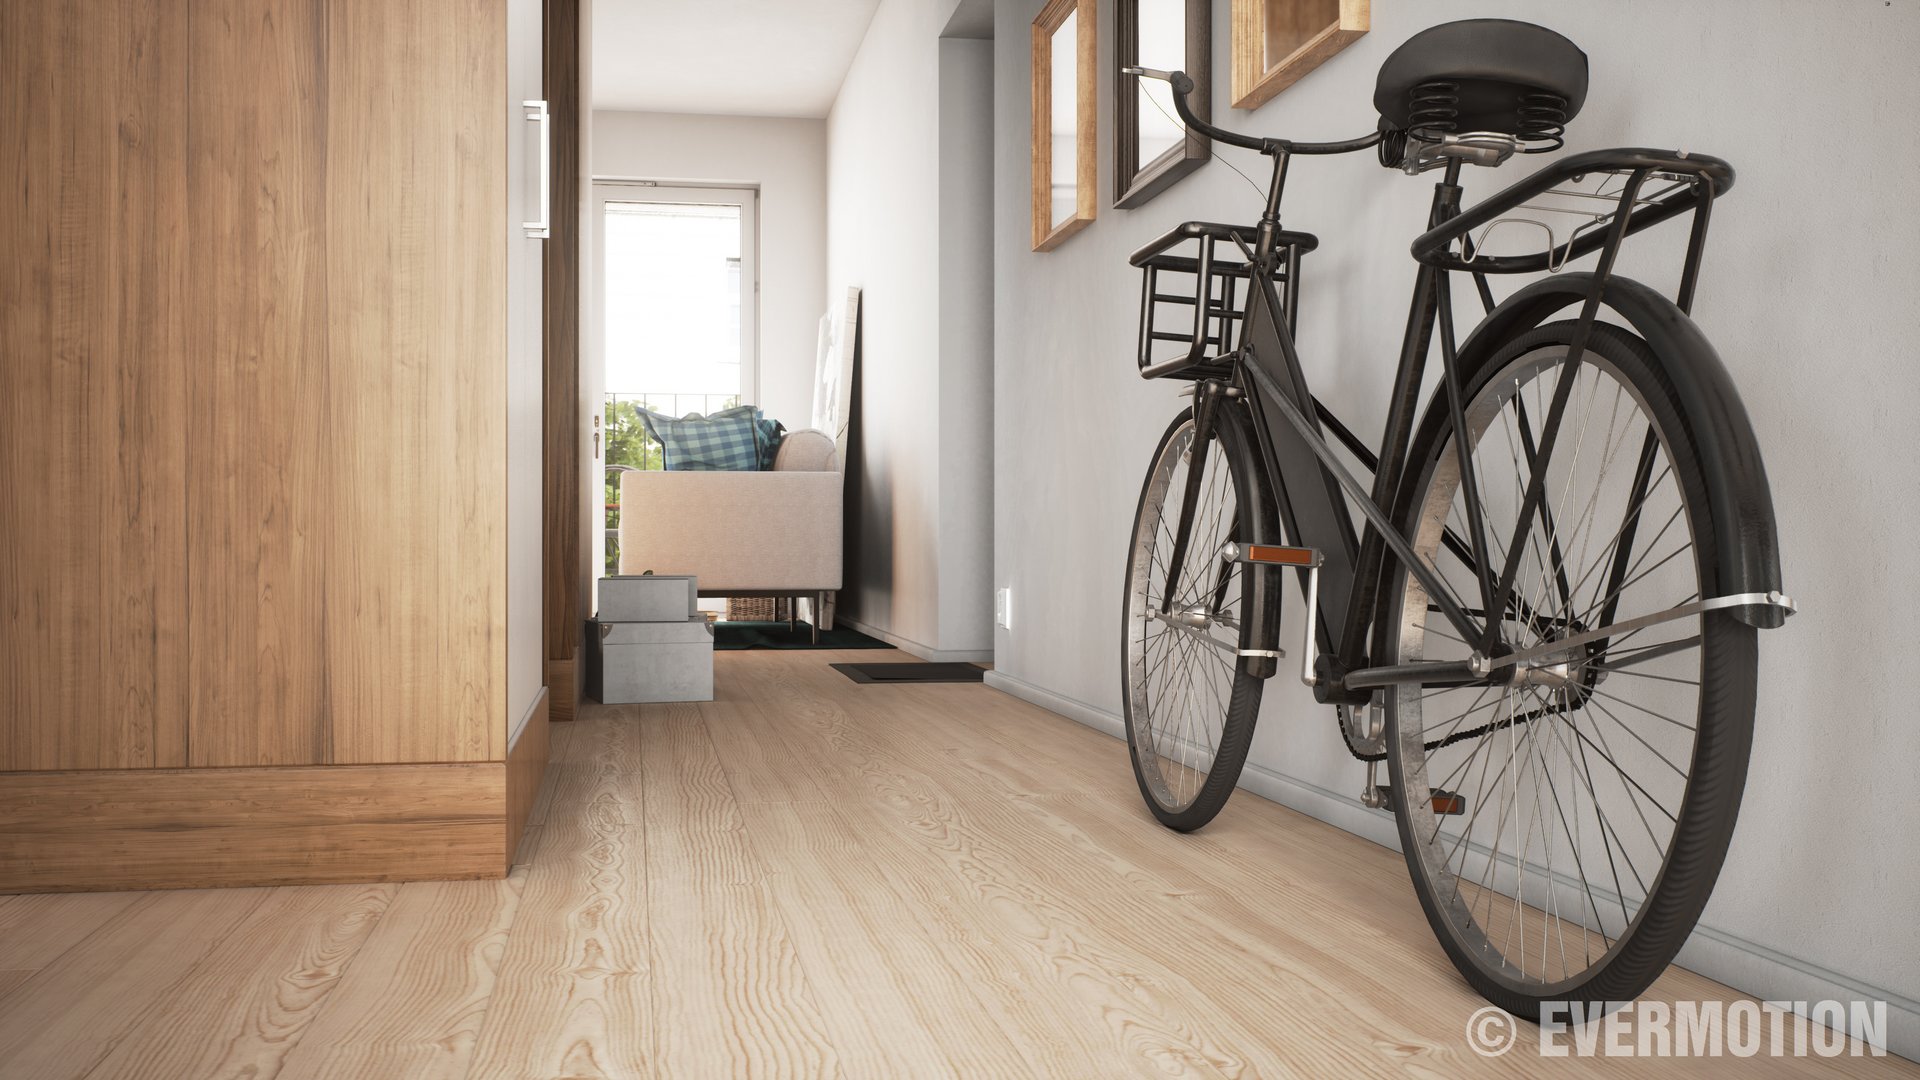
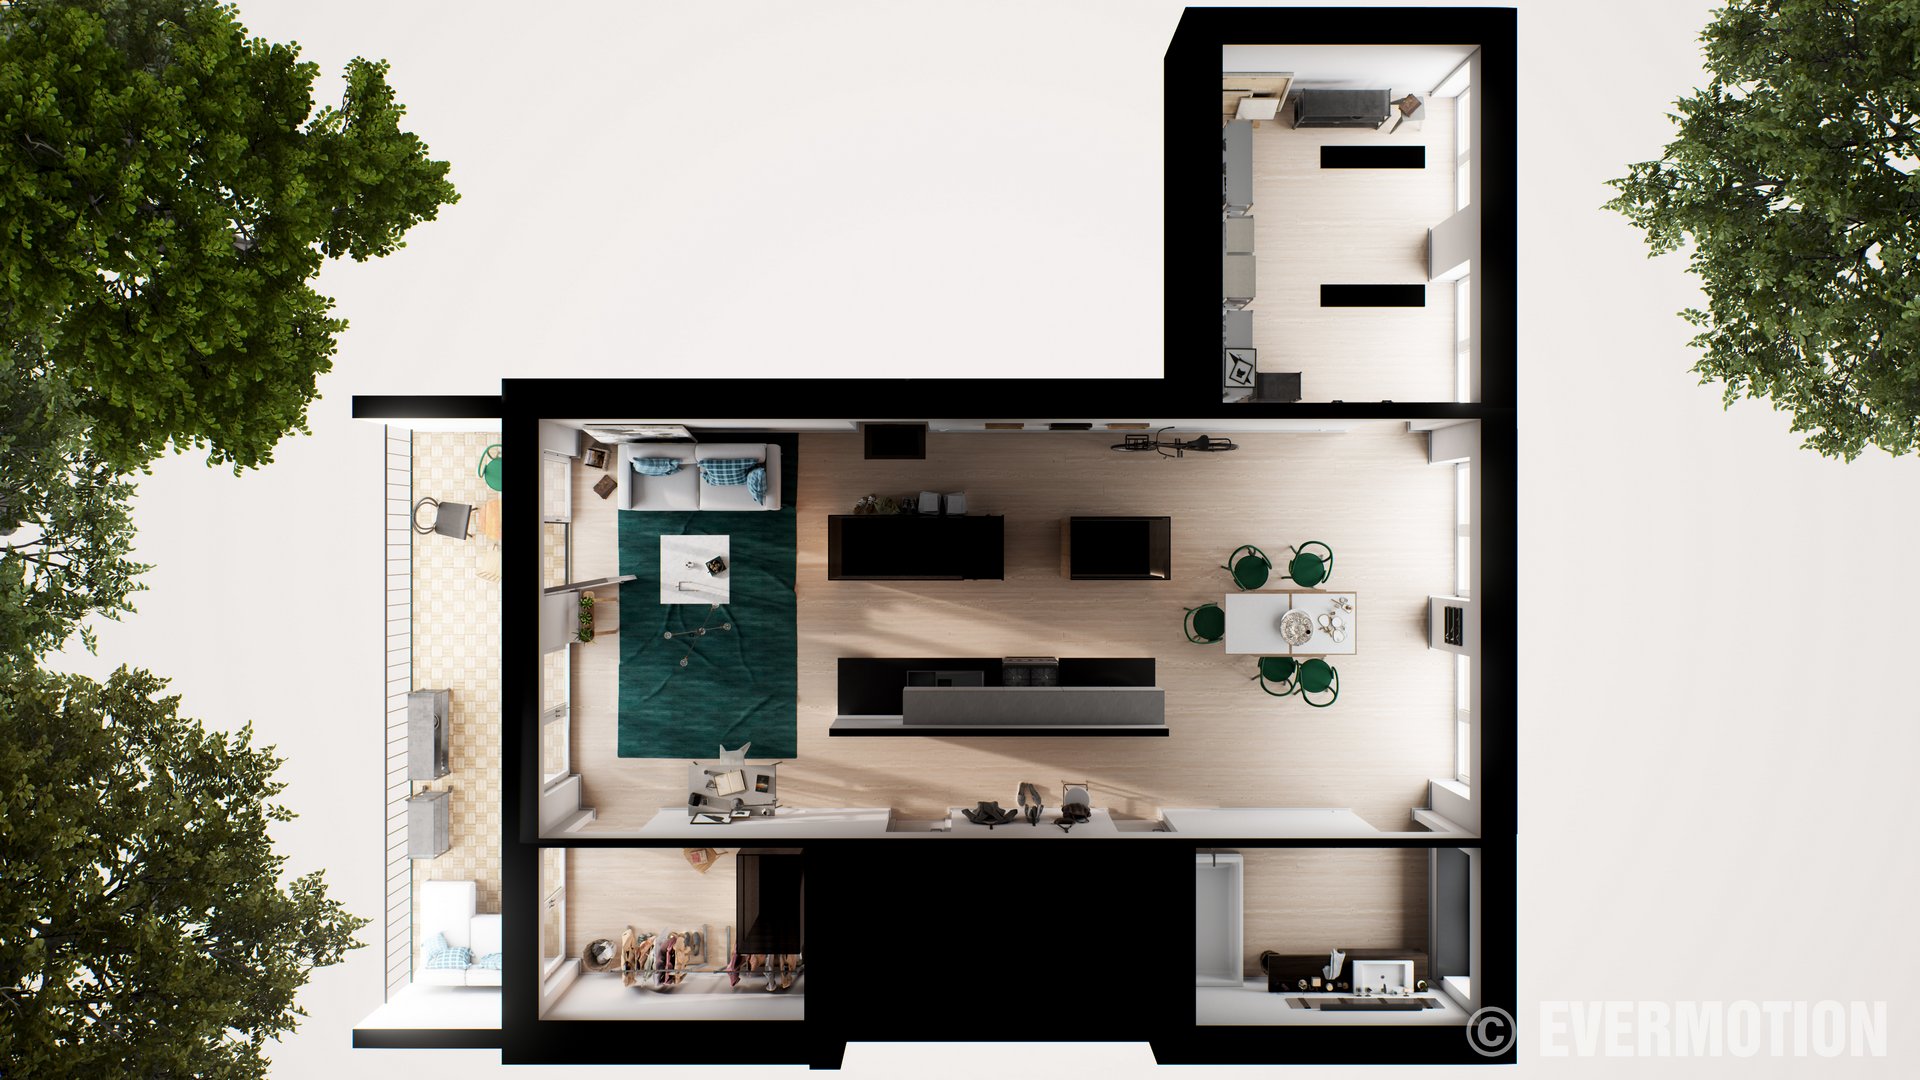
This is our fourth scene from Archinteriors for Unreal Engine vol. 3. It is nice, bright dining room in Scandinavian style. There is also another room, bathroom and terrace. We added some buildings and trees outside too.
Click on image to enlarge
Unreal Engine 4 screenshot.
Click on image to enlarge
Unreal Engine 4 screenshot.
Click on image to enlarge
Unreal Engine 4 screenshot.
Click on image to enlarge
Unreal Engine 4 screenshot.
Click on image to enlarge
Unreal Engine 4 screenshot.
Click on image to enlarge
Unreal Engine 4 screenshot.
Click on image to enlarge
Unreal Engine 4 screenshot.
Click on image to enlarge
Unreal Engine 4 screenshot.
Click on image to enlarge
Unreal Engine 4 screenshot - top view.
Walktrough - as you can see the scene is optimized - it works fluently on modern hardware (120+ FPS). System specs:
This walktrough was recorded on the following machine:
GPU: ASUS STRIX GTX 980 Ti
CPU: Intel Core i7 5820K, Core Speed 3,6 Ghz
64 GB RAM
Click on image to enlarge
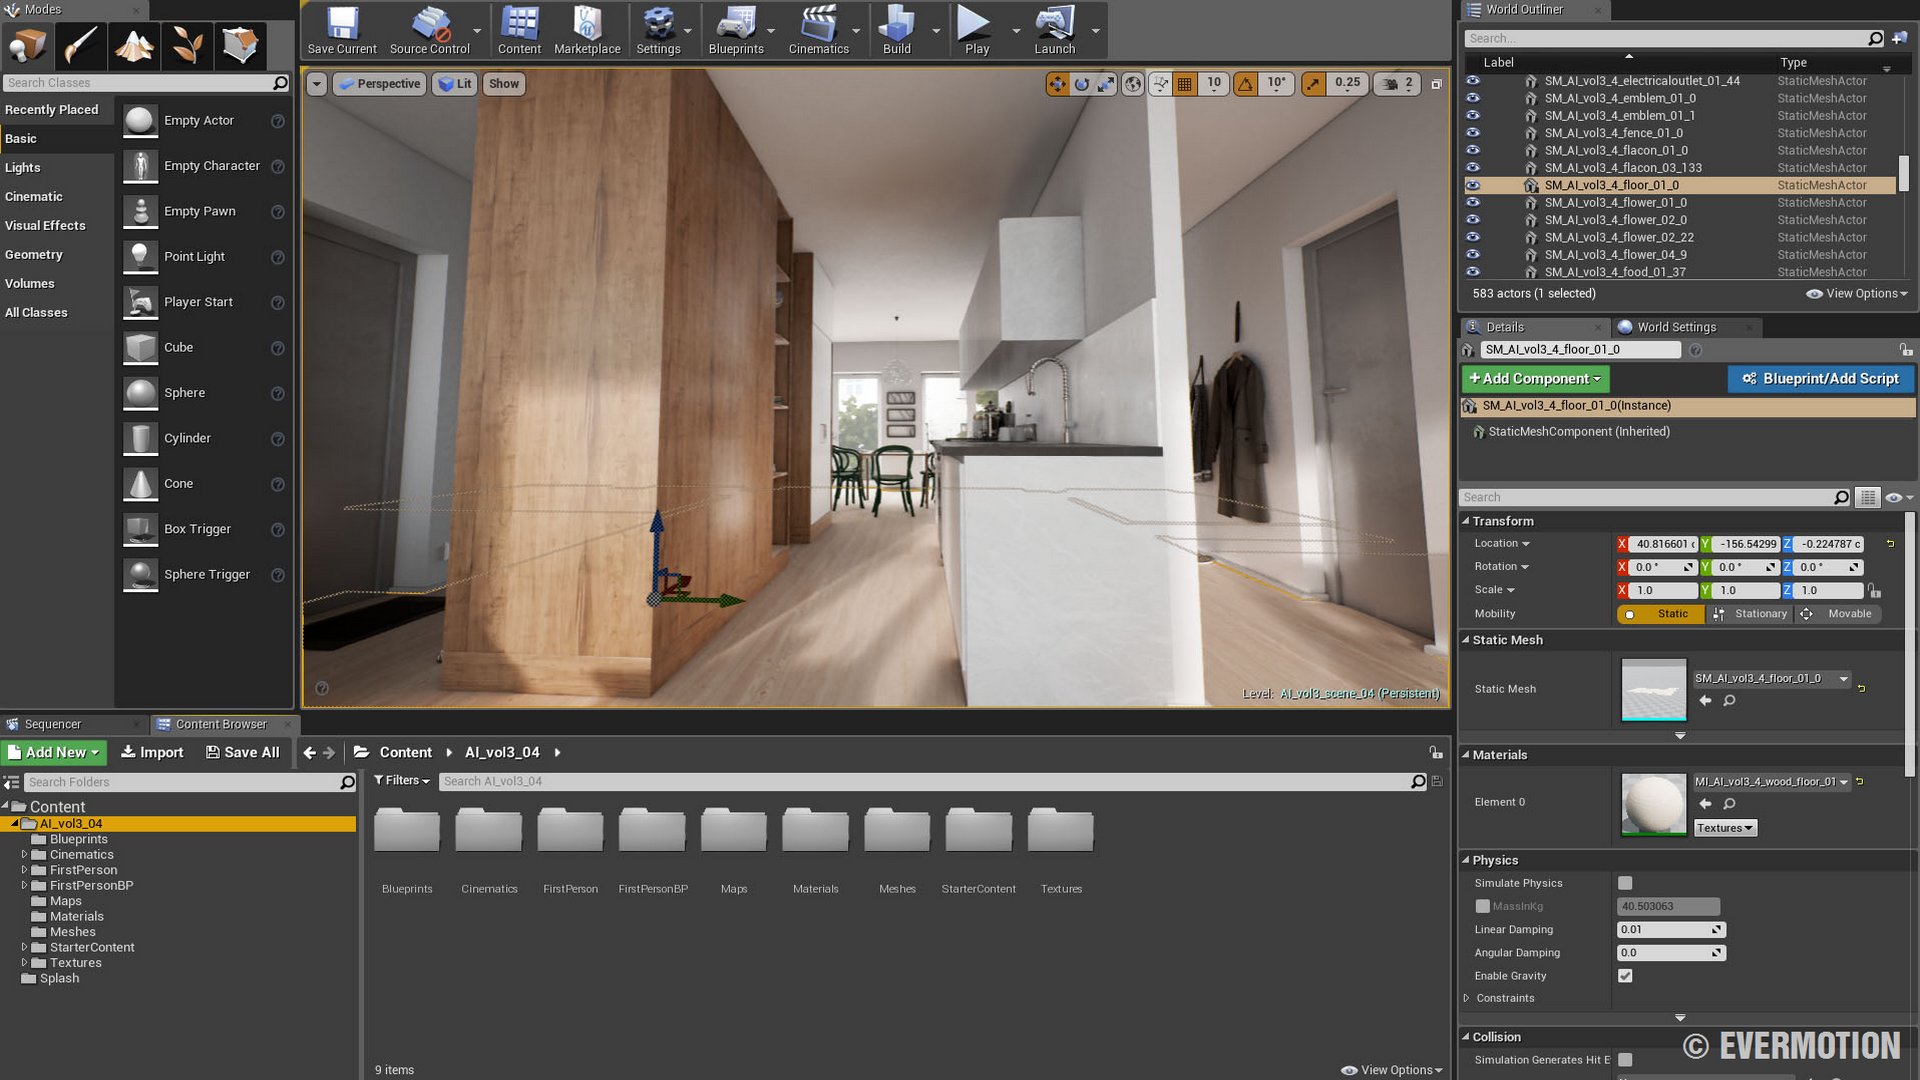
This is our scene in Unreal engine, all light is already baked, we have hundreds of props here. the floor is already selected.
Click on image to enlarge
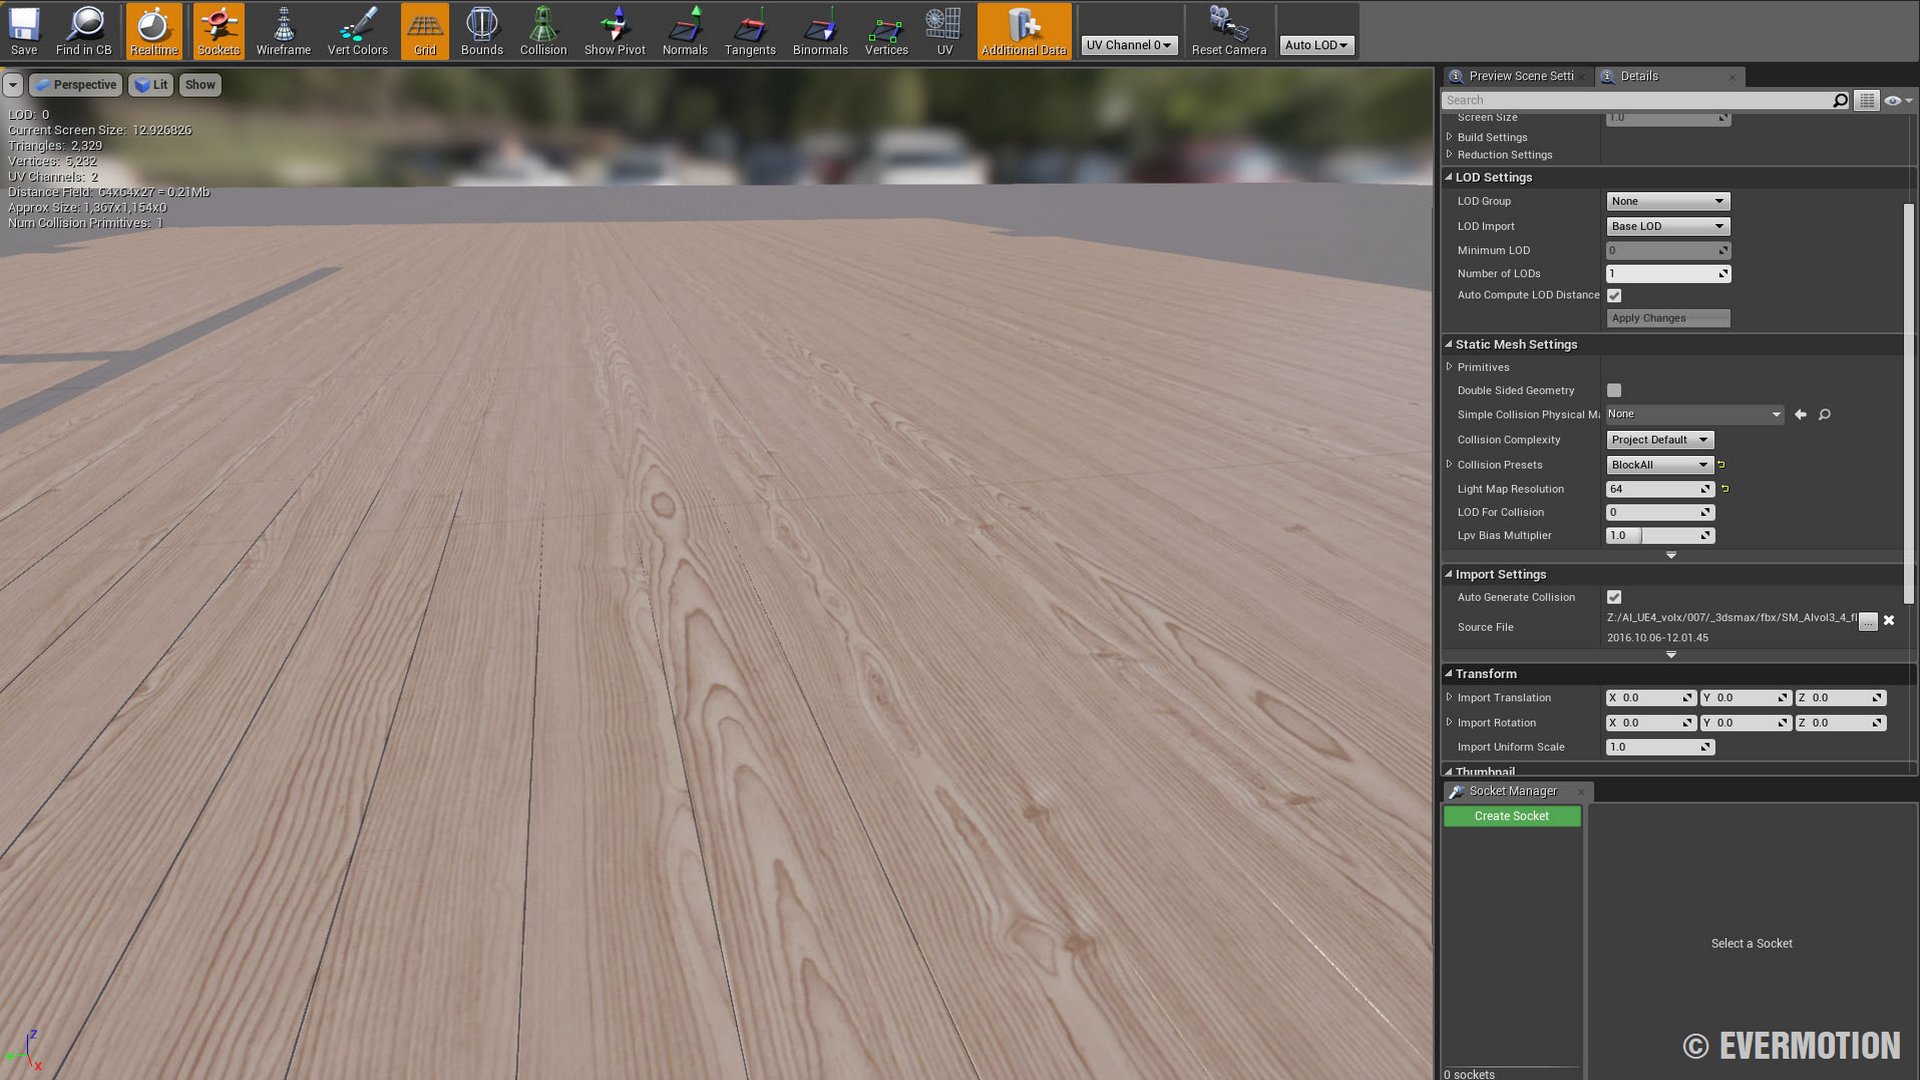
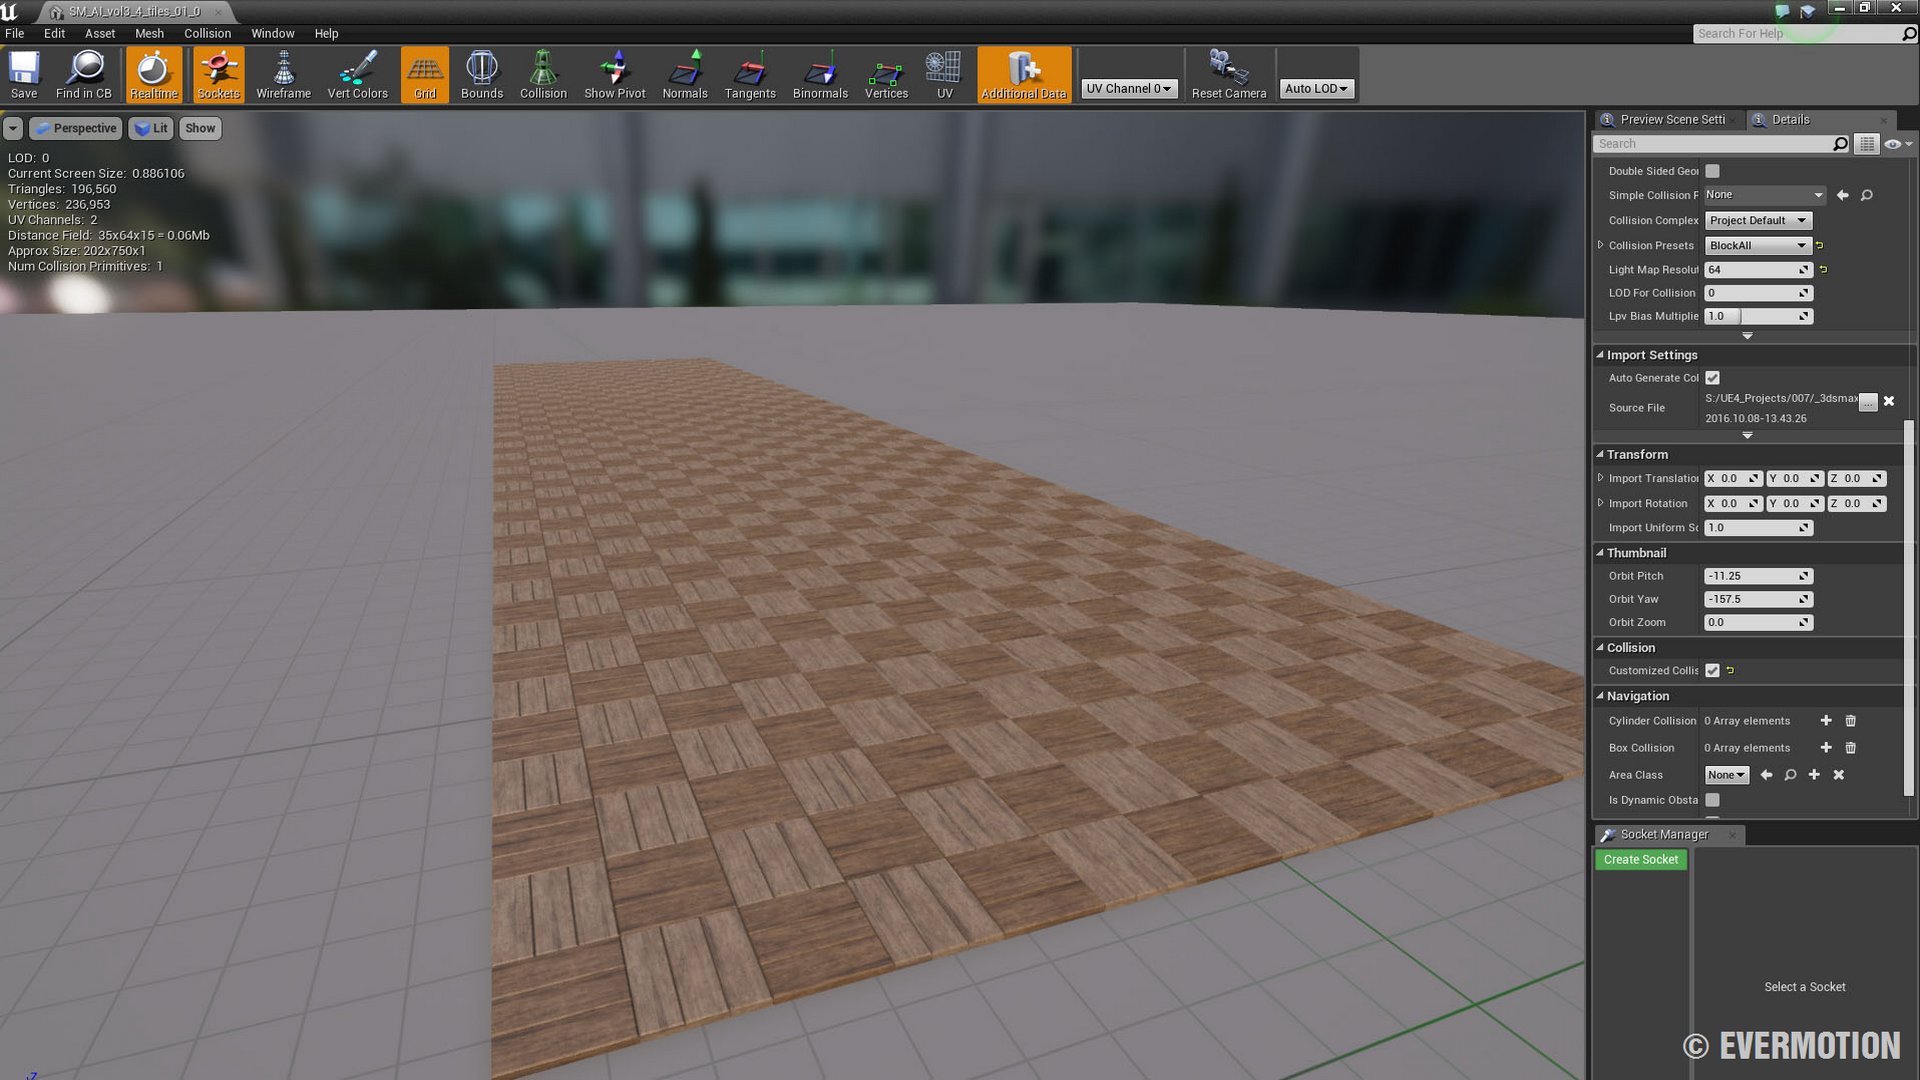
Floor plane - despite that Light Map Resolution box on the right has only "64", the floor has much higher, 2k resolution of light map. We ovverrid this setting, because the floor has a big surface and it needs to have great quality soft shadows.
Click on image to enlarge
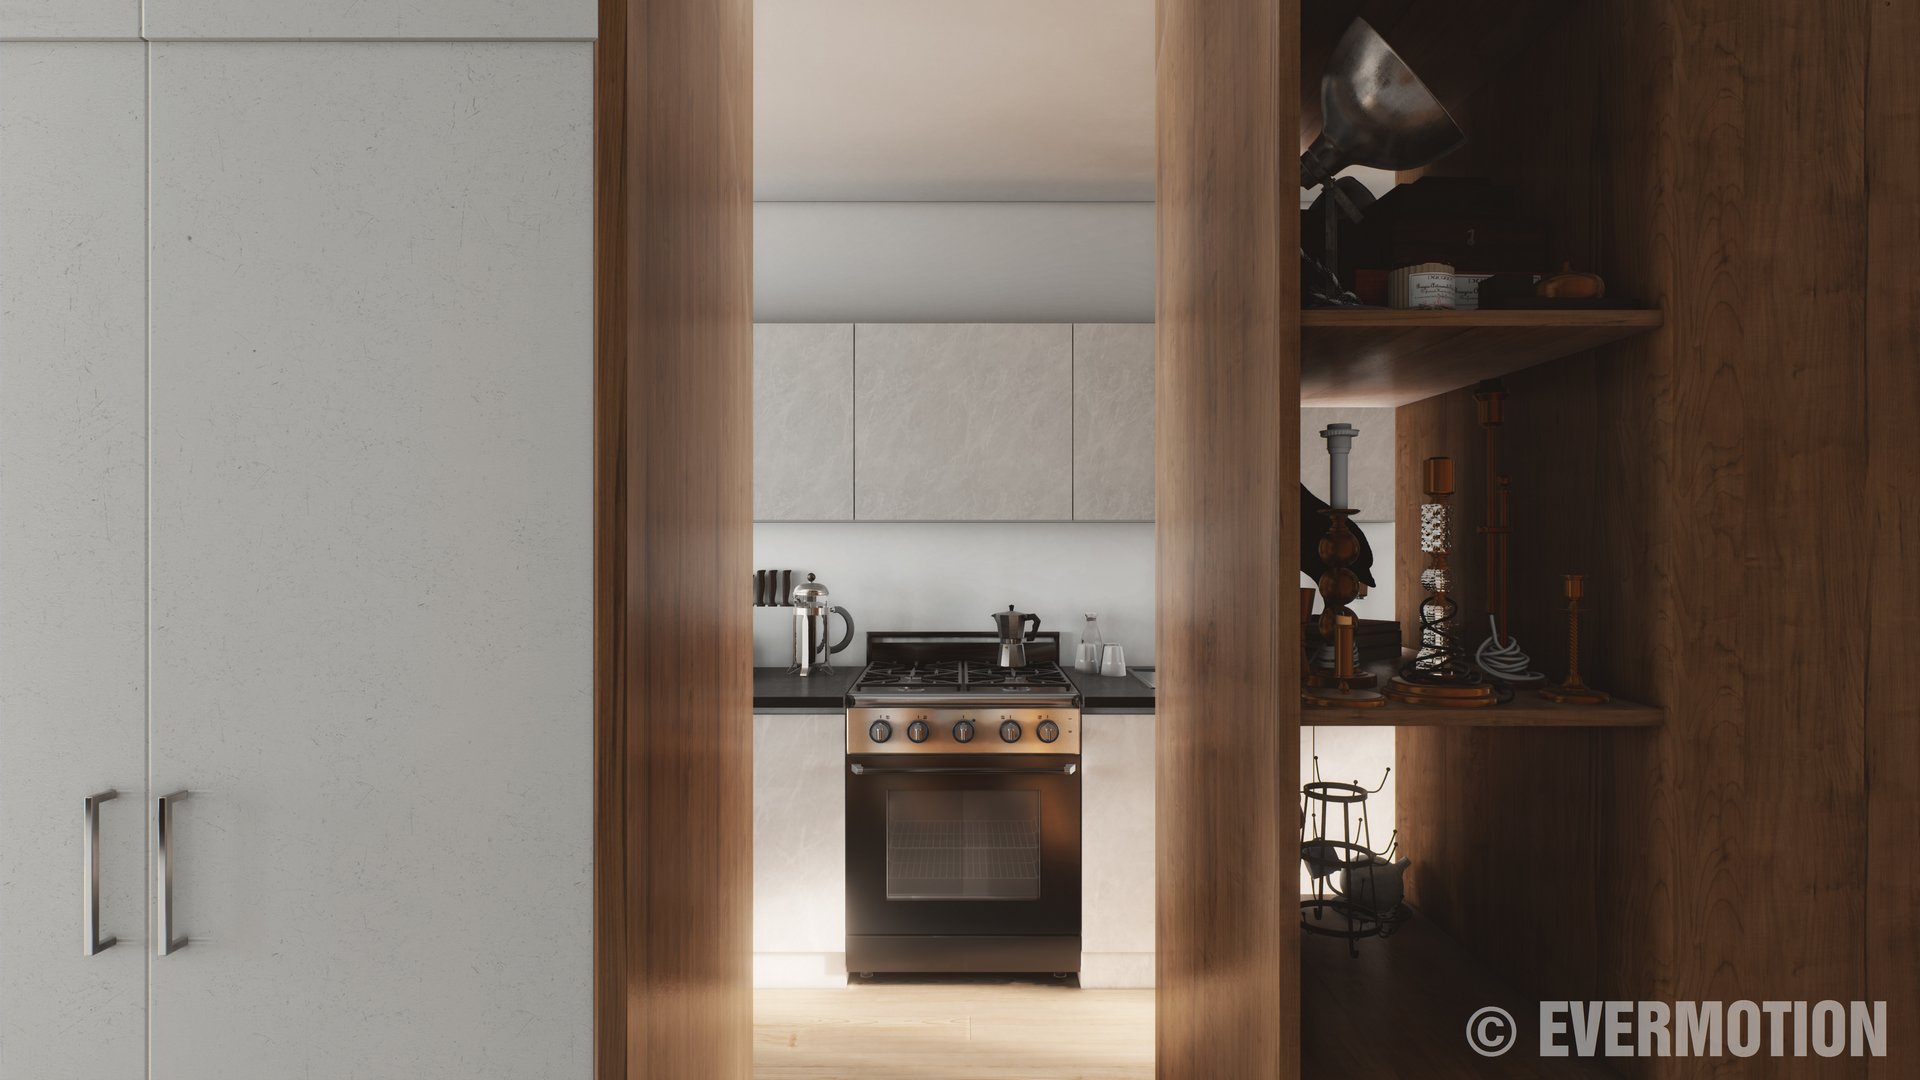
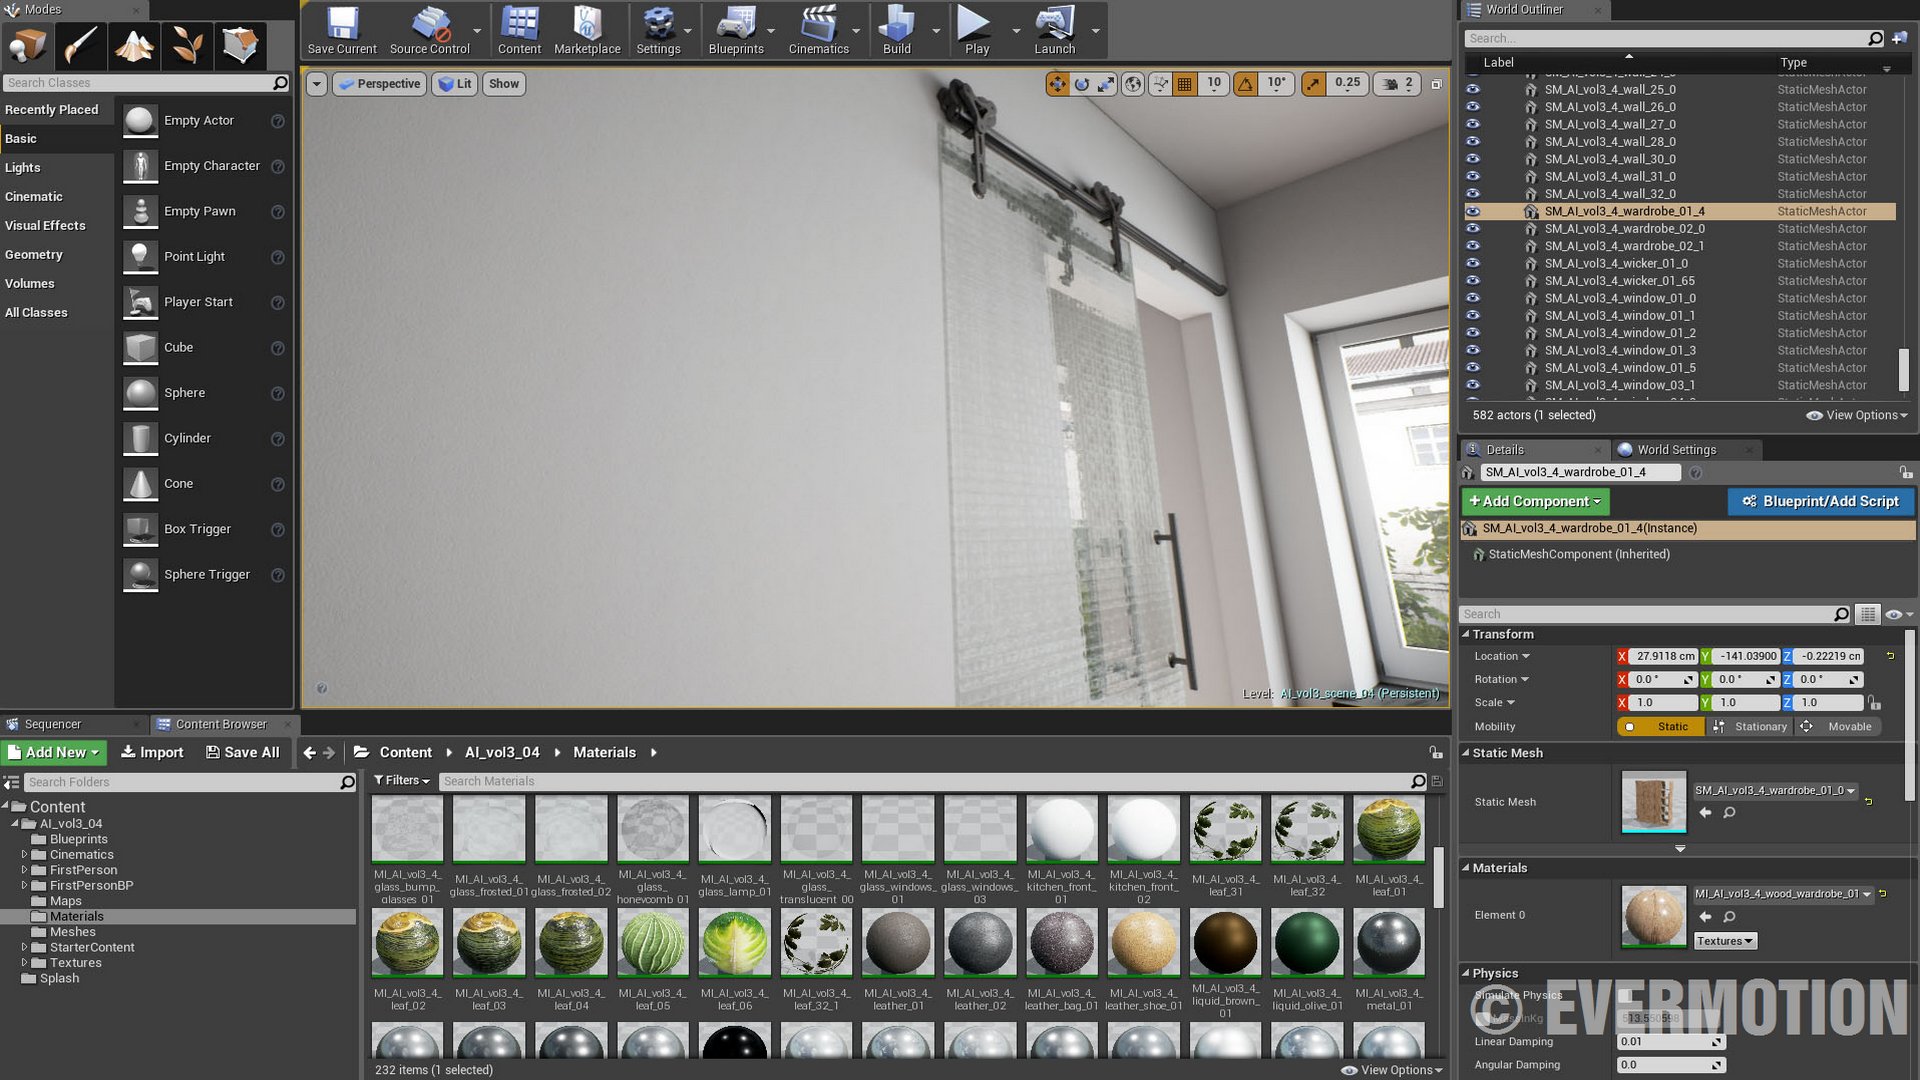
The cabinet in the main dining room / kitchen area.
Click on image to enlarge
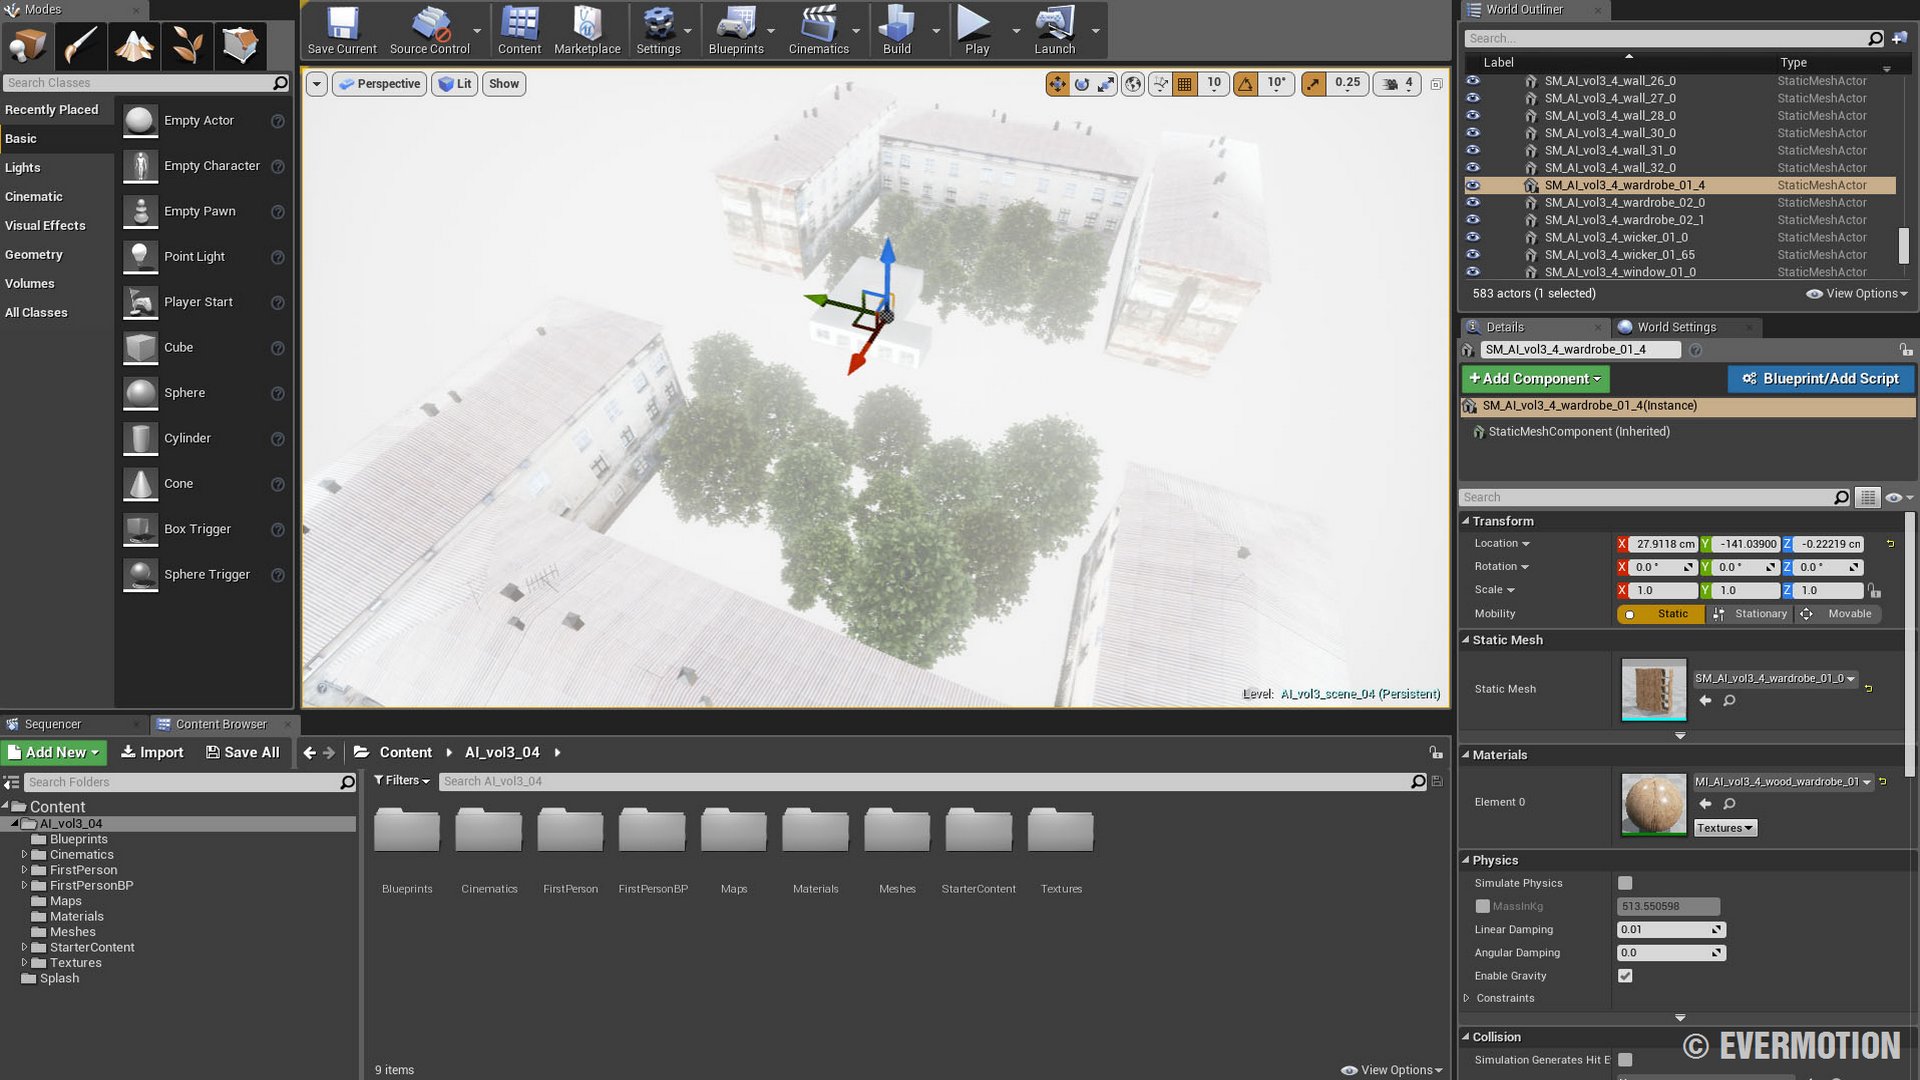
The building seen from the outside. We have several other buildings and trees surrounding the main mesh. This way we achieve believable look behind the windows.
Click on image to enlarge
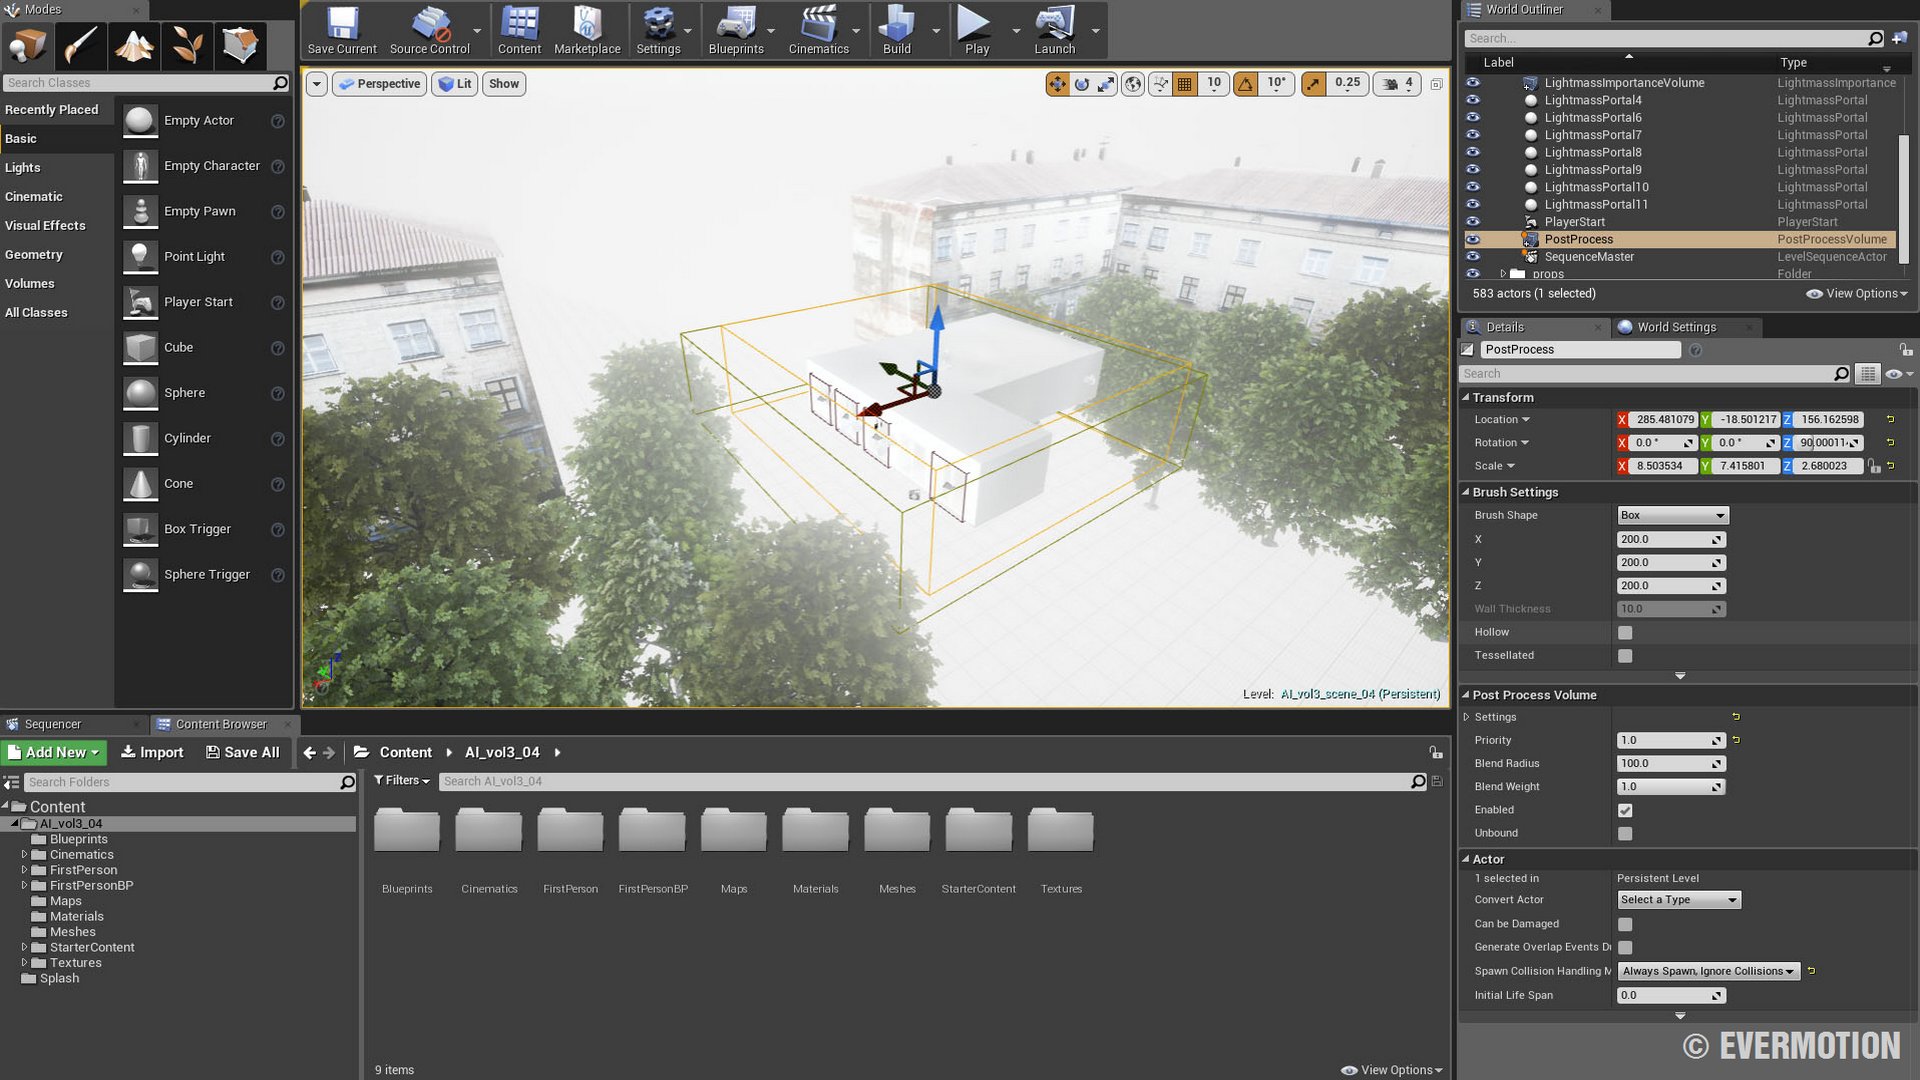
Post-process volume is limited to the building area.
Click on image to enlarge
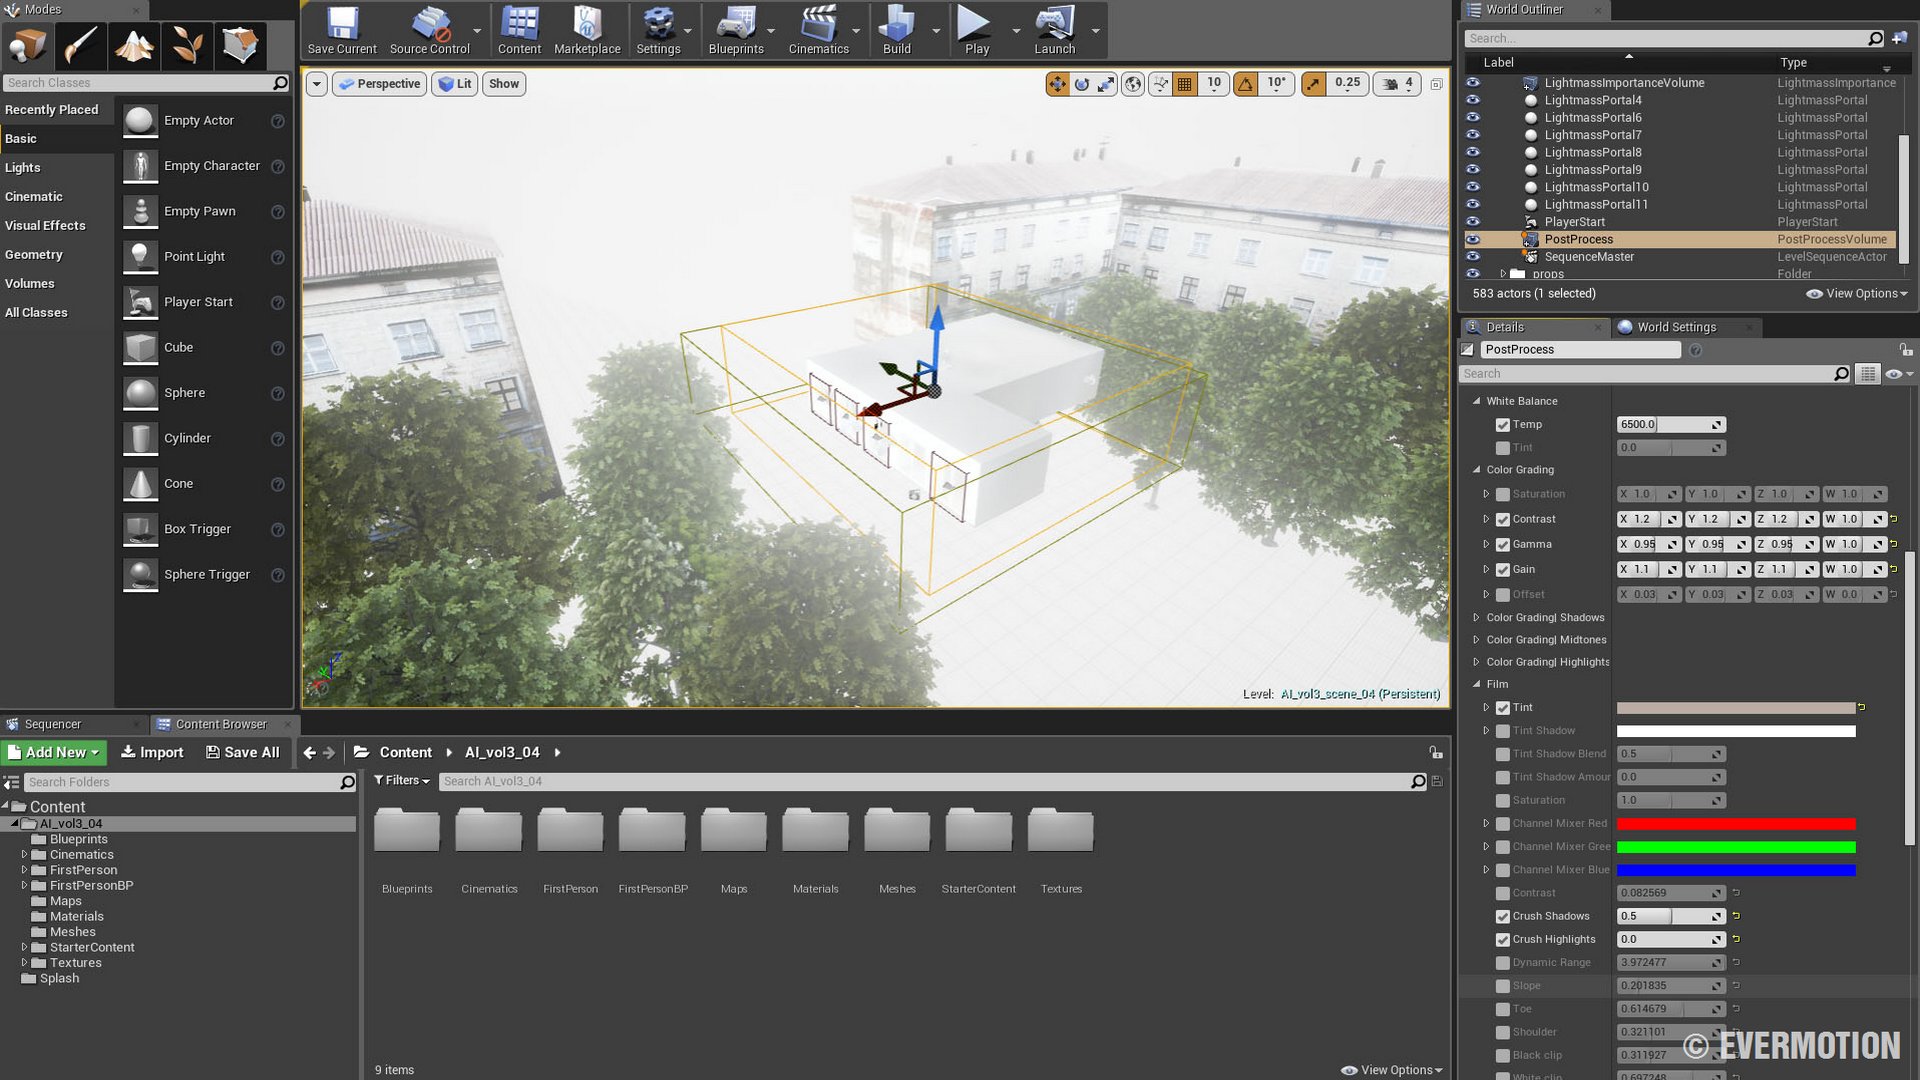
Some post-process settings: we used 6500K temperature, increased contrast a bit, tweaked Gamma and increased gain. This way we have more contrast in our scene. Overal tint is beige color, which makes the scene a bit warmer.
Click on image to enlarge
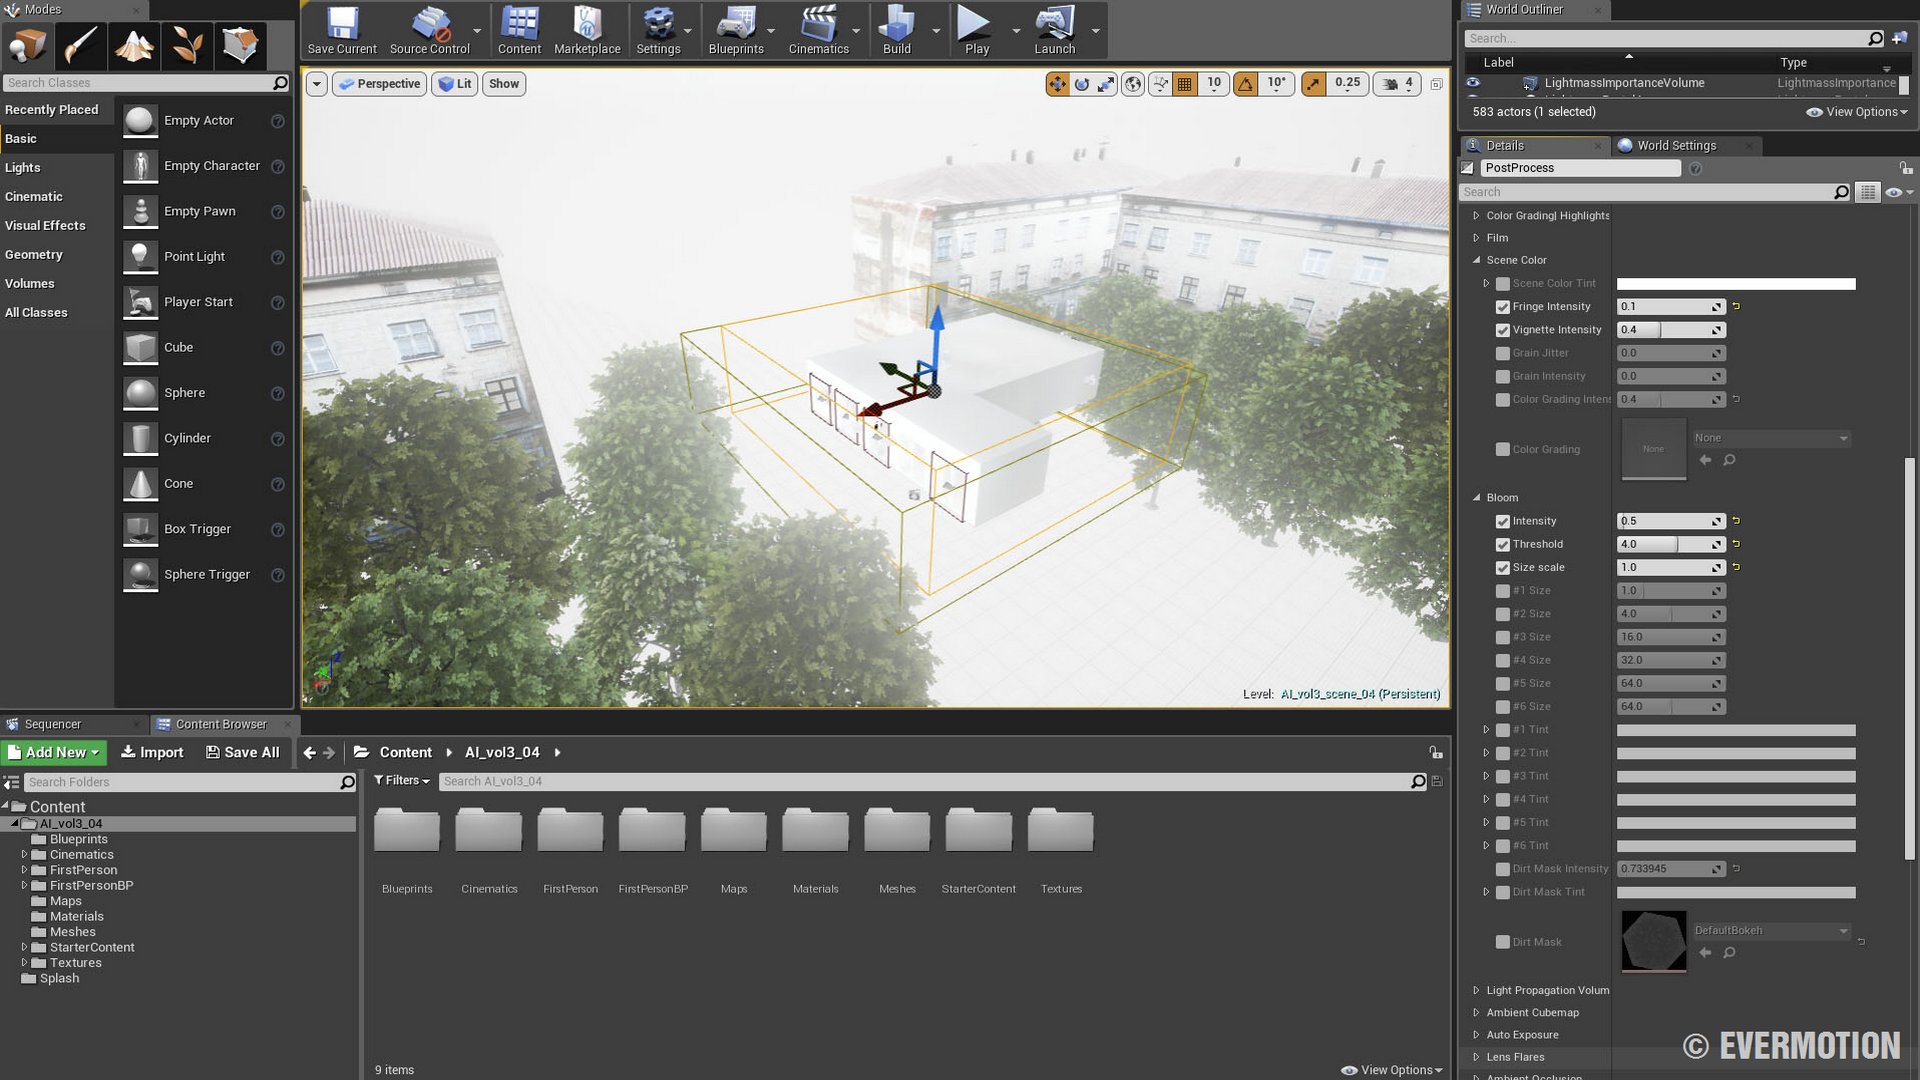
Adding vignette and some bloom tweaks - it's the matter of taste so don't hesitate to experiment with these settings.
Click on image to enlarge
We didn't want strong auto-exposure changes so we typed exposure changes from 95% (low) to 100% (high). we have 5% margin of exposure change which is barely visible. We disabled lens flares completely and added ambient occlusion.
Click on image to enlarge
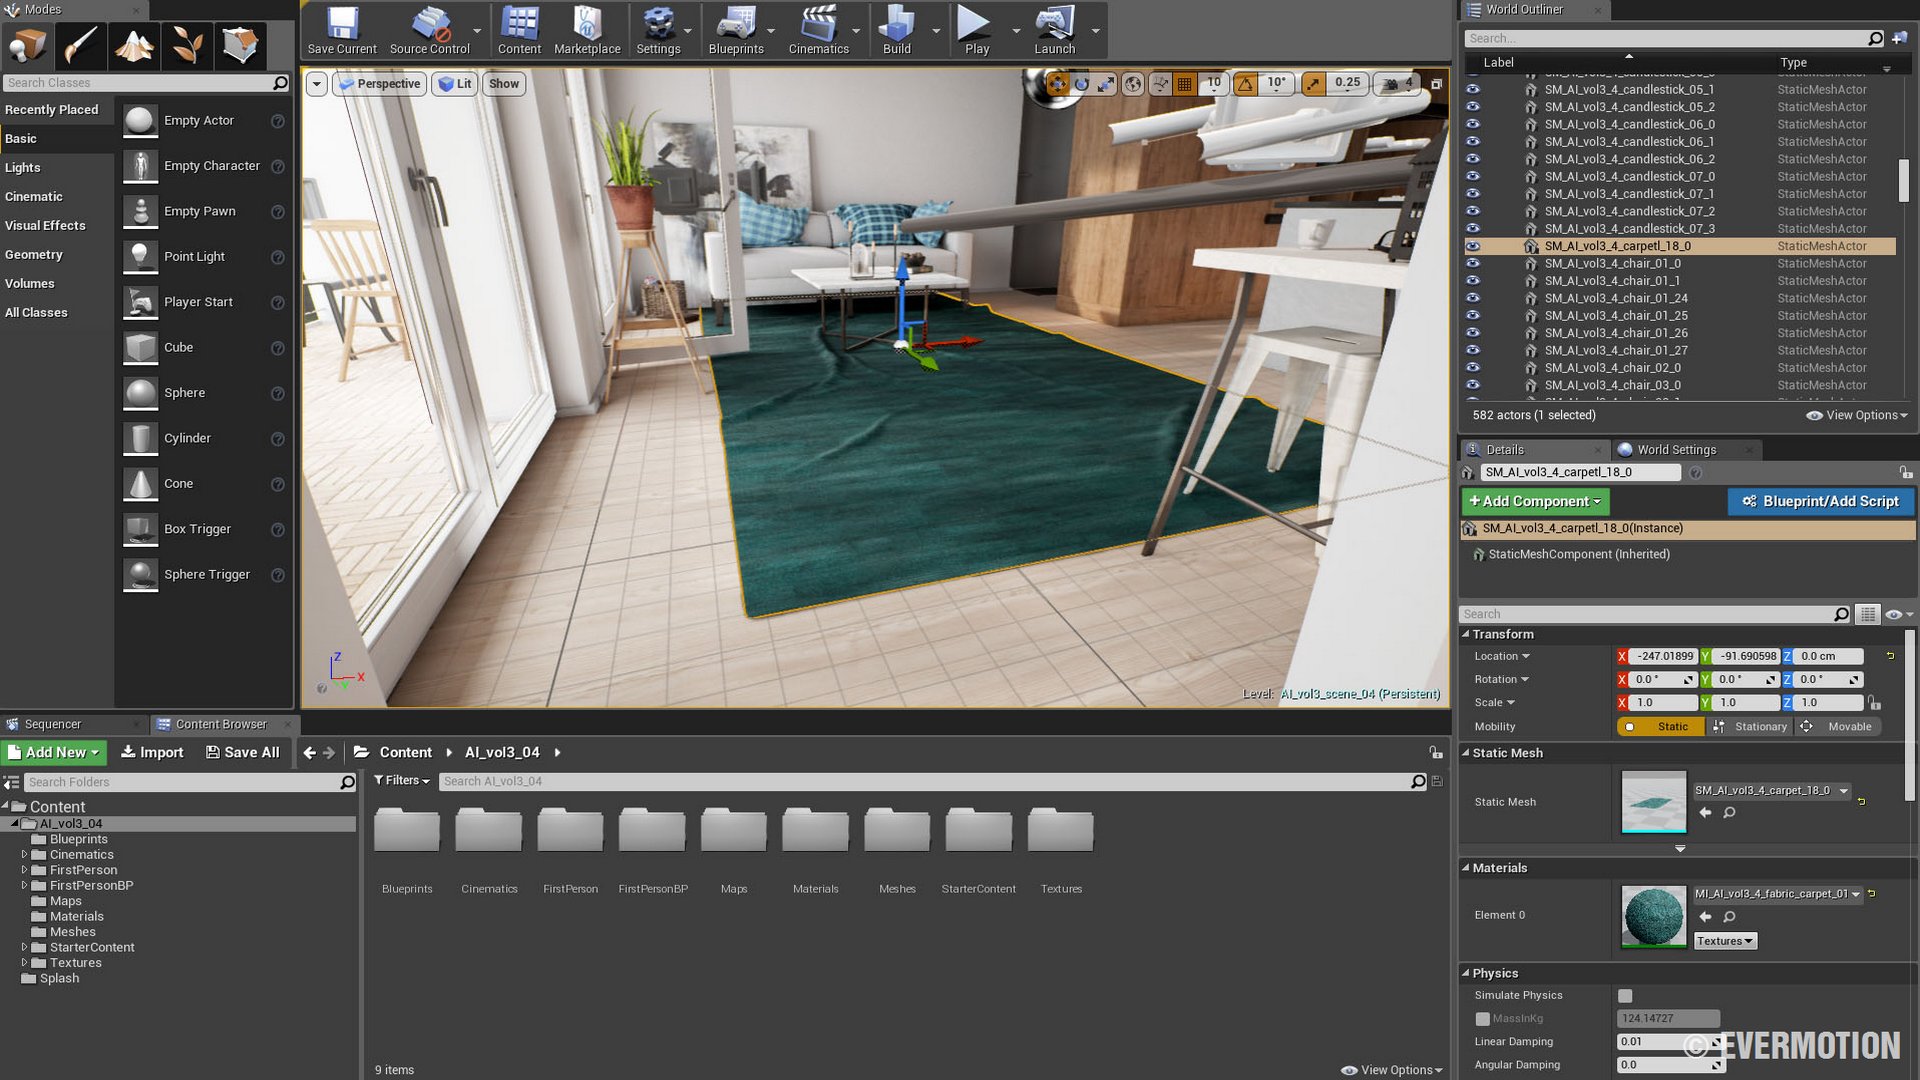
The nice green rug was modeled in 3ds max and - as the rest of our assets - unwrapped properly and exported as FBX file to Unreal.

Click on image to enlarge
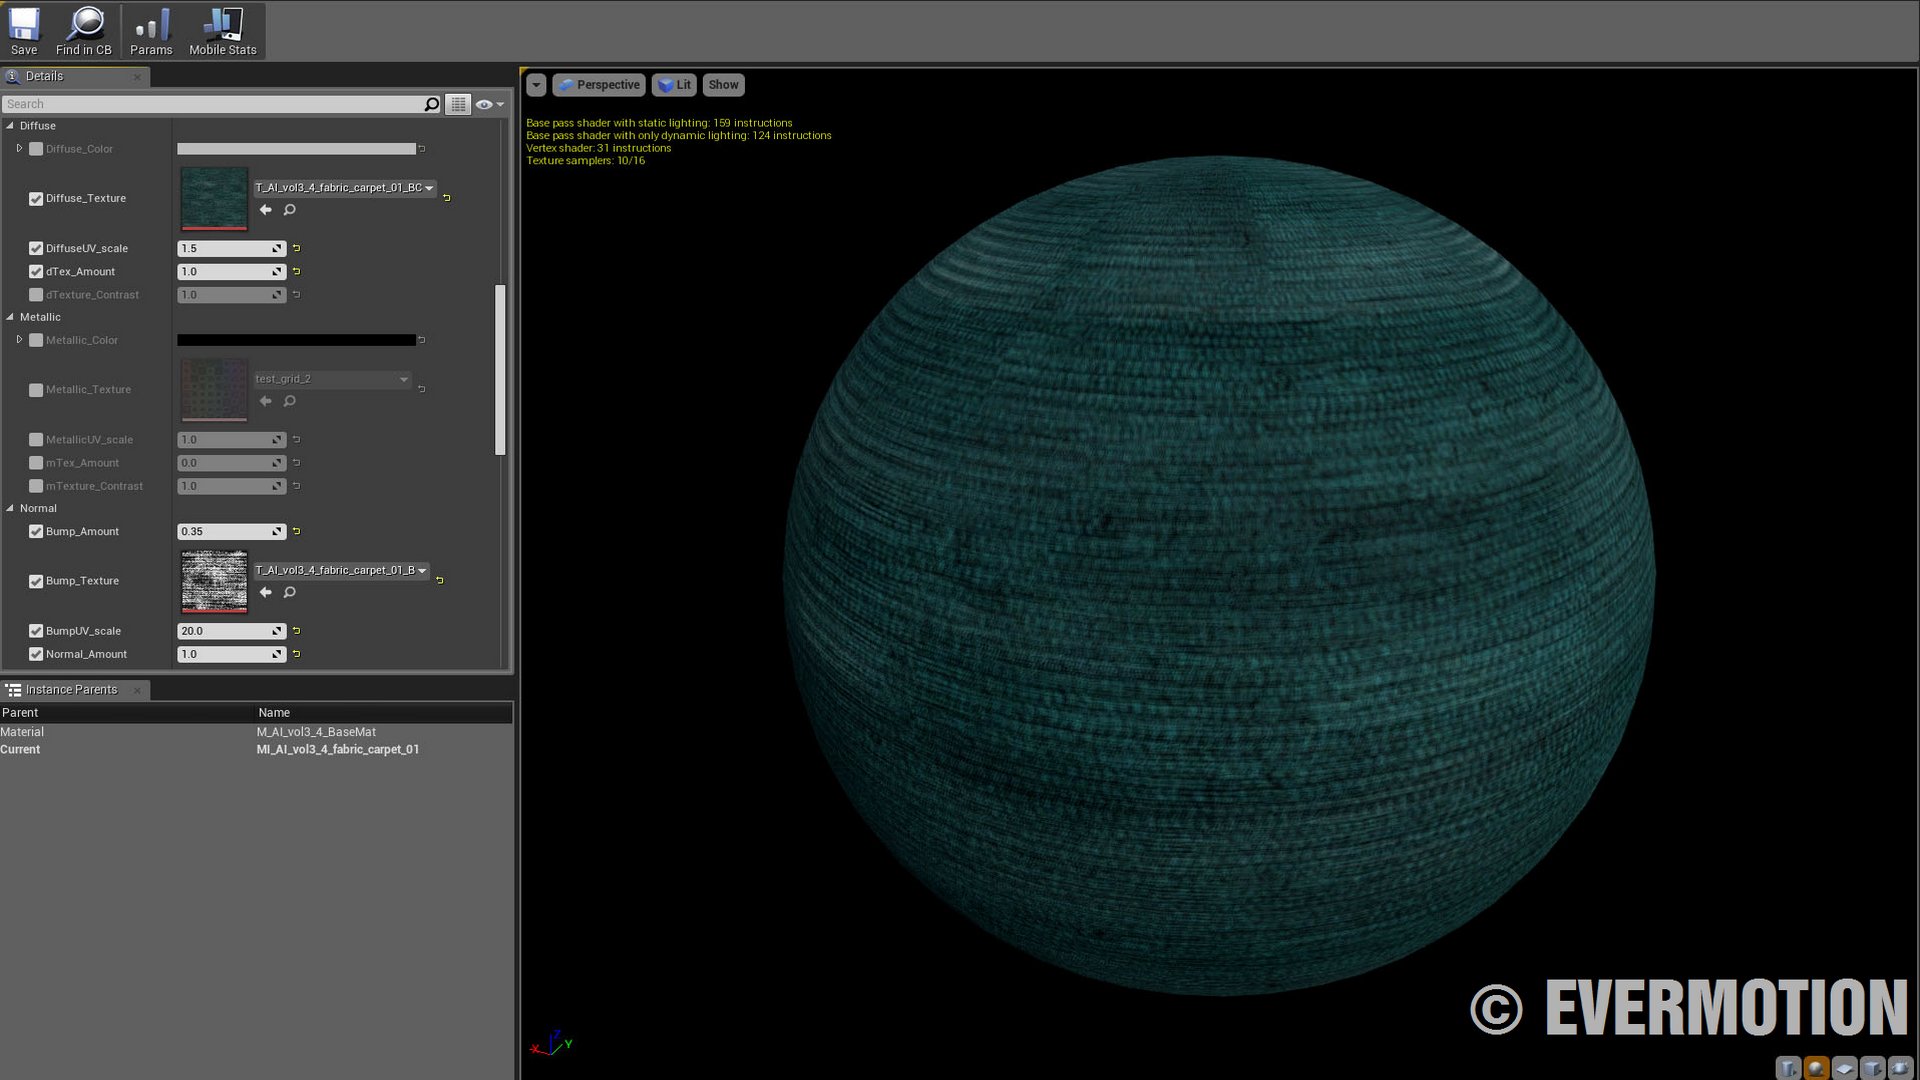
Green rug material.
Click on image to enlarge
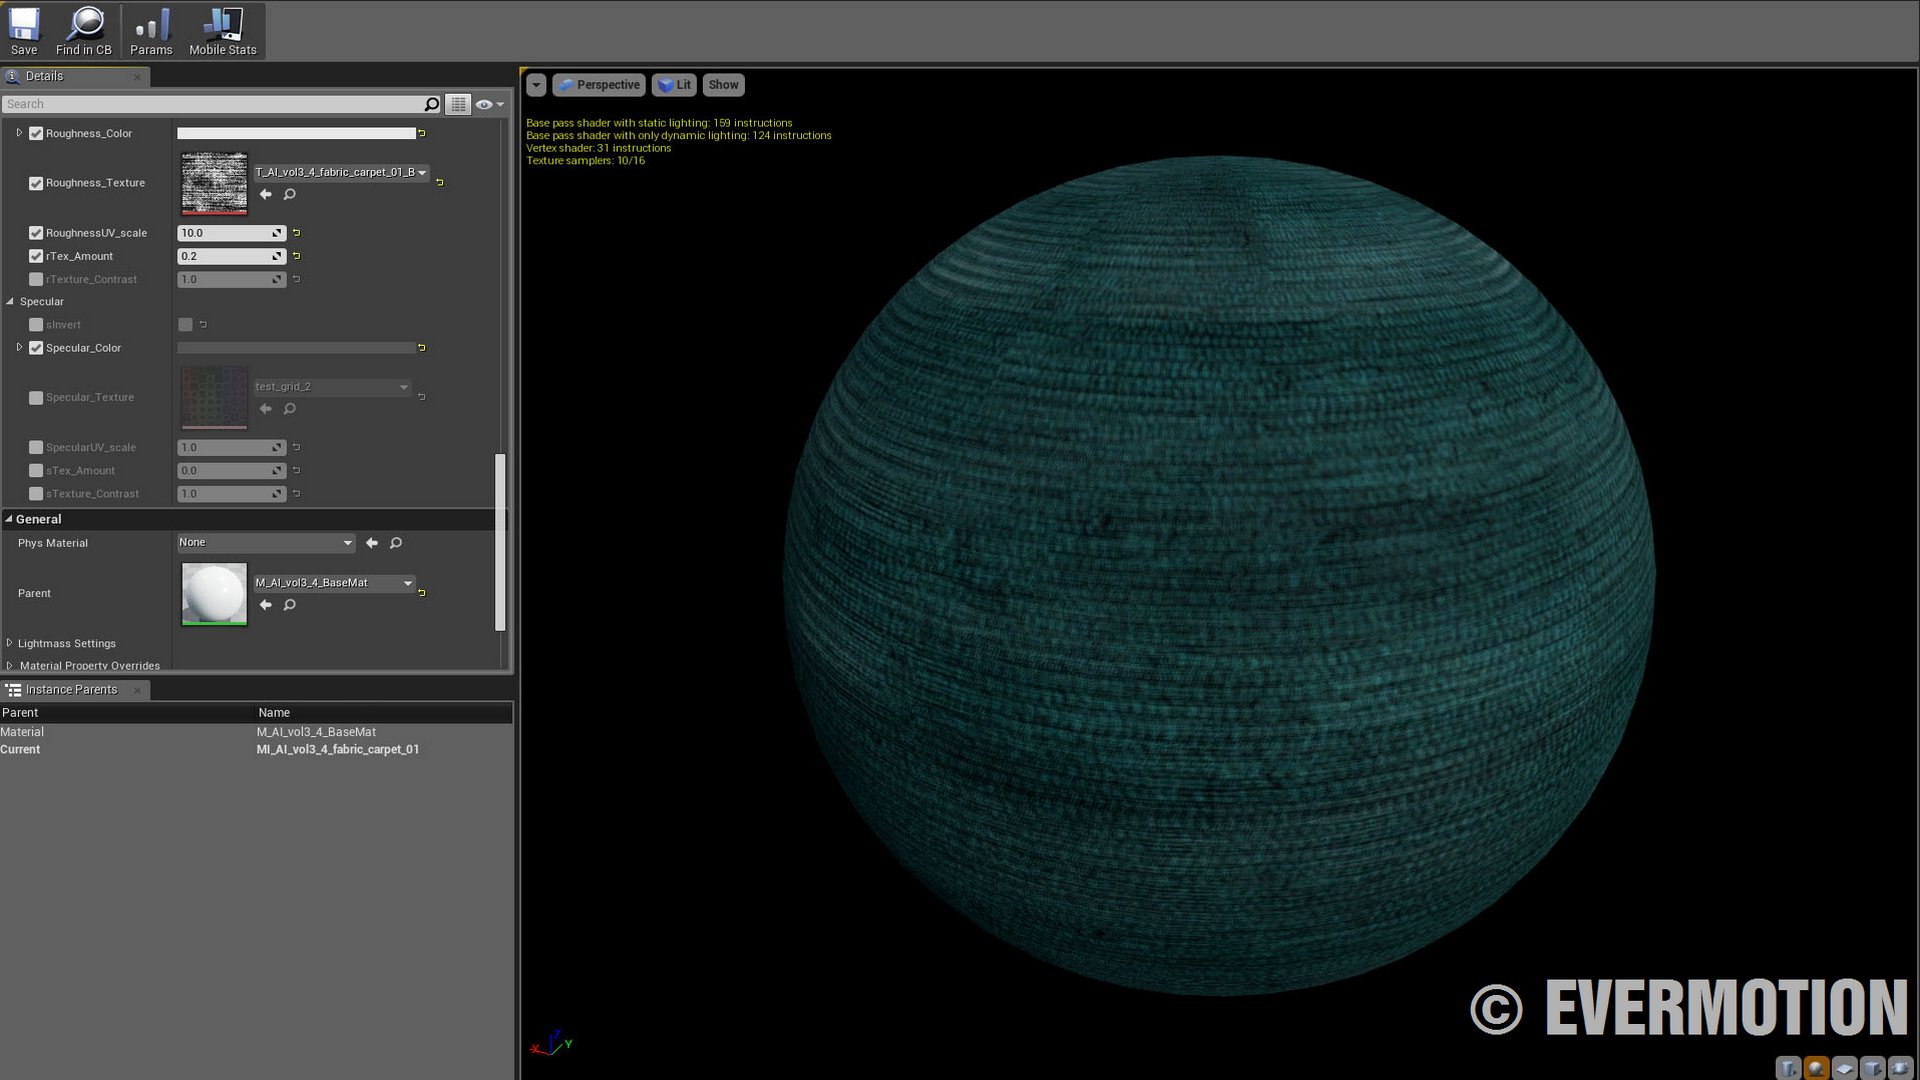
Green rug material - the rest of the settings.
Click on image to enlarge
Glass slide-door mesh.
Click on image to enlarge
Glas material instance. As all materials in this scene it is based on our custom base shader.
Click on image to enlarge
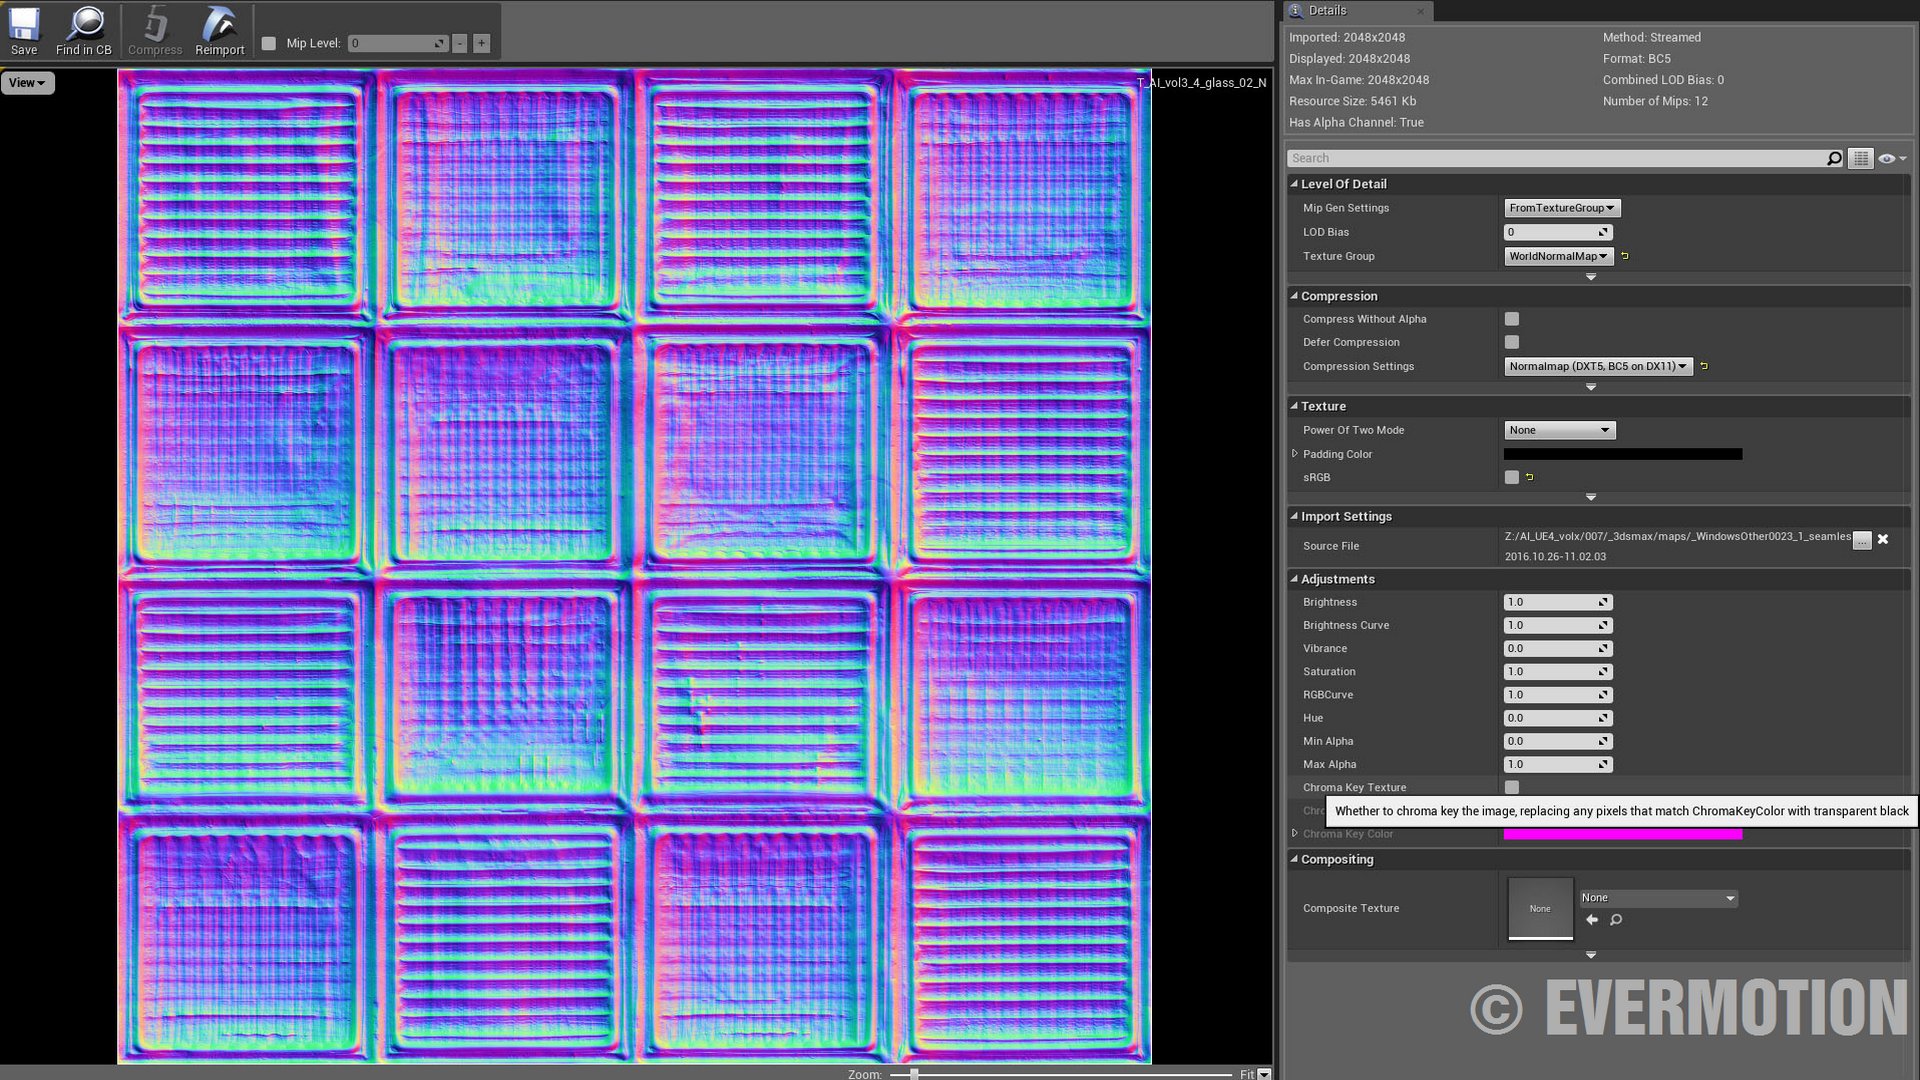
Glass normal map that gives bumpiness for out slide-door.
The floor on the terrace. Slide to see wireframe / shaded mesh.
Click on image to enlarge
We placed Lighmass portals in the windows to increase performance.
No, it's just an instance editor - If you make material instance from your base material you get material preview on the right and all parameters exposed from the base material on the left. you choose which parameters from the base material you want to see in the instance material editor. It's a "simplified" version of material editor. Using instances makes shading easier and faster - you can use only one complicated base material and then only tweak parameters in it's simplified instance..
COMMENTS