Breakdown of a scene 002 from Archinteriors vol. 46.
Click on image to enlarge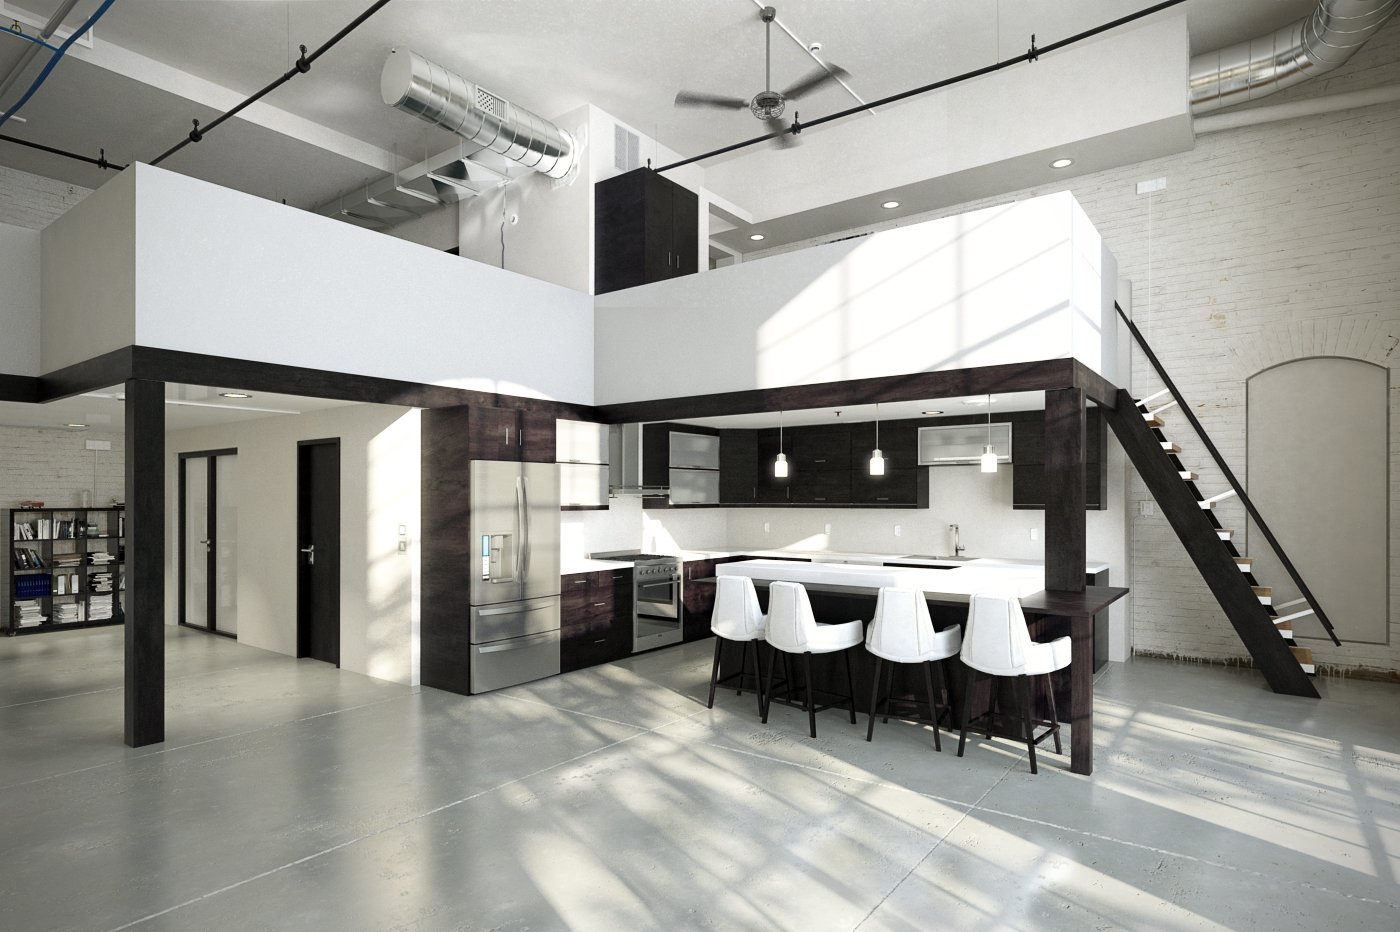
This is a final image.
Click on image to enlarge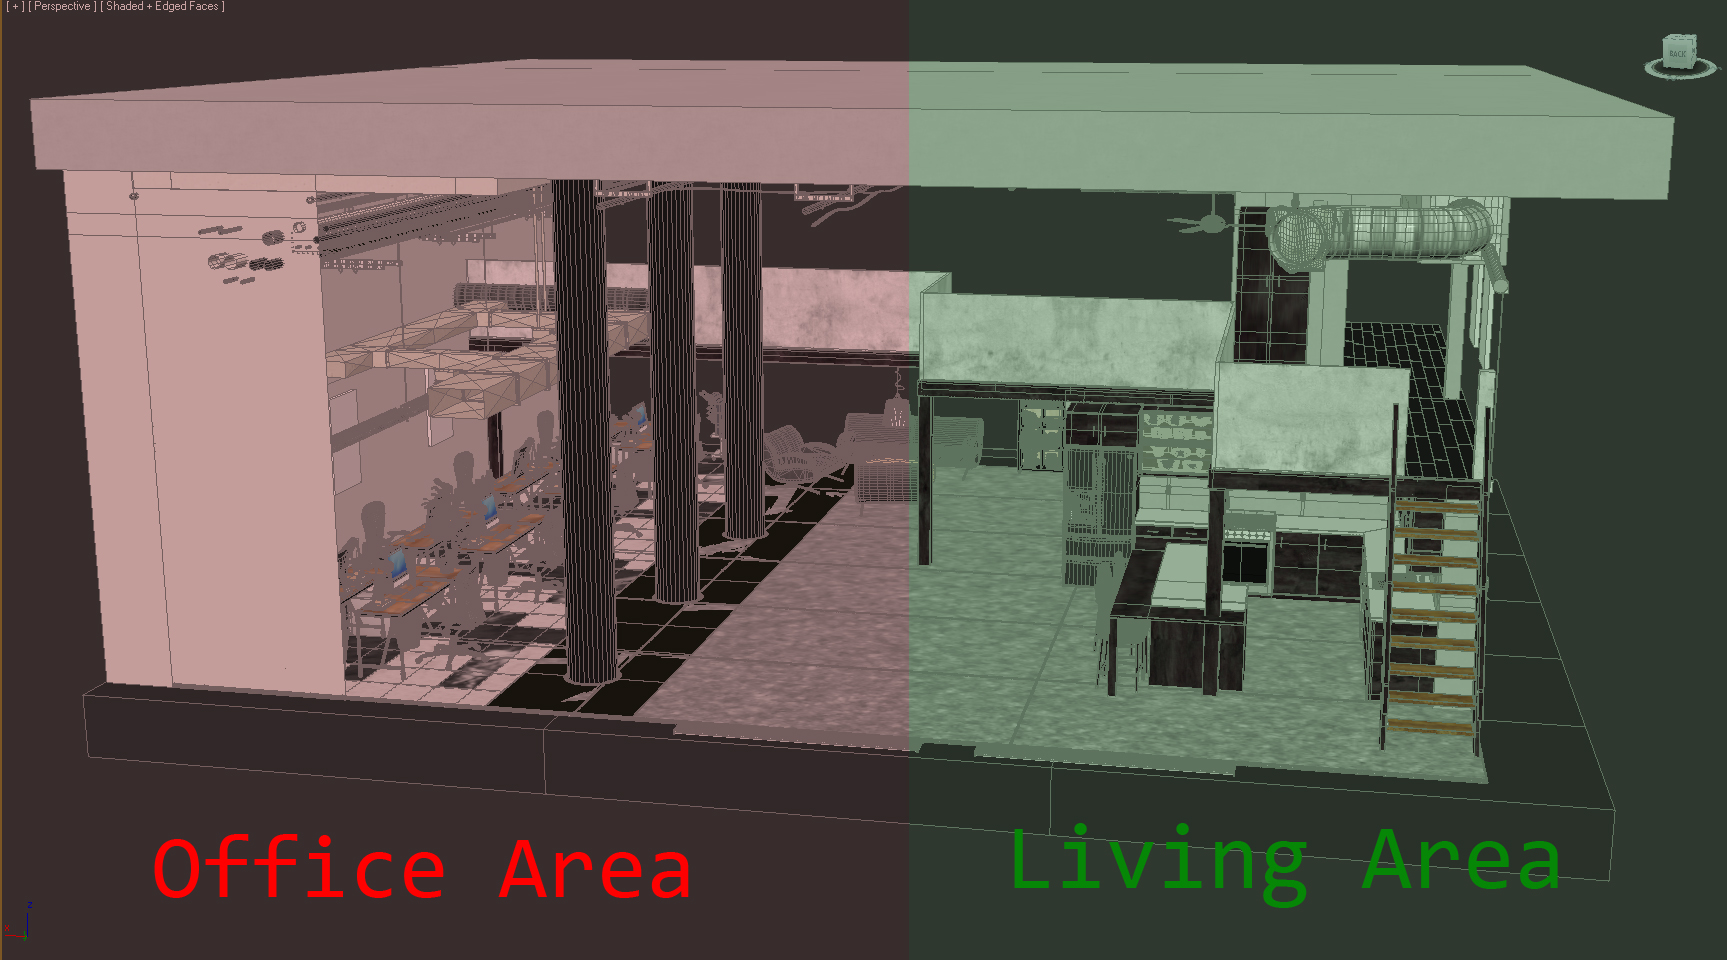
The loft is divided into two zones: the living area and office area.
Click on image to enlarge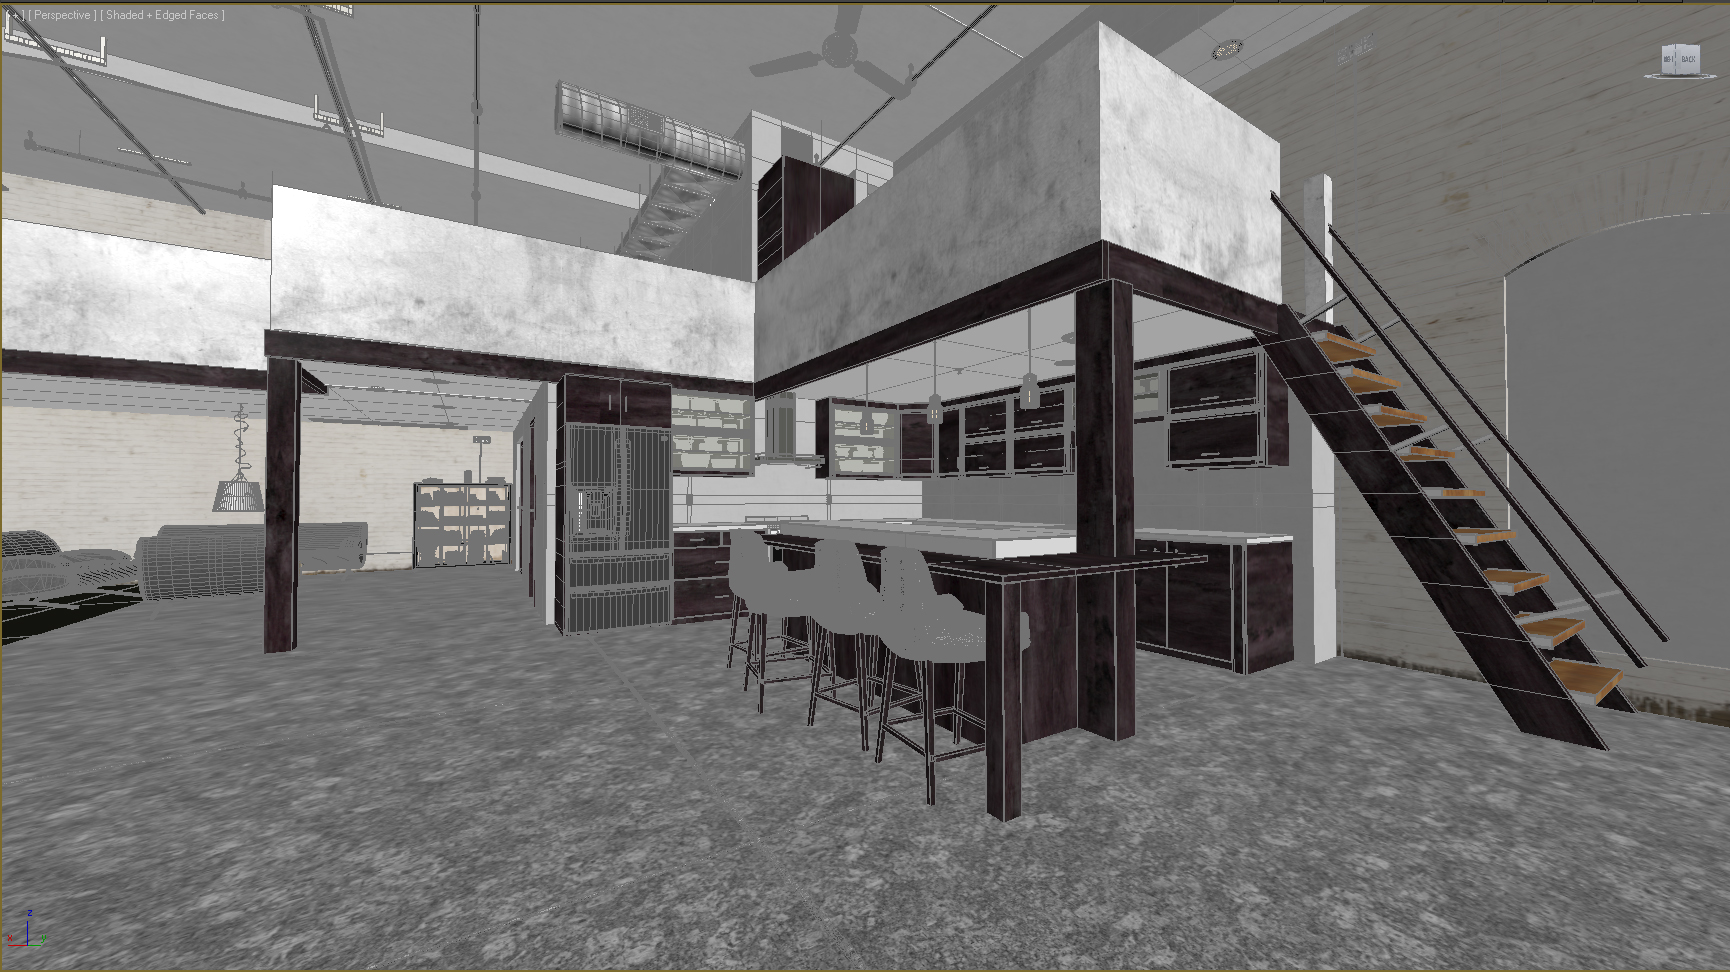
3ds Max viewport.
Click on image to enlarge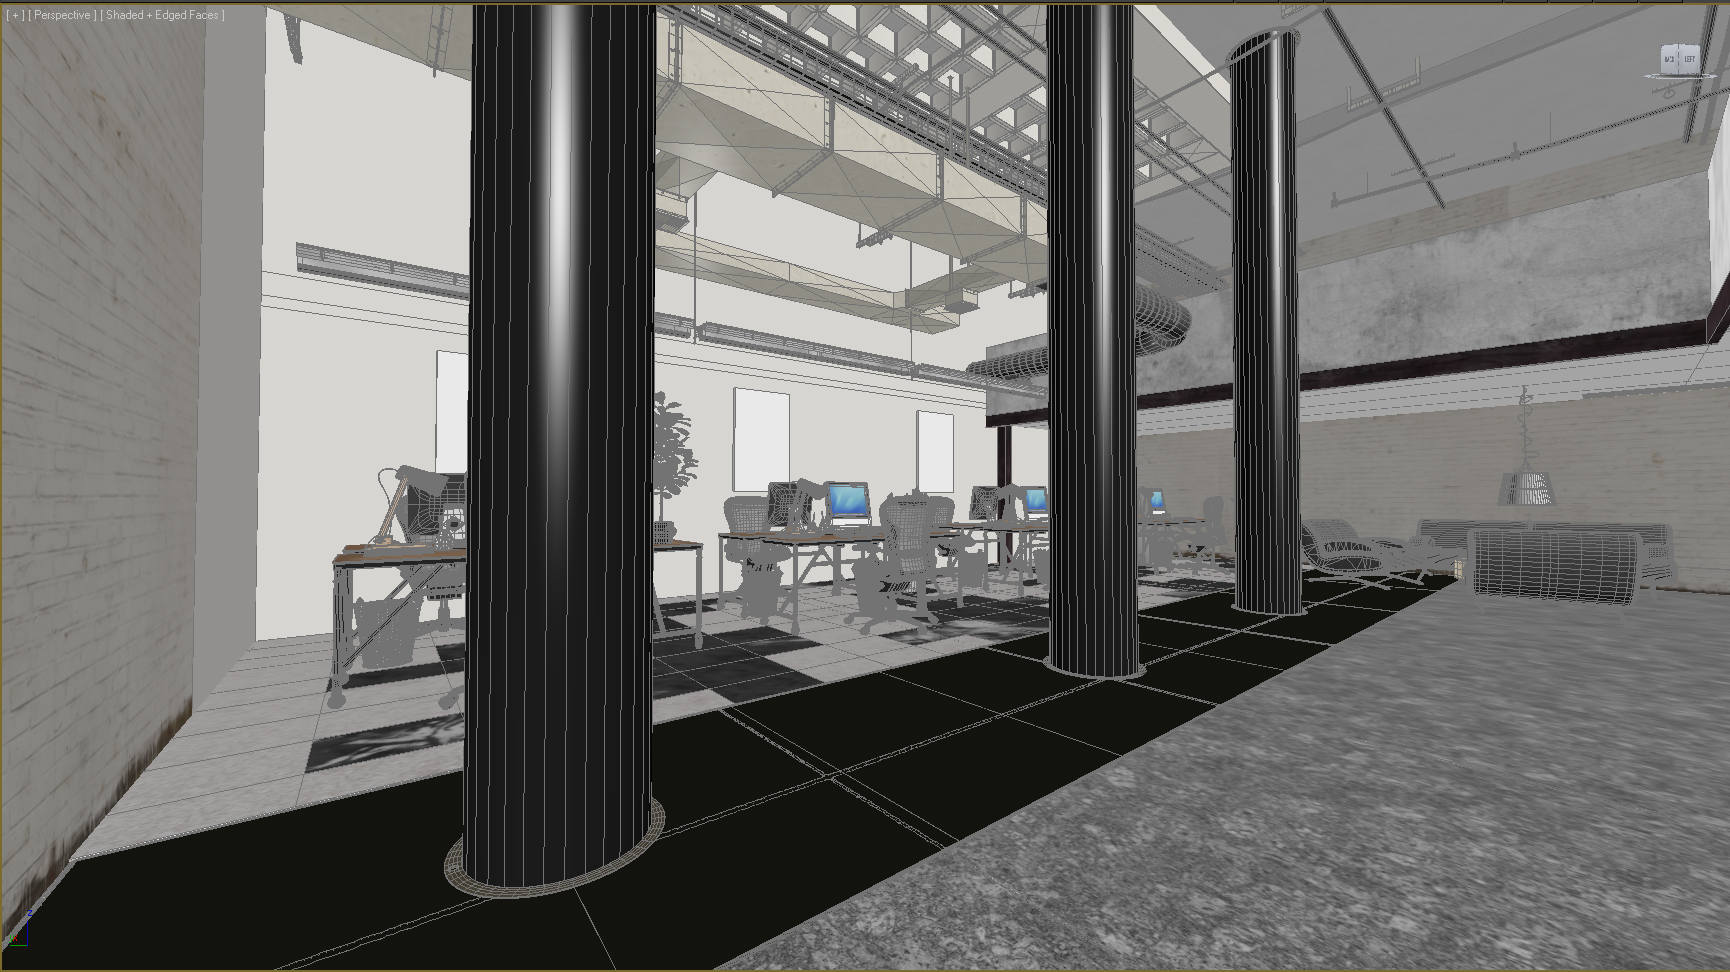
3ds Max viewport.
Click on image to enlarge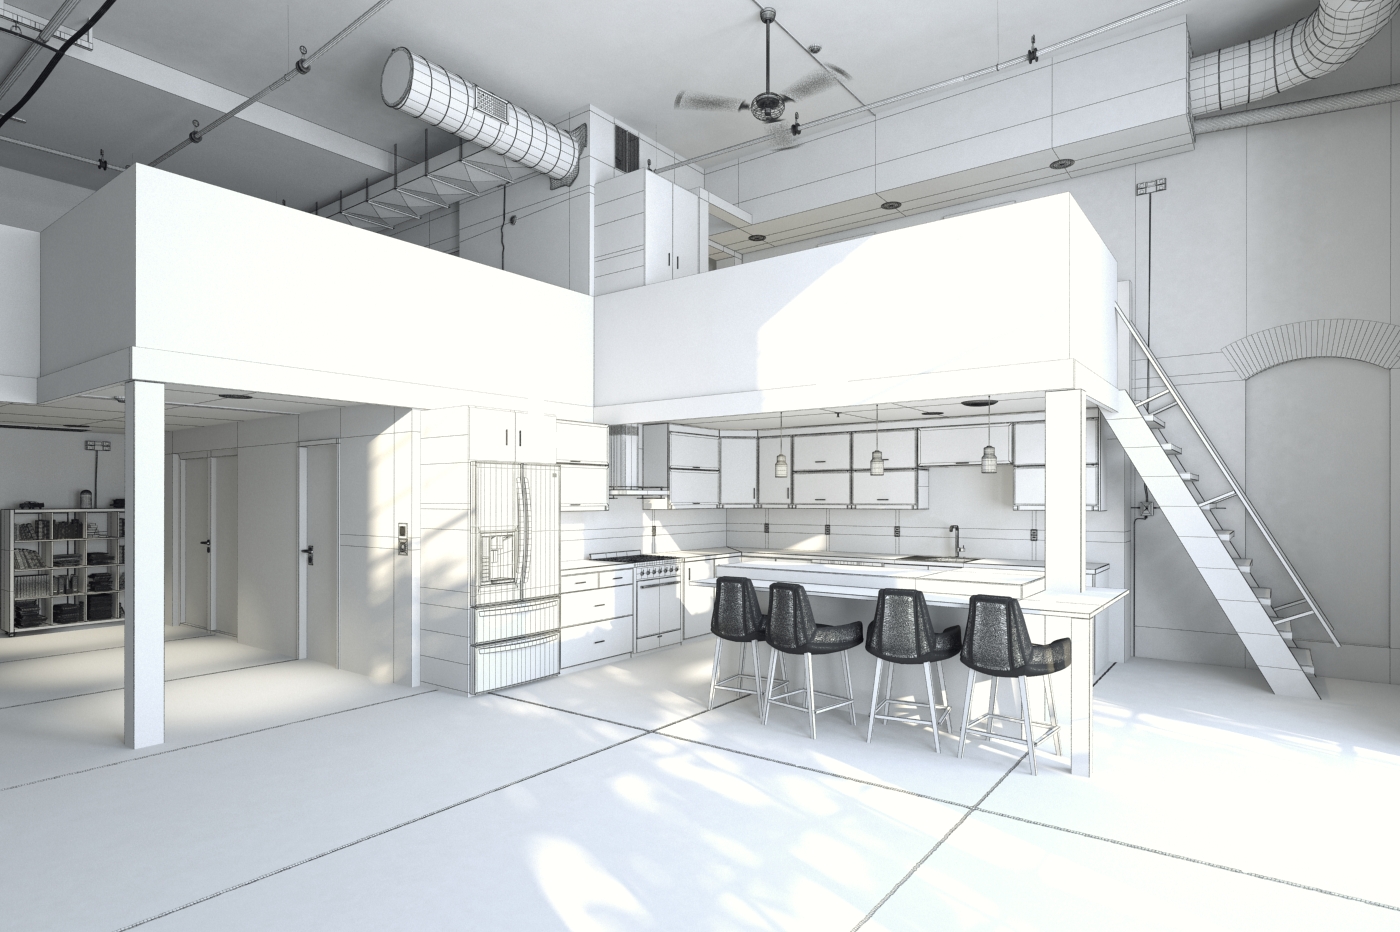
To achieve this "wire effect" I used the VrayEdgeTex Map.
Click on image to enlarge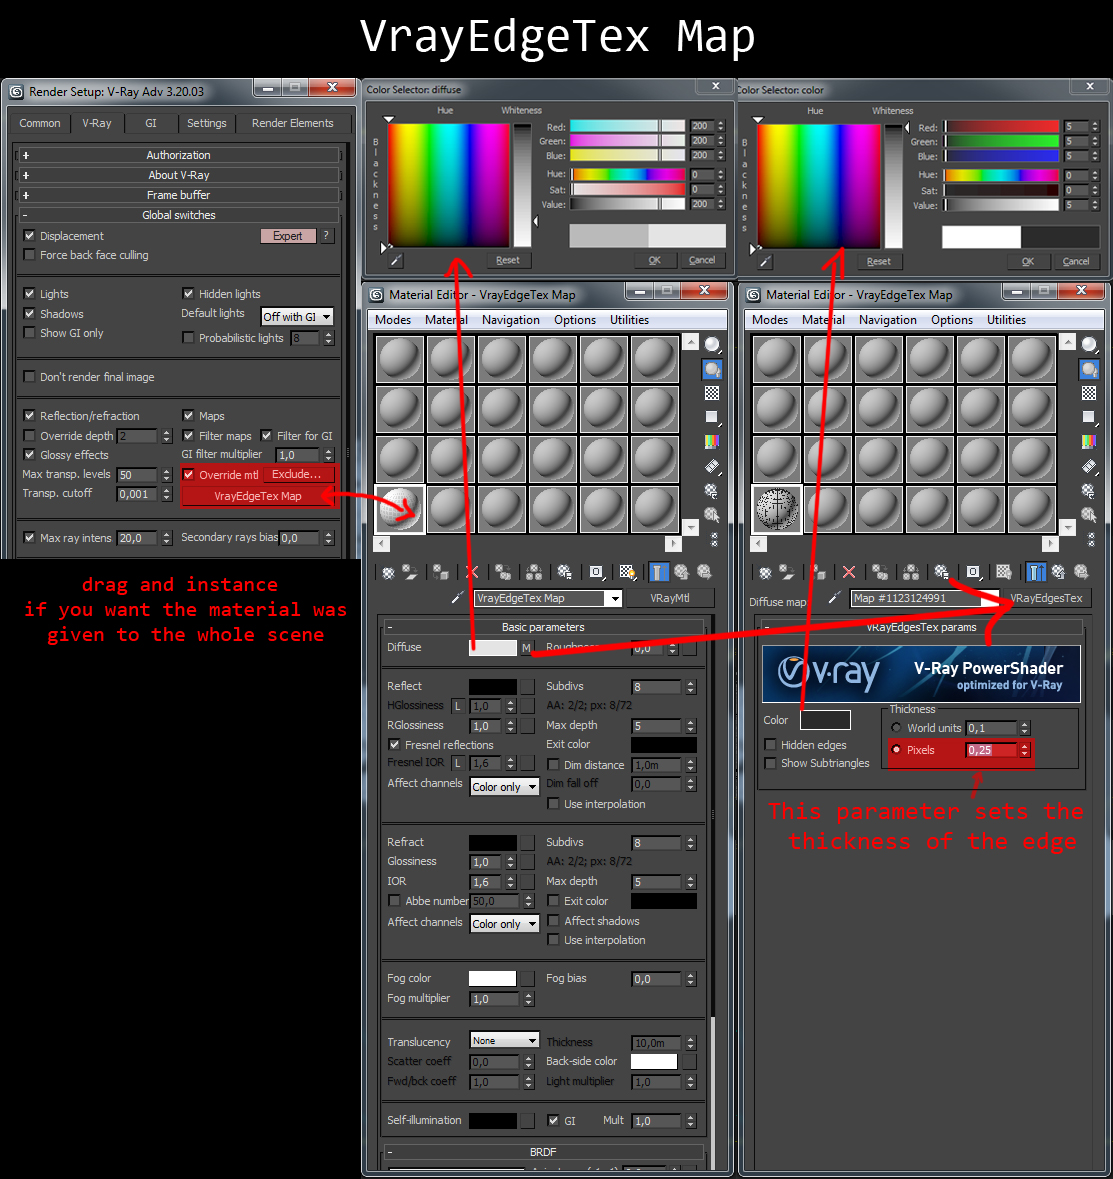
VrayEdgeTex map settings. You will find more uses of VrayEdgeTex
in this tutorial.
The whole scene is made up of the following parts.
This interior is composed of more than a hundred different models. They are mapped and ready to use on other projects.
Click on image to enlarge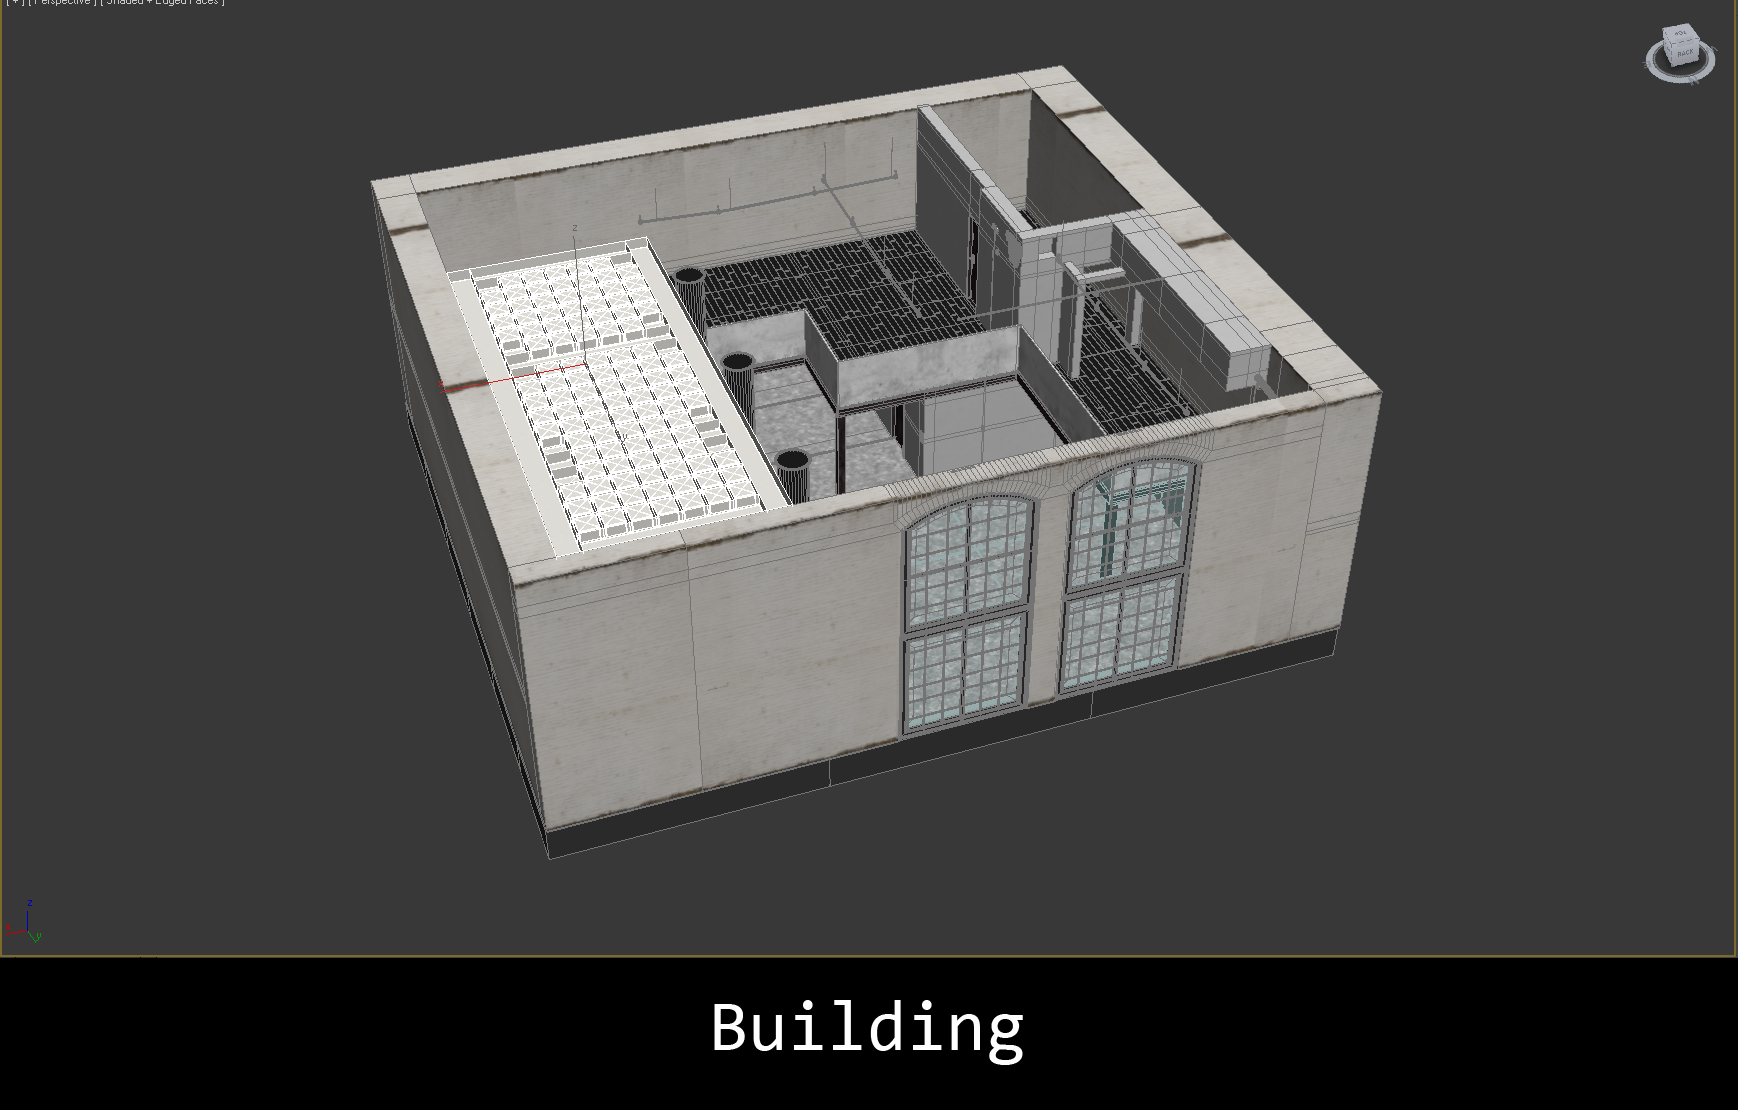
Building.
Click on image to enlarge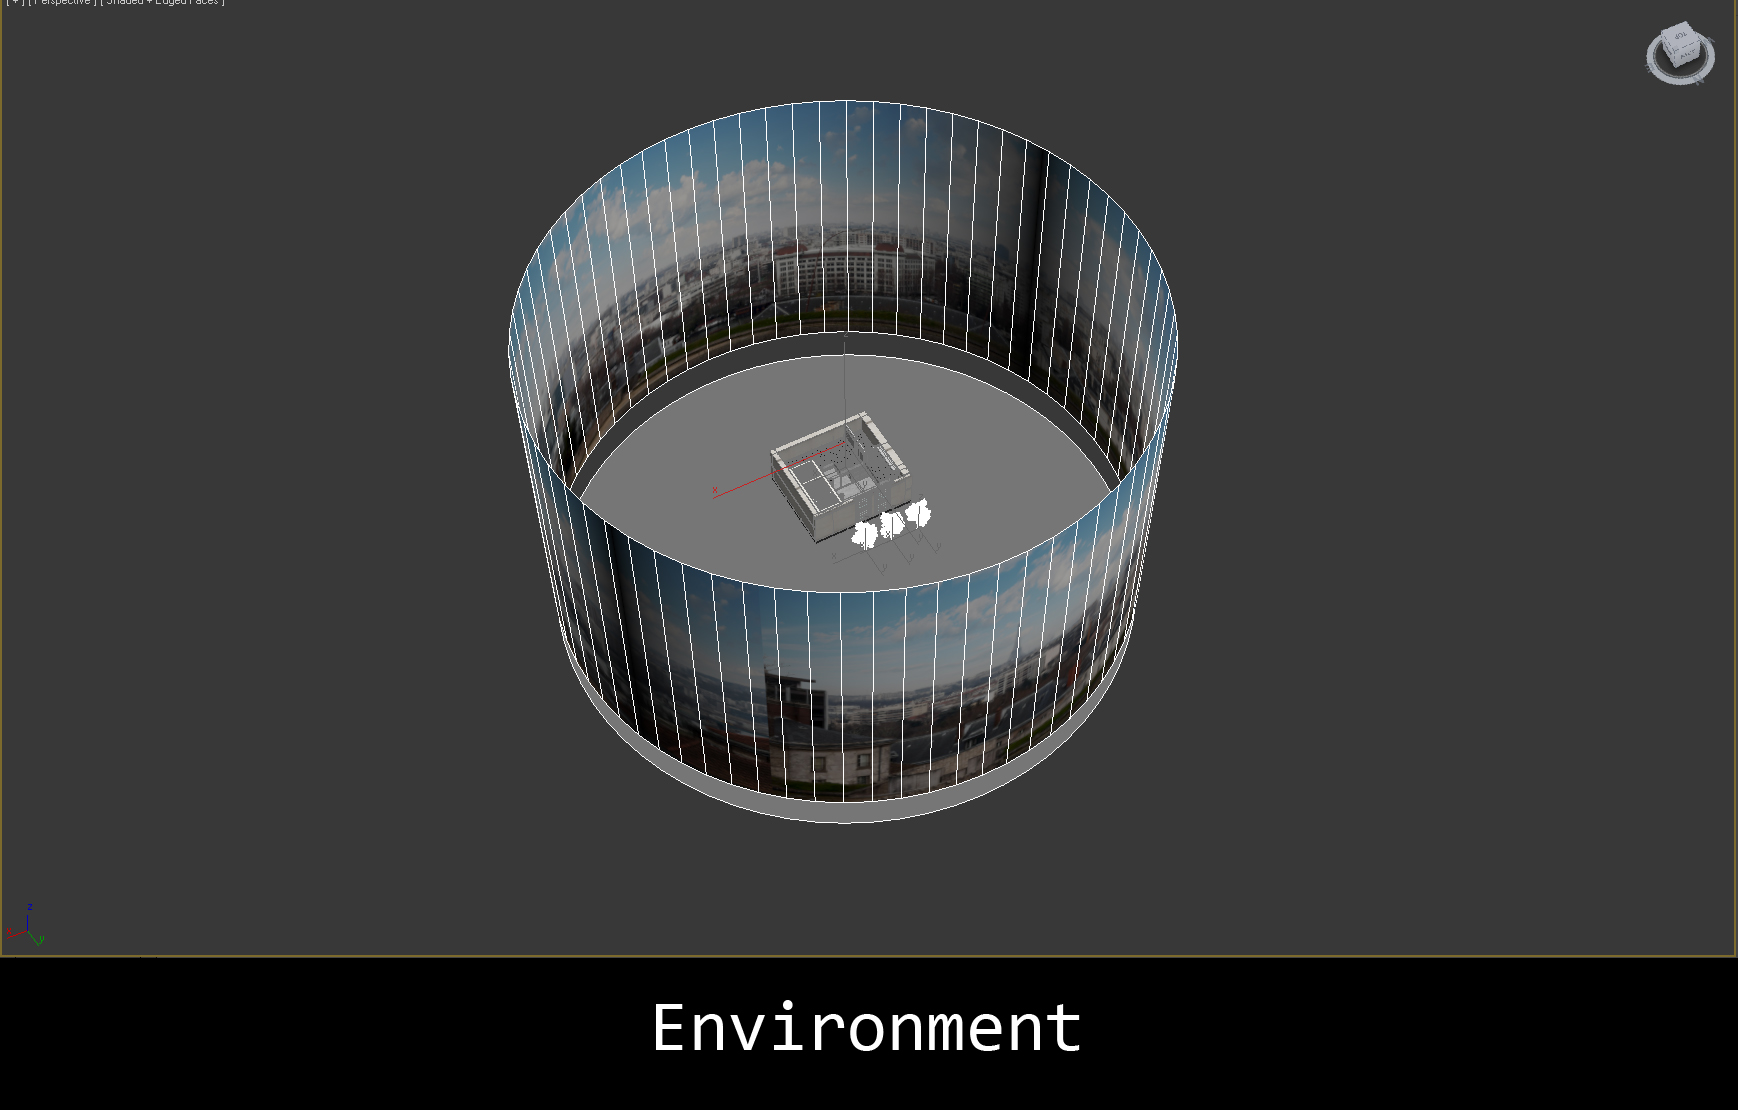
Environment.
Click on image to enlarge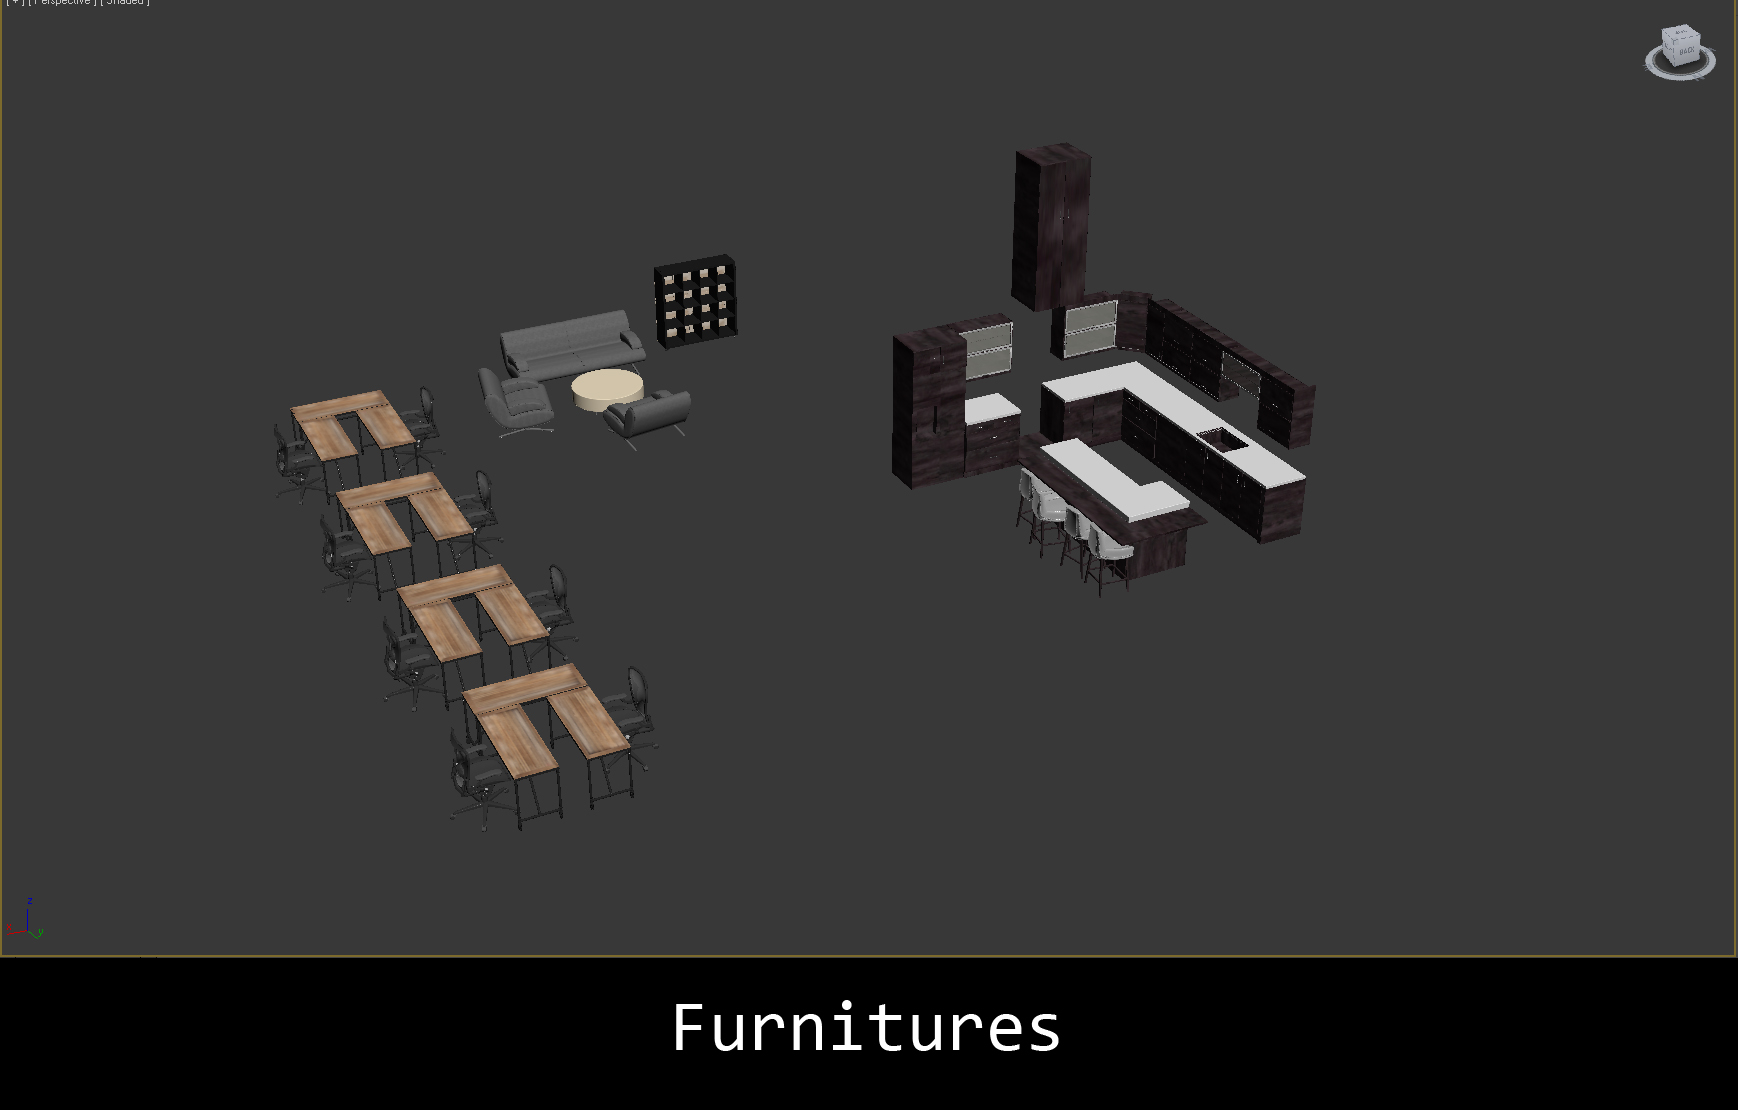
Furniture.
Click on image to enlarge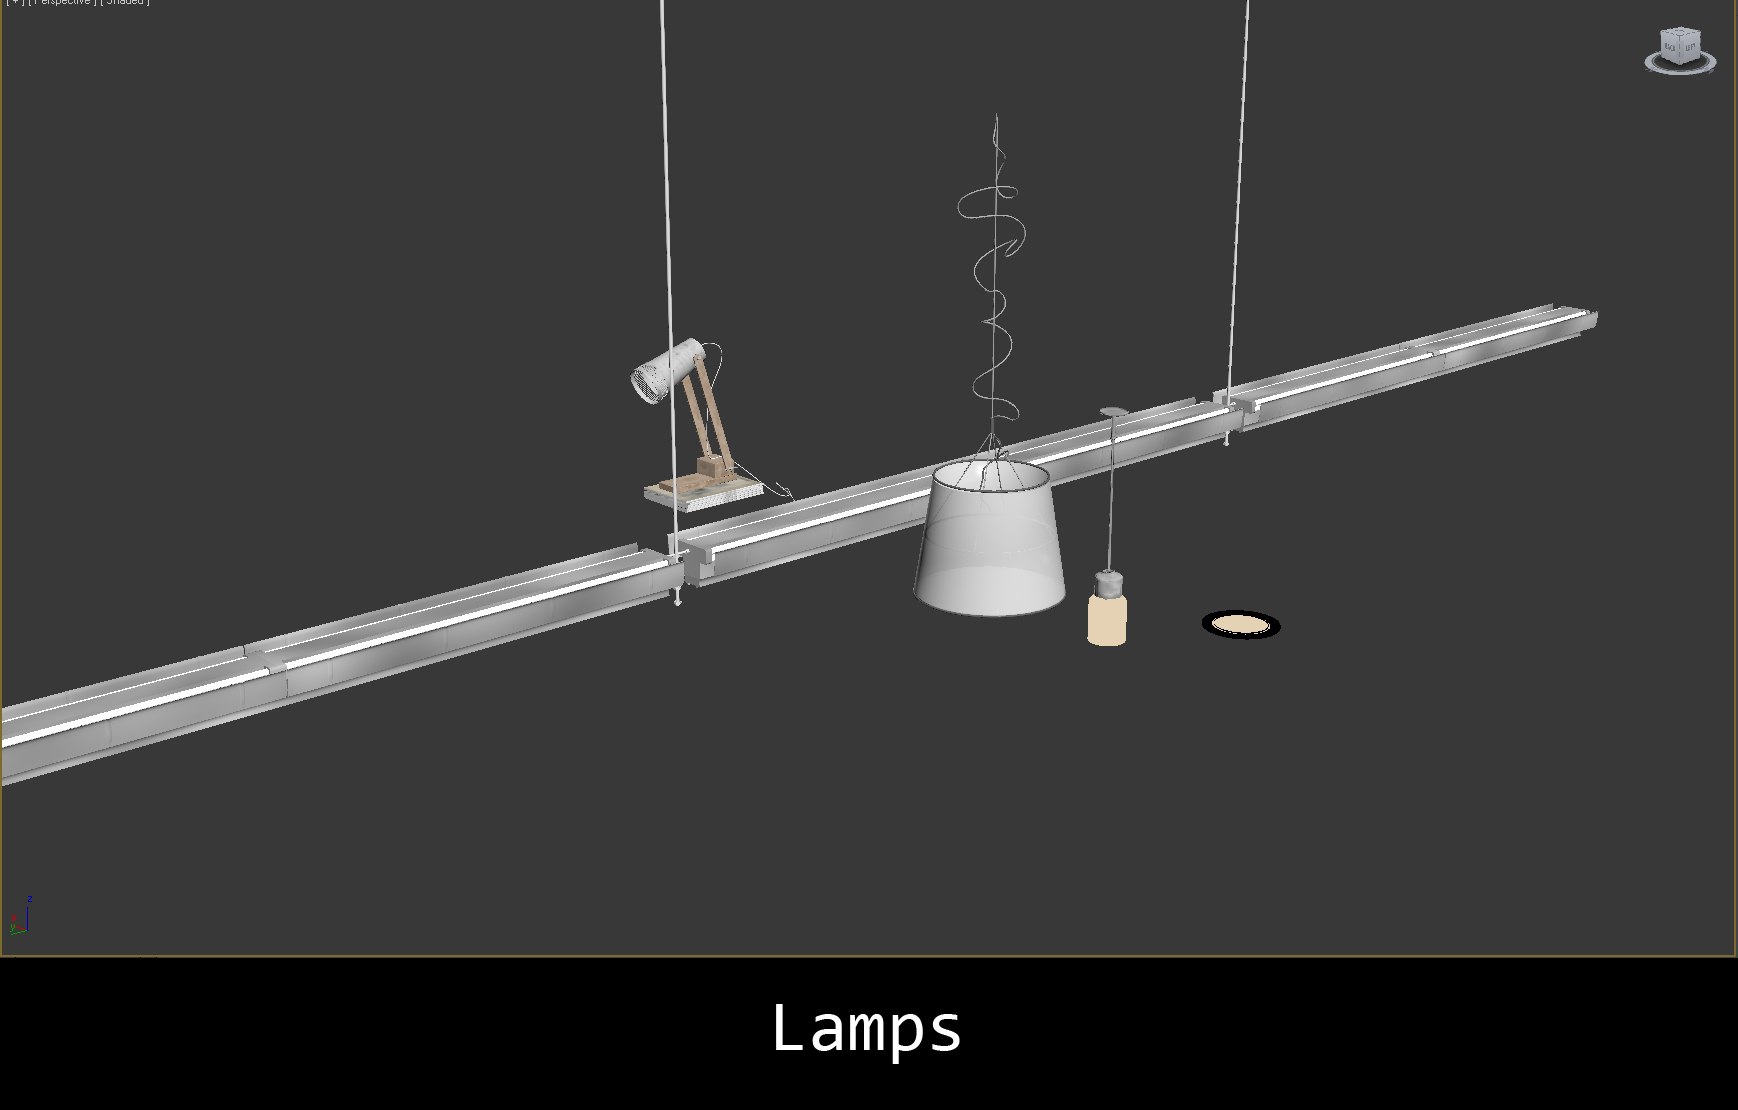
Lamps.
Click on image to enlarge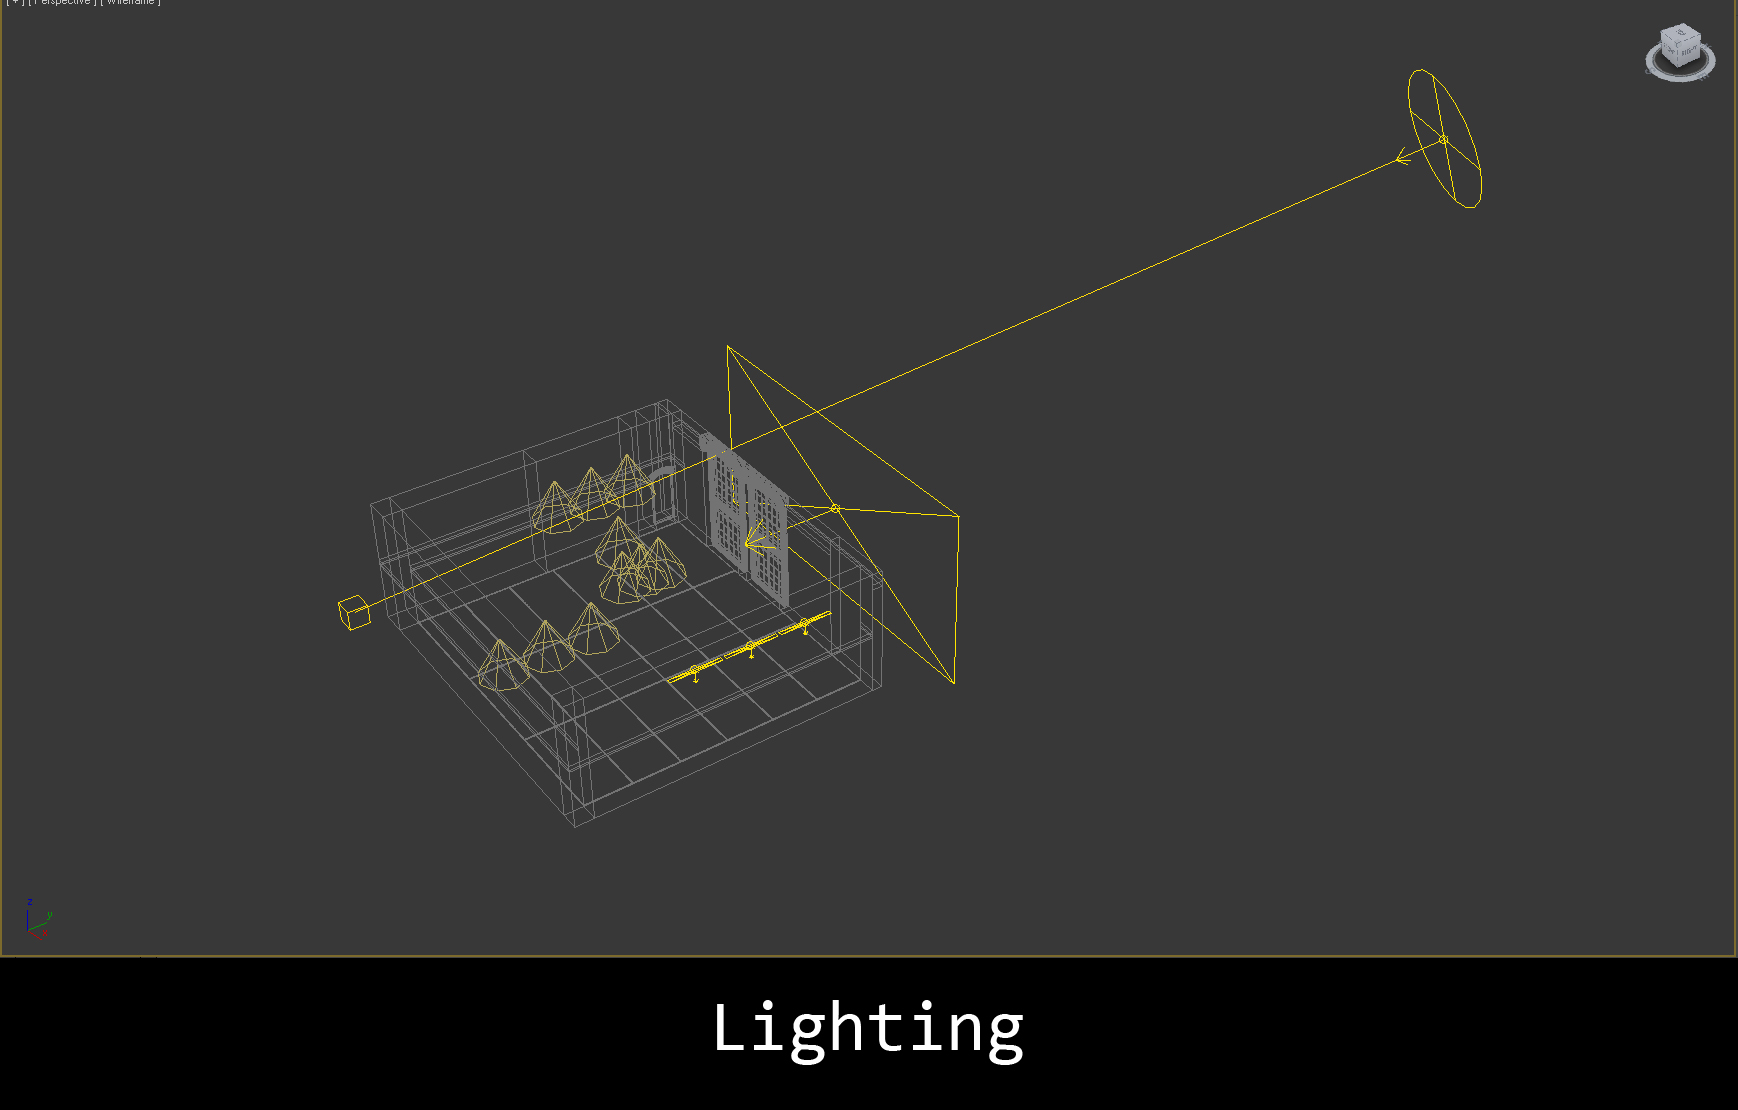
Lighting.
Click on image to enlarge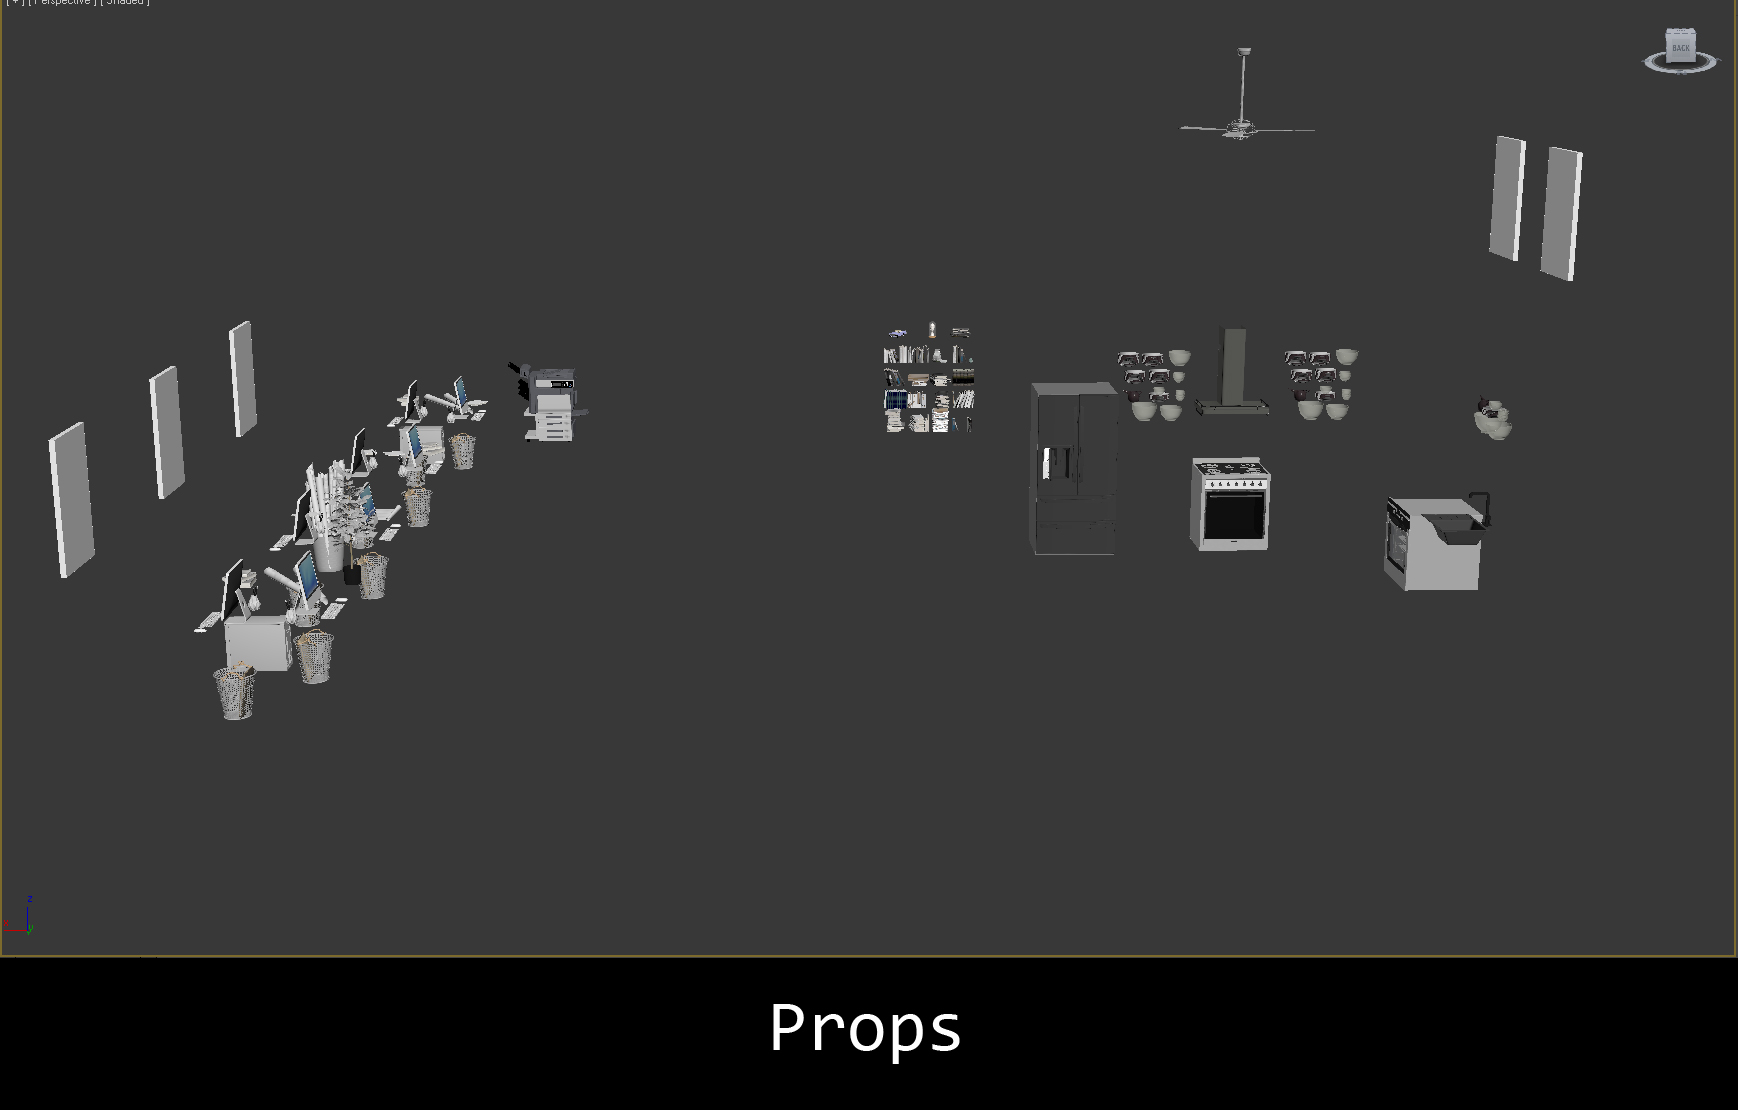
Props.
Click on image to enlarge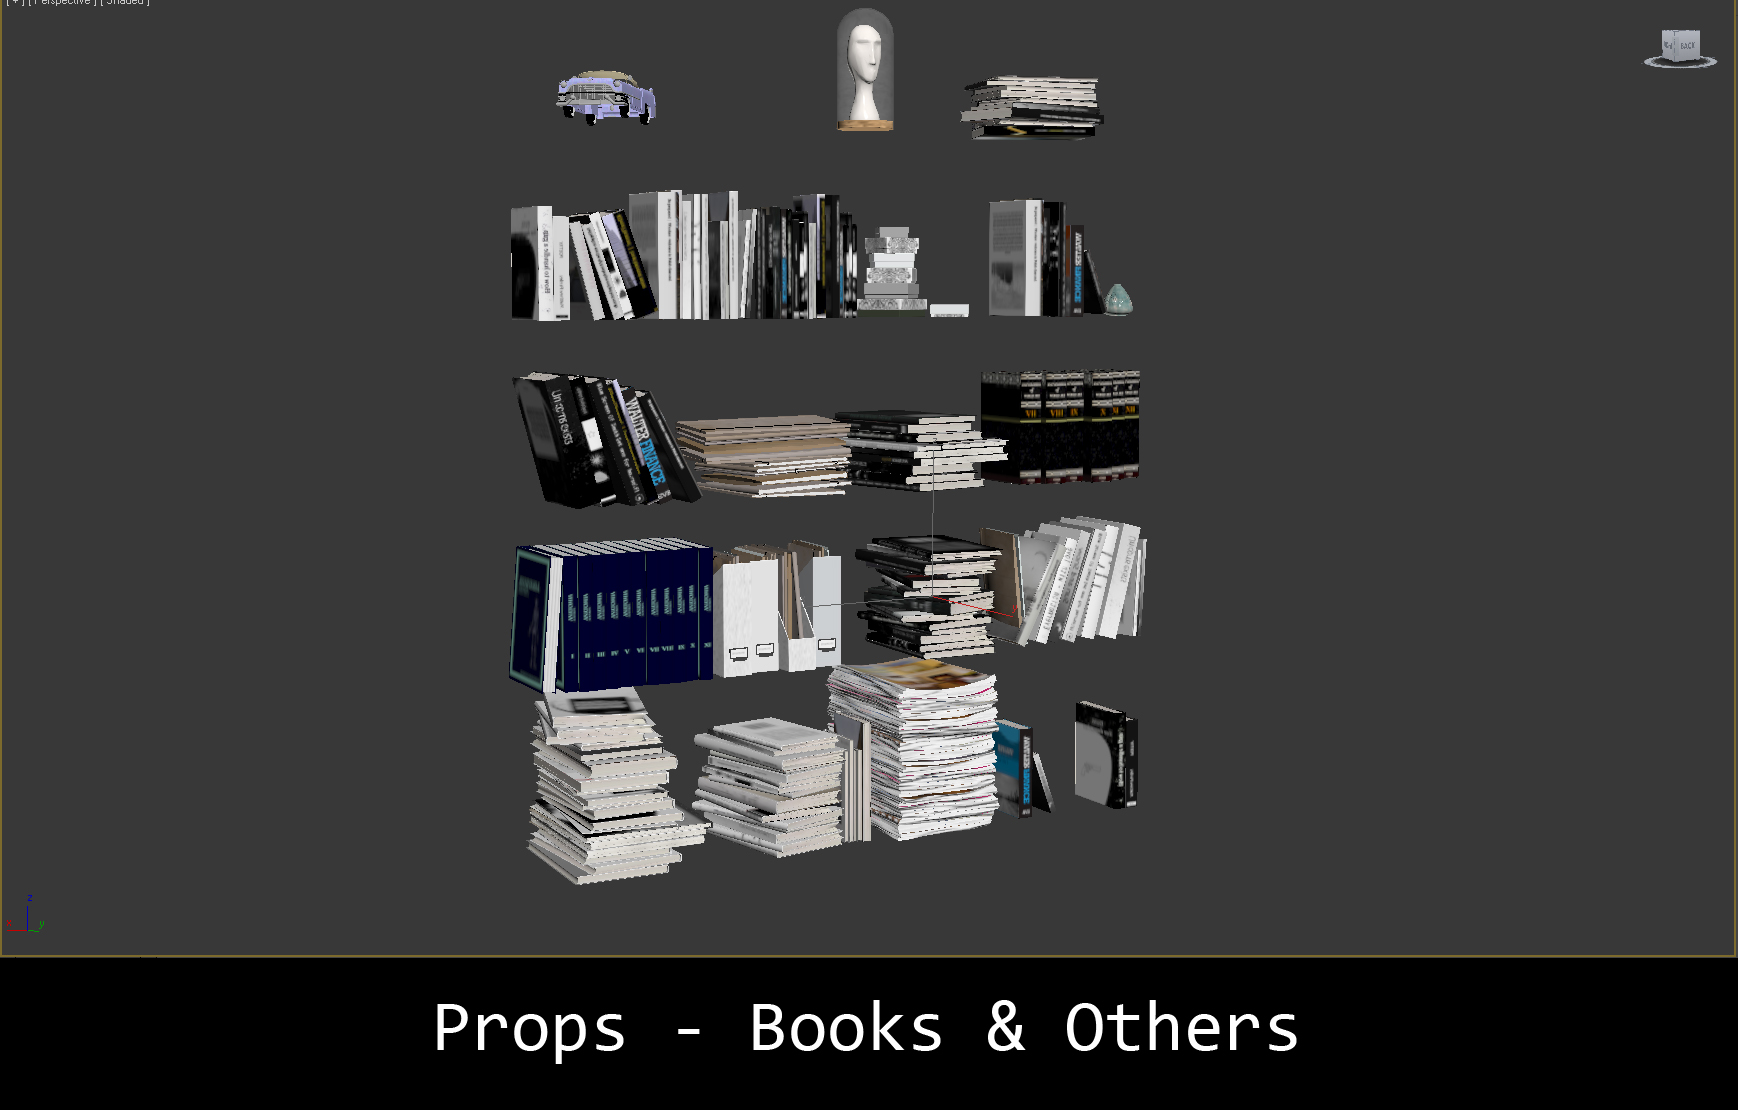
Books.
Click on image to enlarge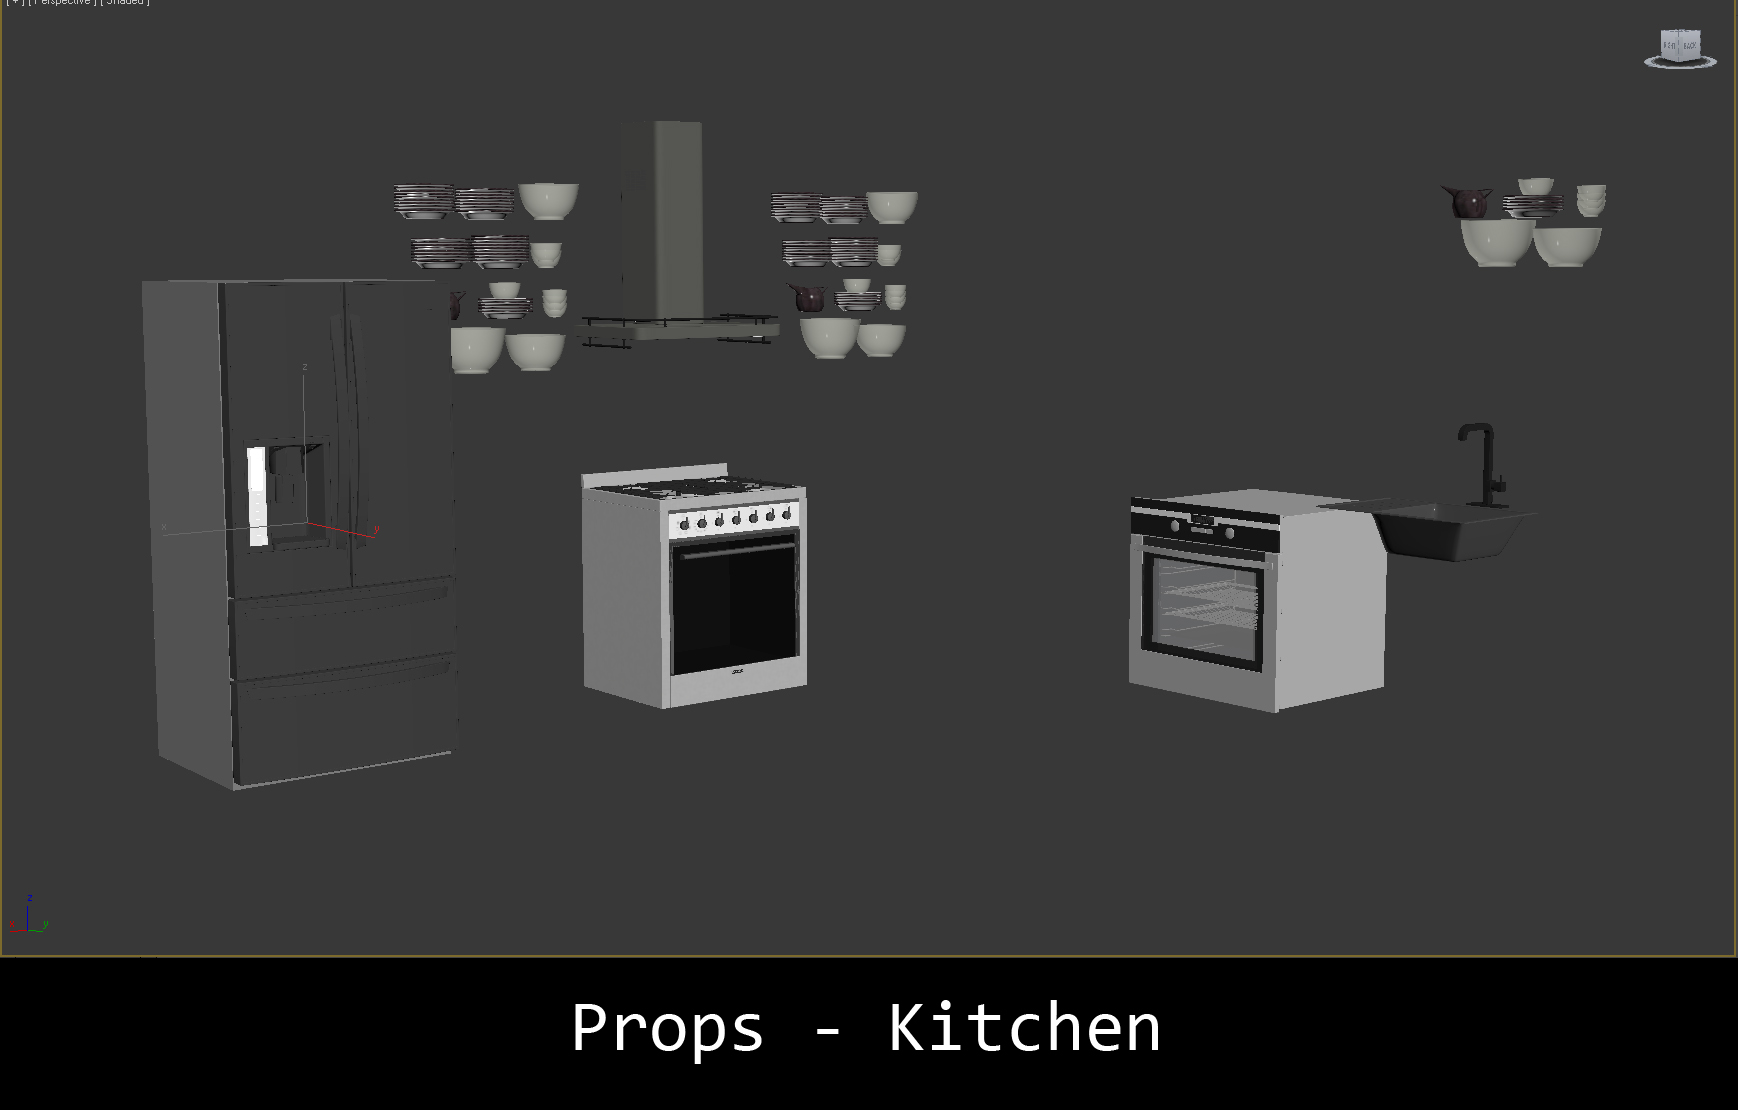
Props - kitchen.
Click on image to enlarge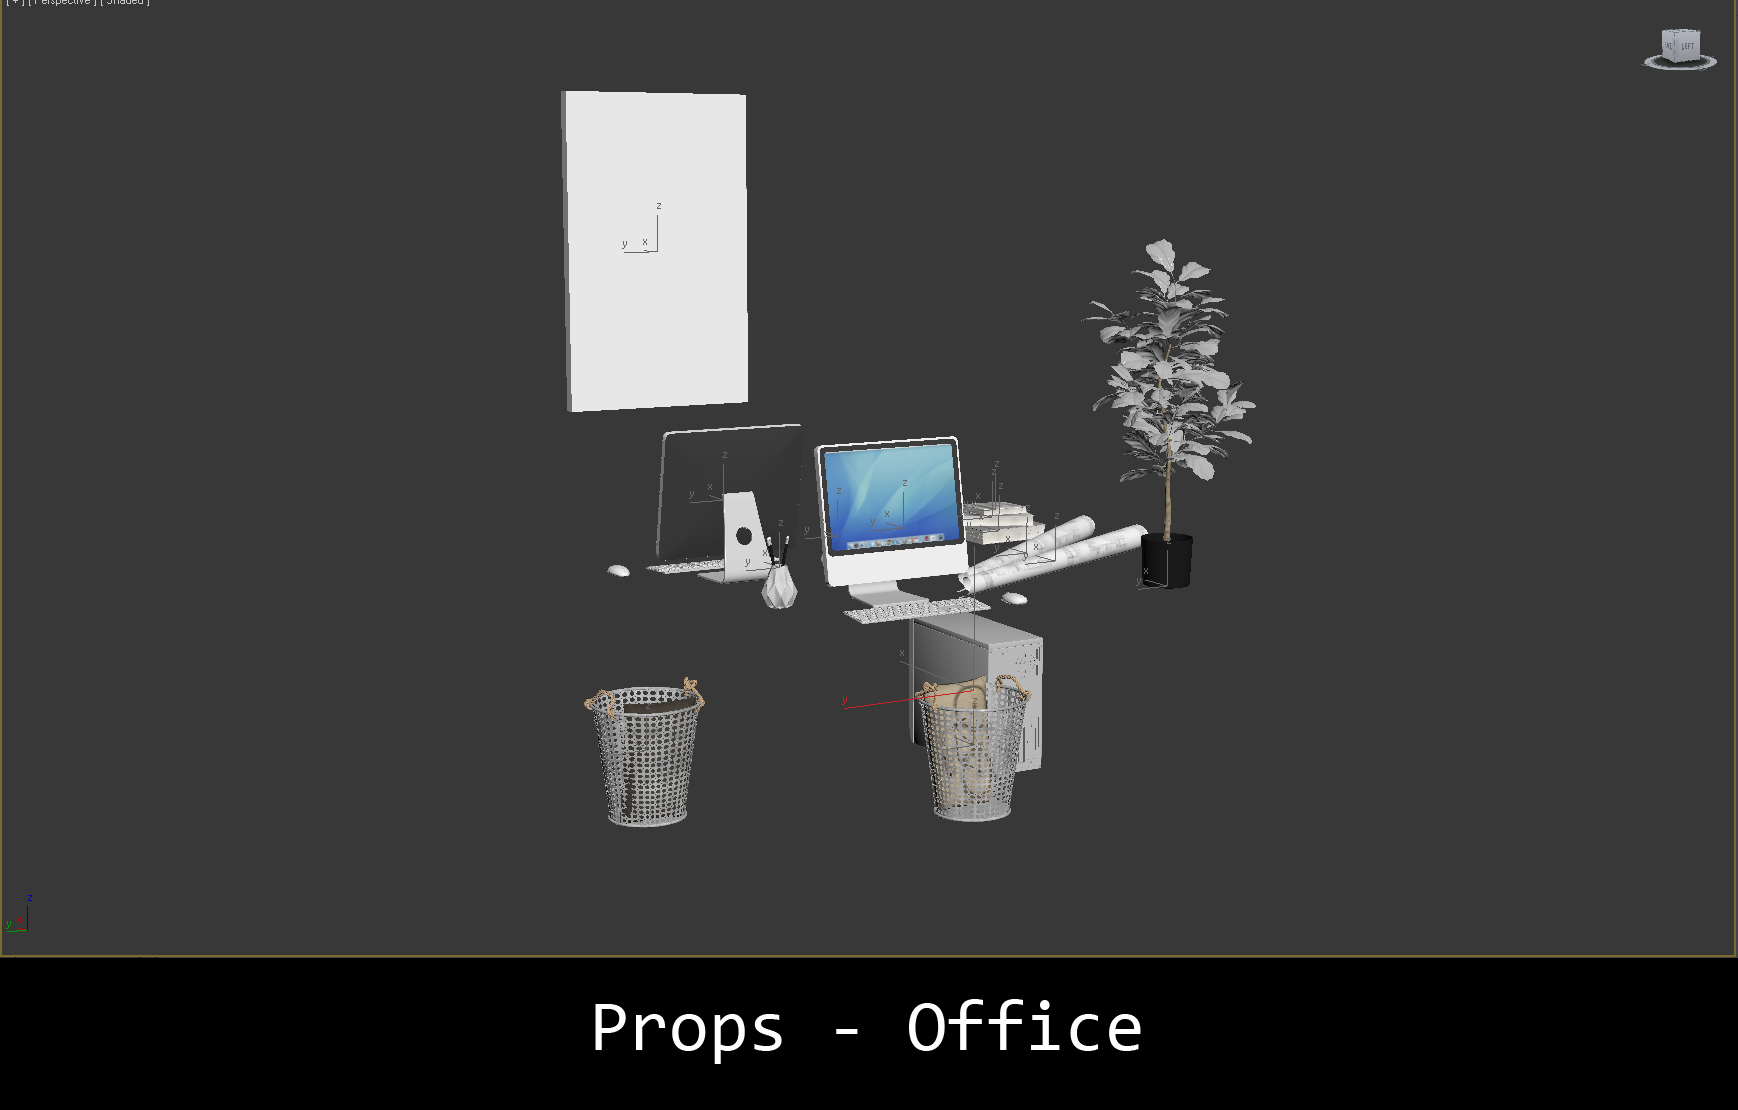
Props - office.
Click on image to enlarge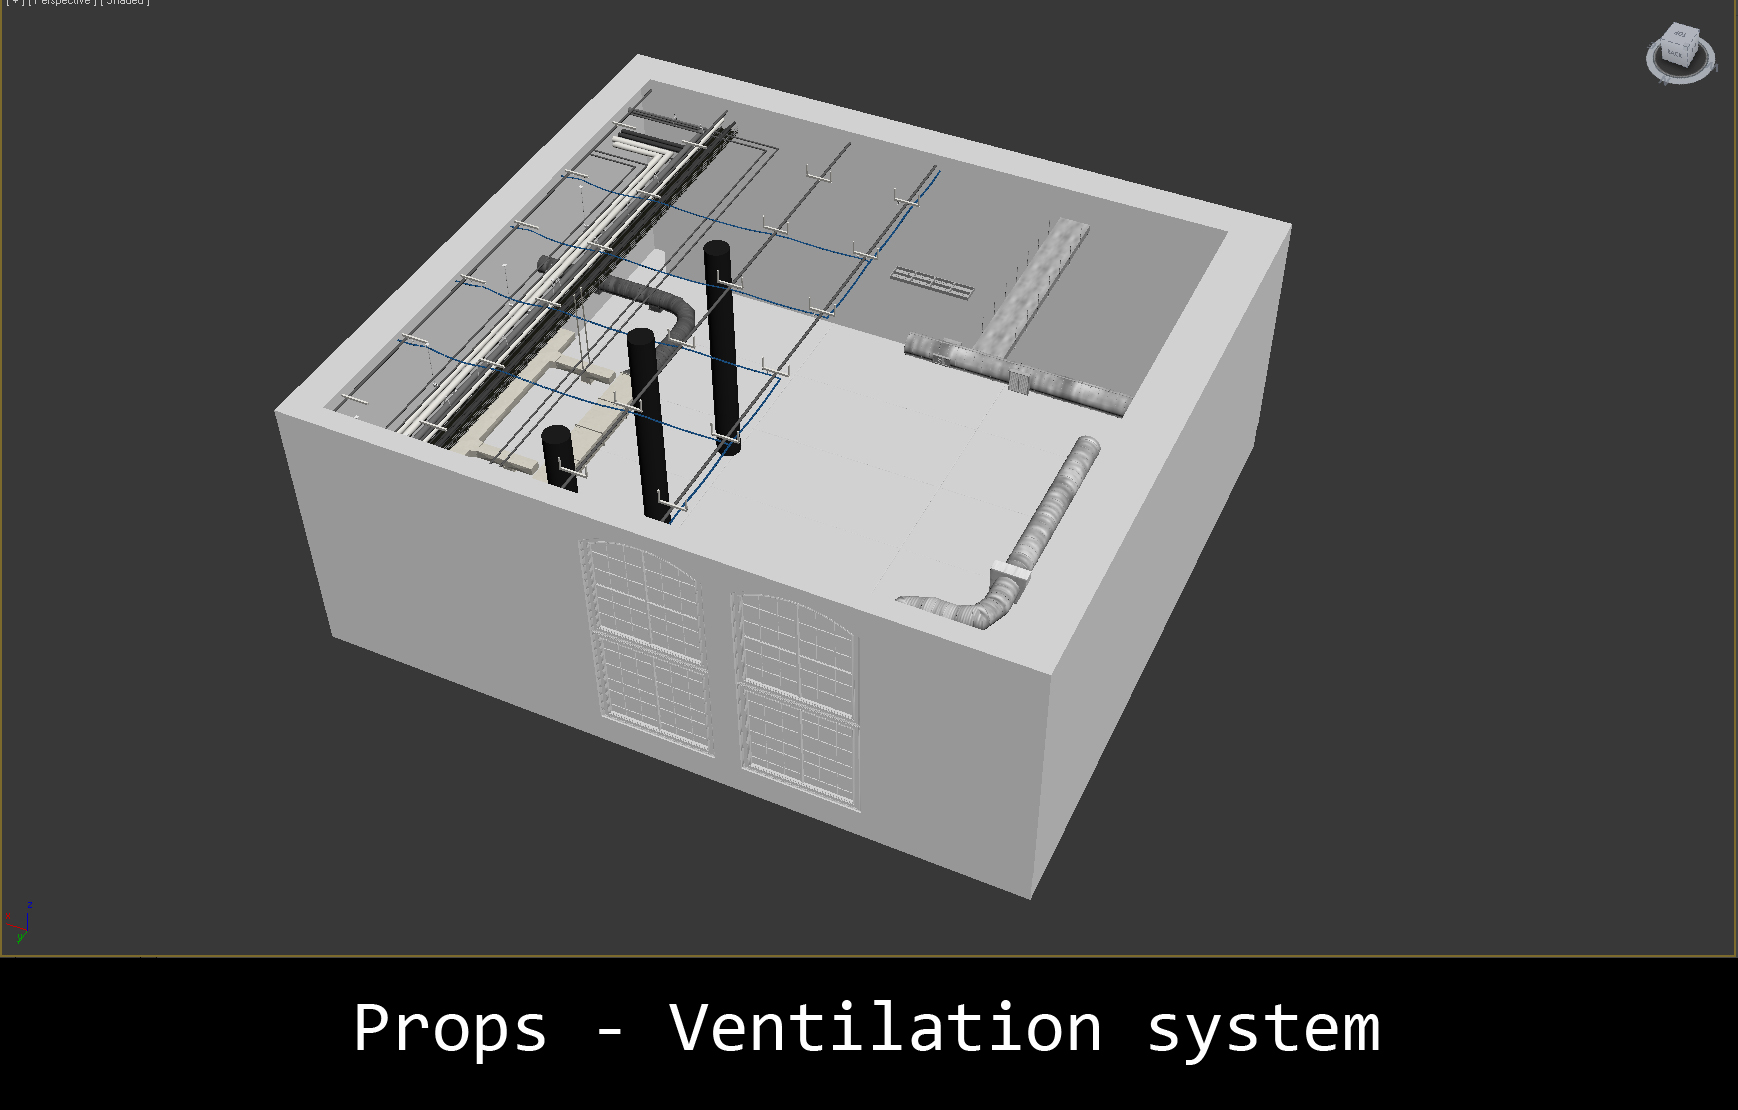
Ventilation system.
Click on image to enlarge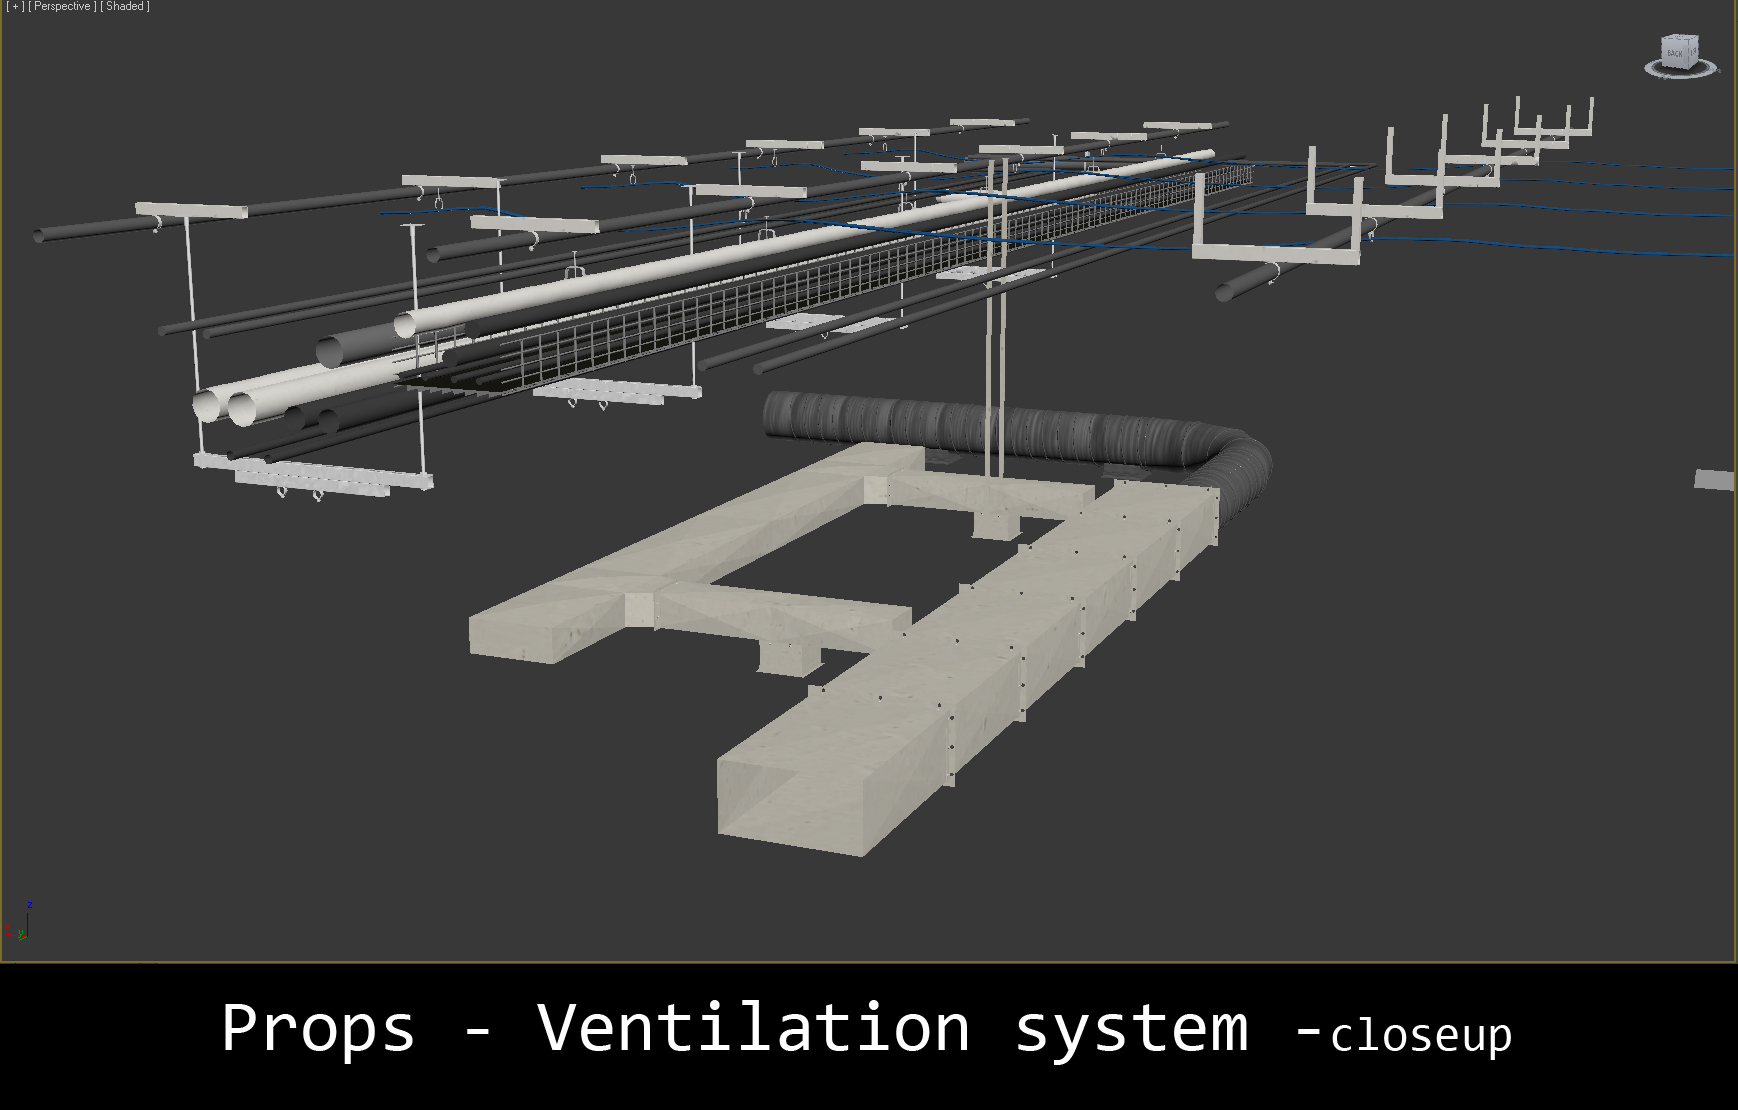
Ventilation - close up.
Click on image to enlarge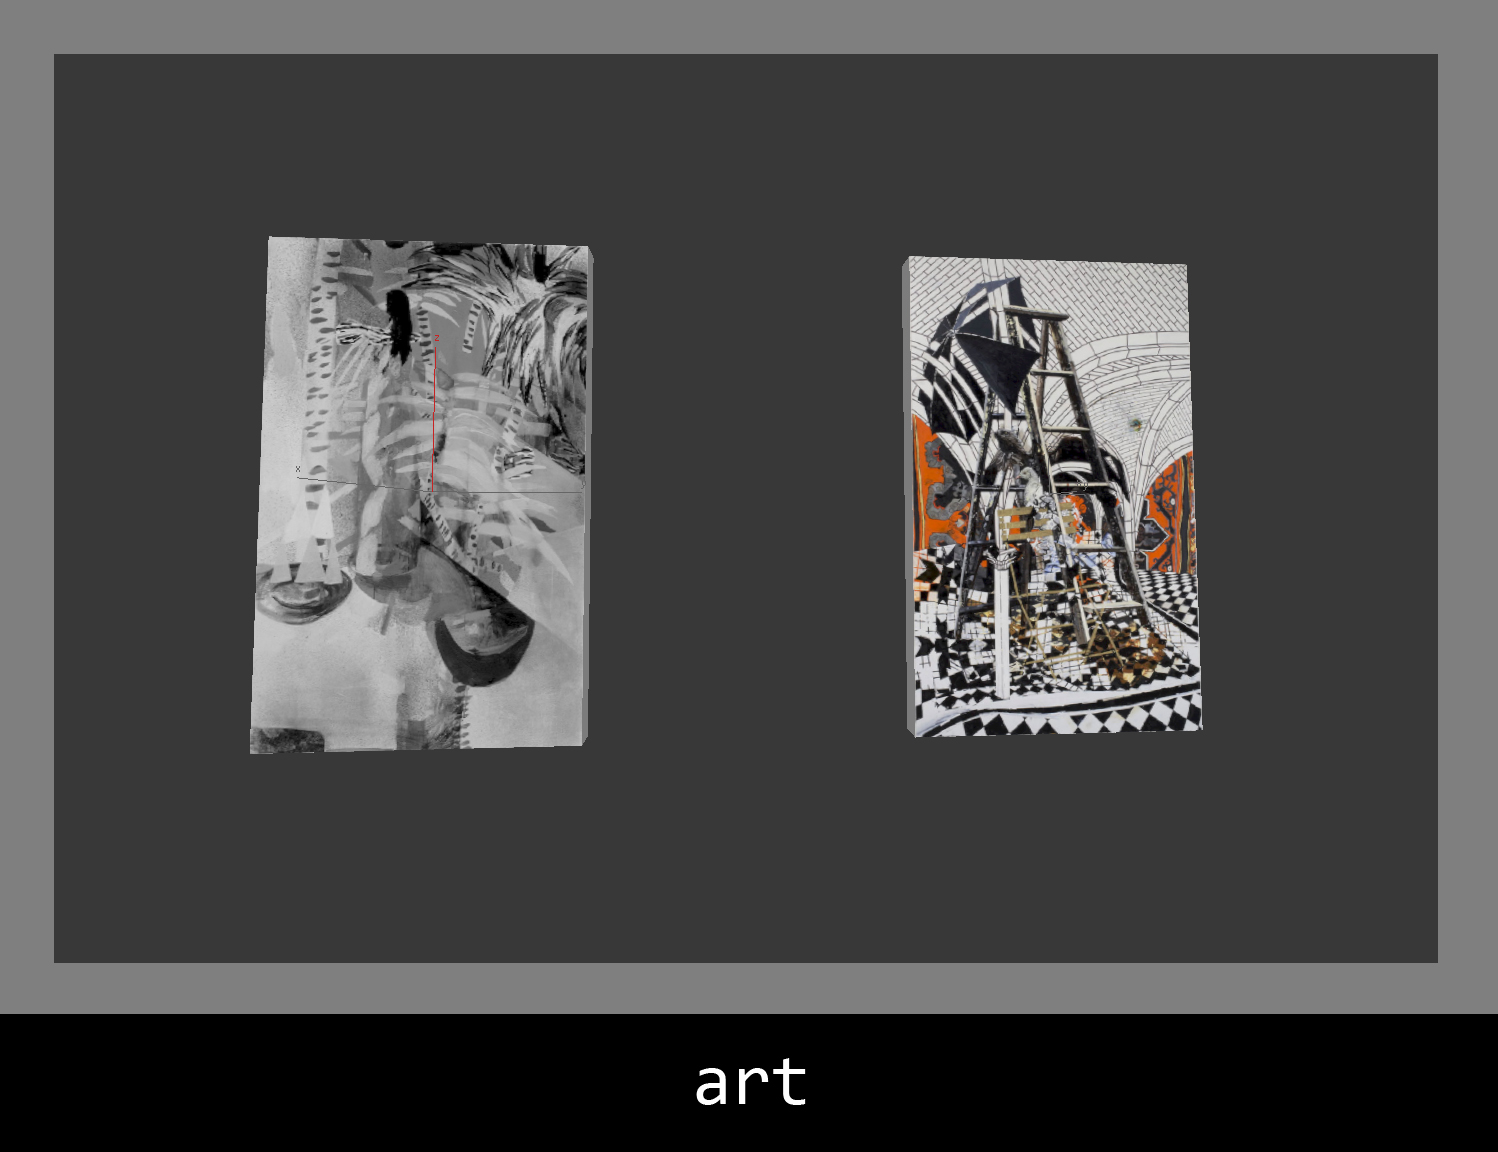
Props.
Click on image to enlarge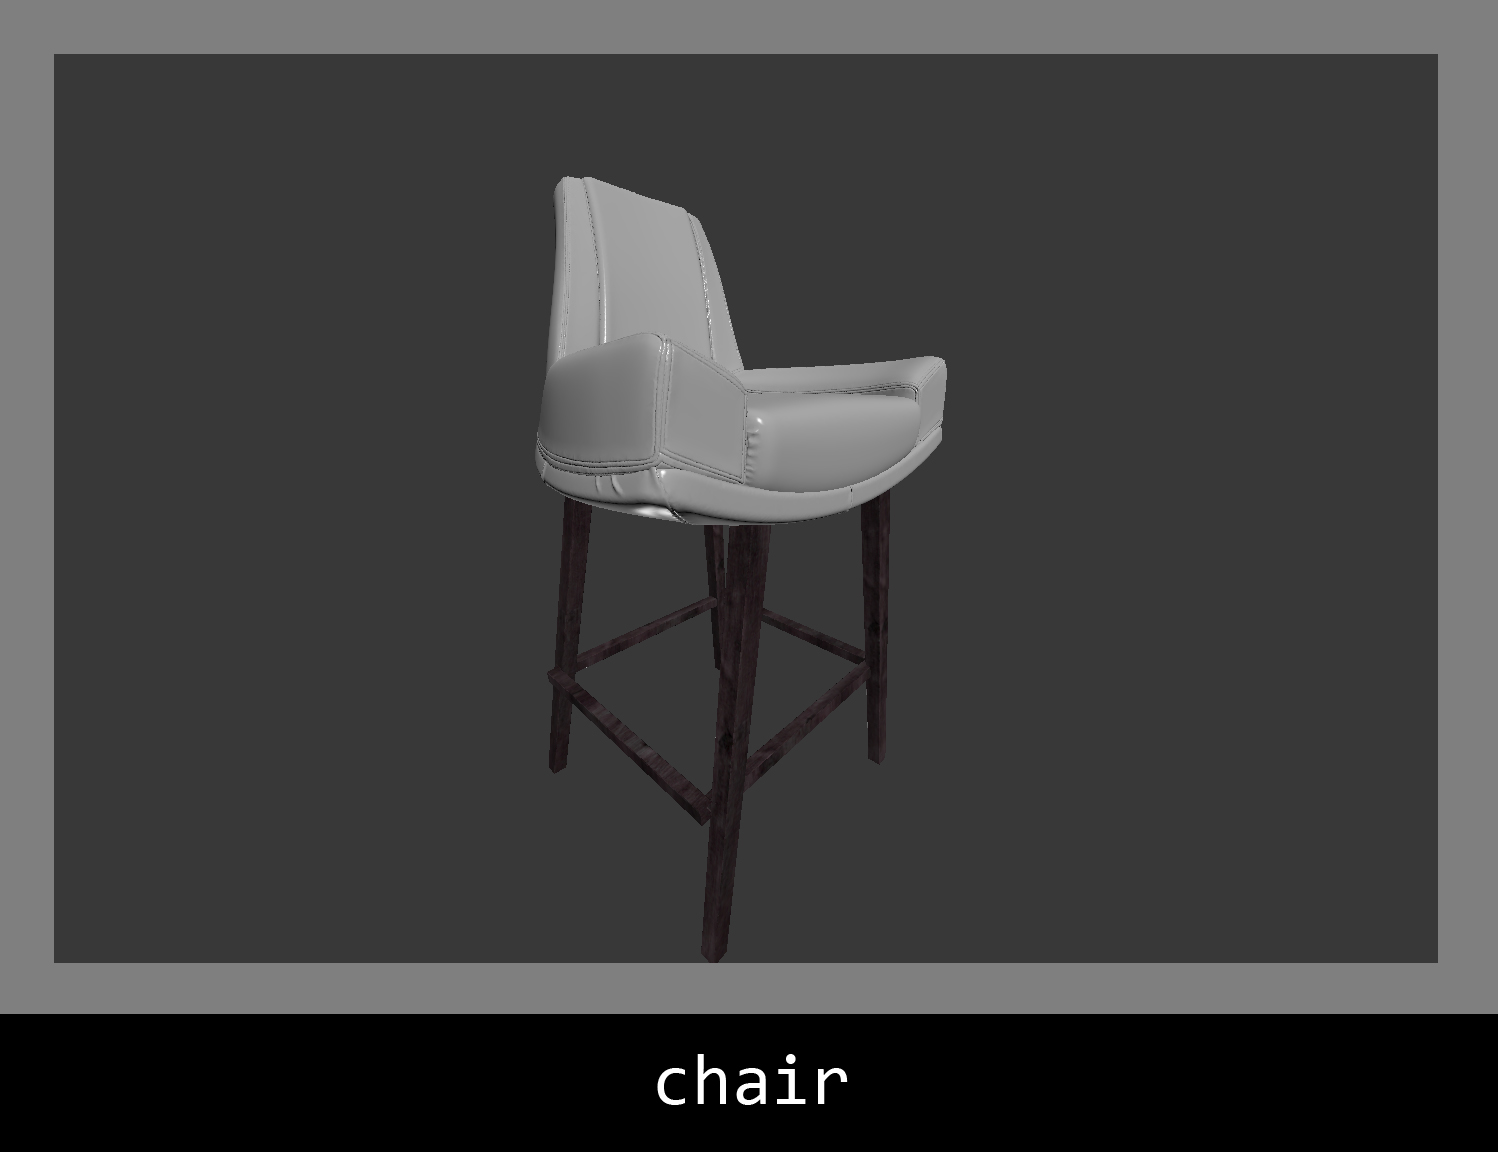
Props.
Click on image to enlarge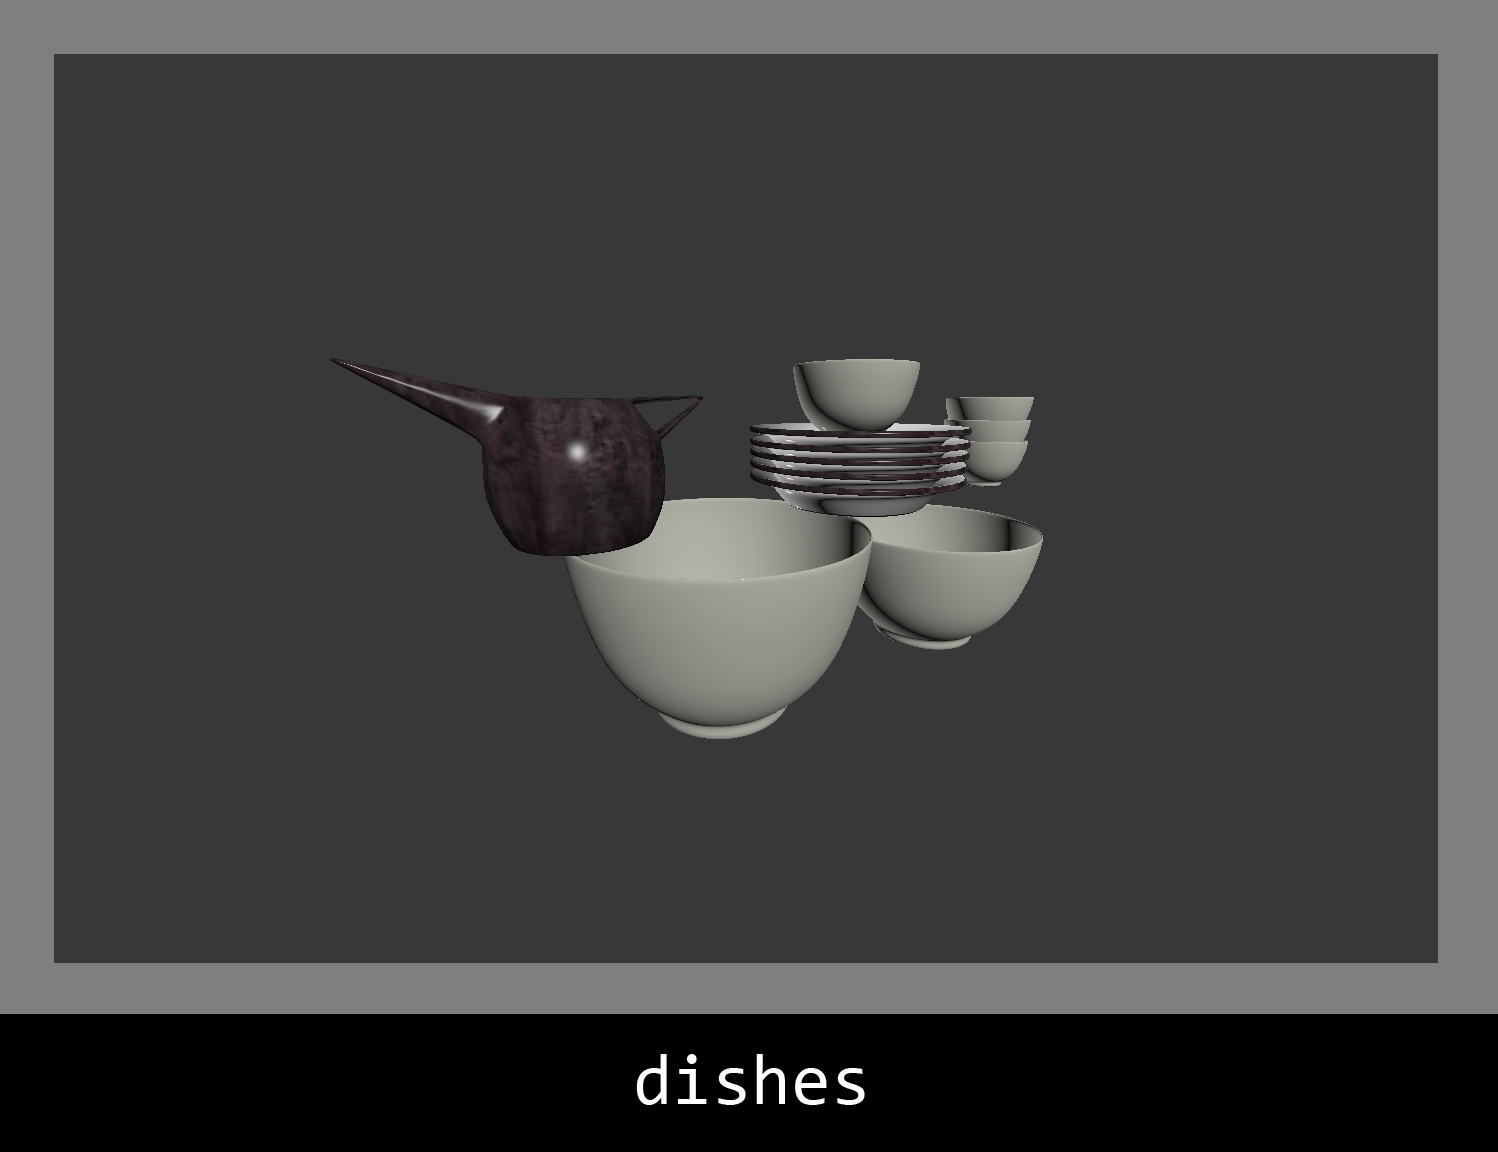
Props.
Click on image to enlarge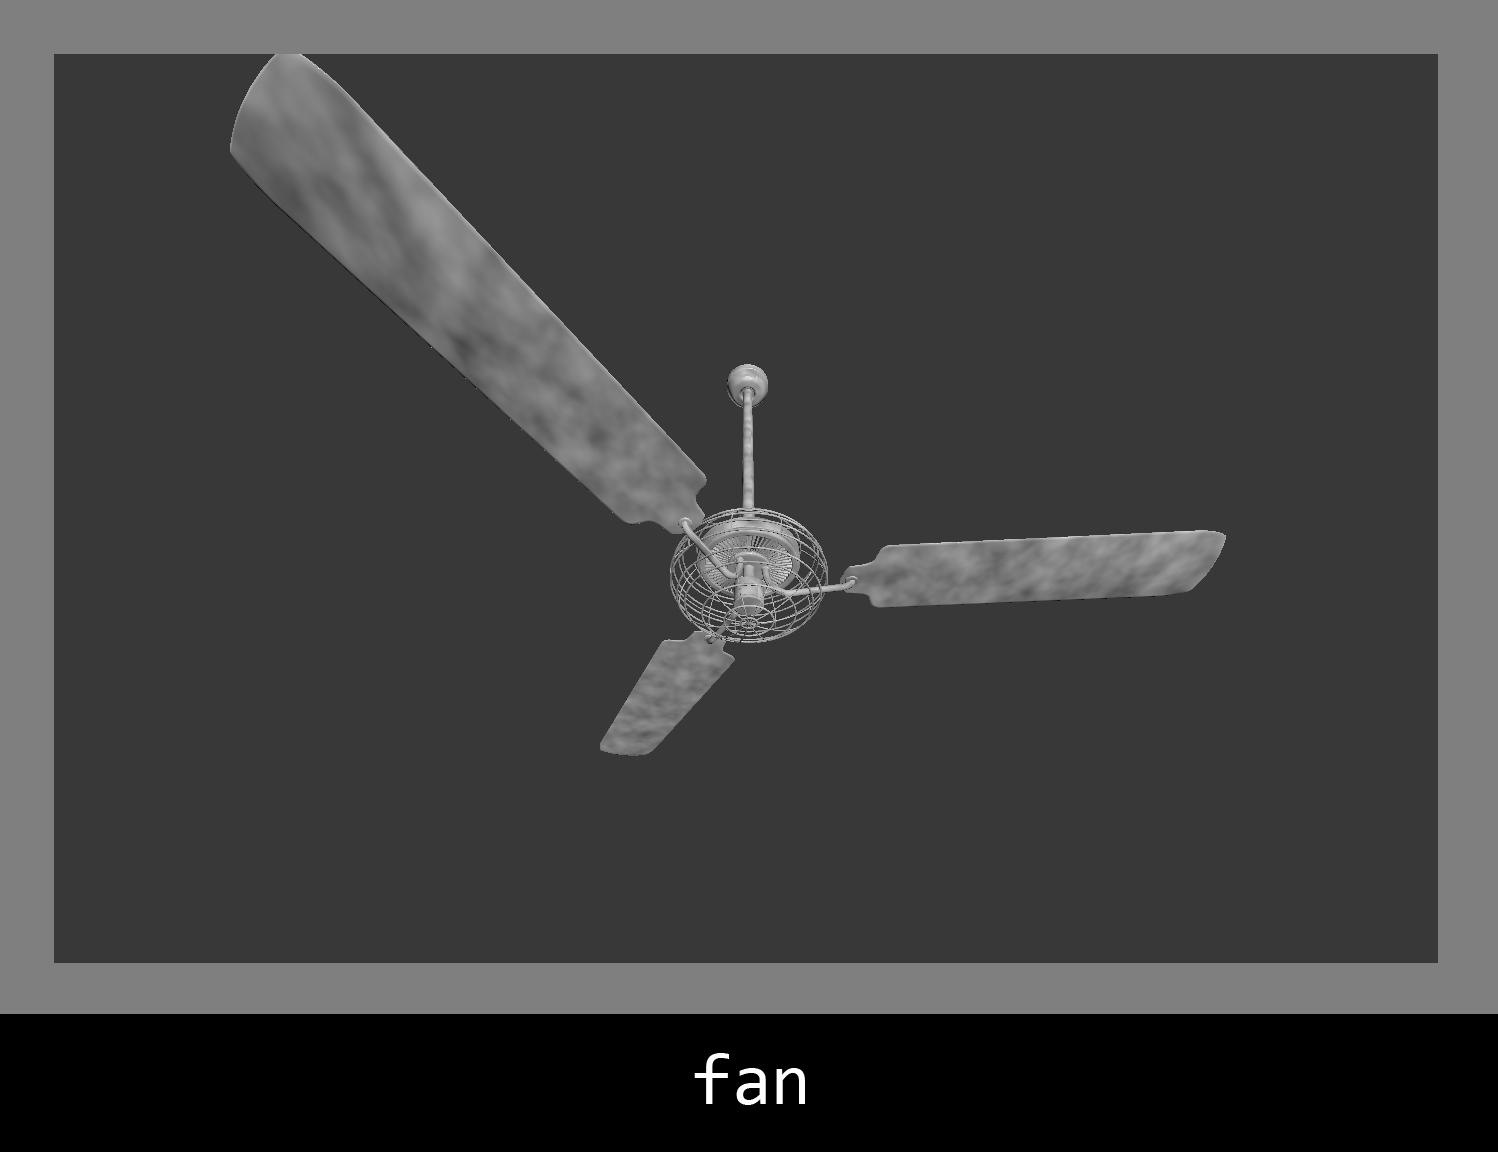
Props.
Click on image to enlarge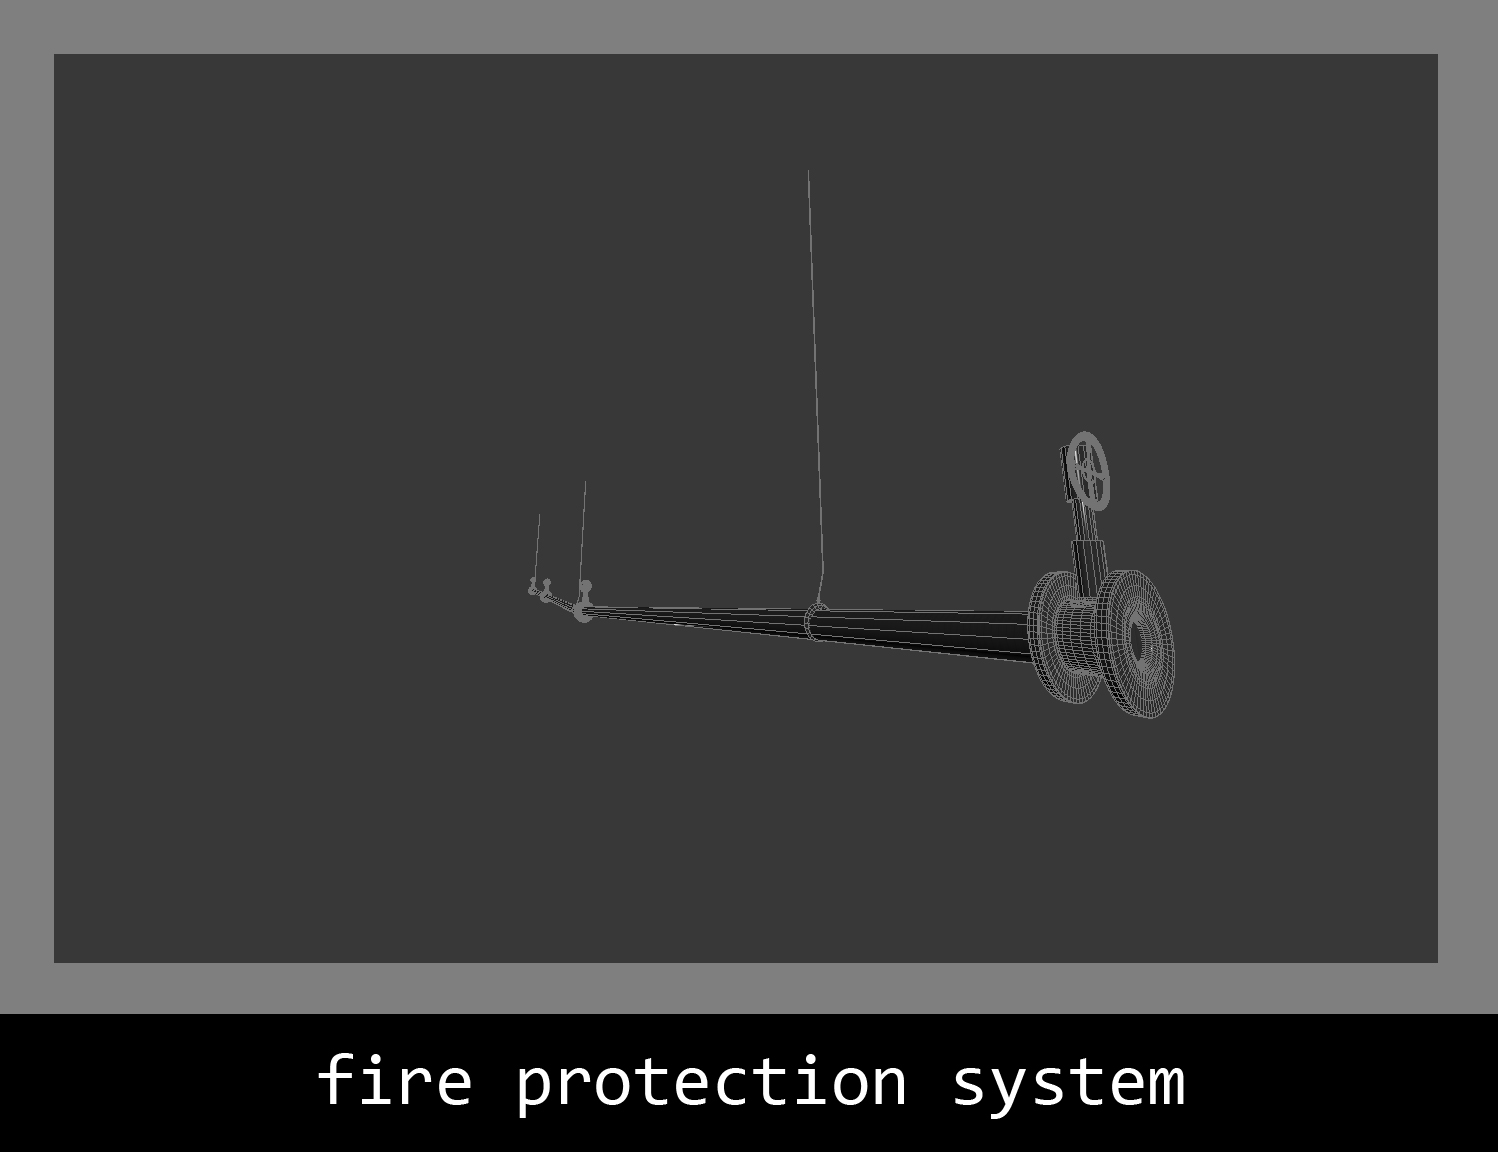
Props.
Click on image to enlarge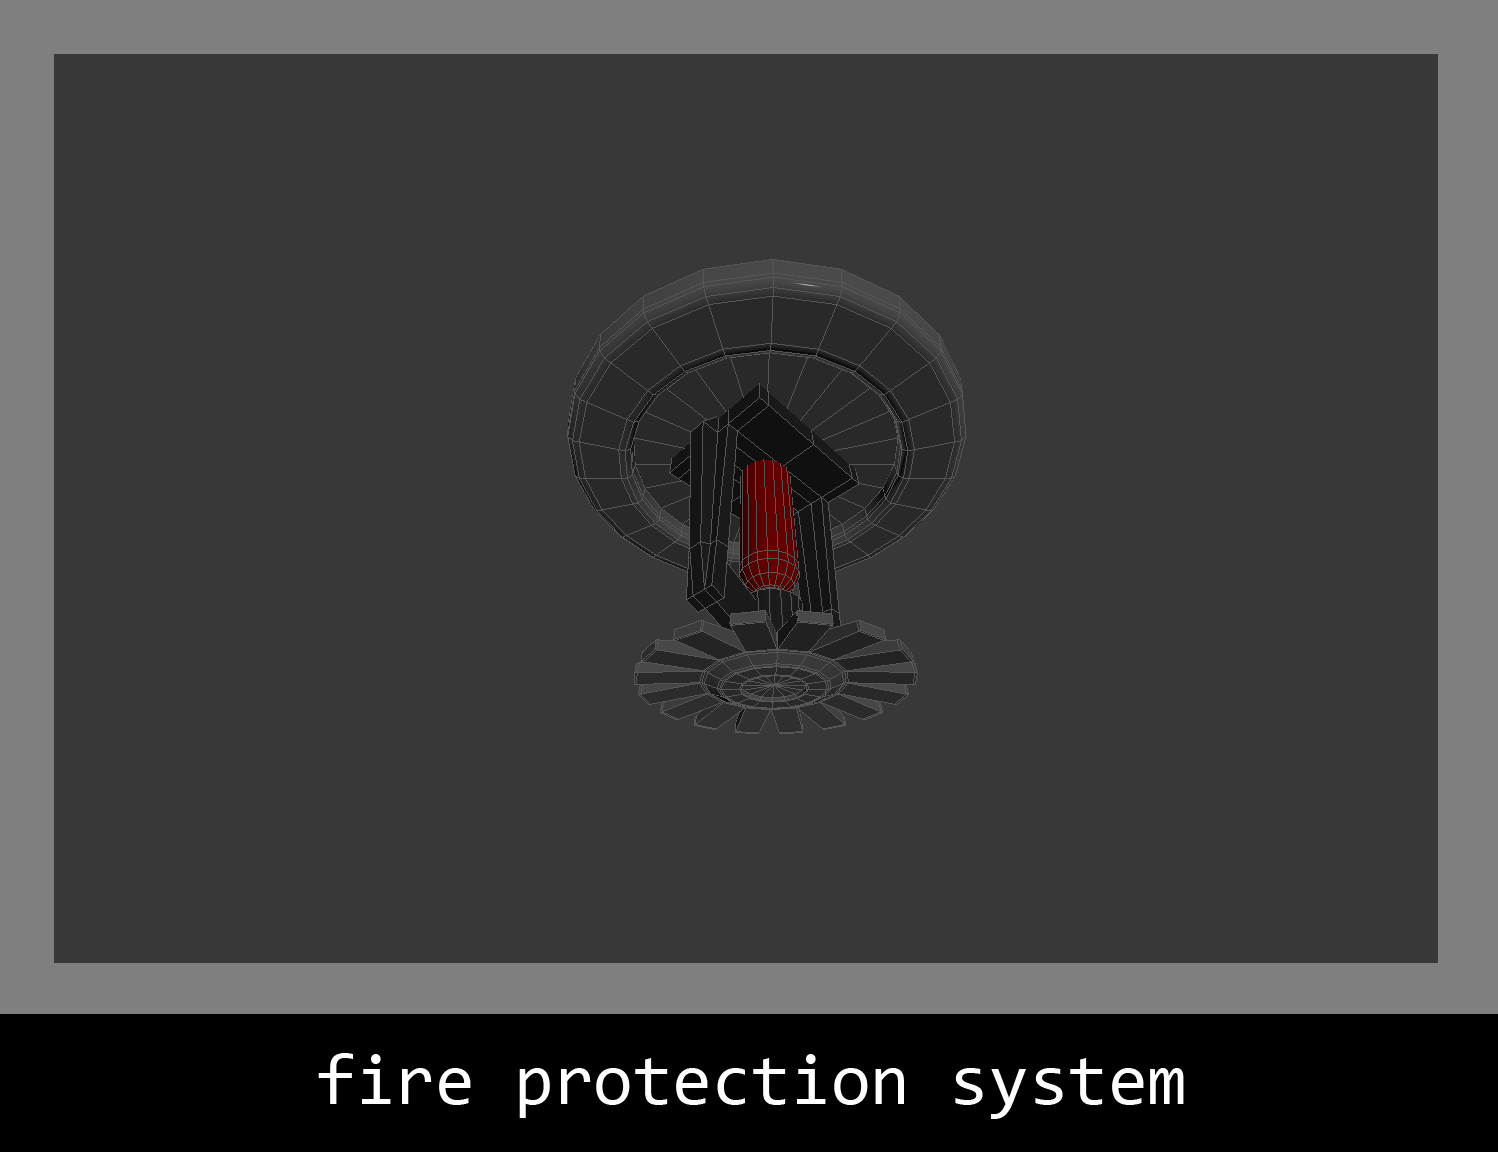
Props.
Click on image to enlarge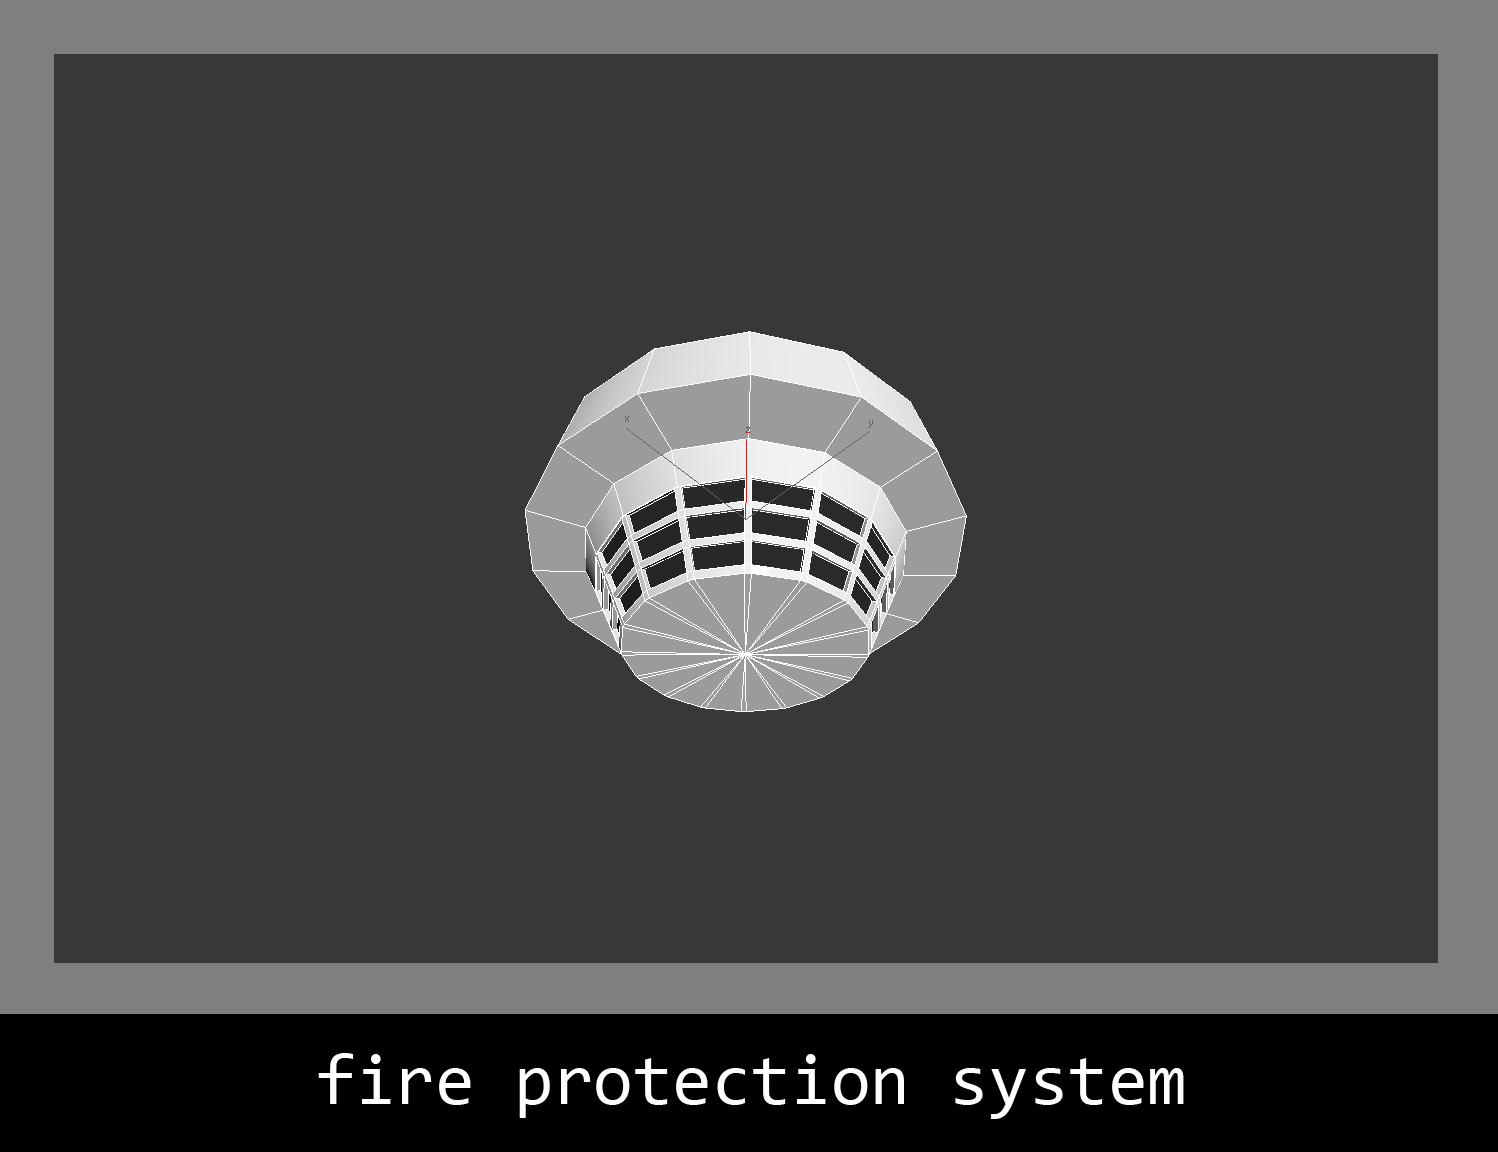
Props.
Click on image to enlarge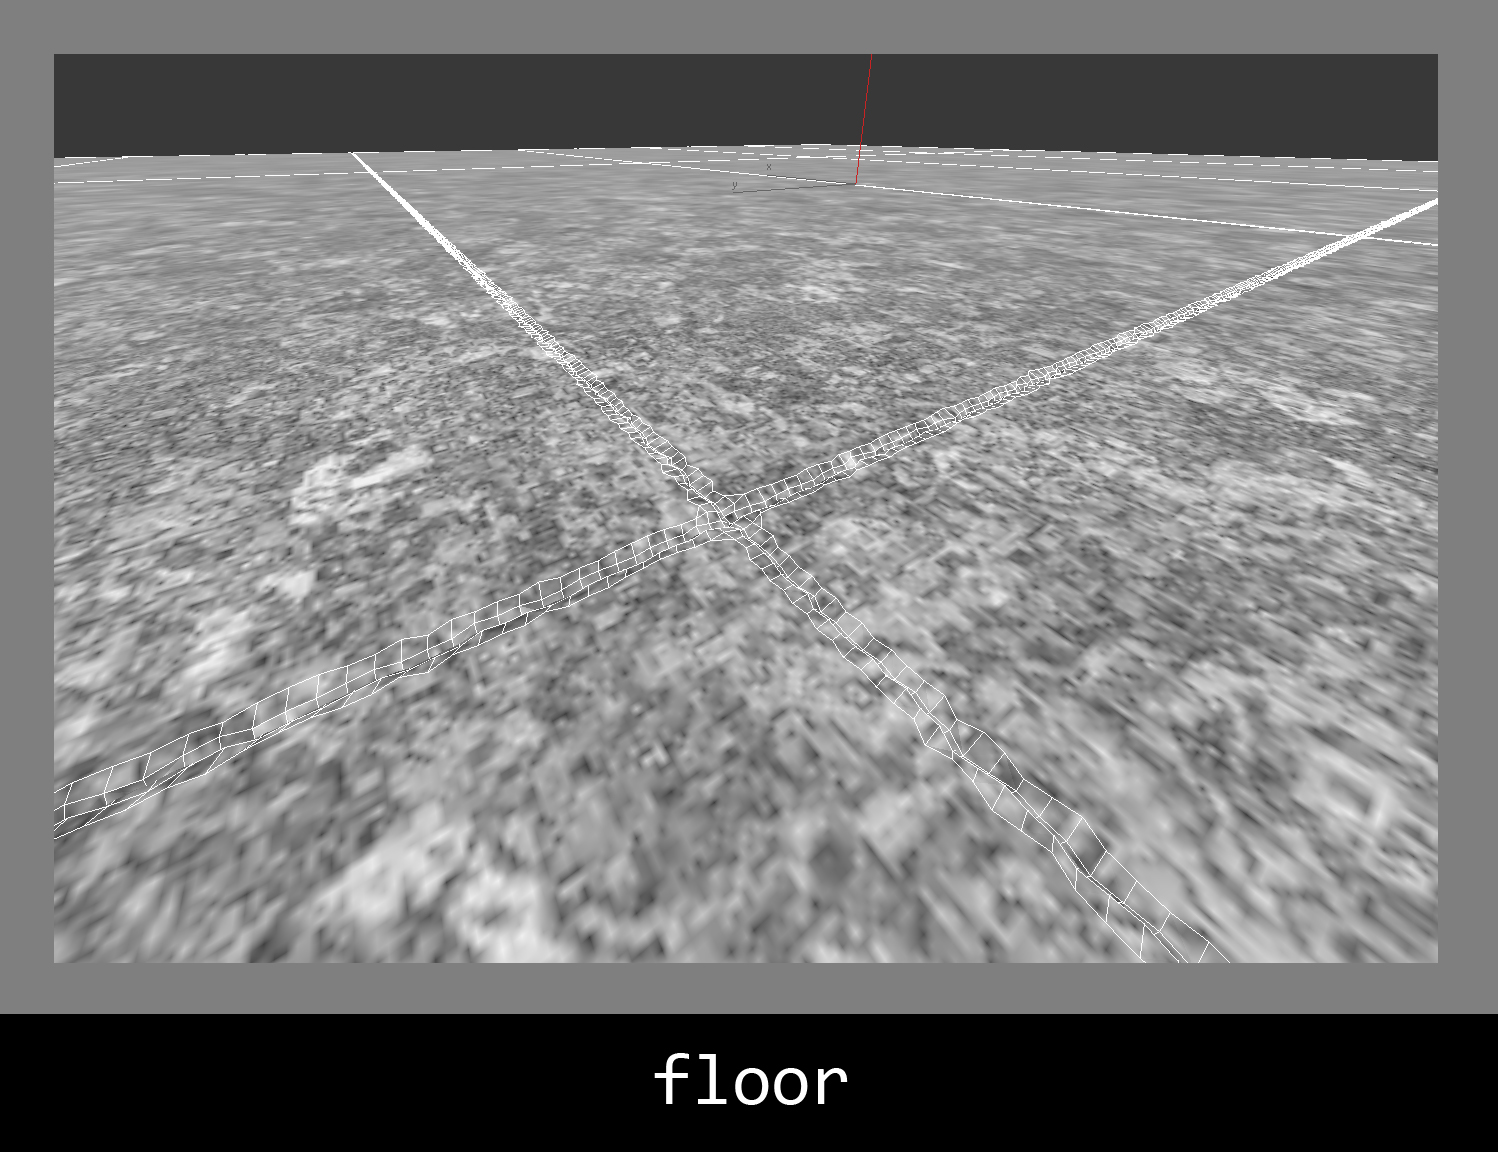
Props.
Click on image to enlarge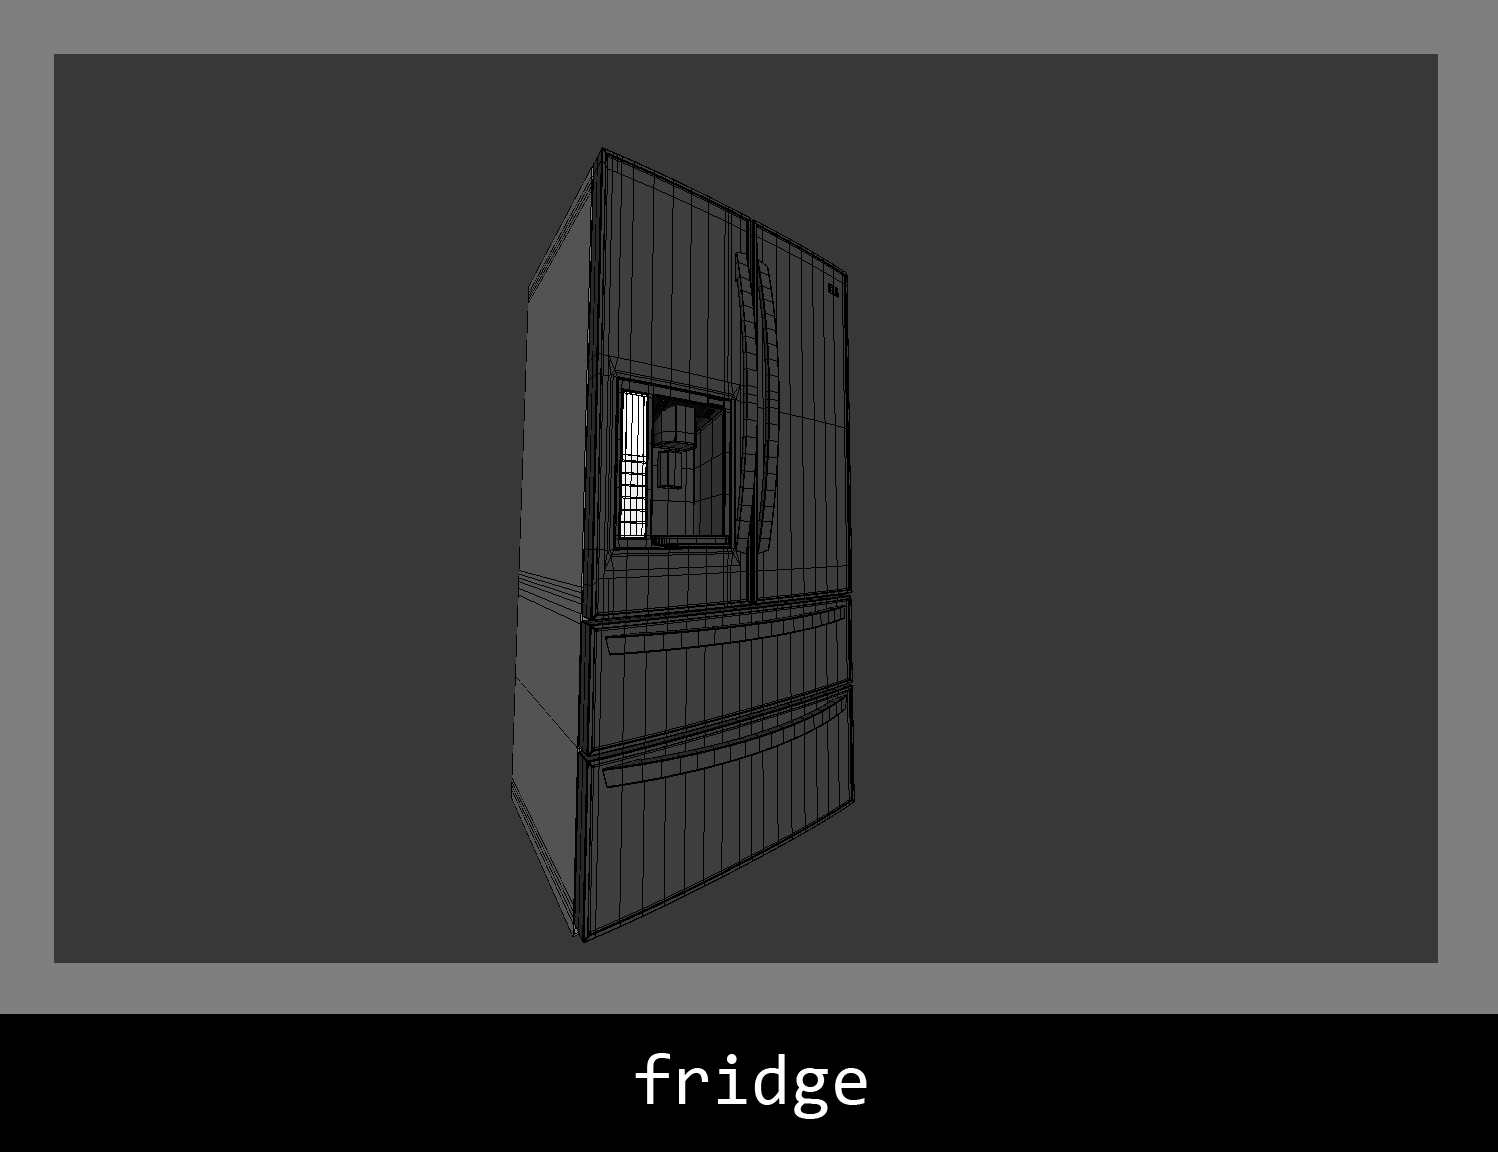
Props.
Click on image to enlarge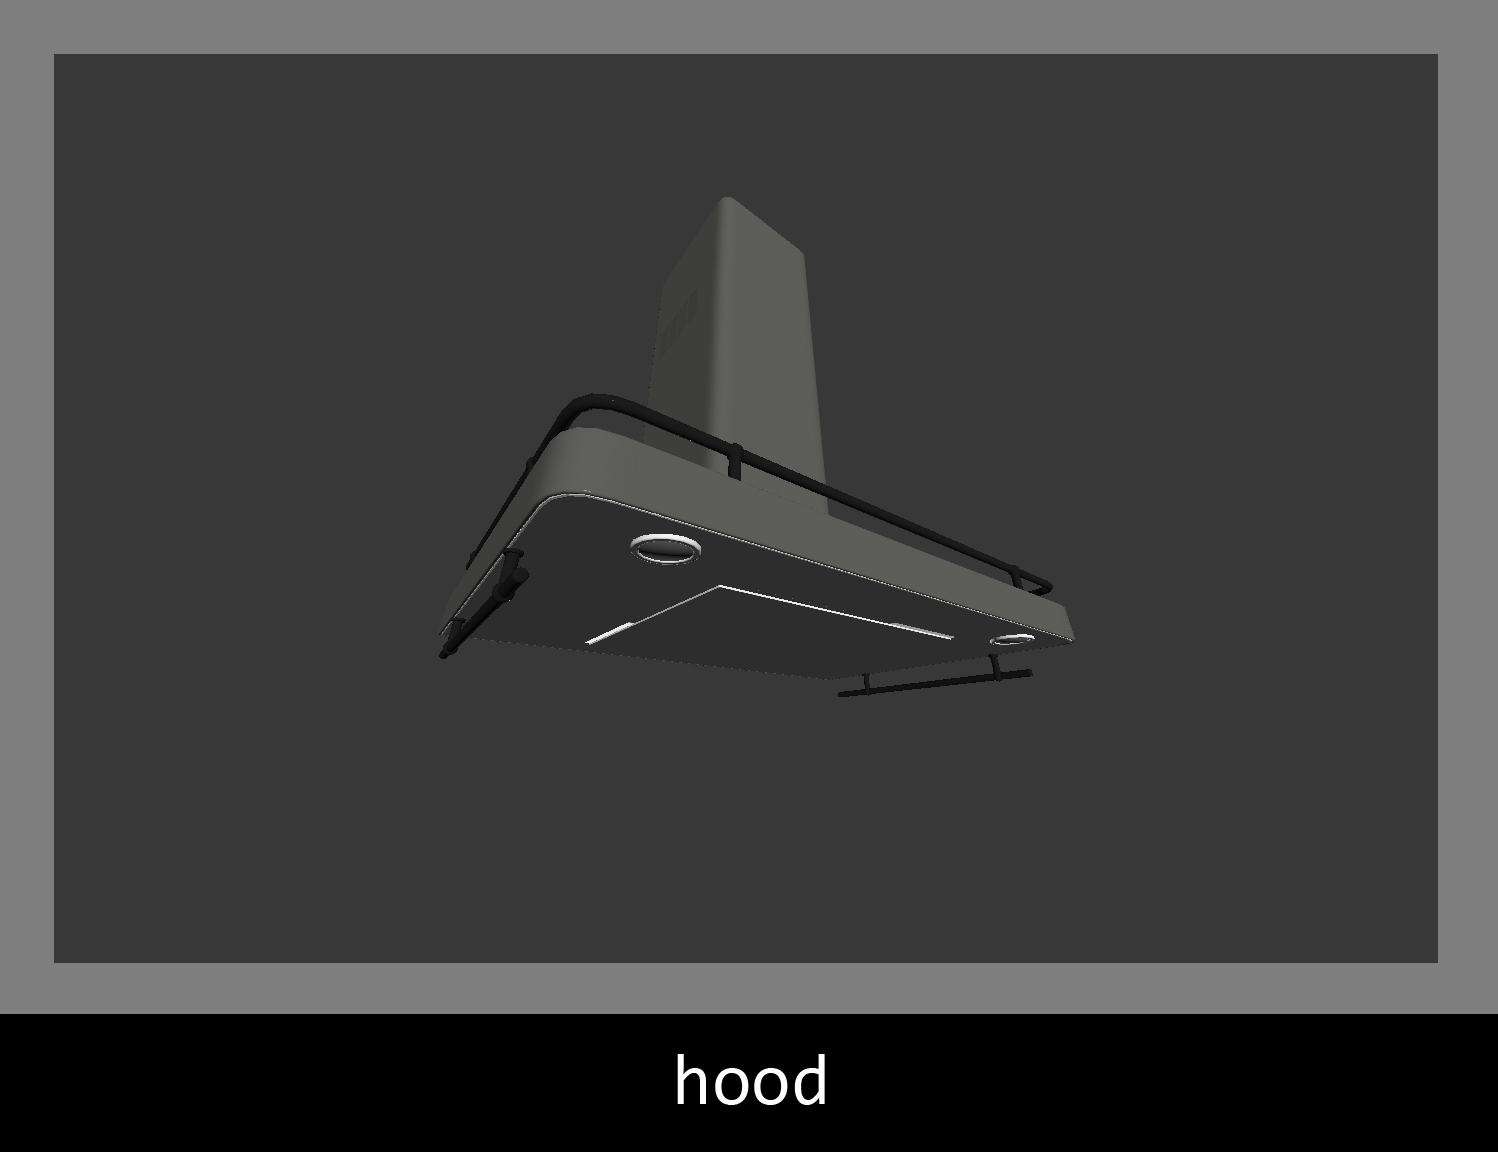
Props.
Click on image to enlarge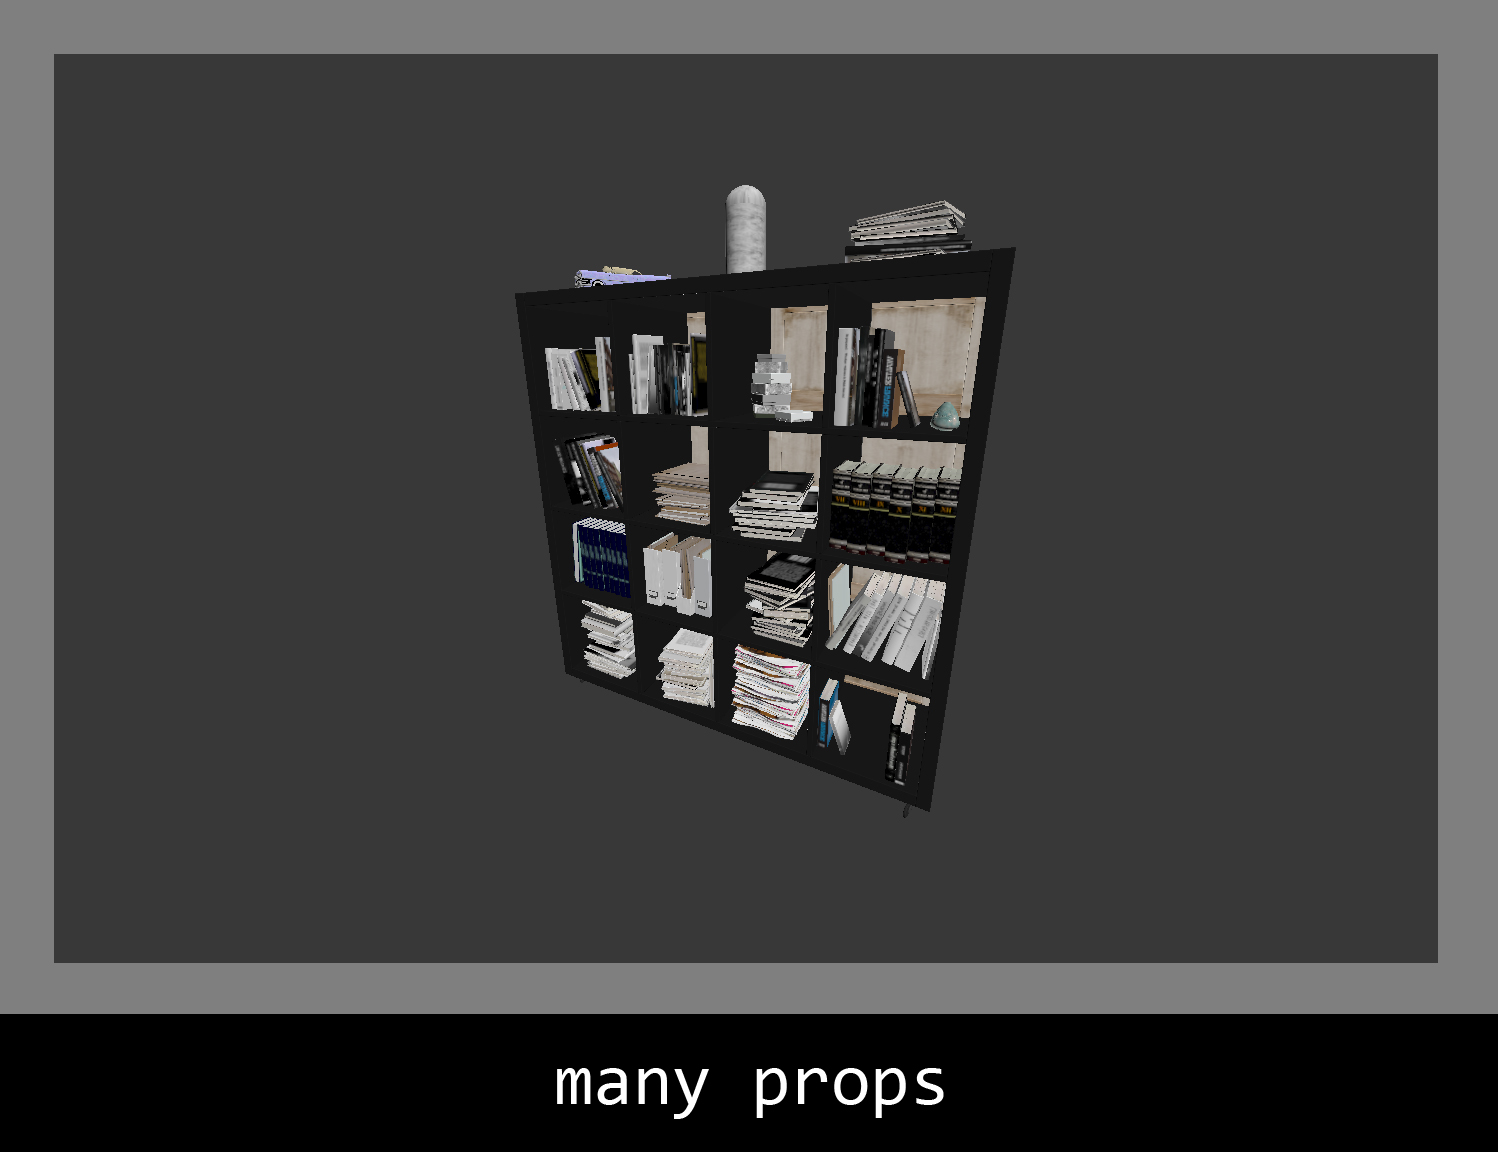
Props.
Click on image to enlarge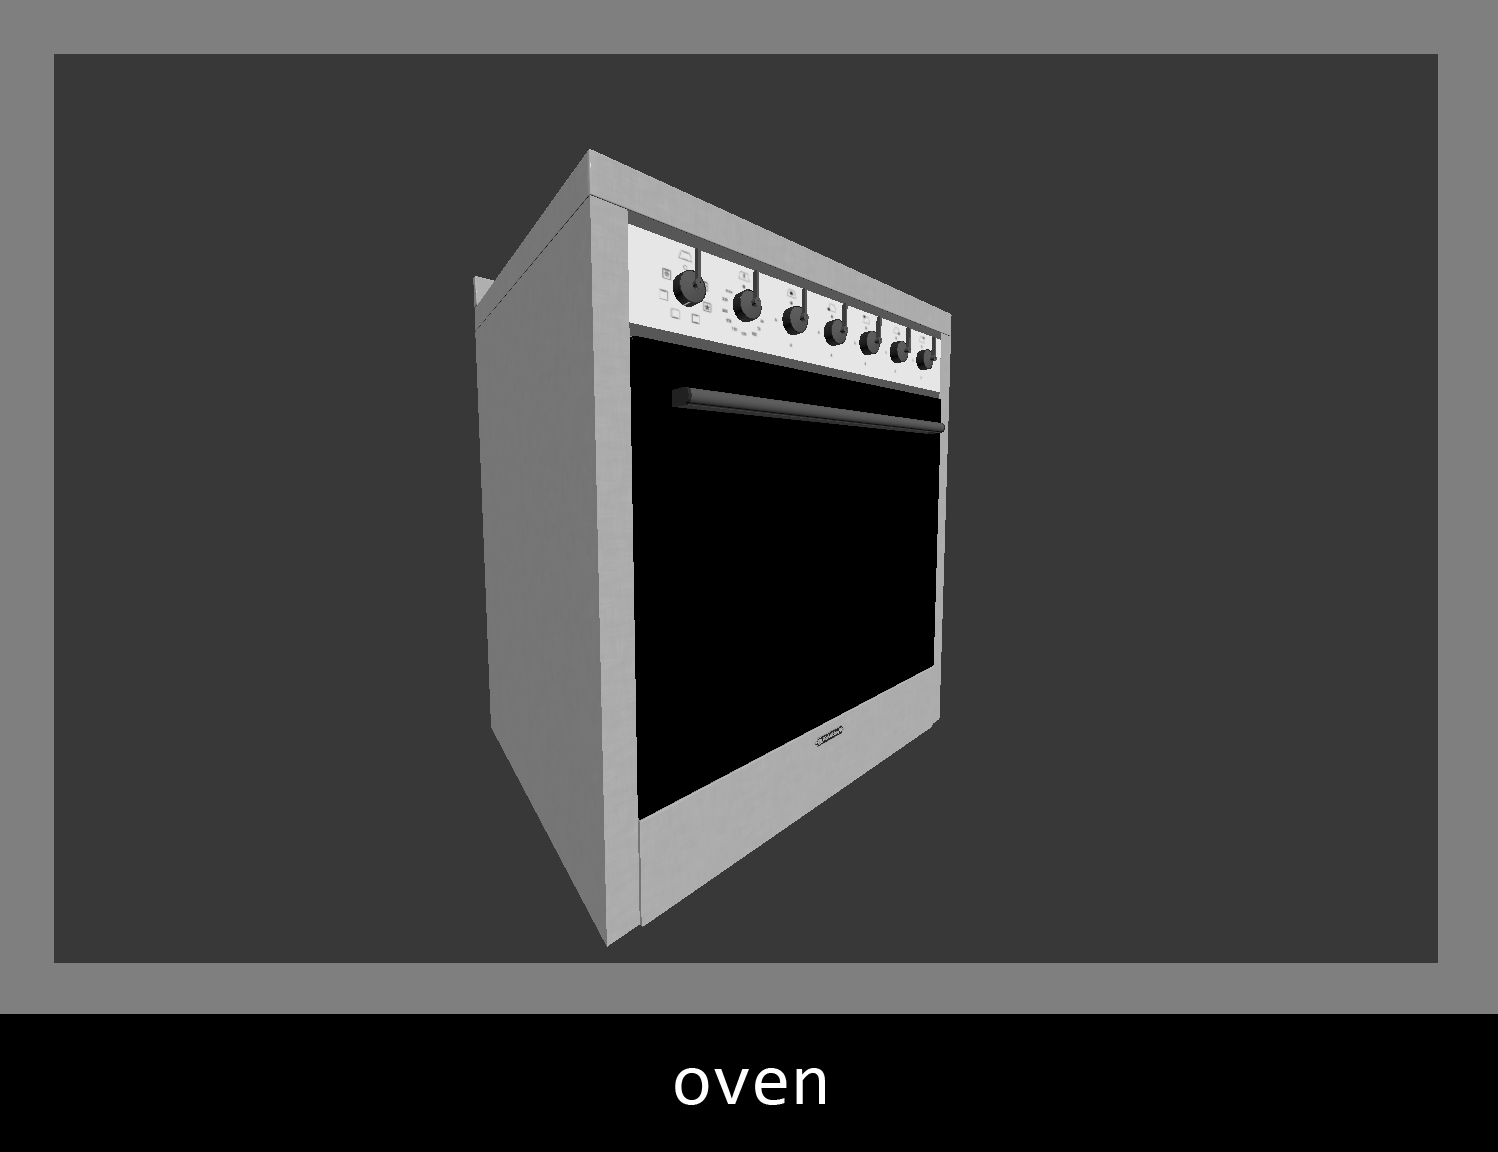
Props.
Click on image to enlarge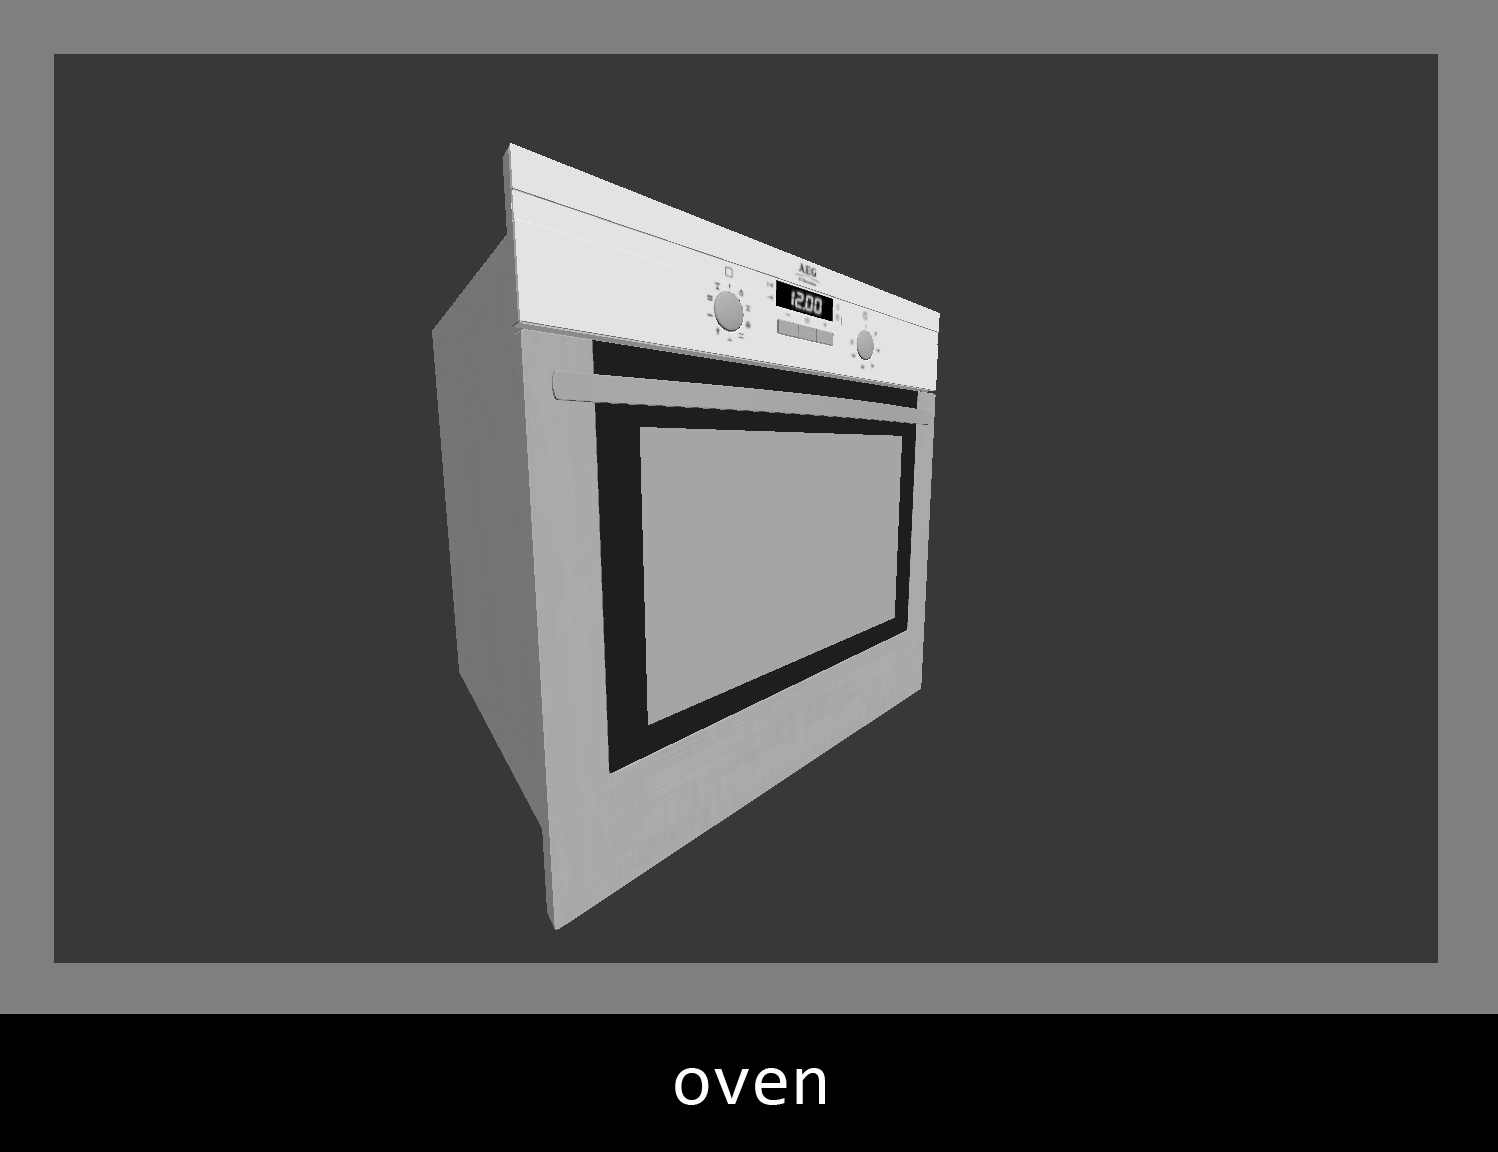
Props.
Click on image to enlarge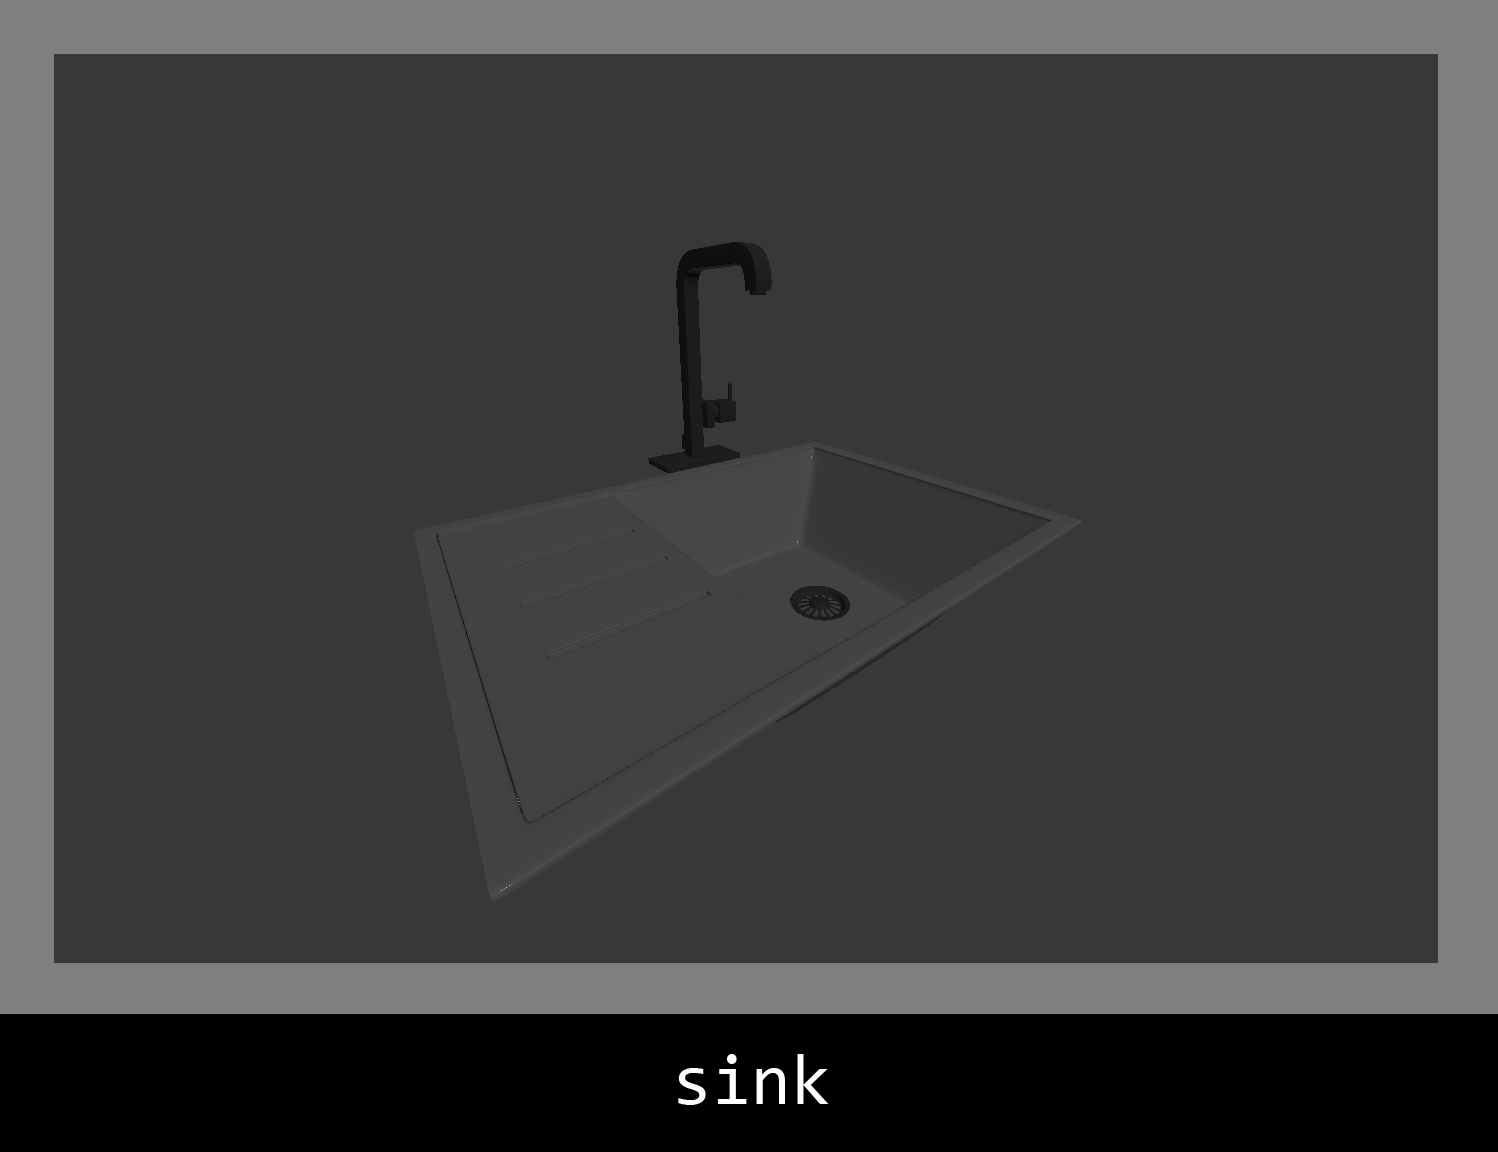
Props.
Click on image to enlarge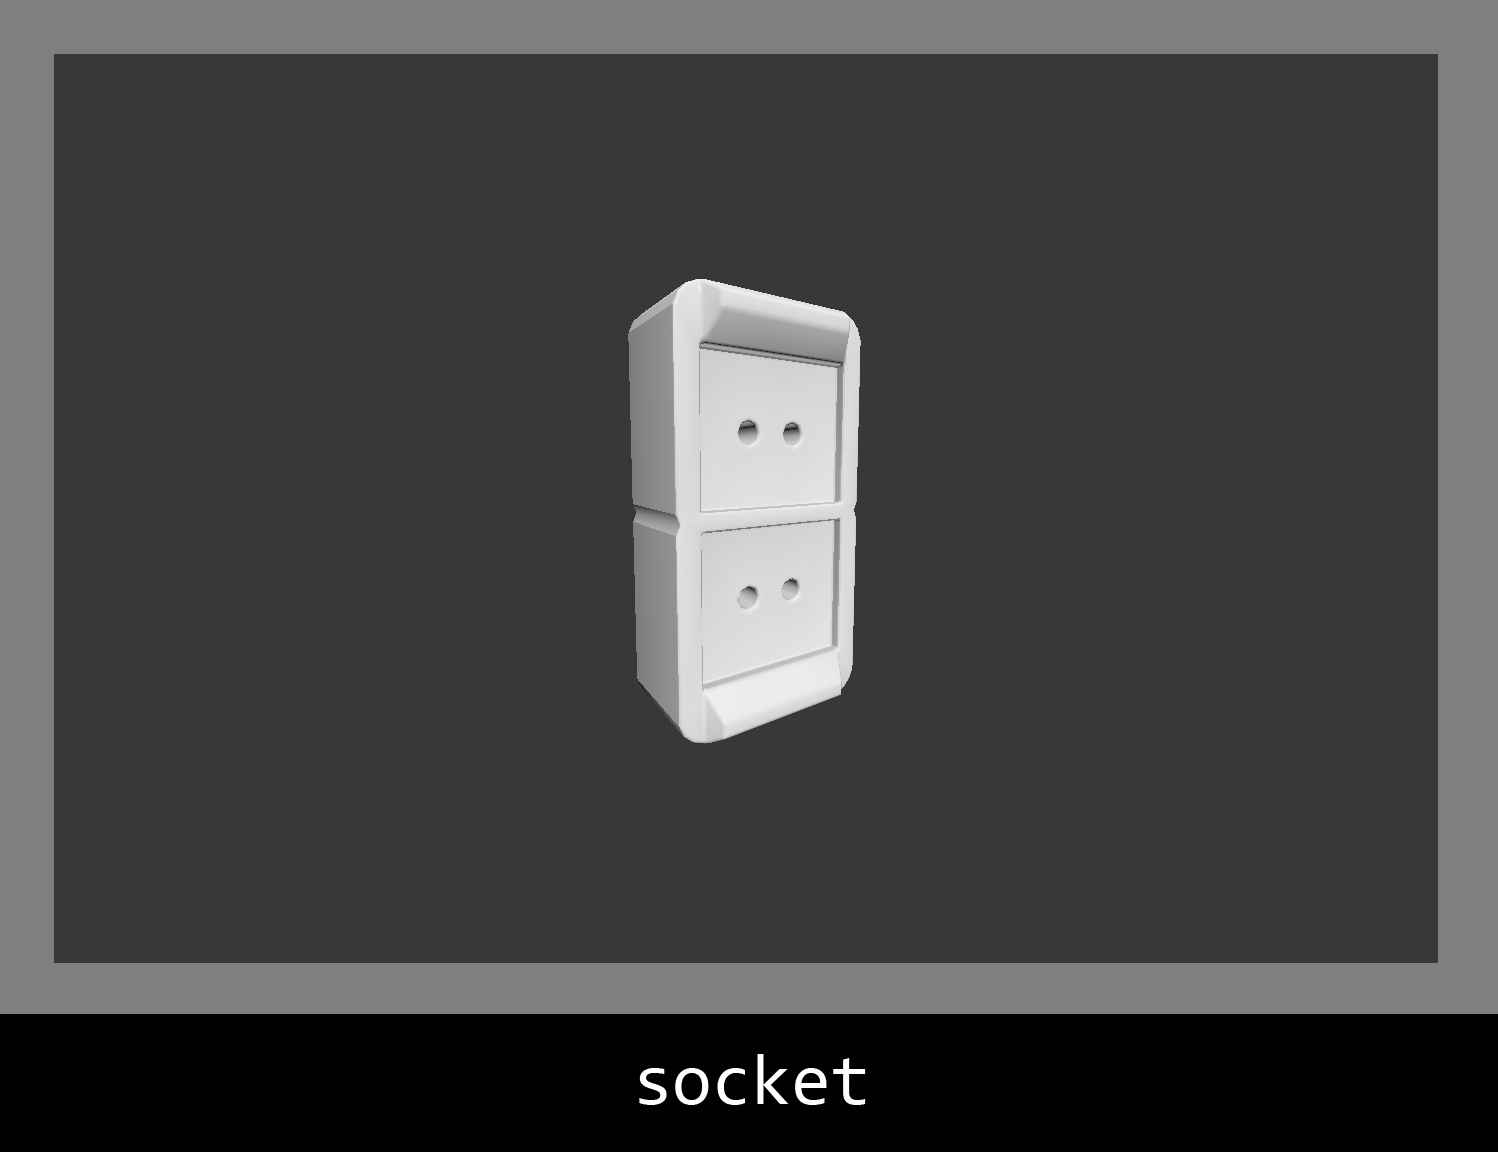
Props.
Click on image to enlarge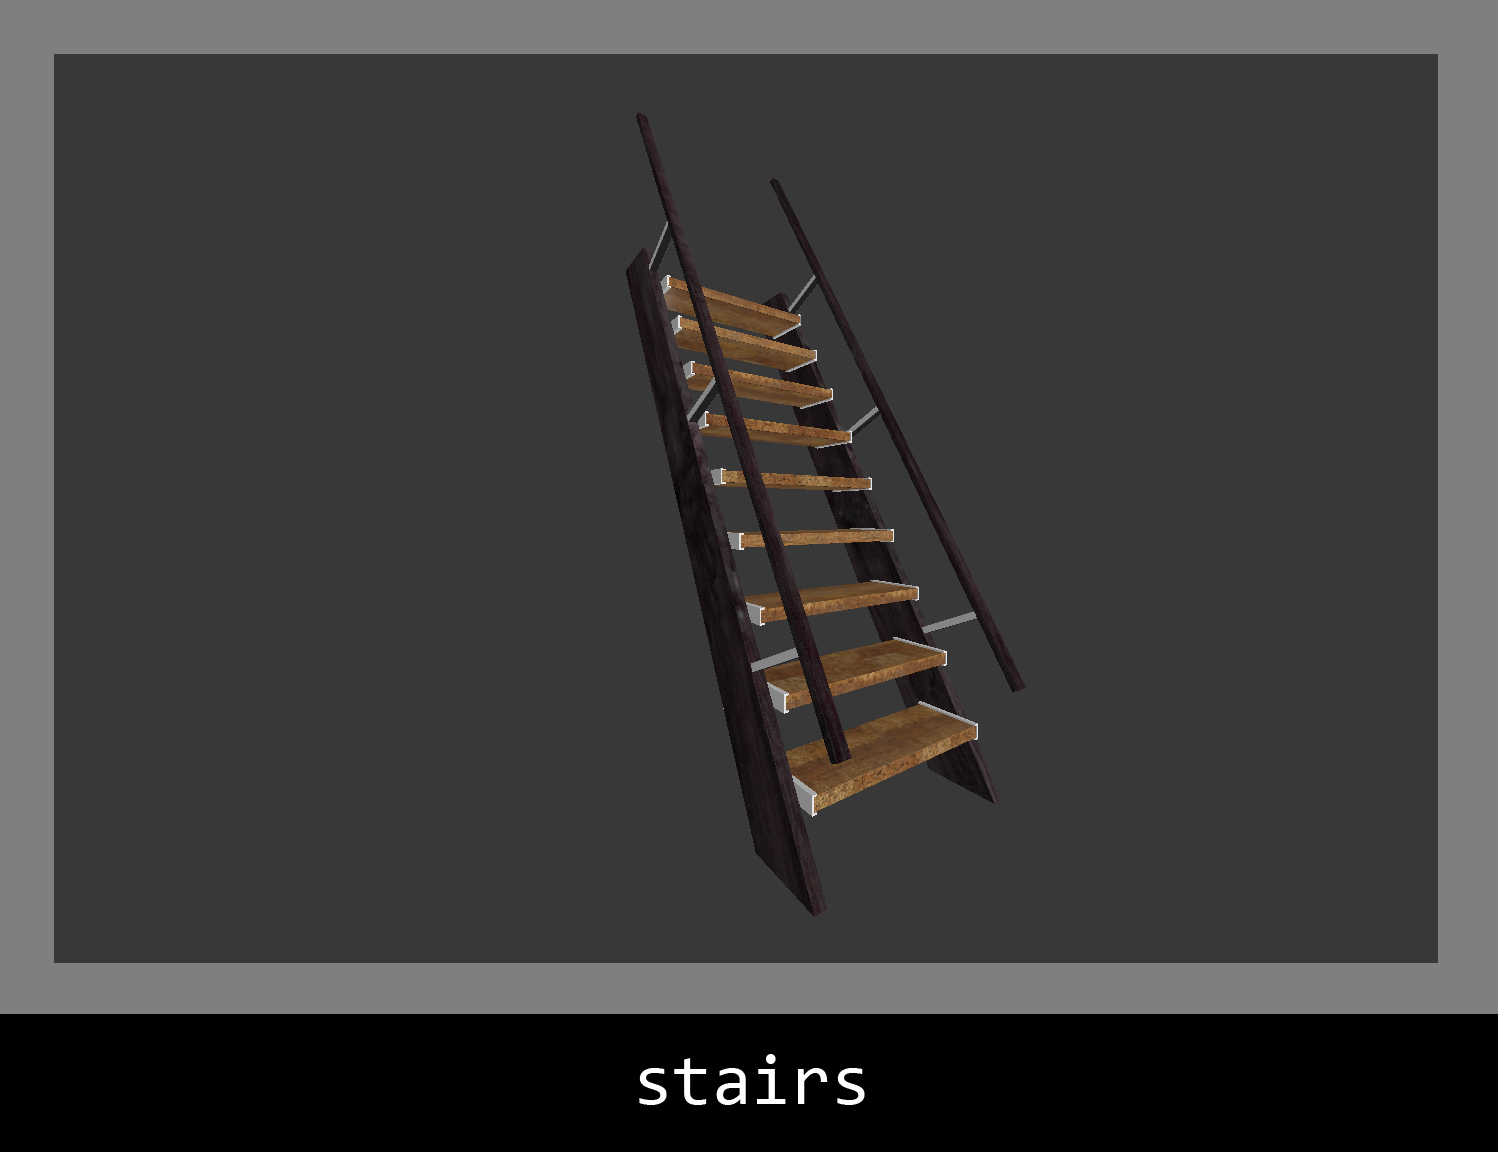
Props.
Click on image to enlarge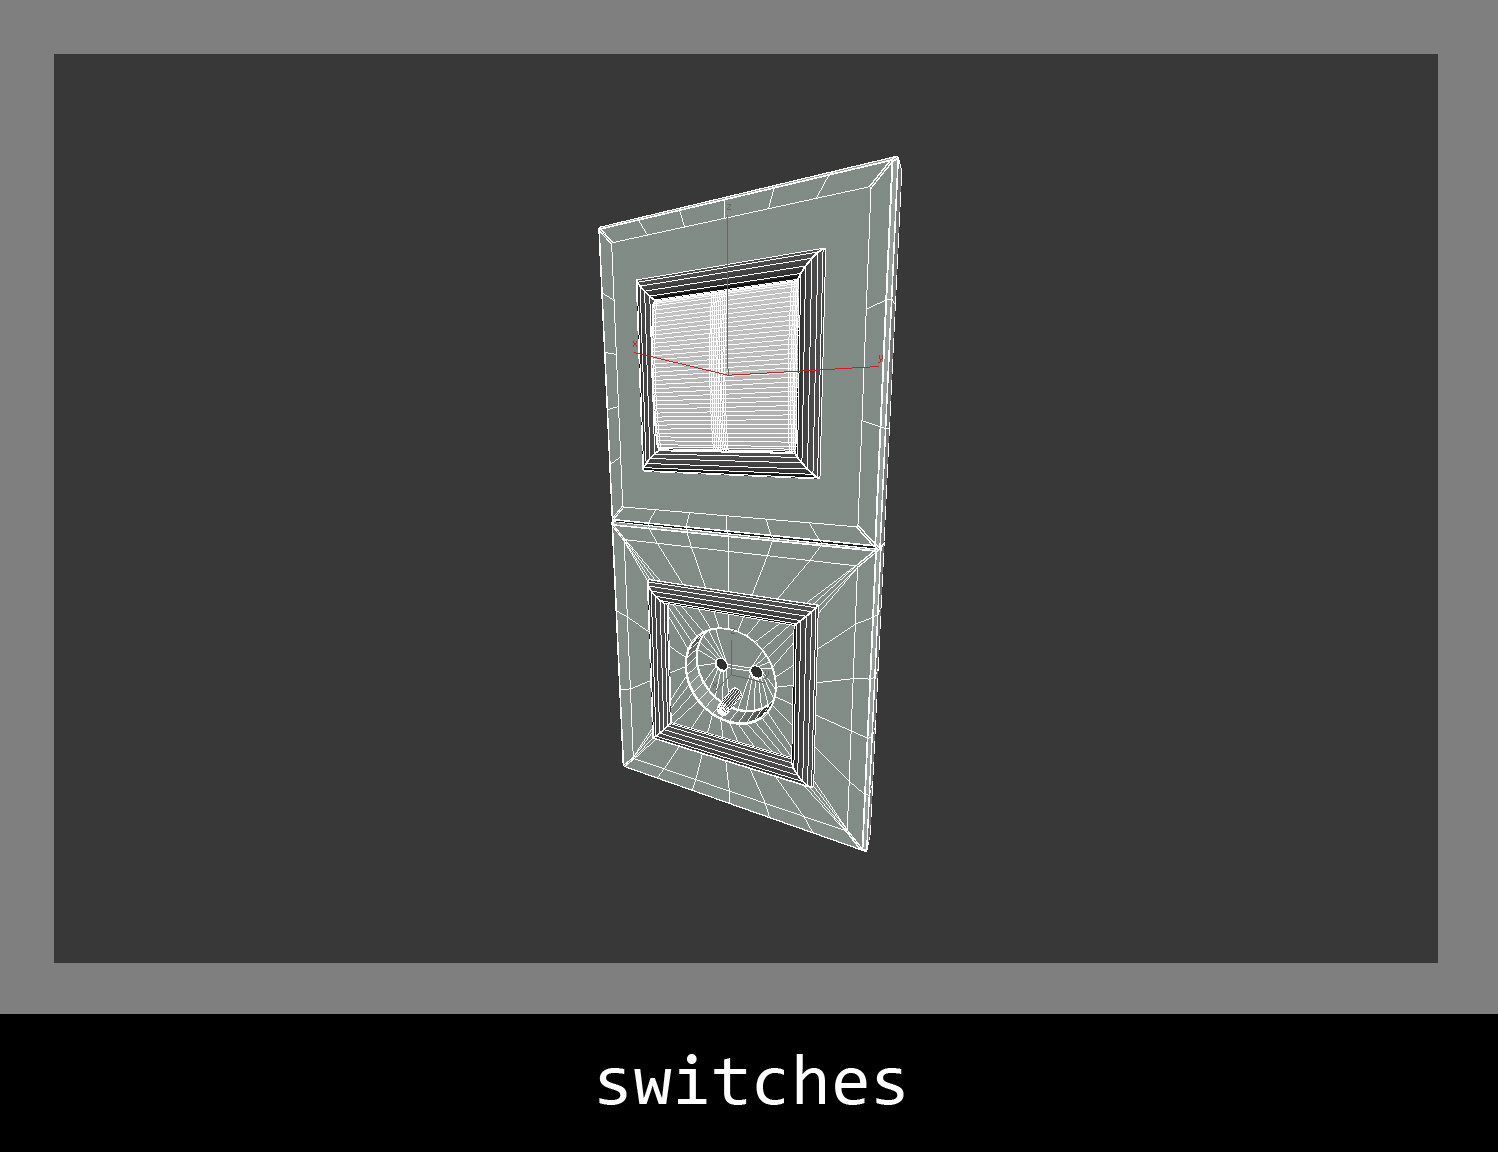
Props.
Click on image to enlarge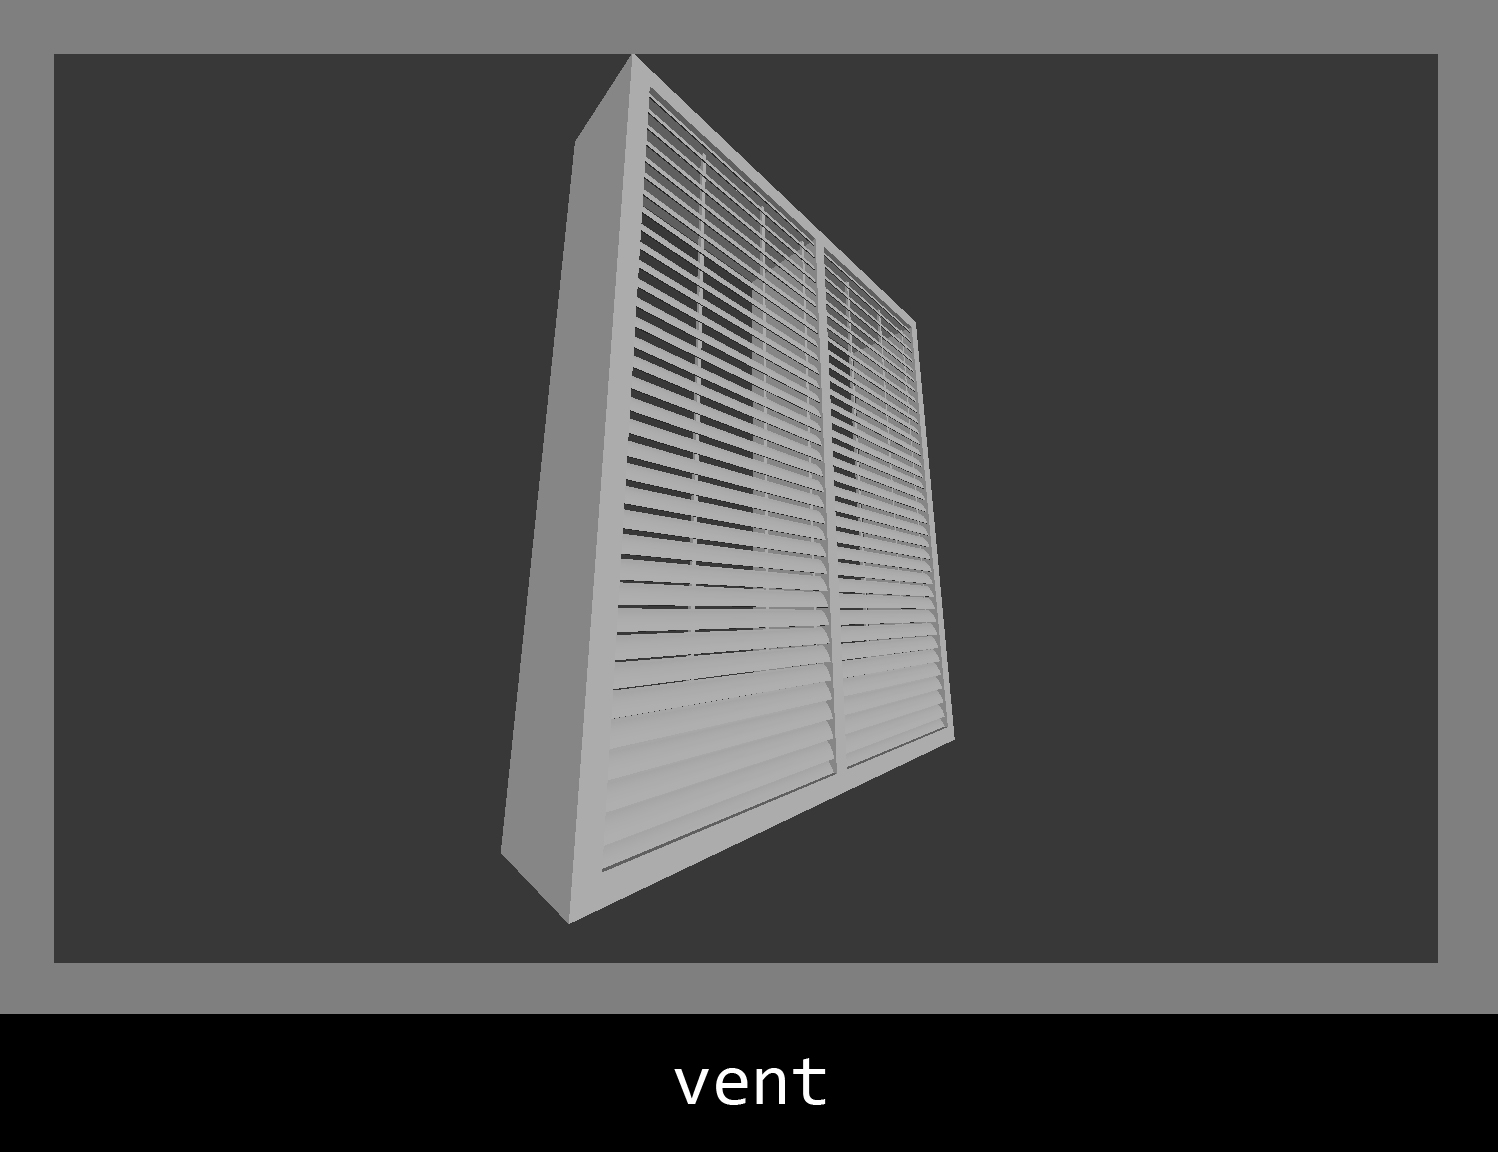
Props.
Click on image to enlarge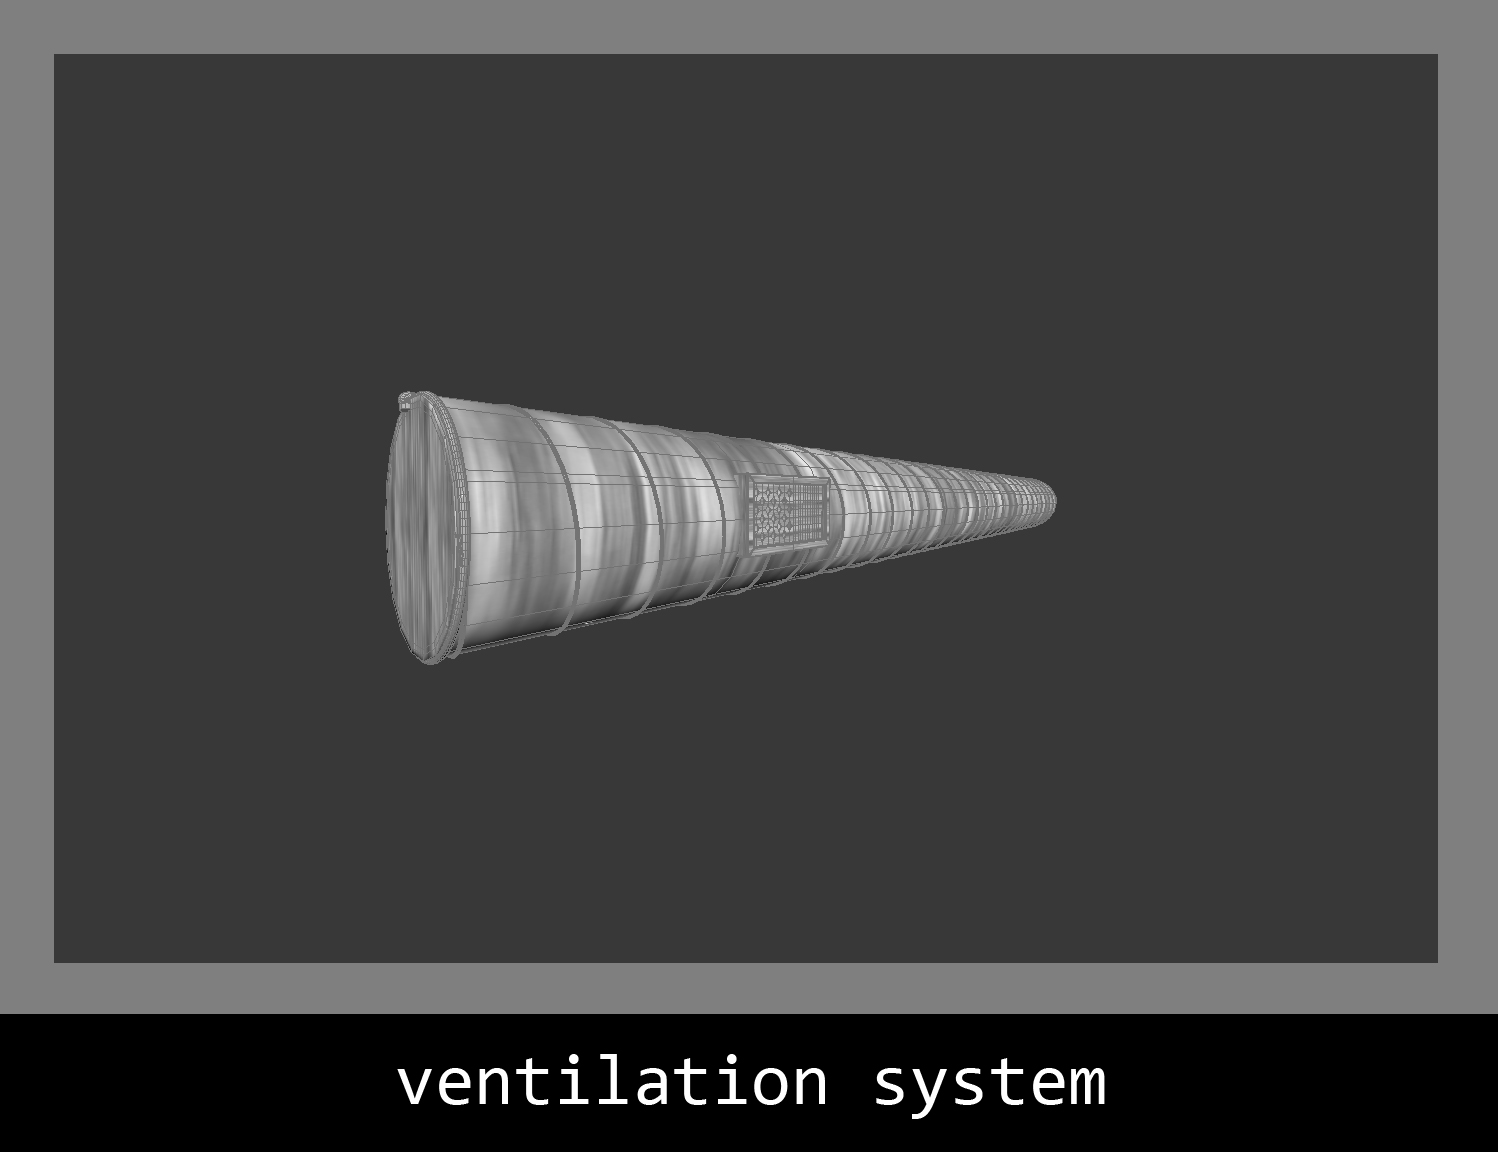
Props.
Click on image to enlarge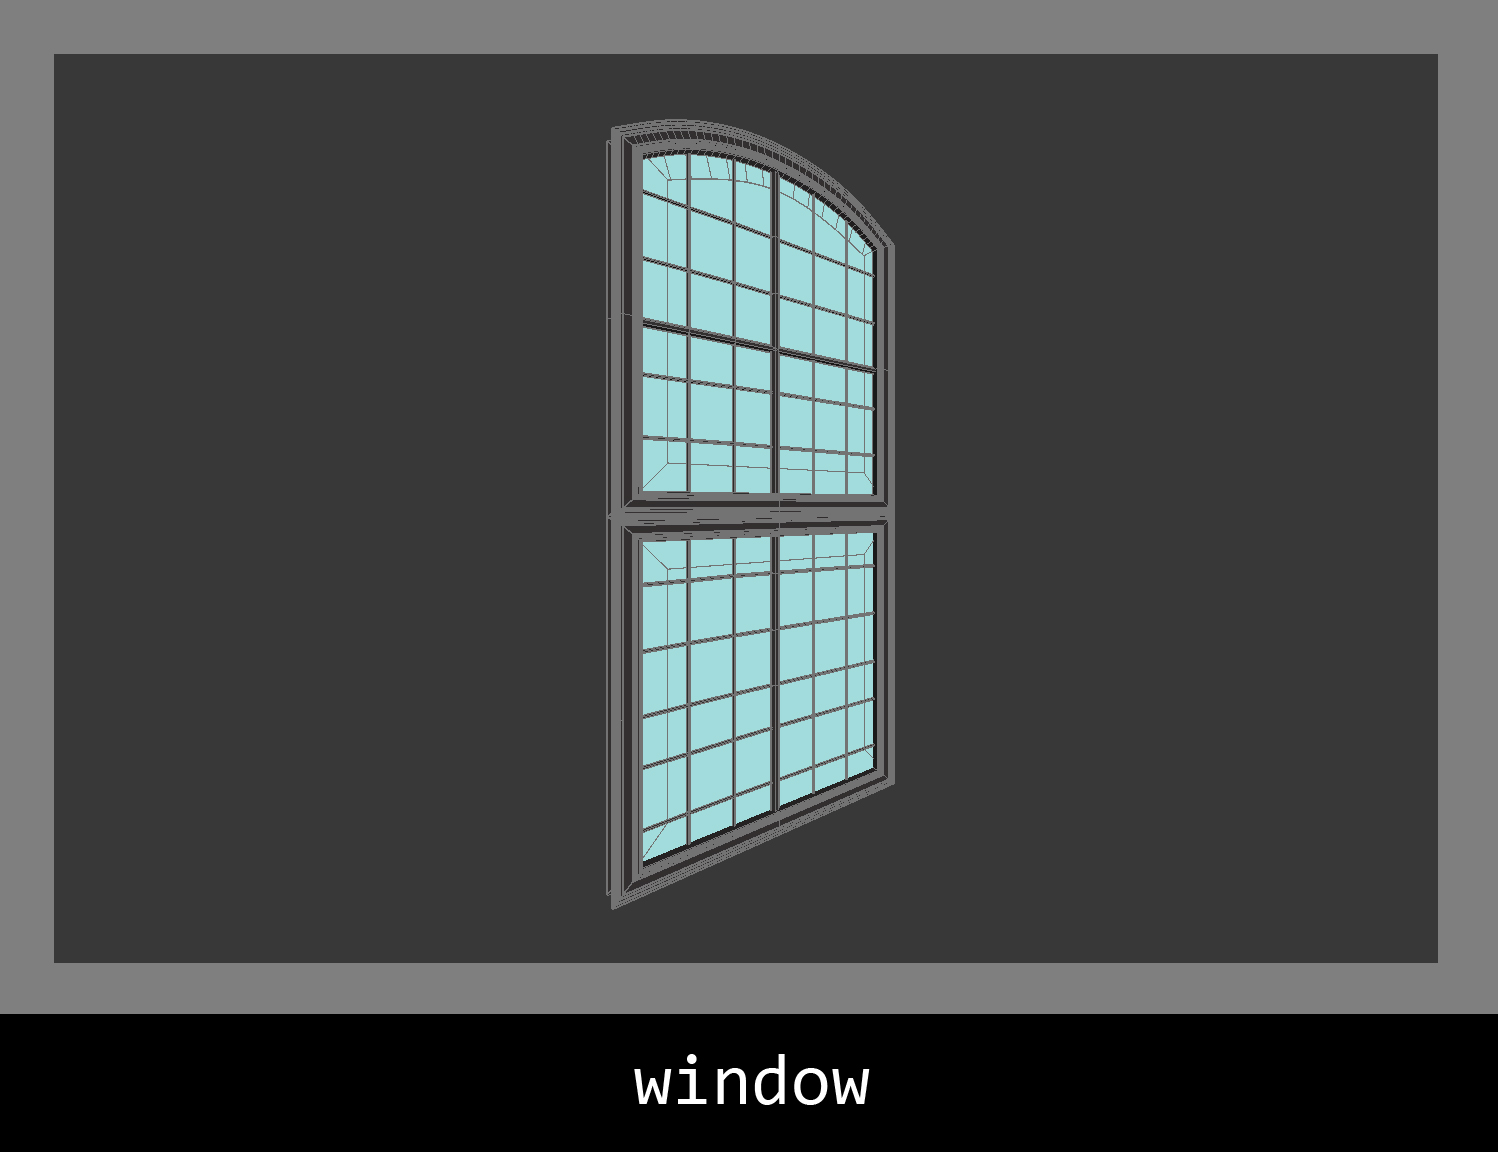
Props.
Click on image to enlarge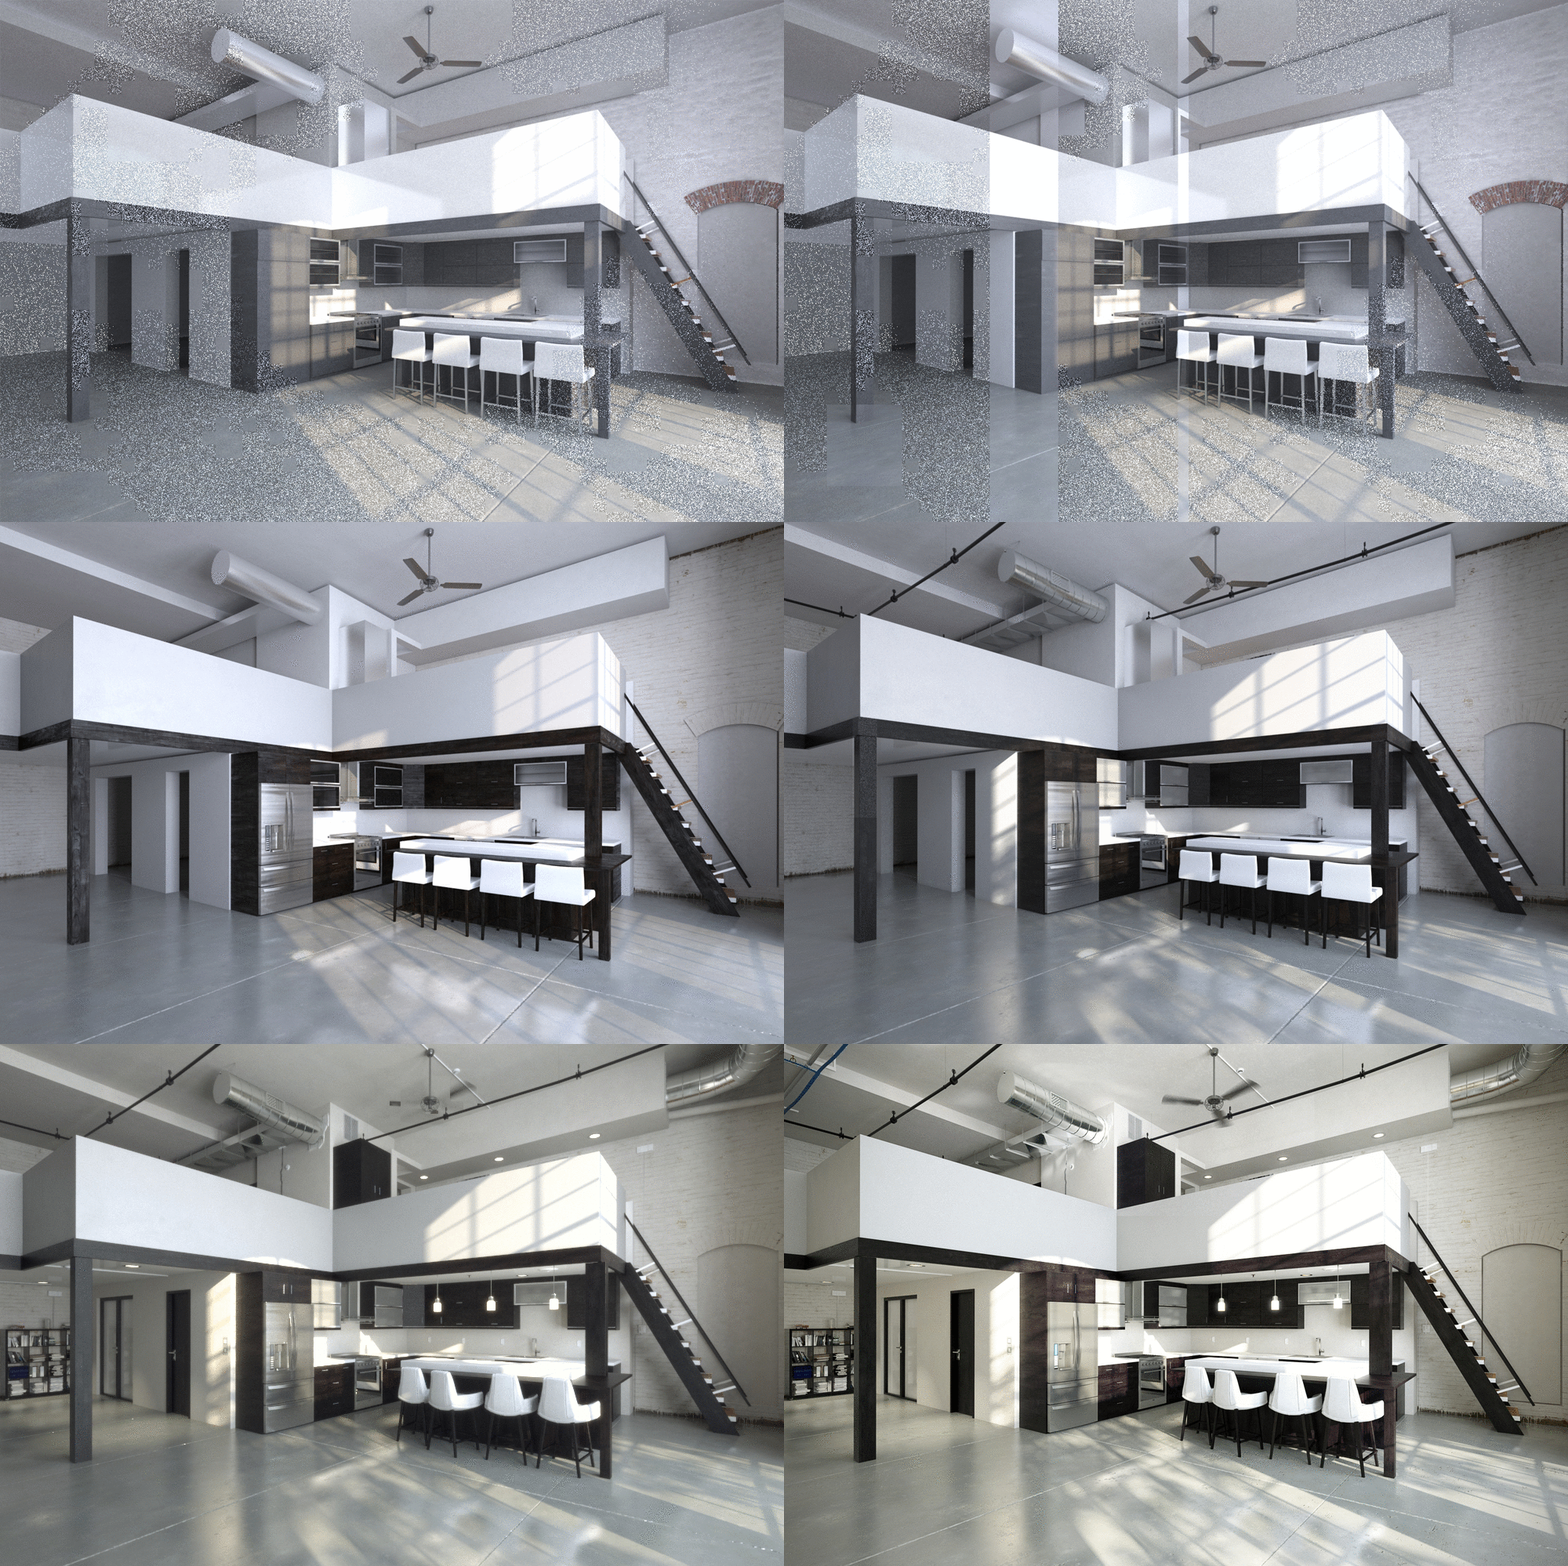
During the work you should write to the history of frame buffer in case of any changes. You can then easily see whether the change of a color, light, texture was right or is it maybe worth to return to the previous version. Here's a short story of camera 01 (GIF animation).
Click on image to enlarge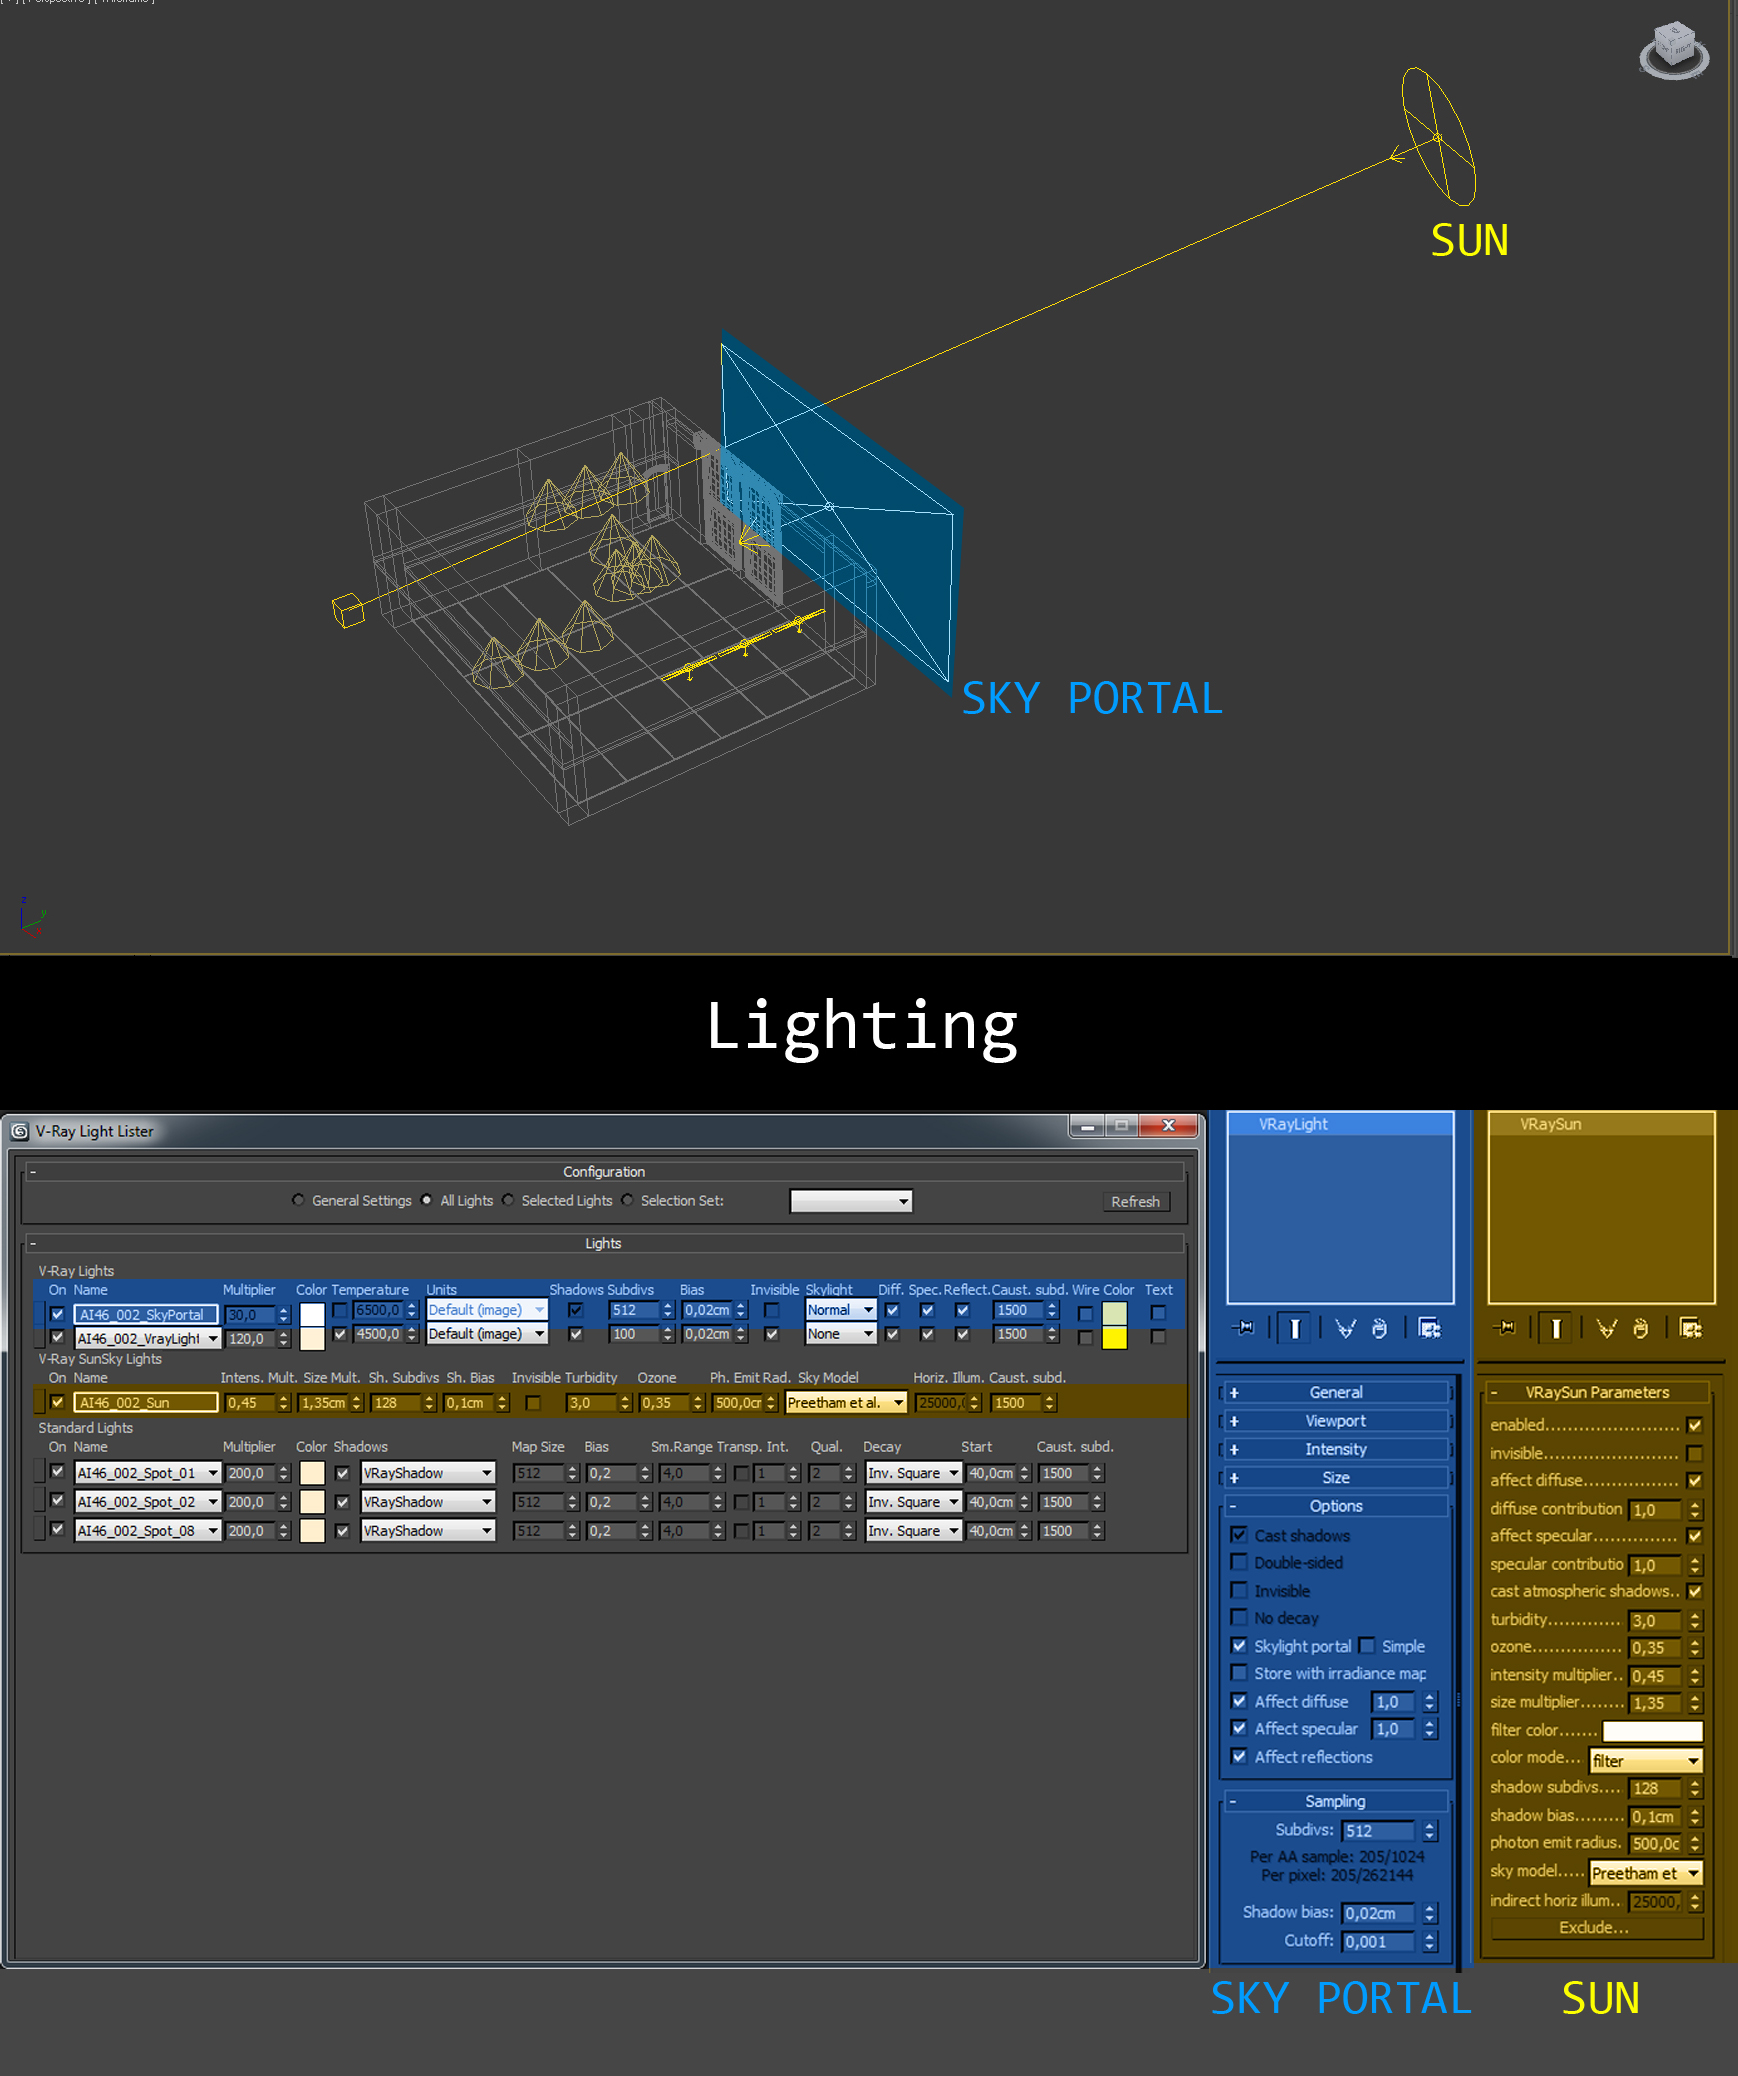
Most of our scenes are lit by VraySun & VraySky. This gives you easier control of light and shadows than using Direct standard light or HDRi map. This gives you a better photorealism too.
Click on image to enlarge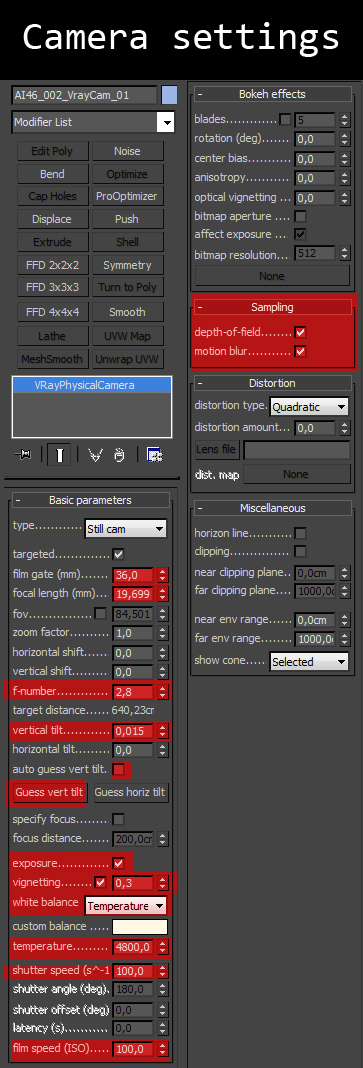
Fields marked in red are the most changed.
Click on image to enlarge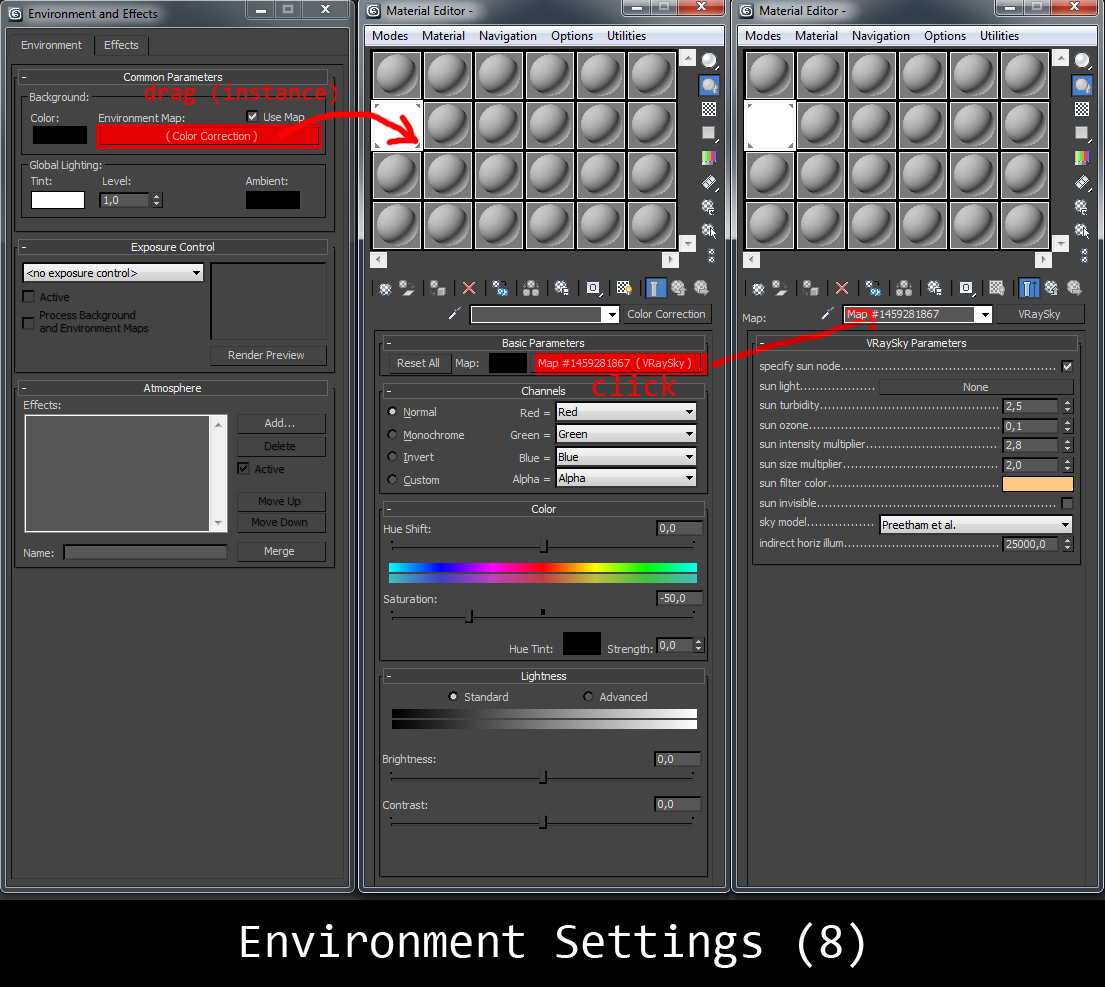
The Environment section in V-Ray render parameters is where you can specify a color and a texture map to be used during GI and reflection/refraction calculations. If you don't specify a color/map then the background color and map specified in the 3ds Max Environment dialog will be used by default.
Click on image to enlarge
Click on image to enlarge
Preview of textures used in the scene.
Click on image to enlarge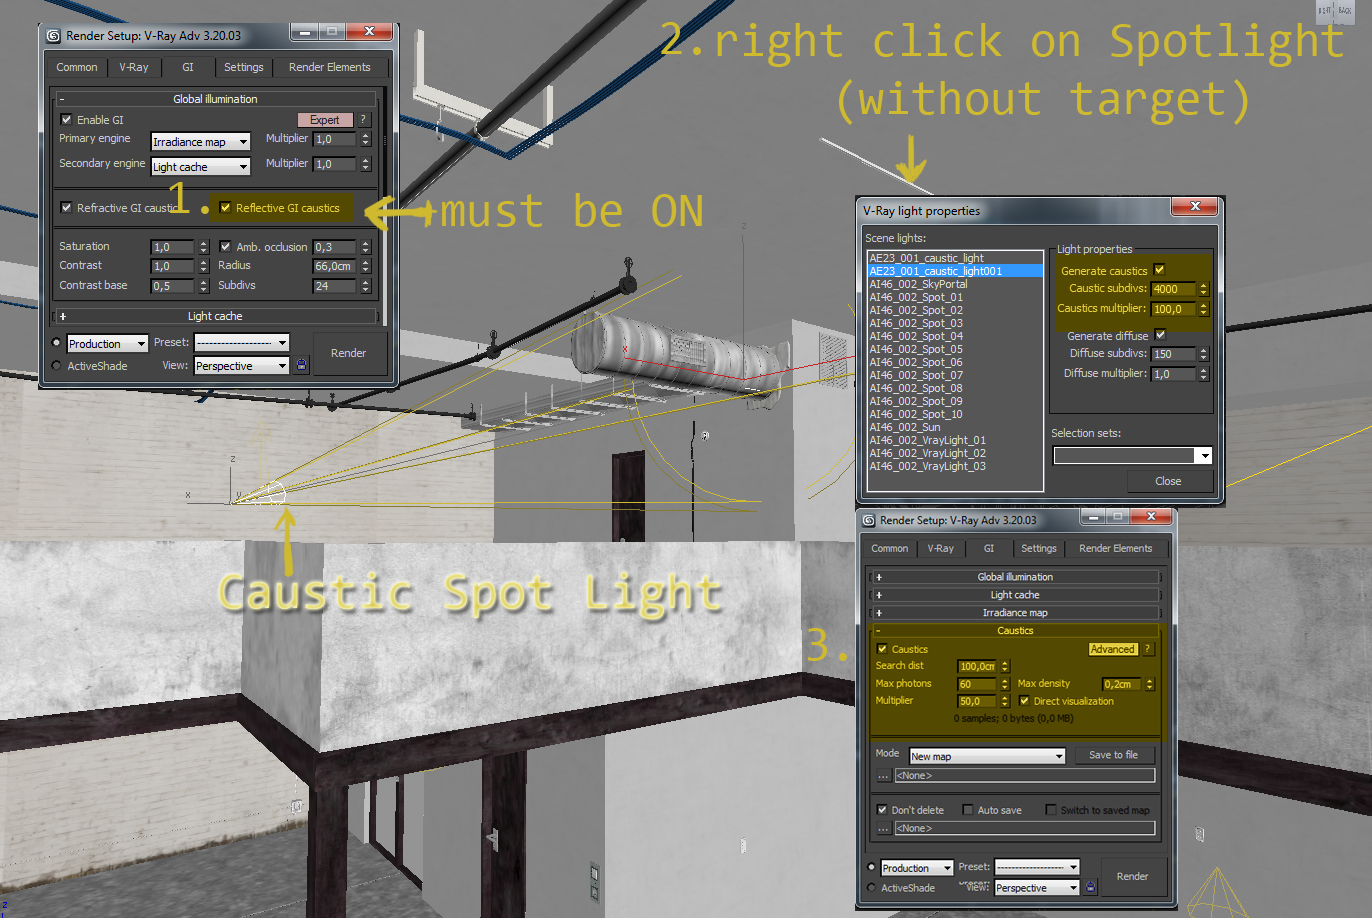
To make the scene more photo-realistic, I added caustics to the reflections. Another reason to add this effect was brightening the ceiling. V-Ray supports the rendering of the caustics effects but its not to easy to produce correct effect and its time-consuming while rendering.
So I decided to do a little trick. I put a SpotLight in the scene with the INCLUDE ALL option (in other words EXLUDE everything else). Directed beam of light on the chrome vent pipe and in the options turned caustic on in Global Illumination overlap. Caustics are not visible enough on raw render therefore need a post-production that will enhance the effect. To make this possible, add VrayCaustics render element.
Click on image to enlarge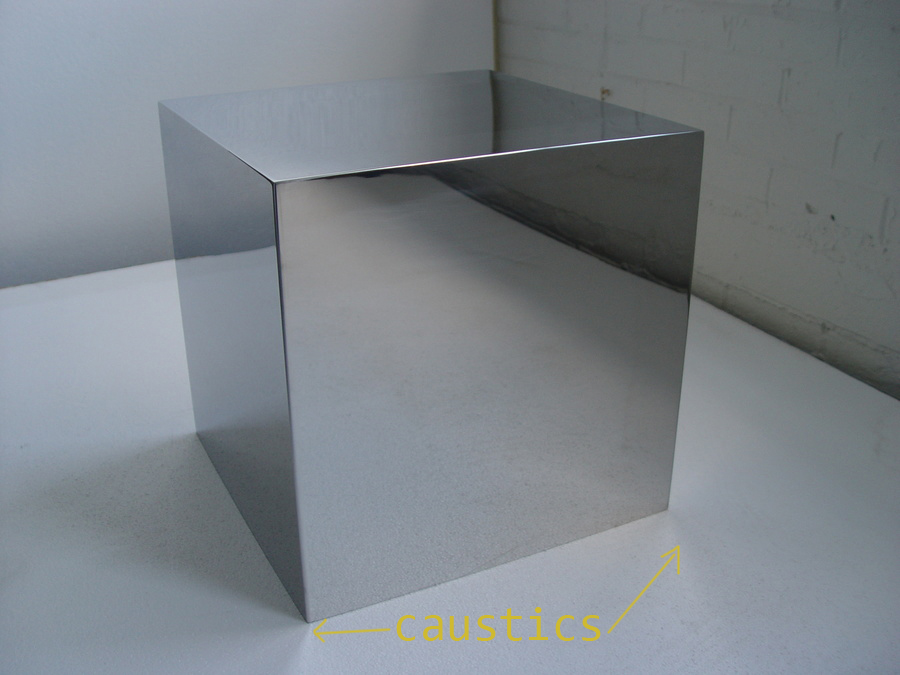
Caustics example in real world.
Click on image to enlarge
Explanation of V-Ray caustics search distance.
Click on image to enlarge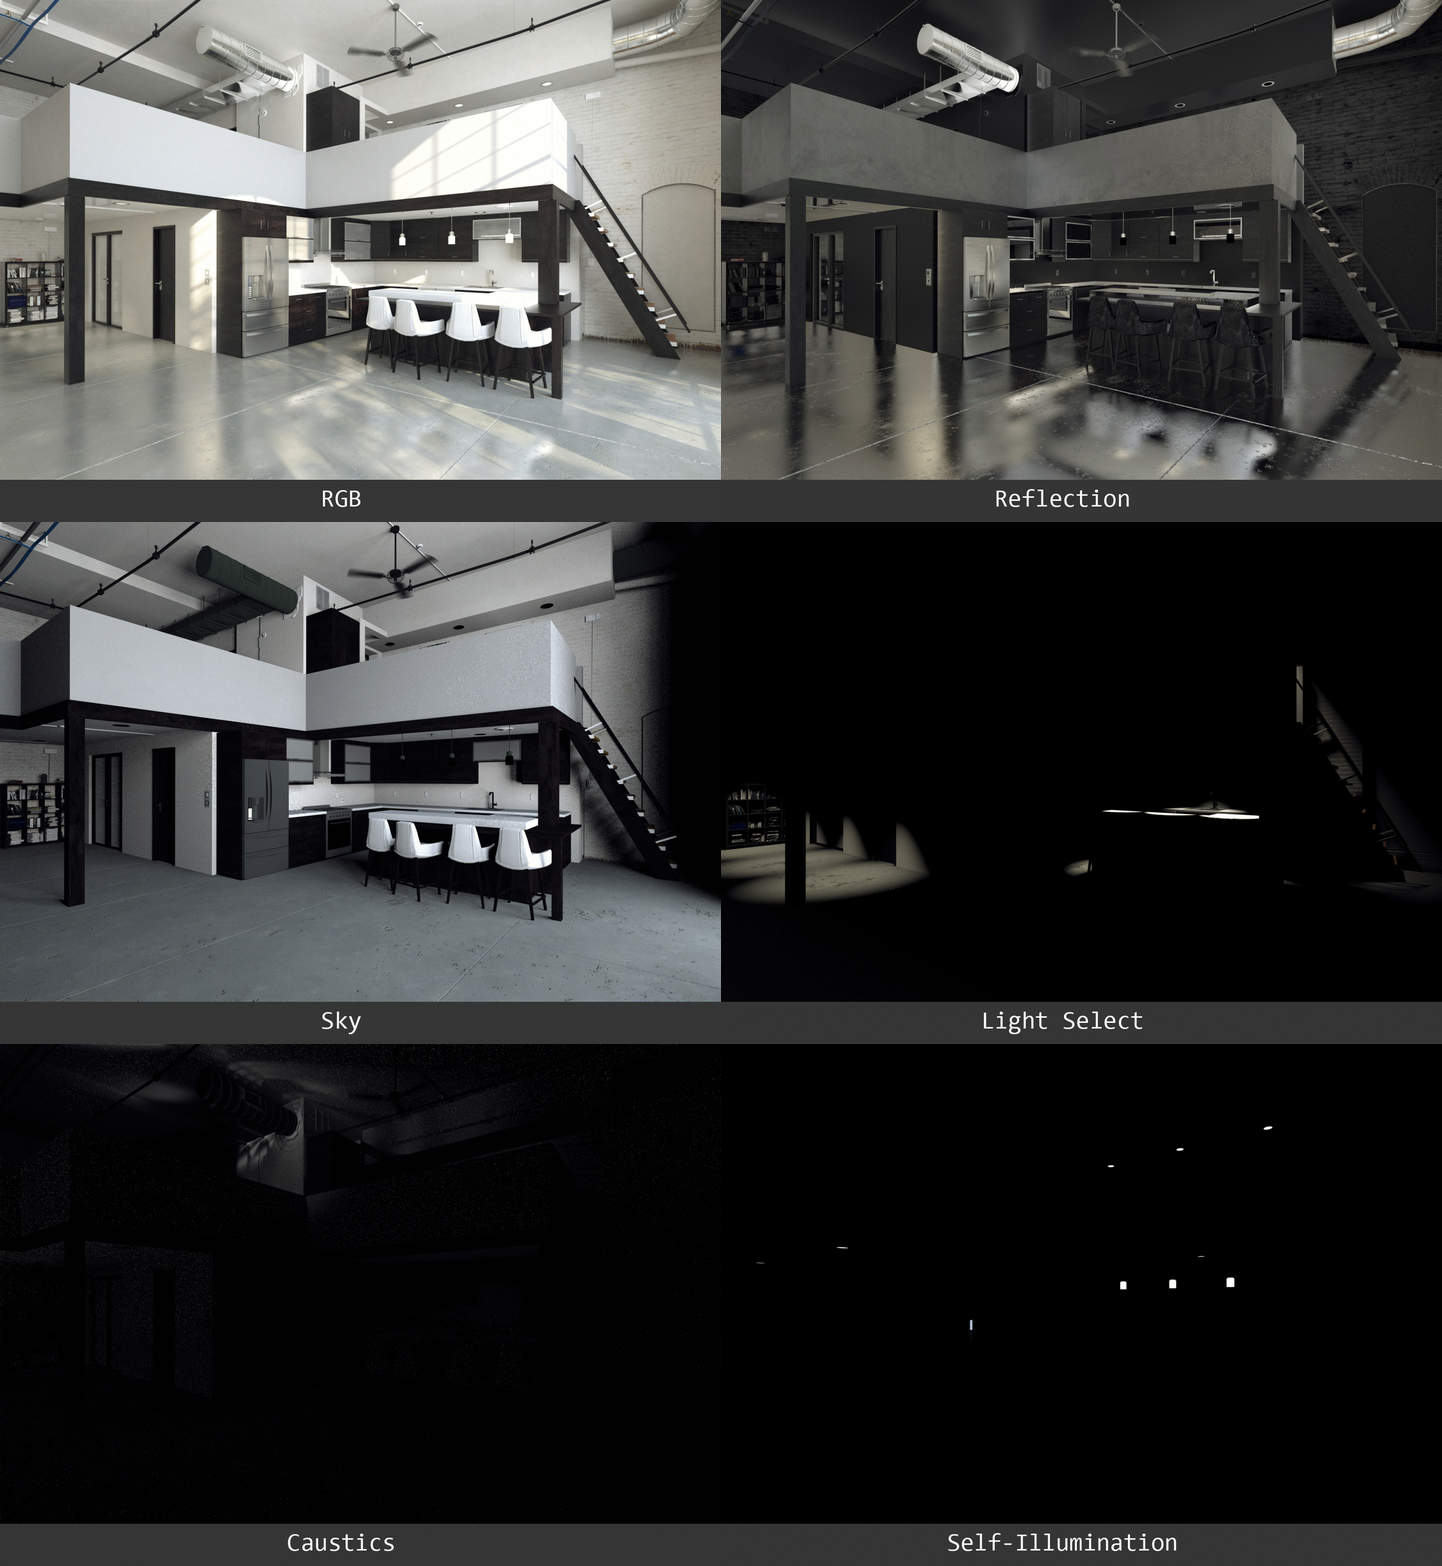
Render passes (GIF animation).
Click on image to enlarge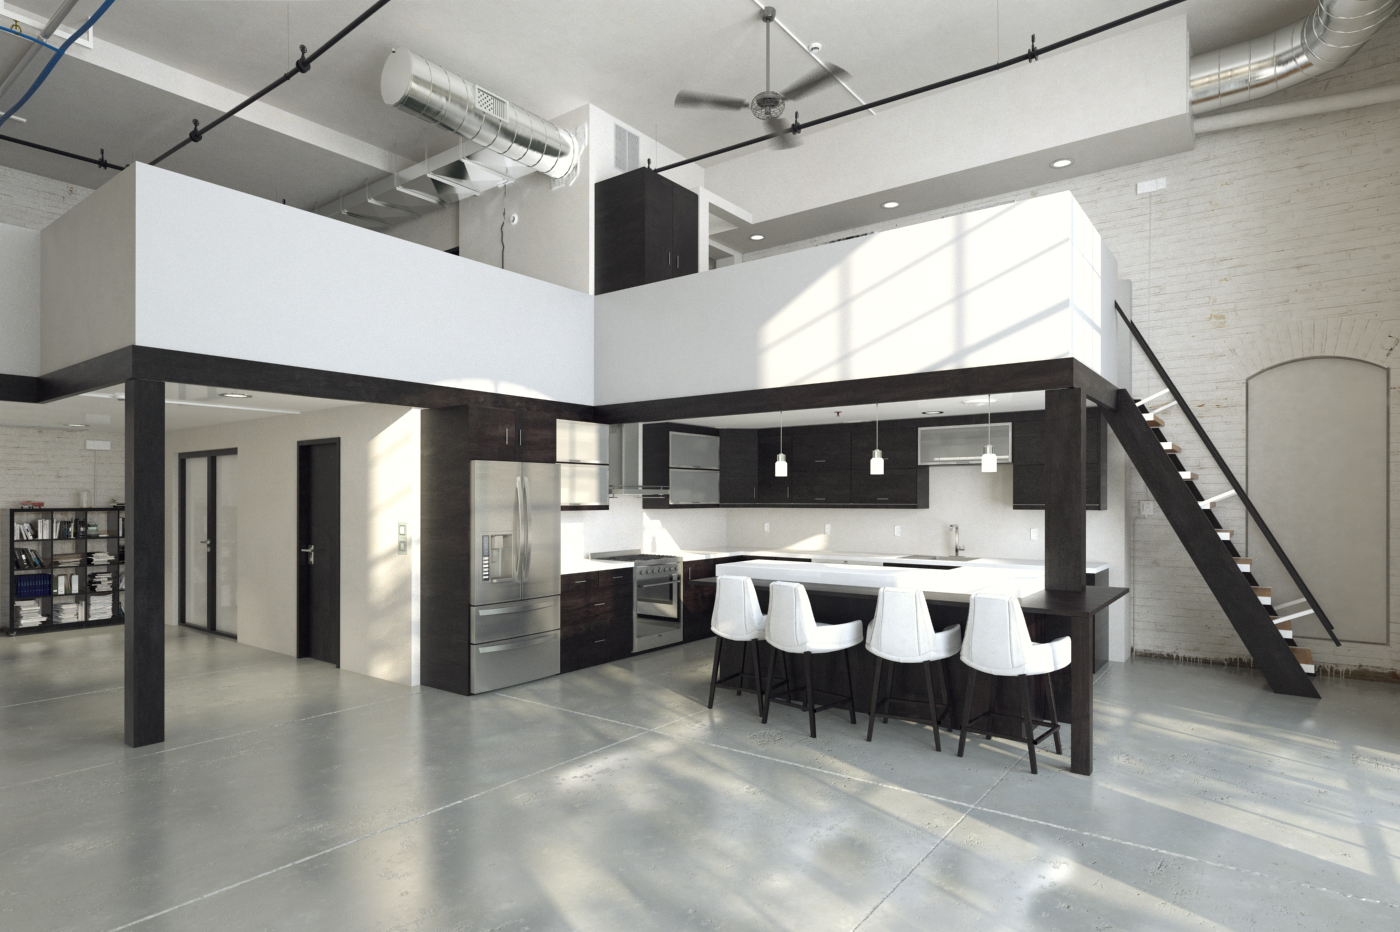
Raw render.
Click on image to enlarge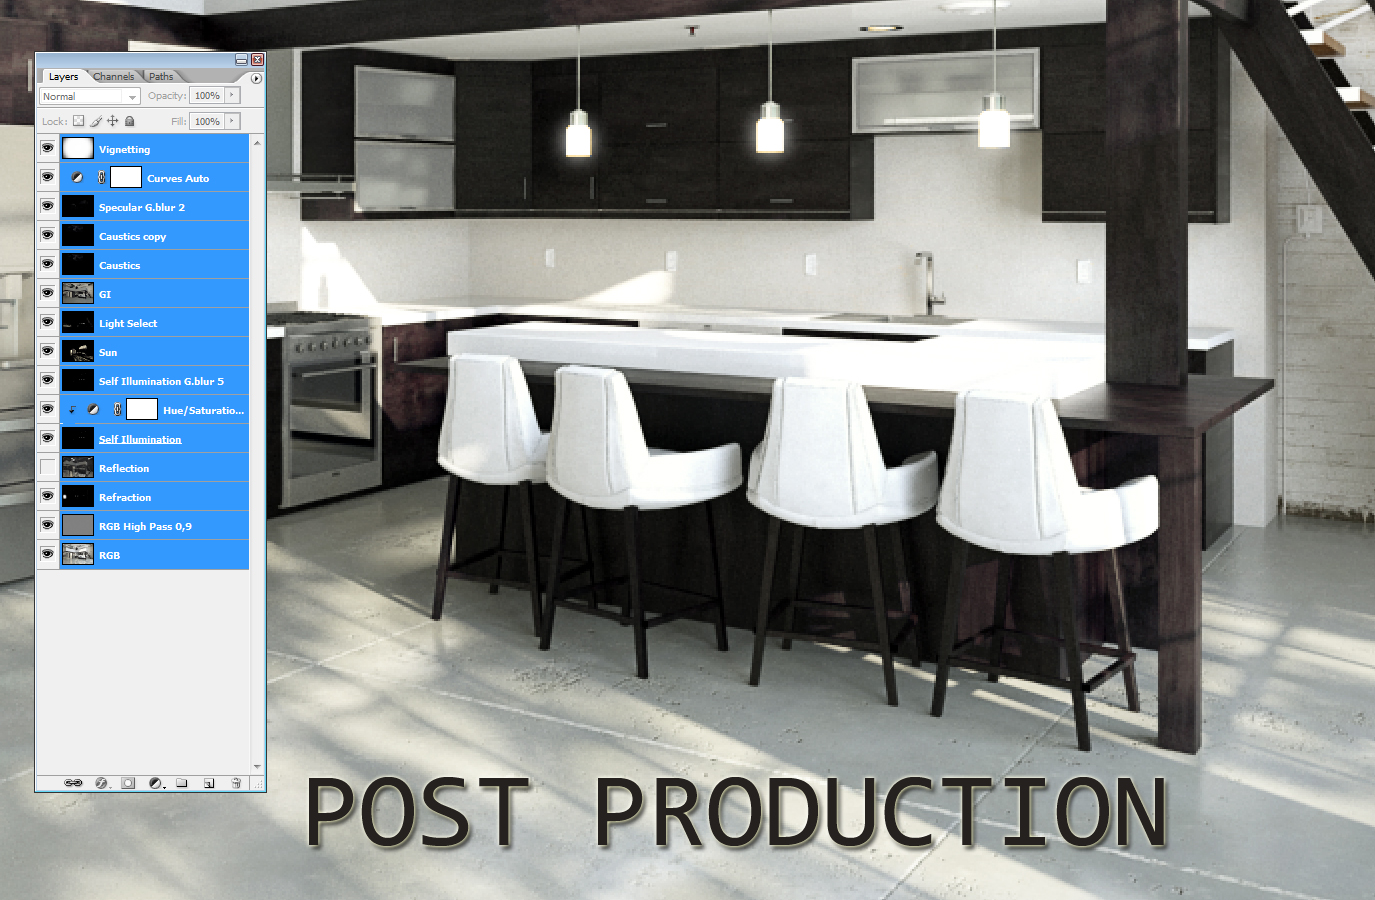
Post-production.
Click on image to enlarge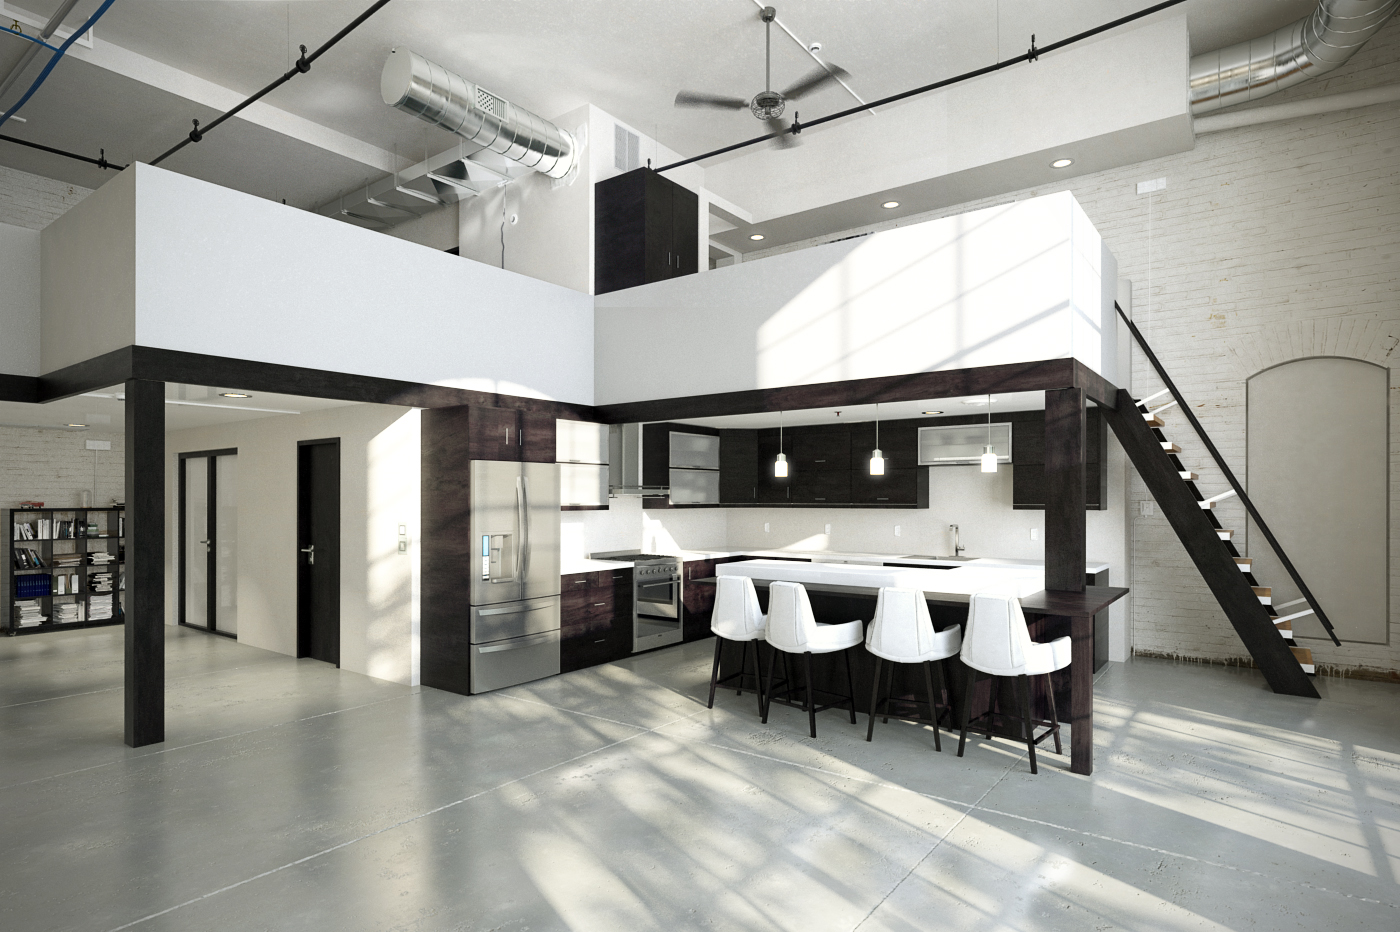
Final render.
Click on image to enlarge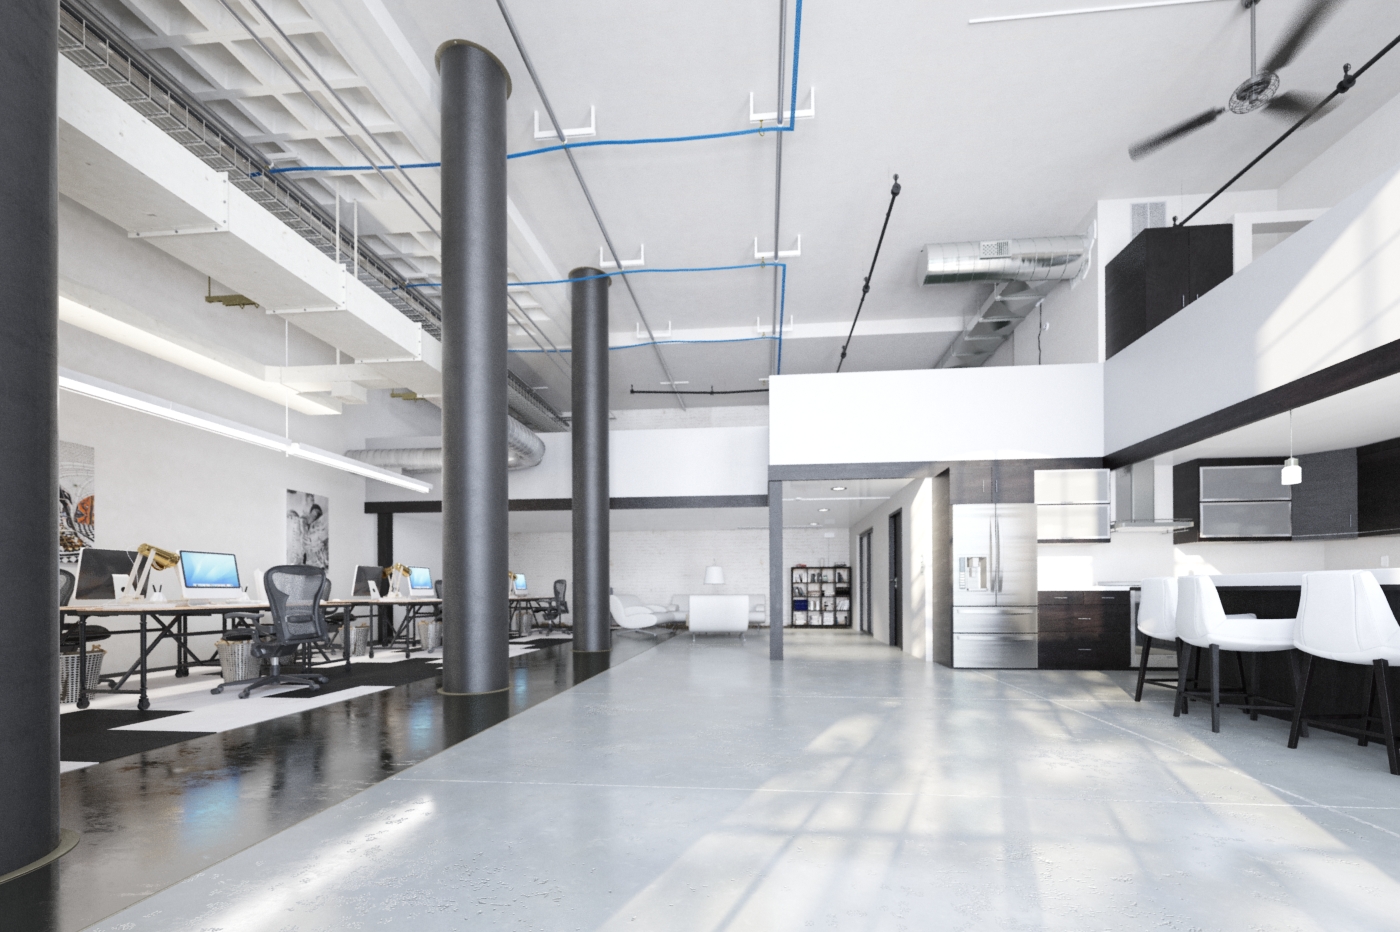
Additional render.
Click on image to enlarge
Additional render.
Click on image to enlarge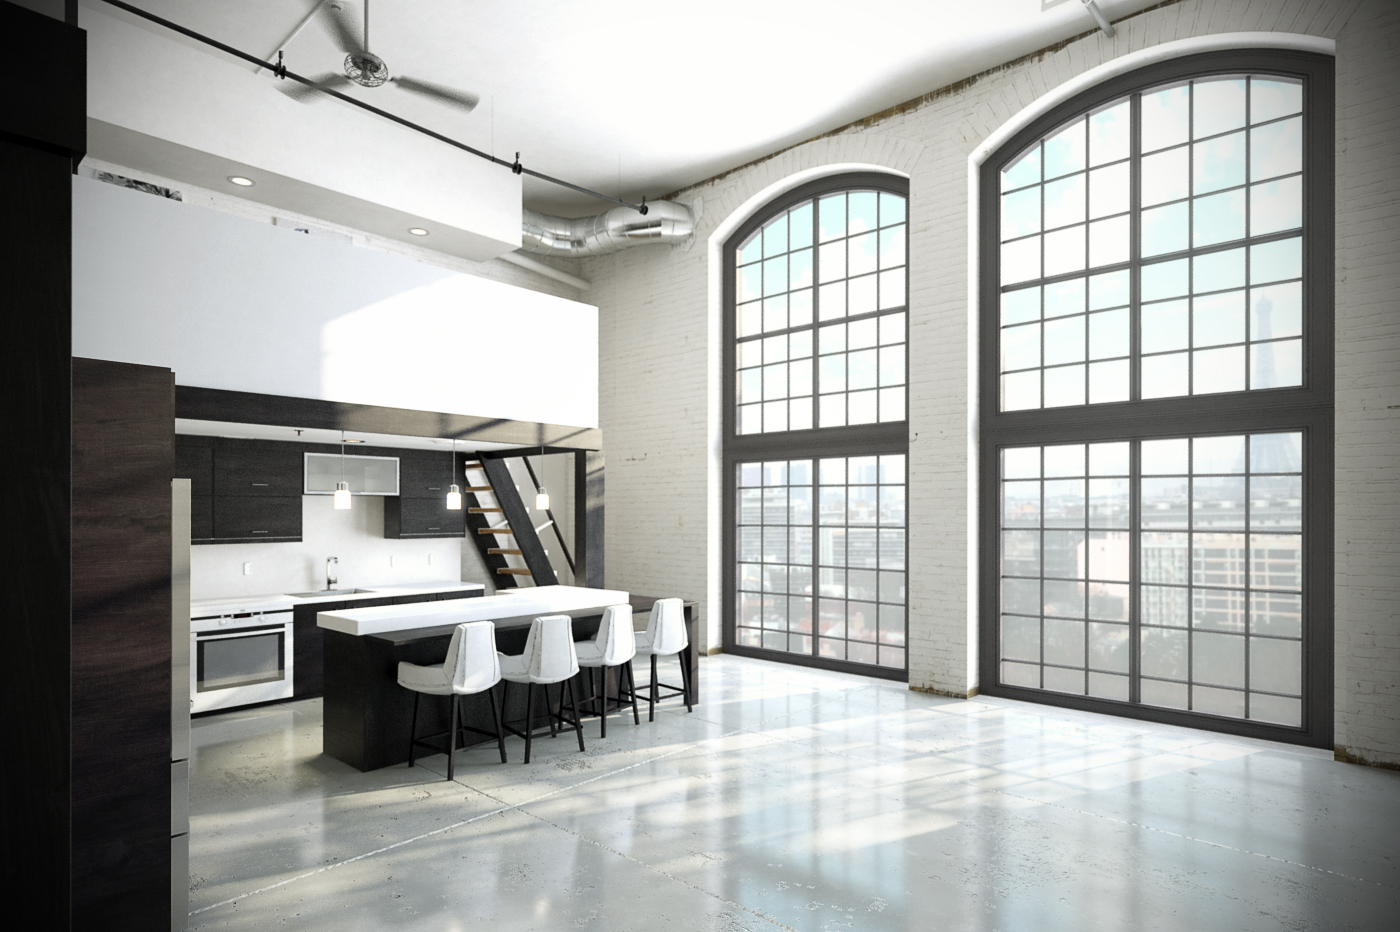
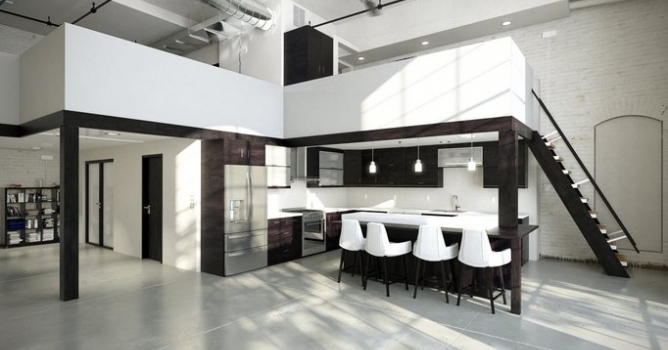
Additional render. Thanks for reading and don't forget to visit Evermotion Shop - Archinteriors vol. 46 are coming soon!
Customer zone
Your special offers
Your orders
Edit account
Add project
Liked projects
View your artist profile


COMMENTS