Hello. My name is Neil Cross. I’m currently working full time as a Senior 3D Artist at The Boundary. I also spend a lot of my free time creating personal images. After reading the brief for the 2020 Evermotion Challenge, I decided to give it a go! Here is a small description about my final entry.
2020 has been a challenge for most people. We need to accept these challenges and learn from our mistakes before it’s too late. Future pandemics will happen more often, more people will get ill which will wreak even worse damage to the global economy than Covid-19. If there’s no fundamental shift in how humans treat nature, these visions (i.e., my Evermotion challenge image) may become a reality. Well not quite, but you get the point ;)
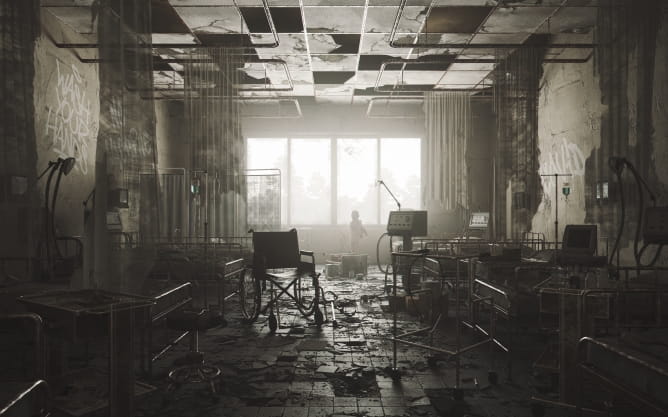
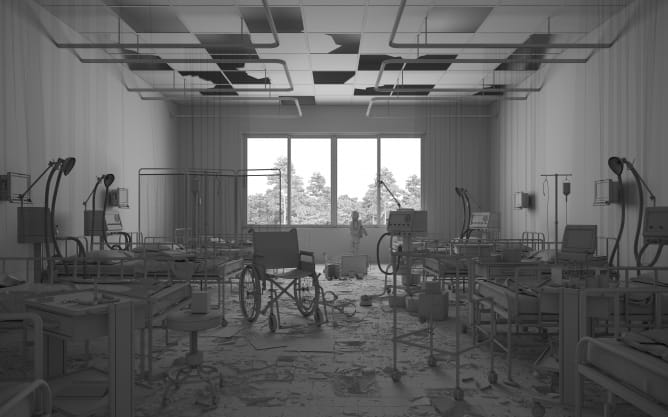
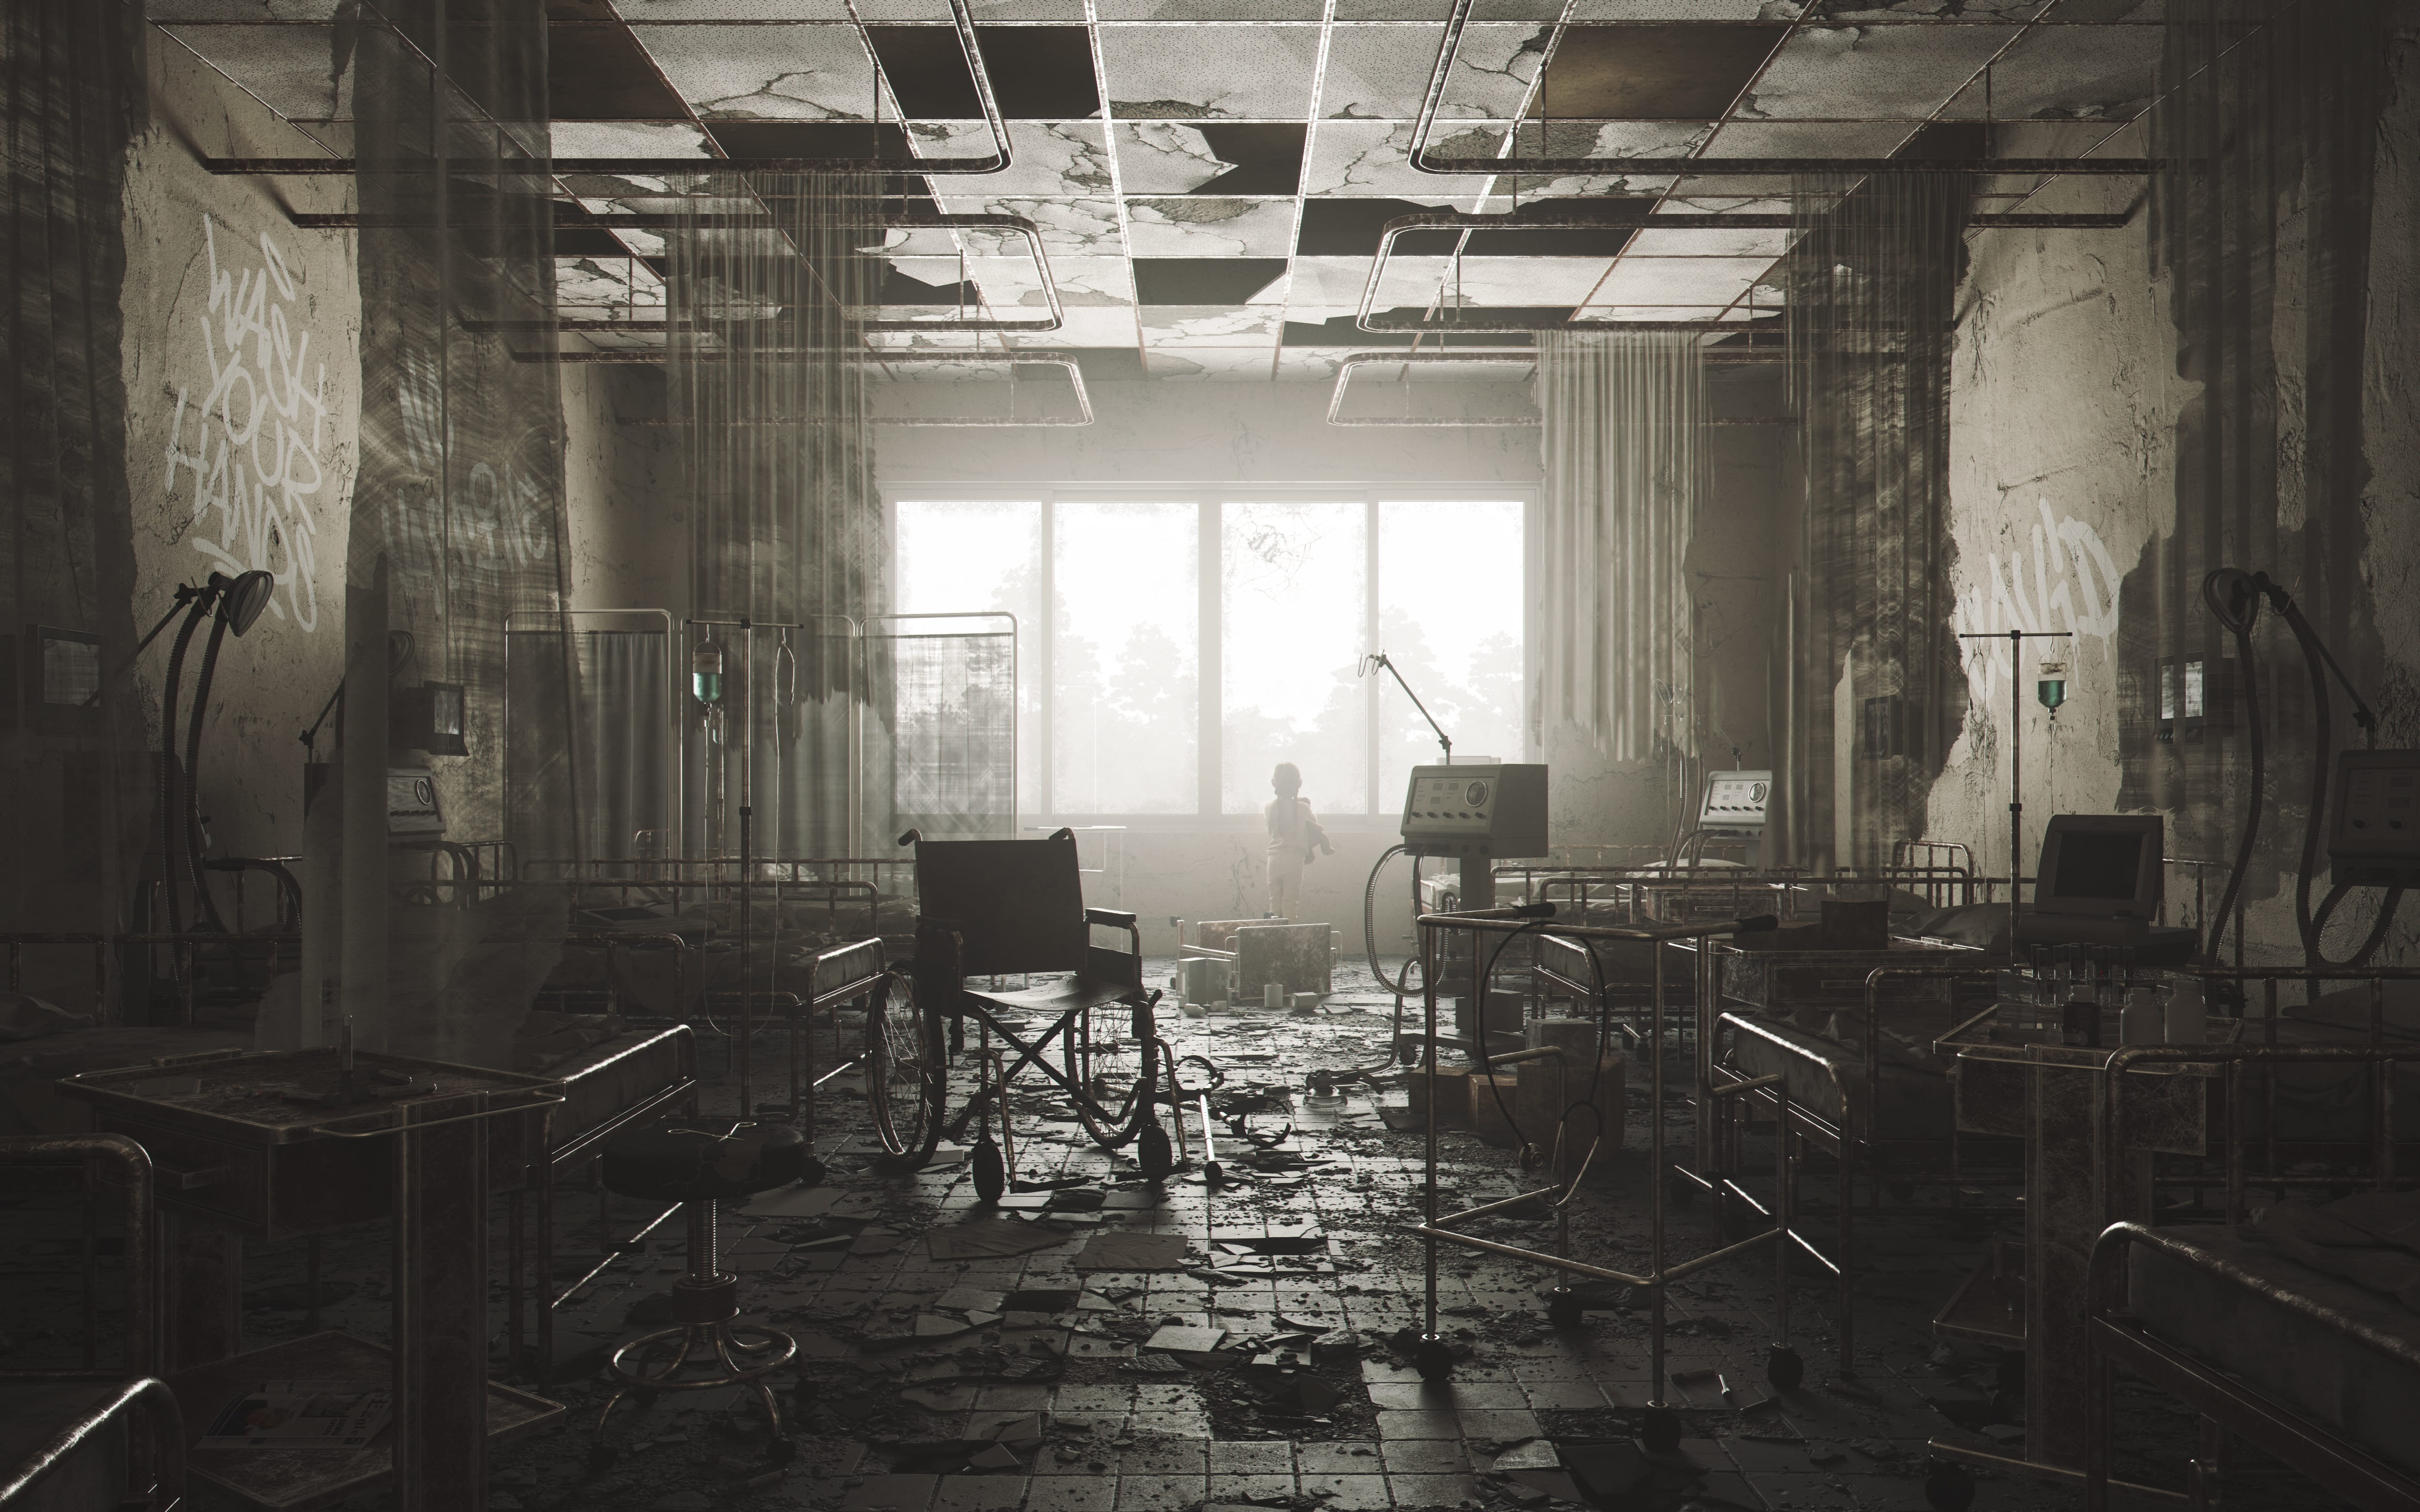
Final render
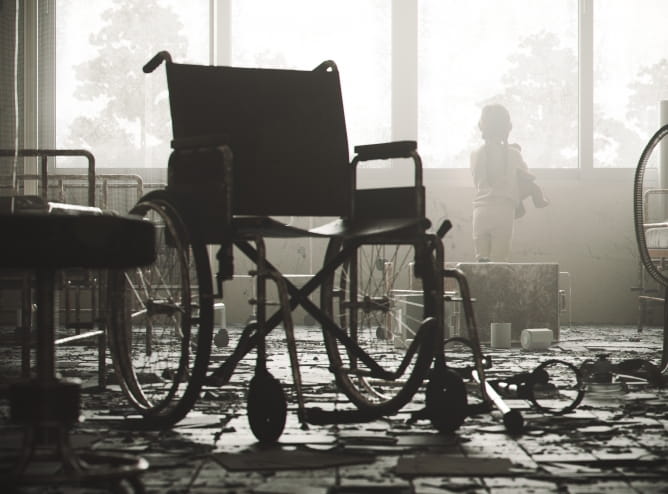
Final render - fragment
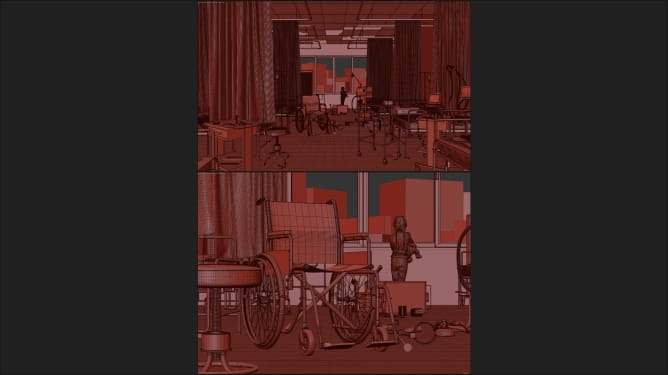
Breakdown
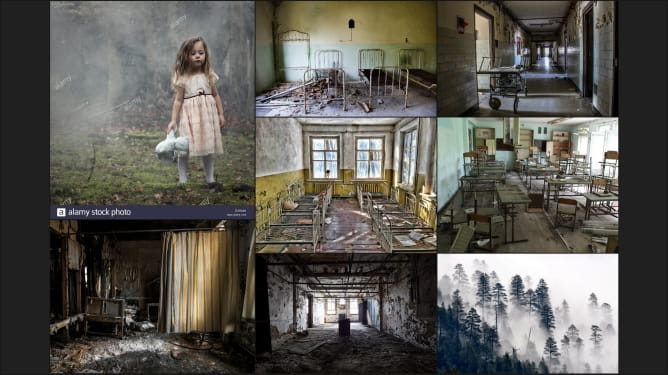
Moodboard - Most of my reference images are based around details and lighting to help me get my renders looking photoreal.
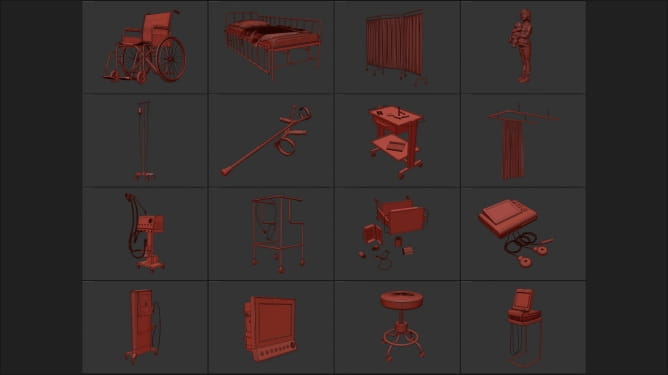
Modeling
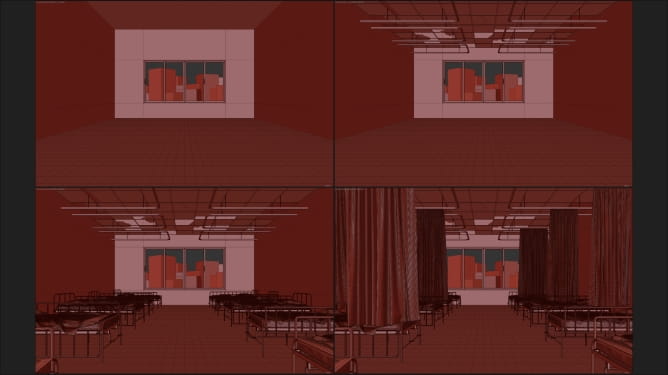
Im no modeling expert! The Architectural structure was modeled by myself. Regarding the medical equipement, theres a few things I modeled but theres no point trying to reinvent the wheel. Theres thousands of great models you can purchase online. 3D online stores are there to save us time! My goal is to make an awesome looking image, How I make it look awesome doesn matter to me. If you enjoy modeling everything, go for it!
Texturing
I wont go through every material but I will go through some of the important materials.
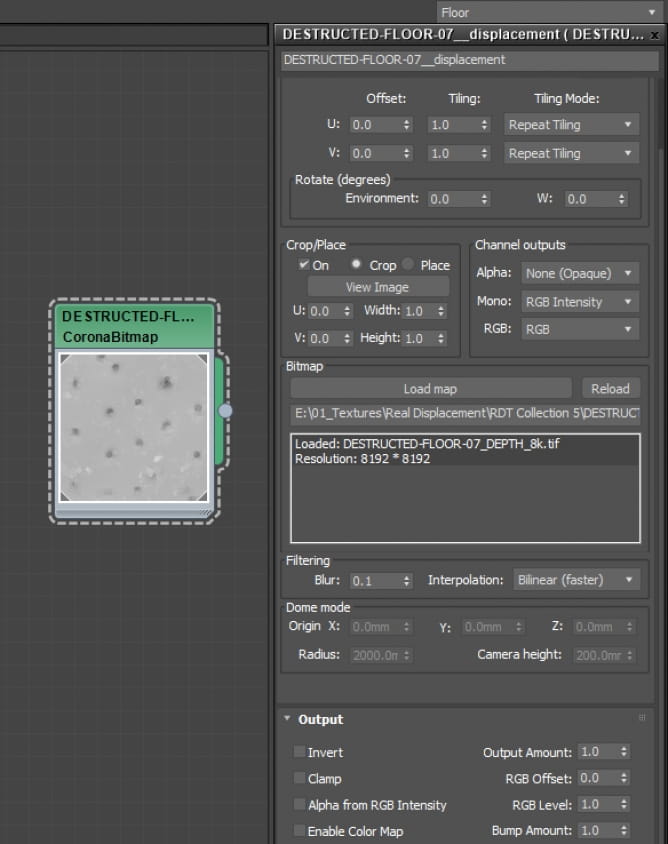
The Floor
Im using Real Dispacement for the floor. I urge every to use them, they amazing! I prefer to use CoronaDisplacementMod rather than plugging the displacement map into the main material. I feel the results are a tad better. I also drop my Screen Size (px) as low as possible depending on my ram usage to get the best results.

The Walls
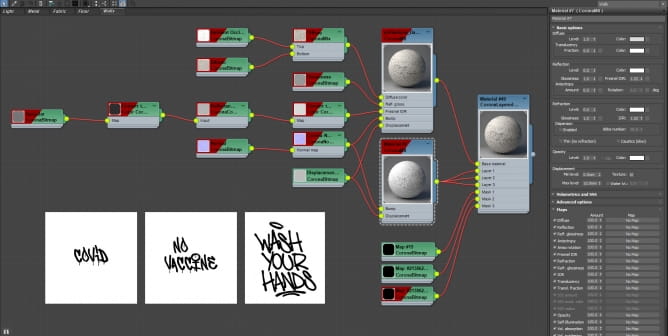
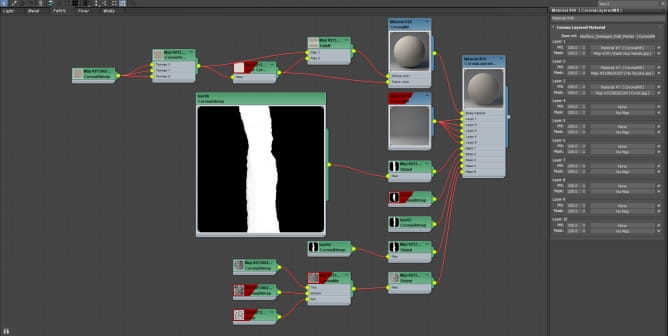
Here I used a simple corona layered material. Each mask is assigned to a seperate uvw map channel which allows me to place the graffitti anywhere on the walls.
Aged Metal
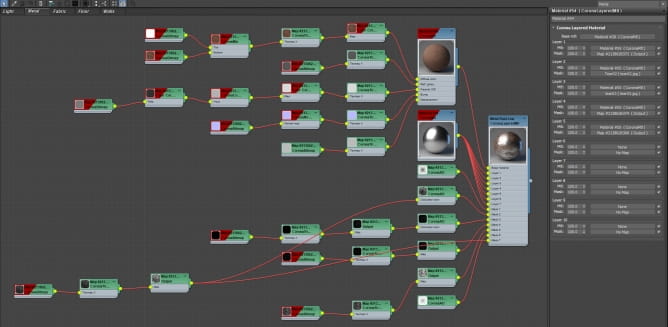
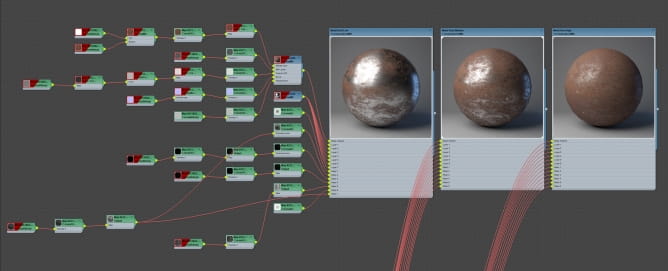
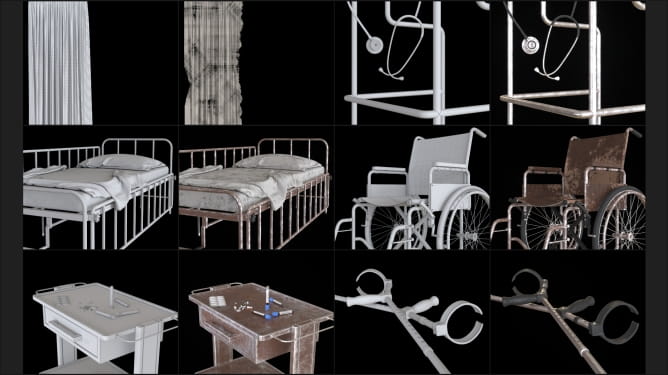
I created 3 levels of rust for the metal so not every object has the same amount of rust. Again this is all driven through a Corona layerd Material giving me more control.
The Curtains
All 6 curtains are using the same material but have there own mapping to avoid repitition. The tear masks were created in photoshop.
Lighting
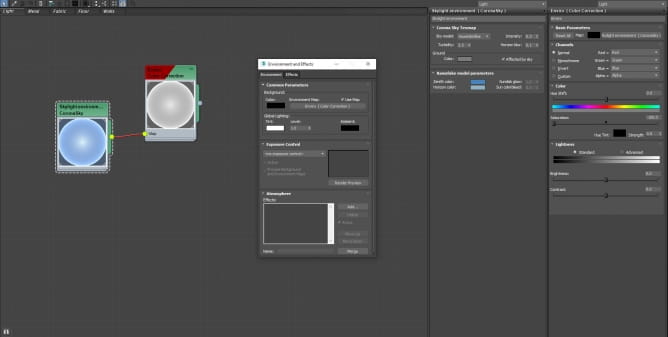
Theres 2 main light sources. The environement which is used to light the exterior and parts of the interior and a single plane light to help light the interior. I wanted the plane light to act as a source of natural light. There is no artificial lighting or any light materials. Its important to have the plane light visable to reflections to help the reflections on each interior object stand out.

Volumetics
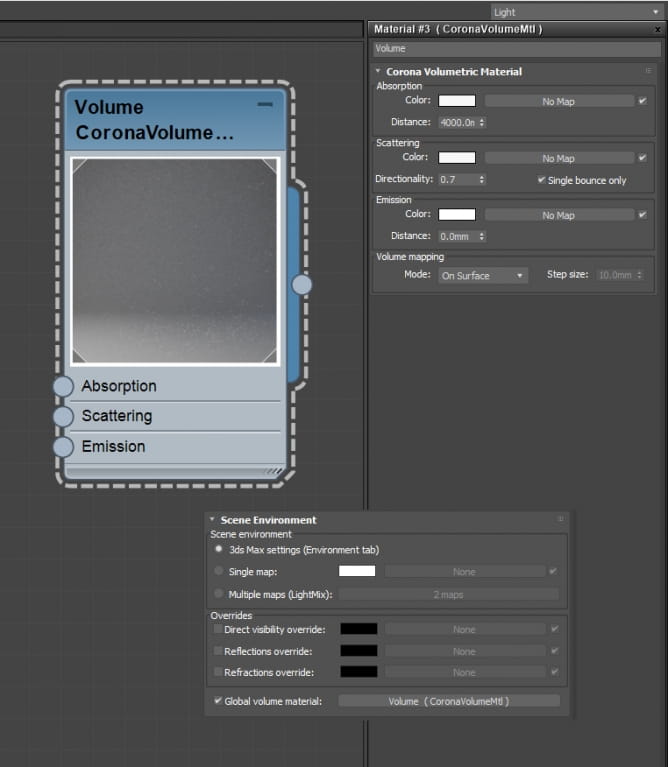
I use these settings for most of my images. The only thing I change is the absorption distance. In this case I set my distance to 4000mm as I wanted the trees in the background to be barely visible. Both absorption and scattering colors are set to 248 In some cases I will disable single bounce for more realism but this was barely visable so kept single bounce enabled.
Camera Settings
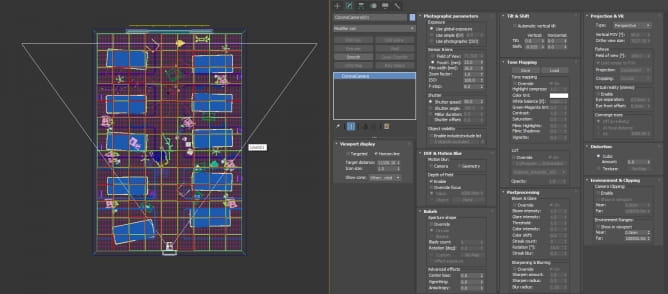
No fancy camera settings. I wanted my focus point to be the girl
Final Render Settings
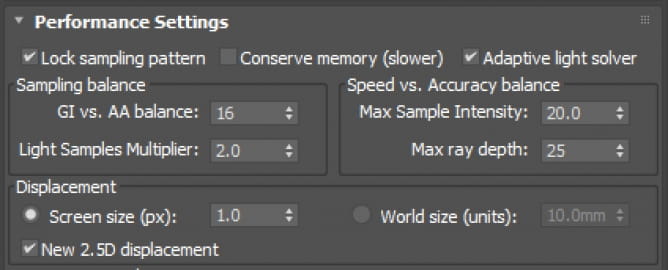
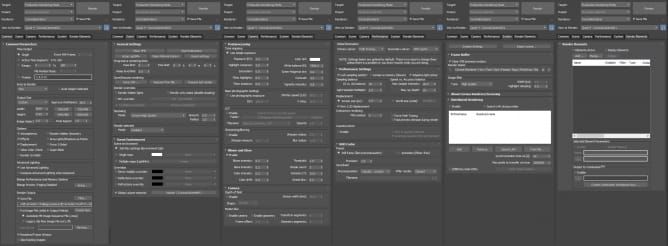
Here’s my final render settings. I try avoid using render elements. The only thing I’m doing in post is a bit of colour grading.
I know this making of is super simple but i hope some of you find it usefull. If you have any questions, let me know! Cheers!
Neil

Customer zone
Your special offers
Your orders
Edit account
Add project
Liked projects
View your artist profile


COMMENTS