Evermotion: More Than an Asset Library
How Evermotion became a full-scale production partner for archviz, automotive and synthetic data.


Total: € 0

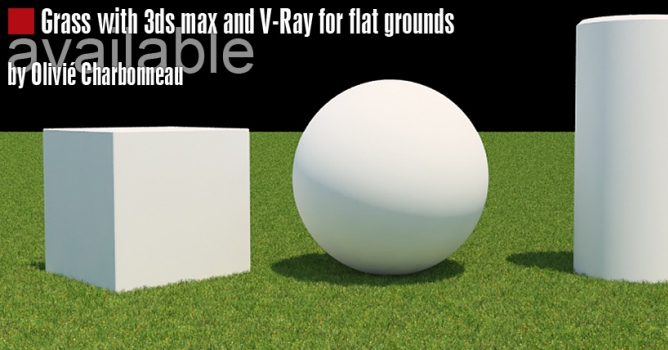
This article is here thanks for cooperation with Chaos Group. Read more on Chaos Group Blog.
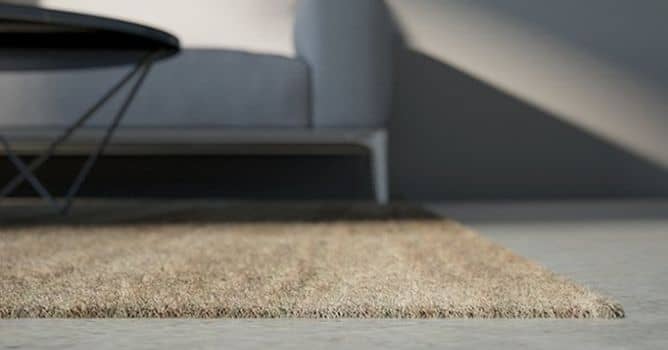
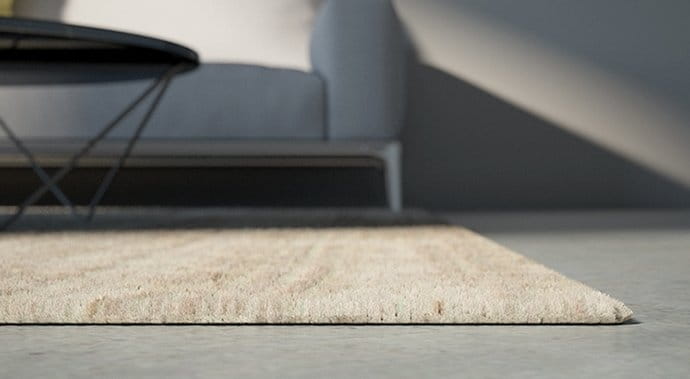
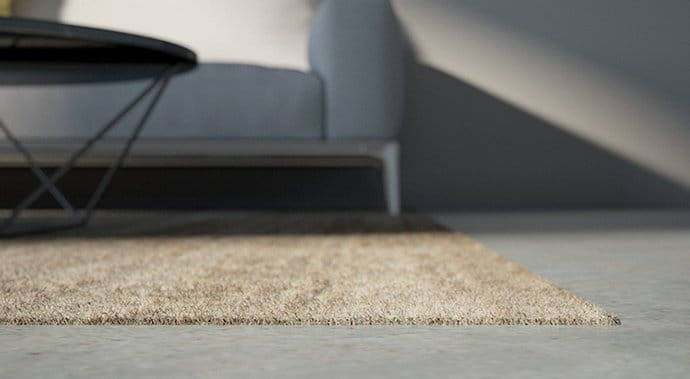
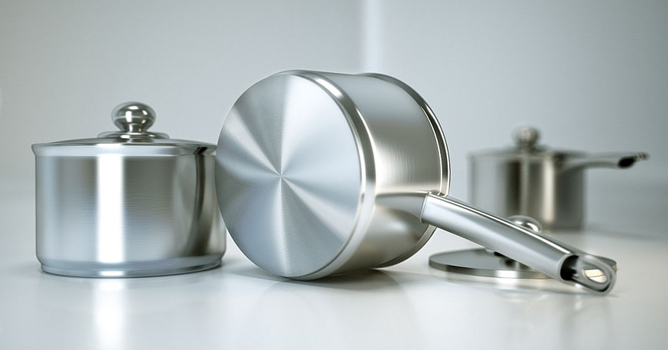
The rug in our scene is created from a chamfer box with the bottom half deleted. This allows a slight curvature to the rug itself. The rug also has fifty segments in both the length and width.
Option 1: VRayDisplacementMod
The first technique uses the VRayDisplacement modifier on the rug mesh itself. I used the 3ds Max Cellular map to drive displacement. The only adjustment to the Cellular map was the size, set to 0.001.

DISPLACEMENT: 0.0"

DISPLACEMENT: 0.125"
DISPLACEMENT: 0.25"
DISPLACEMENT: 0.5"
DISPLACEMENT: 1"

DISPLACEMENT: 2"
In this example, the settings in the modifier are the default settings except for turning Keep continuity on. You should note that the Amount of displacement ranges from 0"–2" and increasing the displacement gives very different results. While this is a quick and effective solution for camera angles that are not close to the rug, the detail in the rug breaks down when you look at the close-ups.
Additionally, you will see that as the displacement amount increases, the control on the fur direction is limited with straight strands of fur. You could probably get away with using a vector map to control bending in the strands themselves, but again, this depends on how close the camera is to the mesh.
Option 2: VRayFur
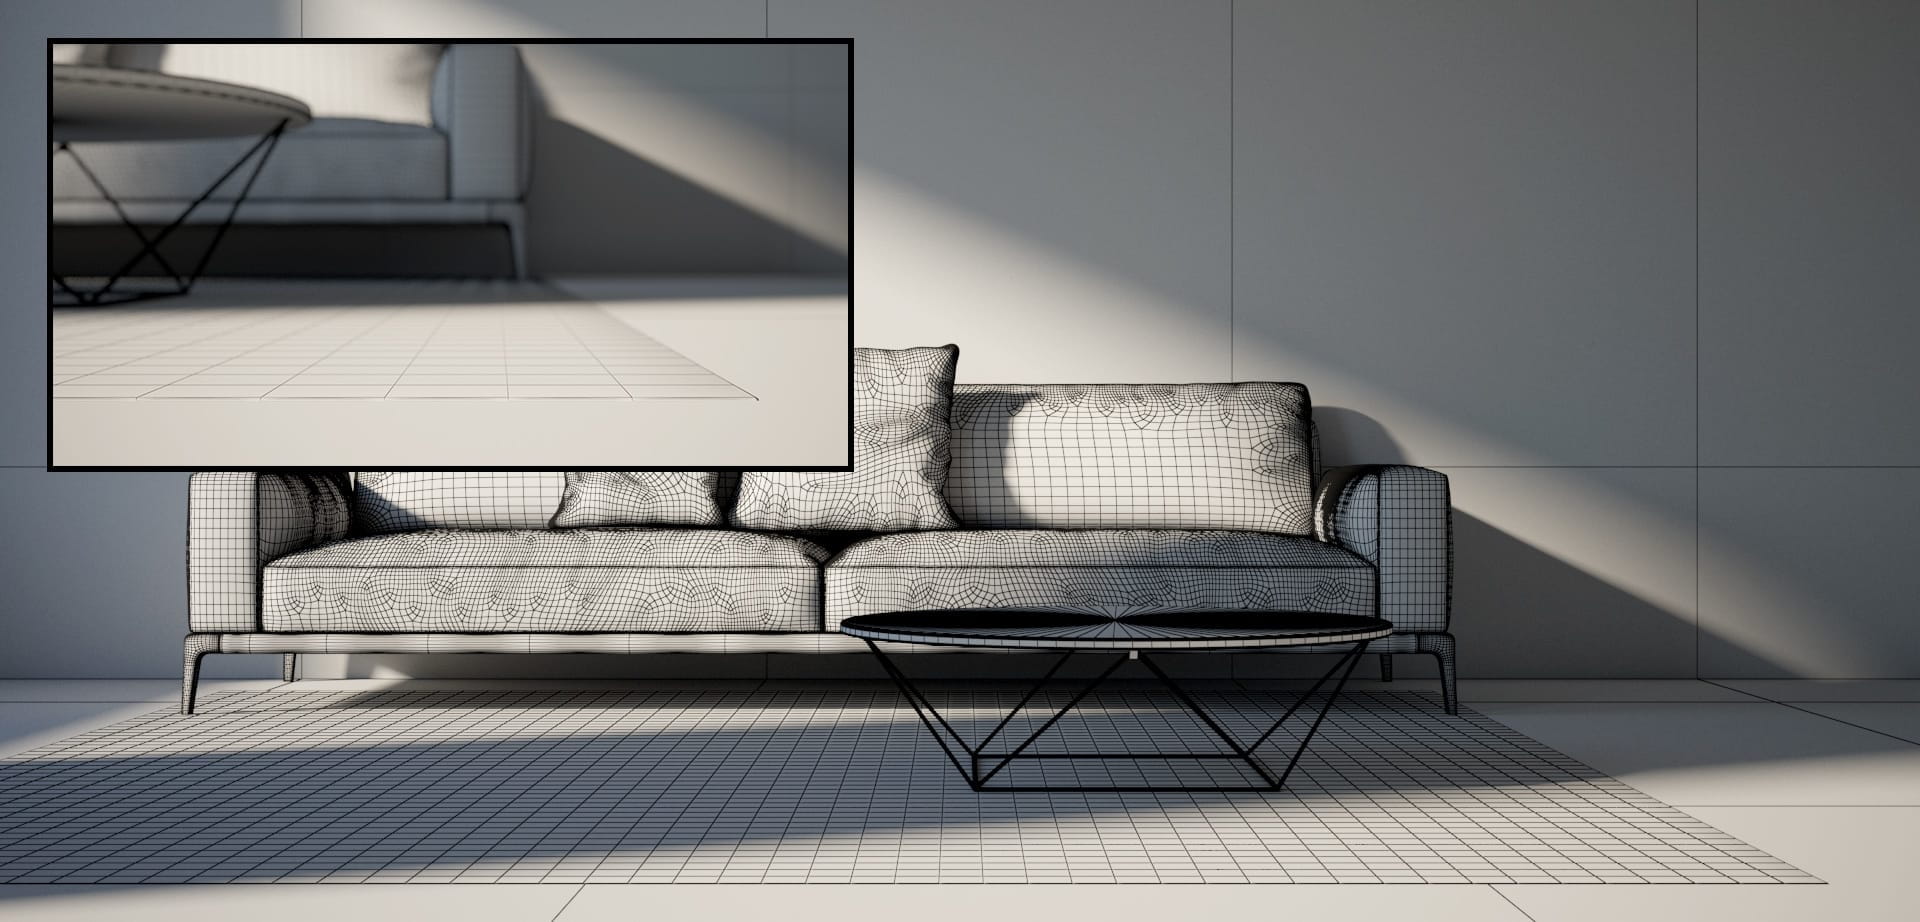
Now we'll explore using VRayFur to create our rug strands. Using VRayFur in a scene is quite simple and can be done in one of the two ways. For both methods, first select the object for which you will generate fur.
Method 1:
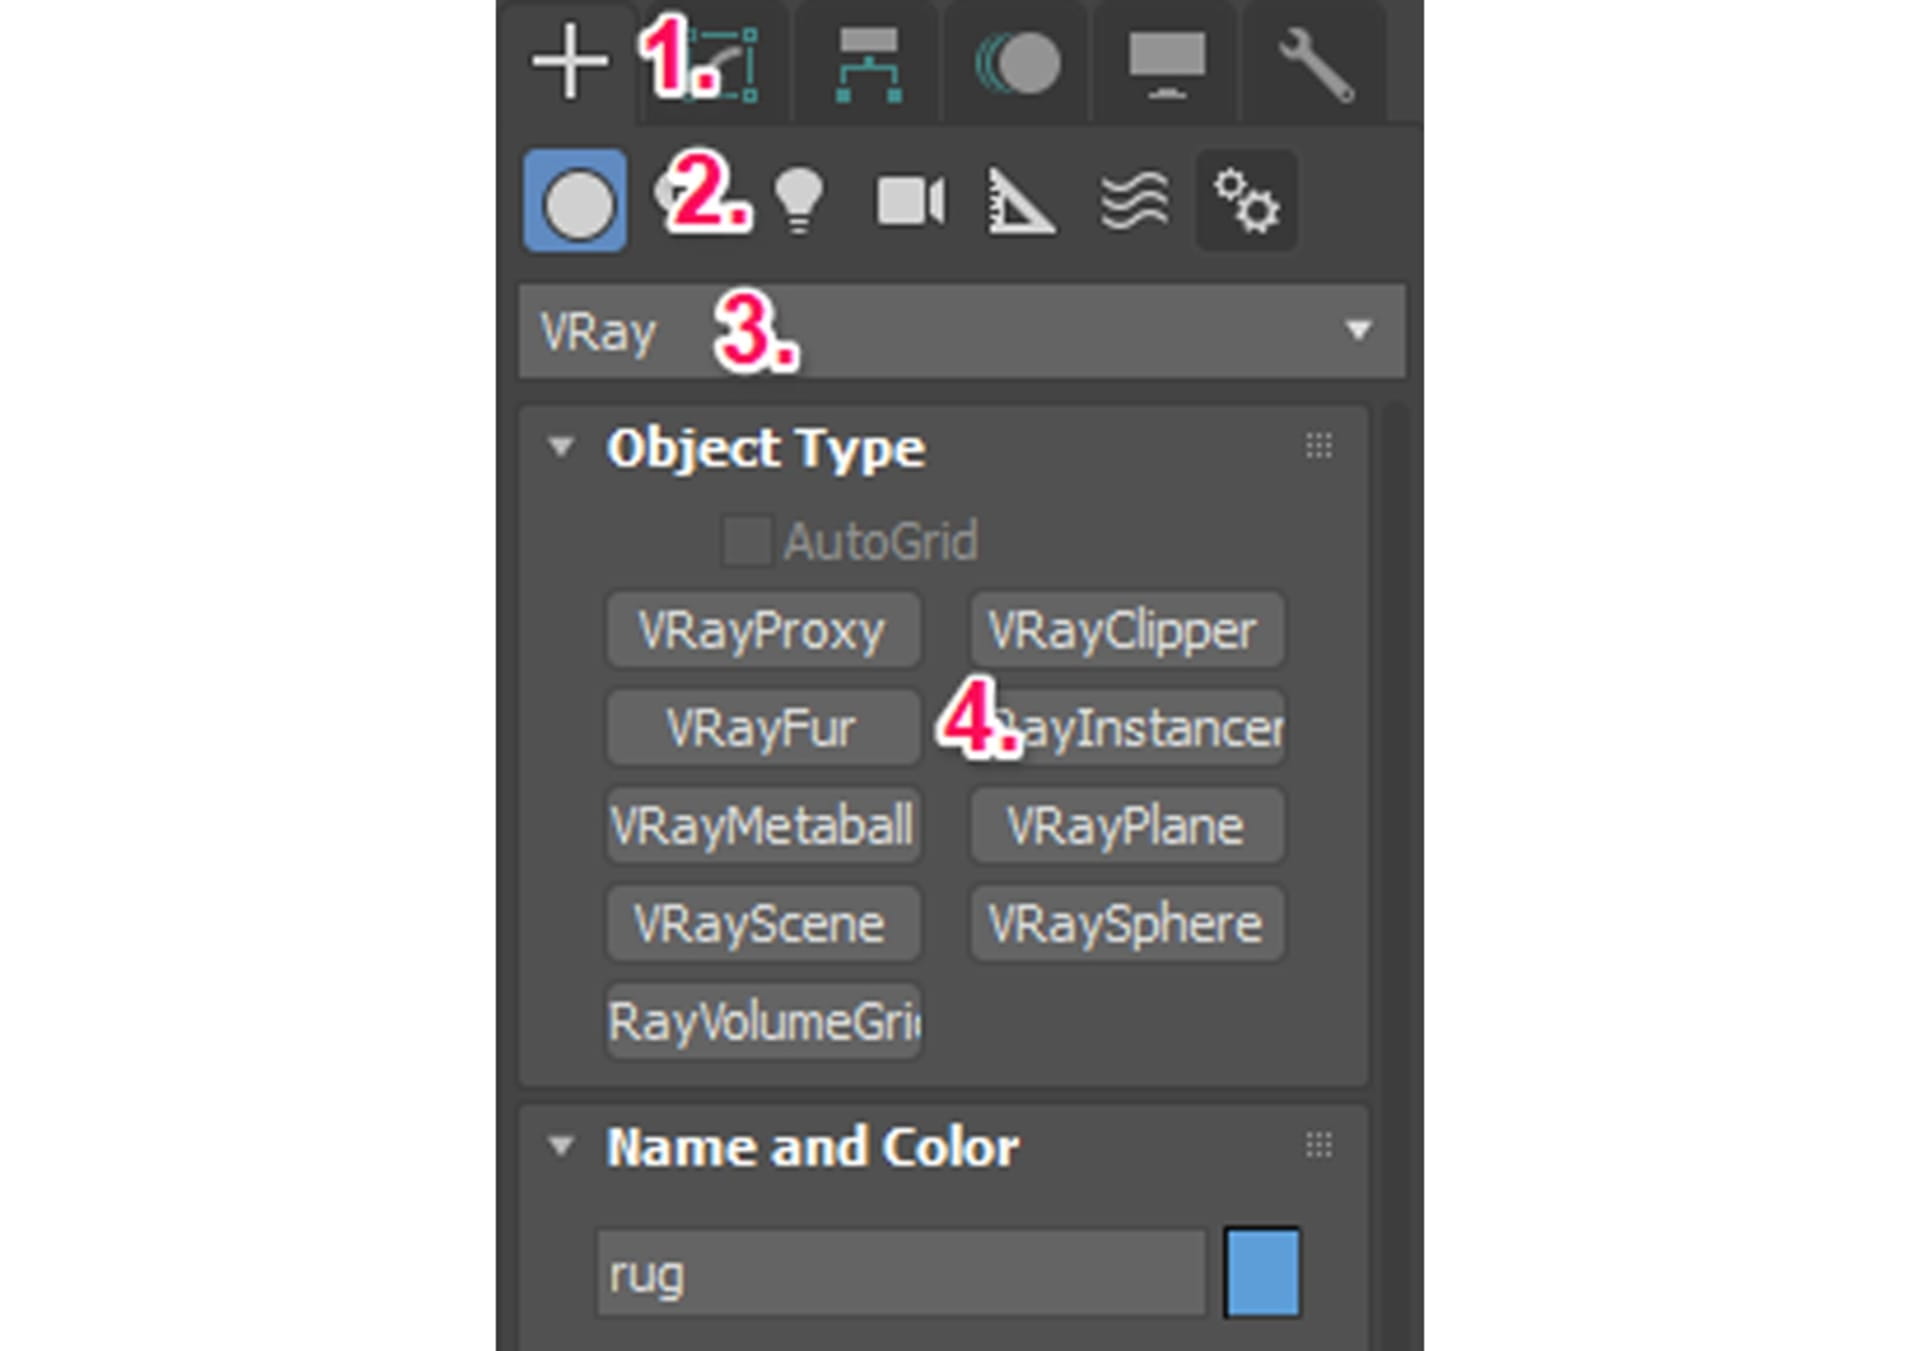
1. In the Command Panel, choose the Create tab.
2. Be sure the Geometry button is selected.
3. In the rollout, choose V-Ray from the list.
4. Finally, select the VRayFur button.
This series of steps creates the VRayFur object, and you will instantly see strands of fur on your selection.
Method 2 (my preference):
If you have the V-Ray Toolbar open, with your object selected, simply click on the VRayFur button that has an icon of what looks like grass. Easy enough.
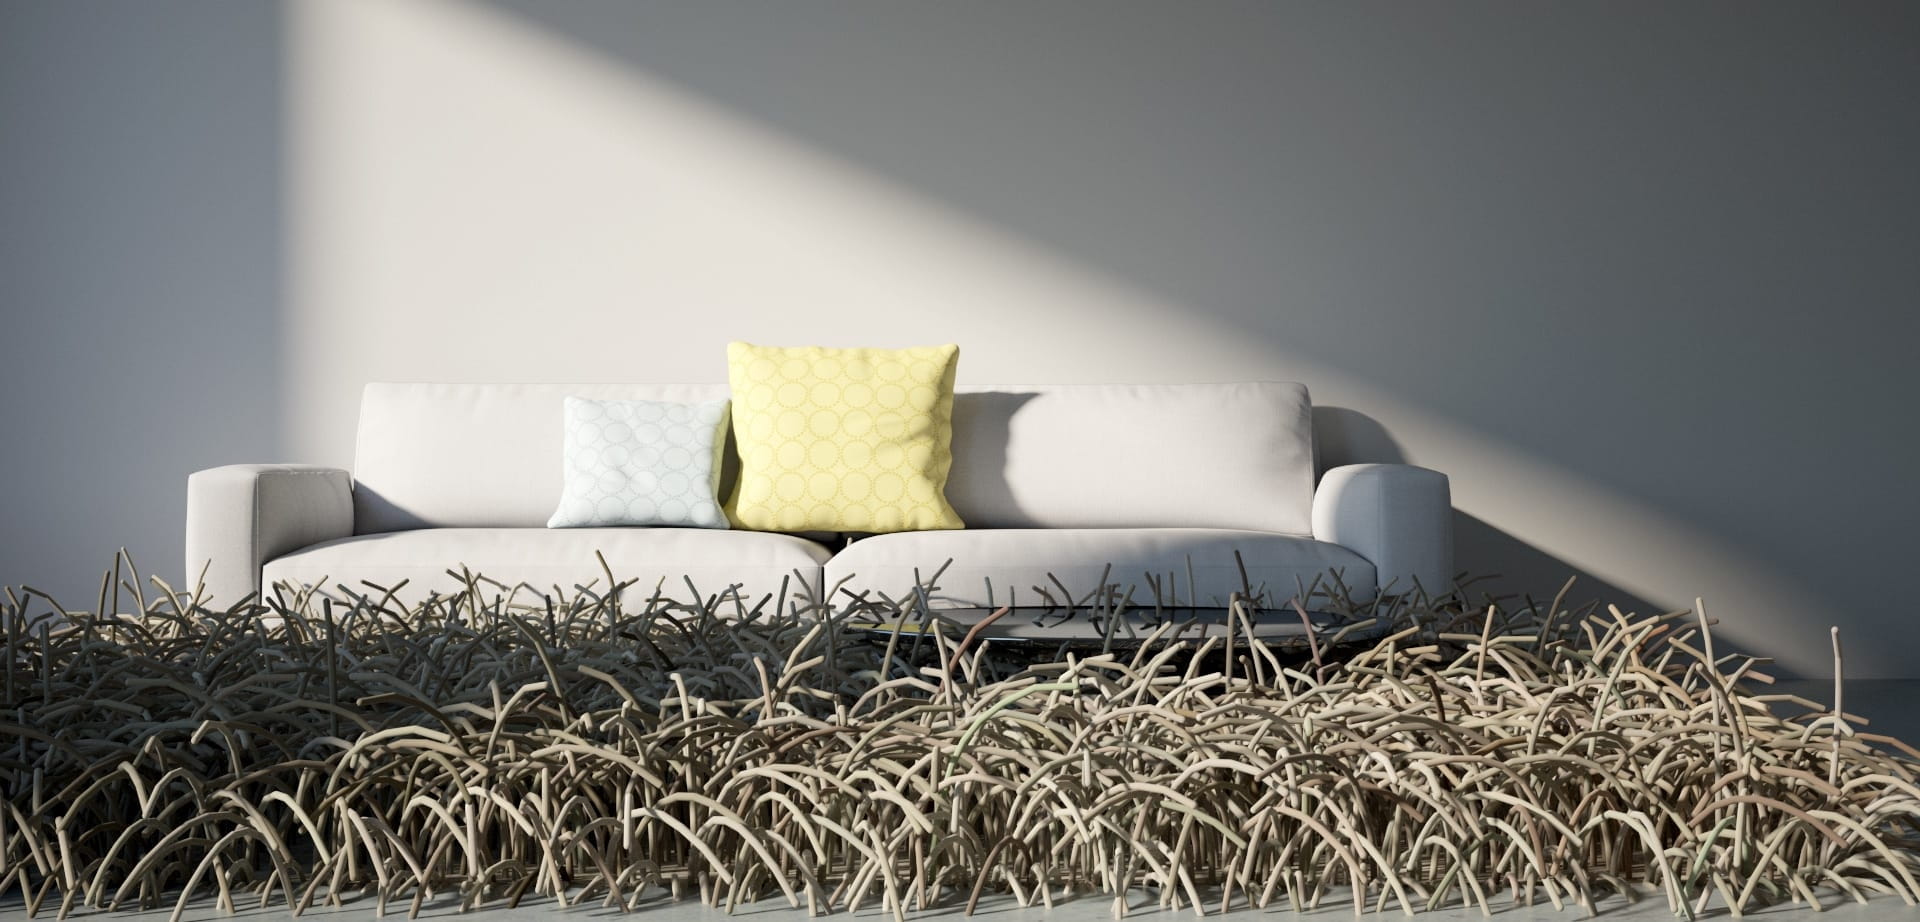
As you can see, the default settings are less than ideal. With just a few tweaks, however, we can achieve the desired effect.
For now, I won’t adjust any of the variation amounts, but we will look at the way Distribution works.
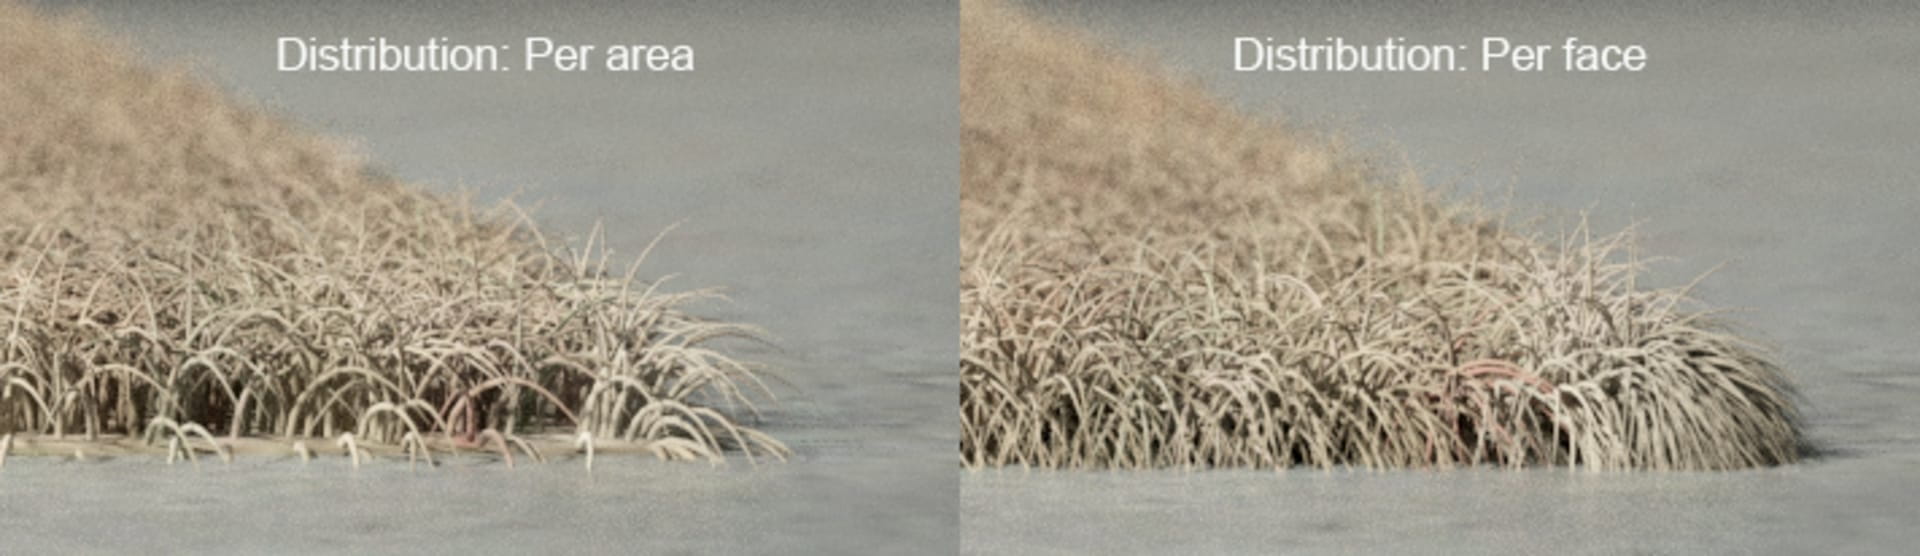
Per area is the default setting. This setting simply means that for every square inch in the scene there are X number of strands. Switching to Per face tells V-Ray to place X number of strands within each face. I have found this method to be more consistent for giving me the results that I desire. However, keep in mind that small faces will have the same number of strands as large faces, so it really comes down to the effect you are trying to achieve.

LENGTH: 0.125"
LENGTH: 0.25"

LENGTH: 0.5"

LENGTH: 1"
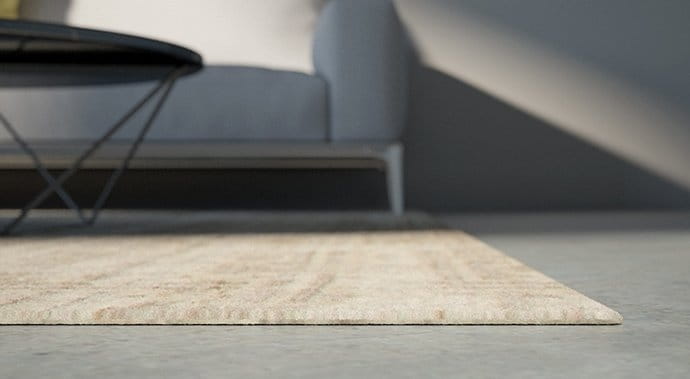
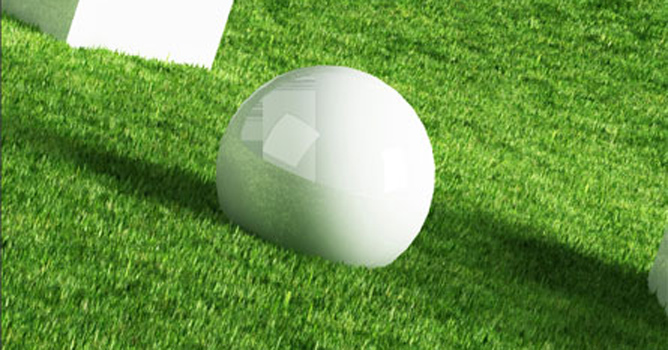
This example simply shows the adjustments in Length of the strands with the above settings already described. As you can see, the rug becomes darker as the strands become longer. This is simply due to light getting trapped in-between the strands. The ideal length really depends on the look or style you are trying to achieve.
There are a few other styles of rugs that we will explore, along with the settings to achieve each style.
Curly

Rugs come in an infinite array of shapes and looks. Some are fluffier while others have a tighter, curlier pile. To achieve the latter, V-Ray has a curl property. When turned on, this tool allows you to specify the details behind the fibers’ curls. Here, I set the Curl radius to 0.05. The length of the strand is a factor for the way the curl is displayed. I also set the Number of curls to 4. Note that I adjusted the bend to 0.0 to keep the strands straight and just allow for the curl to control the bending.
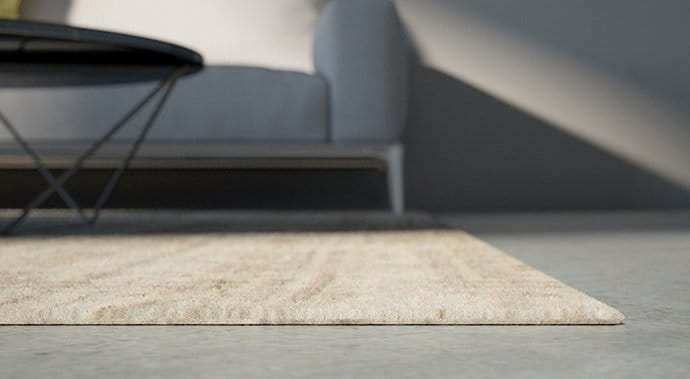
Clumpy
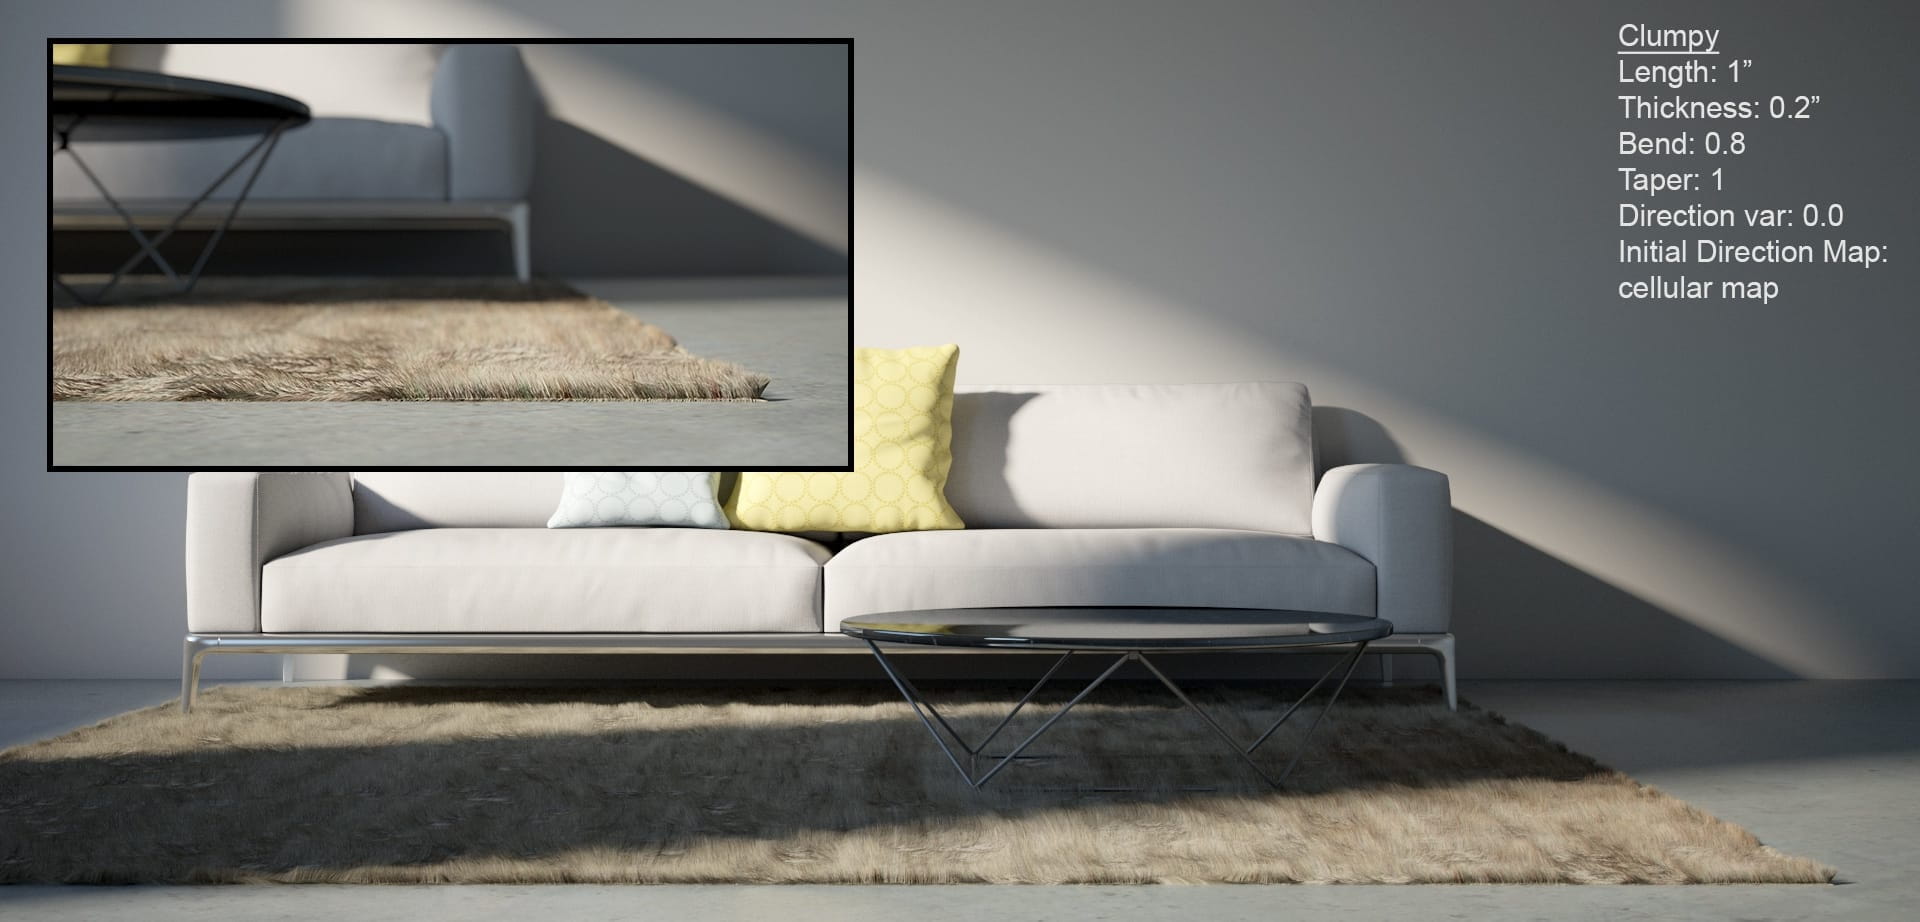
The clumpy settings enable portions of the rug to grow in a specific direction. V-Ray allows you to control specific properties to be driven by maps. In this case, I used a combination of a Cellular map with a Noise map to regulate the direction.

Direction in this case is driven by the RGB values, with each color as a different direction.
Red: u texture offset
Green: v texture offset Blue: surface normal offset
These parameters require a bit of trial and error, and you can achieve some very interesting and surprising results from simply adjusting the colors and values.
DistanceTex
In each example above, you can achieve some unique, controlled results, but as the strands get longer there is one problem that arises. The fur has no regard for other objects in the scene. This is evident when there is a piece of furniture that the fur will grow through or over. An easy yet powerful solution, however, prevents fur from growing where objects stand in place.
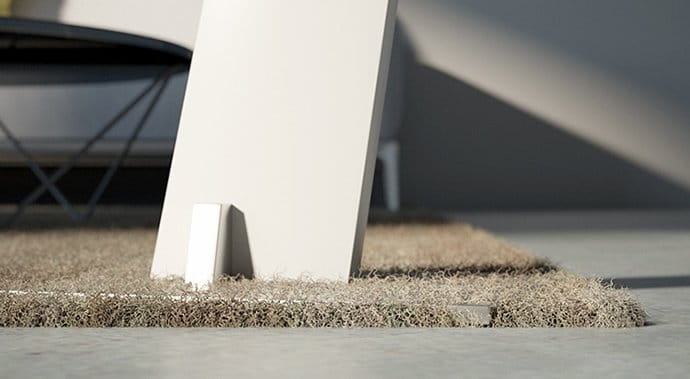
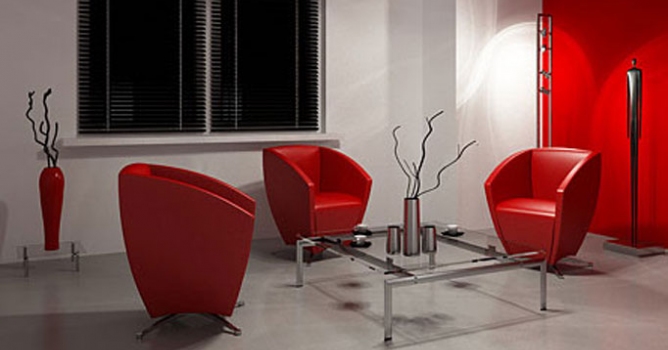
WITHOUT DISTANCE TEX
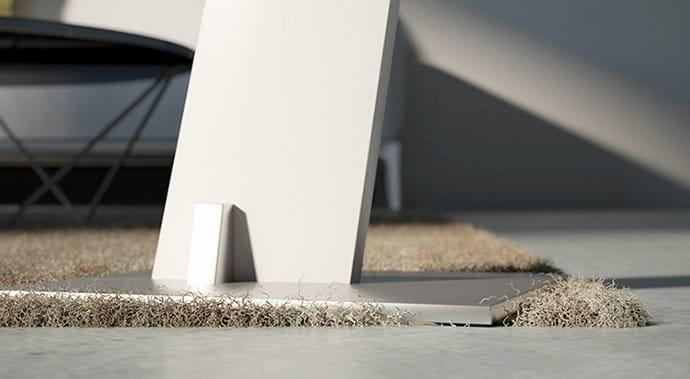
WITH DISTANCE TEX
Just like the Initial Direction Map, there is an option called Density Map. This field specifies which portions of the rug will grow fur and which will not. Simply put, a greyscale image will determine the density of the fur in that area with white being 100% dense and black having no fur. Cleverly, V-Ray has a map called VRayDistanceTex that allows you to specify objects in the scene to drive the Density Map.
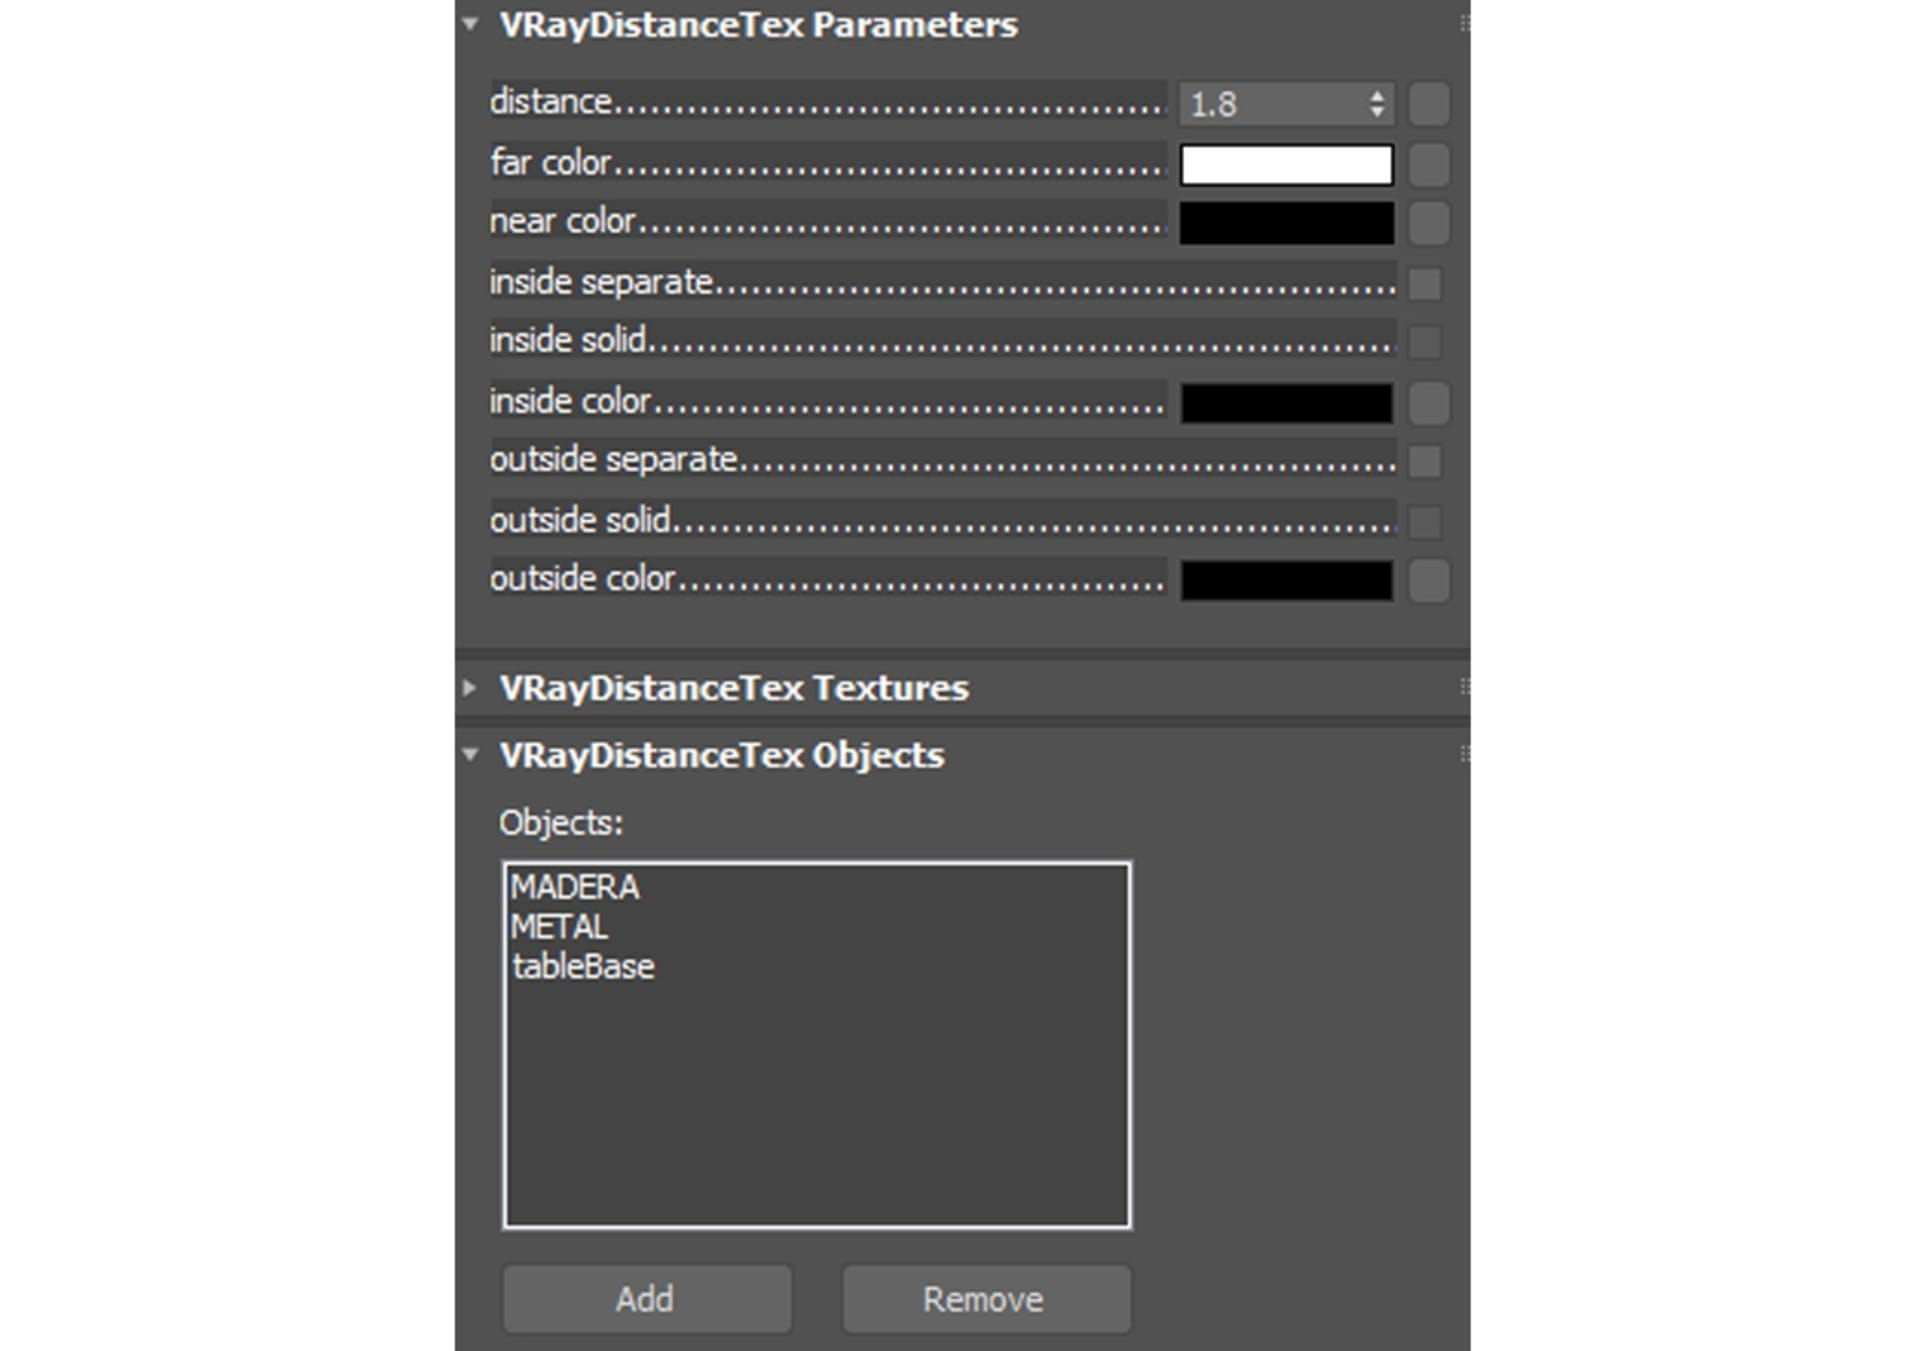
In this map, you can specify which objects in the scene will control the density of the fur. Here, I applied the base of the lamp and the legs of the coffee table. Where these objects exist in the scene, the Density map will generate zero strands of fur. The distance parameter in this map allows you to control how far from these objects the fur will begin to generate.
This map not only applies to fur, but any other texture where you want objects in the scene to control how maps are changed. Very powerful indeed!
These are simply a few examples of the ways in which fur can be adjusted and controlled. Once you begin playing with the settings, you will have a better understanding of how to control the look you are trying to achieve…and the possibilities are endless.
Happy rendering!
About TILTPIXEL
TILTPIXEL is an award-winning design studio that delivers dynamic 3D imagery, virtual reality and short films for real estate and architecture. Based in Houston, Texas, our team is both collaborative and responsive, and our deliverables reflect a strong, sophisticated design sense that enable clients to market and sell. We view innovation as the lynchpin to our success, as we continuously strive to push past stalemates, disrupt obstacles, and create stunning visualization for clients around the globe.
LEAVE A COMMENT


|

|

|

|

|
 Customer zone
 Your orders
 Edit account
 Add project
 Liked projects
 View your artist profile
COMMENTS