Apoco77 House by Jesus Selvera "Zuliban" gained "The Best of Evermotion" award in 2016. You can see all images in this Evermotion Forum thread.
Click on image to enlarge
Final render.
Click on image to enlarge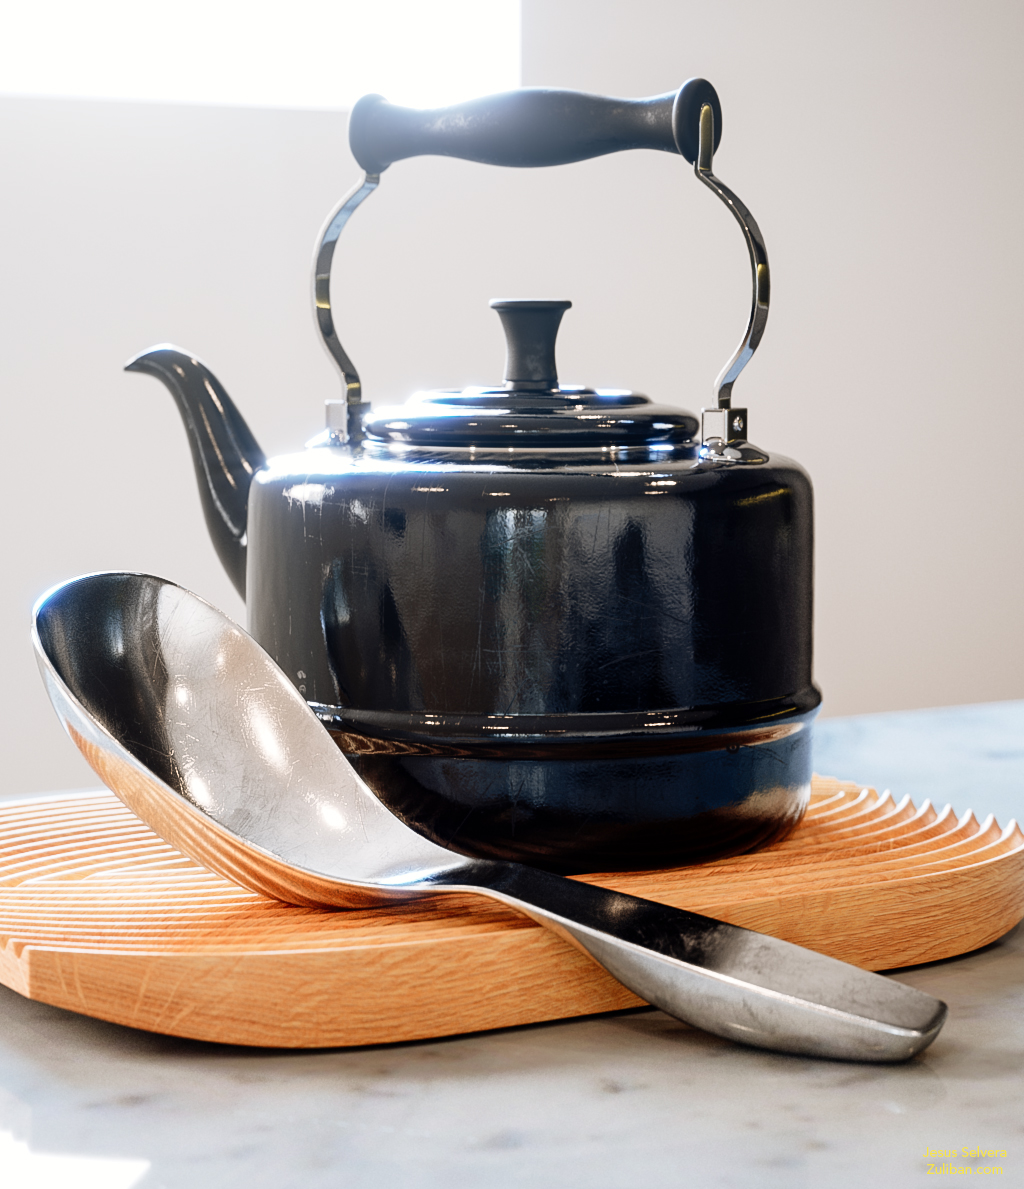
Final render (2).
Click on image to enlarge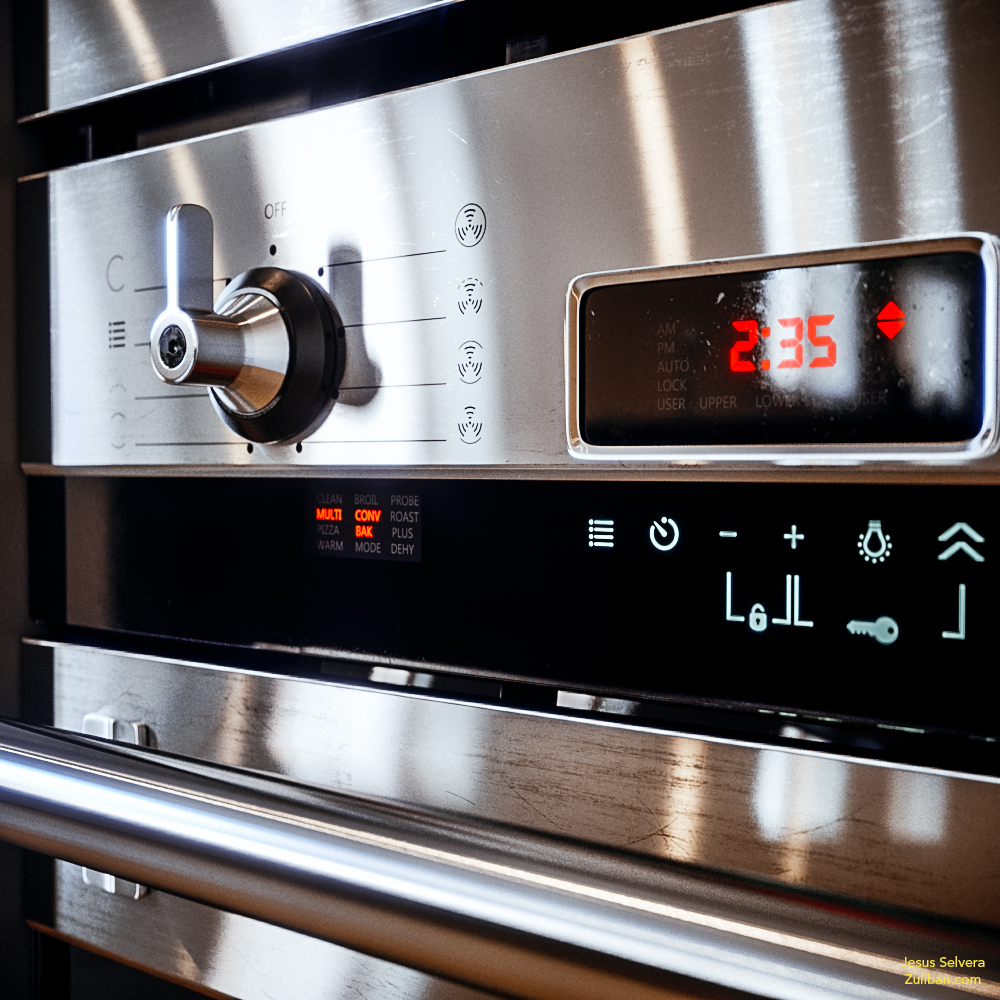
Final render (3).
Click on image to enlarge
I want to say that this making of is mostly based on what people asked me on forums and over Facebook.
EARLY STAGE
When I start any scene I first start with a general idea. In this scene I wanted an exterior with a pool, I wanted the lighting to be a bit warm with a touch of blue tone to look more fresh. I wanted also pure blacks and vivid colors. I never pay attention to realism. I put the highest priority on the idea, the overall mood and colors, etc. Realism is something extra that comes by itself. Sometimes I seek for more stylized render than realistic one.
I started this scene by making the kitchen area. On the beginning I create only basic models, sometimes I use just placeholders. At this stage for the most of the time I don't put too much attention to textures. I focus mainly on the shapes of the objects and overall lighting, but I don't spend too much time on it. I just make one or 2 quick renders. If something does not look right, I discard the model and create something else until I'm happy.
Then I move to another area and repeat this process. For me this is like sketching and this gives me a general idea of what the scene will look like.
I never do any serious modeling or texturing until I know for sure that the object will suit the scene. Staying too much in the same area will slow you down. This is the most important part for me. Here are some images of the early stages of the scene:

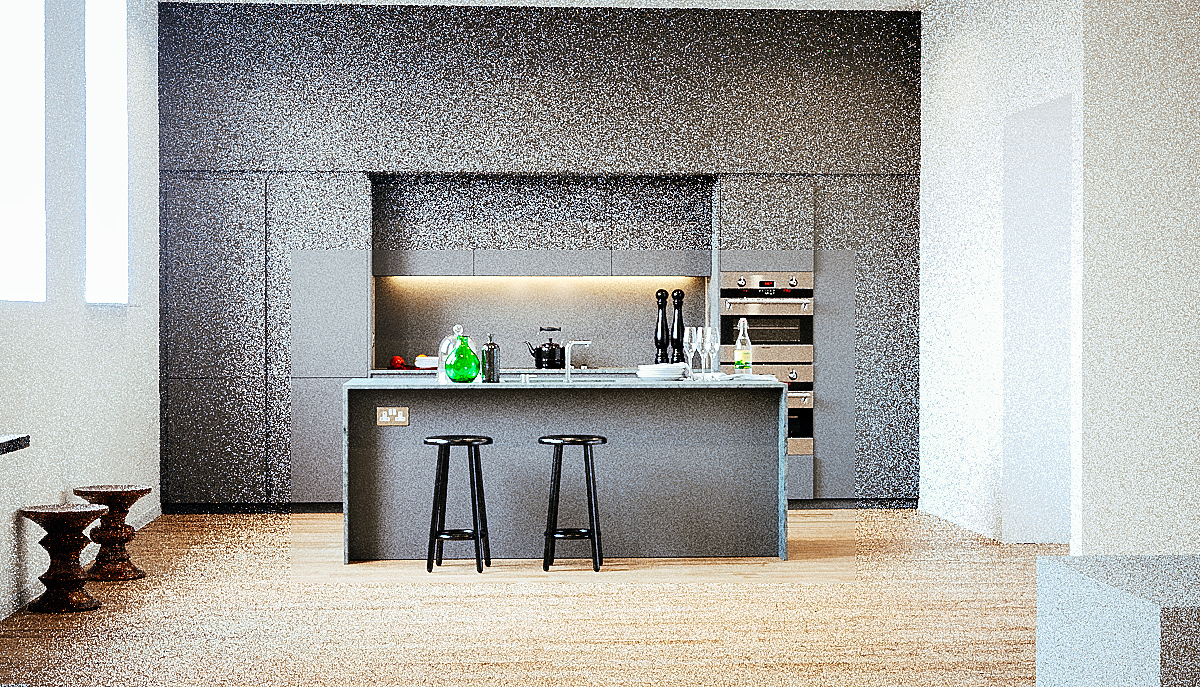
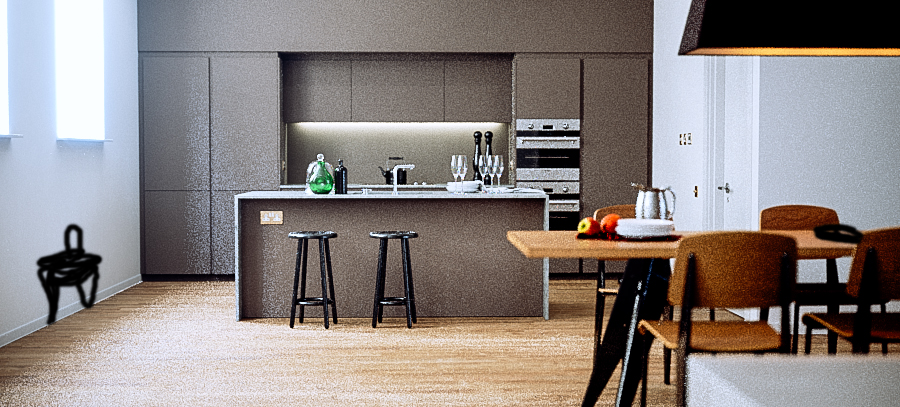
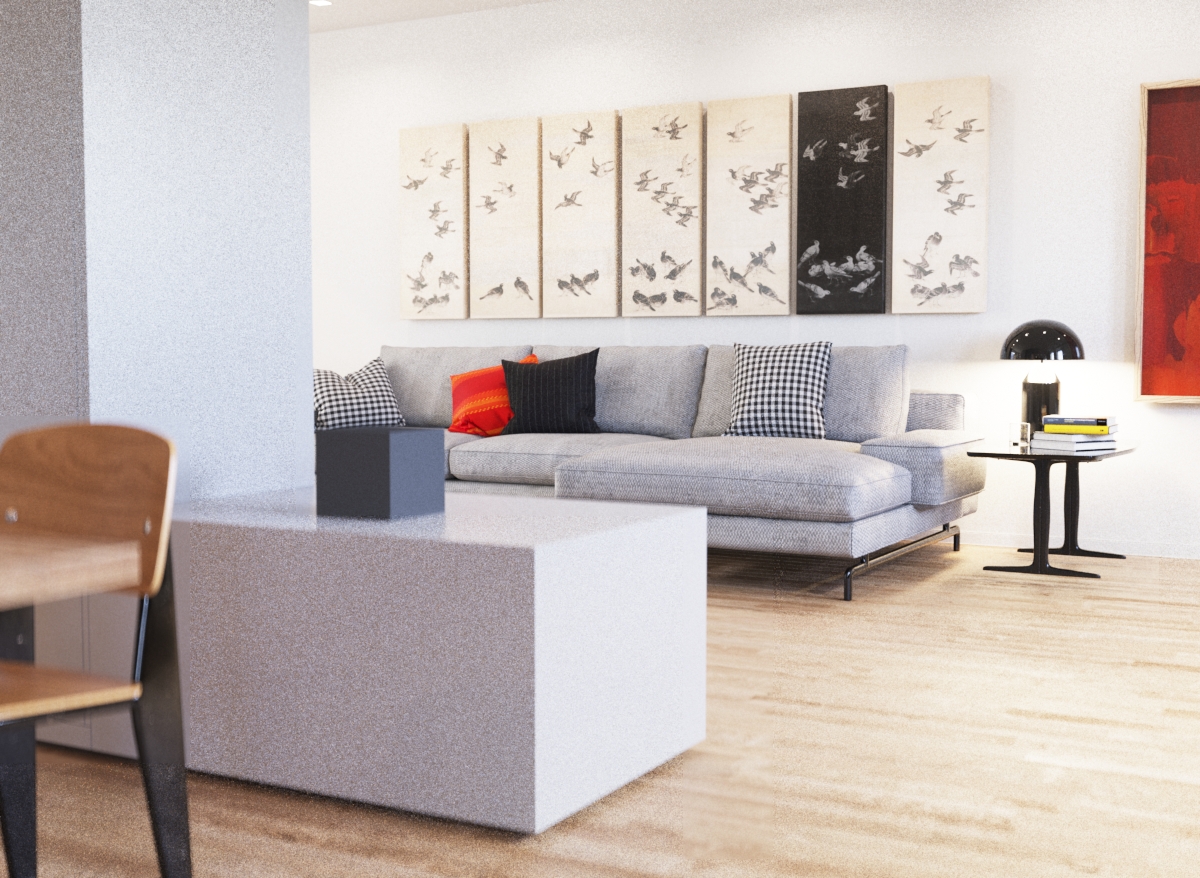

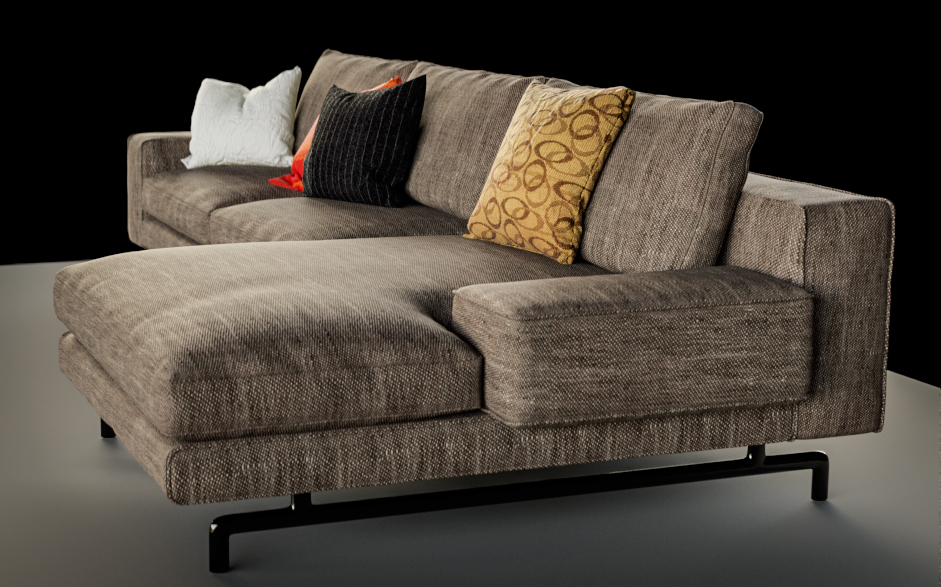
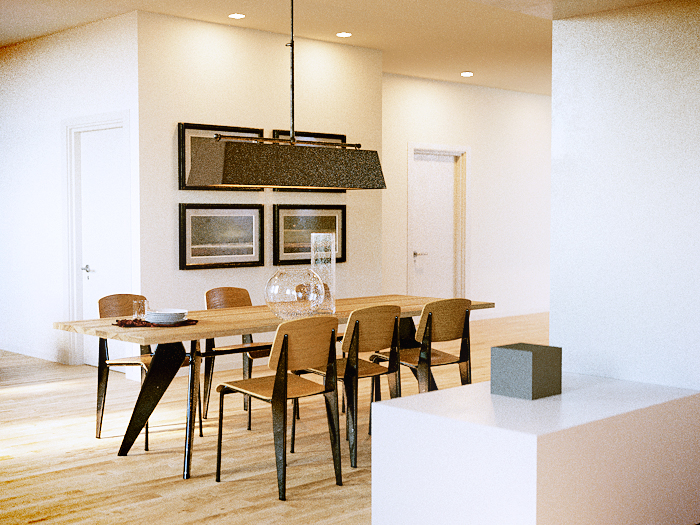


When i feel i have this early stage finished, I can finally focus on modeling, unwrapping and texturing. I don't touch rendering again until the end, I just make quick renders of each model to see if they look good in the scene.
Now i will show the key stages of making this scene that people asked for.
Click on image to enlarge
This is the wireframe and low poly of the Standard chair and it's highpoly version.
Click on image to enlarge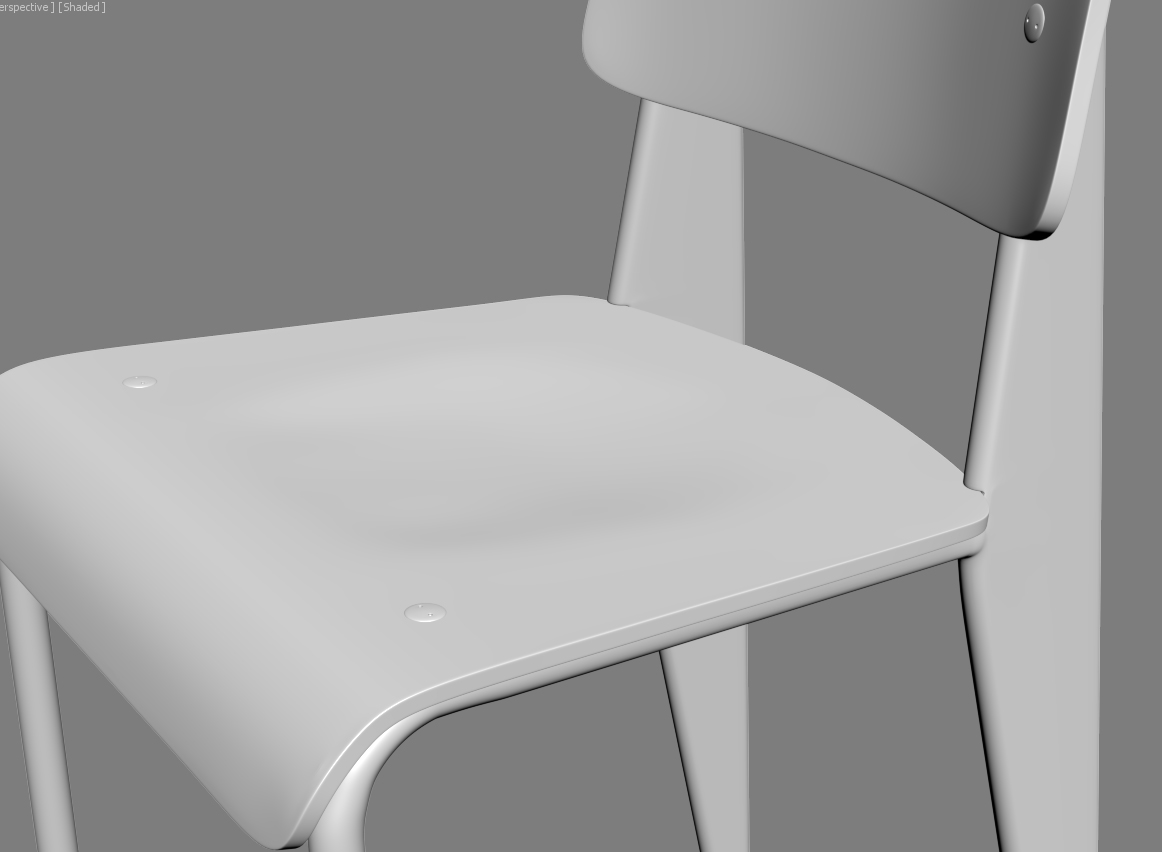
It is very important to have all the edges smooth for closeups and have a correct mesh and wire flow.
Click on image to enlarge
After i have the modeling part done the next step is to have a non distorted UV, this is a time consuming task and sometimes is boring but is as important as any other step.
Click on image to enlarge
This is a screenshot of the low polygon version and how it looks with the UVW's on the side.
Click on image to enlarge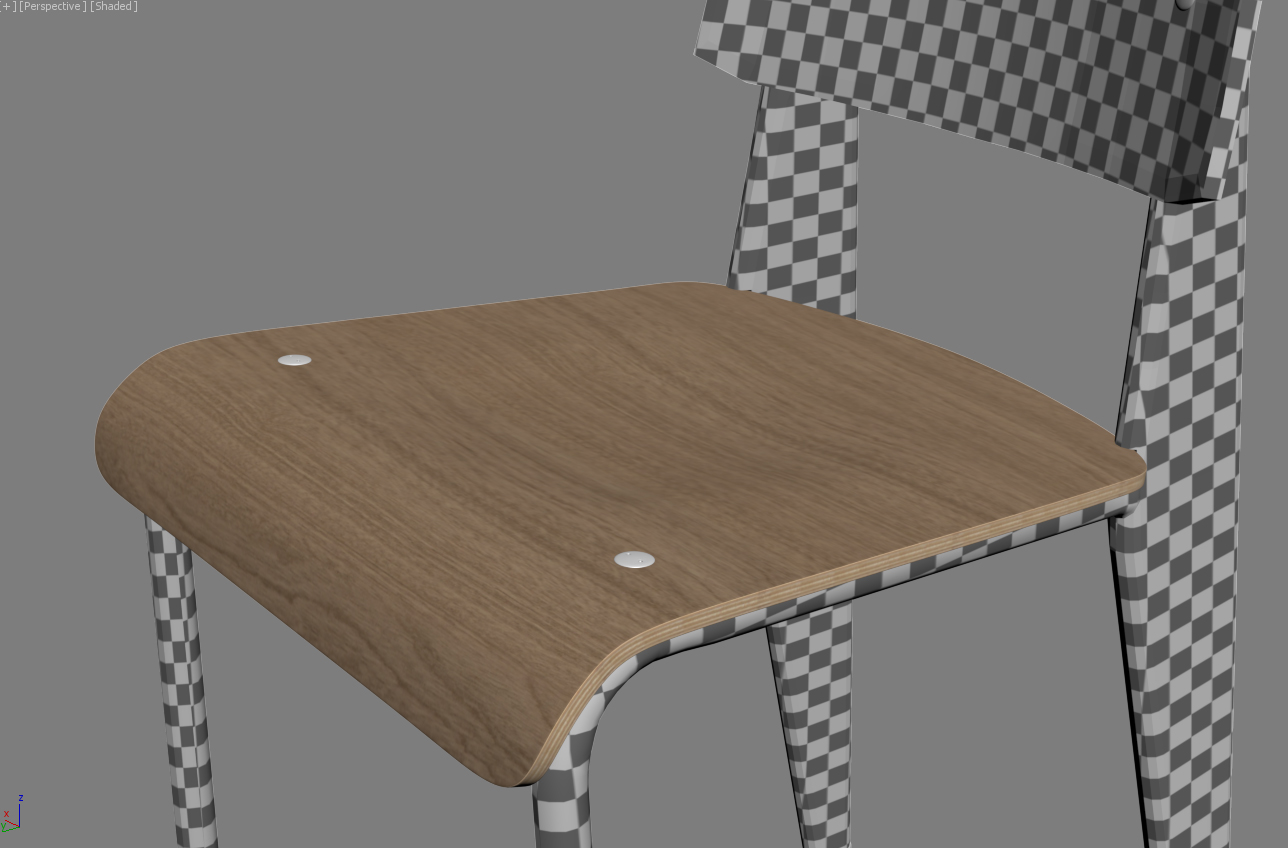
This is the final version of this part with turbo-smooth added and how it looks.
Click on image to enlarge
The next Step is this metal structure.
Click on image to enlarge
These are the seams of the UV on this metal object , the main problem is is to have continuity from the textures that will be here if done wrong when the texturing is applied it will show these seams.
Click on image to enlarge
I created these red lines to know if my seams have a continuity a good flow for the textures, it is important to spend sometime here and know that when you apply any texture they will look seamless.
Click on image to enlarge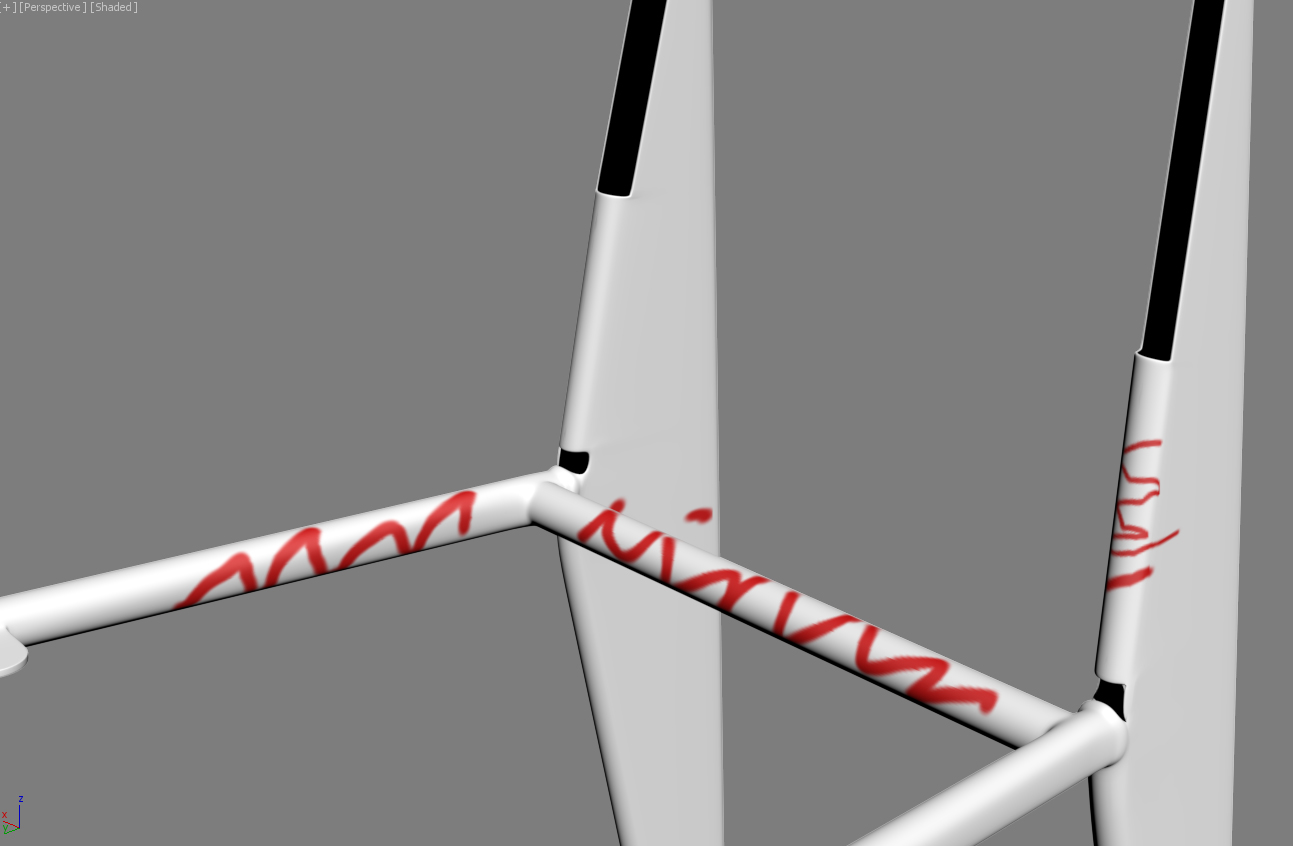
As you can see the red lines don't show any kind of distortion when they go through the green UV seam lines.
Click on image to enlarge
When this step is done now the main focus are the little weld parts of the chair there are done in Zbrush and exported back to max as bump or displacement maps.
Click on image to enlarge
It is very important to store a '' Morph Target '' since Zbrush will alter the mesh when you model in this way you have protected the mesh from max and is needed to extract the displacement map correctly.
Click on image to enlarge
The modeling of the weld is nothing hard or fancy is done with a standard brush and flatten brush.
Click on image to enlarge
This is how it looks at the end, the white parts are the weld areas.
Click on image to enlarge
This is a preview rendering. I make them these only when I consider the models finished. I just use a HDRi to see if it looks ok. Most of the time I test several HDRis to check model in different light conditions.
Click on image to enlarge
Chair - render.
Click on image to enlarge
Chair - render.
Click on image to enlarge
Chair - render.
Click on image to enlarge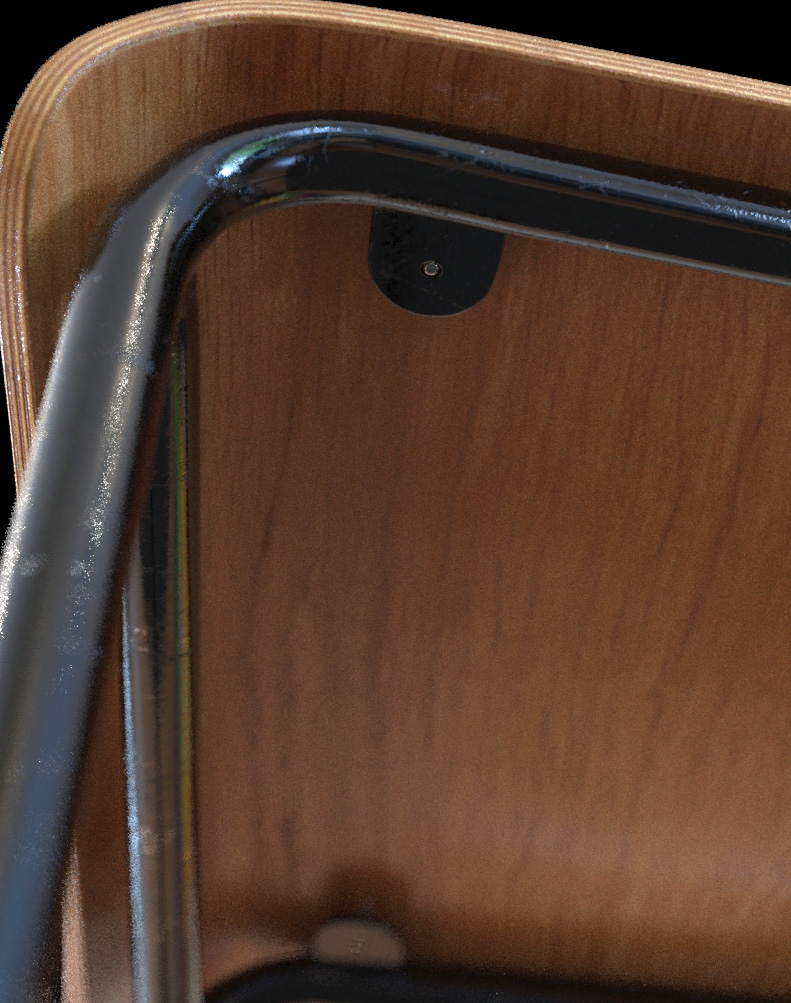
Chair - render.
Here are another two examples of using this same workflow.
Click on image to enlarge
Basic modeling in Max---->check UV's-----> detail in Zbrush. In this next one i used polypaint for the mask of the material then do some quick HDRi test.
Click on image to enlarge
Bottles modeling.
Click on image to enlarge
Bottle modeling
Click on image to enlarge
Smaller bottle.
Click on image to enlarge
Bottles - rendering.
Here is another one.
Click on image to enlarge
Base model.
Click on image to enlarge
Turbosmooth.
Click on image to enlarge
Details.
Click on image to enlarge
More details.
Click on image to enlarge
Render.
Click on image to enlarge
The next request i got asked alot was the outside wall. Here is a screenshot of the Photoshop layers. As you can see I use many layers for the best control of my textures,i usually do a base layer and on top of that I start adding detail. It's good to have the maximum control over your textures in case you want to change something like colors or make the texture cleaner and not too dirty, etc.
Click on image to enlarge
The wall.
Click on image to enlarge
The wall - adding details to texture.
Click on image to enlarge
The wall - adding details to texture.
Click on image to enlarge
The wall - adding details to texture.
Click on image to enlarge
The wall - adding details to texture.
Click on image to enlarge
The wall - adding details to texture.
Click on image to enlarge
The wall - adding details to texture.
Click on image to enlarge
The Sofa was another requested model, I started with a low poly model with rigid edges. At this point it does not matter if it looks too rigid since it will be reshaped in Zbrush.
Click on image to enlarge
Here is how it looks like after some time in Zbrush. As you can see there are not straight lines anymore and shapes are more organic.
Click on image to enlarge
I used Marvelous Designer to make pillows. They will also be further detailed in Zbrush.
Click on image to enlarge
This is the Marvelous Designer topology in Zbrush. As you can see, the mesh is very messy and the topology is incorrect, it does not have an even flow. If you want to detail this pillow, you'll end with many pinched polygons.
Click on image to enlarge
After playing with Zbrush remesher and decimator i created a better looking mesh, keeping the same shape. Now we can continue the work on this model.
Click on image to enlarge
Finished pillow models.
Click on image to enlarge
After detailing the models and adding textures I made test render.
Click on image to enlarge
Test render.
Click on image to enlarge
Last part is the lighting , rendering and post production. I just try to keep it simple: I add the light sources, never use any kind of ''trick'' like light panels in front of windows or fill lights. In this scene I used just the sun and the artificial lights. The indirect lighting from the sky is a gradient map. I haven't use a HDRi (by the way: many commercial HDRis are not made correctly and they introduce a lot of noise).
Rendering in Corona is simple - I didn't move any slider or changed default settings. I used mostly bucket rendering for previews. All my renders were rendered and saved as EXRs for postwork. I didn't add any kind of lighting mood in this stage - I am working in 32 bits and it is better to have neutral image colors.
Right now Corona 1.5 is out and you have LUTs, glares and flares and many post-production features - you don't even need an external post-production software.
In my case I used Nuke instead of Photoshop, because Photoshop is still not fully 32 bit ready.
Heres one example of raw image and its evolution to final post-produced image.
Click on image to enlarge

Raw render.
Click on image to enlarge
Post-production (1)
Click on image to enlarge
Post-production (2)
Click on image to enlarge
Final render.
Click on image to enlarge
Raw render.
Click on image to enlarge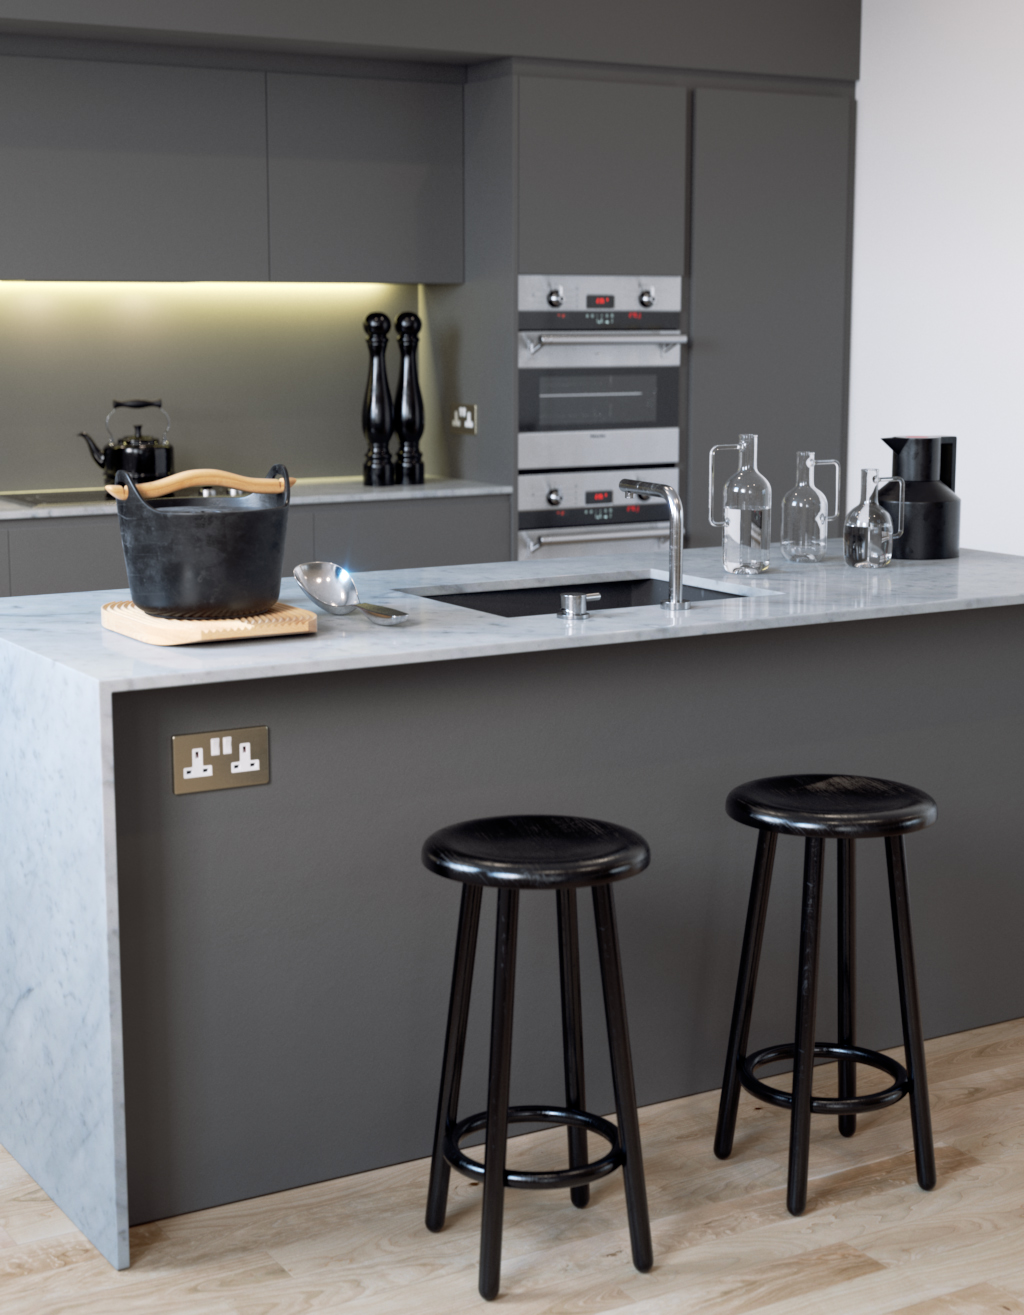
Post-production(1).
Click on image to enlarge
Post-production (2).
Click on image to enlarge
Final render.
Click on image to enlarge
Customer zone
Your special offers
Your orders
Edit account
Add project
Liked projects
View your artist profile


COMMENTS