Search
Cart
Sign in
  • offerCustomer zone
  • offerYour orders
  • offerEdit account

  • offerAdd project
  • offerLiked projects
  • offerView your artist profile

  • Dark mode

We care about your privacy

We use cookies to provide you with the best possible experience. They also allow us to analyze user behavior in order to constantly improve the website for you. The consent is voluntary. You can withdraw it at any time or renew it in Cookie settings on the home page. Withdrawal of your consent does not affect the lawfulness of processing performed before the withdrawal. Privacy Protection Policy
Accept all
Accept selection
Reject all

Making of Shenzhen Shangri-la Hotel

Michał Franczak 2016-03-31 11:17 tutorial  > 3ds MAX  > texturing

A scene inspired by luxury Chinese hotel.

This interior is inspired by a lobby of Chinese Shangri-la Hotel located in Shenzen. It is included in Archinteriors vol. 44 as scene 3. The scene was made in 3ds Max and rendered in V-Ray by Marcin Białecki (Evermotion).

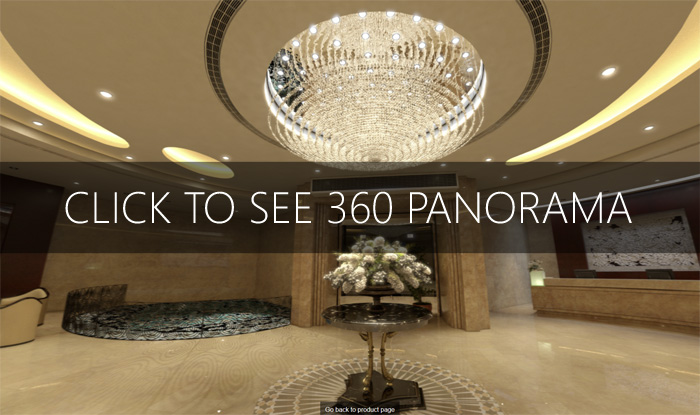
Click on image to enlargePANO.jpg

We included a panoramic 360 HDR with this scene. You can see and manippulate *.jpg version after clicking the image above.
 

Click on image to enlargeAI44_003_Cam_001_PP_evermotion.jpg

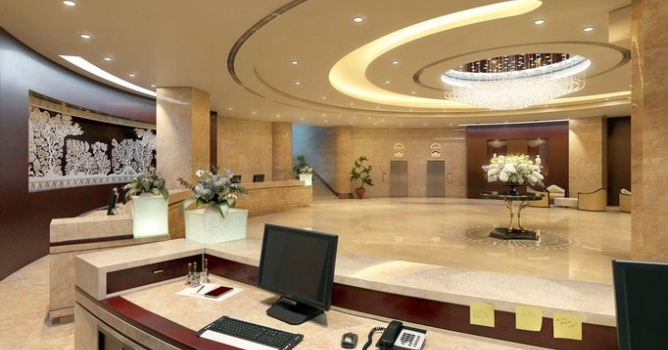
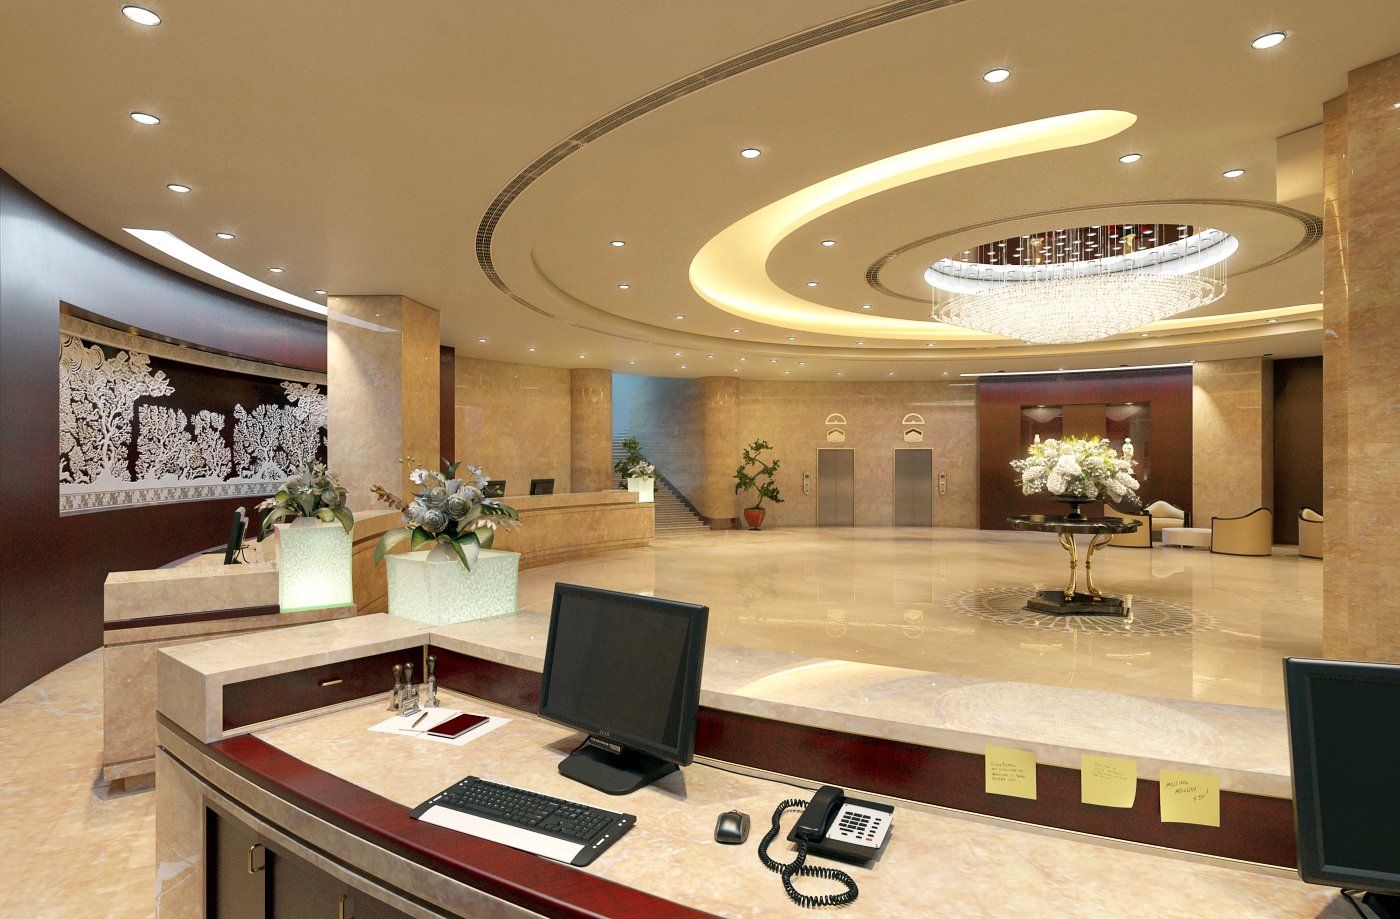
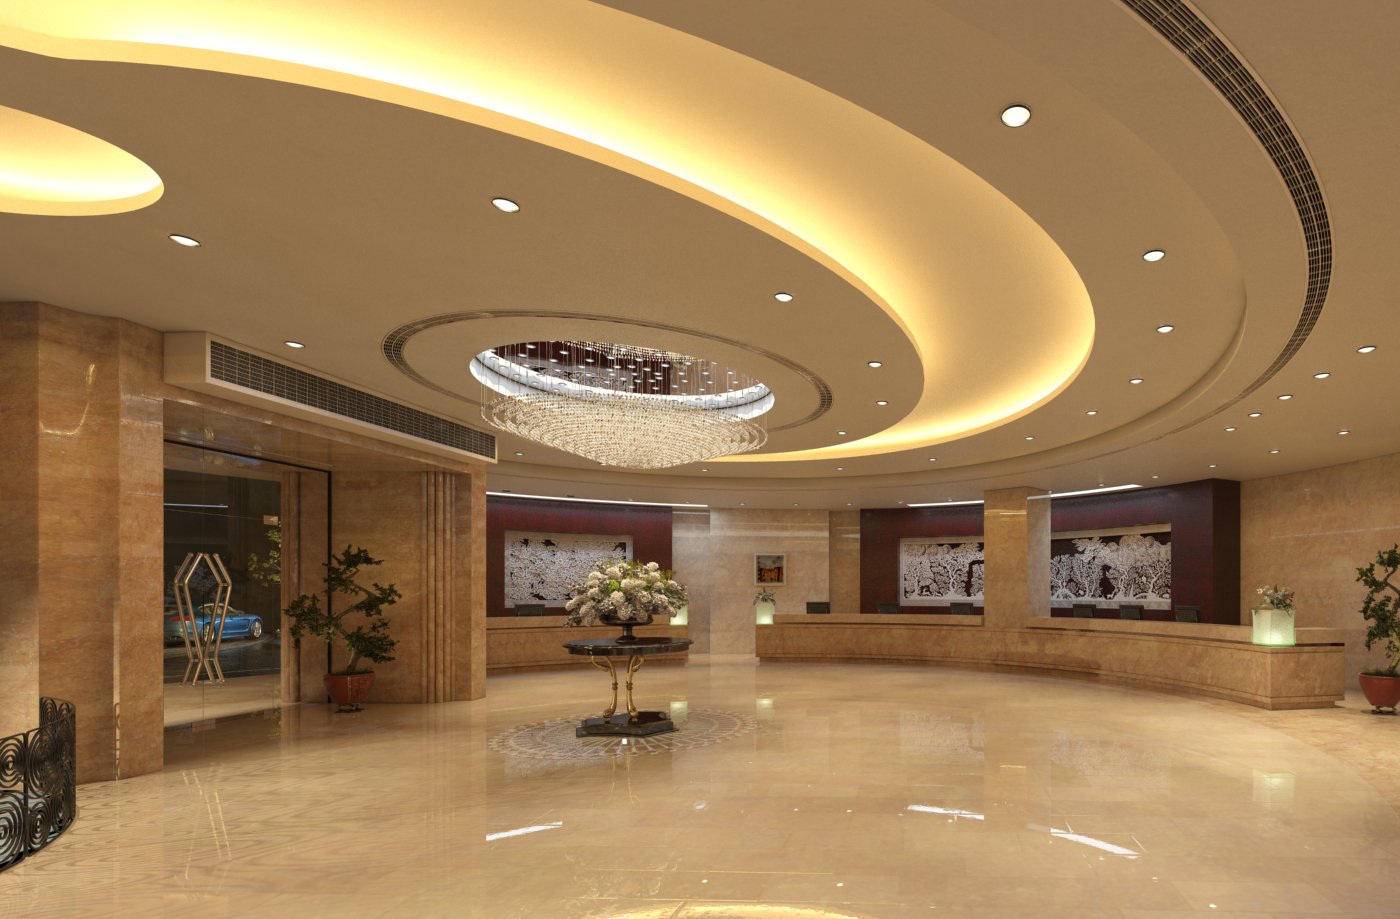
There are two cameras in the lobby. This is a view from camera 1.
 

Click on image to enlargeAI44_003_Cam_002_PP_evermotion.jpg

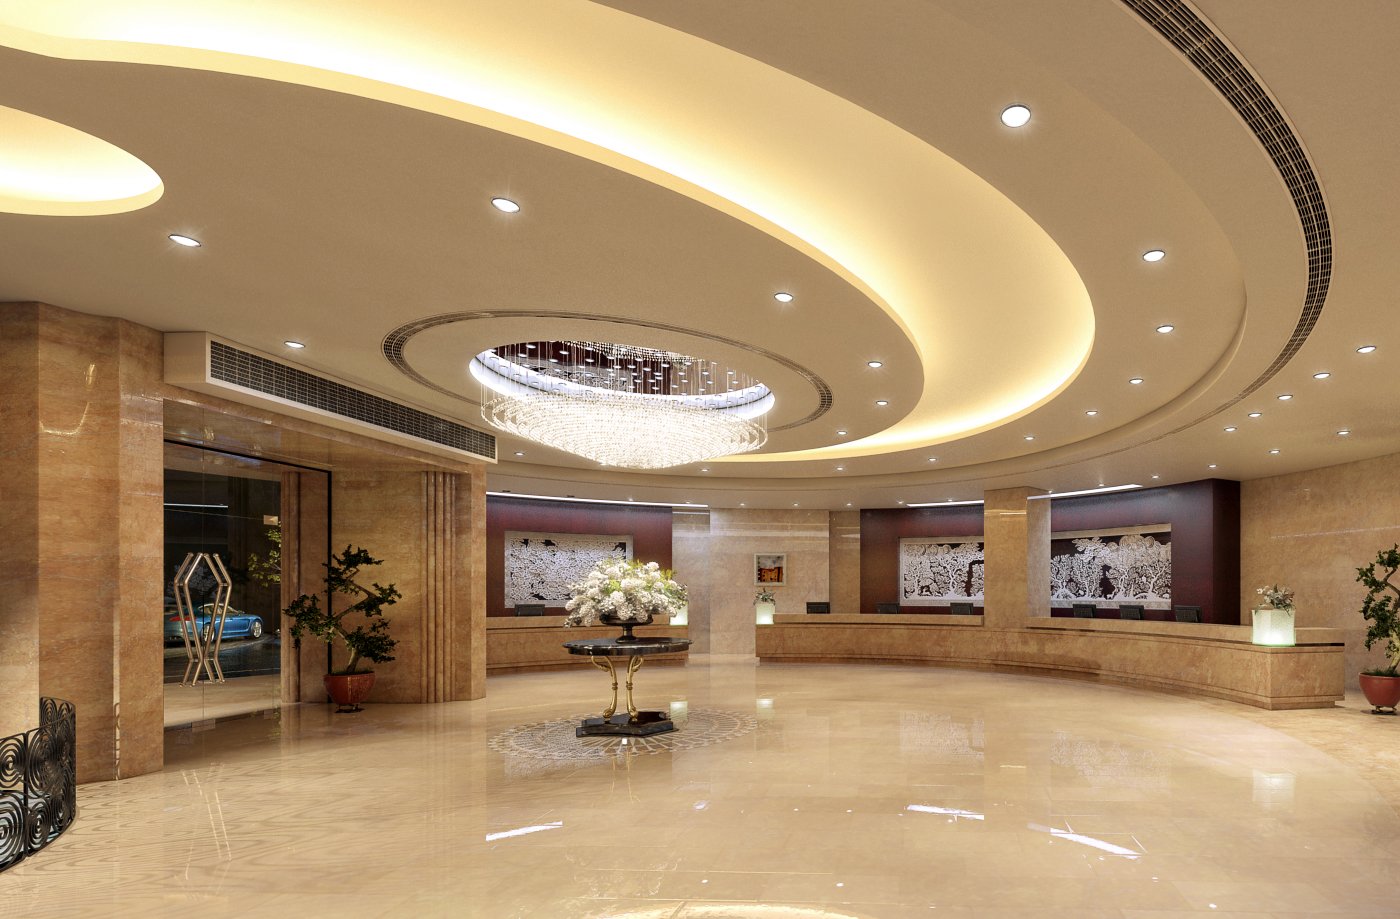
View from camera 2.
 

Click on image to enlargeAI44S03_0040_Layer_1_evermotion.jpg

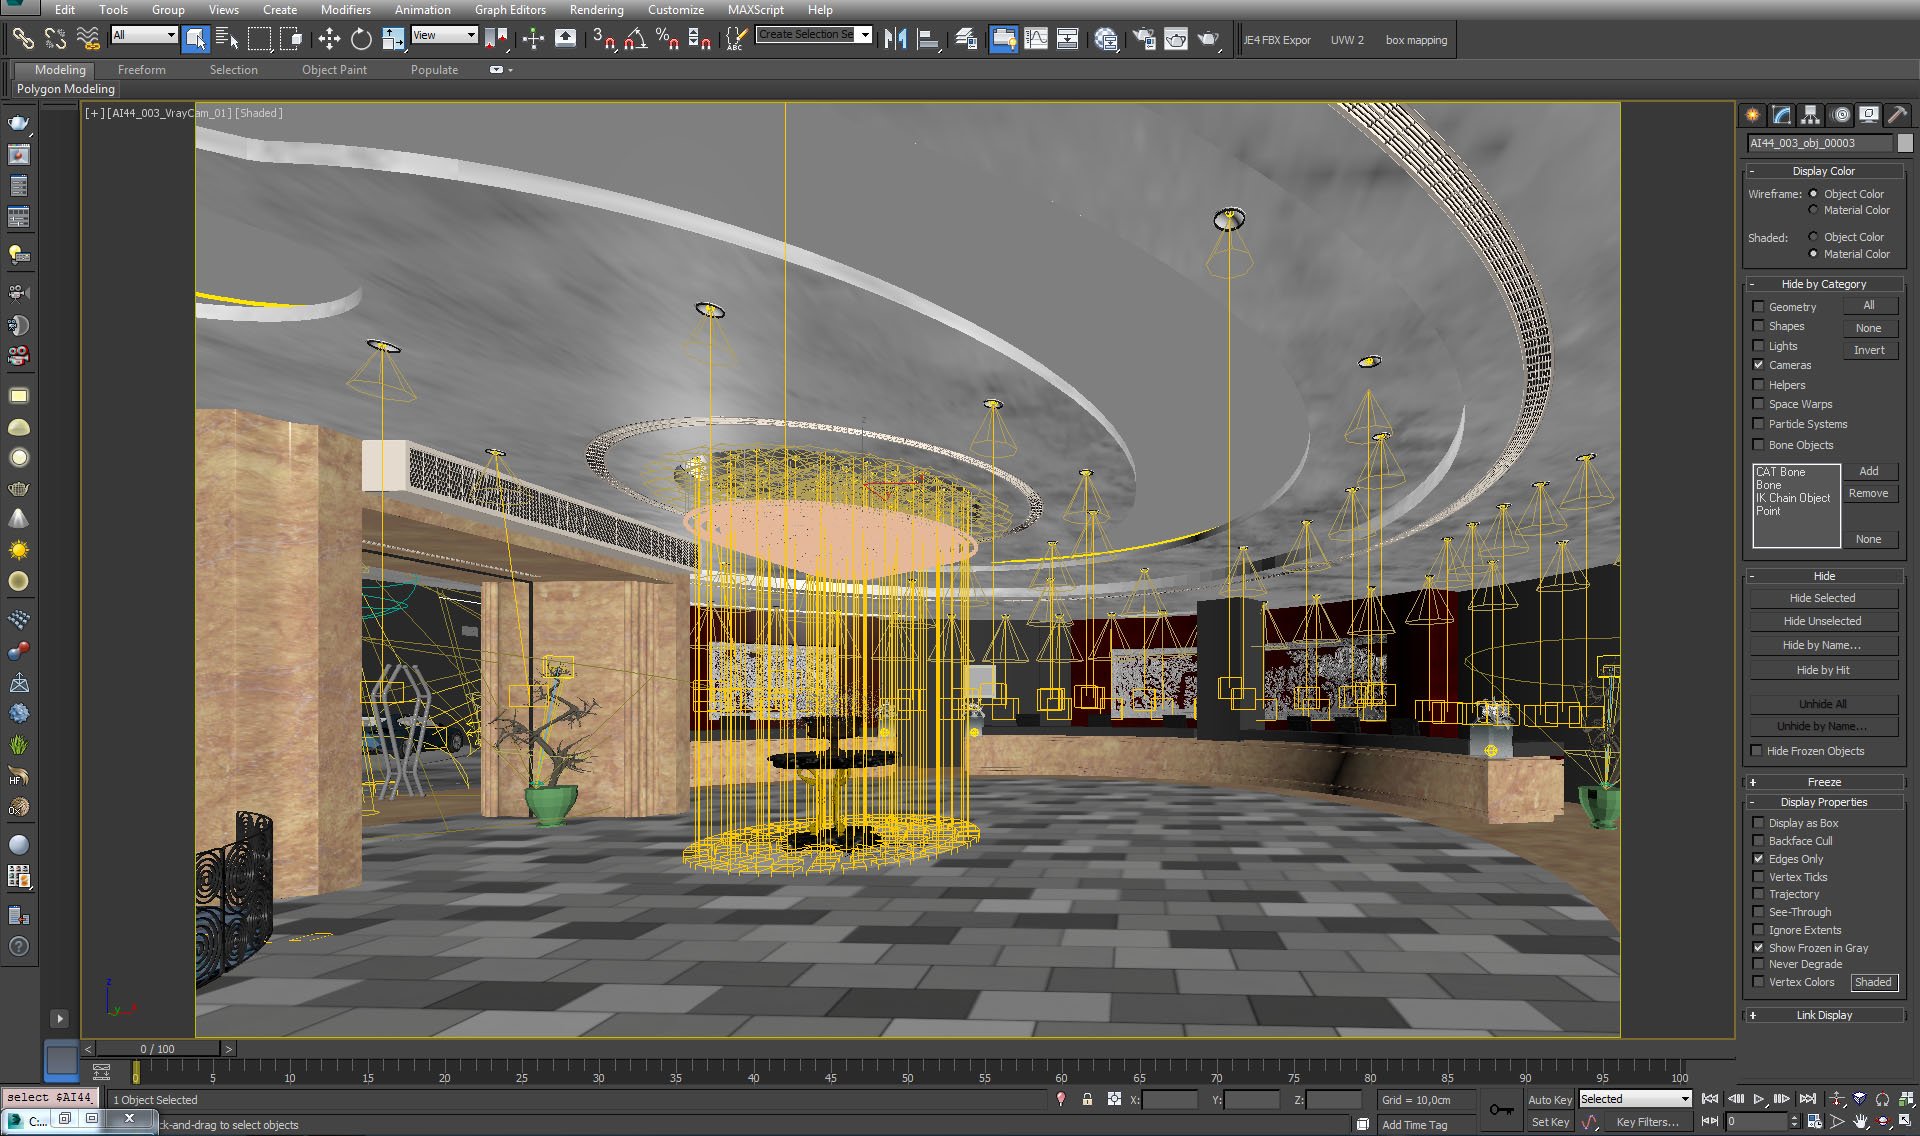
3ds Max viewport, camera 1. You can enable materials colors in Display Color menu in the top right corner.
 

Click on image to enlargeAI44S03_0039_Layer_2_evermotion.jpg

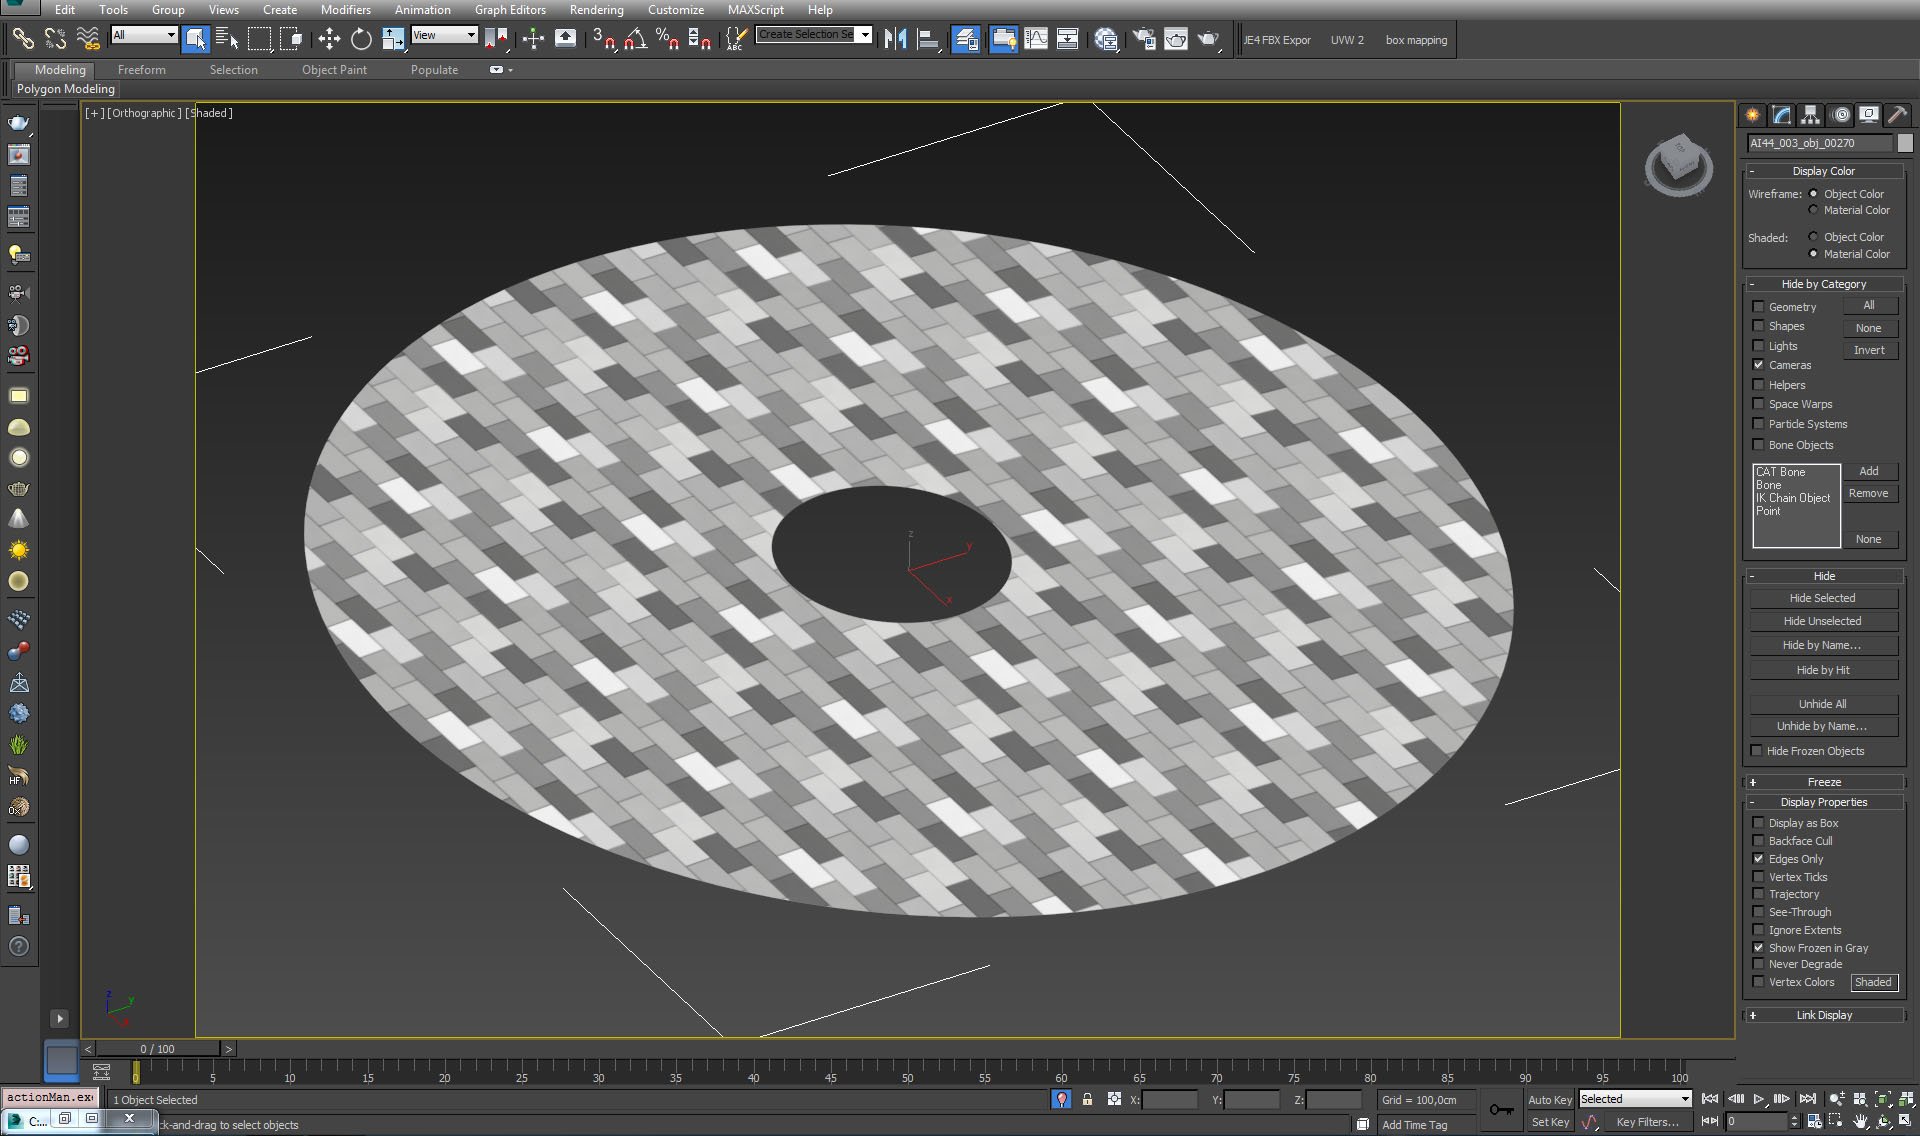
The floor mesh. It is the main mesh, seen in the center of the scene. It is surrounded by another floor ring, that we will show later.
 

Click on image to enlargeAI44S03_0038_Layer_3_evermotion.jpg

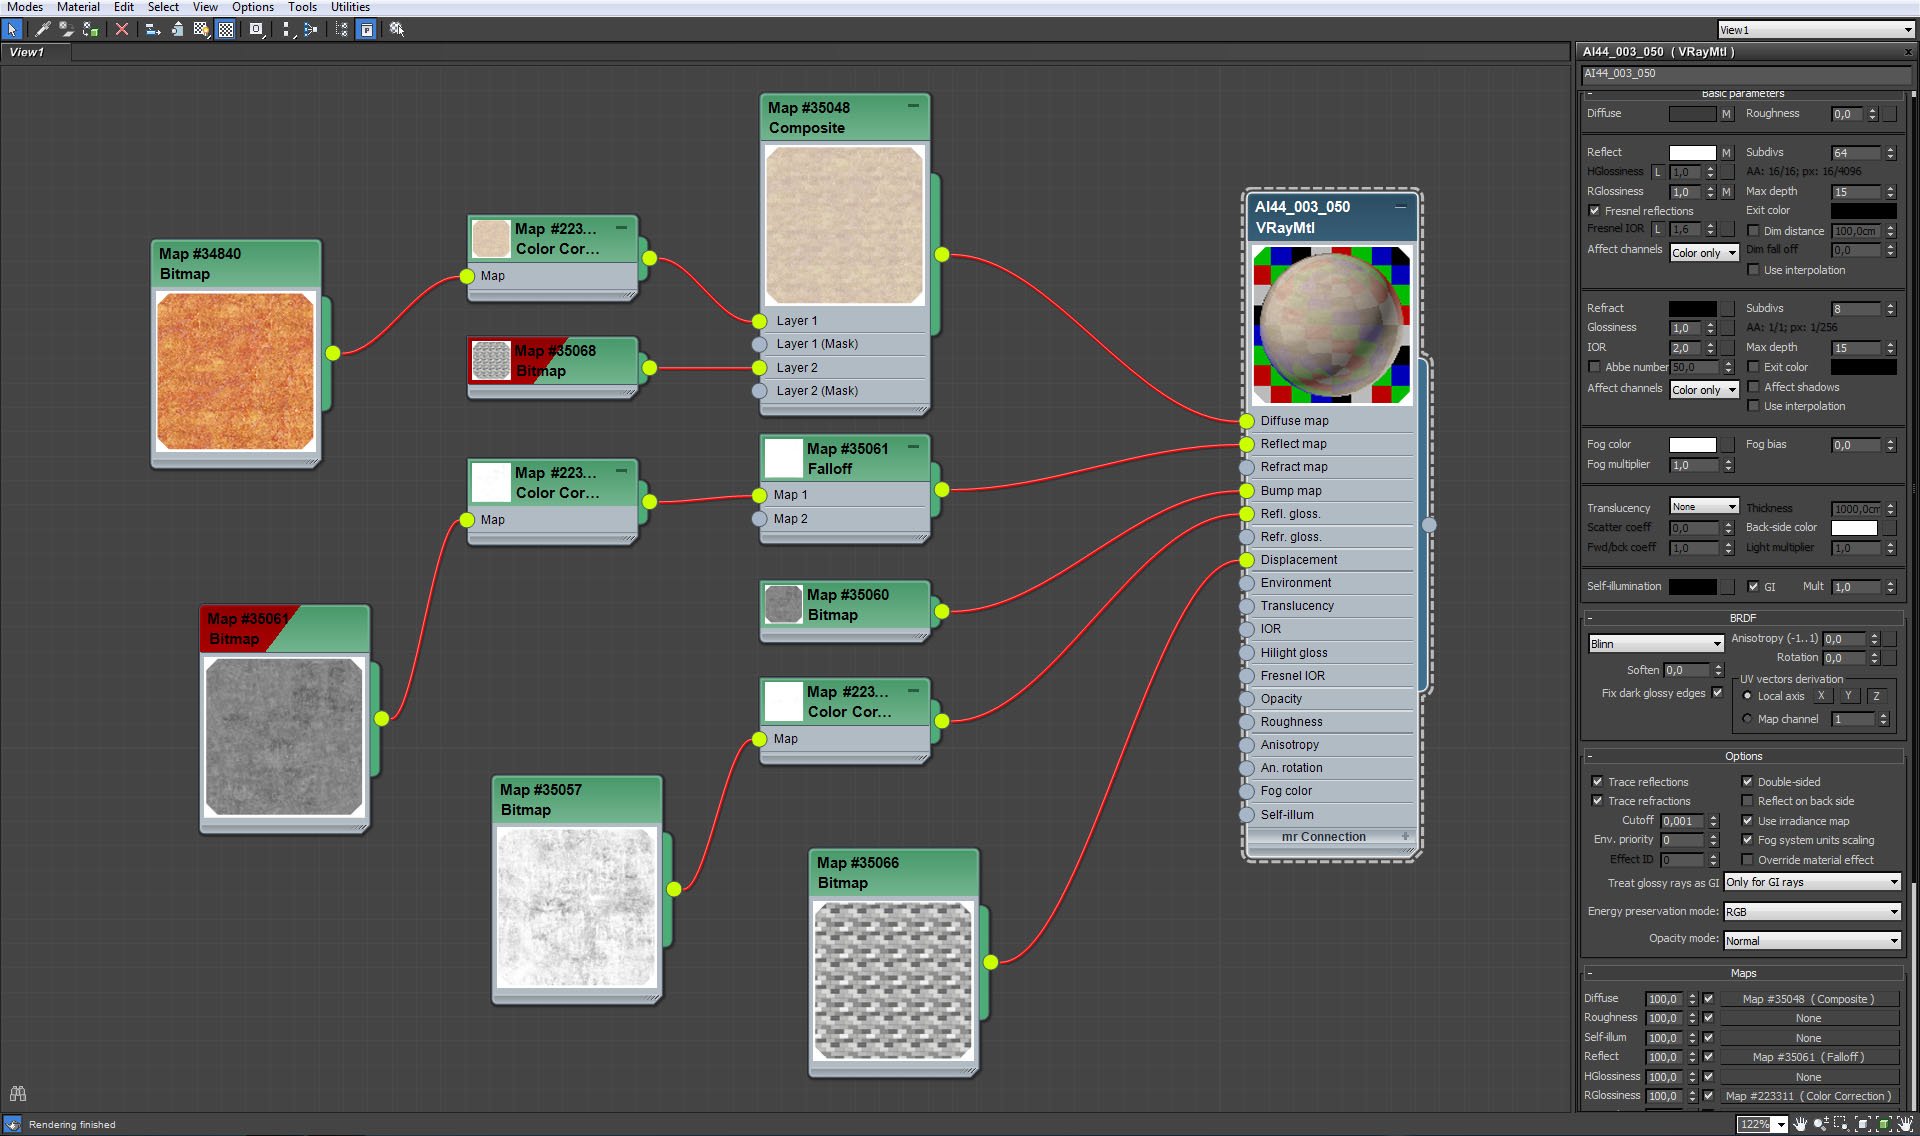
Floor material.
 

Click on image to enlargeAI44S03_0037_Layer_4_evermotion.jpg

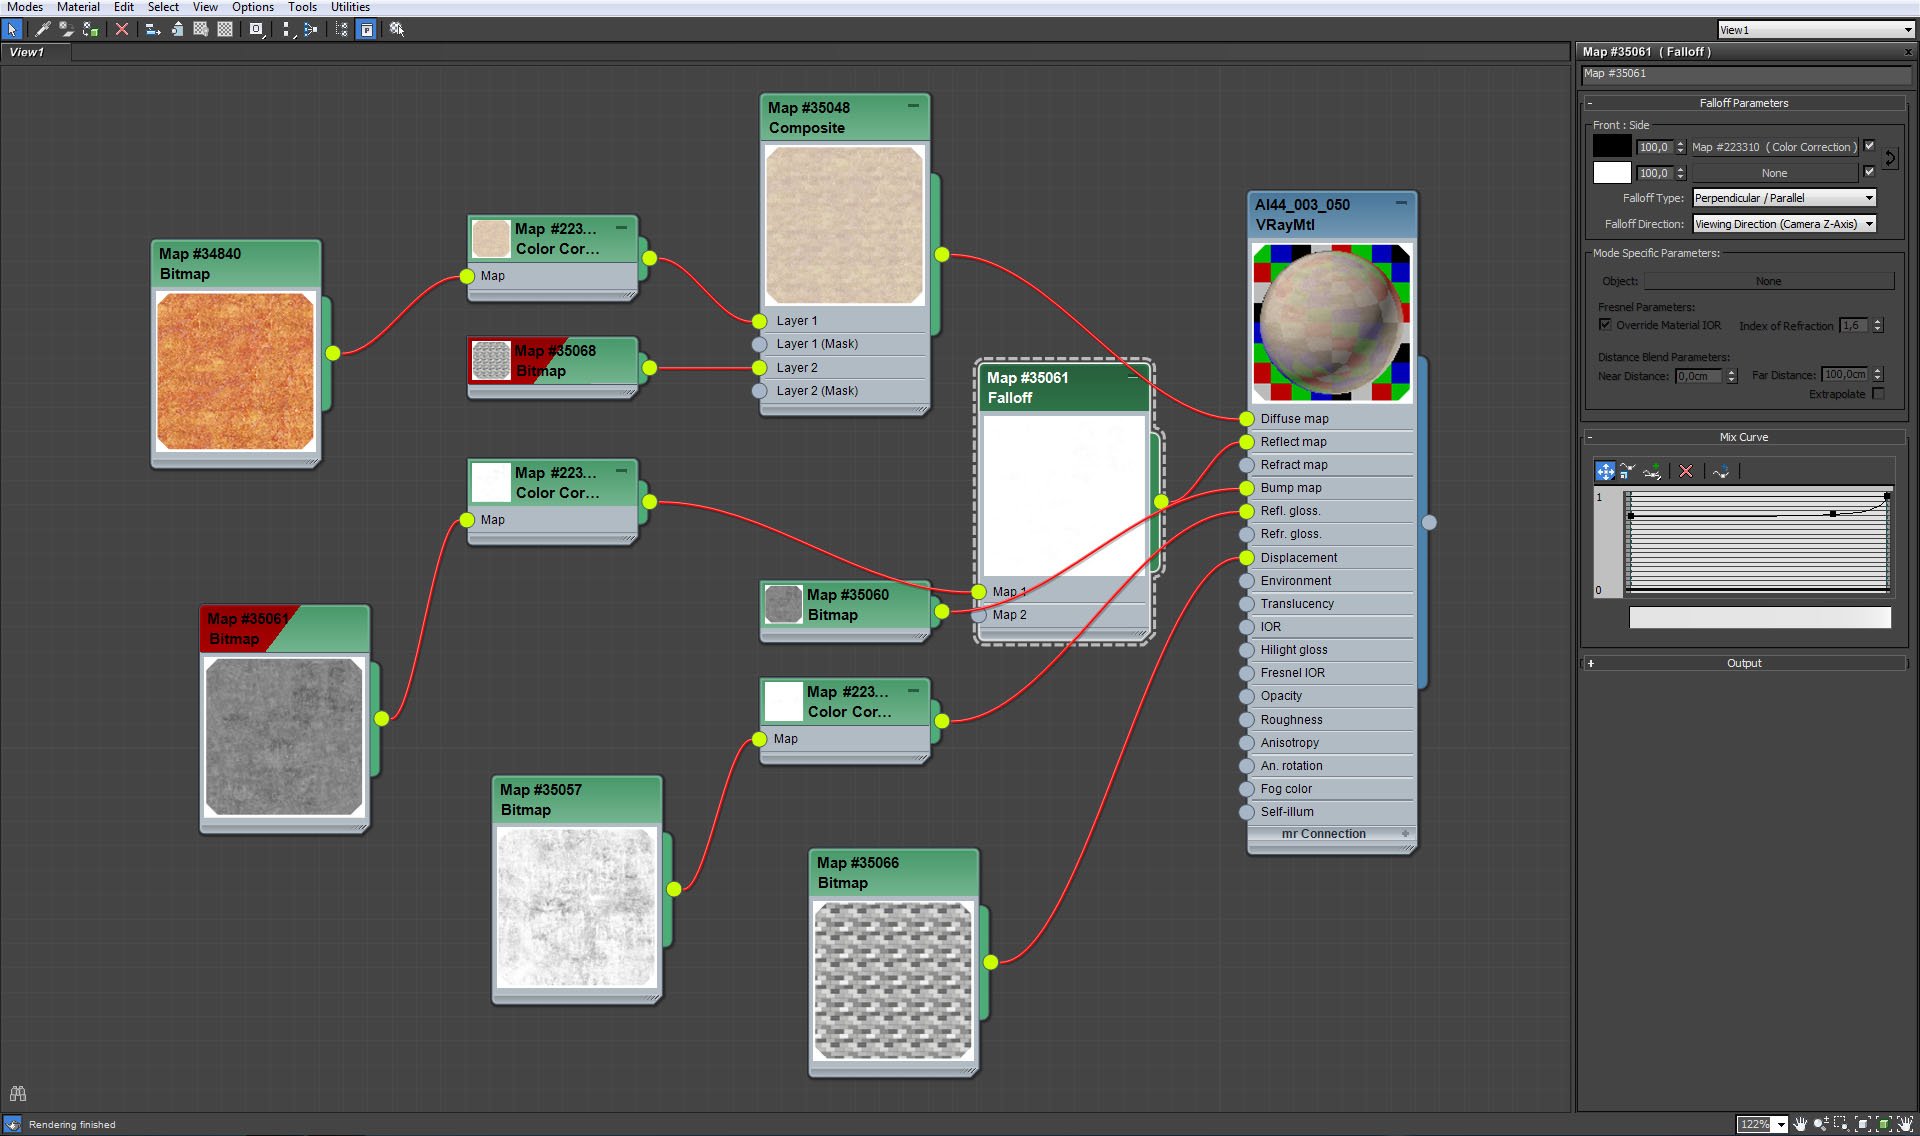
Floor material, falloff map settings.
 

Click on image to enlargeAI44S03_0036_Layer_5_evermotion.jpg

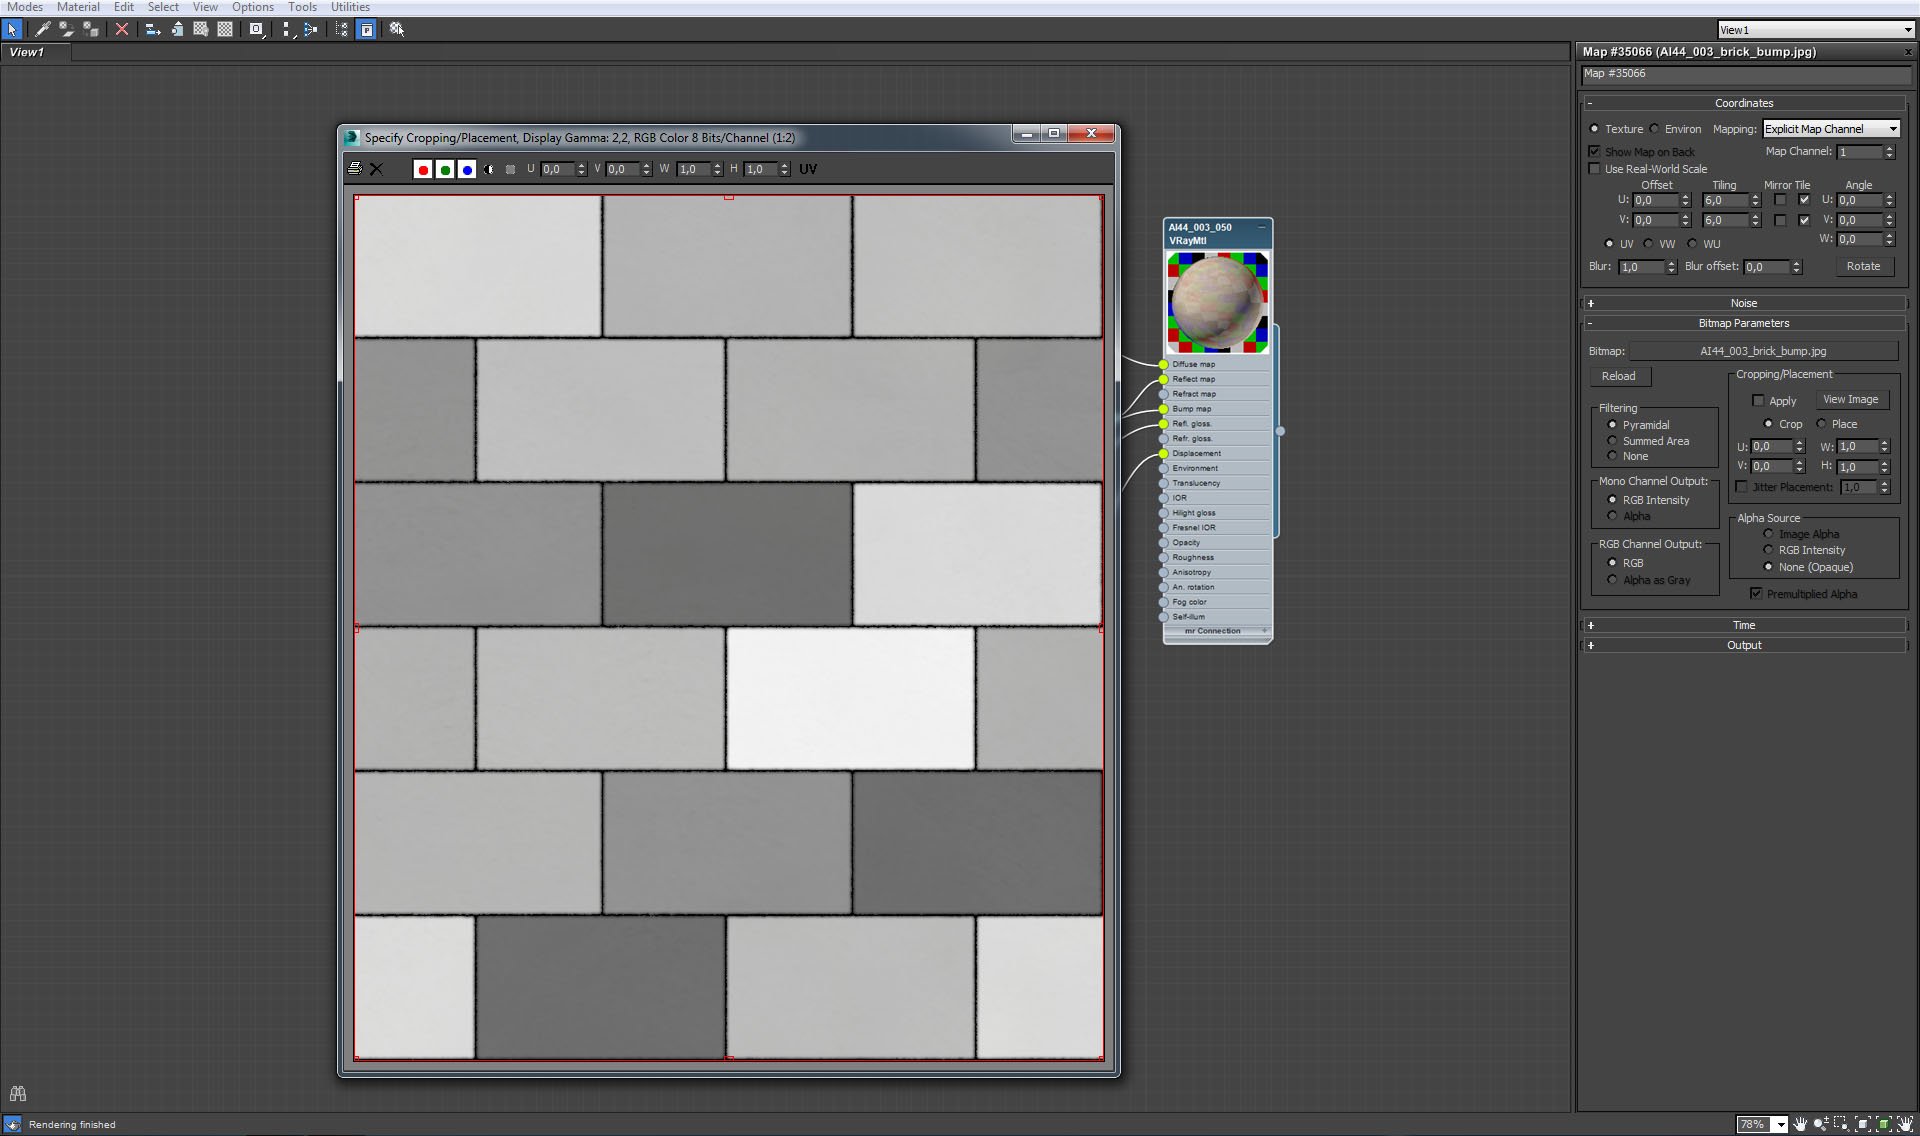
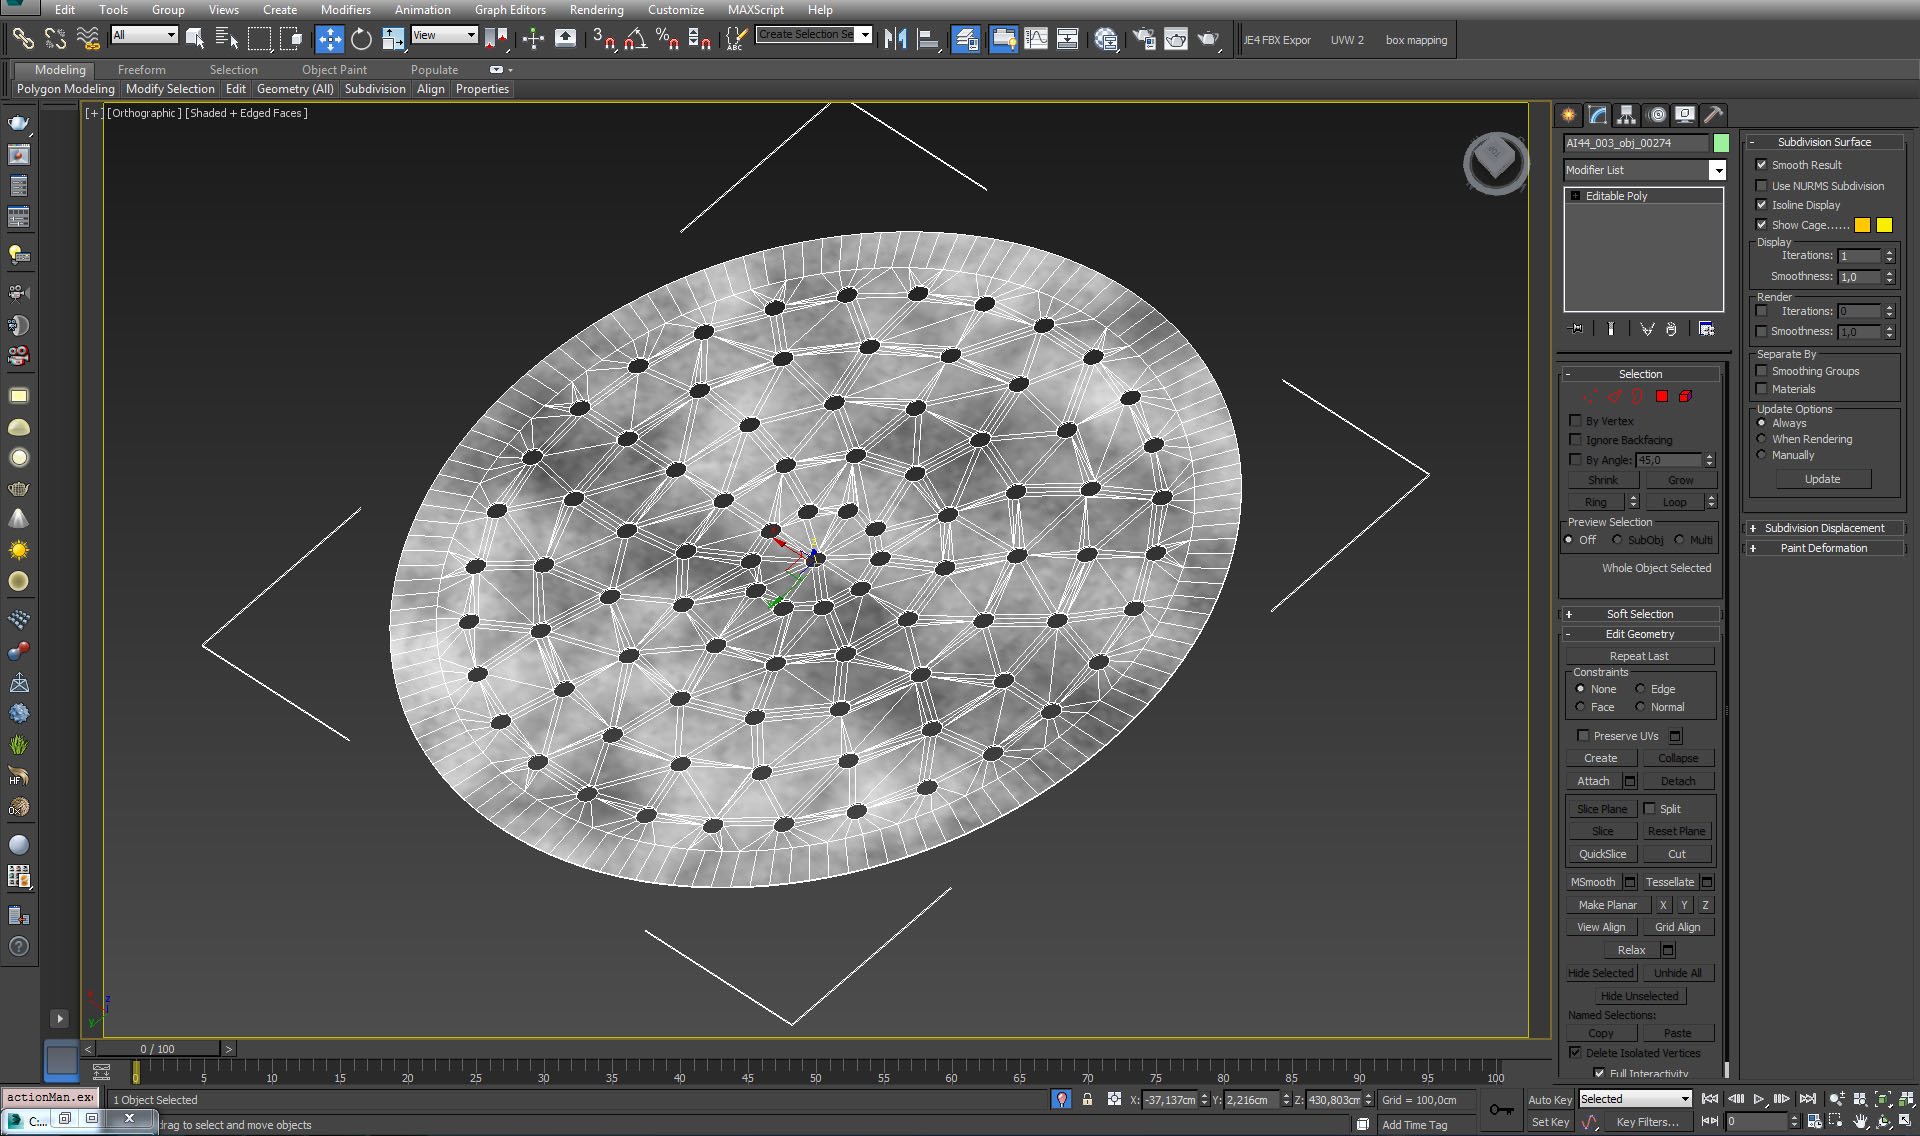
Floor material, bitmap used for displacement.
 

Click on image to enlargeAI44S03_0035_Layer_6_evermotion.jpg

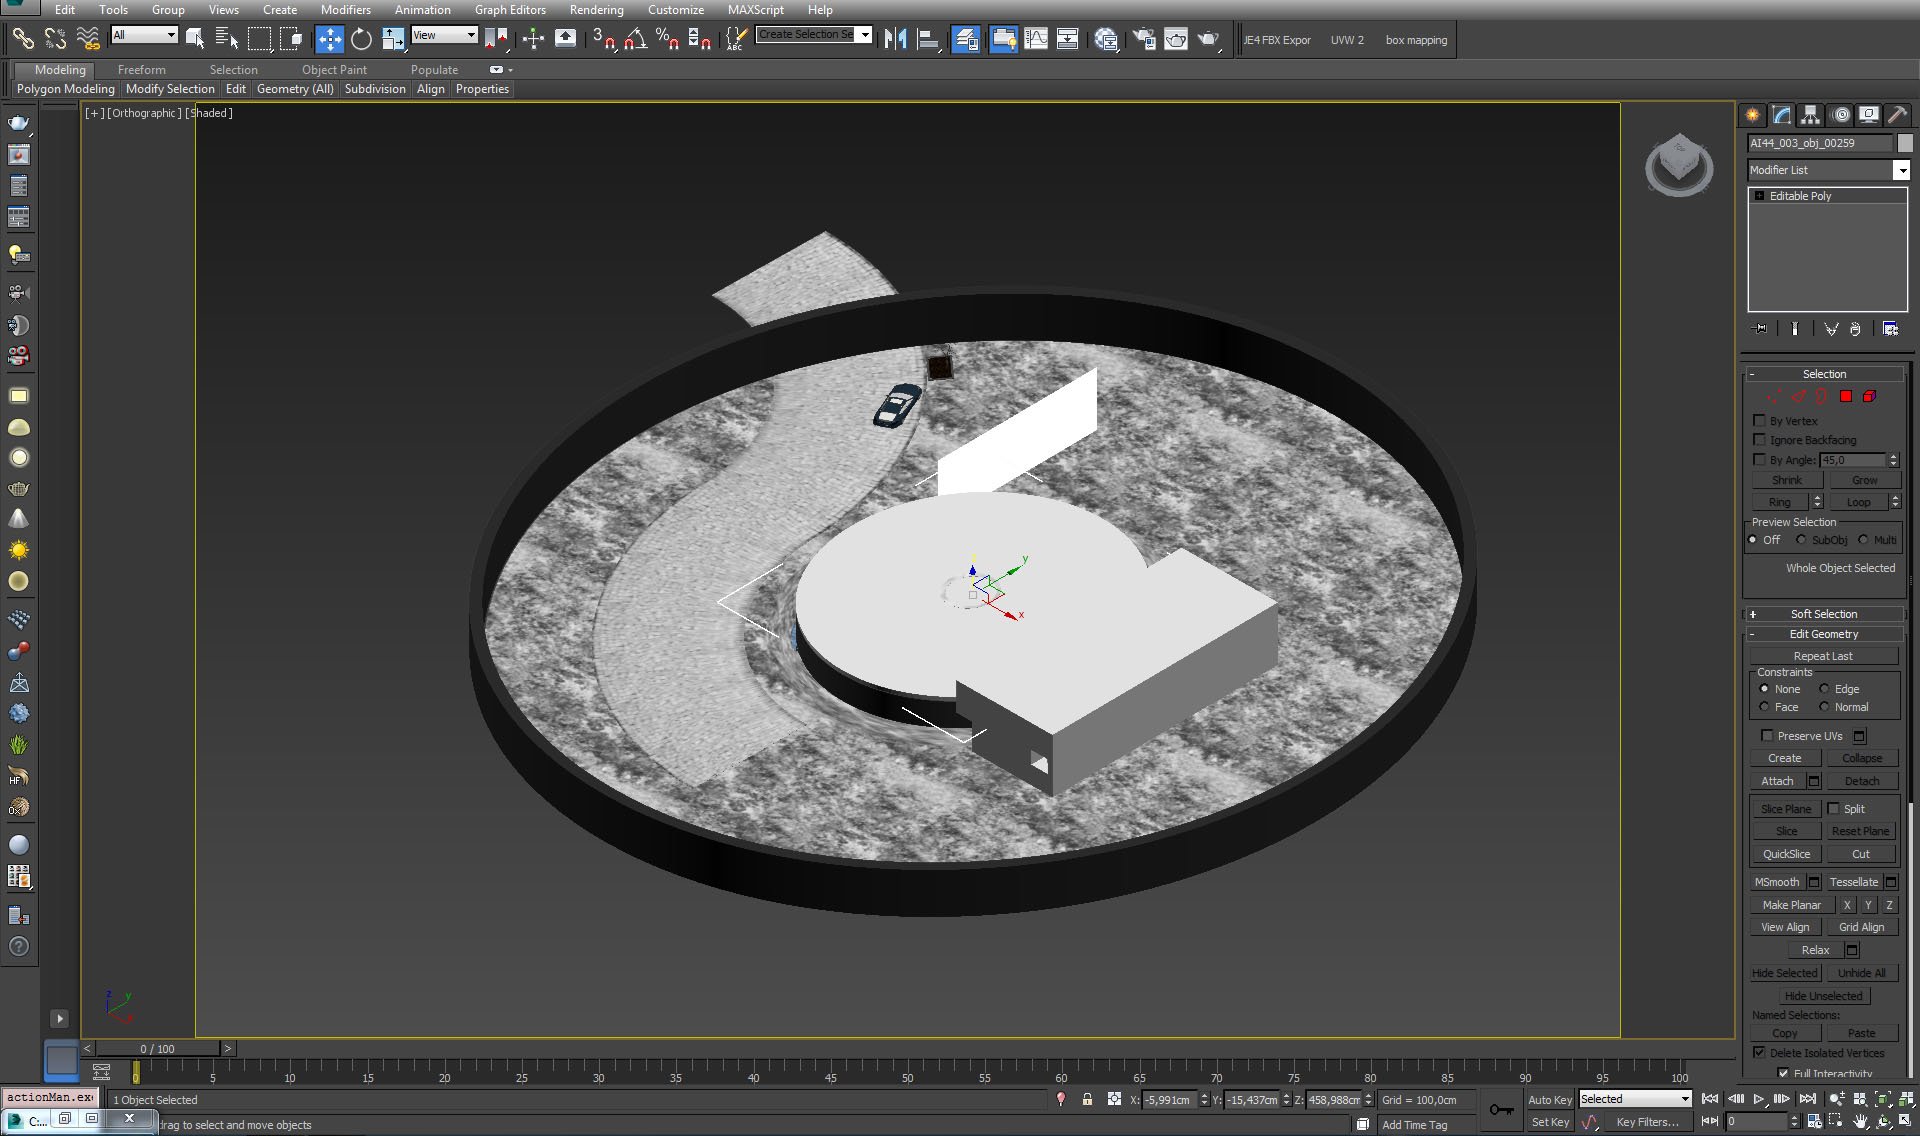
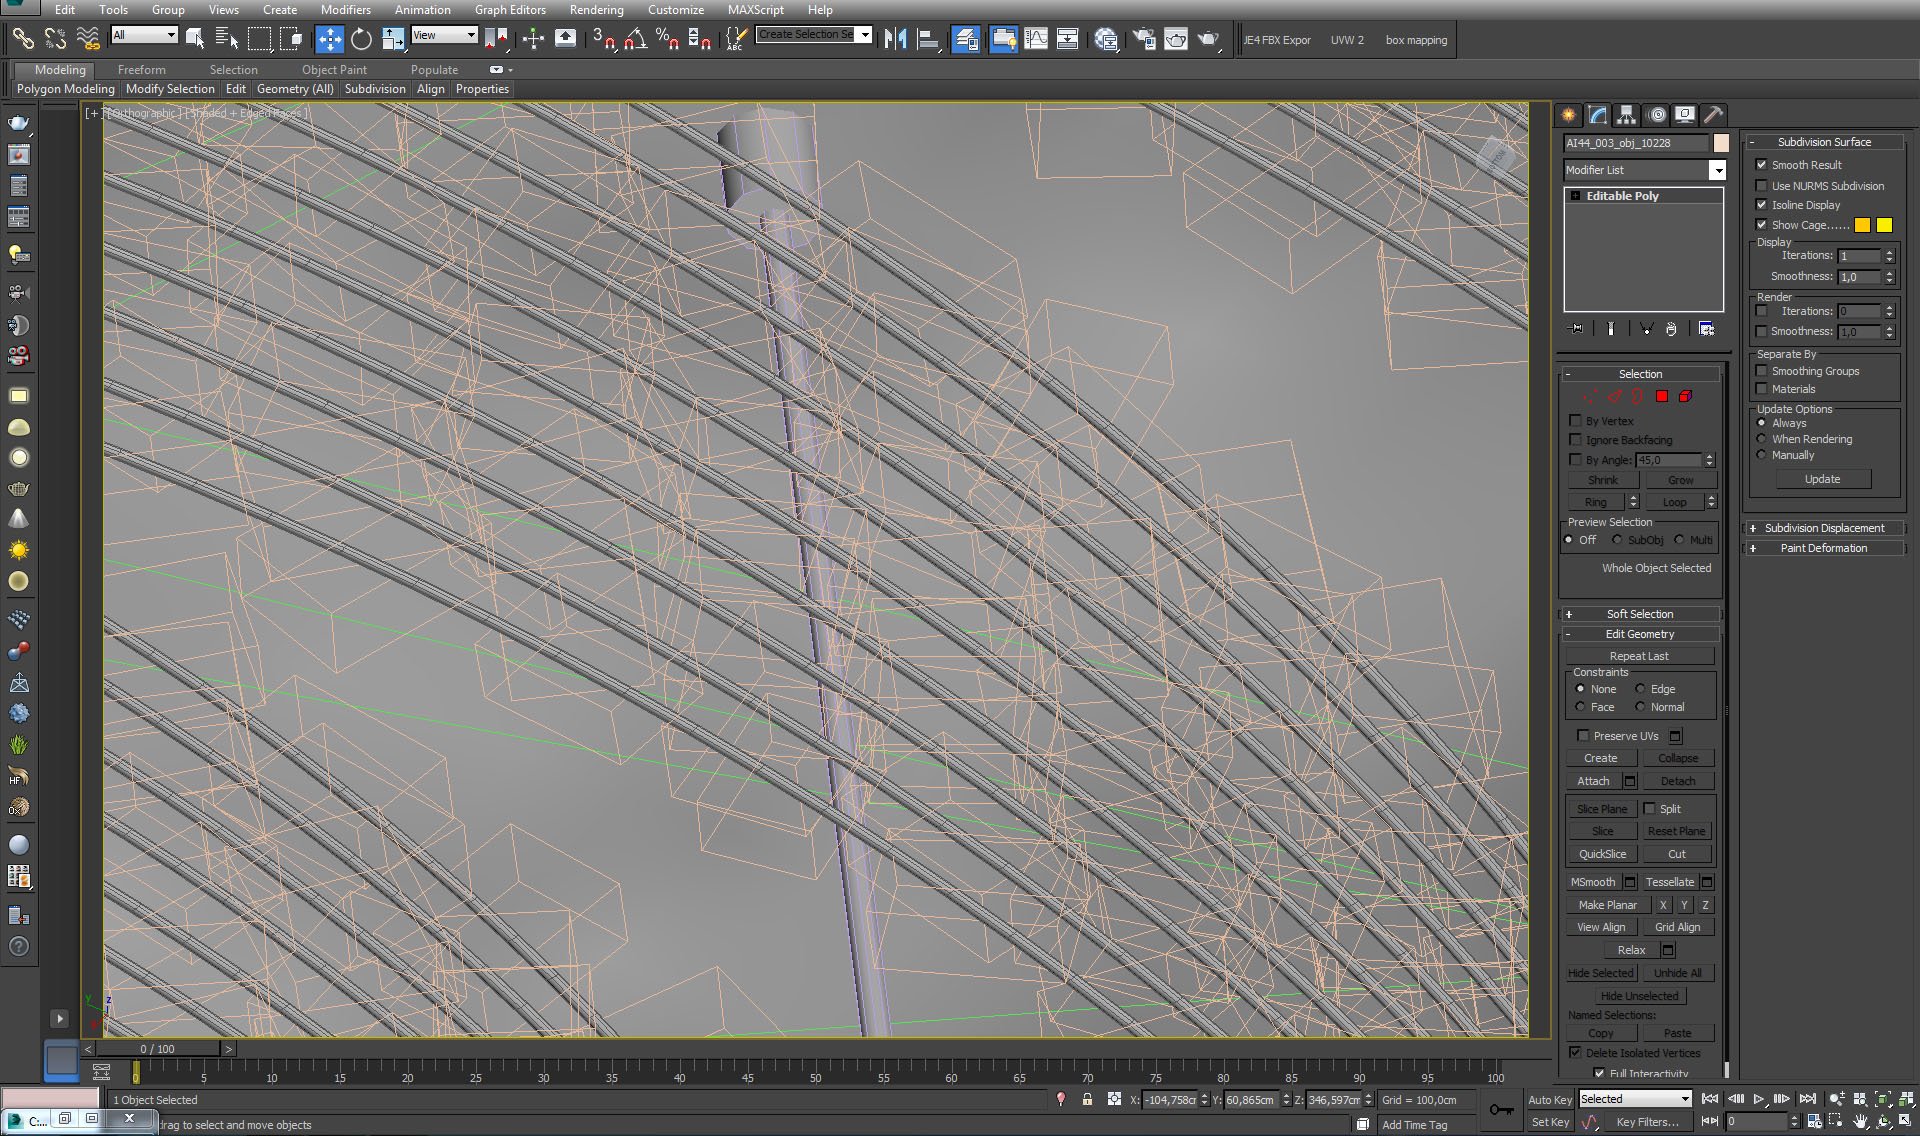
The scene overview. We modeled not only the building, but also a bit of surroundings with curvy road. We also placed a car outside the hotel.
 

Click on image to enlargeAI44S03_0034_Layer_7_evermotion.jpg

Isometric view.
 

Click on image to enlargeAI44S03_0033_Layer_8_evermotion.jpg

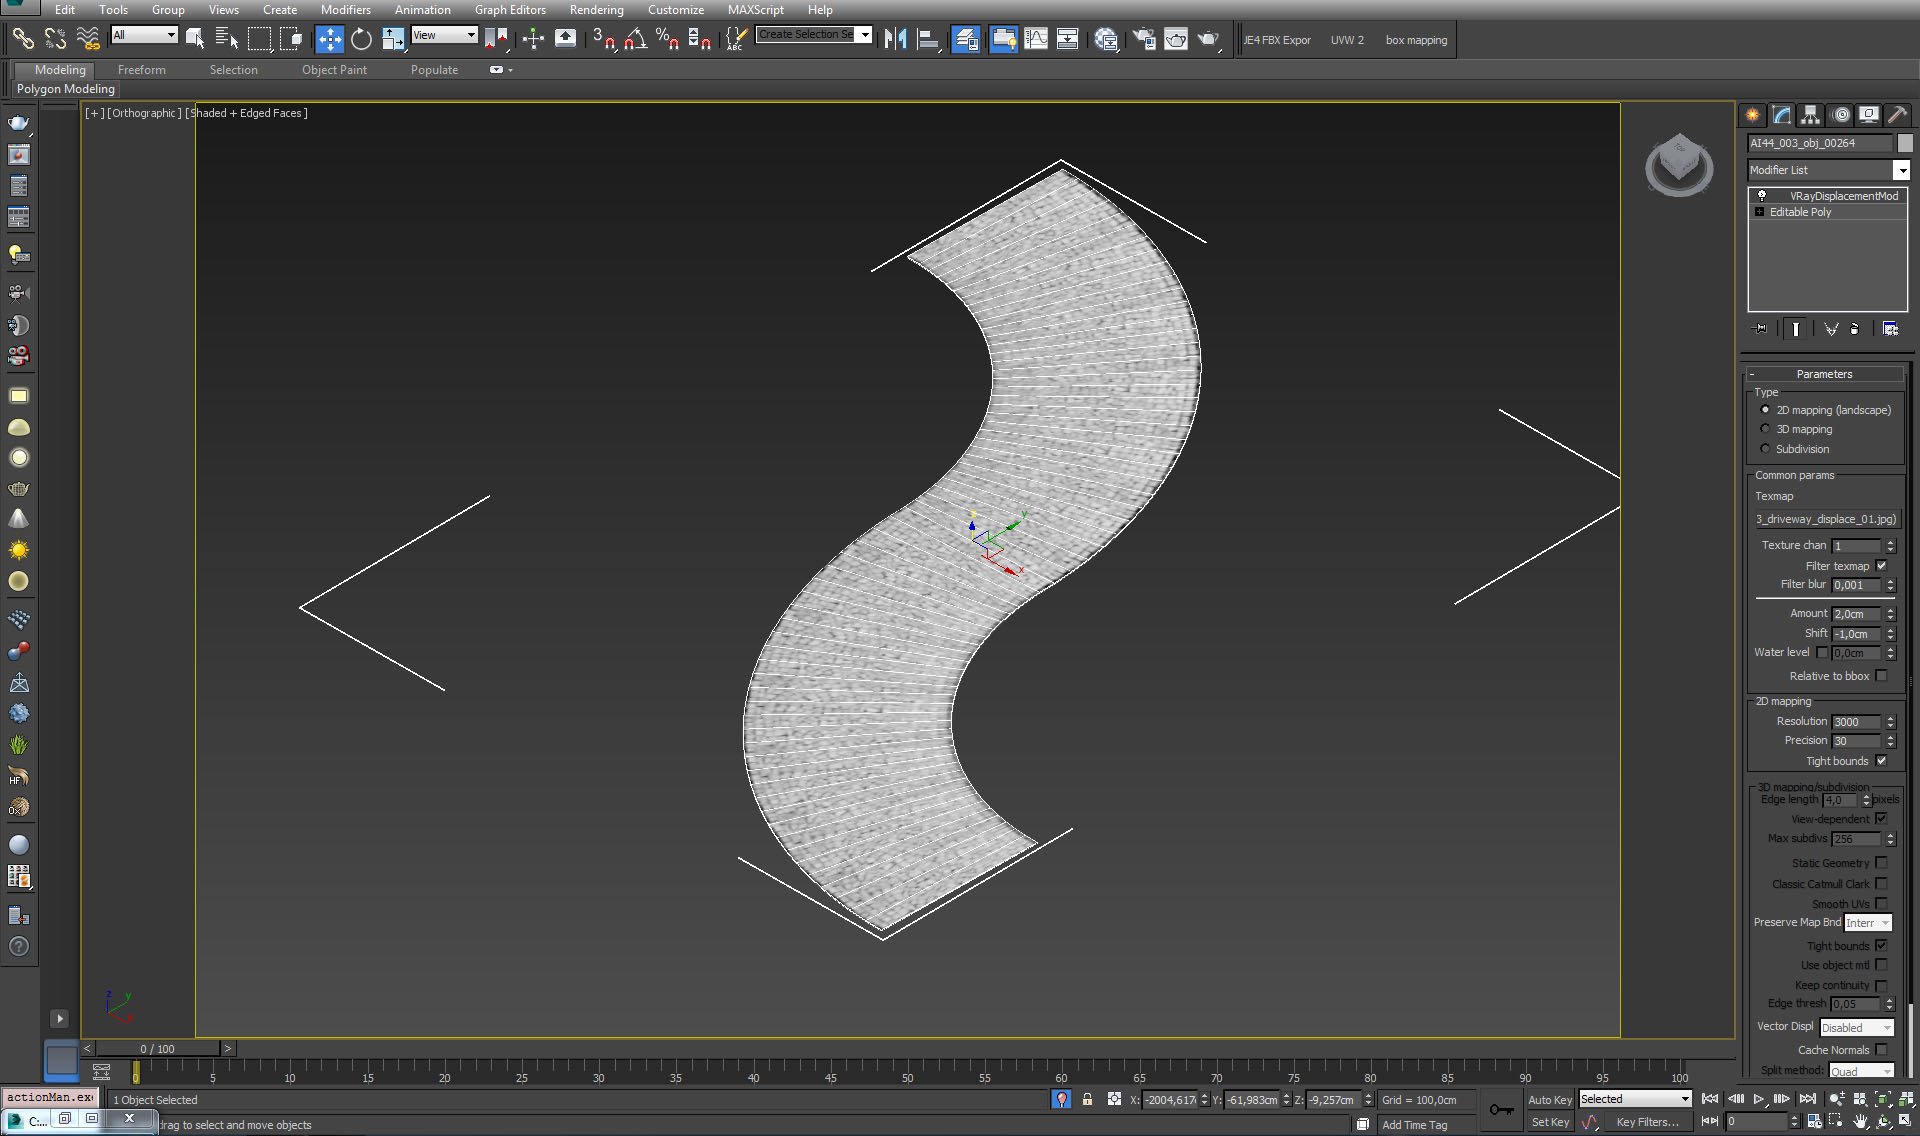
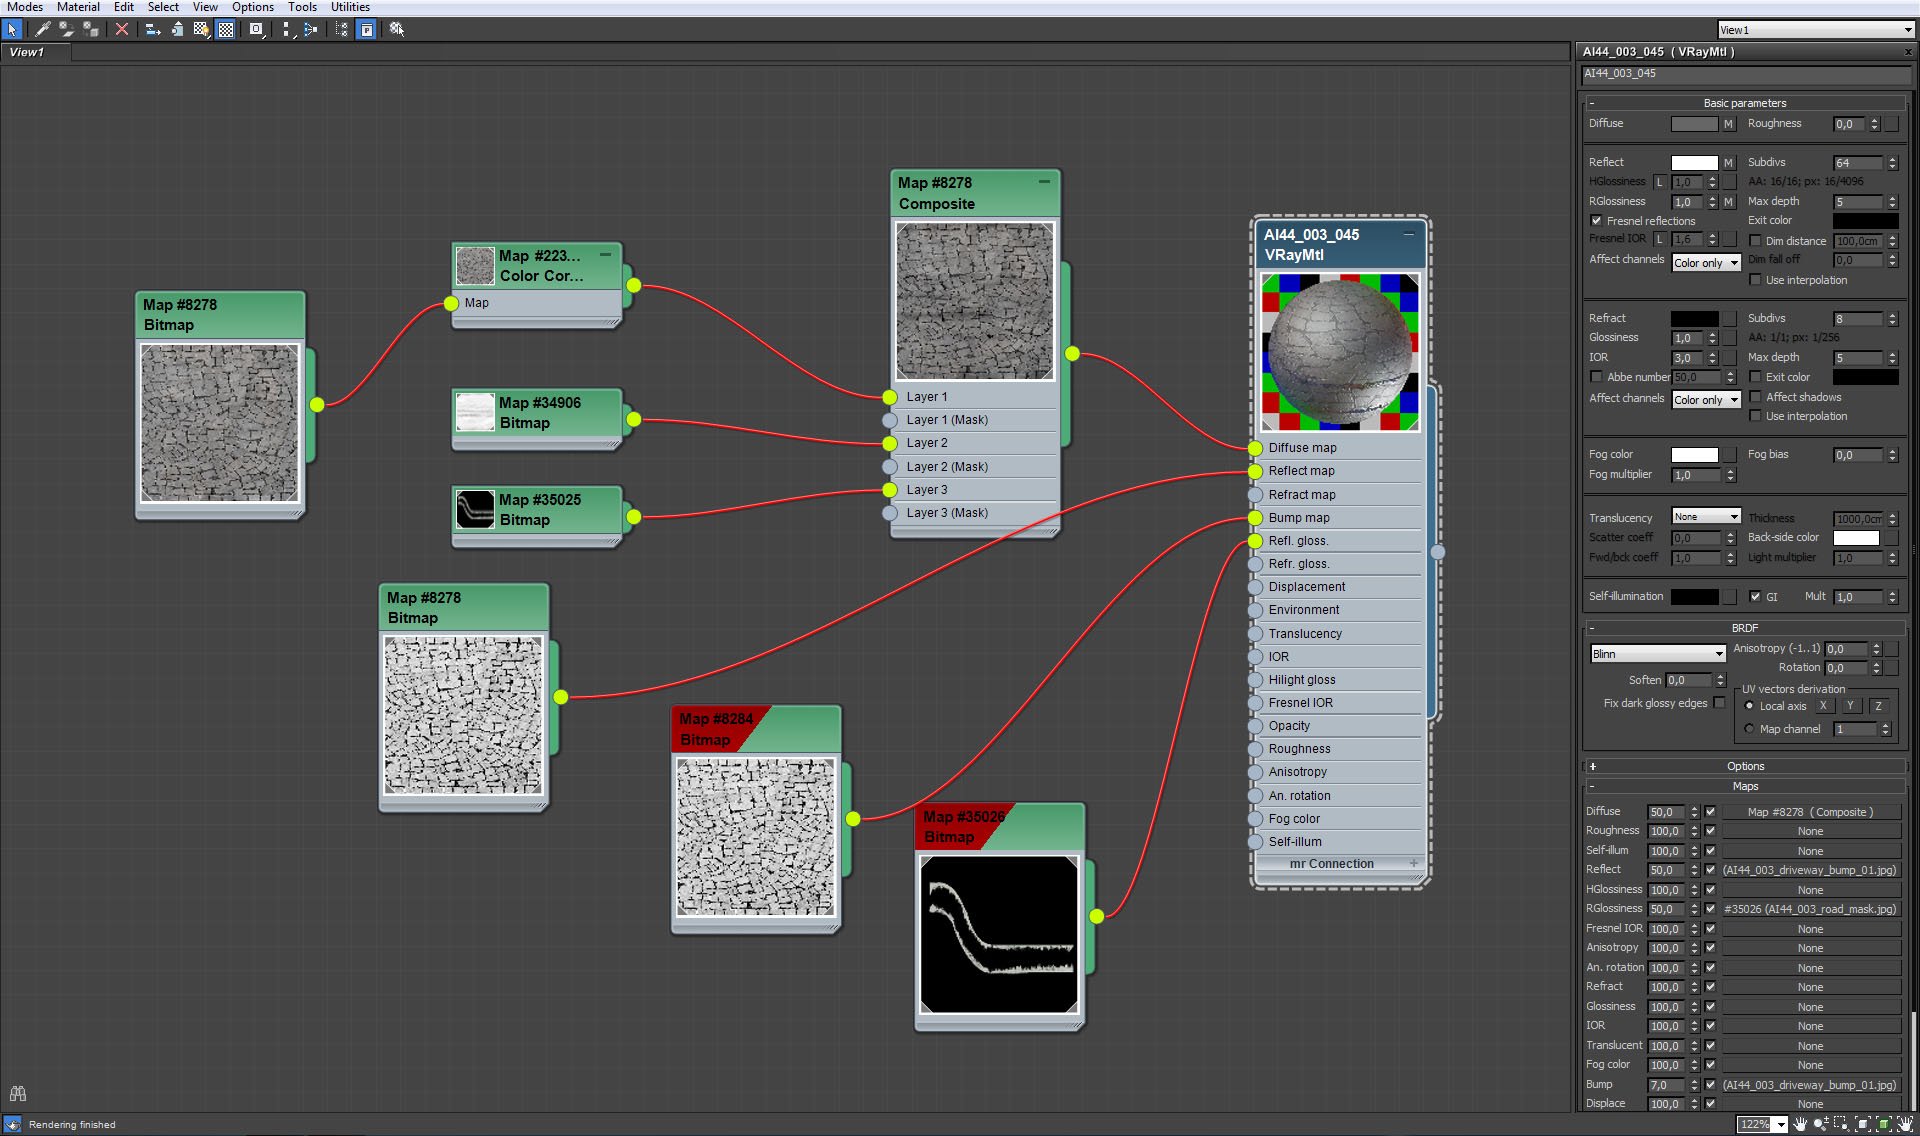
The road mesh.
 

Click on image to enlargeAI44S03_0032_Layer_9_evermotion.jpg

The road material.
 

Click on image to enlargeAI44S03_0031_Layer_10_evermotion.jpg

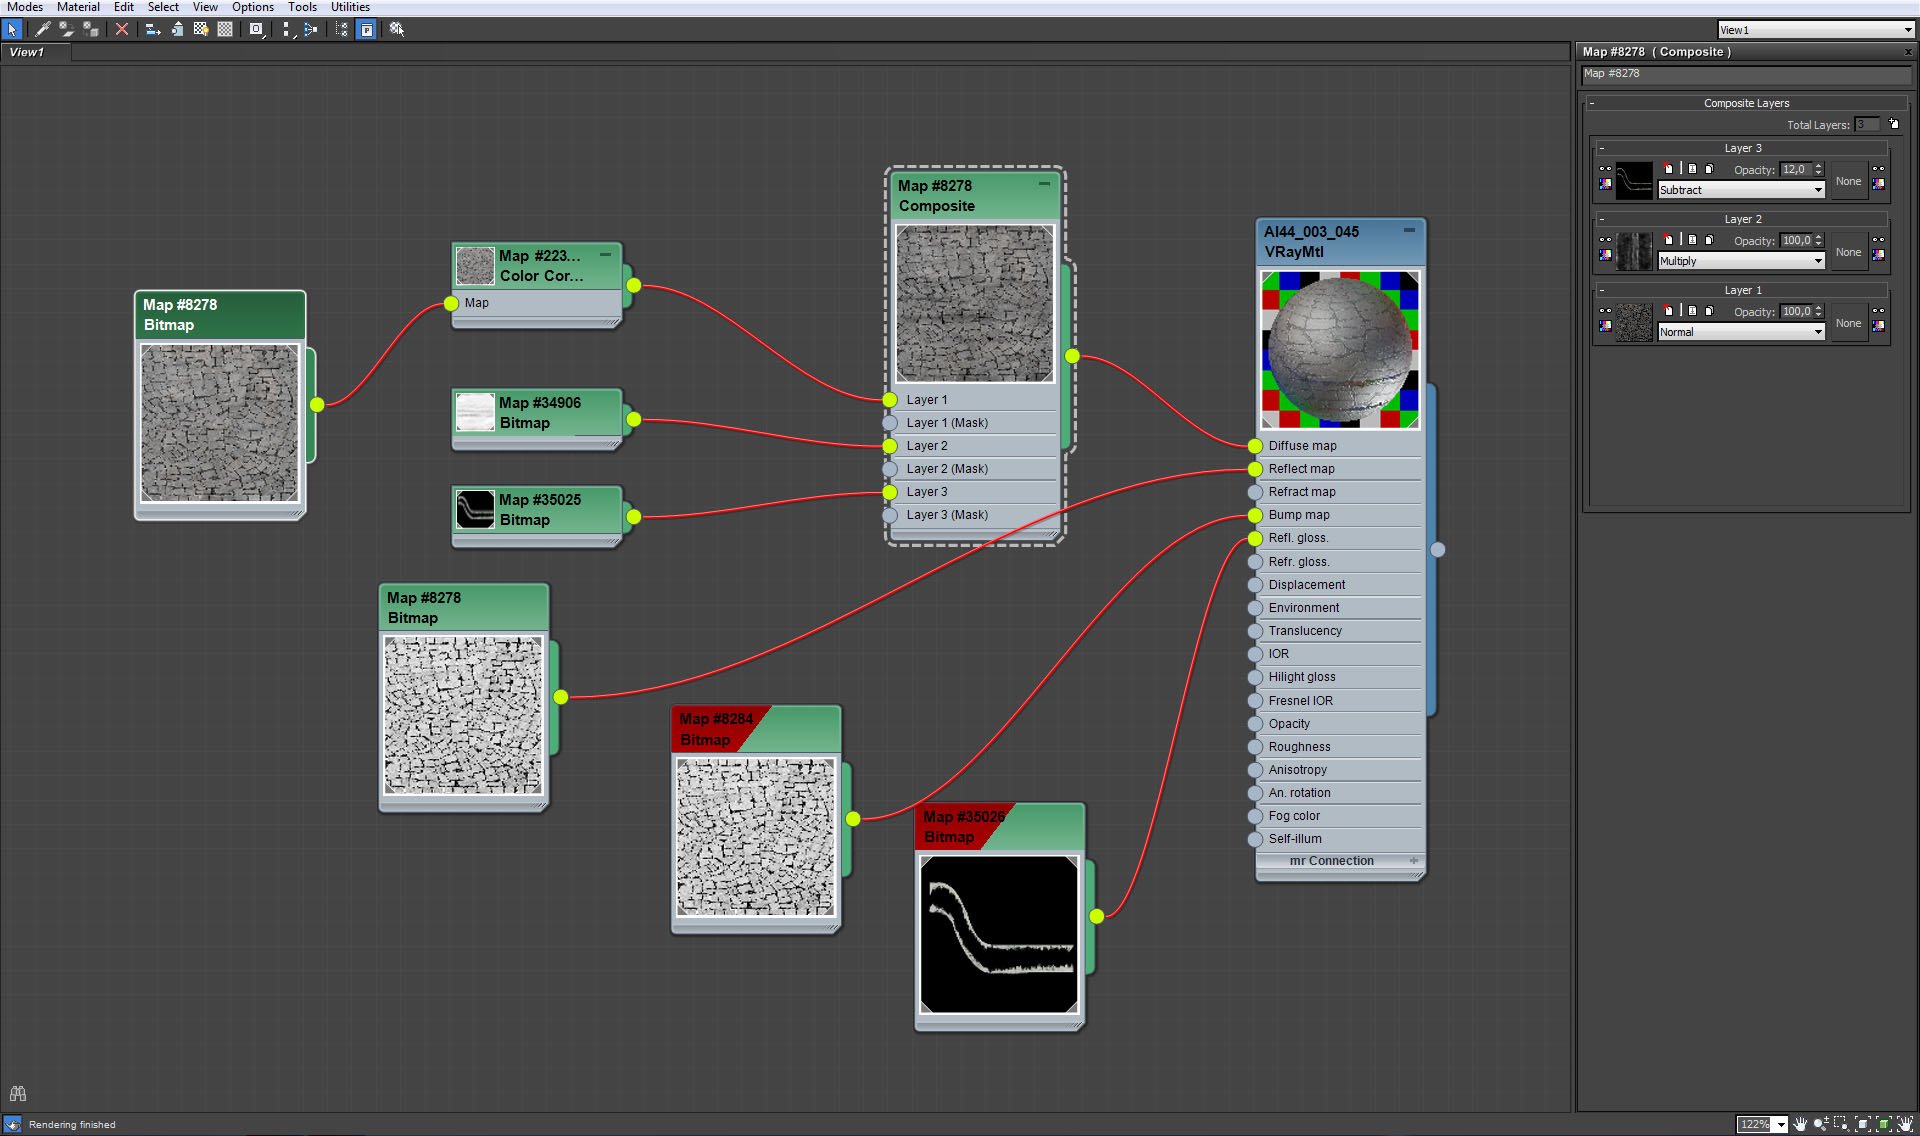
The road material, composite map settings.
 

Click on image to enlargeAI44S03_0030_Layer_11_evermotion.jpg

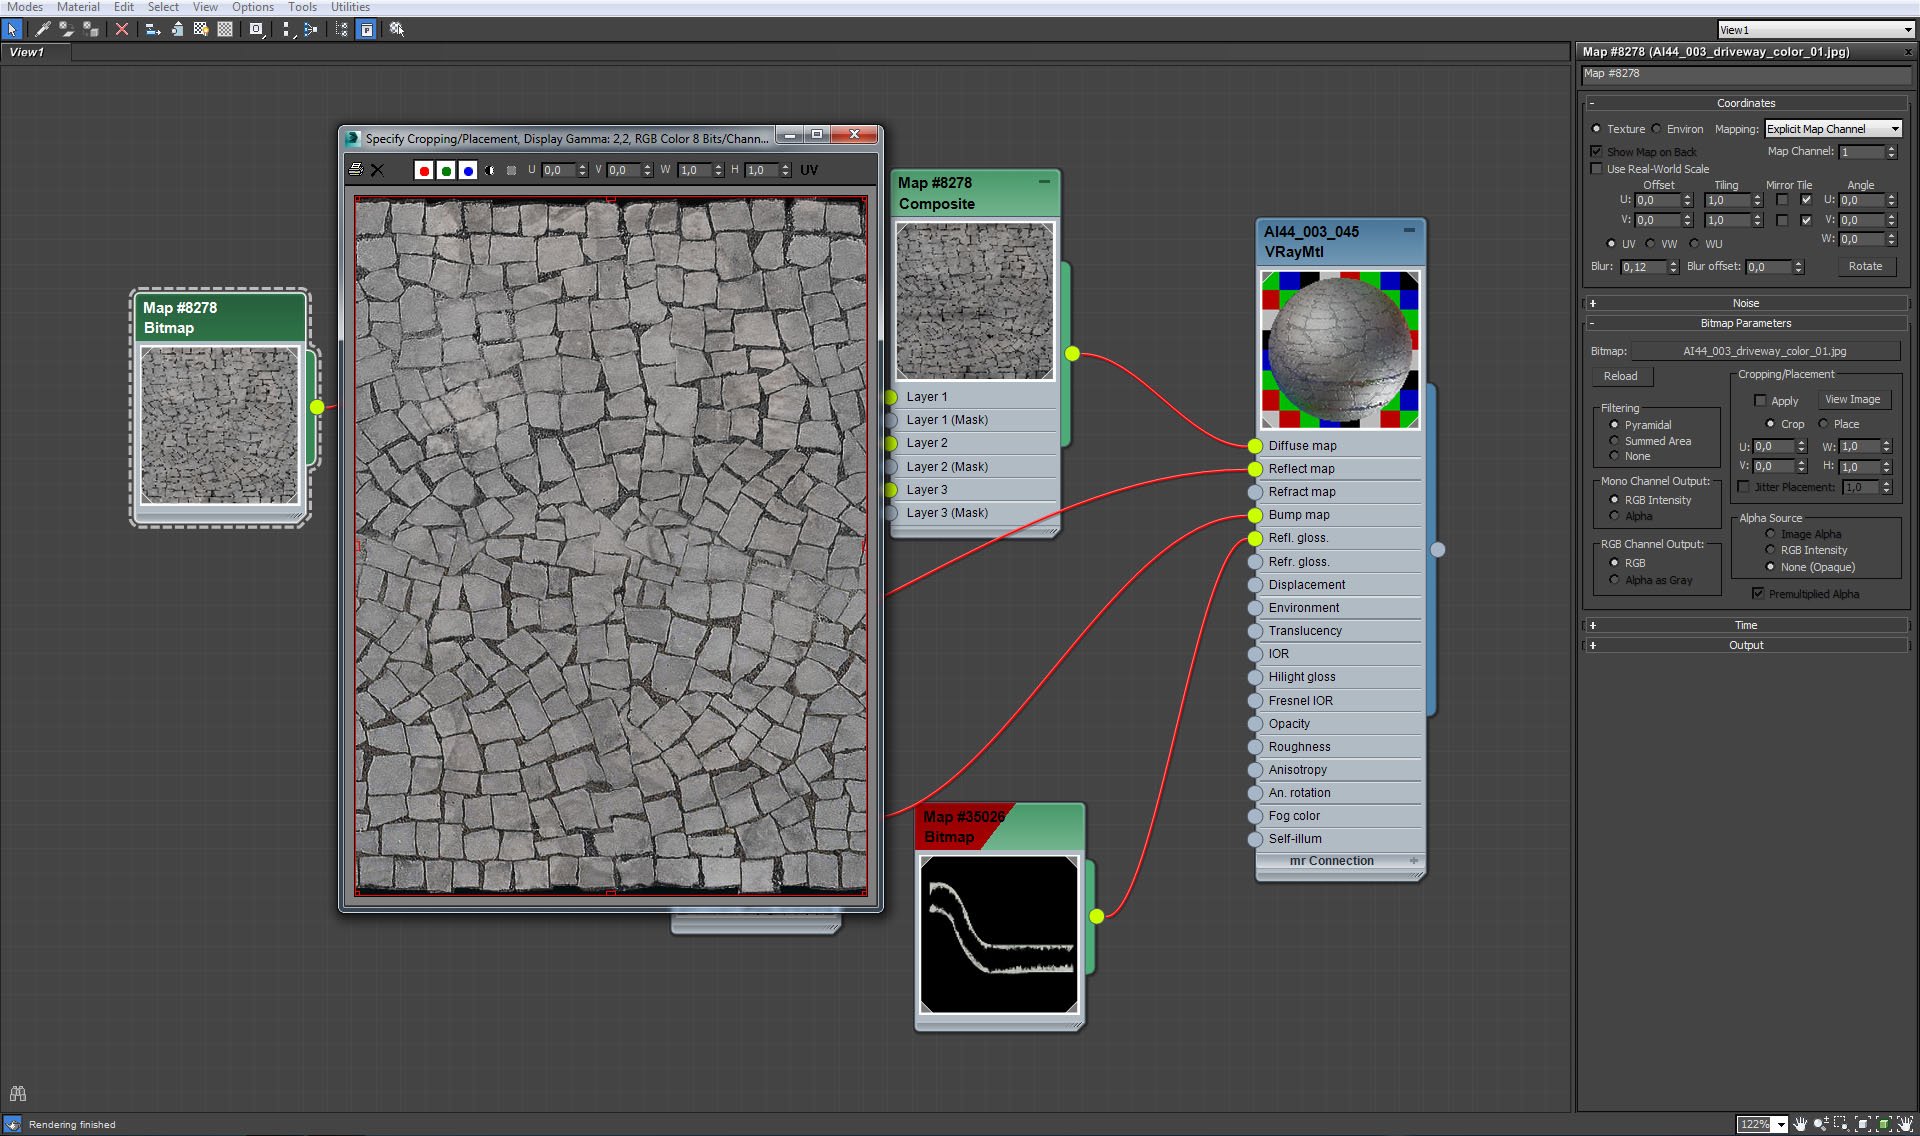
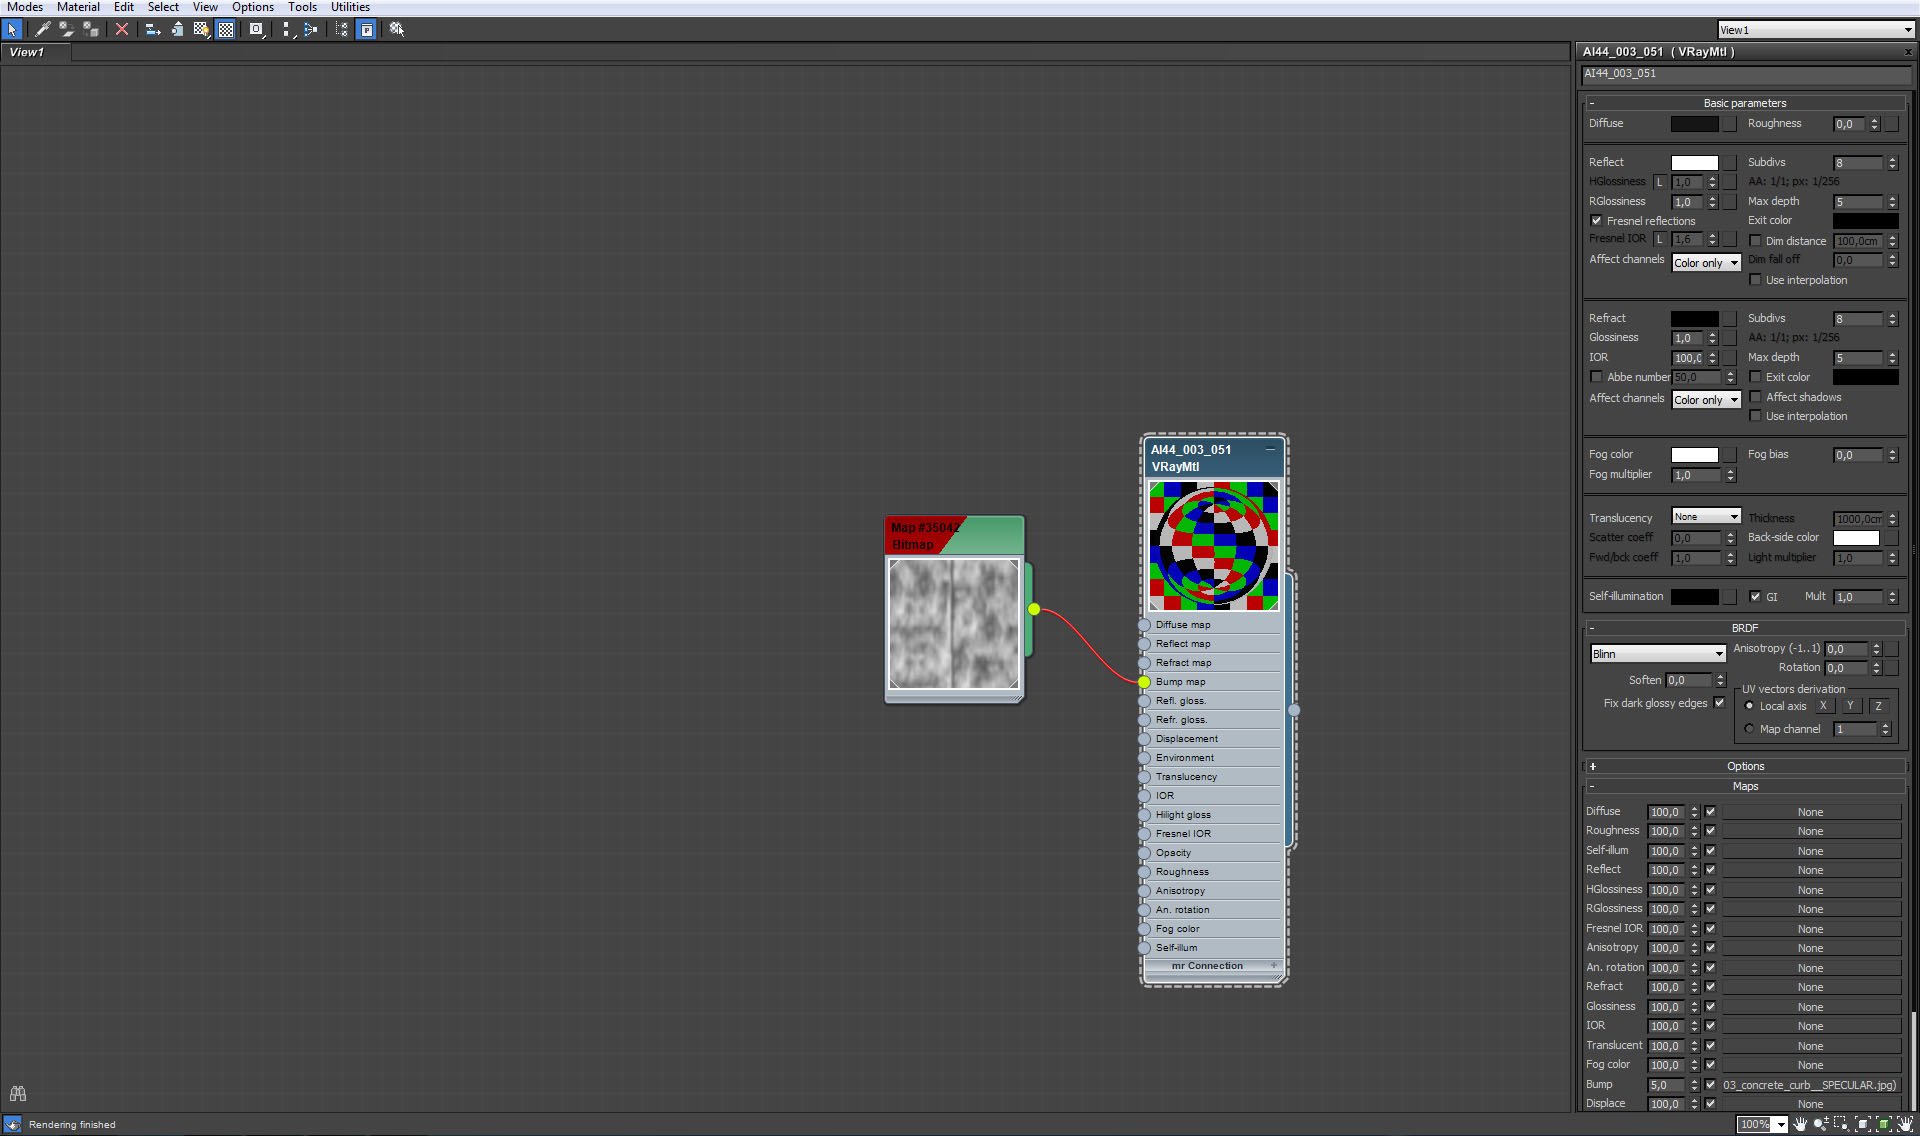
The road - diffuse bitmap. the lighter version of this bitmap is used also in bump slot.
 

Click on image to enlargeAI44S03_0029_Layer_12_evermotion.jpg

Ground mesh.
 

Click on image to enlargeAI44S03_0028_Layer_13_evermotion.jpg

Ground material.
 

Click on image to enlargeAI44S03_0027_Layer_14_evermotion.jpg

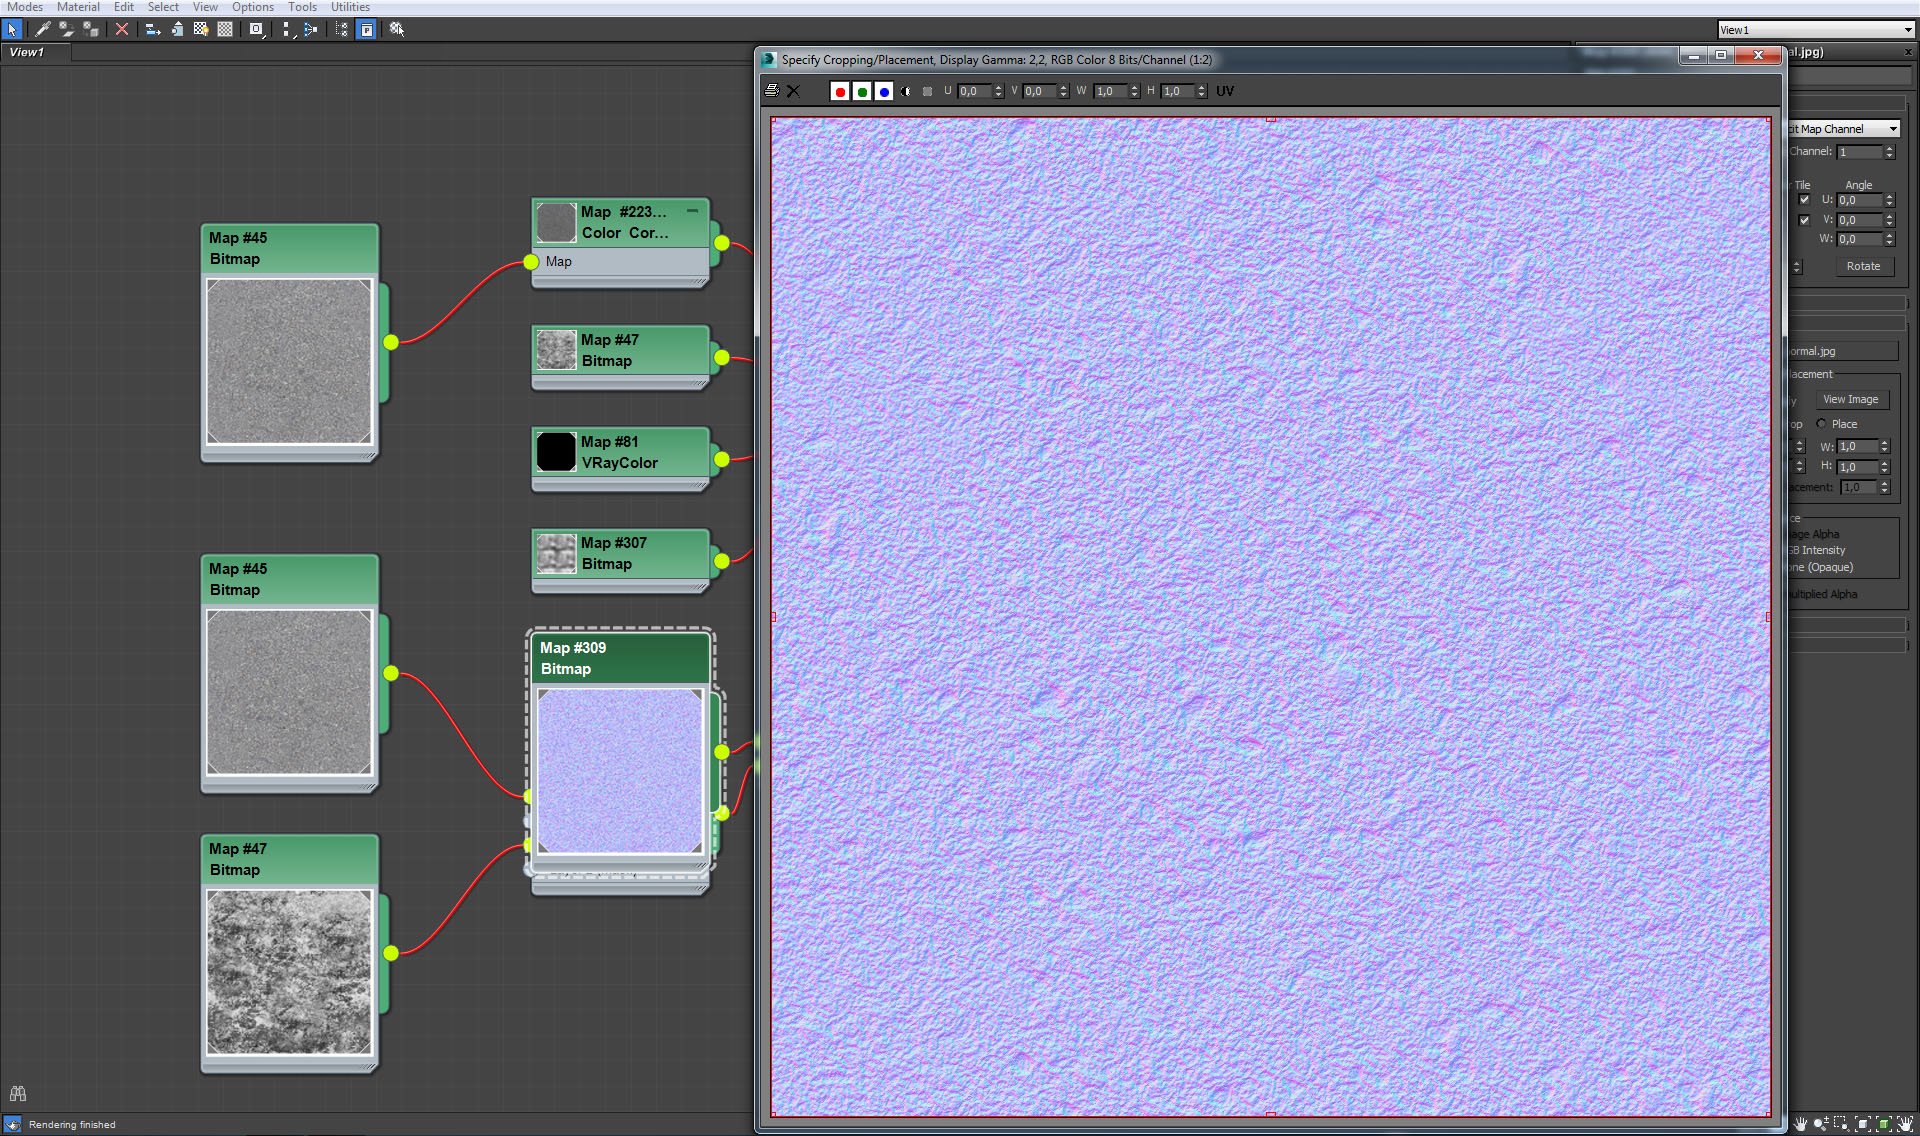
Ground material - normal map.
 

Click on image to enlargeAI44S03_0026_Layer_15_evermotion.jpg

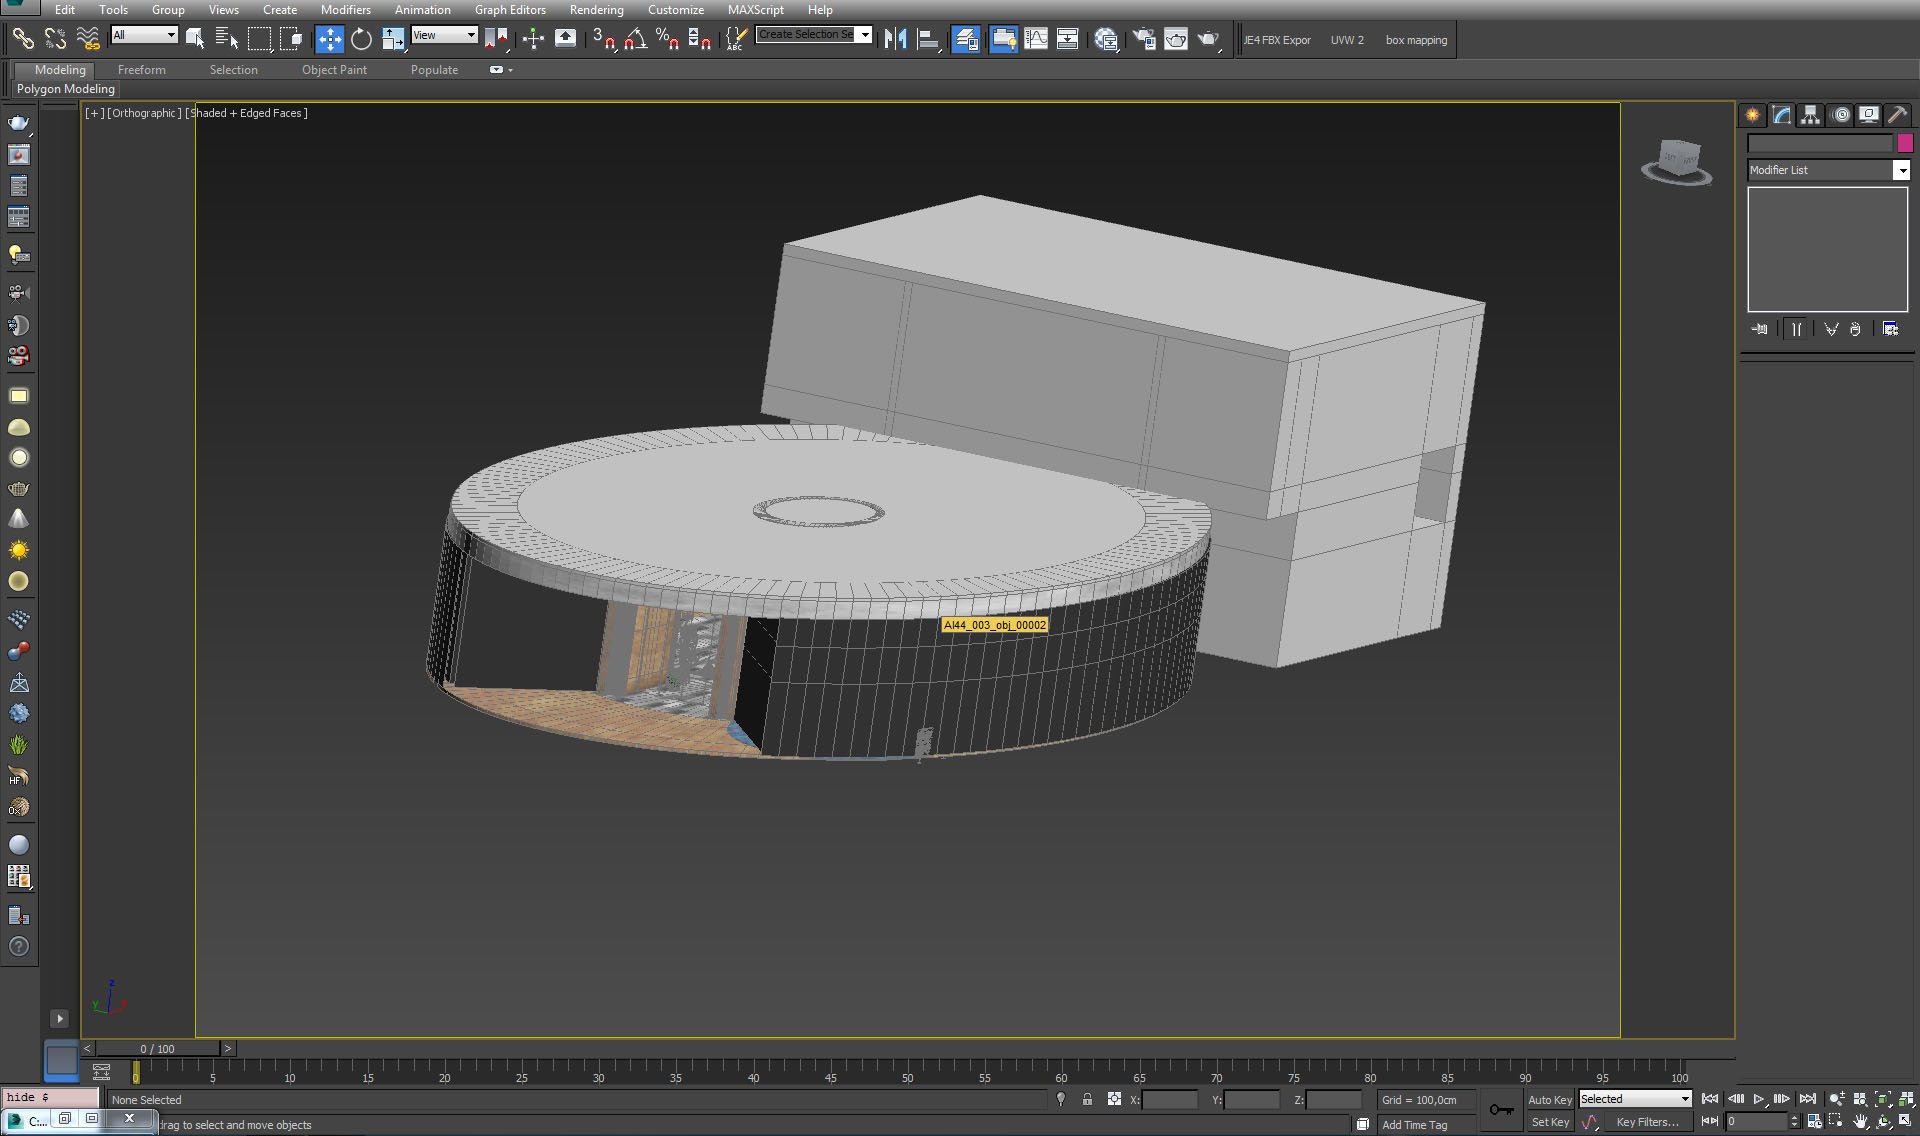
The building mesh.
 

Click on image to enlargeAI44S03_0025_Layer_16_evermotion.jpg

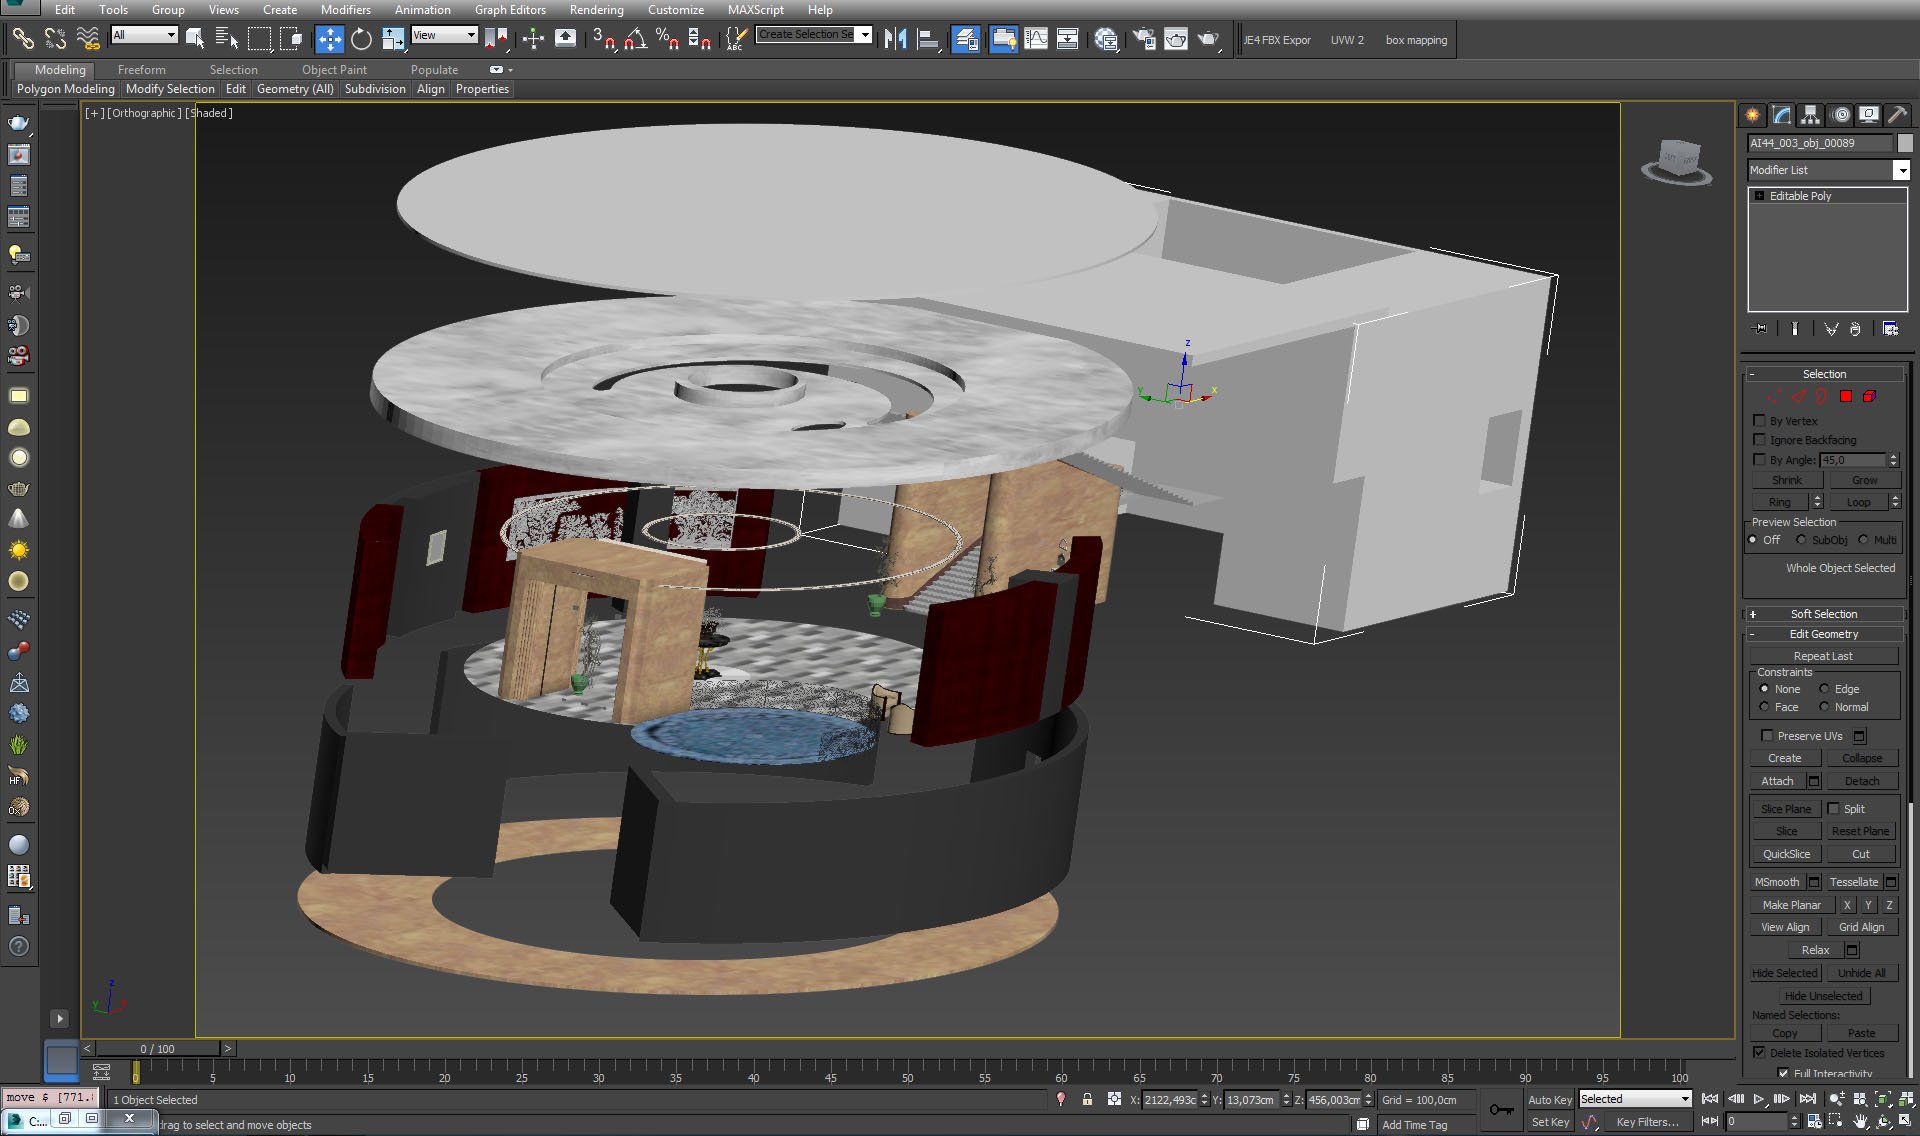
The building parts.
 

Click on image to enlargeAI44S03_0024_Layer_17_evermotion.jpg

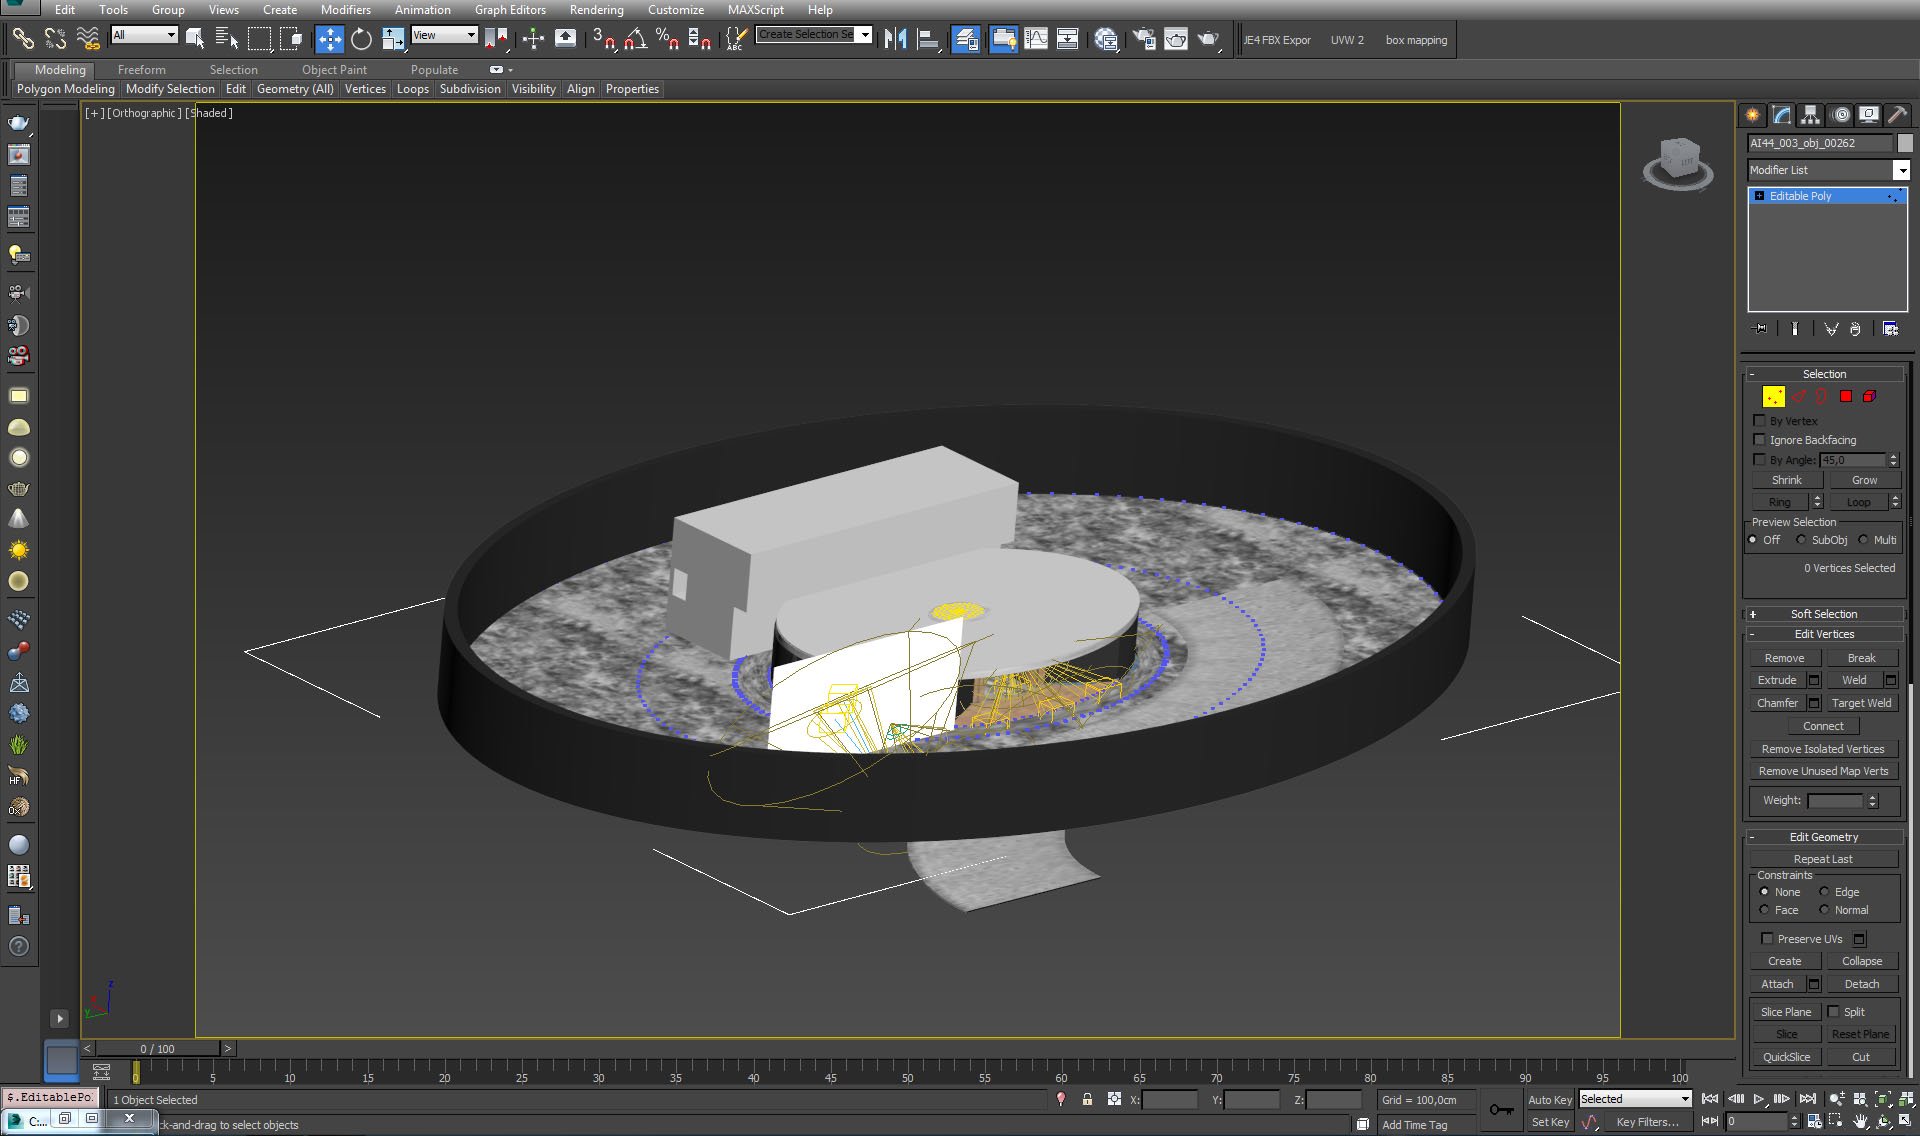
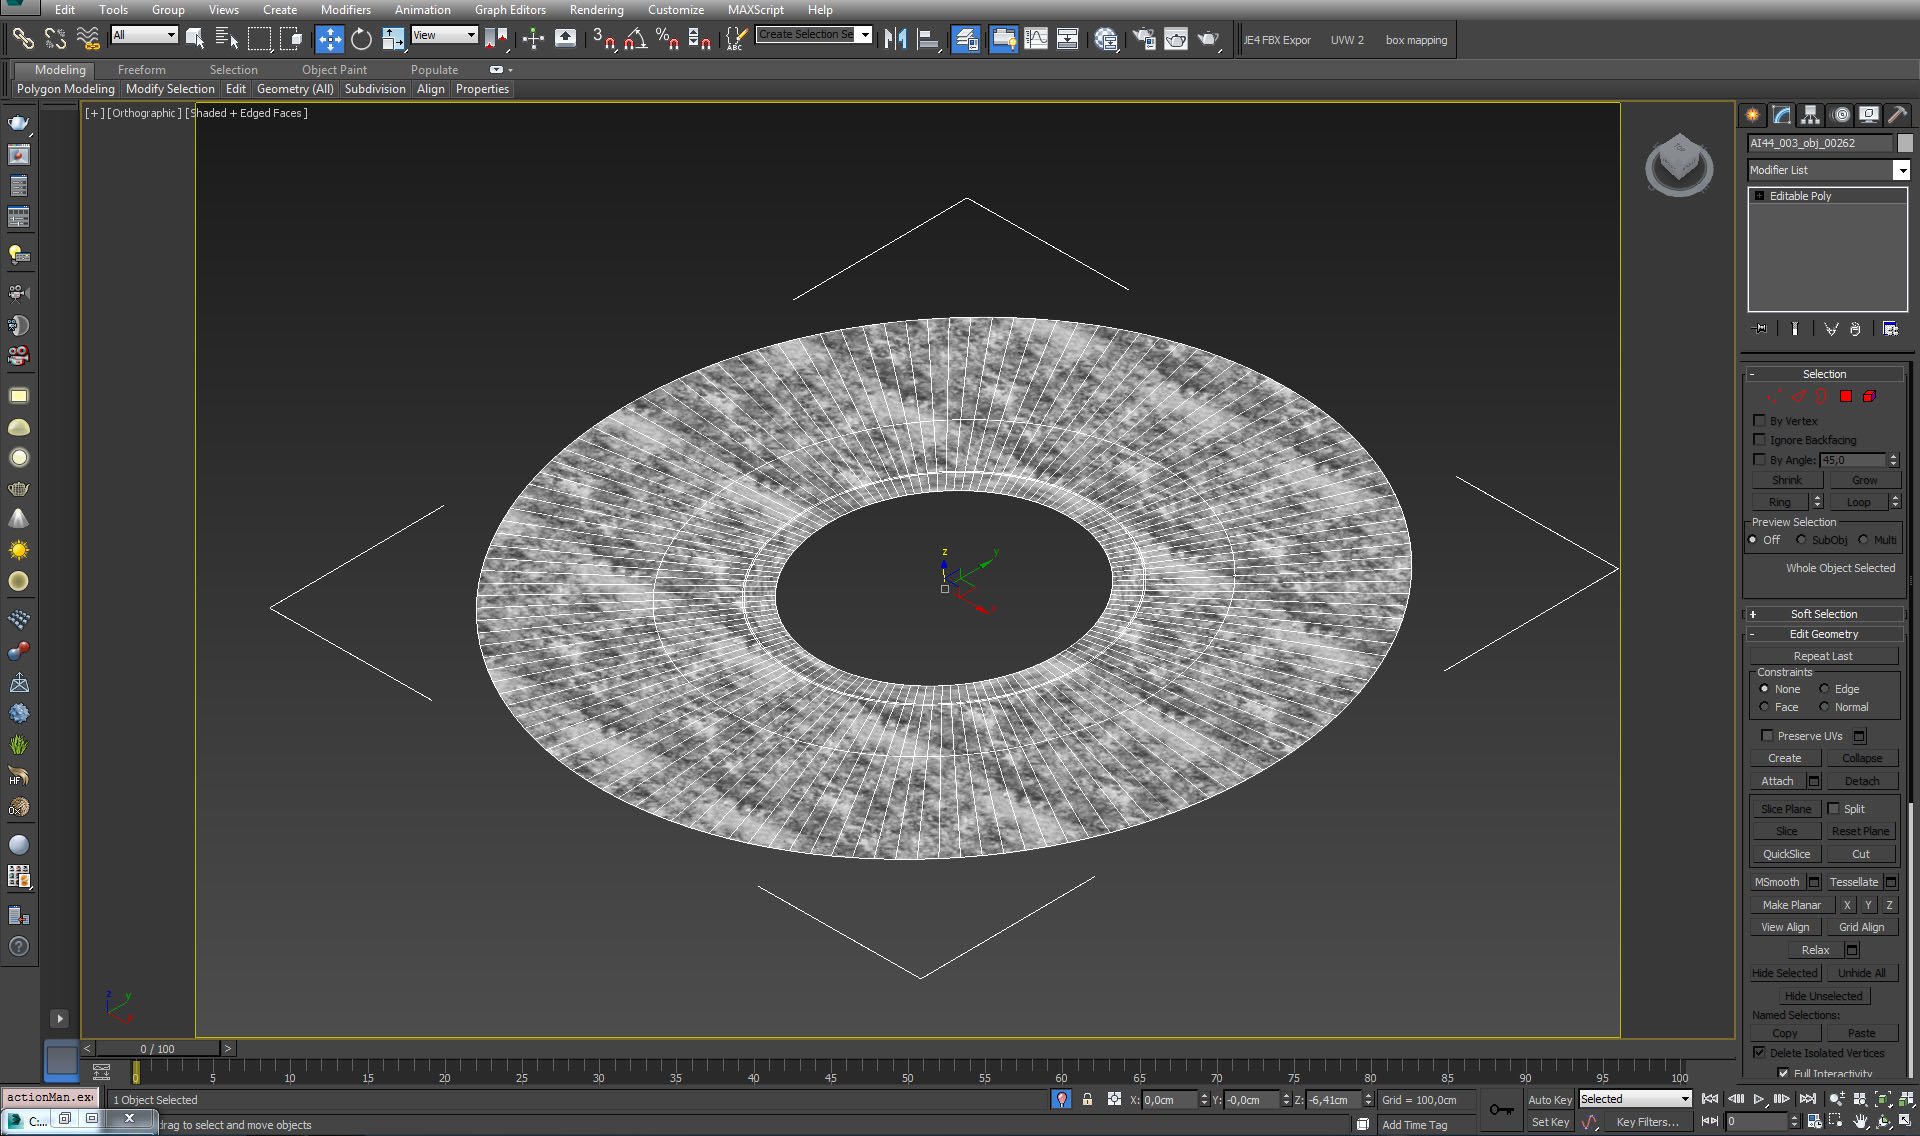
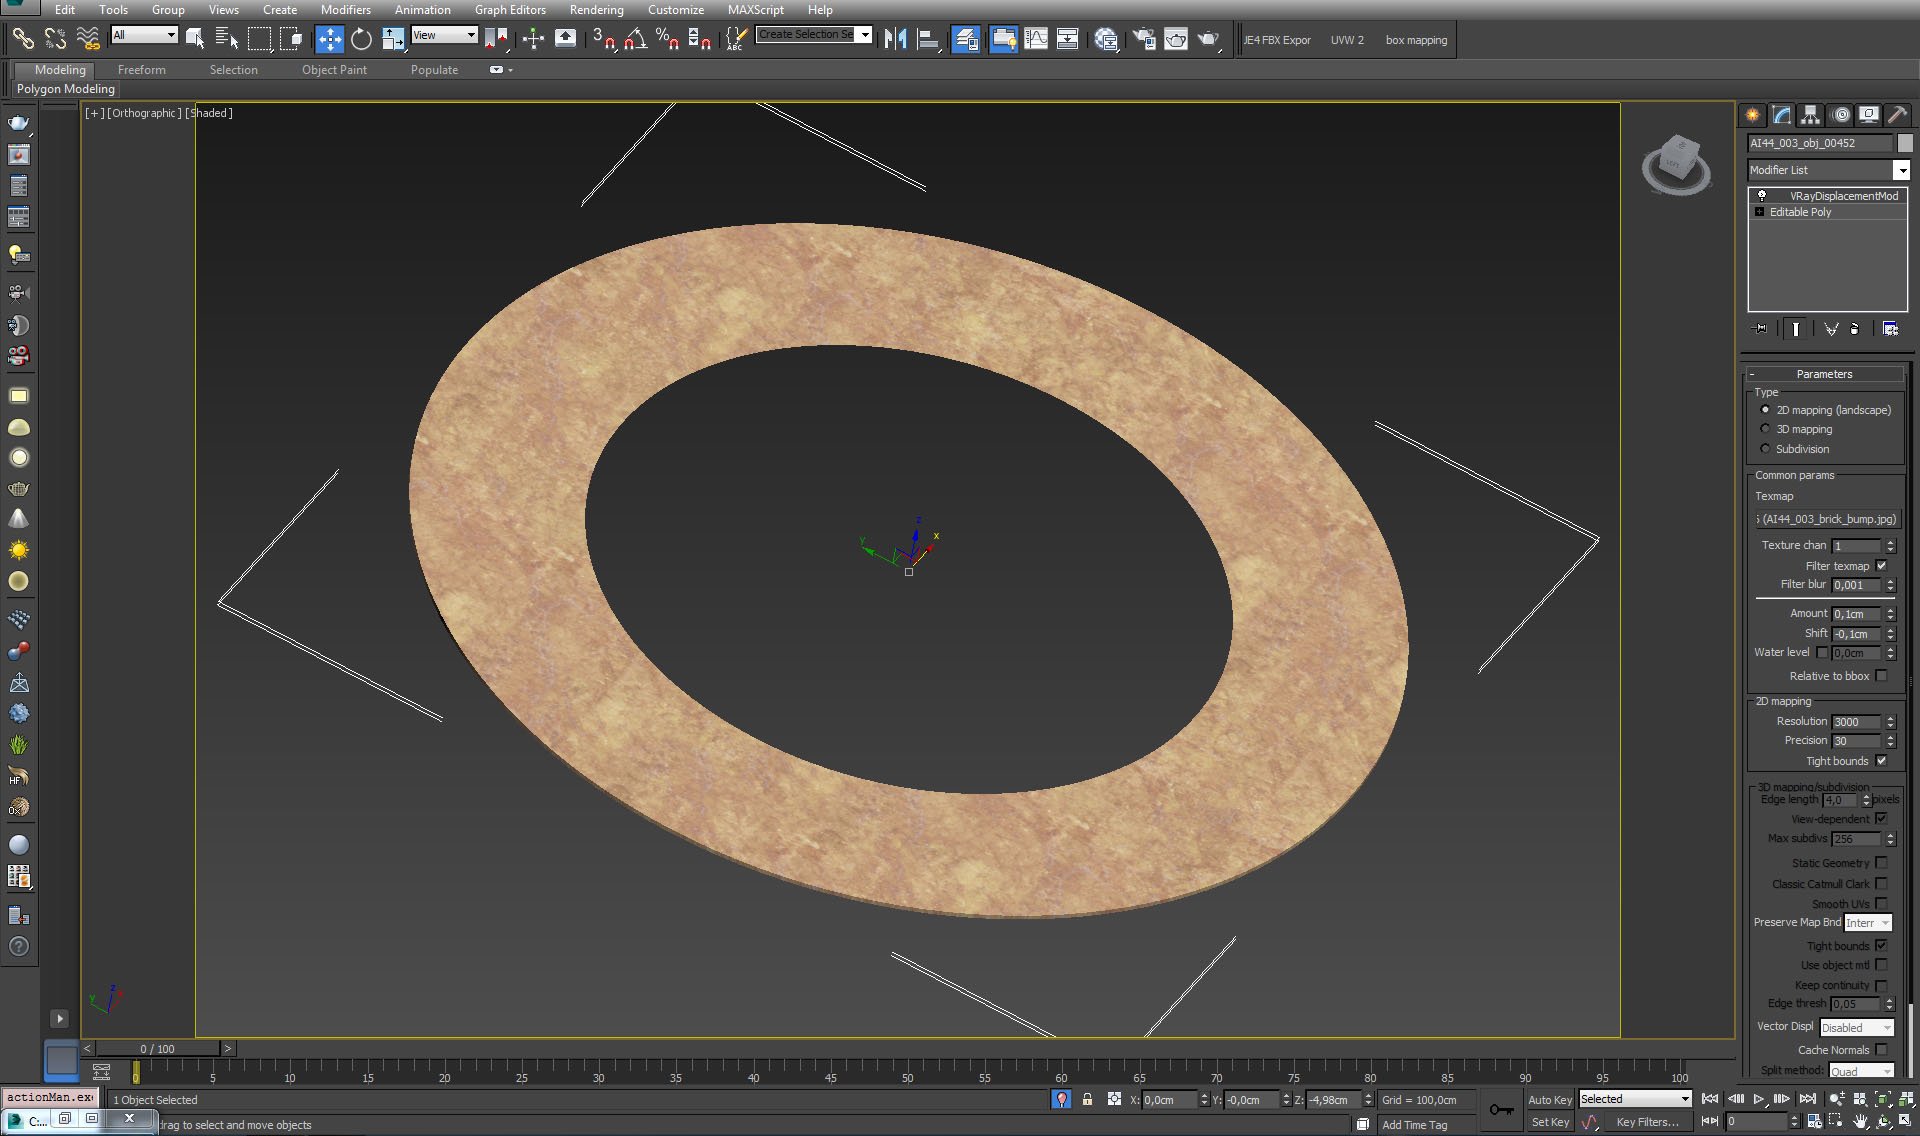
Floor ring.
 

Click on image to enlargeAI44S03_0023_Layer_18_evermotion.jpg

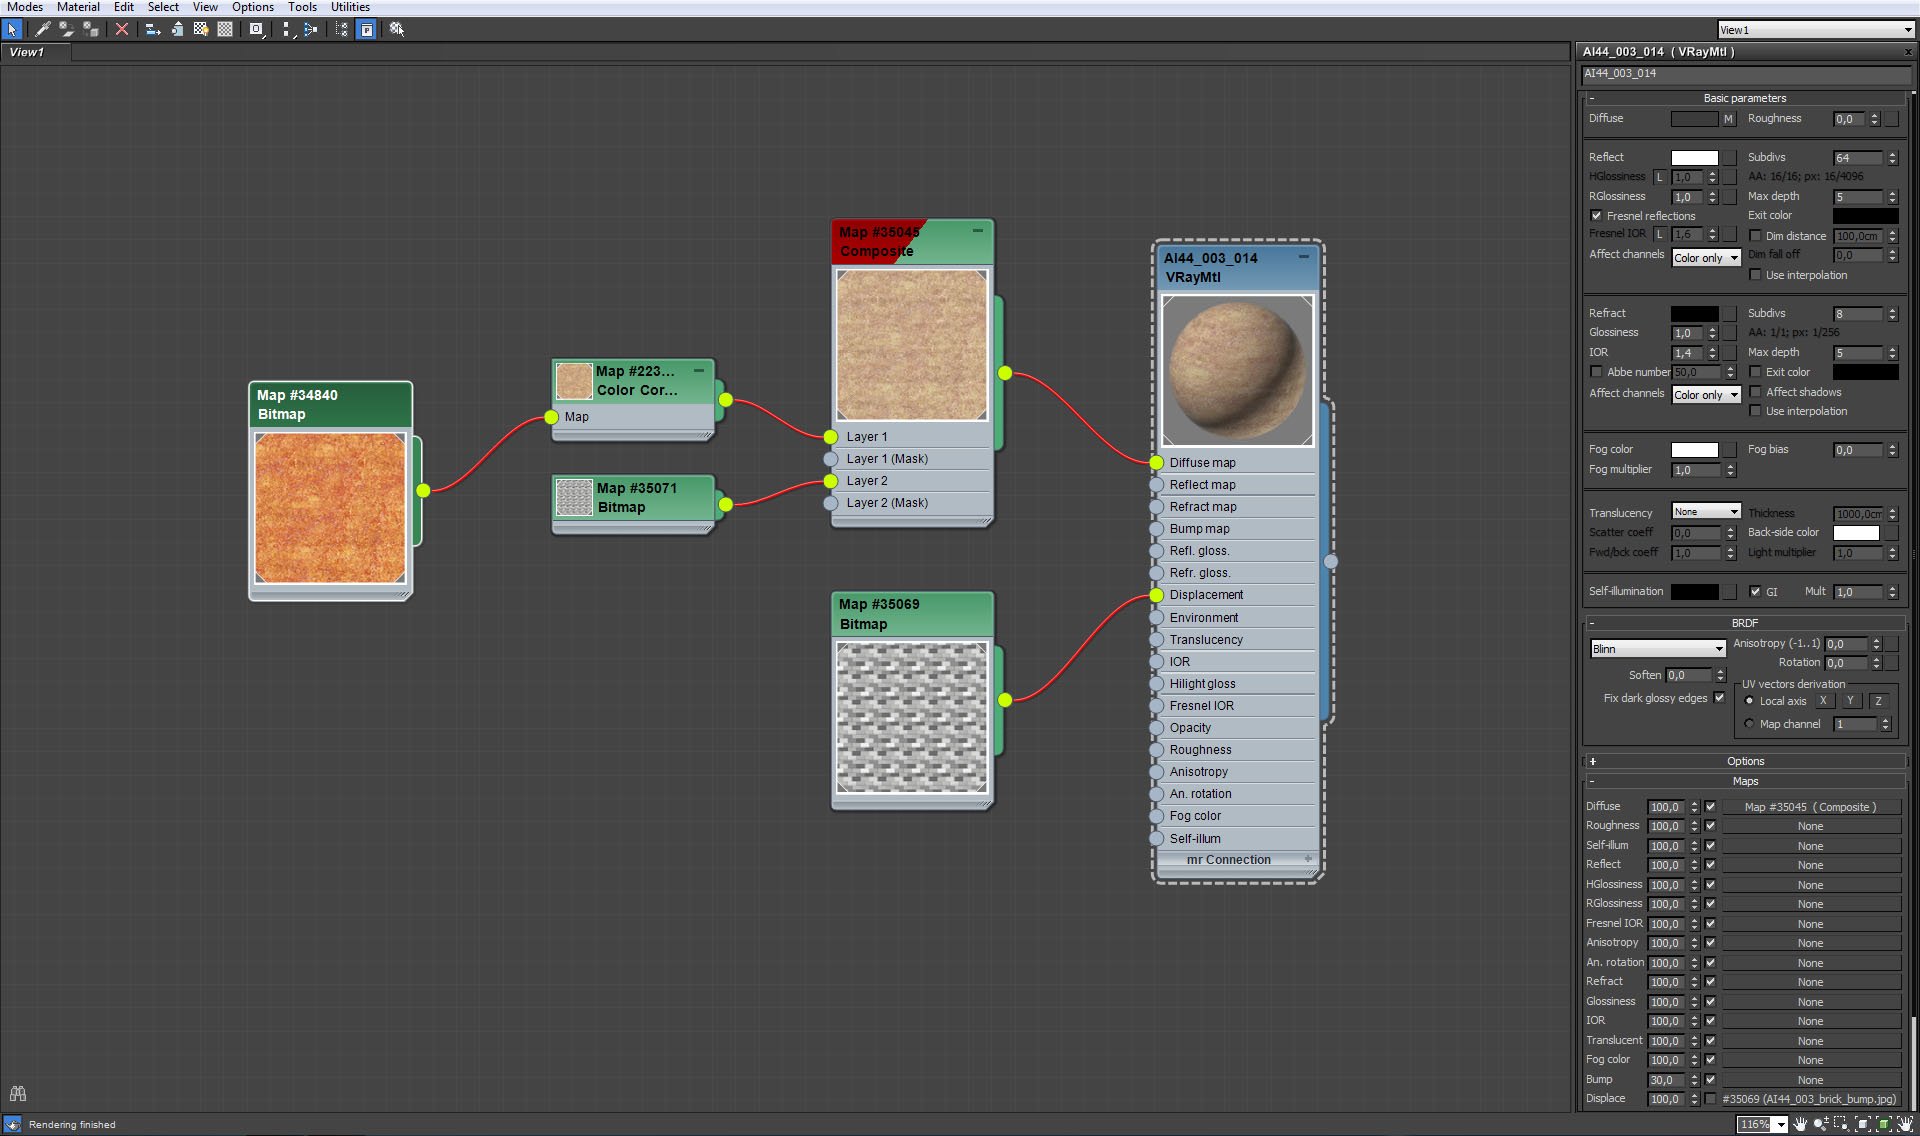
Floor ring material.
 

Click on image to enlargeAI44S03_0022_Layer_19_evermotion.jpg

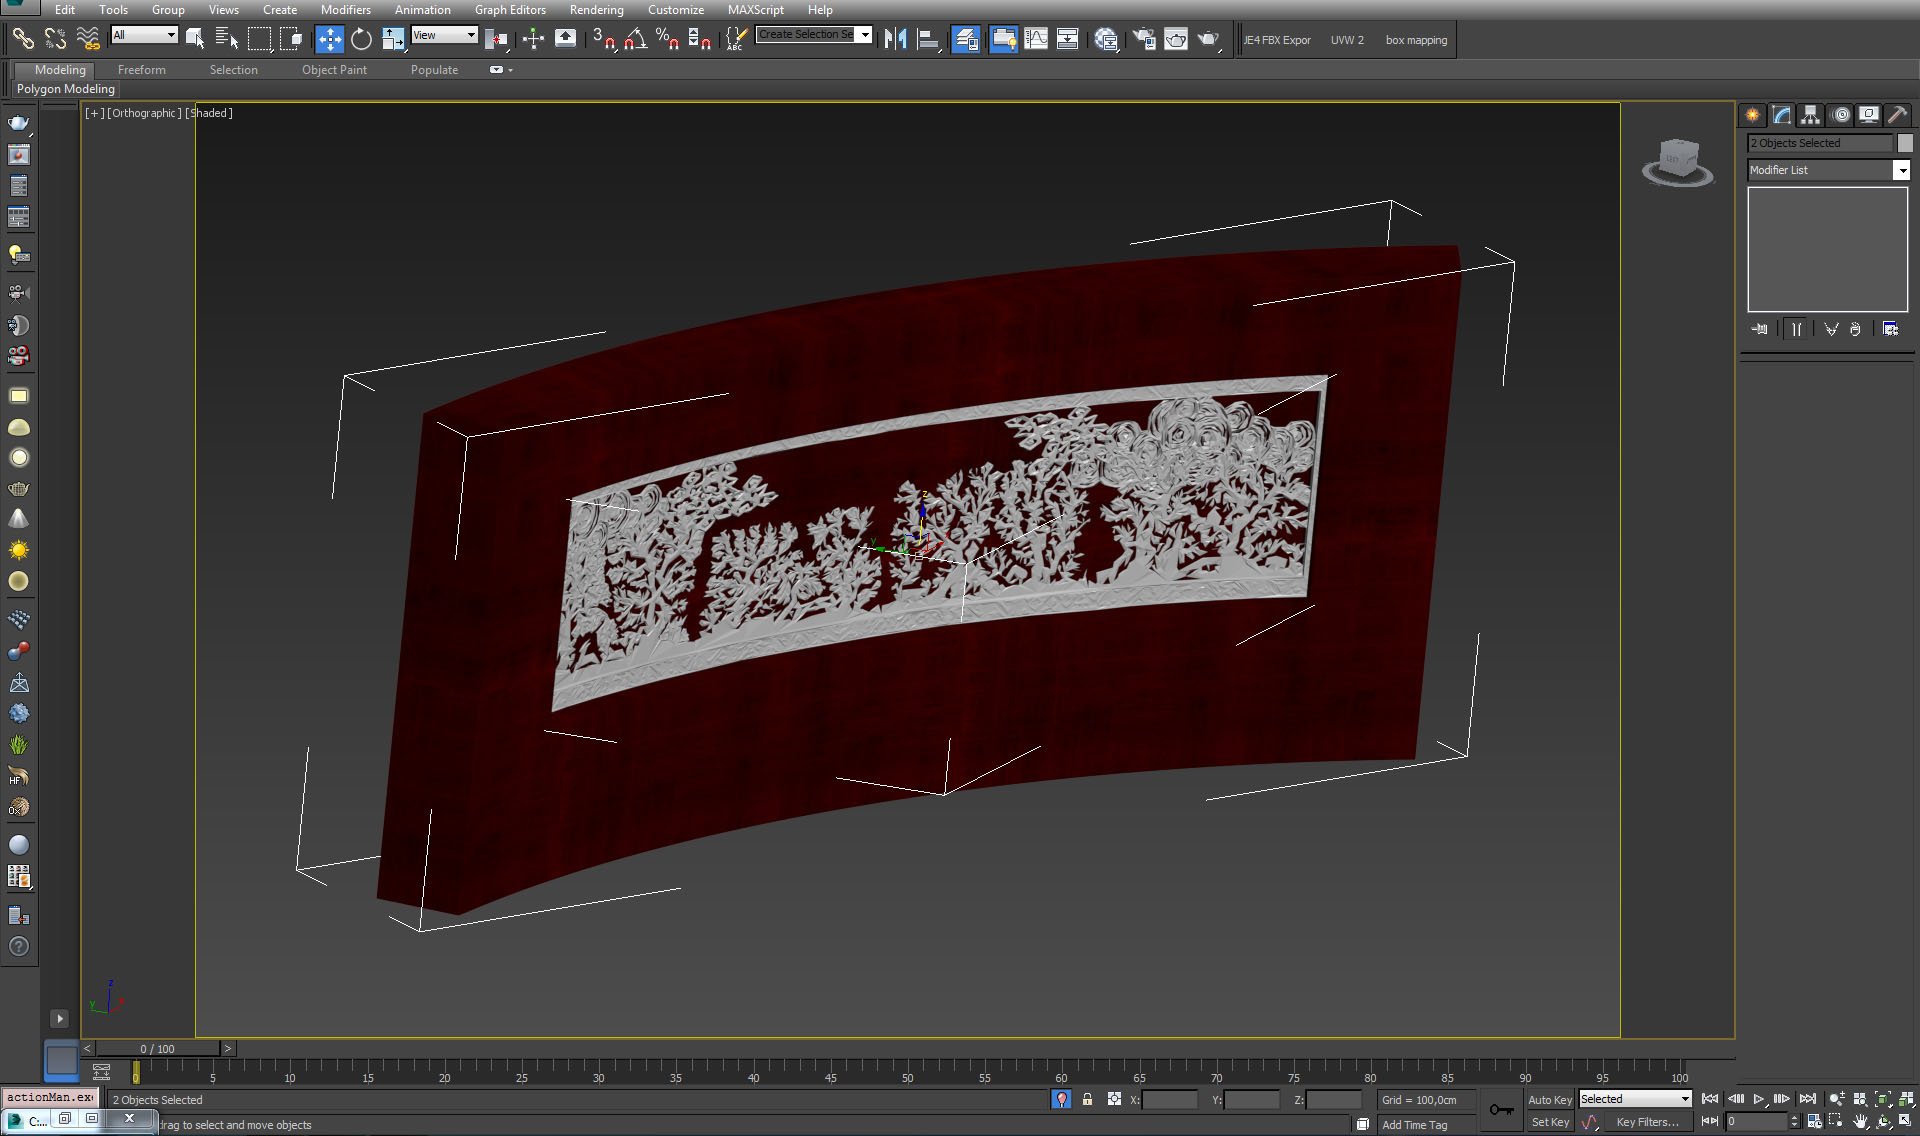
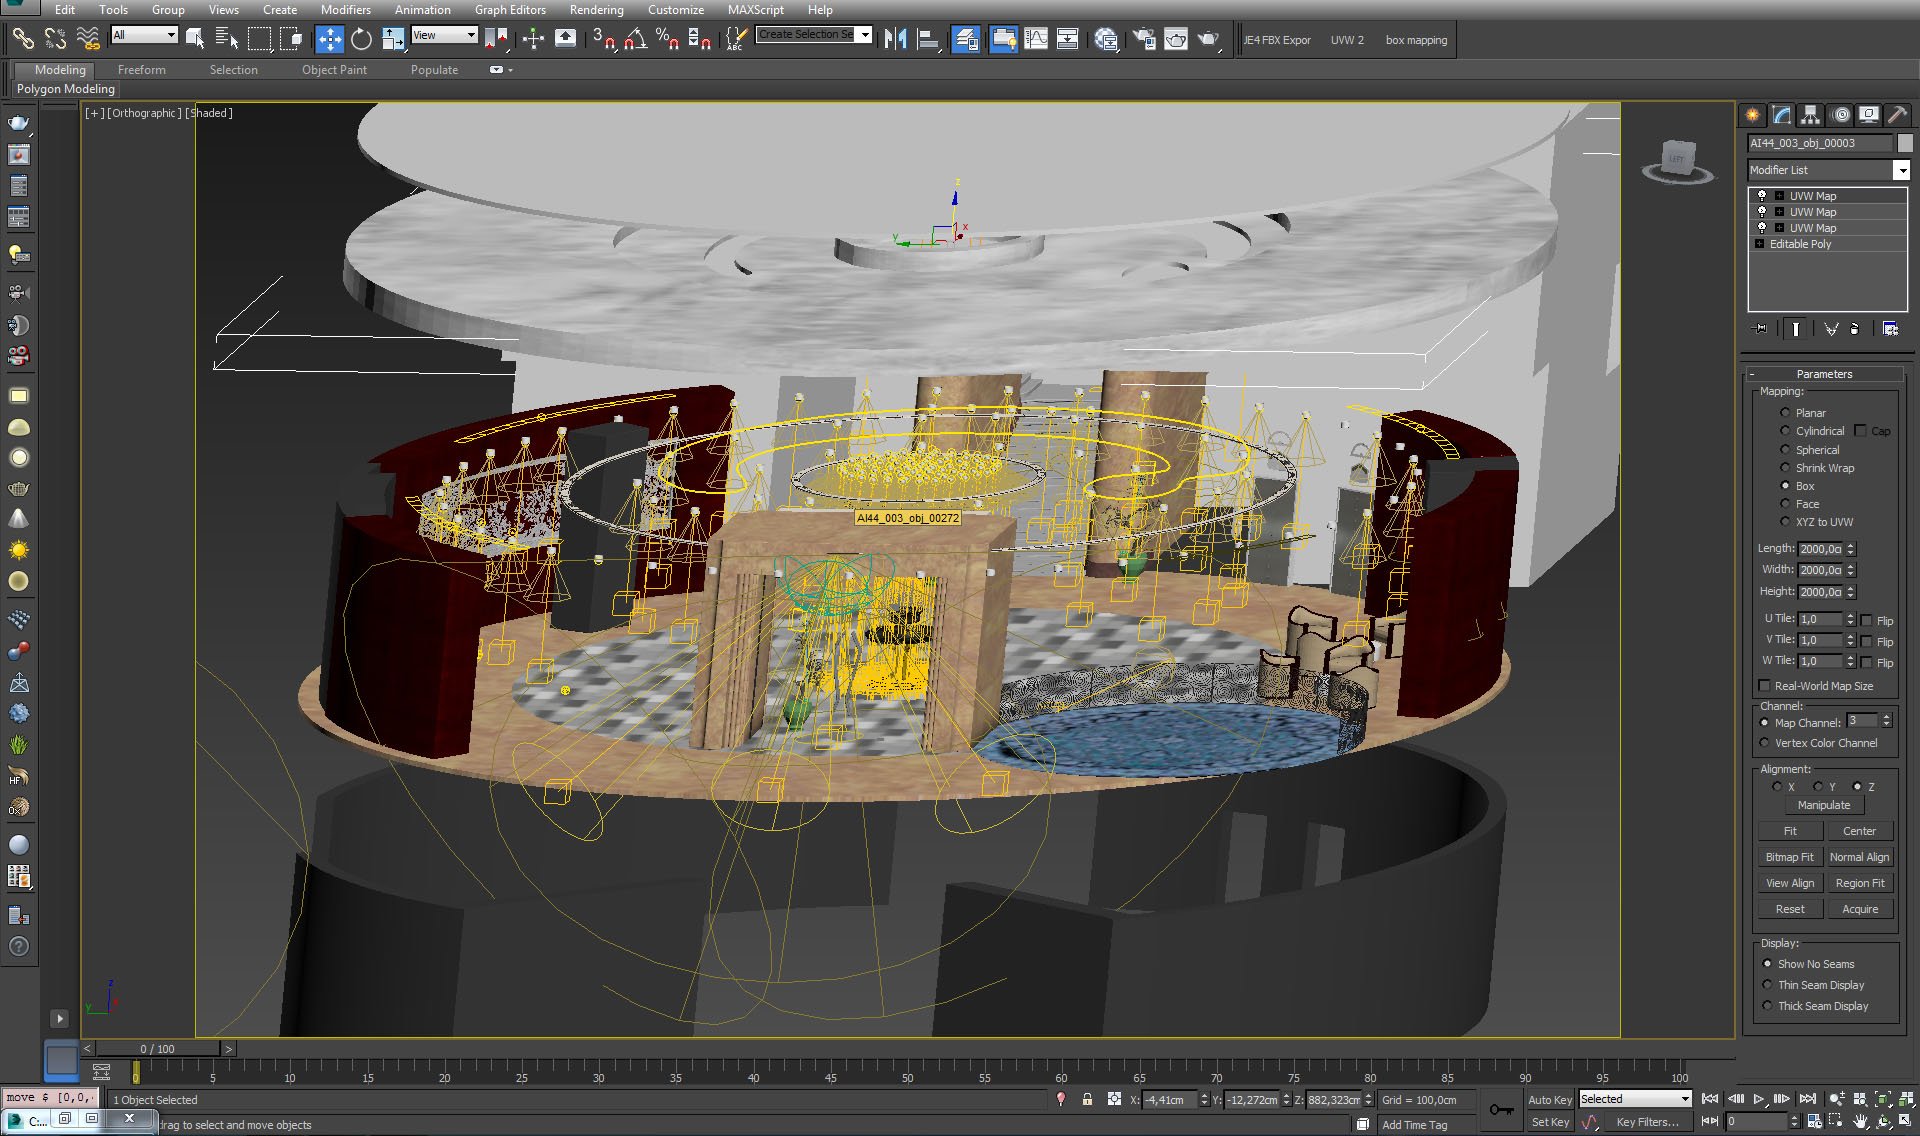
Decorative element.
 

Click on image to enlargeAI44S03_0021_Layer_20_evermotion.jpg

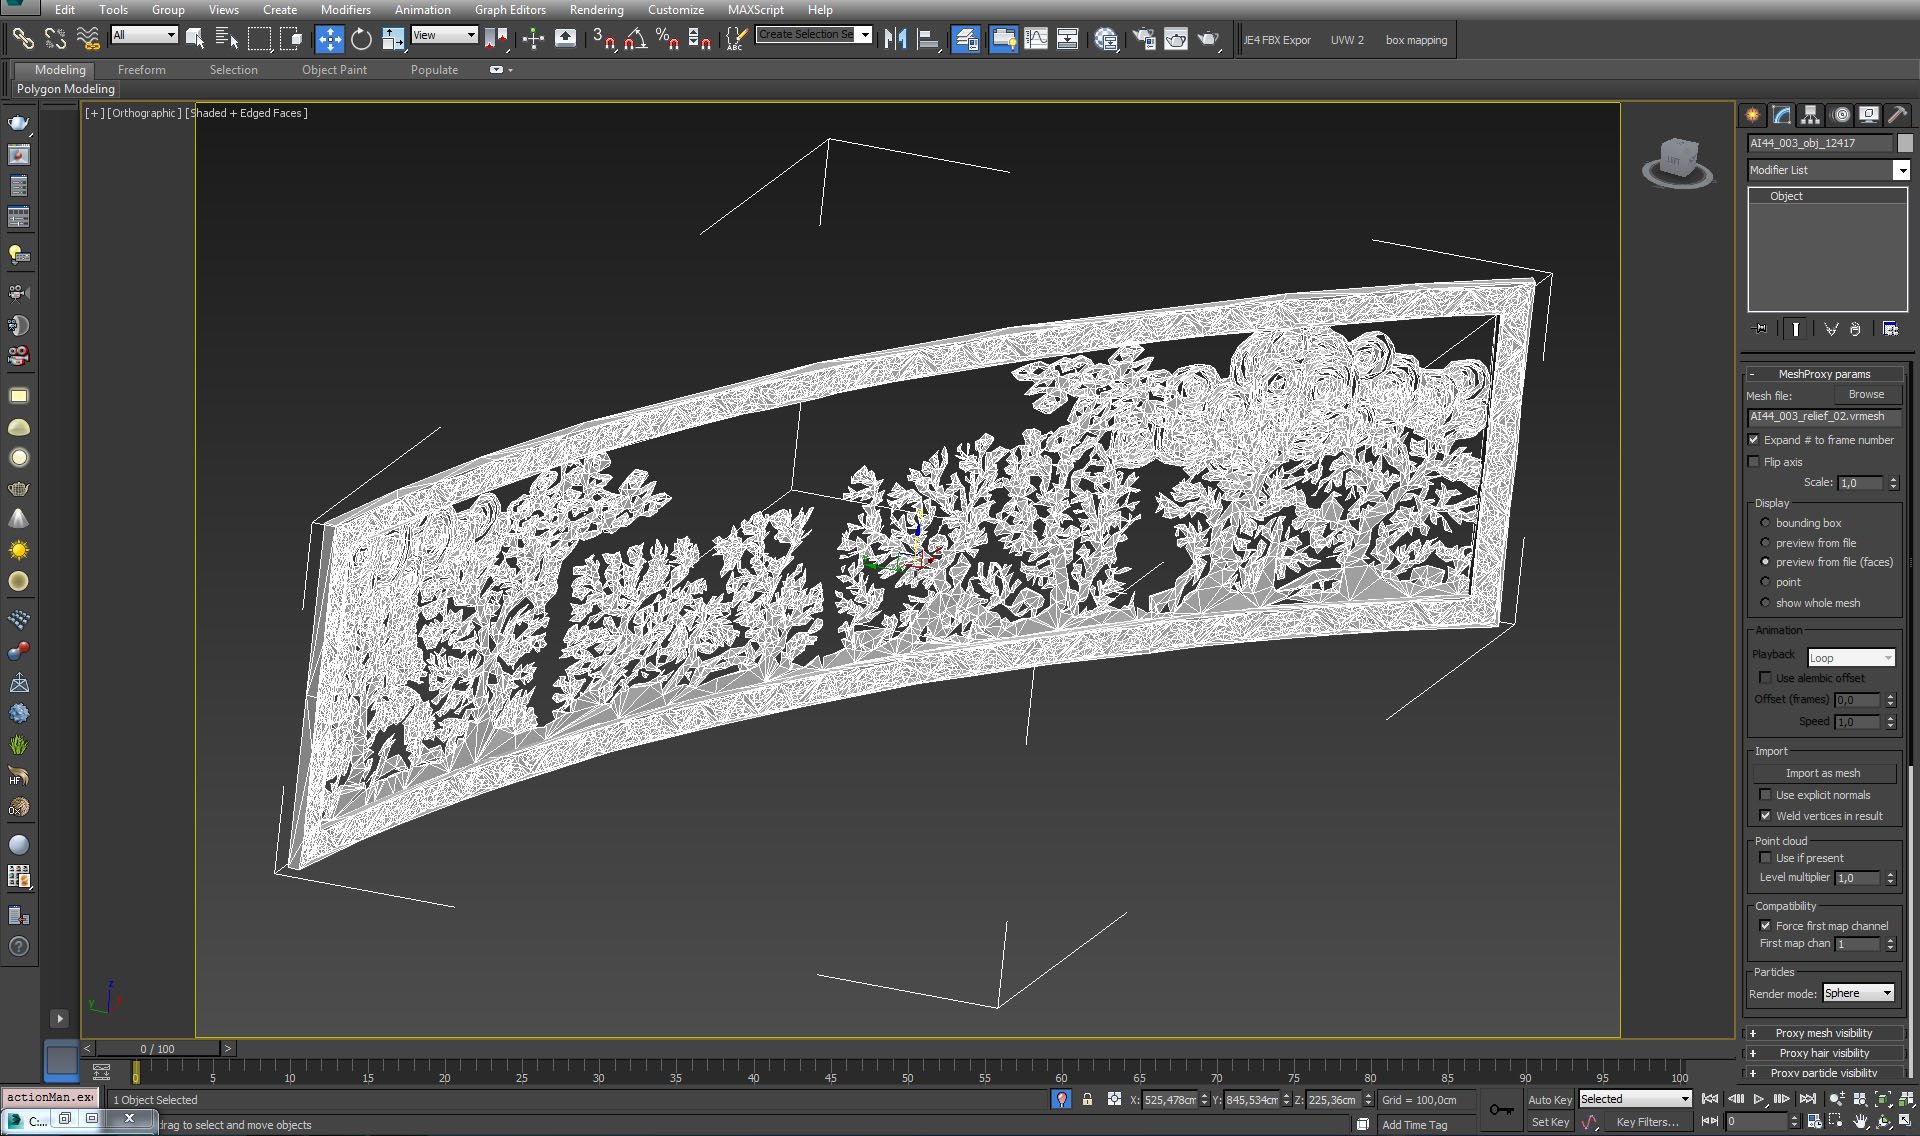
Relief mesh.
 

Click on image to enlargeAI44S03_0020_Layer_21_evermotion.jpg

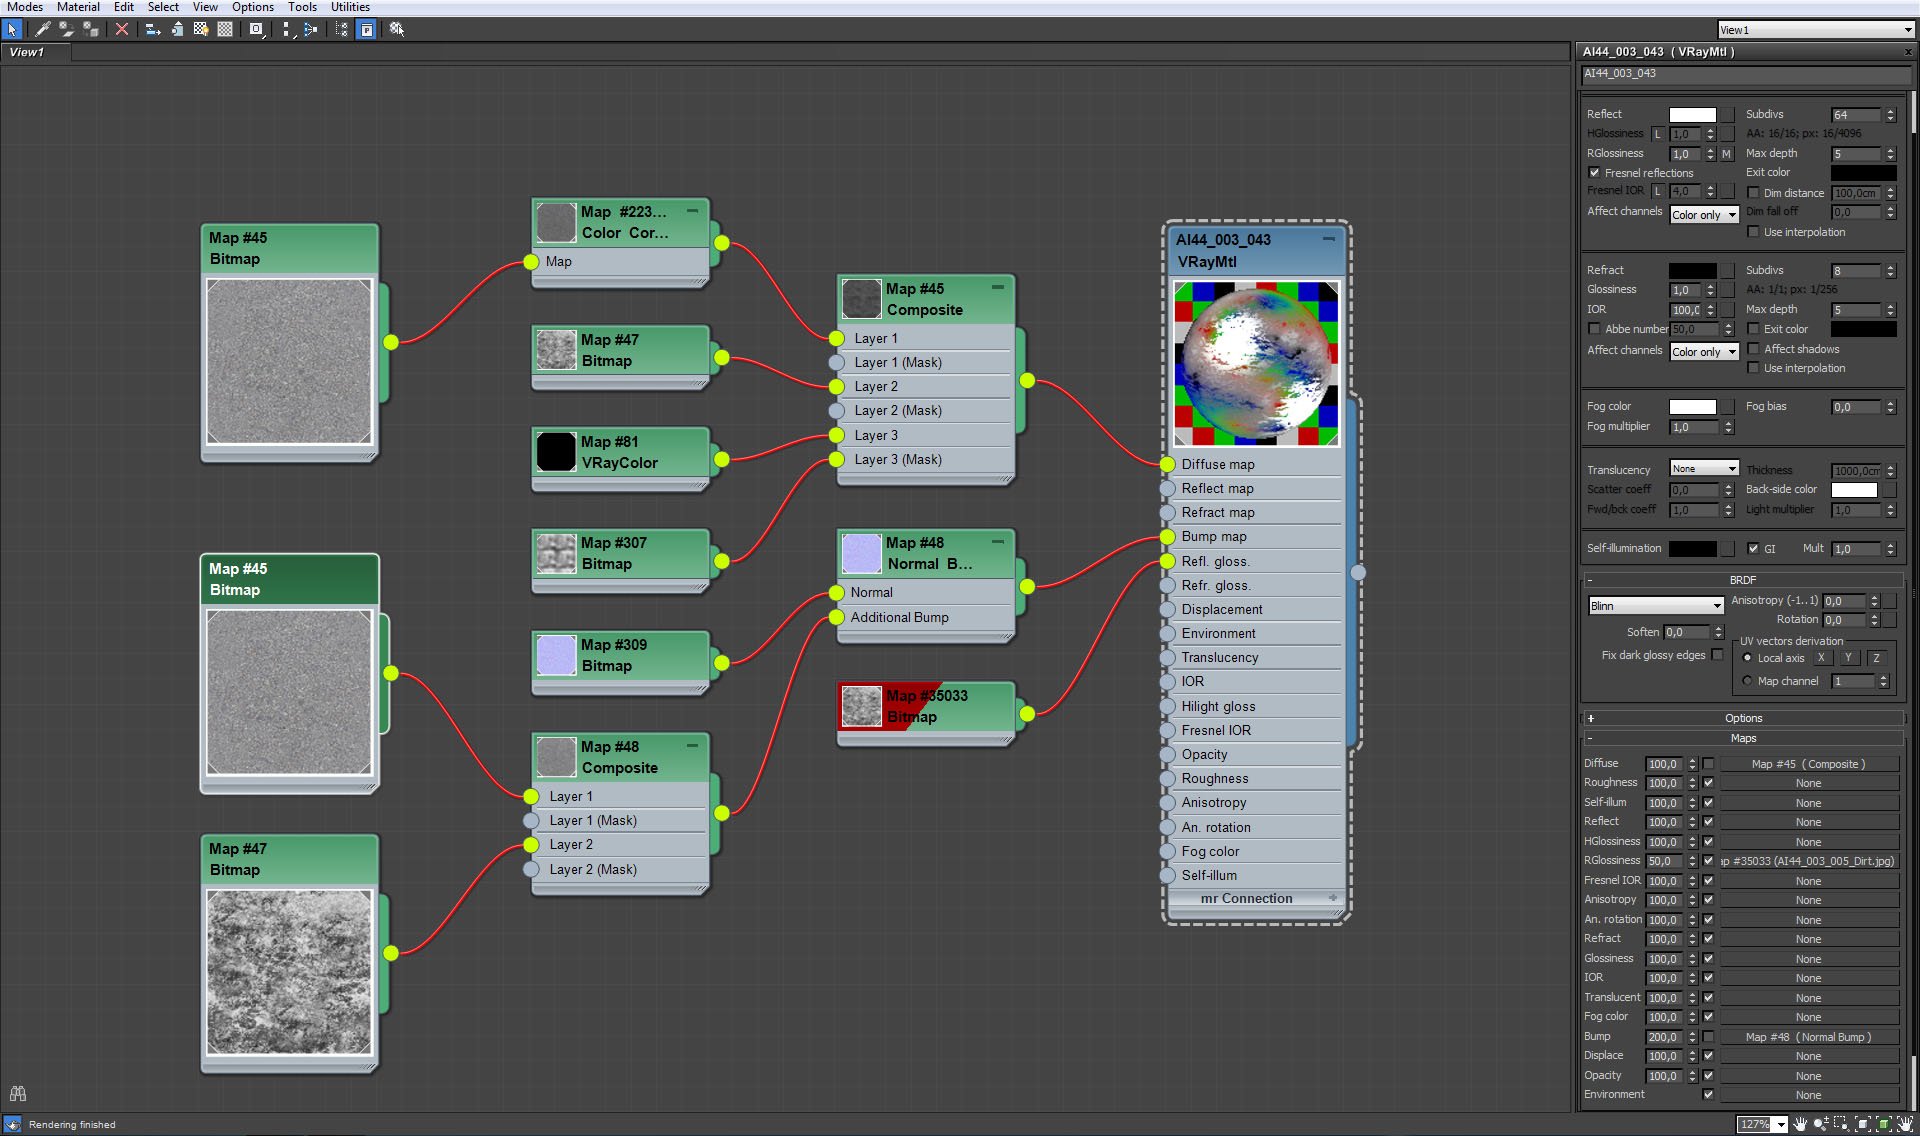
Decorative element material.
 

Click on image to enlargeAI44S03_0019_Layer_22_evermotion.jpg

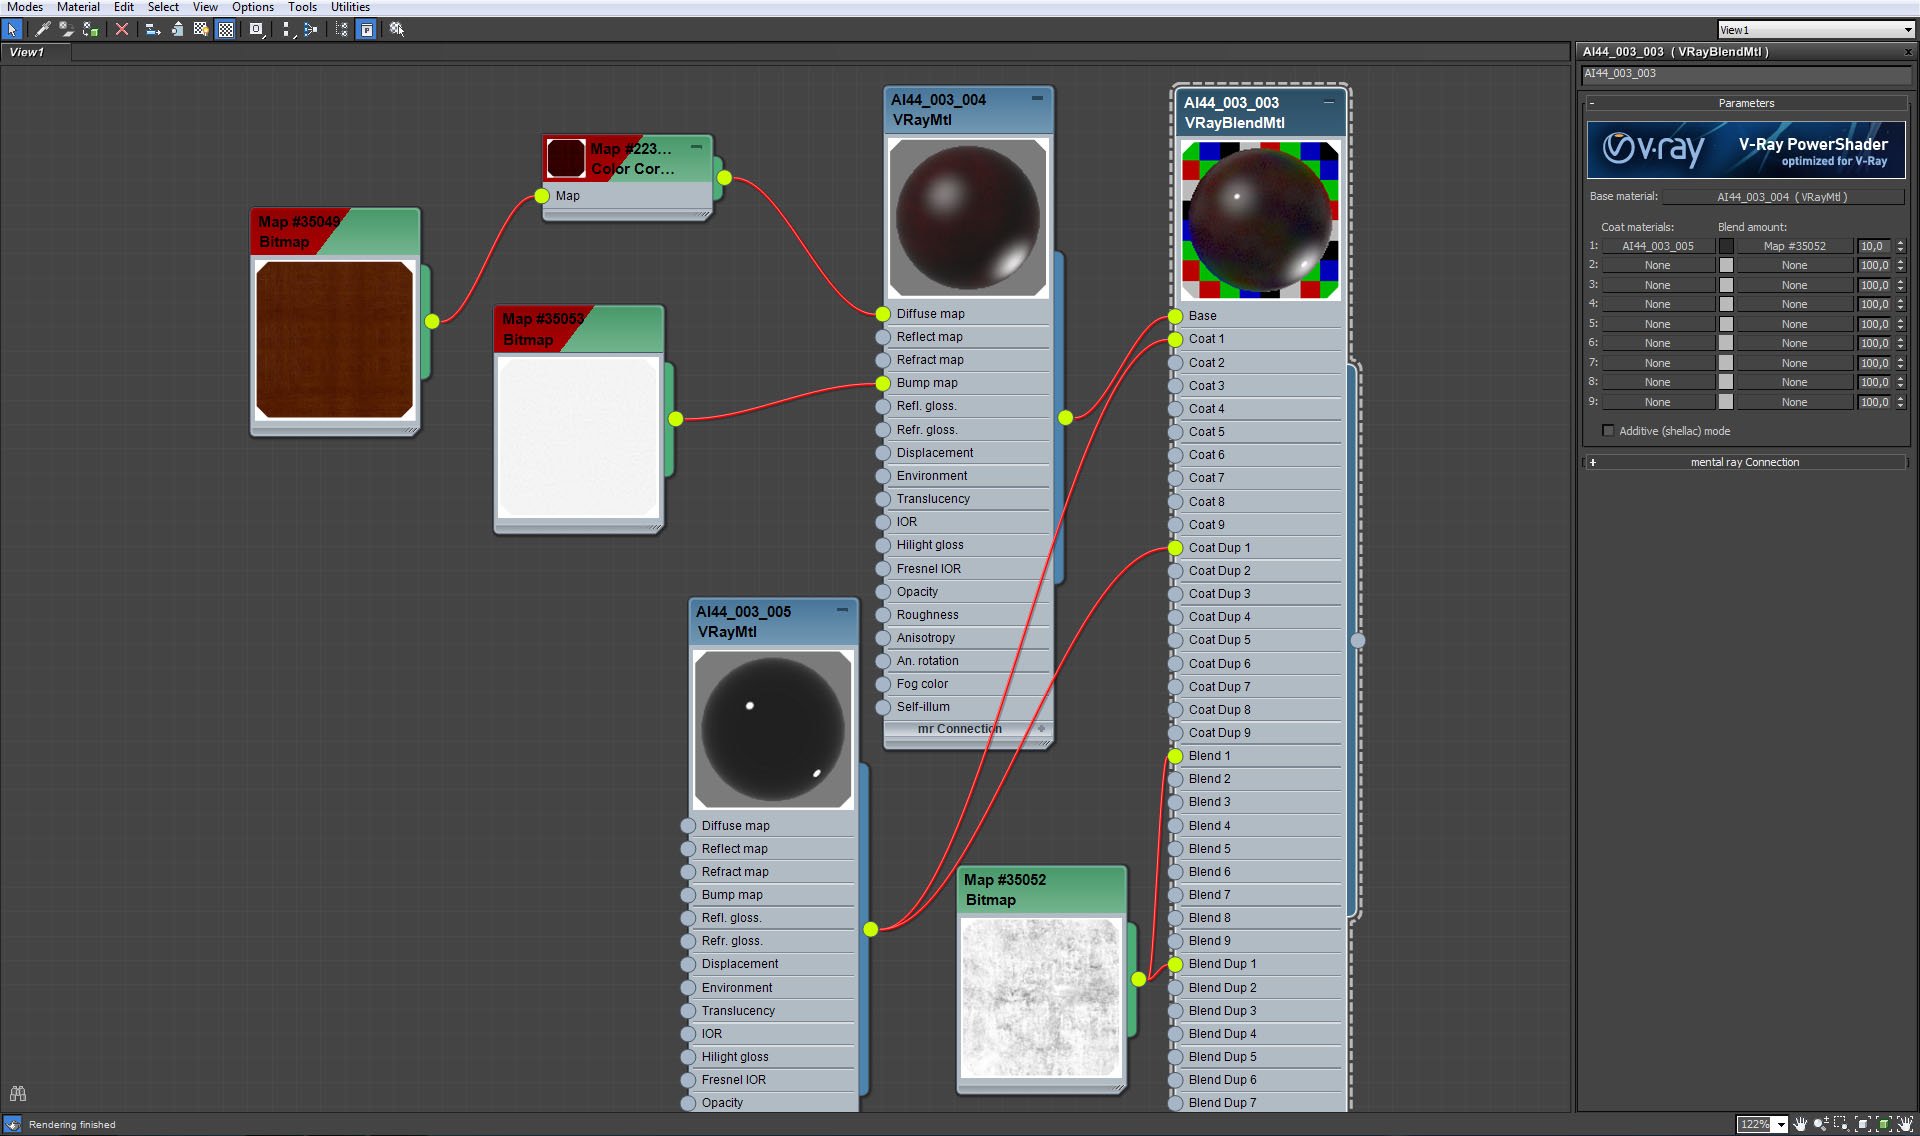
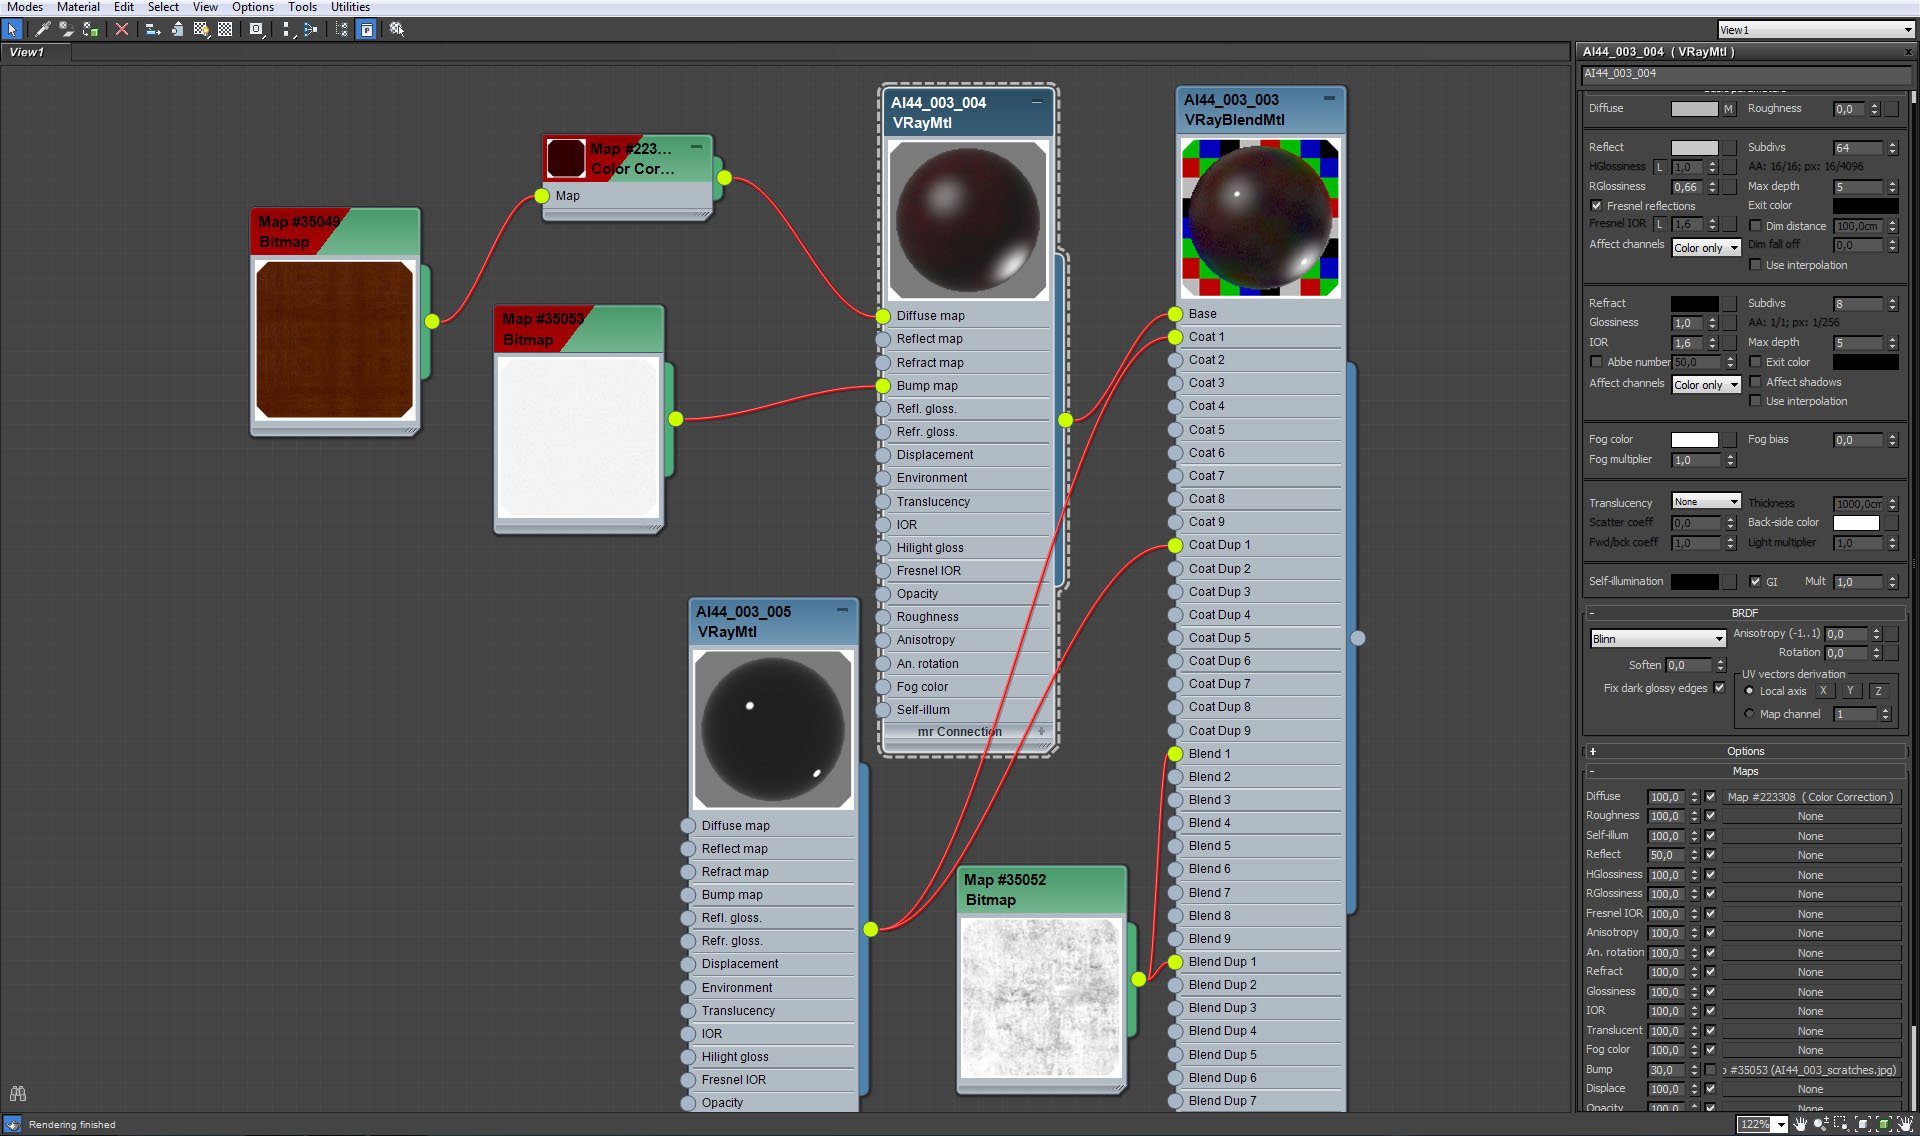
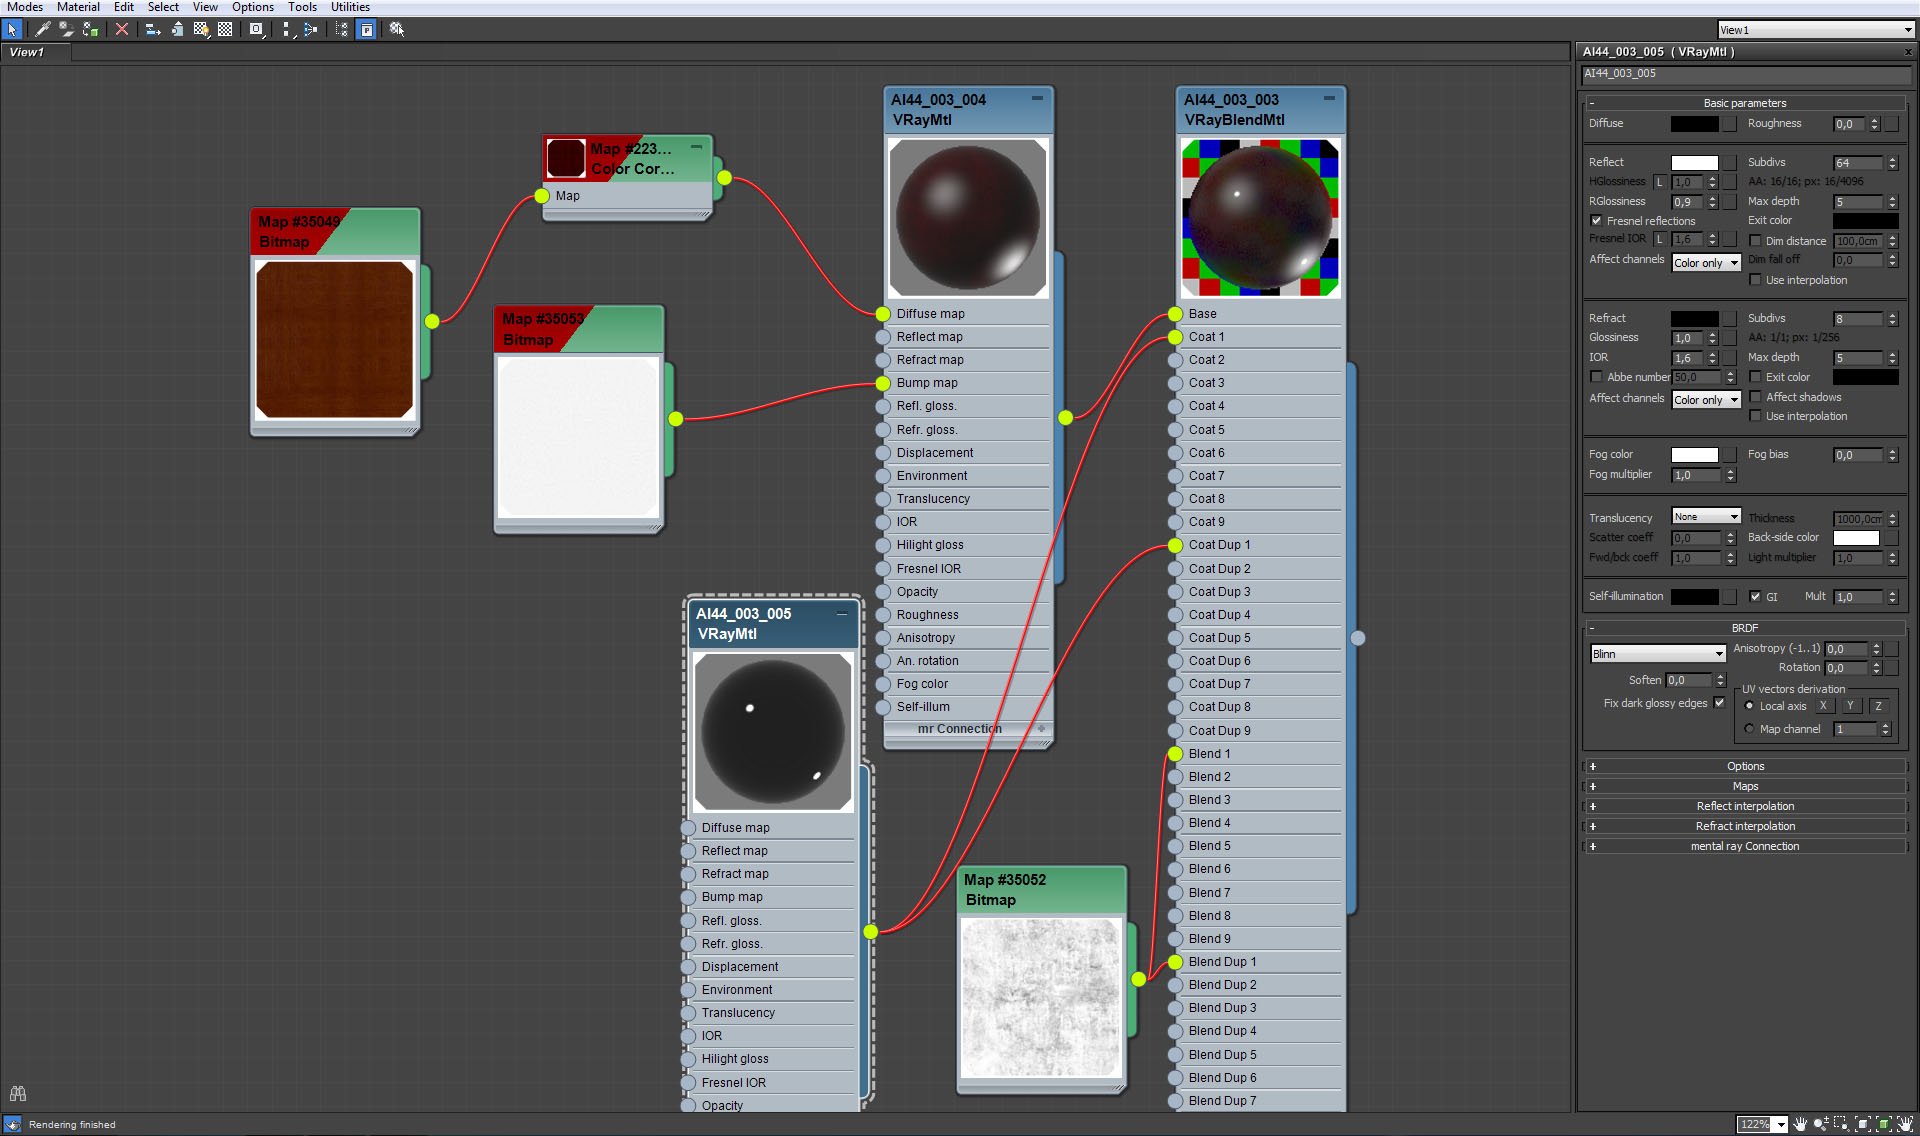
Vray Material settings.
 

Click on image to enlargeAI44S03_0018_Layer_23_evermotion.jpg

Coat material settings.
 

Click on image to enlargeAI44S03_0016_Layer_25_evermotion.jpg

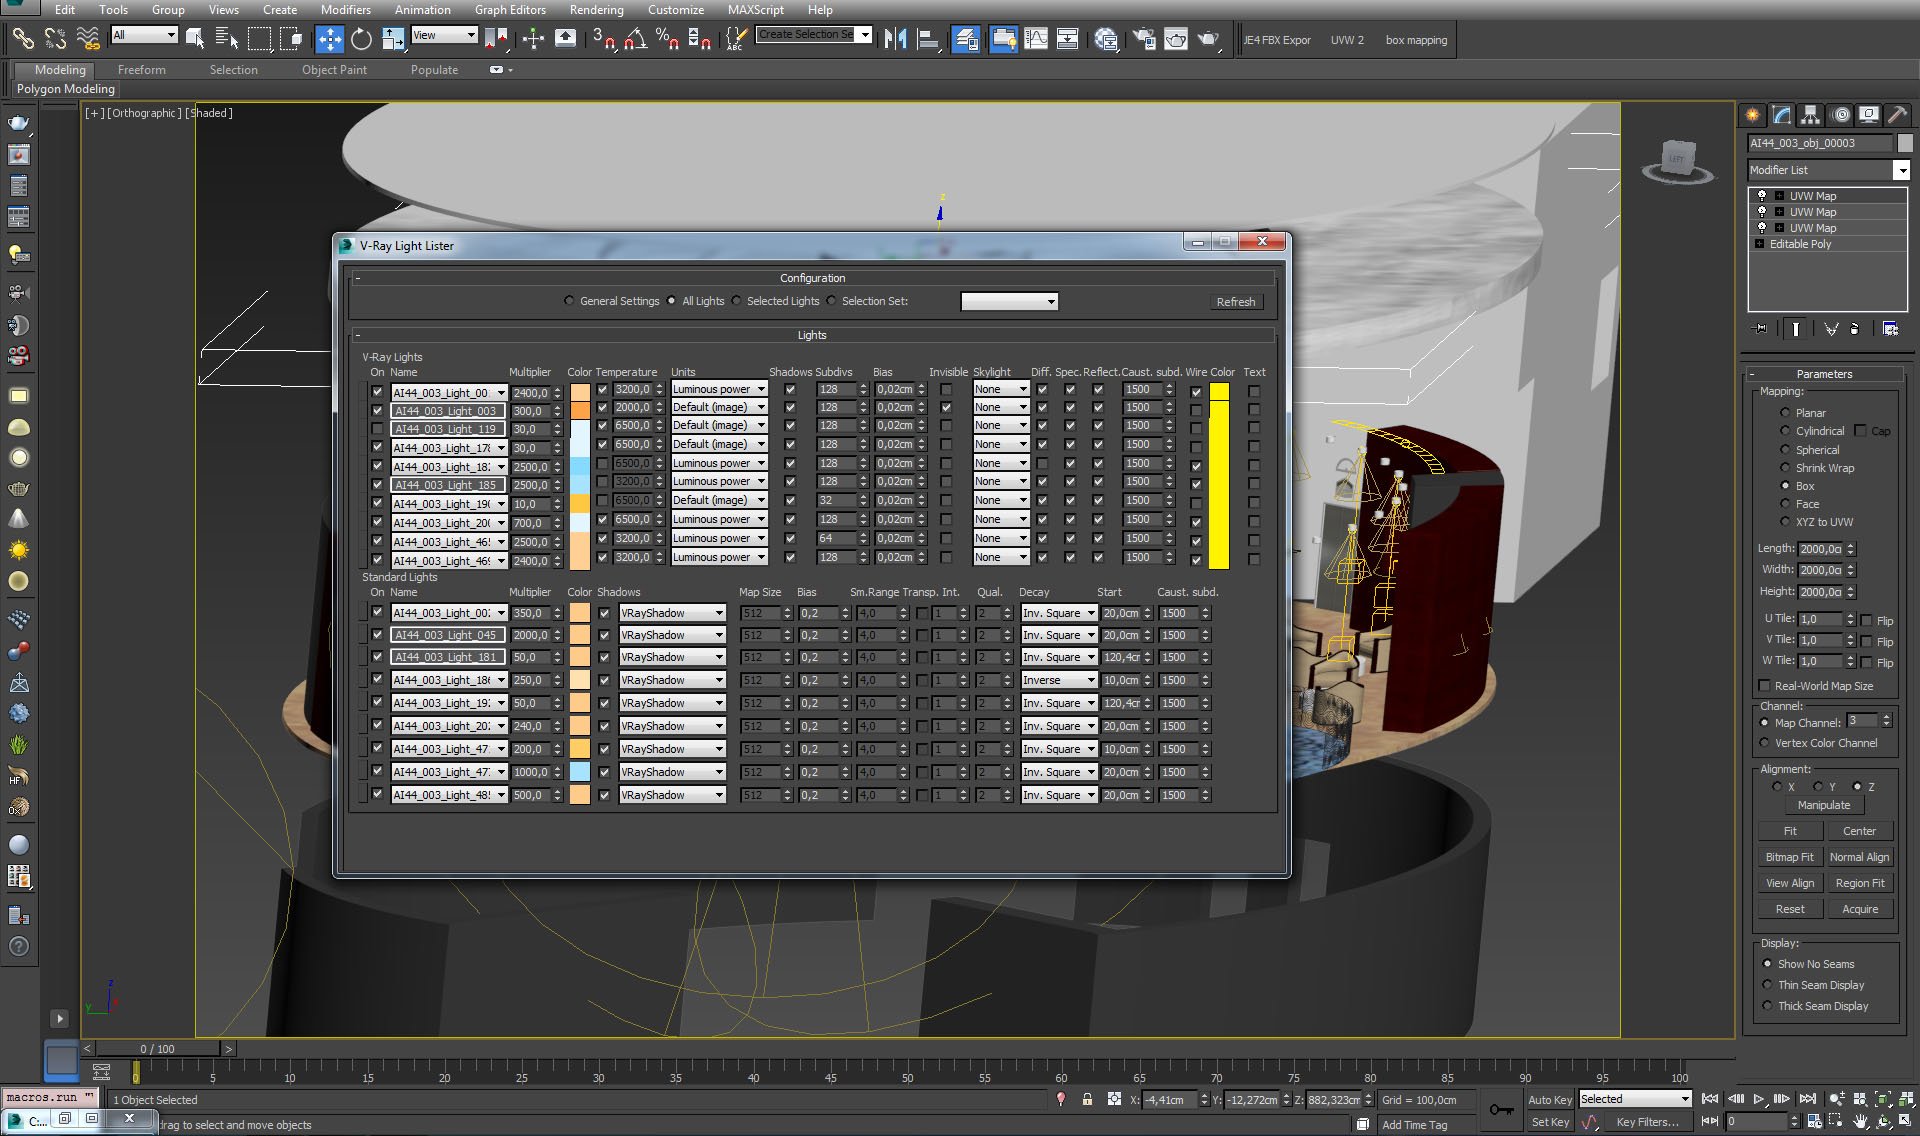
there are many lights in the scene. we included ceiling lights, chandelier lights and  a mesh light that is placed in hanging ceiling.
 

Click on image to enlargeAI44S03_0015_Layer_26_evermotion.jpg

Vray light lister.
 

Click on image to enlargeAI44S03_0014_Layer_27_evermotion.jpg

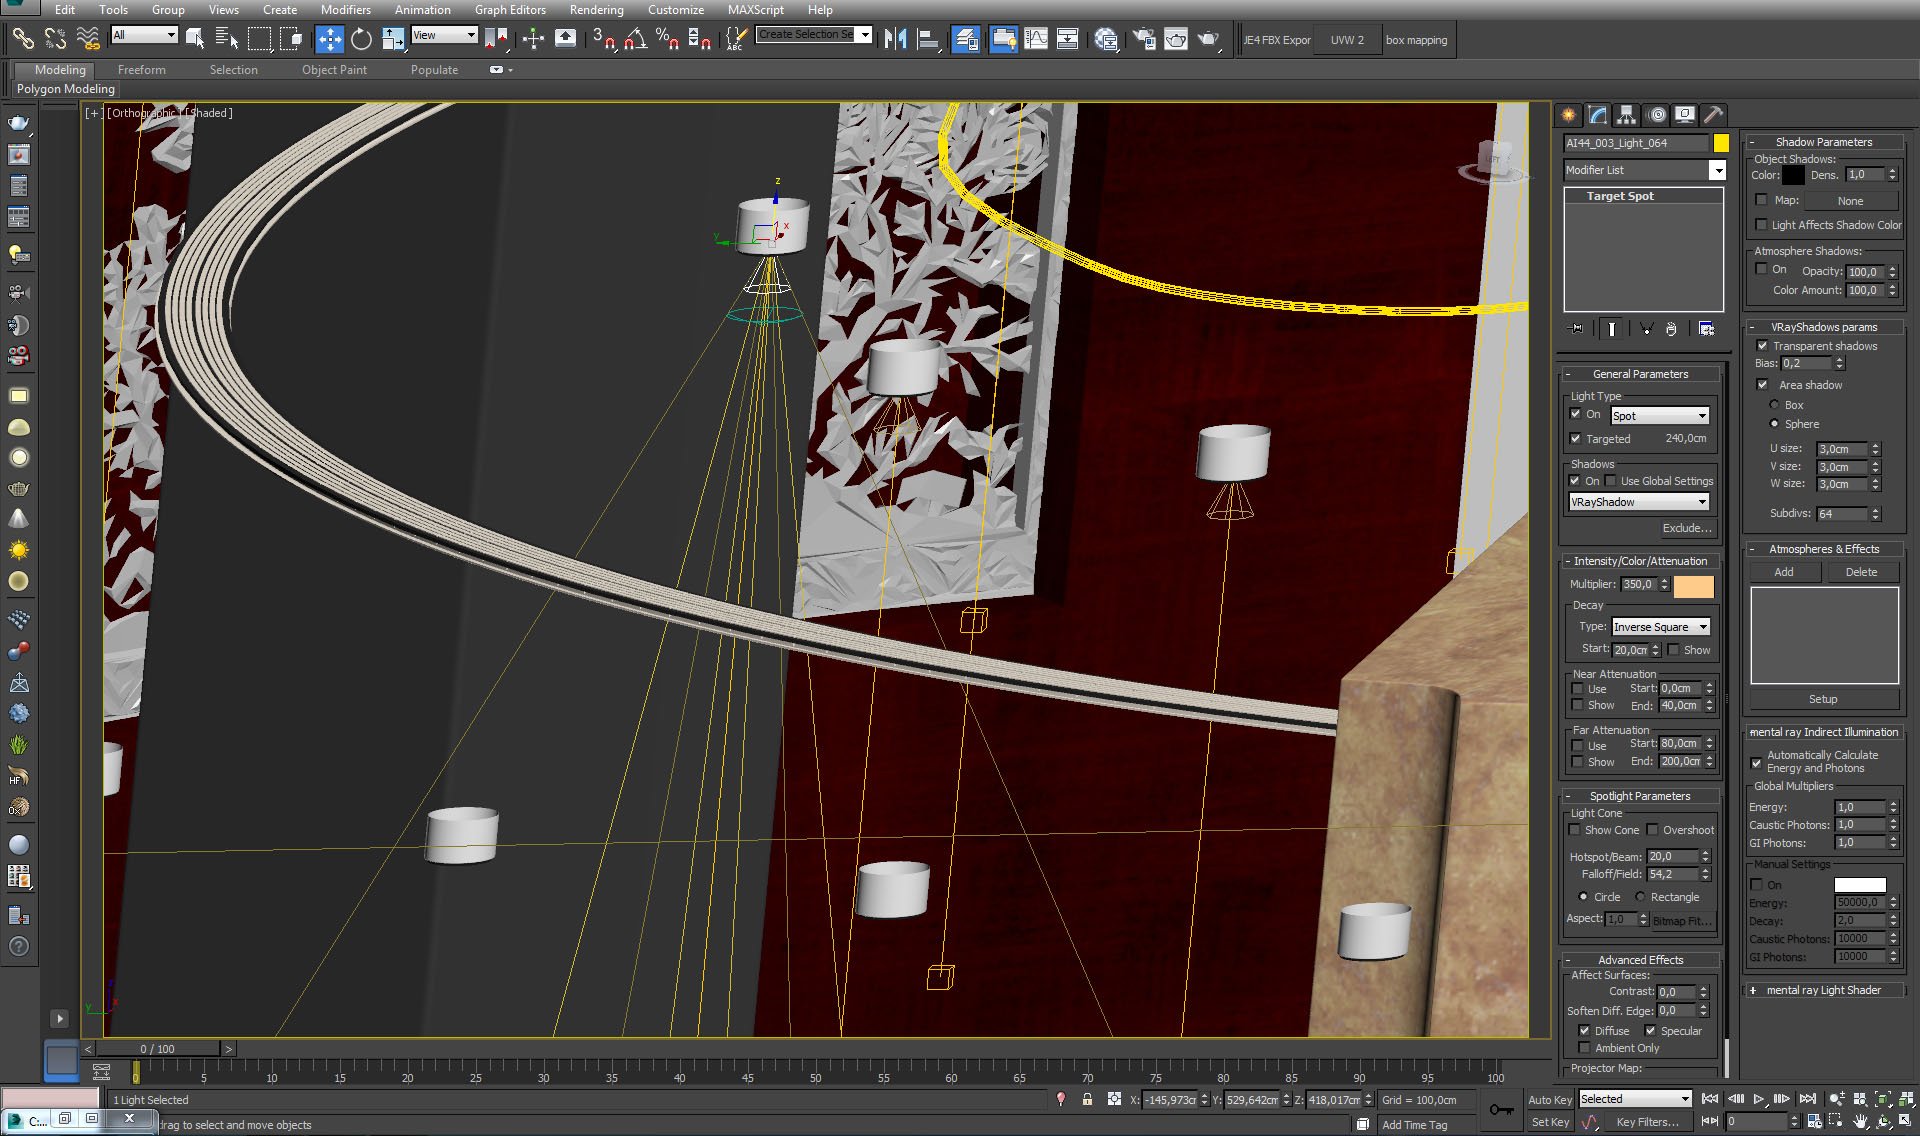
Halogen lamp settings.
 

Click on image to enlargeAI44S03_0013_Layer_28_evermotion.jpg

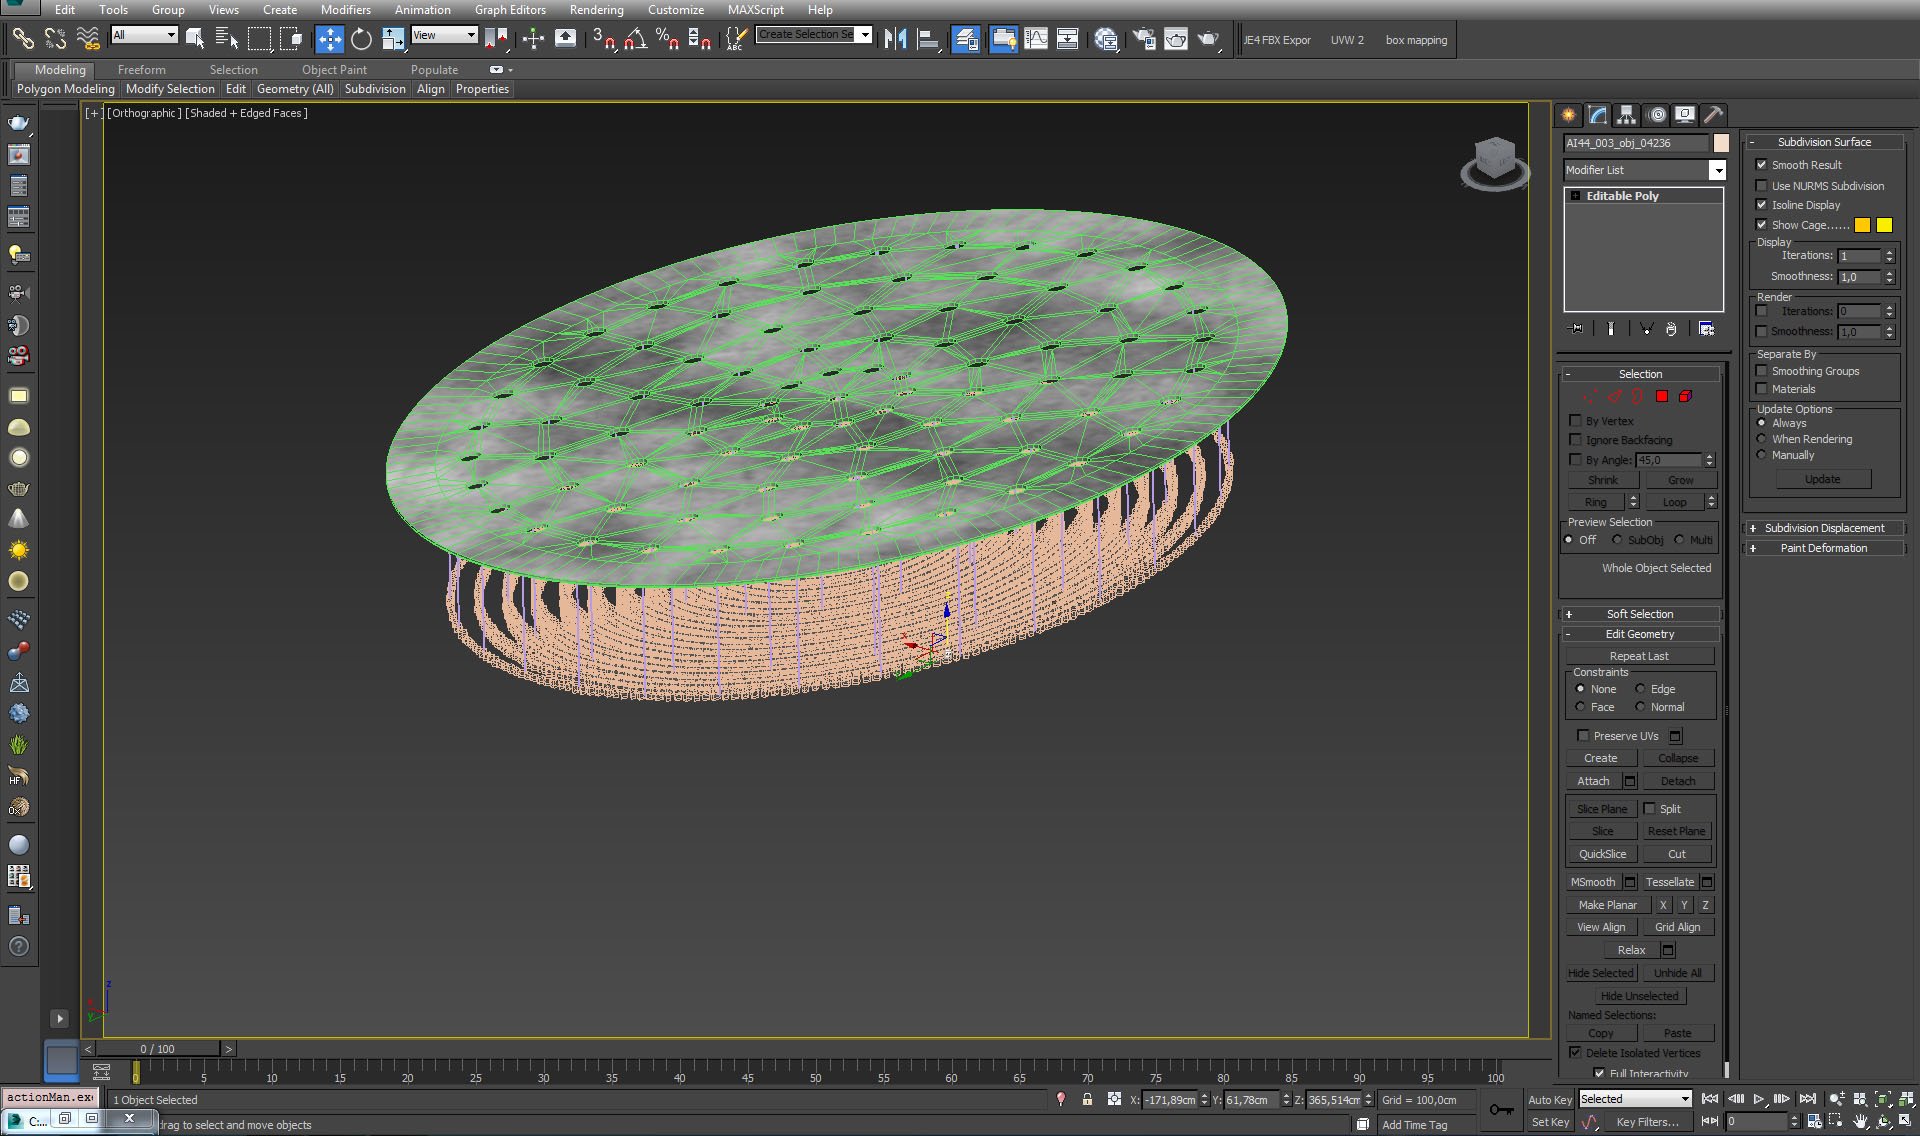
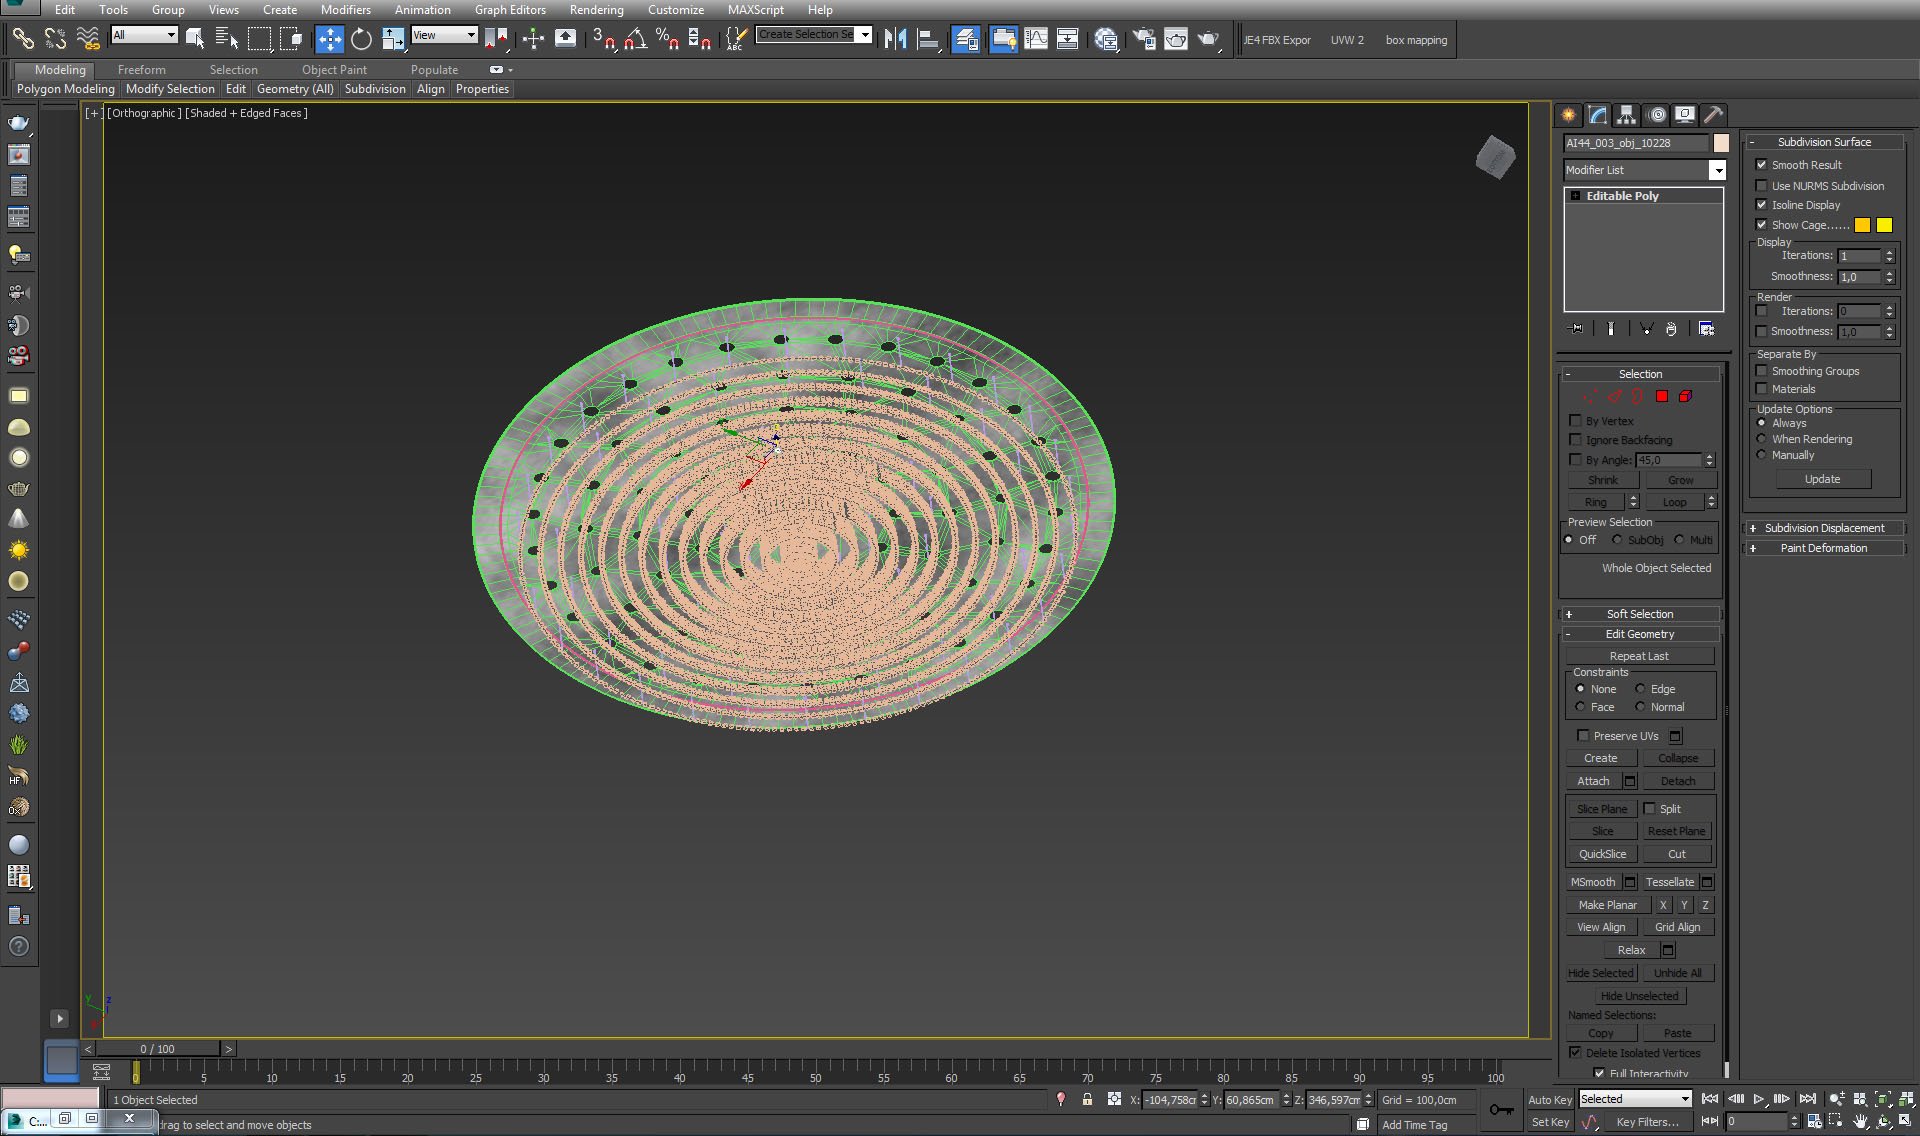
Chandelier mesh.
 

Click on image to enlargeAI44S03_0012_Layer_29_evermotion.jpg

Chandelier mesh - second view.
 

Click on image to enlargeAI44S03_0011_Layer_30_evermotion.jpg

Chandelier mesh, close-up.
 

Click on image to enlargeAI44S03_0010_Layer_31_evermotion.jpg

Chandelier base.
 

Click on image to enlargeAI44S03_0009_Layer_32_evermotion.jpg

Chandelier base is made of glass-like material.
 

Click on image to enlargeAI44S03_0007_Layer_34_evermotion.jpg

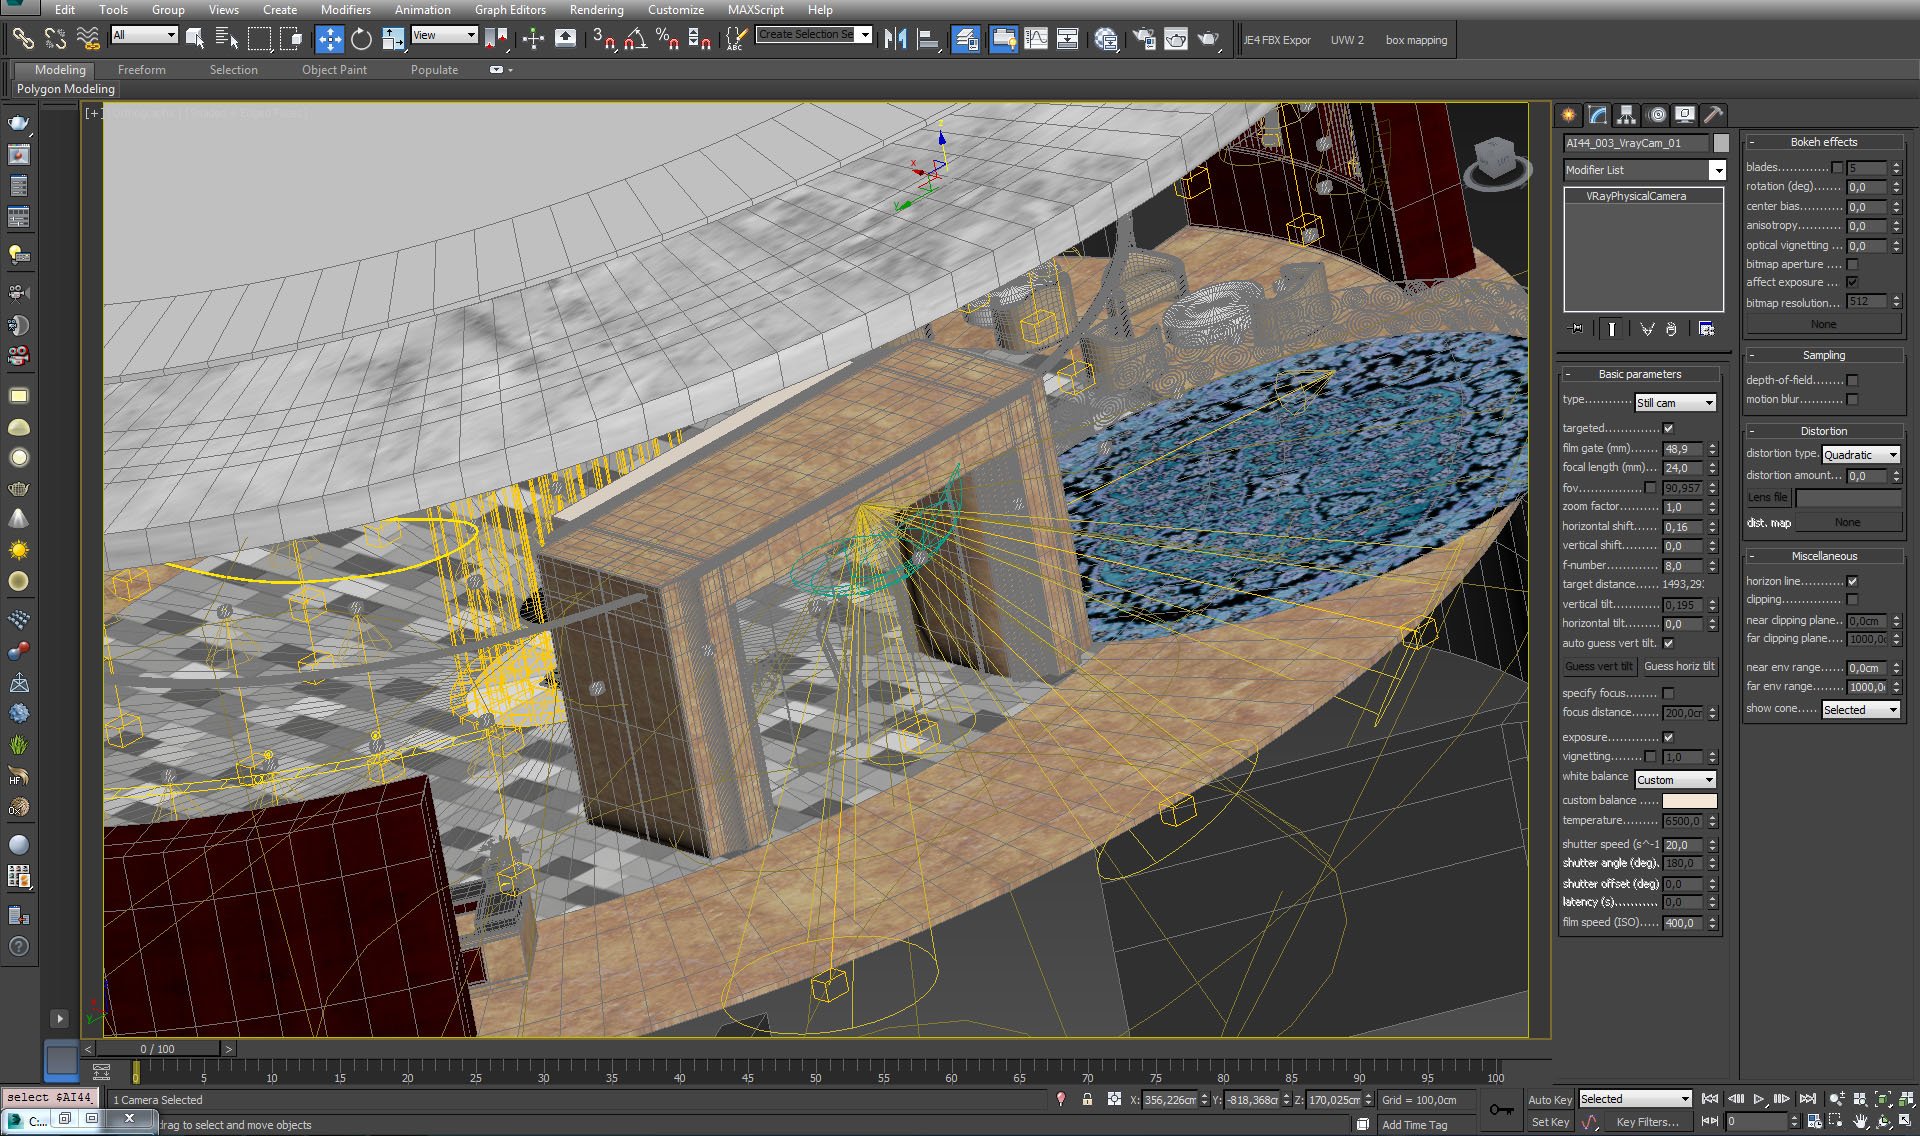
Camera 1 settings.


Click on image to enlargeAI44S03_0008_Layer_33_evermotion.jpg

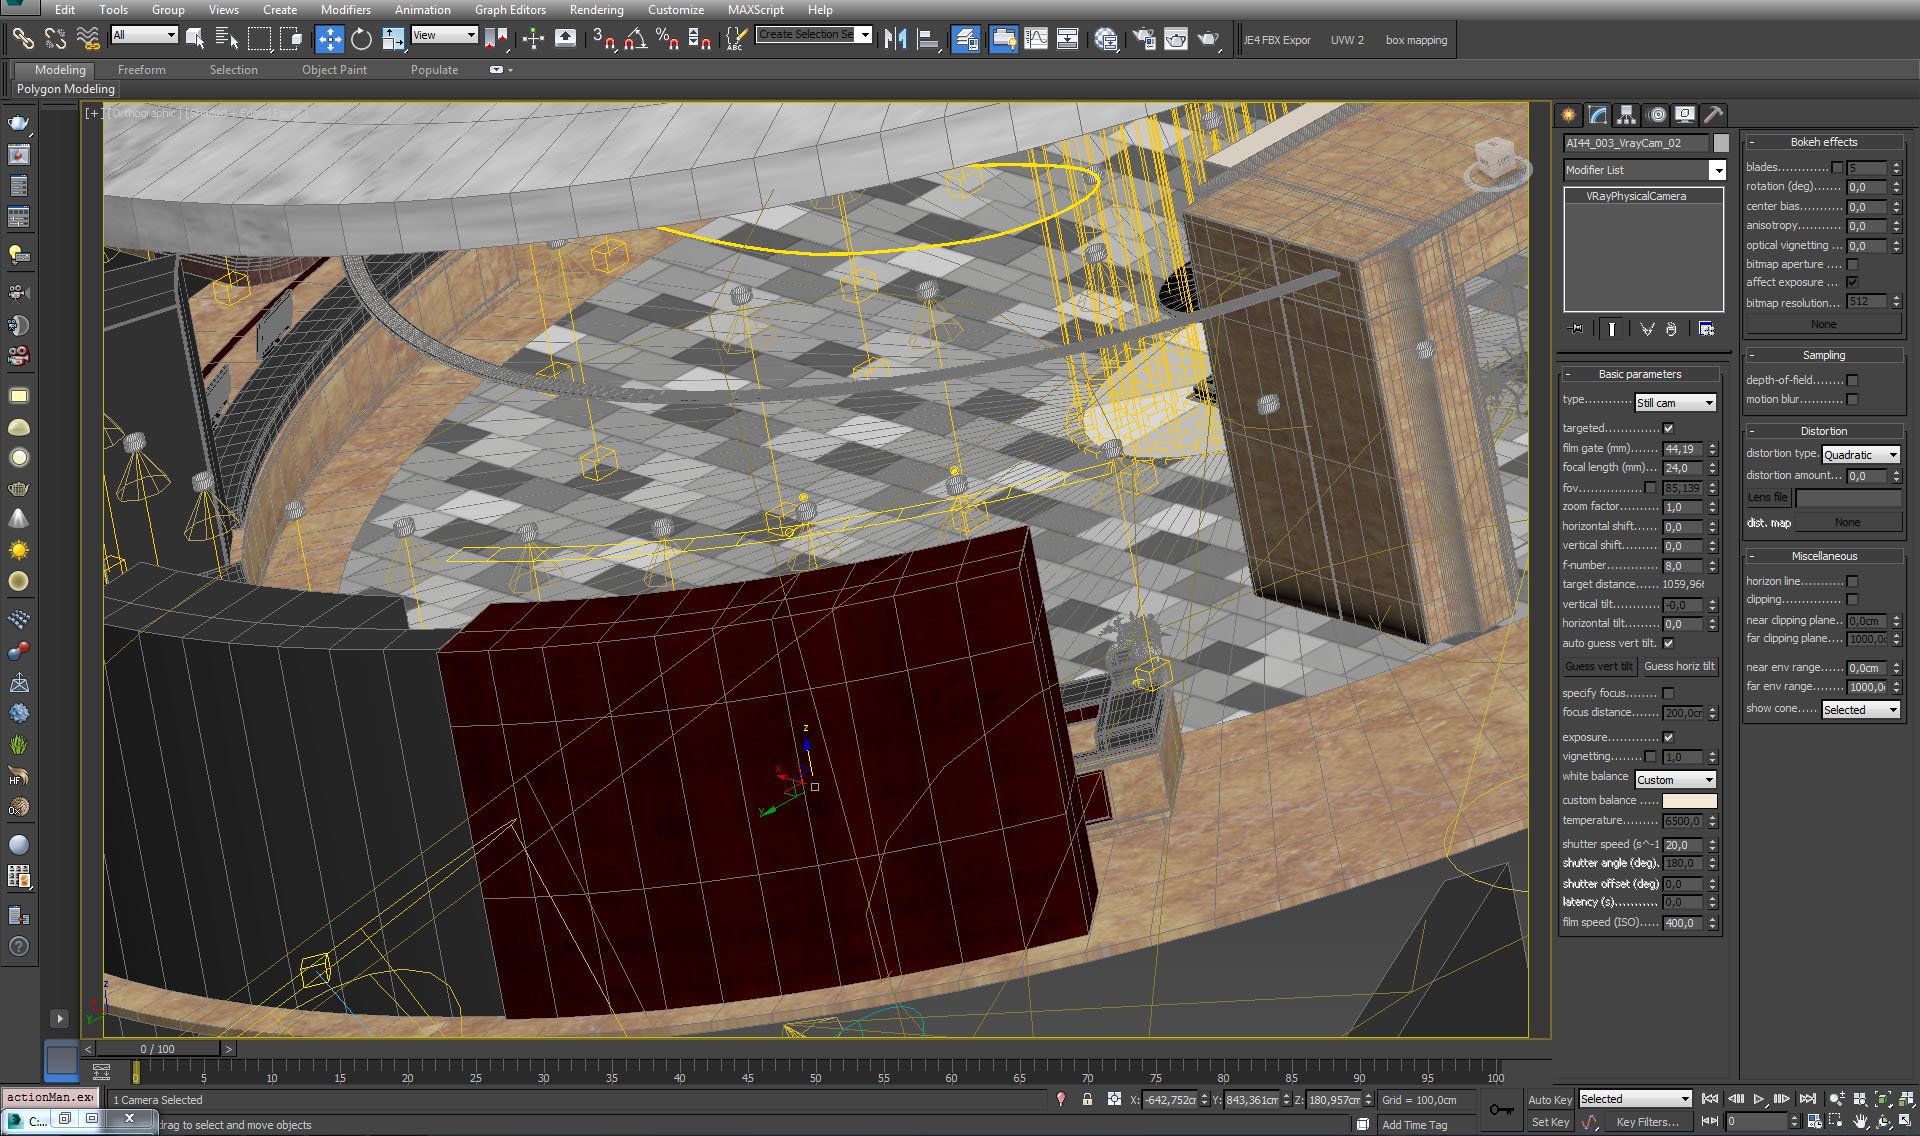
Camera 2 settings.
 

Click on image to enlargeai44_s03_render_settings_evermotion.jpg

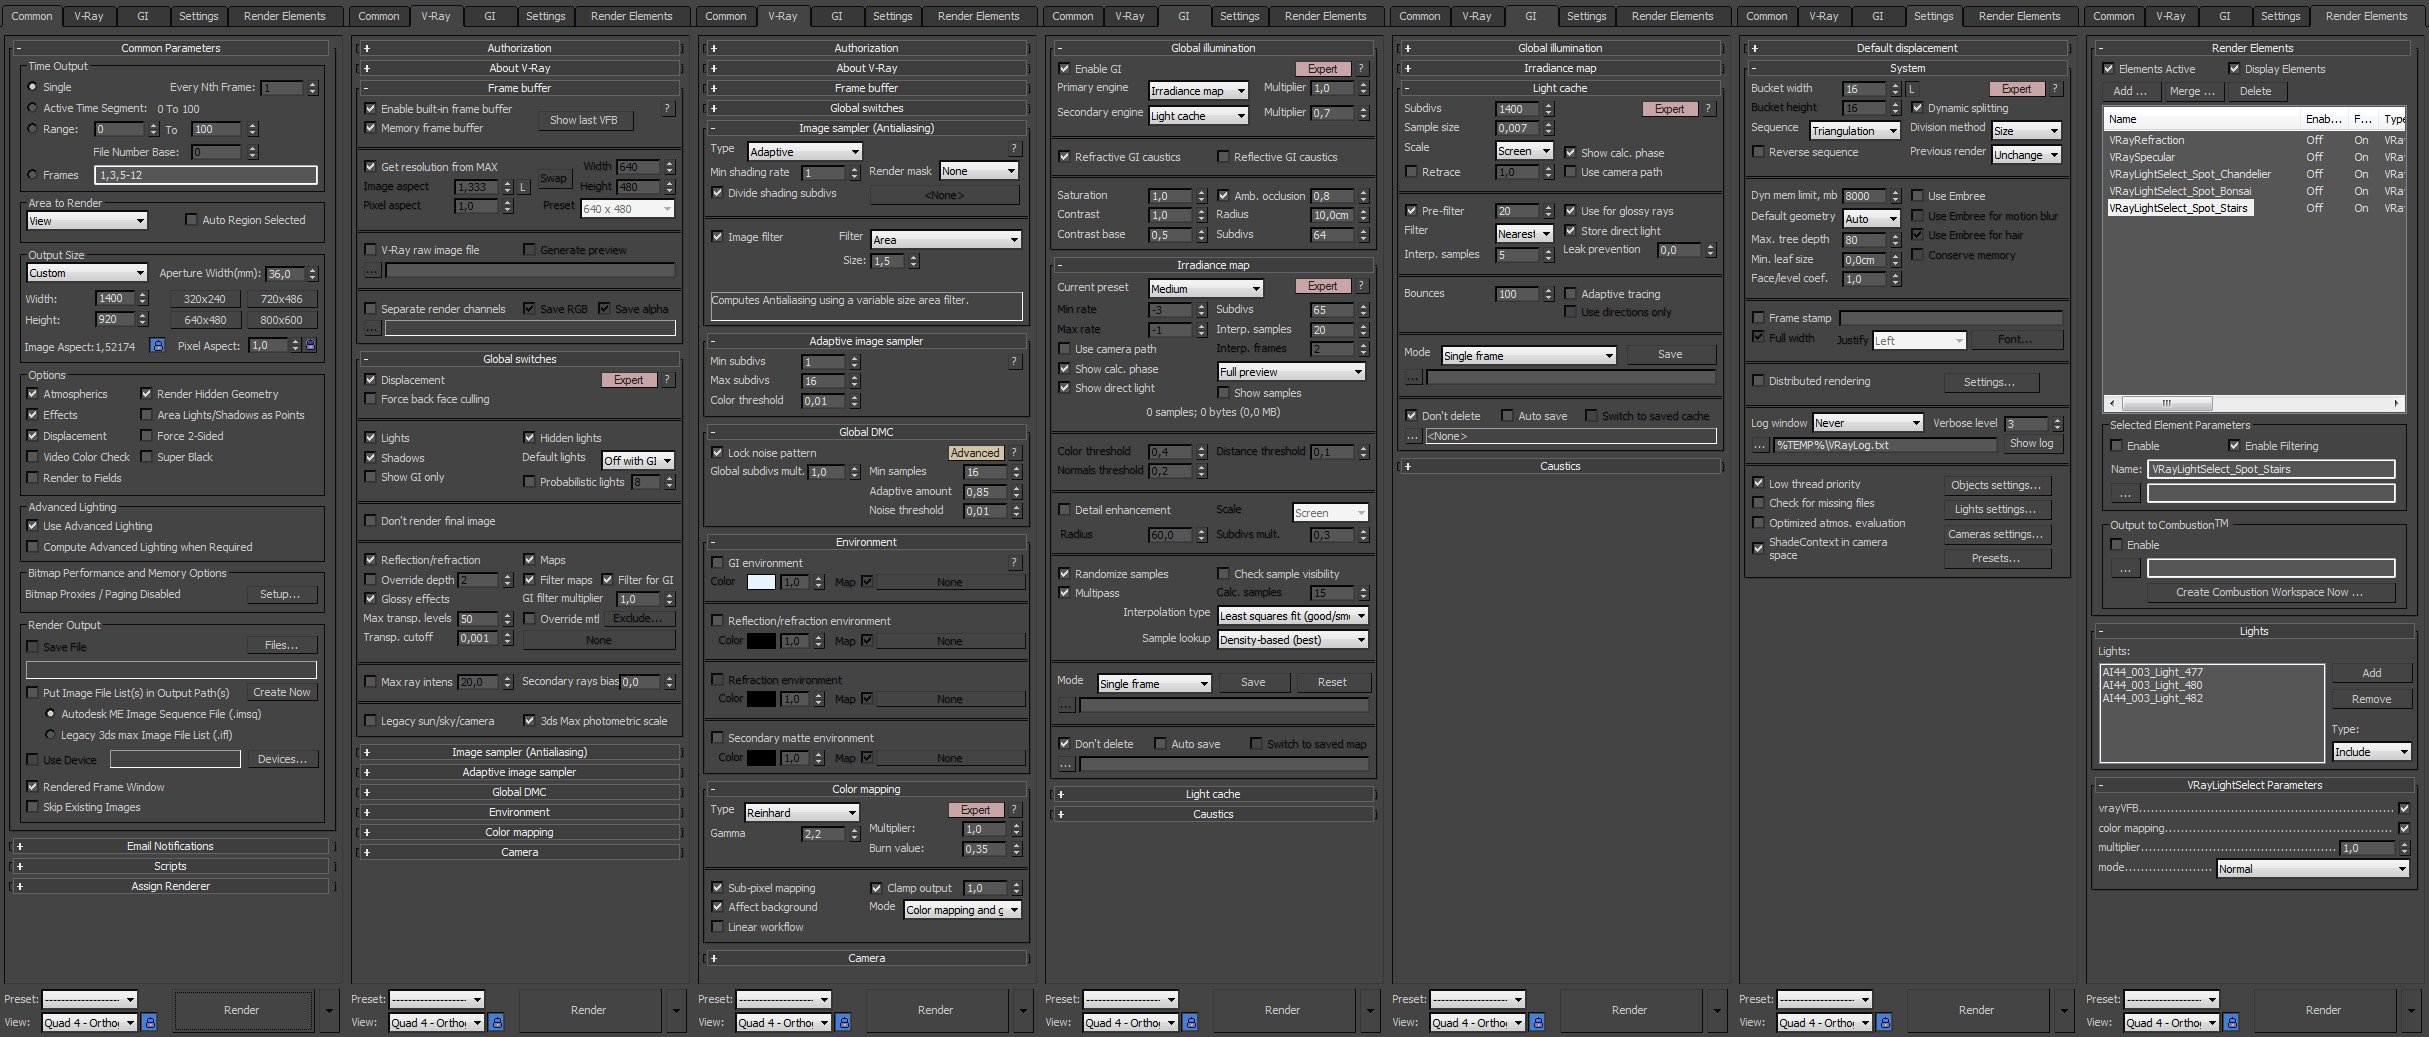
Render settings.
 

Click on image to enlargeAI44_003_Cam_001_RGB_color_evermotion.jpg

RGB output.
 

Click on image to enlargecam1_pp_evermotion.jpg

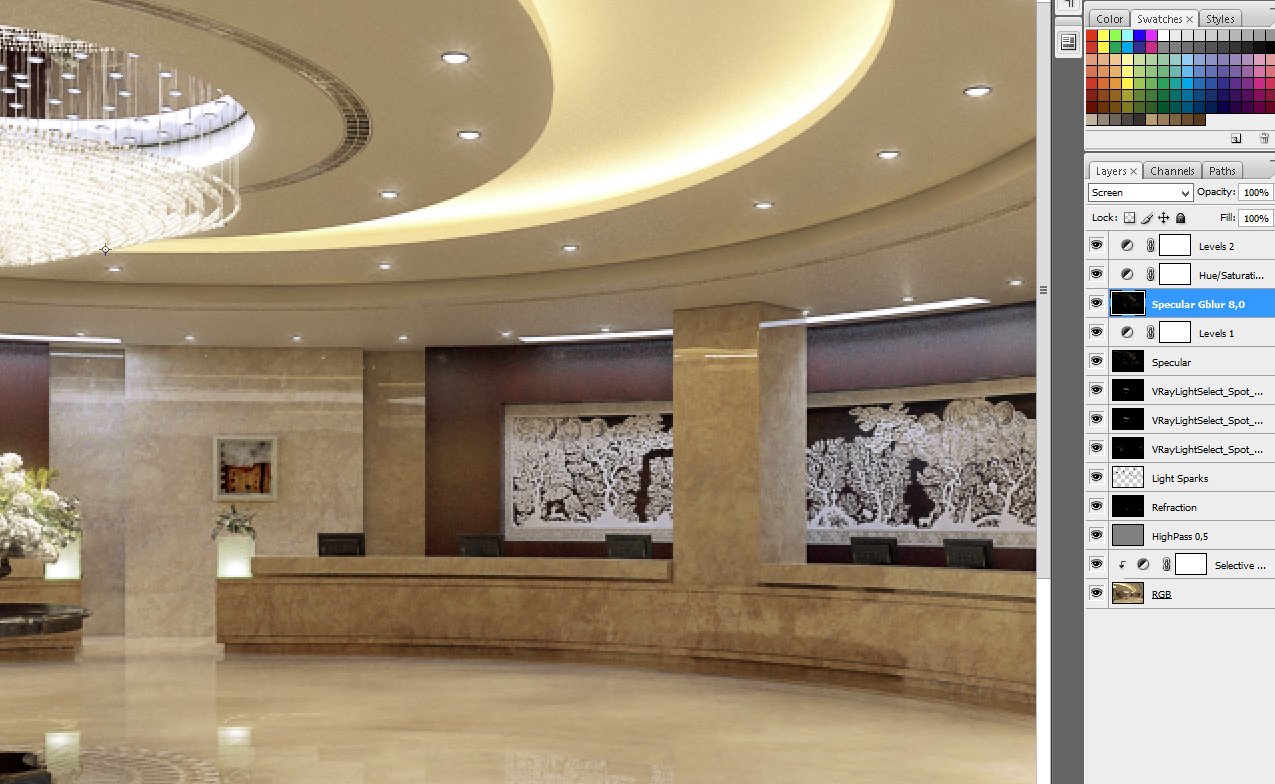
Photoshop post-production, camera 1. First, after RGB layer we added Selective Color layer and we turned "yellow" slider all the way left (-100) in Whites section. The we added highpass filter, refraction layer, light sparks (a subtle glow), and three layers of VrayLightSelect. the next was Specular layer, levels for increased contrast.Specular Gaussian Blur made specular elements more prominent, then we desaturated image a bit and make it lighter with another levels layer.


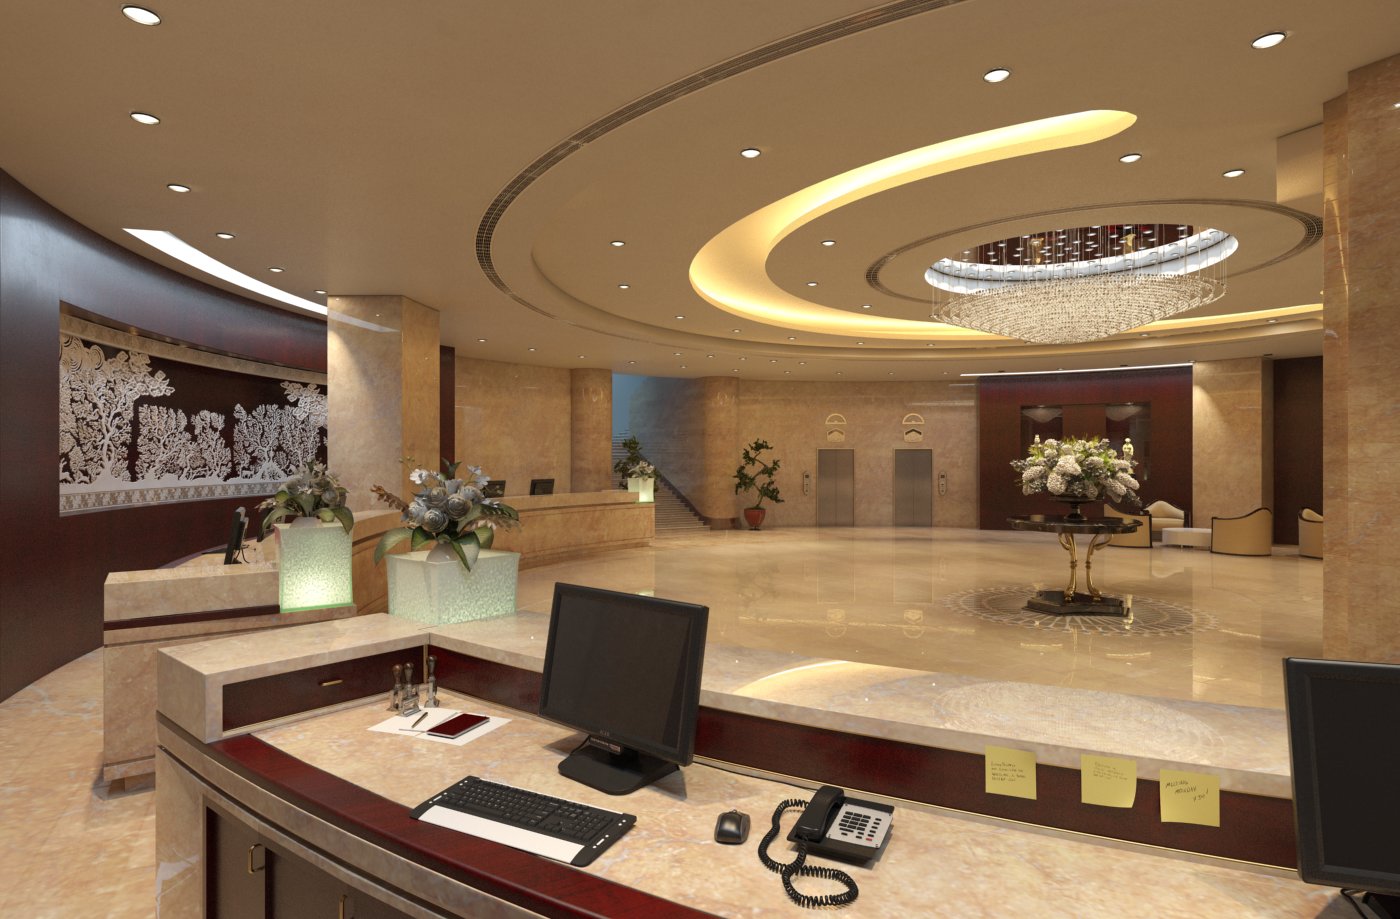
Click on image to enlargeAI44_003_Cam_001_PP_evermotion.jpg

Final image - camera 1.


Click on image to enlargeAI44_003_Cam_002_RGB_color_evermotion.jpg

RGB render - camera 2.
 

Click on image to enlargecam2_pp_evermotion.jpg

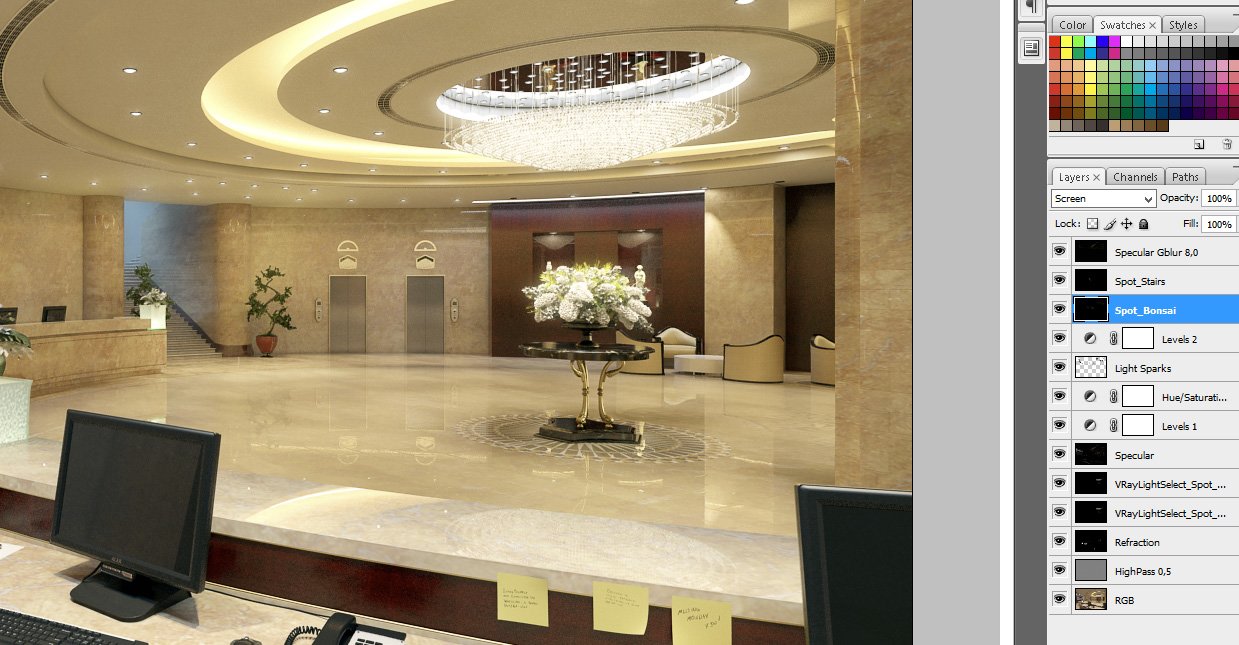
Photoshop post-production, camera 2. Highpass filter for sharpening the image, then we added refraction and two LightSelect layers. We added specular layer and tweak grading a bit with levels (darken image) and slightly increased (+10) saturation.Then we added LightSparks (subtle glow in lamps areas), another Levels layer (lighten up). Three top layers increase glow in various image areas - near bonsai tree, stairs and ceiling.
 

Click on image to enlargeAI44_003_Cam_002_PP_evermotion.jpg

Final render, camera 2.
 
 
Author: Michał Franczak Editor: Michał Franczak
Tags: evermotion archinteriors hotel SHENZEN SHANGRI-LA
You may also like...
Making of Four Seasons Hotel Lobby

Making of Four Seasons Hotel Lobby

Immerse yourself in the creative process behind the Four Seasons Hotel lobby with Evermotion's tutorial. Learn the techniques used to design and visualize this luxurious architectural space, and gain inspiration for your own projects.
×

LEAVE A COMMENT

You need to be logged in to leave a comment. Don't have account? Register now.

xtr8mking 17:05:17  |  12-04-2016
Hello! How can we make a 360 panorama preview of our projects just like you did in this tutorial ?
caustix 04:57:46  |  13-04-2016
Hi! Good work, thanks for tutorial. Could you please tell how long in took from start modellinng to final renders?
mbialecki 13:22:55  |  14-04-2016
Hi! It took me about 10 days from start modelling to final renders :) Is it long or short? ;)