This scene is a part of our Archinteriors vol. 44 collection. It is available in Evermotion Shop. You can purchase this single scene or entire Archinteriors vol. 44 collection (10 lobby interiors). This scene was made by Anna Dąbrowska from Evermotion.
This scene was rendererd in 3ds Max and V-Ray 3. Check V-Ray prices in our shop.
Click on image to enlarge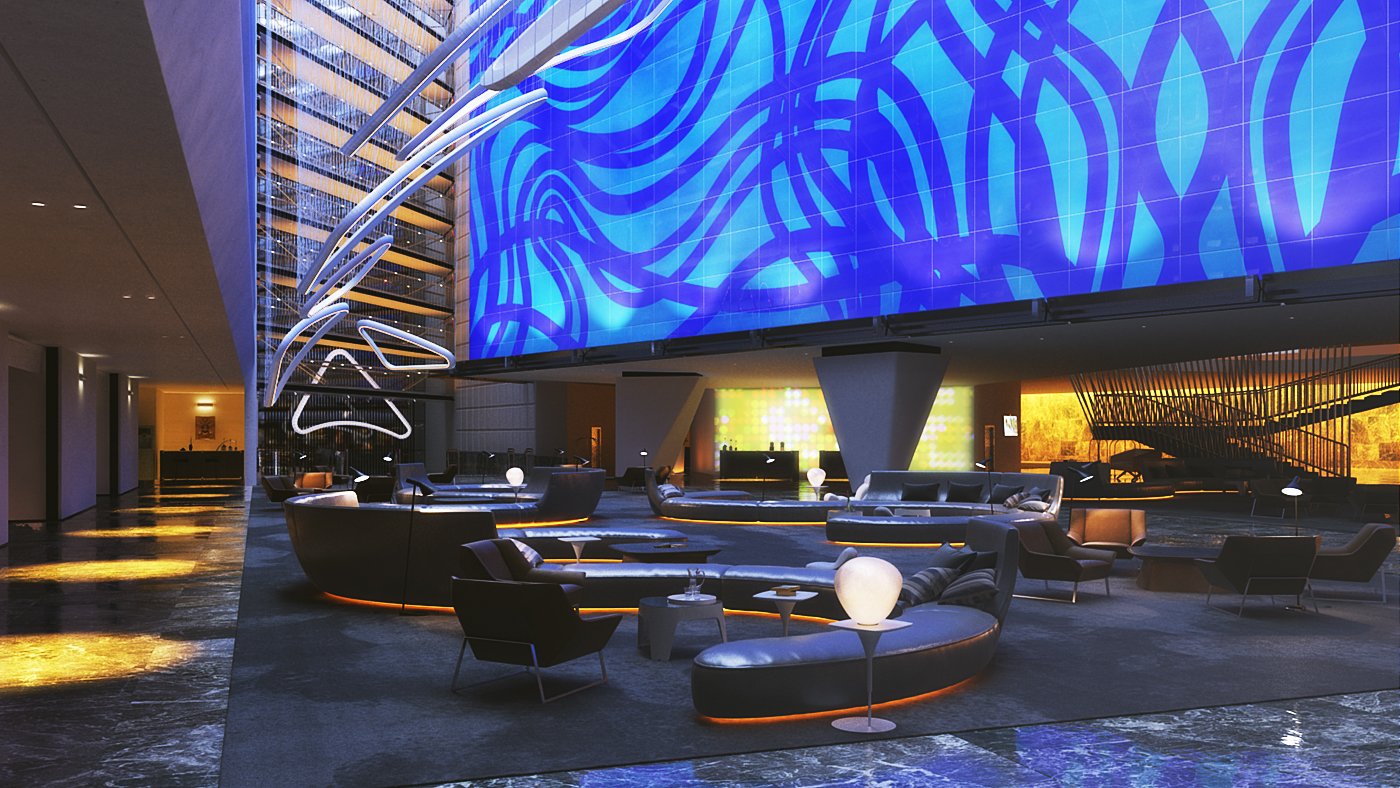
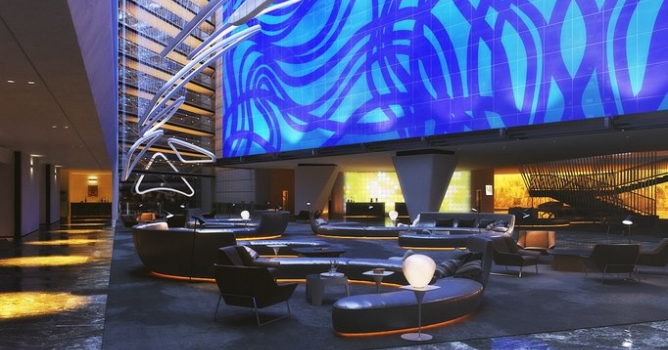
Final image after post-production - camera 1.
Click on image to enlarge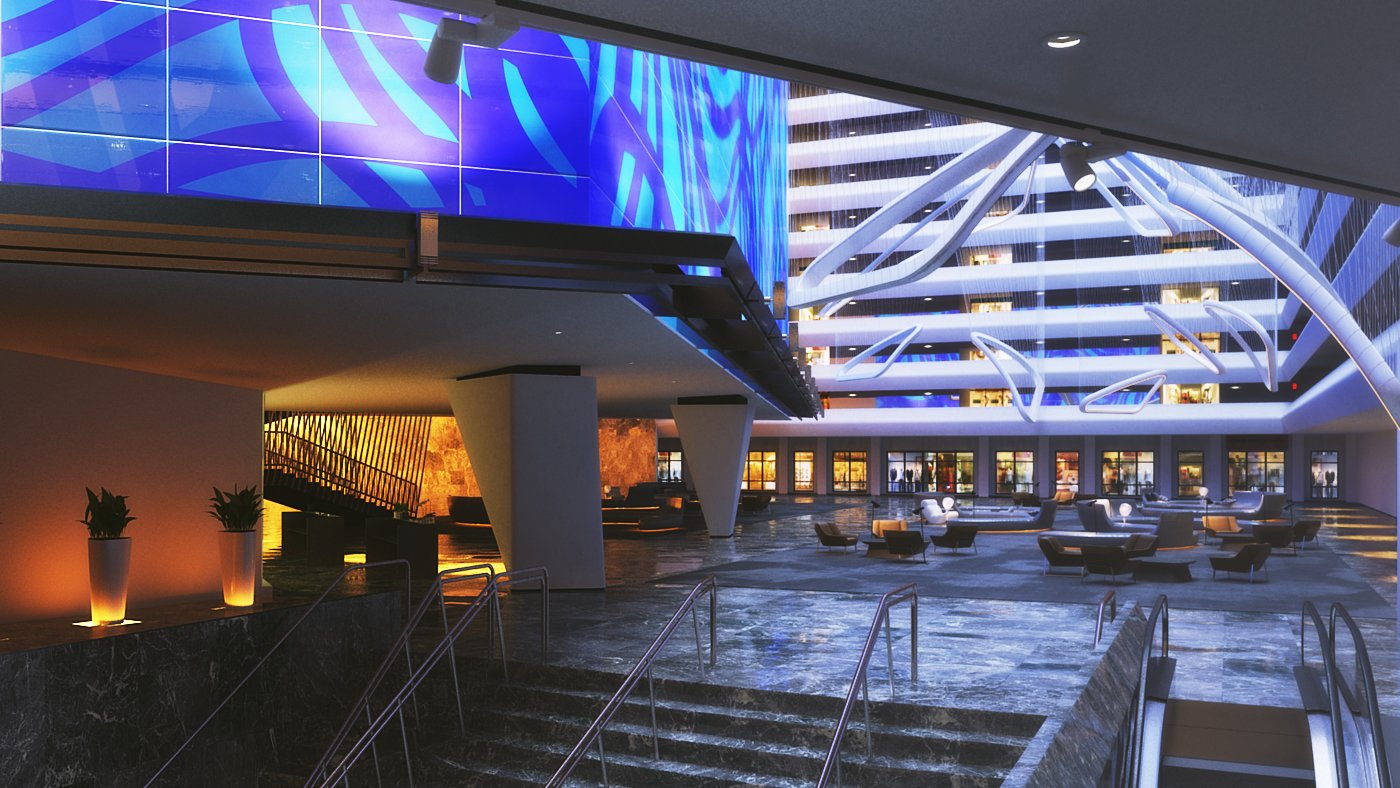
Final image after post-production - camera 2.
Click on image to enlarge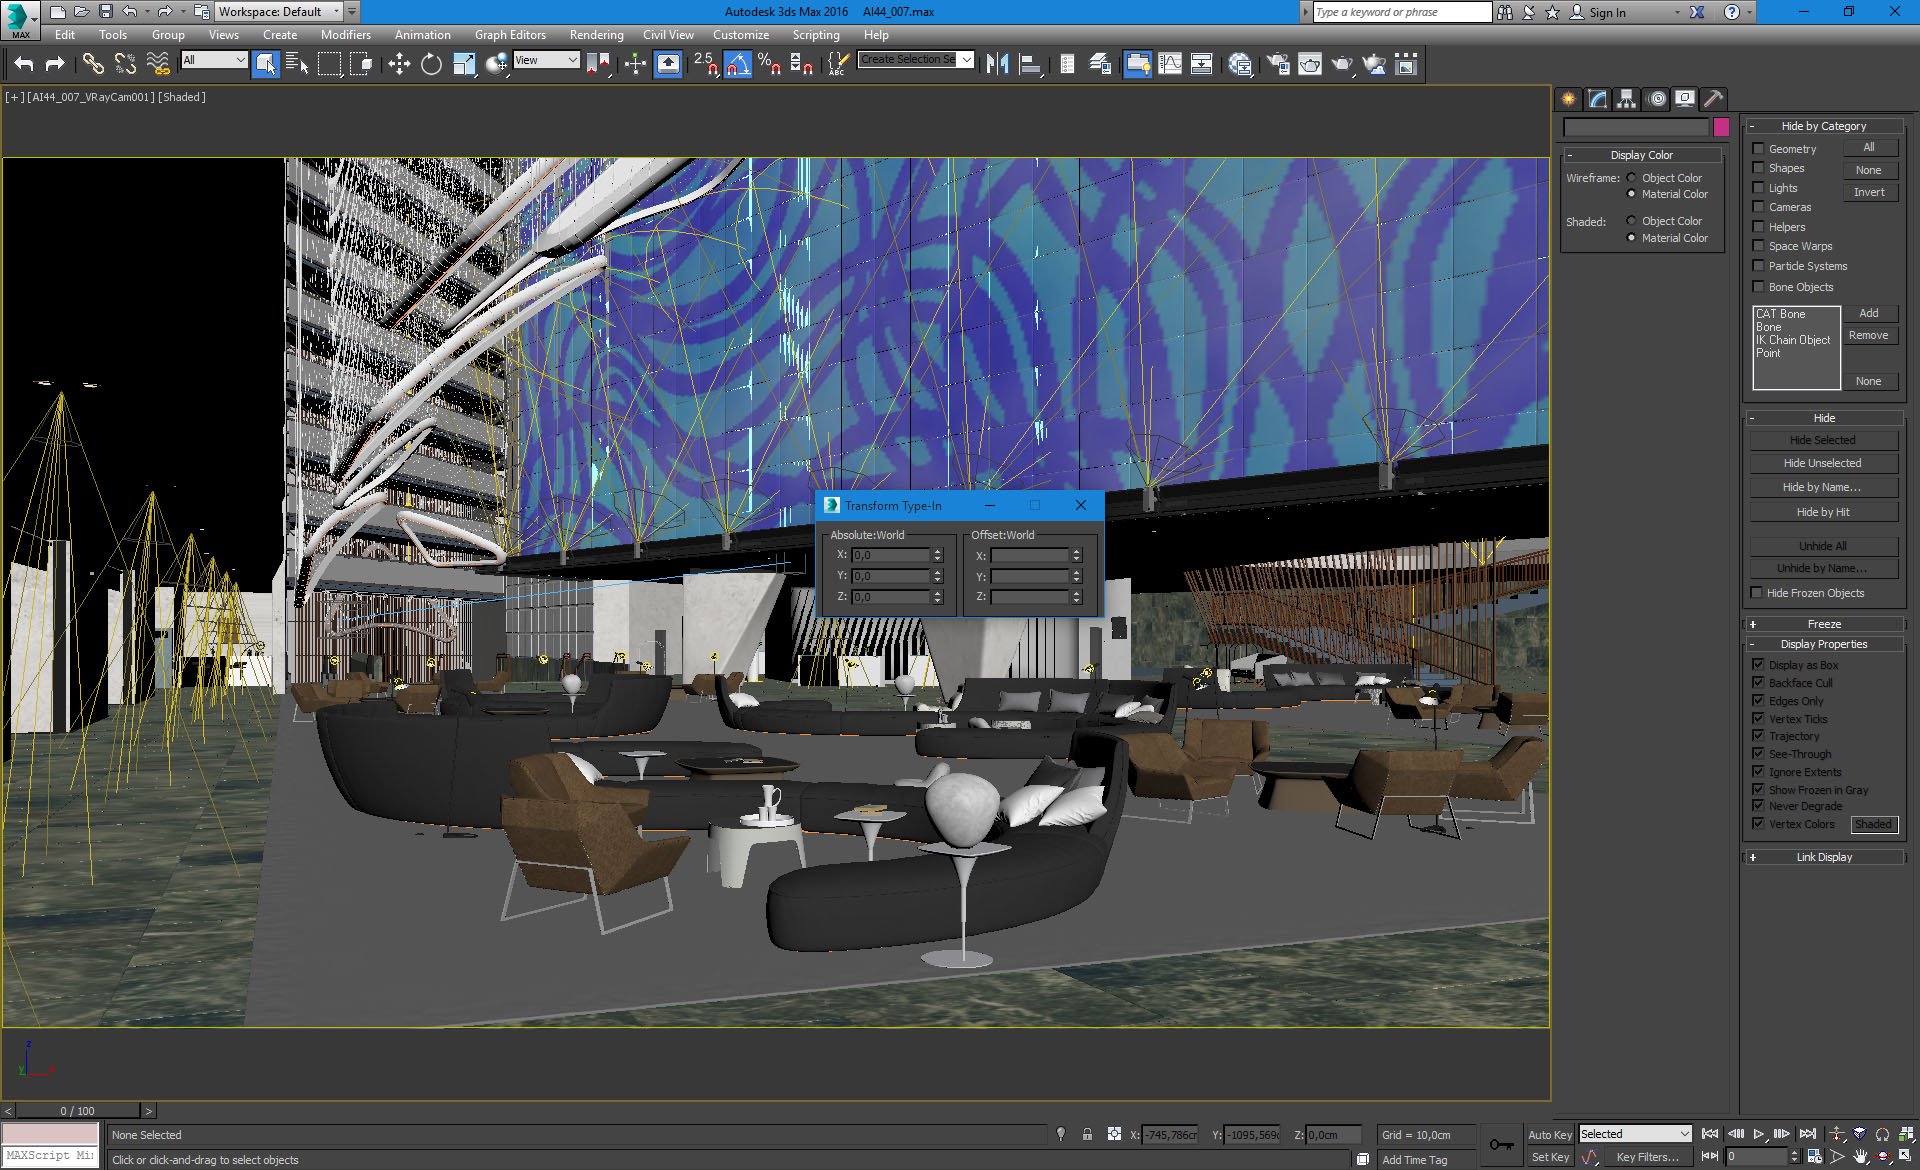
3ds Max viewport, camera 1.
Click on image to enlarge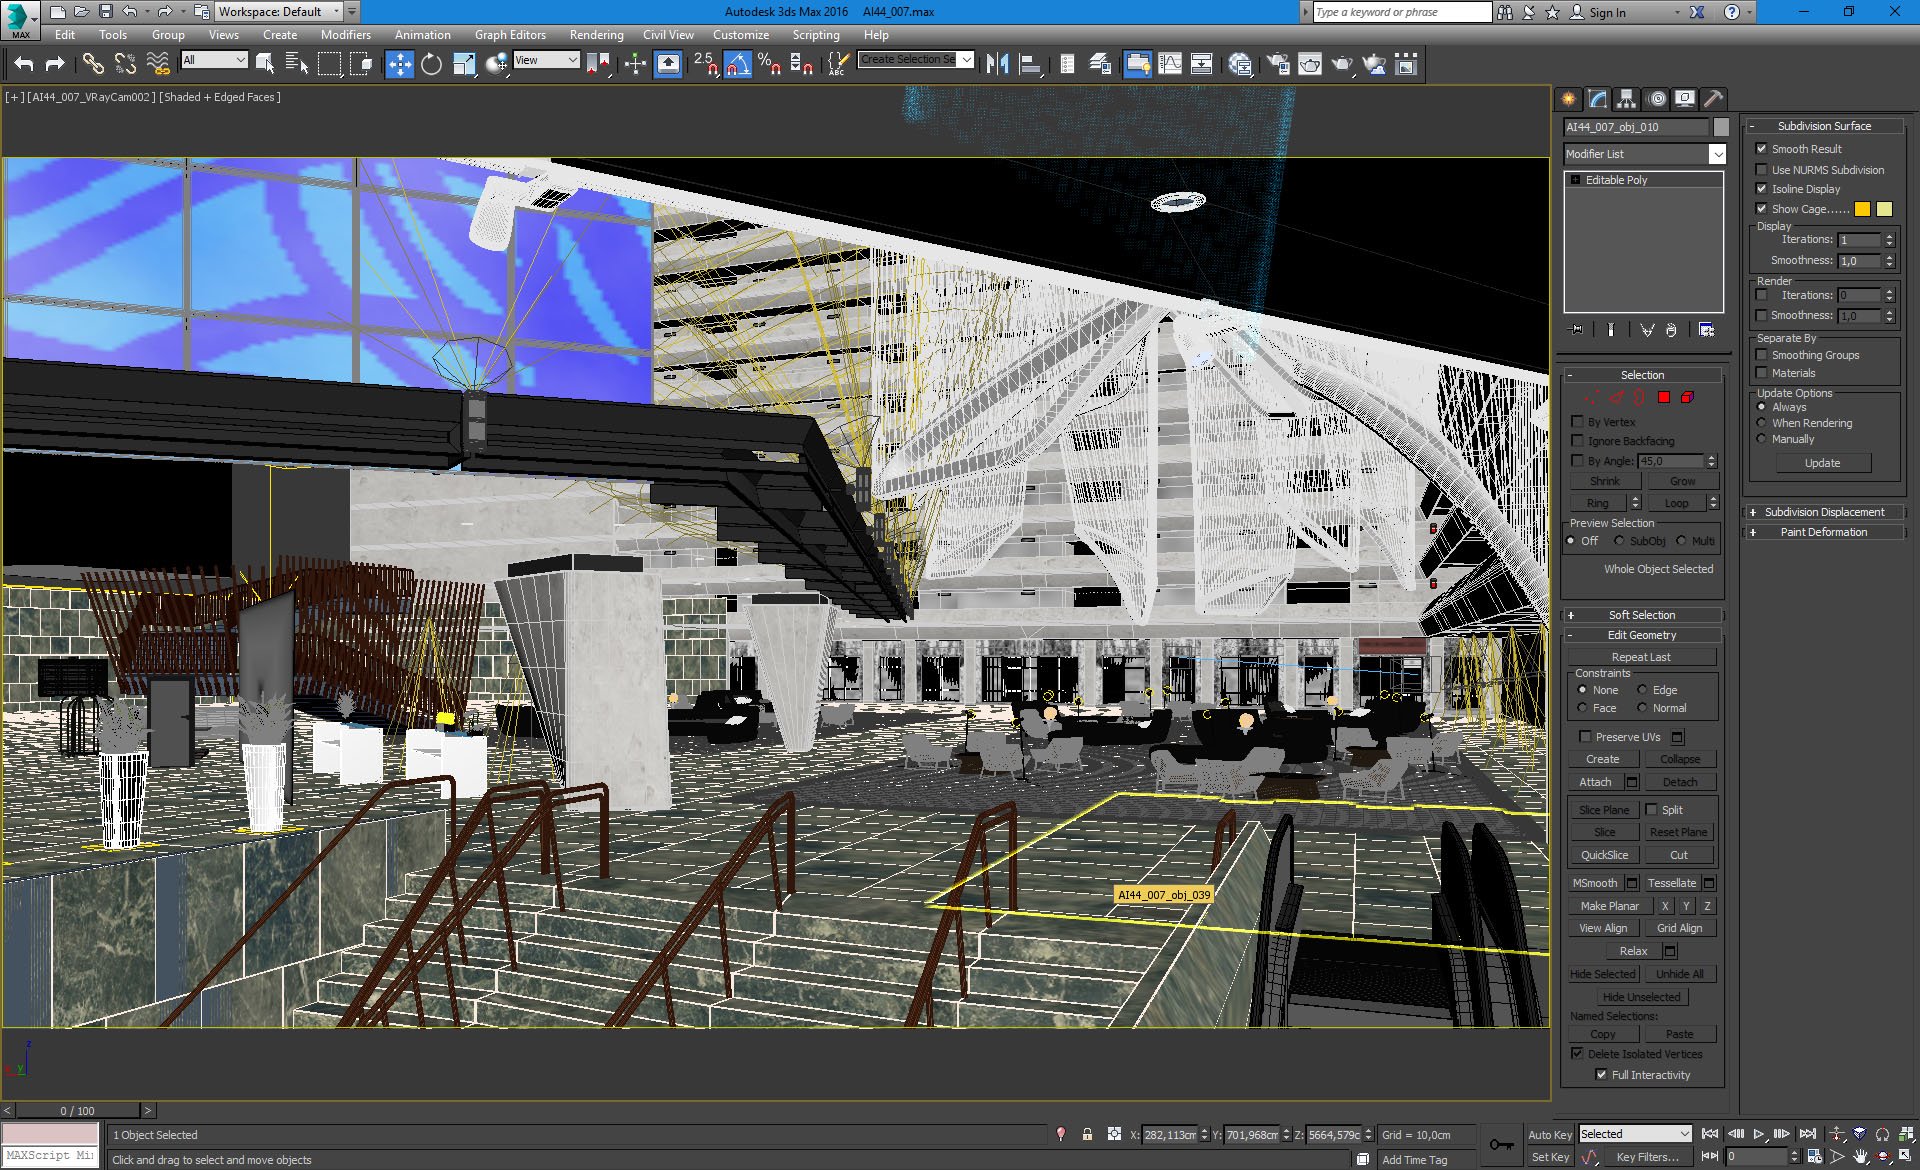
3ds Max viewport - camera 2
Click on image to enlarge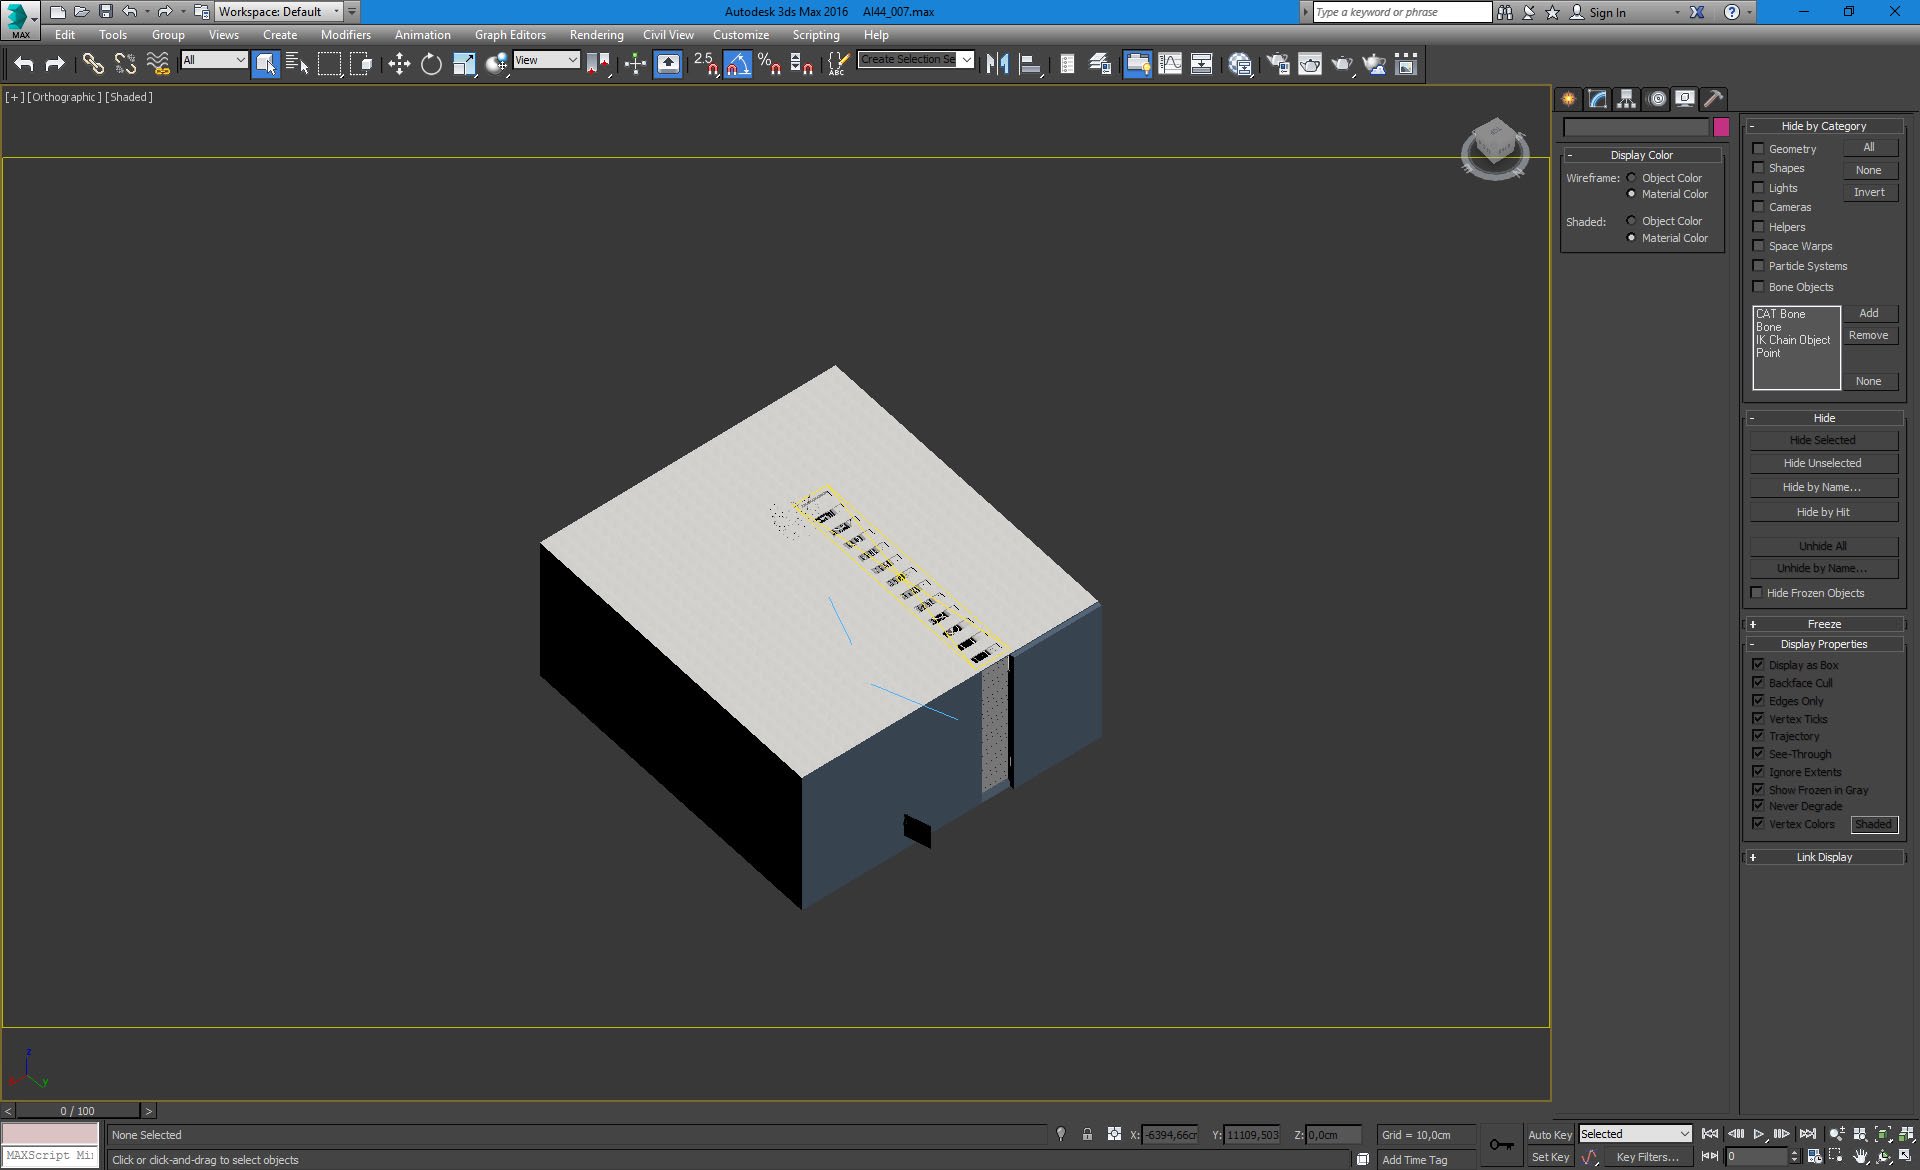
3ds Max viewport, overview. All scene is enclosed in a box (after all we are modeling interior - a big one, but still interior). the only external light source is rectangular vraylight at the top that passes throug ceiling windows.
Click on image to enlarge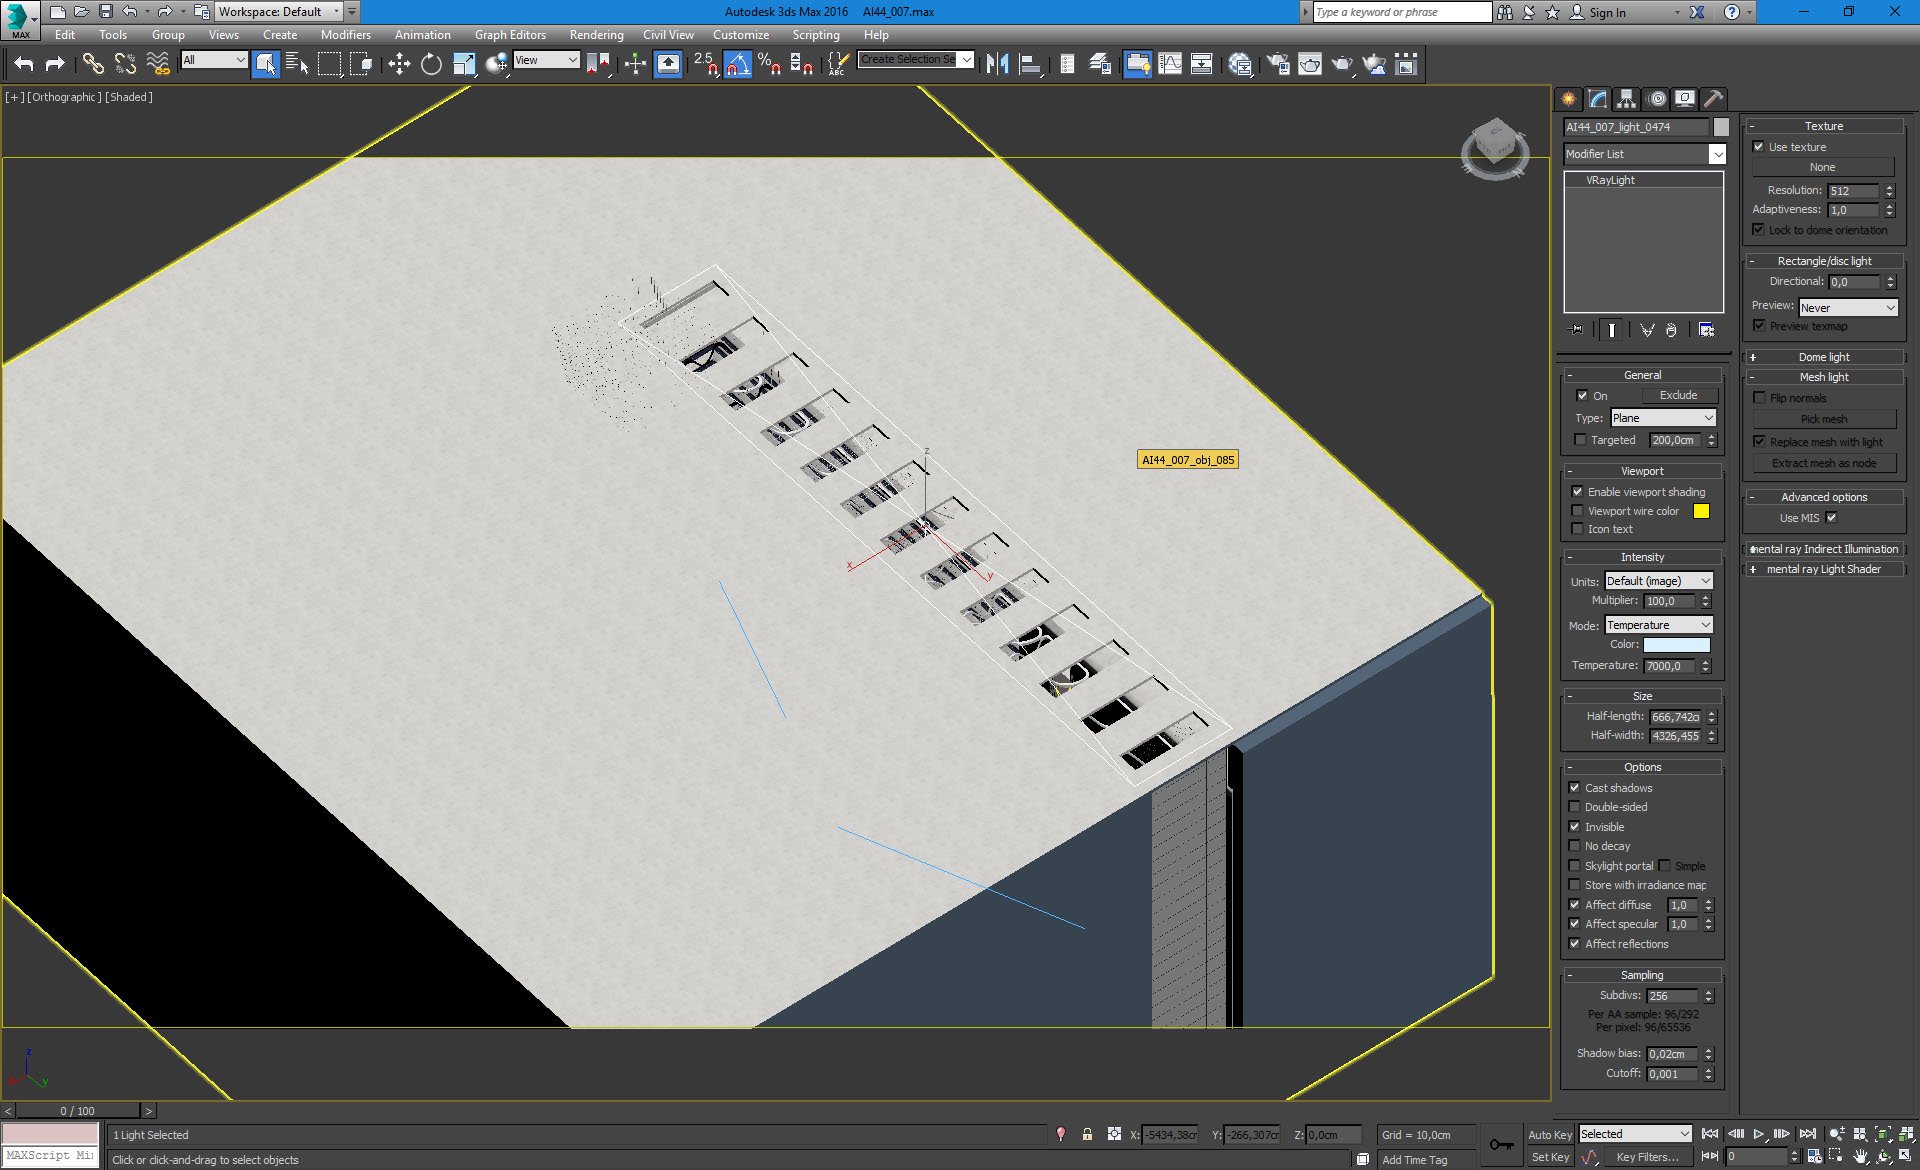
Top vray Light settings.
Click on image to enlarge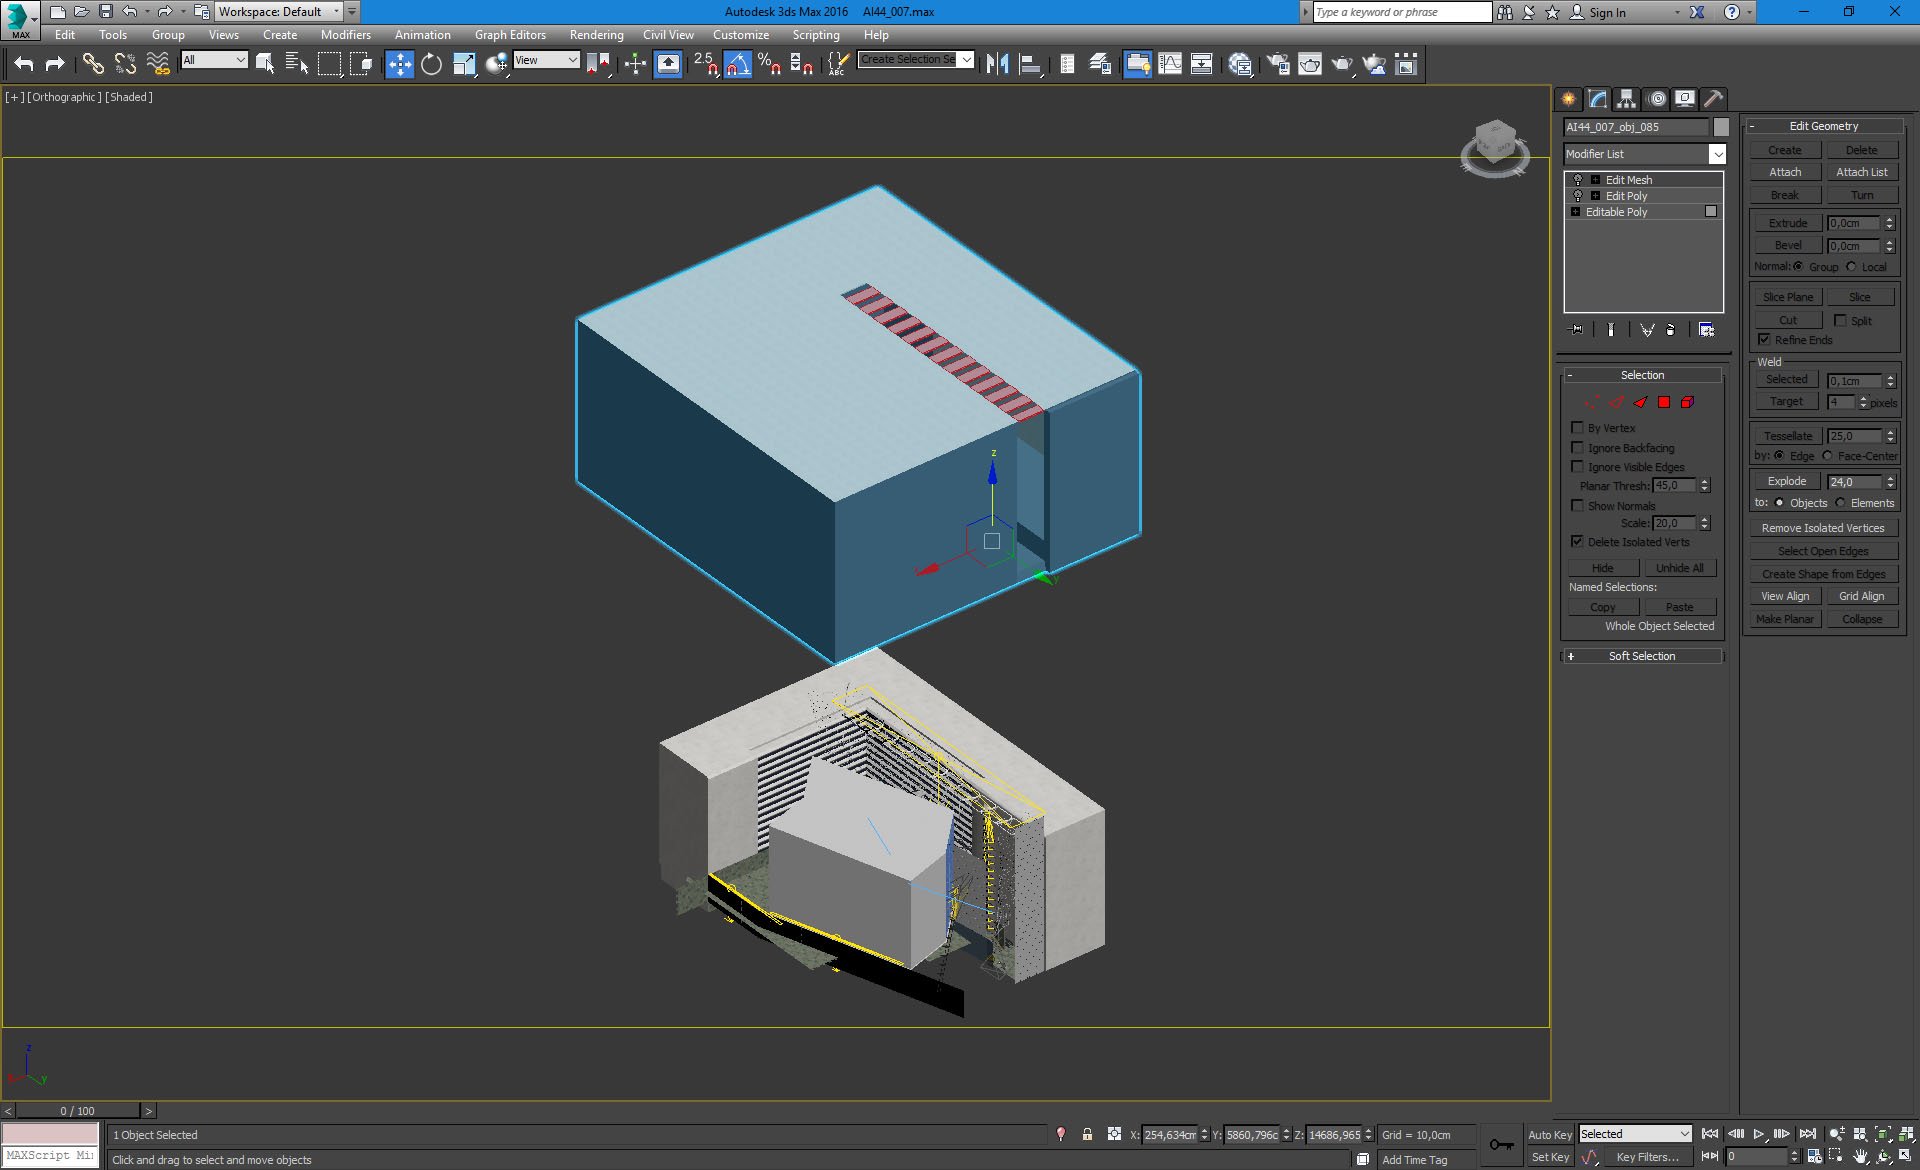
When we take off this box, we can see our interior. There's a big L-shaped building and smaller building facing it.
Click on image to enlarge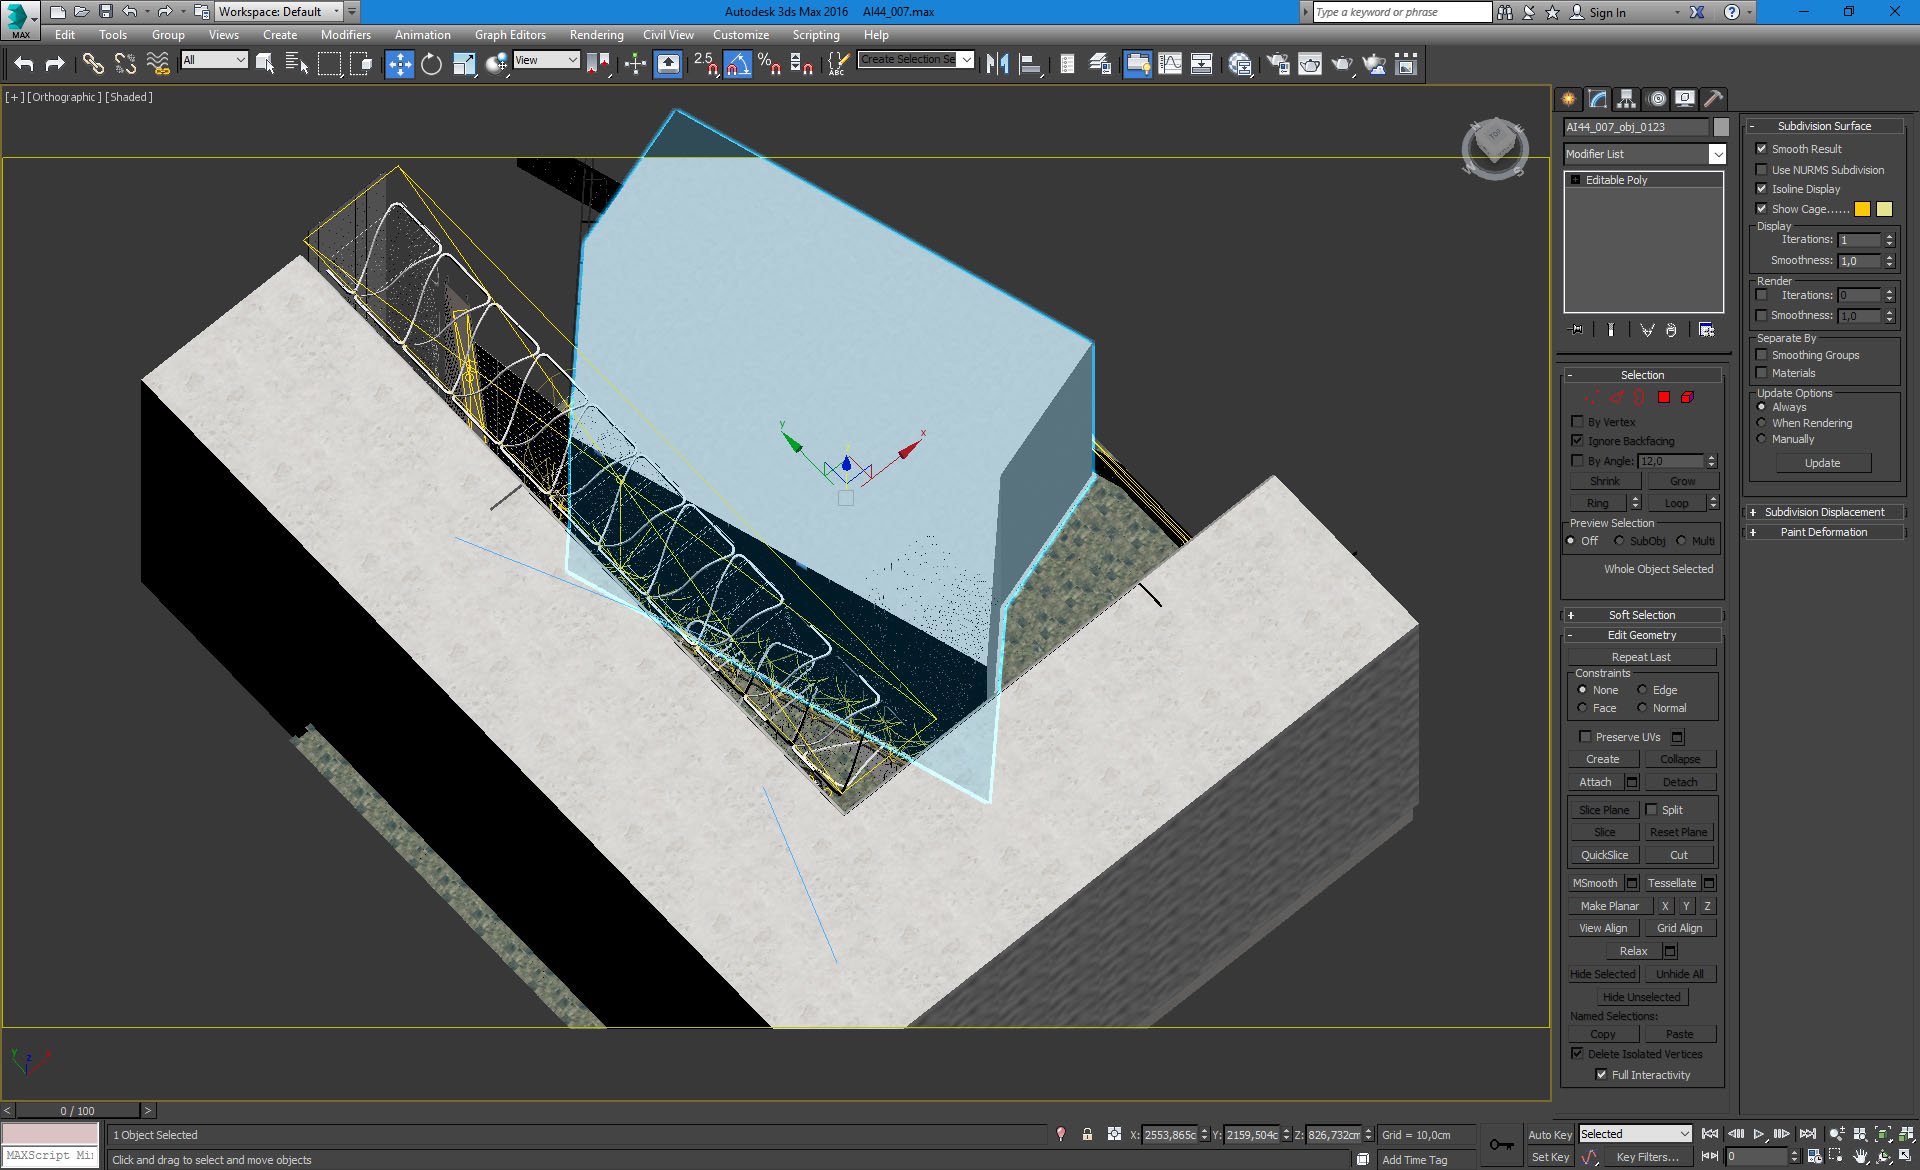
Scene, closer look.
Click on image to enlarge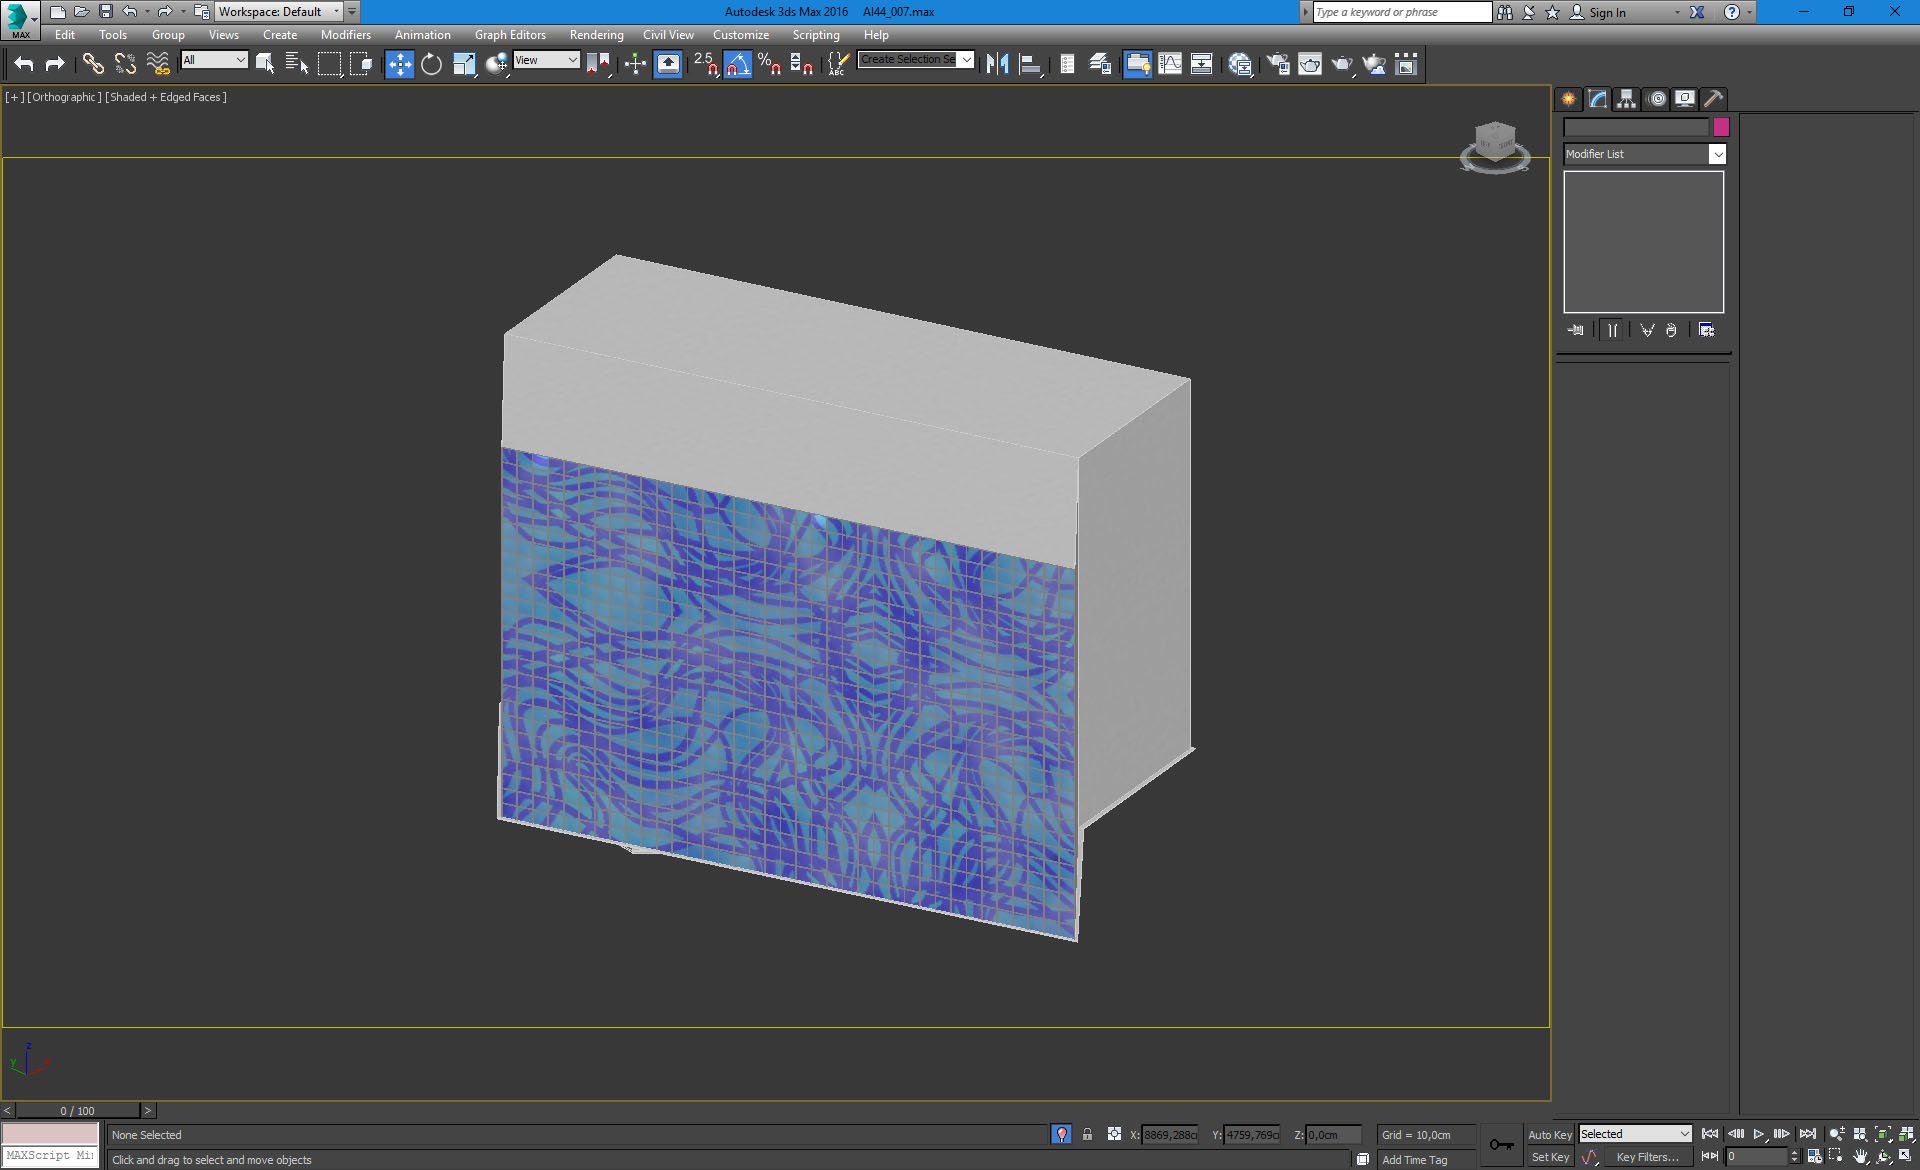
Smaller building in isolated view. On the front wall of it you can see big blue screen. It is the variation of 15-story art installation "Loop Doopy", located in real hotel lobby.
Click on image to enlarge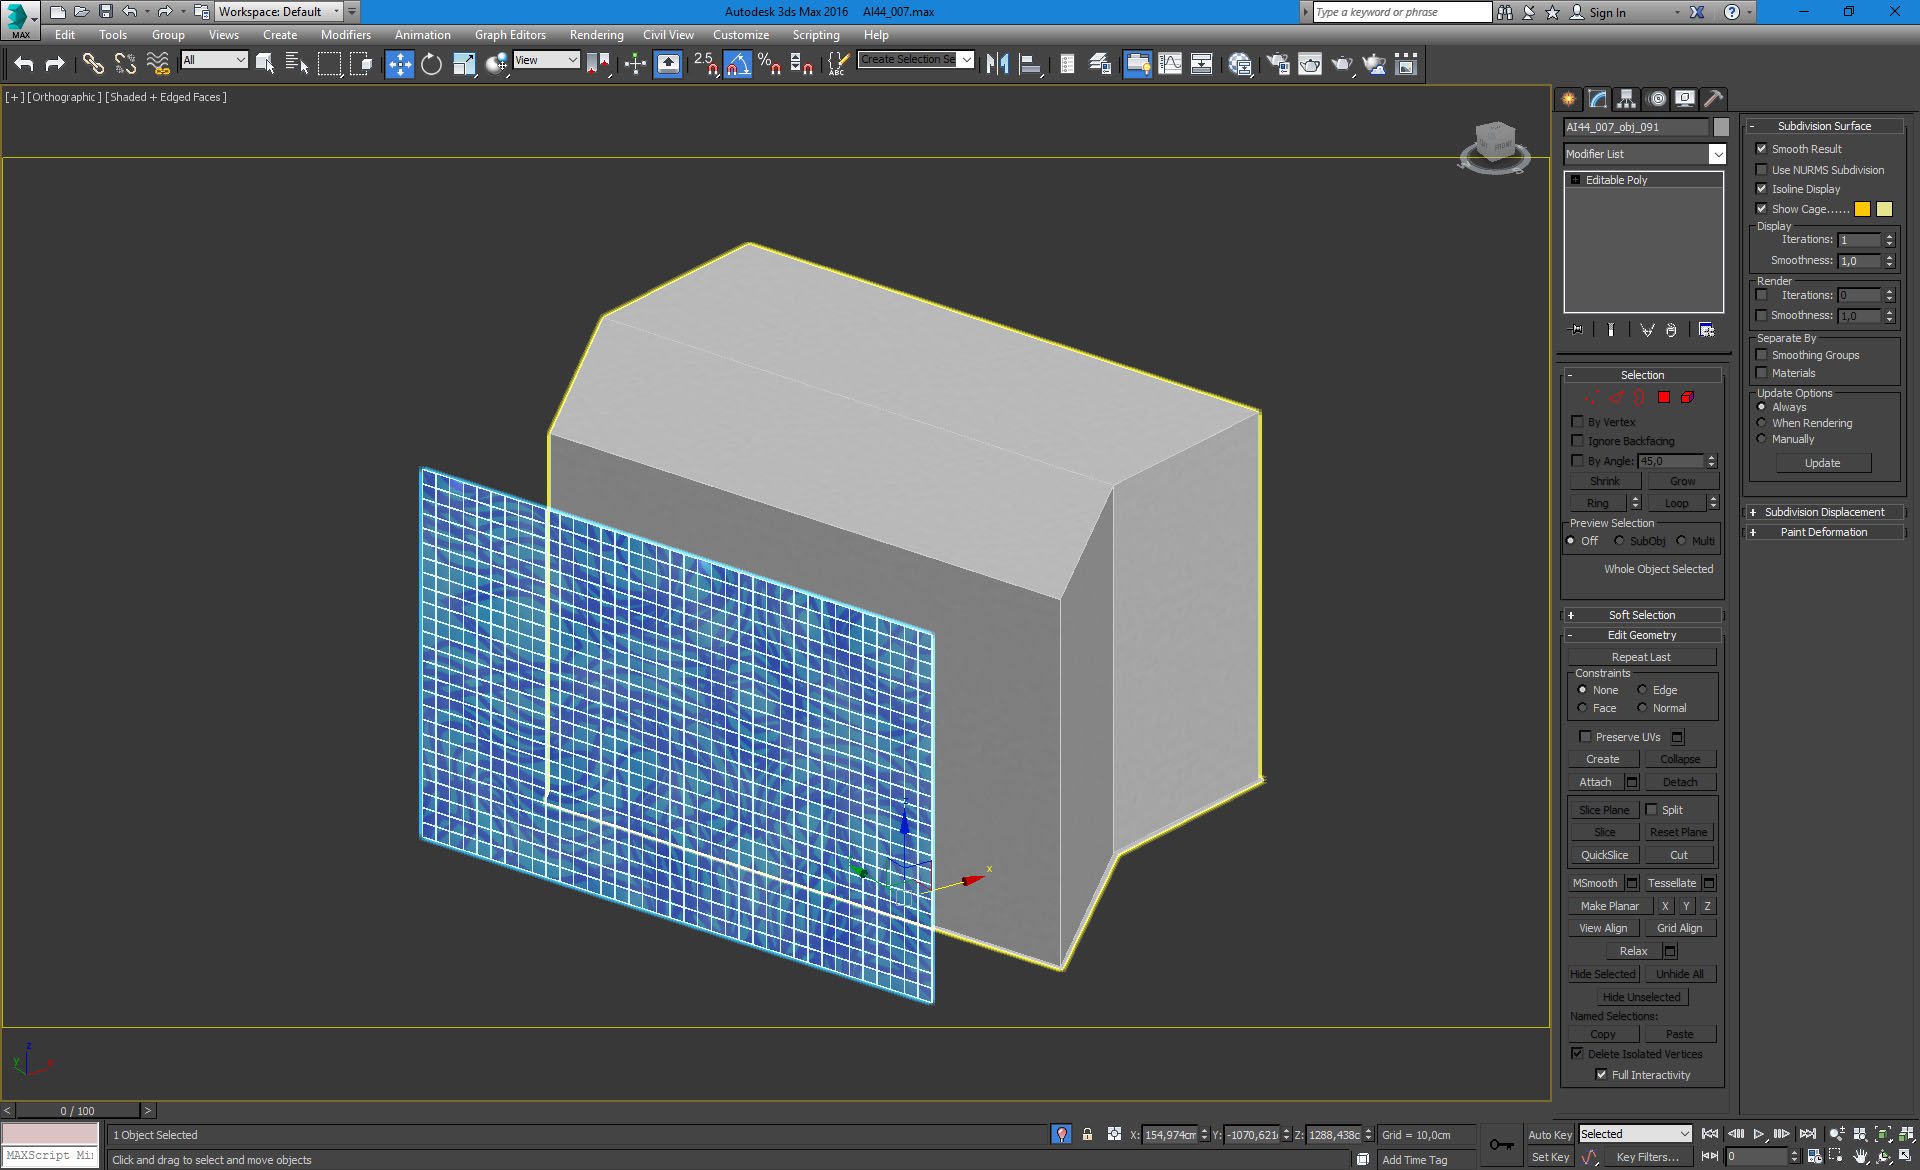
We made a separate plane for this huge display.
Click on image to enlarge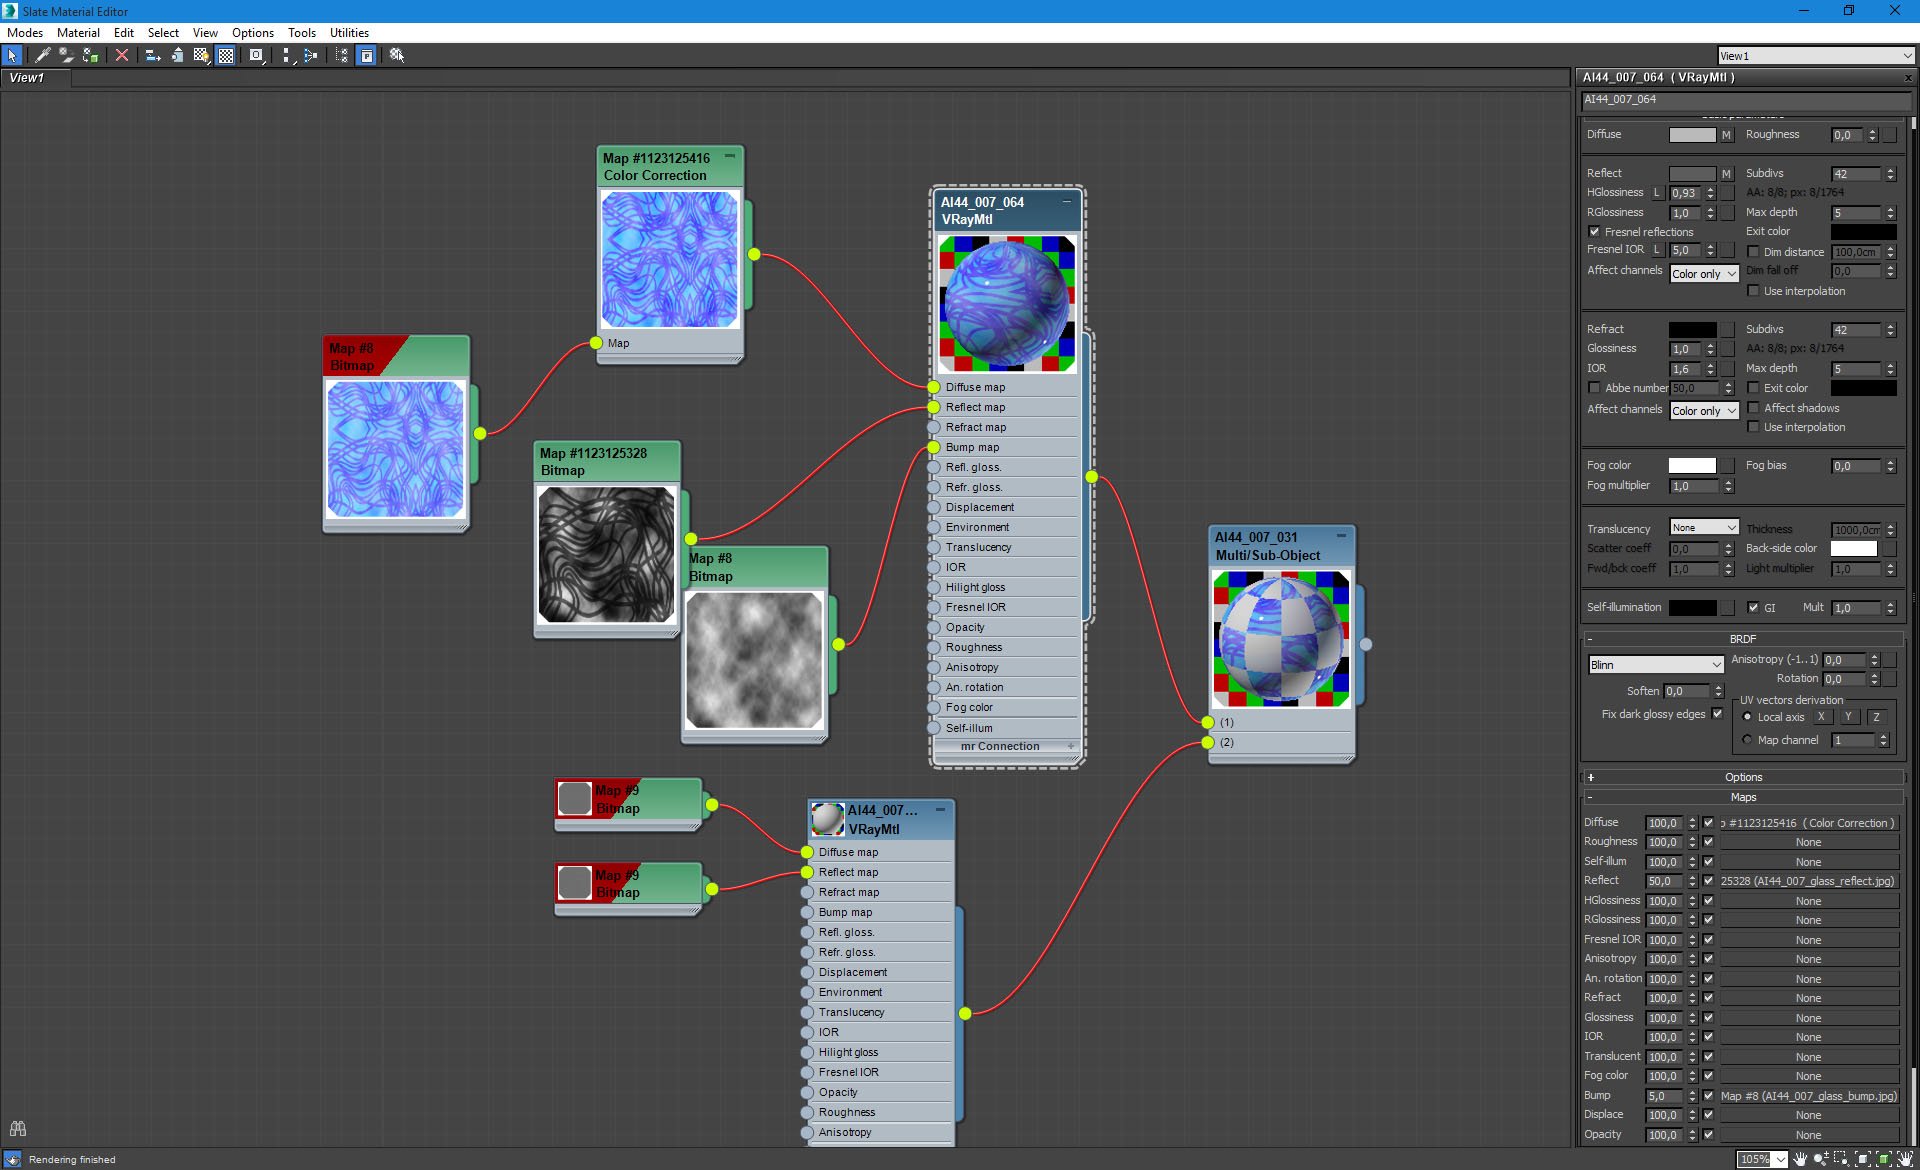
Art installation material.
Click on image to enlarge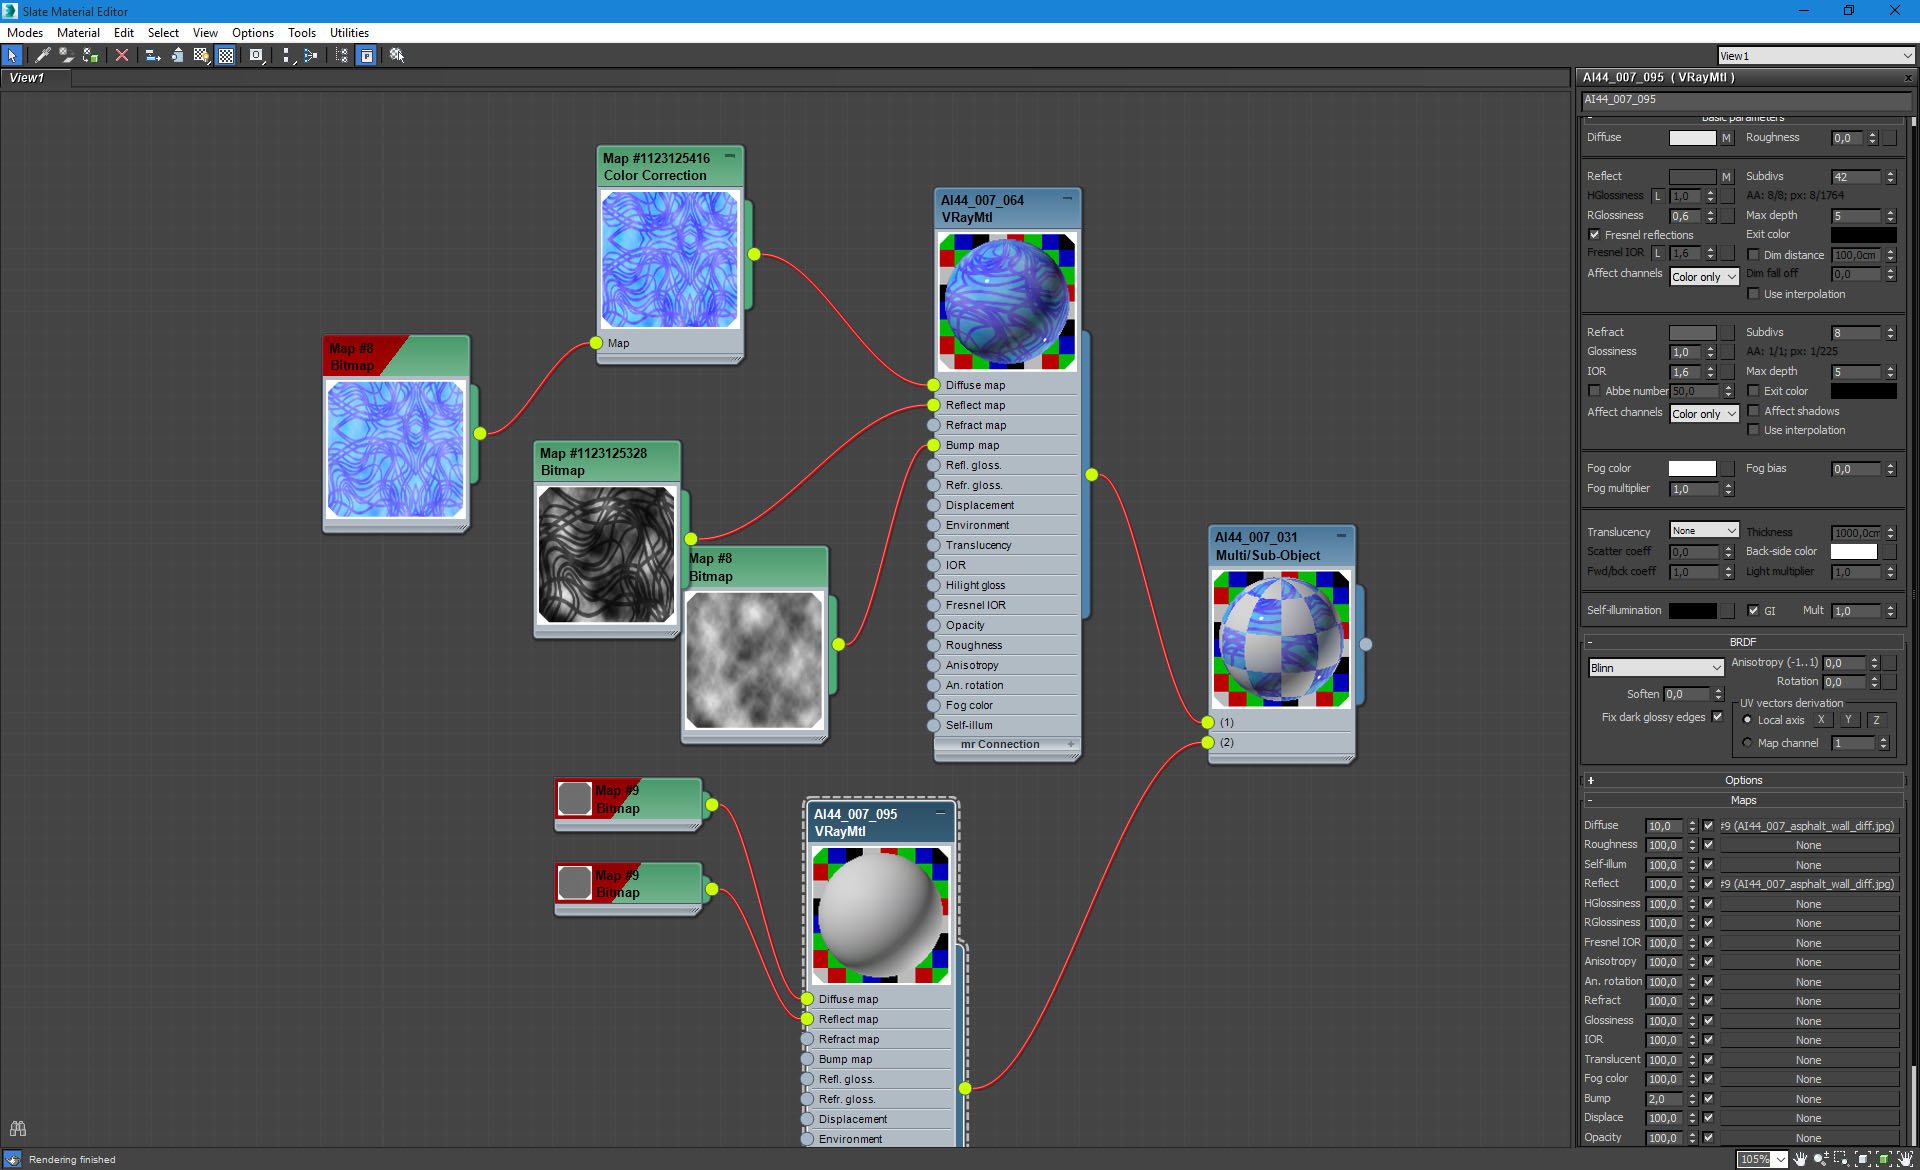
Building walls material.
Click on image to enlarge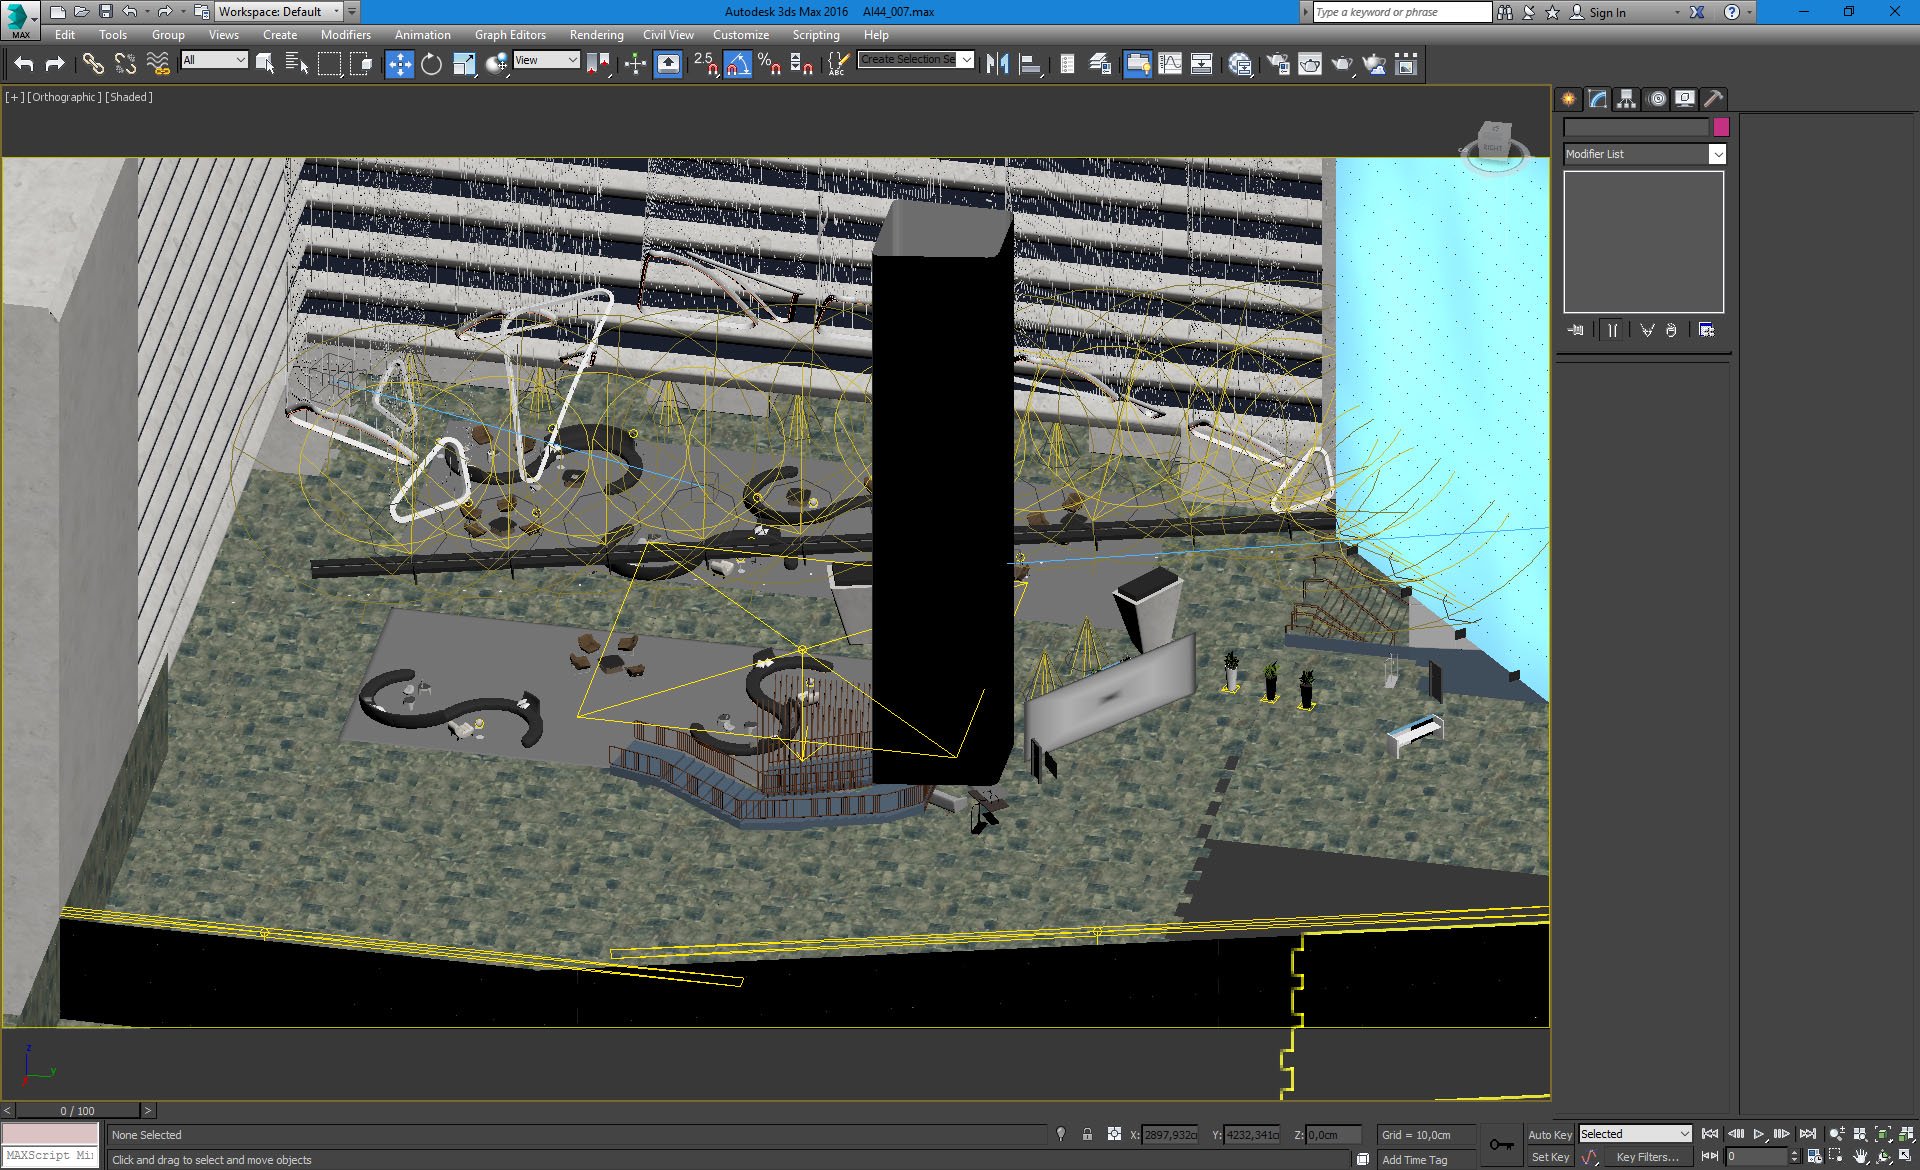
Inside of the lobby - a lot of marble floors, s-shaped sofas and hanging decorative elements.
Click on image to enlarge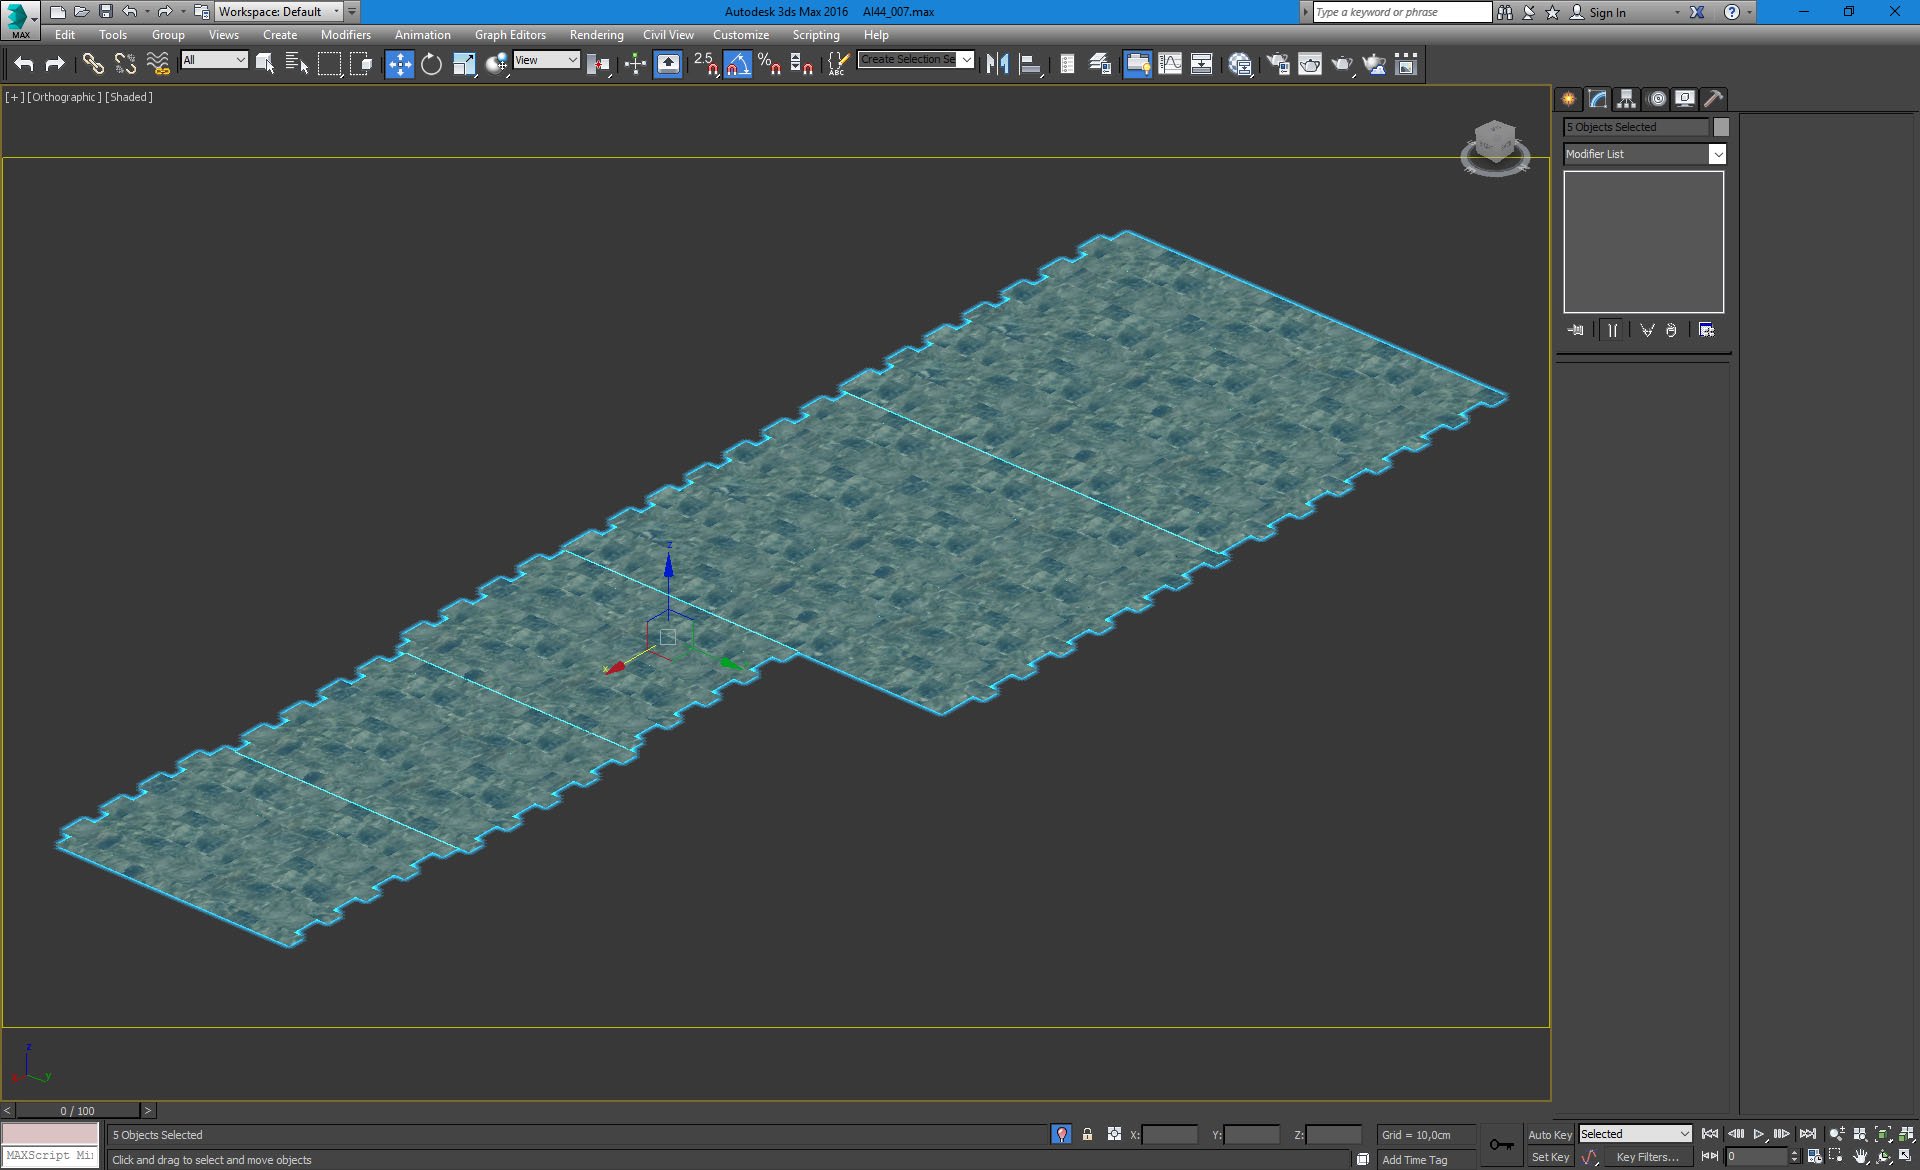
Marble floor elements.
Click on image to enlarge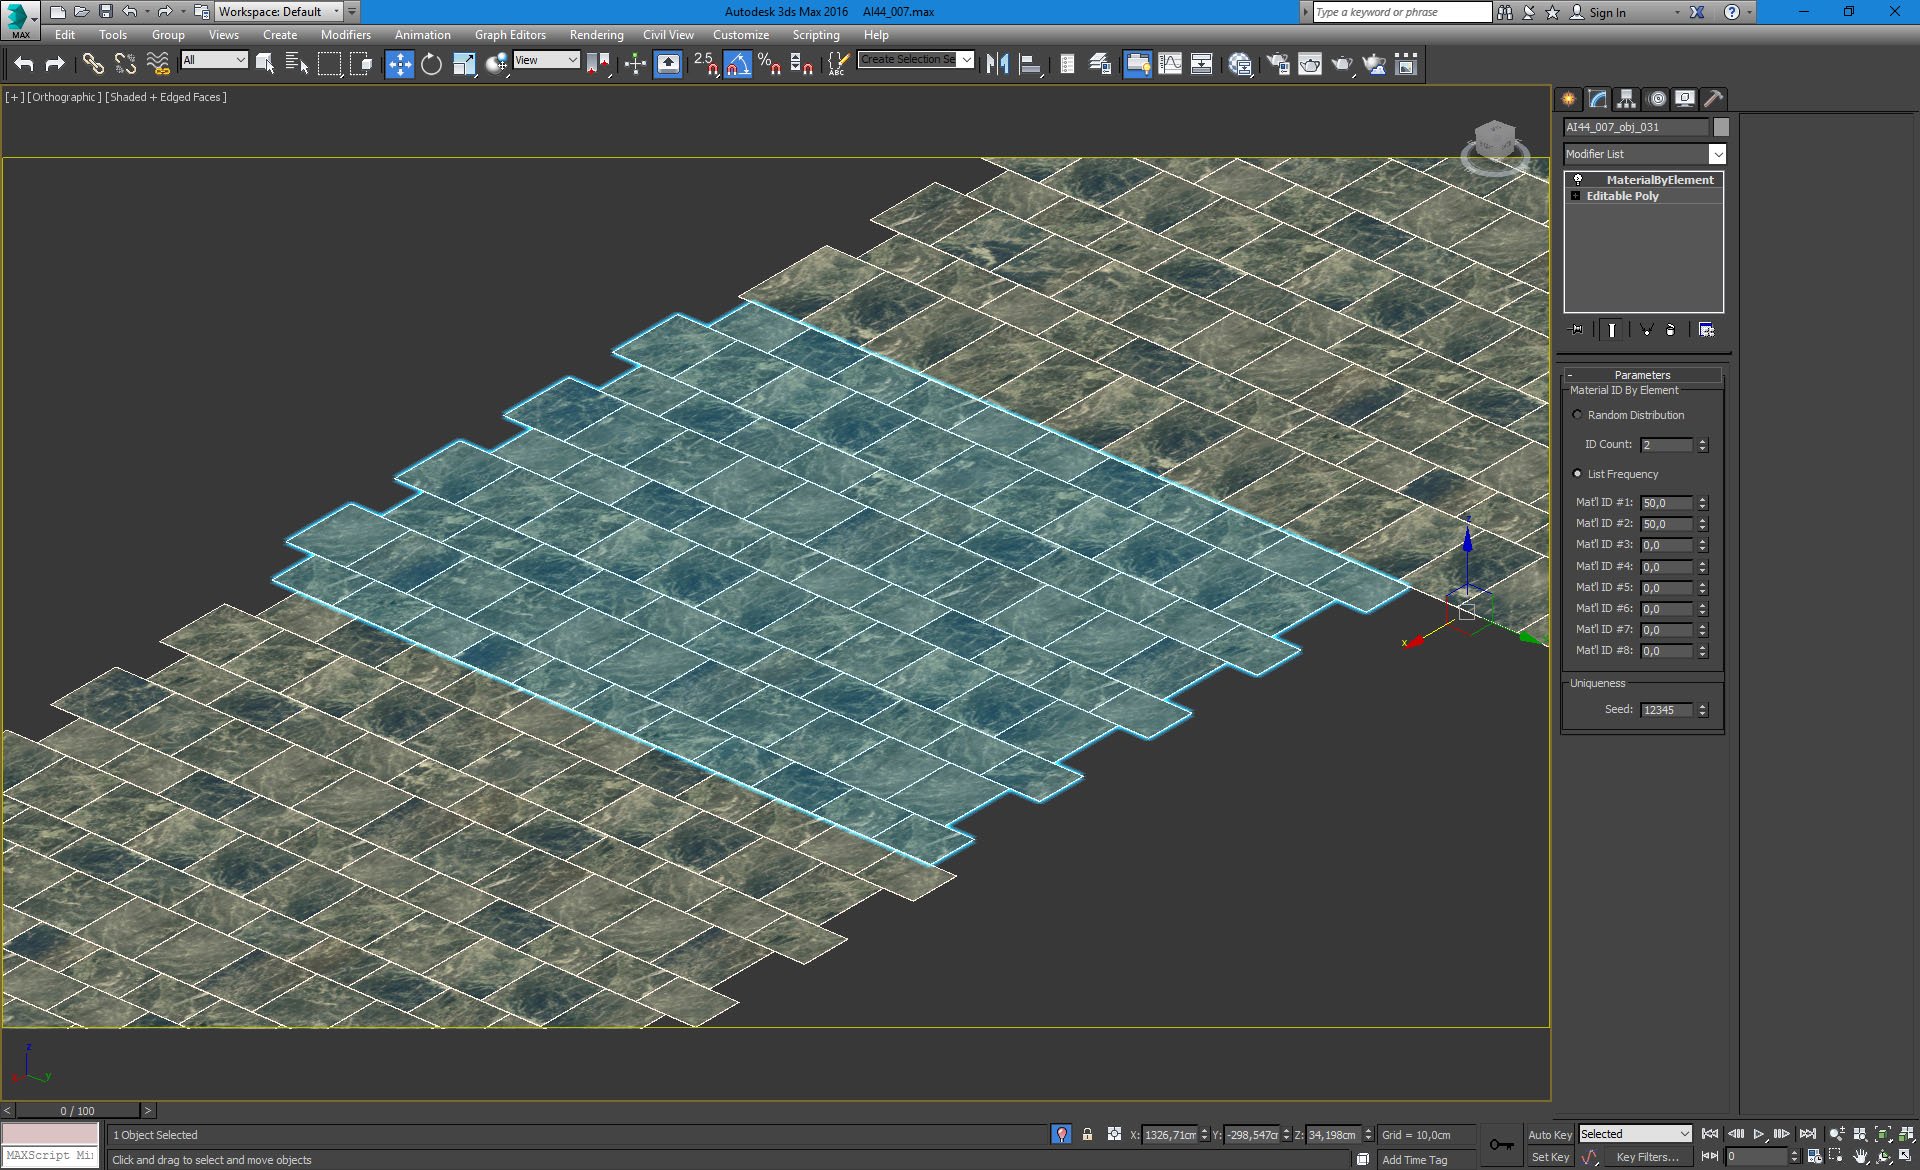
Marble floor - close-up.
Click on image to enlarge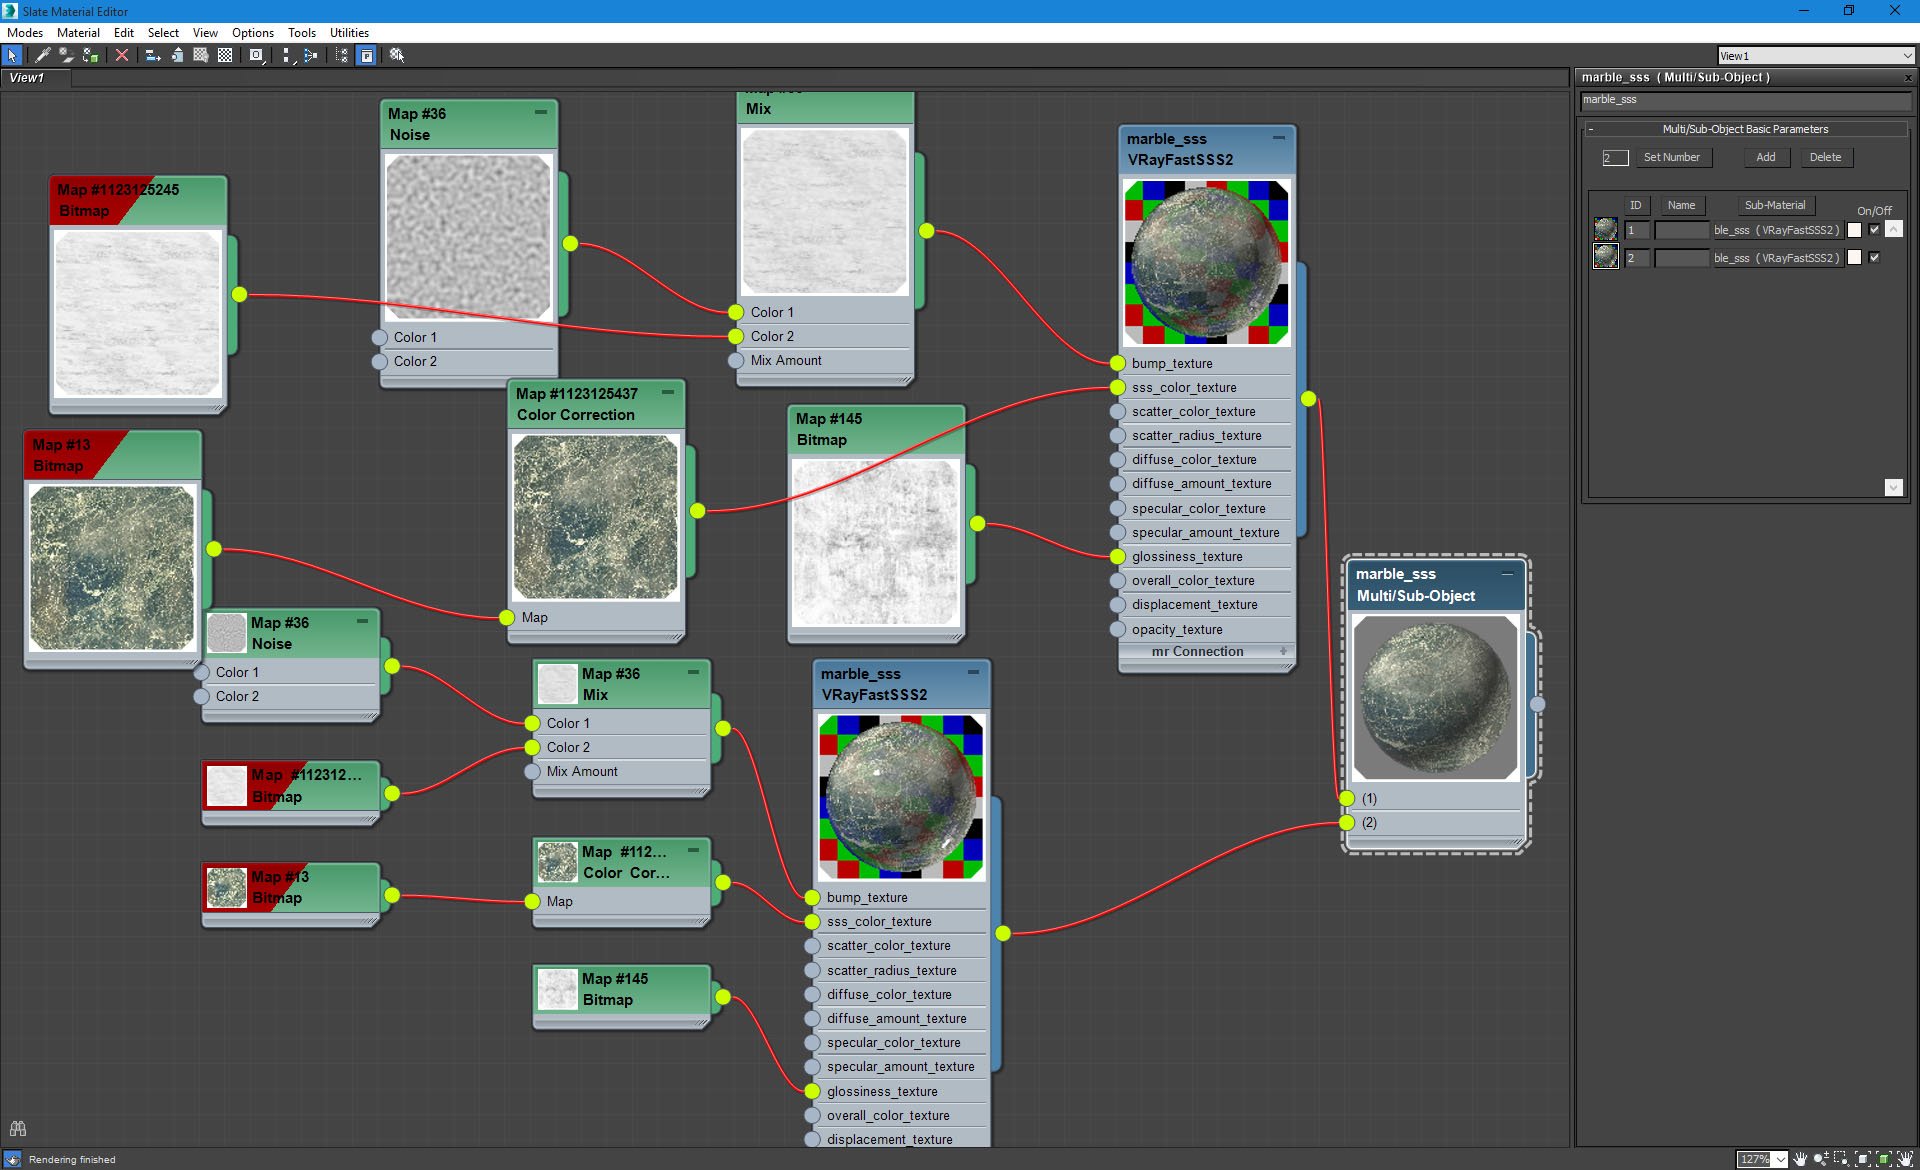
Marble floor material - Multi/Sub-Object material settings.
Click on image to enlarge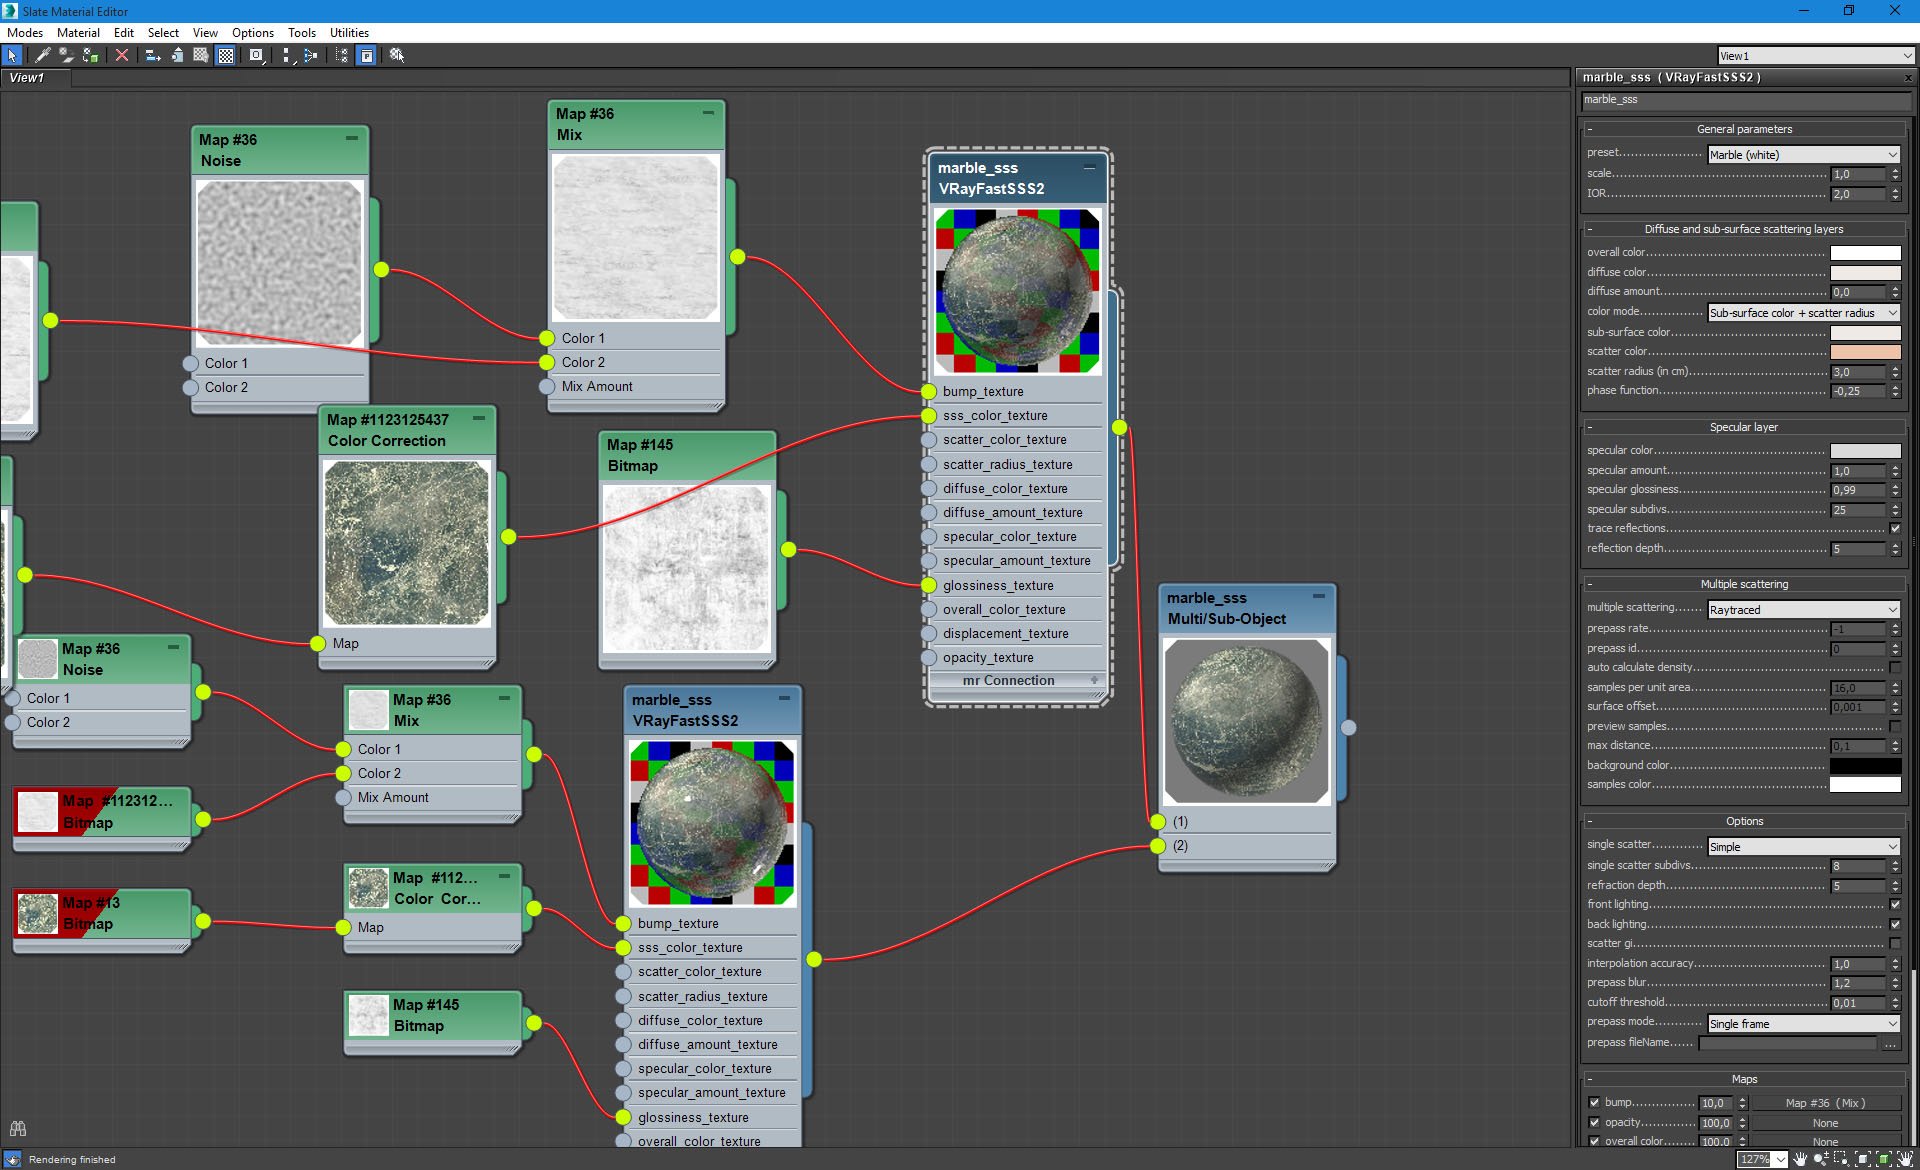
Marble floor material - Marble sss material settings. SSS color value (not visible here) is at 100%.
Click on image to enlarge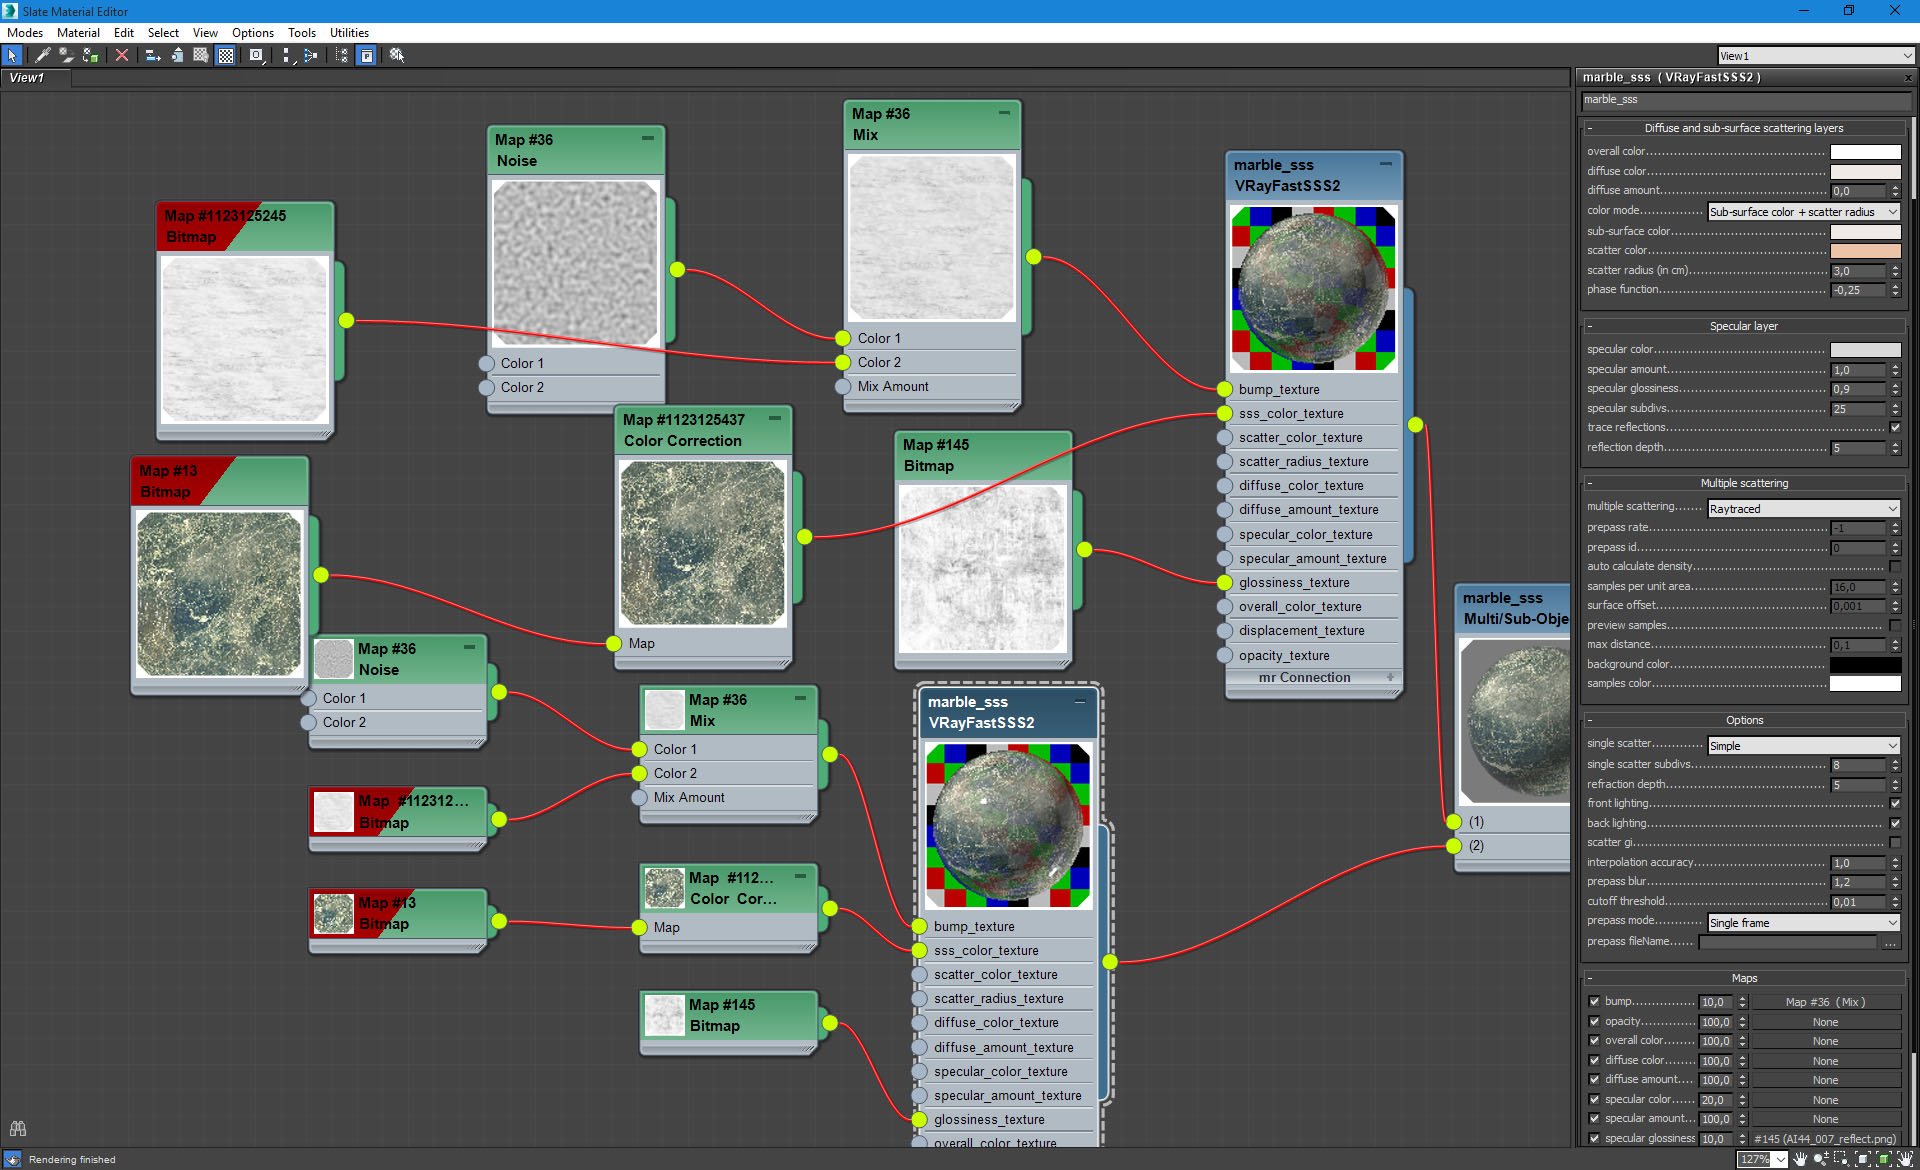
Marble floor material 2 - Marble sss material settings.
Click on image to enlarge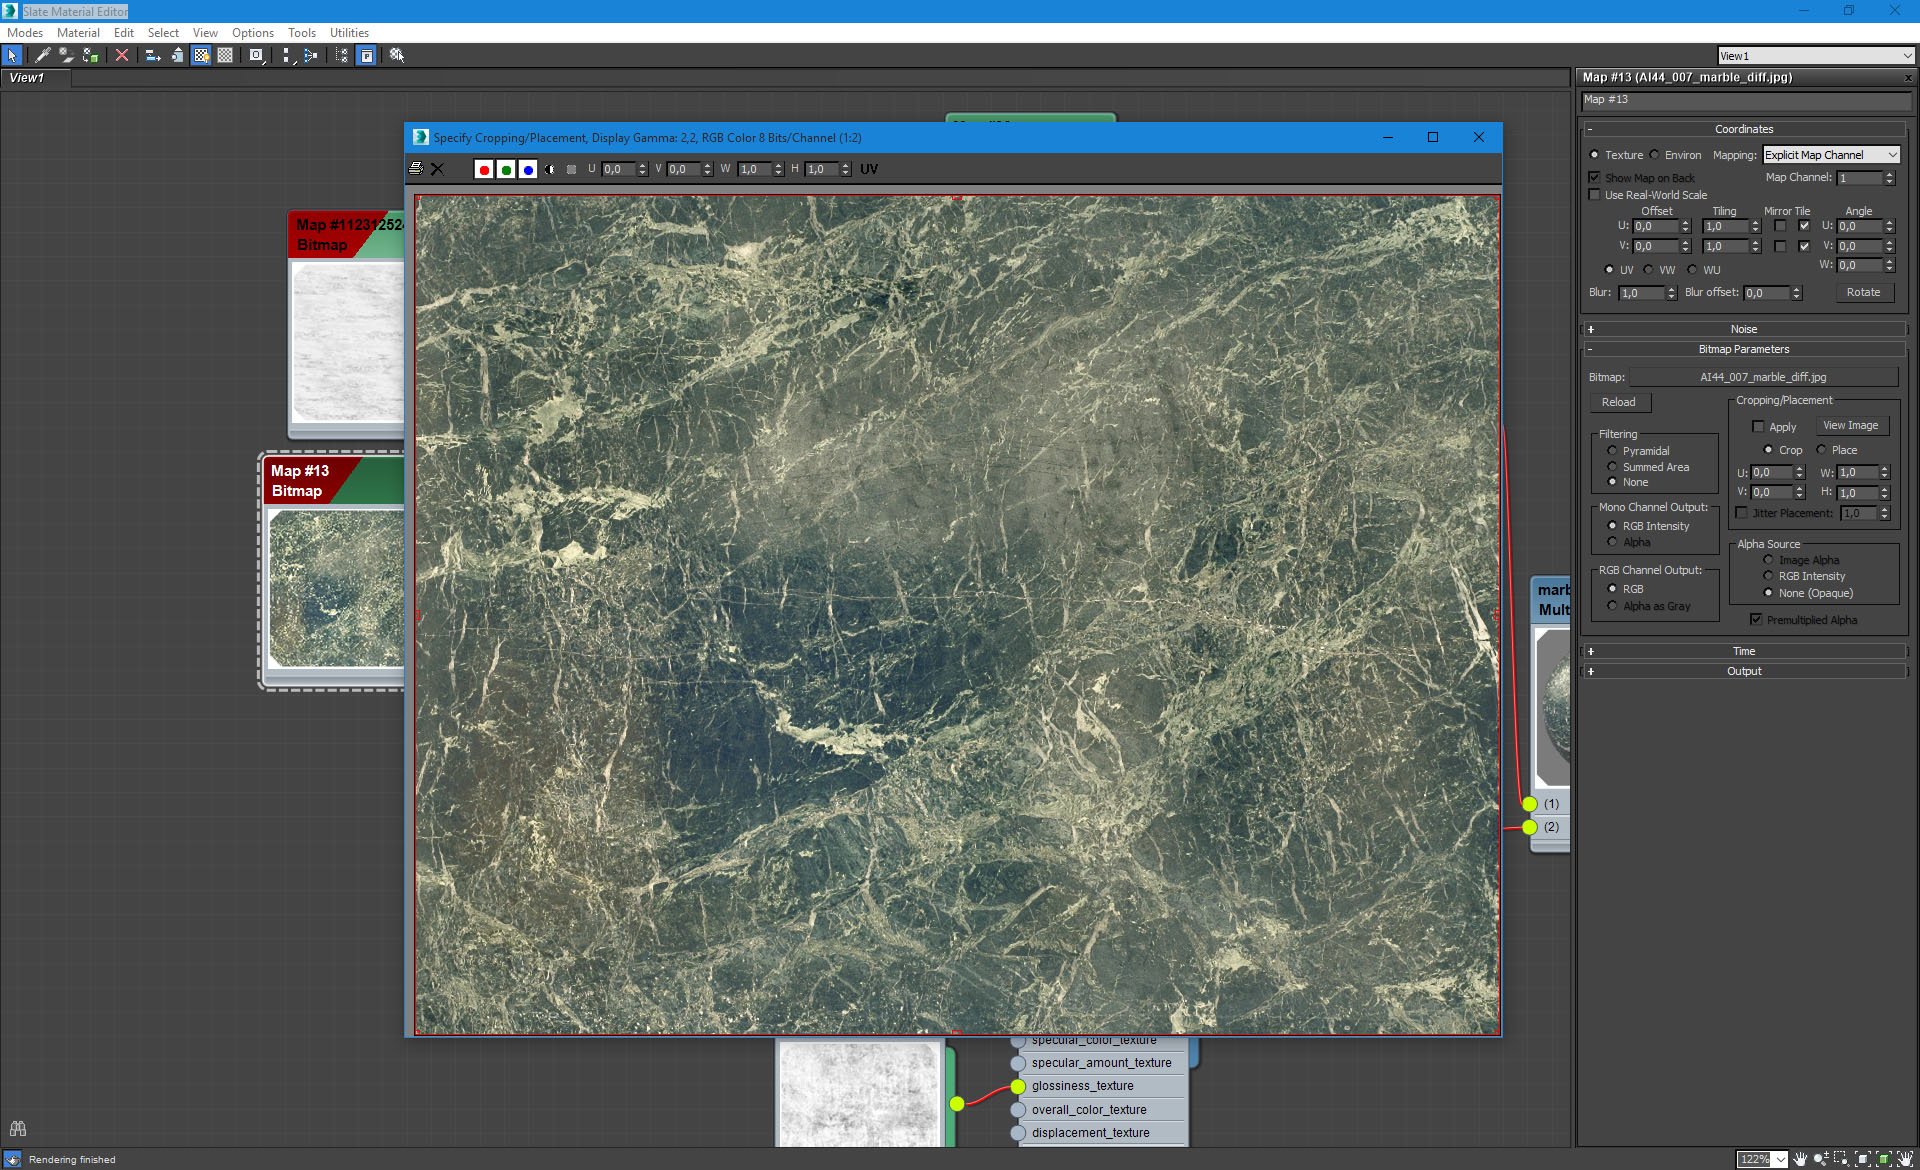
Marble floor material - diffuse texture.
Click on image to enlarge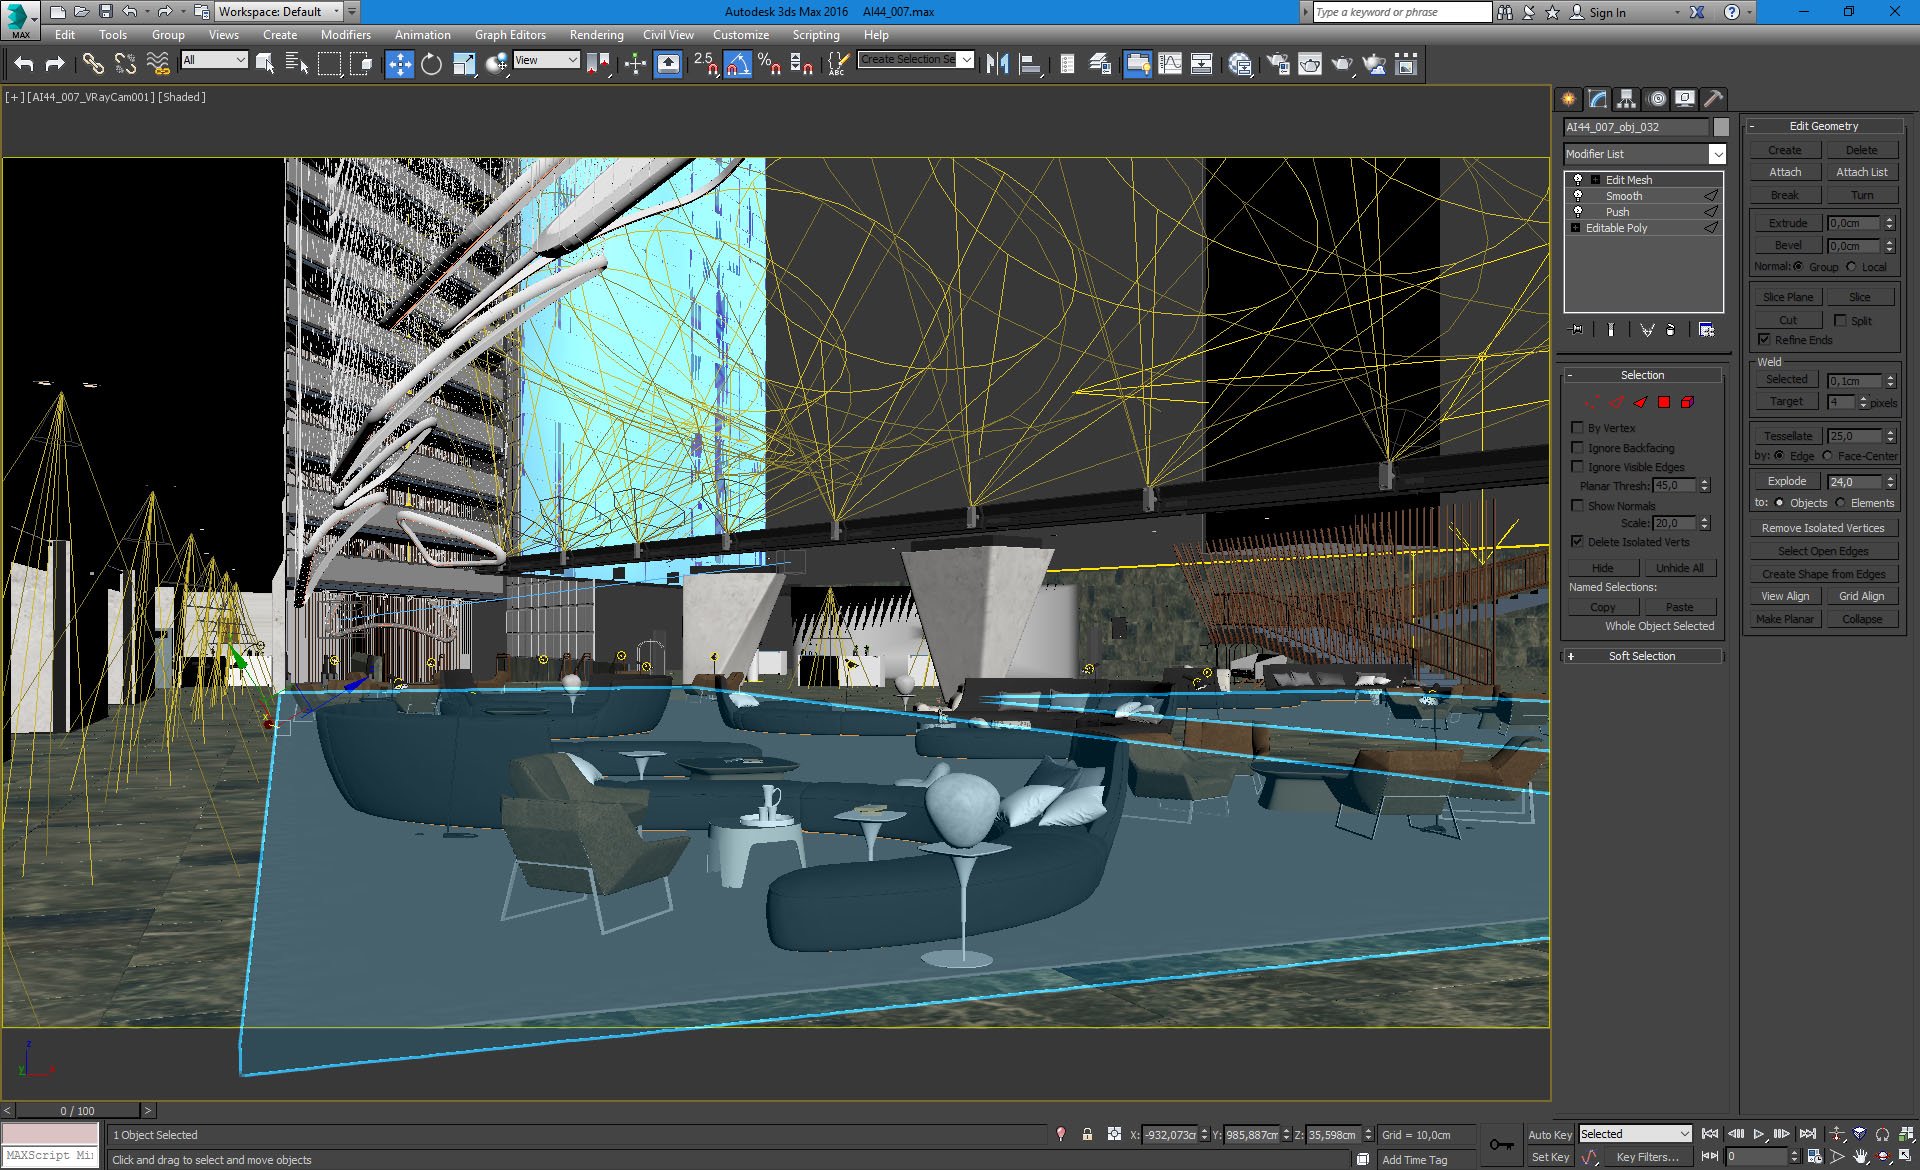
In the center we have a dark floor.
Click on image to enlarge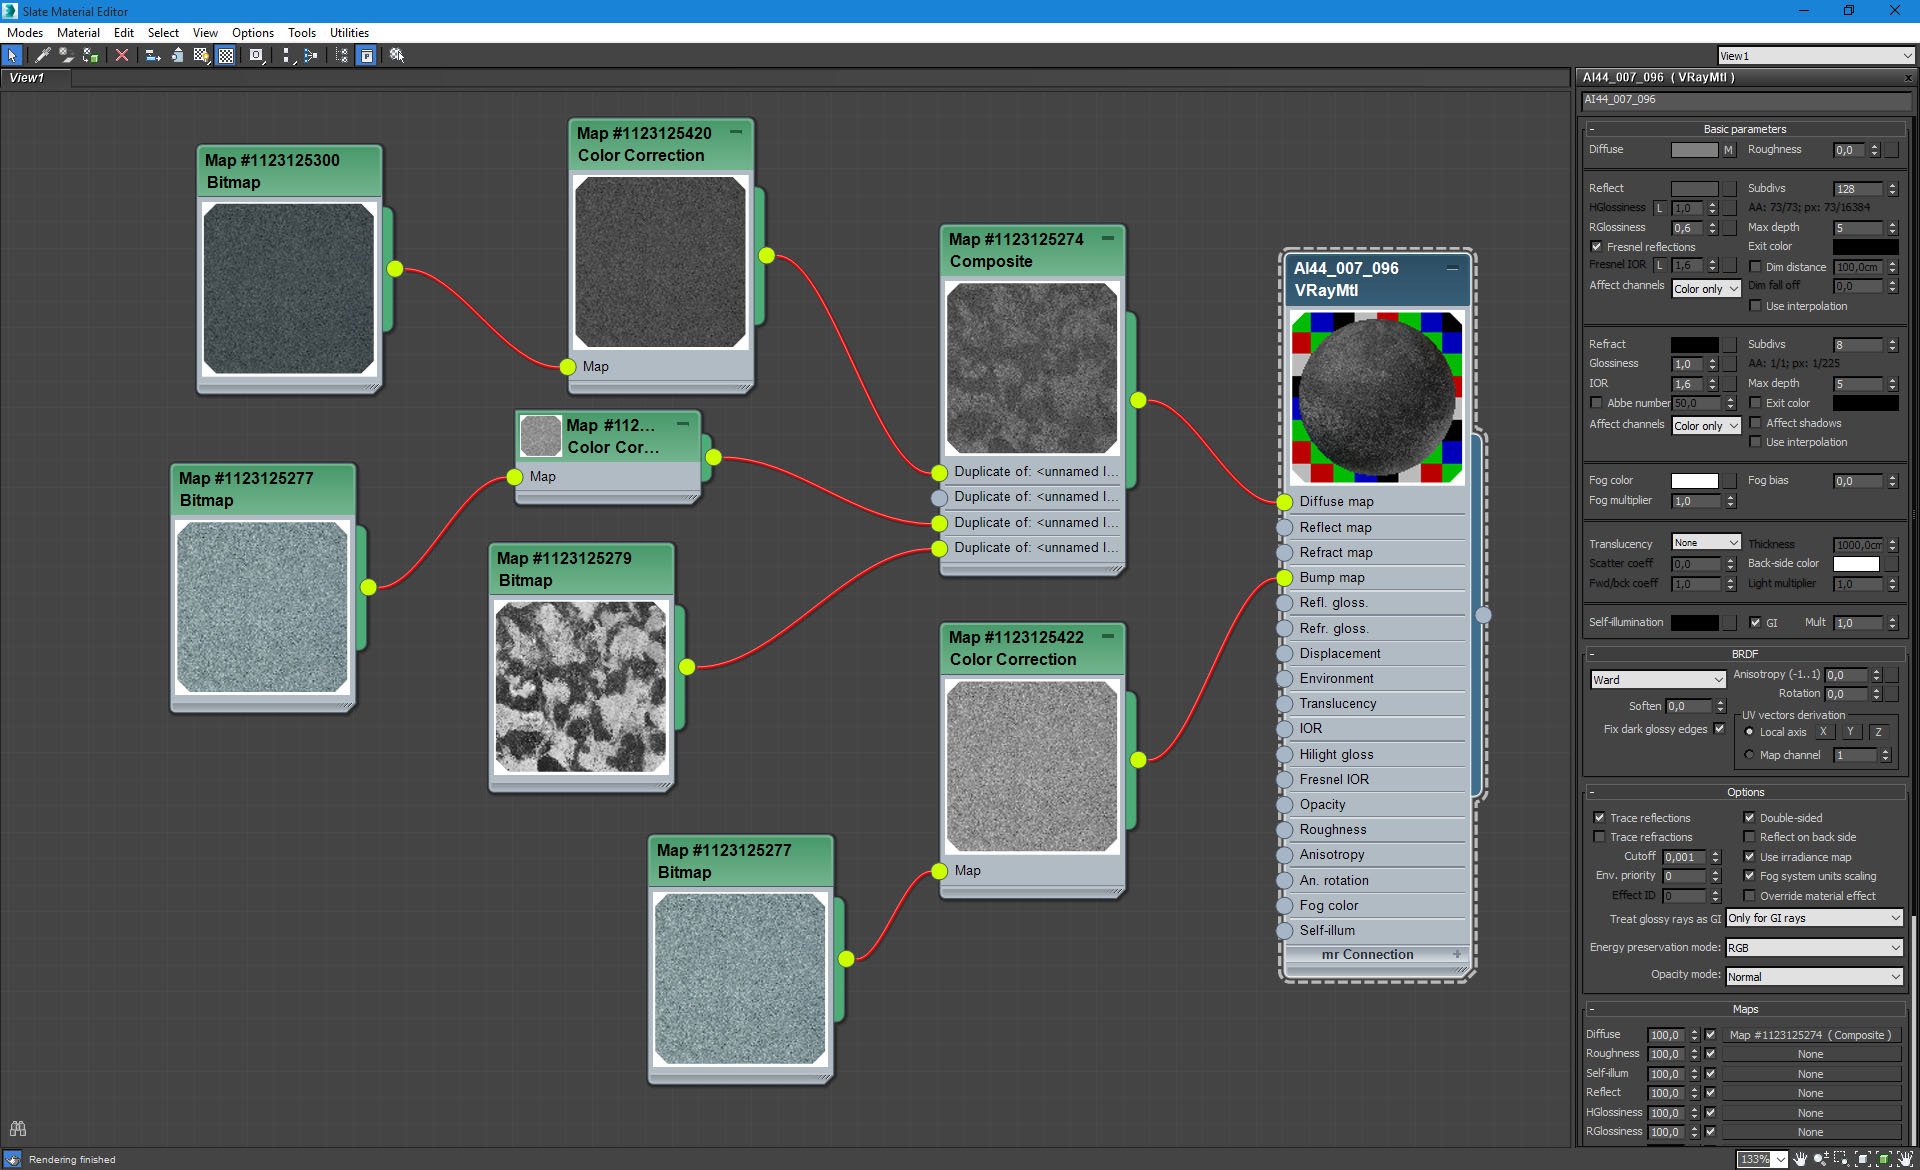
Dark floor settings.
Click on image to enlarge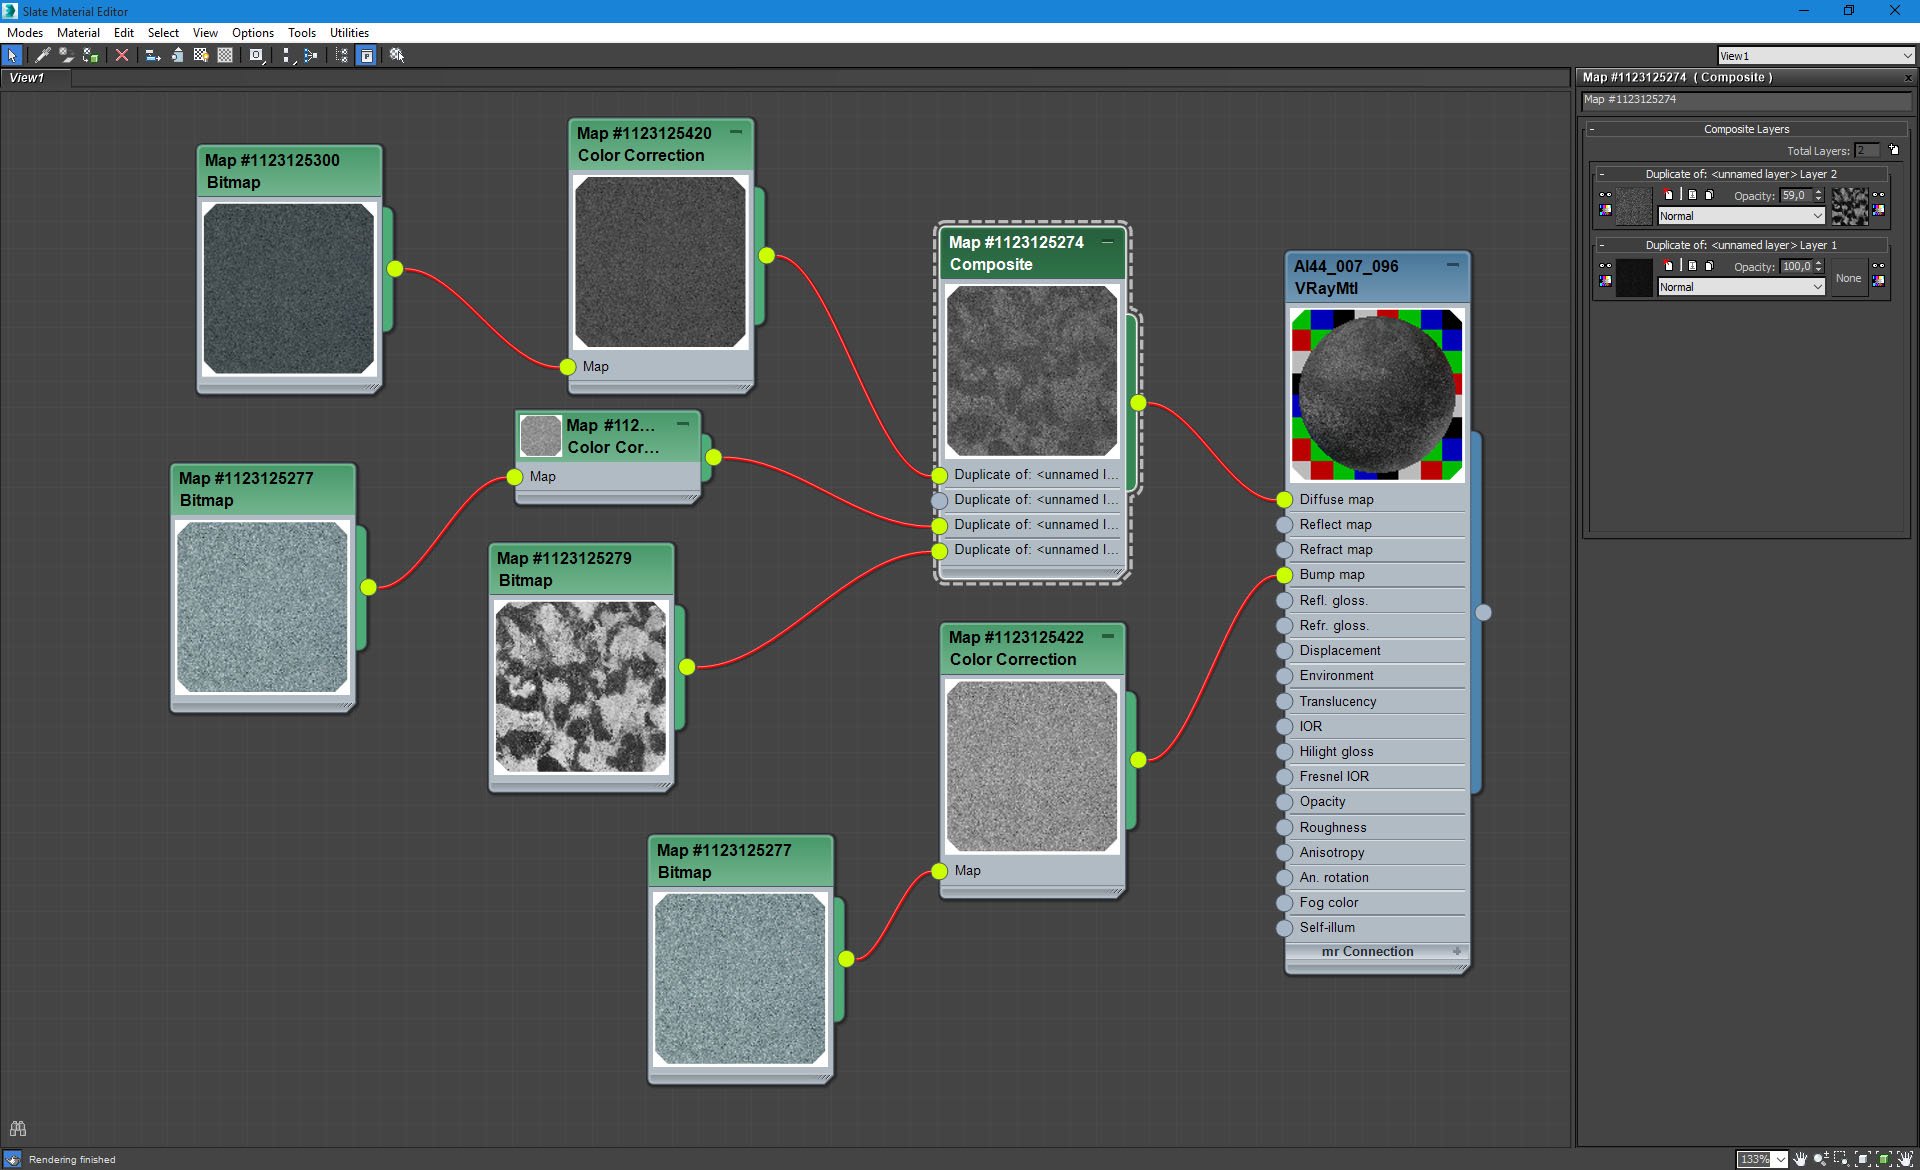
Dark floor - composite map settings.
Click on image to enlarge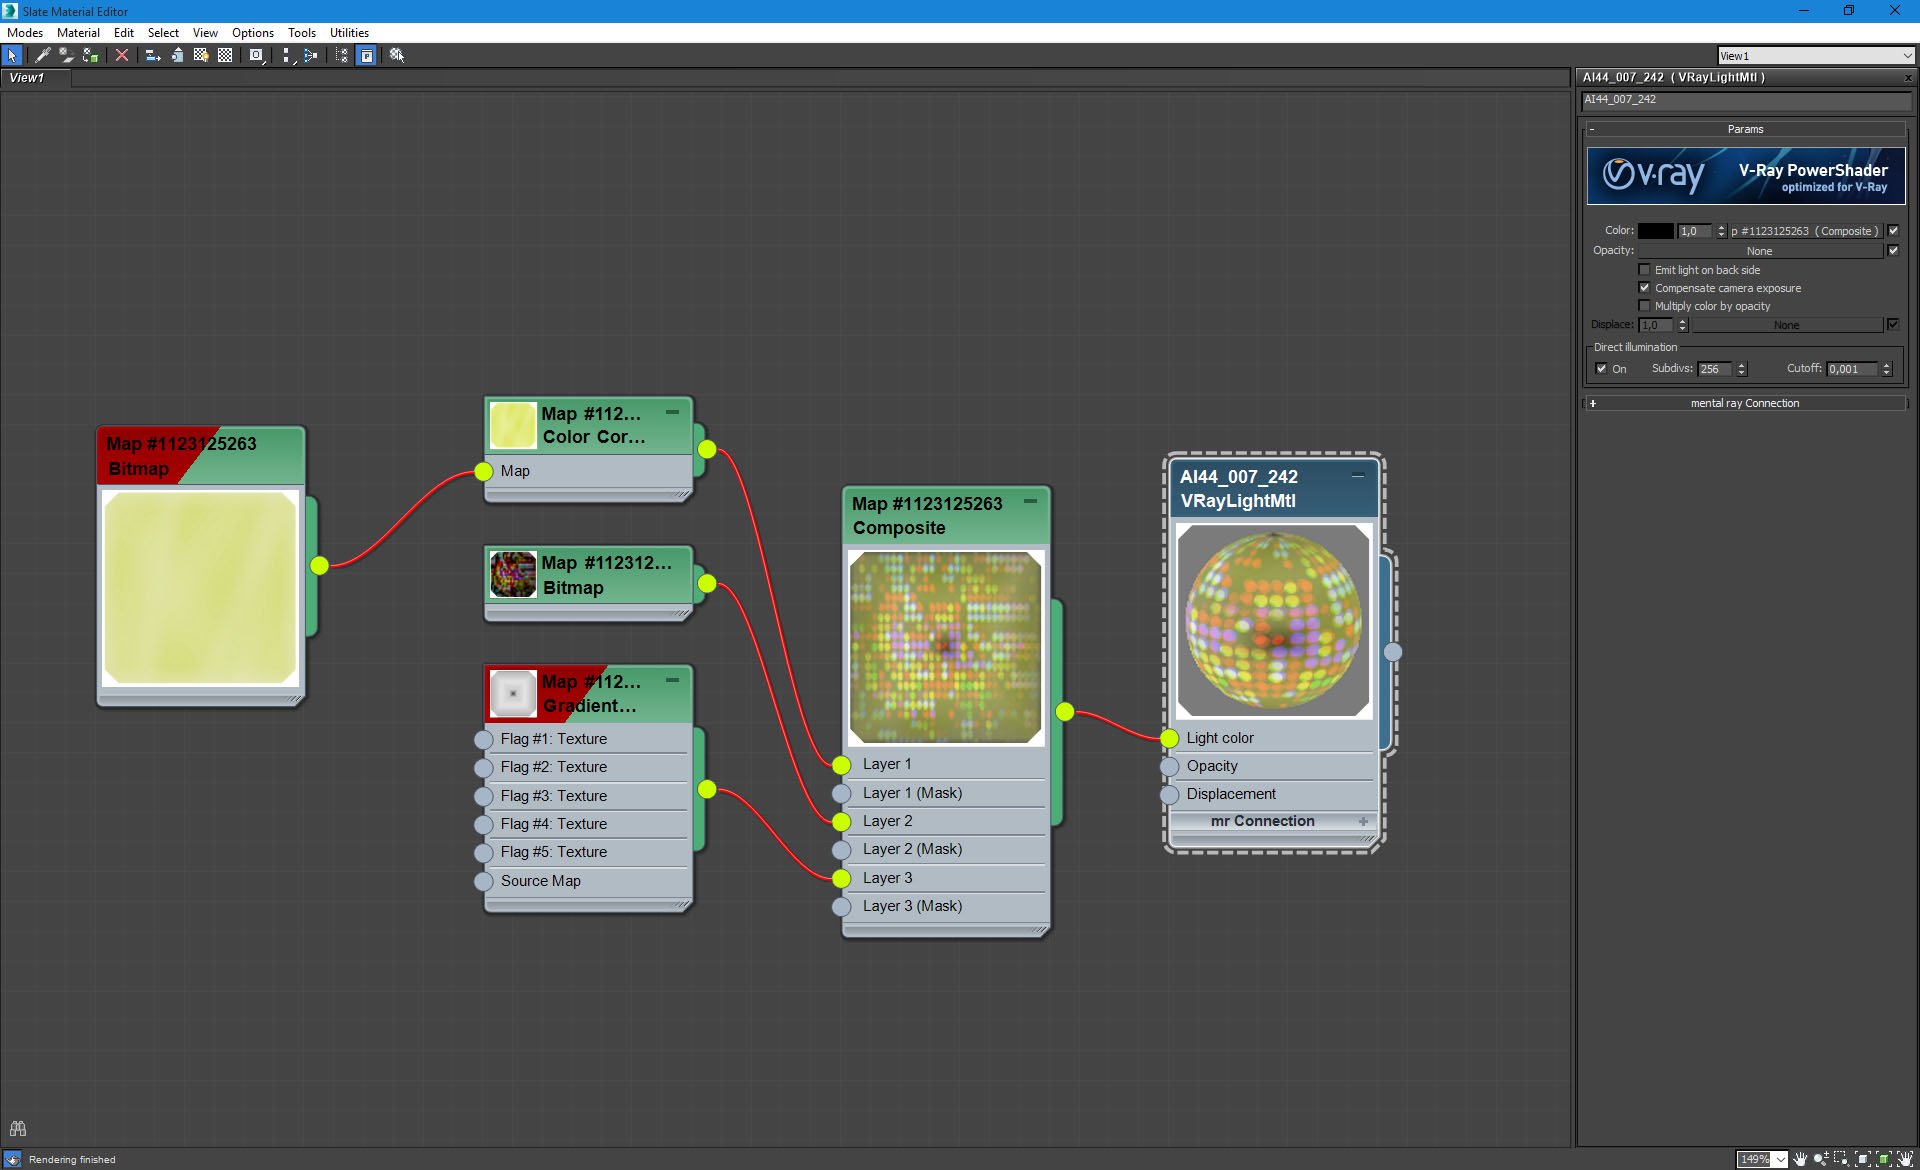
There is a plane that simulates the wall of lights opposite of the camera. Here is a material that is used for this geometry.
Click on image to enlarge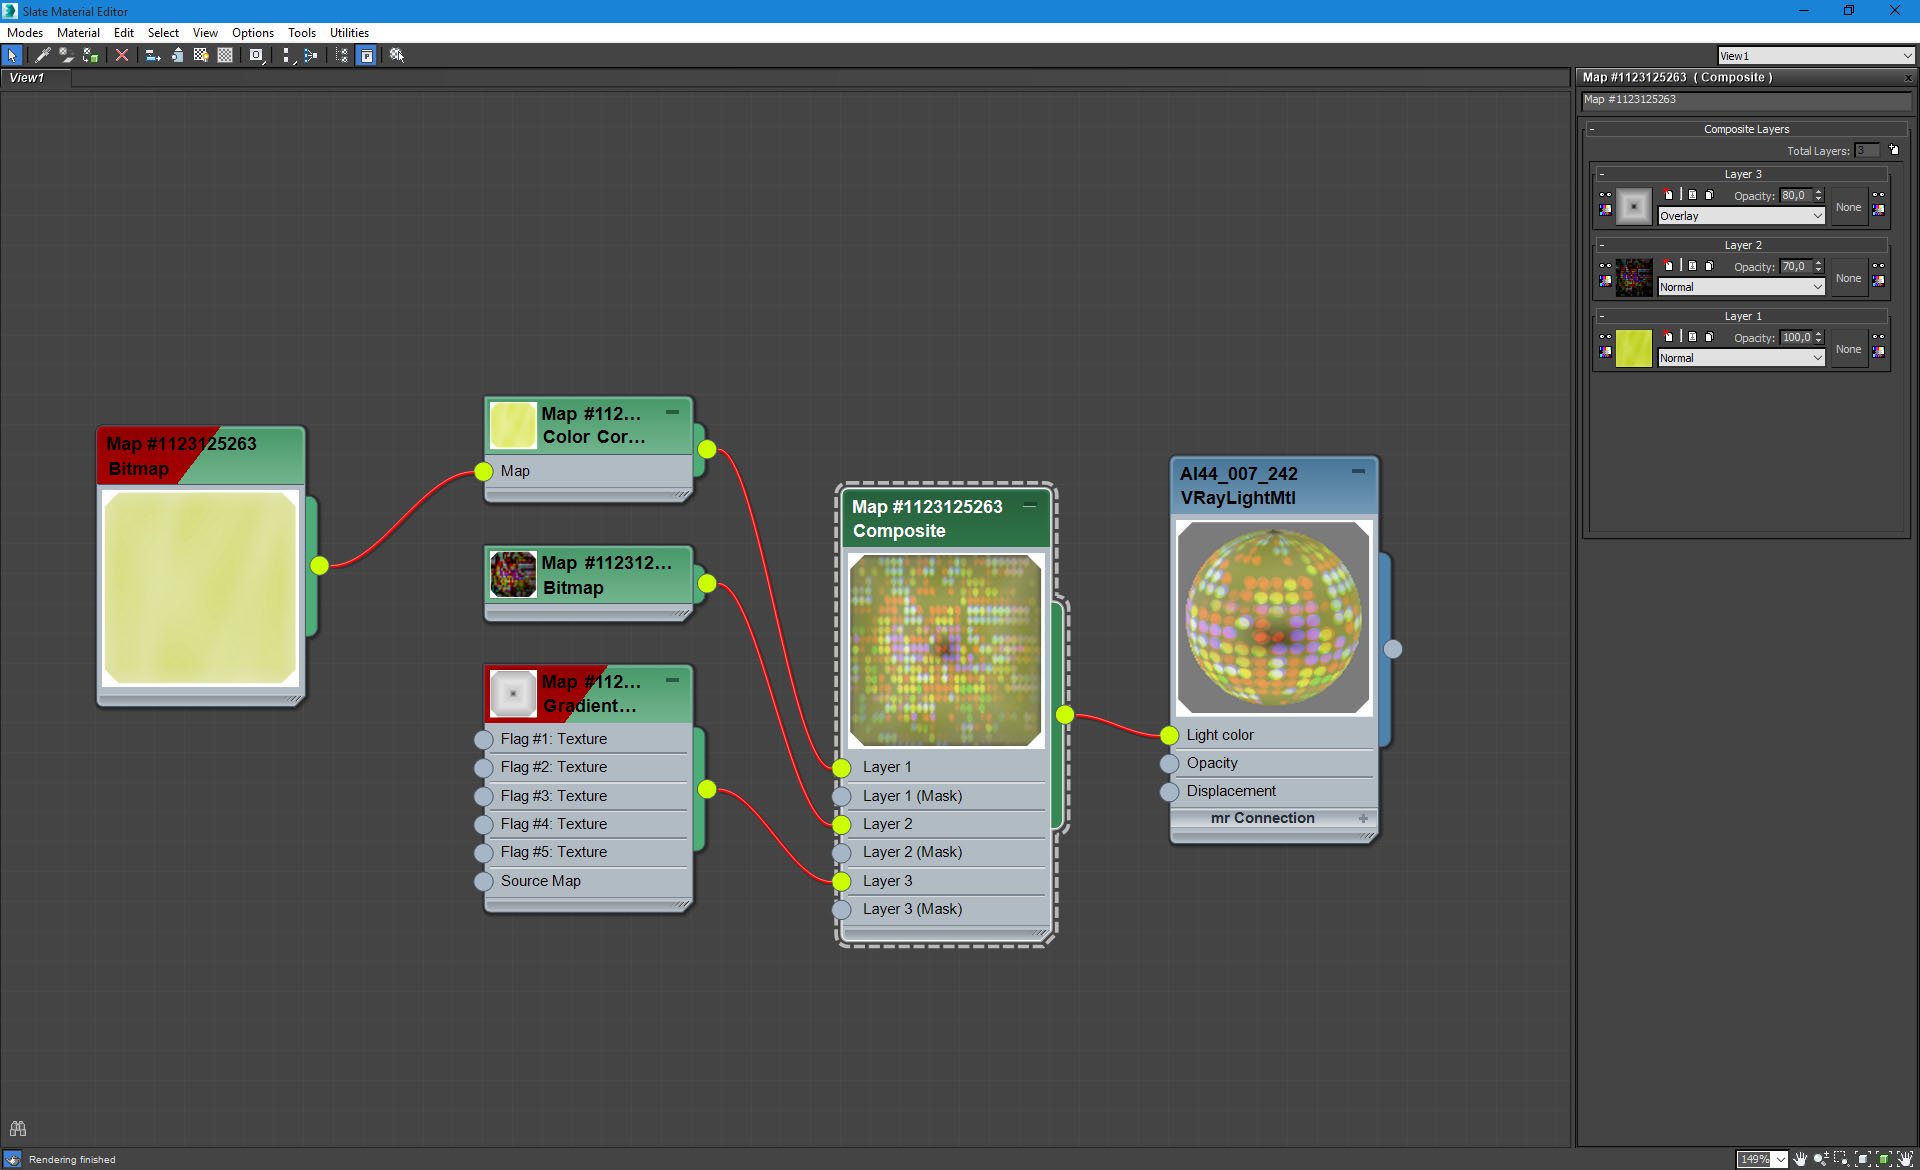
Wall of light material - composite map settings.
Click on image to enlarge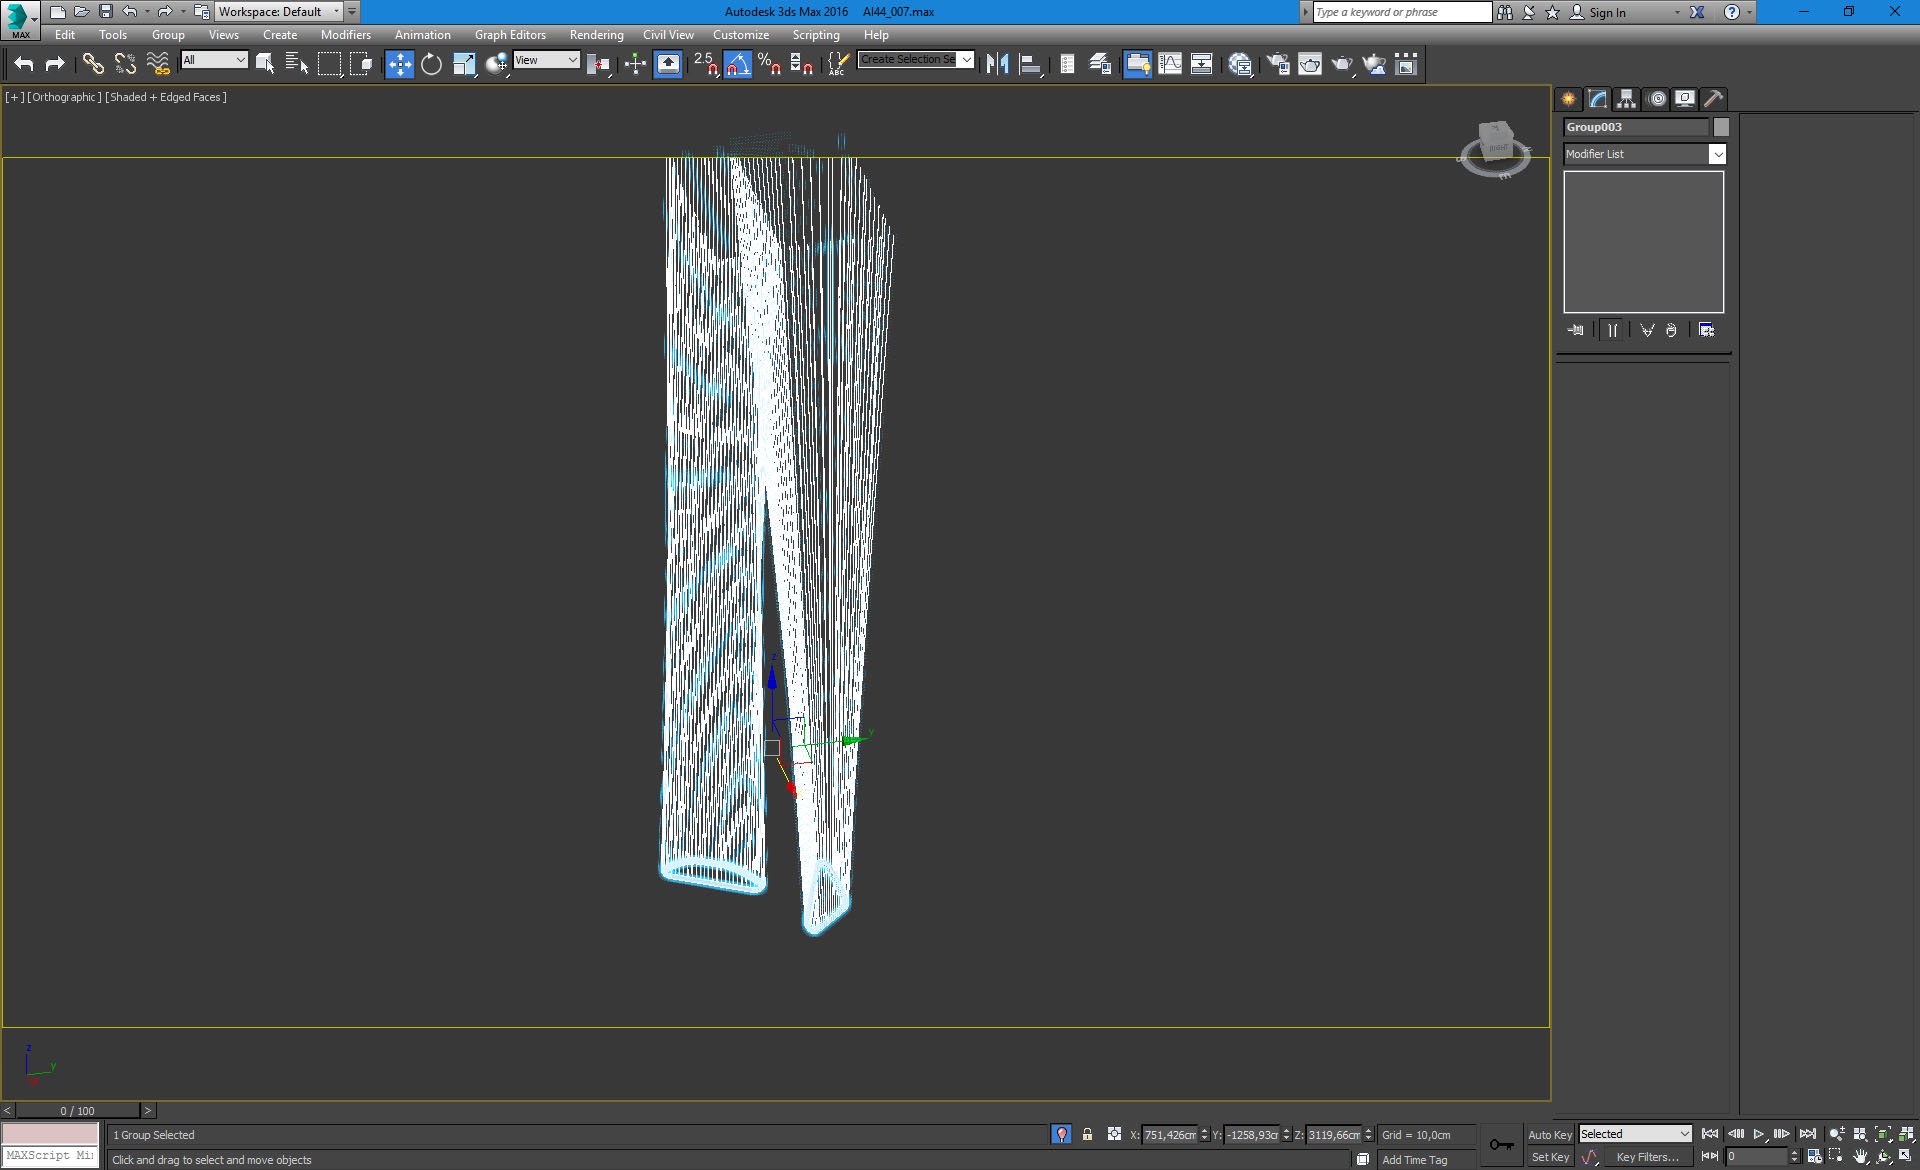
There are many hanging art elements in the lobby, here are the two of them.
Click on image to enlarge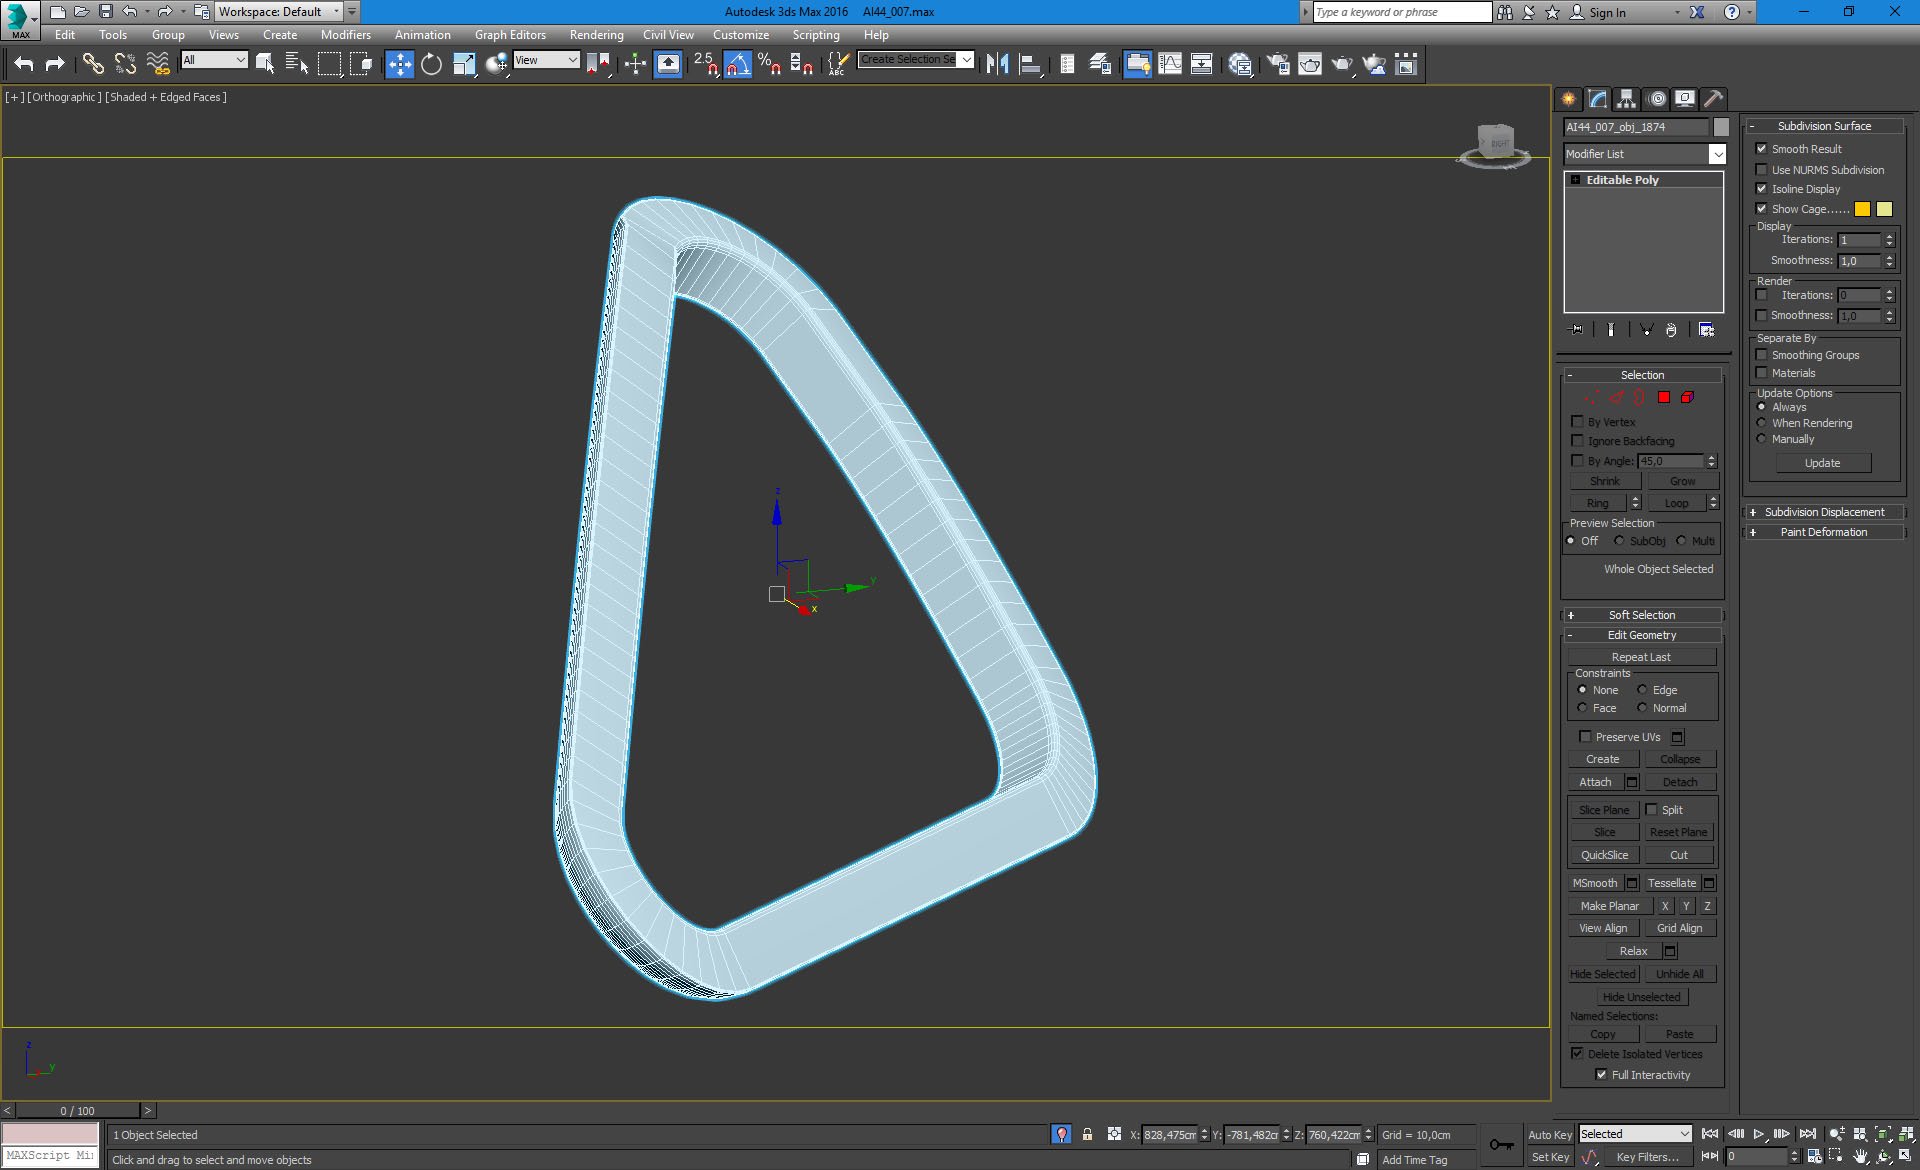
...and the close-up.
Click on image to enlarge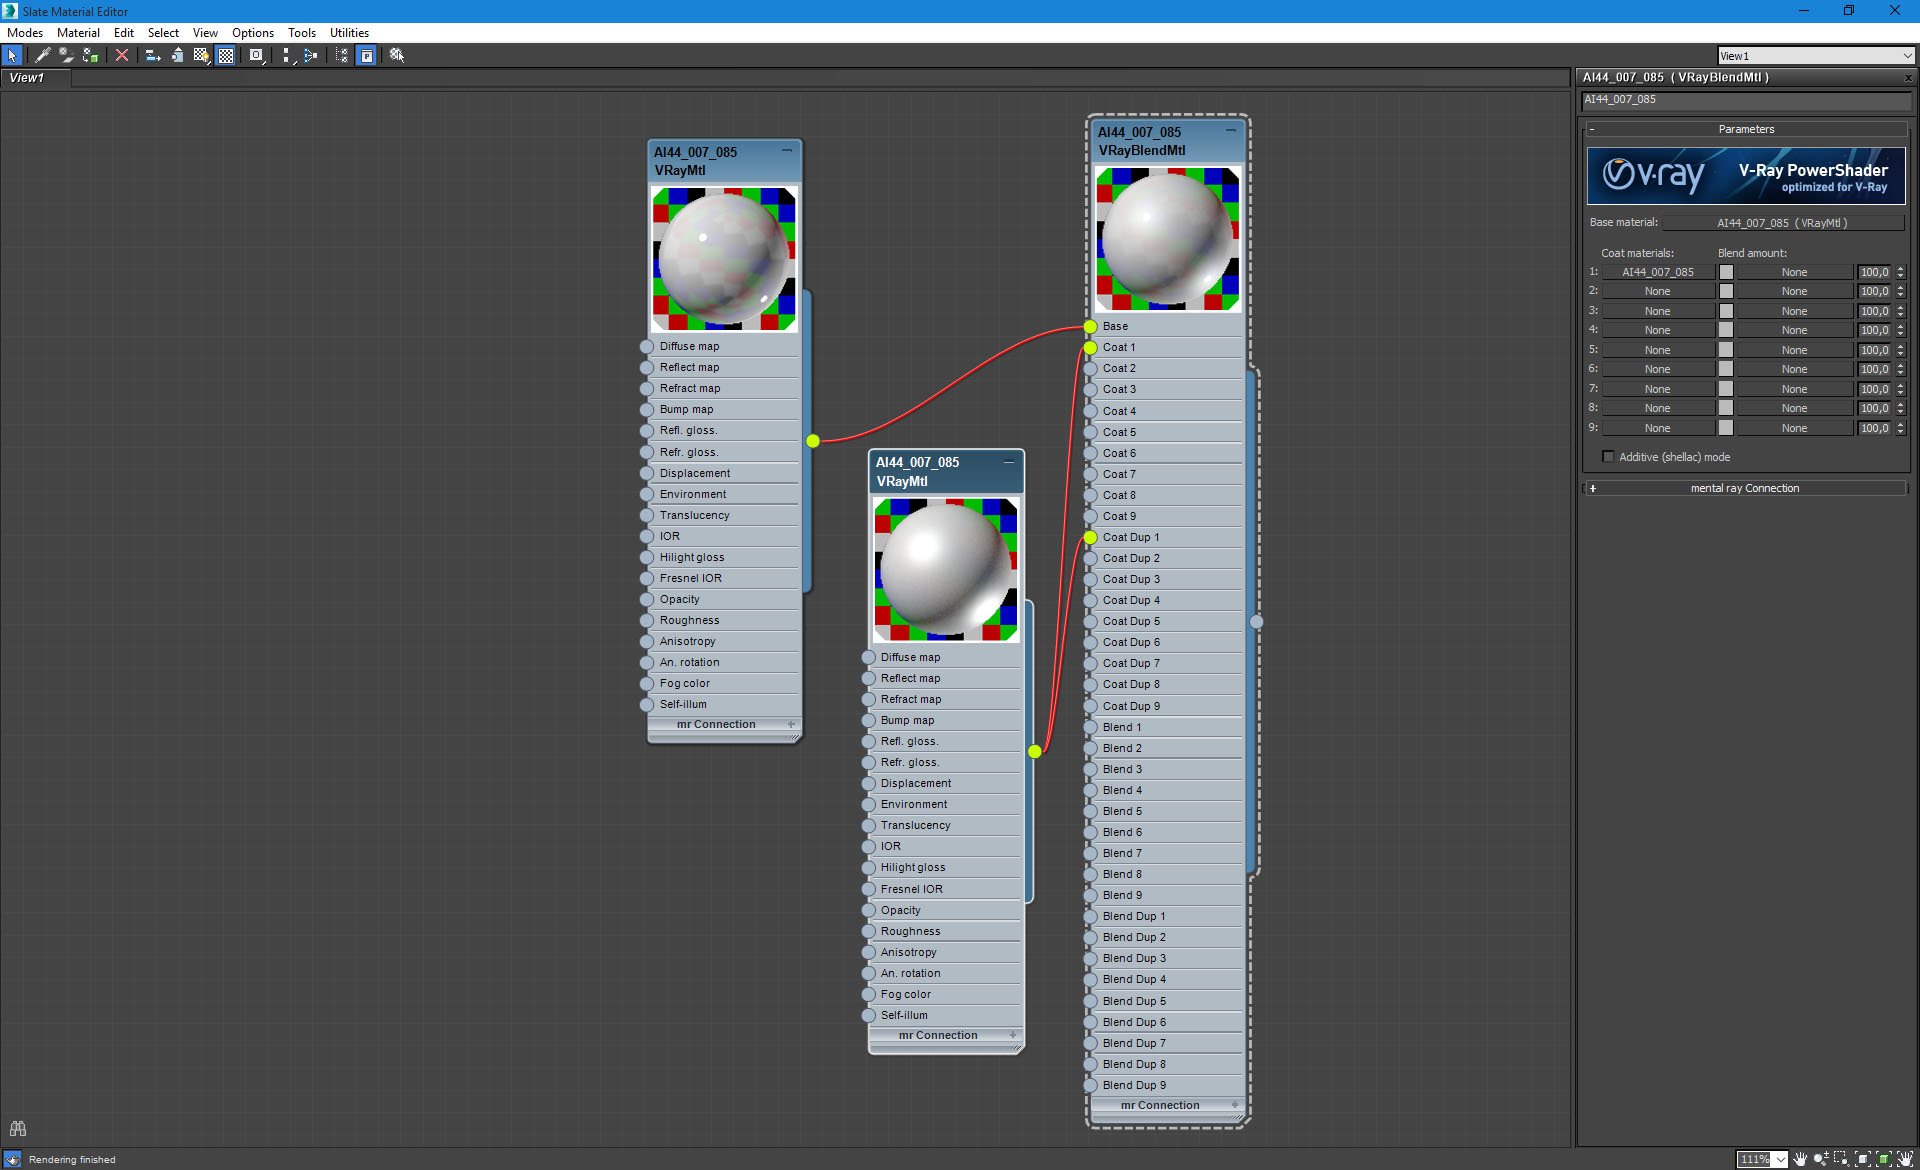
Hanging elements material is rather simple.
Click on image to enlarge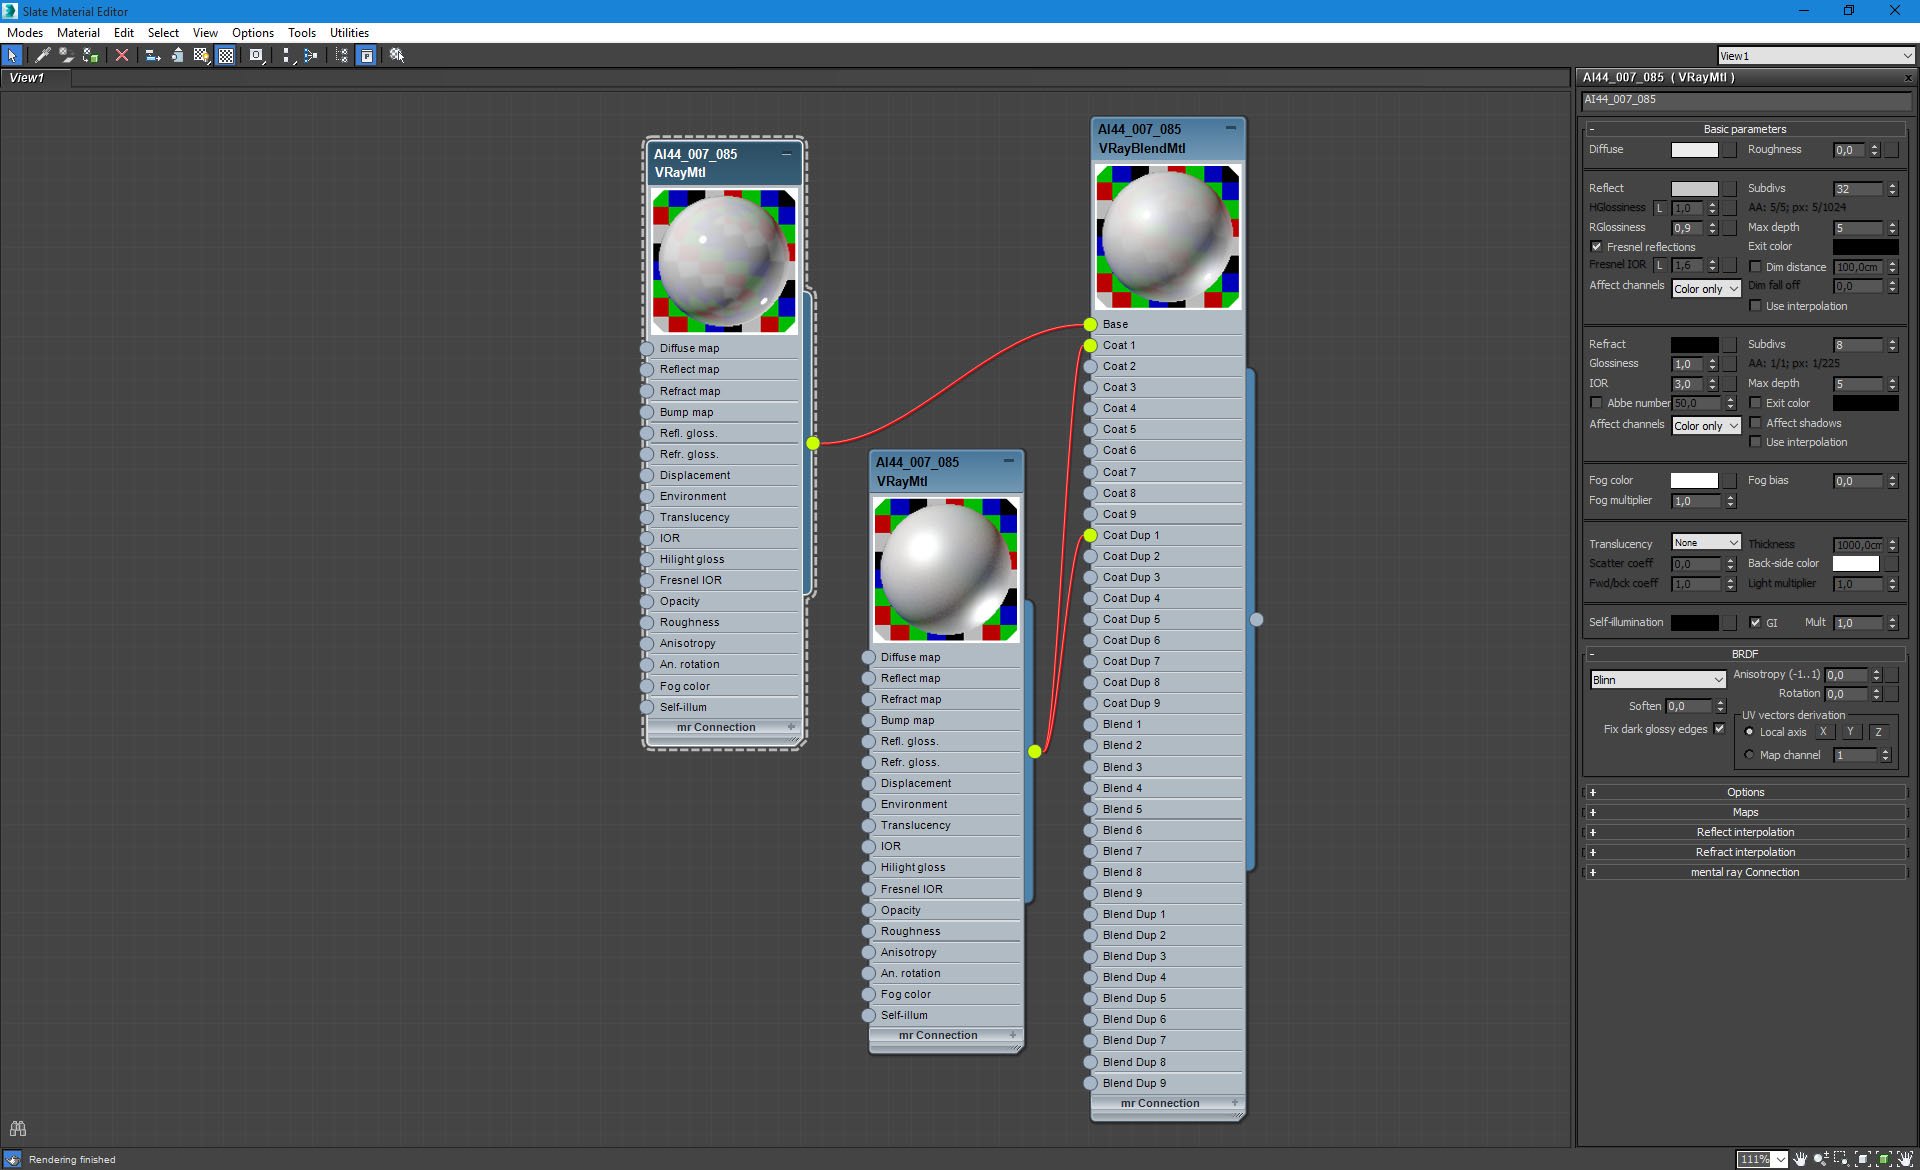
Hanging elements - base material.
Click on image to enlarge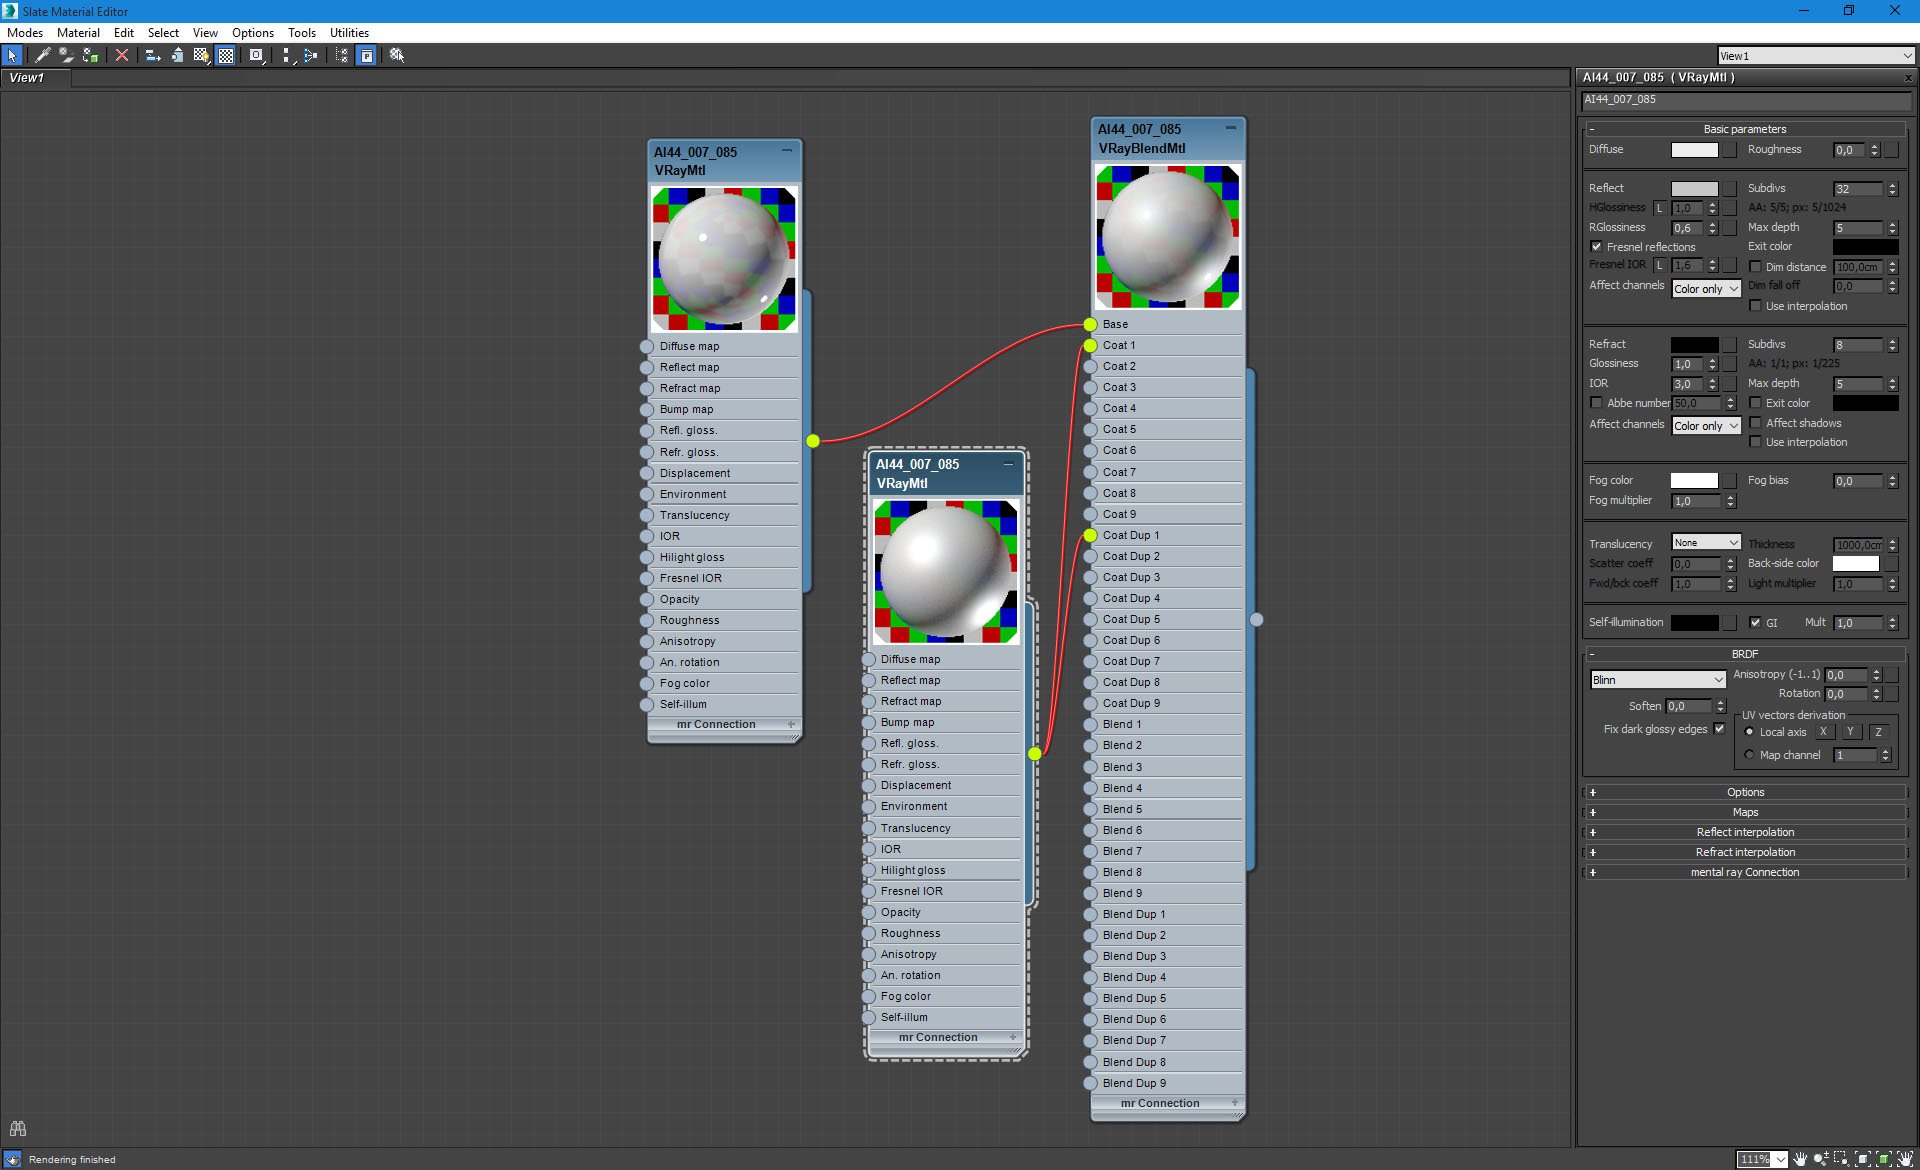
Hanging elements - coat material.
Click on image to enlarge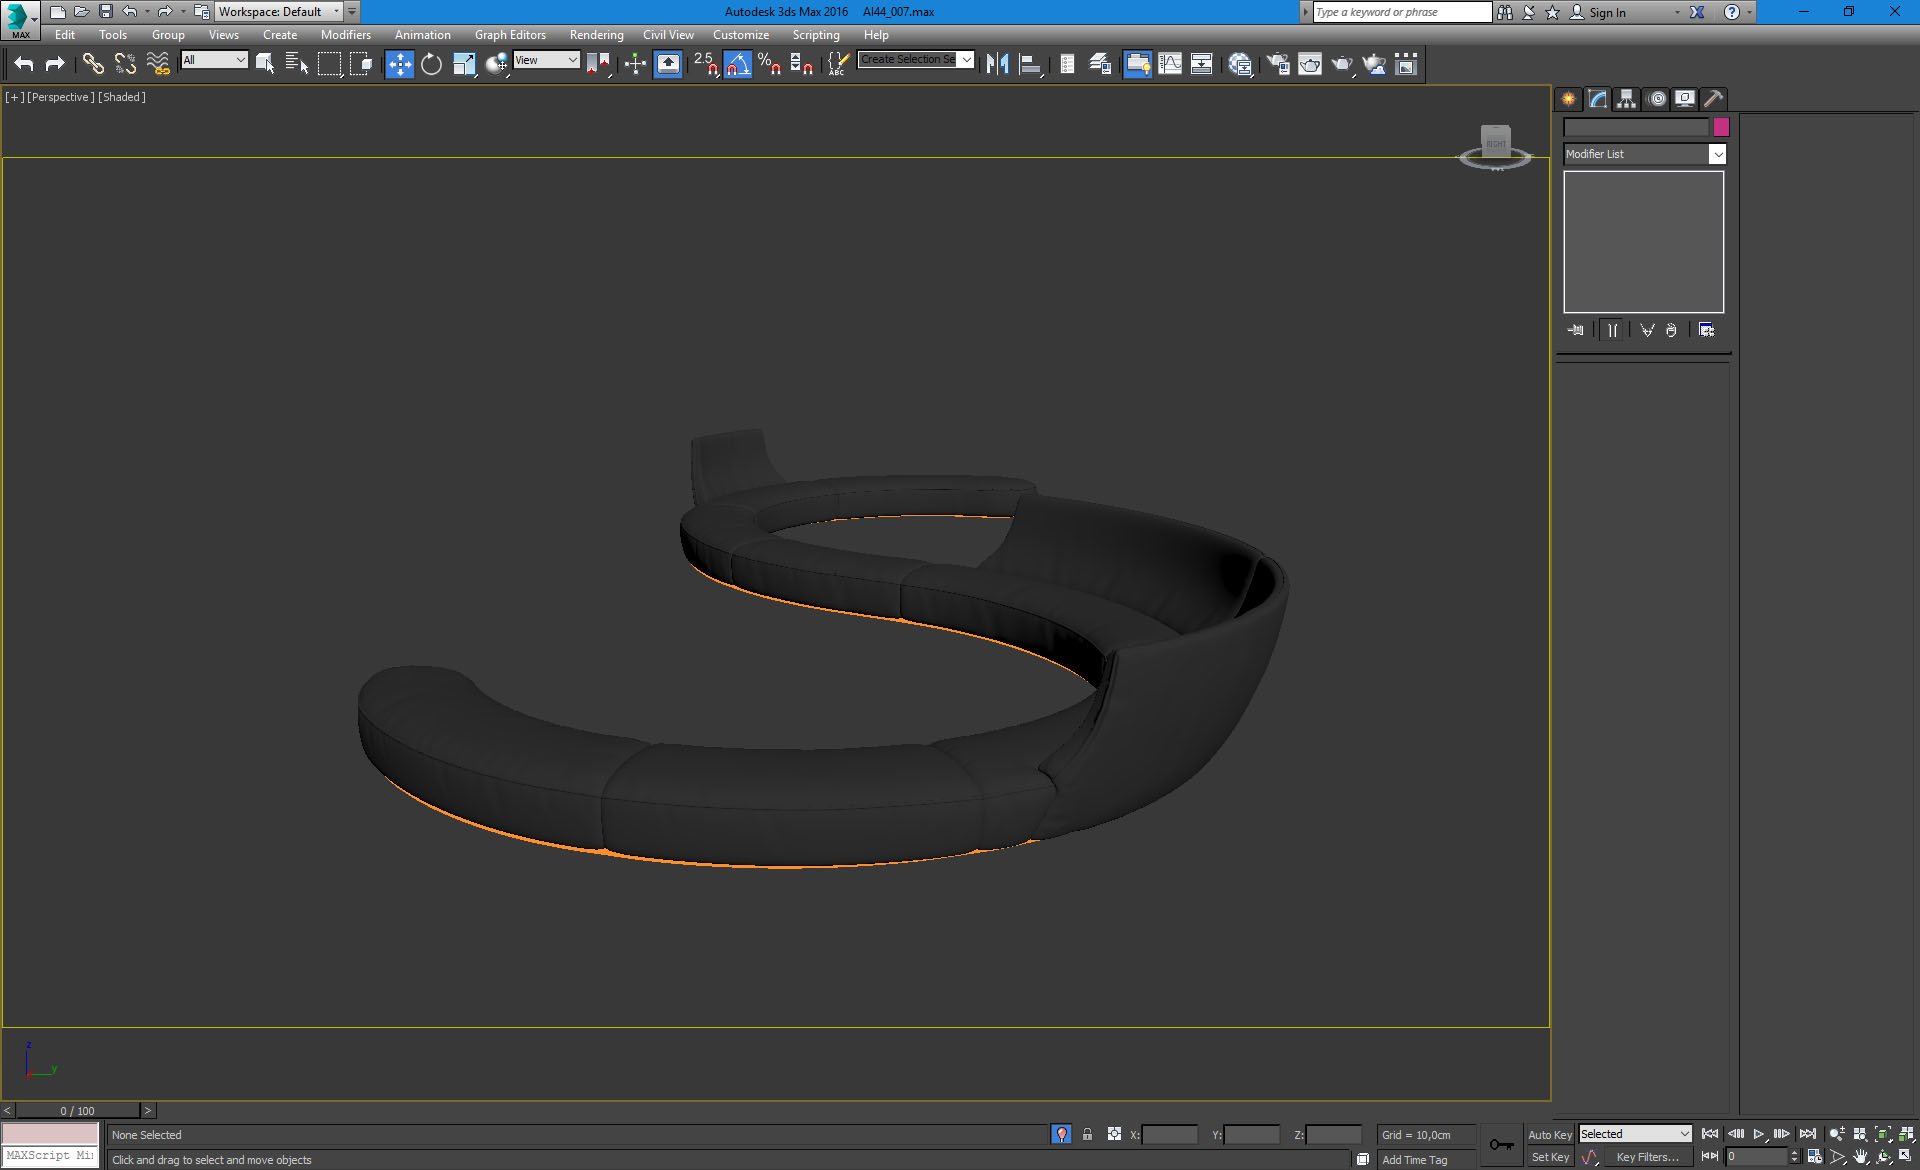
We put many sophisticated sofas in the lobby. There is a subtle orange light beneath each of them.
Click on image to enlarge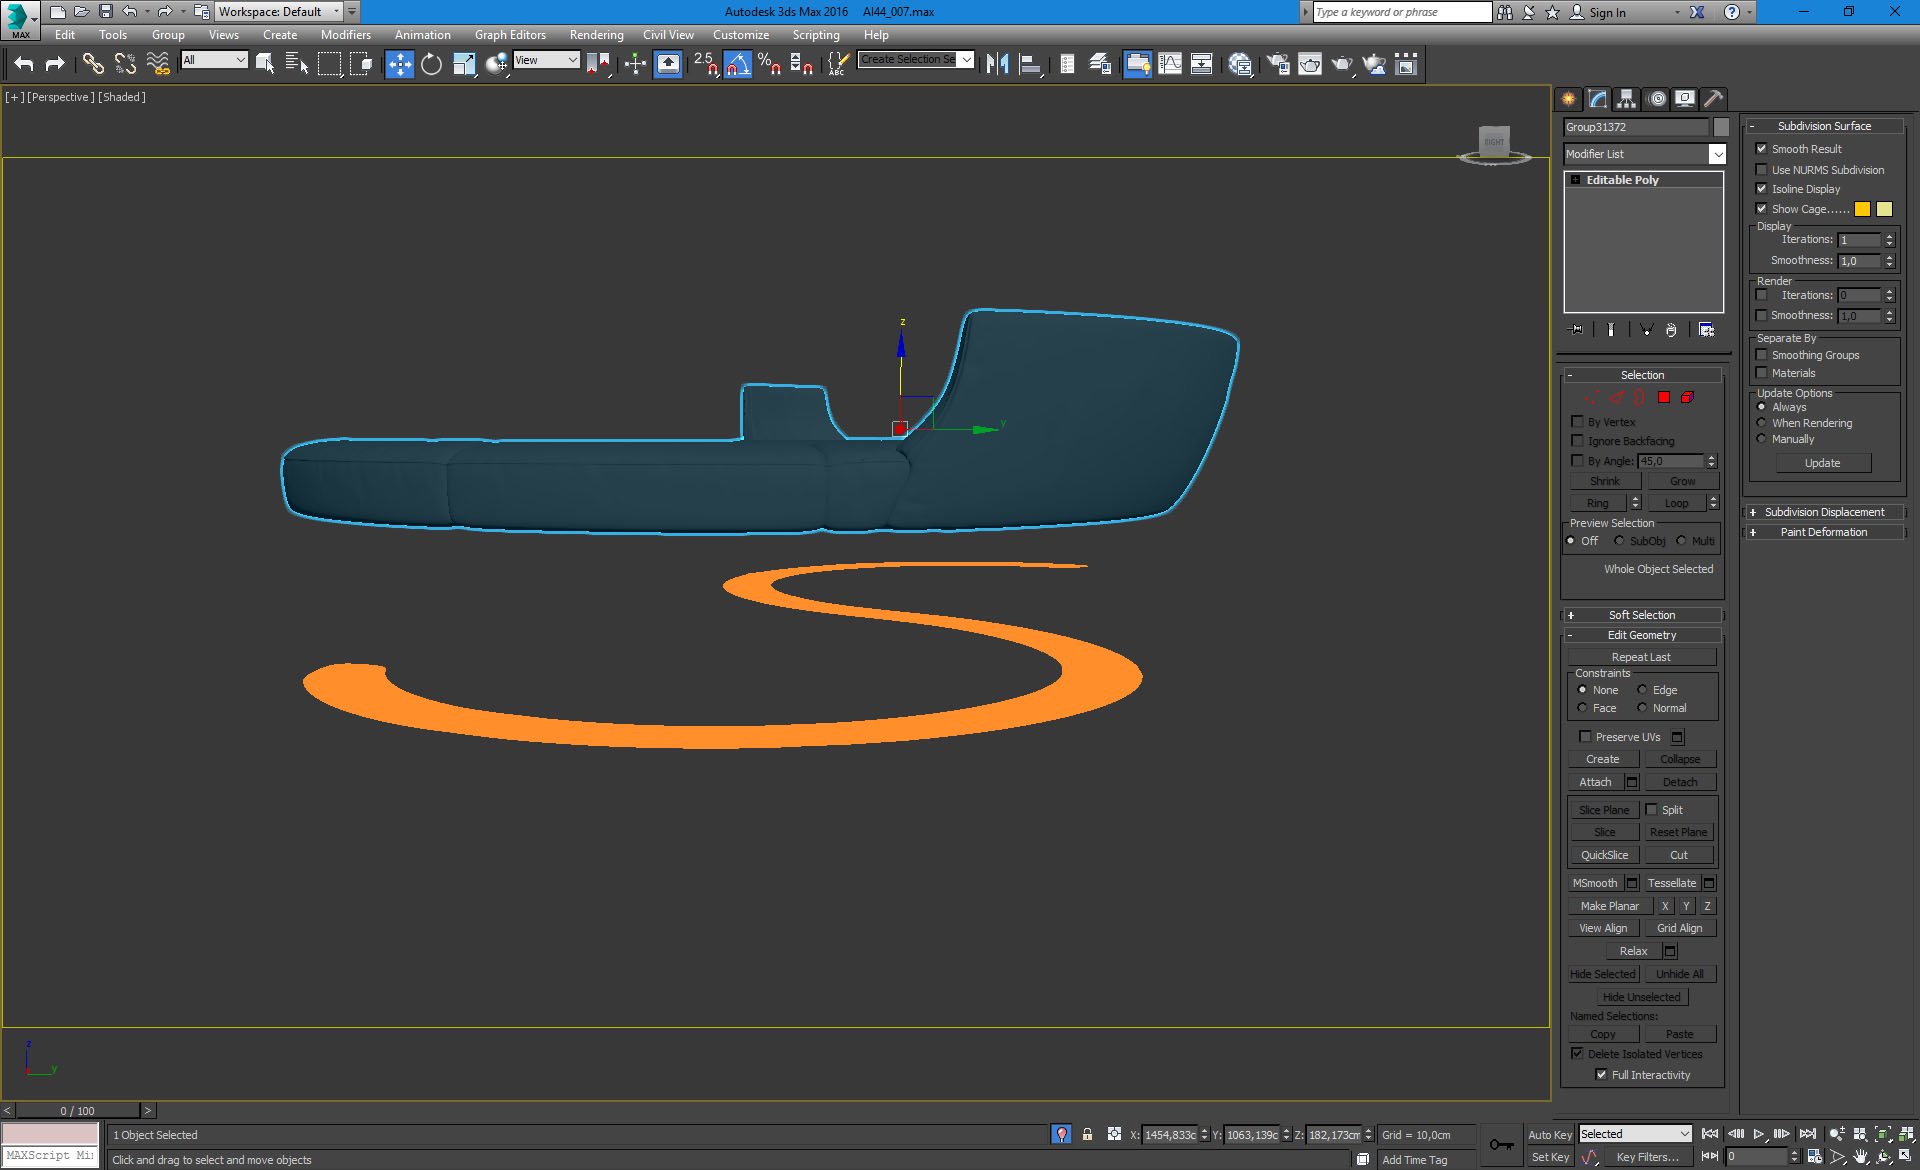
We made this lighting with orange s-shape.
Click on image to enlarge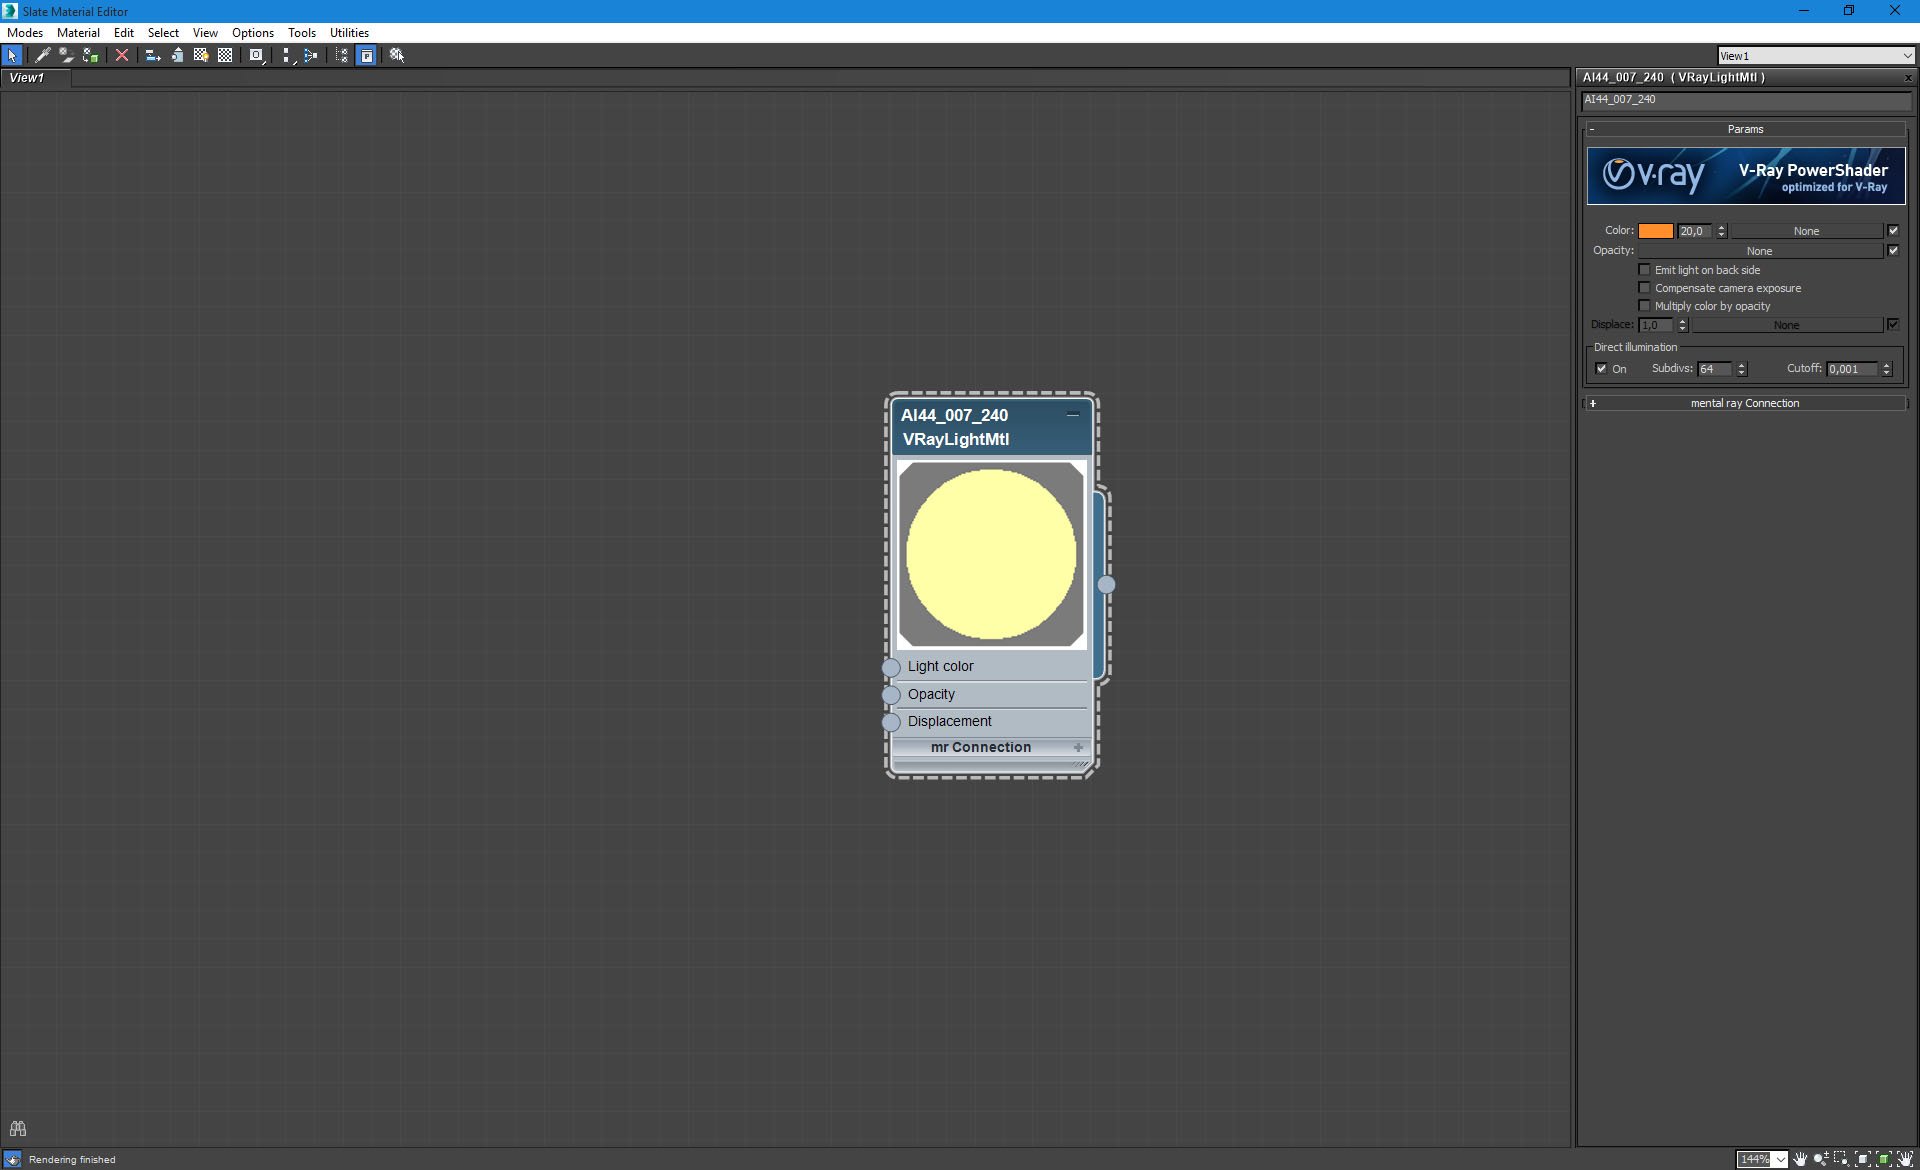
Orange s-shape material.
Click on image to enlarge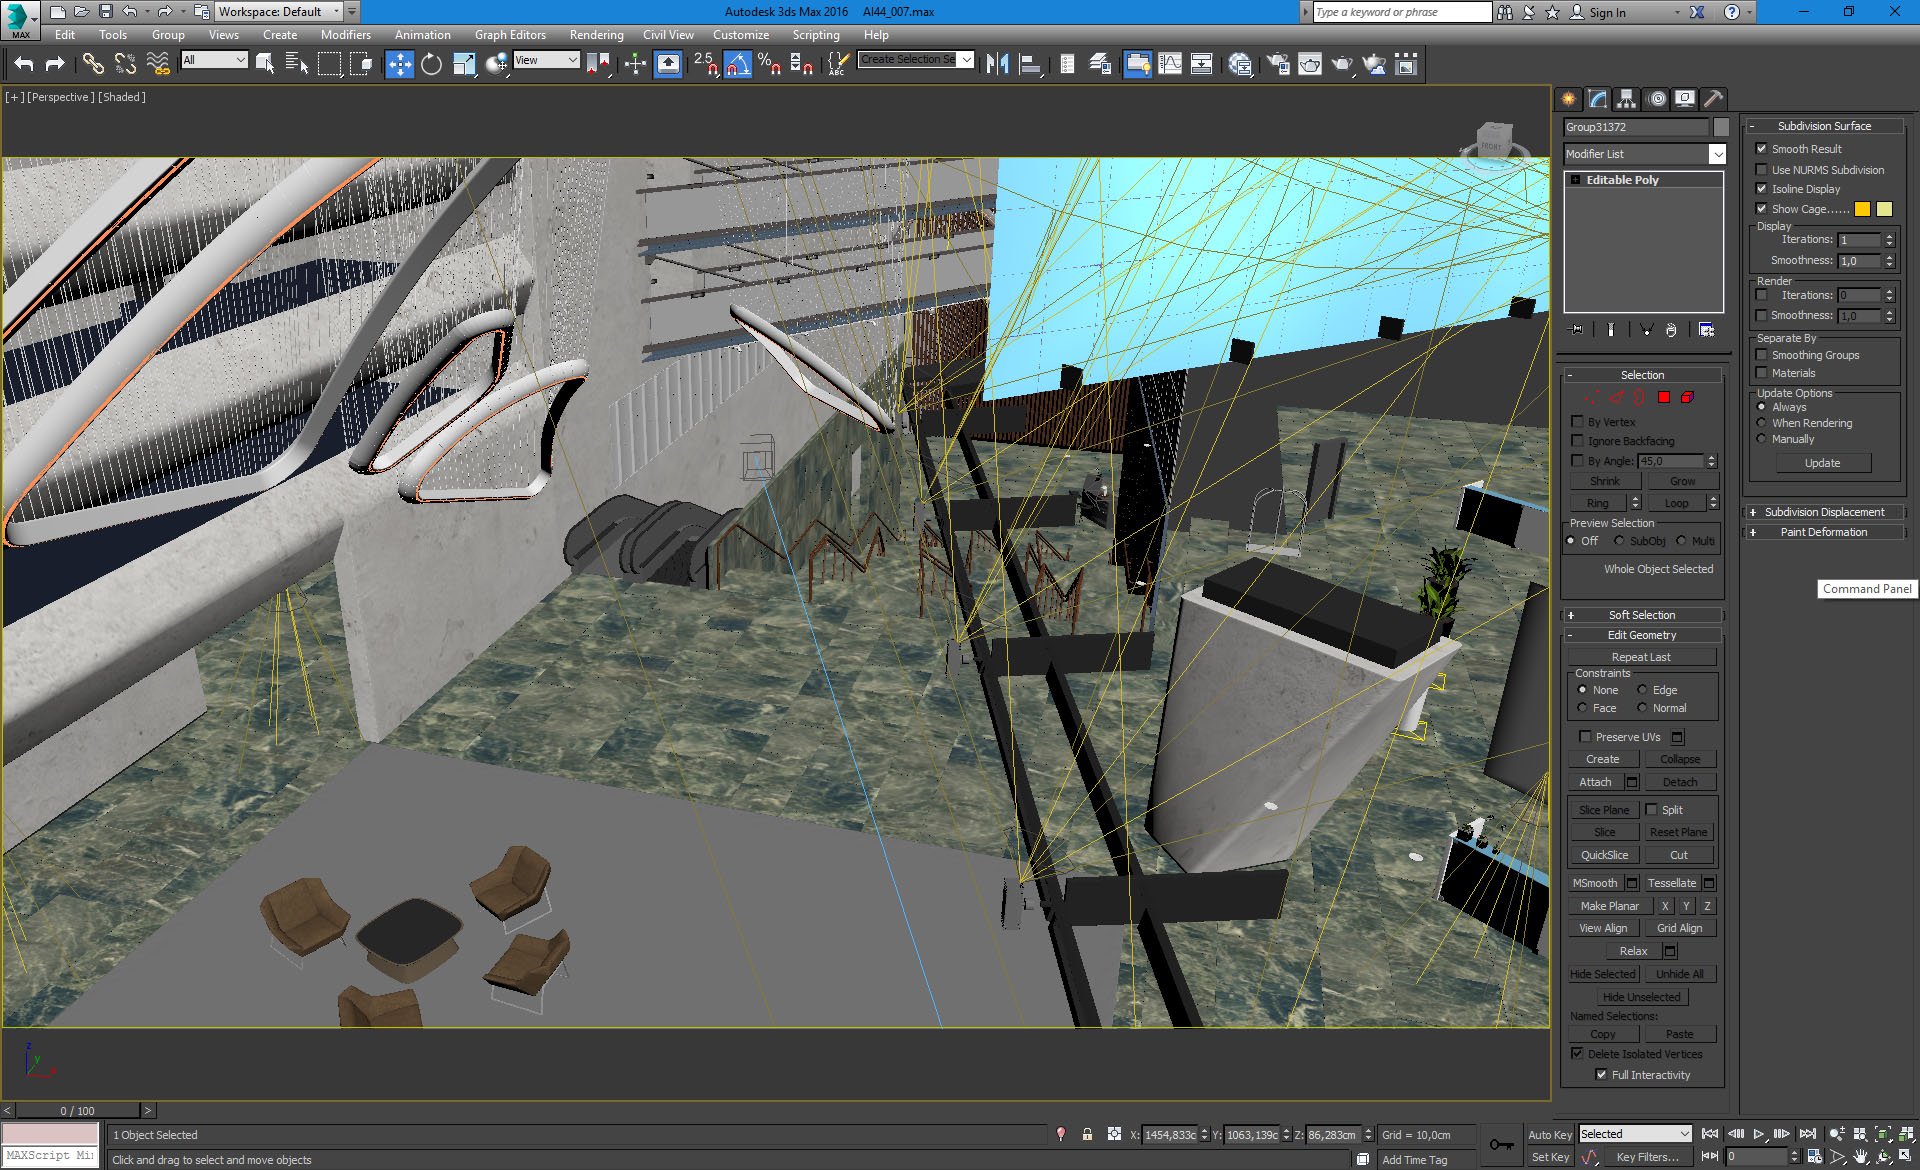
The same material is put on the bottoms of hanging elements.
Click on image to enlarge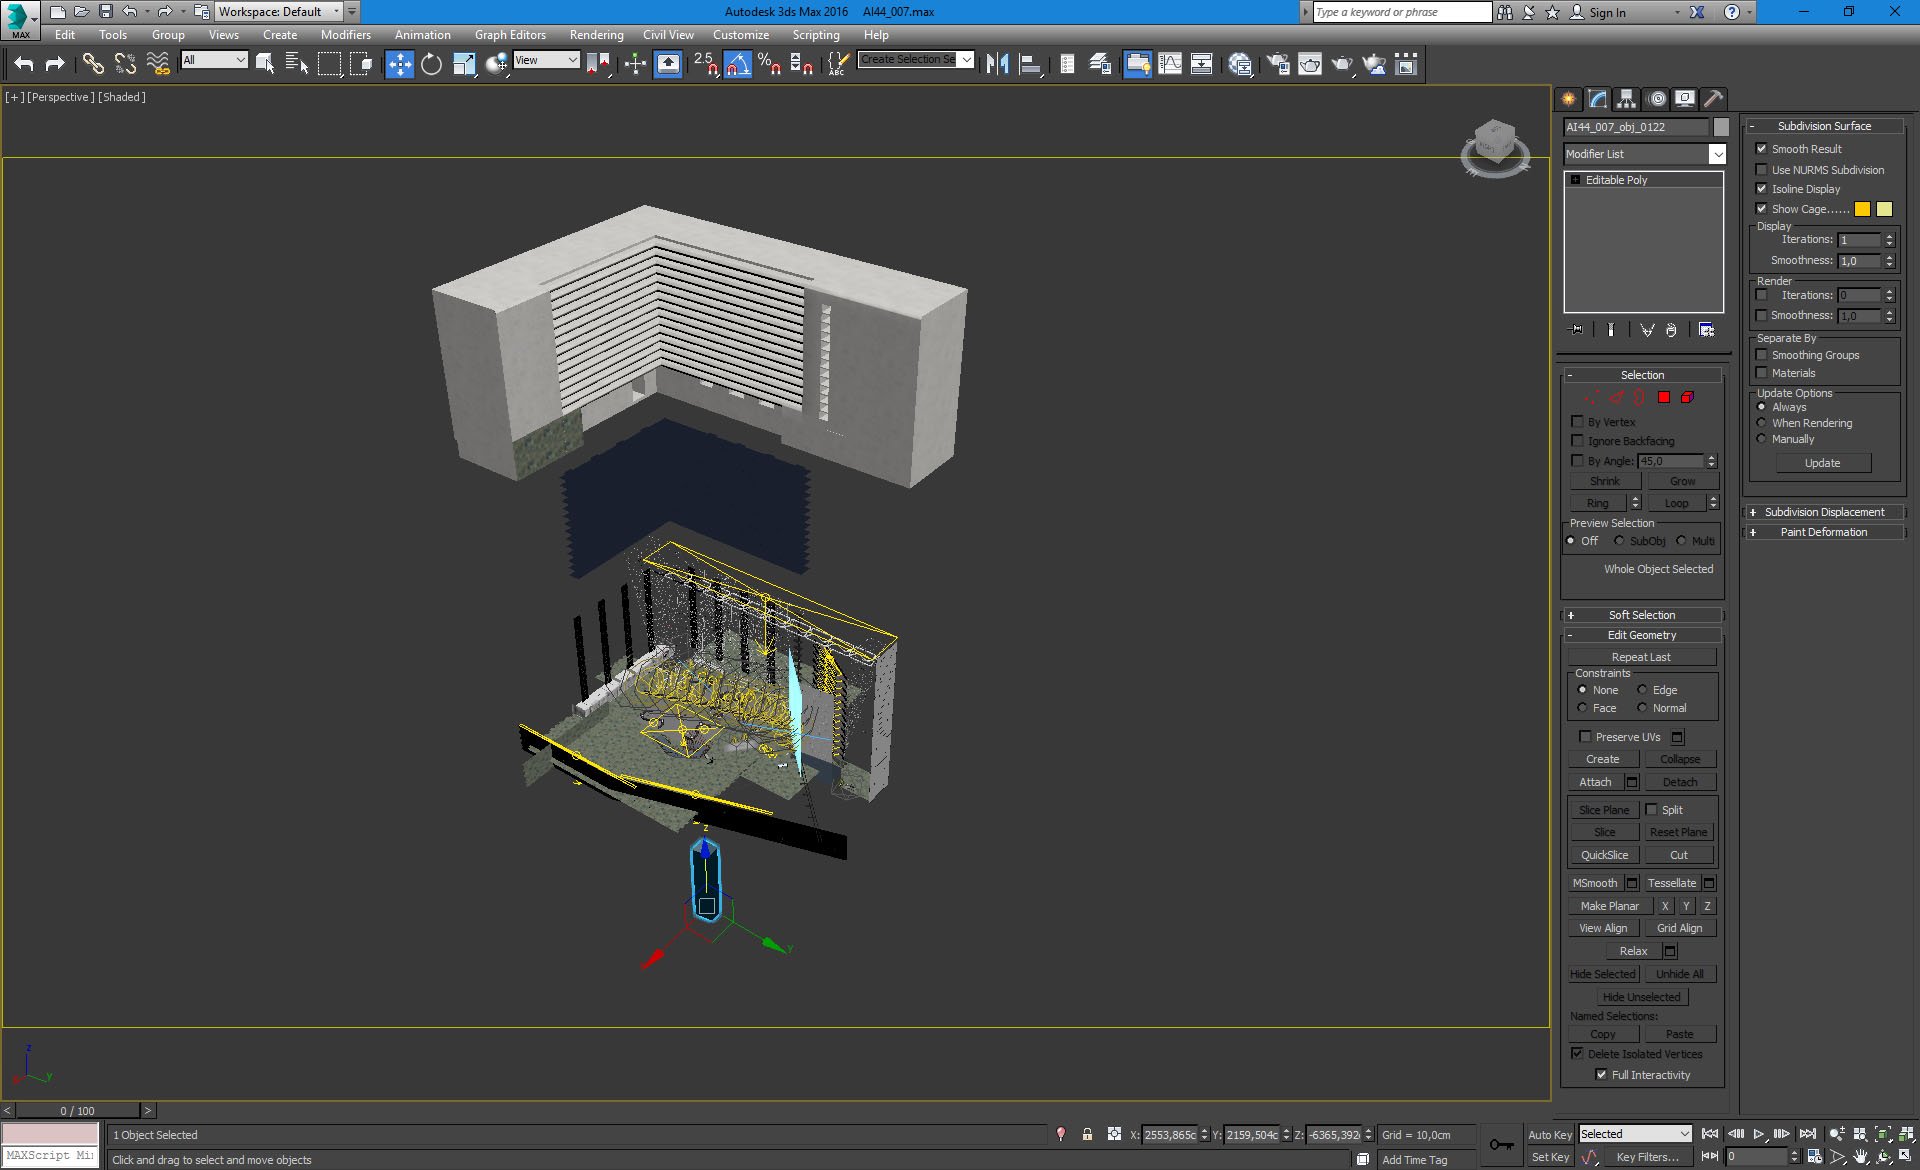
Scene deconstructed.
Click on image to enlarge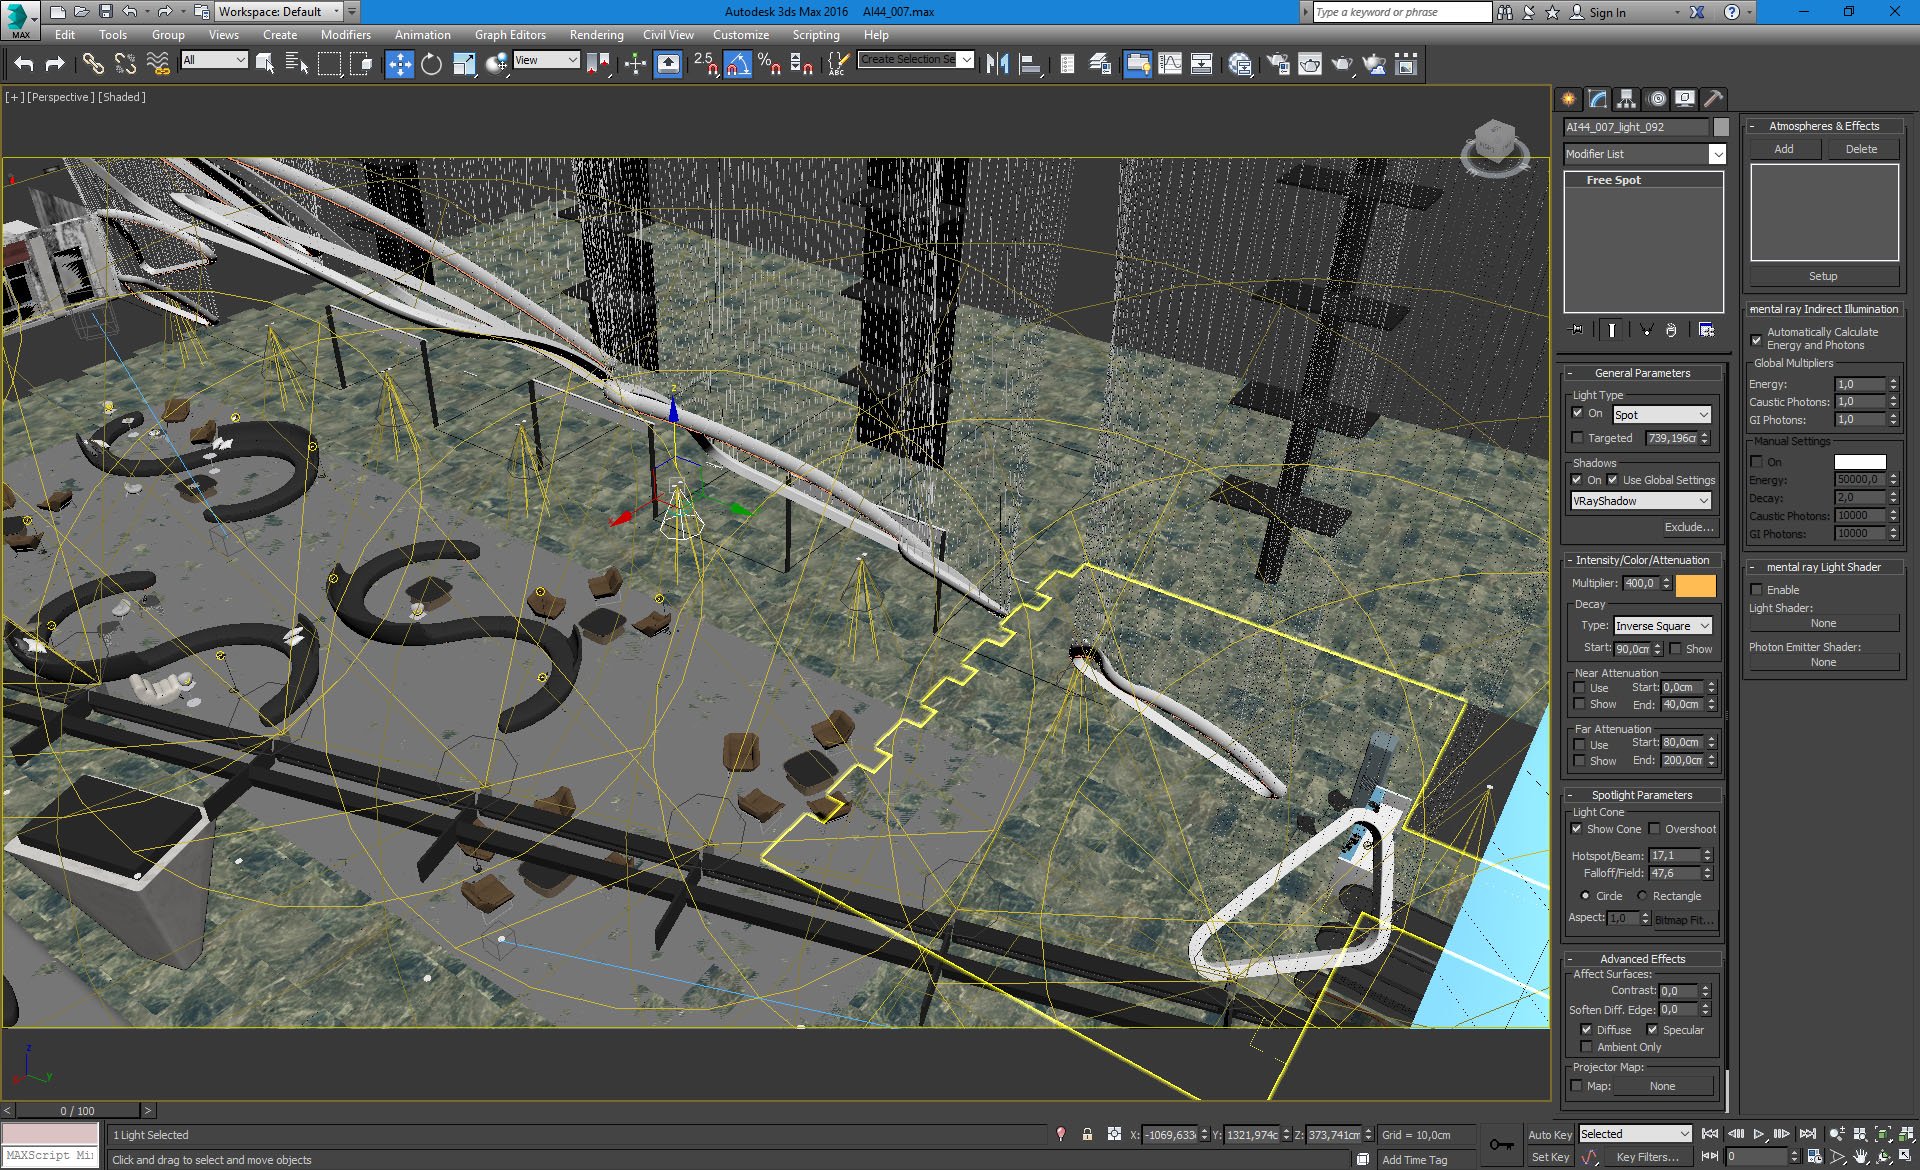
There is a row of lights that is directed on the floor. Settings on the right.
Click on image to see 360 panorama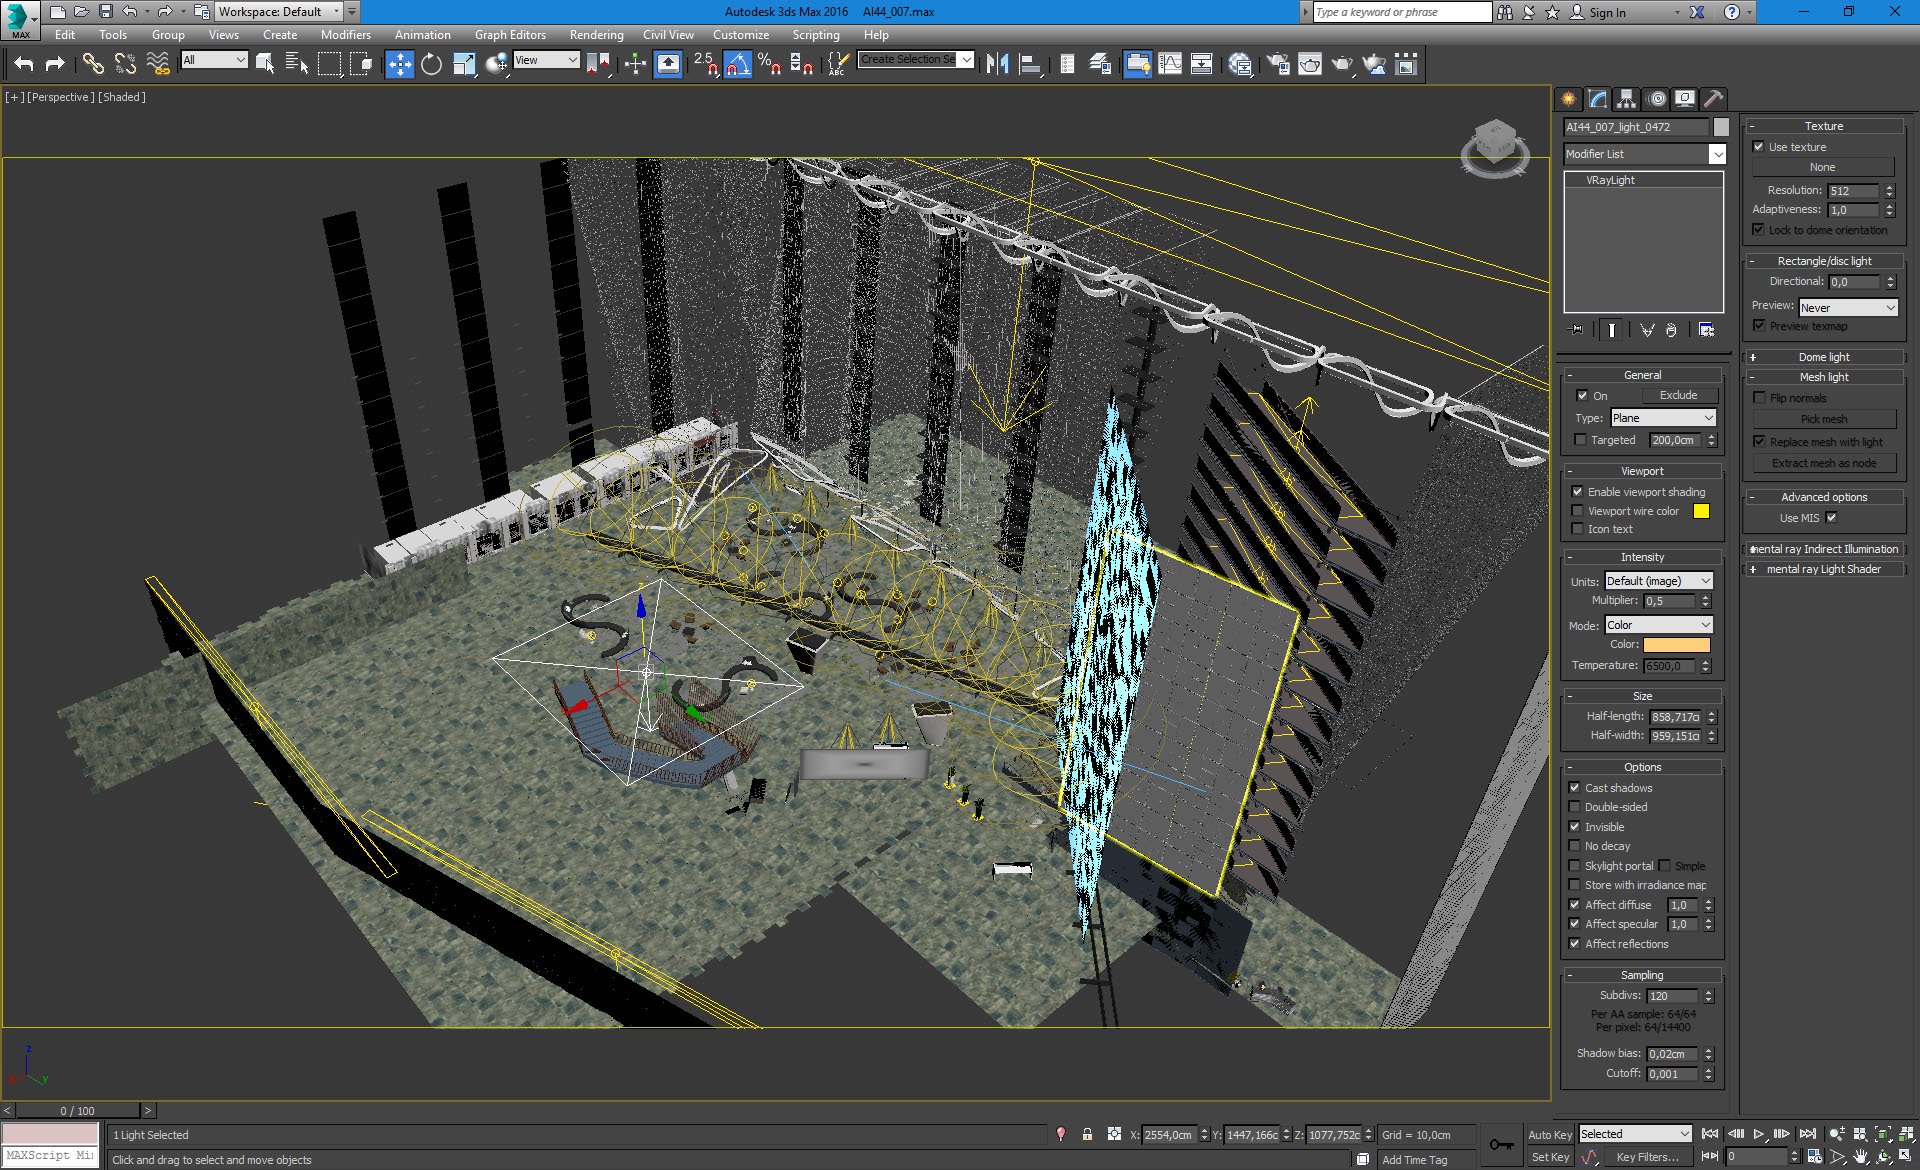
One rectangular light is used to light the staircase.
Click on image to enlarge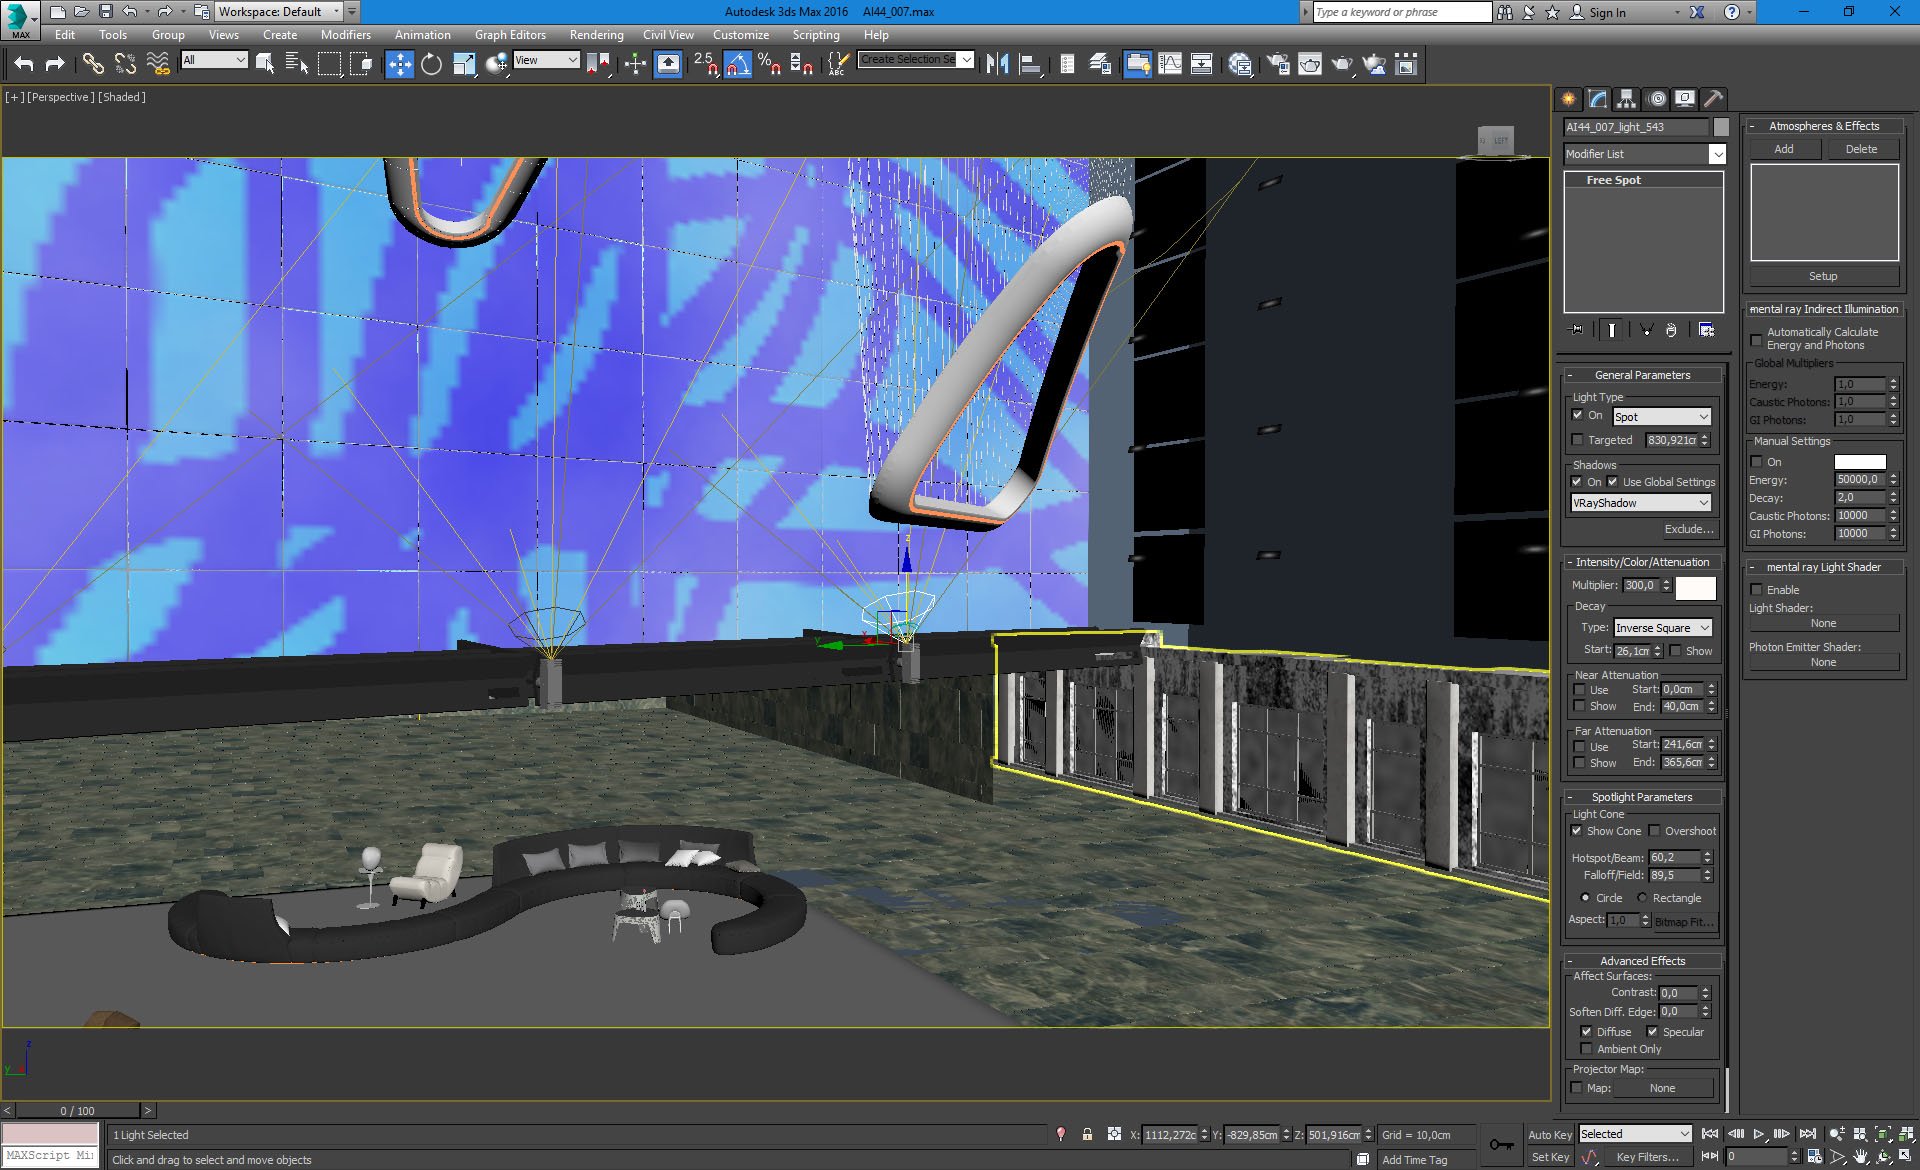
Another row of lights is used to light art installation. Settings on the right.
Click on image to enlarge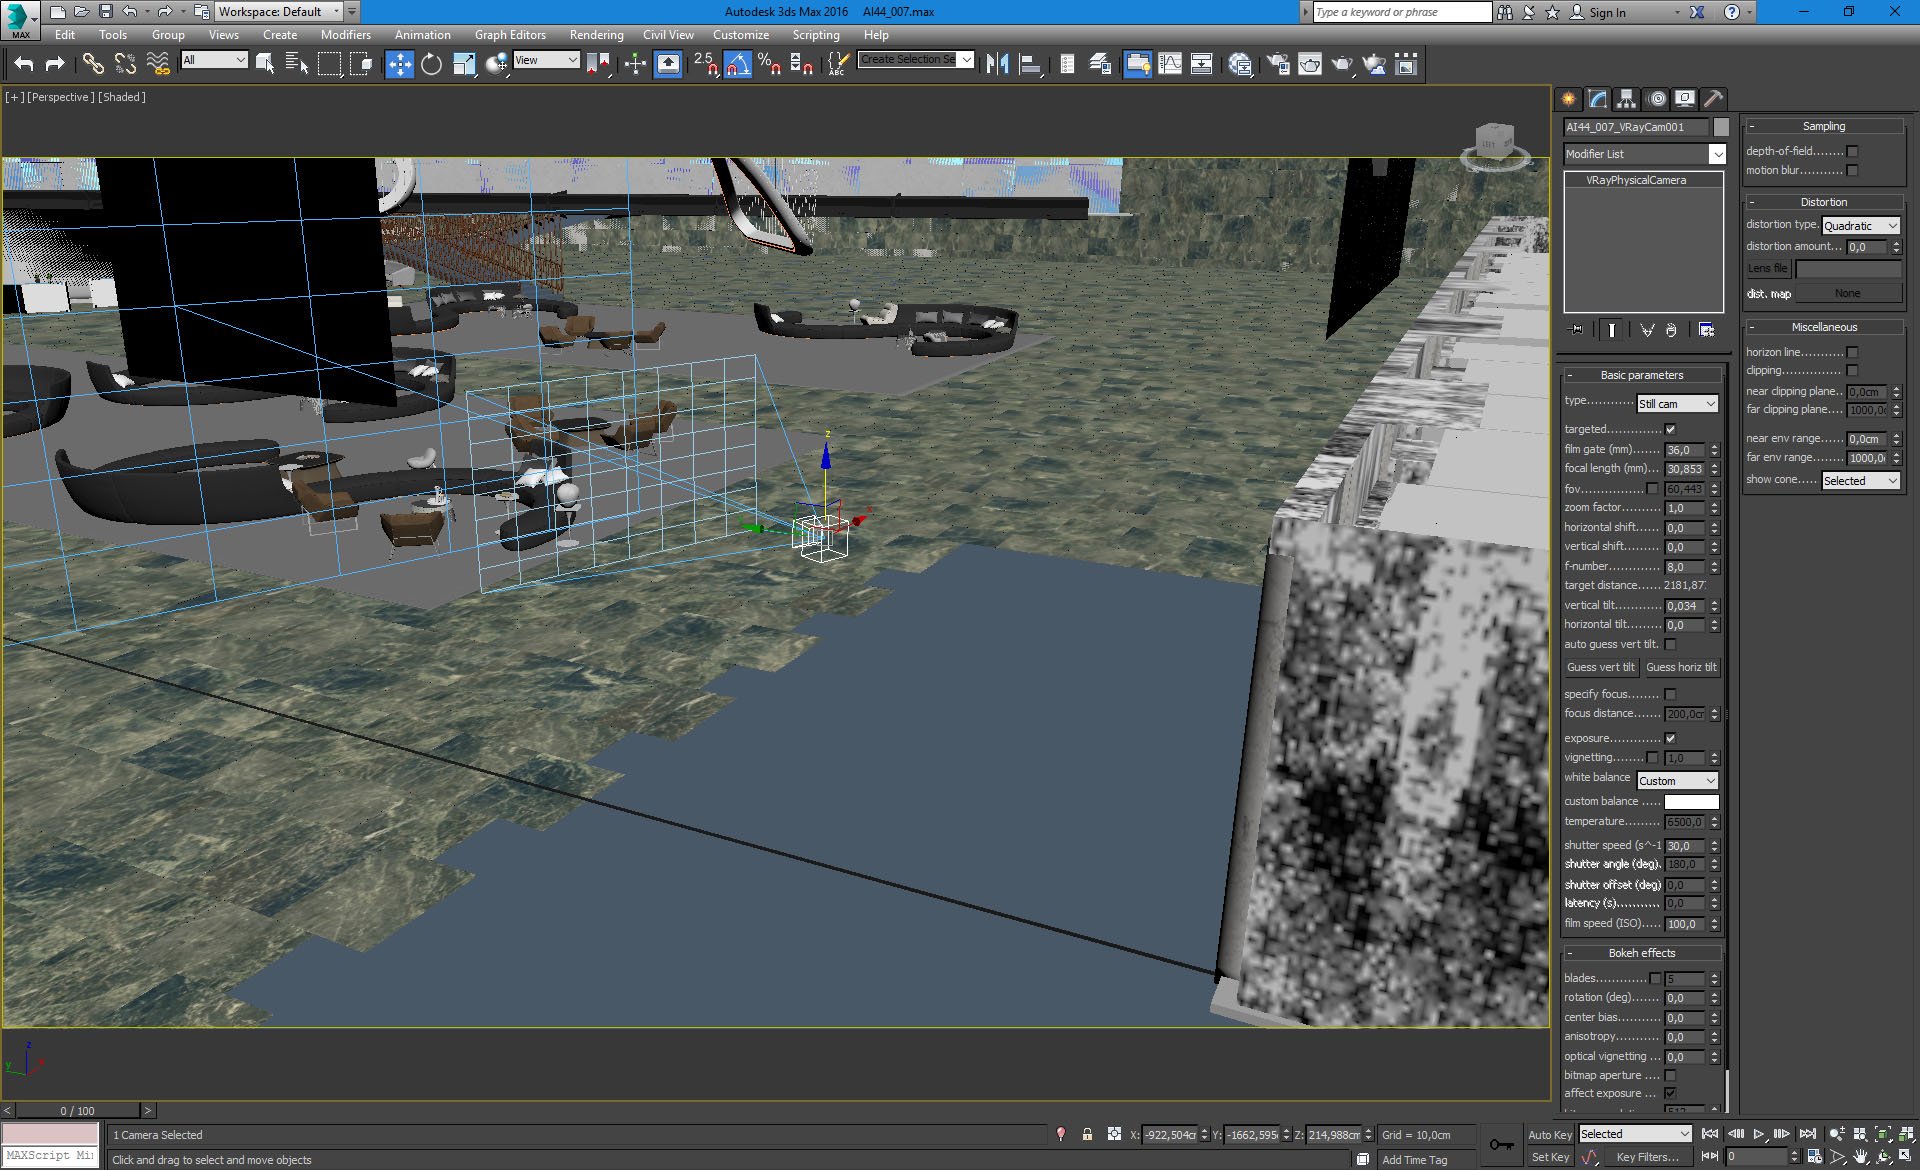
Camera 1 placement and settings.
Click on image to enlarge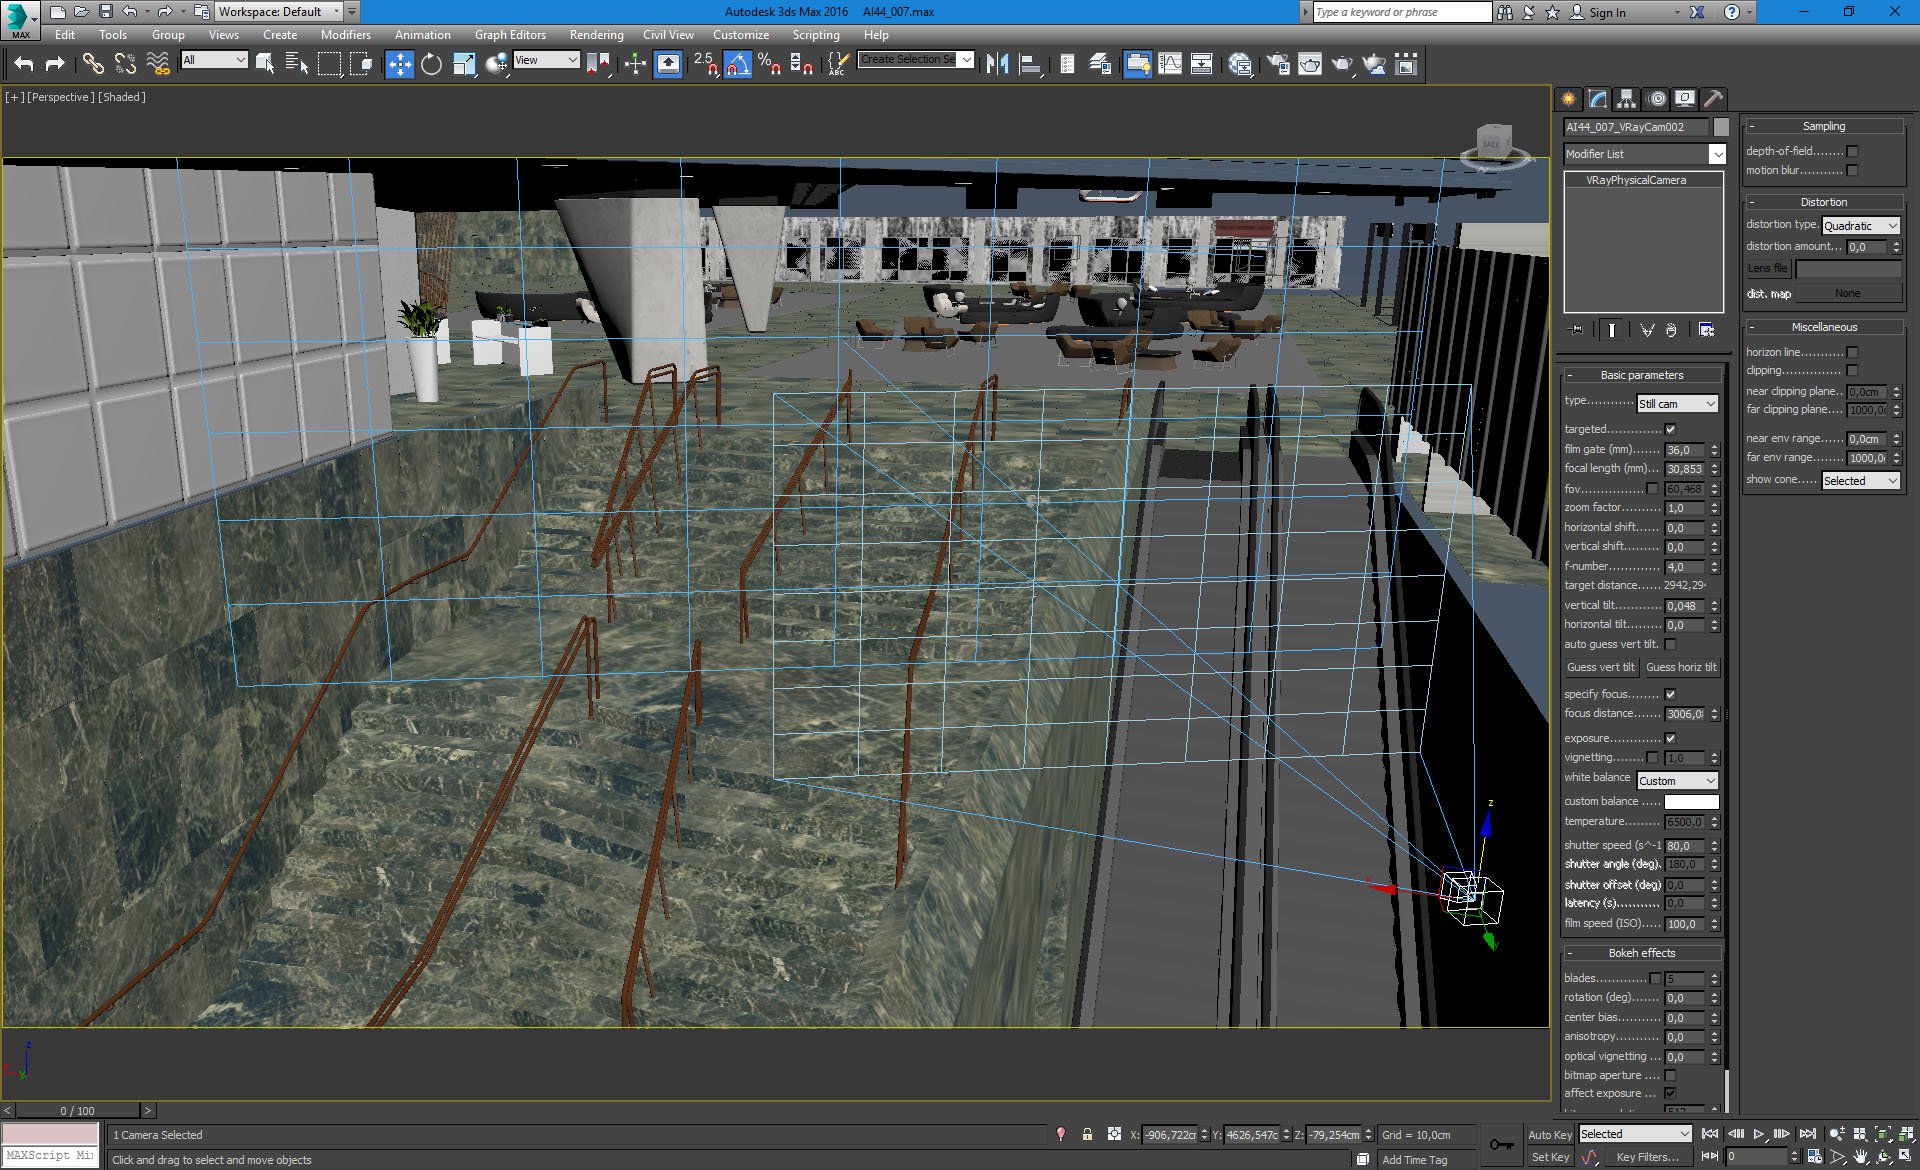
Camera 2 placement and settings.
Click on image to enlarge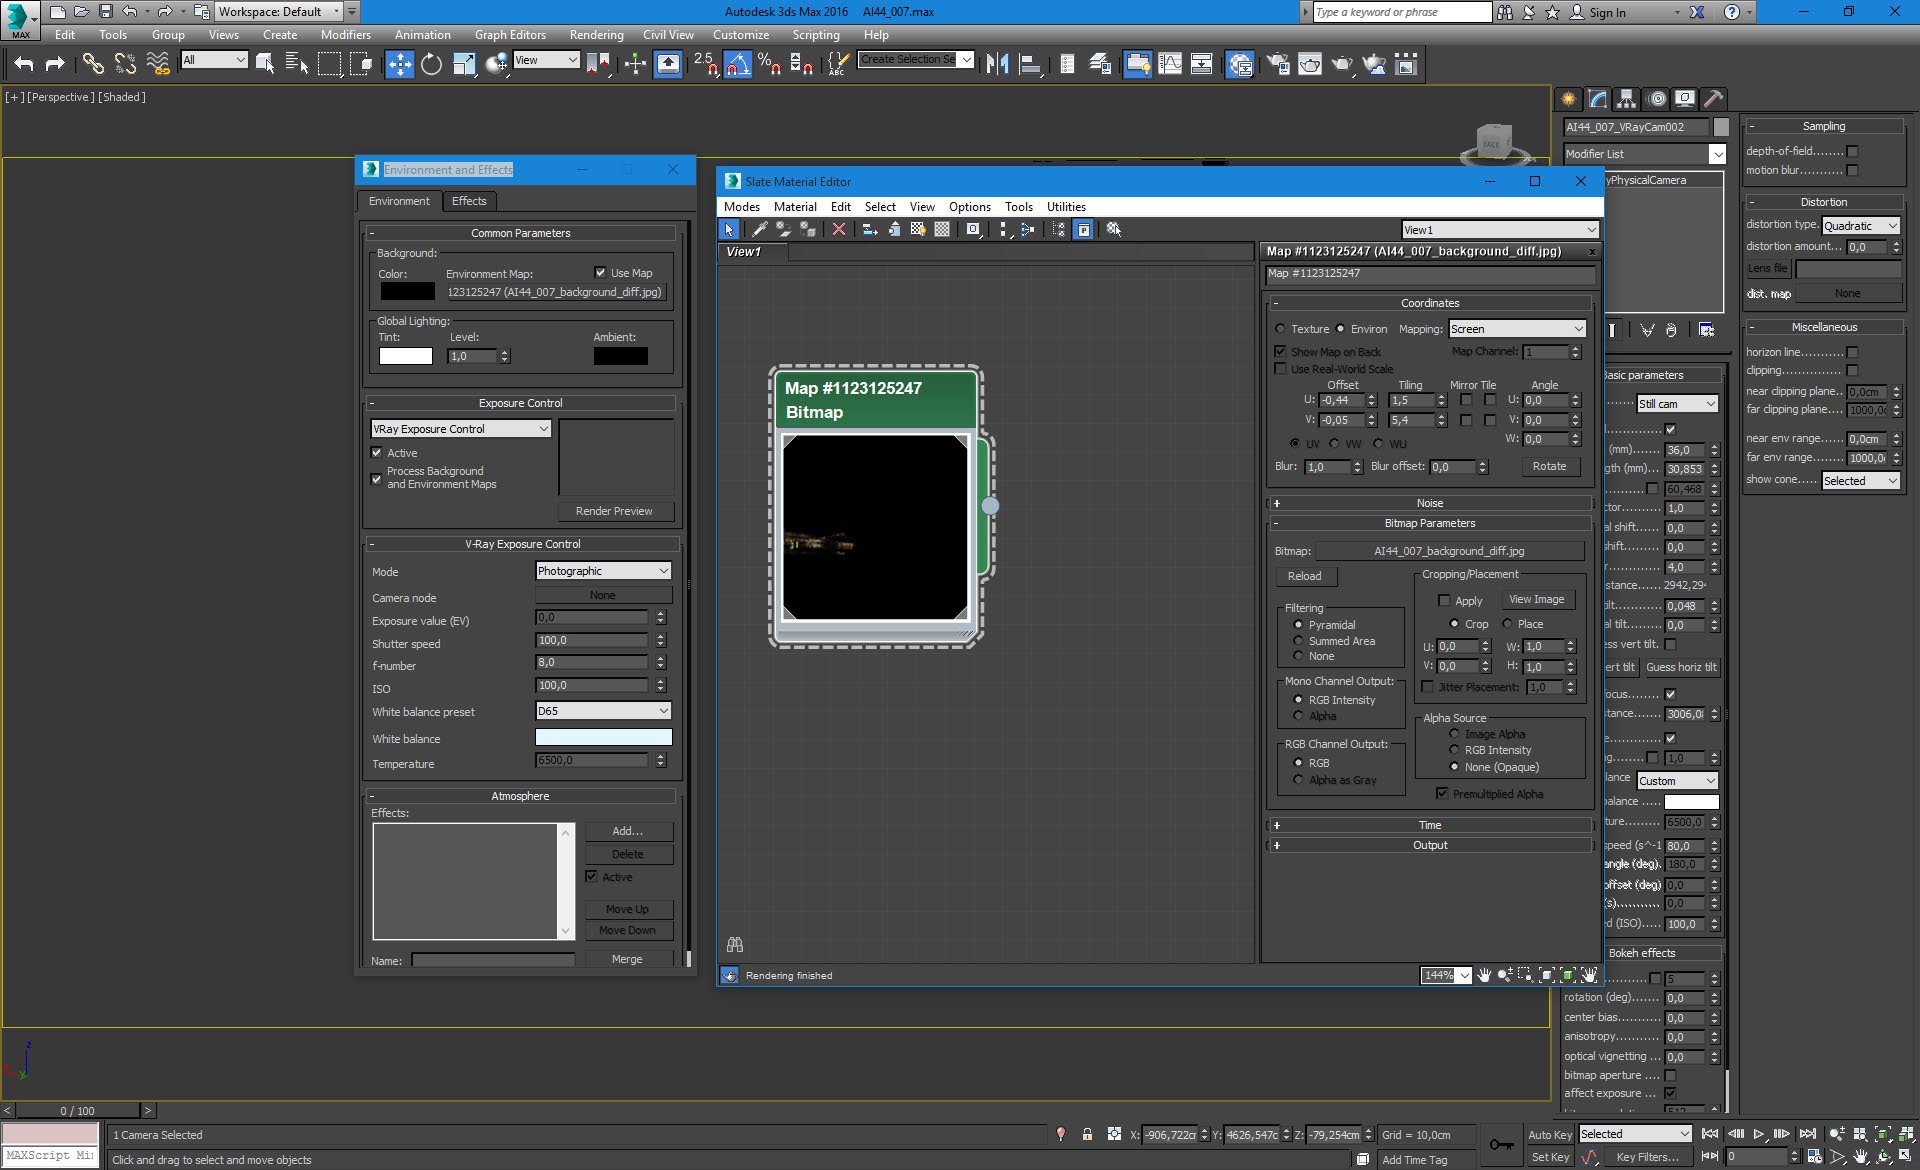
Bitmap in environment slot.
Click on image to enlarge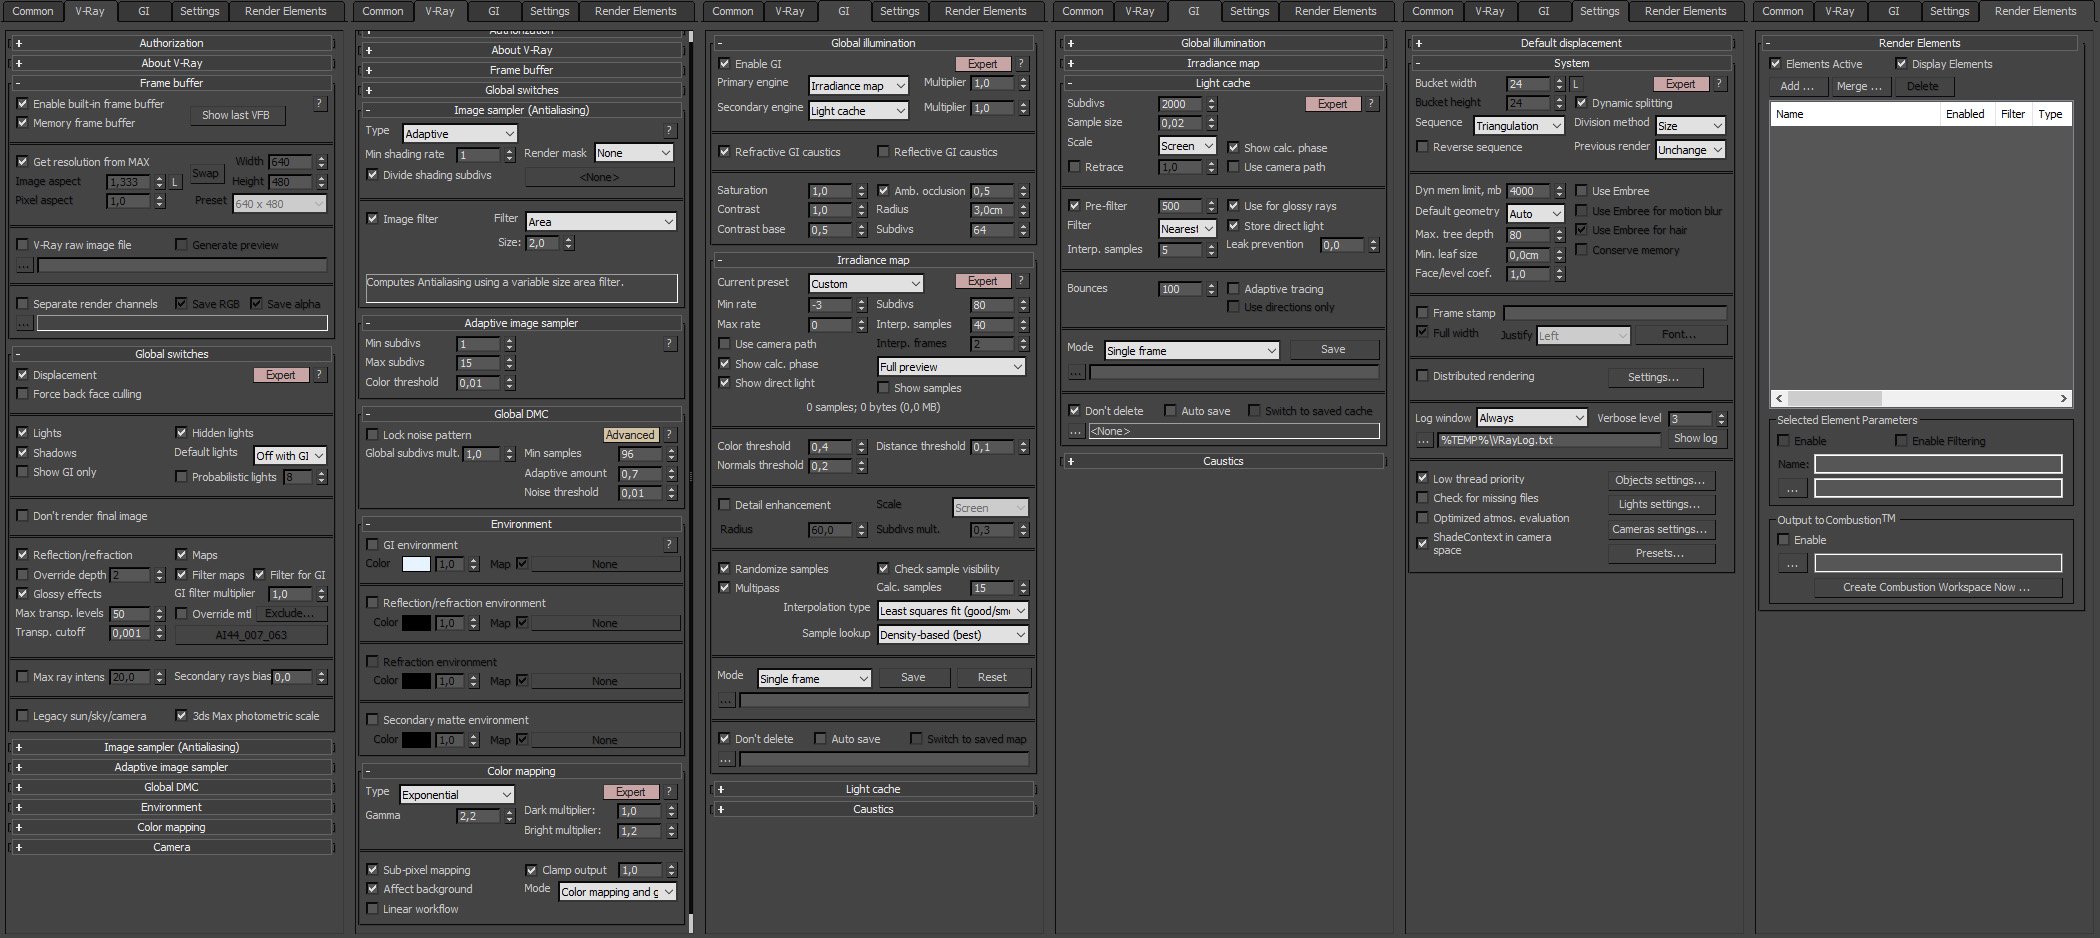
Render settings.
Click on image to enlarge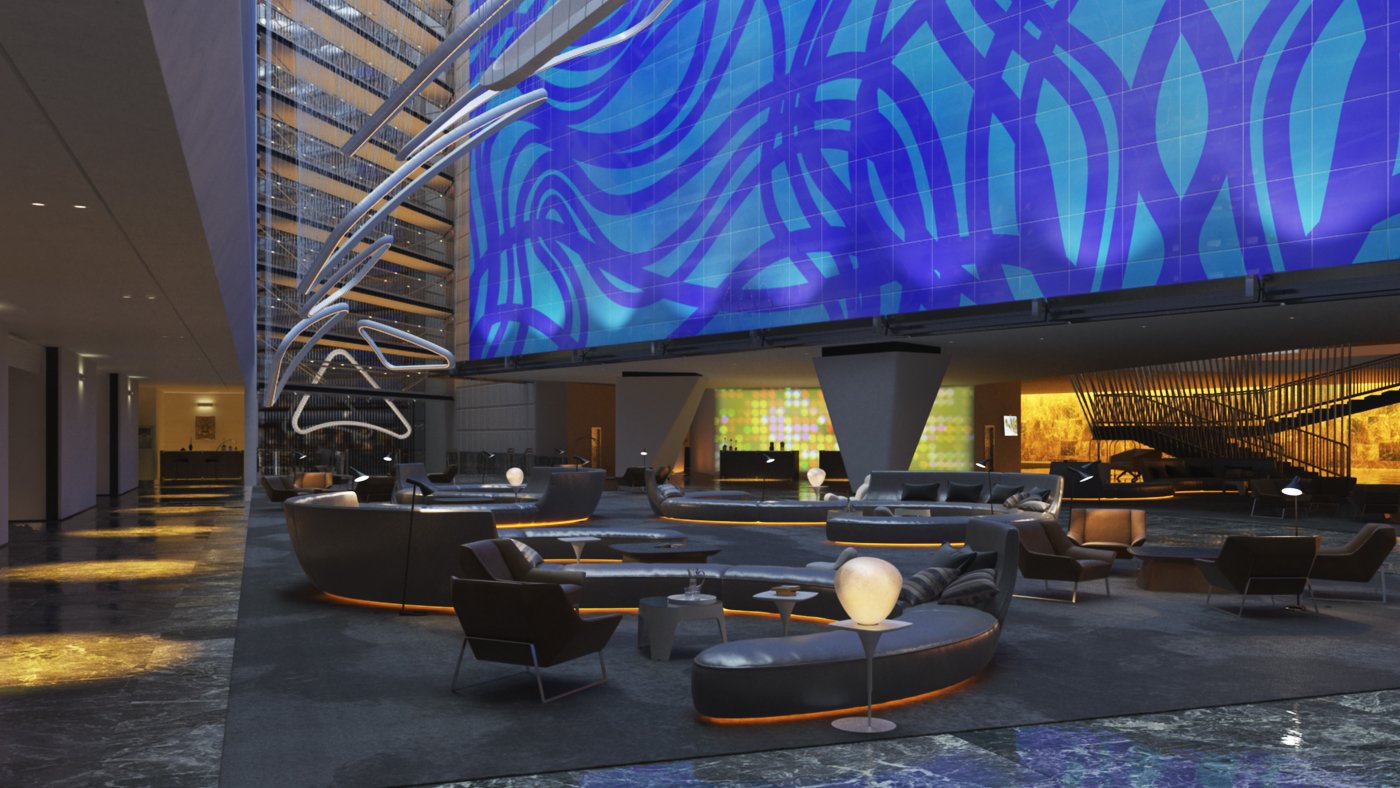
Raw render.
Click on image to enlarge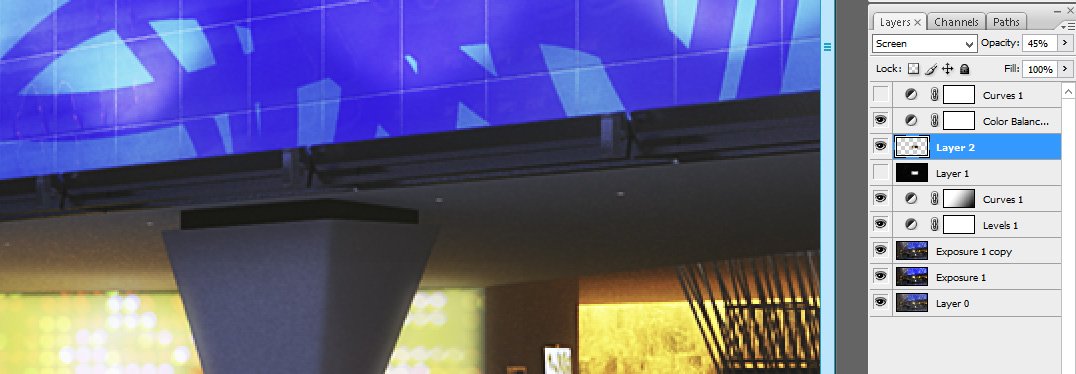
Photoshop stack - camera 1. Above RGB layer we put two Exposure layers (soft light mode) to enhance contrast. Then Levels to make it softer and Cuves layer - again for bigger contrast. Another layer affects only wall of light and it's subtle dodge effect. Layer 2 gives a bit of glow. Color balance layer makes highlights more blue and shadows more yellow. The top layer is disabled.
Click on image to enlarge
Final render - camera 1.
Click on image to enlarge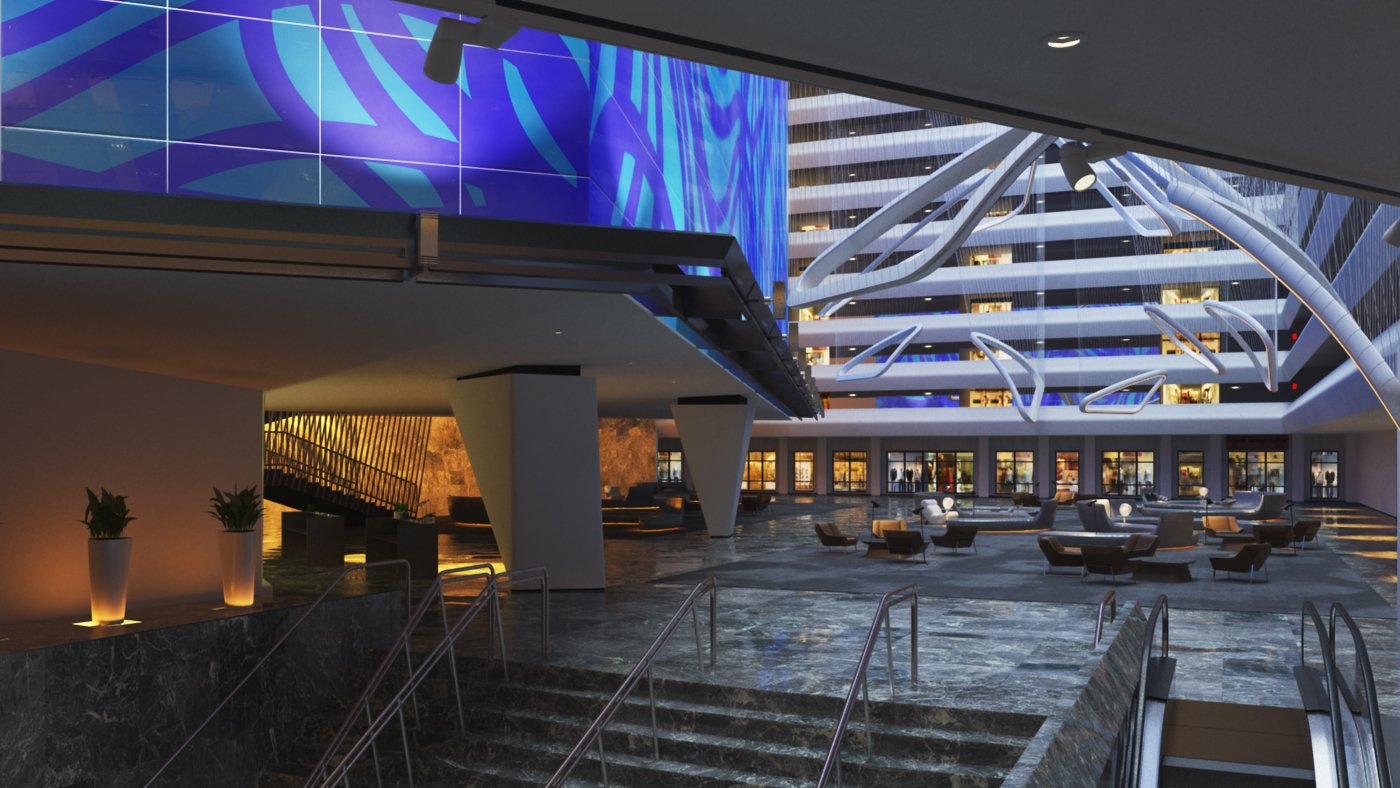
Raw render - camera 2.
Click on image to enlarge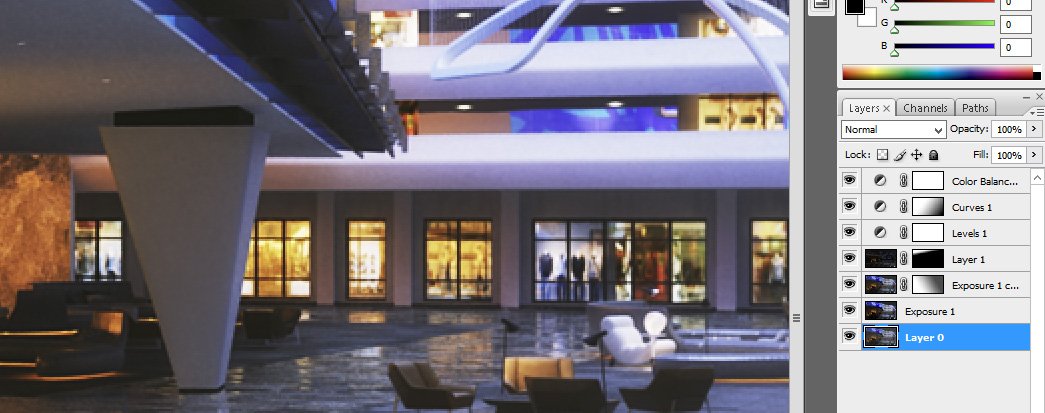
Photoshop stack - camera 2. Exposure layer for deeper shadows. Another copy of it to enhance details bear the stairs. Layer 1 to make top of the screen a bit brighter. Levels and curves for contrast. Color balance settings similar to camera 1.
Click on image to enlarge
Final image after post-ptoduction - camera 2.
 Removing LUTs from Textures for better resultsRemove the LUT from a specific texture in order to get perfect looking textures in your render.
 Chaos Corona 12 ReleasedWhat new features landed in Corona 12?
 OCIO Color Management in 3ds Max 2024Color management is crucial for full control over your renders.
 A look at 3dsMax Video SequencerDo you know that you can edit your videos directly in 3ds Max? Renderram is showing some functionalities of 3ds Max's built in sequencer.
 FStorm Denoiser is here - First ImpressionsFirst look at new denoising tool in FStorm that will clean-up your renders.
 Unreal Engine 5.4: Nanite Tessellation in 10 MinutesThis tutorial takes you through creating a stunning desert scene, complete with realistic tire tracks, using Nanite for landscapes, Gaea for terrain sculpting, and an awesome slope masking auto material.
Customer zone
Your special offers
Your orders
Edit account
Add project
Liked projects
View your artist profile


COMMENTS