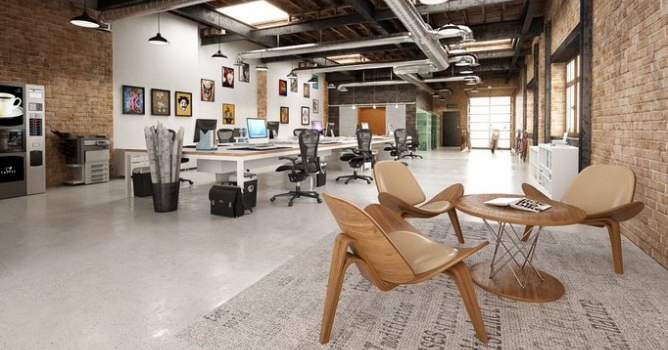
This interior scene was made by Evermotion in 3ds Max and V-Ray. It is a scene 8 from Archinteriors vol. 41. You can purchase this single scene or entire Archinteriors vol. 41 collection in Evermotion Shop.
Click on image to enlarge 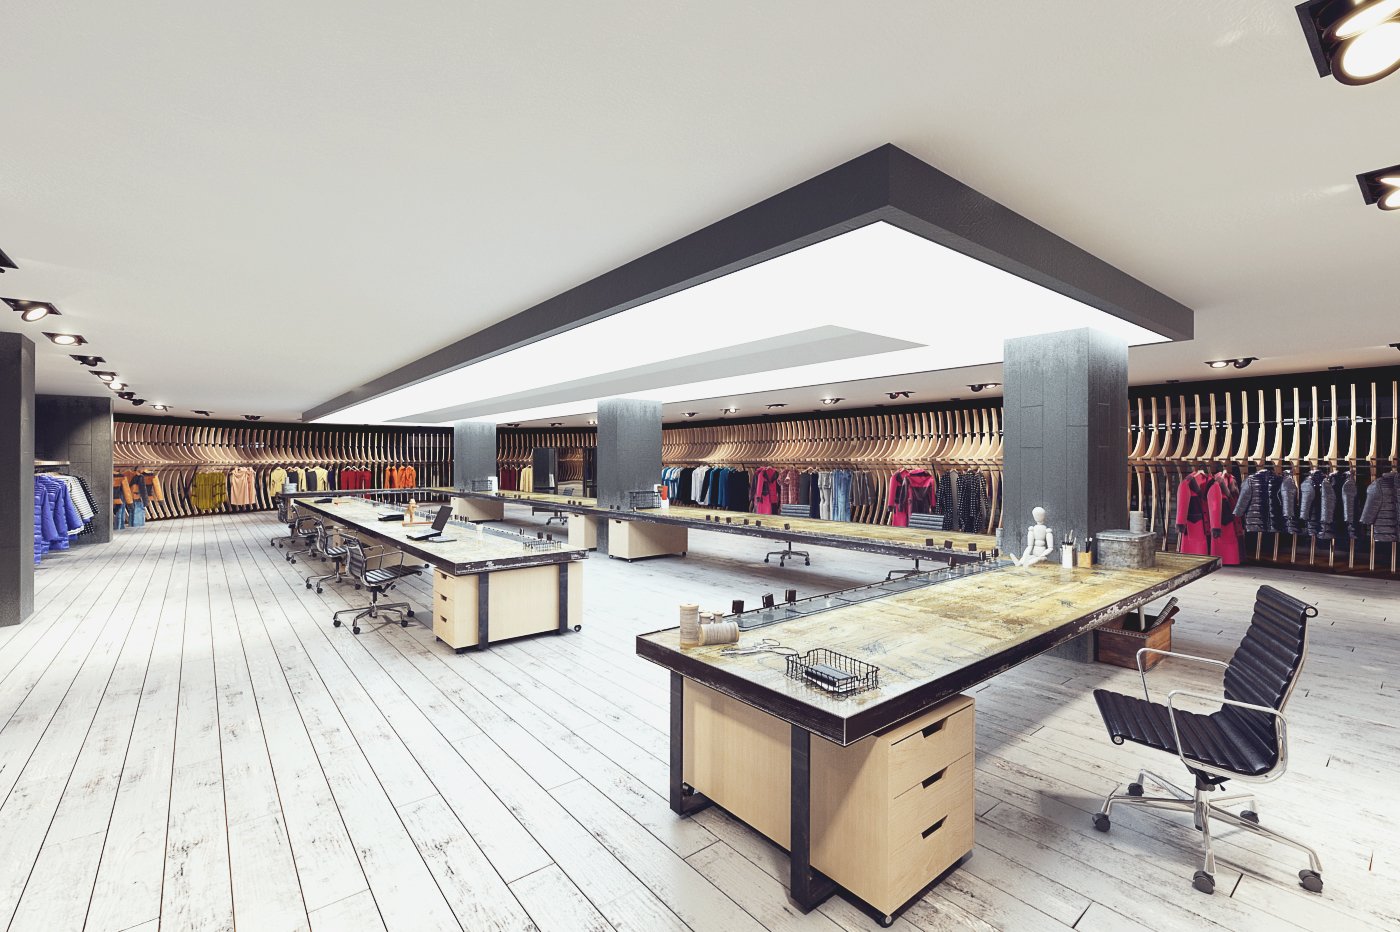
This is one of ten showrooms that are included in Archinteriors vol. 41 collection. It's large workshop / cloth design area with many light sources and props. There are many elements that can be reused in other scenes like notebooks, furniture, small props and realistic clothes.
Click on image to enlarge 
Scene visible through vray camera in 3ds Max Viewport.
Click on image to enlarge 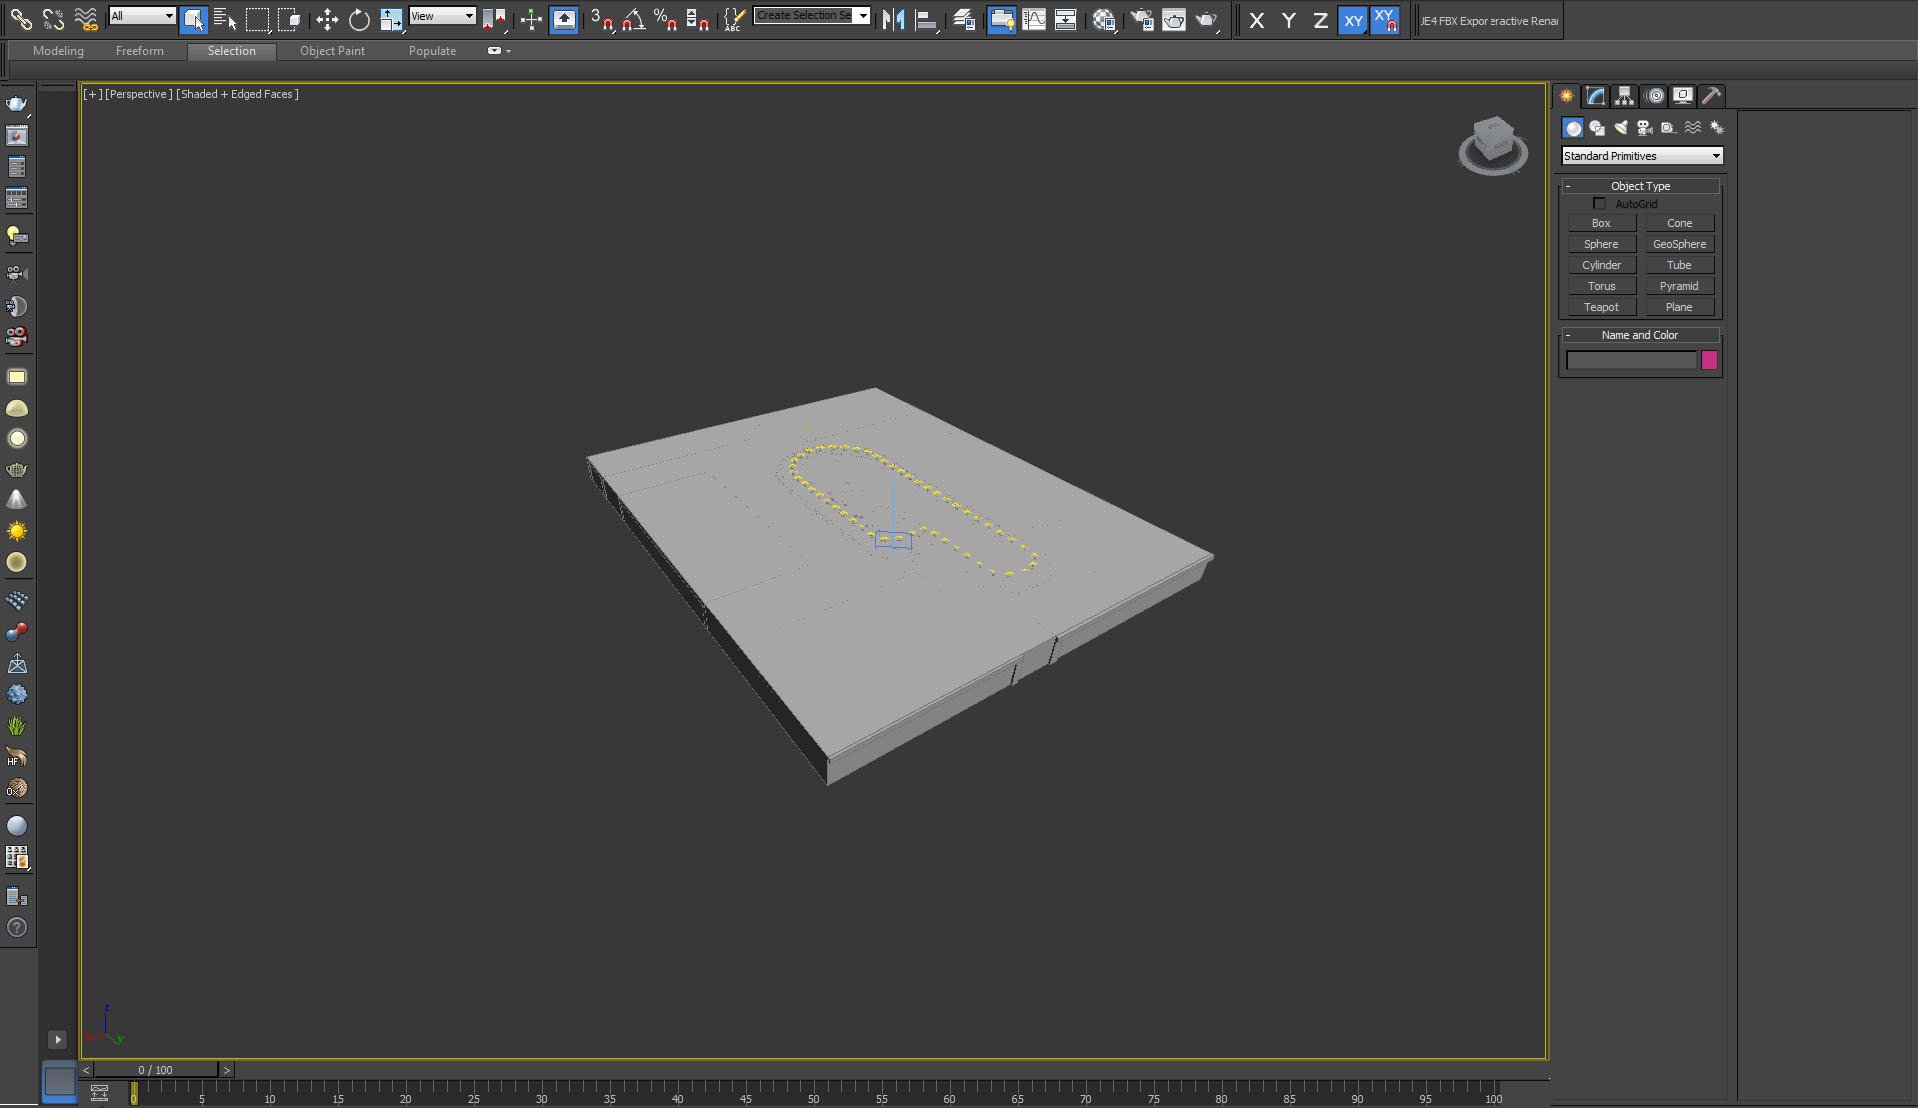
All geometry is enclosed in big building.
Click on image to enlarge 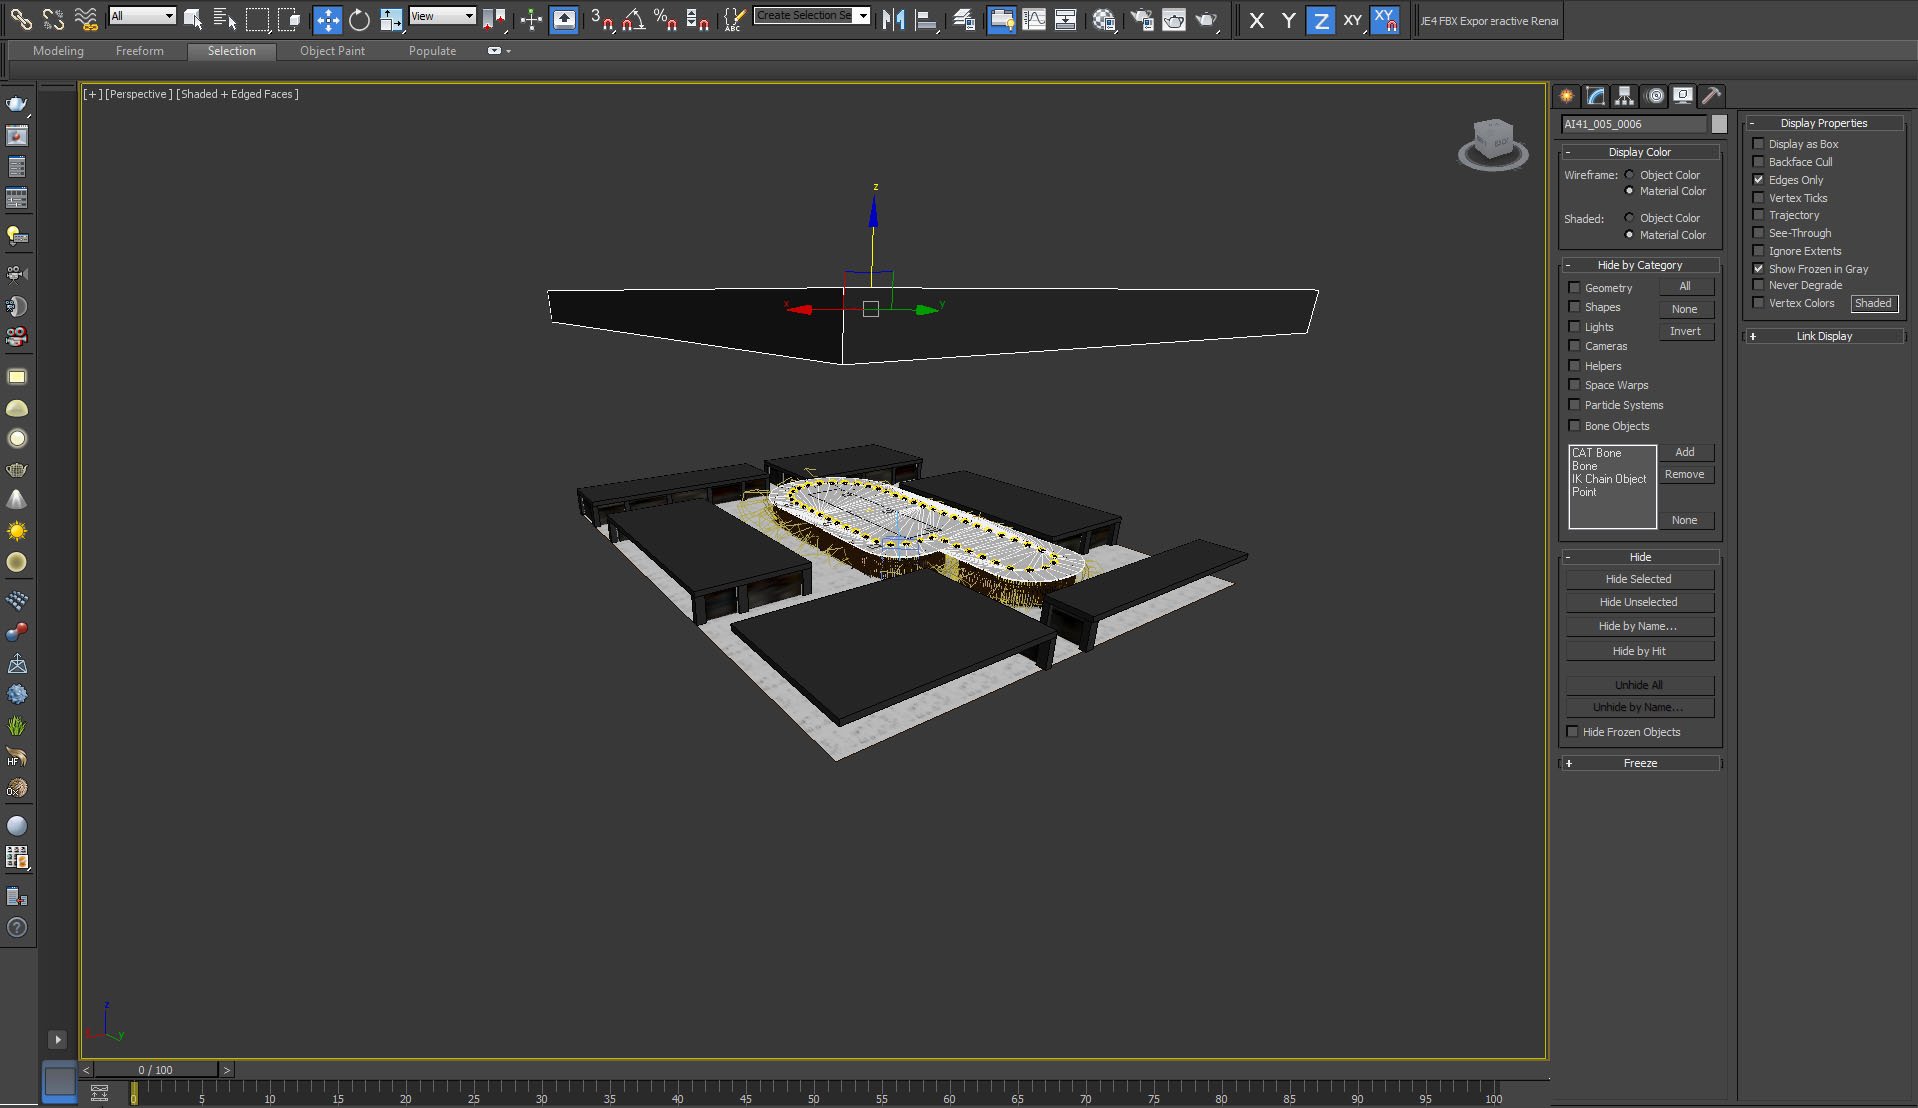
Main room is surrounded by 6 empty "dummy" rooms.
Click on image to enlarge 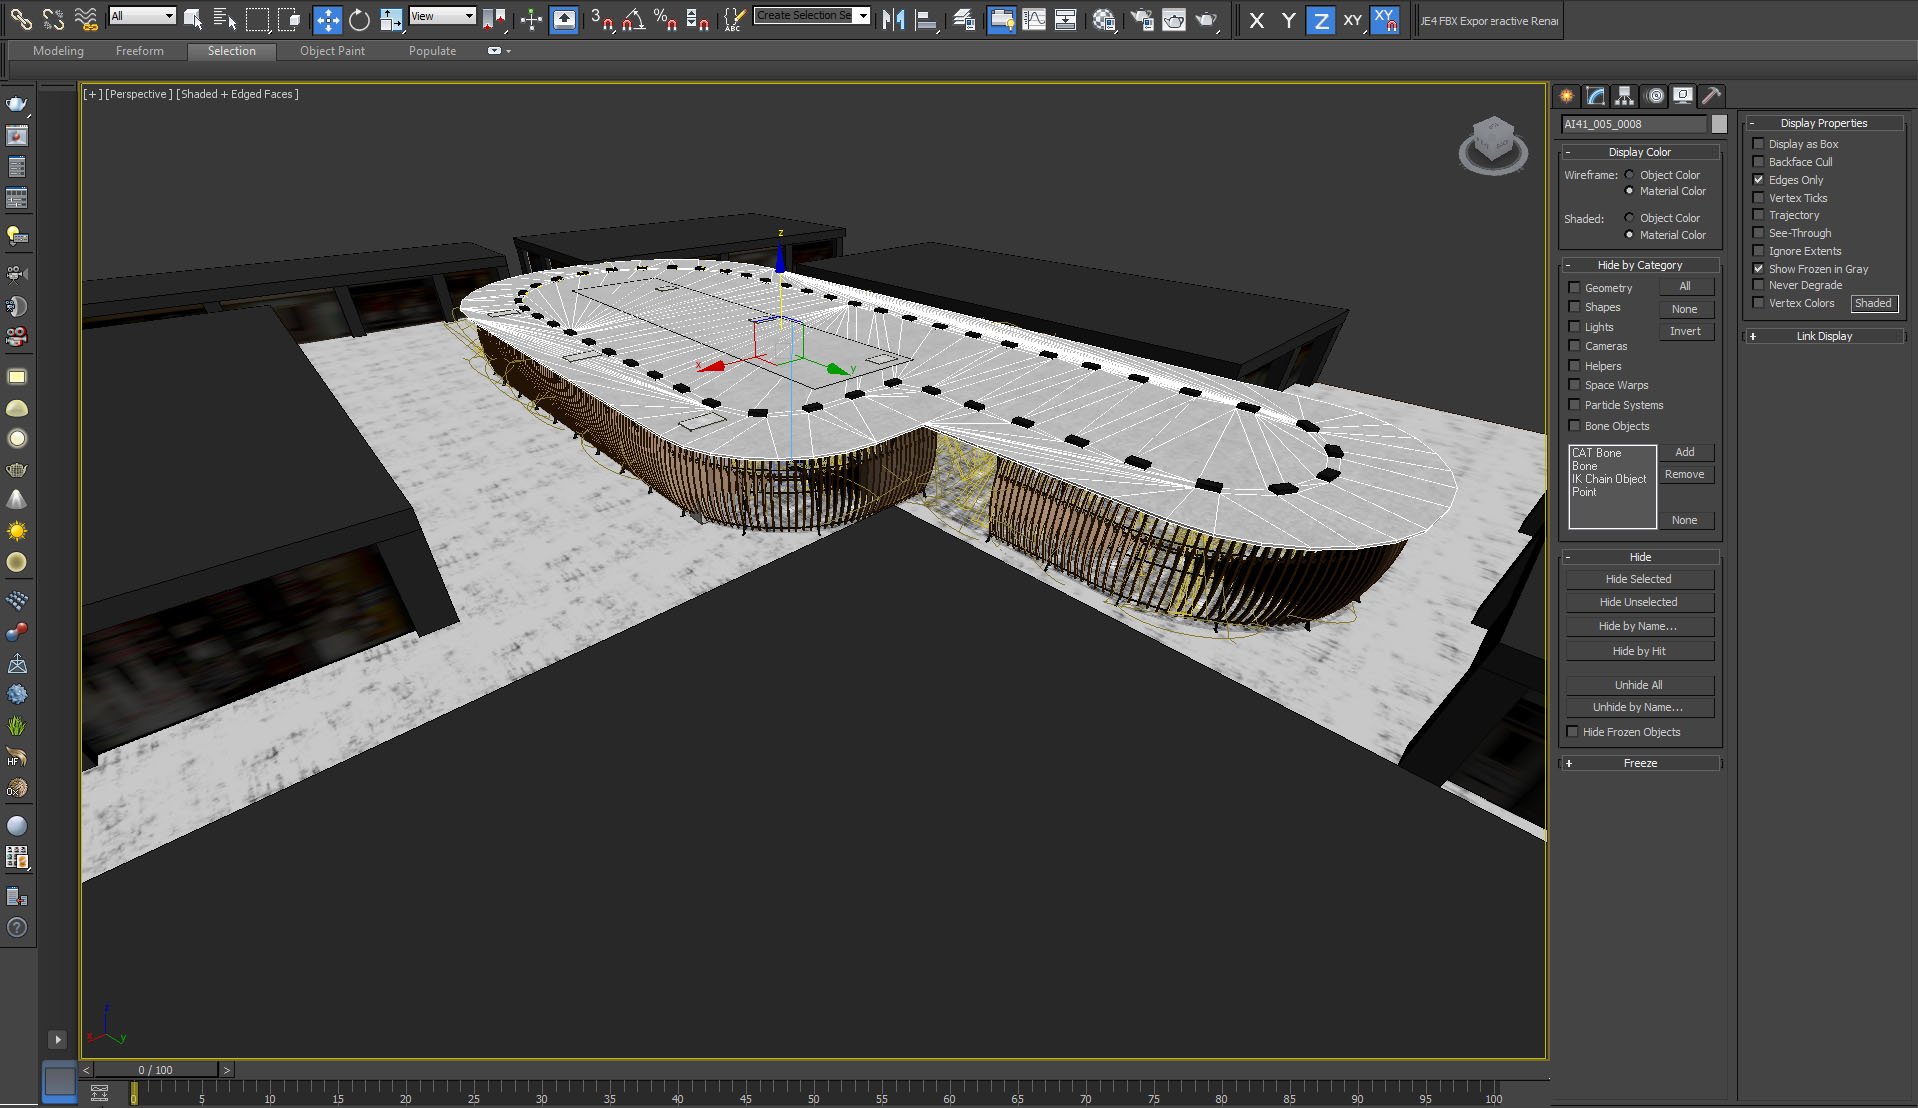
Click on image to enlarge 
Floor was created with floor generator script. Main building has no walls, only wooden ribbing.
Click on image to enlarge 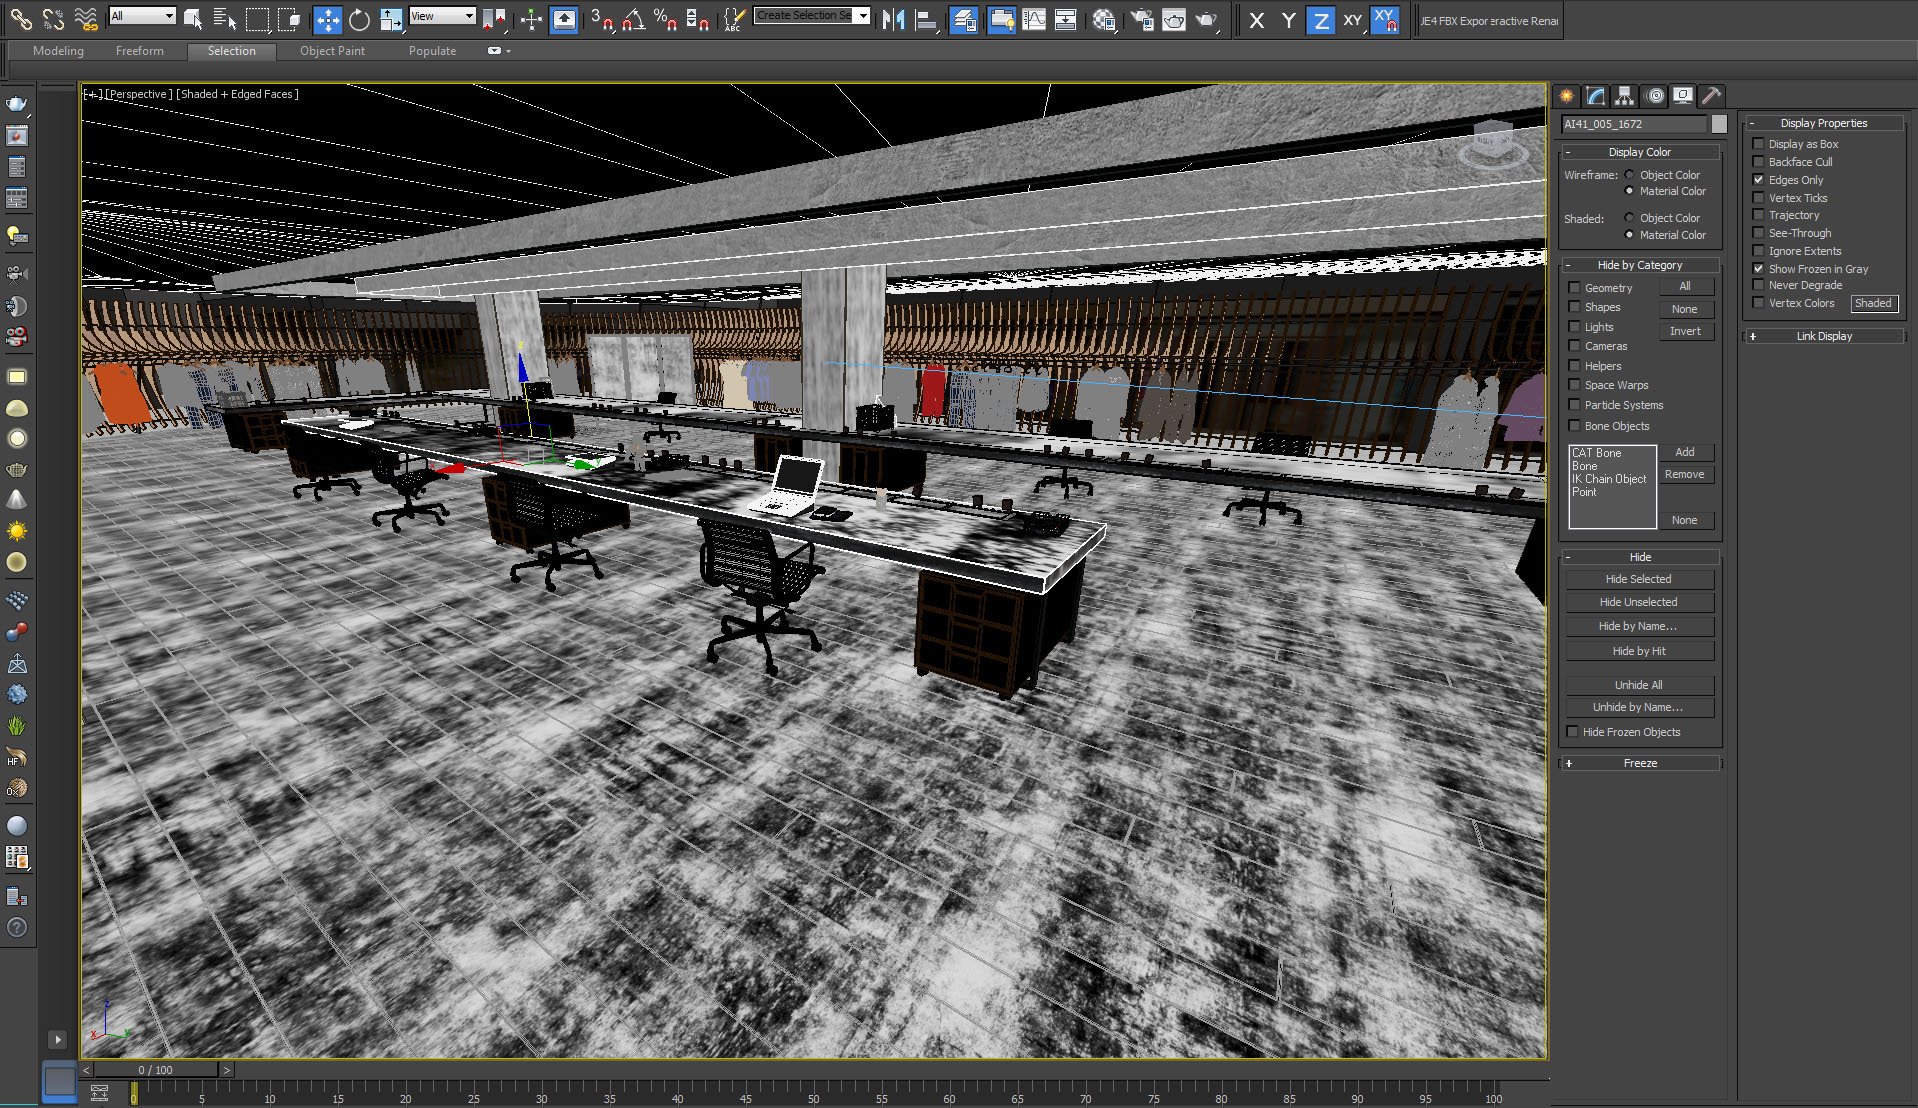
The scene with object and material view enabled.
Click on image to enlarge 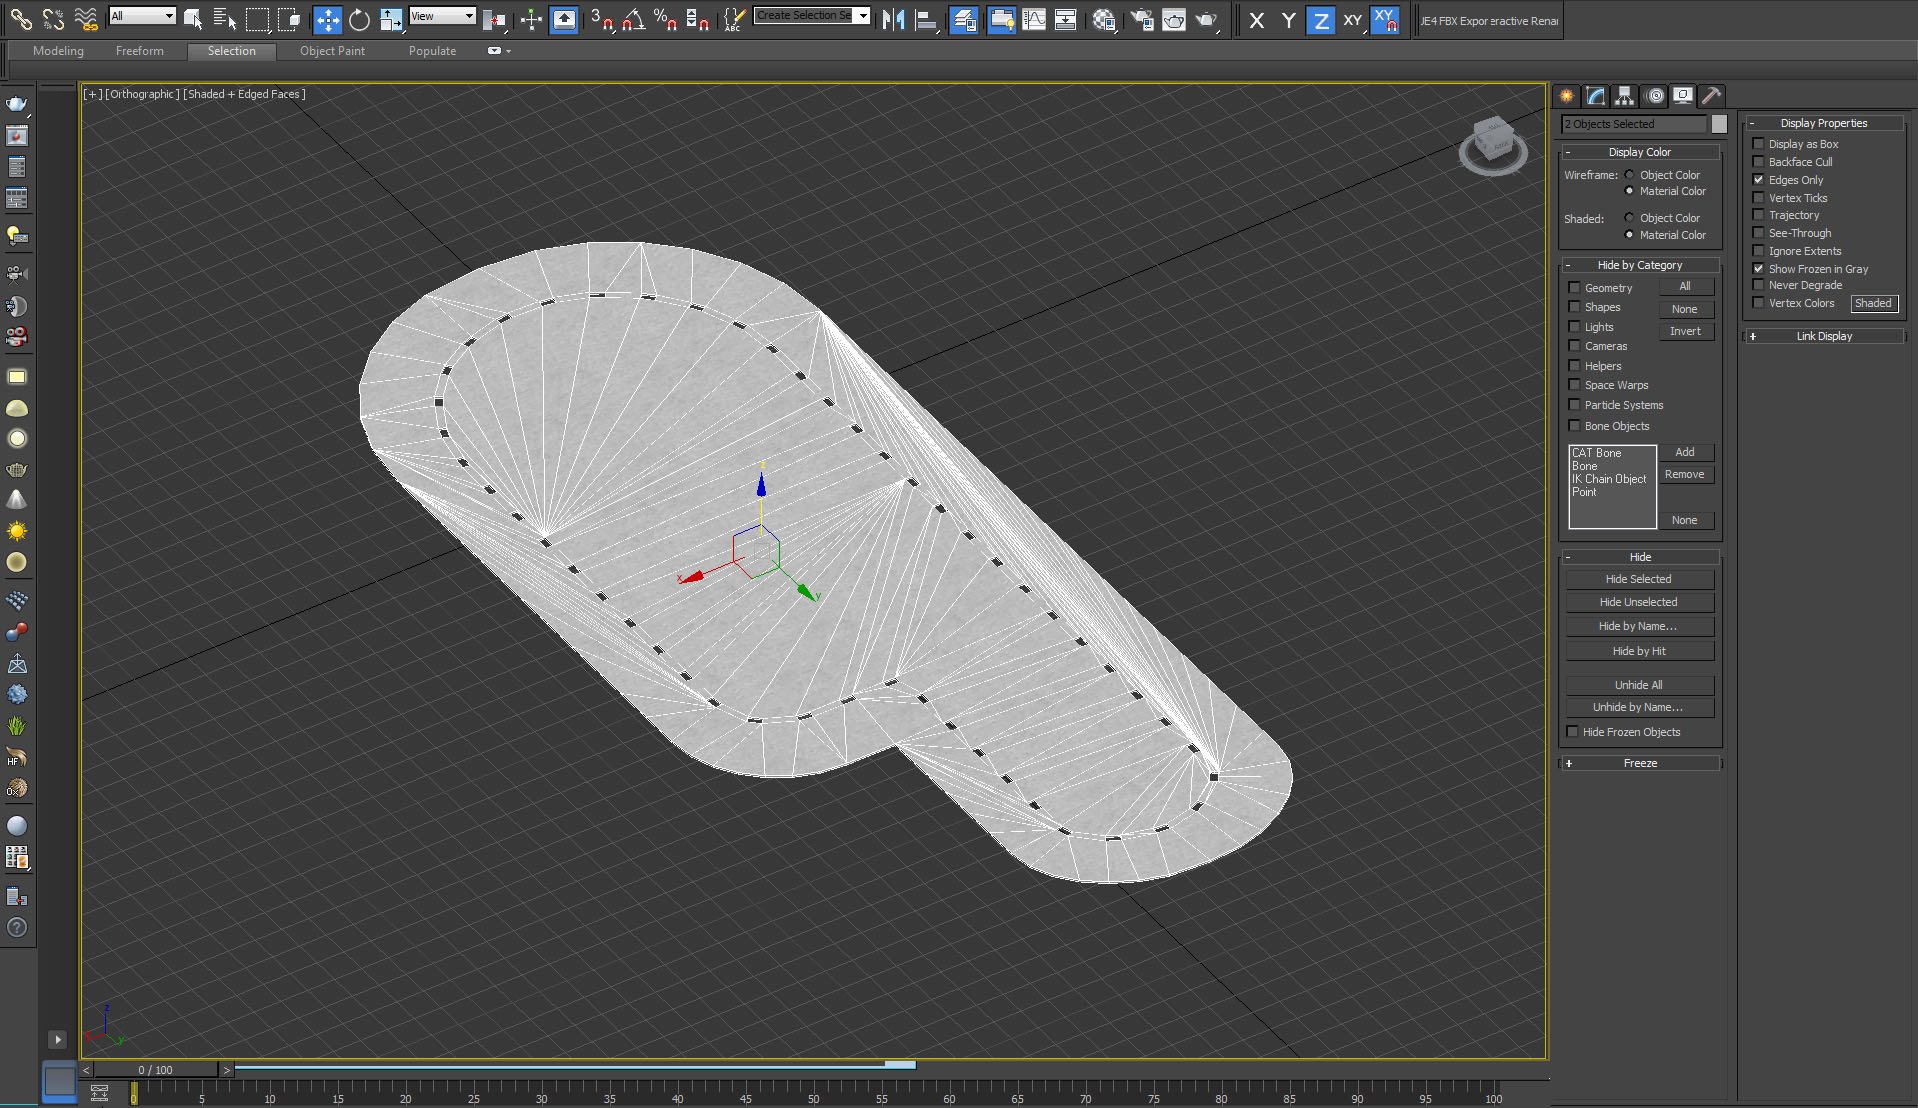
The ceiling with holes for lamps.
Click on image to enlarge 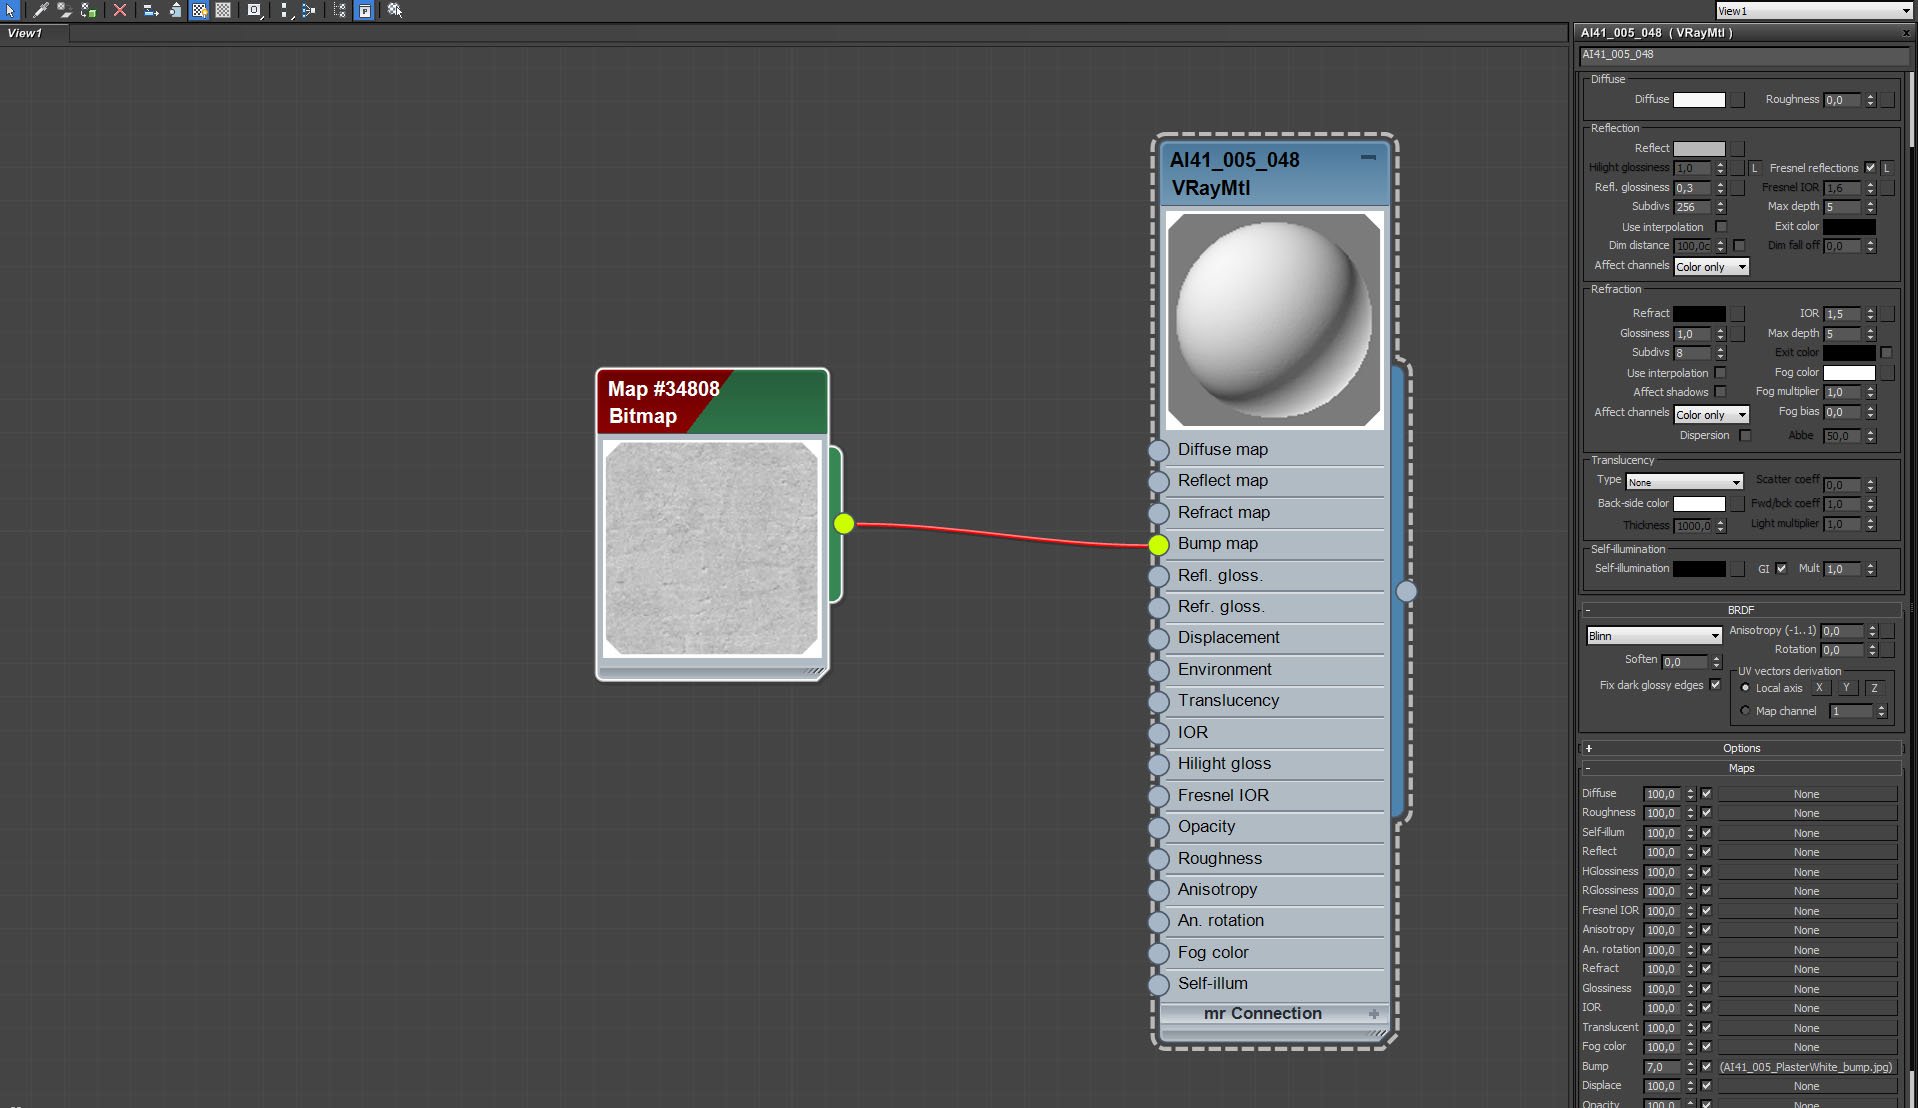
Click on image to enlarge 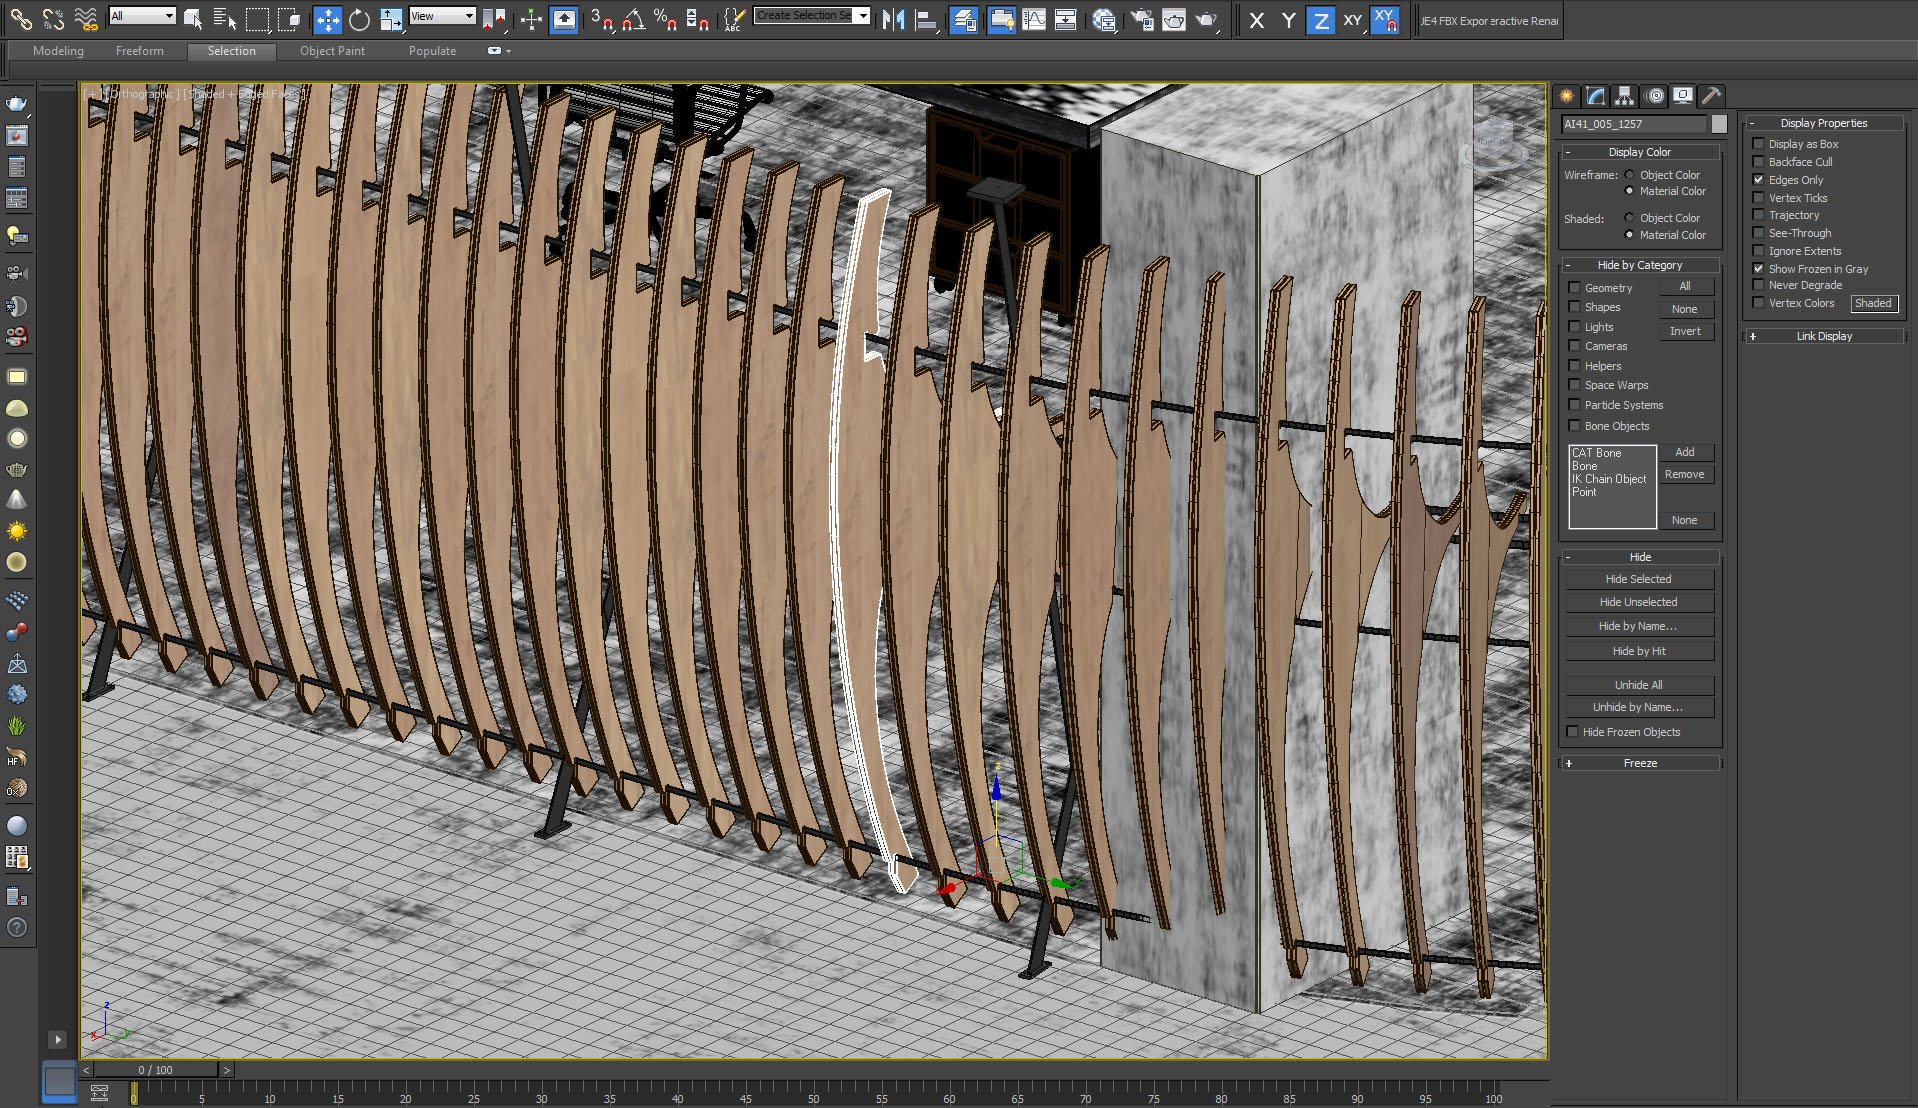
Click on image to enlarge 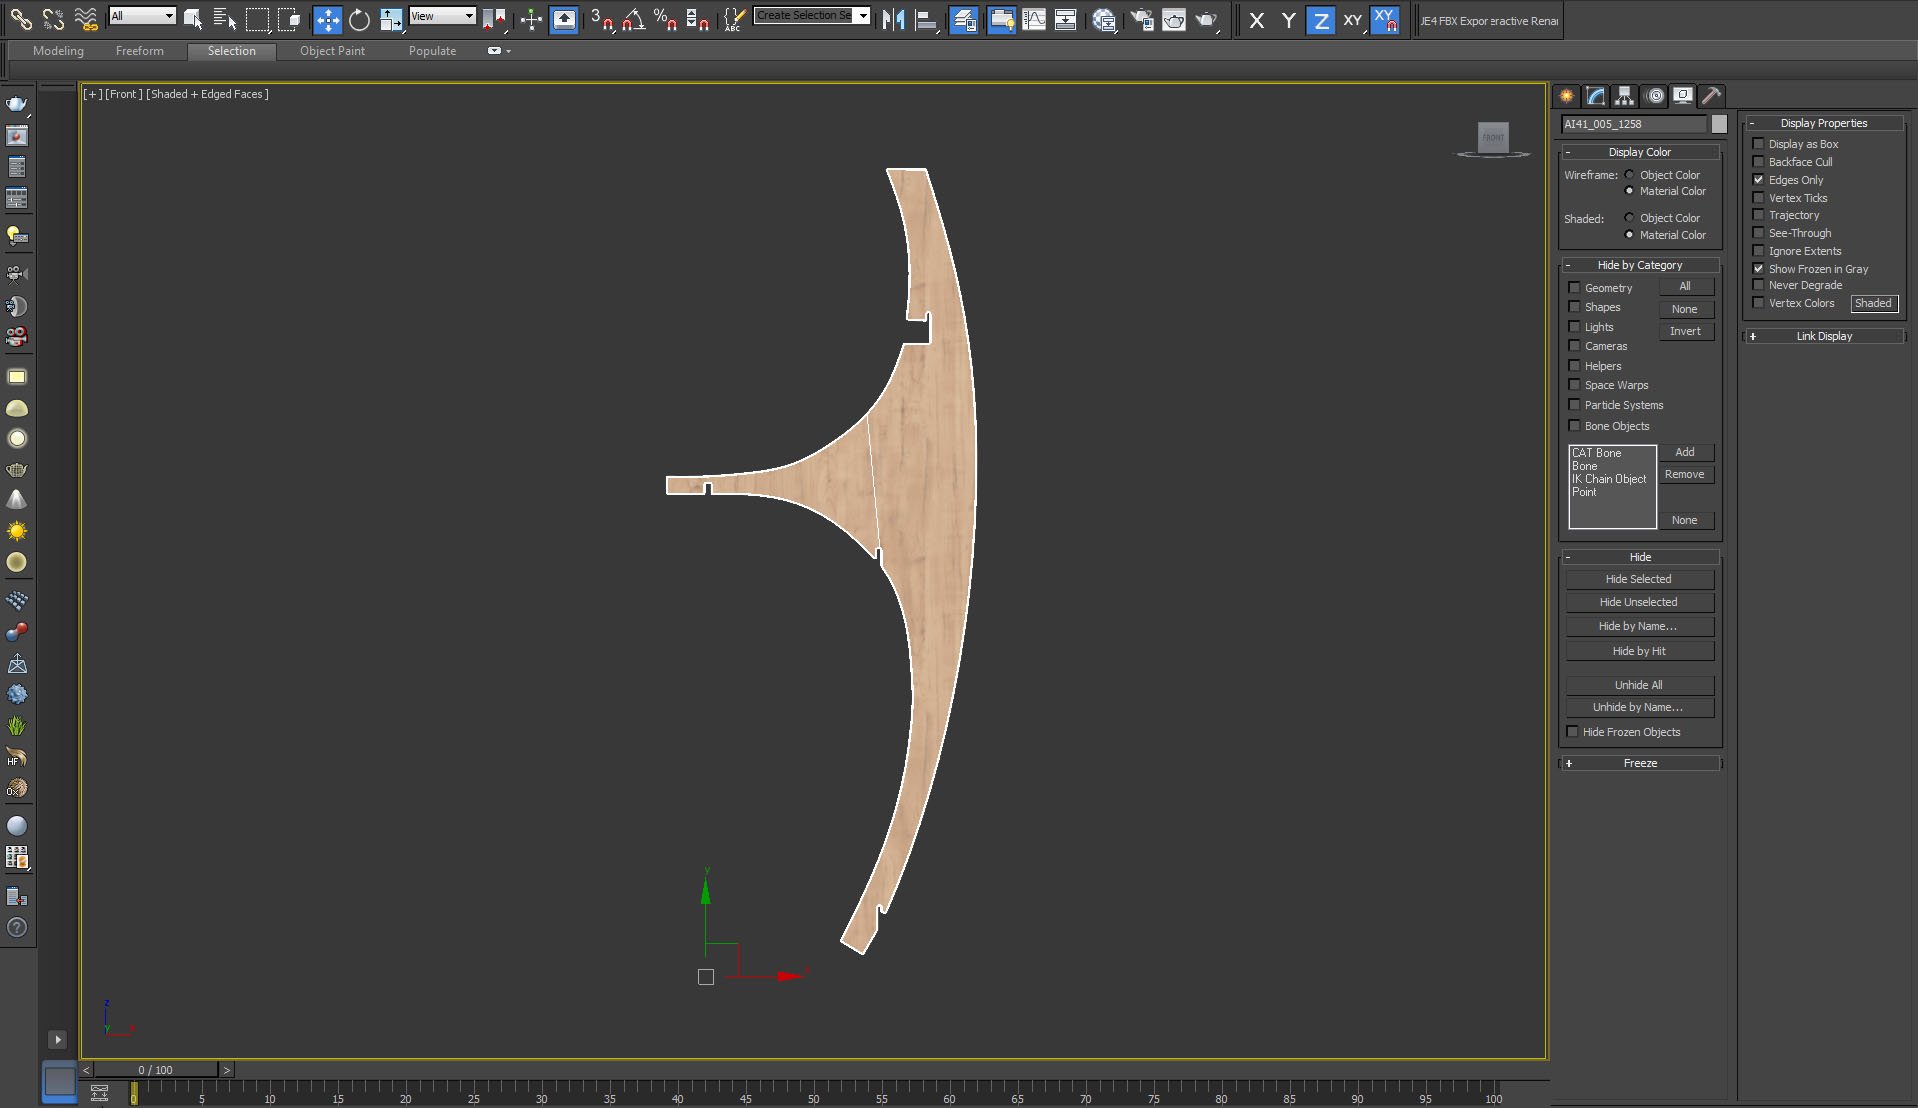
Wooden ribbing - single element.
Click on image to enlarge 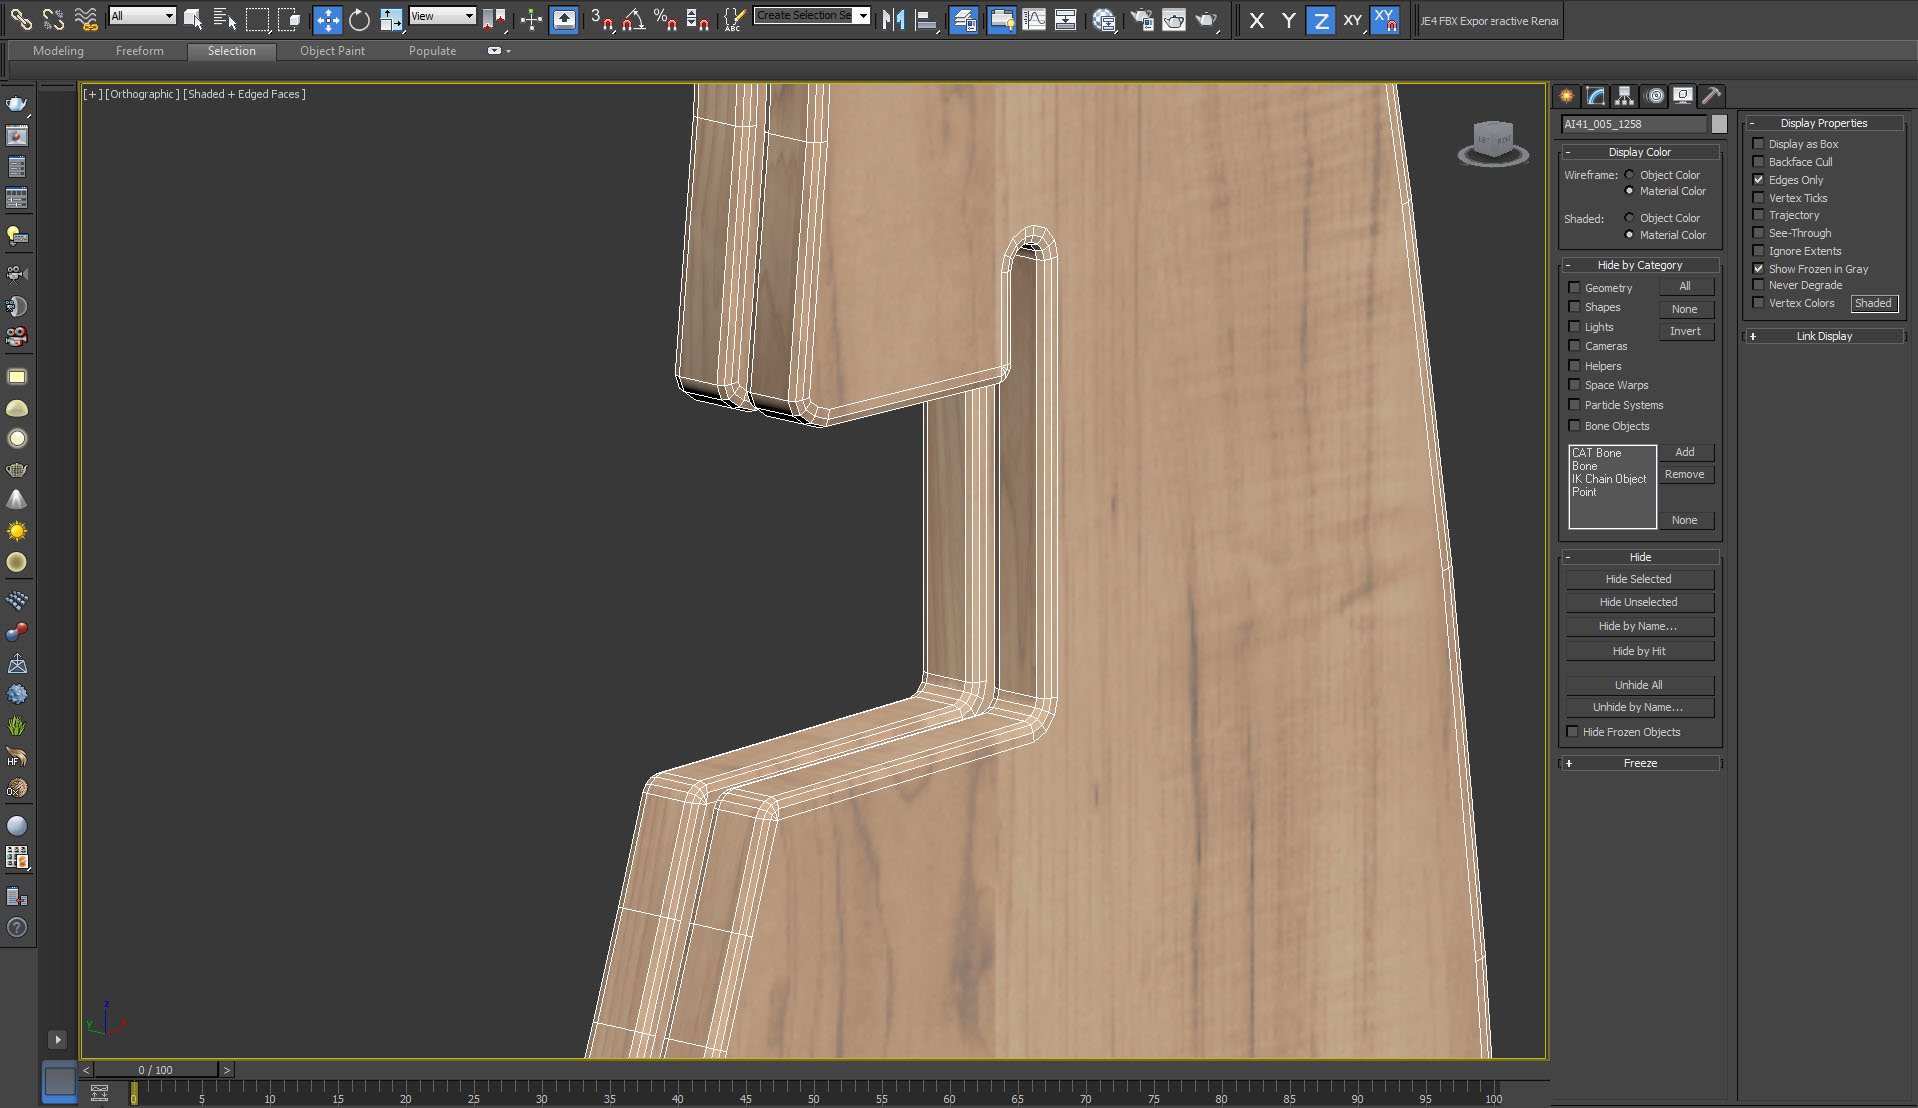
Close up of a wooden rib.
Click on image to enlarge 
Click on image to enlarge 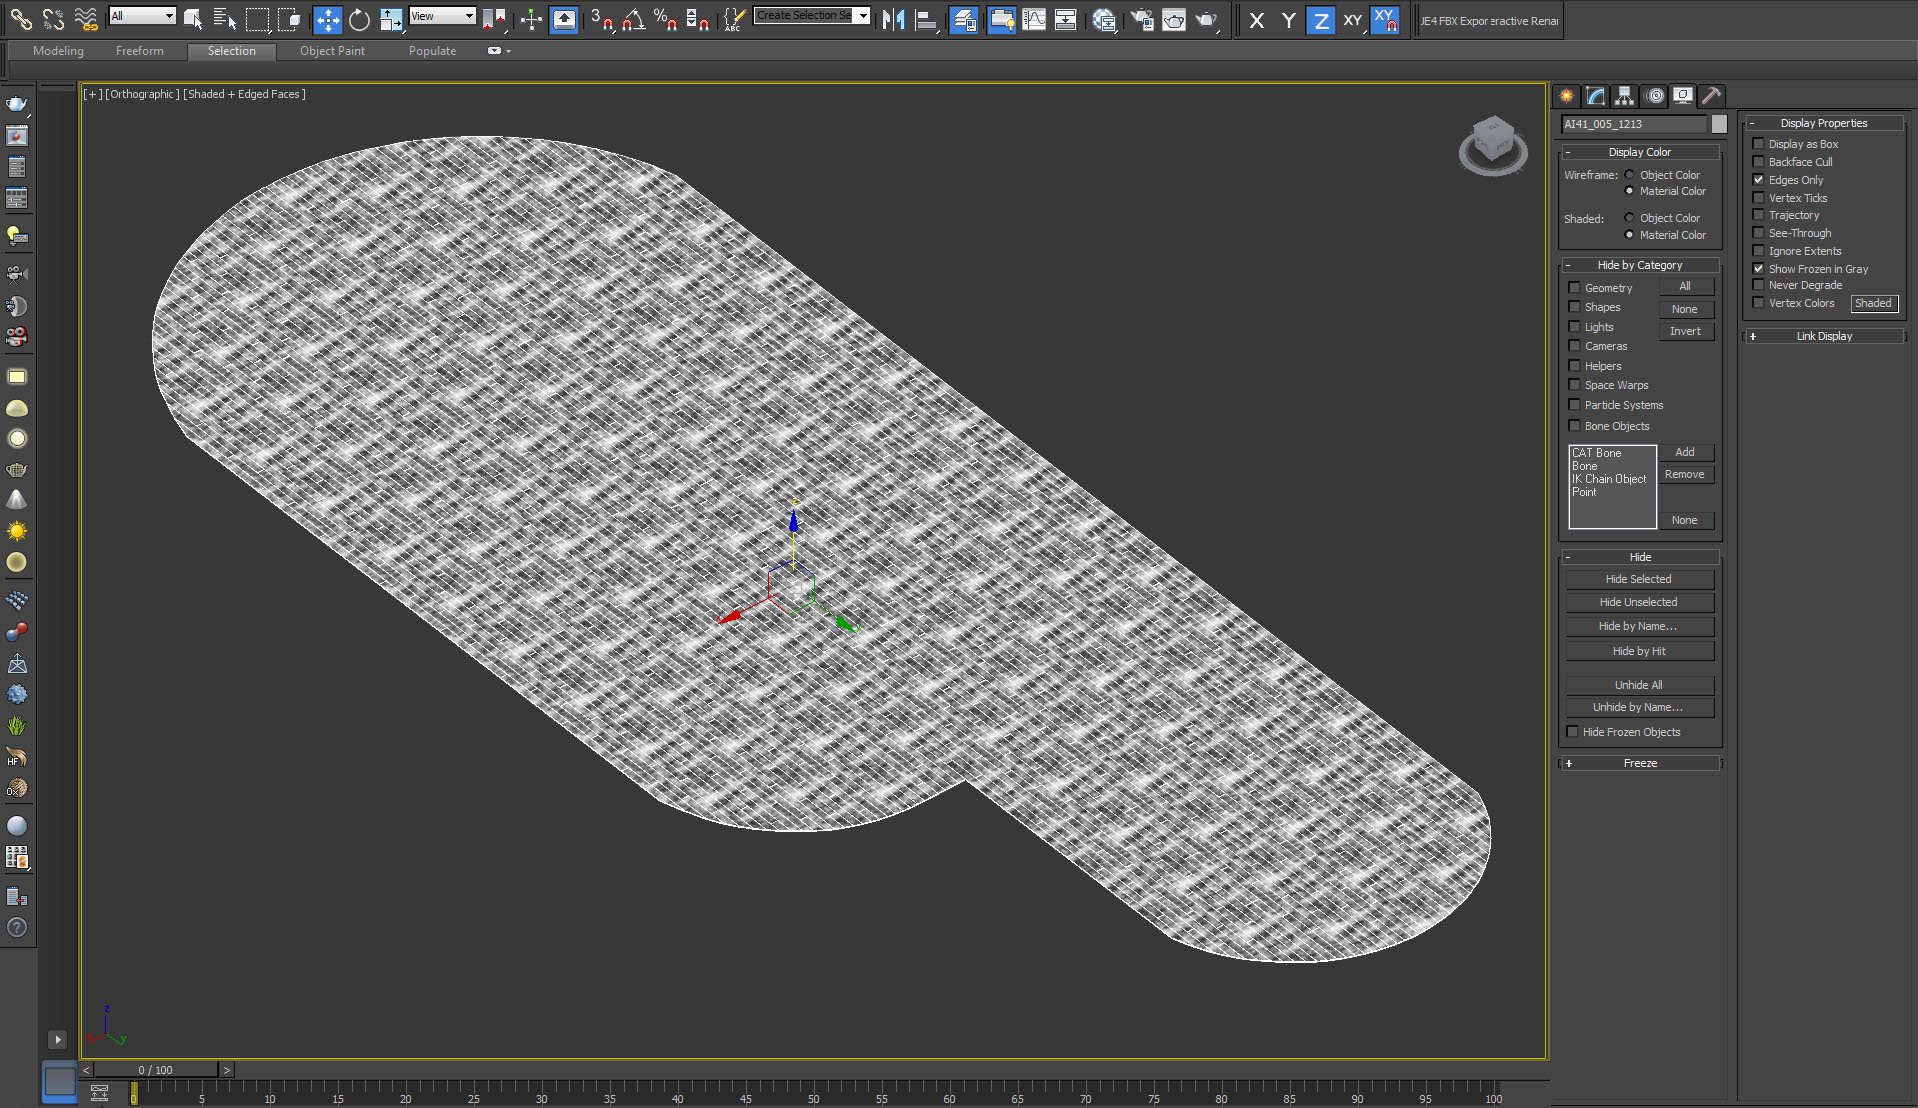
Click on image to enlarge 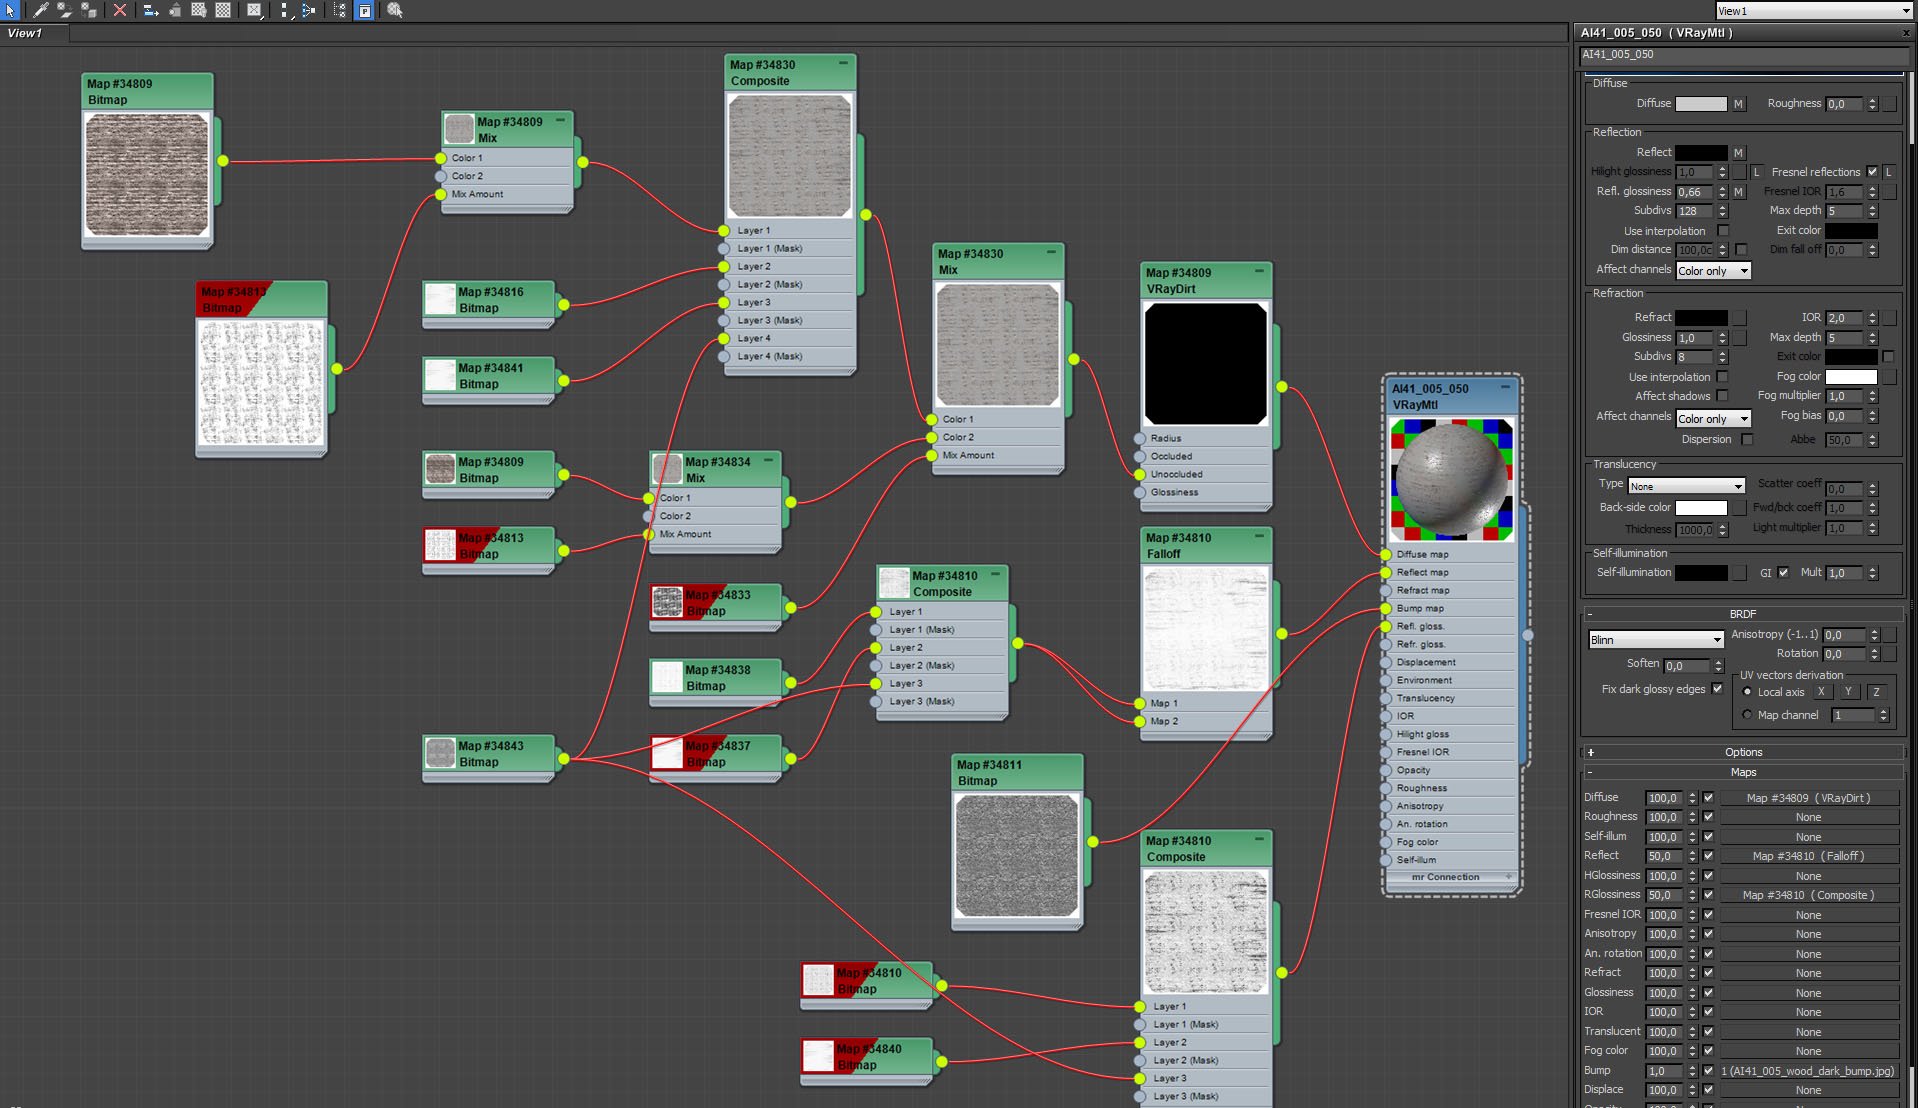
Floor material. At first it looks complicated, but it is not - it consists mainly of many bitmaps that are mixed together - the similar process that can be achieved in Photoshop. Material uses VrayDirt for making look old the floor.
Click on image to enlarge 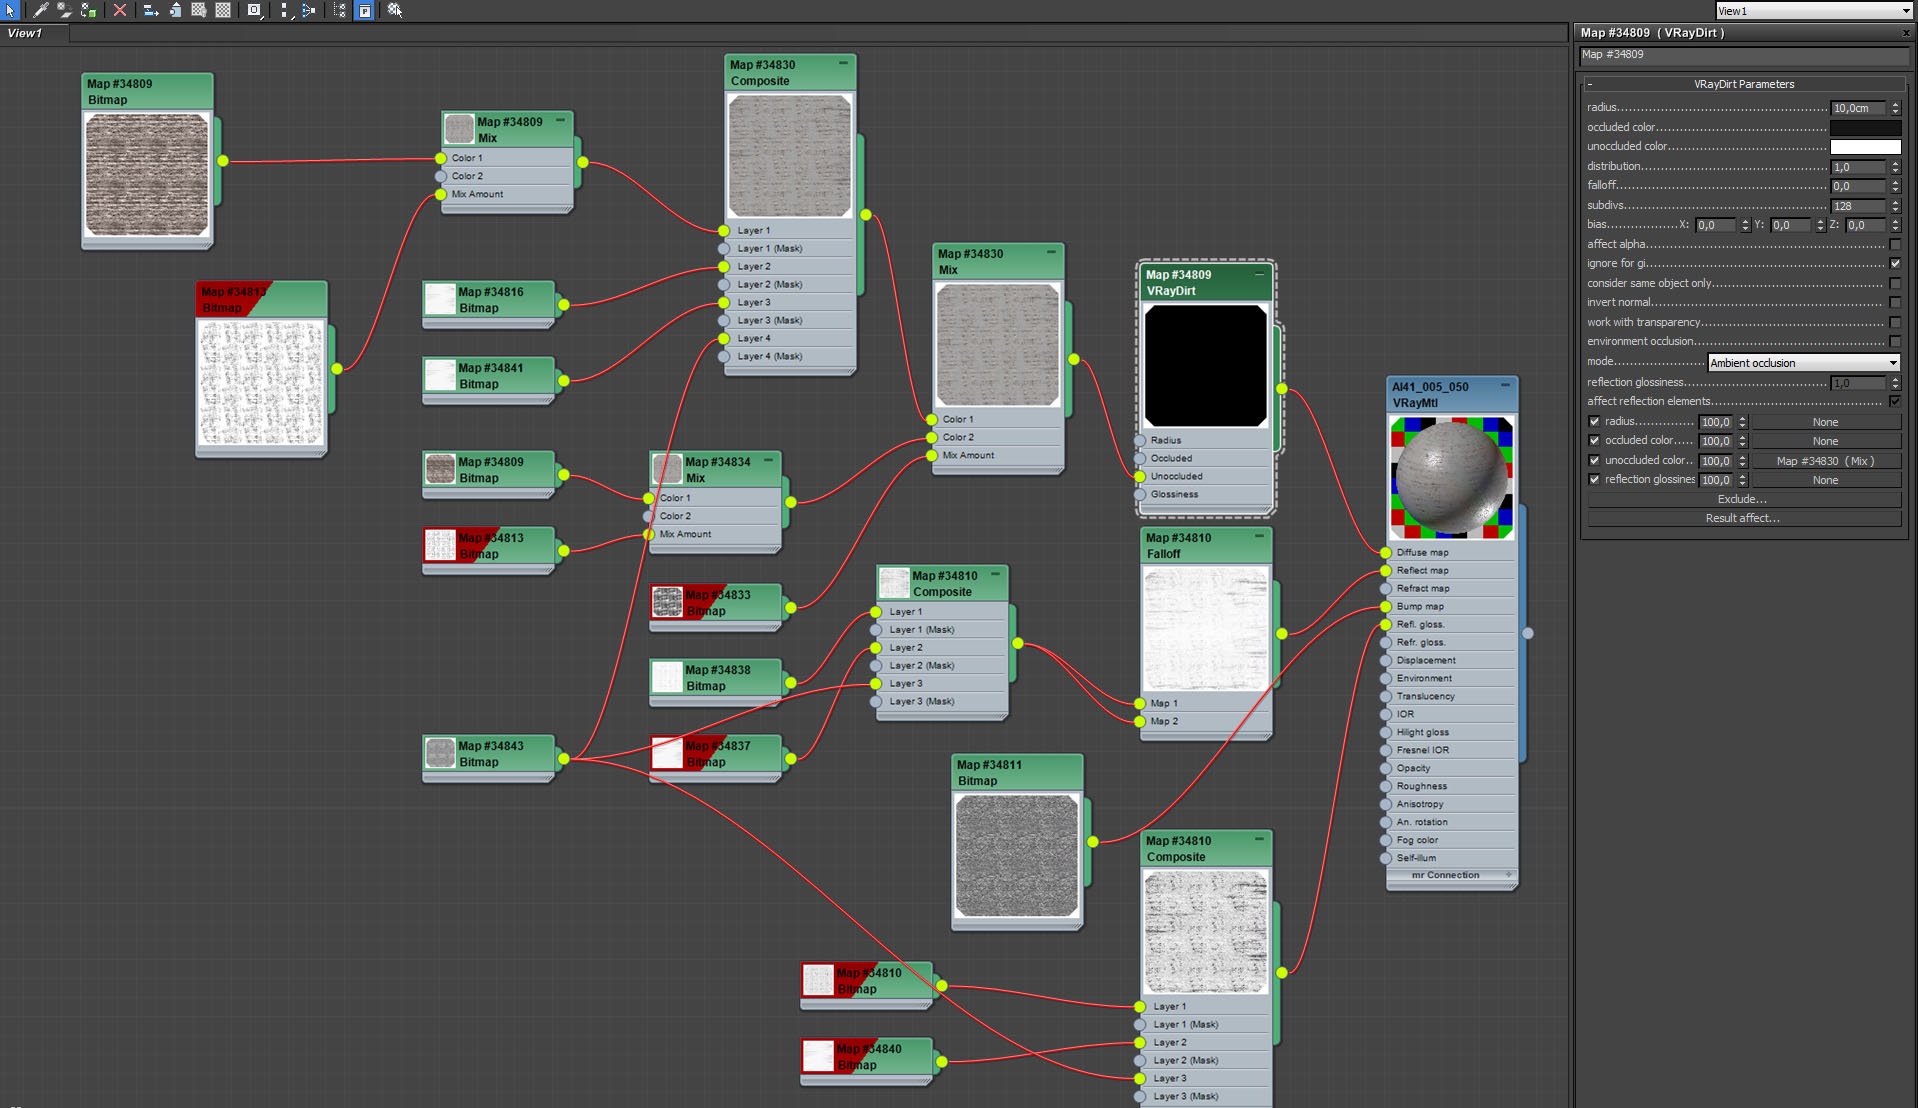
Click on image to enlarge 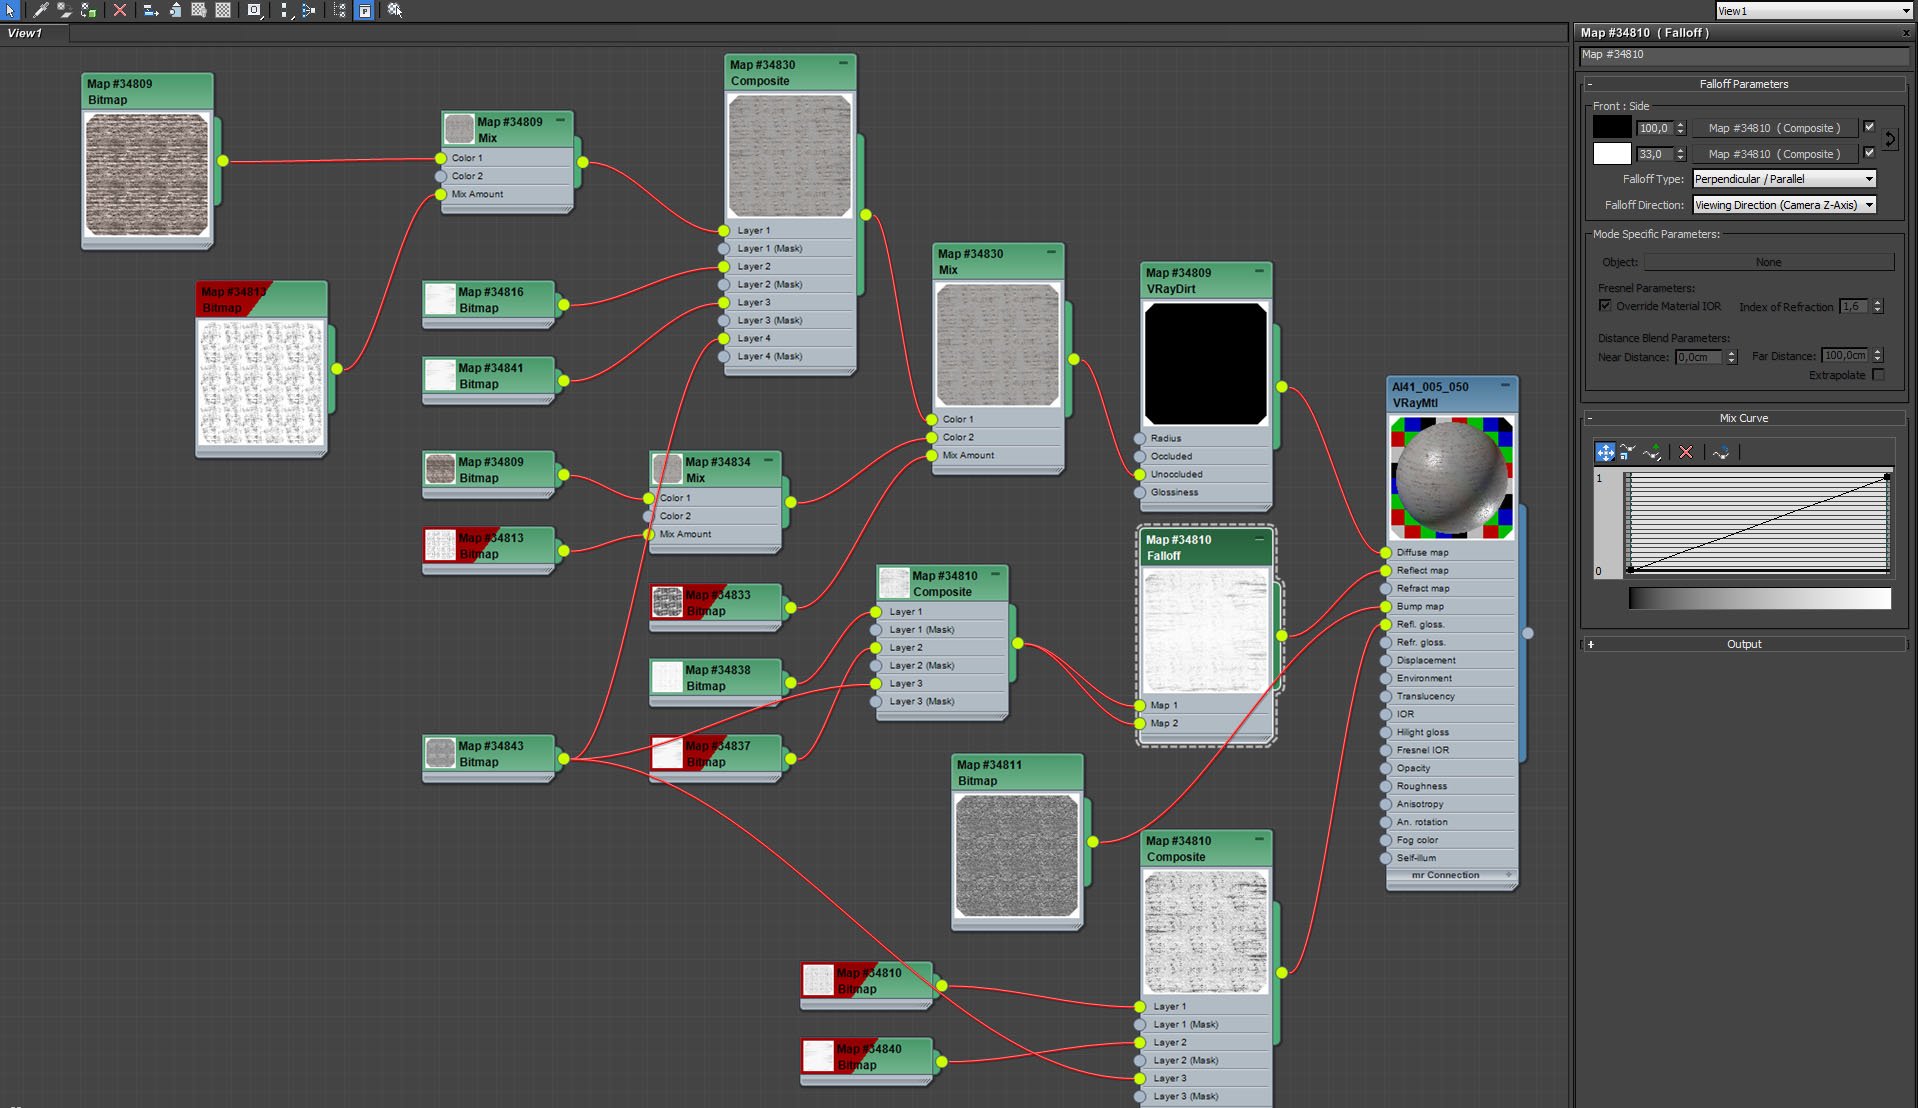
Falloff map settings. Falloff map controls Reflection in this material.
Click on image to enlarge 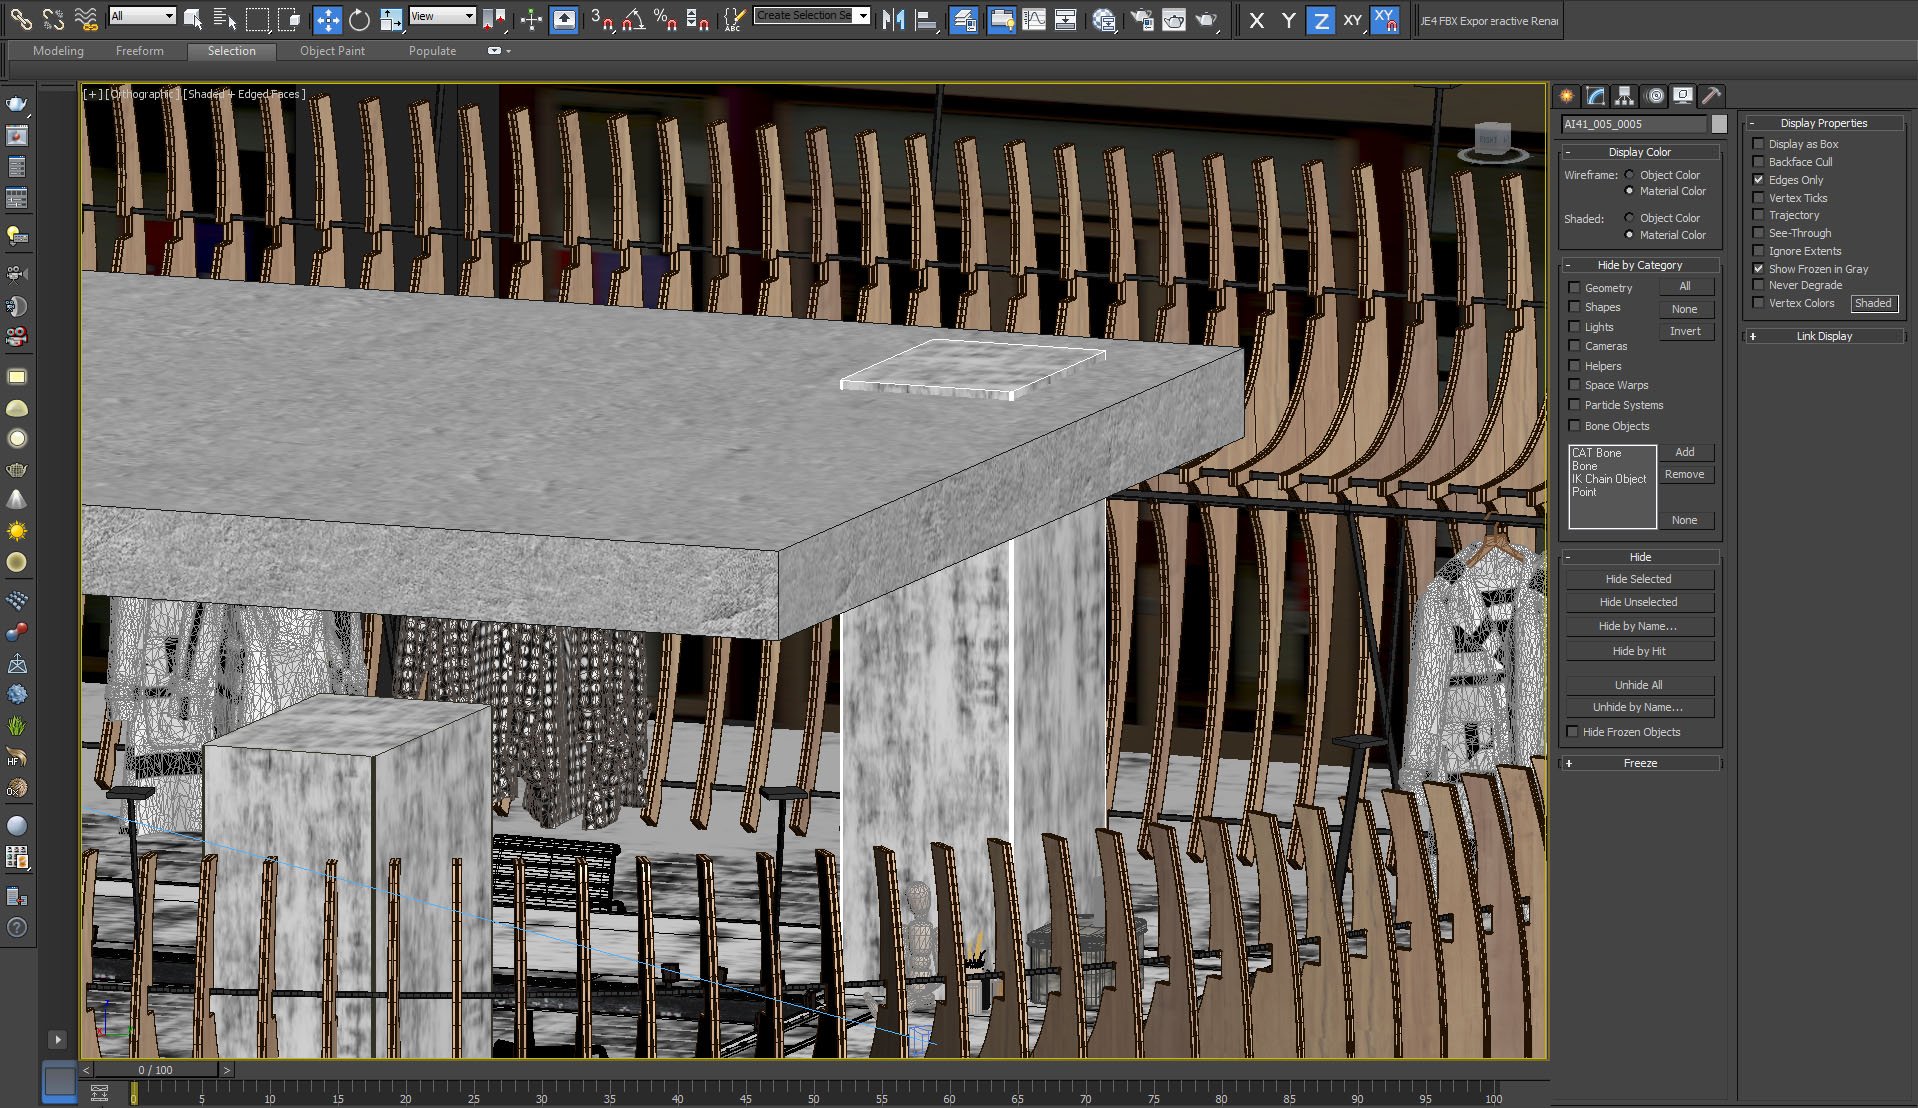
In the middle of the room we have concrete pillars.
Click on image to enlarge 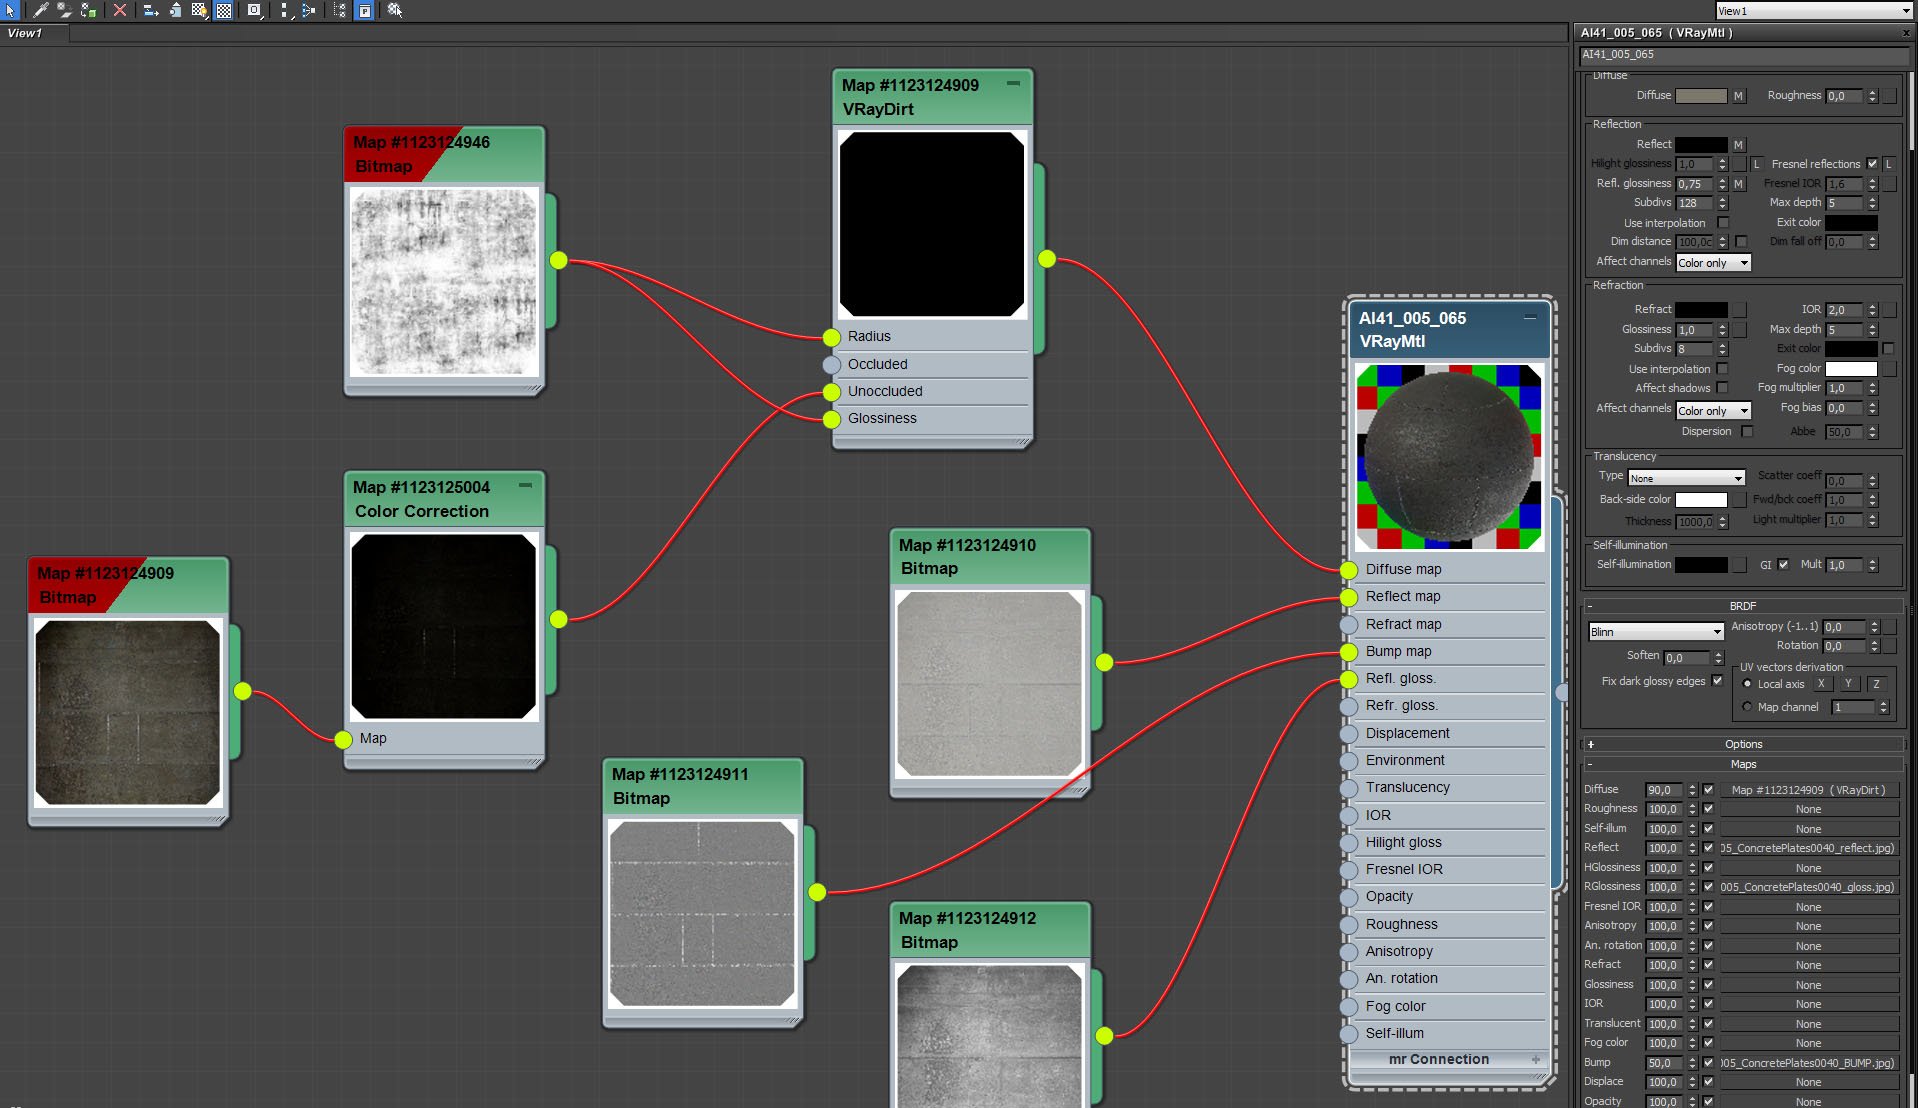
Click on image to enlarge 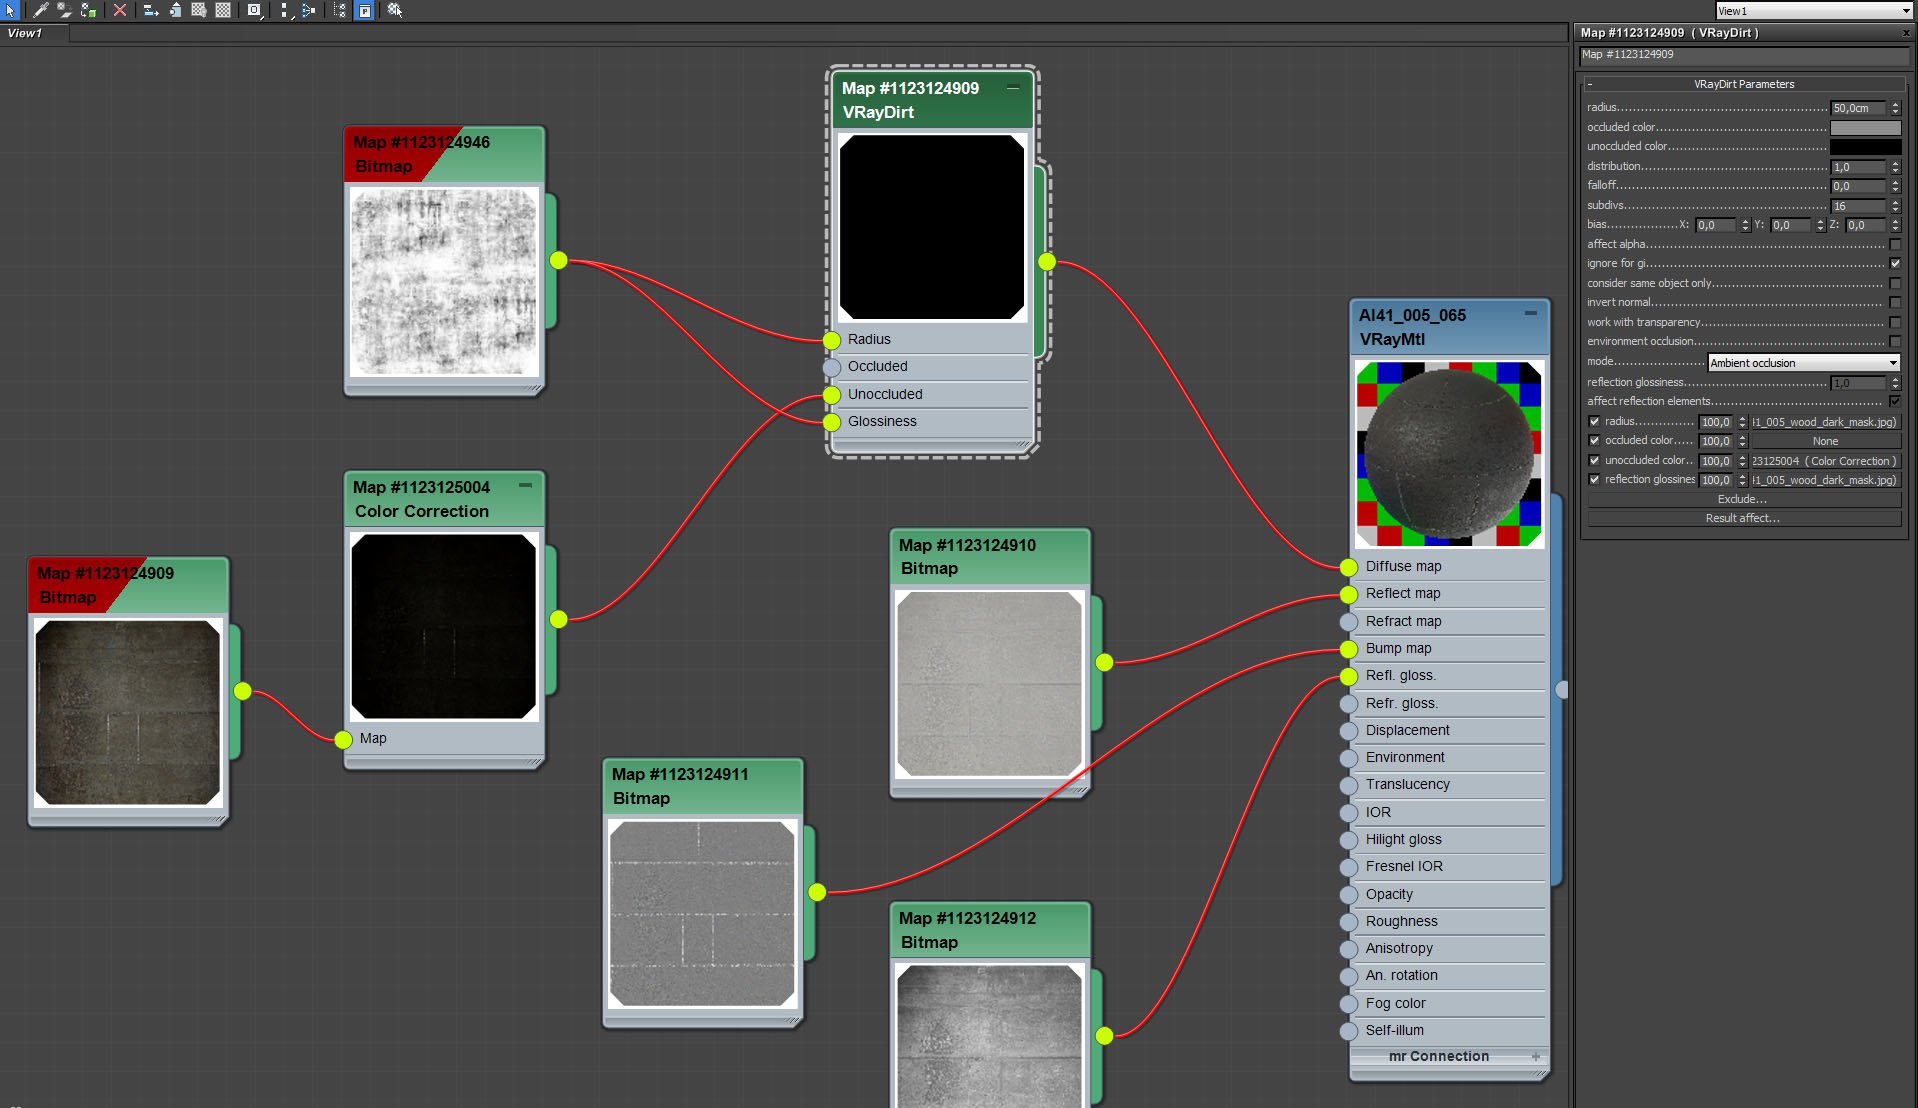
Pillar material - VrayDirt map settings.
Click on image to enlarge 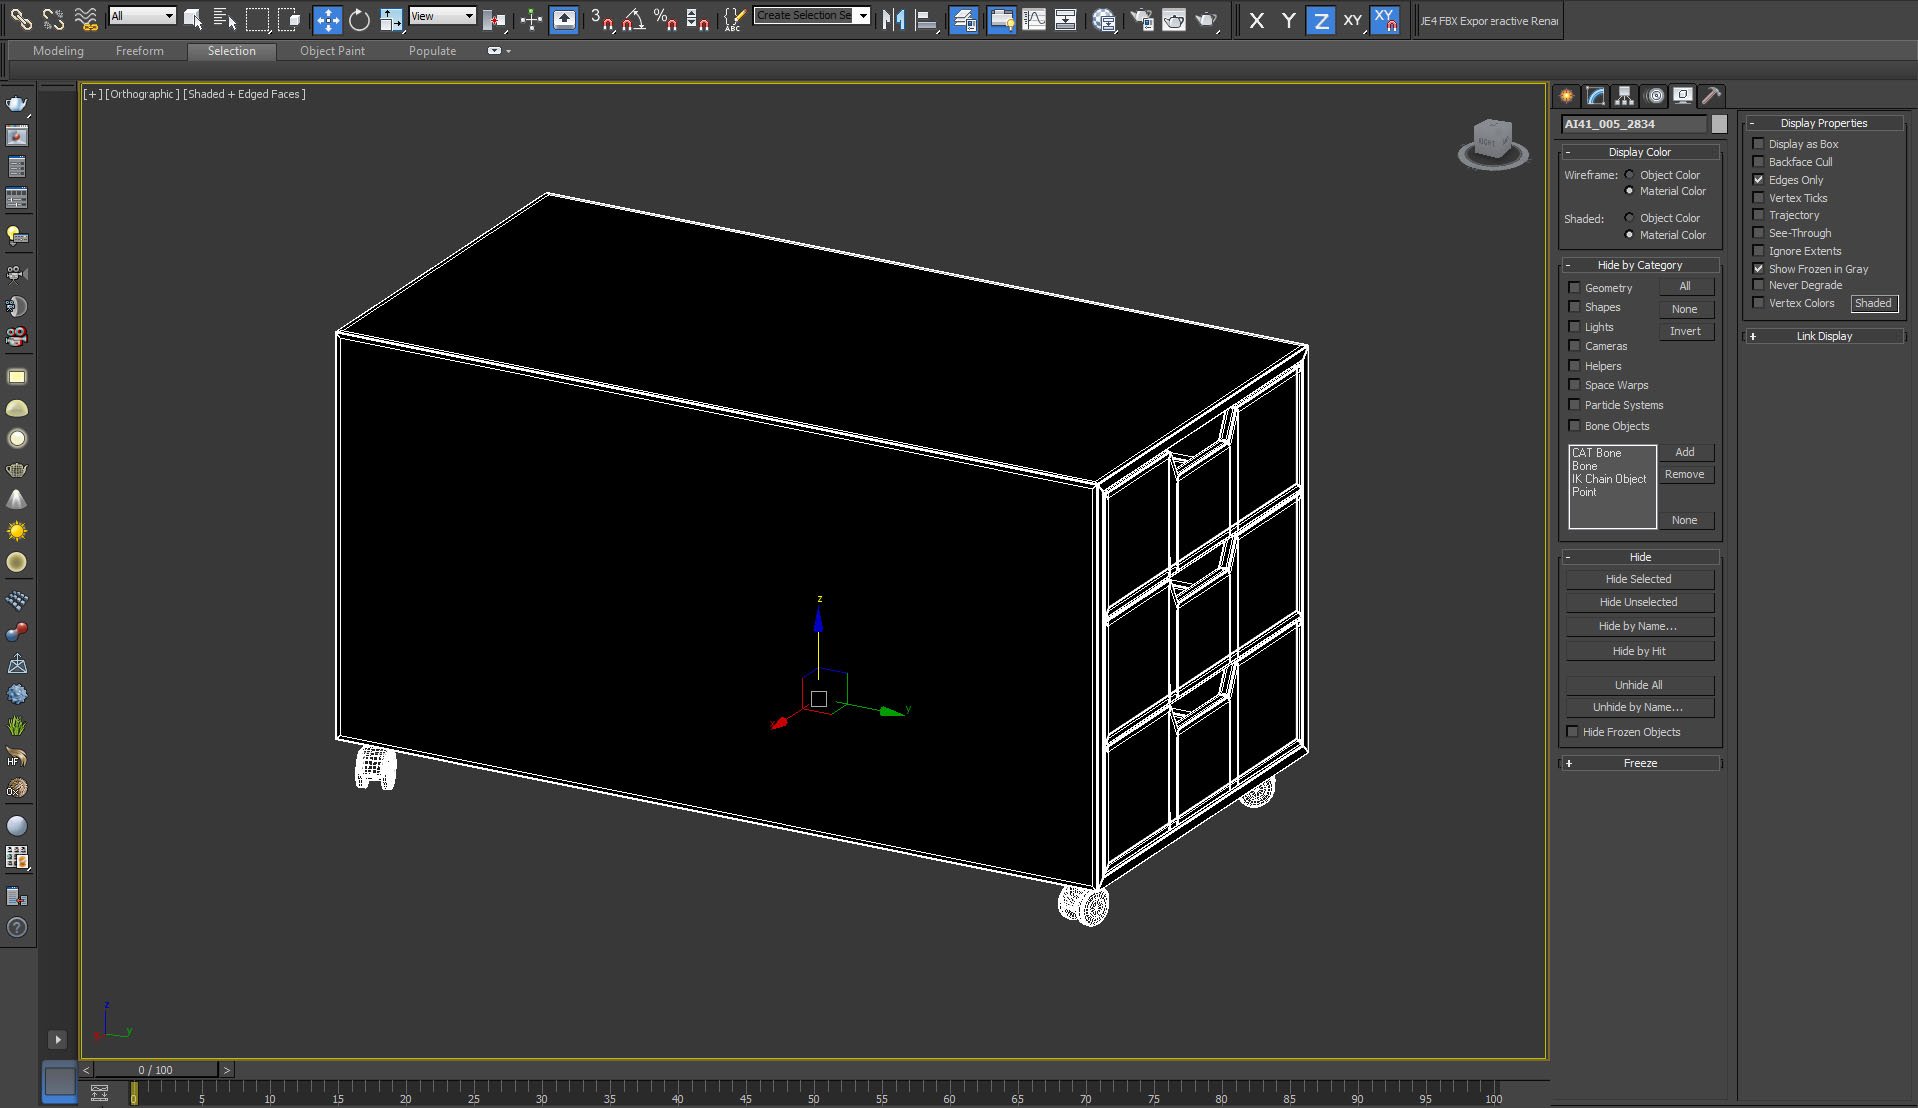
Wooden furniture. Looks black in the viewport, it's light wood in render.
Click on image to enlarge 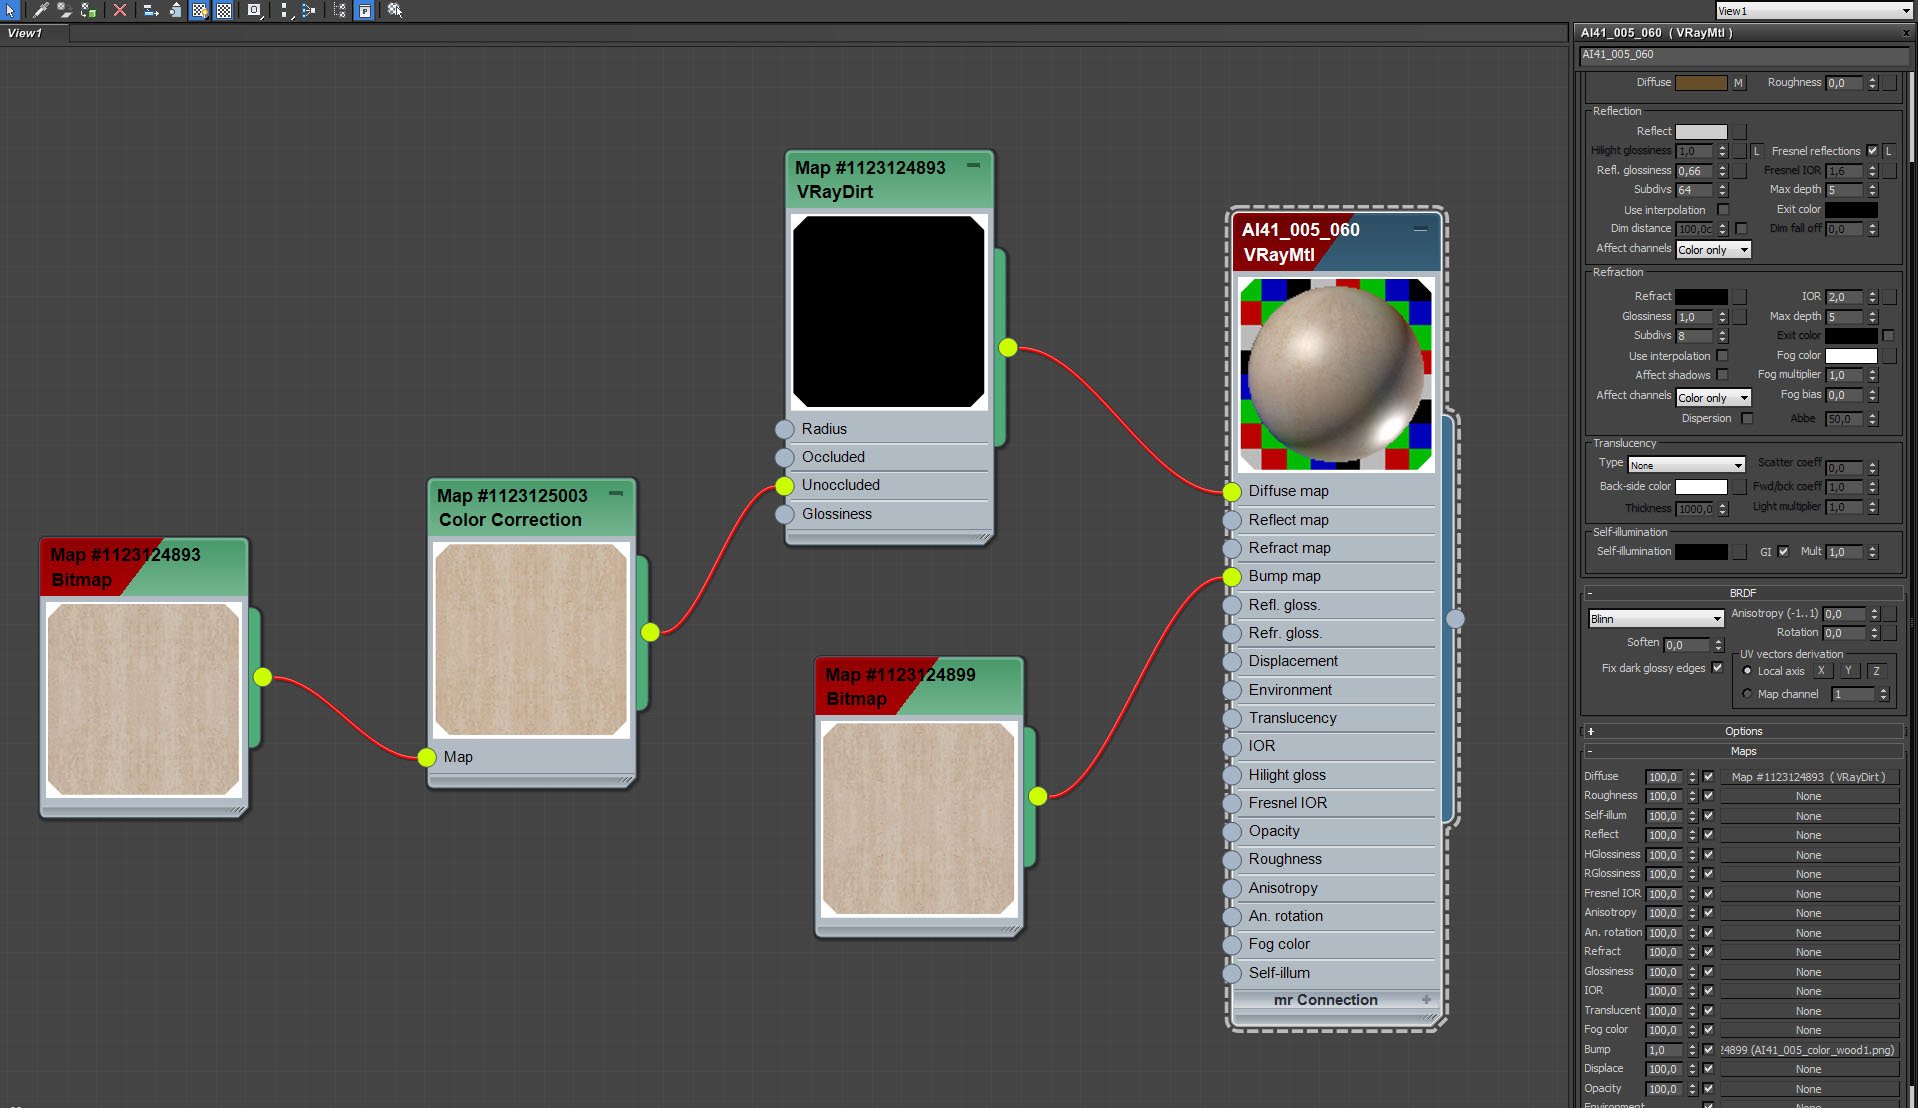
Furniture material settings.
Click on image to enlarge 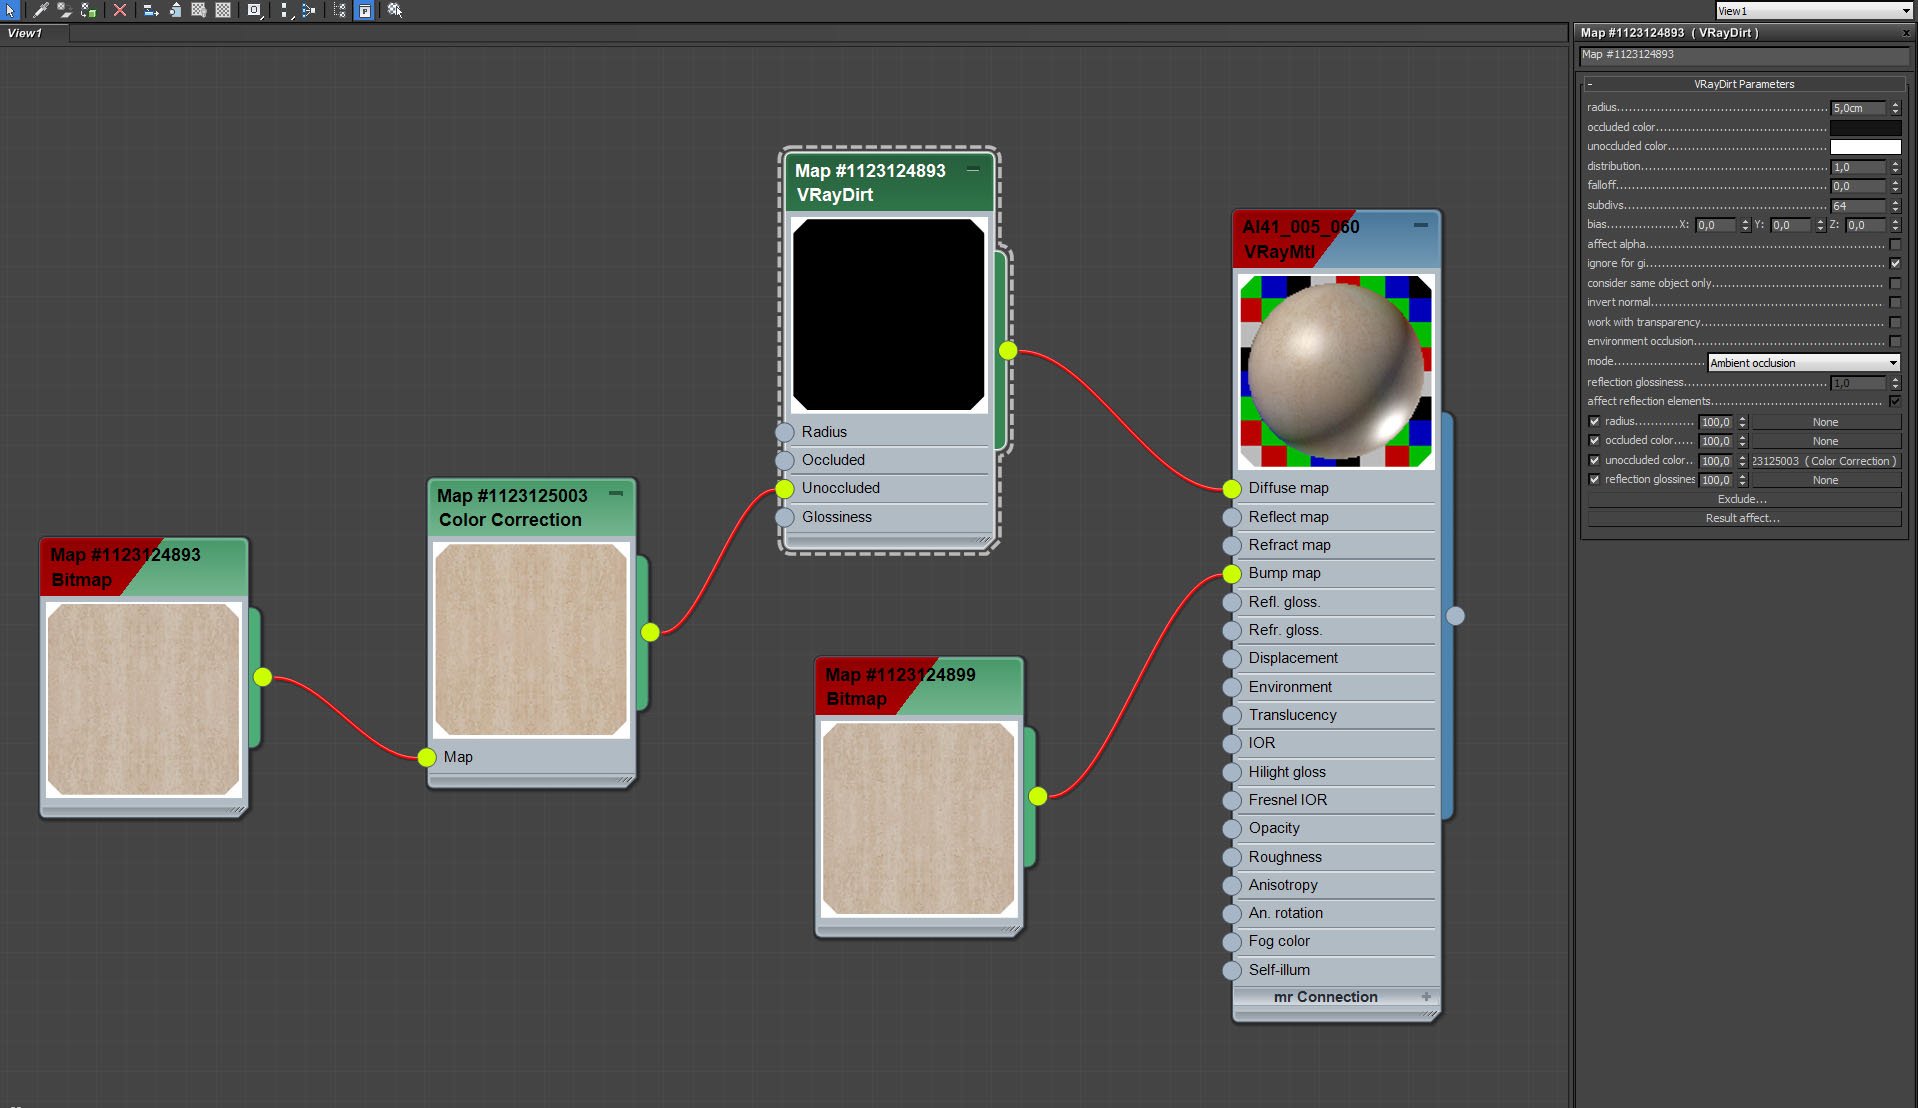
Furniture material - VrayDirt map settings.
Click on image to enlarge 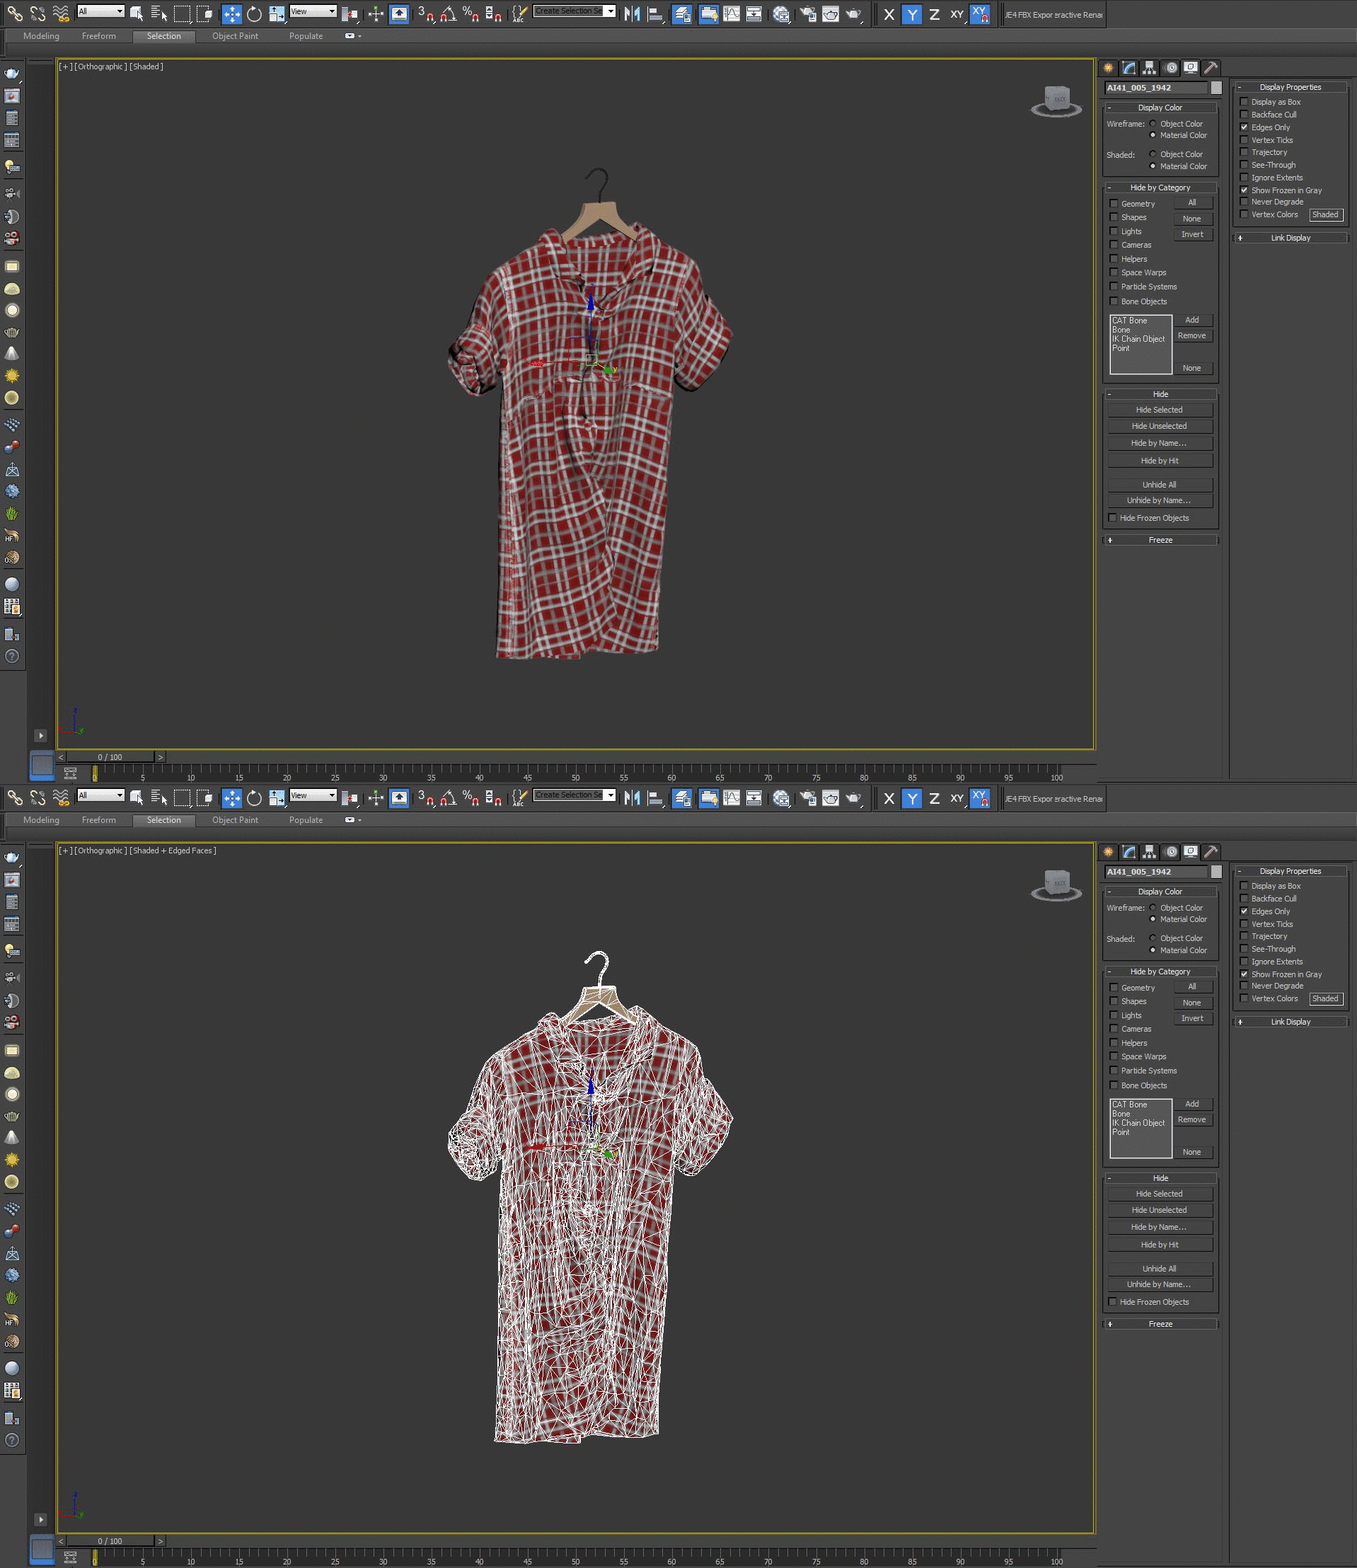
Click on image to enlarge 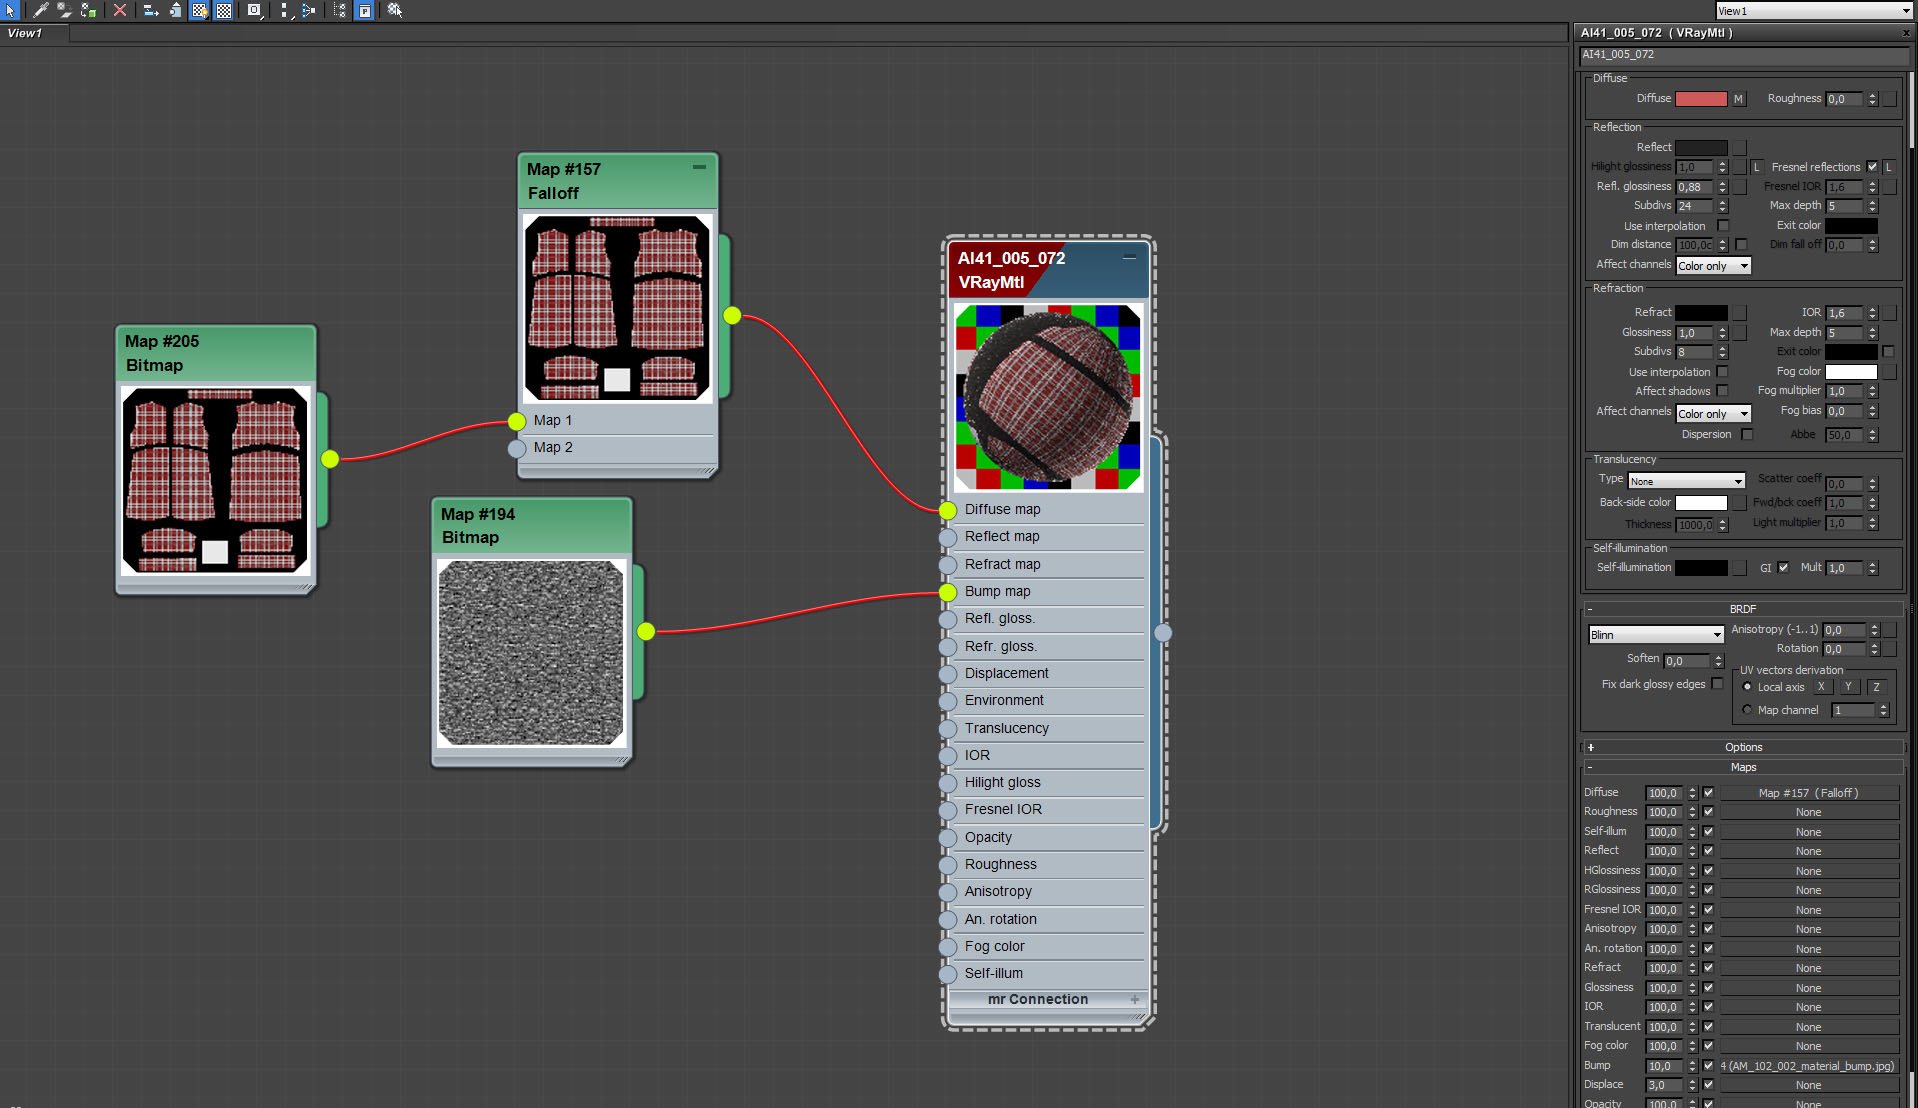
Cloth material - simple diffuse map with bump.
Click on image to enlarge 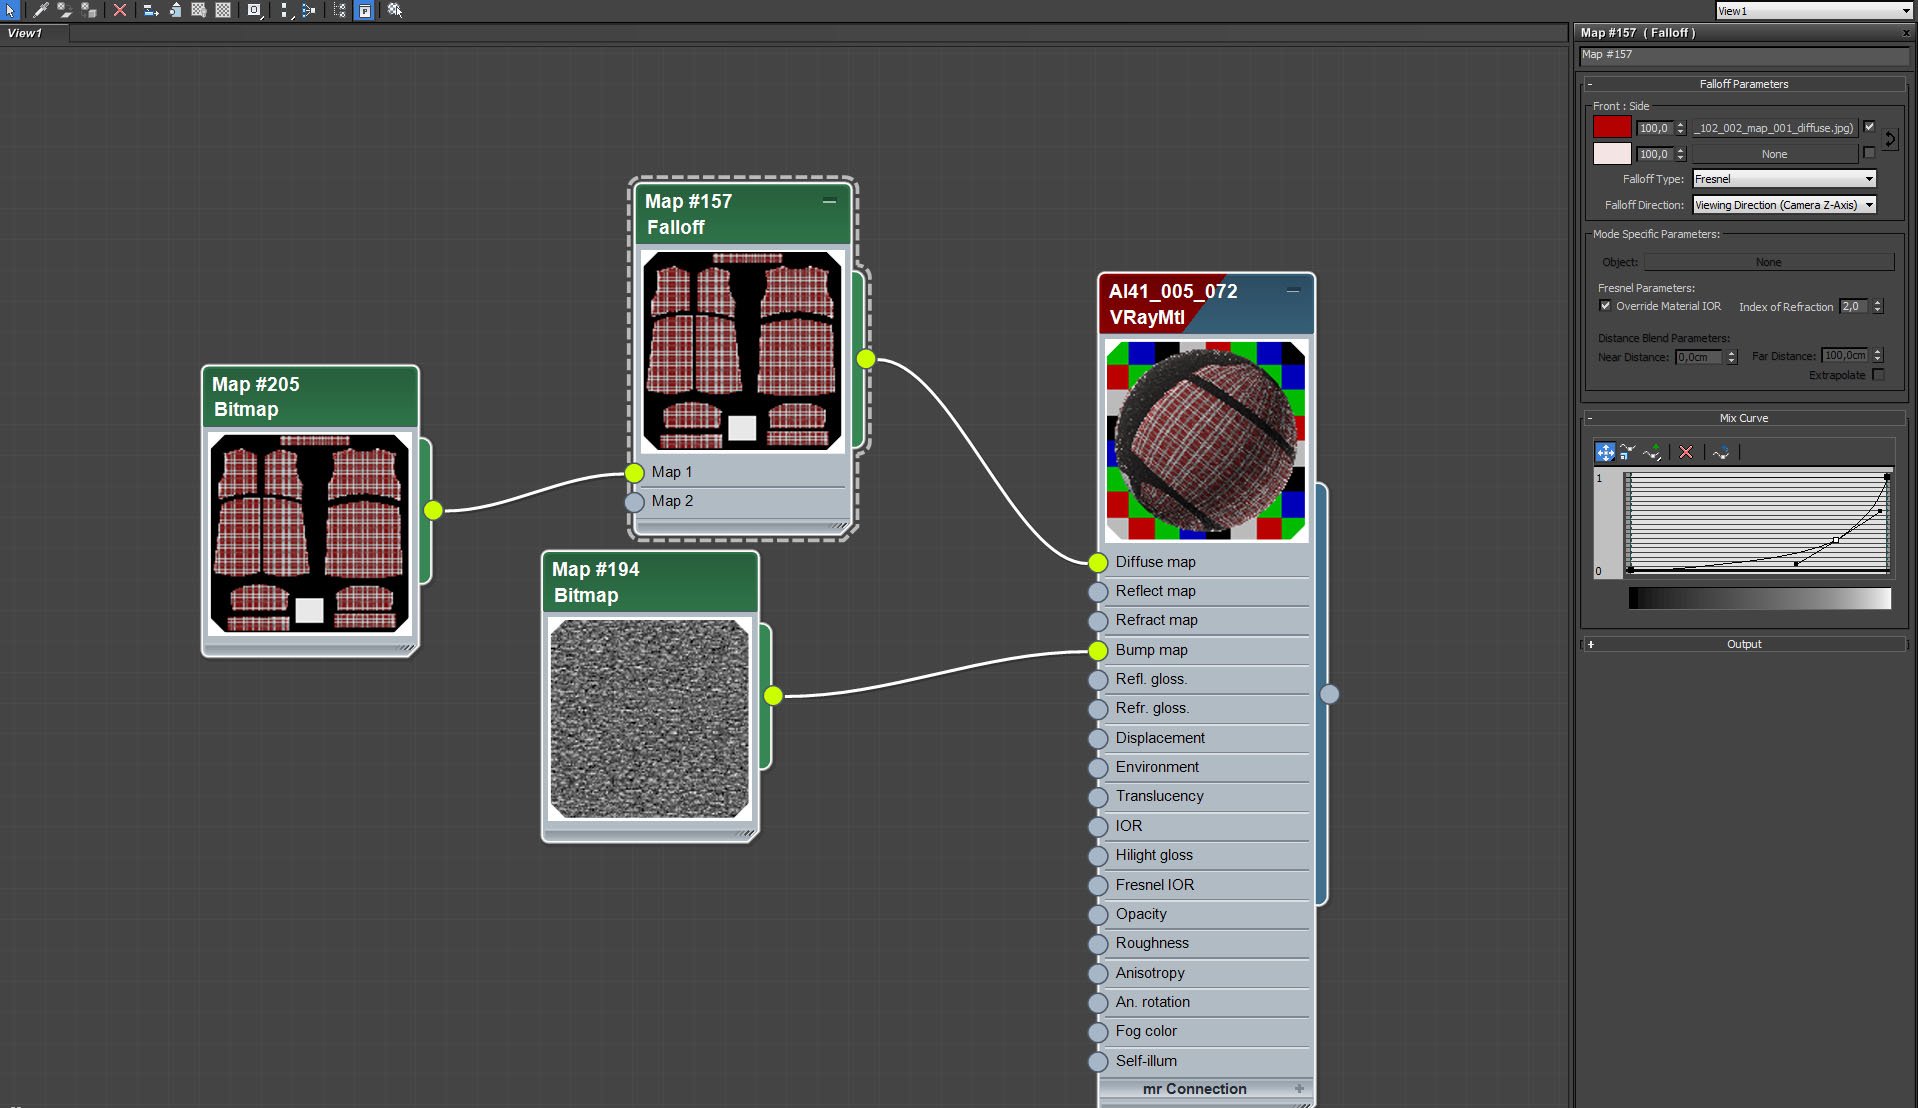
Cloth material - falloff map.
Click on image to enlarge 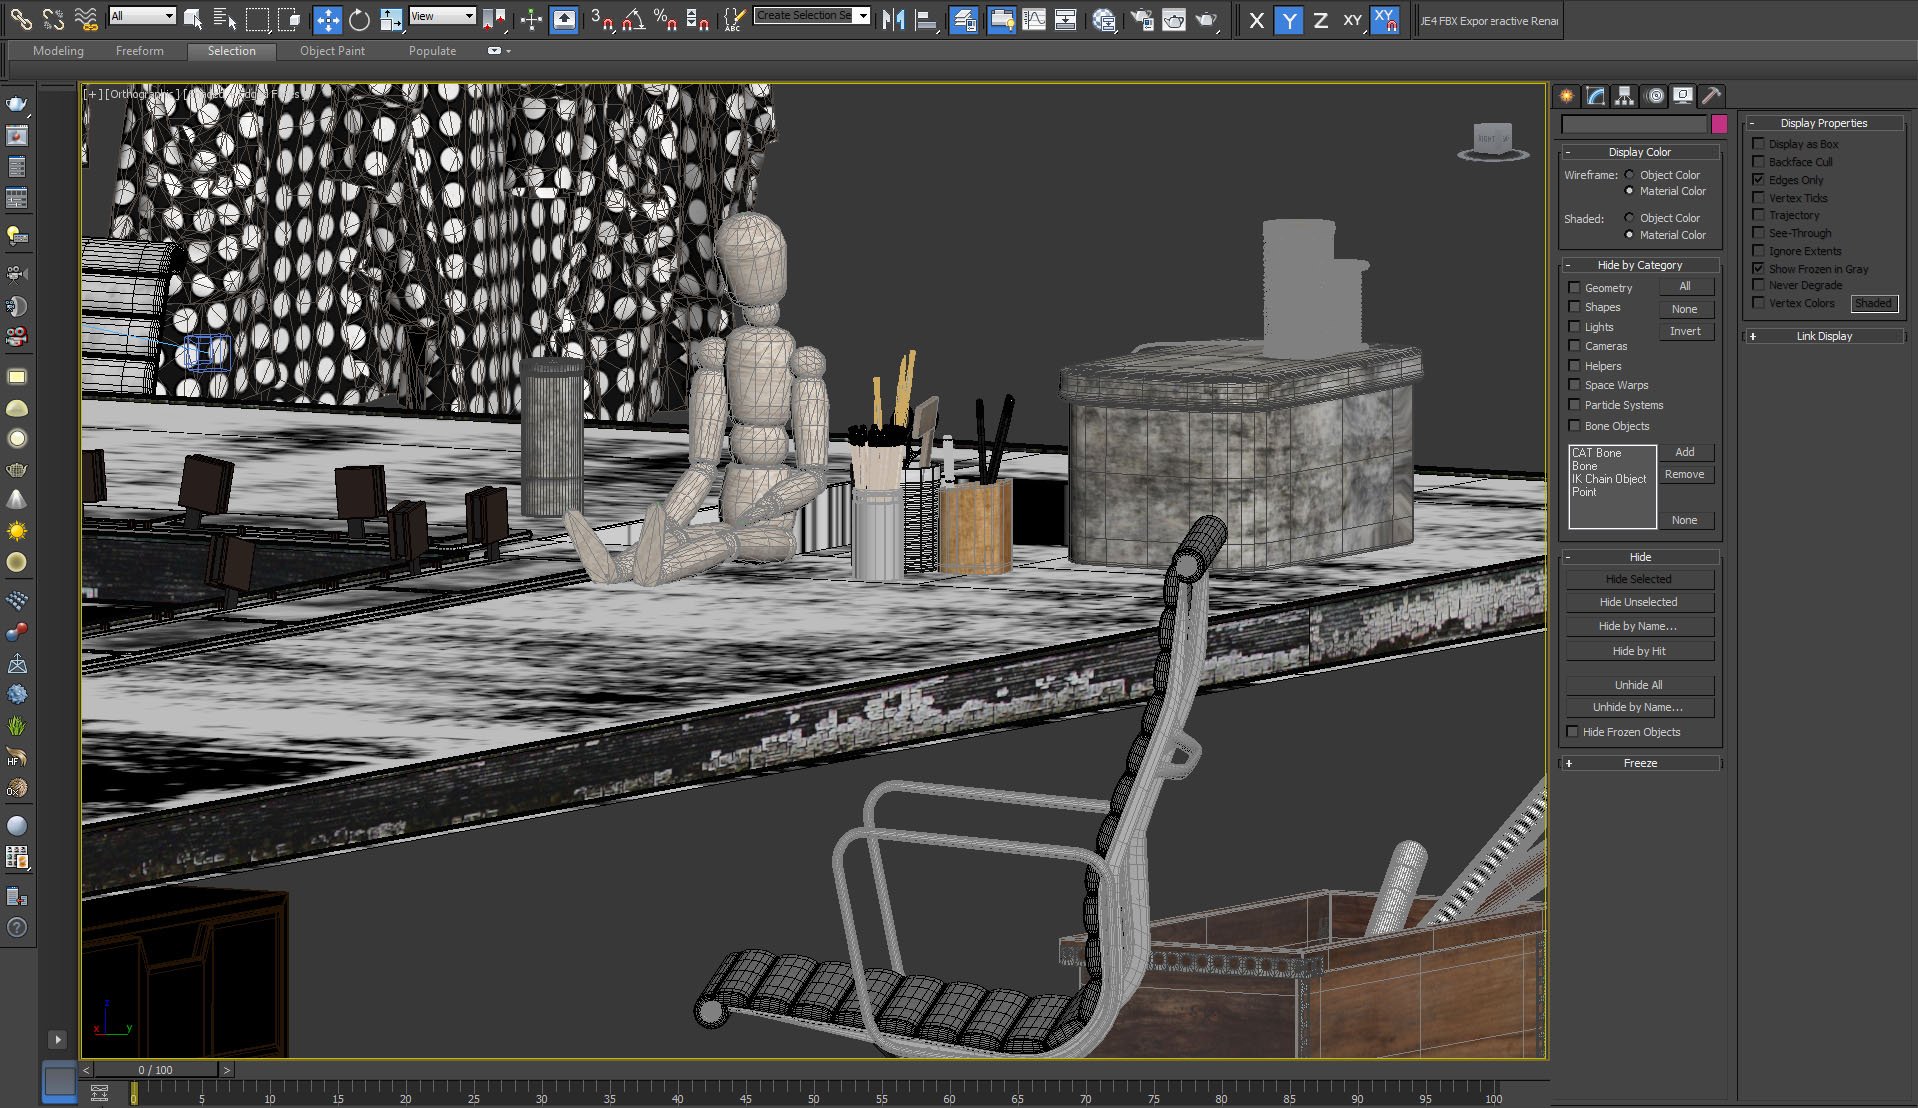
We placed some props on the tables.
Click on image to enlarge 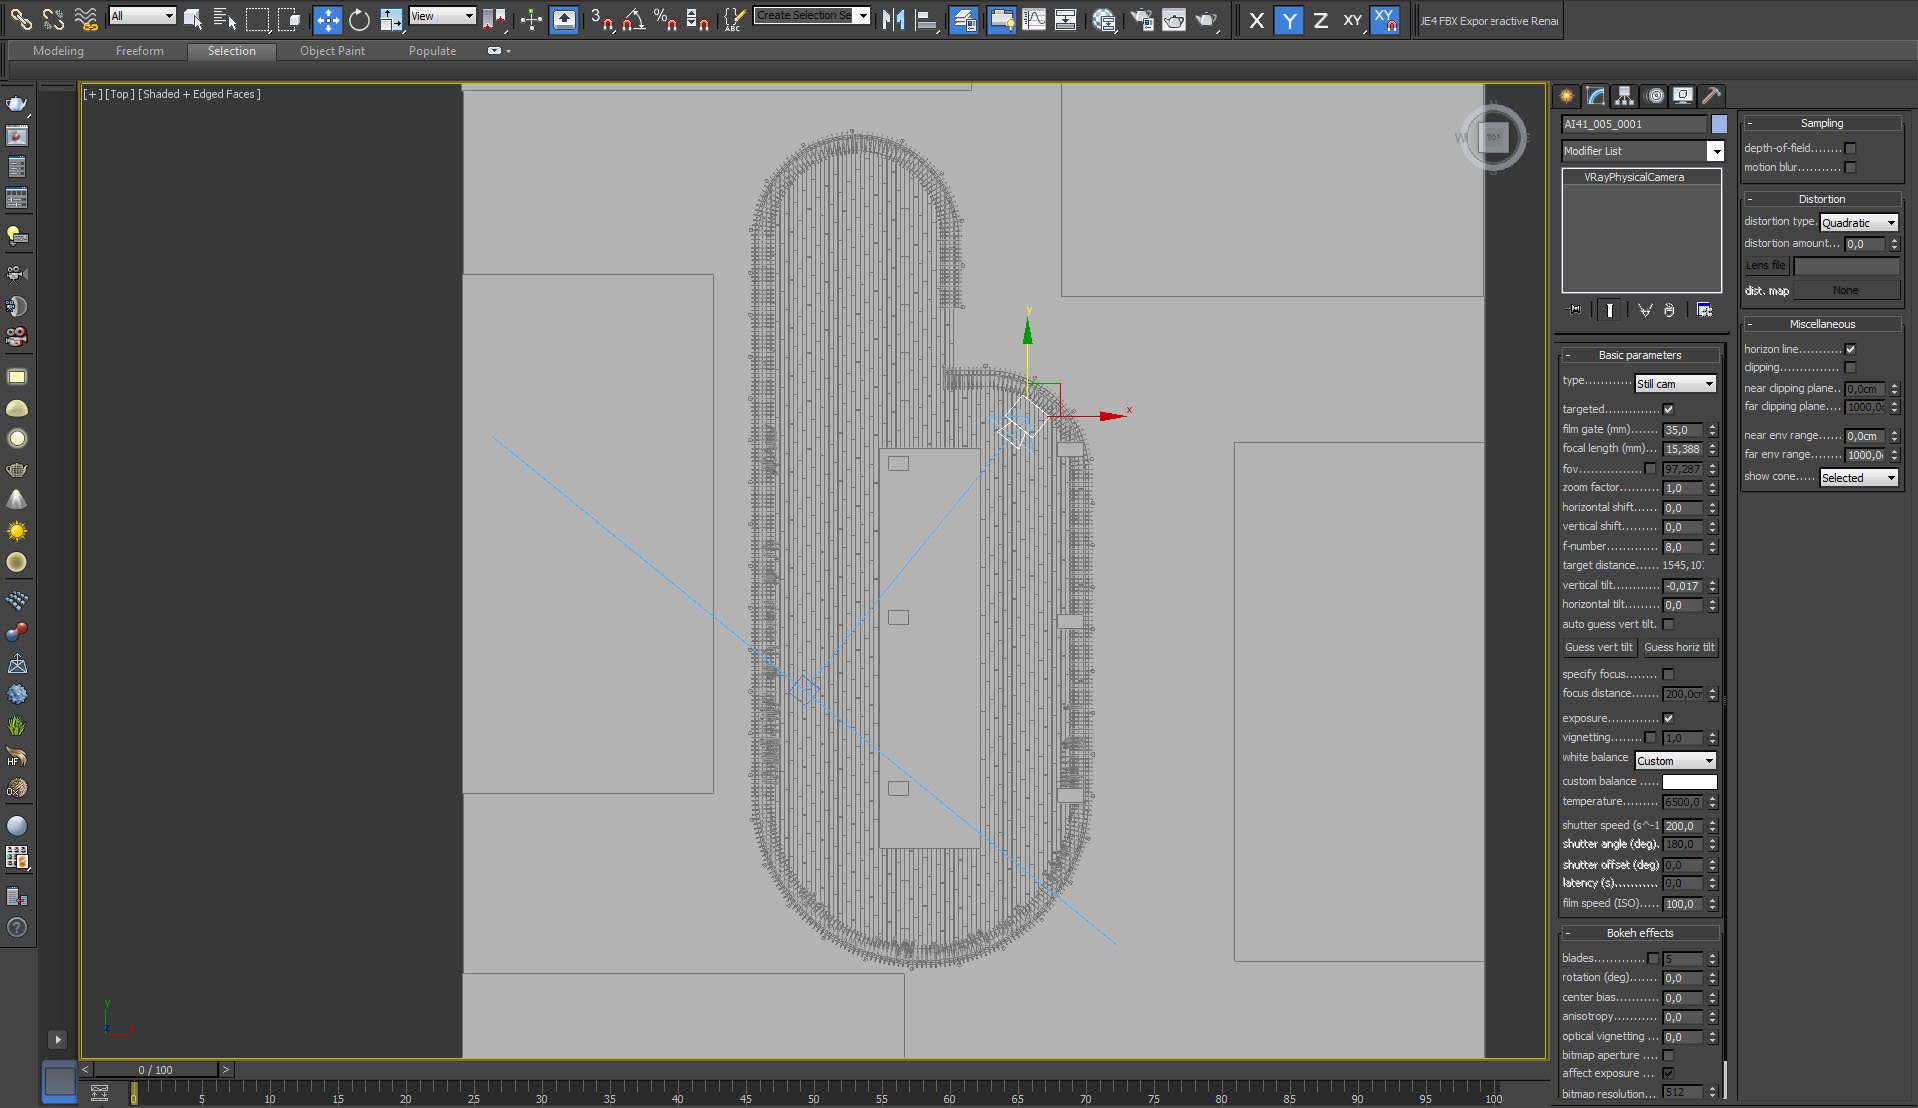
Camera settings and placement.
Click on image to enlarge 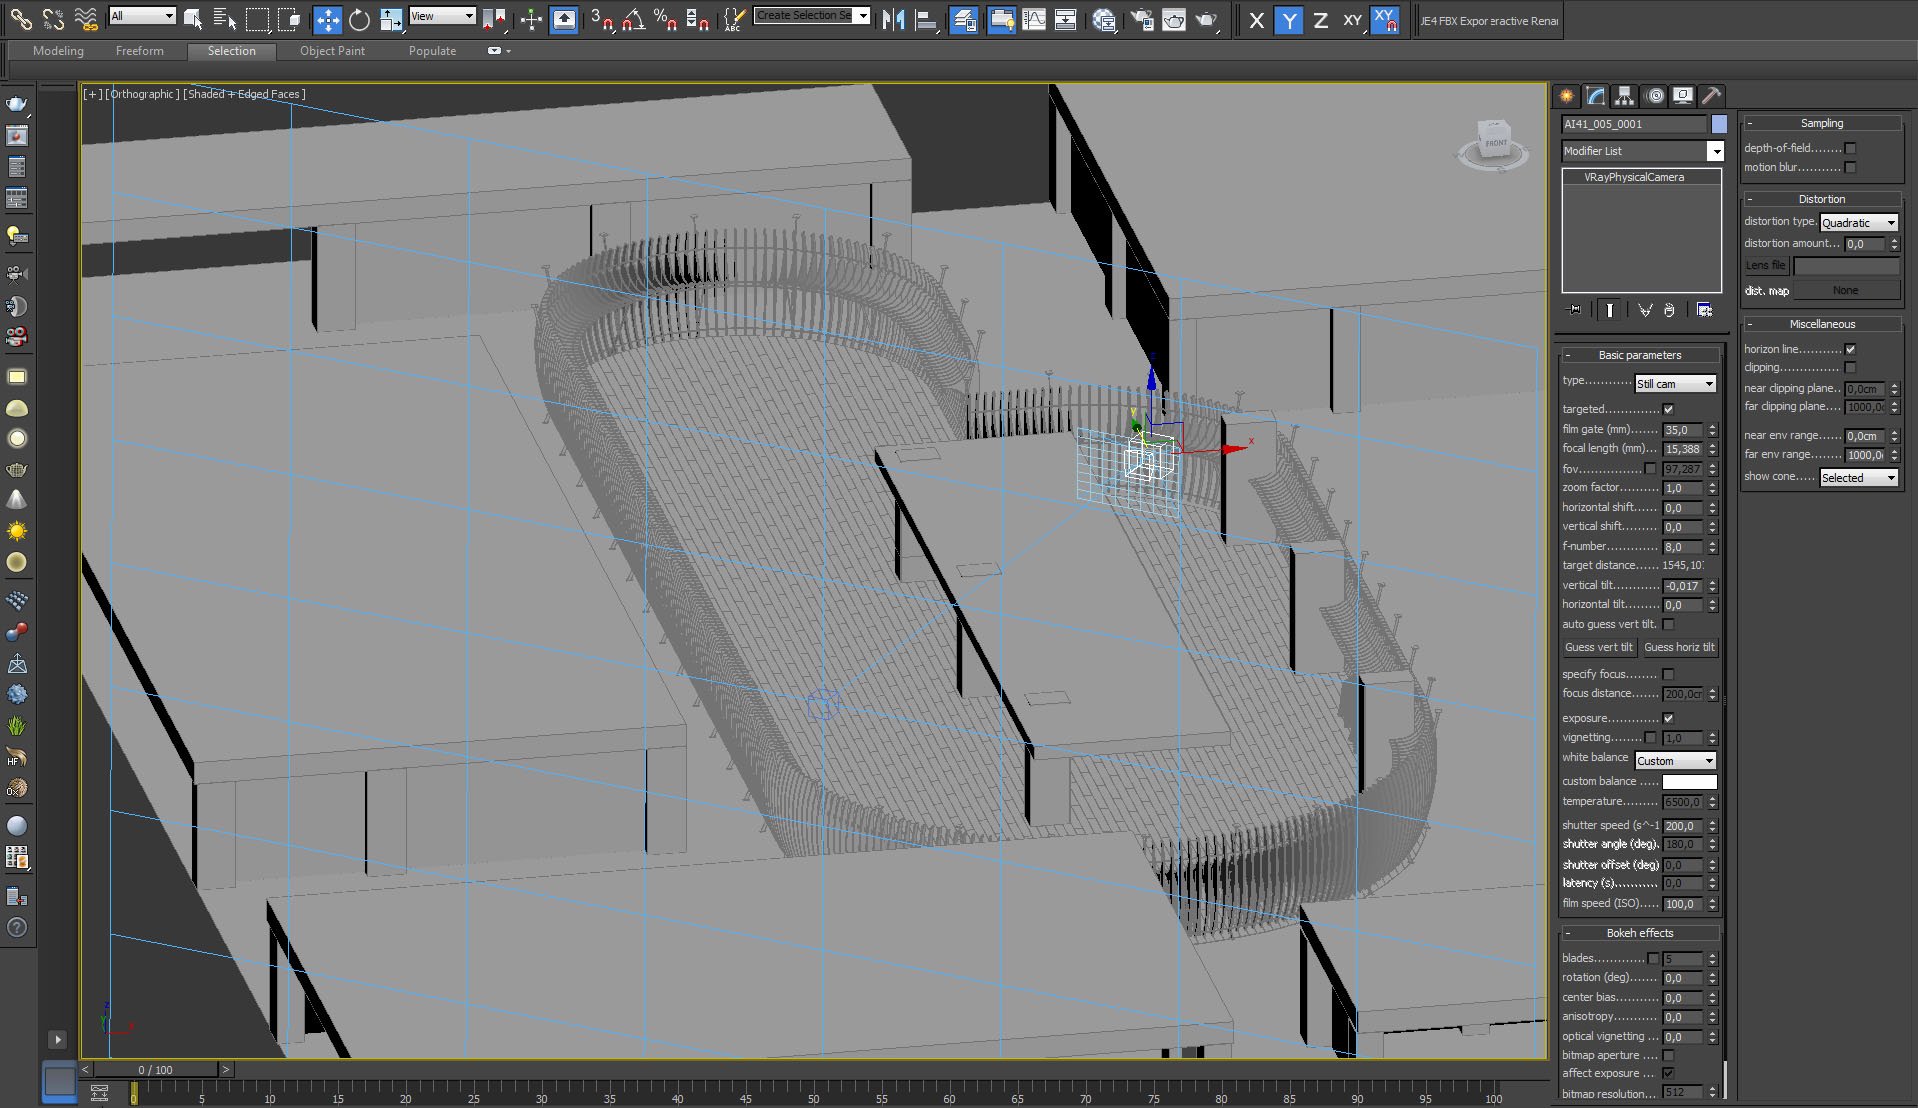
Click on image to enlarge 
Lighting - many small light sources on the ceiling.
Click on image to enlarge 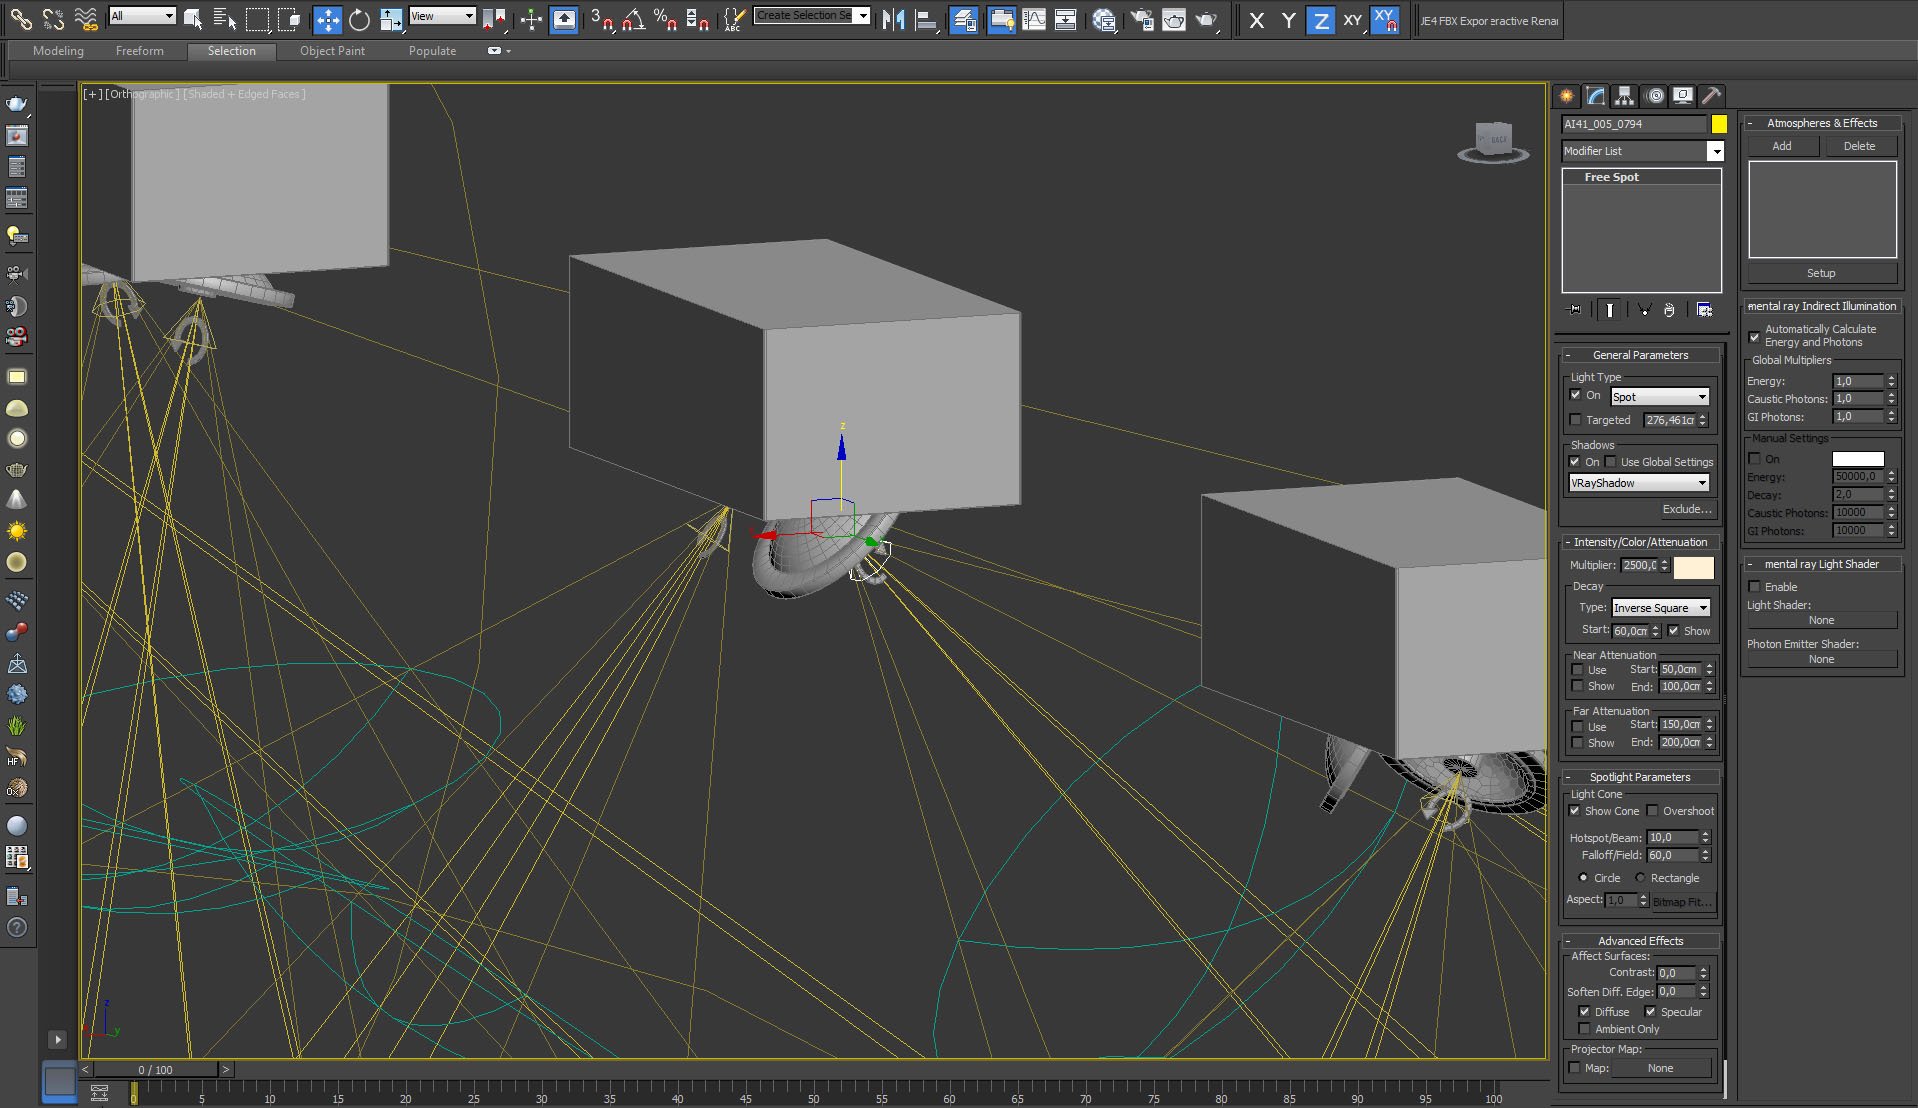
Lamp model and Vray Light settings.
Click on image to enlarge 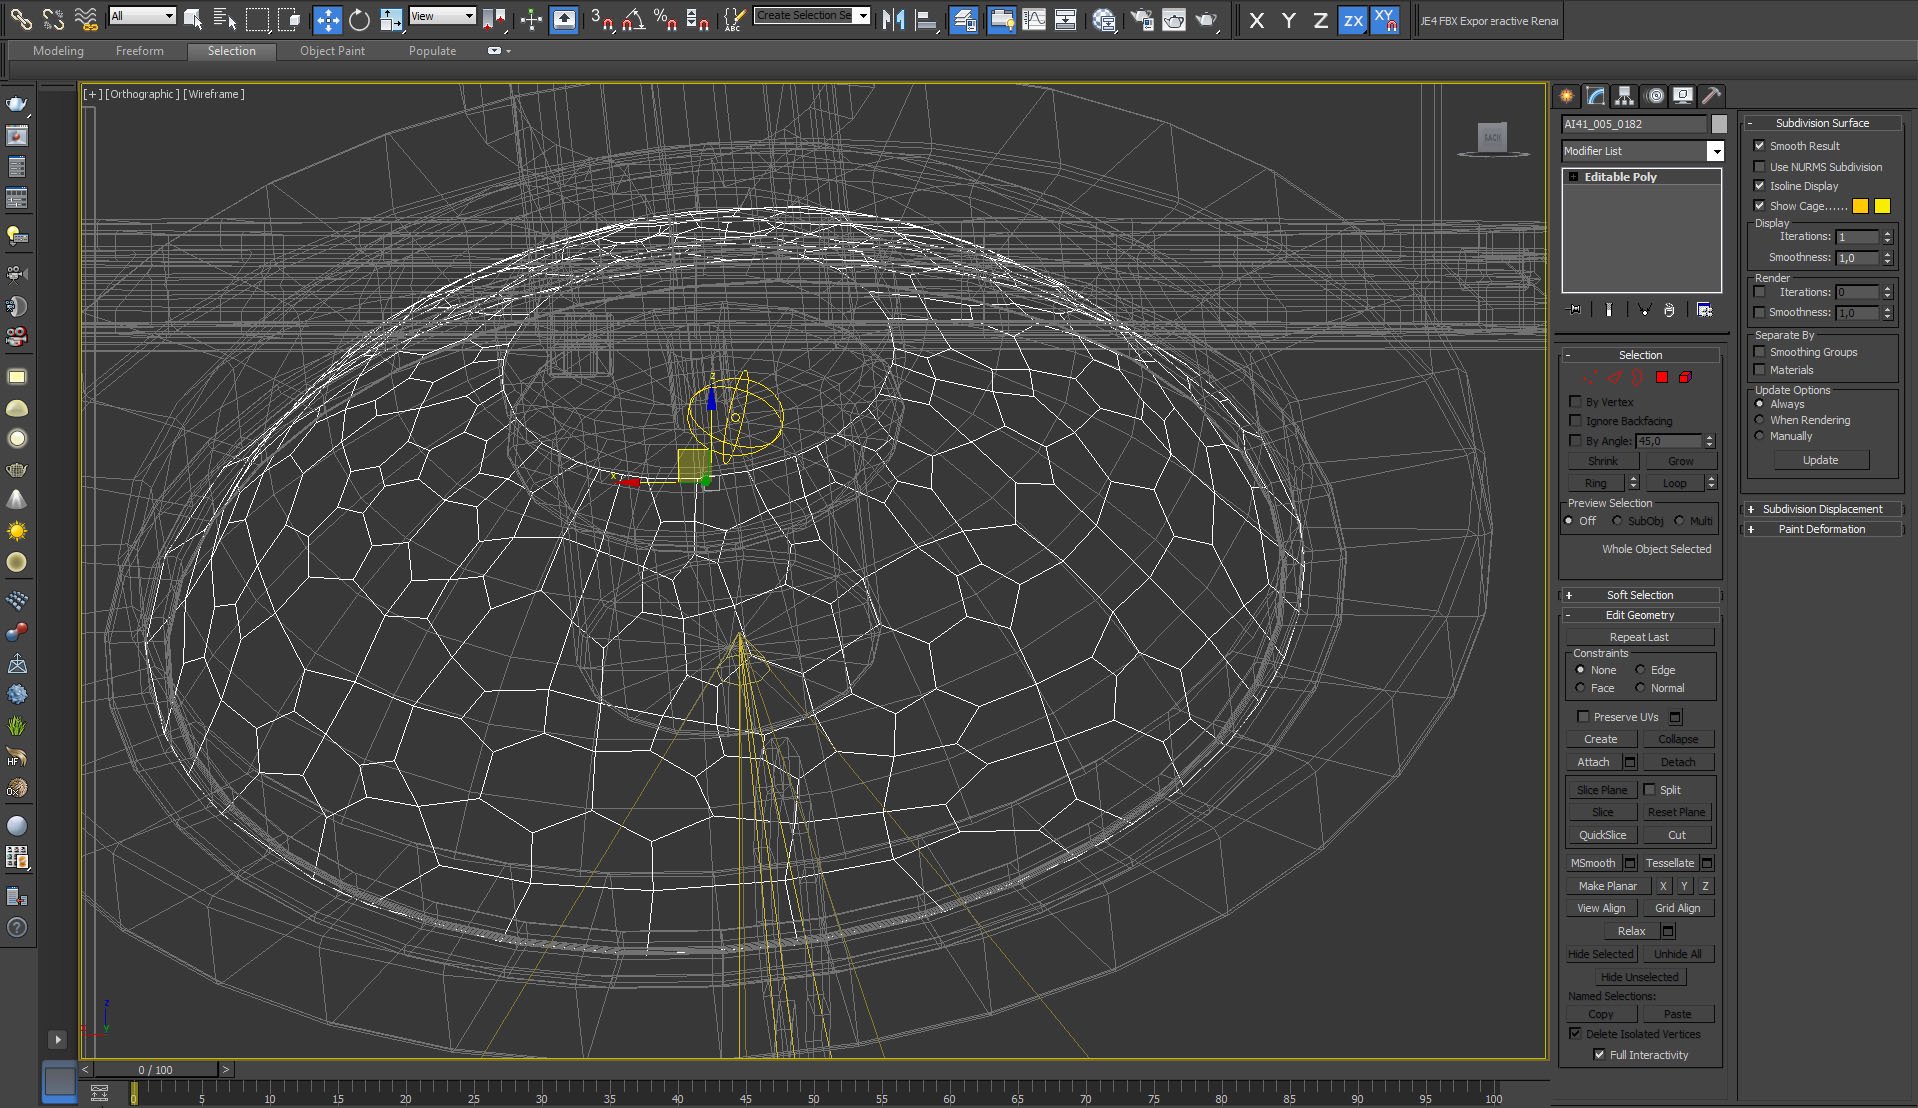
Second Vray Light inside.
Click on image to enlarge 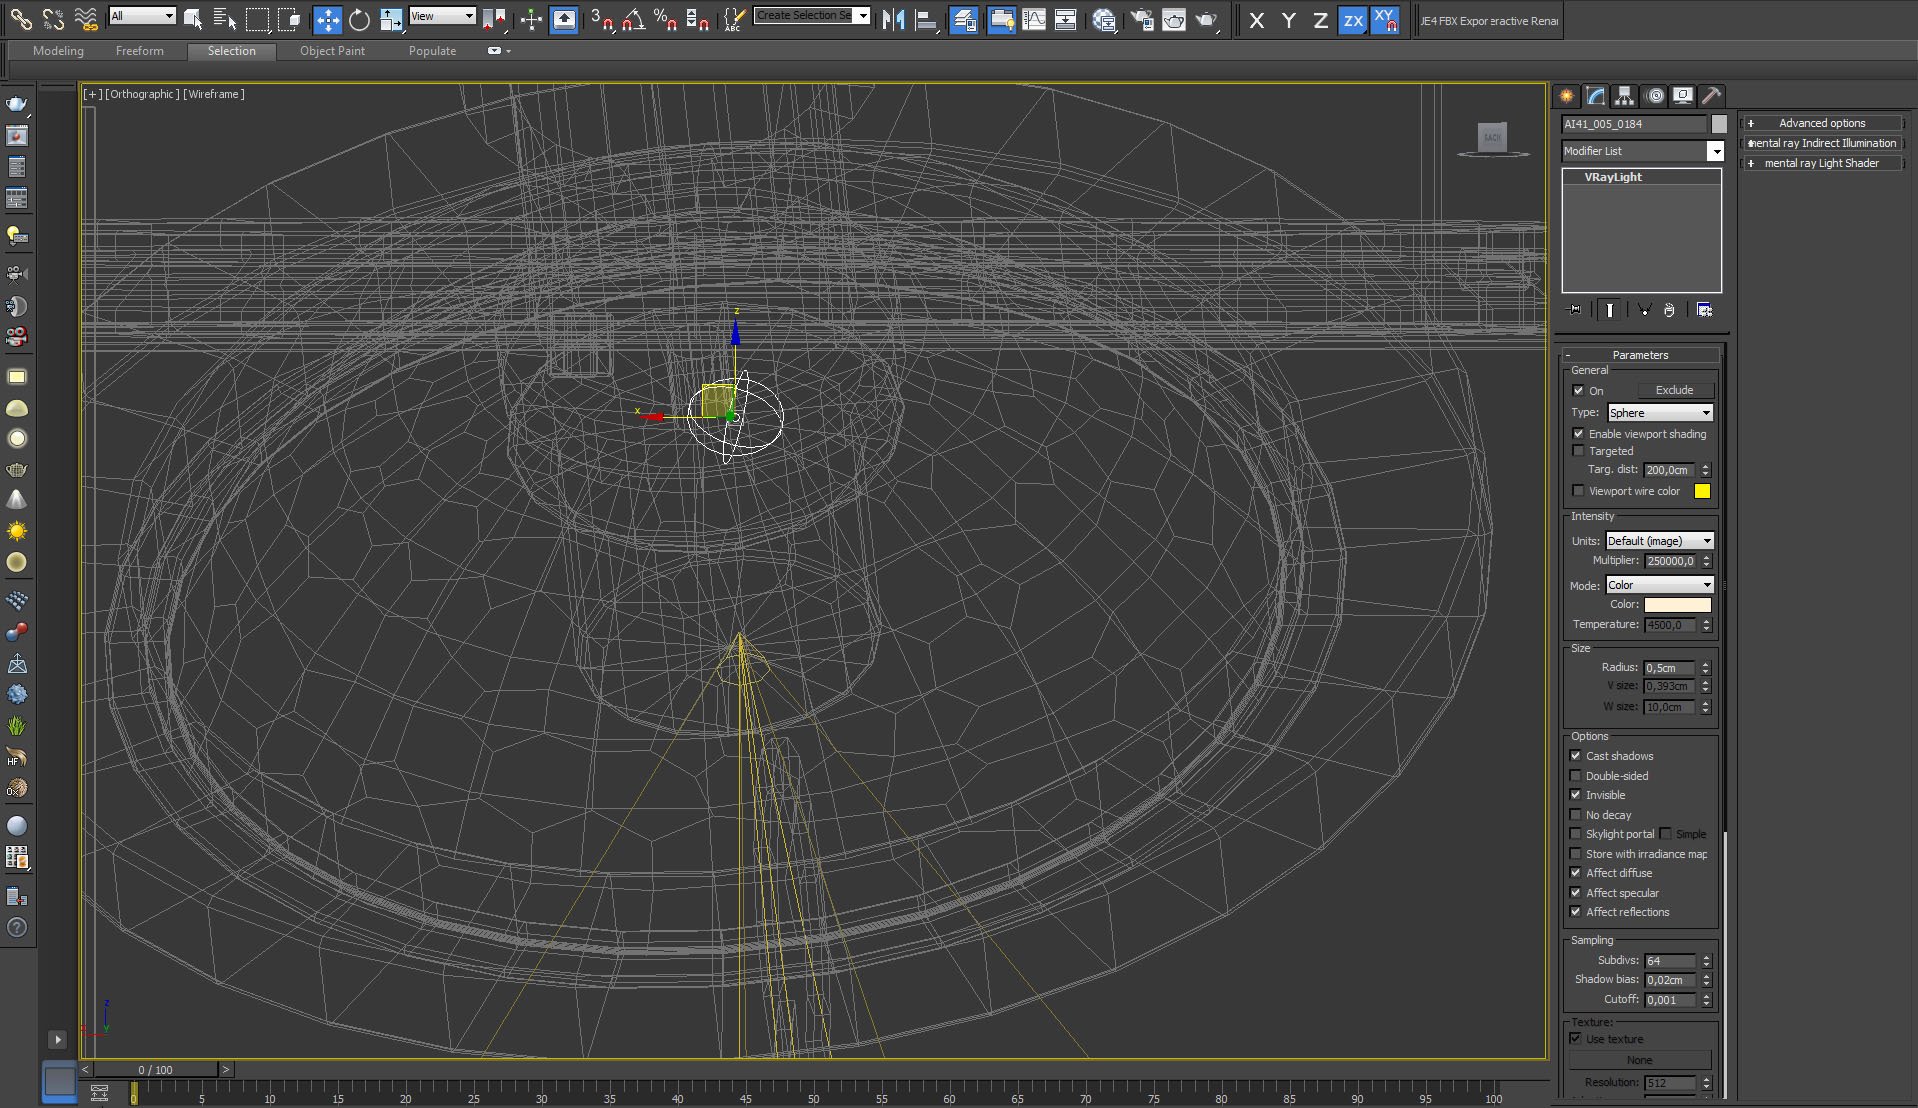
Click on image to enlarge 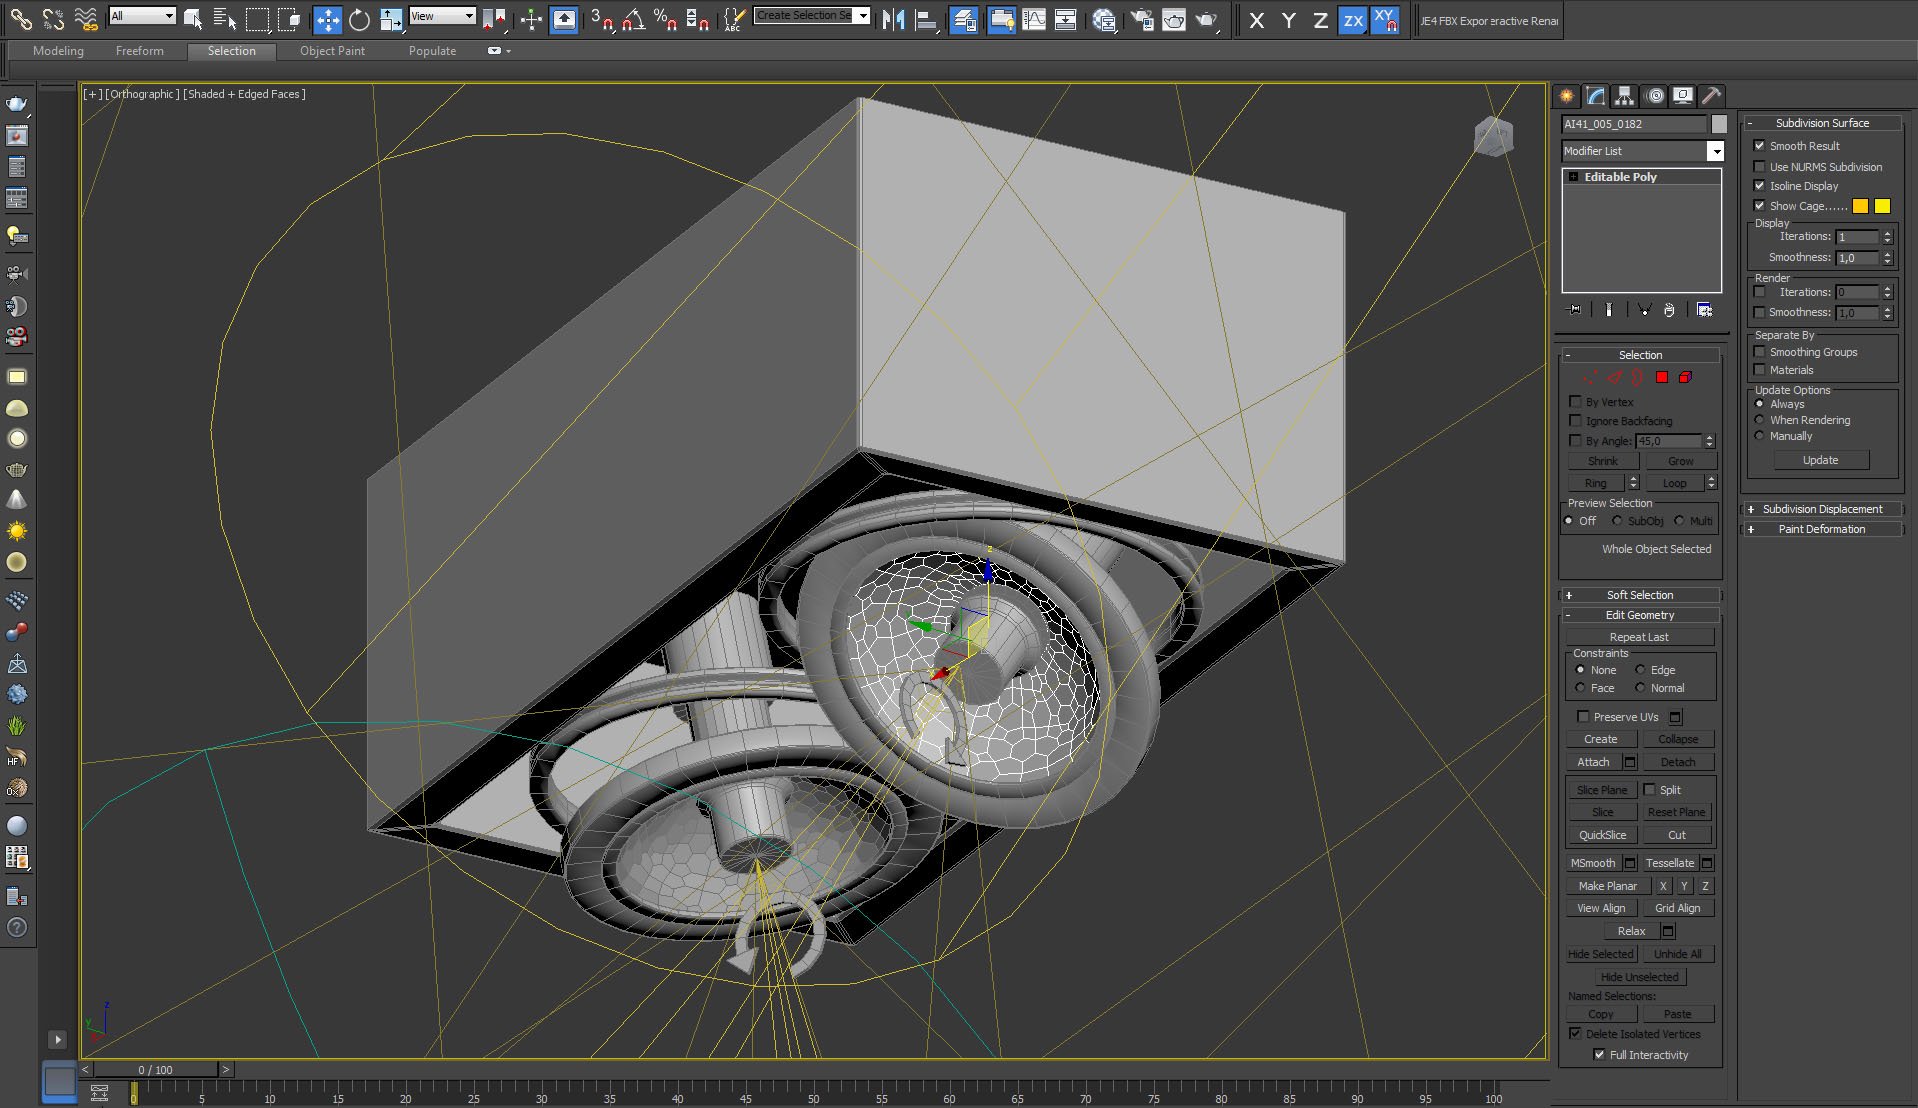
Click on image to enlarge 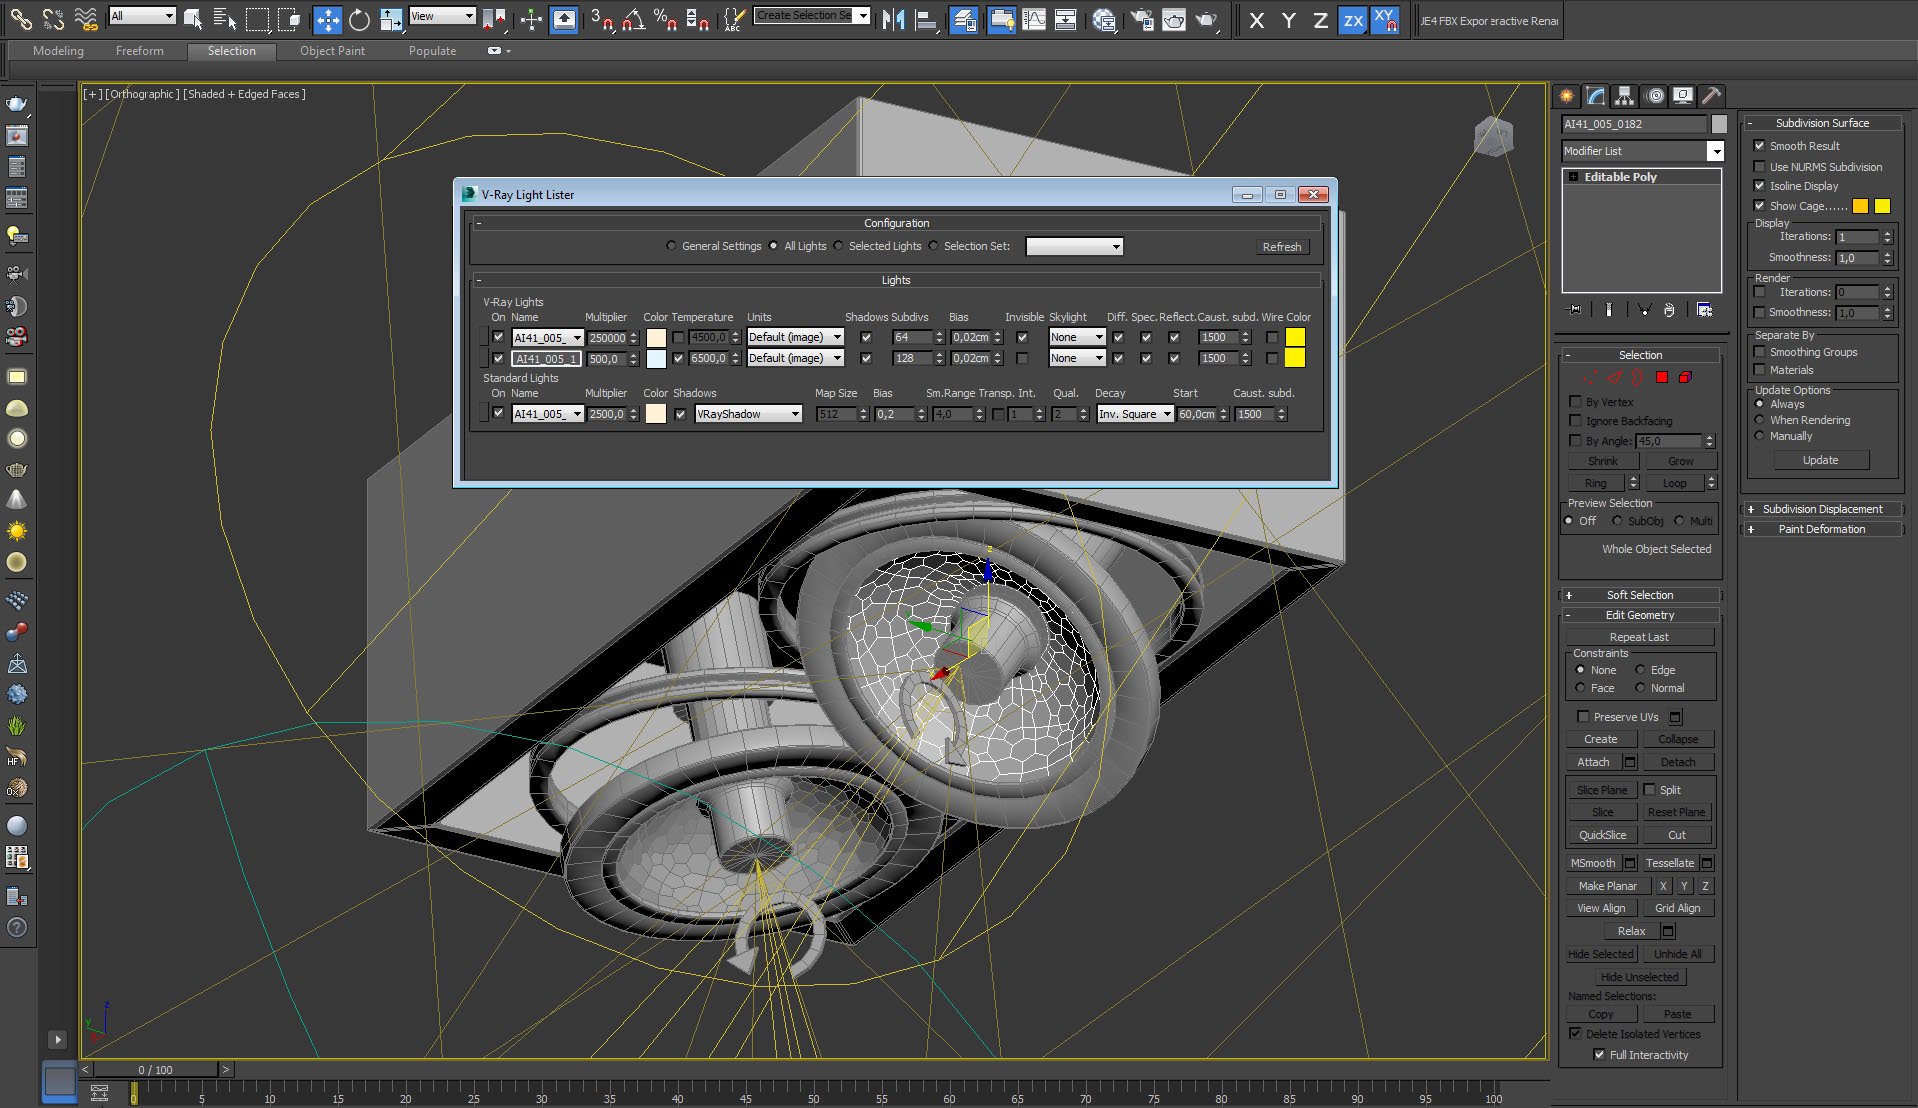
Click on image to enlarge 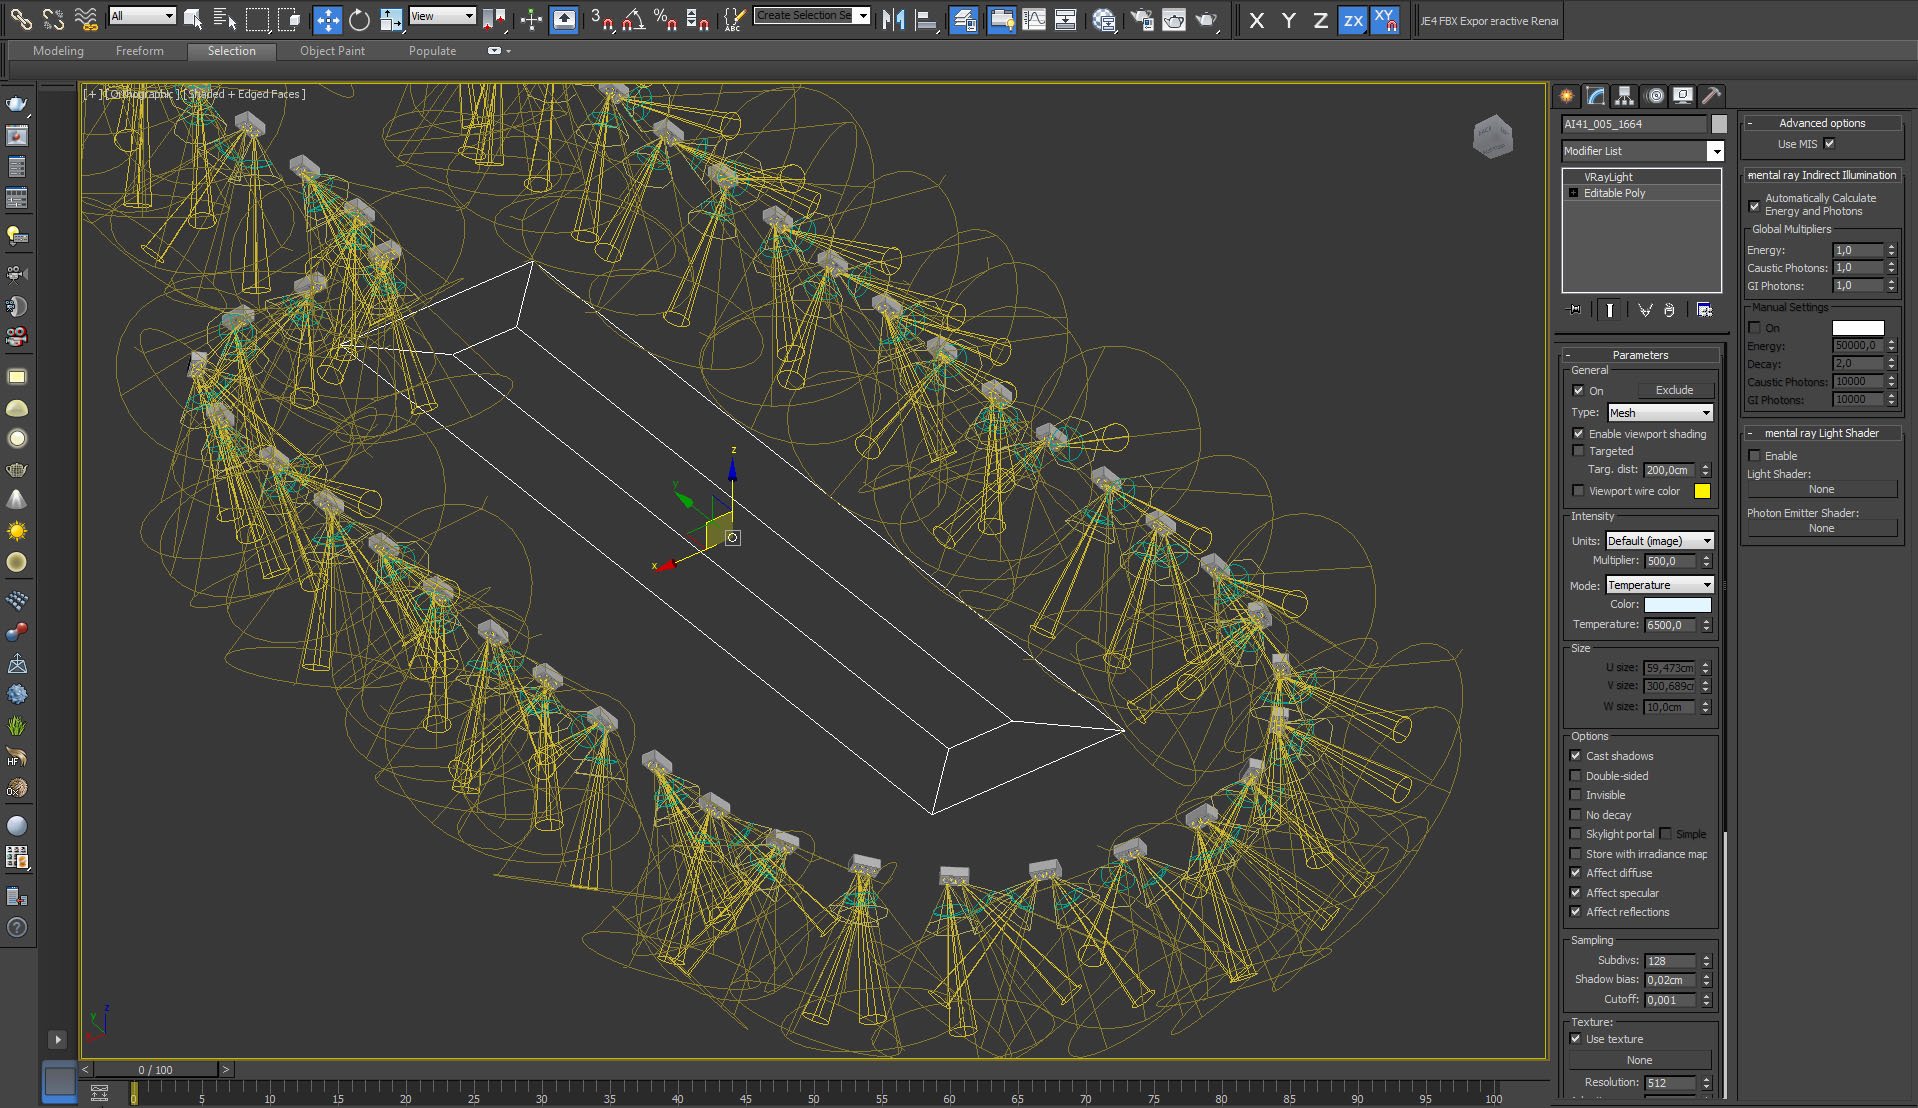
Big main light source in the middle of the scene.
Click on image to enlarge 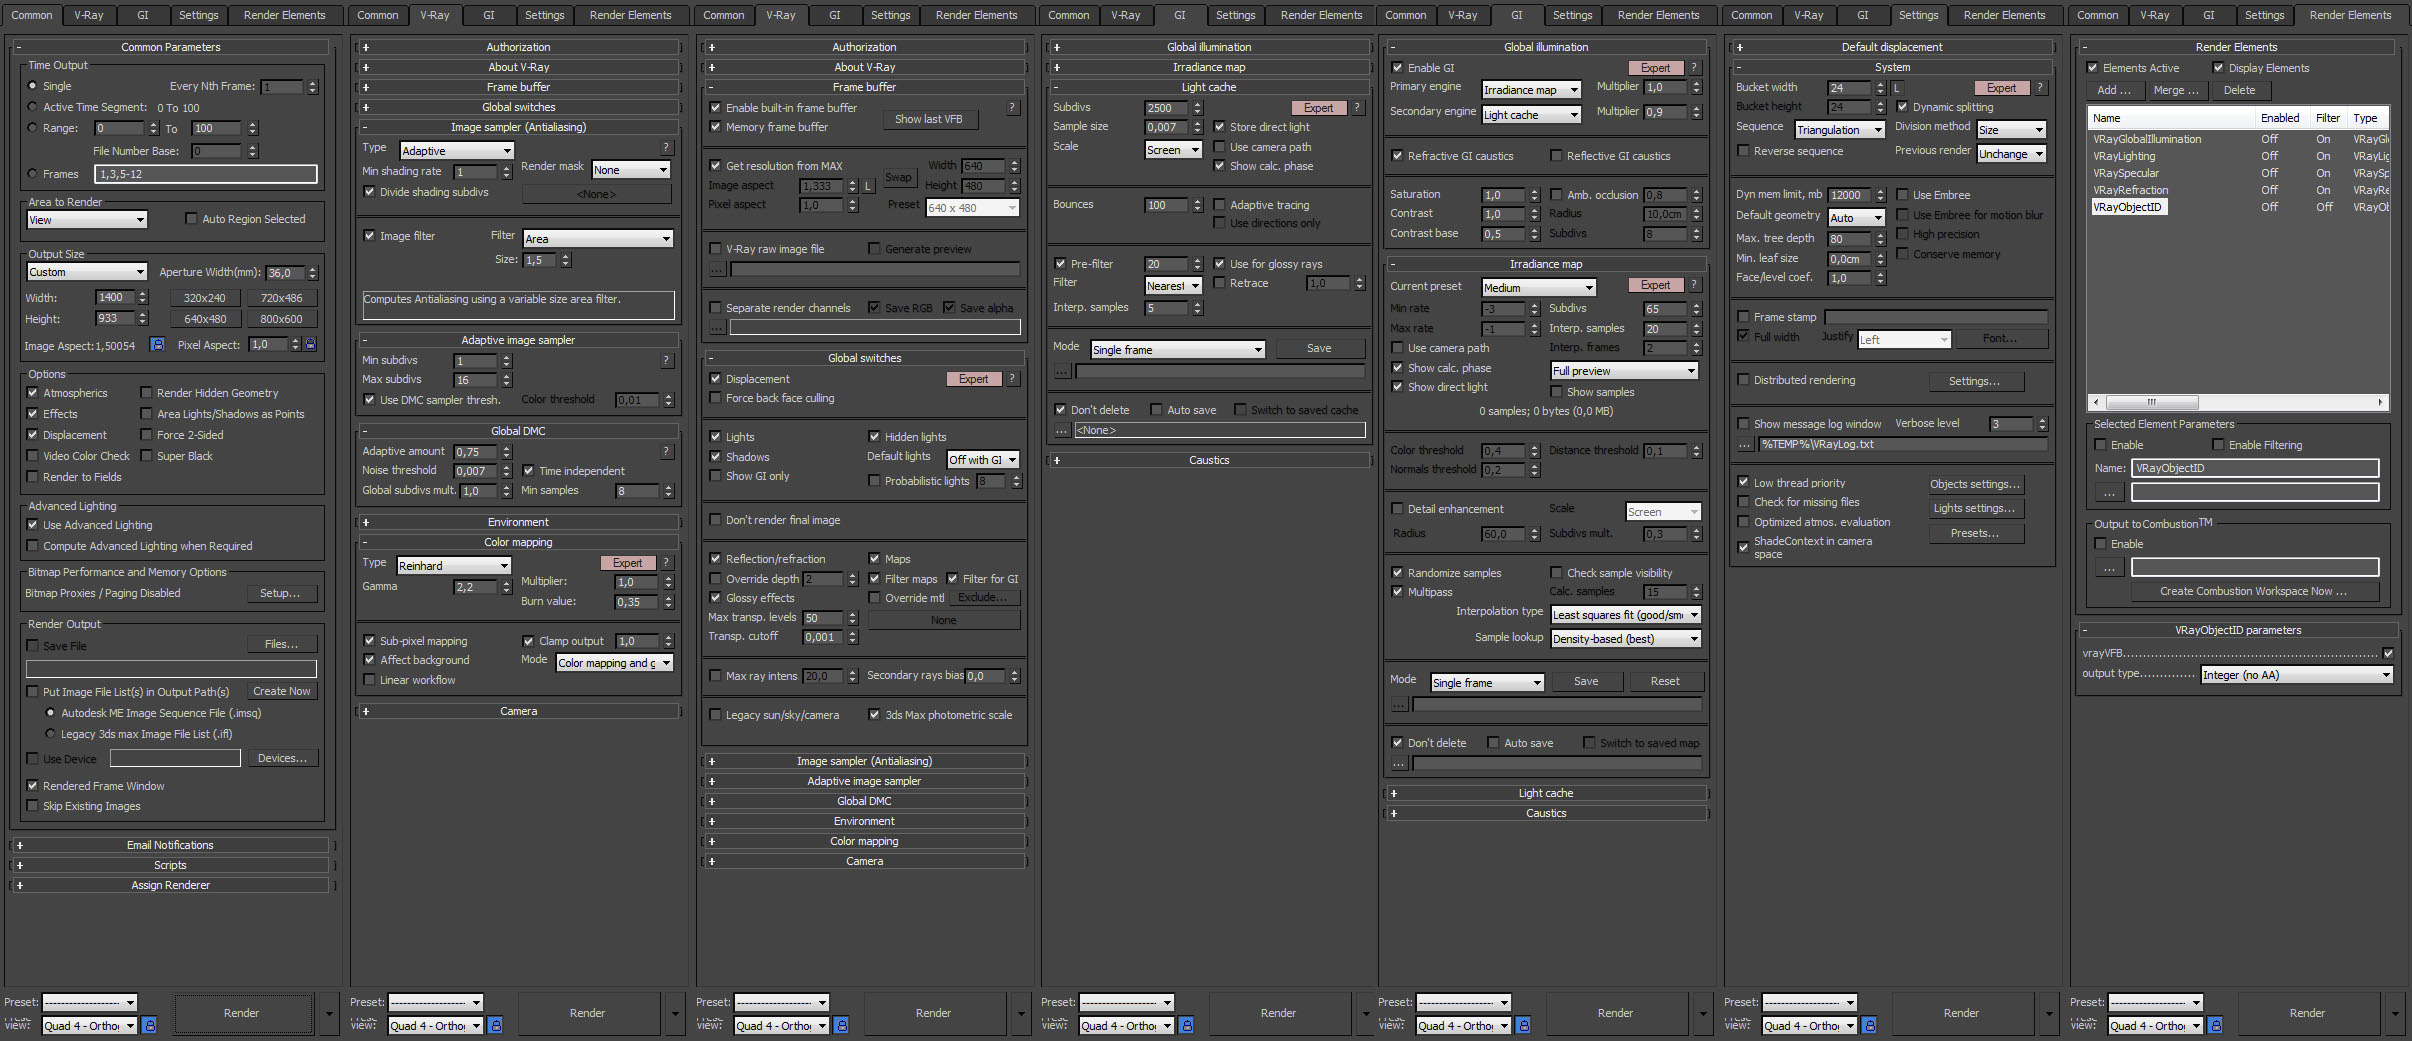
Click on image to enlarge 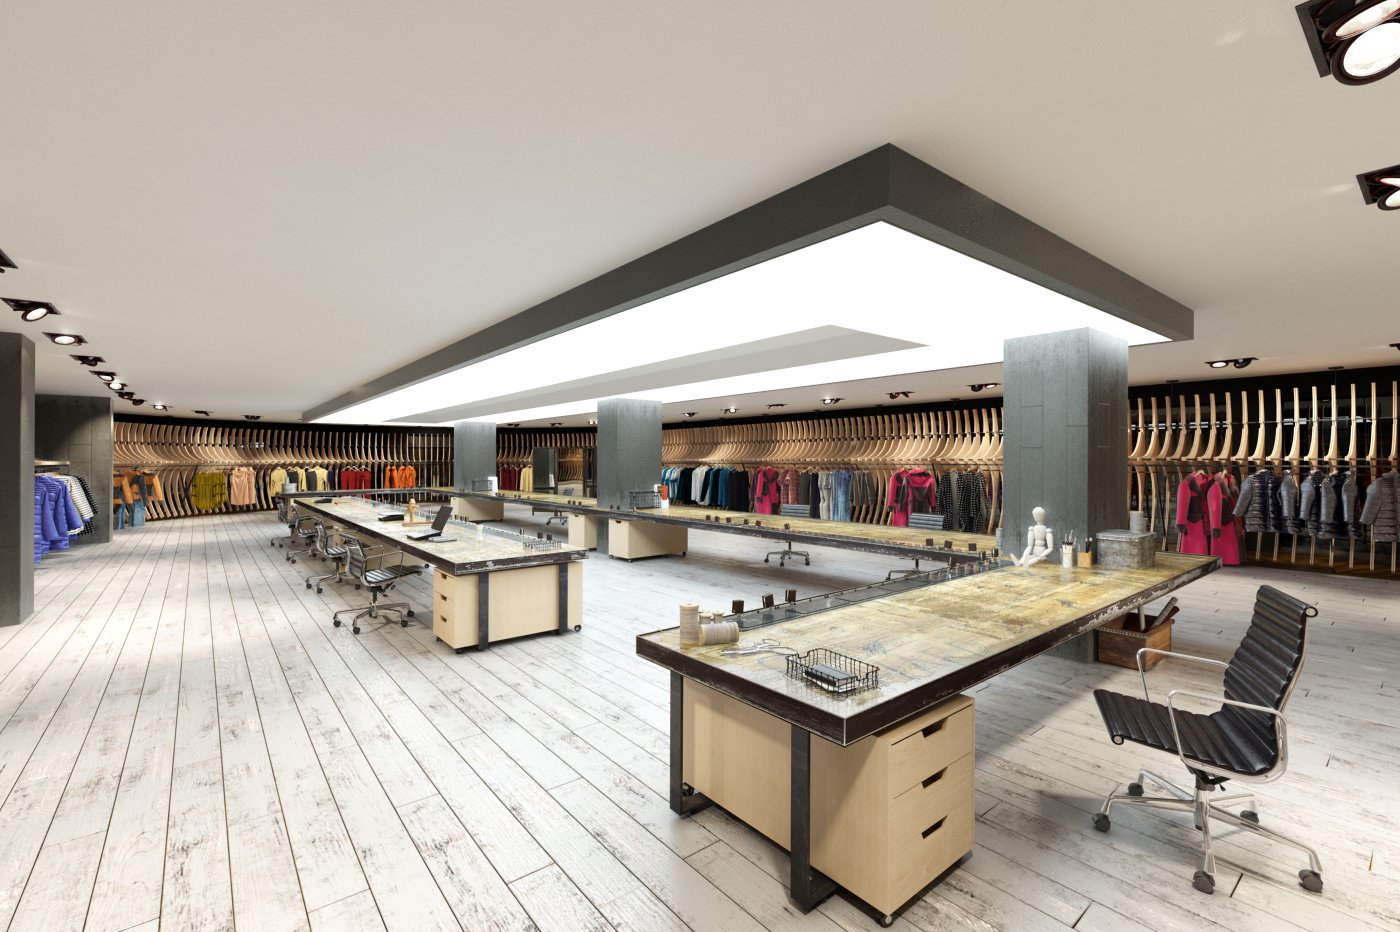
Click on image to enlarge 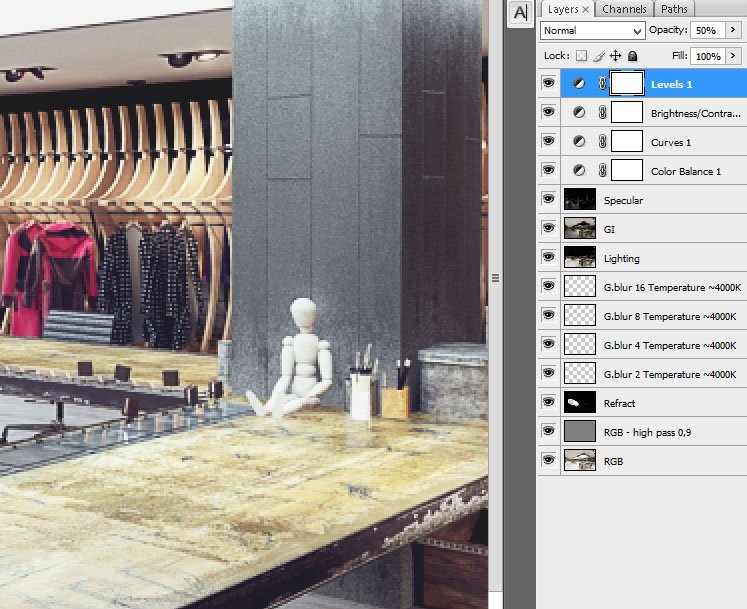
Photoshop stack. First, we sharpened the image (high pass 0.9), we added refract layer. Next four blur layers are blurring light. Lighting, GI and Specular layers add brightness to image. Color balance gets rid of yellow tint. We added contrast with Curves layer and decreased it a bit with Brightness / contrast layer.


 Customer zone
 Your orders
 Edit account
 Add project
 Liked projects
 View your artist profile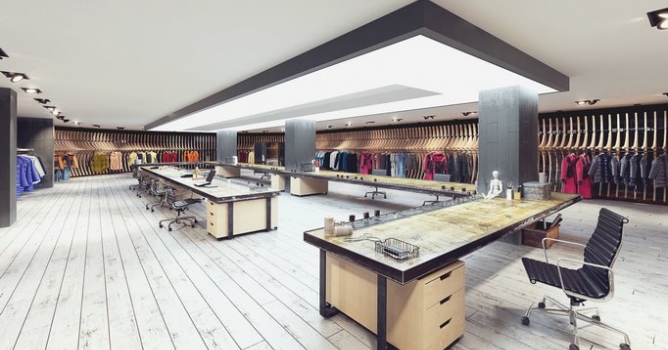









COMMENTS