Search
Cart
Sign in
  • offerCustomer zone
  • offerYour orders
  • offerEdit account

  • offerAdd project
  • offerLiked projects
  • offerView your artist profile

  • Dark mode

We care about your privacy

We use cookies to provide you with the best possible experience. They also allow us to analyze user behavior in order to constantly improve the website for you. The consent is voluntary. You can withdraw it at any time or renew it in Cookie settings on the home page. Withdrawal of your consent does not affect the lawfulness of processing performed before the withdrawal. Privacy Protection Policy
Accept all
Accept selection
Reject all

Making of Fall travel

Yones Bana 2014-03-17 10:14 tutorial  > 3ds MAX  > modeling

Tutorial by Yones Bana.

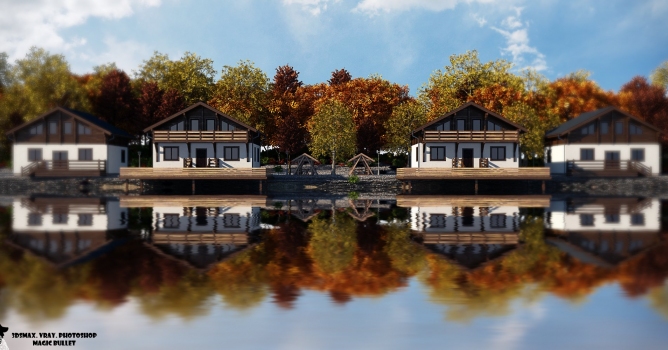
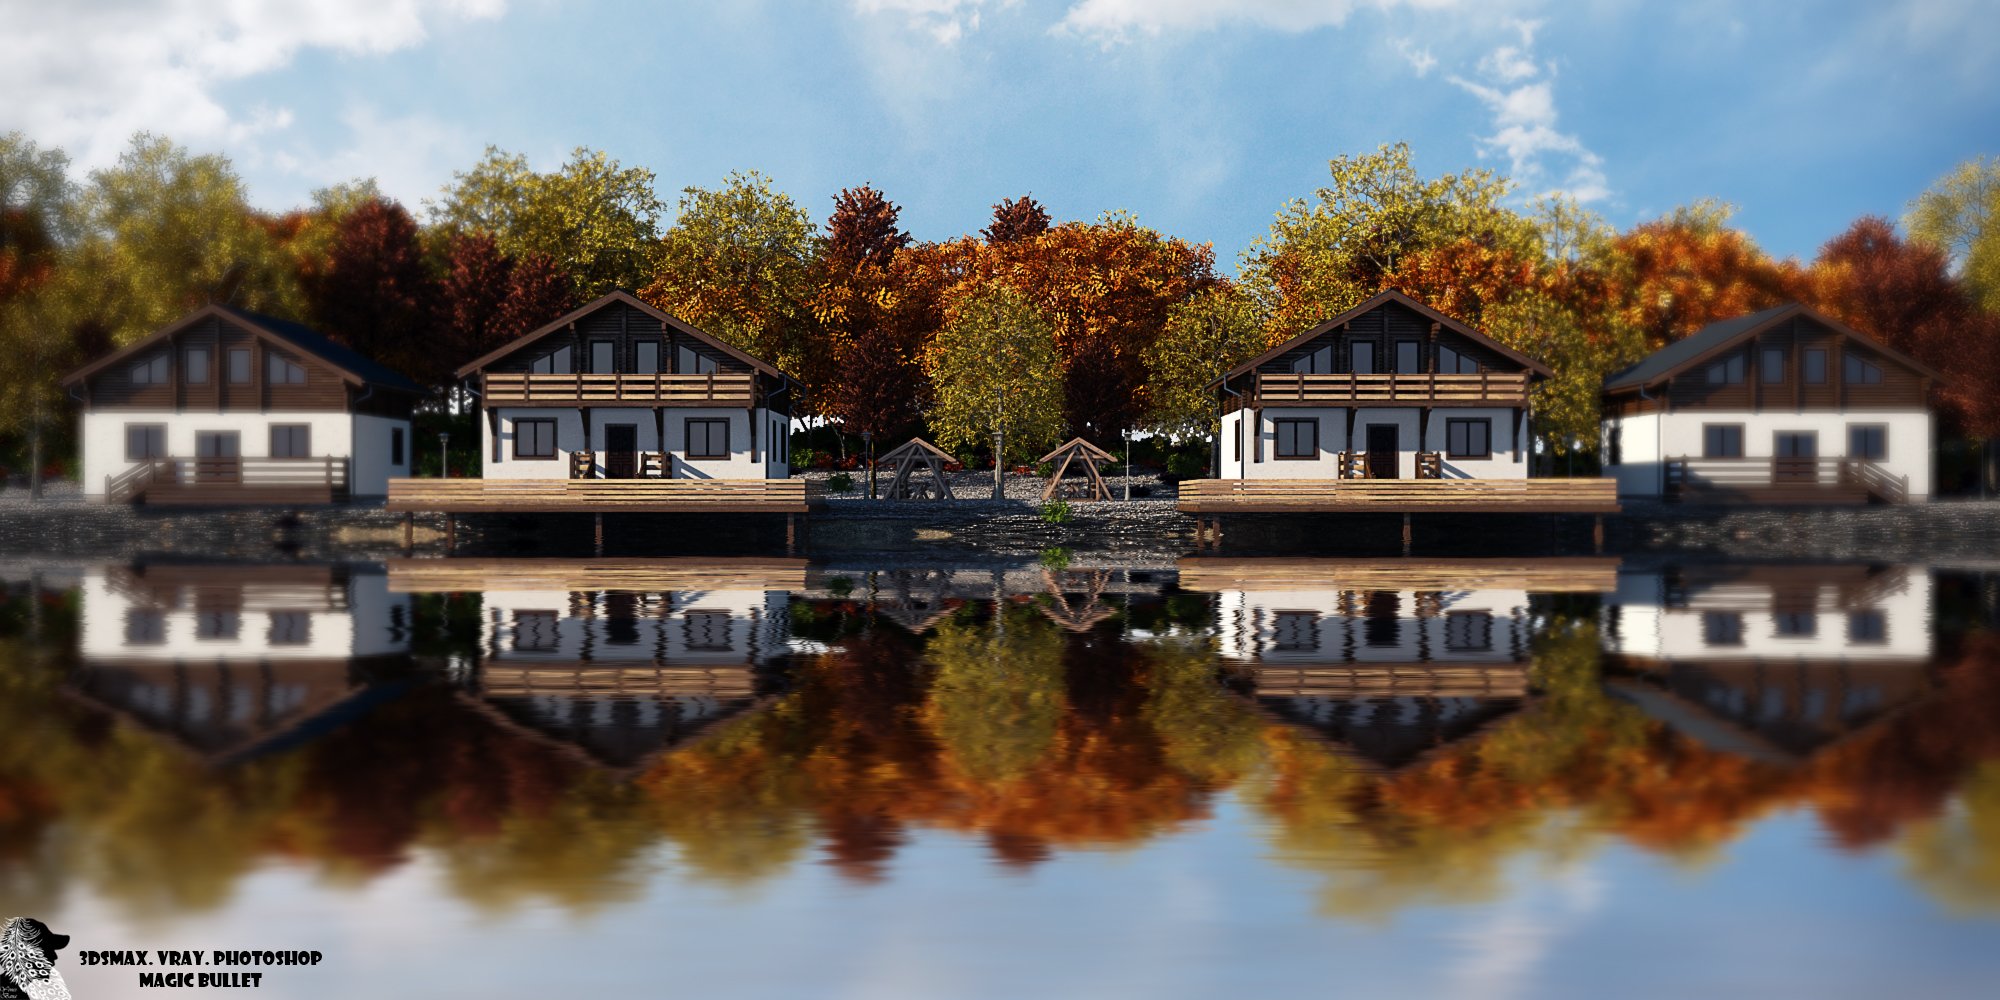
Hi, I am Yones Bana from cgrecord team, and this is a making of from my last personal work, Fall travel. In this tutorial I am using 3dsMax and V-ray, also Photoshop for postproduction steps.

02_noresize_1.jpg

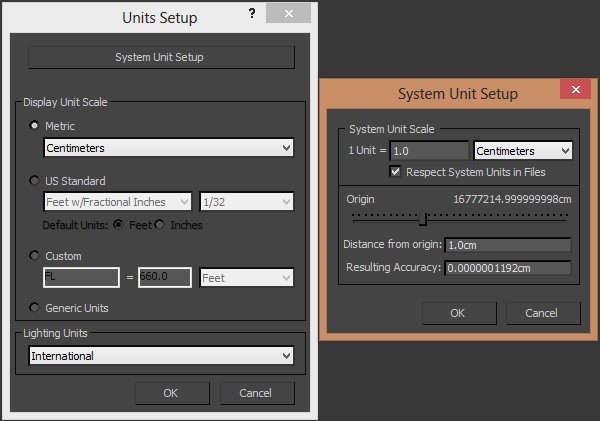
First of all adjust the unit setup. I use centimeters in this scene.


Click on image to enlarge 03_noresize_1.jpg

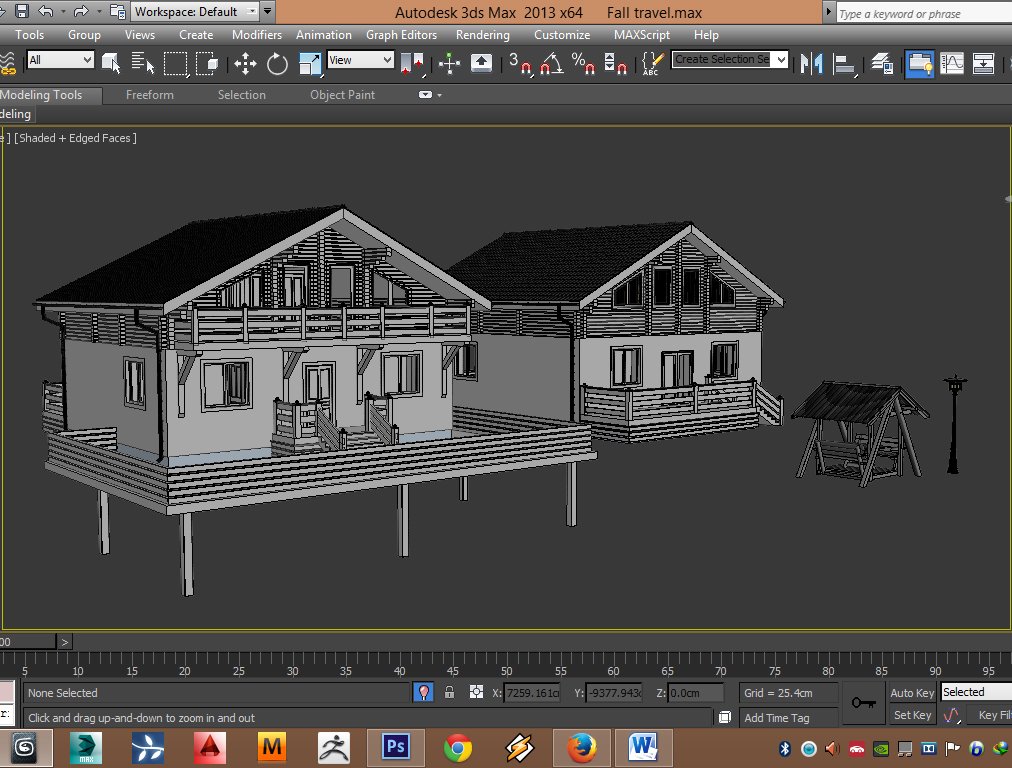
Models that I used in this scene


Click on image to enlarge 04_noresize_1.jpg

Models that I used in this scene


Click on image to enlarge05_noresize_1.jpg

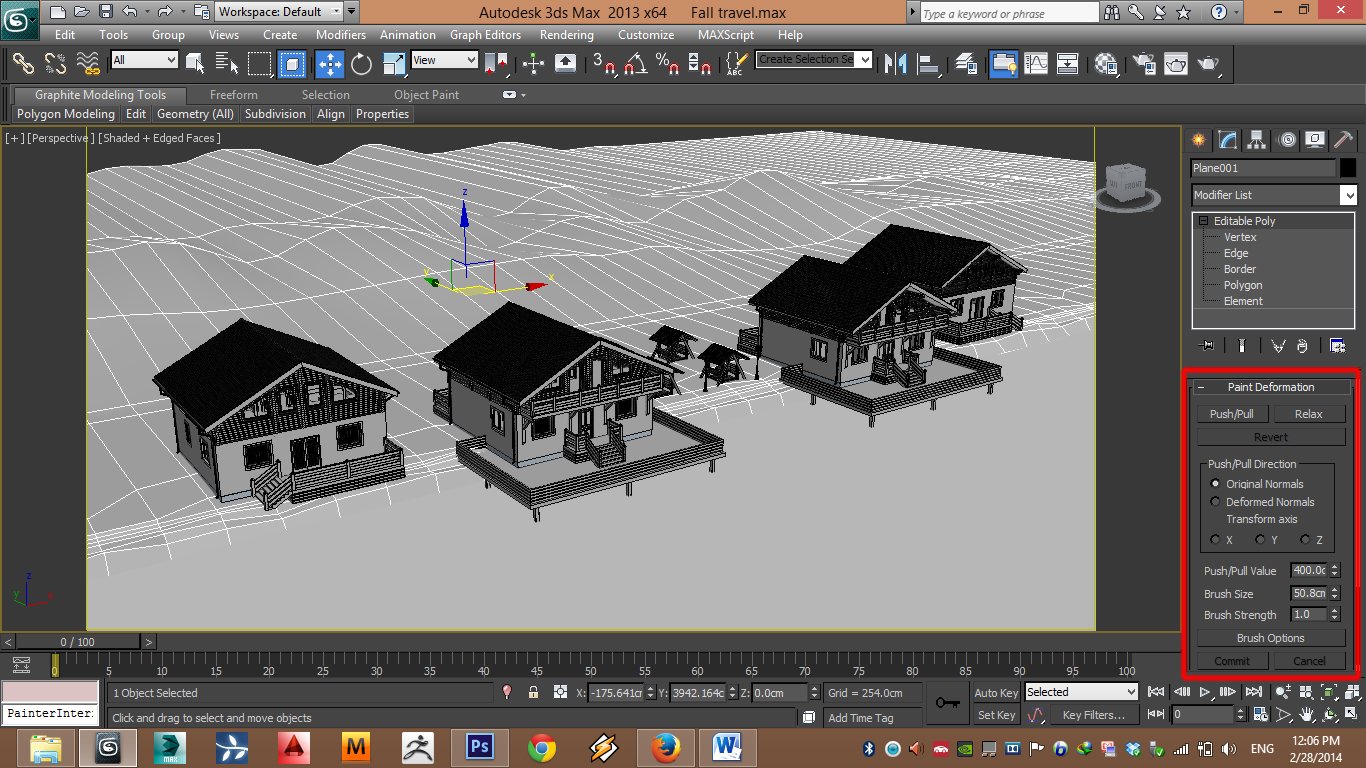
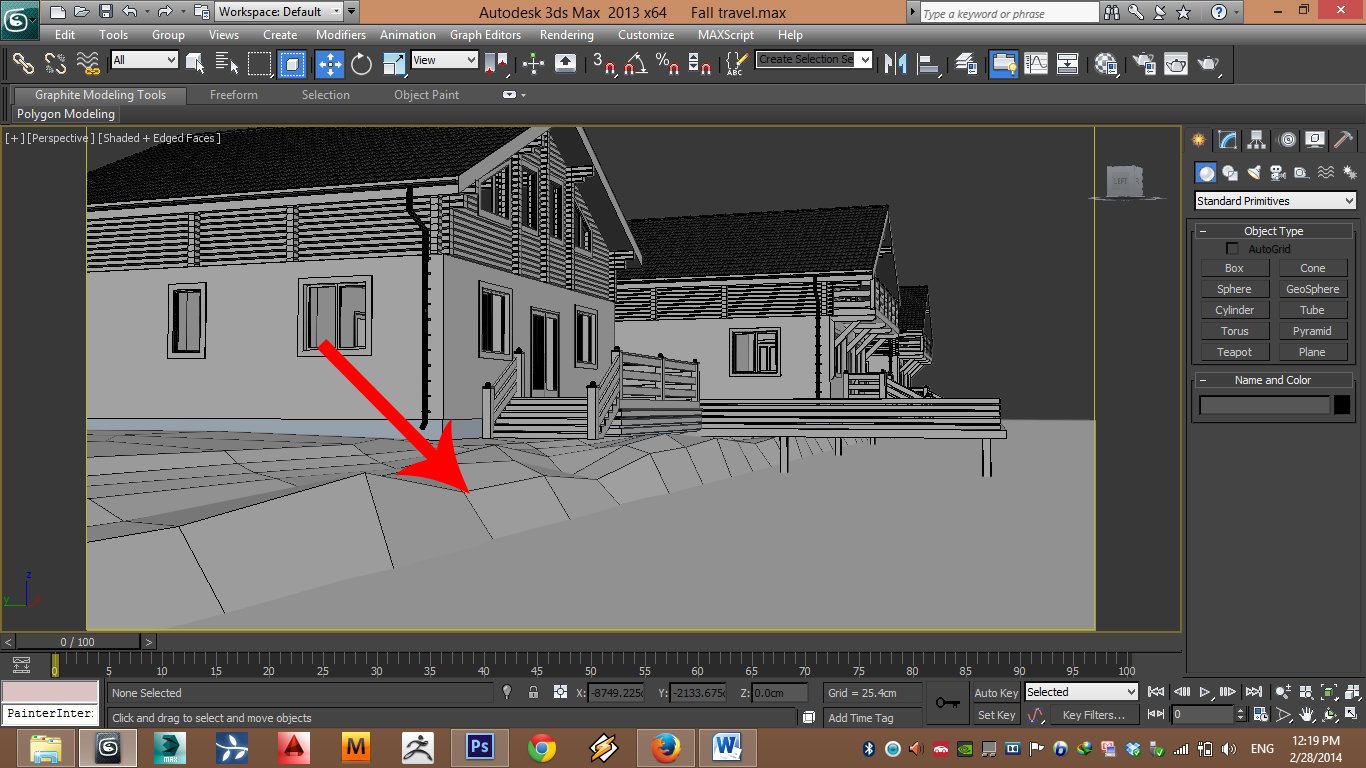
For environment ground I used Paint Deformation tools in edit poly.


Click on image to enlarge06_noresize_1.jpg

Note that we need a step in front of the beach.


Click on image to enlarge07_noresize_1.jpg

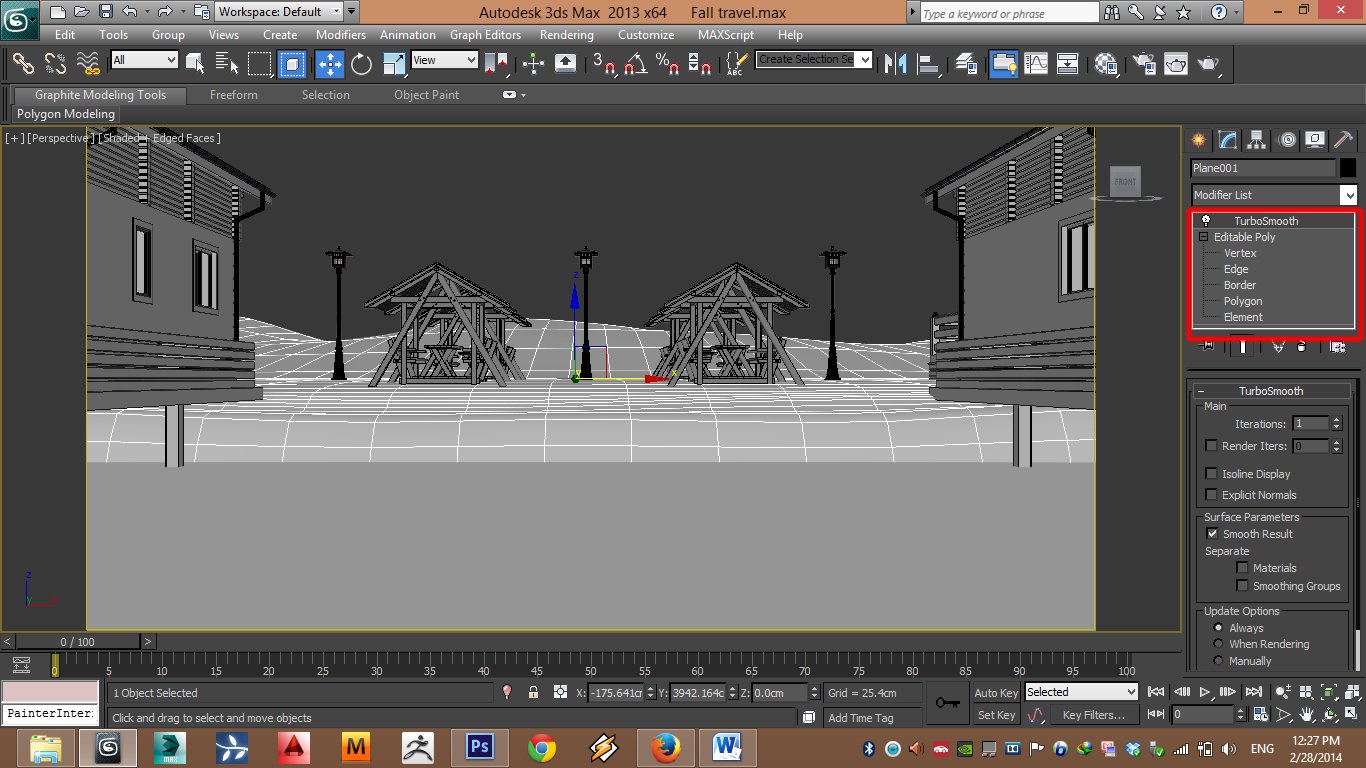
Add a turbosmooth modifier to achieve smooth result.


Click on image to enlarge08_noresize_1.jpg

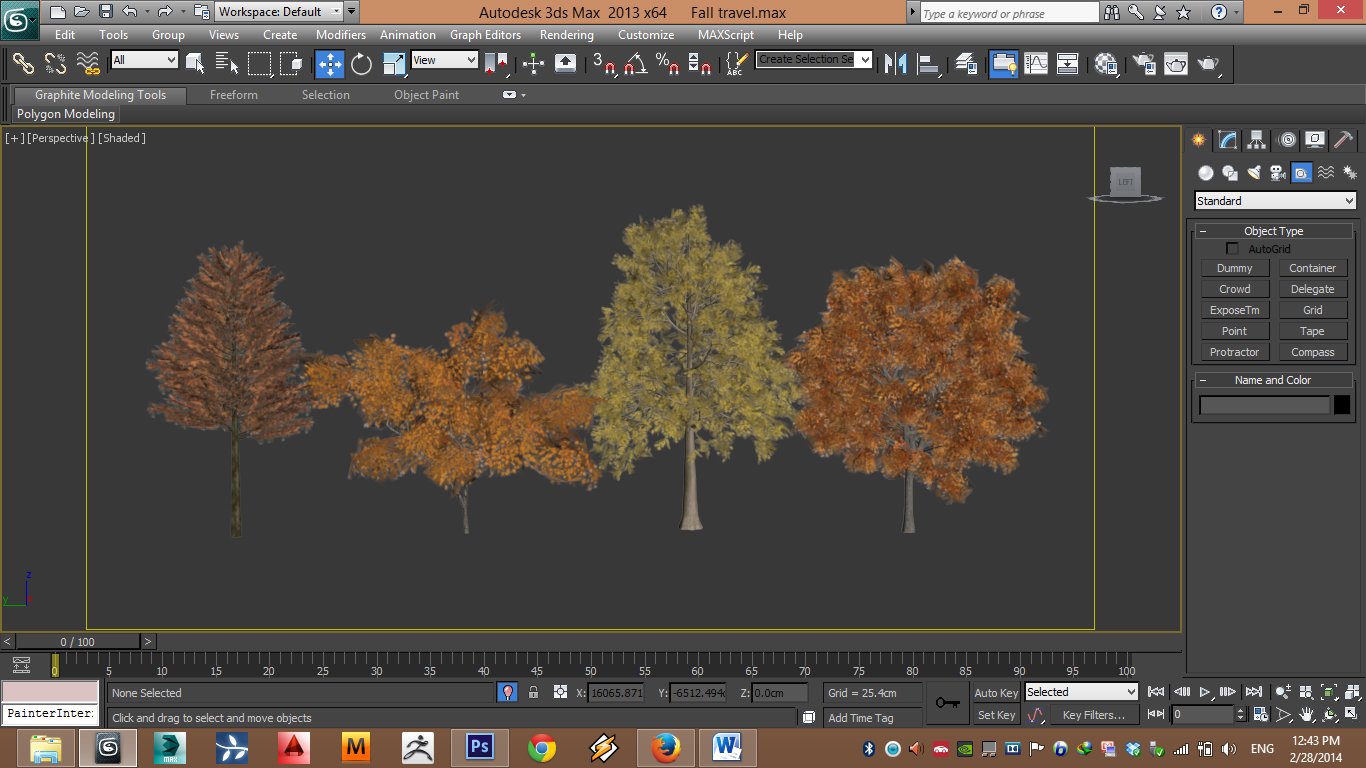
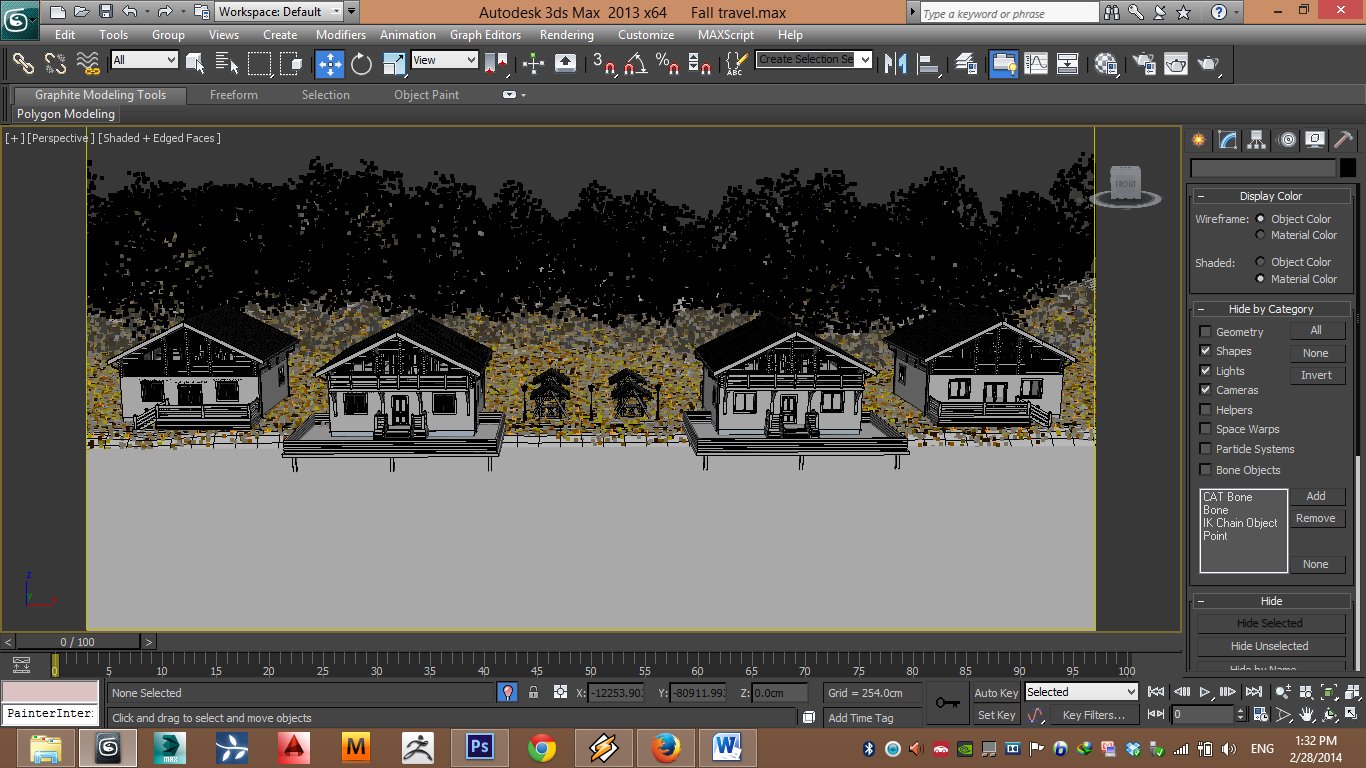
Vegetation is created by Forest plugin. Because I wanted to show the feeling of autumn I used some orange trees models from Evermotion.


Click on image to enlarge09_noresize_1.jpg

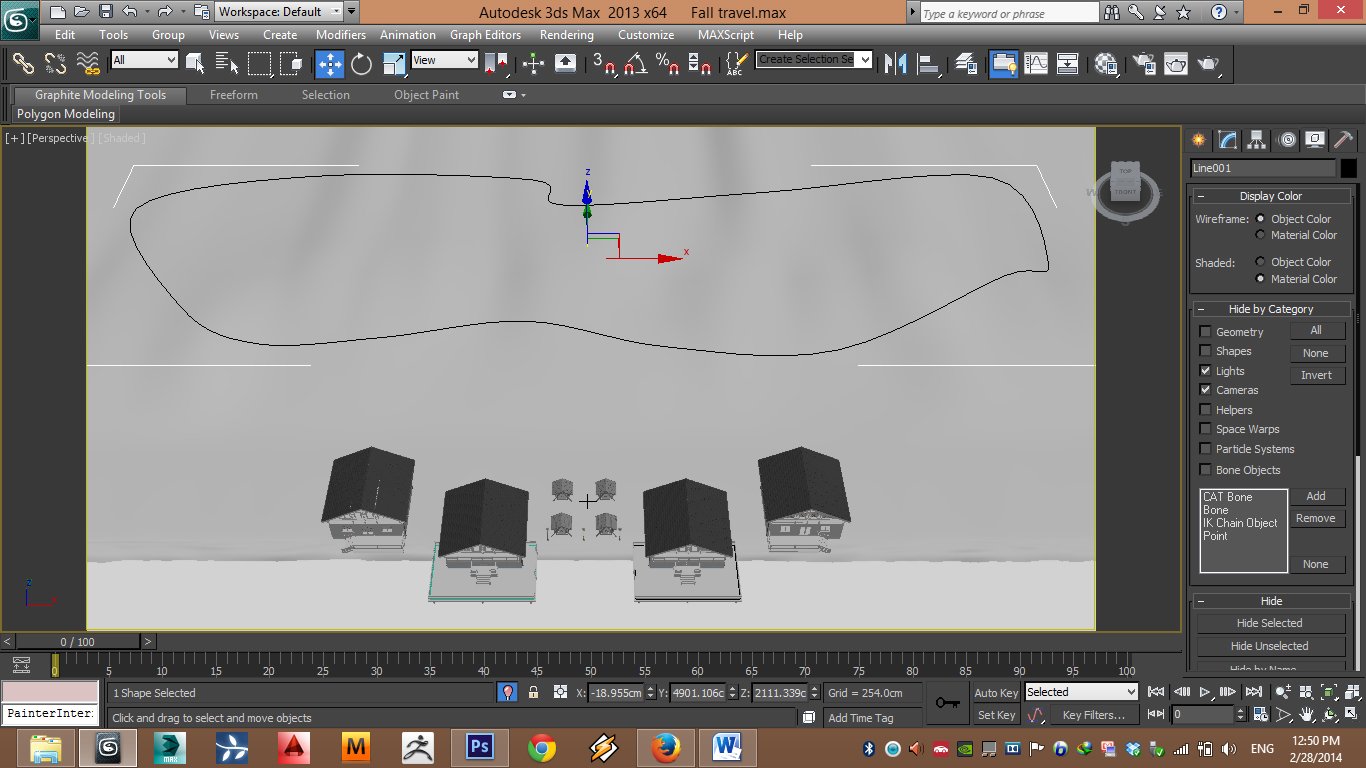
Create a spline to limit the trees area in top viewport.


Click on image to enlarge10_noresize_1.jpg

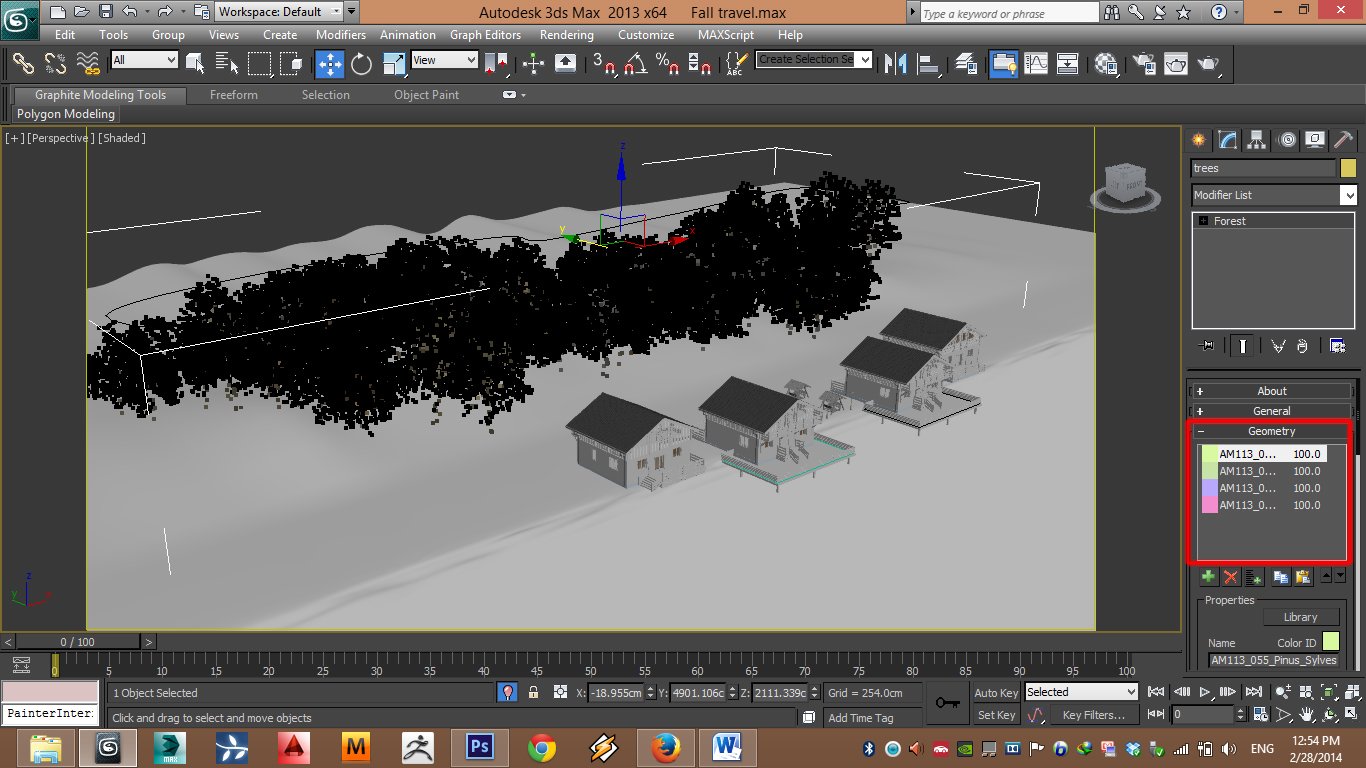
I used Forest for scattering the trees, I added the trees in Geometry rollout.


Click on image to enlarge11_noresize_1.jpg

To add variety to the trees I used transform rollout in forest parameters.


Click on image to enlarge12_noresize.jpg

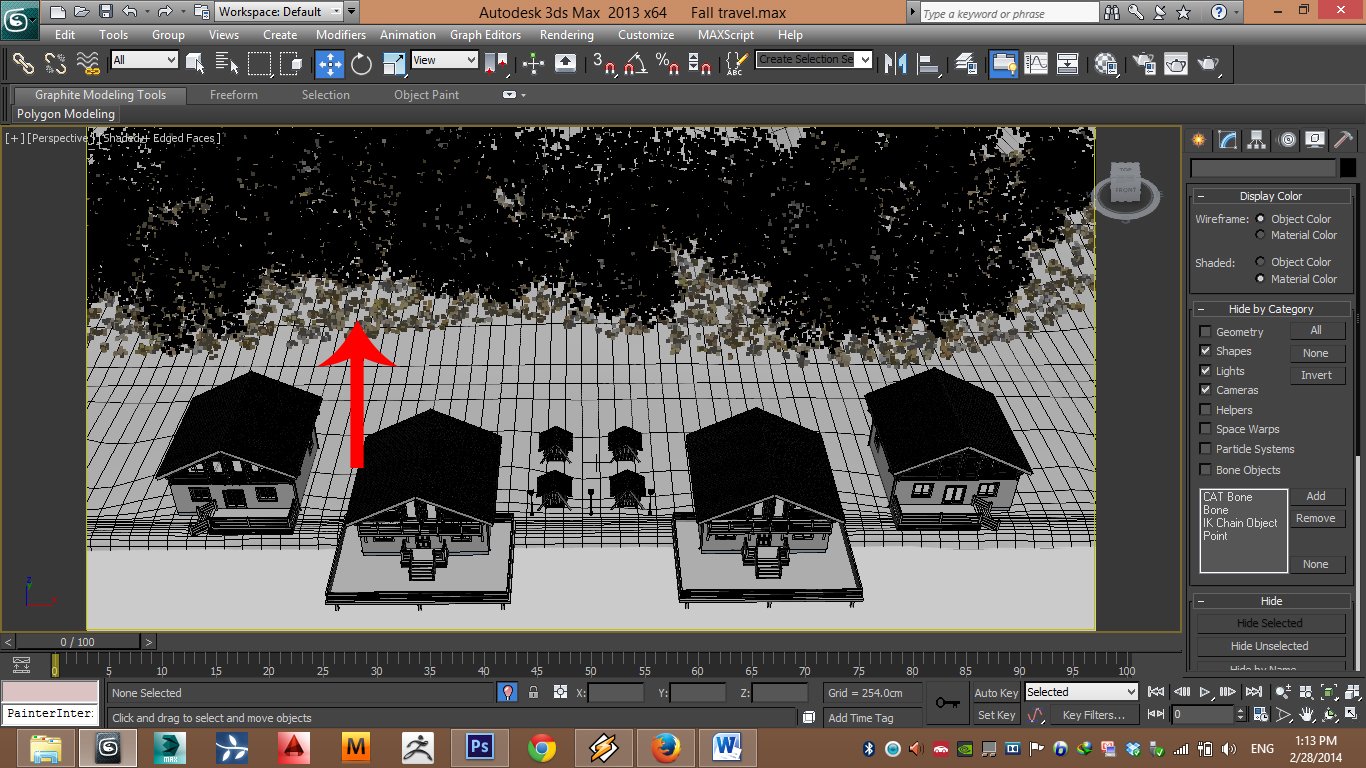
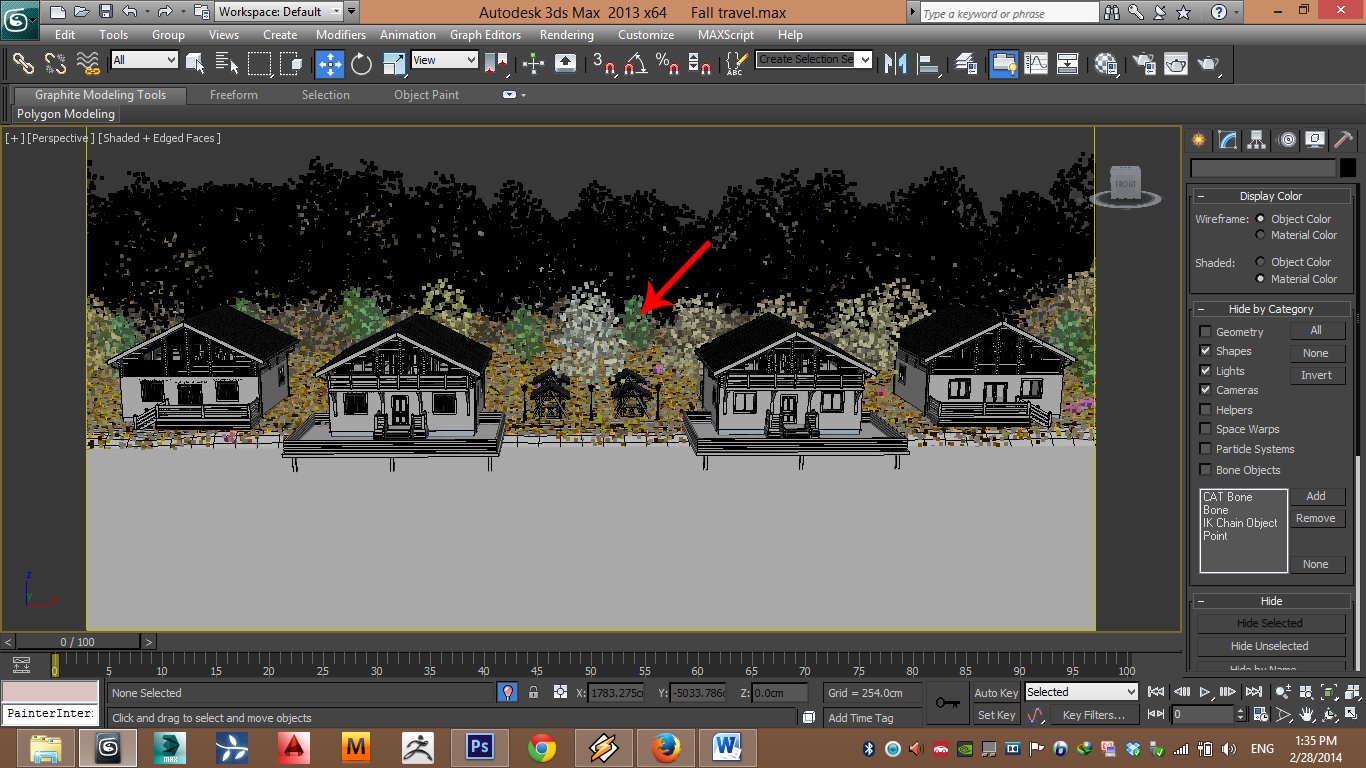
I scattered some bushes under the trees.


Click on image to enlarge13_noresize_1.jpg

Scattering bushes.


Click on image to enlarge14_noresize_1.jpg

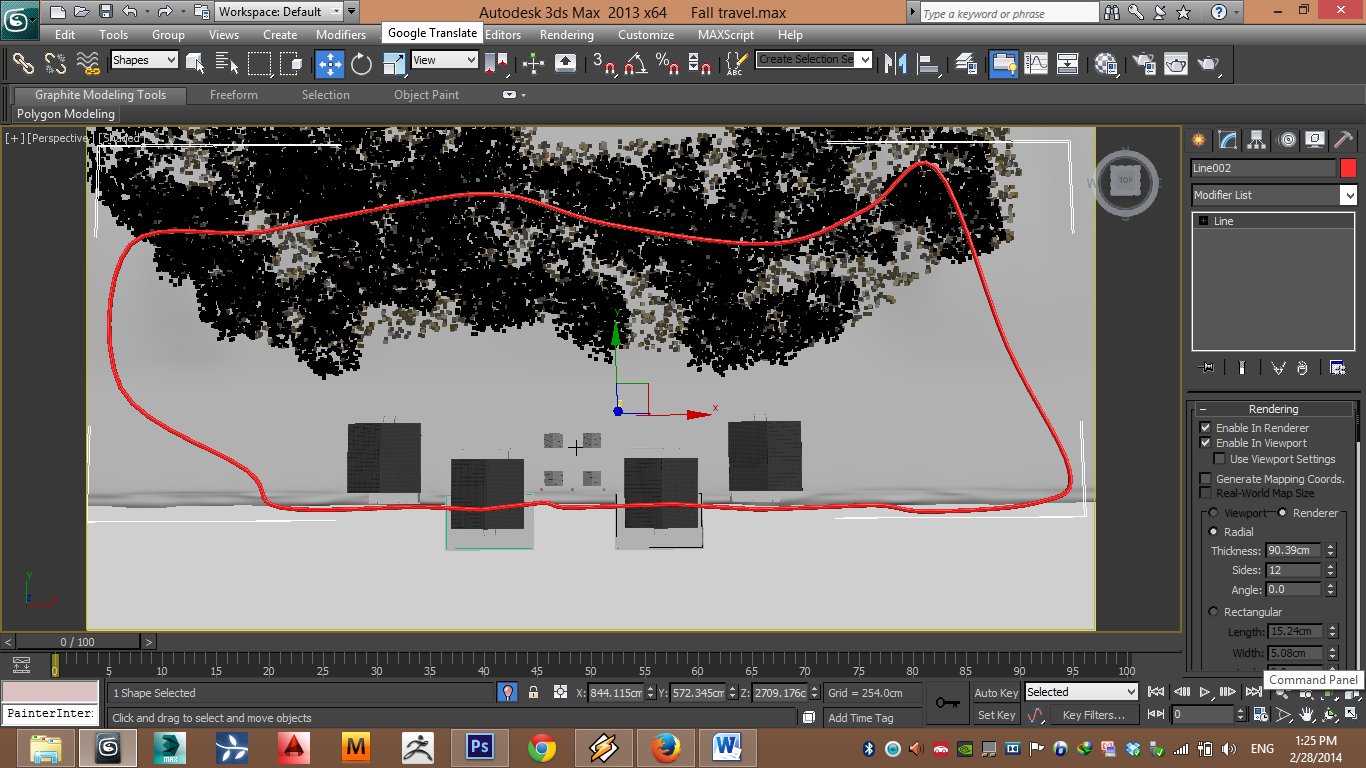
For the rest of the scene I created a new spline.


Click on image to enlarge15_noresize.jpg

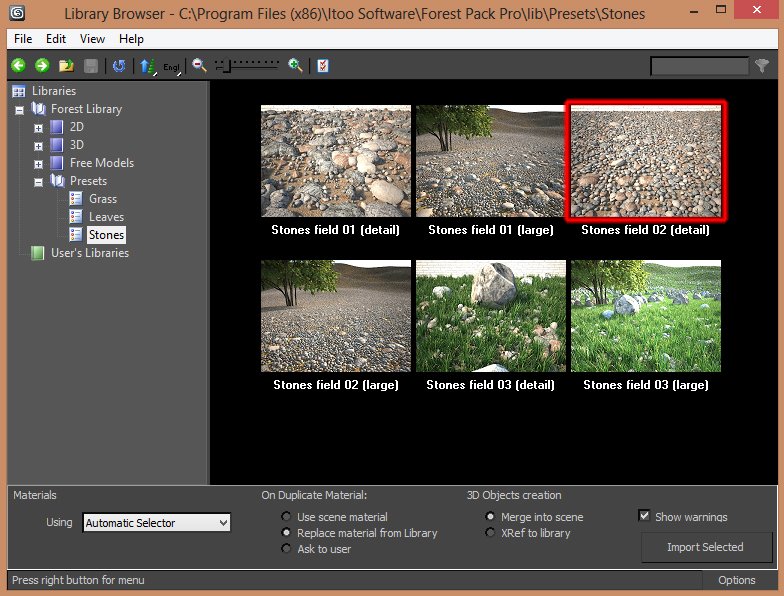
I used Forest Pack Pro stones library


Click on image to enlarge16_noresize.jpg

Scattering stones.


Click on image to enlarge17_noresize.jpg

Finally I added some trees in stone areas.


Click on image to enlarge18_noresize.jpg

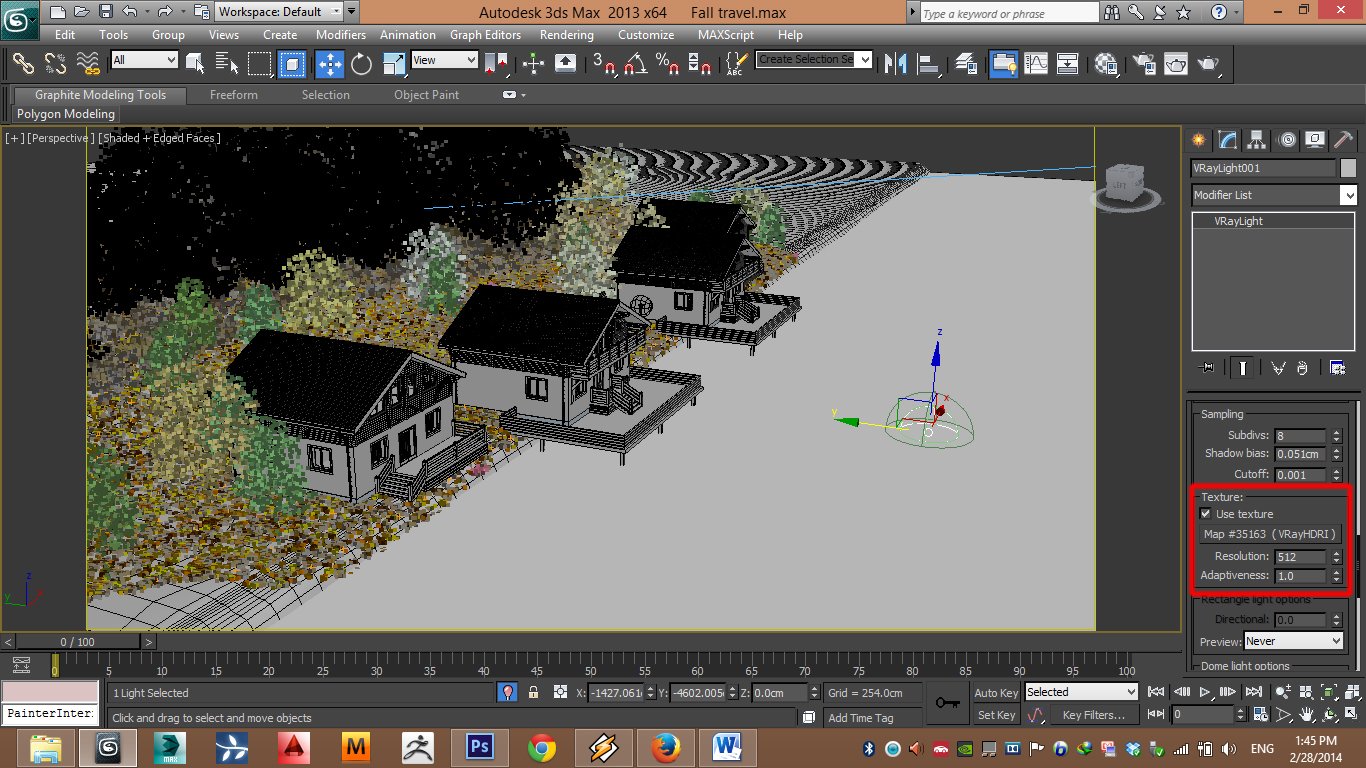
For the main GI lighting i used DOME and put VrayHDRI map on it.


Click on image to enlarge19_noresize.jpg

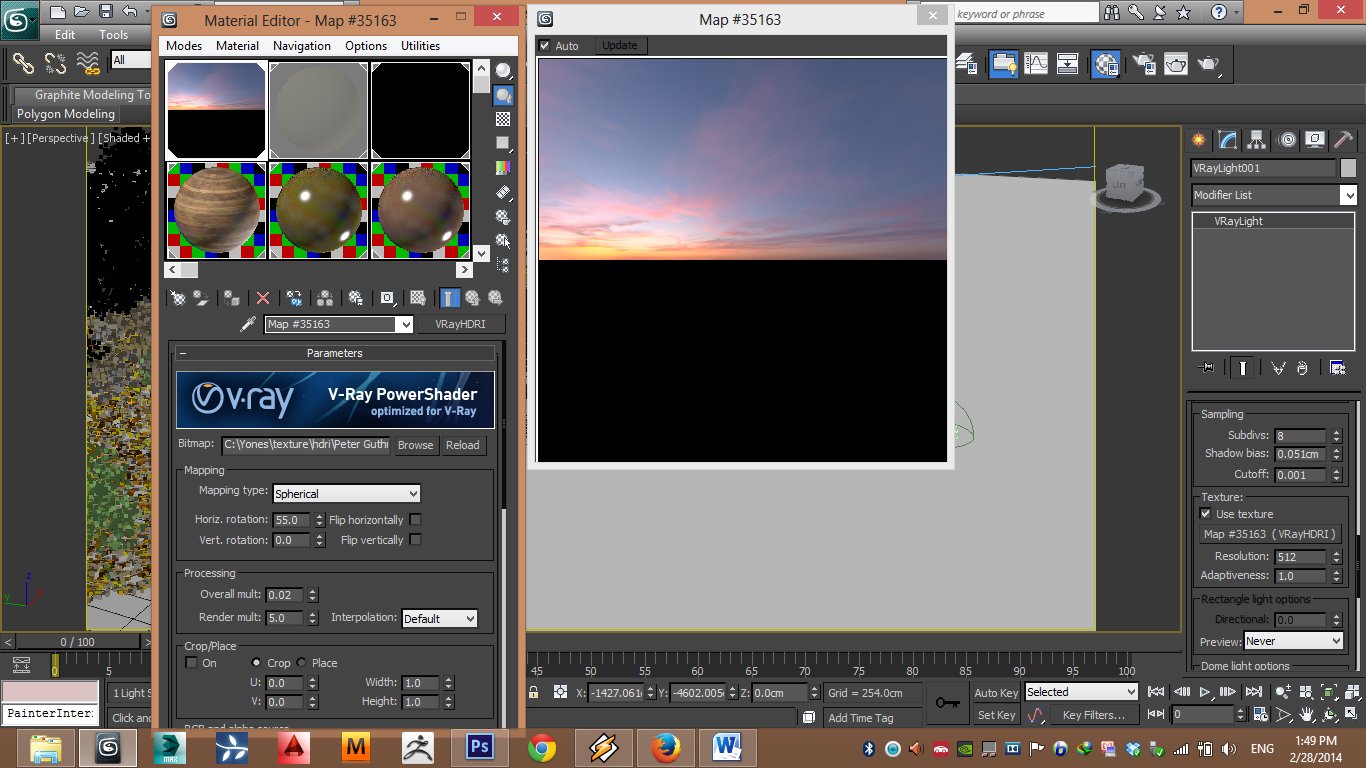
I used a nice HDRI from Peter Guthrie.


Click on image to enlarge20_noresize.jpg

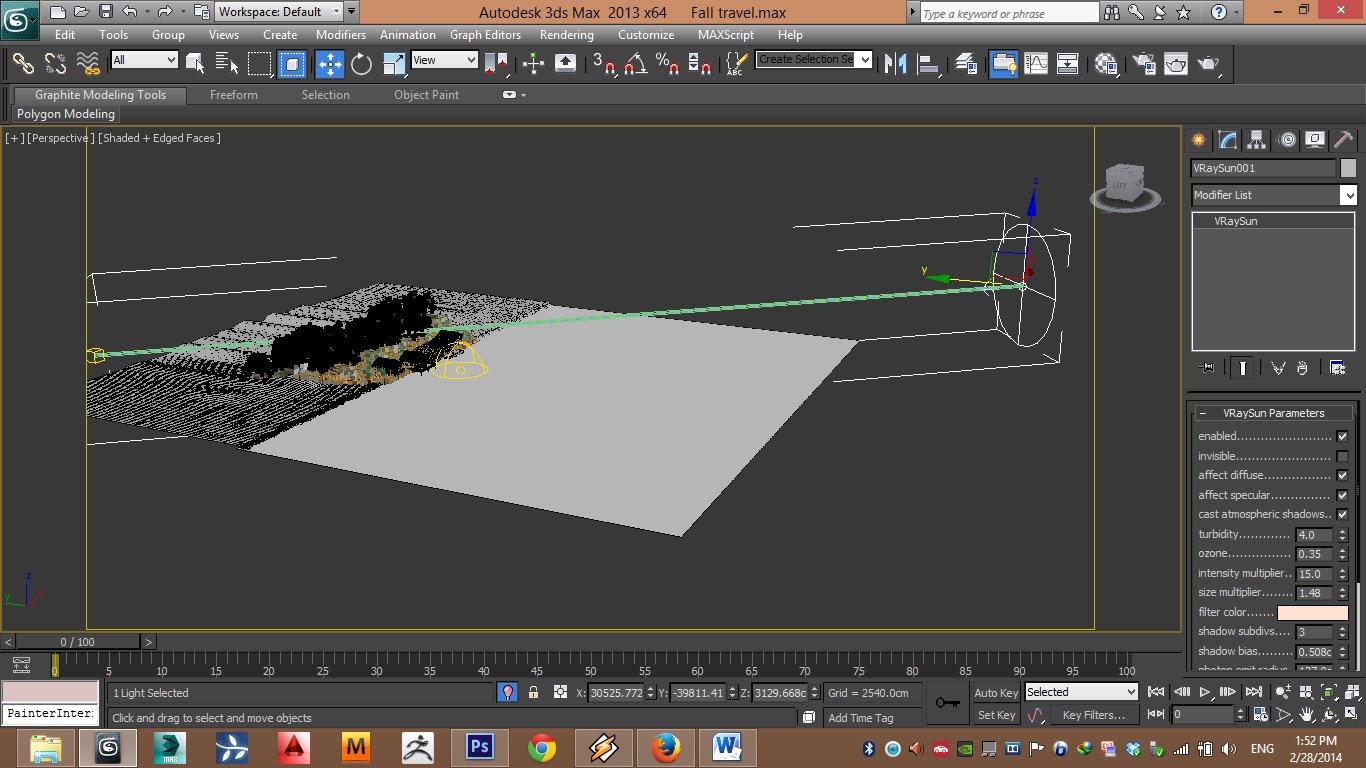
To strengthen the intensity of sunlight I used a vraysun exactly in position of sun in HDRI.


Click on image to enlarge21_noresize.jpg

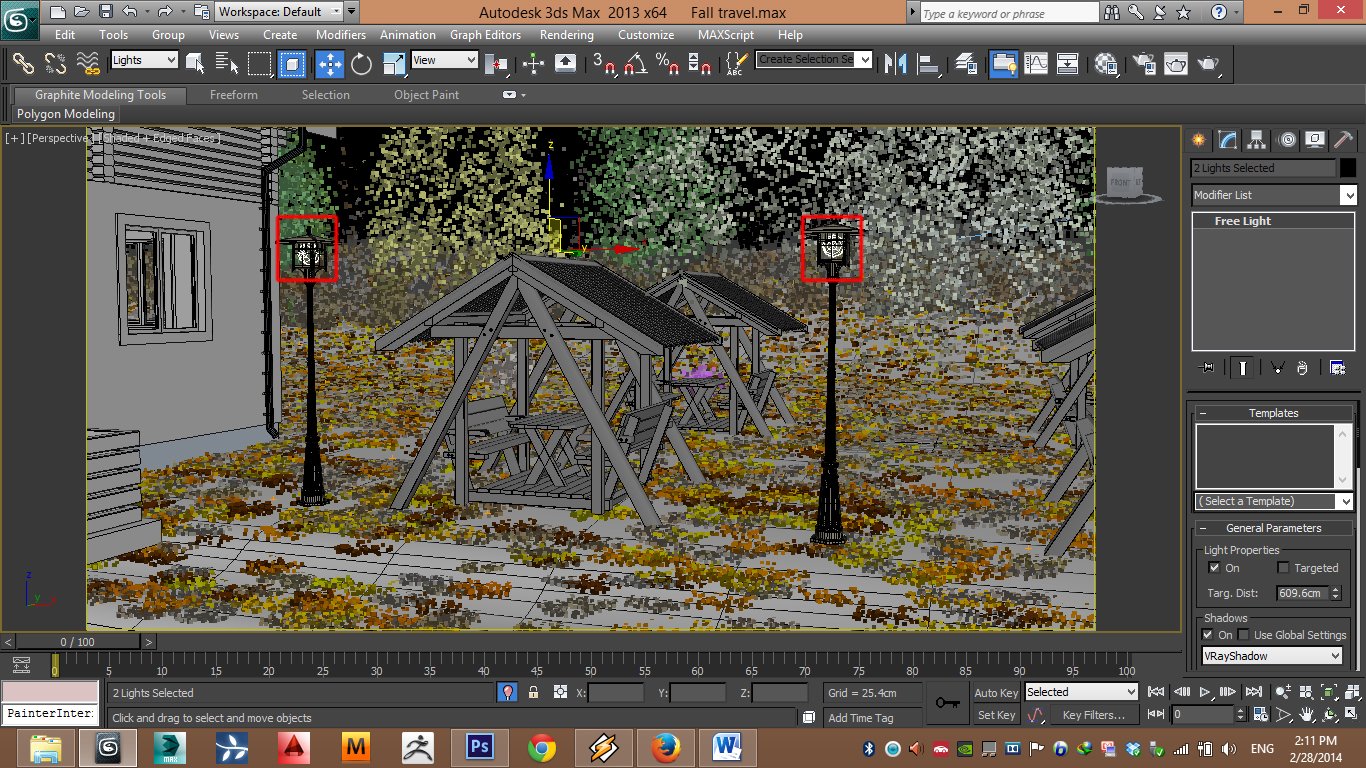
For landscape lights I used photometric lights.


Click on image to enlarge22_noresize.jpg

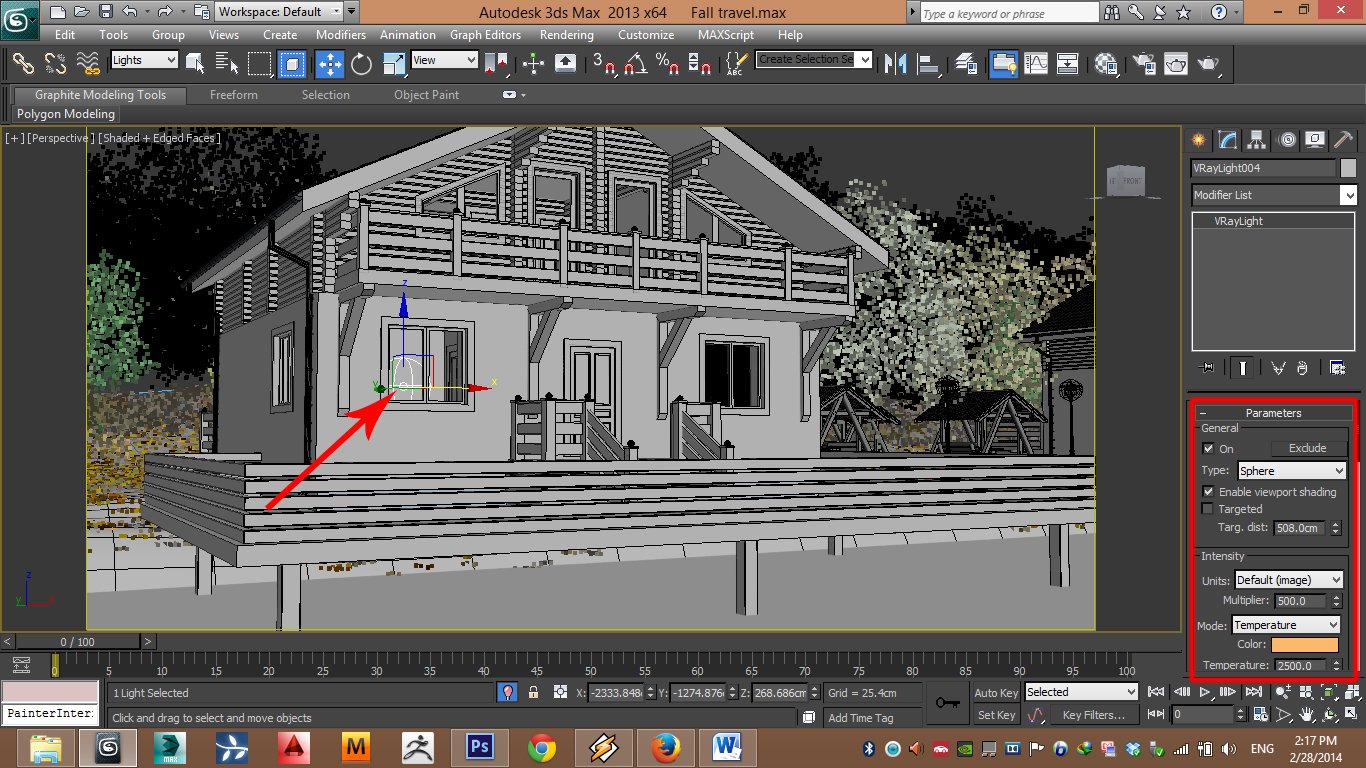
For interior lights I used vraylight sphere.


Click on image to enlarge23_noresize.jpg

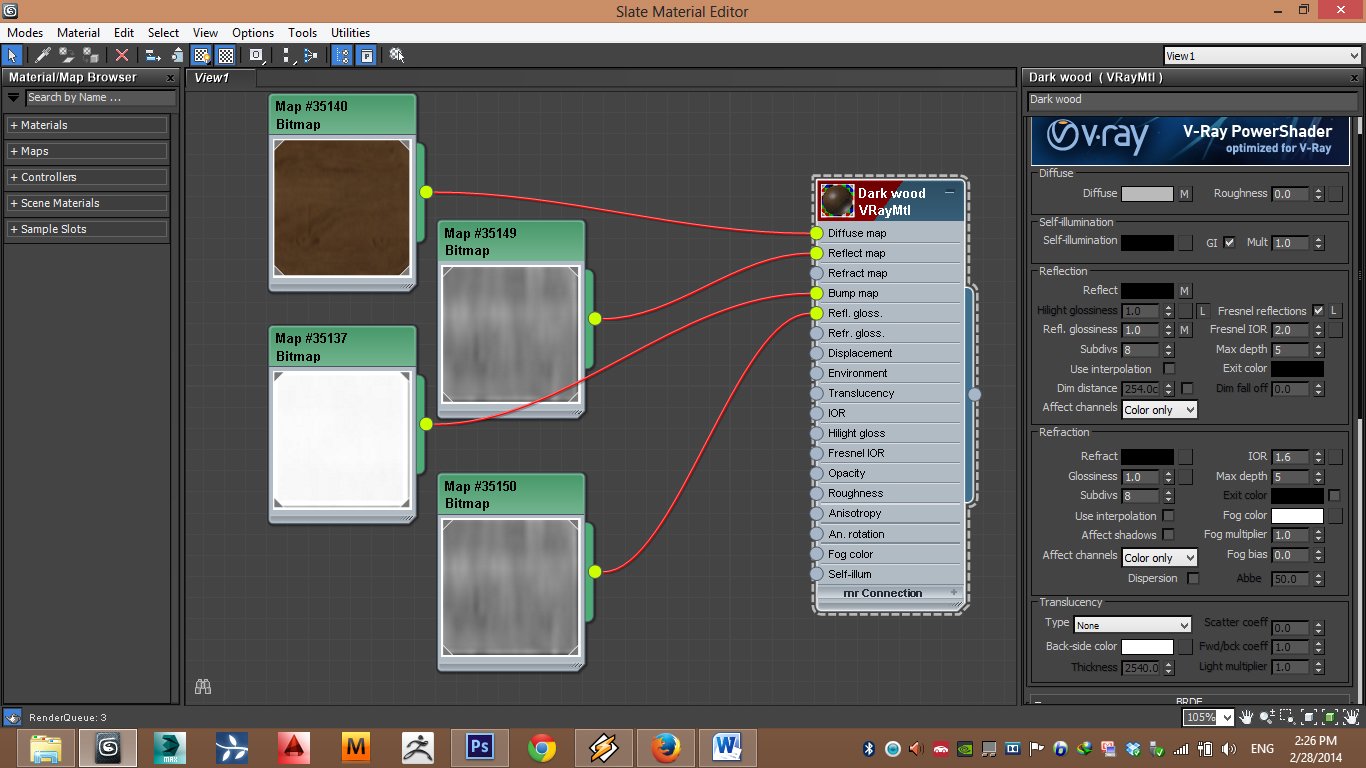
For the wooden houses I used two different materials. First - Dark wood


Click on image to enlarge24_noresize.jpg

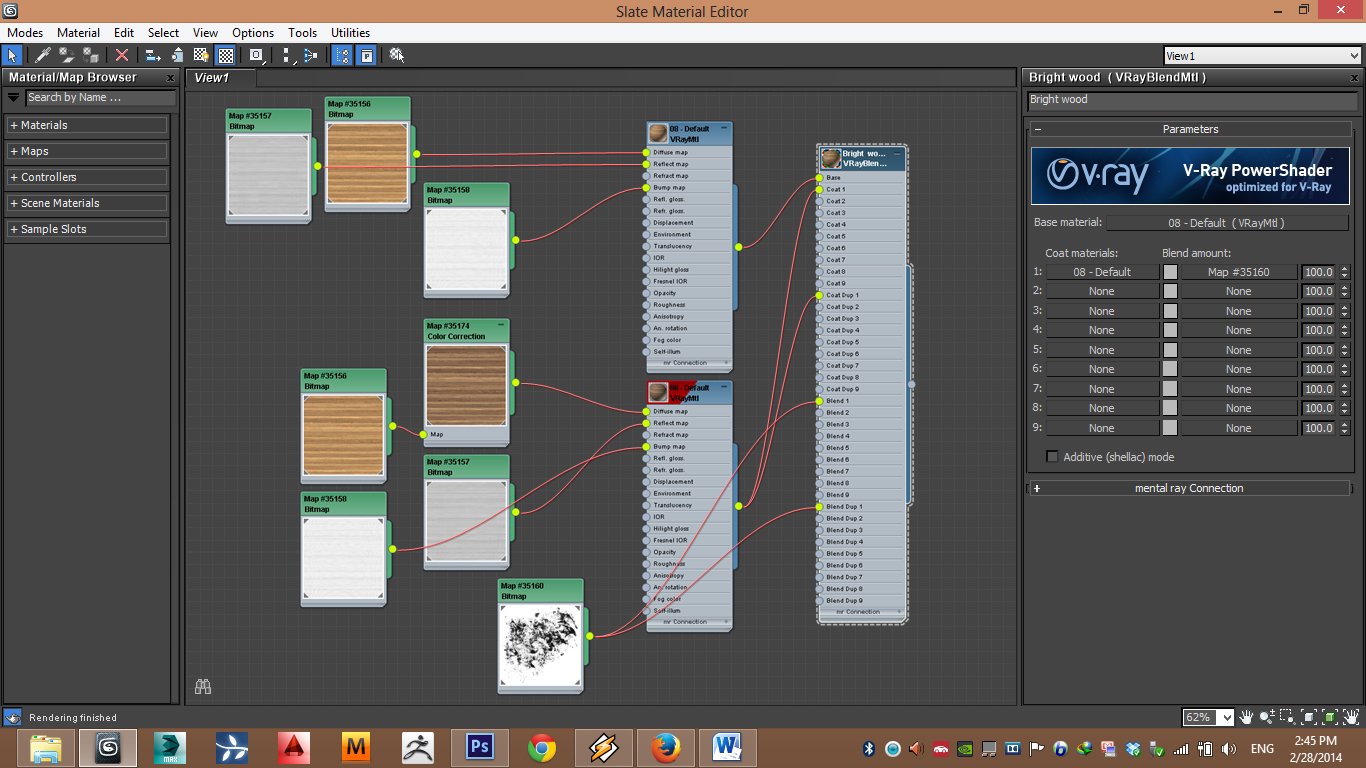
For bright wood I blended the dark one and bright one with a mask.


Click on image to enlarge25_noresize.jpg

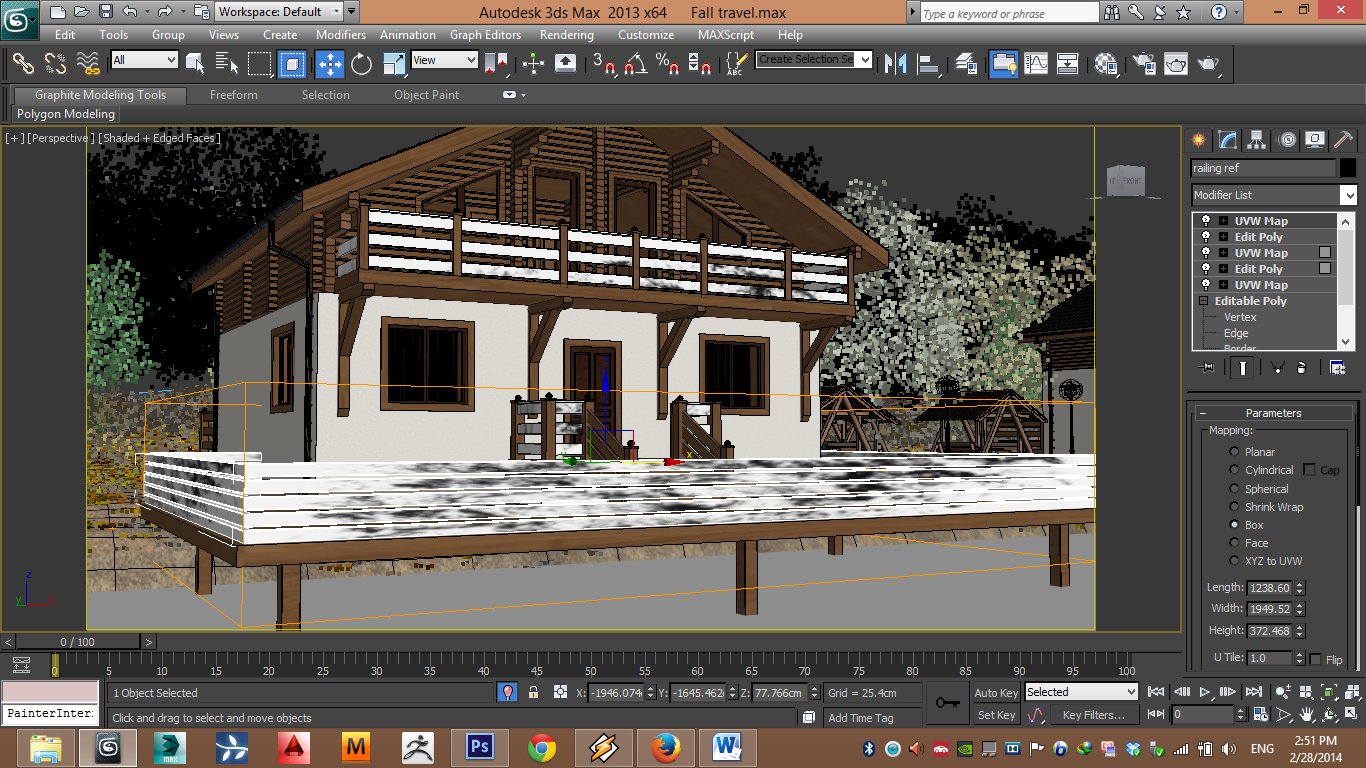
I corrected the mask map on my model with the uvwmap modifier.


Click on image to enlarge26_noresize.jpg

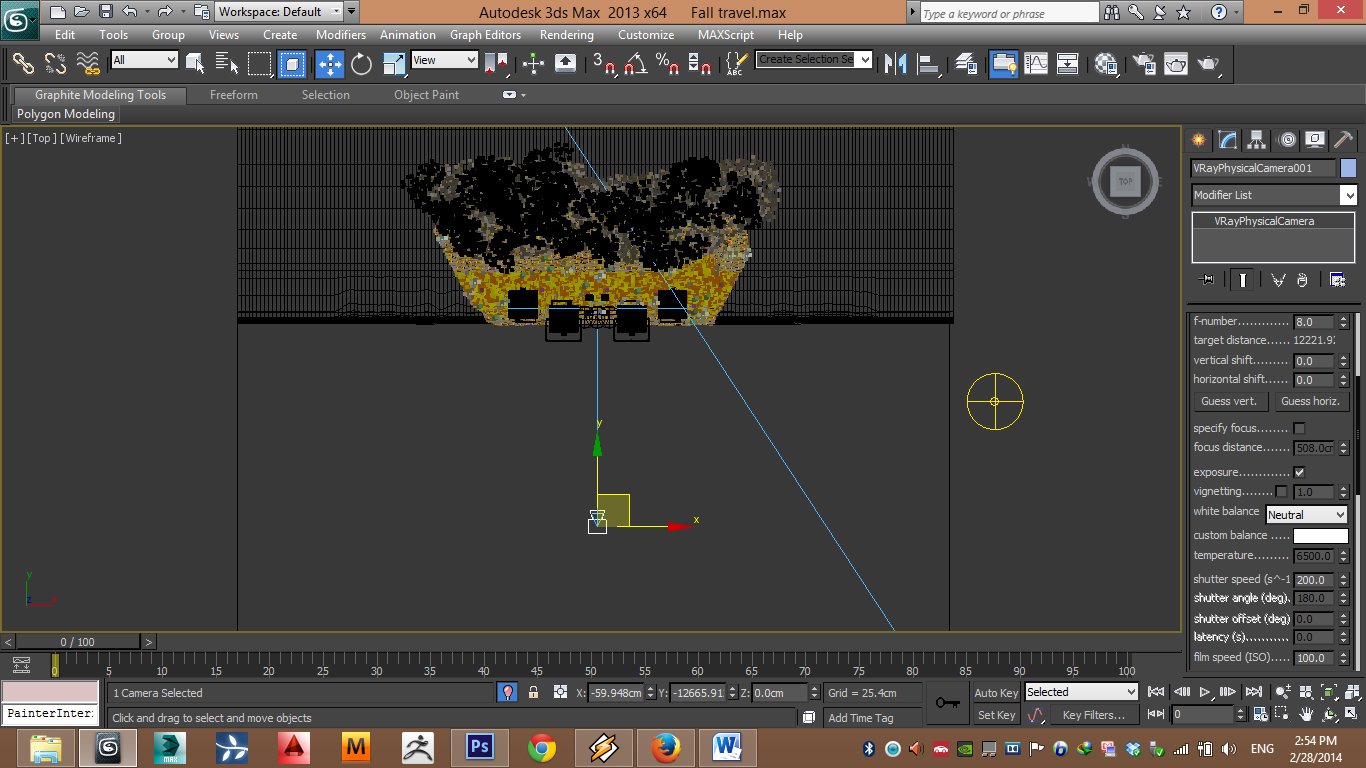
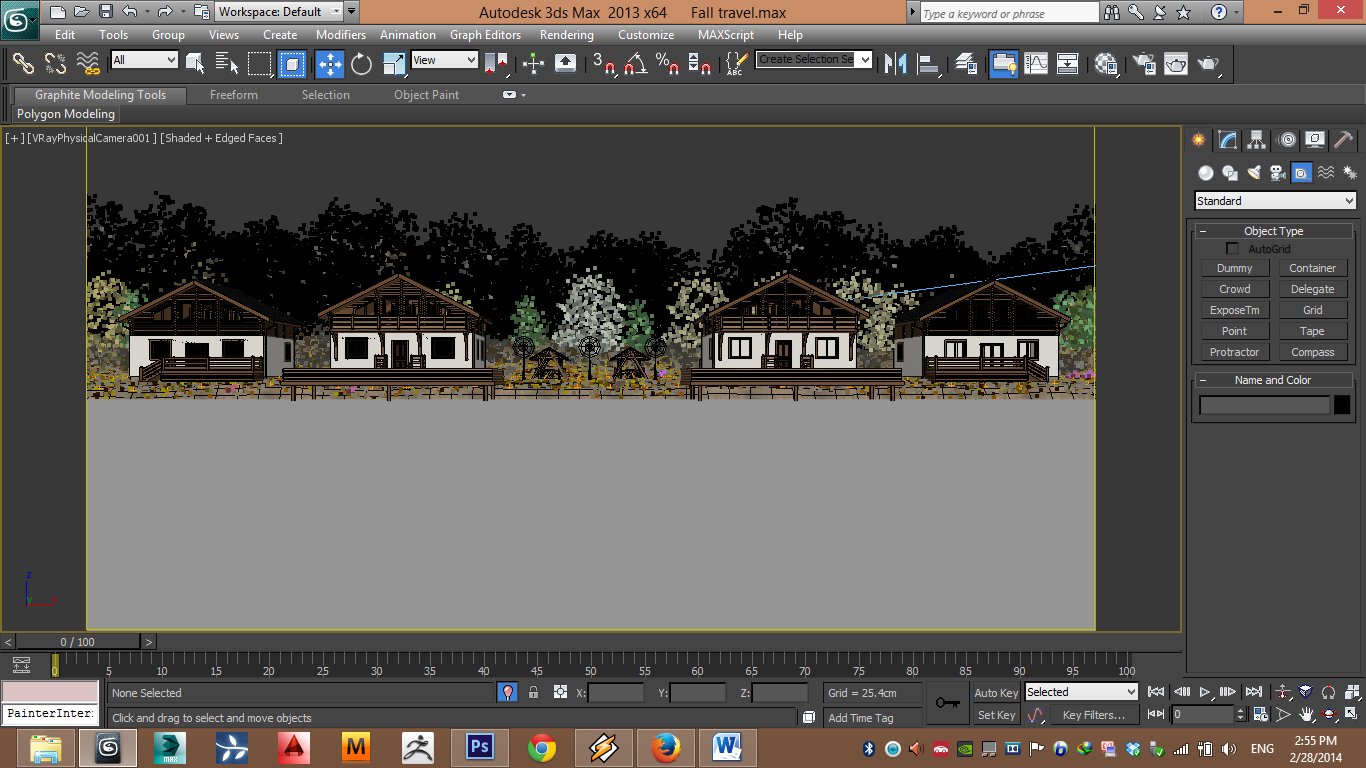
VRayPhysicalCamera settings.


Click on image to enlarge27_noresize.jpg

VRayPhysicalCamera settings.


Click on image to enlarge28_noresize.jpg

And finally this is my Render setup.


Click on image to enlarge29_noresize.jpg

This is a Raw render.


Click on image to enlarge30_sm.jpg

Render elements.


31_noresize.jpg

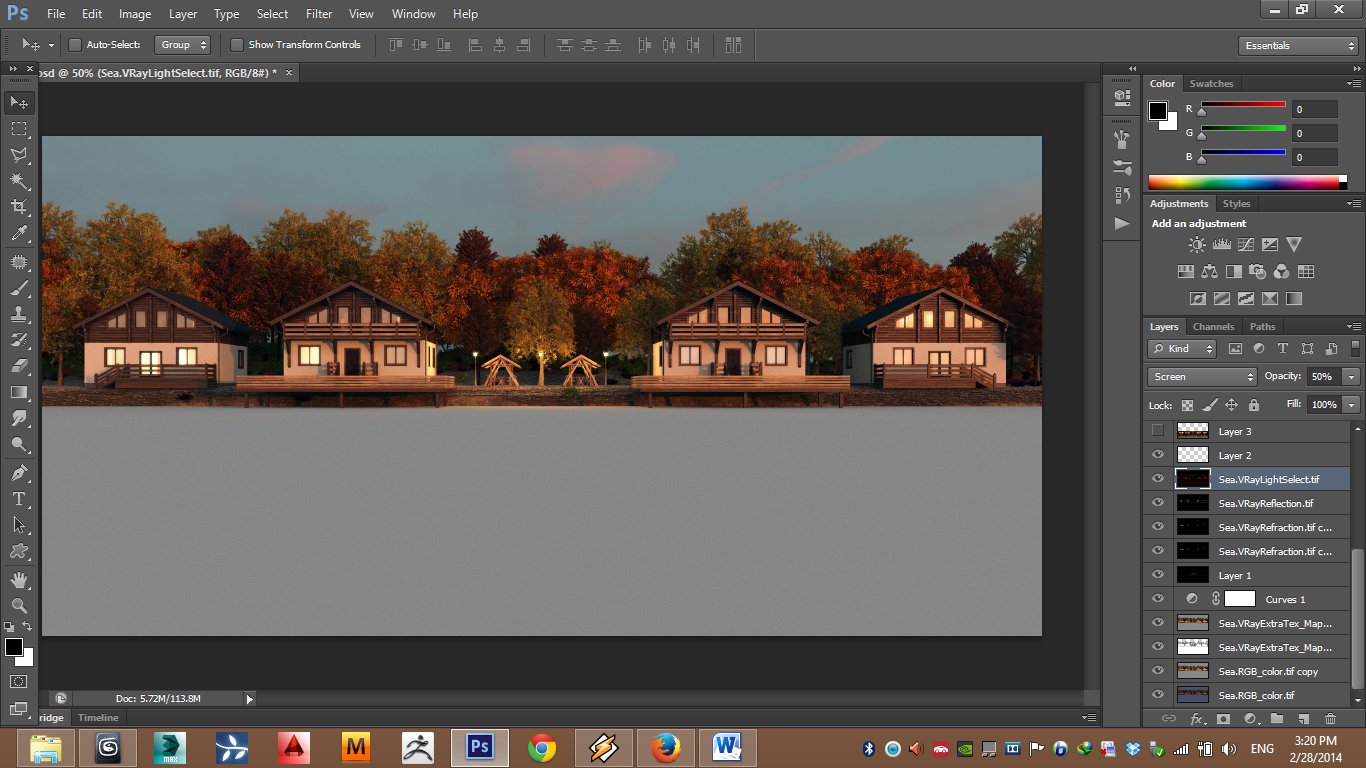
Now its time to finalize the image in Photoshop! With some adjustment like levels, curves, color balance, … and use elements with correct blending mode achive to better result.


Click on image to enlarge32_noresize.jpg

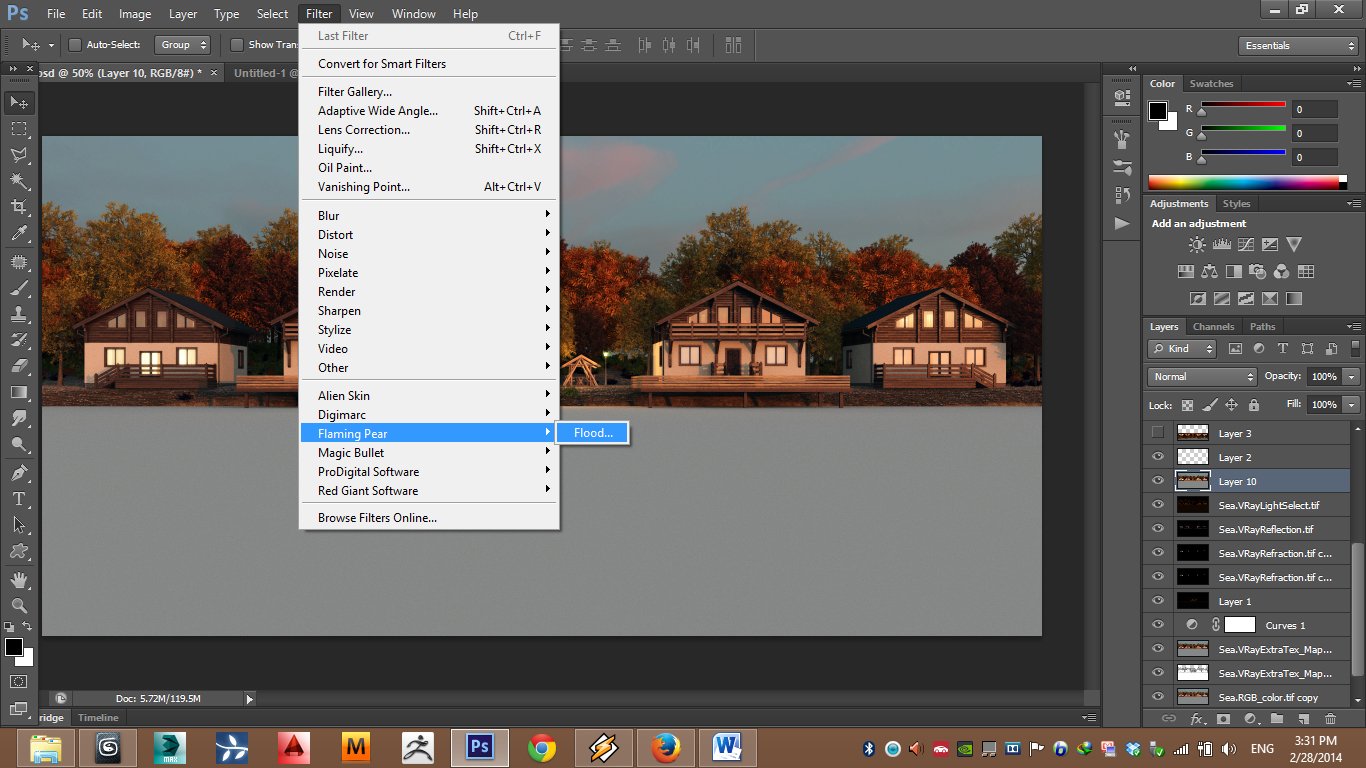
For water surface I used Flood plugin. You can download free demo here. After install the plugin, from filter menue select Flaming pear and Flood.


Click on image to enlarge33_noresize.jpg

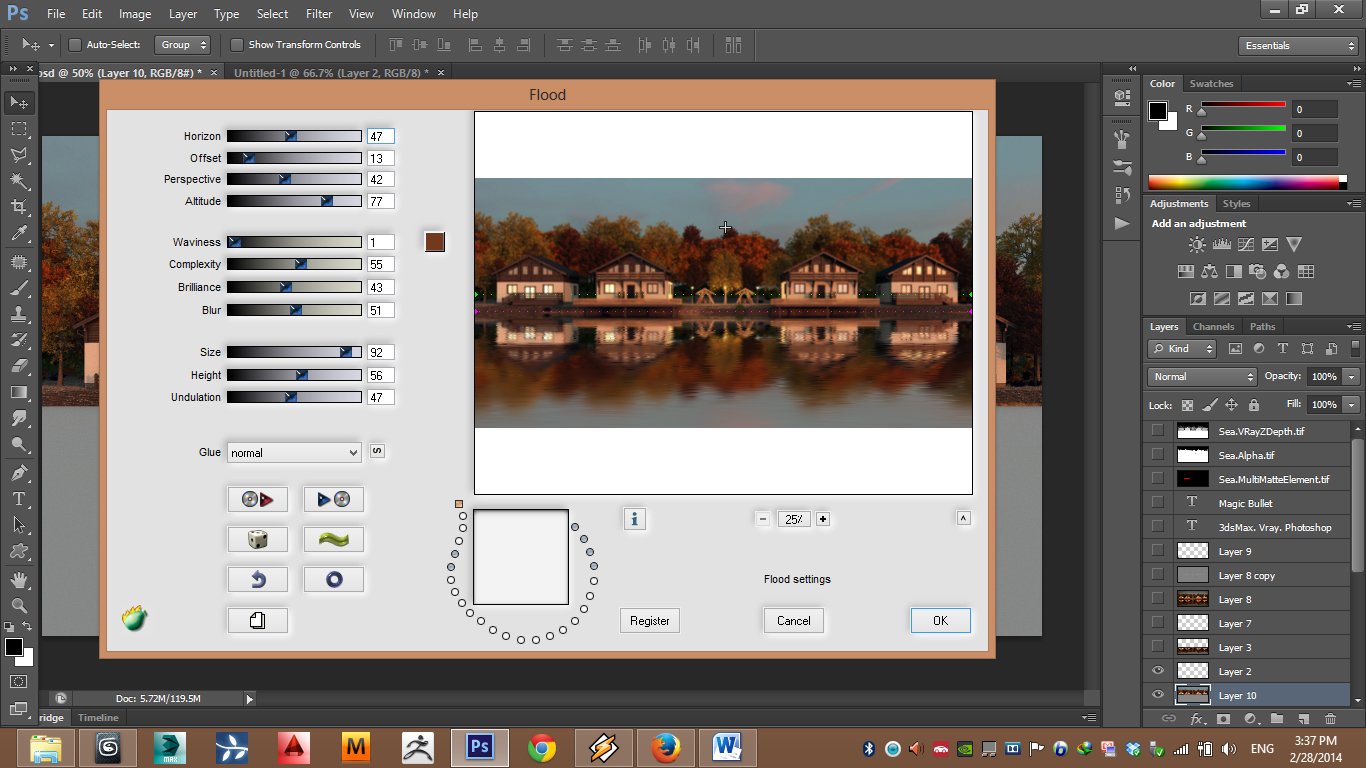
In this plugin you can control characteristic of water such as horizon, waviness, blur and etc.


Click on image to enlarge34_noresize.jpg

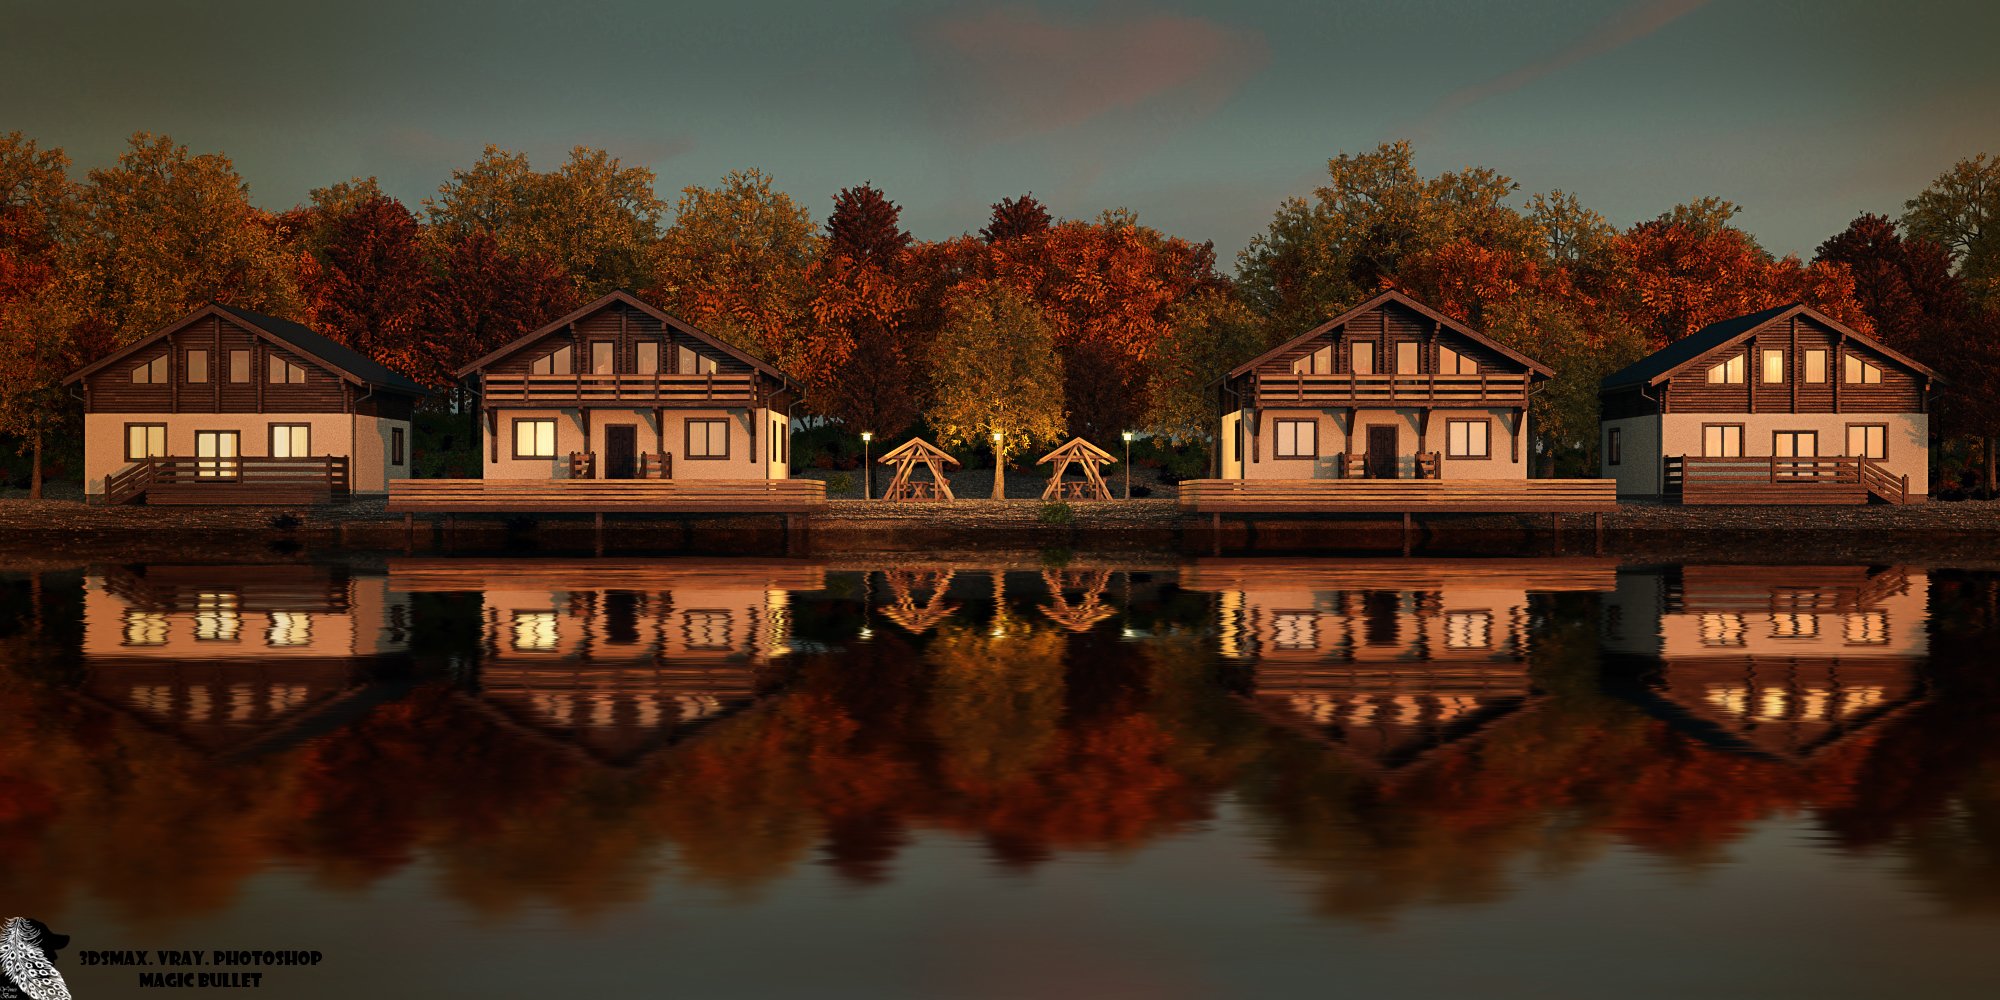
This is the final image.


Click on image to enlarge35_noresize.jpg

Another version.

I hope you like this tutorial :)

 
Author: Yones Bana Editor: Michal Franczak
Tags: yones
You may also like...
G-Spot of the bed and art

G-Spot of the bed and art

Arch-Viz tutorial by Yones Bana from Vivid Visual Studio.
×

LEAVE A COMMENT

You need to be logged in to leave a comment. Don't have account? Register now.