Removing LUTs from Textures for better results
Remove the LUT from a specific texture in order to get perfect looking textures in your render.
Total: € 0
Continue Shopping
In accordance with the art. 13 section 1 and 2 of the European Parliament and Council Regulation 2016/679 of the 27th April, 2016 on the protection of natural persons, with regard to the processing of personal data and on the free movement of such data, and repealing Directive 95/46/EC (General Data Protection Regulation), hereafter RODO, I hereby inform that:
1. EVERMOTION S.C., 8 Przędzalniana Str., 15-688 Białystok, Poland is the Administrator of your Personal Data (APD)
2. Data Protection Inspector can be reached through e-mail: iod@evermotion.org
3. Your personal data are to be processed on the basis of art. 6 section 1 letter a, b and f of RODO in order to:
a) prepare, conclude and execute the agreement and for other purposes approved by you,
b) to execute the legitimate interest like marketing of products and the agreement, claim assertion or defence against claims resulting from the law regulations.
4. Entities entitled to the reception of your personal data may be the authorised public bodies; mail providers; providers of the services covered by the agreement; responsible for debt recovery, keeping the archives, document utilization, legal consulting, technical services, IT services and accountancy.
5. Your personal data shall not be transferred to the third country, nor to the international bodies.
6. Your personal data shall be processed within the period of the agreement and upon your additional consent until you withdraw it. APD shall keep the data for the period of any civil law claim execution connected with the agreement.
7. You have the right to demand an access to your personal data, to correct or to delete the data if there is no other basis for the processing or any other purpose of such processing or to limit the processing of the data, to transfer the data to another administrator and to raise objections to the further data processing if there is no legal basis for further processing and to withdraw any previous consent.
8. You provide the personal data voluntarily, however they are necessary to conclude the agreement. The refusal of providing such data may result in the refusal of the agreement conclusion.
9. You have the right to lodge a complaint to the Personal Data Protection Office when in your opinion the data processing violates the regulations of General Data Protection Regulation of the 27 April, 2016 (RODO).
10. Your data will be automatically processed, including the form of profiling.
11. You are obligated to forward above mentioned information to your representative, especially if you appointed this person in the agreement as the contact person or as the representative for the agreement execution.
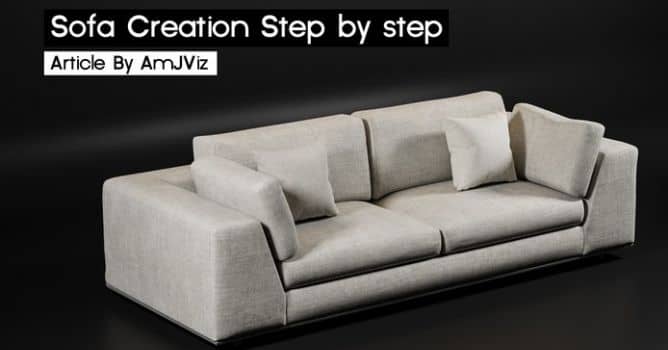

Tutorial by By AmJViz
Steps:
Modeling
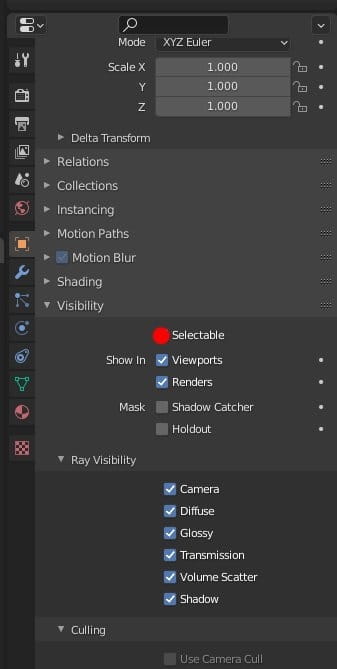
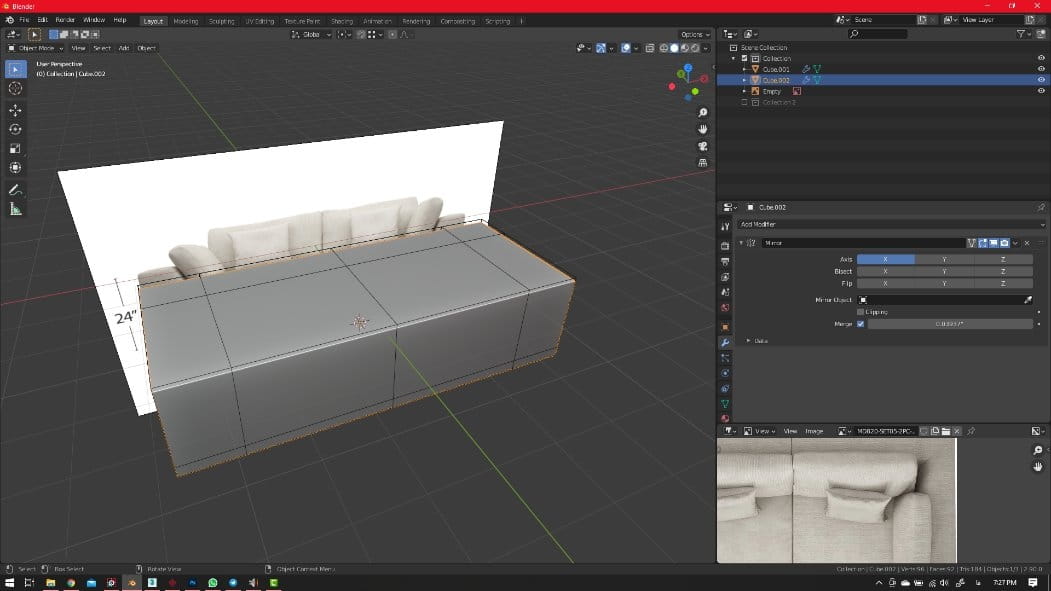
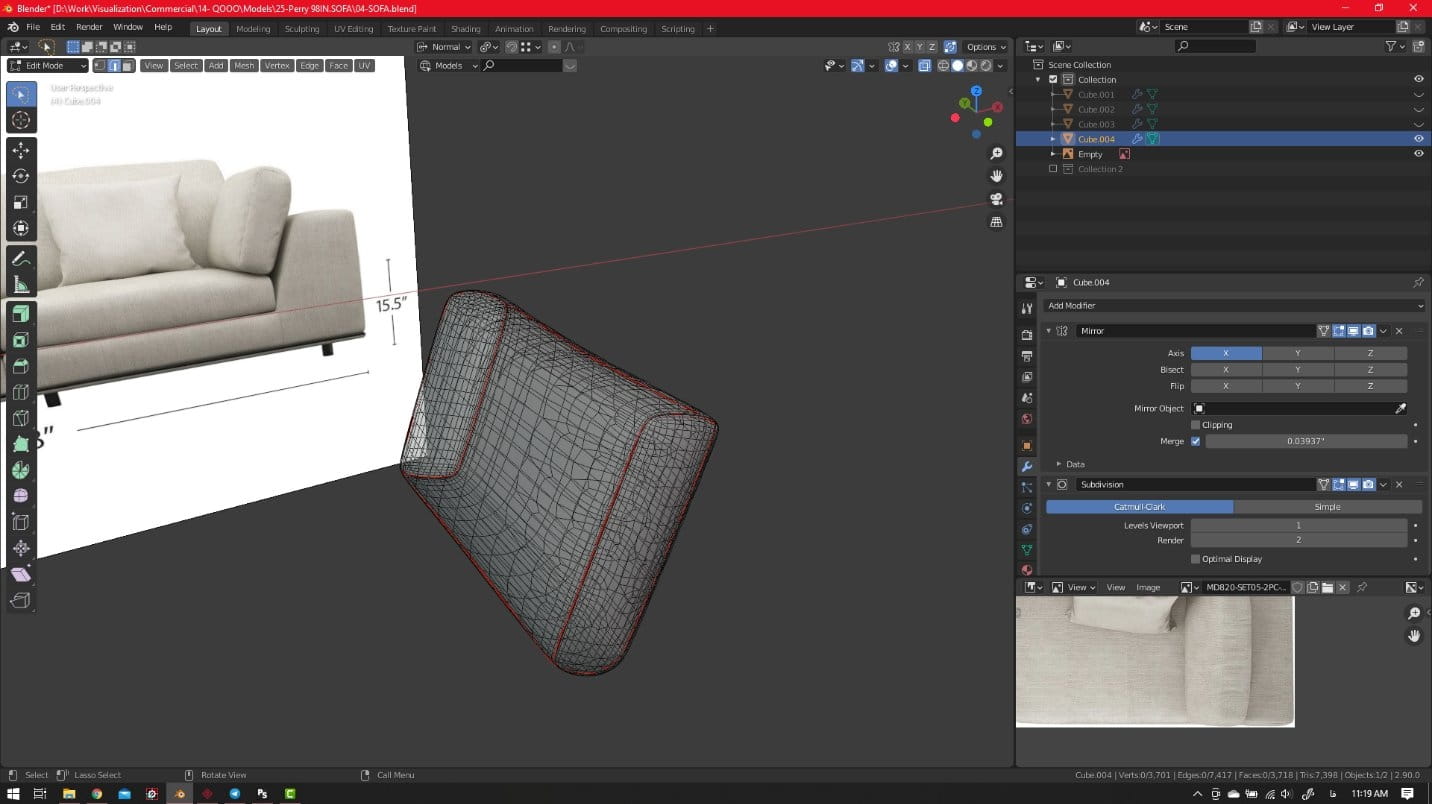
Before we jump into modeling, we need a clean and exact reference. This link is what my client sent to model for use of architectural visualization, interior design. I downloaded the images and put them into my 3d viewport and created a cube and added dimensions from my reference link. Then I unchecked "selectable' to avoid interrupting your modeling process.
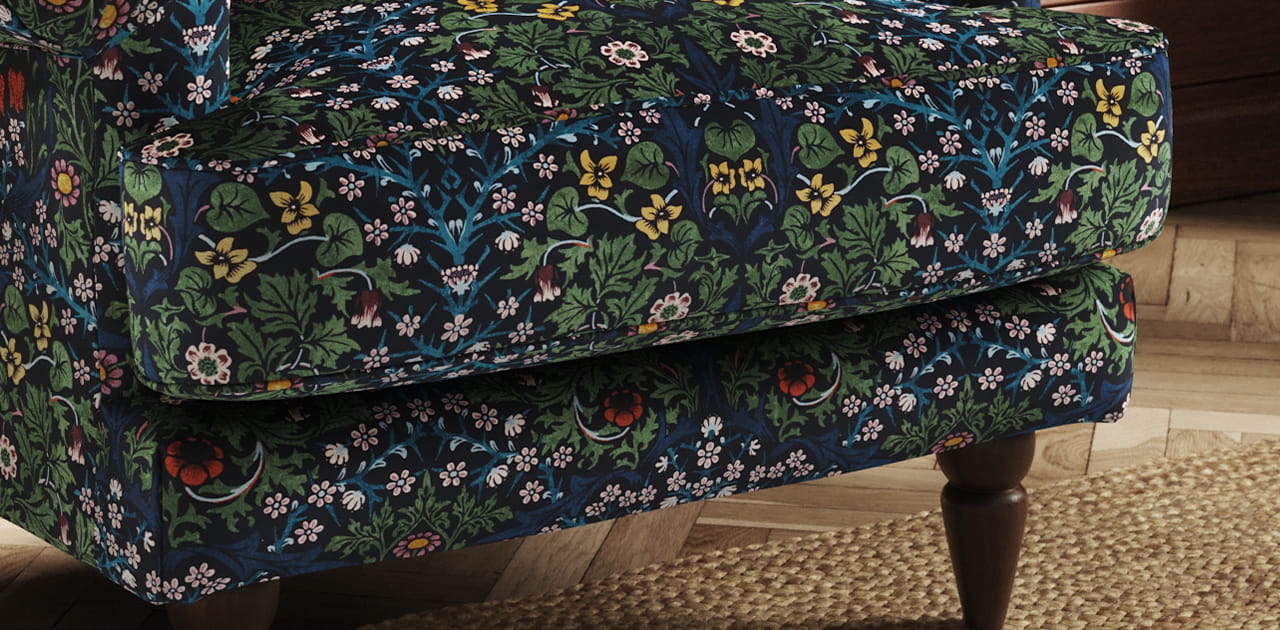
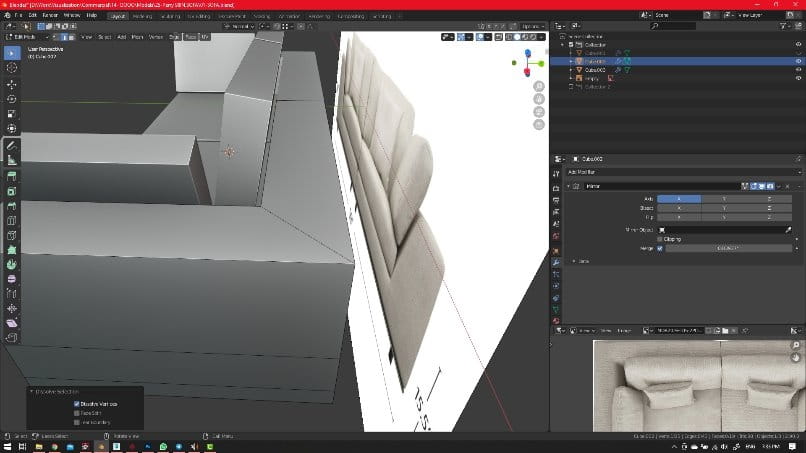
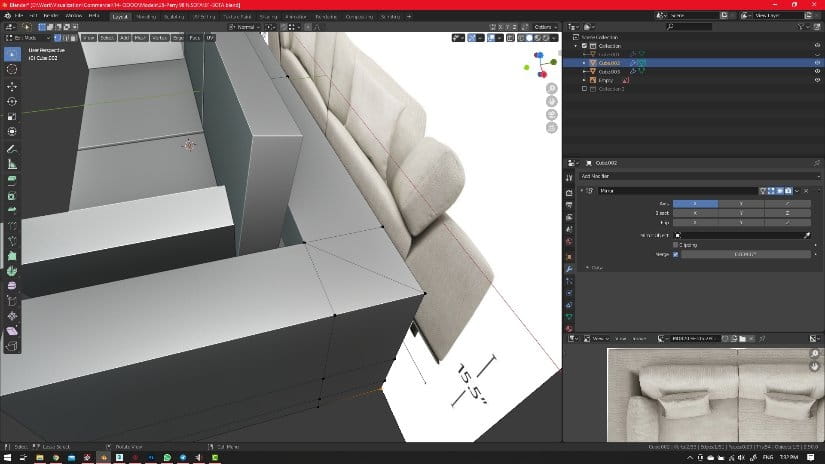
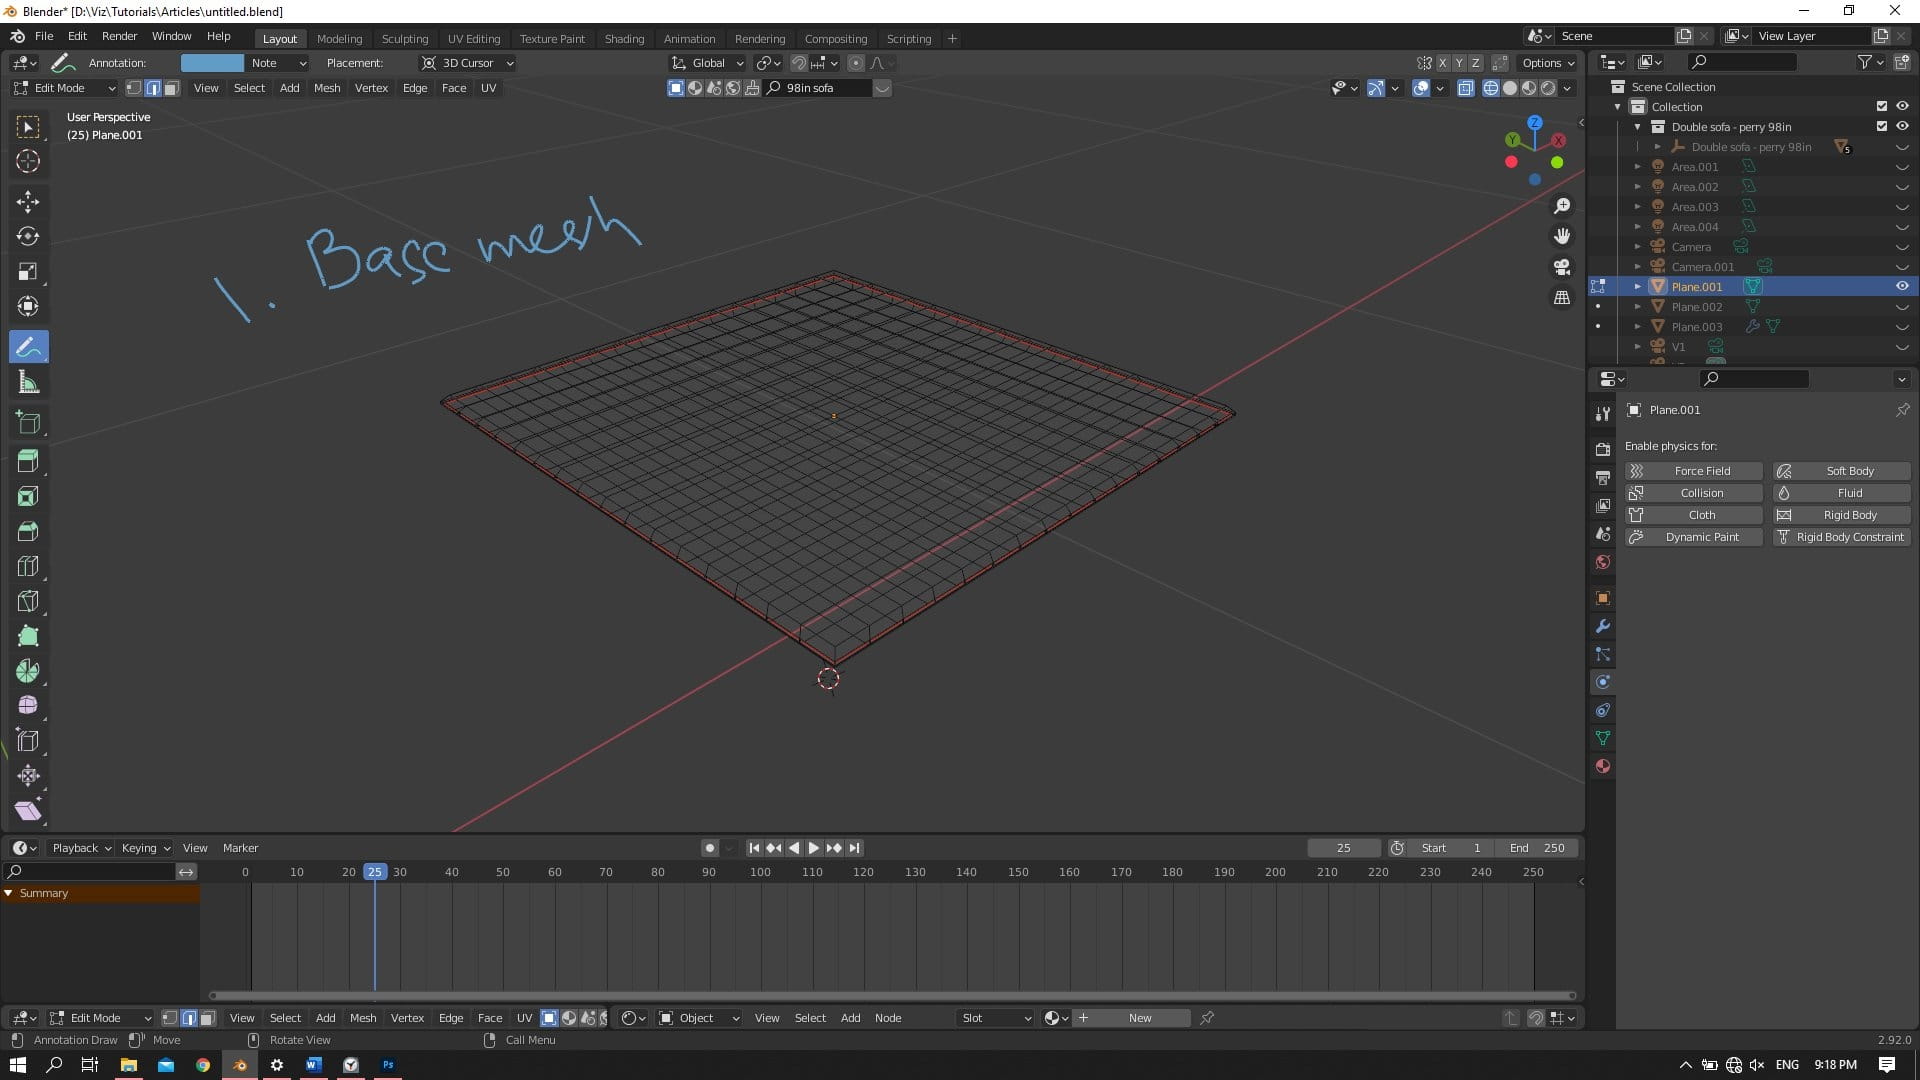
Lets start modeling with the most simple tools in edit mode: extrude and loop cut. With the least amount of topology. This is what I called base mesh. Next is adding all cushions base meshes. Pay attention to the topology of edges. They should be like on the right image.

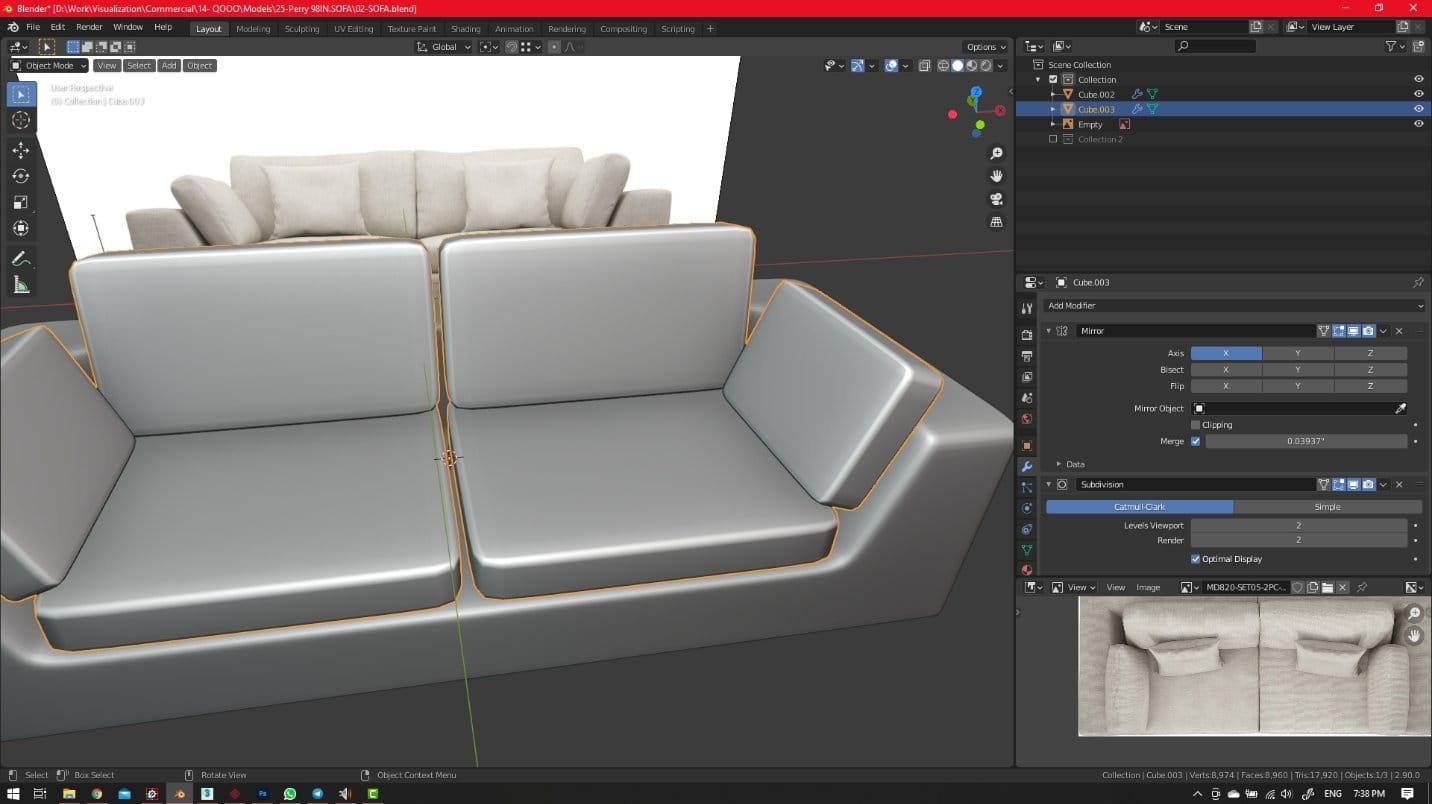
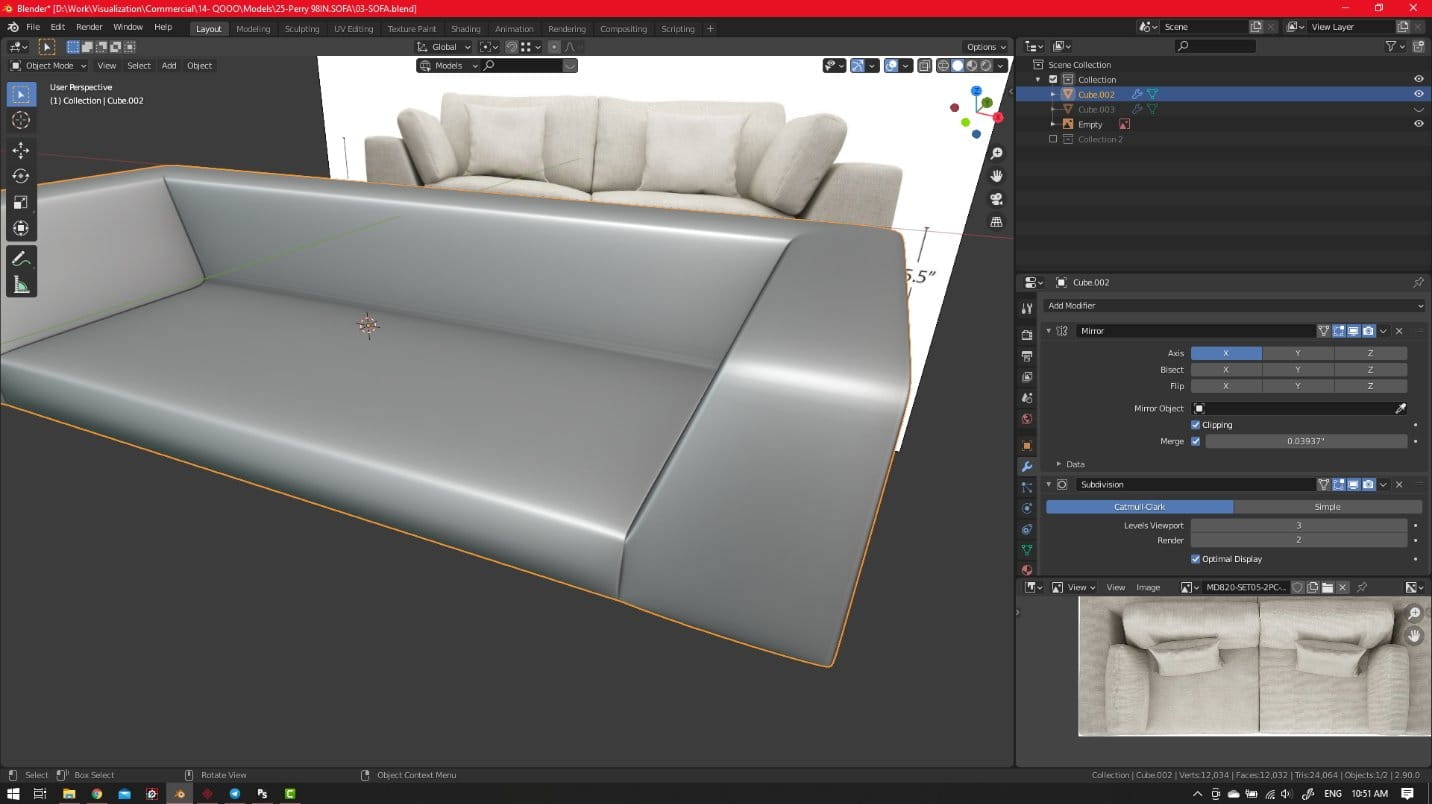
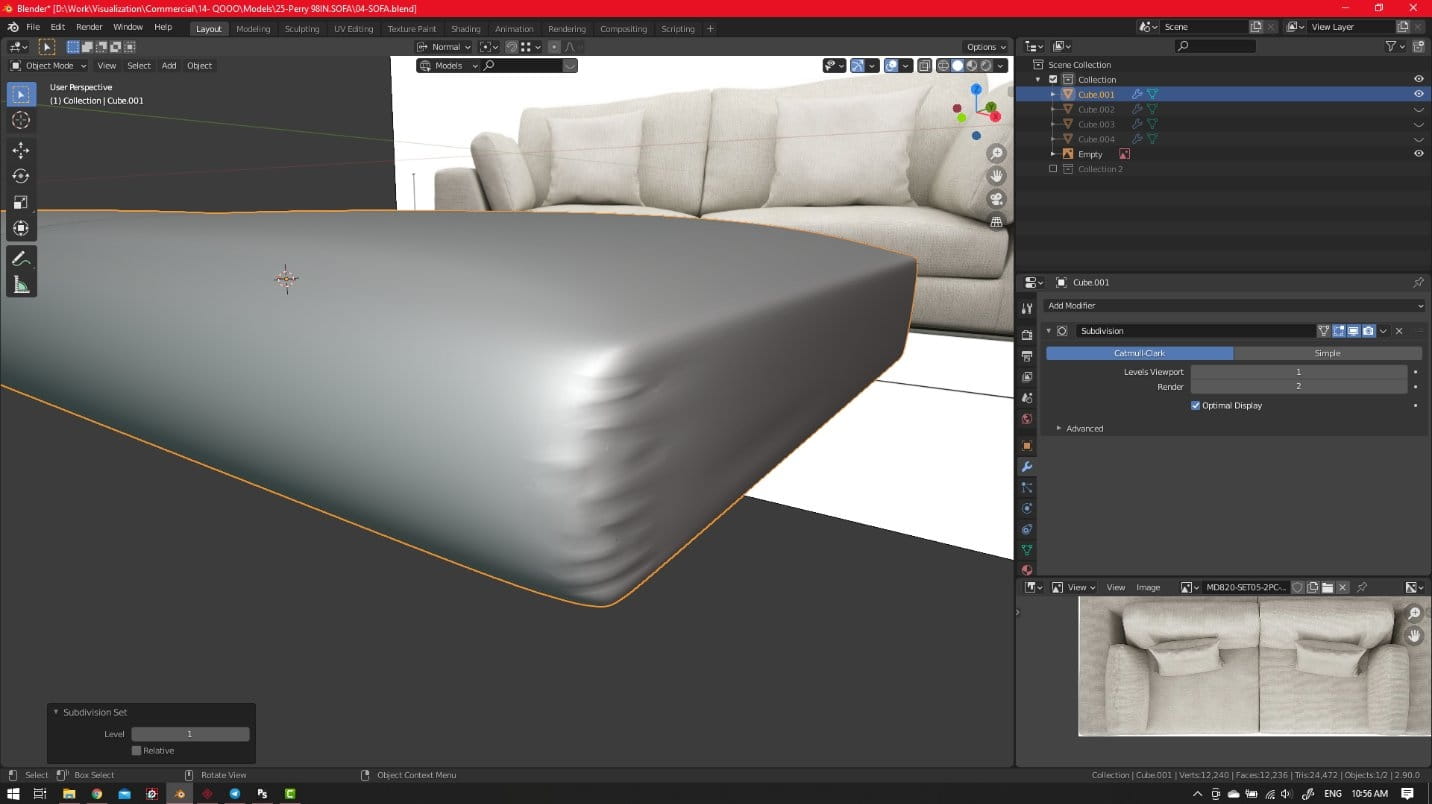
Its time to smooth and adding detatils to our sofa. For that add subdiviosn surface modifier to model.
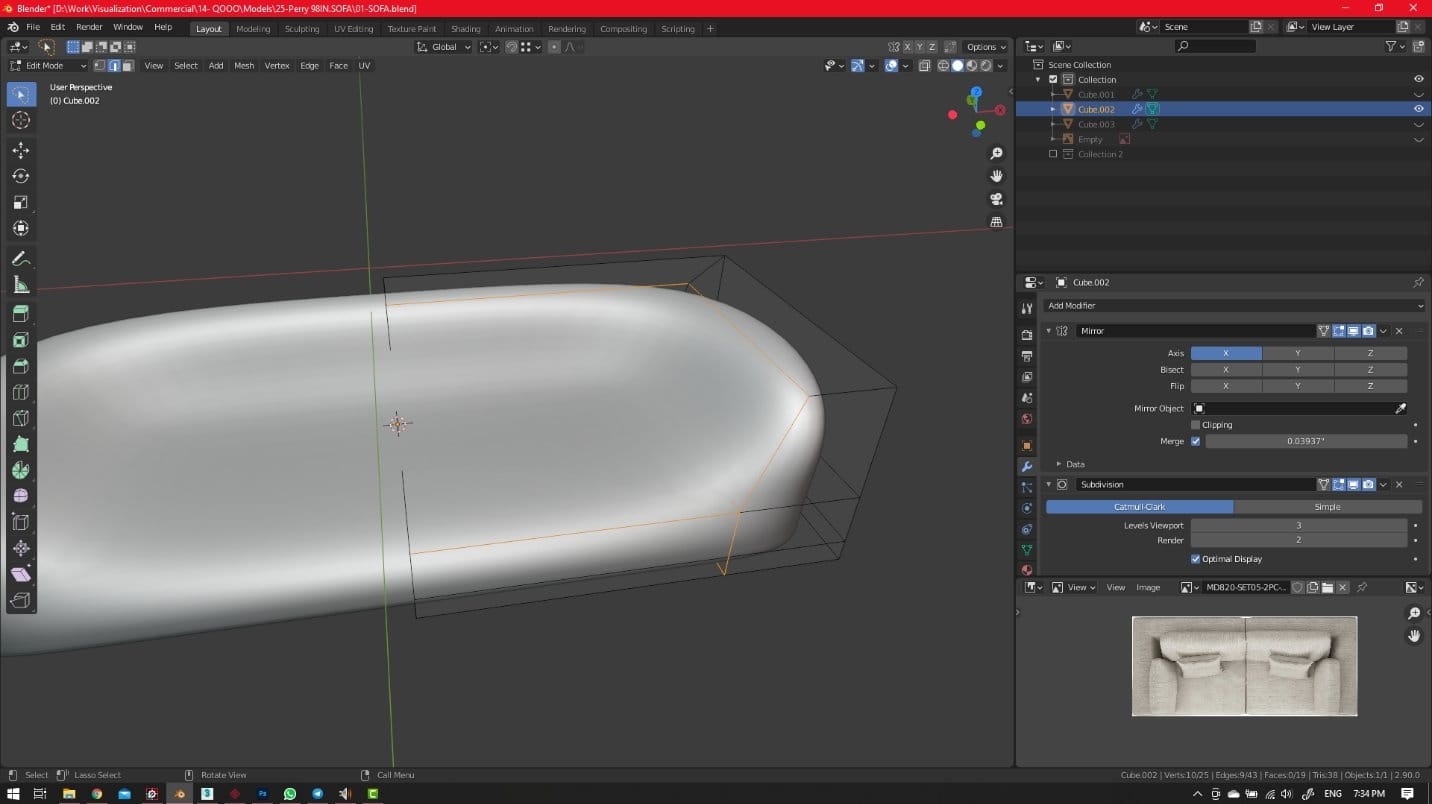
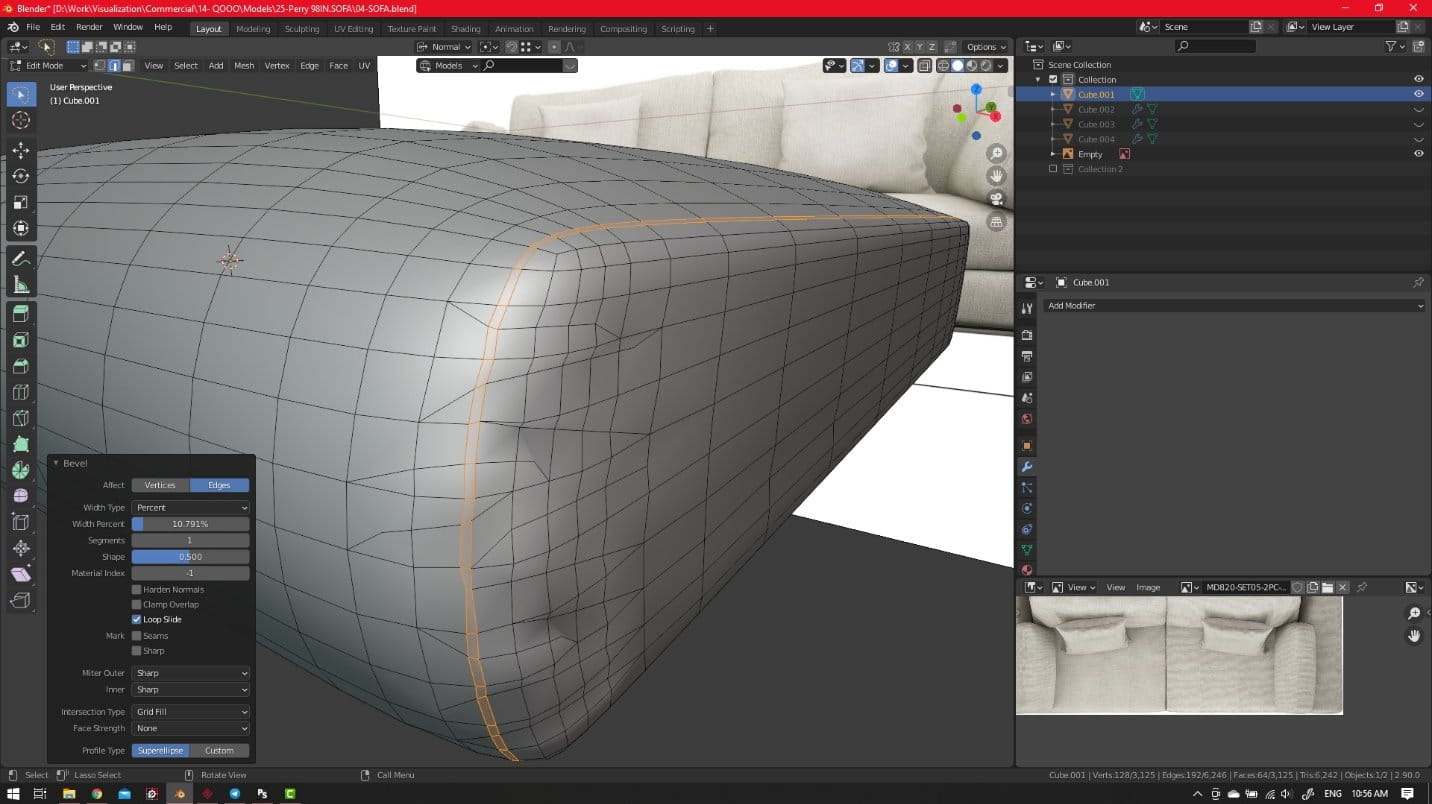
Its really creepy! So we need some topology in sharp areas, by adding bevel.

Do the same for cushions.
For cushions, I need my topology to be puffed and realistic. Add loop cut and bevel it at the middle of cushions then move it up.

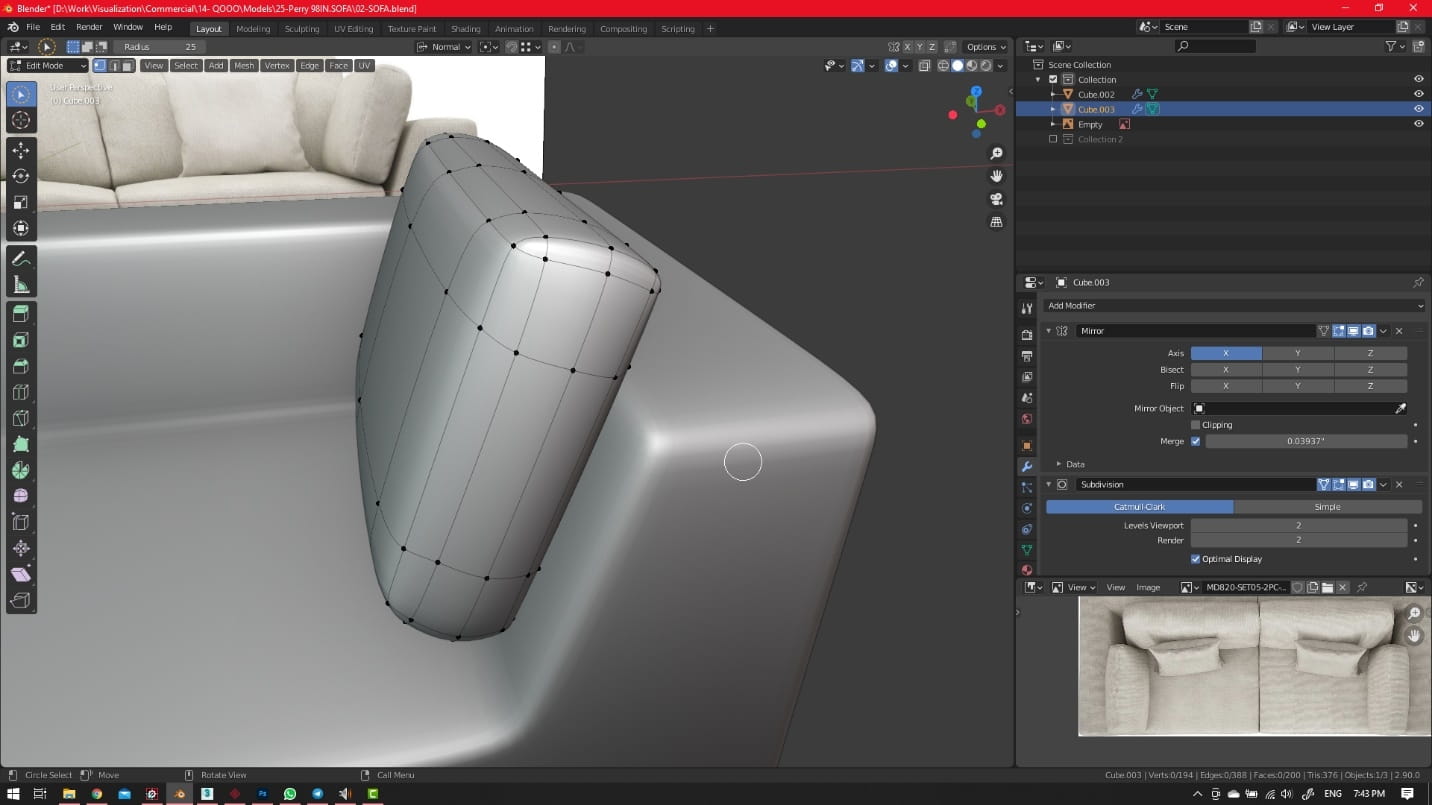

Fact: some areas may be look to sharp, to solve that just use smooth tool in edit mode, as I did in the picture below:

Done :)
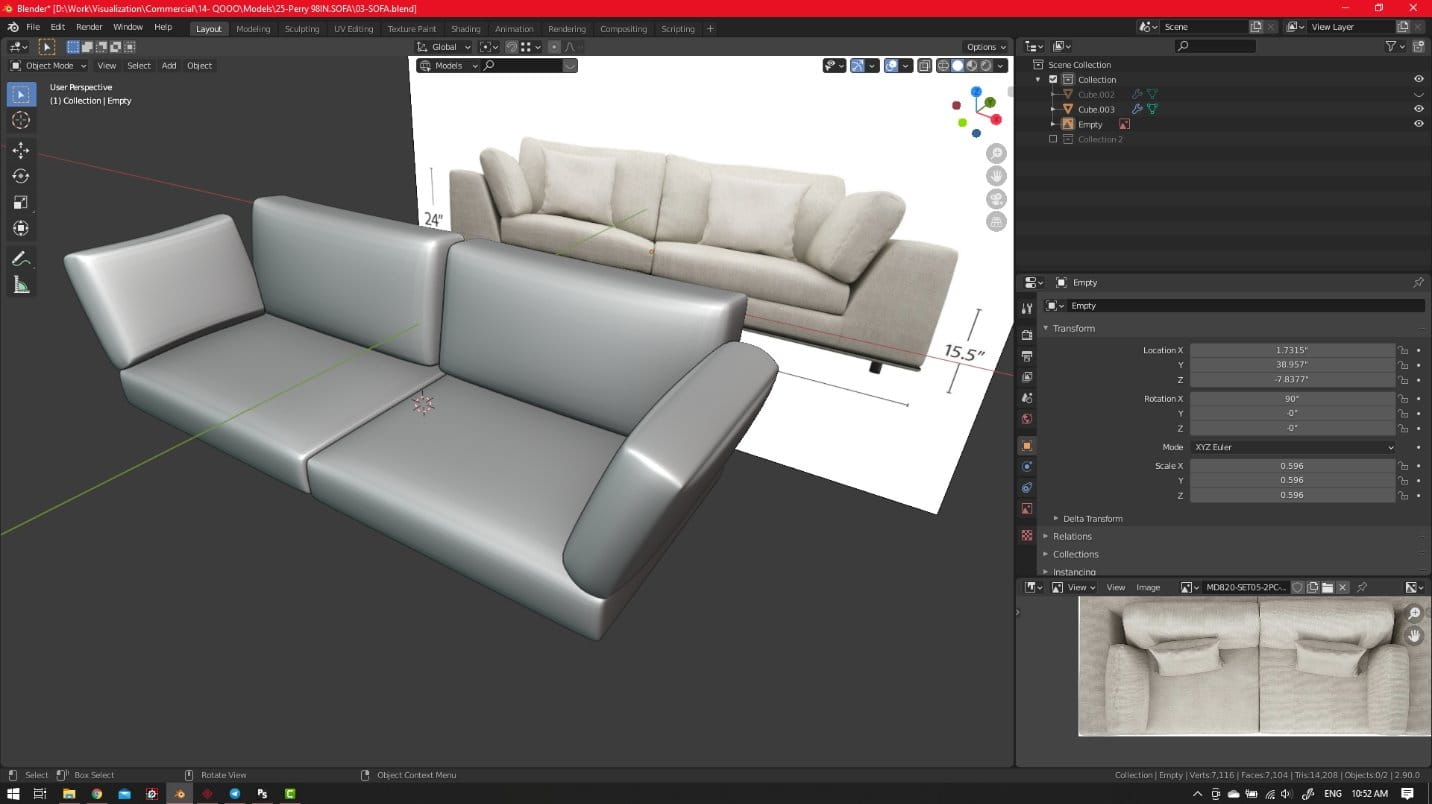
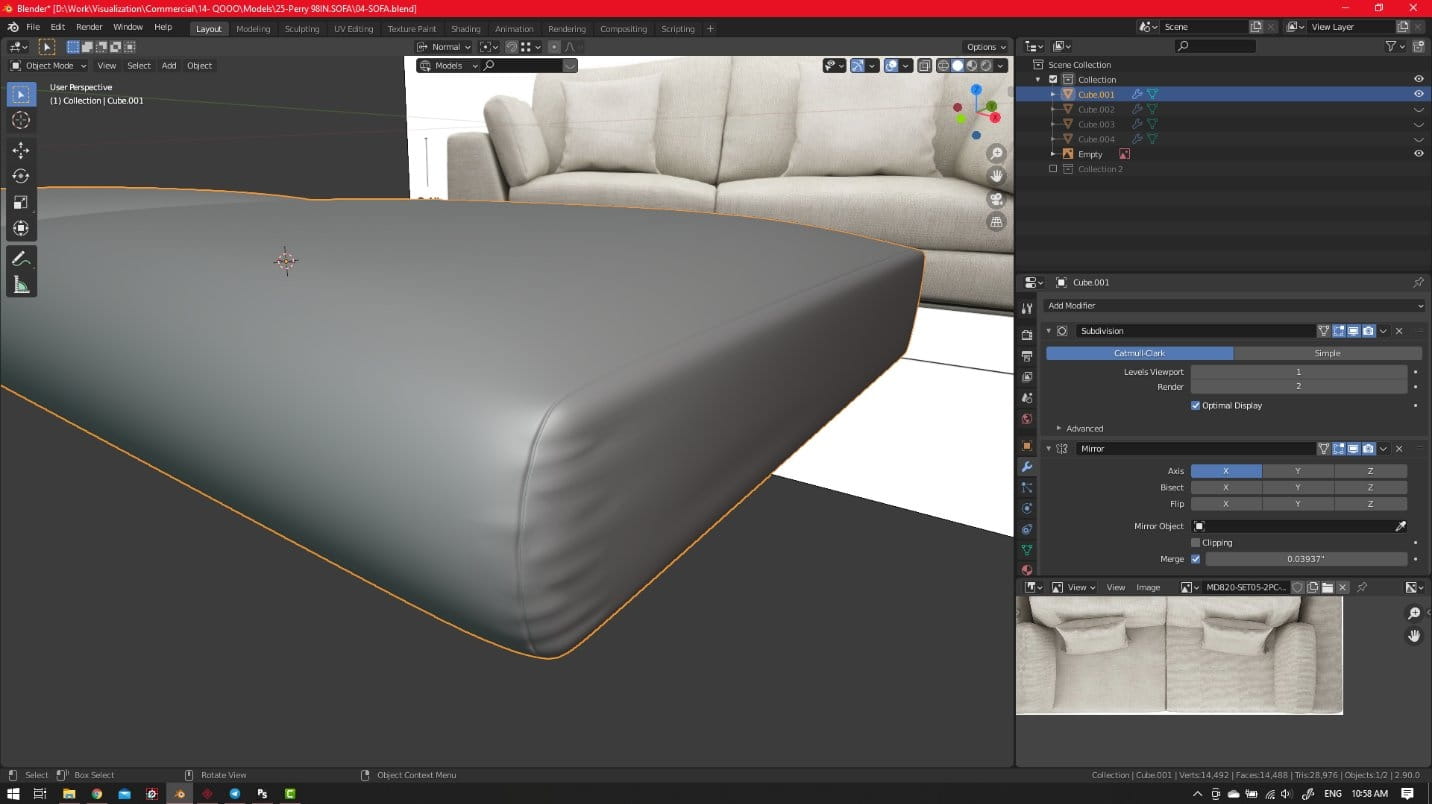
So, lets finalize all meshes and we will be ready to add final details like fabric wrinkles.

Some areas need to be inflated like the cushions.
Much better.
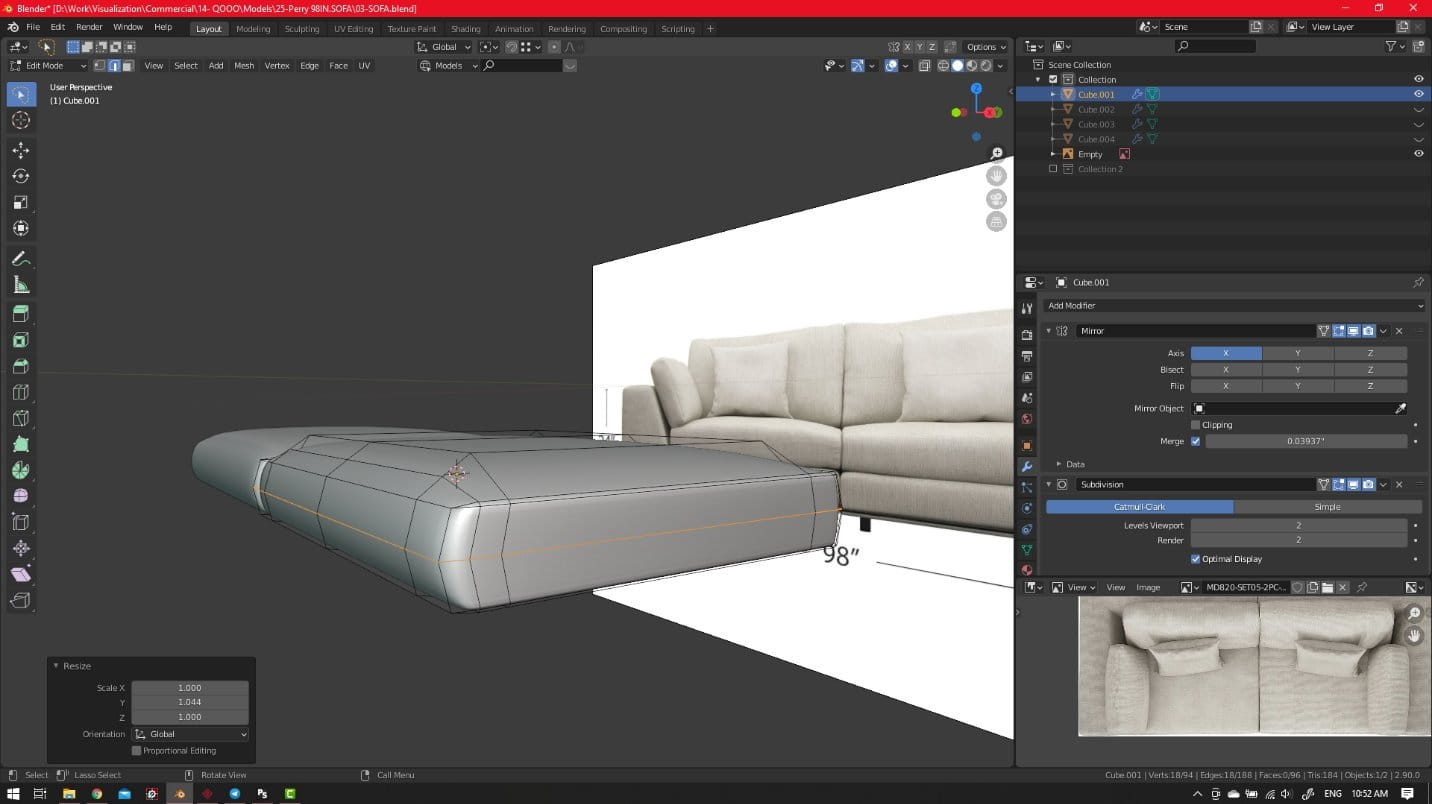
Also do the same again for cushions, to finalize the shapes.
For example scale the selected loop cut.
The final topology.
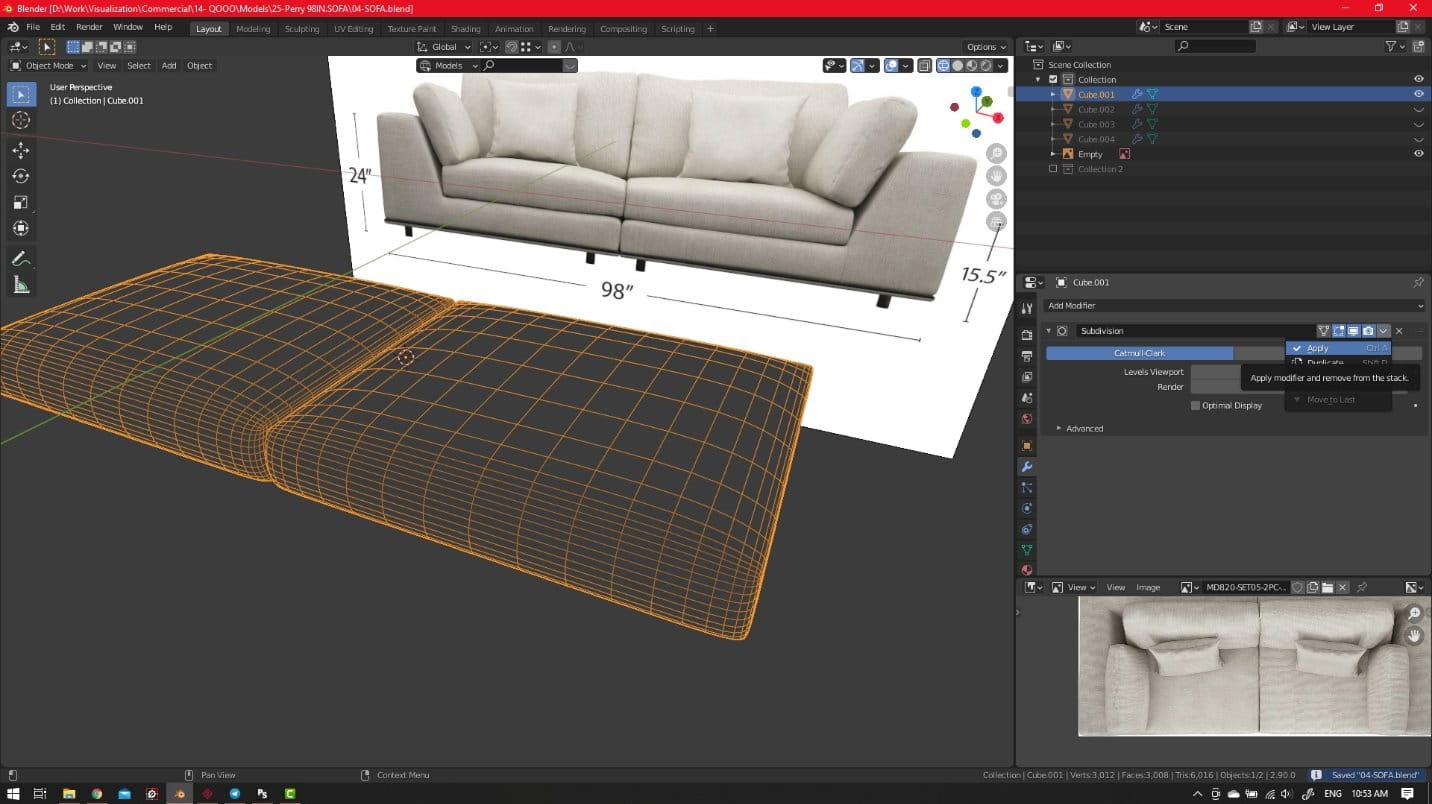
Final Details, Fabric Wrinkles
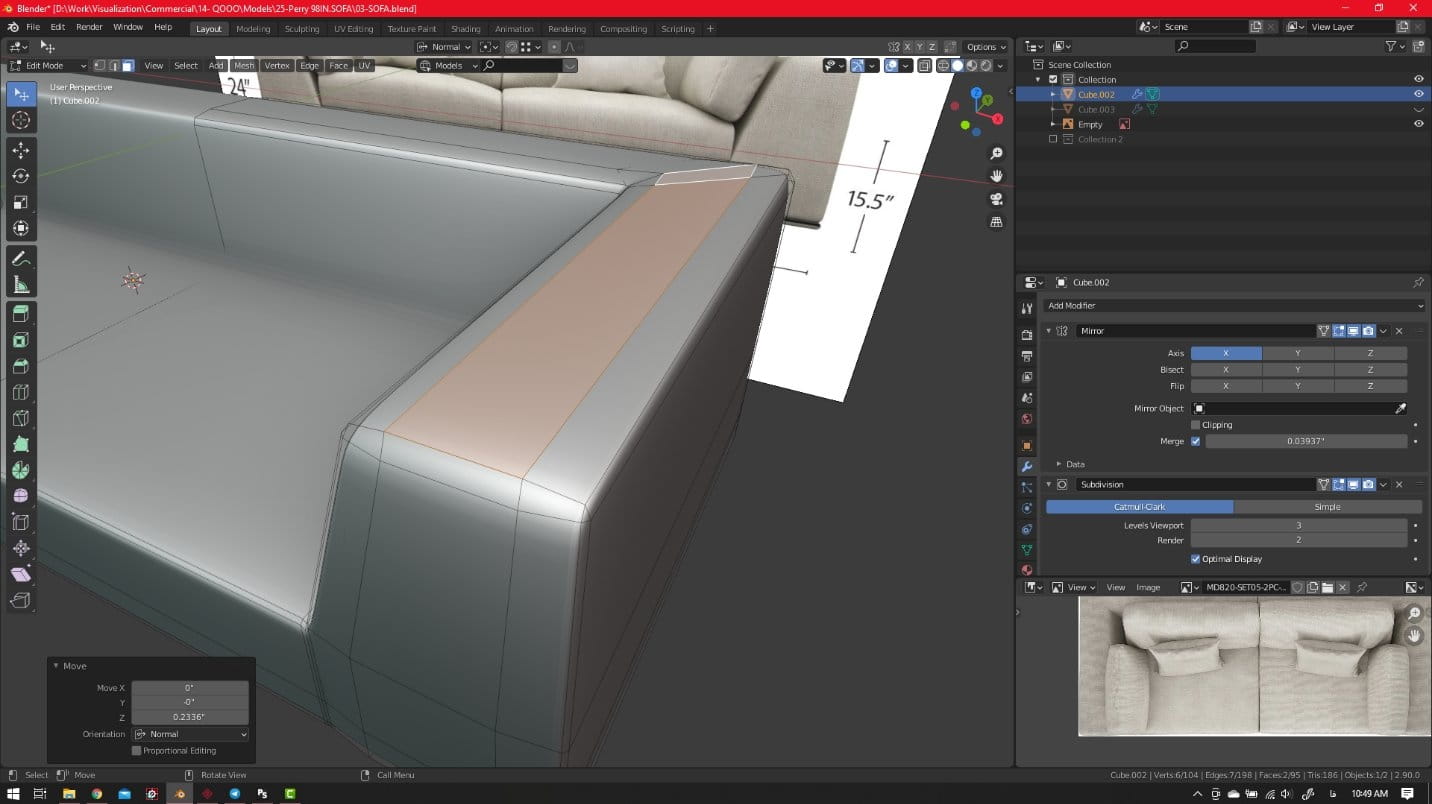
We need to apply one level of subdivion surface, then use knife tool in edit mode:

NOTICE: deselect everything before cutting the mesh! After finishing cutting your new edges will be selected automatically.
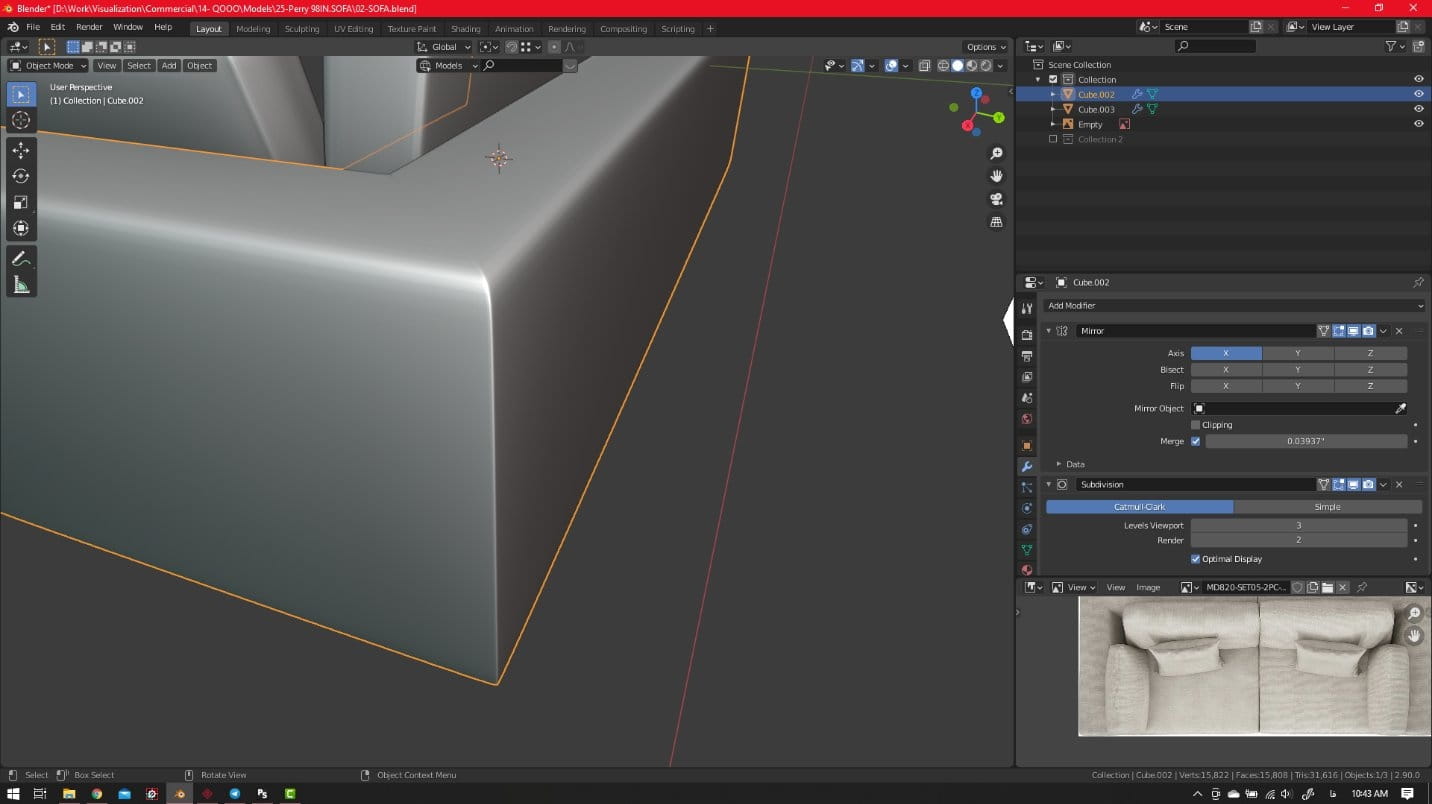
After cutting, just move the new edges along their normals individually and add subdivion surface again.

Then we need to model the sewing line on mesh. It’s really simple, just select the loop where sewing line should be placed, then bevel it and extrude along normal a little.
It's done, finally you can play with the edges to control the wrinkles. Repat the steps for all areas which need wrinkles.

For finish modeling process, we are going to make small cushions with cloth simulations.
Just add a plane, subdivide it and extrude, and add a seam. Then add subdivion surface modifier to be ready for cloth sim.
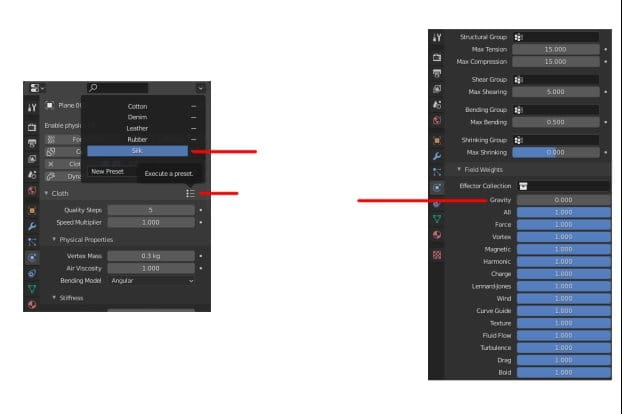
Then copy my setting for cloth simulation. Don’t forget to add a timeline and move it to 0 frame. And play and stop it until it reaches an acceptable shape.
Now you have something like this:
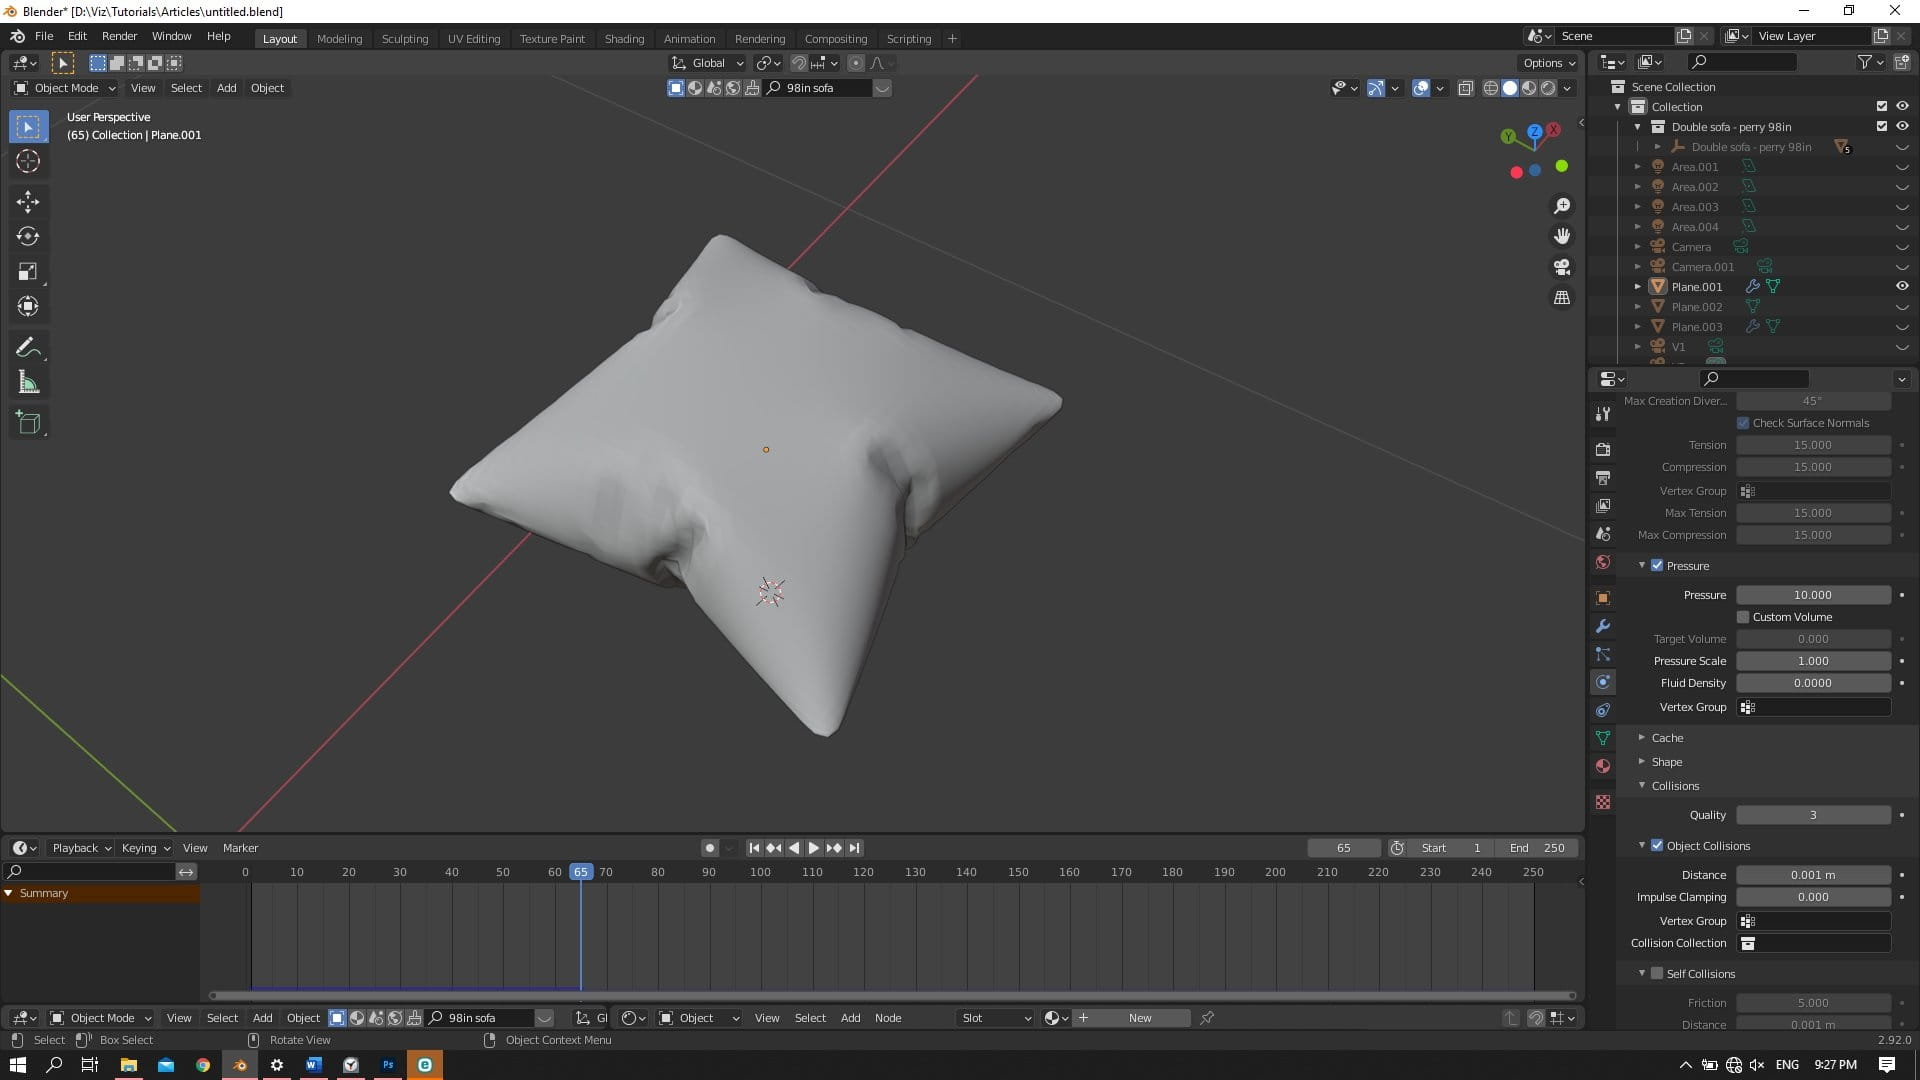
Now it should be dropped on the sofa,
So apply the cloth simulations in modifier panels, then add collision to sofa parts which are affect our pillow.

It's really important to set the gravity value in force field to about 0.2 while using pressure. Then drop the pillows, and that’s done.

Apply subdivion and if you wish you can use cloth brush to make some small wrinkles.
That’s almost done, but we need to place seams for UV mapping. put the seam in sewing line. For example for small cushions just add one seam in at the middle.


After adding a seam, we will unwrap the model. it’s better to use Texel Density free addon which you can download from here to equalize all parts of sofa.

Much better!

After UV mapping, we can apply subdivion surface (don’t forgot to make a backup of base mesh) to prepare model for sculpting. You can bake all final details.
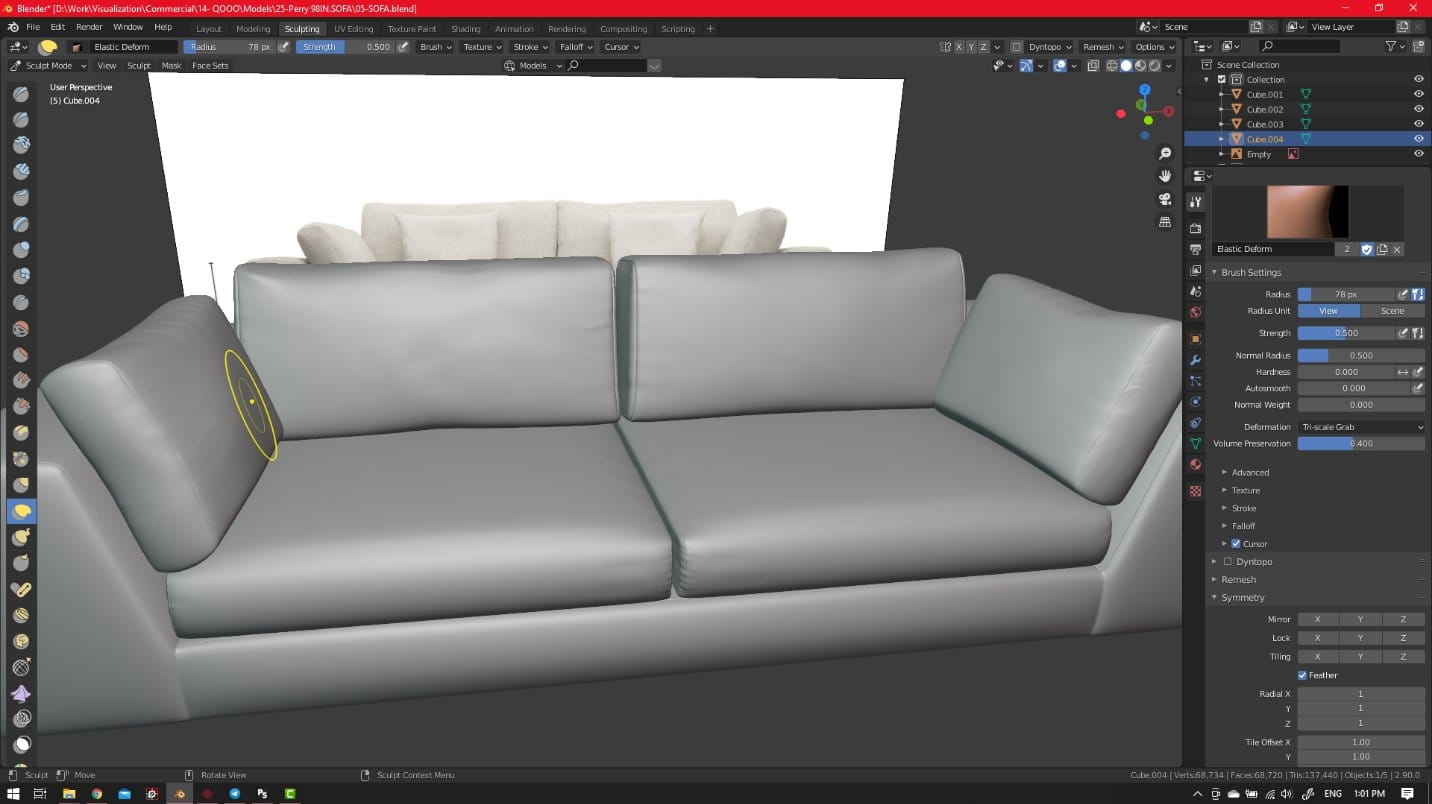
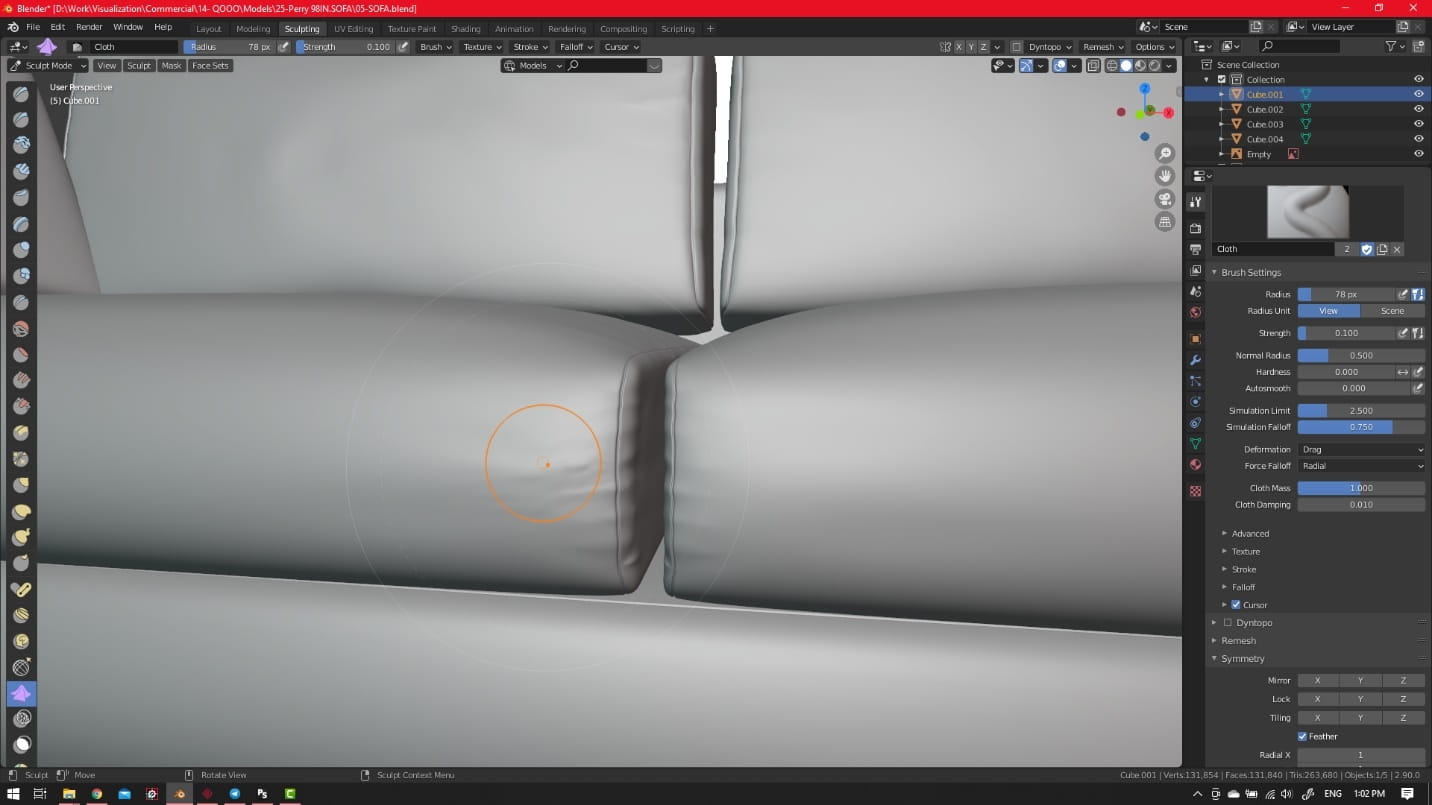
Sculpting (final detail)
In sculpt mode, we usually use these brushes the most:
- Cloth brush
- Smooth
- Slide relax
- Standard
- Crease
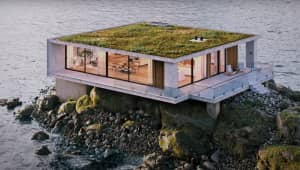
The final result:


Materials
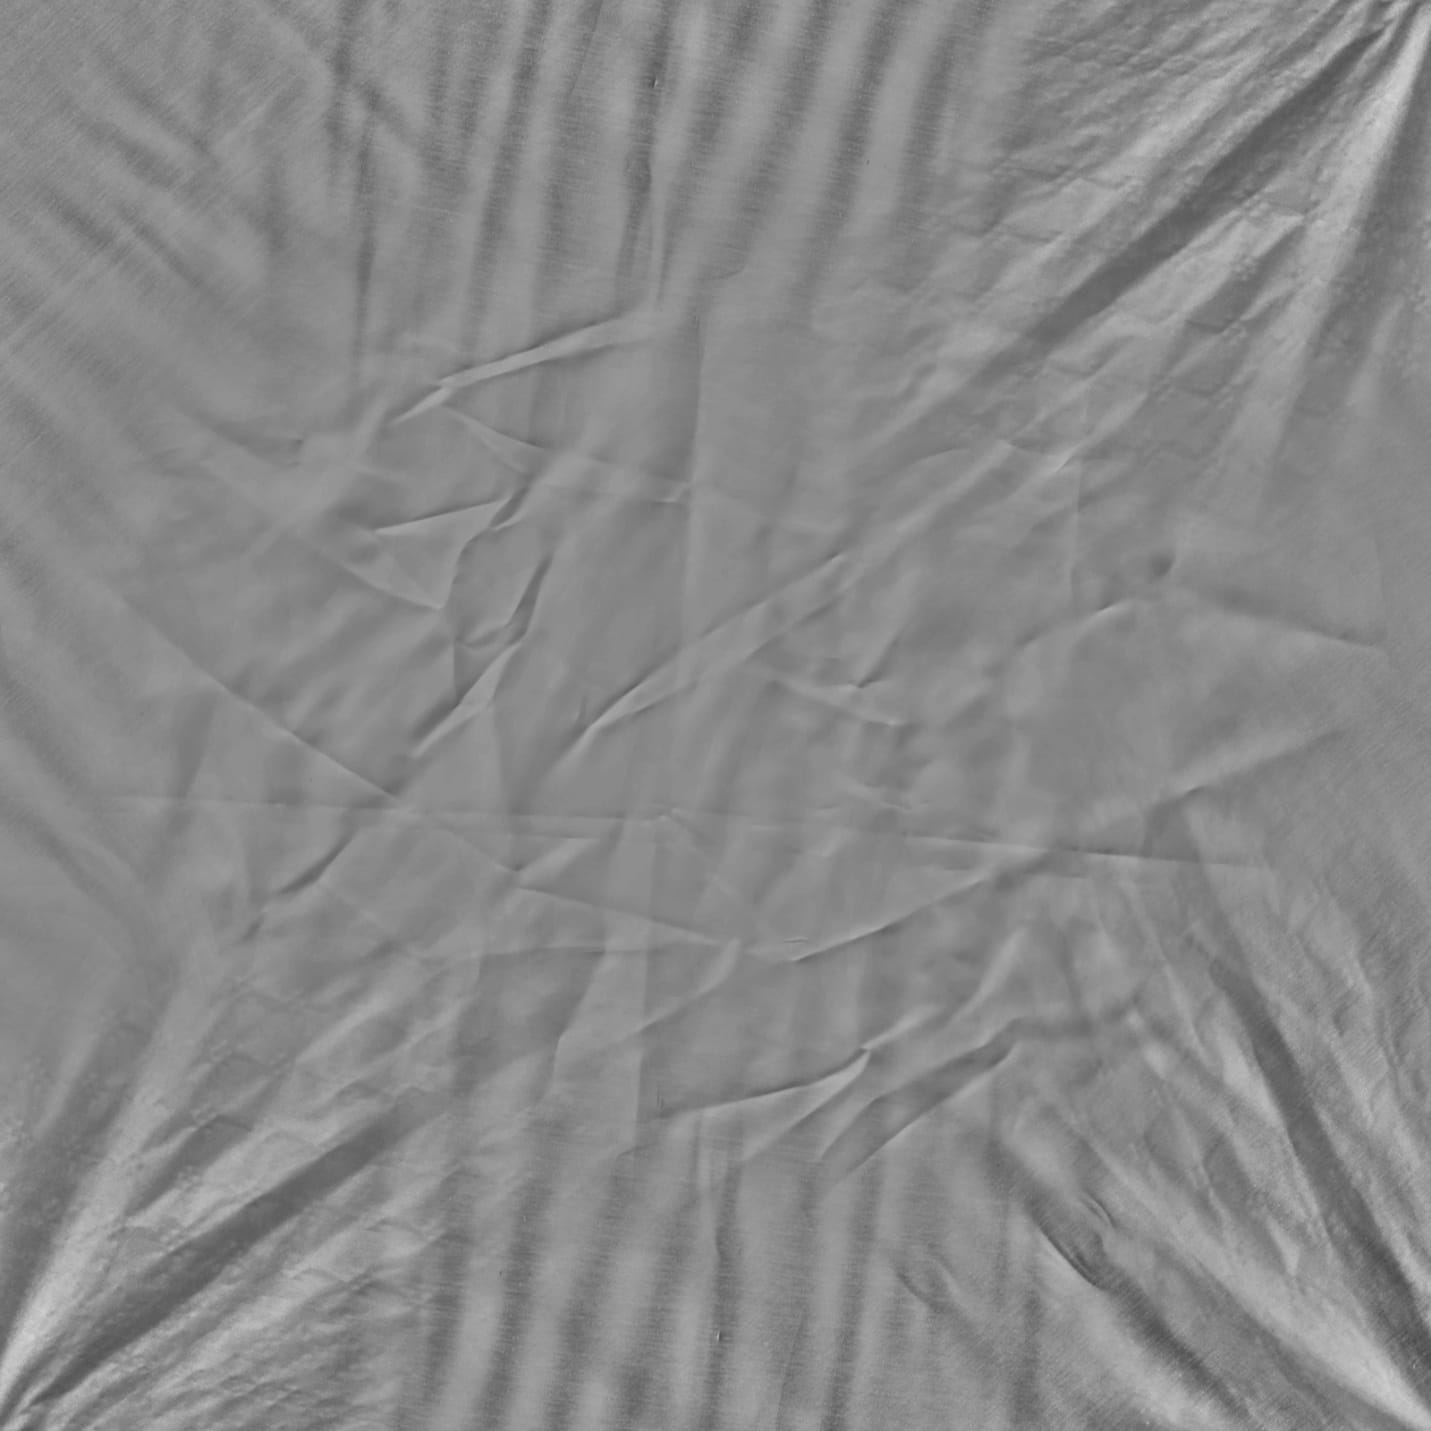
Creating materials and texturing is not that hard.
My node setup for fabrics:

Add this texture to the default bump (mix them) for small cushions:
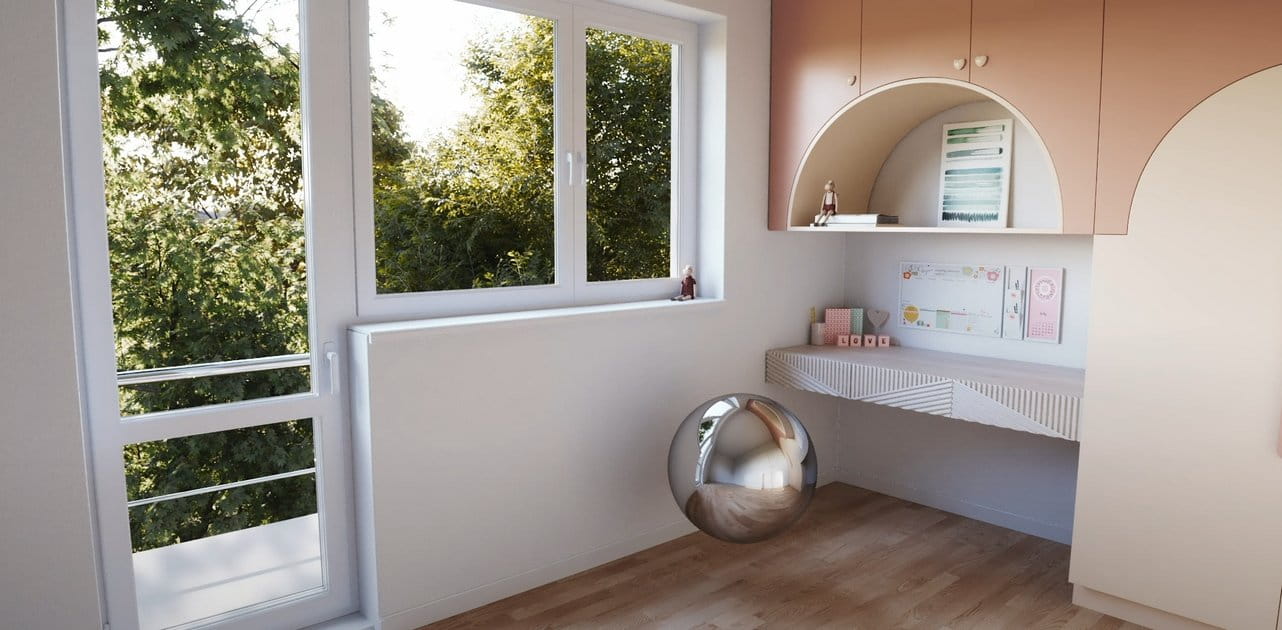
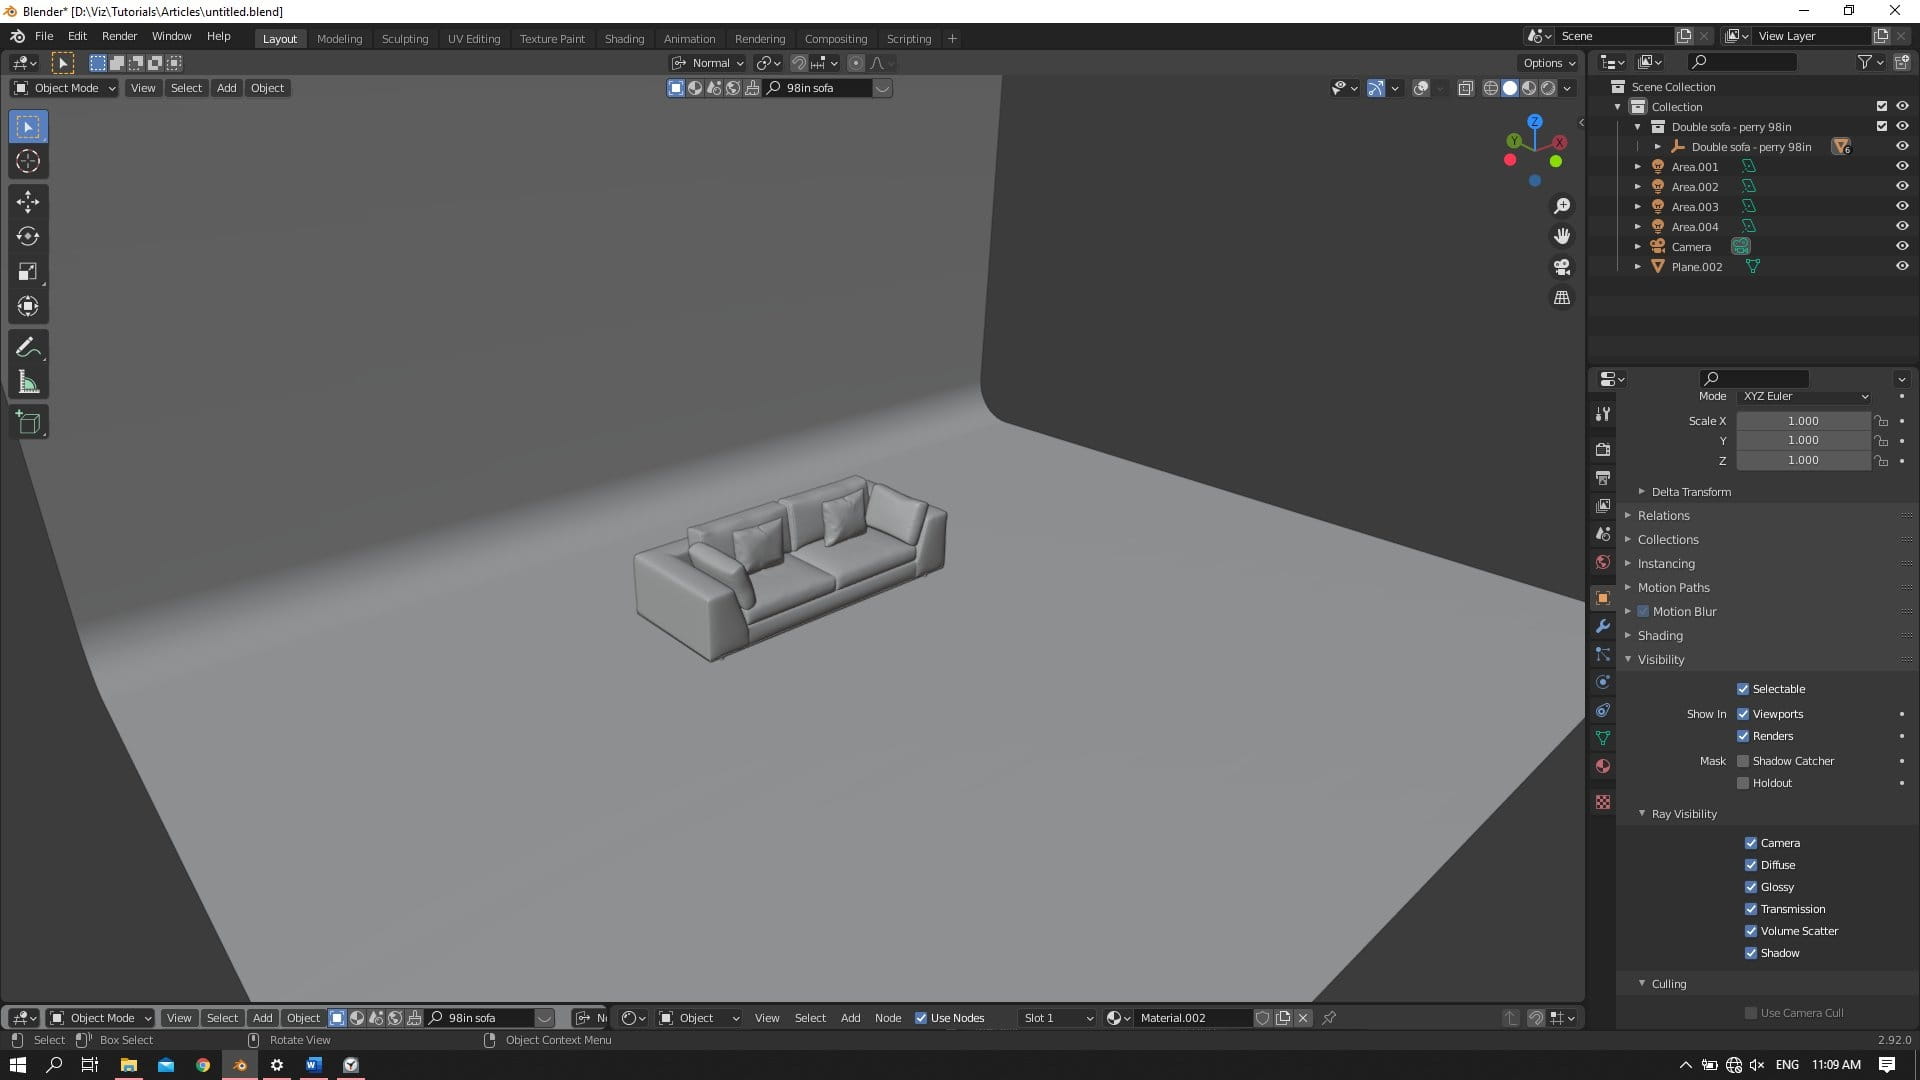
Lighting Setup
We made the realistic fabric material in blender. Now we are ready to prepare a simple lighting studio for rendering and set up a camera.
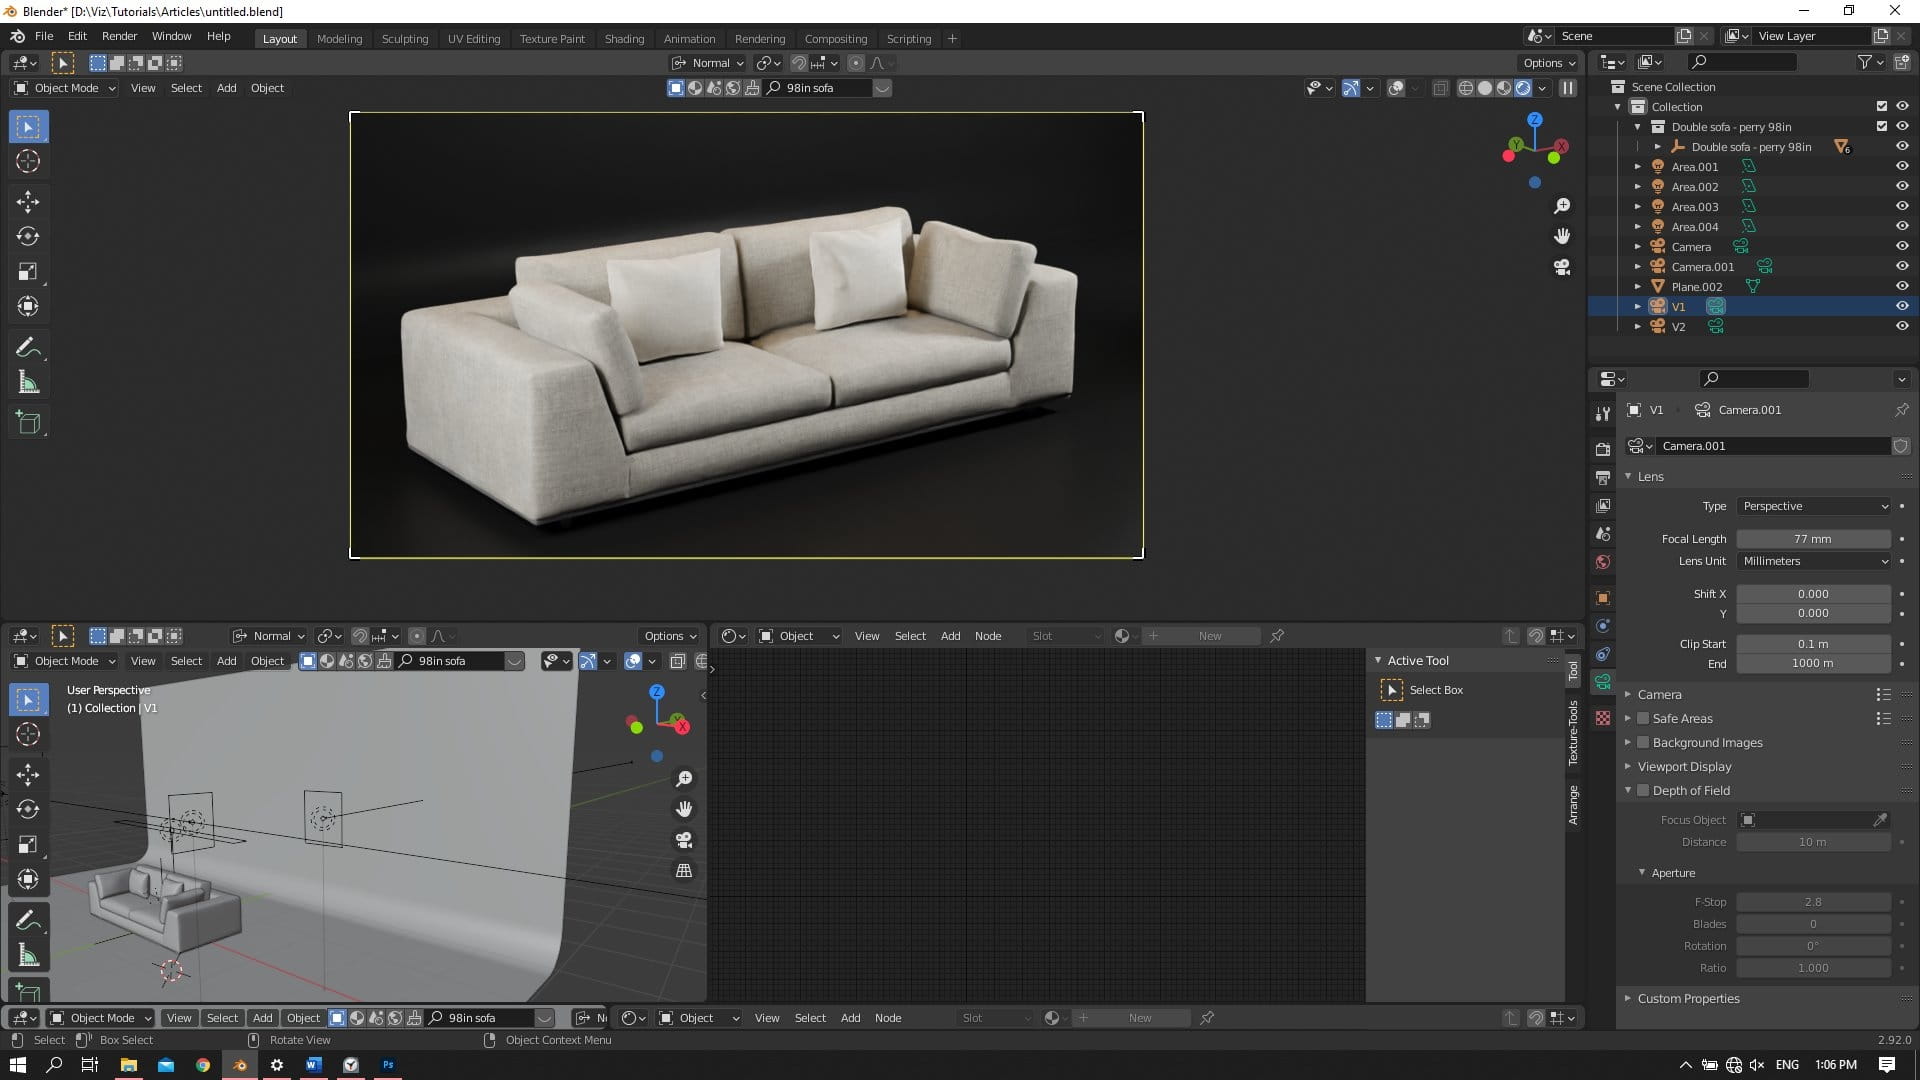
For studio photography, I usually narrow the field of view. Add a camera, increase focal length to about 100 mm, and move camera away from the model.
NOTICE: there is no rule for choosing a perfect angle for your camera, use your taste, look at references, experiment.

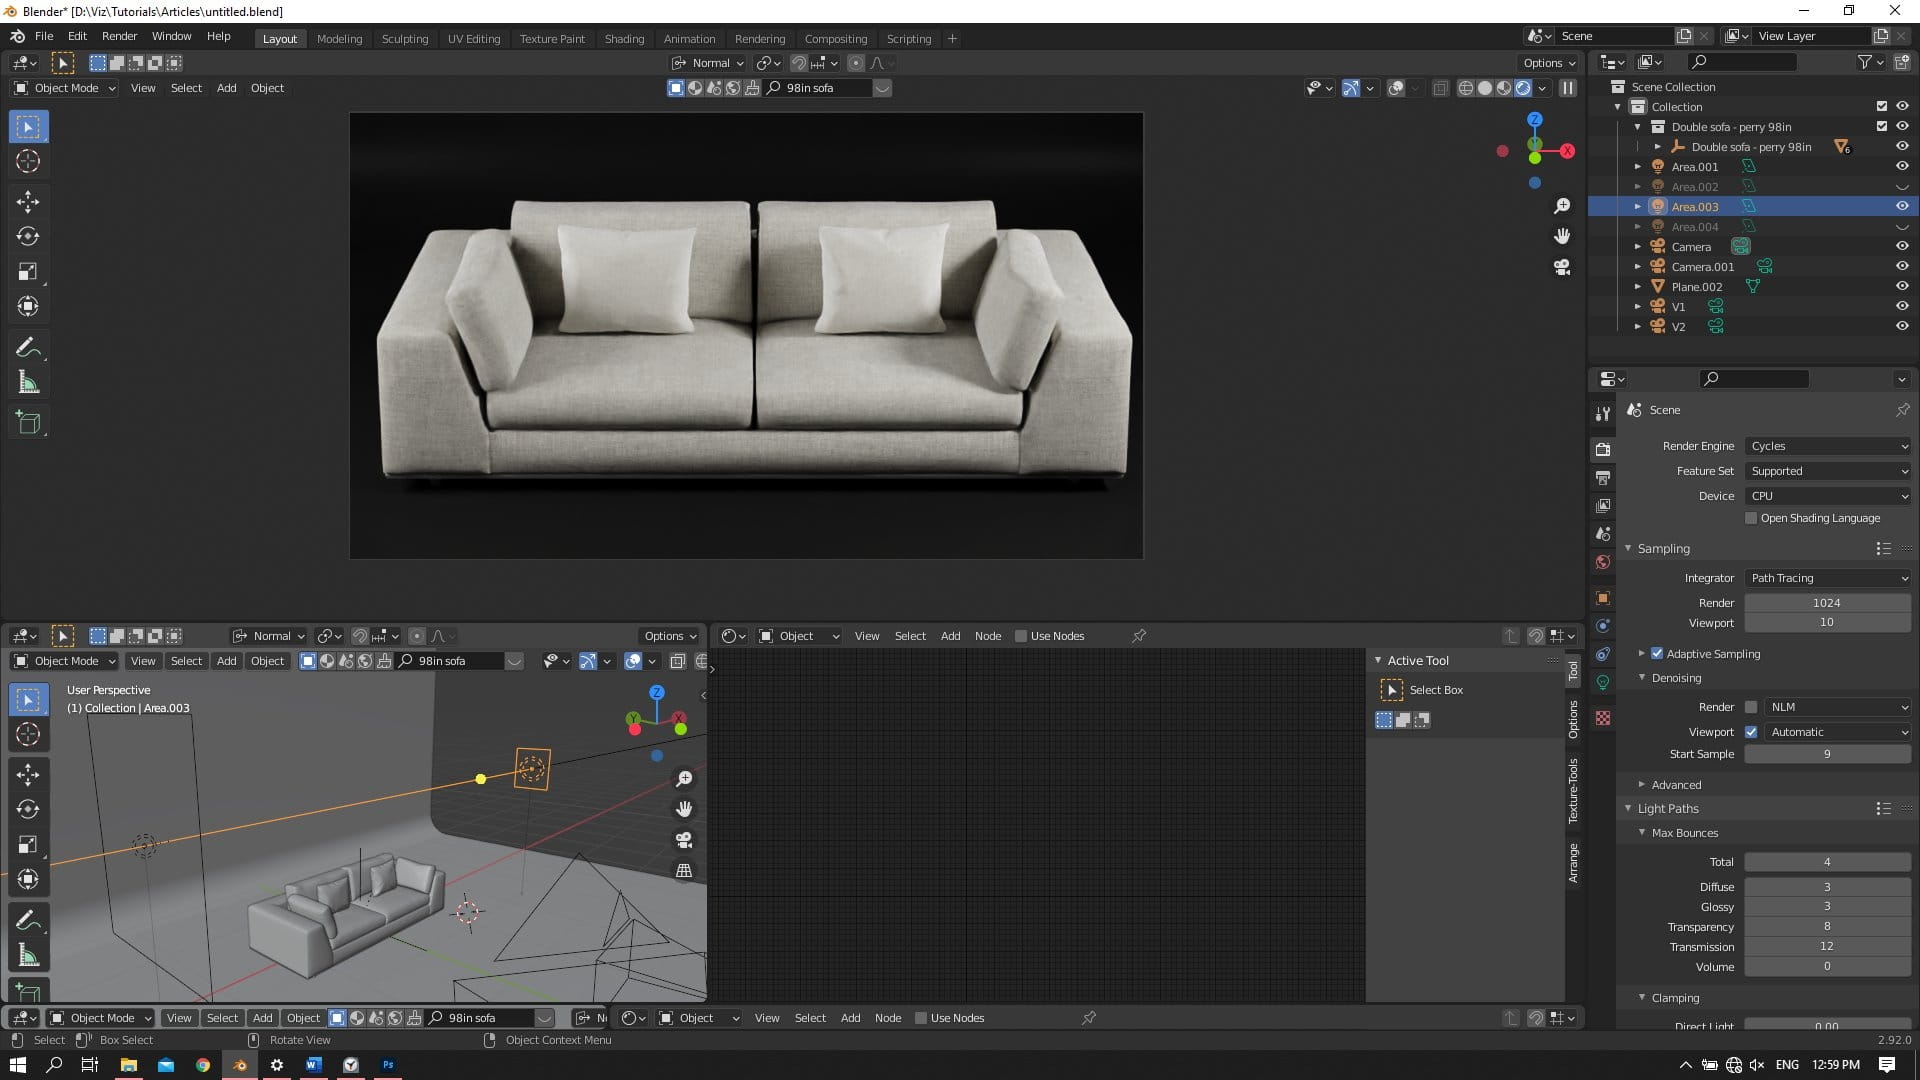
Time to light the scene! I start with lights with sharp shadows that are cast by smaller light sources.
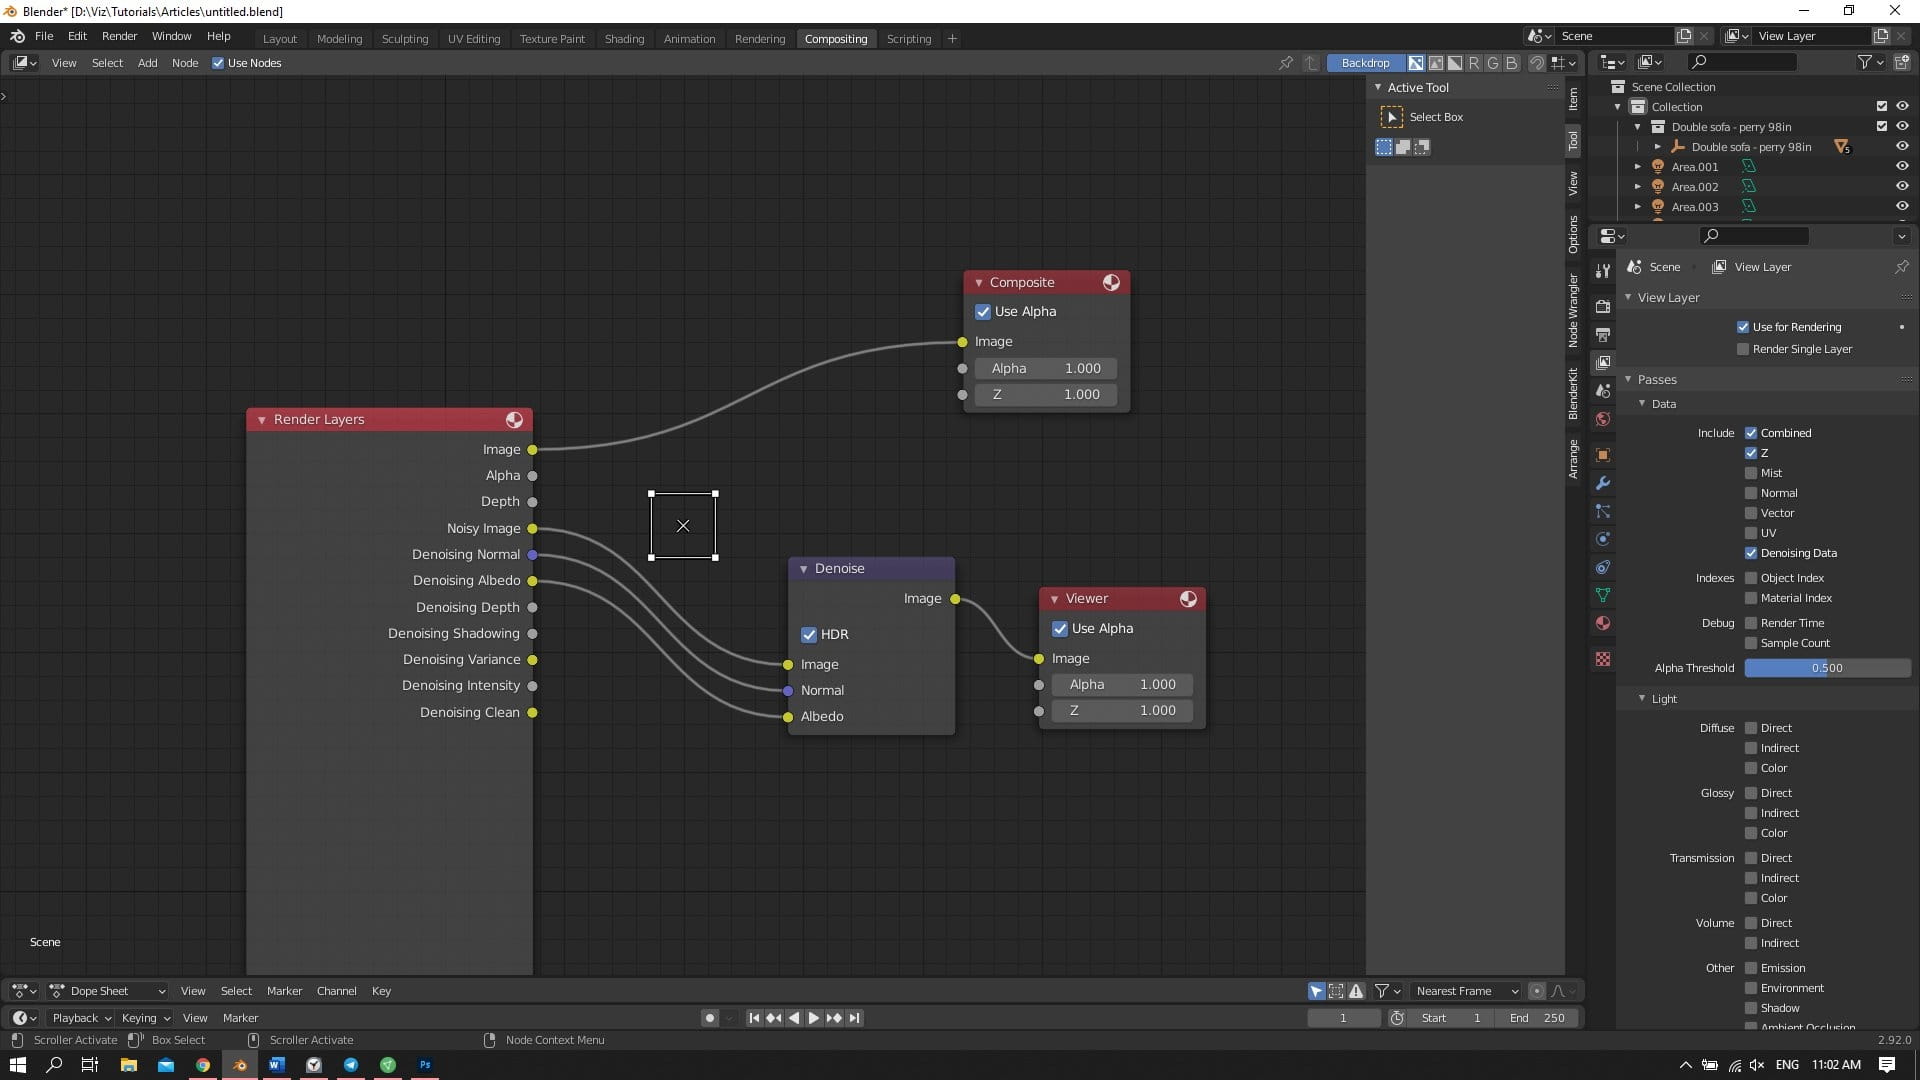
To see the preview of the lighting, turn on denoising in render panel. Make sure that you have "Cycles" renderer selected.
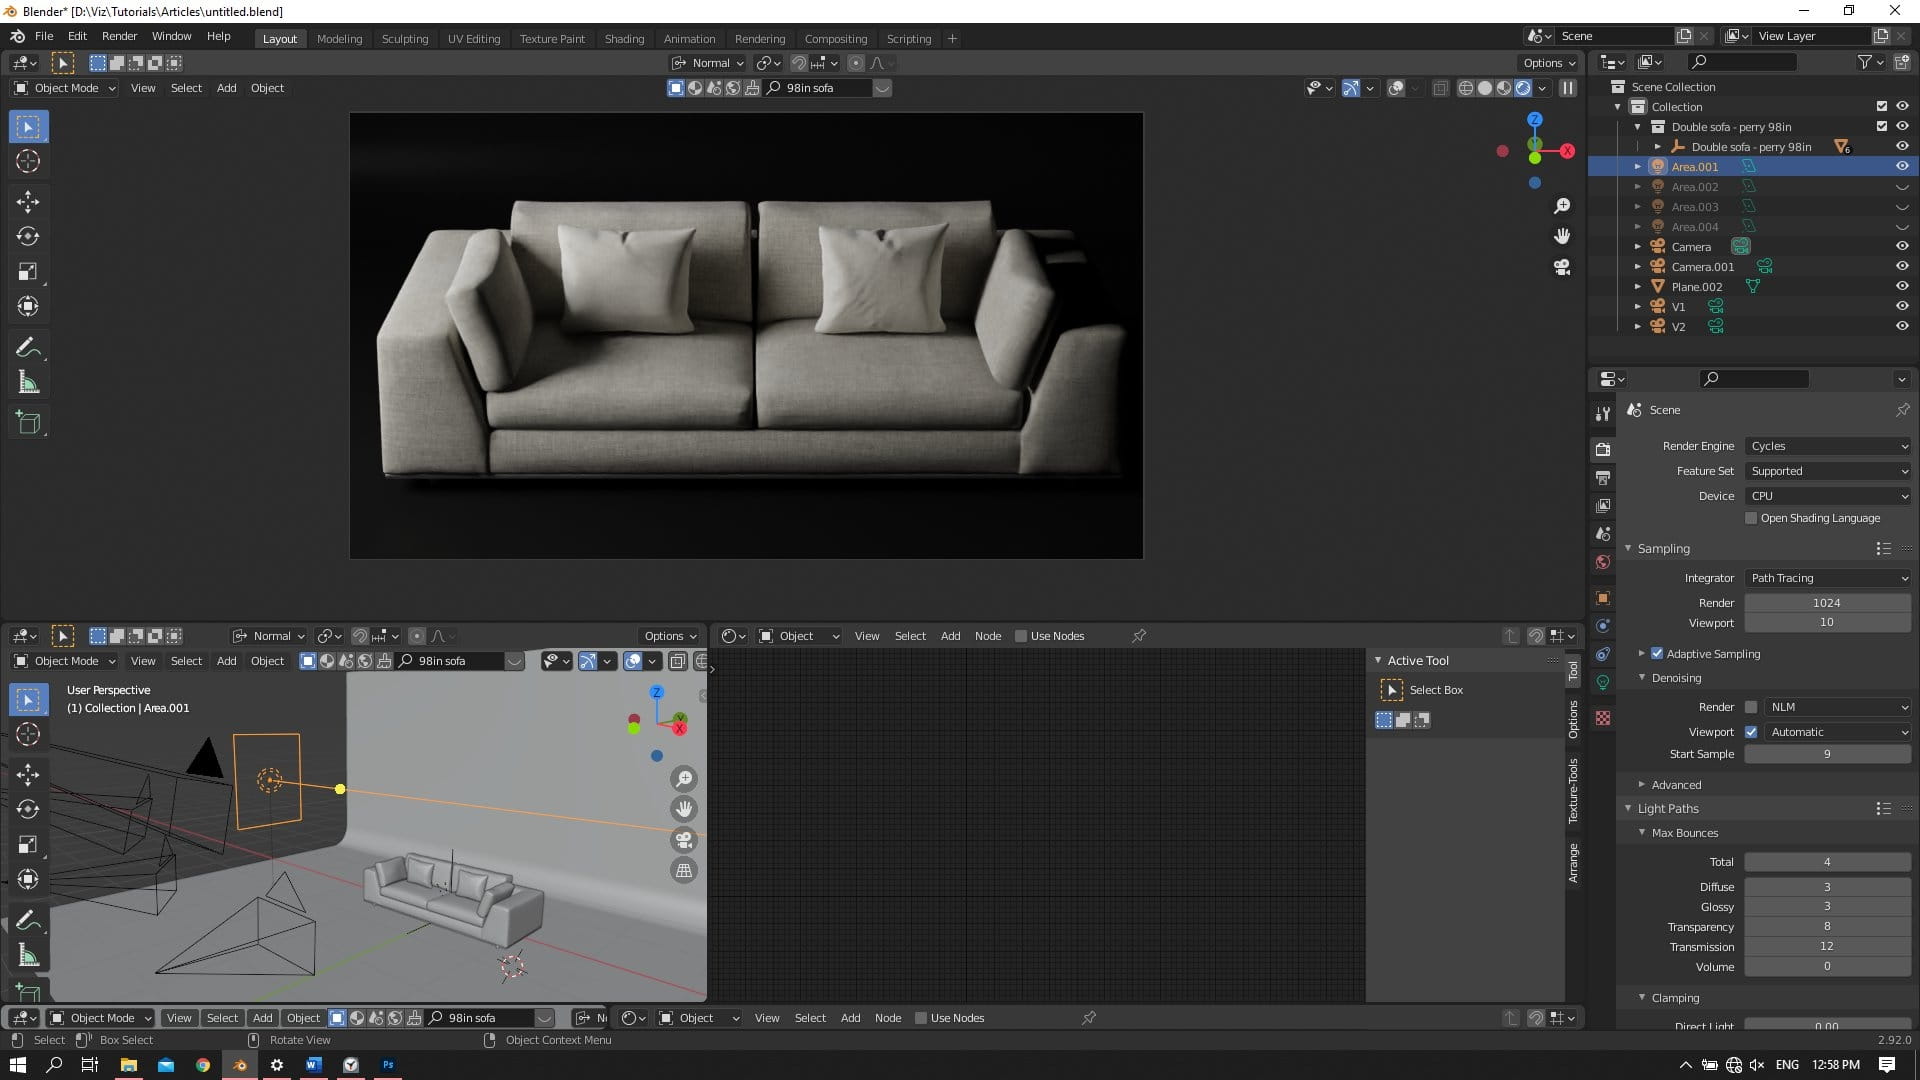
Then I add another light of different size and intensity and place it on the other side. For changing the mood and temperature, add a small, warm color light.
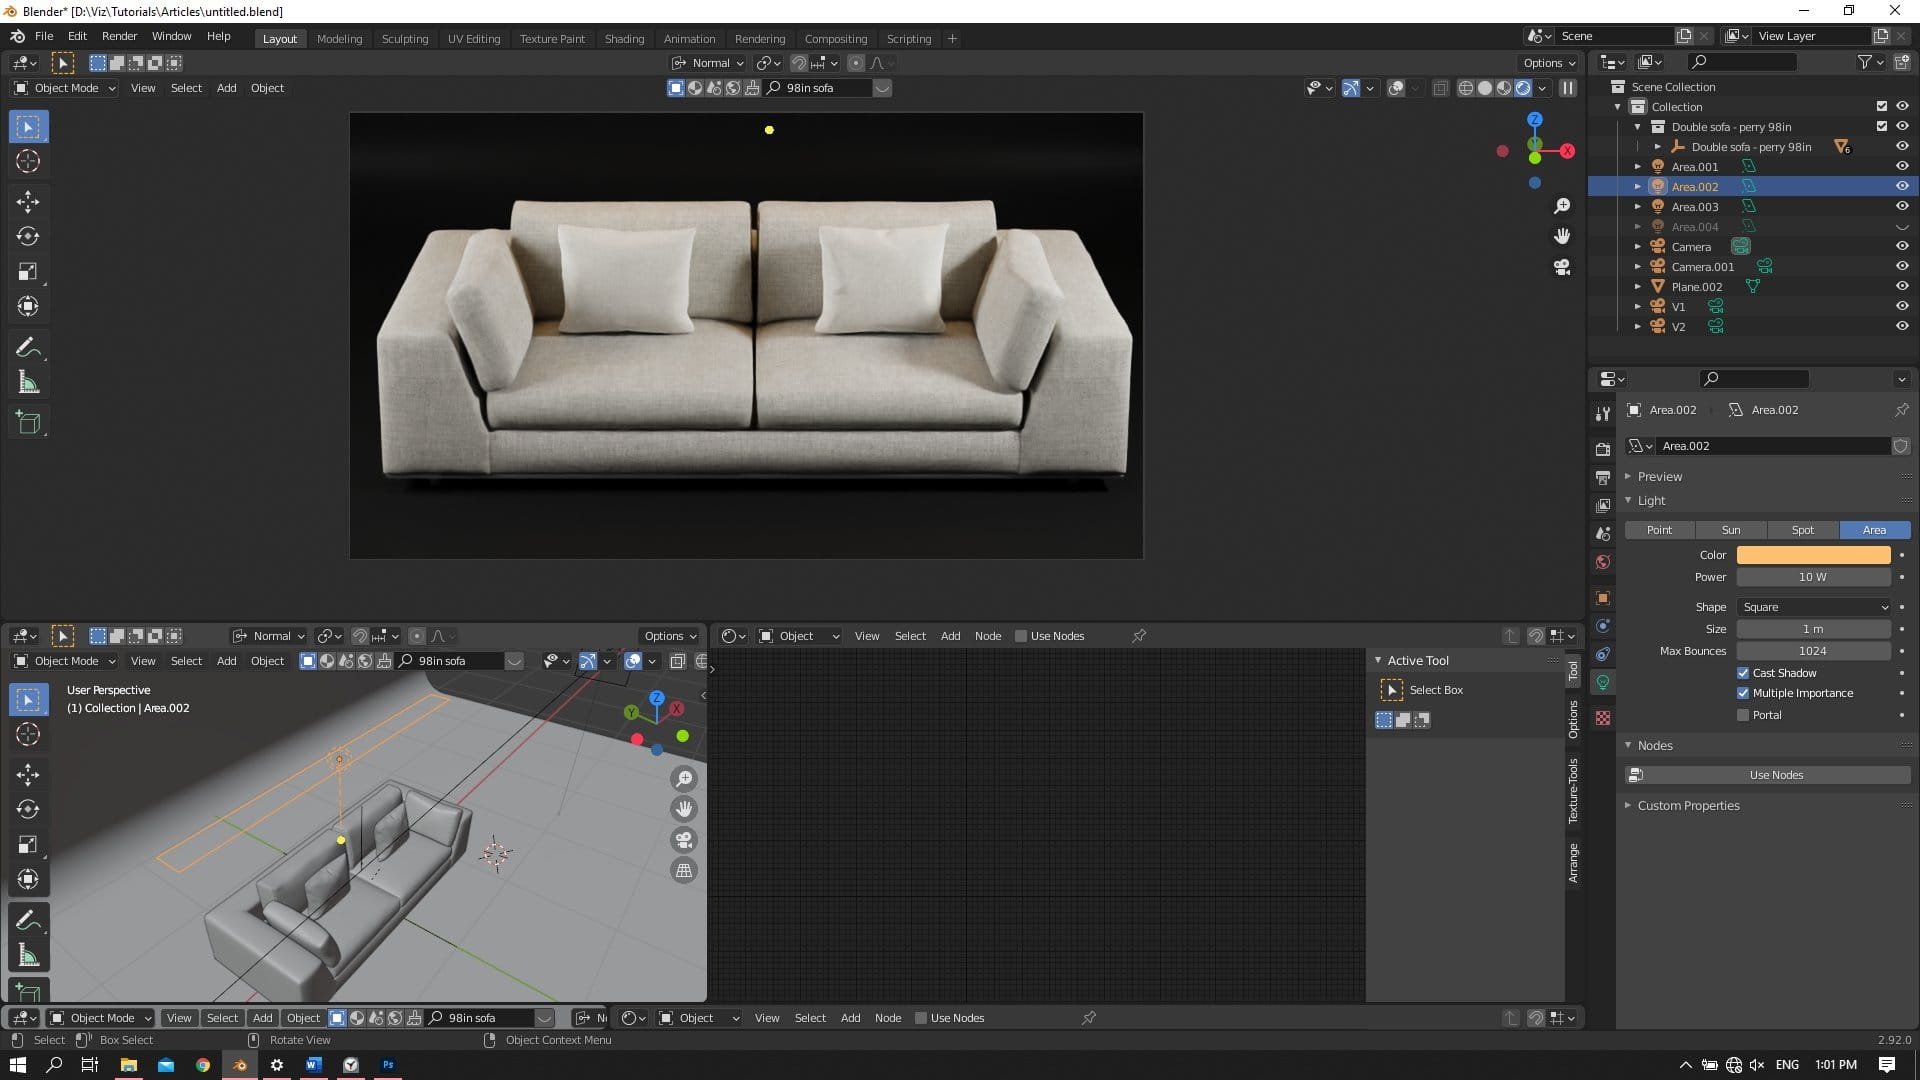
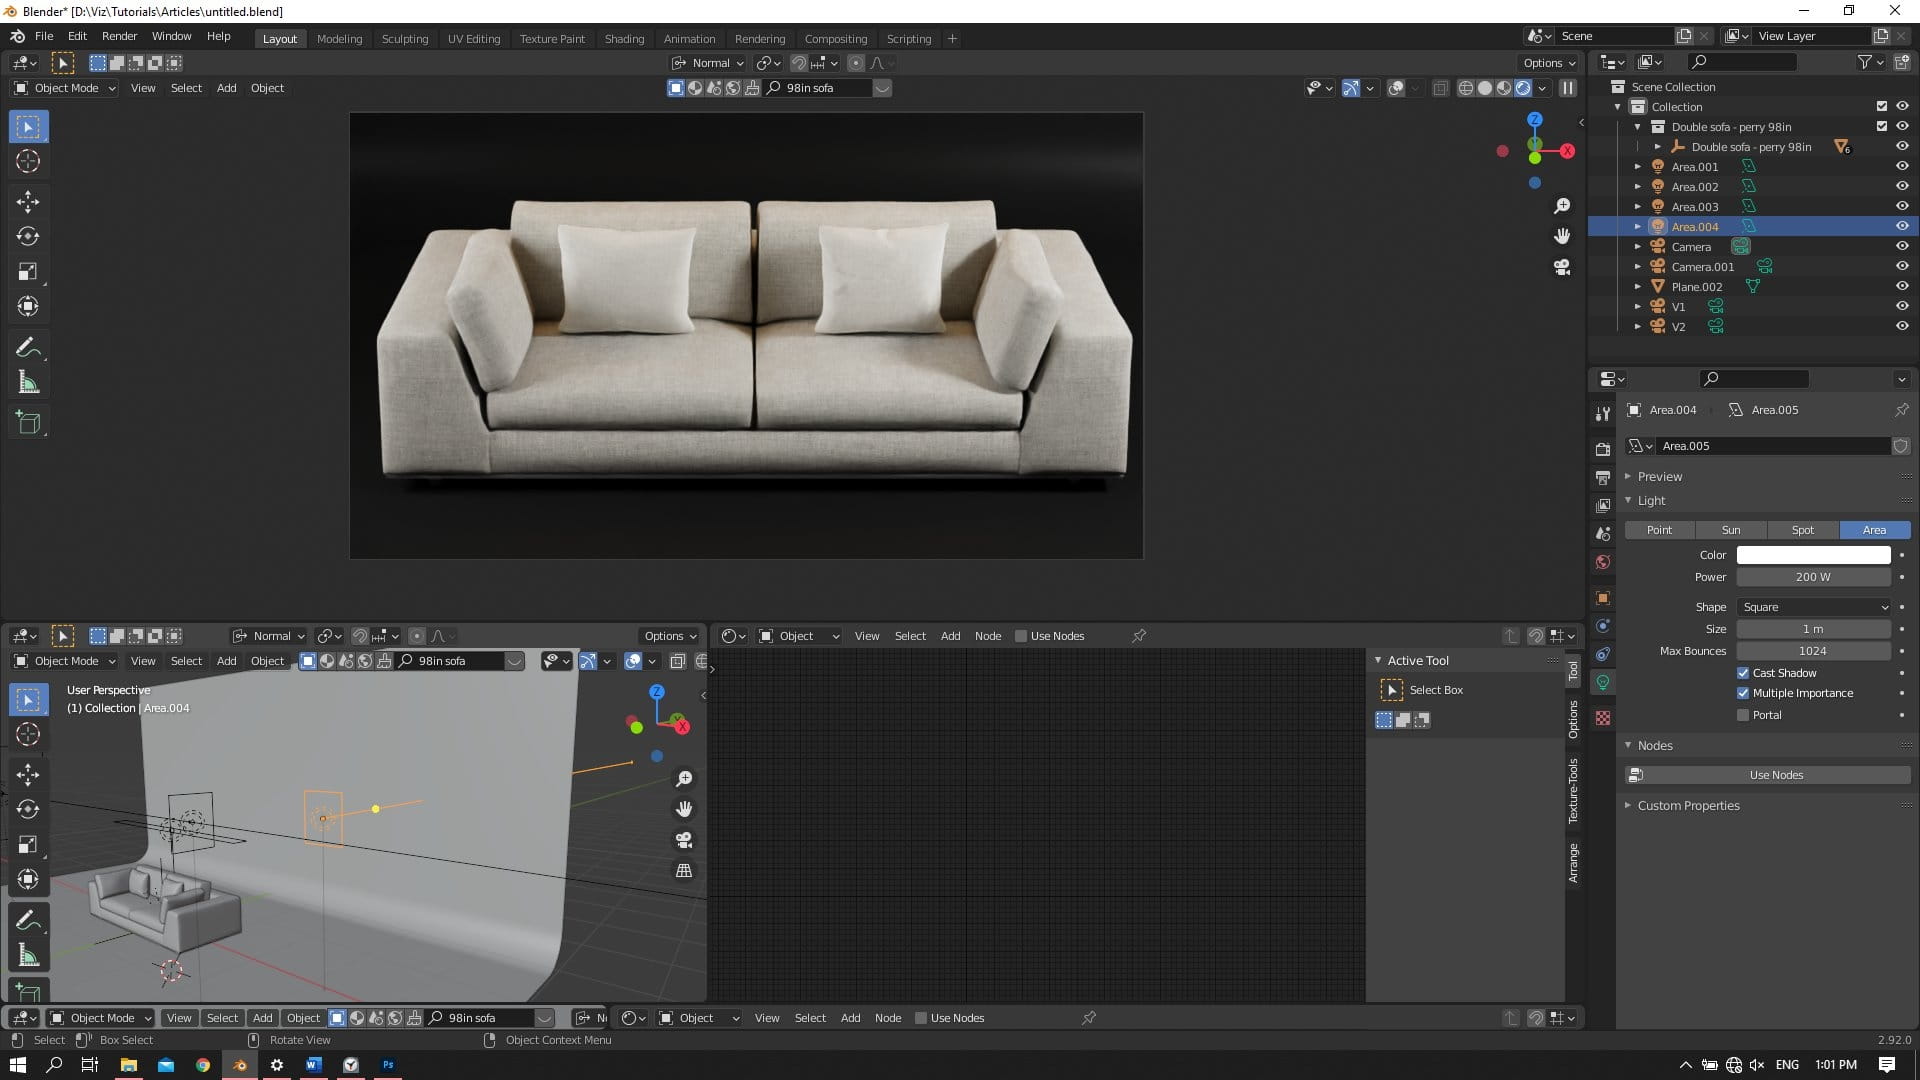
It’s acceptable now. All in all, we should test a lot to find the best setup which is suitable for our object. You can use HDRI to setup lighting, fast and easy.
Also check lighting for all cameras.

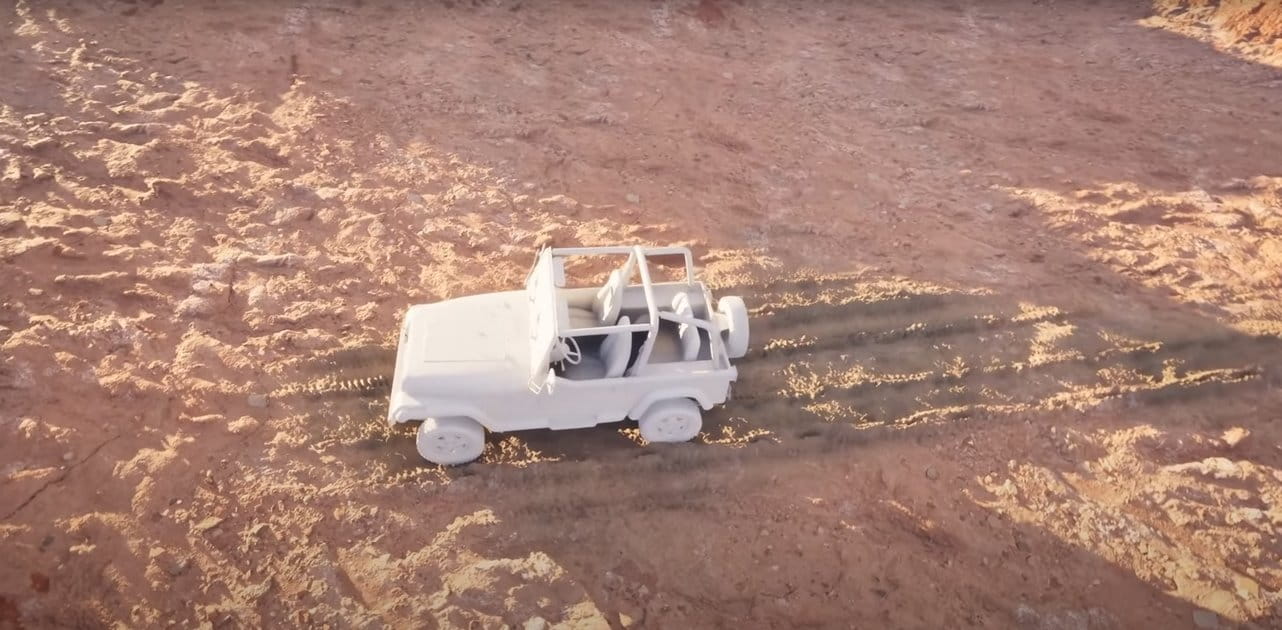
Rendering
Finally, use a denoiser, set the final samples to 1000 – 1500, set the total light path to 4, adaptive sampling and If you have cool GPU, use! ready to go! Click render.
Hope you enjoy this article!


LEAVE A COMMENT


|

|

|

|

|
 Customer zone
 Your special offers
 Your orders
 Edit account
 Add project
 Liked projects
 View your artist profile
COMMENTS