How To Make Your CGI Walls More Realistic
Realistic walls with noise modifier.
Total: € 0
Continue Shopping
In accordance with the art. 13 section 1 and 2 of the European Parliament and Council Regulation 2016/679 of the 27th April, 2016 on the protection of natural persons, with regard to the processing of personal data and on the free movement of such data, and repealing Directive 95/46/EC (General Data Protection Regulation), hereafter RODO, I hereby inform that:
1. EVERMOTION S.C., 8 Przędzalniana Str., 15-688 Białystok, Poland is the Administrator of your Personal Data (APD)
2. Data Protection Inspector can be reached through e-mail: iod@evermotion.org
3. Your personal data are to be processed on the basis of art. 6 section 1 letter a, b and f of RODO in order to:
a) prepare, conclude and execute the agreement and for other purposes approved by you,
b) to execute the legitimate interest like marketing of products and the agreement, claim assertion or defence against claims resulting from the law regulations.
4. Entities entitled to the reception of your personal data may be the authorised public bodies; mail providers; providers of the services covered by the agreement; responsible for debt recovery, keeping the archives, document utilization, legal consulting, technical services, IT services and accountancy.
5. Your personal data shall not be transferred to the third country, nor to the international bodies.
6. Your personal data shall be processed within the period of the agreement and upon your additional consent until you withdraw it. APD shall keep the data for the period of any civil law claim execution connected with the agreement.
7. You have the right to demand an access to your personal data, to correct or to delete the data if there is no other basis for the processing or any other purpose of such processing or to limit the processing of the data, to transfer the data to another administrator and to raise objections to the further data processing if there is no legal basis for further processing and to withdraw any previous consent.
8. You provide the personal data voluntarily, however they are necessary to conclude the agreement. The refusal of providing such data may result in the refusal of the agreement conclusion.
9. You have the right to lodge a complaint to the Personal Data Protection Office when in your opinion the data processing violates the regulations of General Data Protection Regulation of the 27 April, 2016 (RODO).
10. Your data will be automatically processed, including the form of profiling.
11. You are obligated to forward above mentioned information to your representative, especially if you appointed this person in the agreement as the contact person or as the representative for the agreement execution.

Hi everyone! My Name is Rajnikant Kumawat. i'm an Architect, Interior Designer and 3D Artist Based in Jaipur, India. I have more than 6 years experience in architectural visualization. First of all i want to thank Evermotion team for great opportunity to presenting my work. I hope you will enjoy reading this making-of article.
Software used: Autodesk 3Ds max / Corona Renderer / Forest Pack / Photoshop
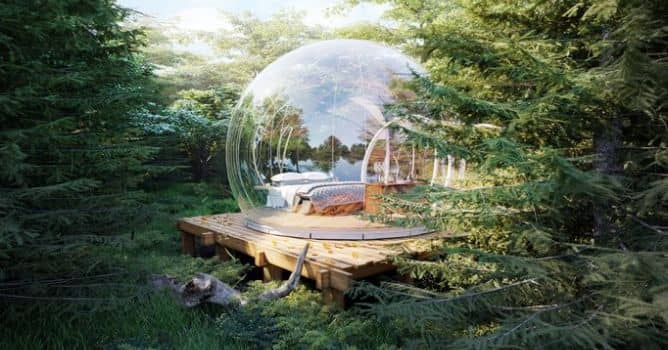
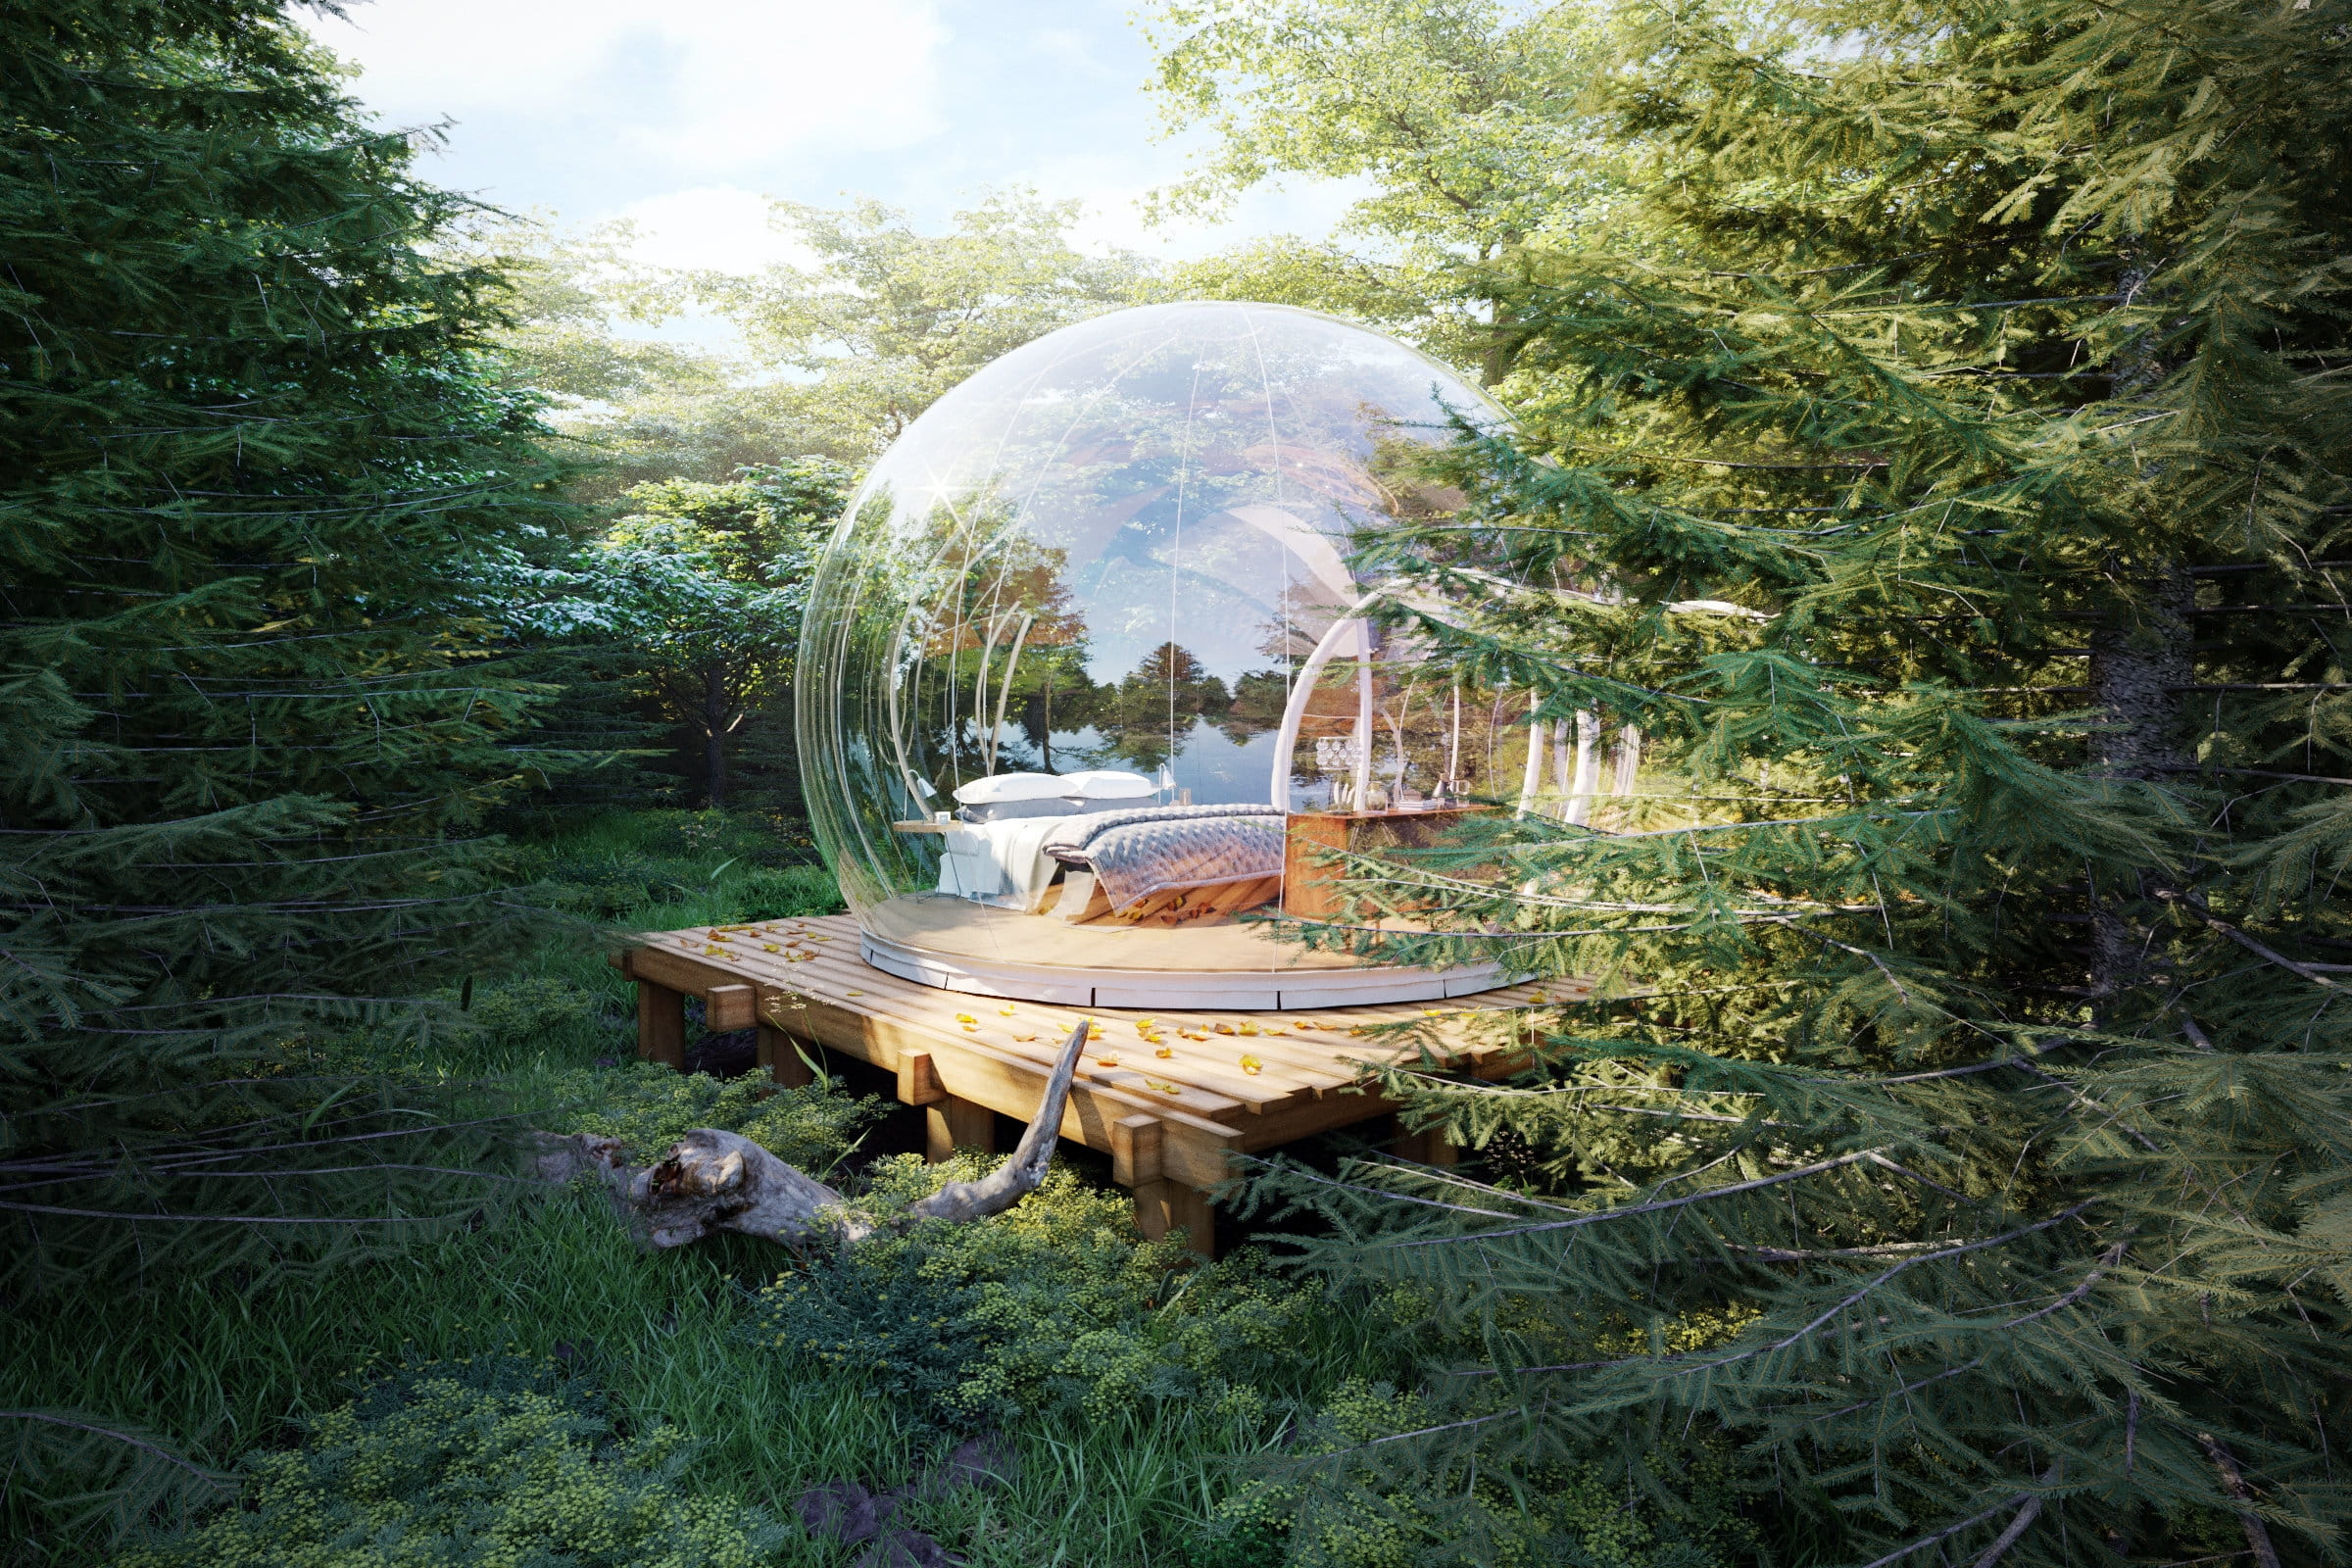
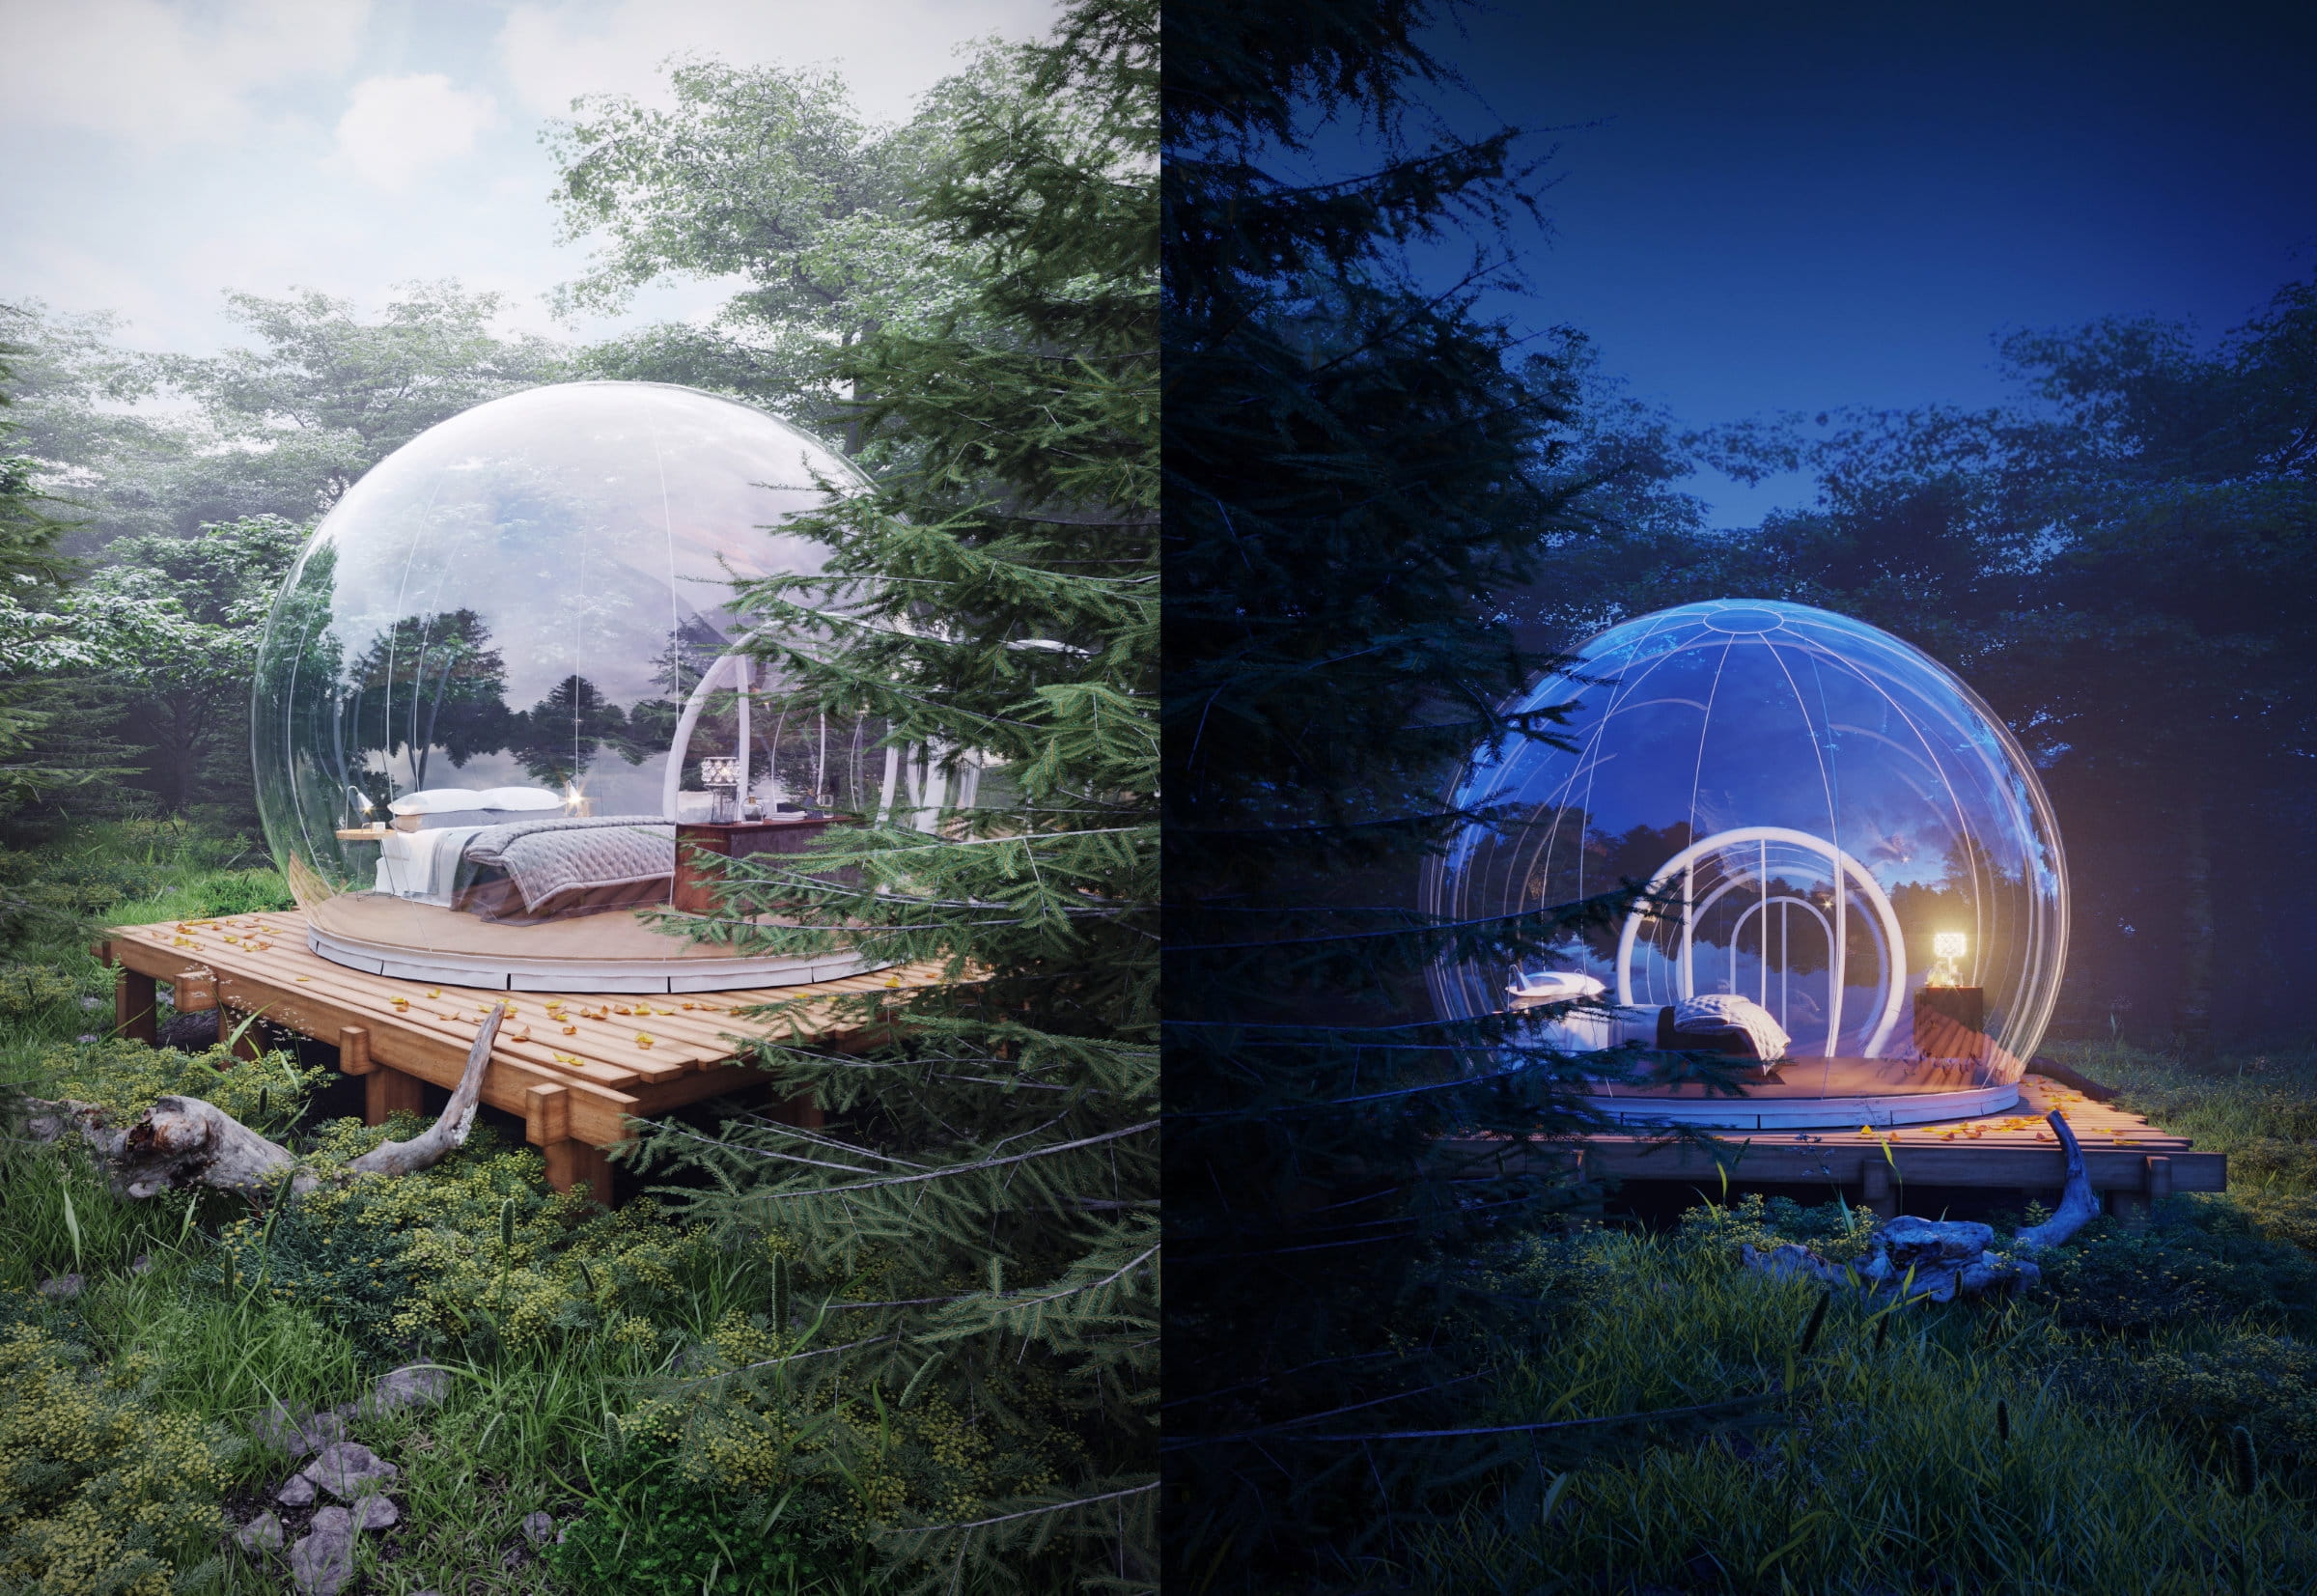
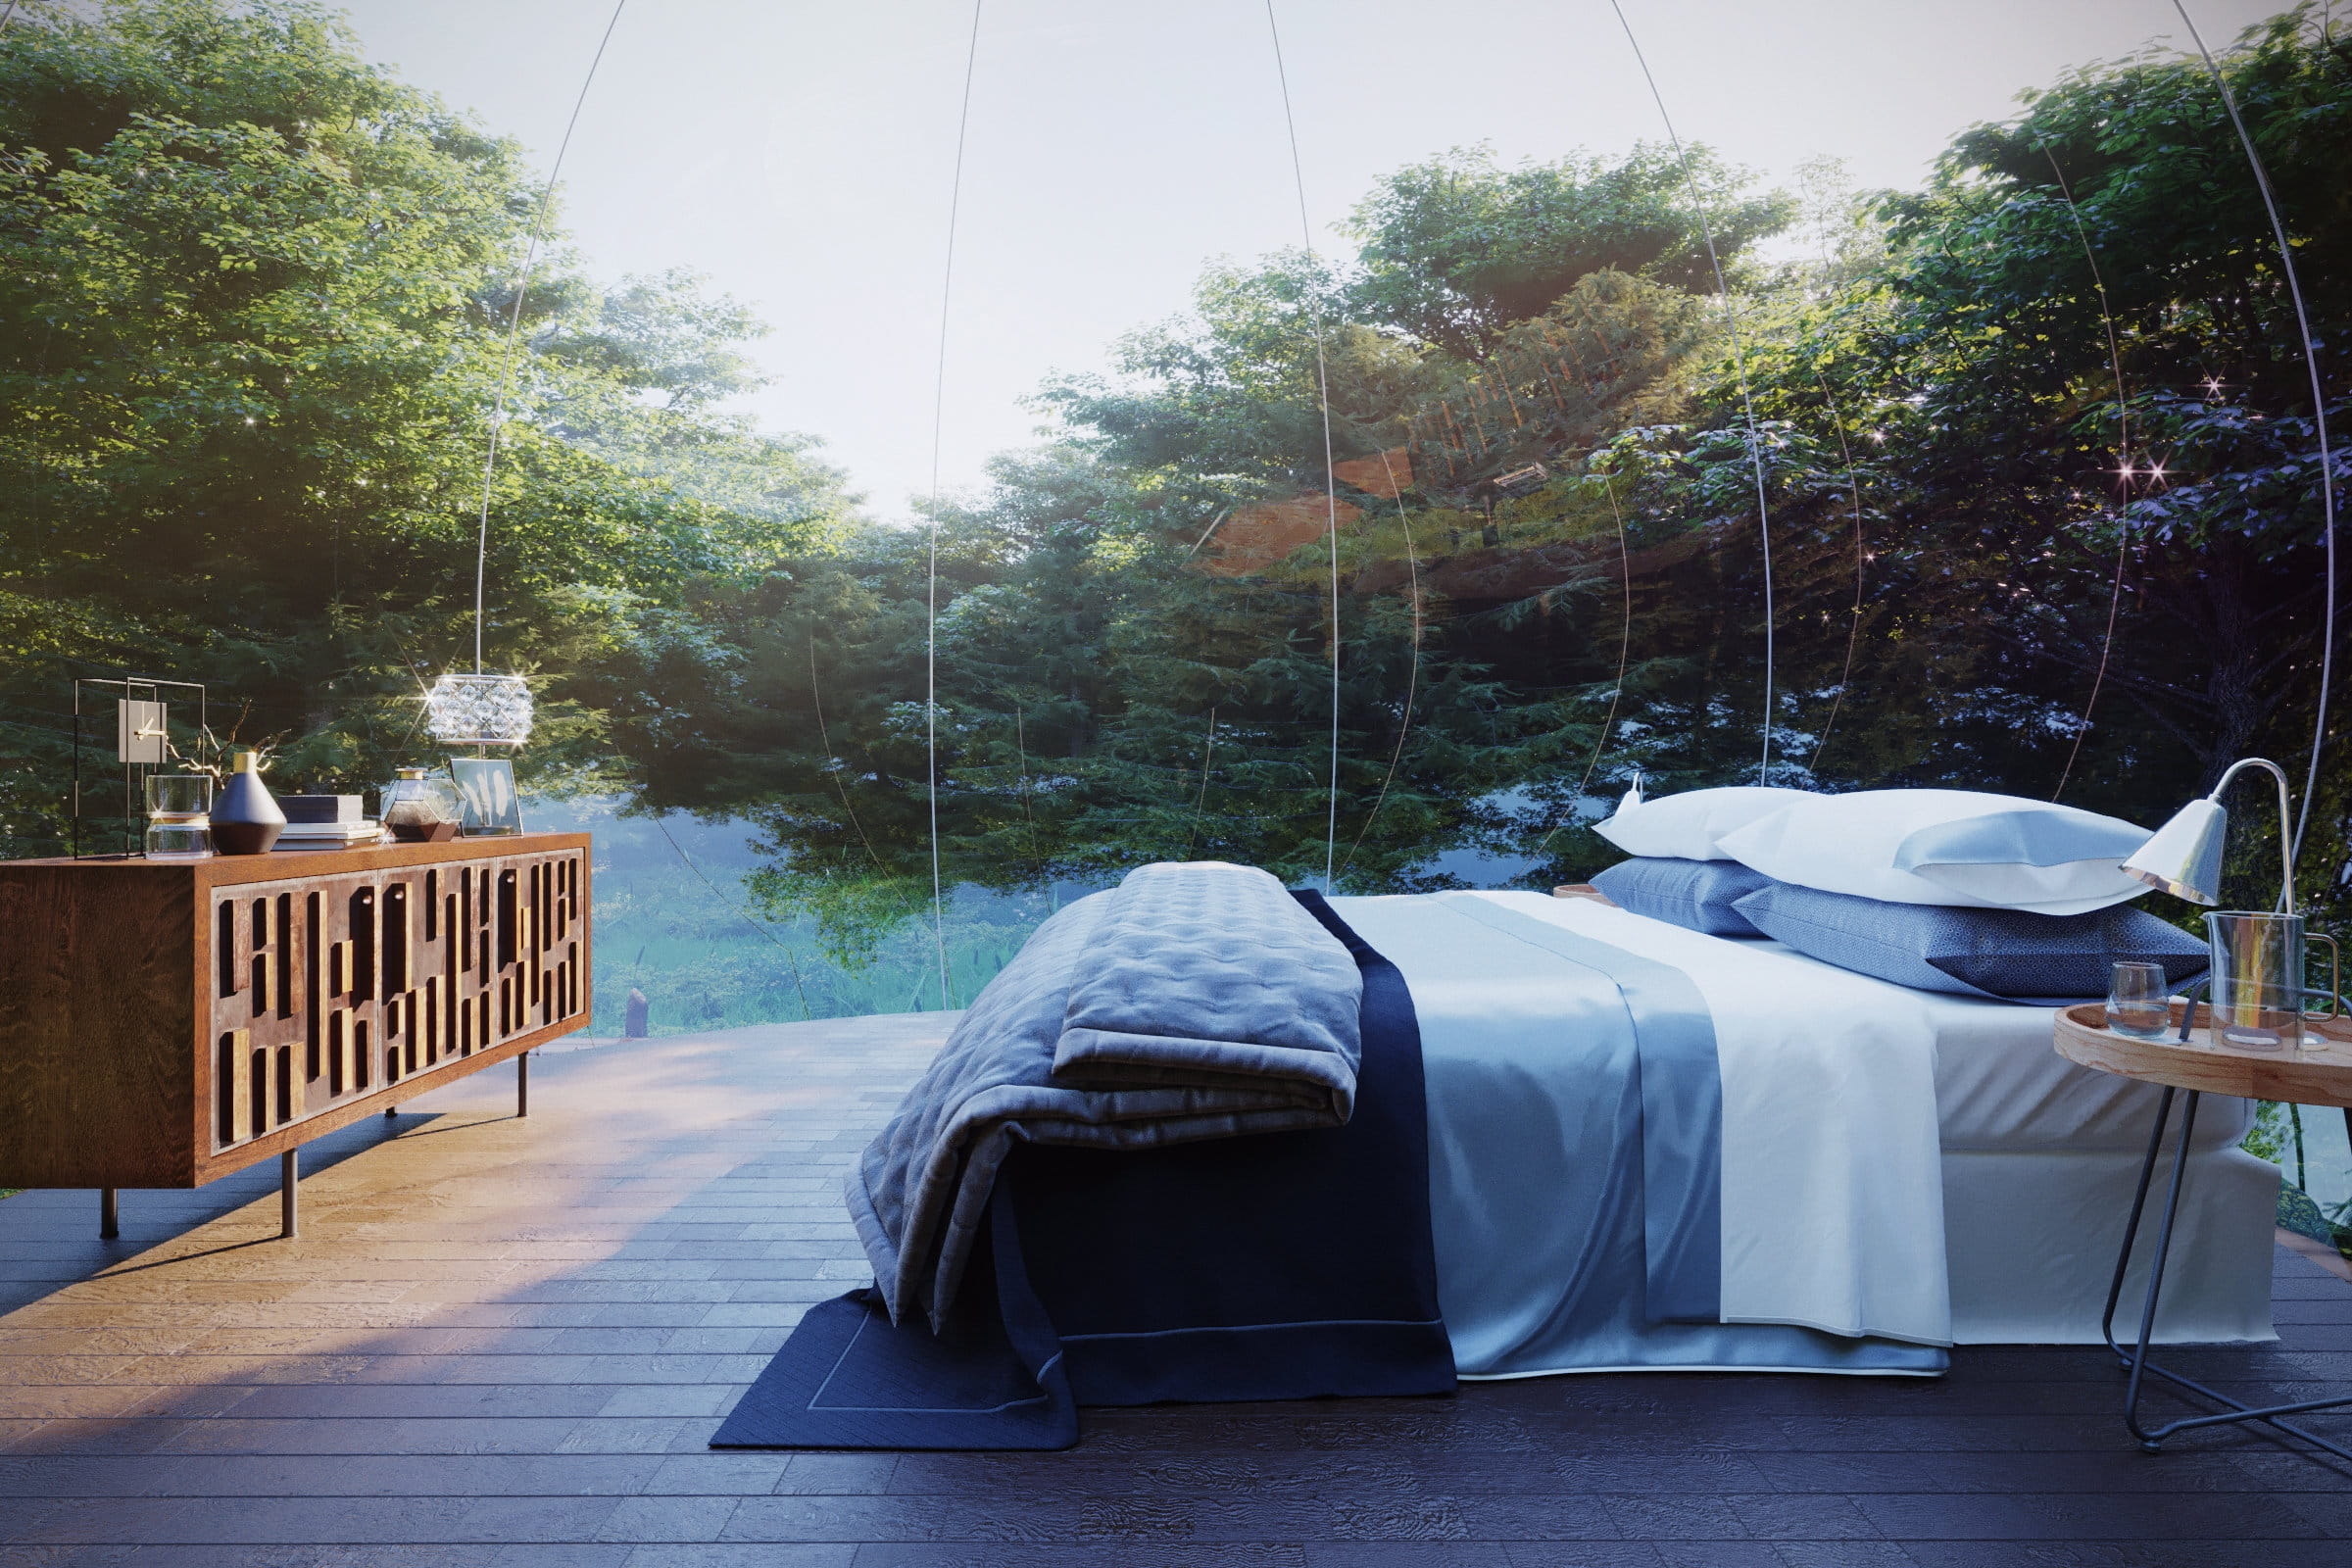
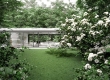
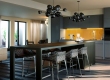
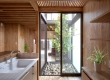
Final Images:
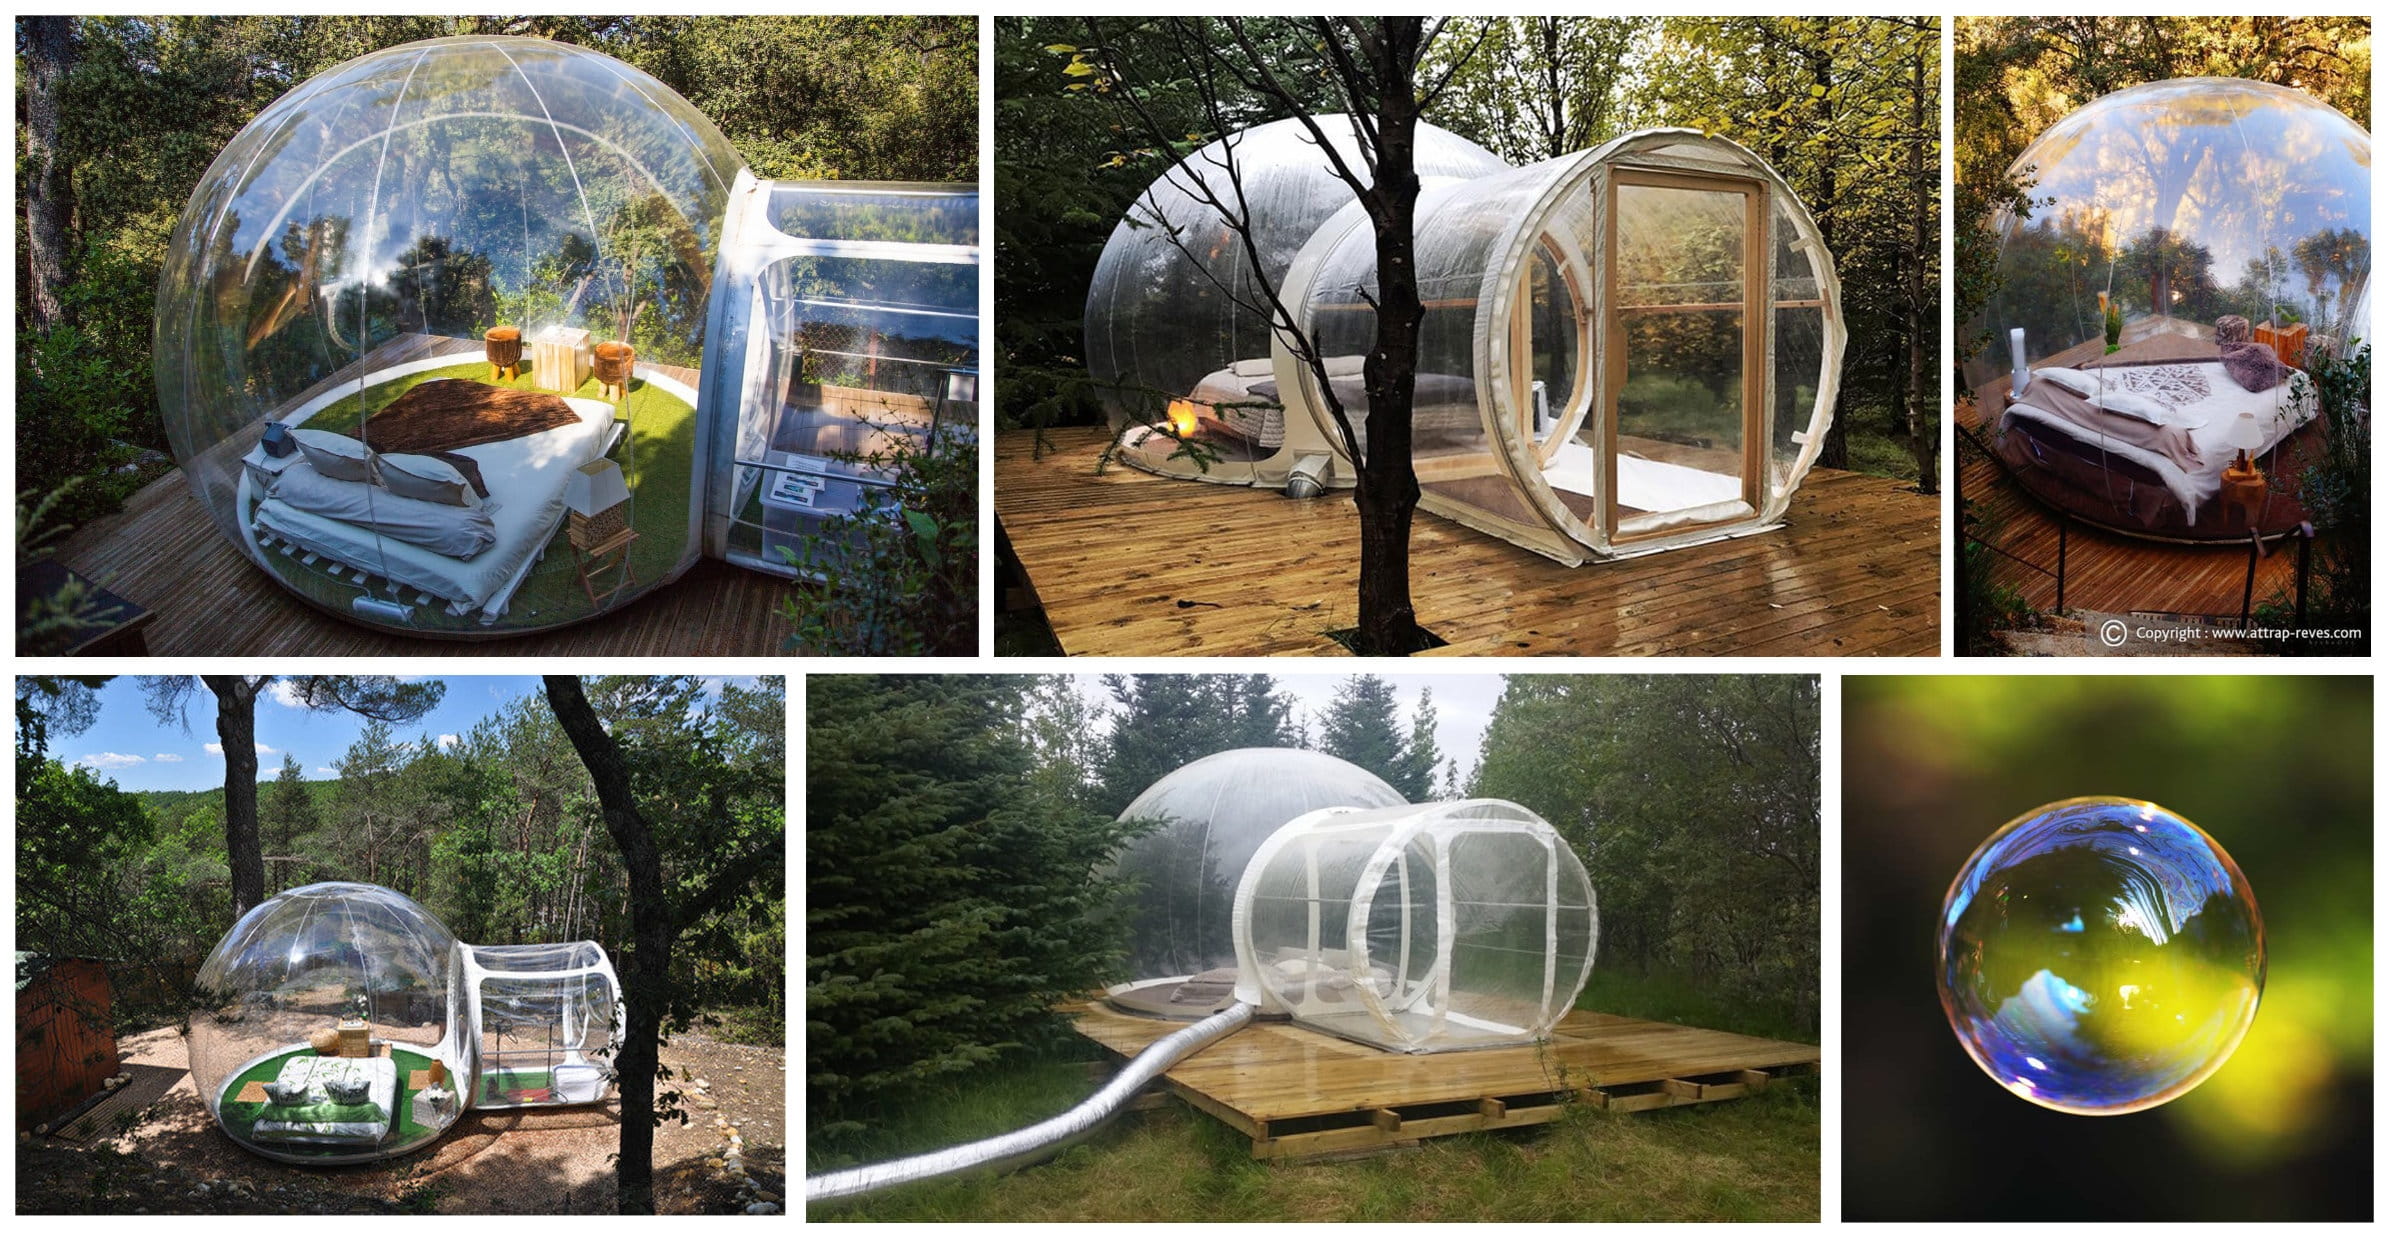
Inspiration:
For this project I highly Inspired by " Hotel Bubble iceland " Outdoor shades project. I searched lot of images of this location, real bubble with rainbow effects, How reflection work on round surface, Research and got to know how they made it in real life, what kind of material they used and some technical method.
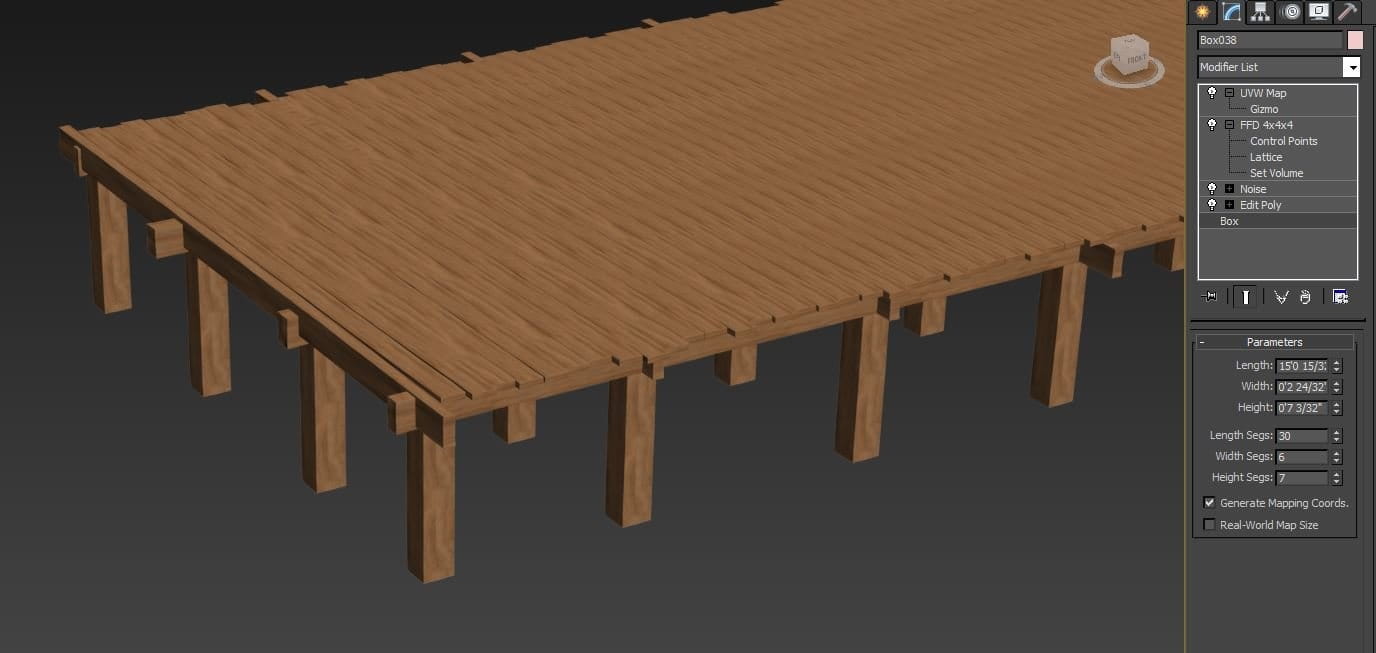
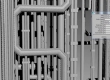
Modeling
First of all I made base wooden structure. I used simple Boxes with noise modifier and also used FFD modifier somewhere to do some up and down to make this structure like outdoor wooden. I used UVW Map on each batten separately and moved Gizmo location randomly. This helped me keeping it realistic.
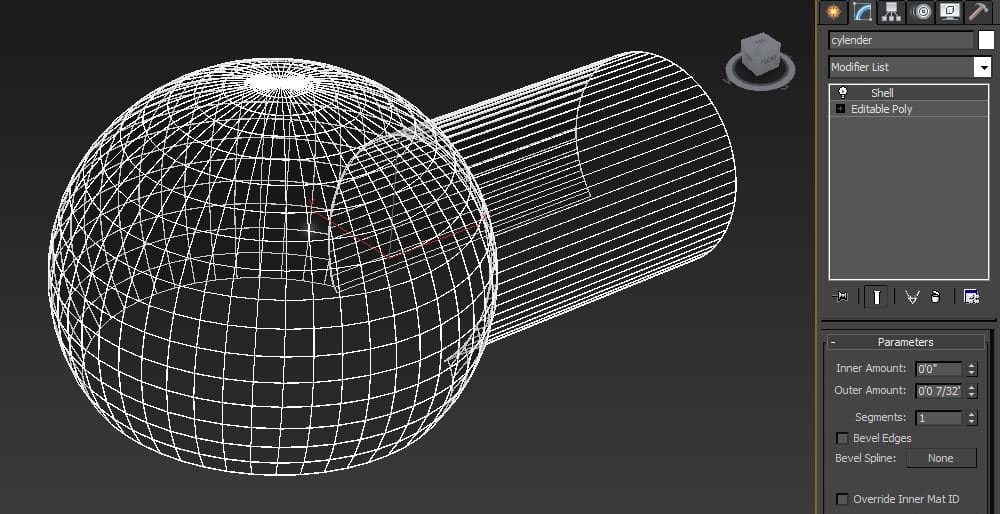
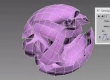
For making Bubble surface I used Sphere with slice modifier, converted to Editable poly and used Shell modifier. I made back shade attached with bubble structure to Cylinder and applied same process.
For making Bubble structure i used same sphere edge to create shape from selection and check Enable in renderer, Enable in viewport for thickness.
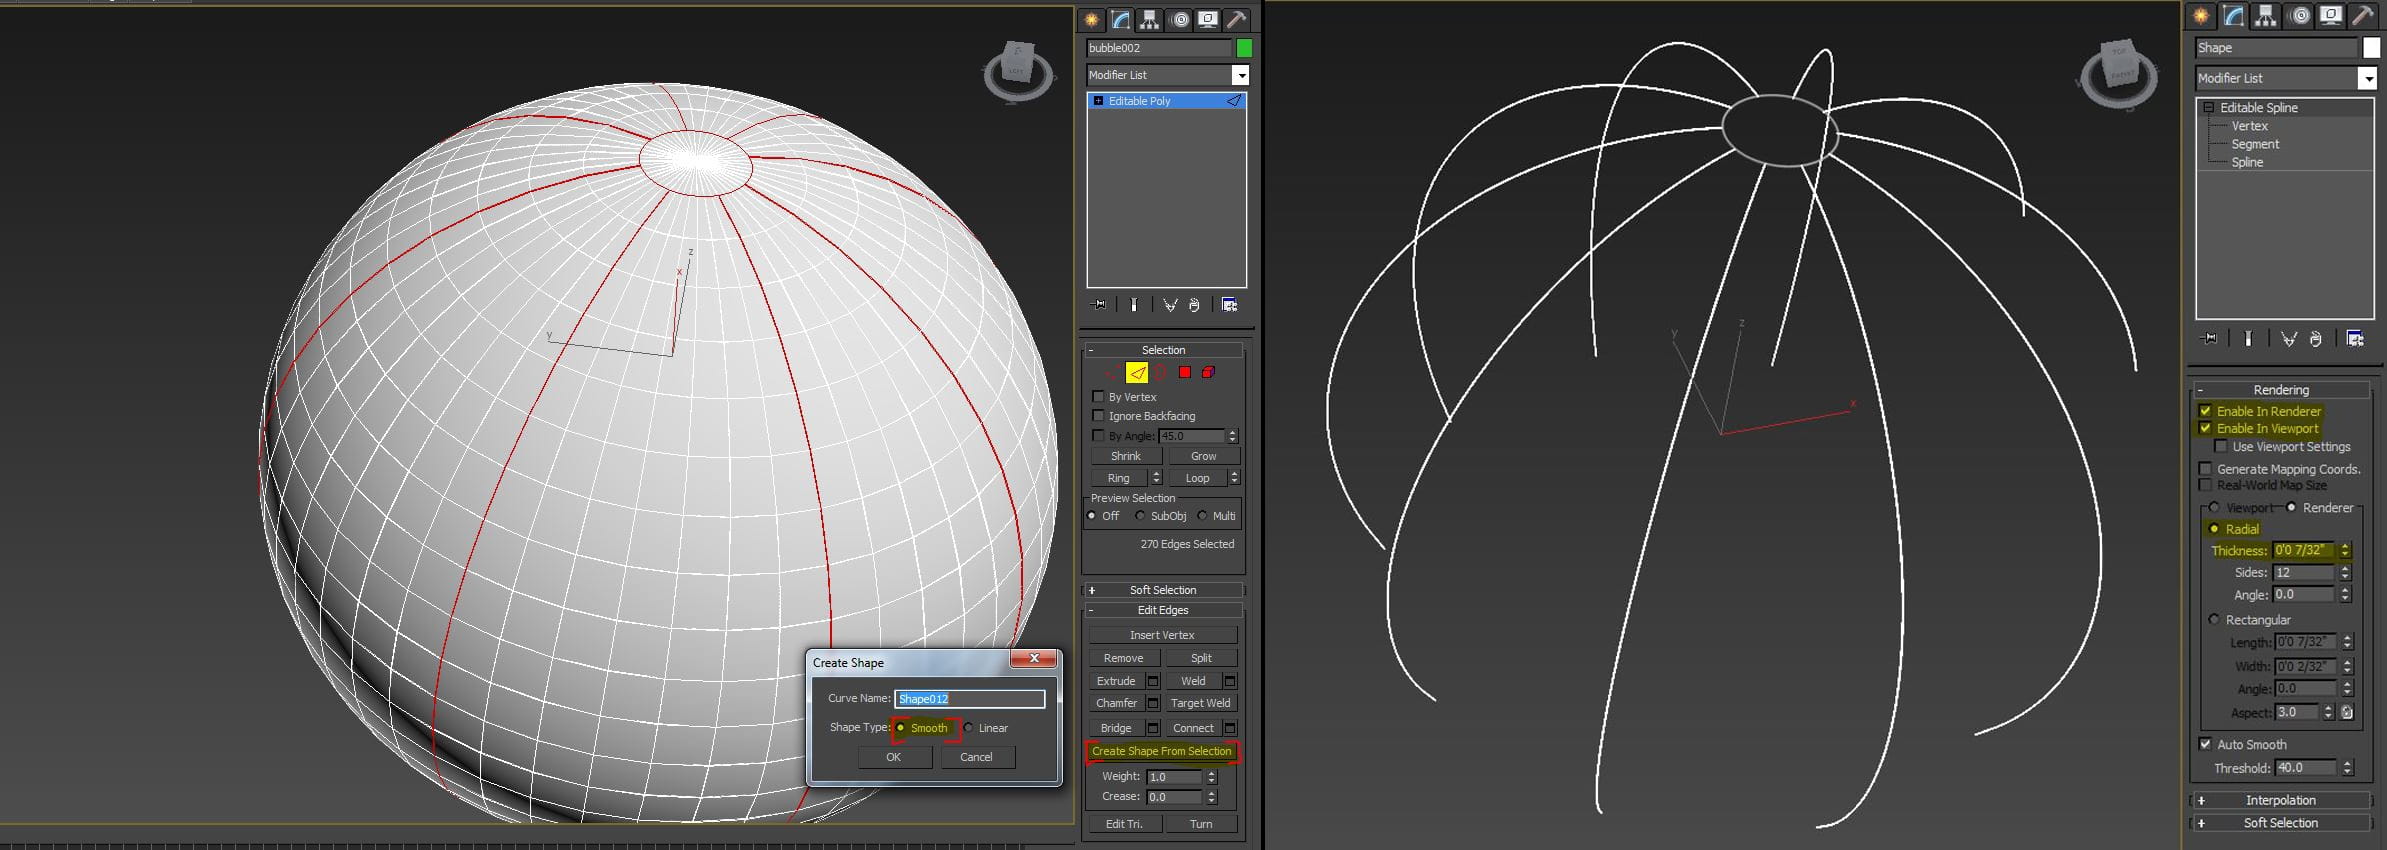
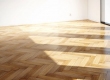
Back structure made with same process. For flooring i used simple cylinder and box.

I also tried to make as some details as i can. Base curtain made with plane and used Band, Noise, Shell Modifier and for air pipe i used simple spline. I used quick megascan object also.

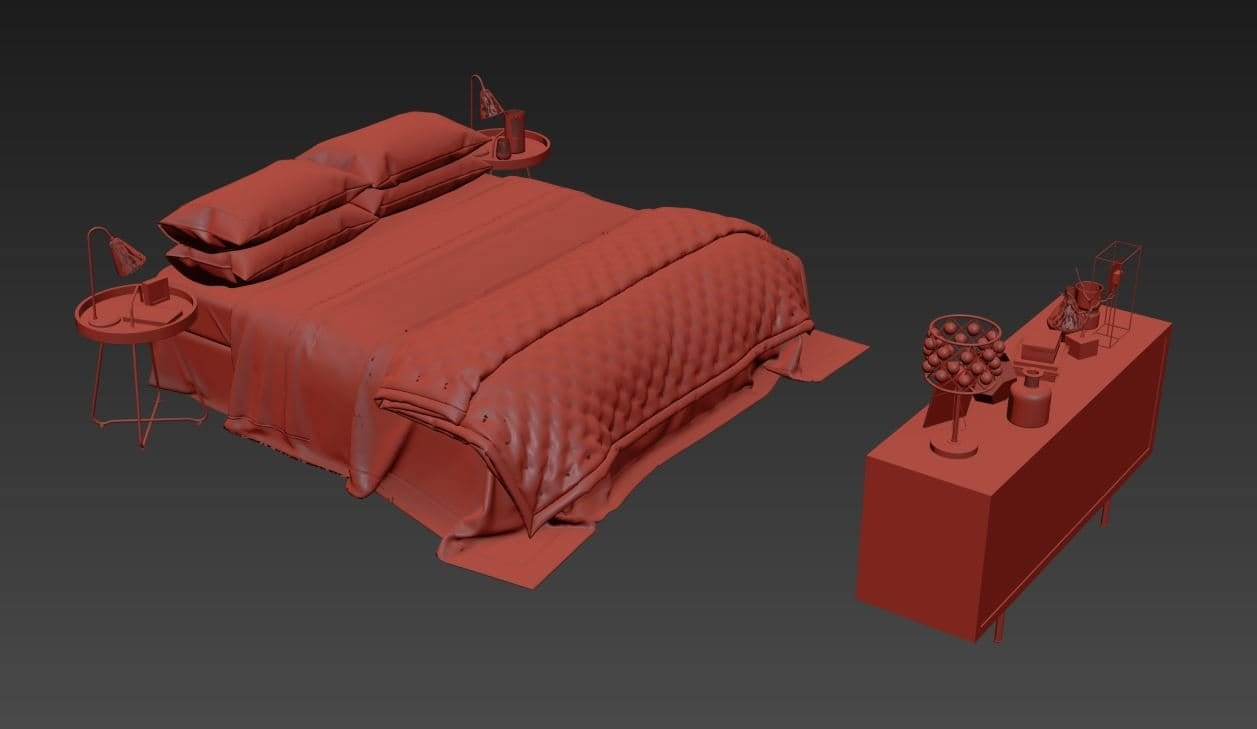
In this project Bed and console models I used from 3D sky.
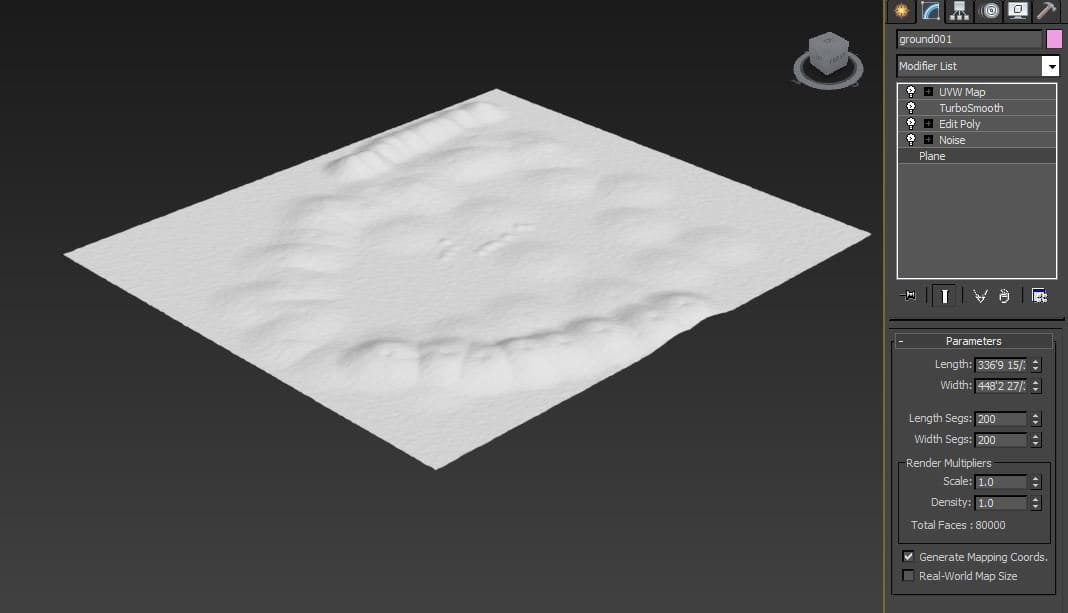
I made this ground without using any script because this scene surrounded by trees so i felt no need to made mountains or do more work on ground. I used simple plane with noise, Editable poly, Turbo smooth and I also used somewhere soft selection.
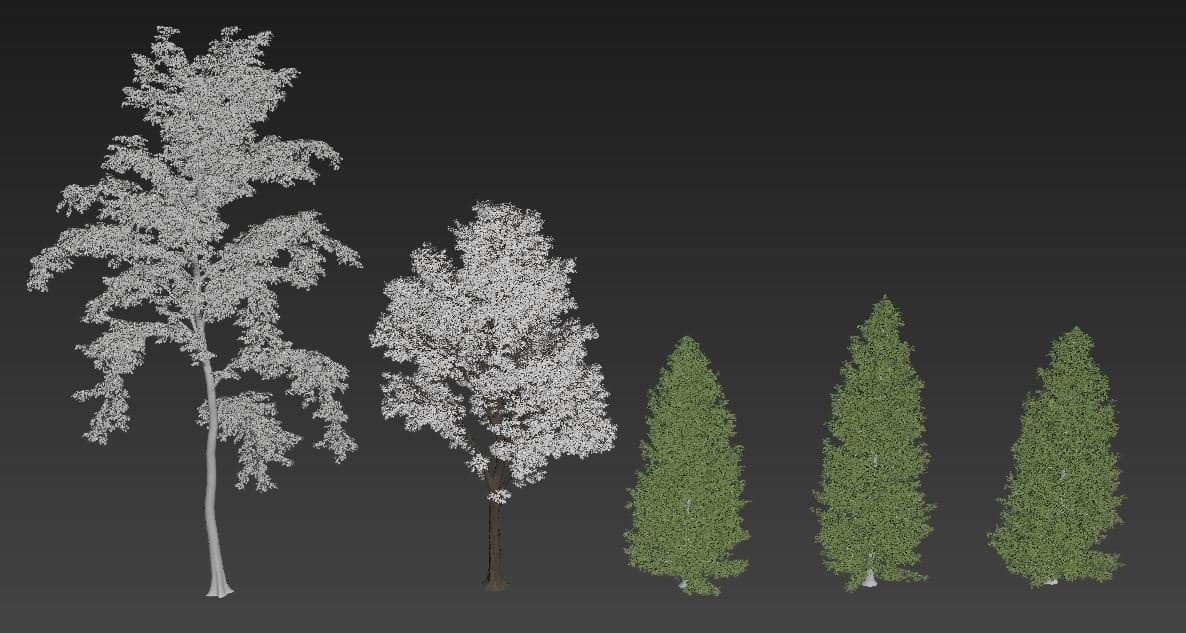
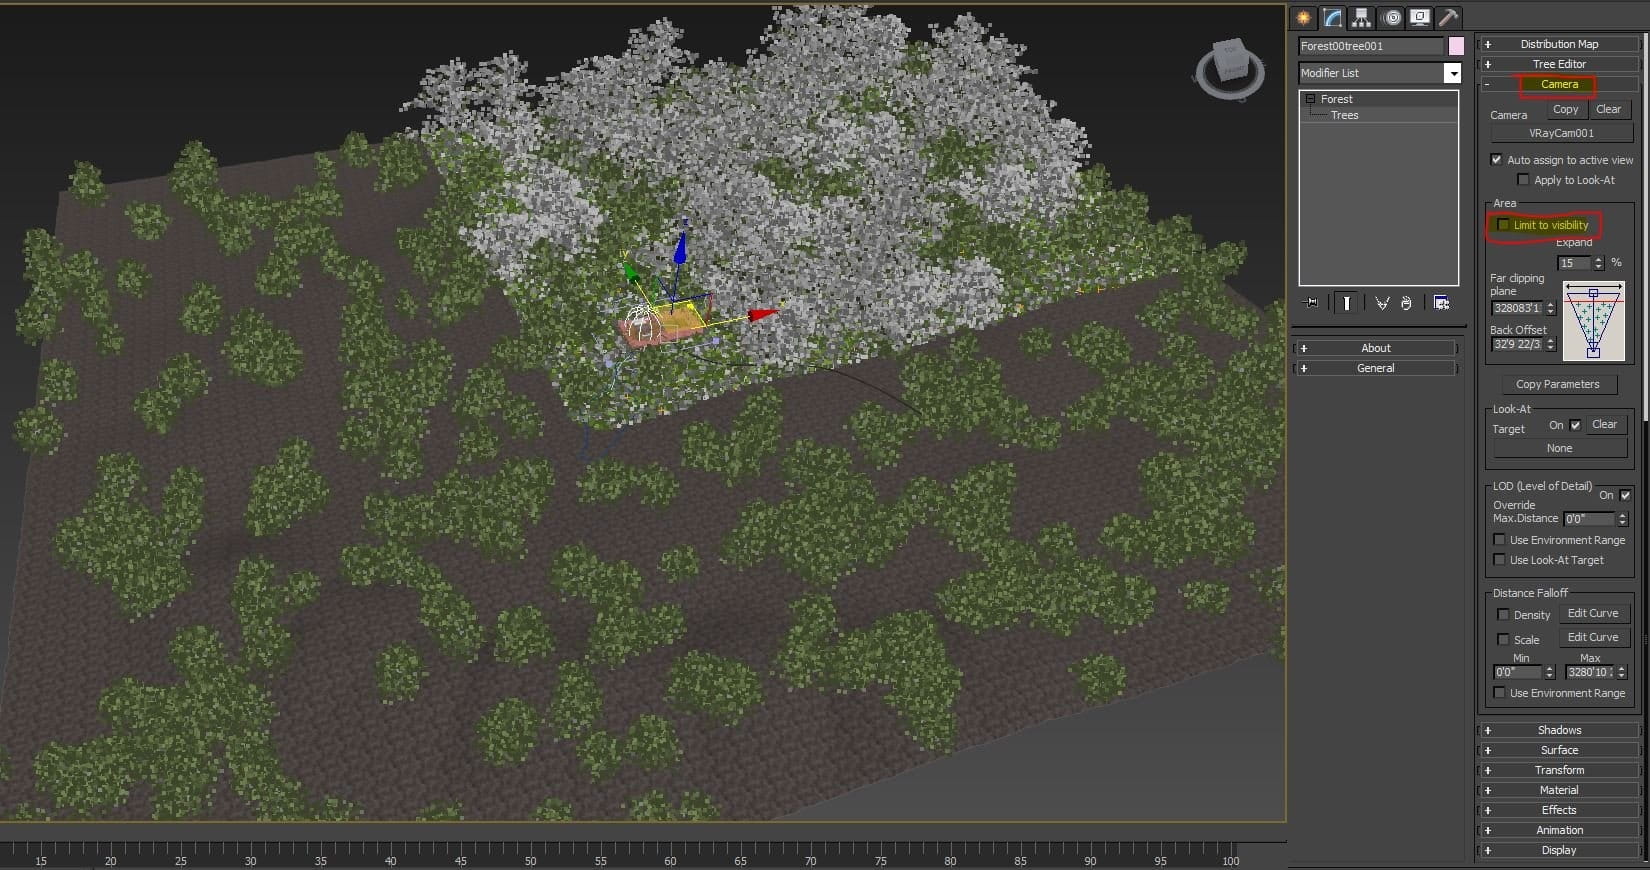
For landscaping i used Forest pack and i picked up external landscaping models.

I unchecked Limit to visibility in camera on one tree forest pack selection because if i kept check Limit to visibility i had no reflection on objects.
Materials
In this project Materials are so simple, but somewhere i tried to make it realistic as i can, and tweaked some materials. In Base wooden structure i used dirt map.

Lighting
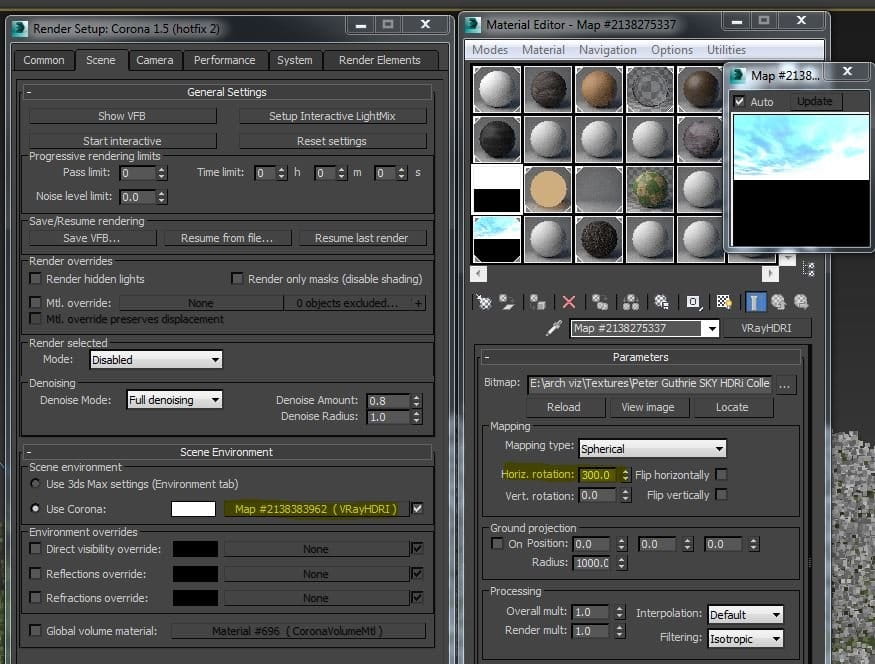
For lighting i used corona sun with corona sky in morning sunny scenes and also used Peter Guthrie HDRI in some scenes. I worked on lighting direction to get better light and shadows in the scenes.
In night scenes i used corona sphere light on lamps with dusk HDRI.

Camera
I used vRay physical camera. In framing i put object middle in the scene and tried to different perspective angles for different composition as you can see in every shot. I used photographic exposure and changed value of ISO, Shutter speed and F-stop for different moods in every shot. Also played with tone mapping to adjust light & shadows.
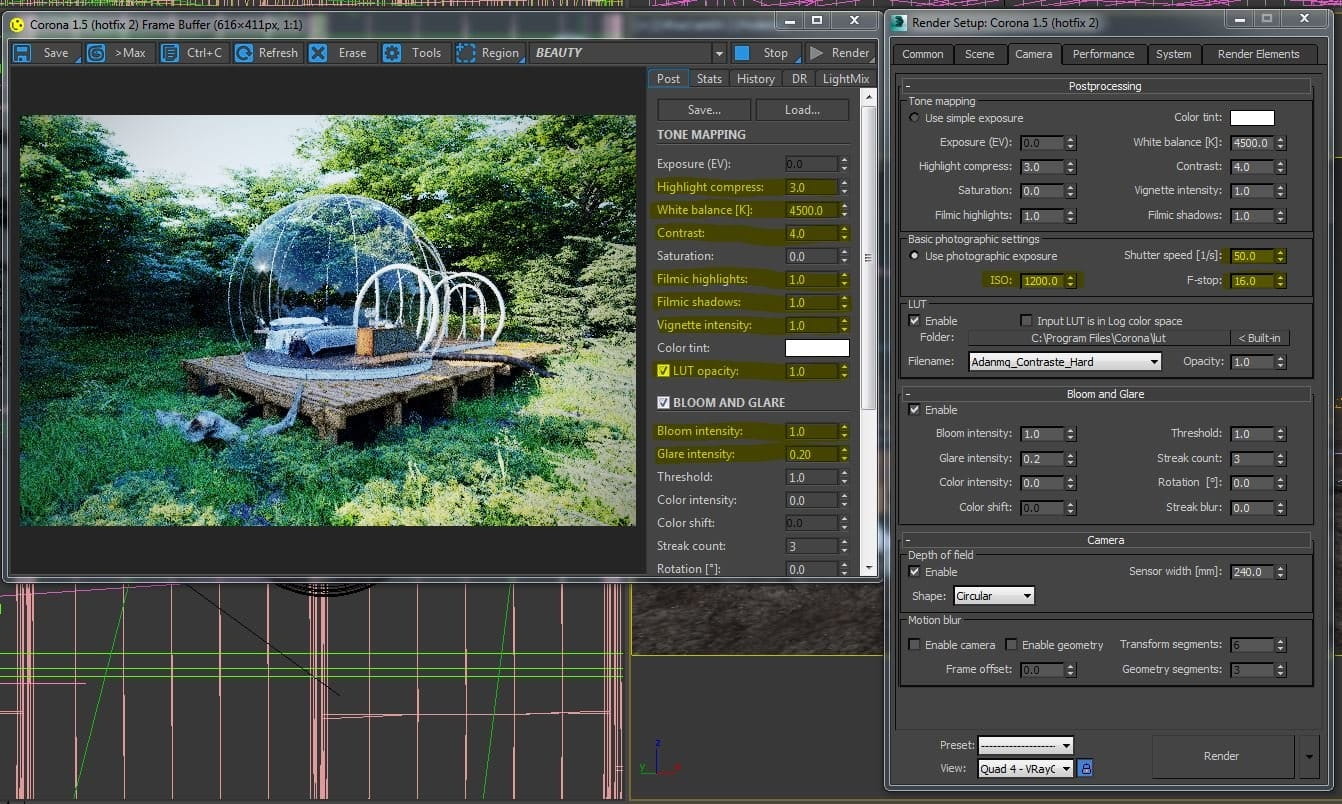
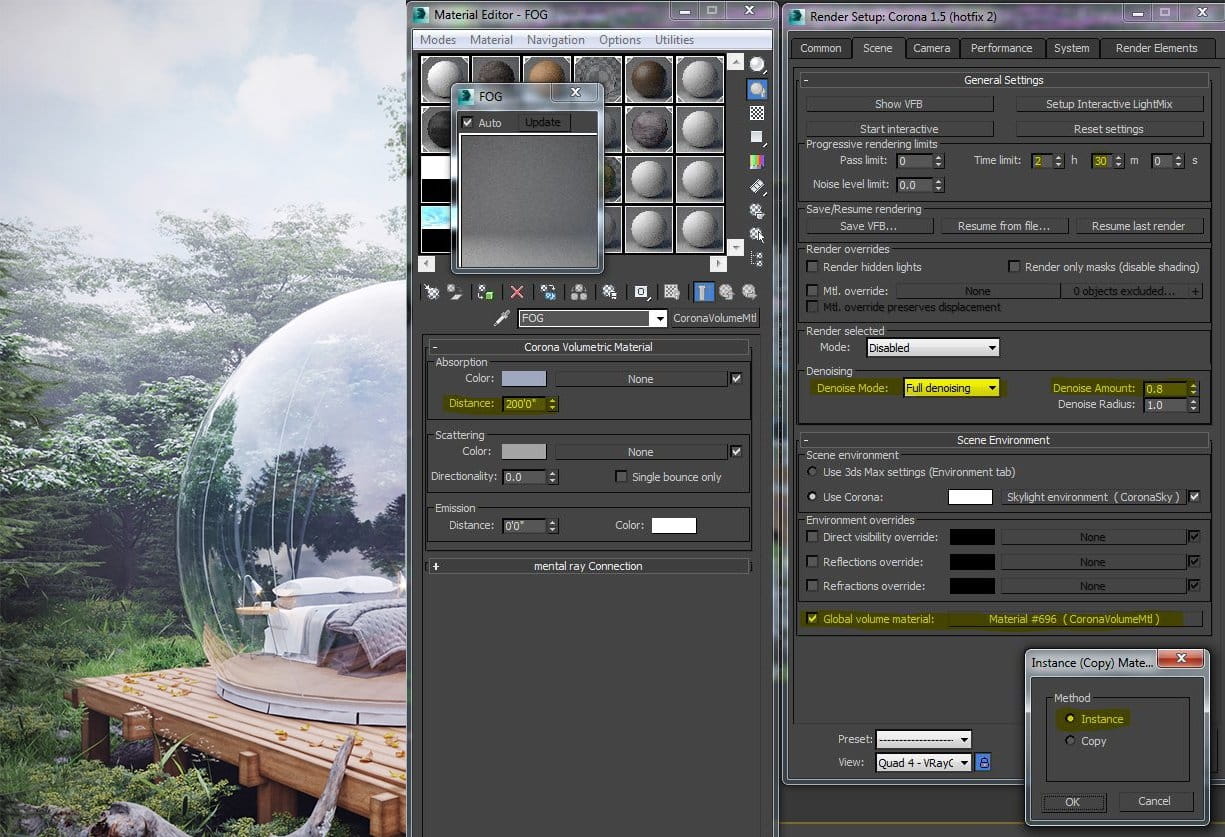
I used Corona volumetric material to get fog in background.
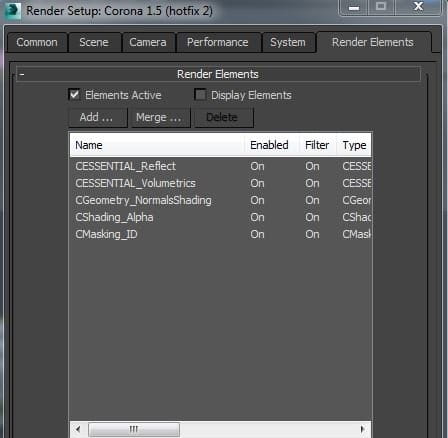
I used some basic Render Elements as well.
Post production
There wasn't so much post production. Grass was looking fake like plastic I worked on green tone. I also changed sky and used Geometry Normal Shading map as little bit rainbow effect. I used little levels and curves. that's all.

You can see the complete set of images over on Behance. Hope my article will be helpful for you.
Thank you :)
Rajnikant Kumawat


LEAVE A COMMENT


|

|

|

|

|
 Customer zone
 Your special offers
 Your orders
 Edit account
 Add project
 Liked projects
 View your artist profile
COMMENTS