How To Make Your CGI Walls More Realistic
Realistic walls with noise modifier.
Total: € 0
Continue Shopping
In accordance with the art. 13 section 1 and 2 of the European Parliament and Council Regulation 2016/679 of the 27th April, 2016 on the protection of natural persons, with regard to the processing of personal data and on the free movement of such data, and repealing Directive 95/46/EC (General Data Protection Regulation), hereafter RODO, I hereby inform that:
1. EVERMOTION S.C., 8 Przędzalniana Str., 15-688 Białystok, Poland is the Administrator of your Personal Data (APD)
2. Data Protection Inspector can be reached through e-mail: iod@evermotion.org
3. Your personal data are to be processed on the basis of art. 6 section 1 letter a, b and f of RODO in order to:
a) prepare, conclude and execute the agreement and for other purposes approved by you,
b) to execute the legitimate interest like marketing of products and the agreement, claim assertion or defence against claims resulting from the law regulations.
4. Entities entitled to the reception of your personal data may be the authorised public bodies; mail providers; providers of the services covered by the agreement; responsible for debt recovery, keeping the archives, document utilization, legal consulting, technical services, IT services and accountancy.
5. Your personal data shall not be transferred to the third country, nor to the international bodies.
6. Your personal data shall be processed within the period of the agreement and upon your additional consent until you withdraw it. APD shall keep the data for the period of any civil law claim execution connected with the agreement.
7. You have the right to demand an access to your personal data, to correct or to delete the data if there is no other basis for the processing or any other purpose of such processing or to limit the processing of the data, to transfer the data to another administrator and to raise objections to the further data processing if there is no legal basis for further processing and to withdraw any previous consent.
8. You provide the personal data voluntarily, however they are necessary to conclude the agreement. The refusal of providing such data may result in the refusal of the agreement conclusion.
9. You have the right to lodge a complaint to the Personal Data Protection Office when in your opinion the data processing violates the regulations of General Data Protection Regulation of the 27 April, 2016 (RODO).
10. Your data will be automatically processed, including the form of profiling.
11. You are obligated to forward above mentioned information to your representative, especially if you appointed this person in the agreement as the contact person or as the representative for the agreement execution.

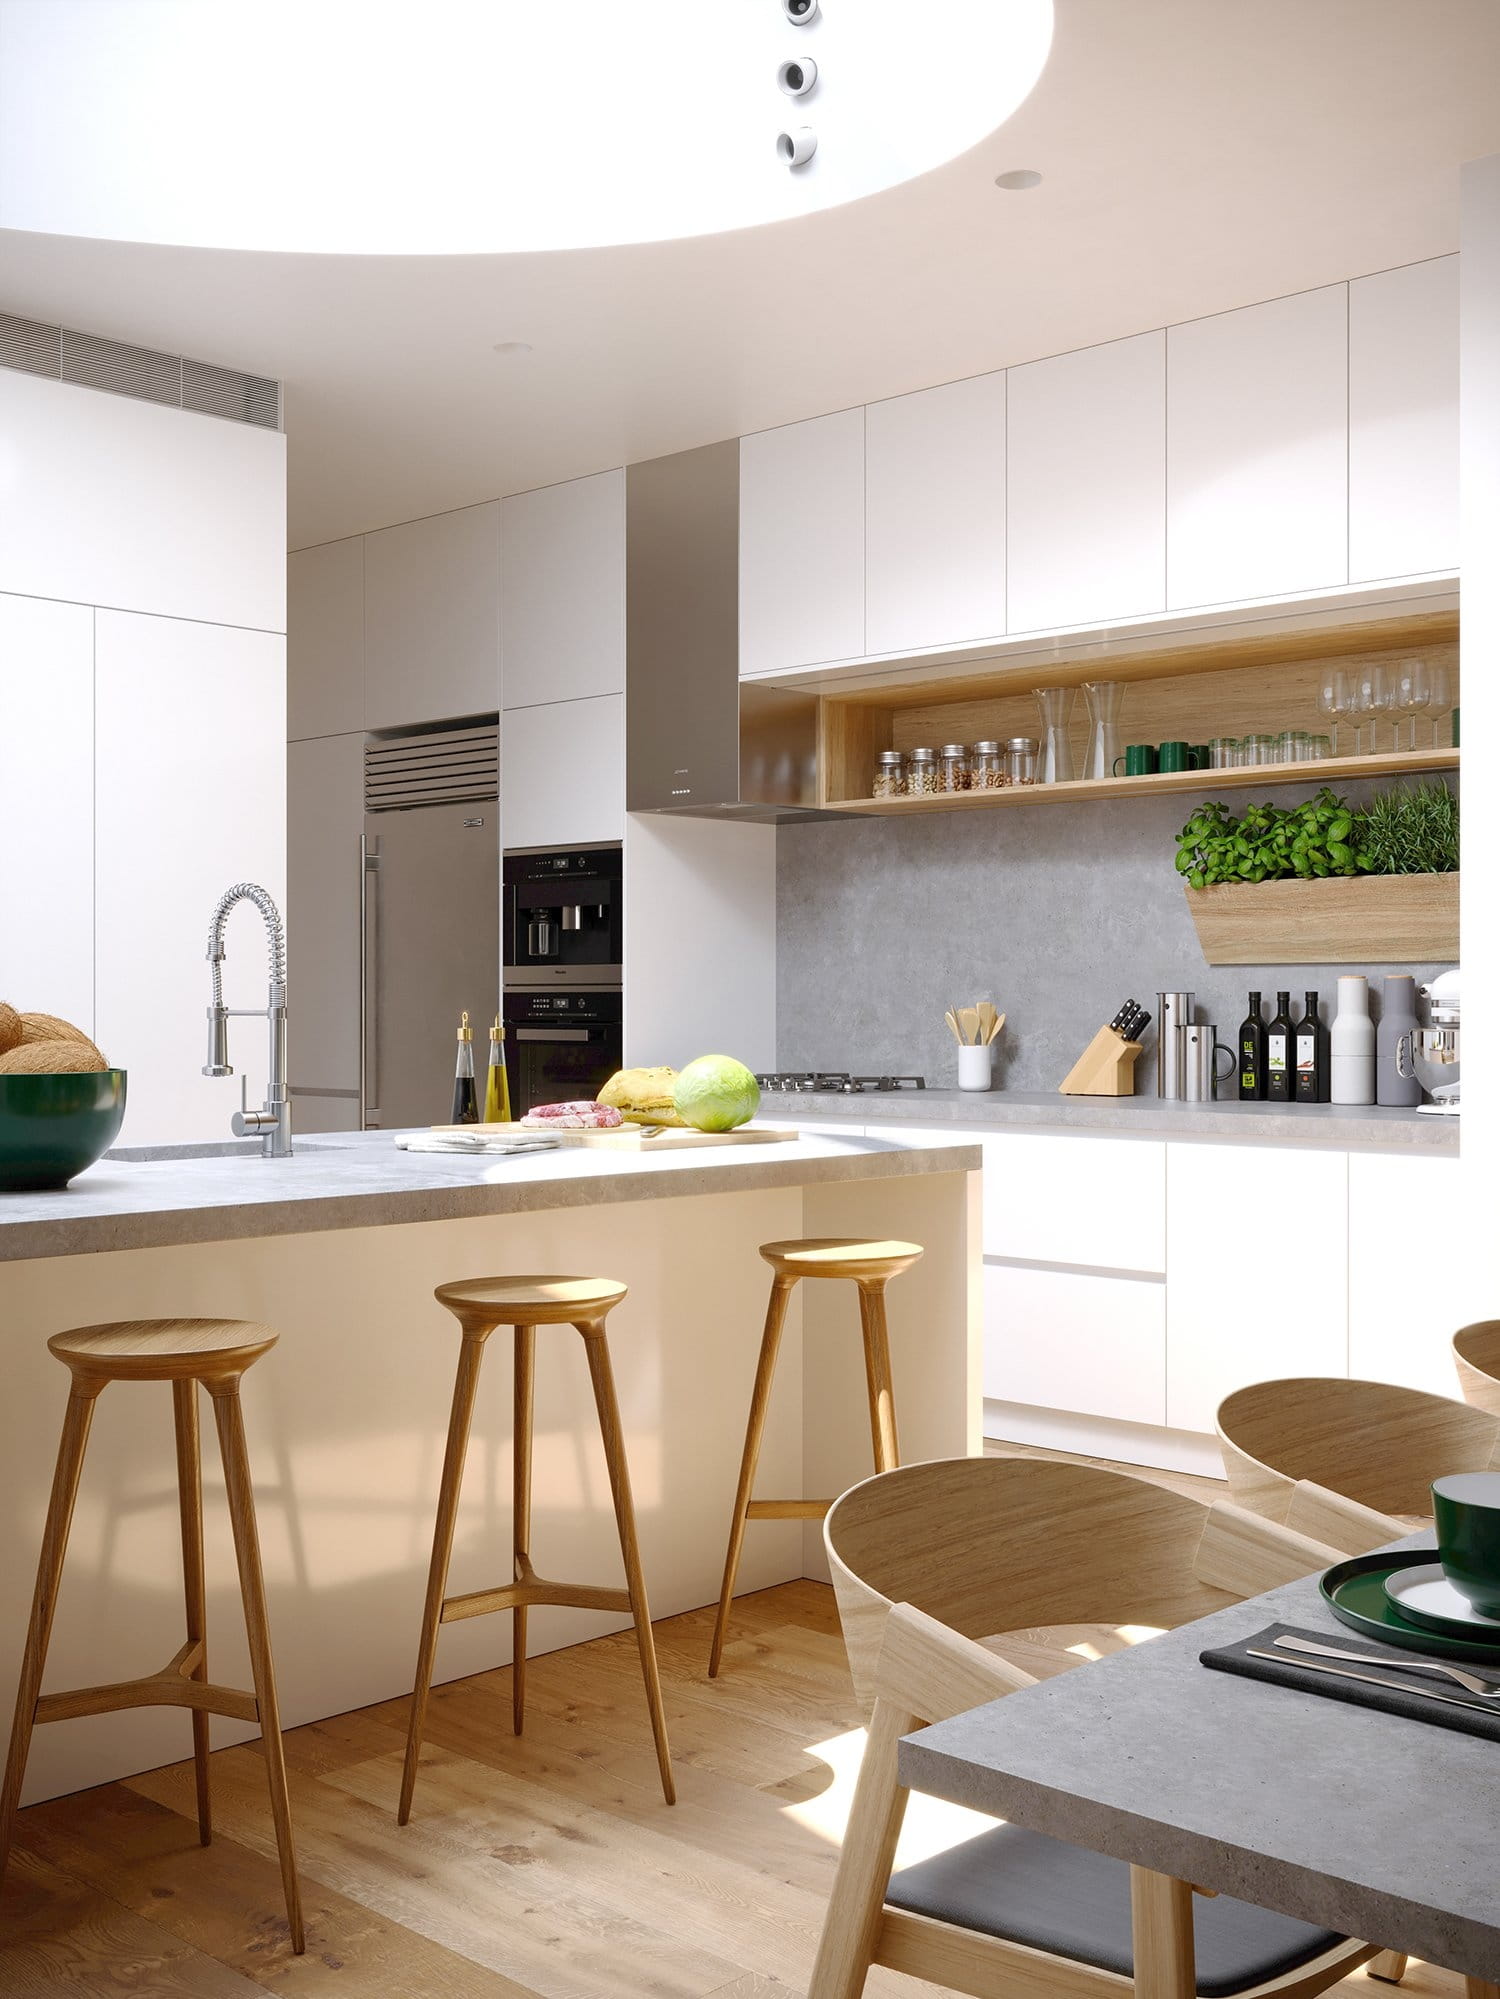
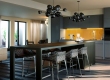
Hi everyone! Let’s start with my name first. I’m Hadi Mounajed, Italian architect and 3d artist, and I’m really honoured to provide this short making of for Evermotion. First of all, I would like to point out that there’s no hidden secret or special technique here, I just approach every image like a photographer would do in real life, obviously with the advantage of being able to arrange the light as you need to.
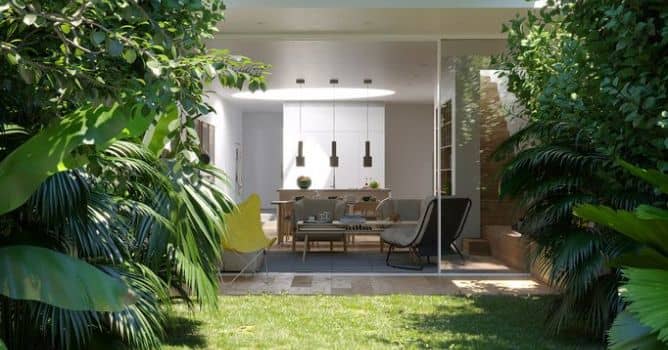
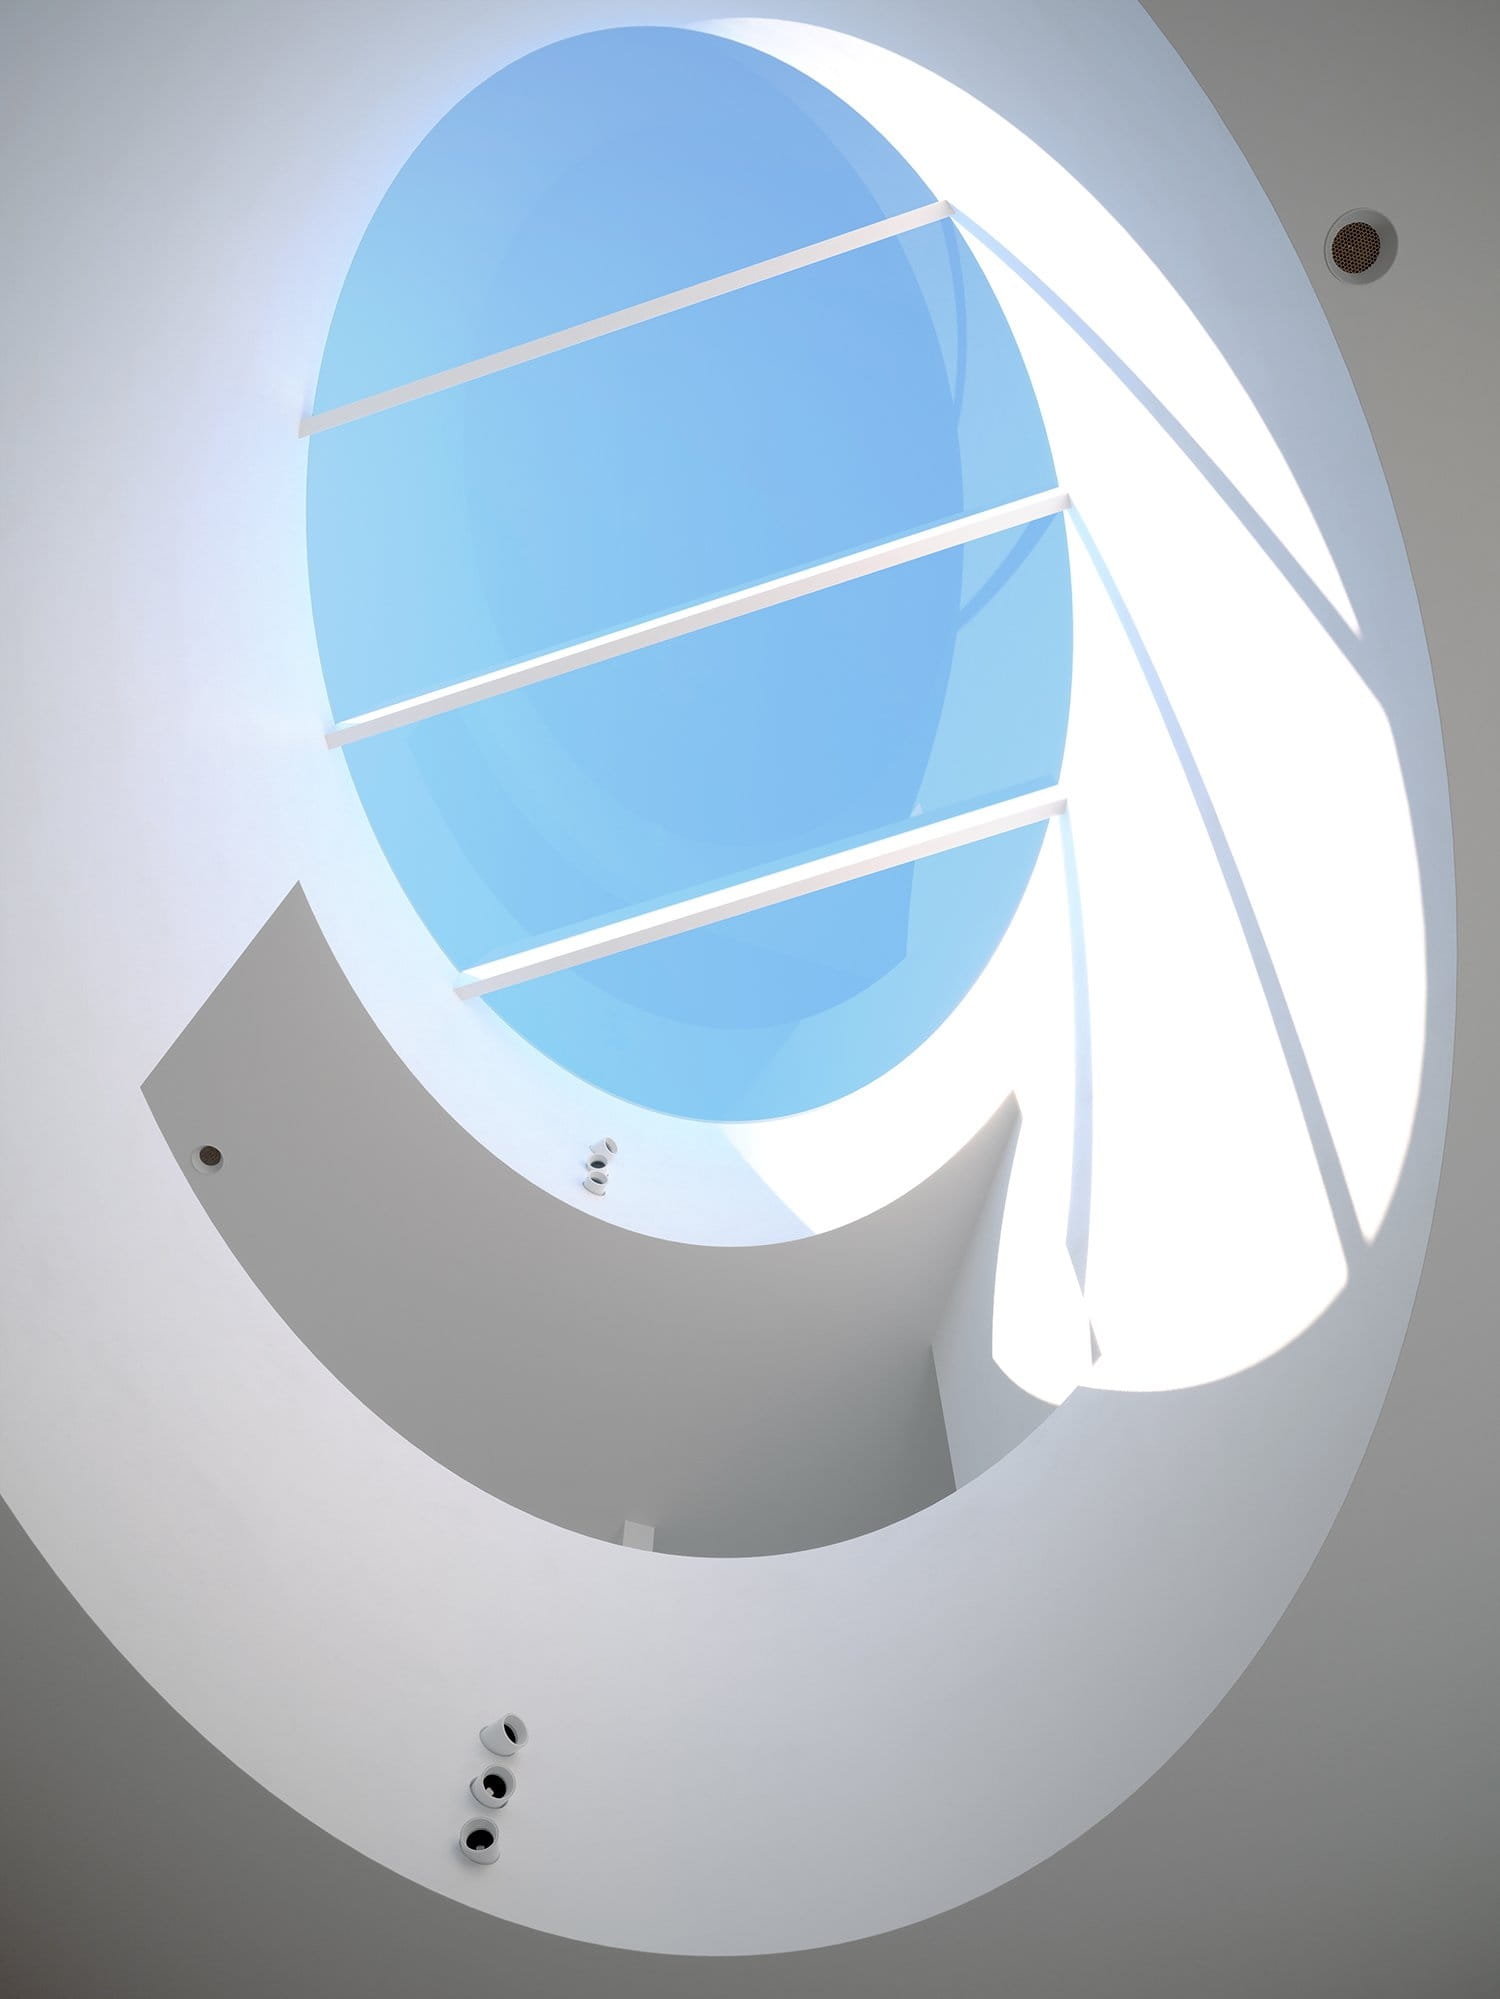
The subject choice is due to some images I found online years ago, and my attention got caught by the beautiful skylight, within a quite conservative project that blends really well with the surrounding. In the beginning the idea was just to recreate in CG the kitchen dominated by the skylight, but as soon as I started I felt that the space needed a bit more life and care, rather than the usual cold and lifeless post-modern interior. You can check the original here and all the high-res renders here.

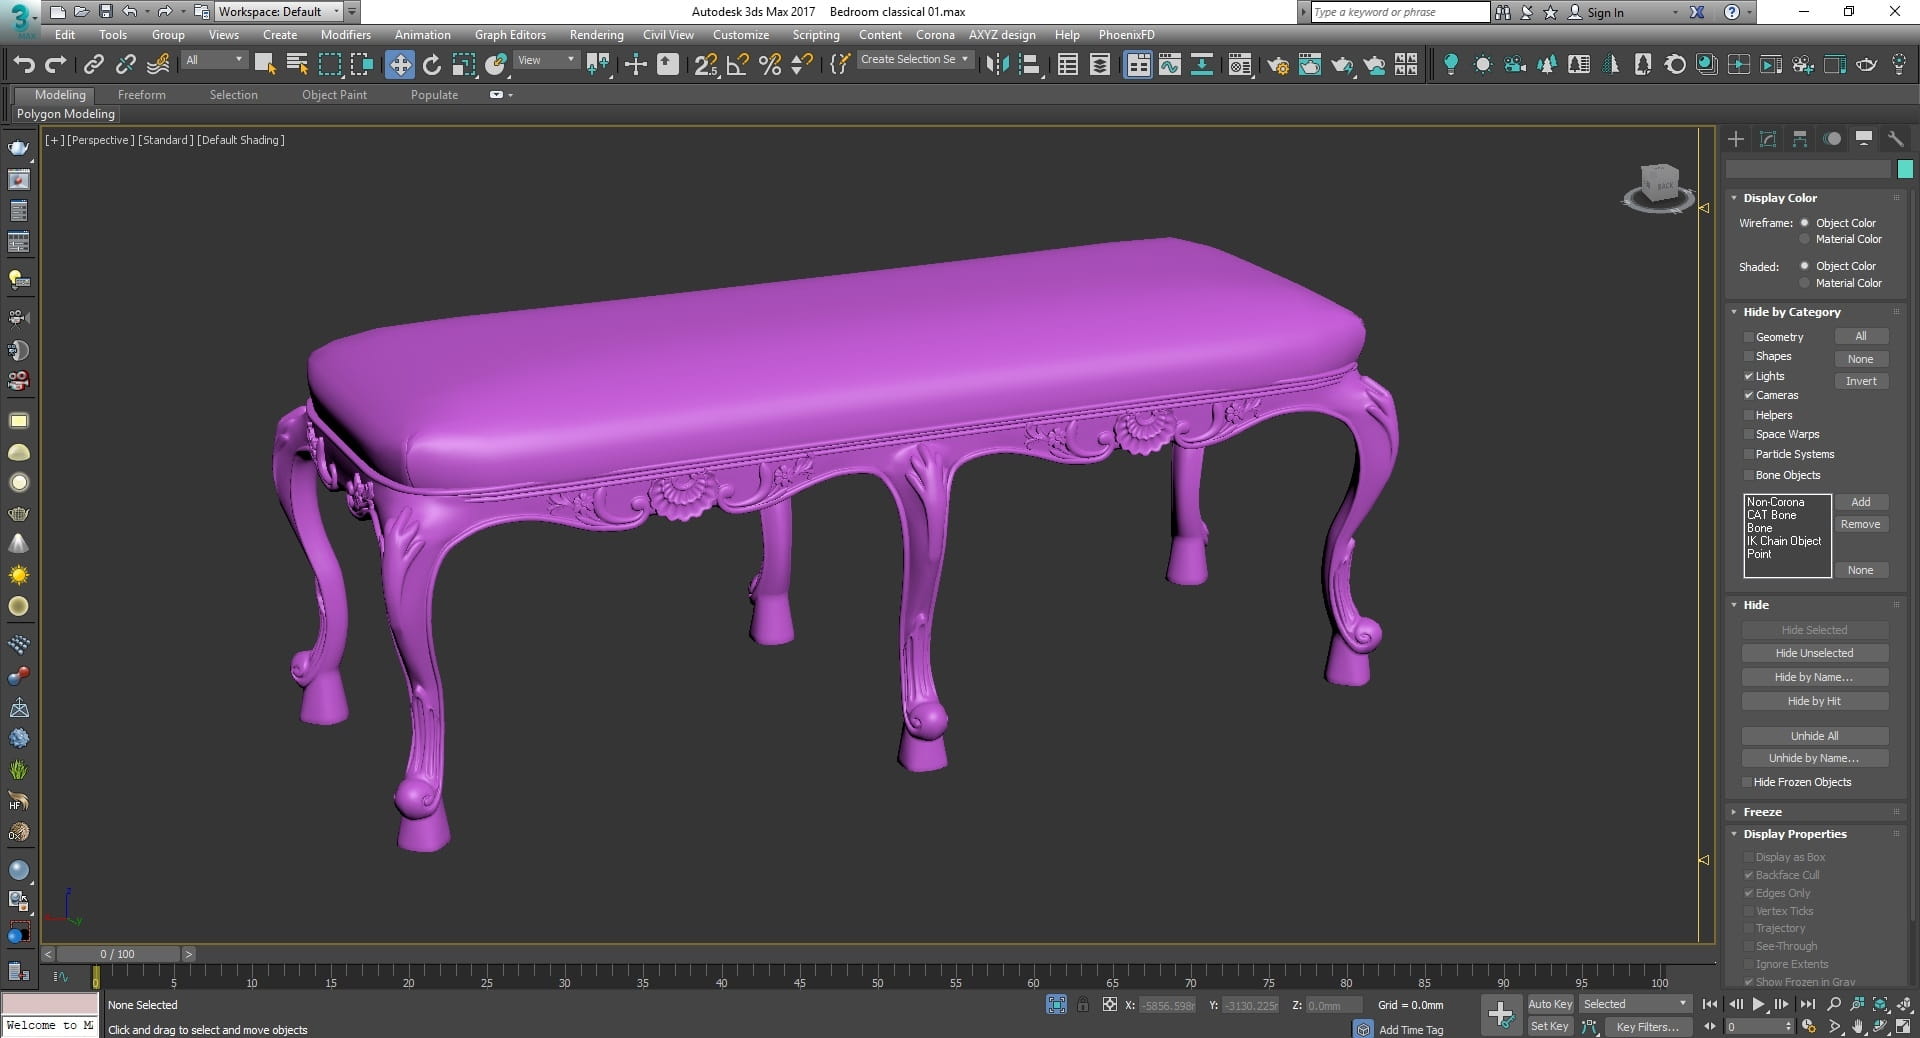
MODELING
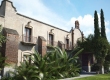
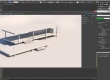
Nothing fancy here, just some basic poly modelling techniques. The most “complicated” geometry is the house itself, due to the baroque skylight. In order to do everything 100% accurate, I imported the plans available on Archdaily in Autocad and scaled them accordingly. Once done, I merged them in 3ds Max and started modelling from a spline:

And that’s the final result:

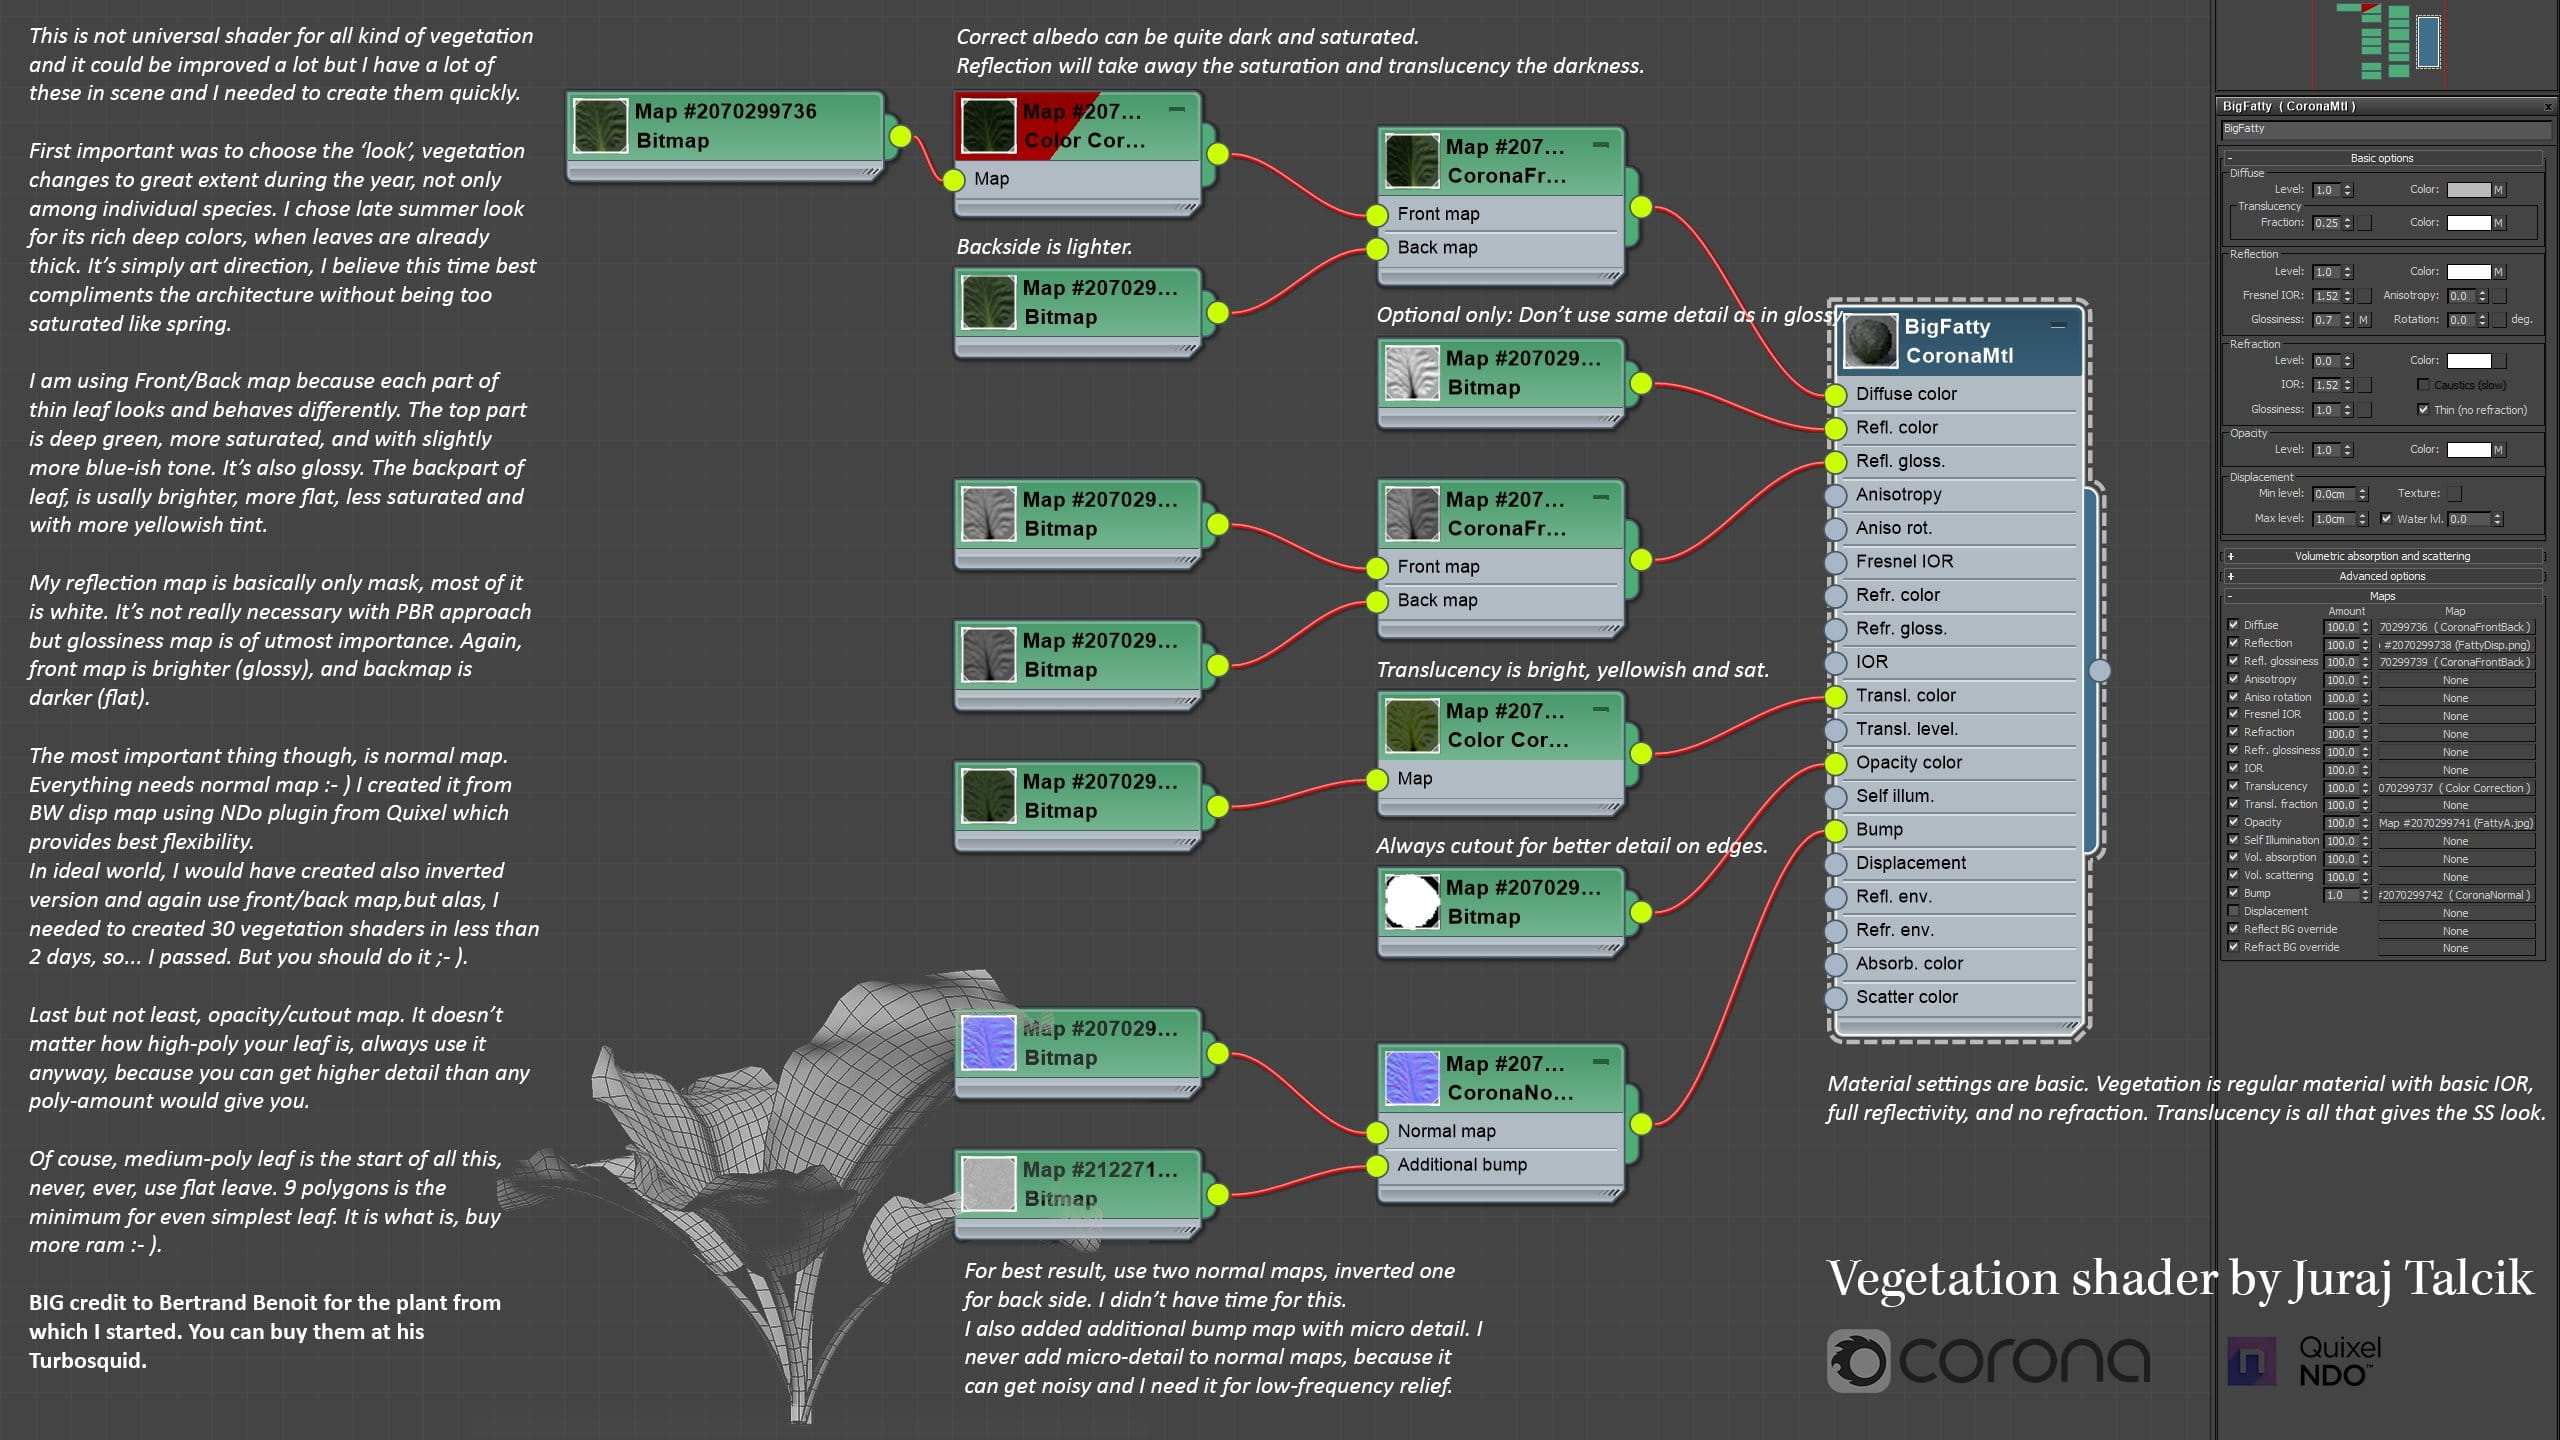
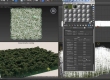
Now, for the exterior garden, I used assets from Evermotion, 3dSky and Polyget (which is probably providing the best trees assets at the moment) but in all the case I’ve redone the materials to suit Corona’s PBR workflow. You can refer to Juraj Talcik’s tips on how to build a proper vegetation shader:
The food models and statue are 3d scans, the firsts coming from a great collection by Ivaylo Dimitrov showcased here.

MATERIALS
The materials are probably the easiest thing to create in Corona, if you stick to the PBR workflow. You just need to be sure to use high quality textures and focus on getting the imperfections and variation right, in order to make it more close to reality as possible. In this regard, Poliigon is doing a great job.
This are two of my vegetation shaders:


LIGHTING
Lighting was the hardest part of the whole process. People have been asking me what kind of fancy HDRI I used for the main shot, but, believe me or not, it’s just a standard Corona Sun+ Sky positioned where I needed it.
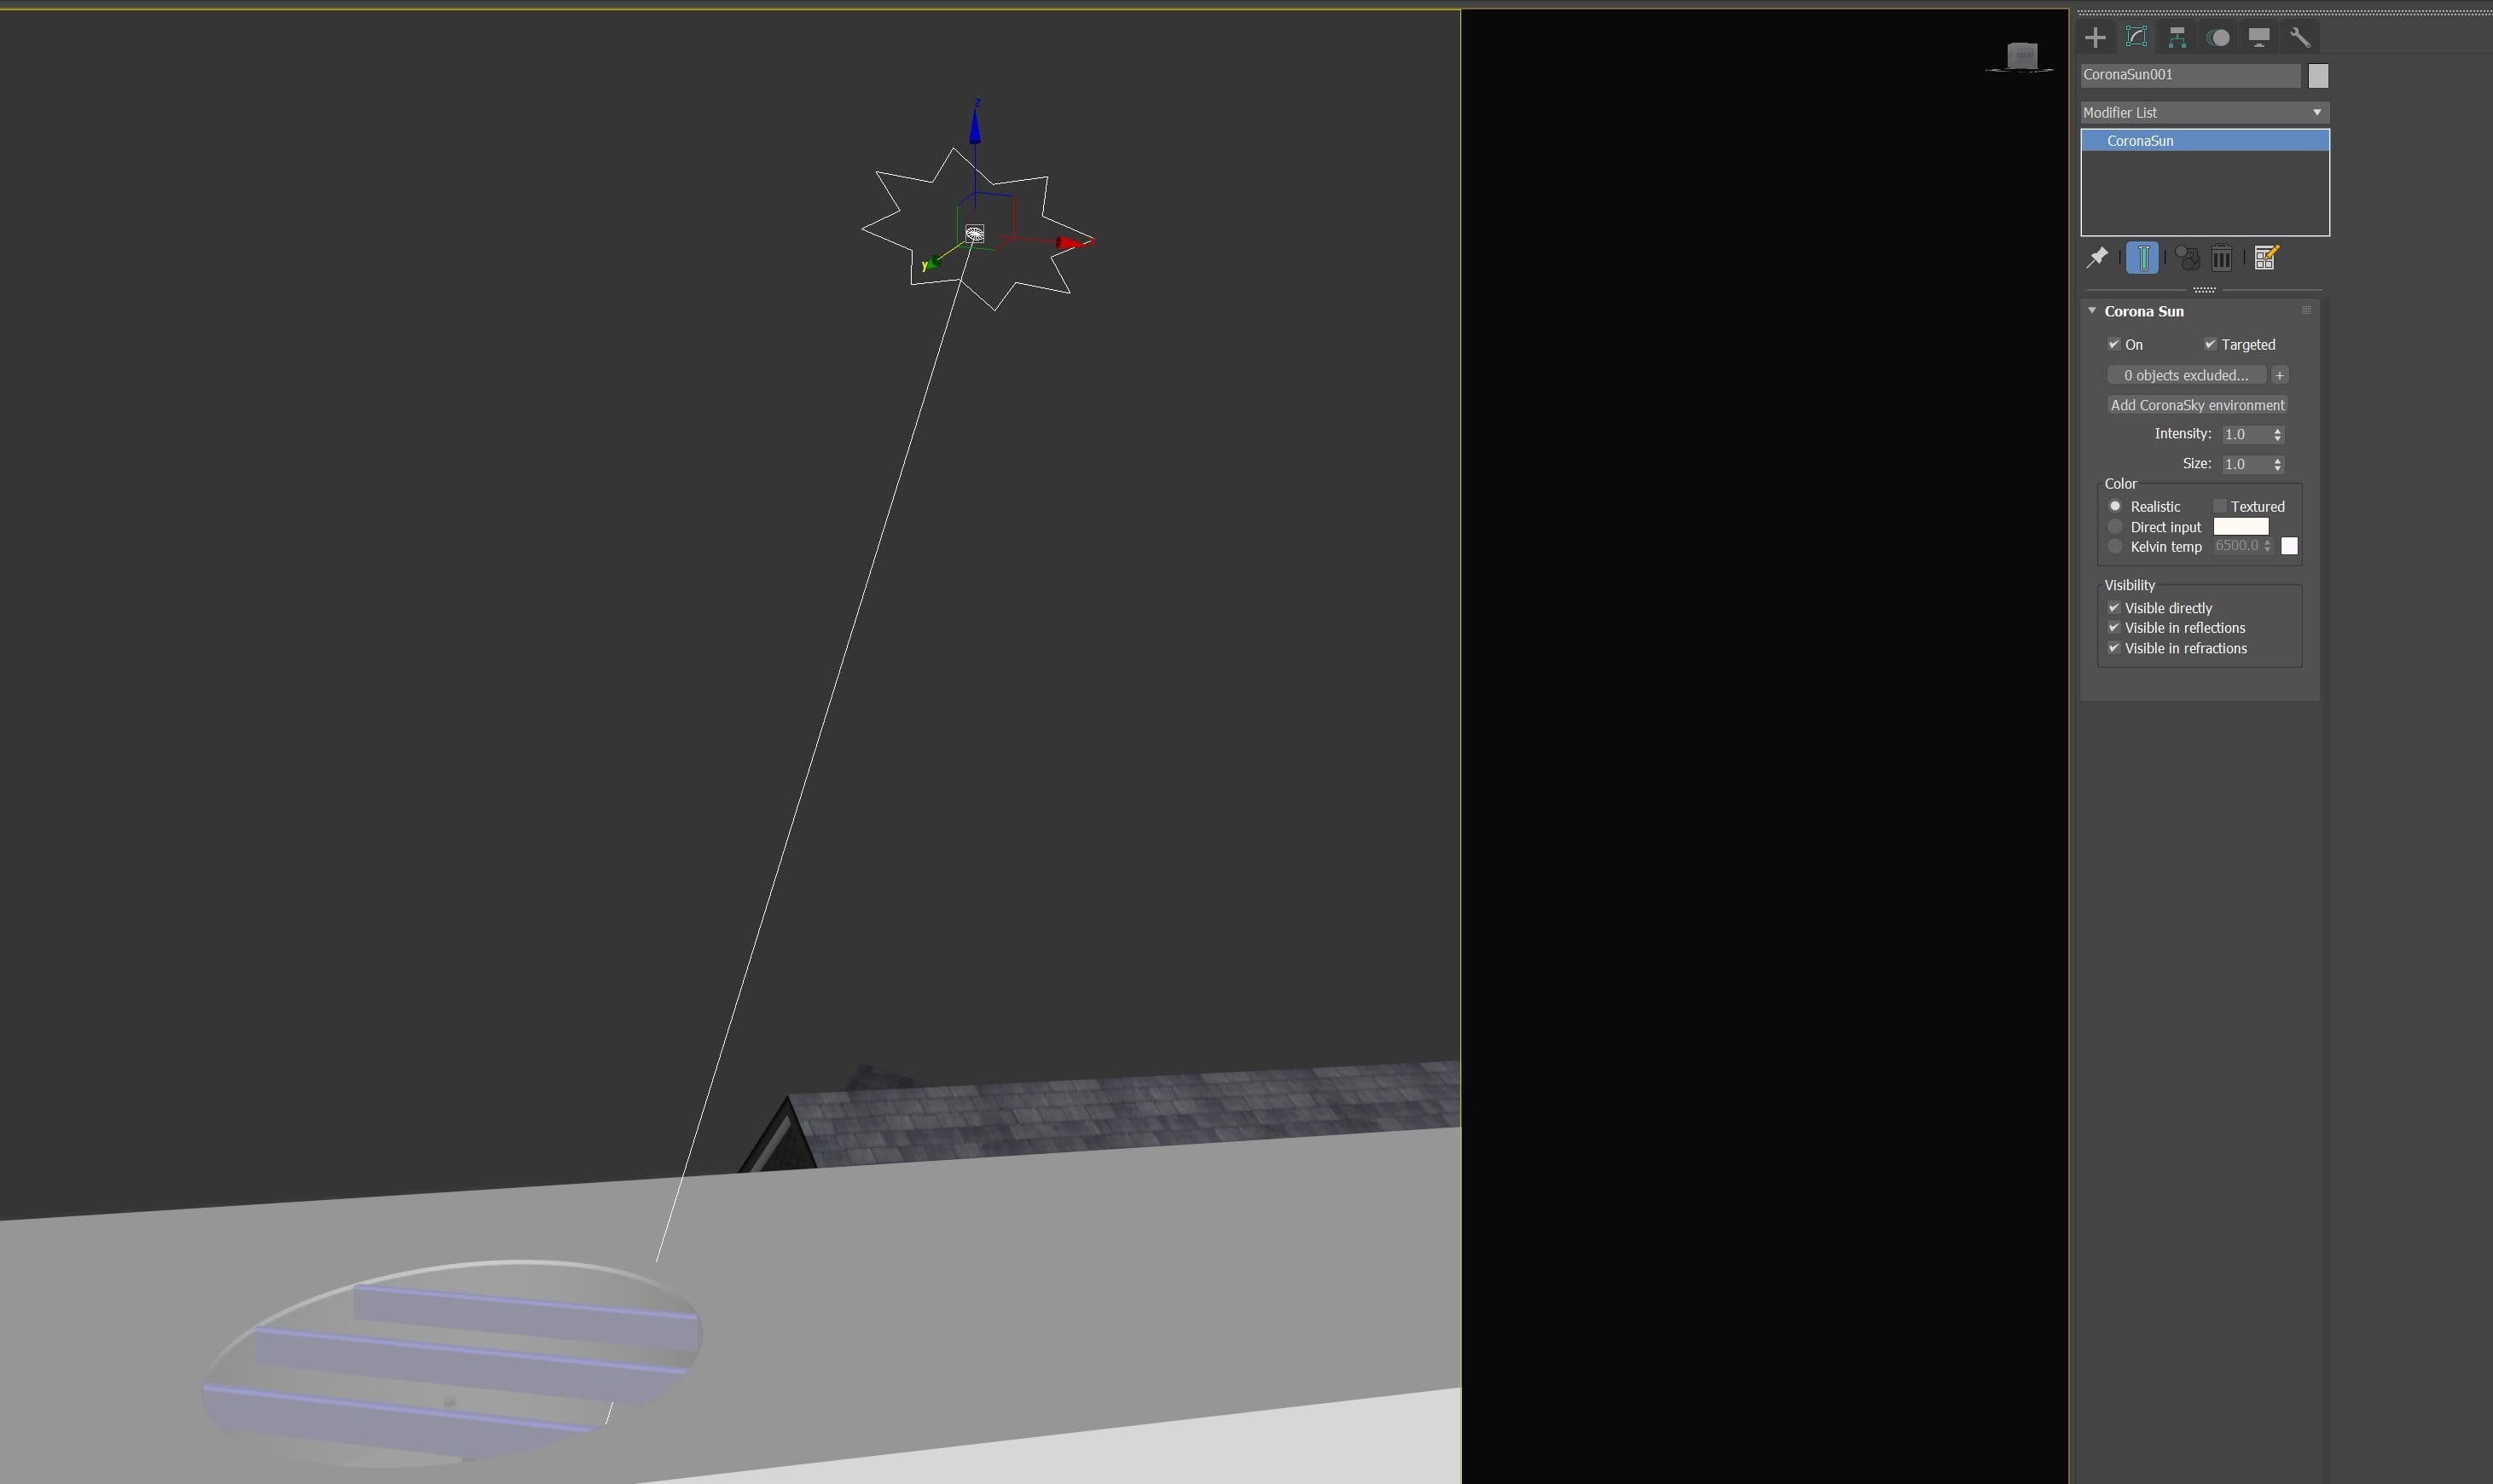
I’ve been fascinated, as I mentioned earlier, from the skylight and the mood of the scene, but when I tried to recreate it in 3d just with natural light, I ended being really disappointed. As common practice between photographers, the house has been shot with several filler lights, as it was incredibly dark when just light with the sun, and that’s probably what they ended up doing in real life when they shot the house. Those are all the fillers I used:

For the dusk shot, I used an HDRI by Peter Guthrie, which to be honest didn’t work as I was expecting, but still did the job:

RENDERING & POST-PROCESS
Thanks to Corona, spending hours tweaking render settings is just a distant memory. All the settings are standard, with the noise limit set to 4-5 %, and a denoise with a value of 0.65:

Post processing, once again, is limited to what a photographer would do in real life. I do 95% of the job in 3d, because I think that is how you can achieve the best and most realistic look.
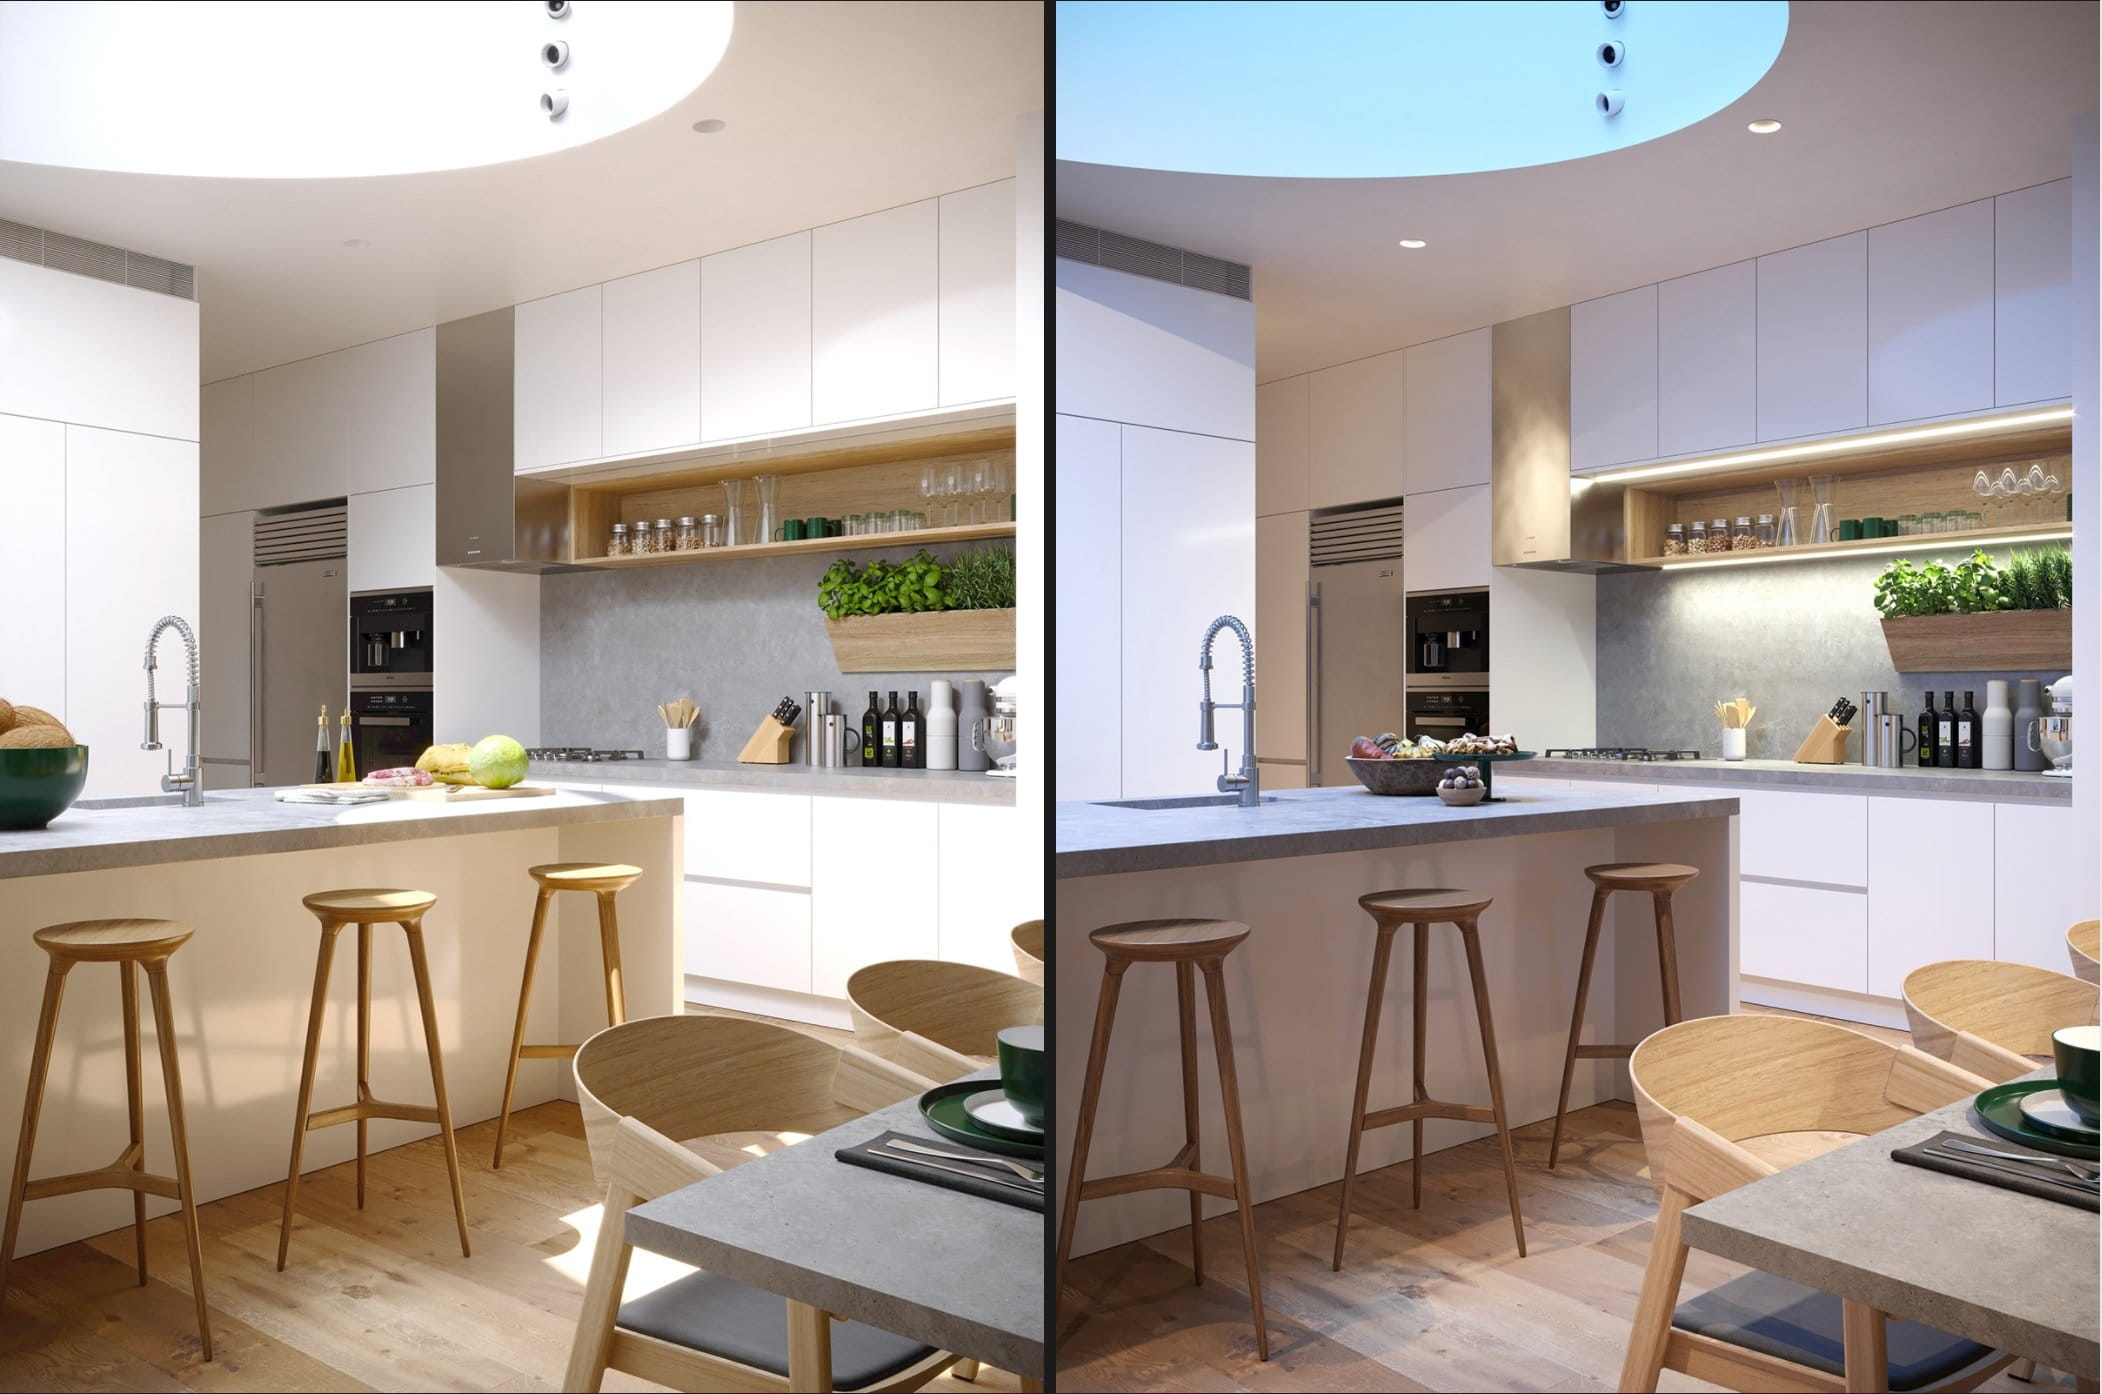
Some of the renders are coming out straight from the Corona frame buffer, with some tone mapping applied to it:

Some others required me a bit of extra work, blending two different exposures in Photoshop, to get the details from the highlights, without killing the contrast. And that’s the final result:
I hope you guys enjoyed this Making Of and please visit my Behance page for the full set of high-res images.
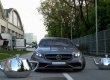
Final shots:


LEAVE A COMMENT


|

|

|

|

|
 Customer zone
 Your special offers
 Your orders
 Edit account
 Add project
 Liked projects
 View your artist profile
COMMENTS