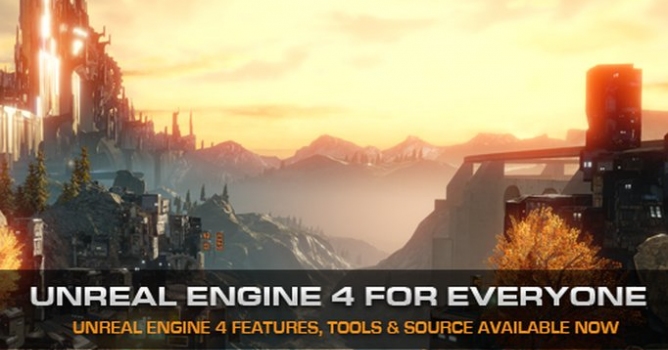
Evermotion: More Than an Asset Library
How Evermotion became a full-scale production partner for archviz, automotive and synthetic data.


Total: € 0

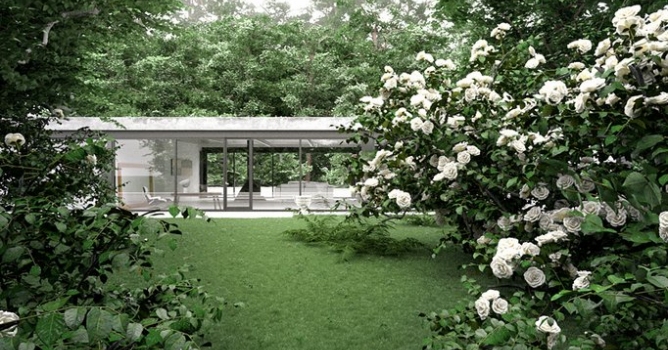
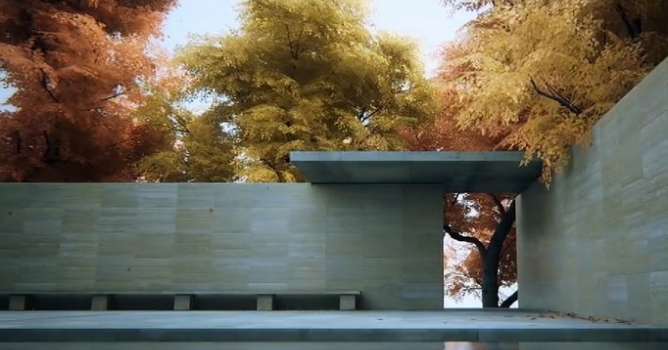
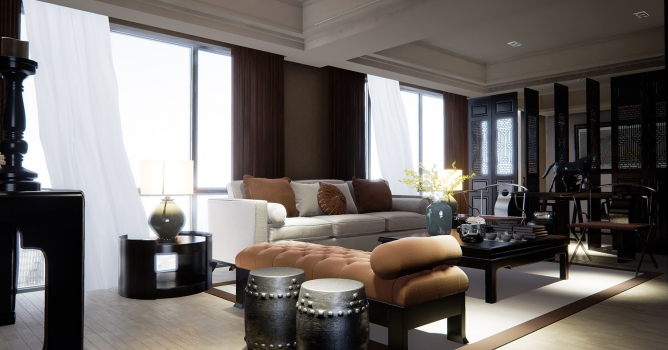
This interior is scene 03 from Archinteriors vol. 48 collection for 3ds Max and V-ray. We also released it as scene 05 in our Archinteriors for Unreal Engine vol. 4. From the beginning it was clear that we want to release two versions of the scene. It demanded some extra steps that would not be necesarry if we would focus only on traditional offline rendering approach.
What does it mean? First, we are shifting to PBR workflow. No more complicated V-ray materials. Now 99% of models in our scenes are made with Substance suite, suitable for publishing textures for many render engines, including realtime game engines.

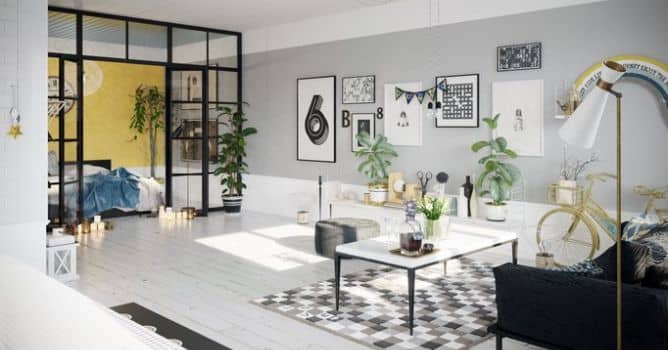
V-Ray final render (camera 1) after post production.
V-Ray: final render (camera 2) after post production.
V-Ray: final render (camera 3) after post production.
V-Ray: final render (camera 4) after post production.
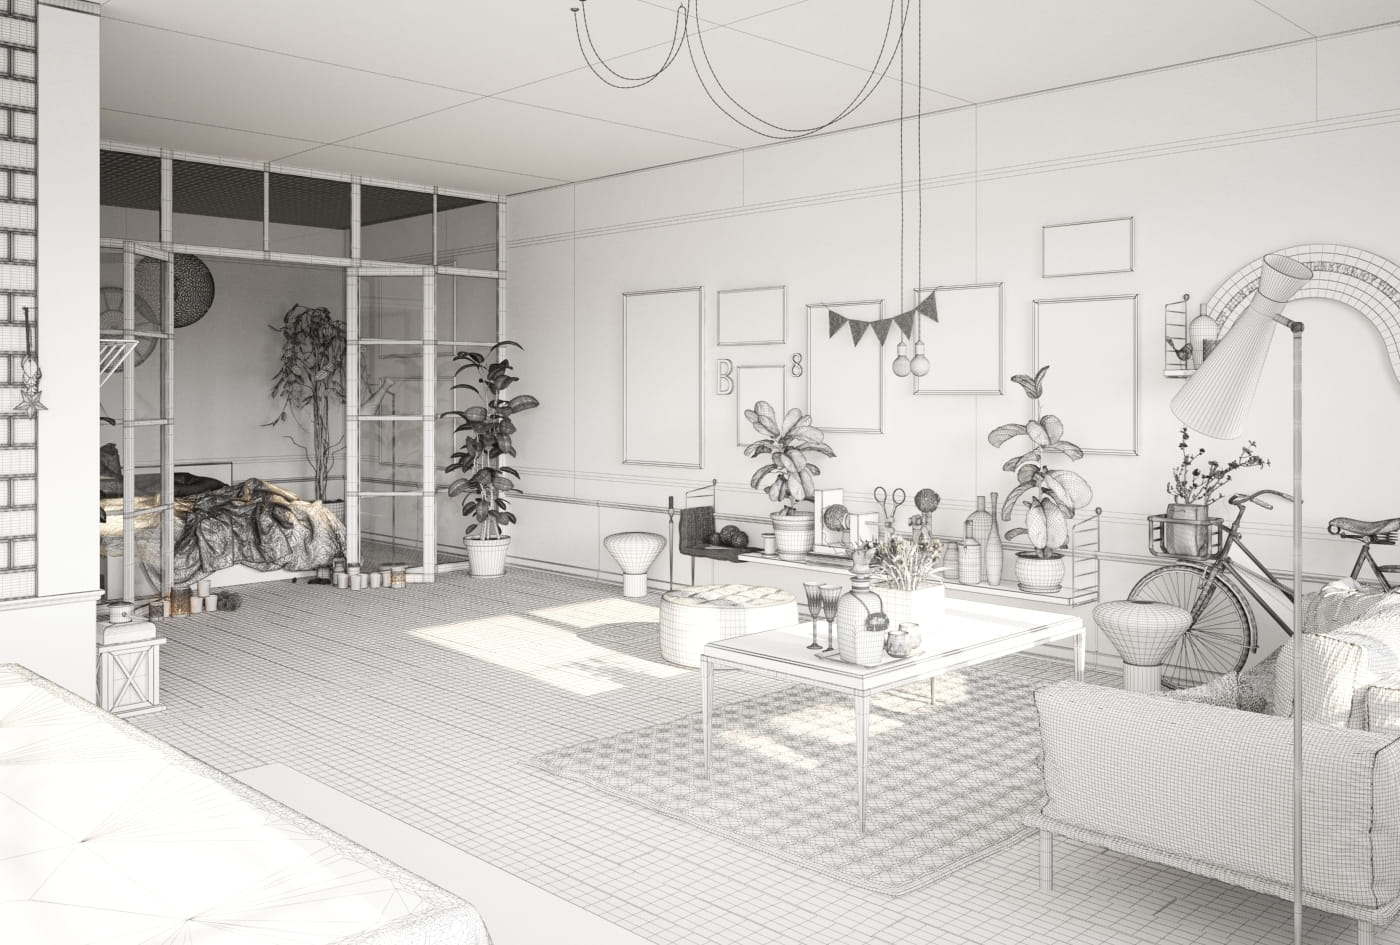
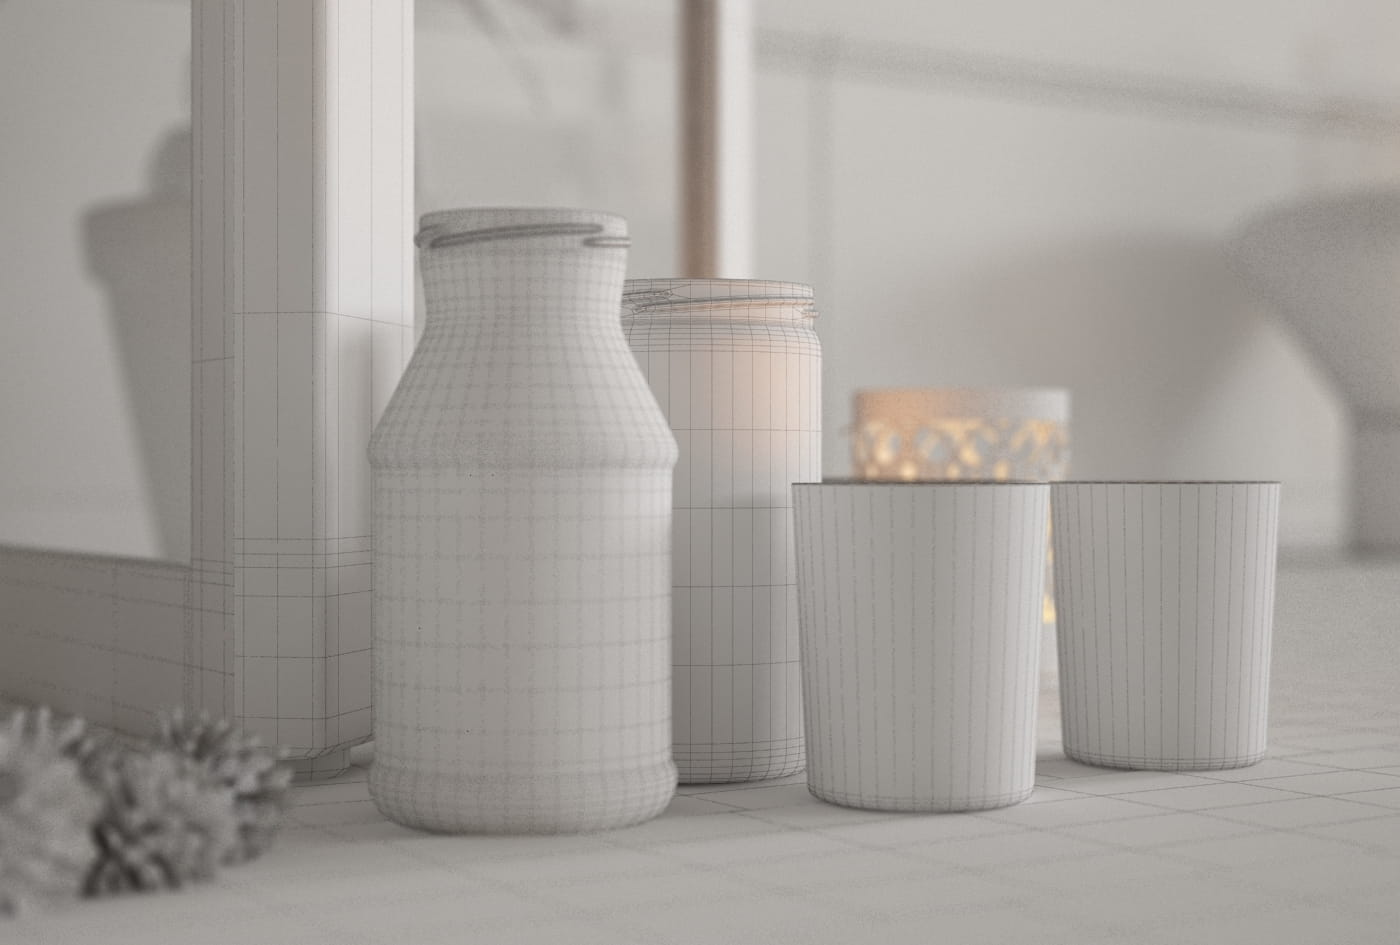
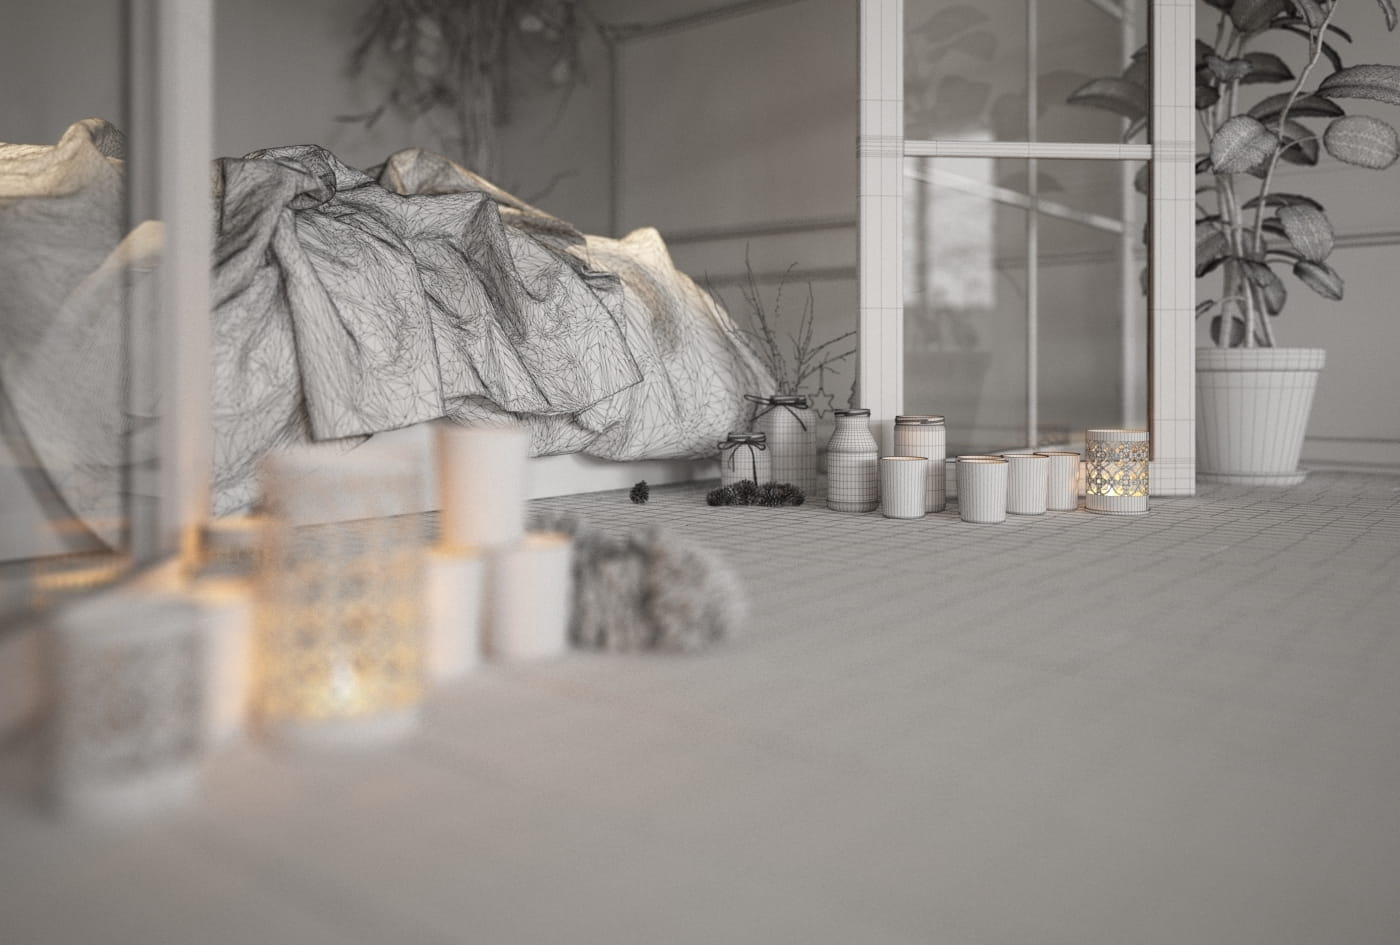
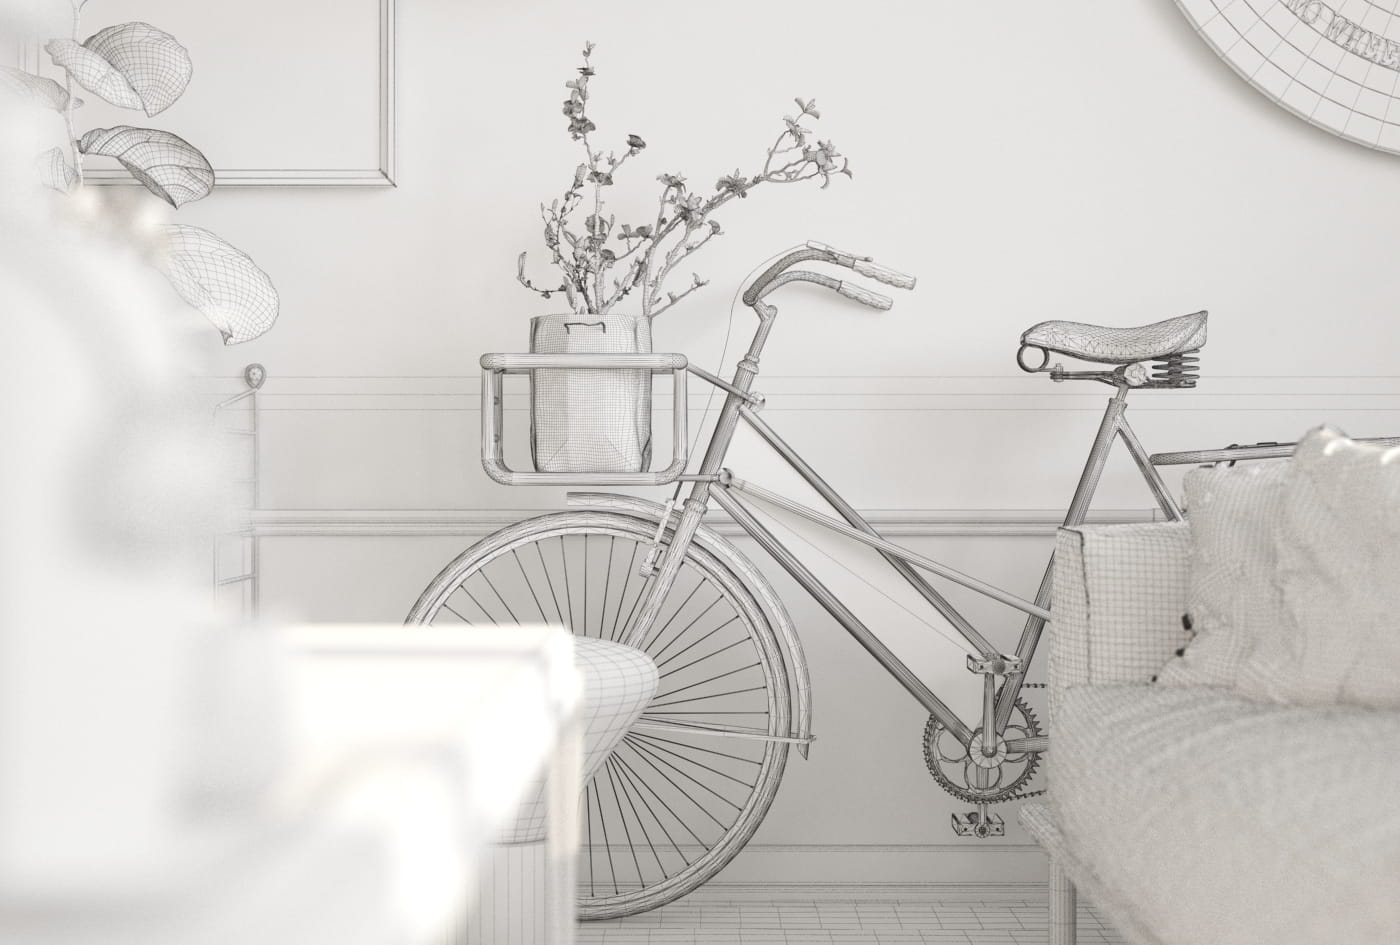
V-Ray - wireframe (camera 1)
V-Ray - wireframe (camera 2)
V-Ray - wireframe (camera 3)
V-Ray - wireframe (camera 4)

To achieve this wire effect we used the VrayEdgeTex Map.
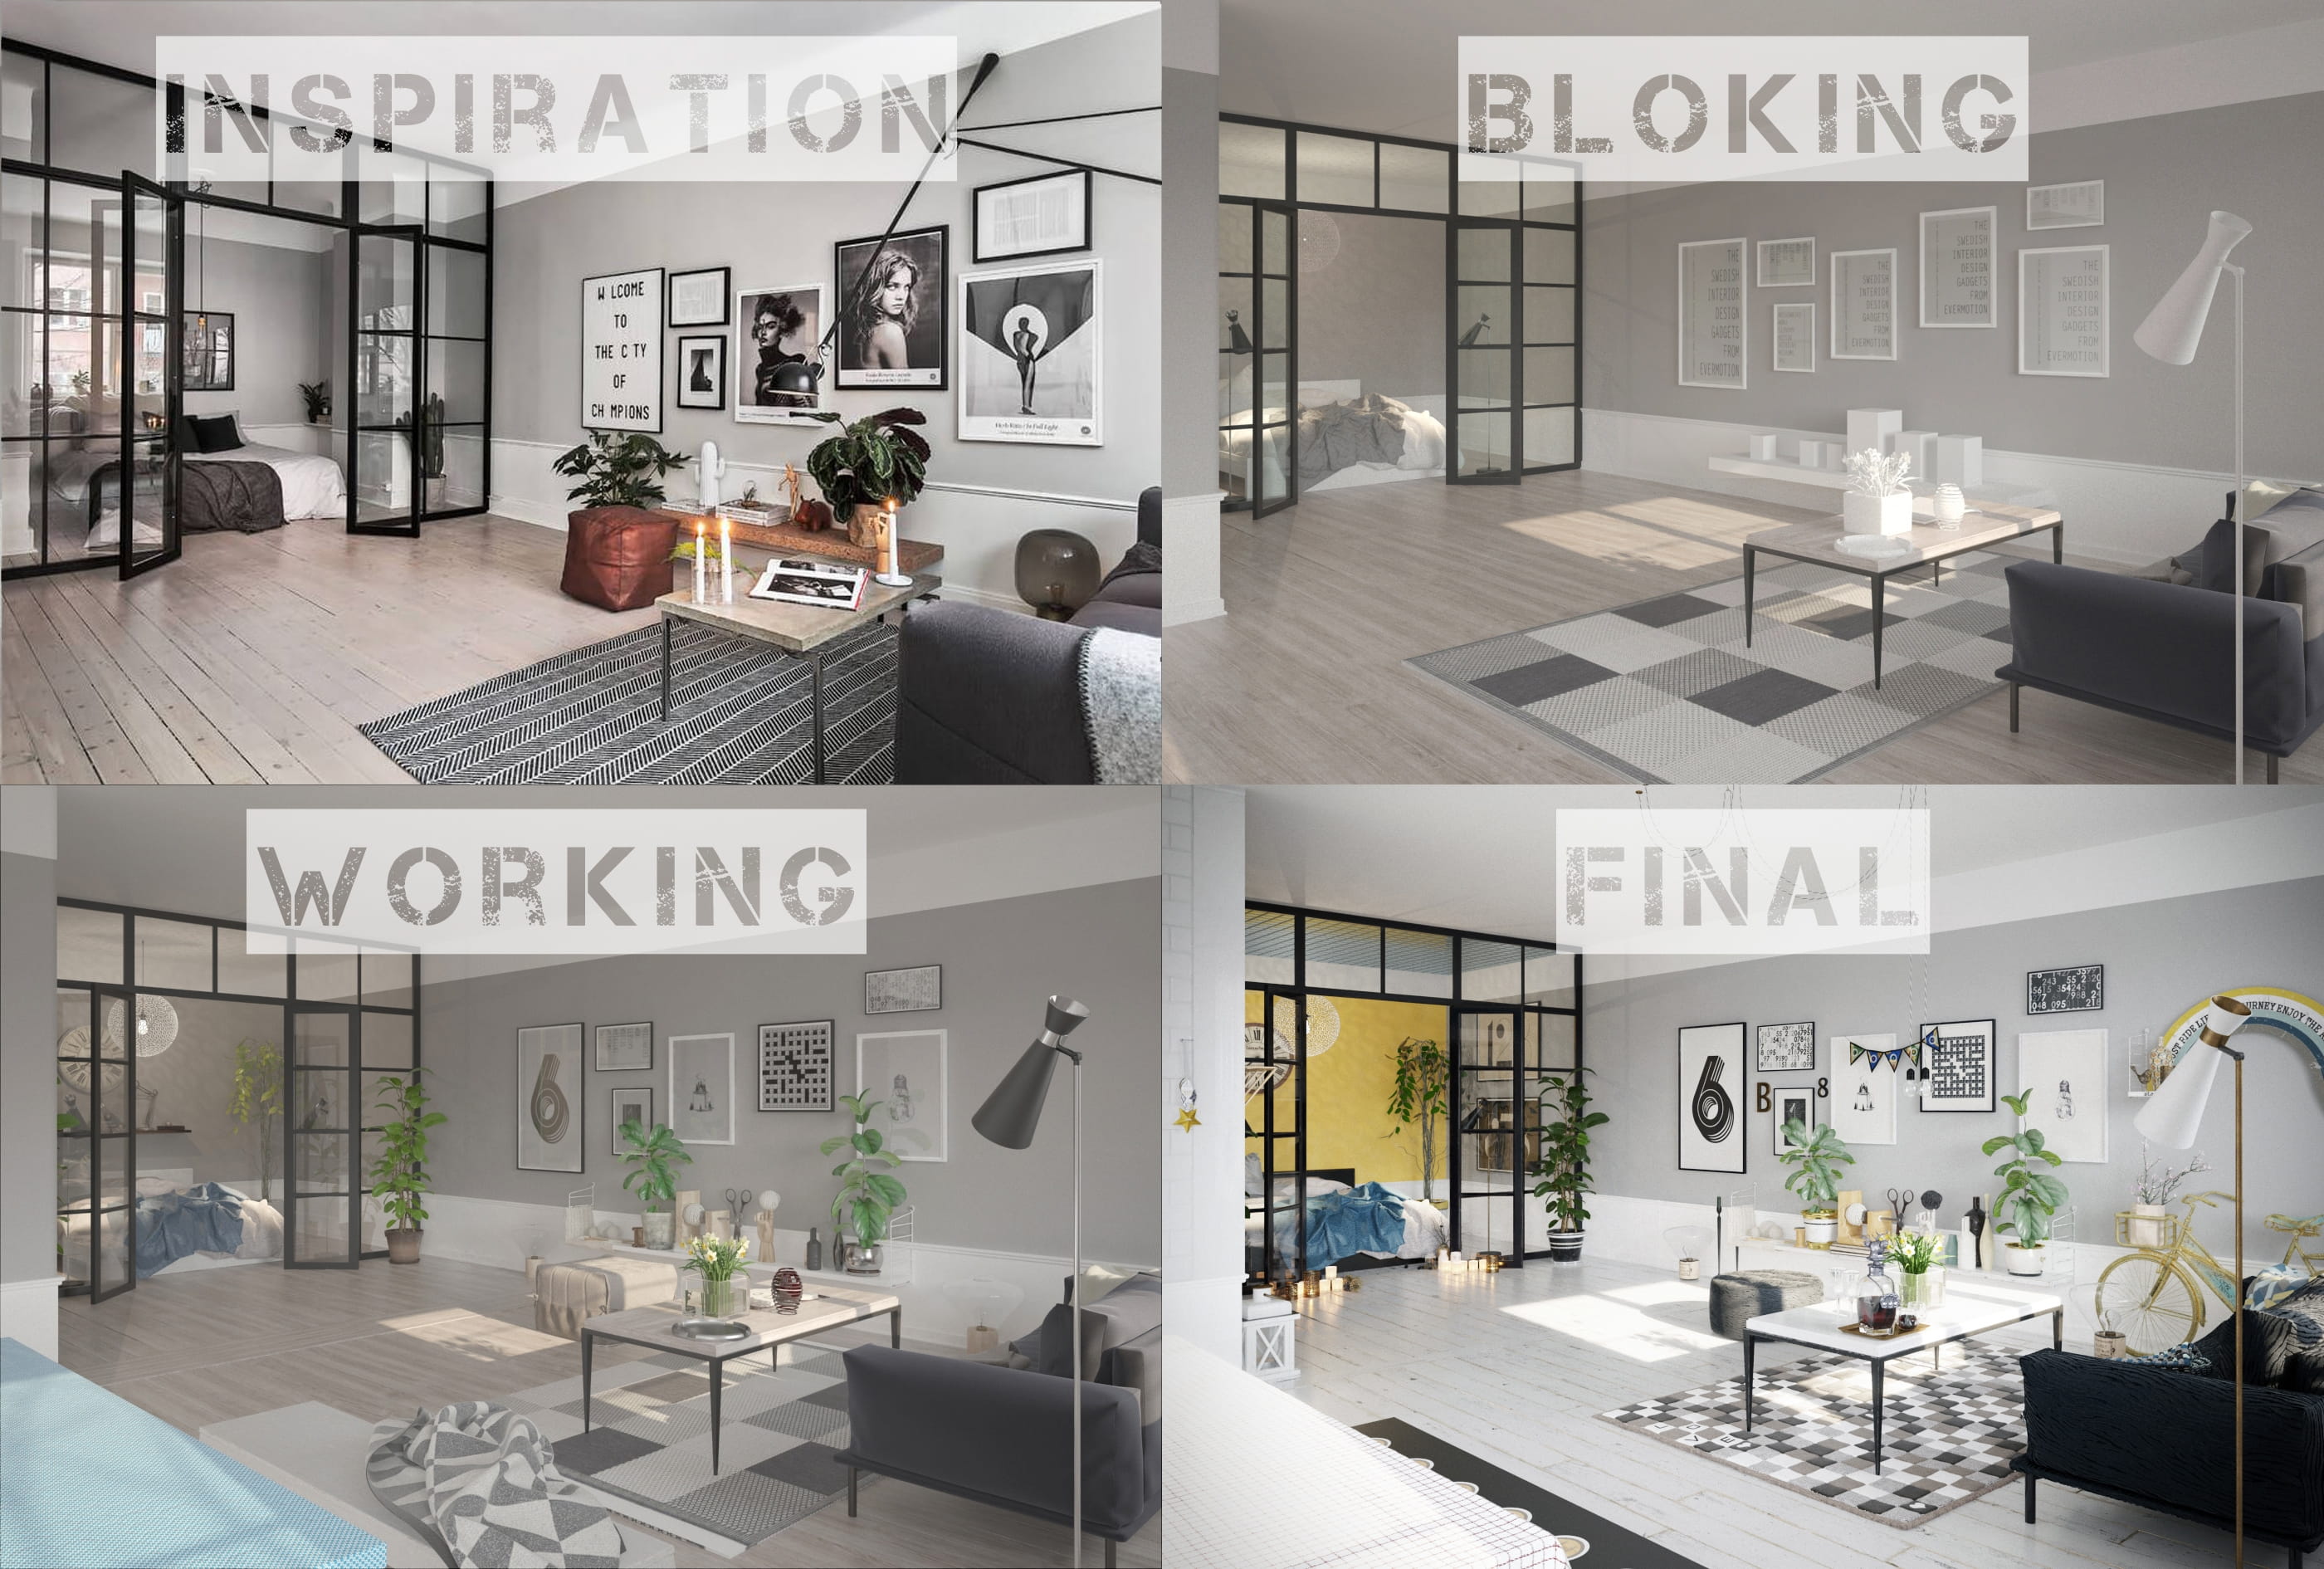
Above you can see the process of working from reference to final render. As you can see, a ready render differs significantly from "Inspiration" but the idea of a bedroom behind a glass door is preserved. Above all, an interesting operation creating the interior is the use of a ready color palette. It helps to balance the colors in the interior.
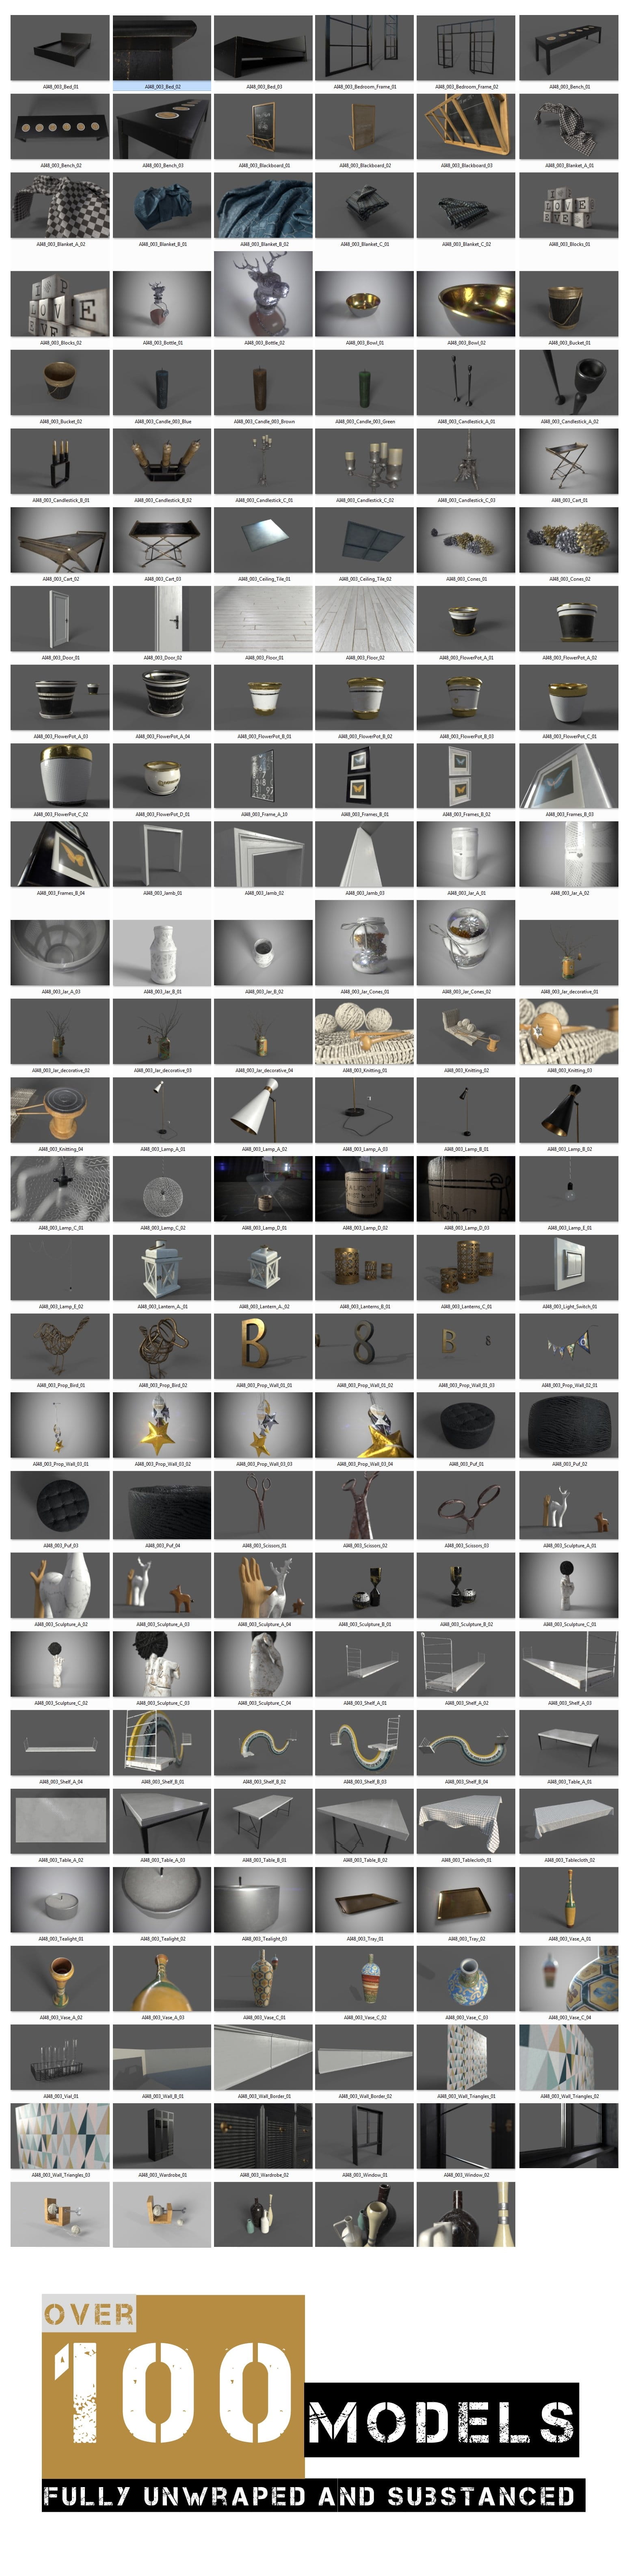
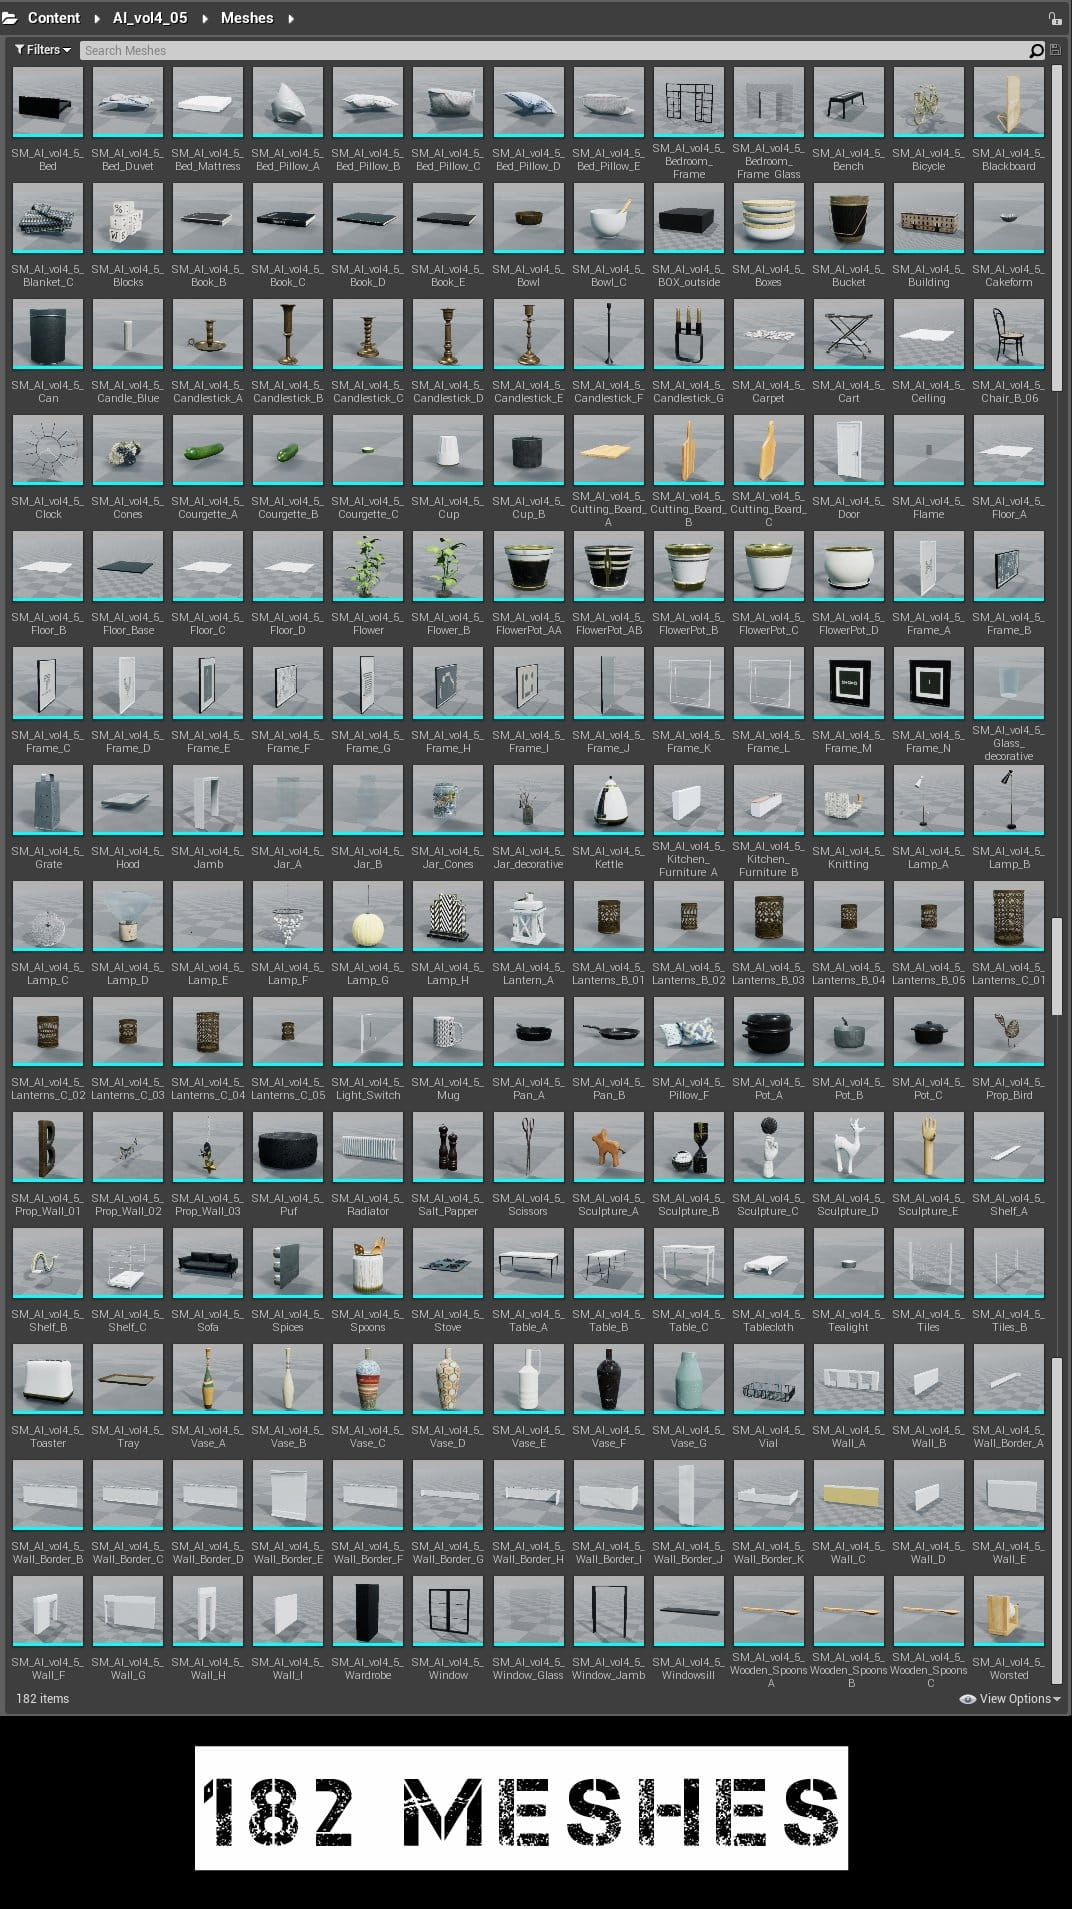
This interior is composed of more than a hundred different models. They are mapped and ready to use on other projects. Below you will find a presentation of some of them.
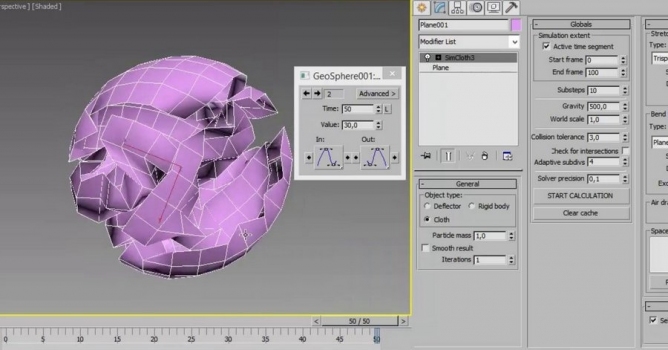
Creating shelf

These are the renders of Shelf with Substance Painter. Substance Painter uses iray for rendering. Iray is a GPU accelerated path-traced renderer developed by Nvidia.

And here is the result of adding different layers of material. As a result, we achieve a high-quality Shelf model.

Baking refer to the action of transferring mesh based information into textures. These information are then read by shaders and/or substance filters to perform advanced effects.
Most modern game engine and offline renderer use these baked textures. Baked textures are used in Substance Painter to add details and quickly texture an asset via advanced mask generators and filters. There are mandatory to be able to use Smart Materials for examples.
Creating Pouf
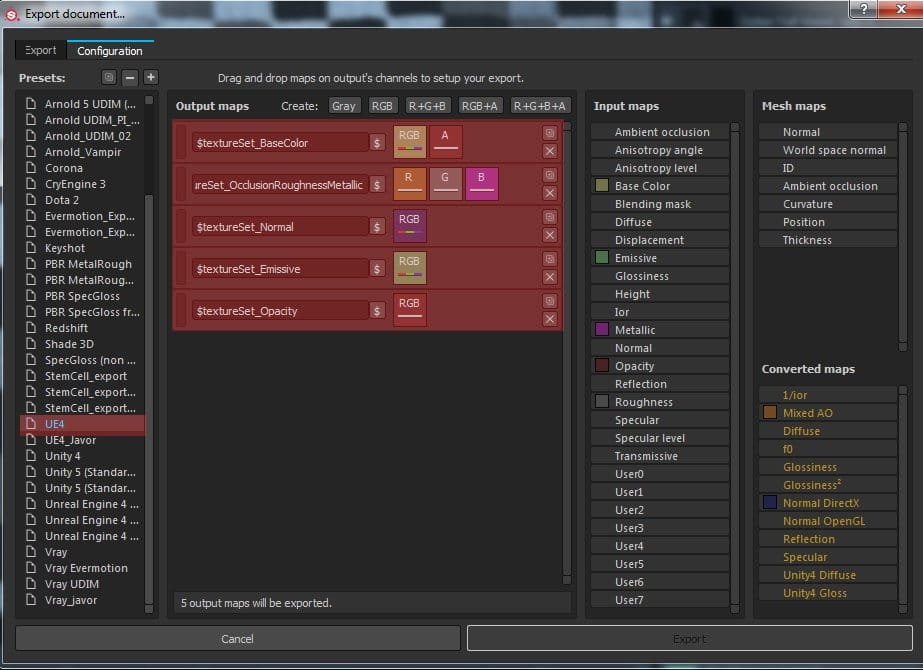
To use the textures that we created in Substance Painter, you need to export them with the appropriate preset, in our case it will be a Vray preset.
We will get several maps that we attach to the appropriate slots in Vray.
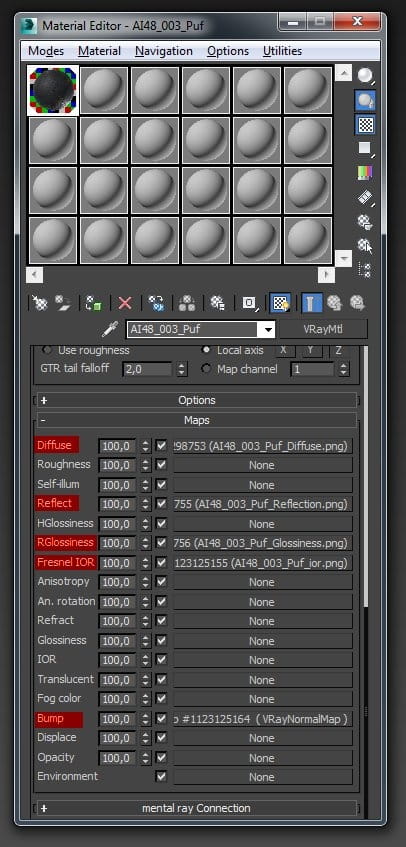
I marked red slots for textures that were exported from Substance Painter.
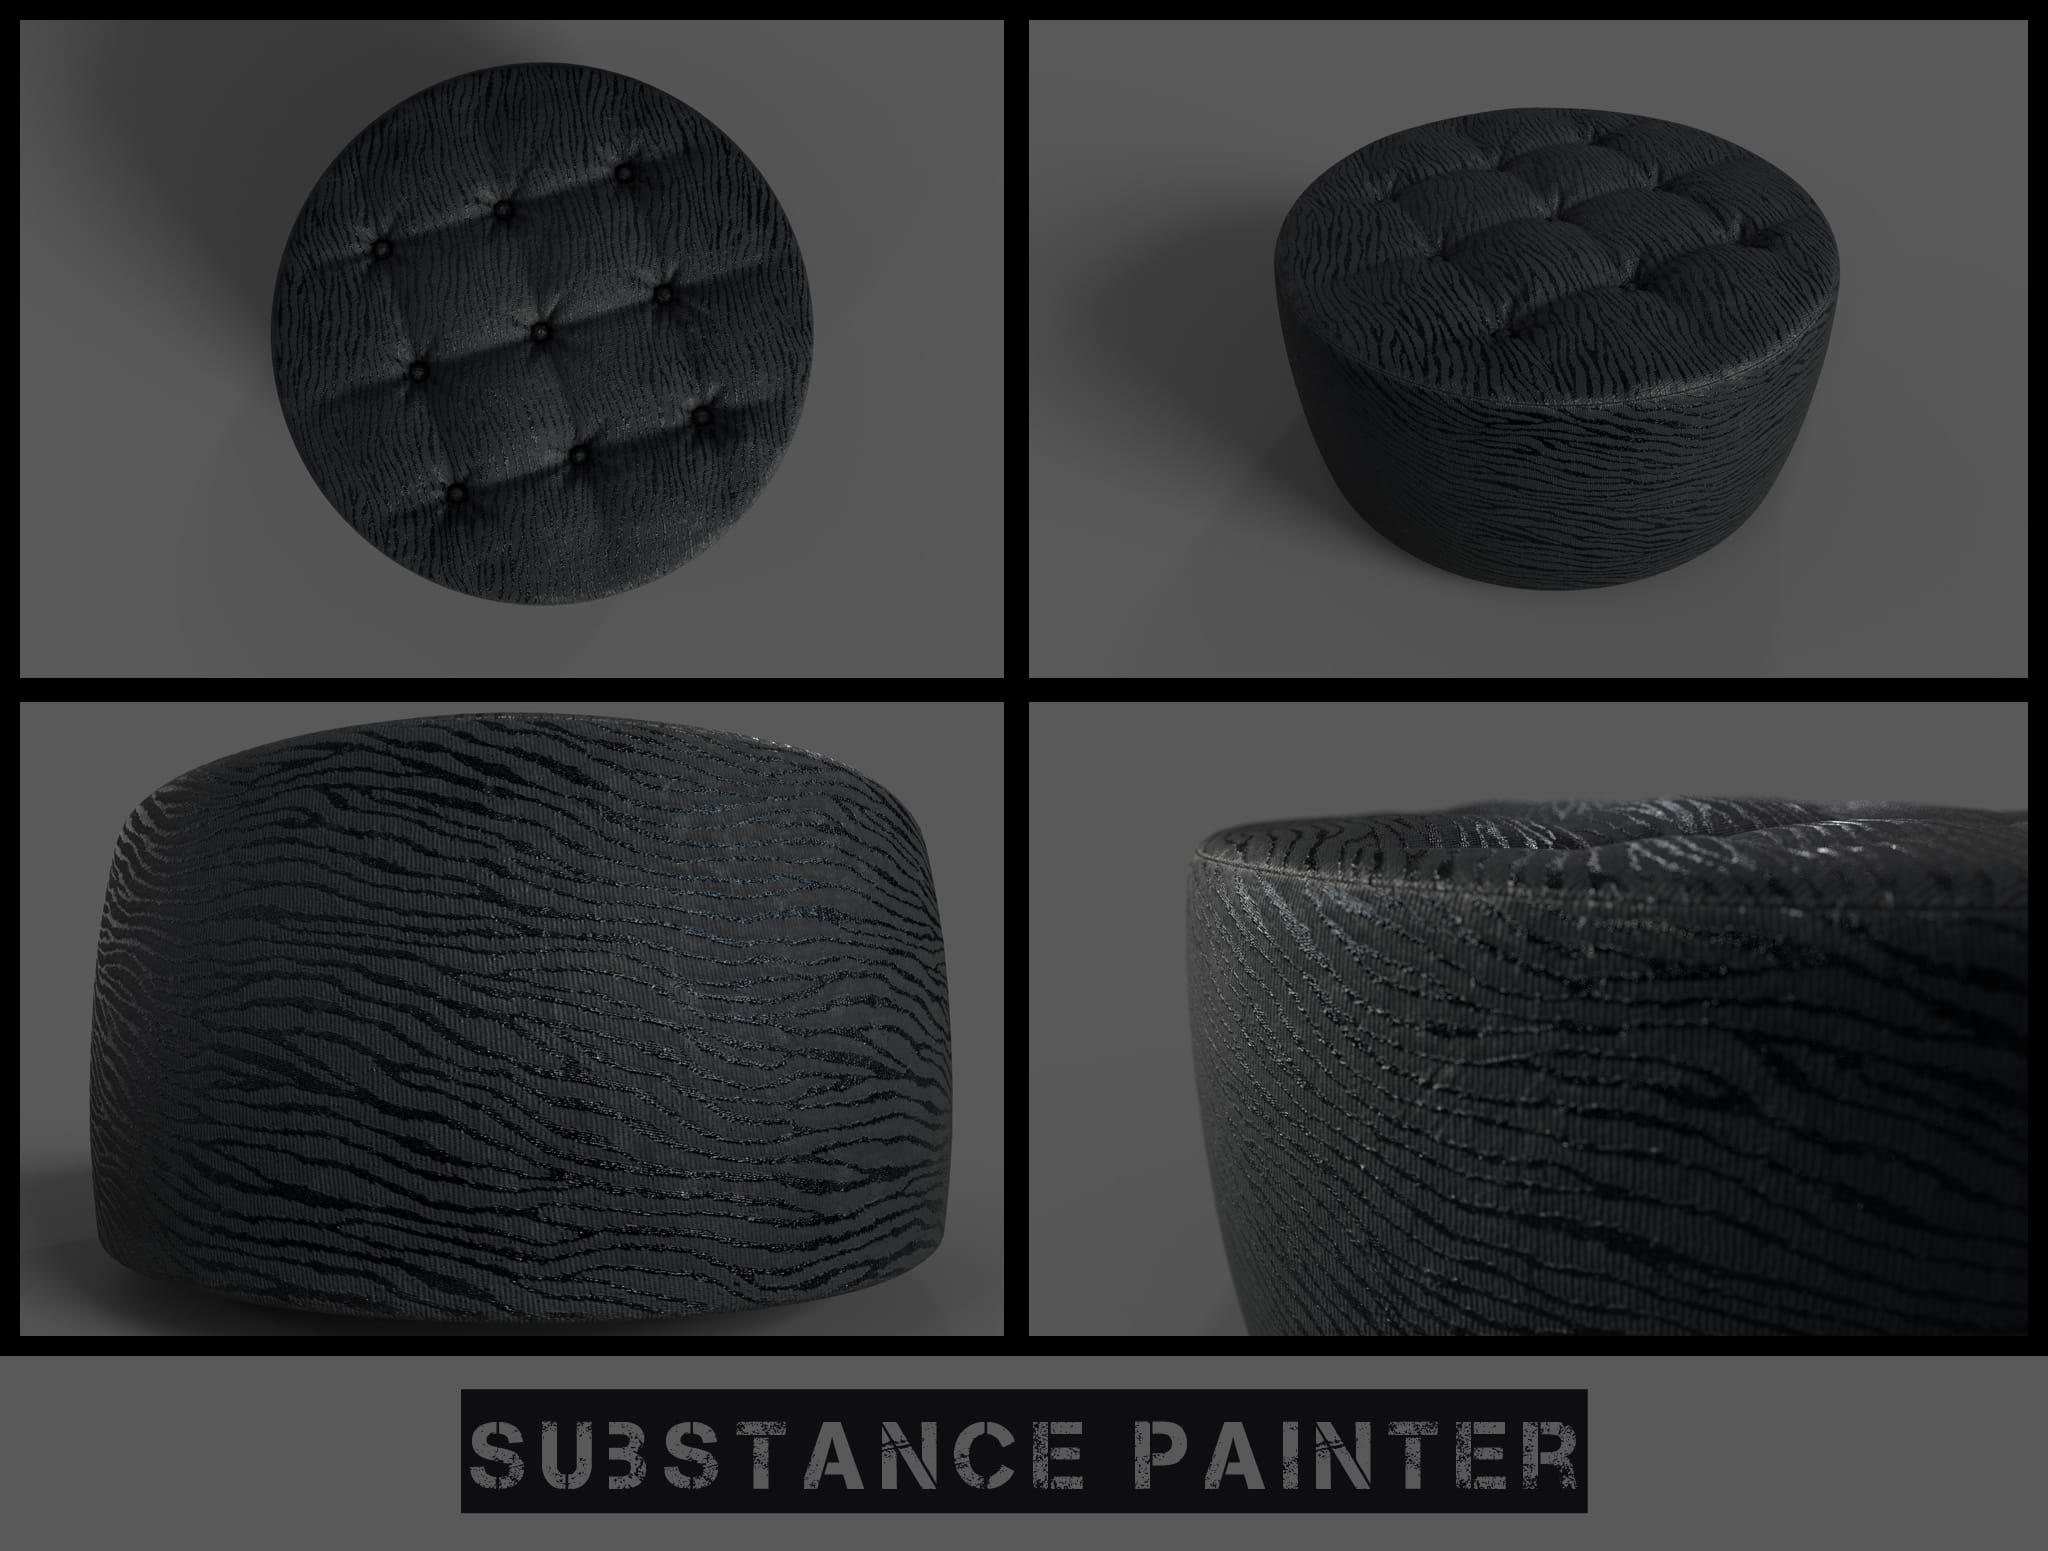
These are the renders of poufs textured with Substance Painter.

And here is the result of adding different layers of material.
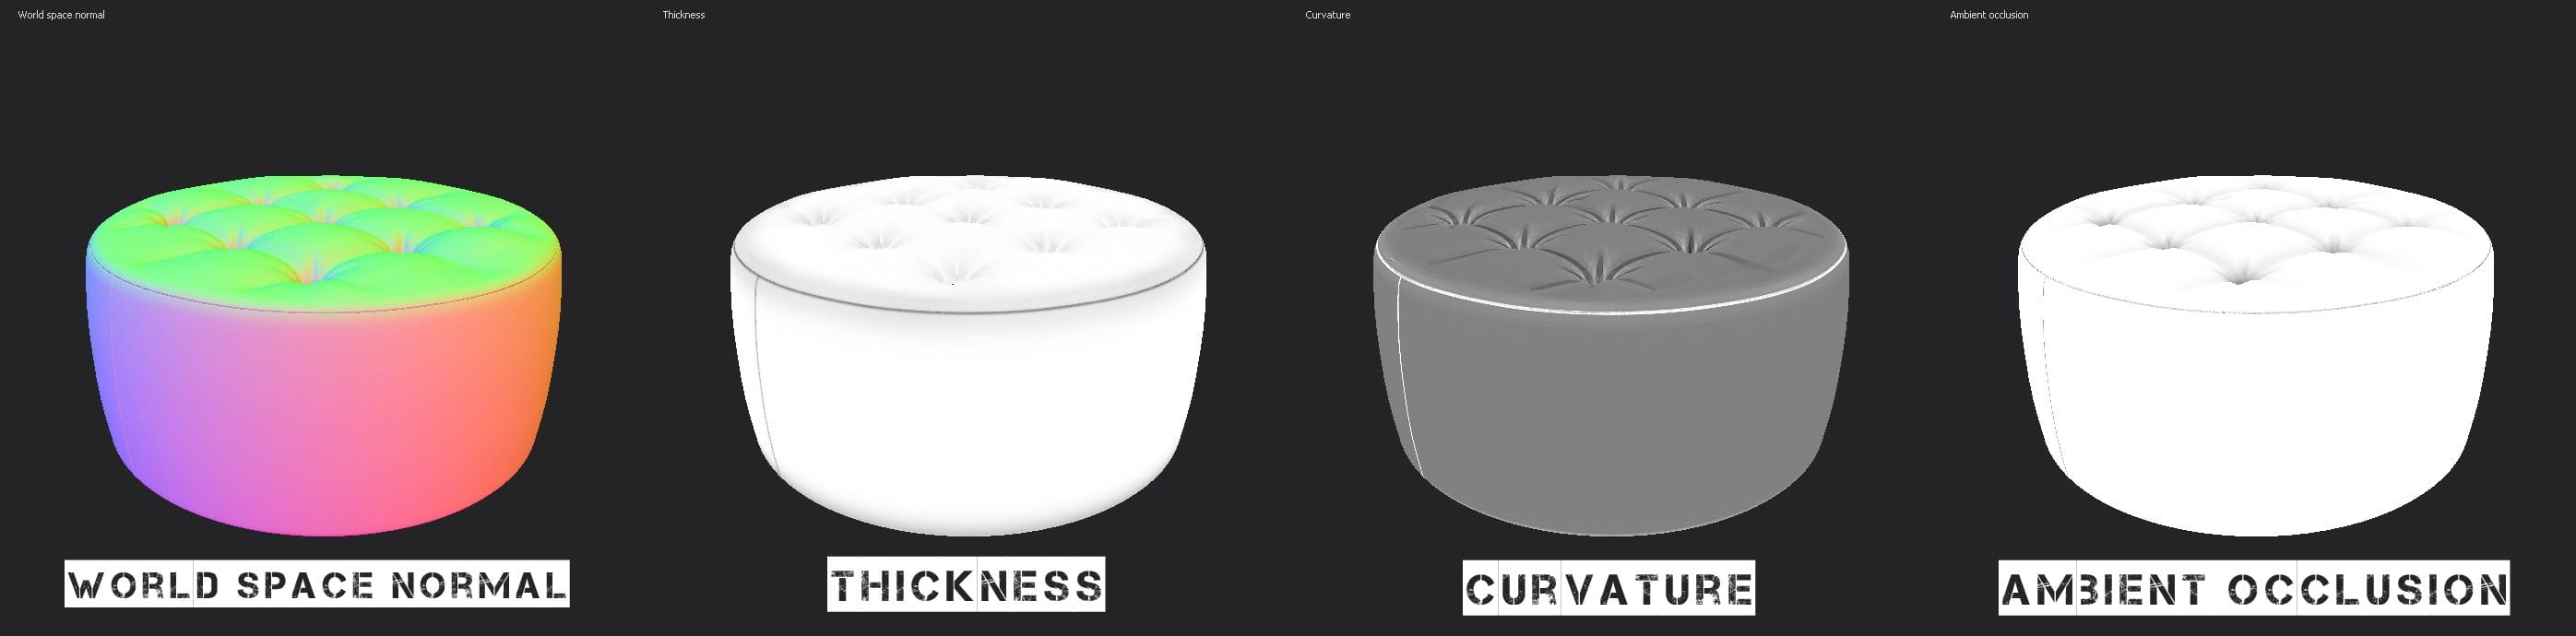
Baked textures are used in Substance Painter to add details and quickly texture an asset via advanced mask generators and filters.

Today, over 85% of AAA game studios use Substance in their production pipelines, making Substance the industry standard for PBR material authoring.
Above you can see how we do it on the basis of a flowerpot mesh.
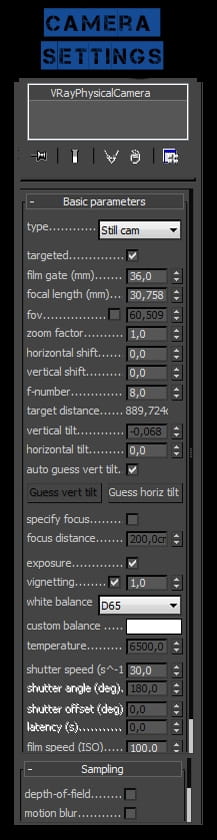
V-Ray Camera settings
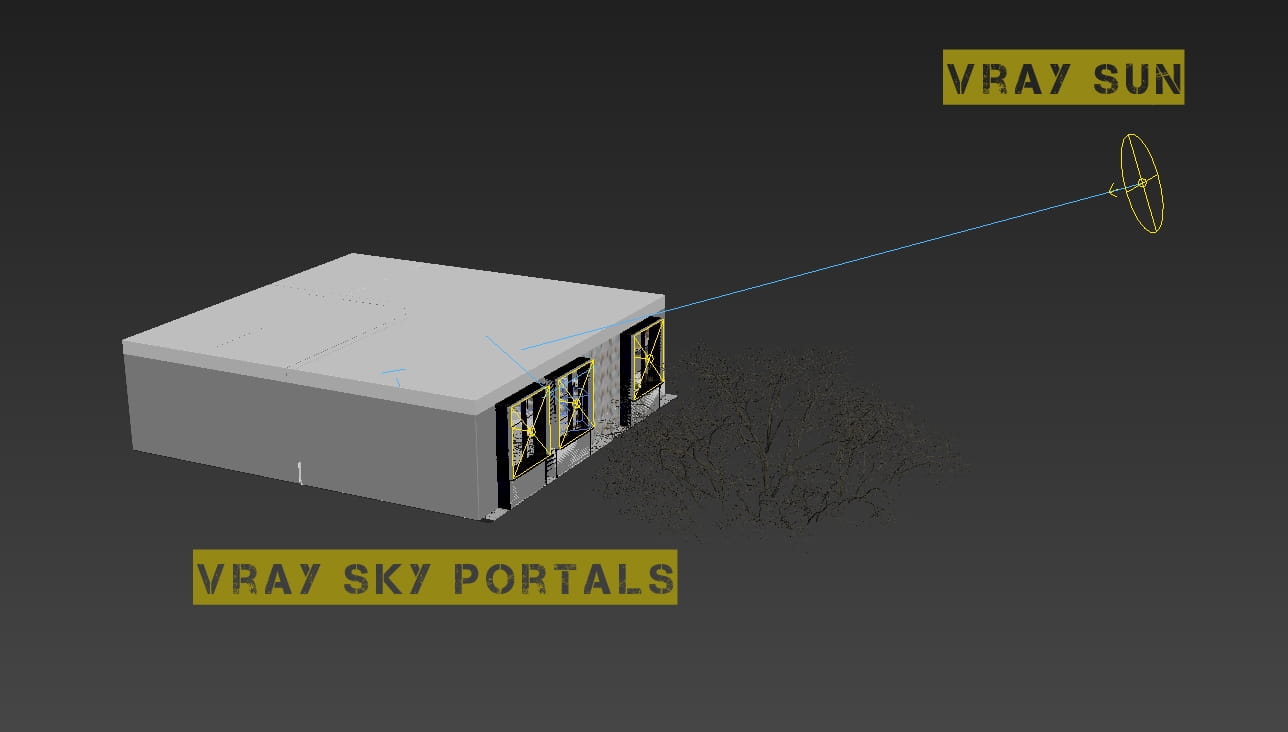
As in most of our scenes, we use the Sun & Sky system with Portals in windows. To better understand this, keep up to date with the "tip of the week" on our website. Or look at earlier articles.

V-Ray render settings: Download V-Ray settings (VRAY PRESET) here.

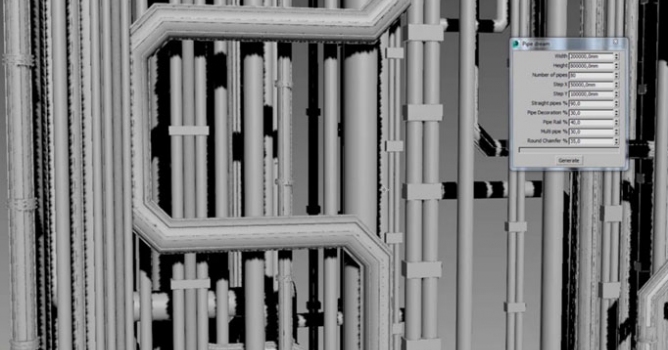
The most of our models are unwrapped with no overlapping. Most models are aslo mapped individually, often manually. We rarely use options "Flatten Mapping" or similar.
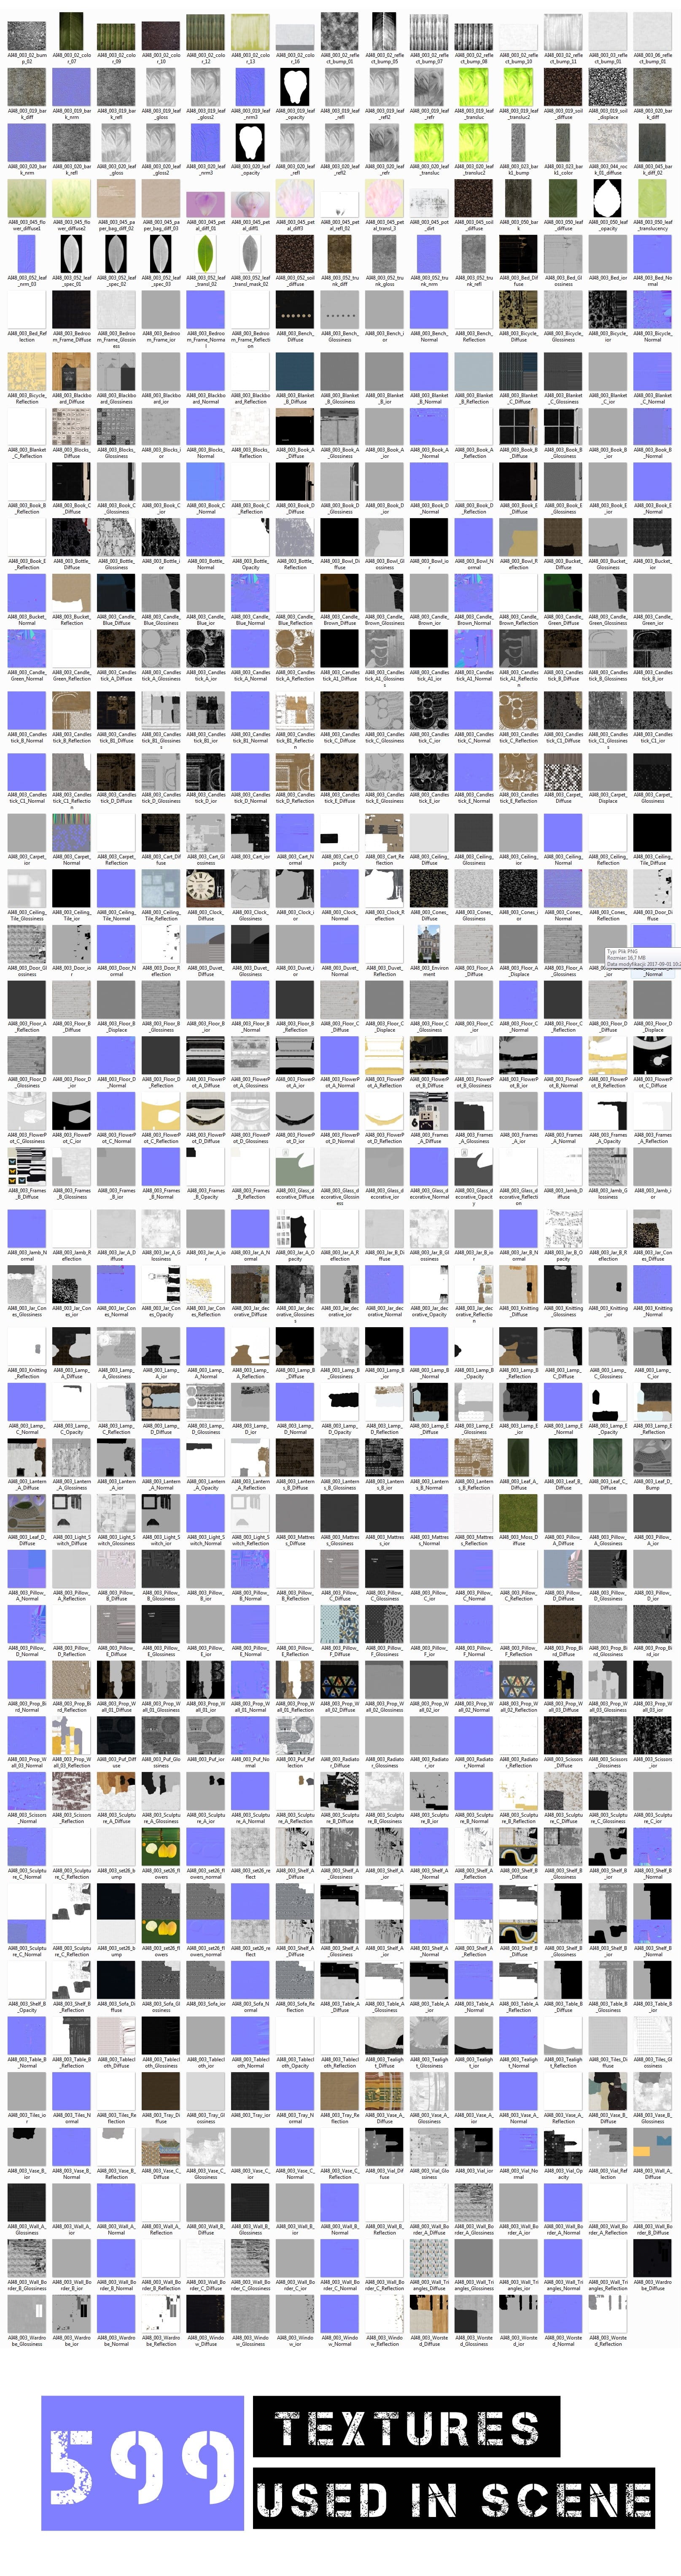
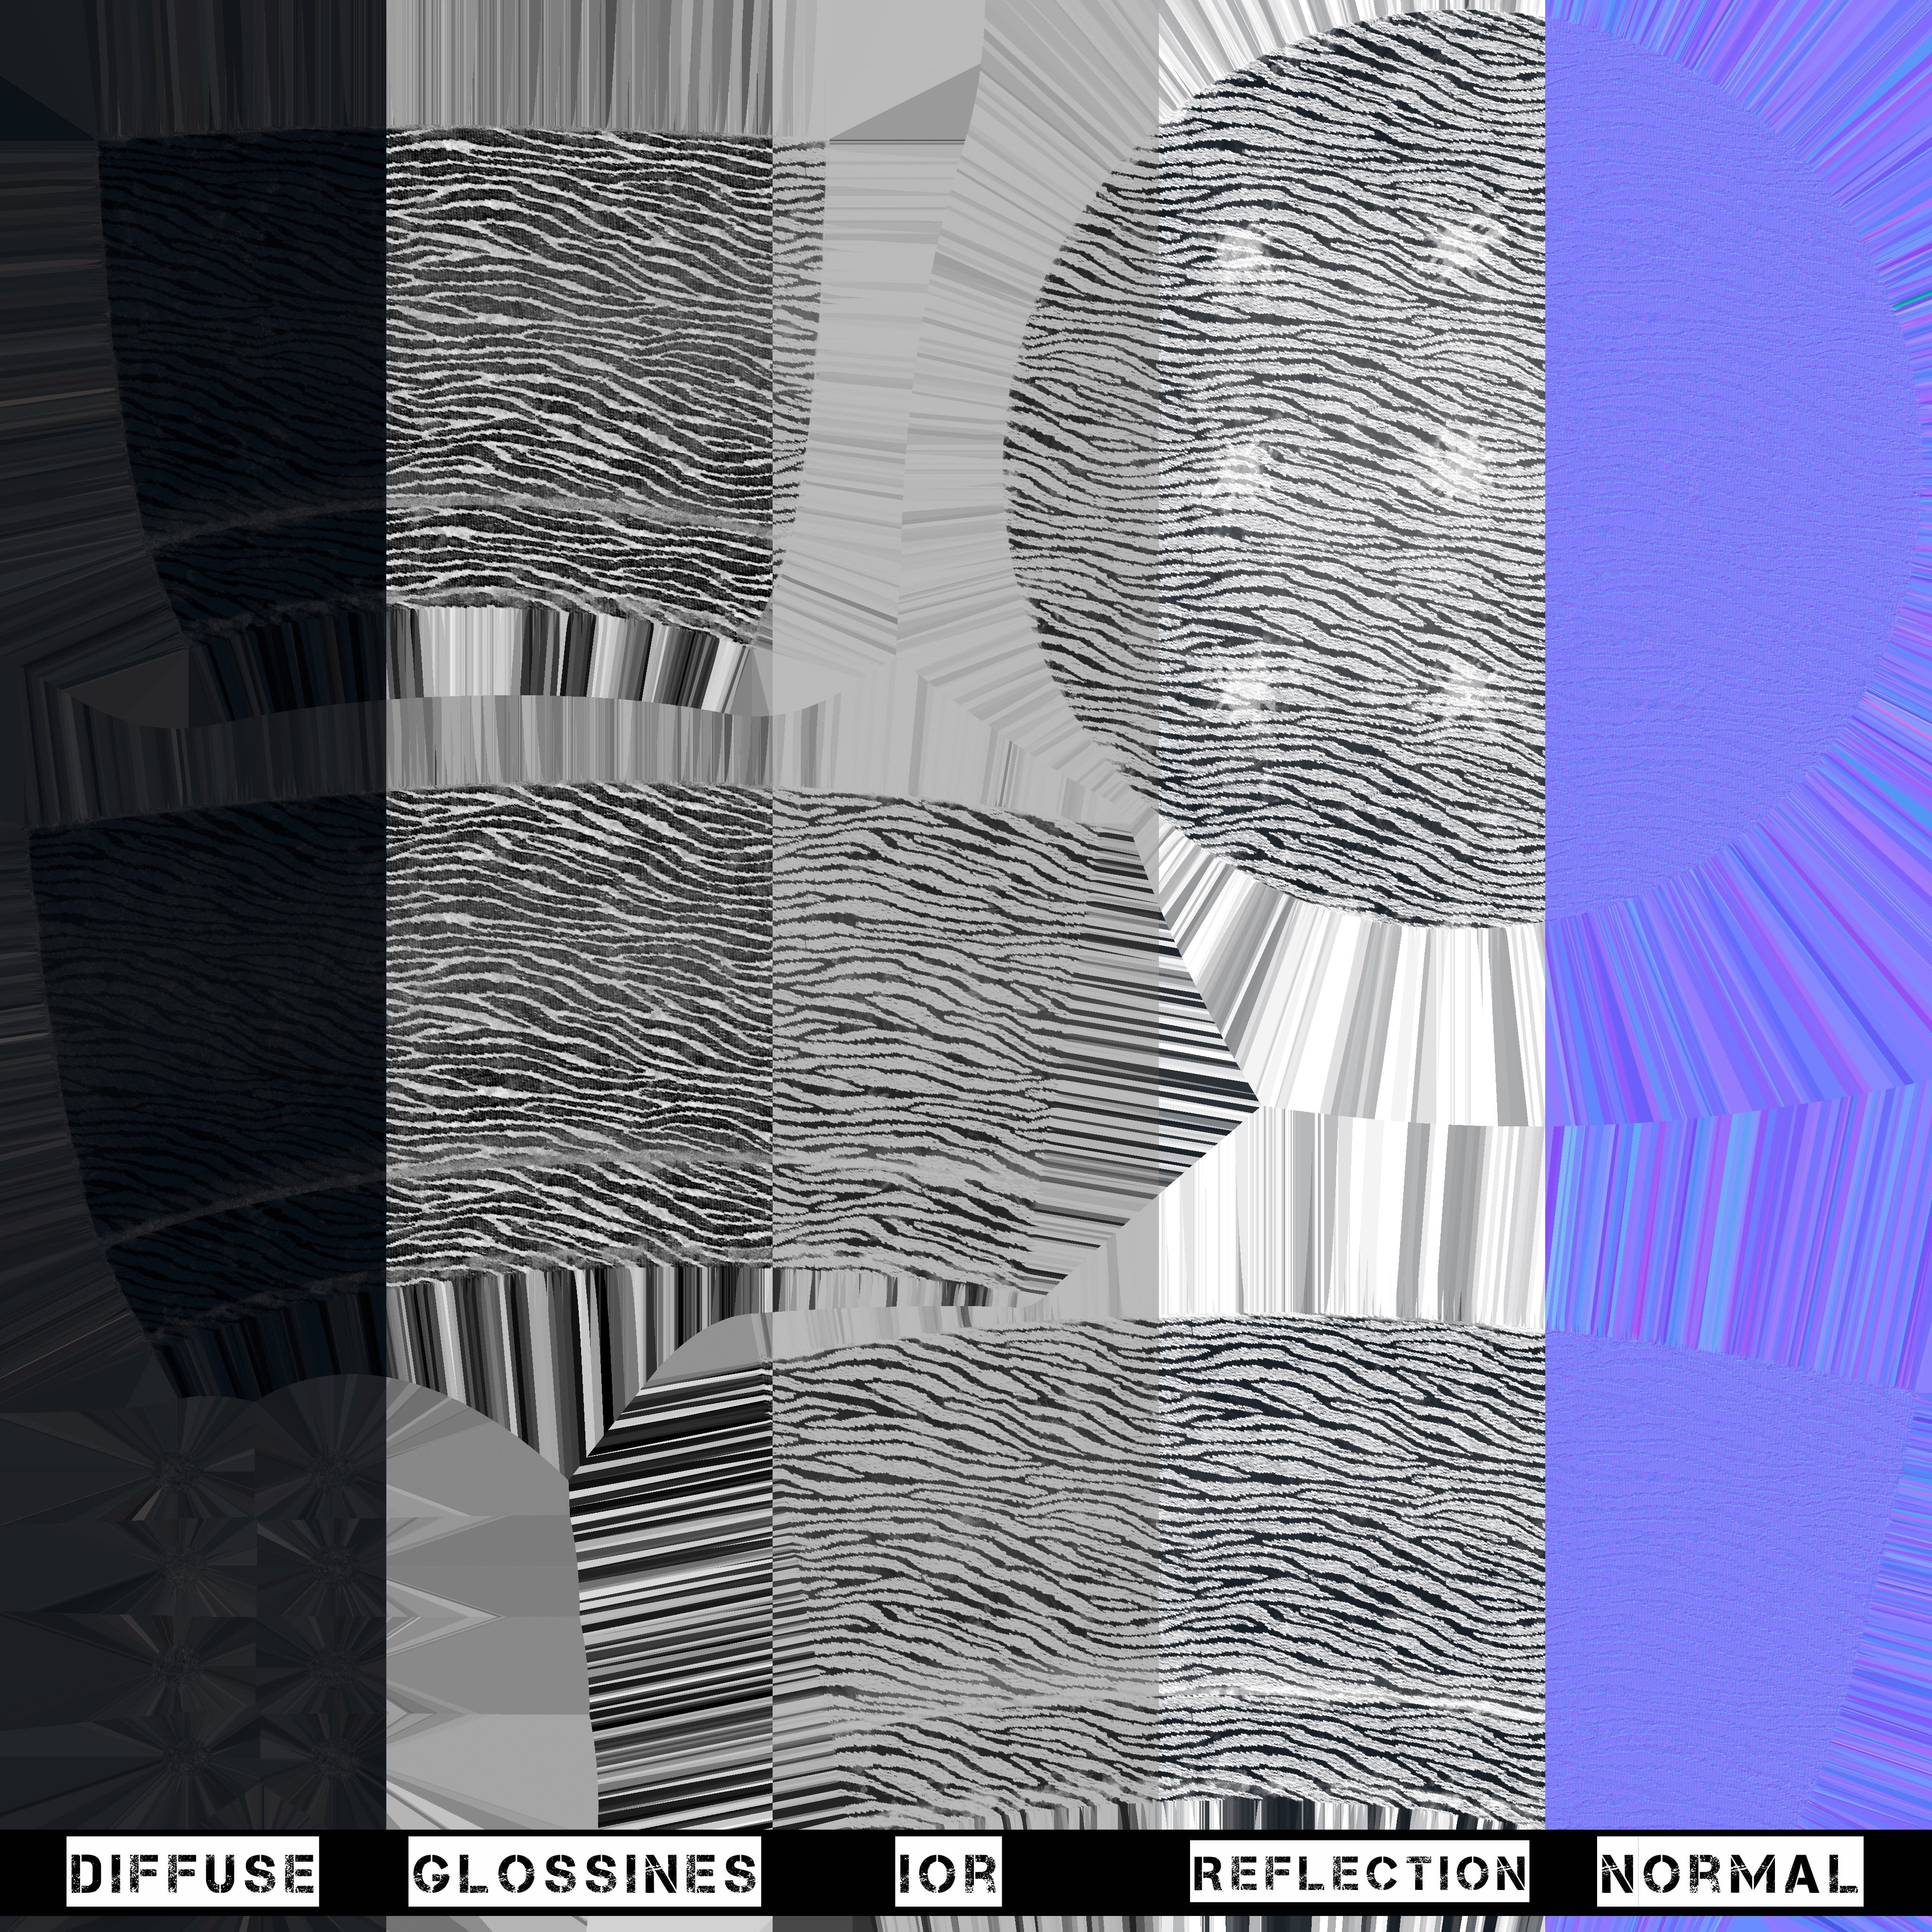
Preview of textures used in the scene.
Porting to Unreal Engine 4
In our UE scenes we don't use overlapping lighmaps for meshes. We have just few seamless materials. We lit our scenes with Standard-direct + skylight hdri. Most of our textures have a resolution between 2-4k. The result: we can achieve more than 50 FPS (frames per second) on GeForce 1070. You can launch walktrough even on GeForce 460 SE and still maitain over 20 FPS. Our caustic maps were made manually.

As you have noticed, the number of objects and textures in the Vray and Unreal scenes varies considerably. The reason for this is that the Unreal scene must be complete to be able to walk on it. Vray scenes are usually needed for still shots. In Vray scenes, objects can be attached with each other in any way.
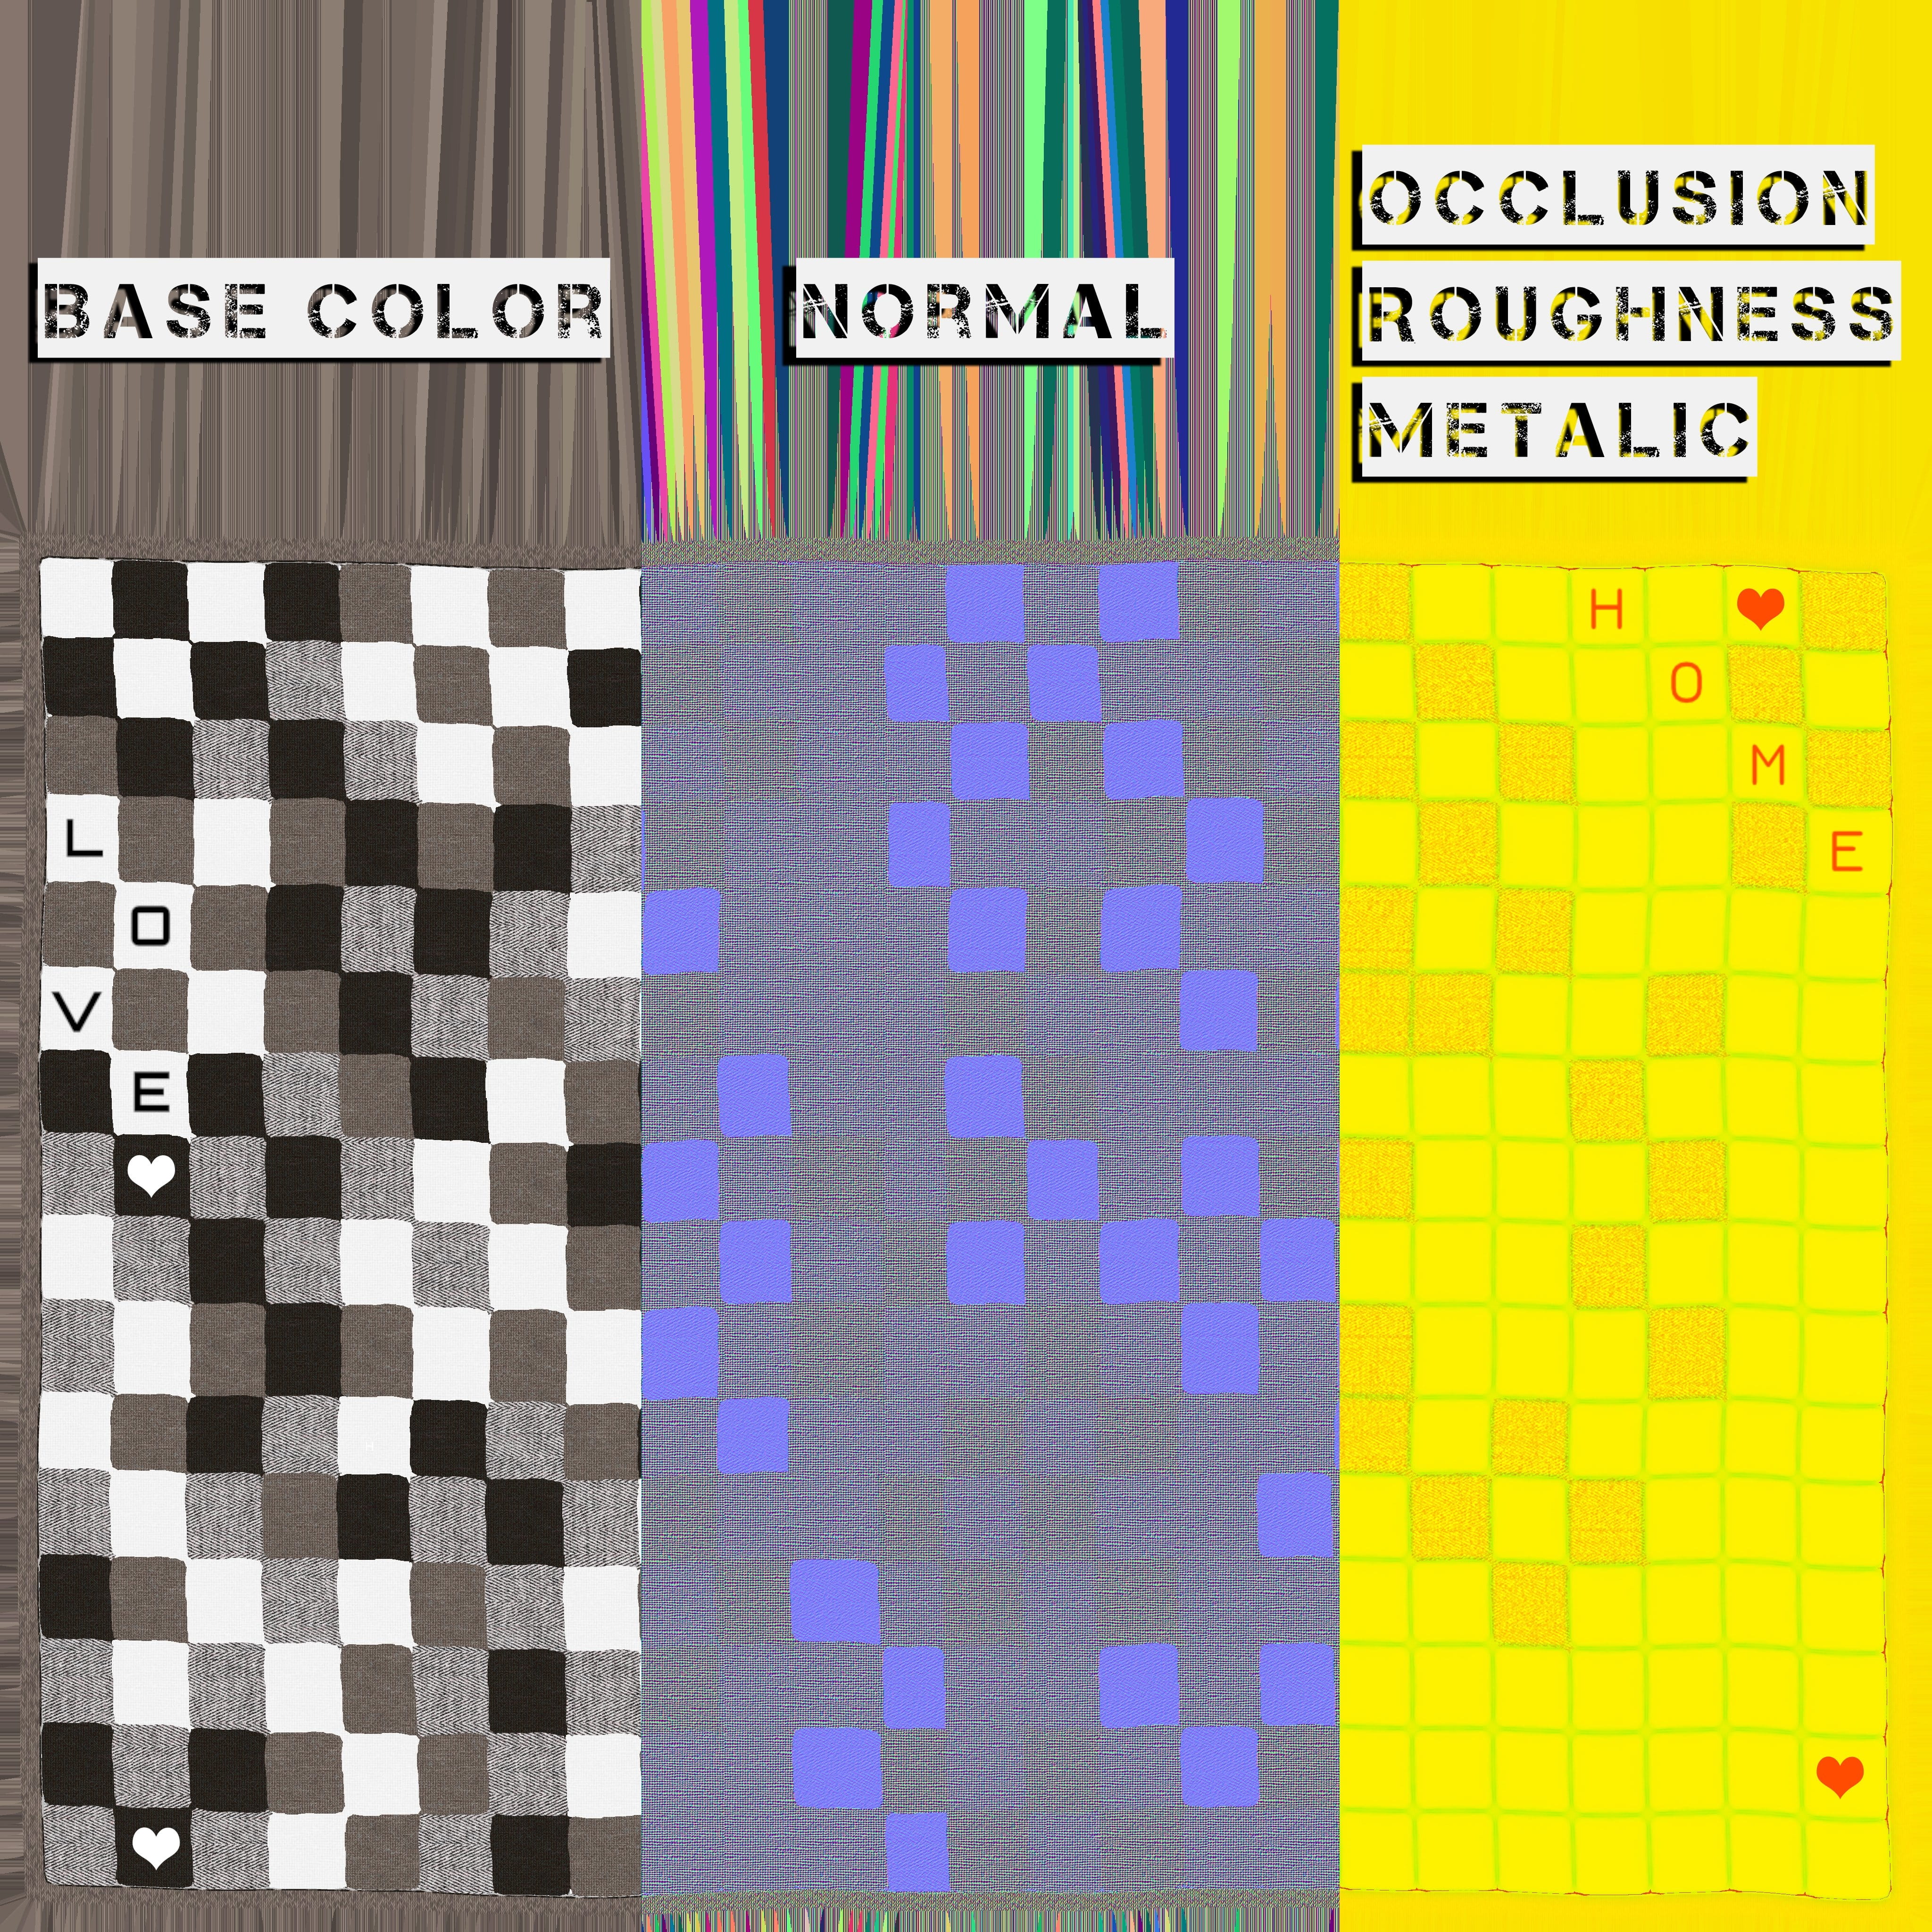
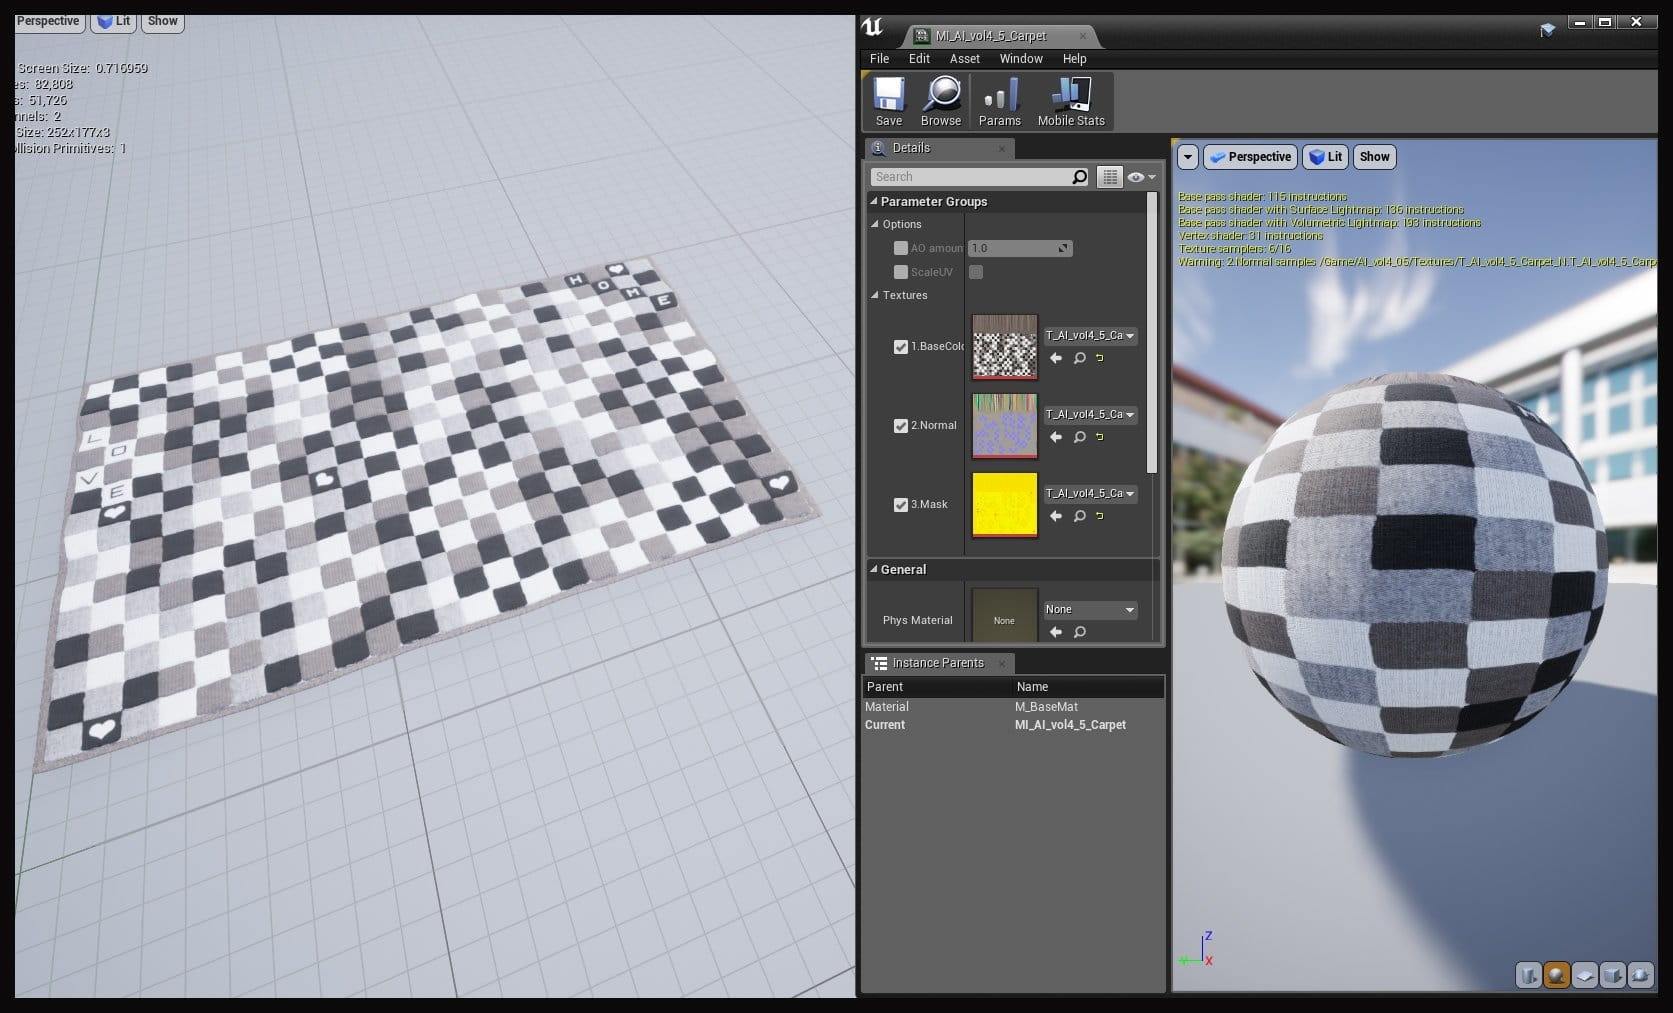
In the Ureal scene, each object is best to be separate, so the generated collision box does not prevent us from walking around the room. In addition, maps from the Substance Painter with the "UE4" preset have only 3 maps. These are BaseColor, Normal and OcclusionRoughnessMetallic packed map.
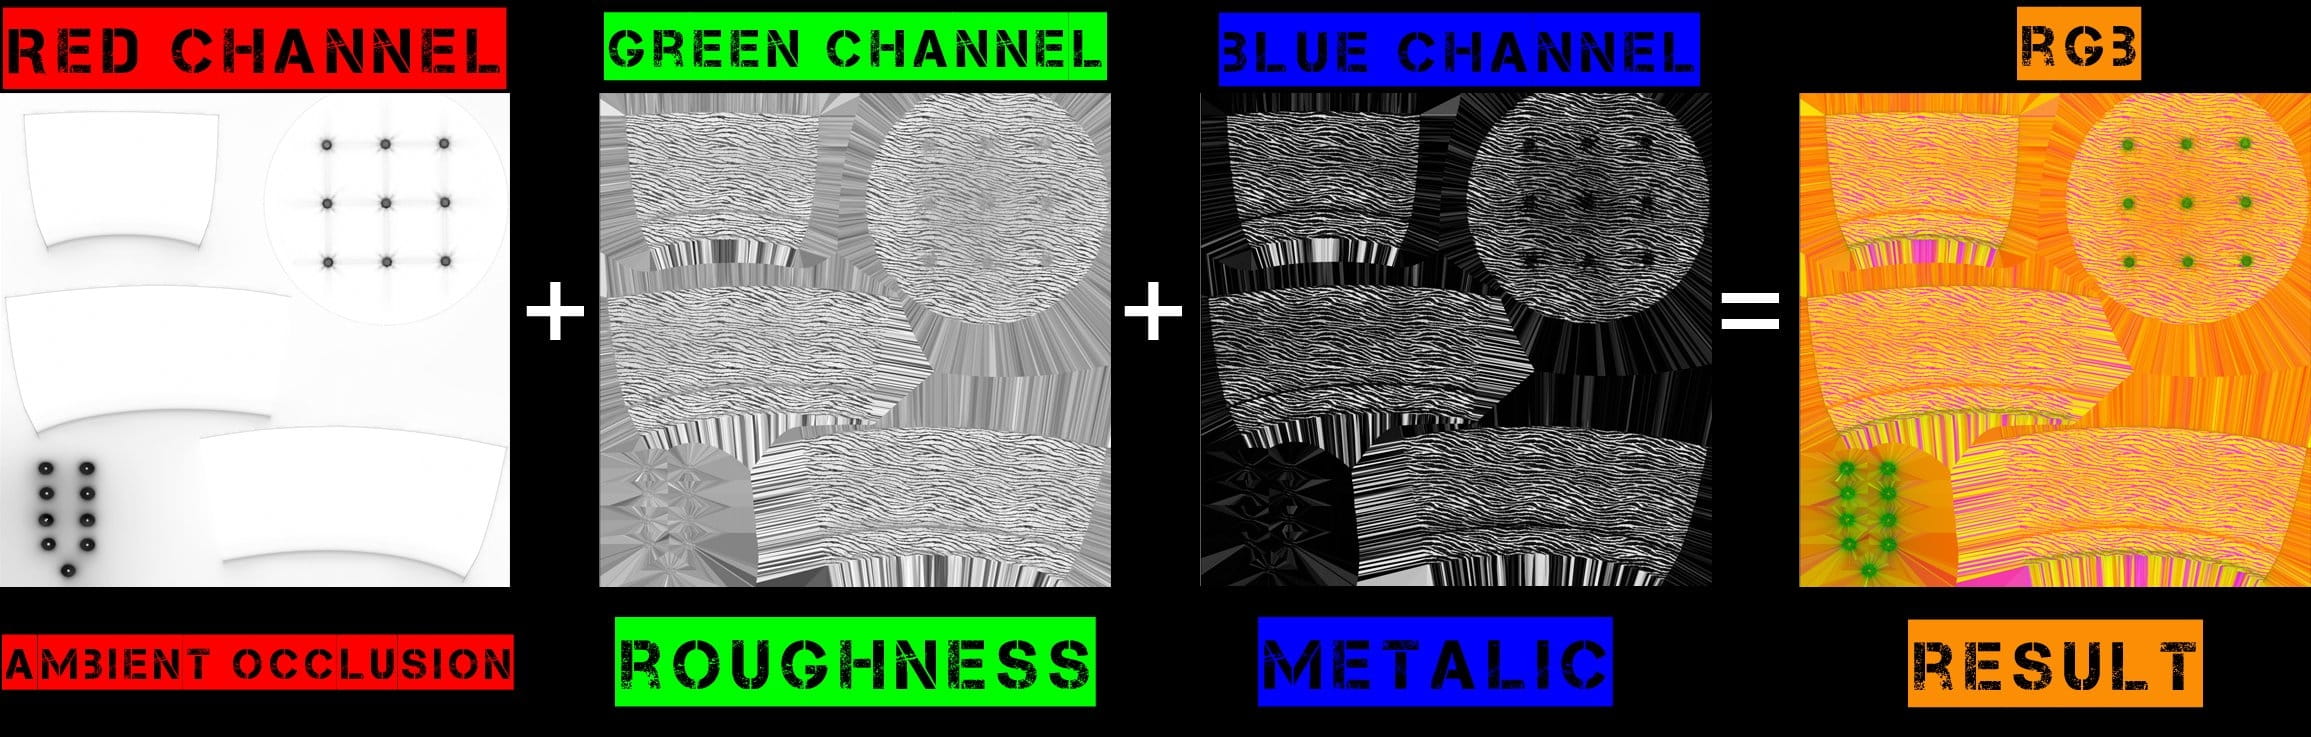
The first two are understandable, but the third principle is presented below (RGB channels)
This is an overview map of the 5 scene from Archinteriors for UE vol. 4.
From V-Ray to Unreal
Based on the carpet model, I would like to briefly introduce a step by step "Vray >>> Unreal" pipeline.

The most important baker mask of this model is ID, thanks to which it is easier to select rug patches.

Step by step, we're texturing the carpet.

This is the final result of working with Substance.

These are the exporter settings in the Subantce Painter.
Using the selected options, we export UE maps.

We're going back to 3ds max. We give Unwrap modifier to our model.
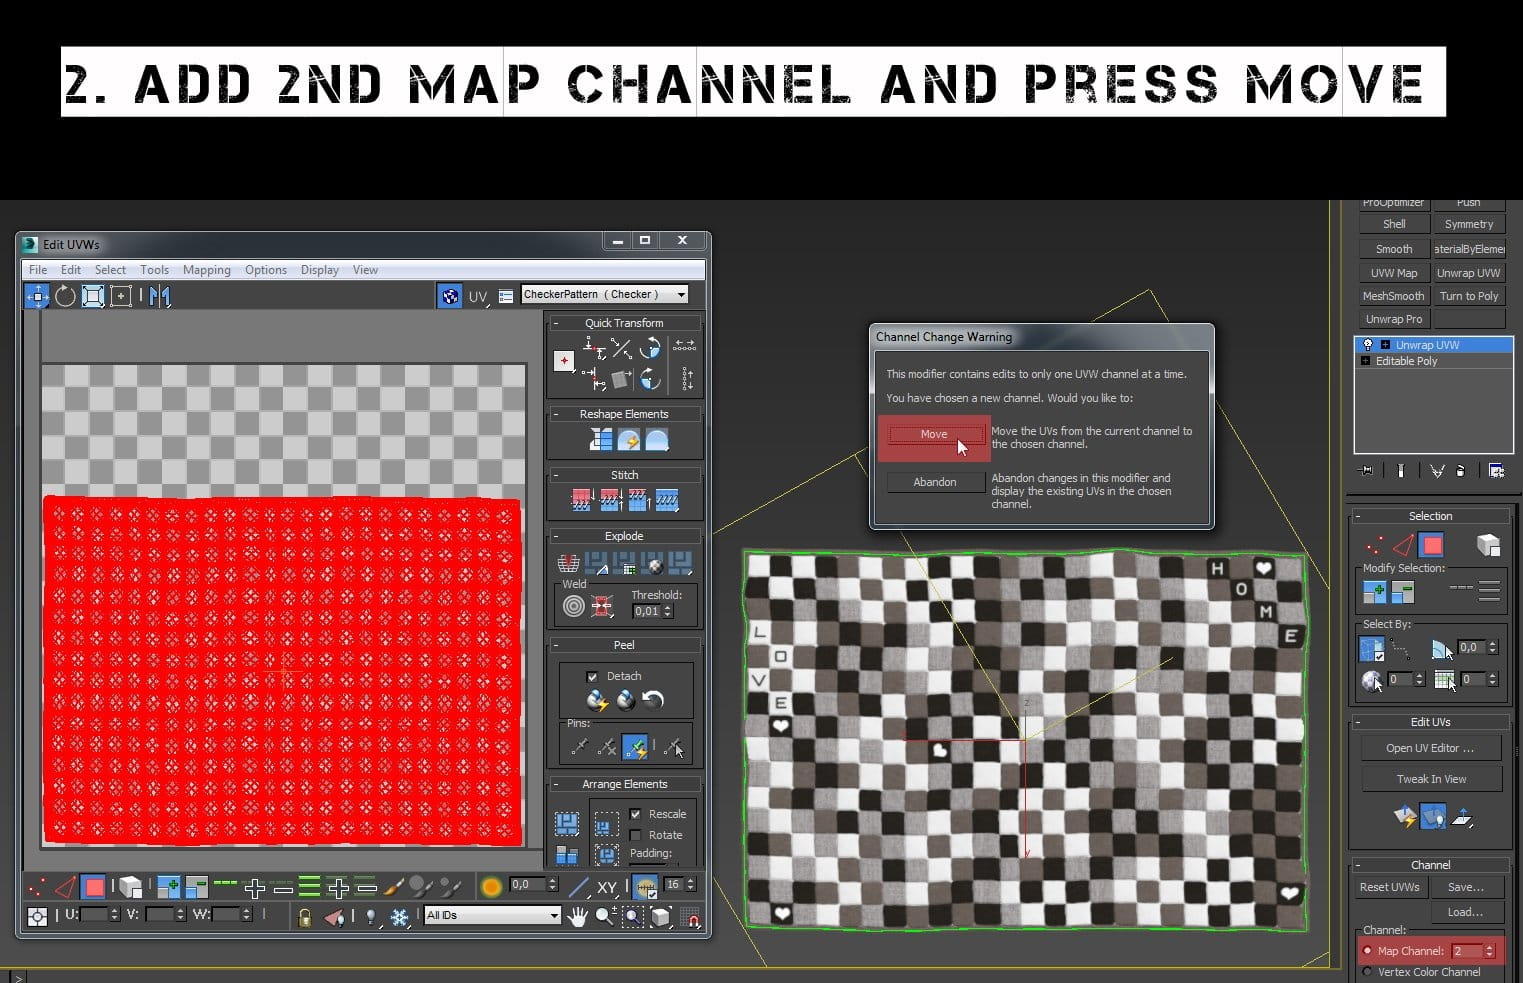
Copy first channel to the second one by pressing the MOVE button.

To get the best lightmap in Unreal, we stretch the textures to cover the largest possible area of the map. We do not care about the disparities in this case.
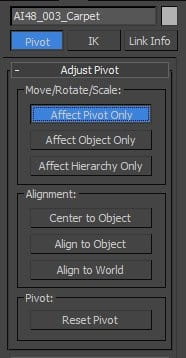
It is very important to set the pivot in a reasonable place.
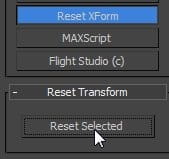
It is equally important to reset Xform befor export FBX.
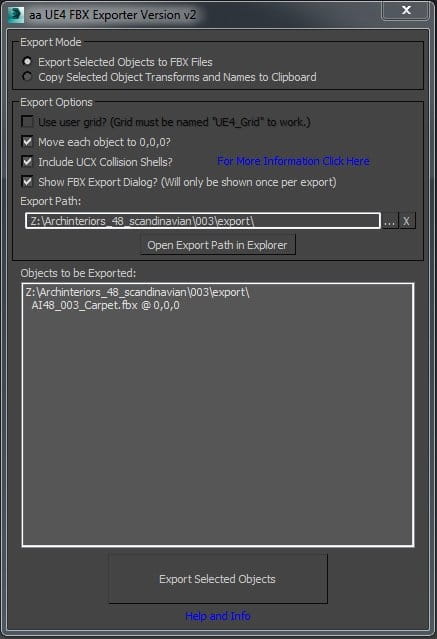
Using the "Ts_tools unral exporter" script, we export the model to the selected folder.

FBX export settings.

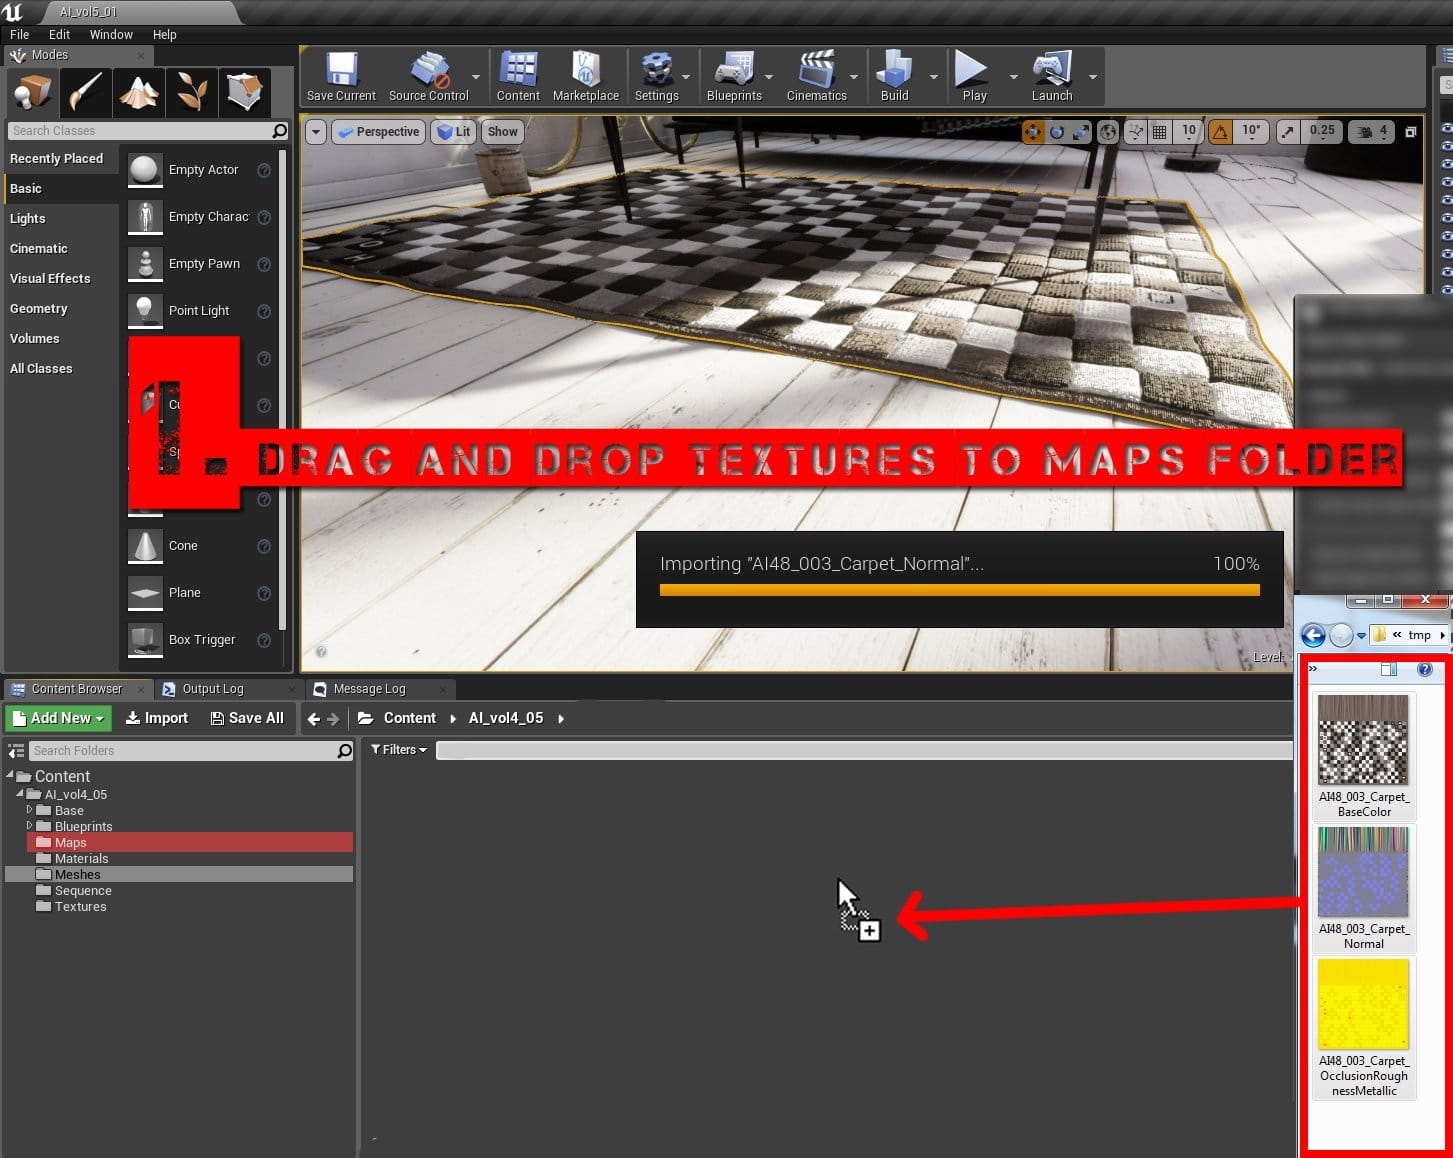
And now, by dragging and dropping in the viewport, we import FBx to Unrel Engine.
After this action, this window will pop up (FBX import options). It is important to deselect some options.
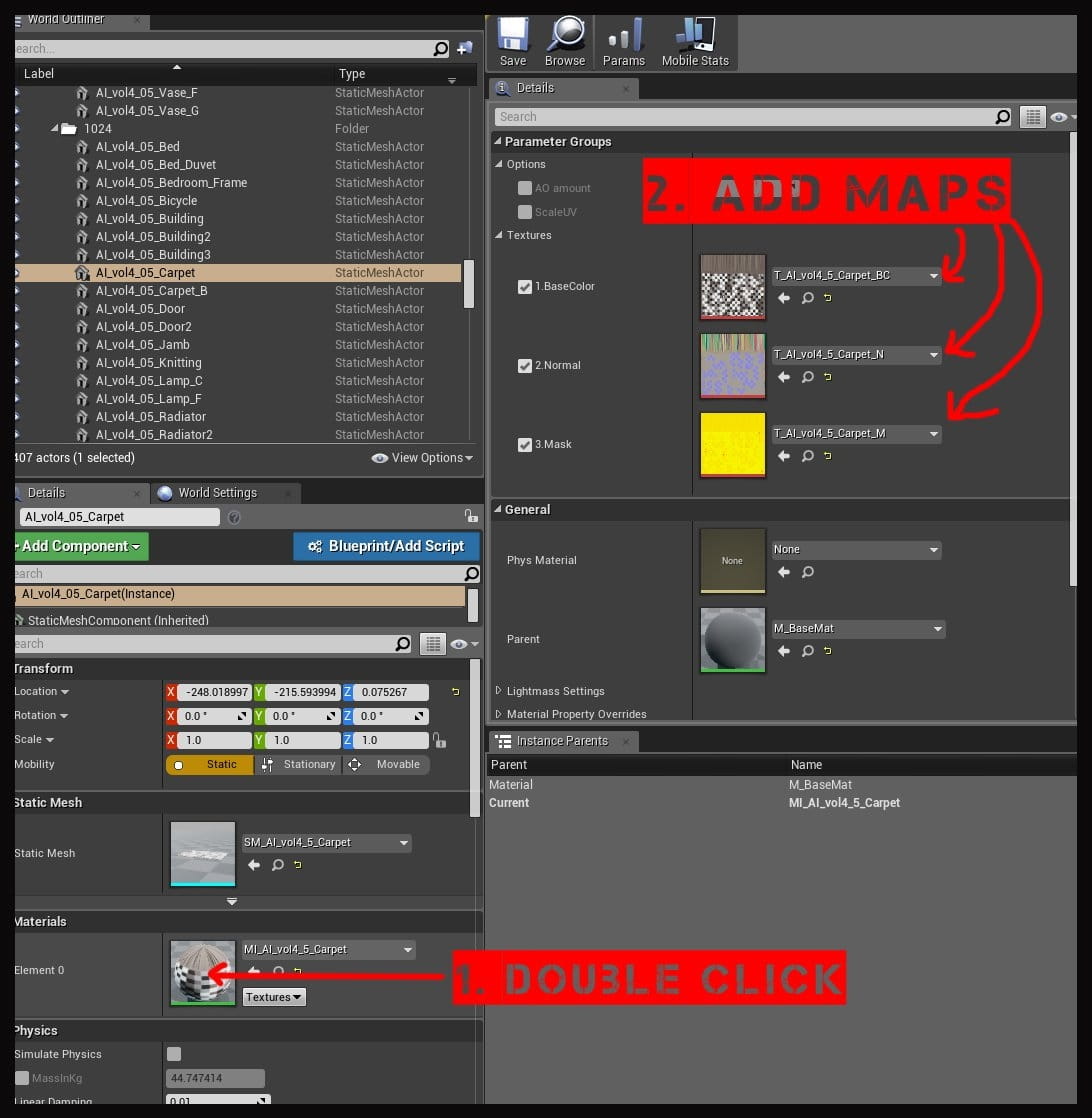
As in any 3D graphics program, insert the textures into the appropriate slots.
And go with the rest 182 times!
At the end we have free model for you - it's FBX file and maps of Pouf (with V-Ray and Unreal Engine 4K textures) described in this article! Download it here.
Have fun with 3d! :)

LEAVE A COMMENT


|

|

|

|

|
 Customer zone
 Your orders
 Edit account
 Add project
 Liked projects
 View your artist profile
COMMENTS