Click on image to enlarge
This is a final image after post-production. Blue bathroom with a fancy wooden tub and some industrial vibe on the right (pipes, concrete).
Click on image to enlarge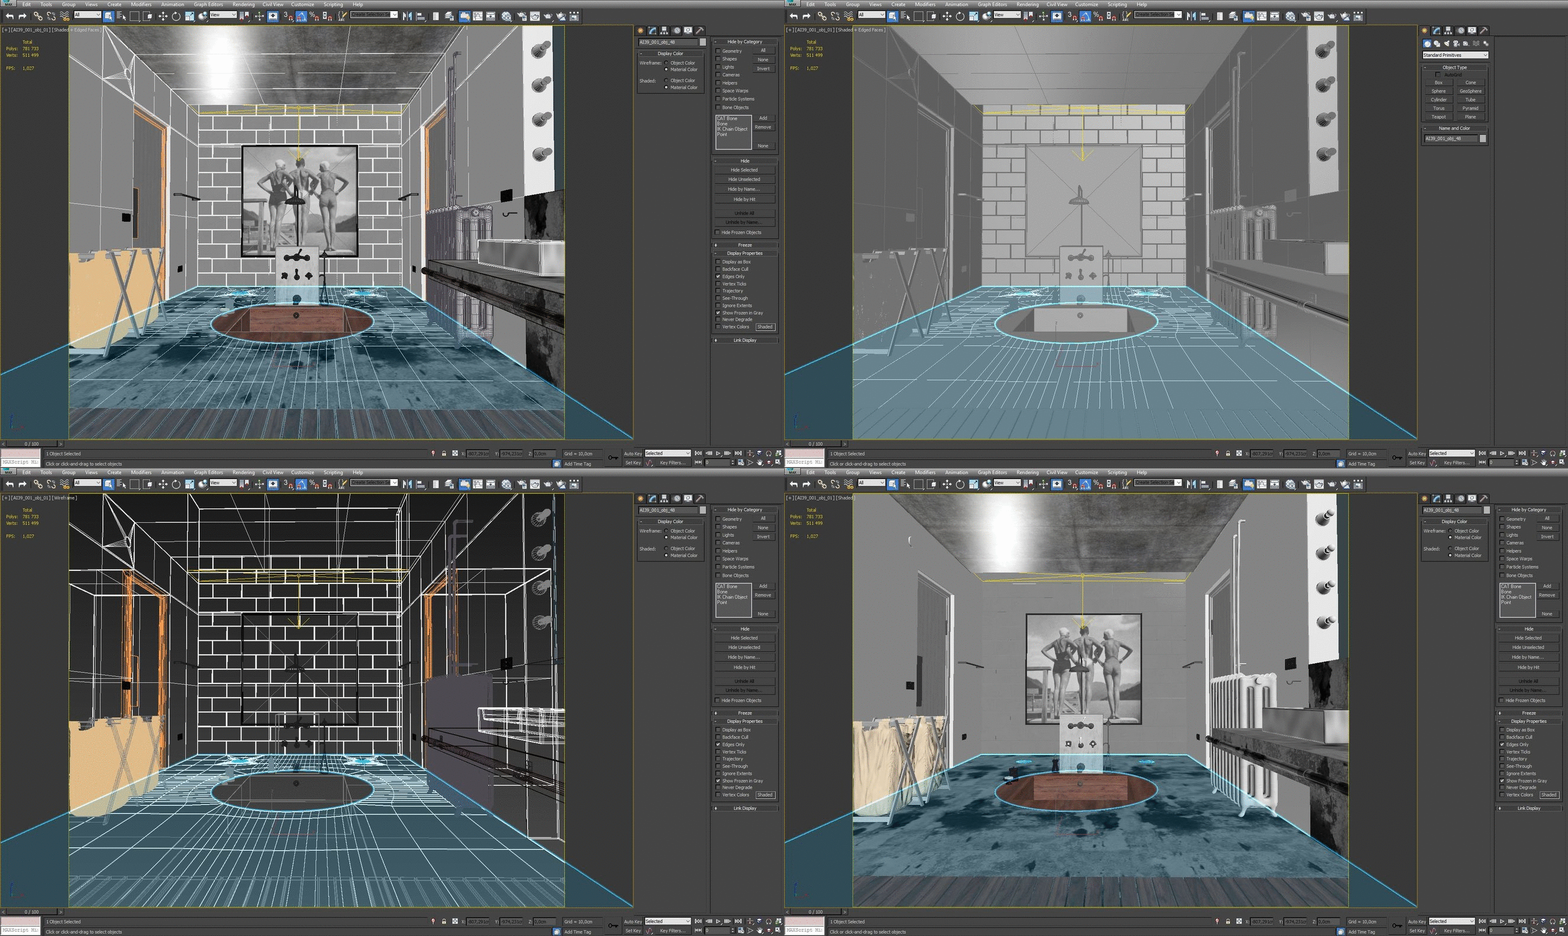
This is how this scene looks in 3ds Max viewport (with and without wireframe).
I used Wire Fence Script to model the fence. The Road is a long plane which has 10x10x2 FFD box modifier to controll it’s tilt and bend.
Click on image to enlarge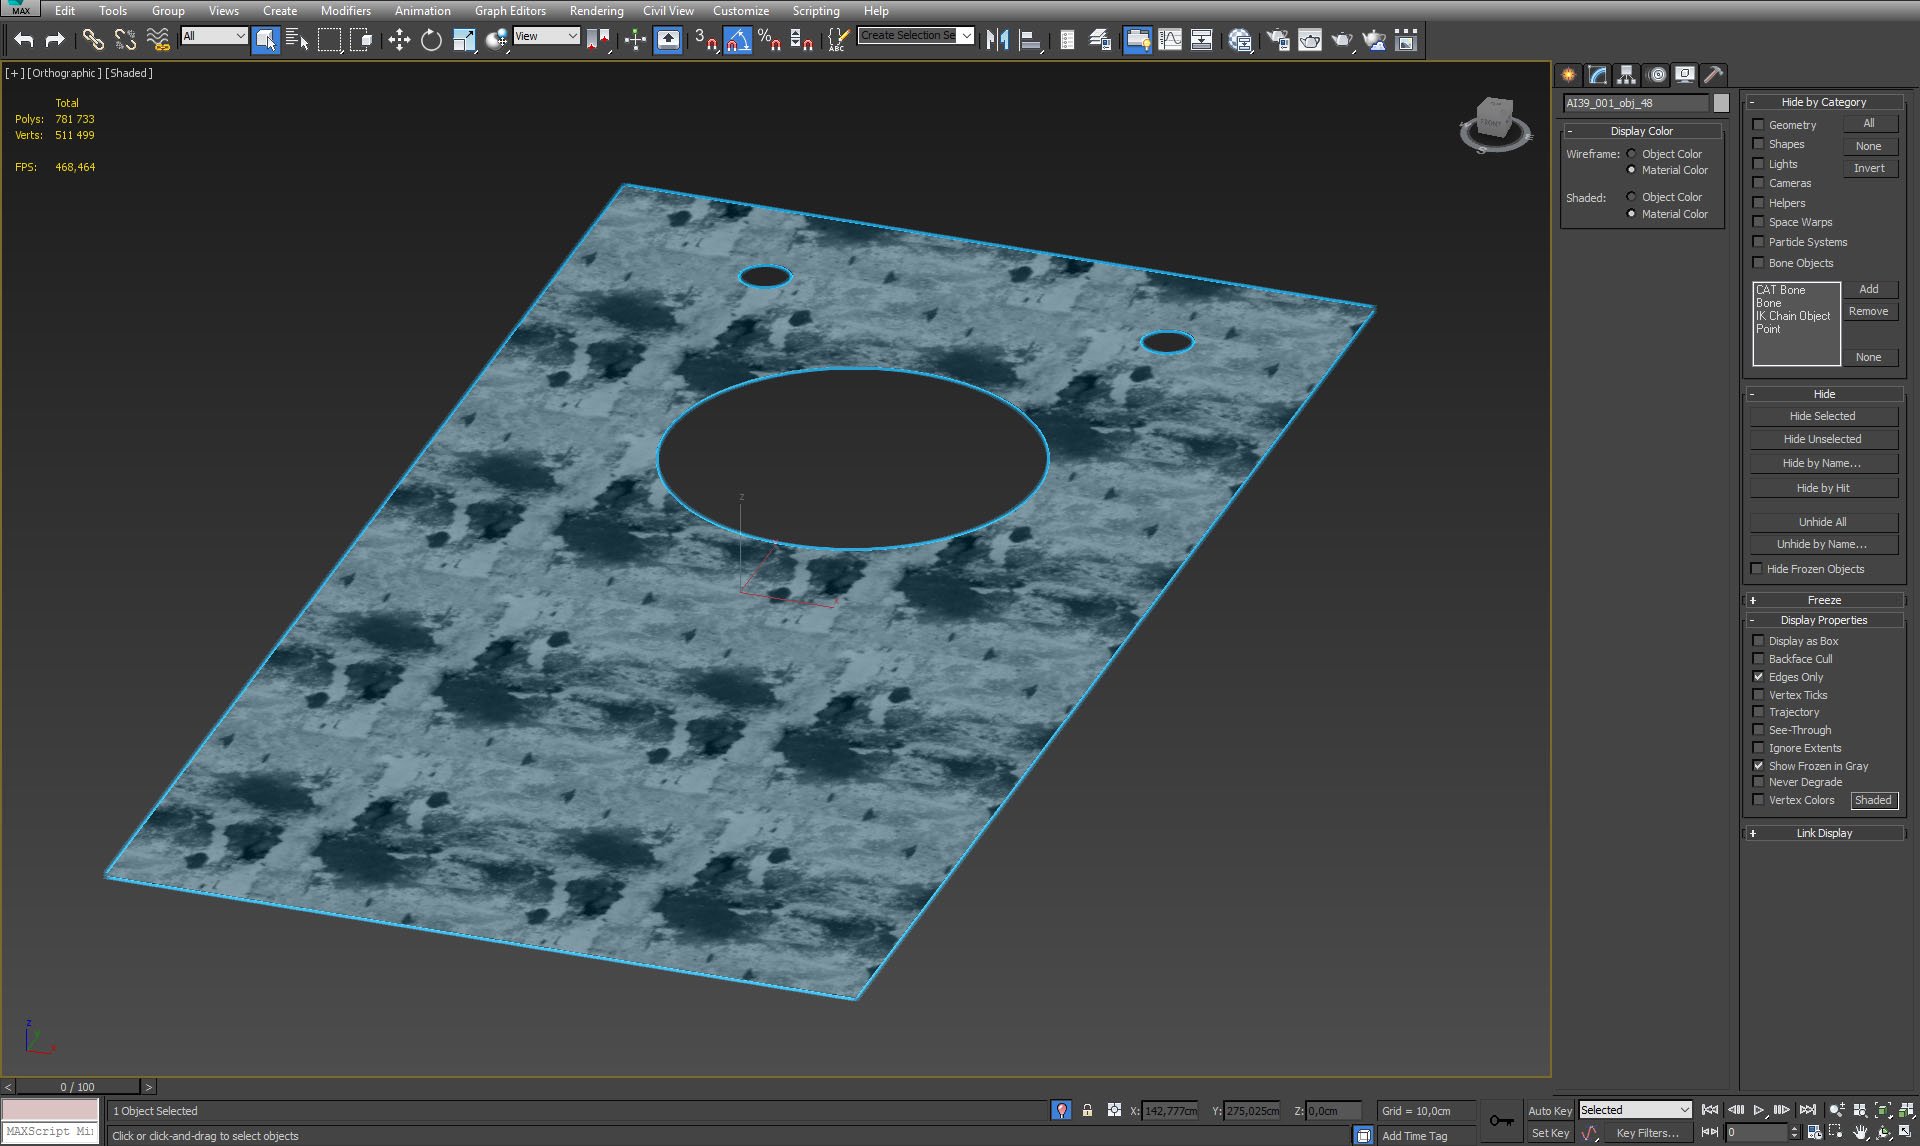
Main floor mesh with cut-out for tub.
Click on image to enlarge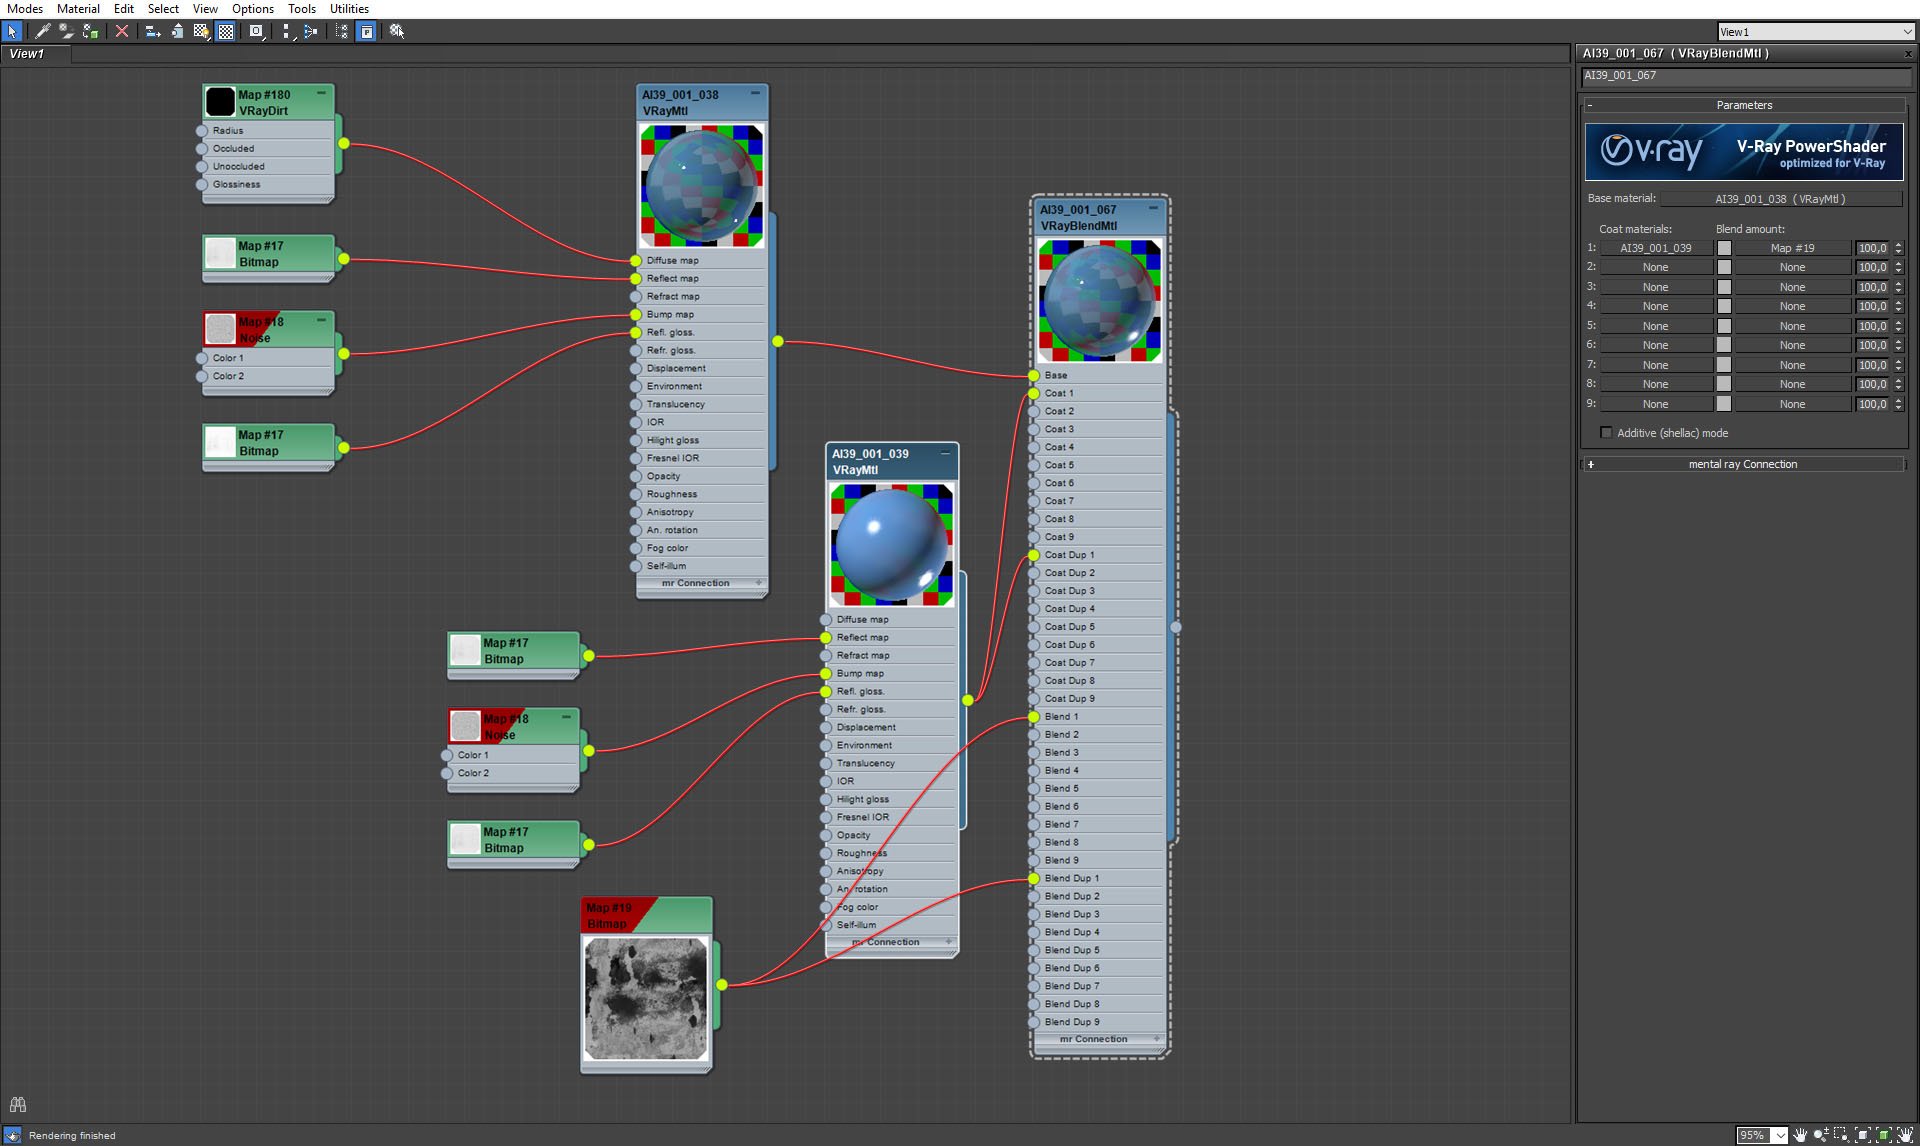
Blue floor material. It's VrayBlend material that mixes two blue materials that vary in glossiness. They are blended with Map#19, seen on the bottom of this screenshot.
I used Z-brush deformation tools to create stone wall. This was my workflow:
Click on image to enlarge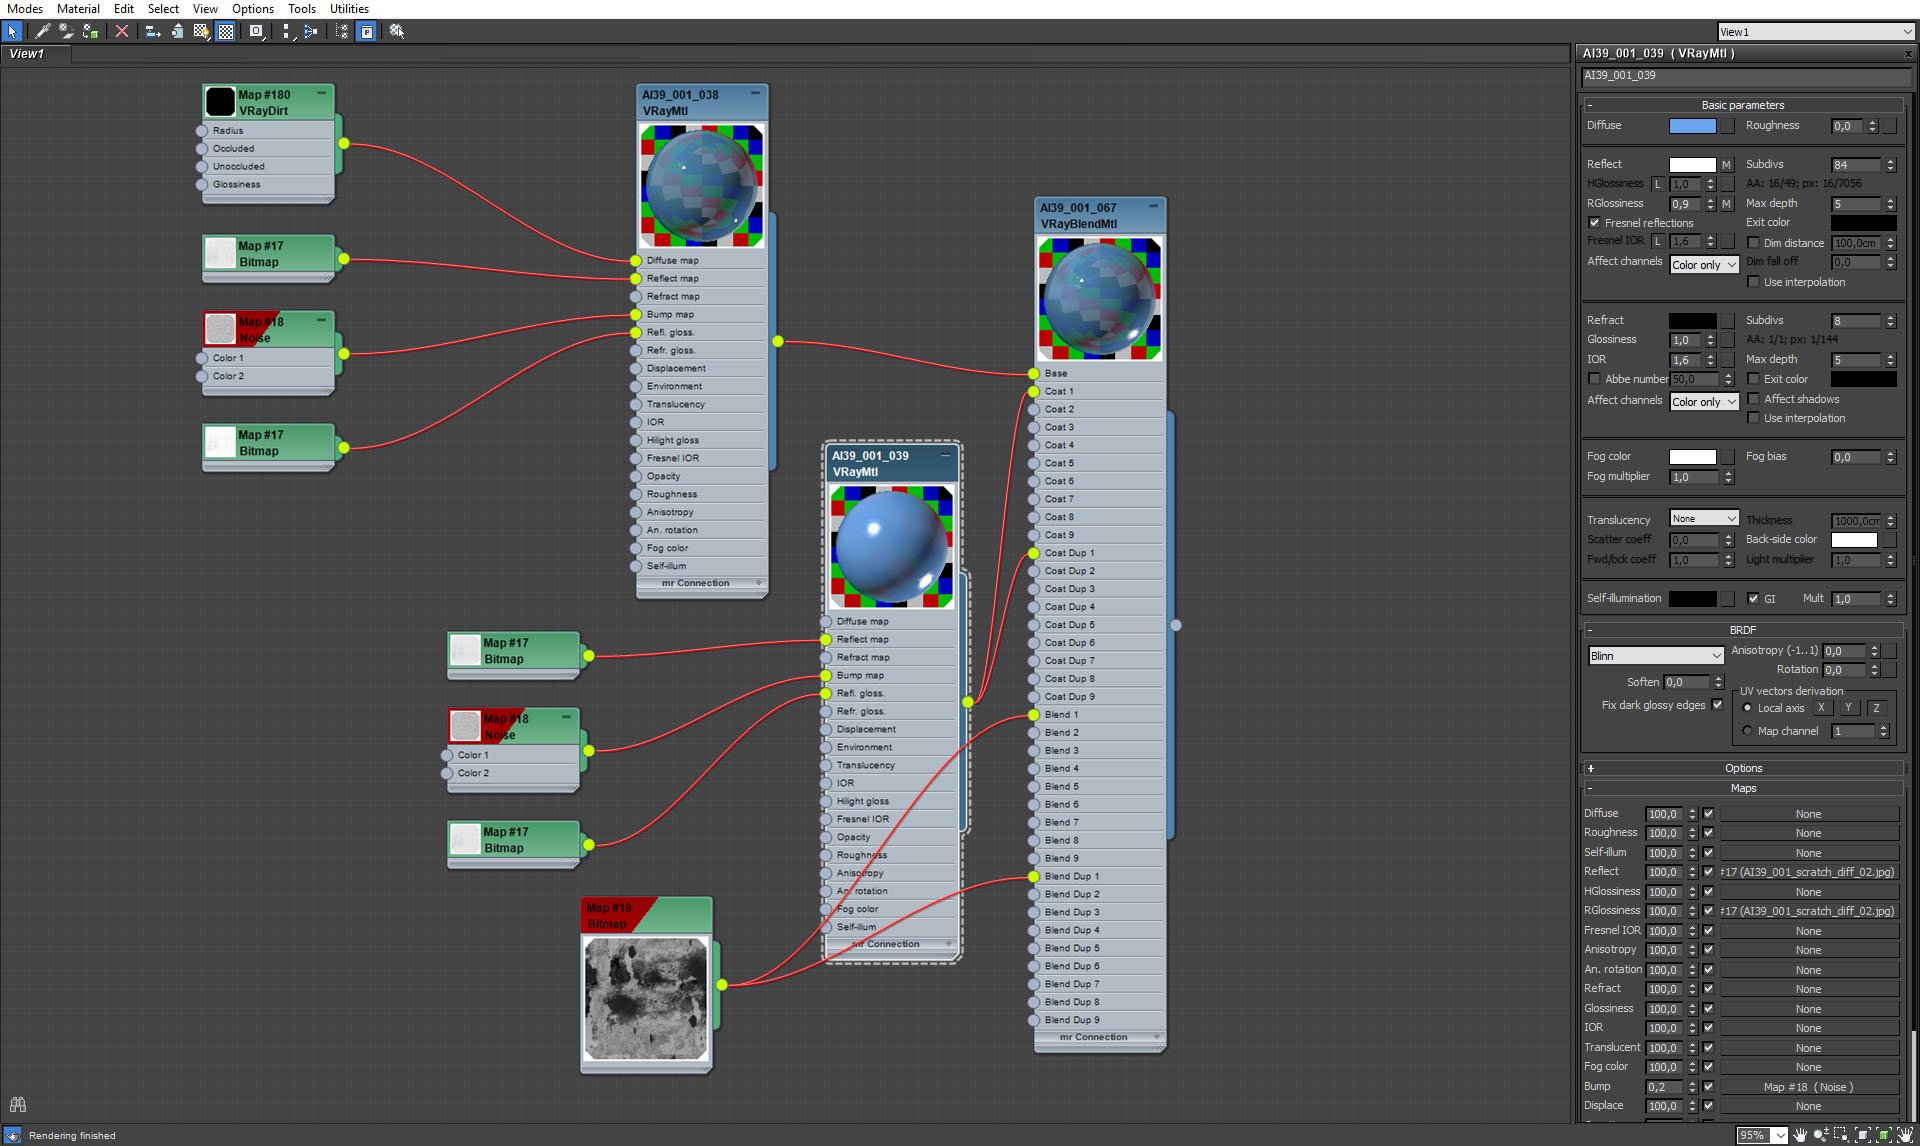
Blue floor material - coat.
Click on image to enlarge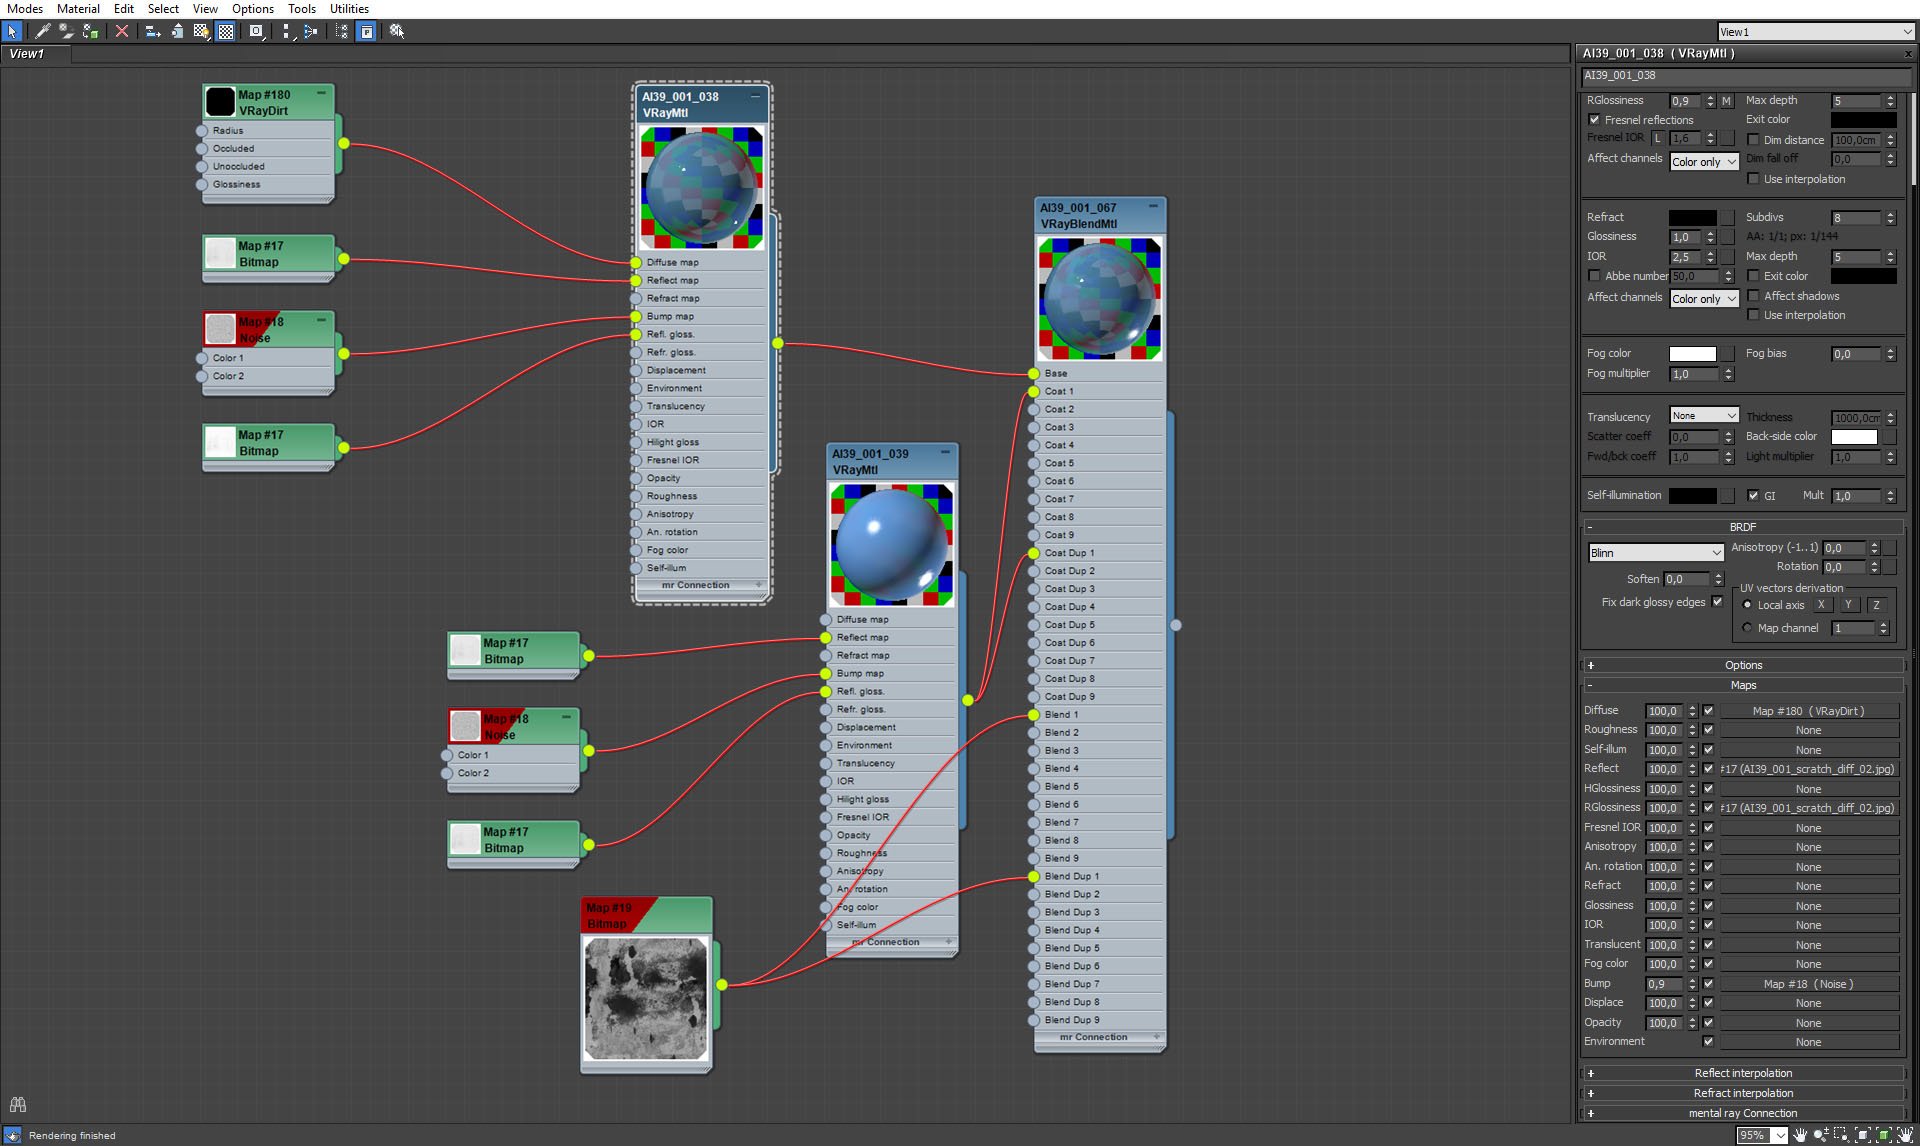
Blue floor material - base.
Click on image to enlarge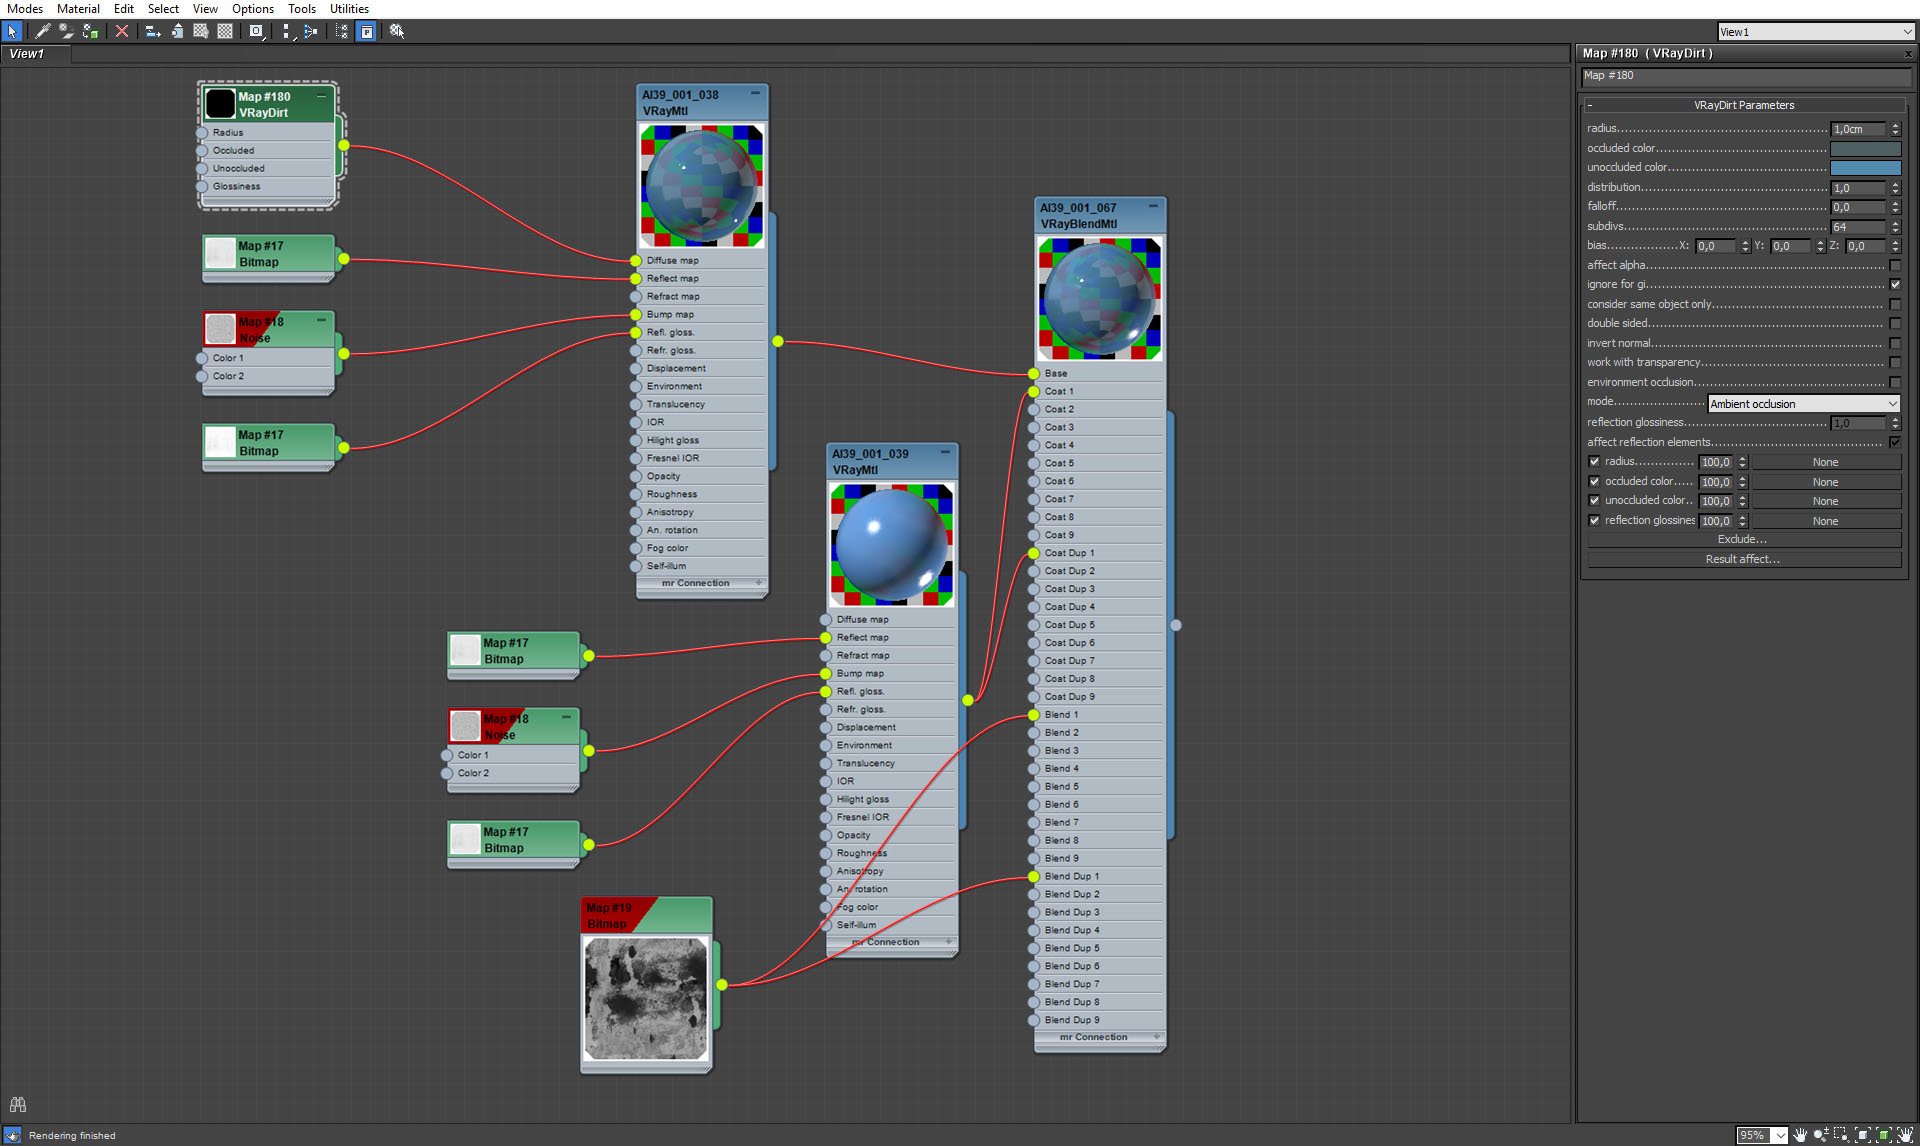
VrayDirt settings.
Click on image to enlarge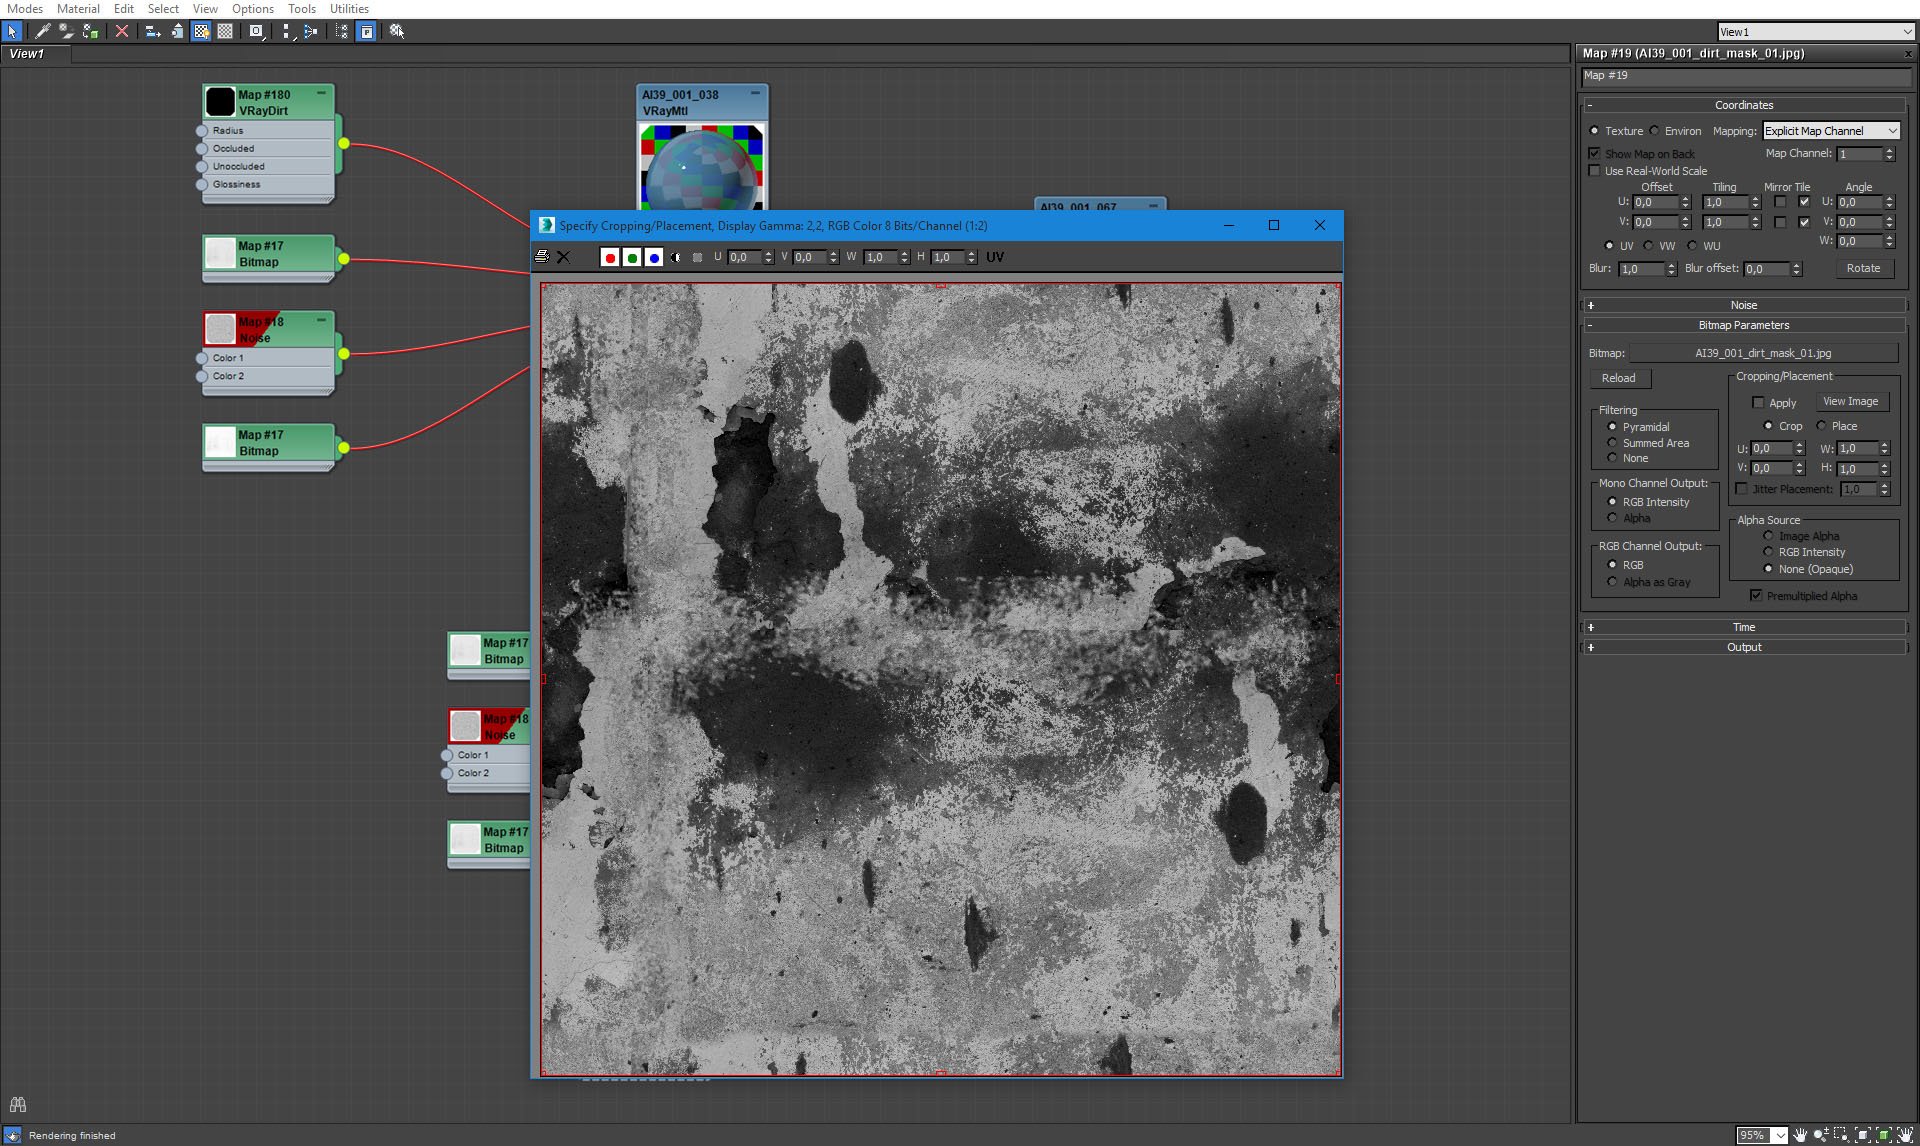
Map that blends two materials into one VrayBlend Material.
Click on image to enlarge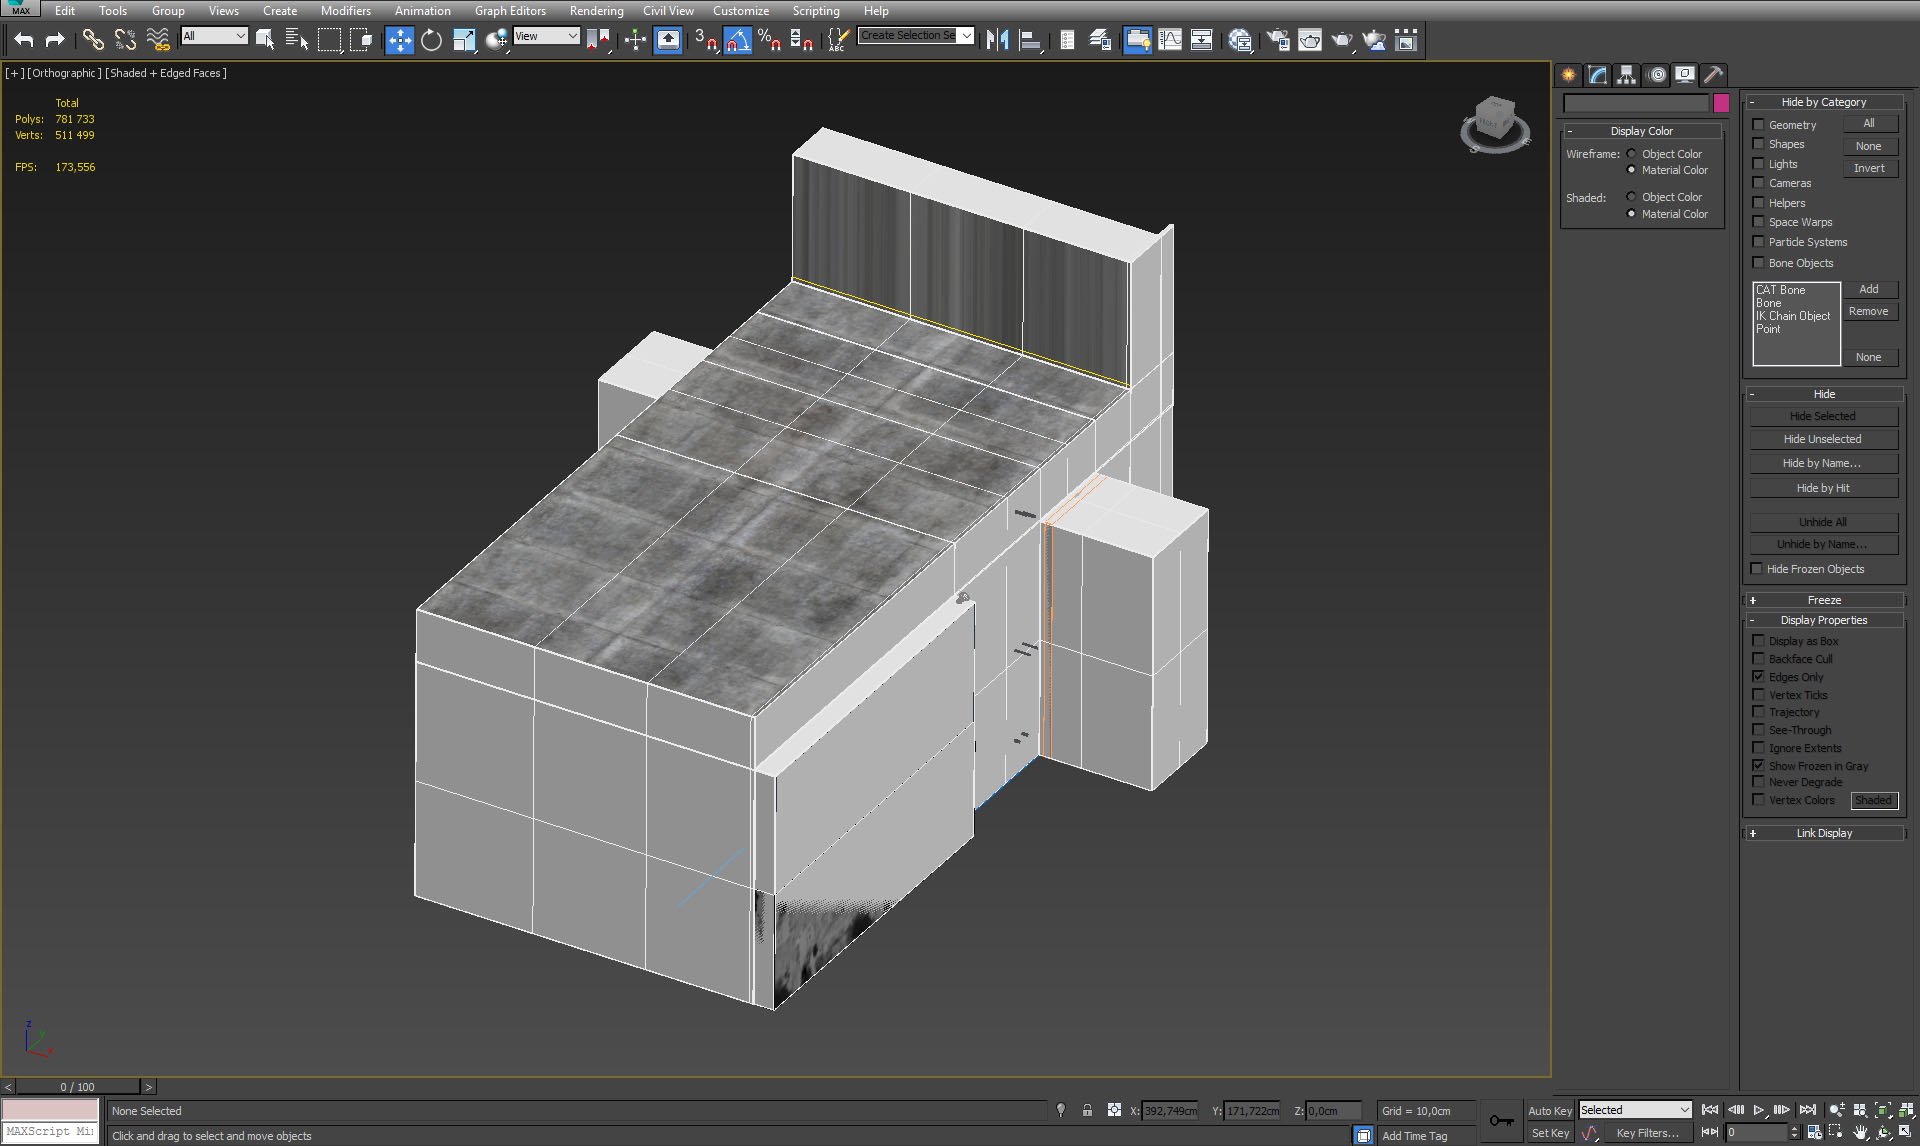
Room seen from the outside.
Click on image to enlarge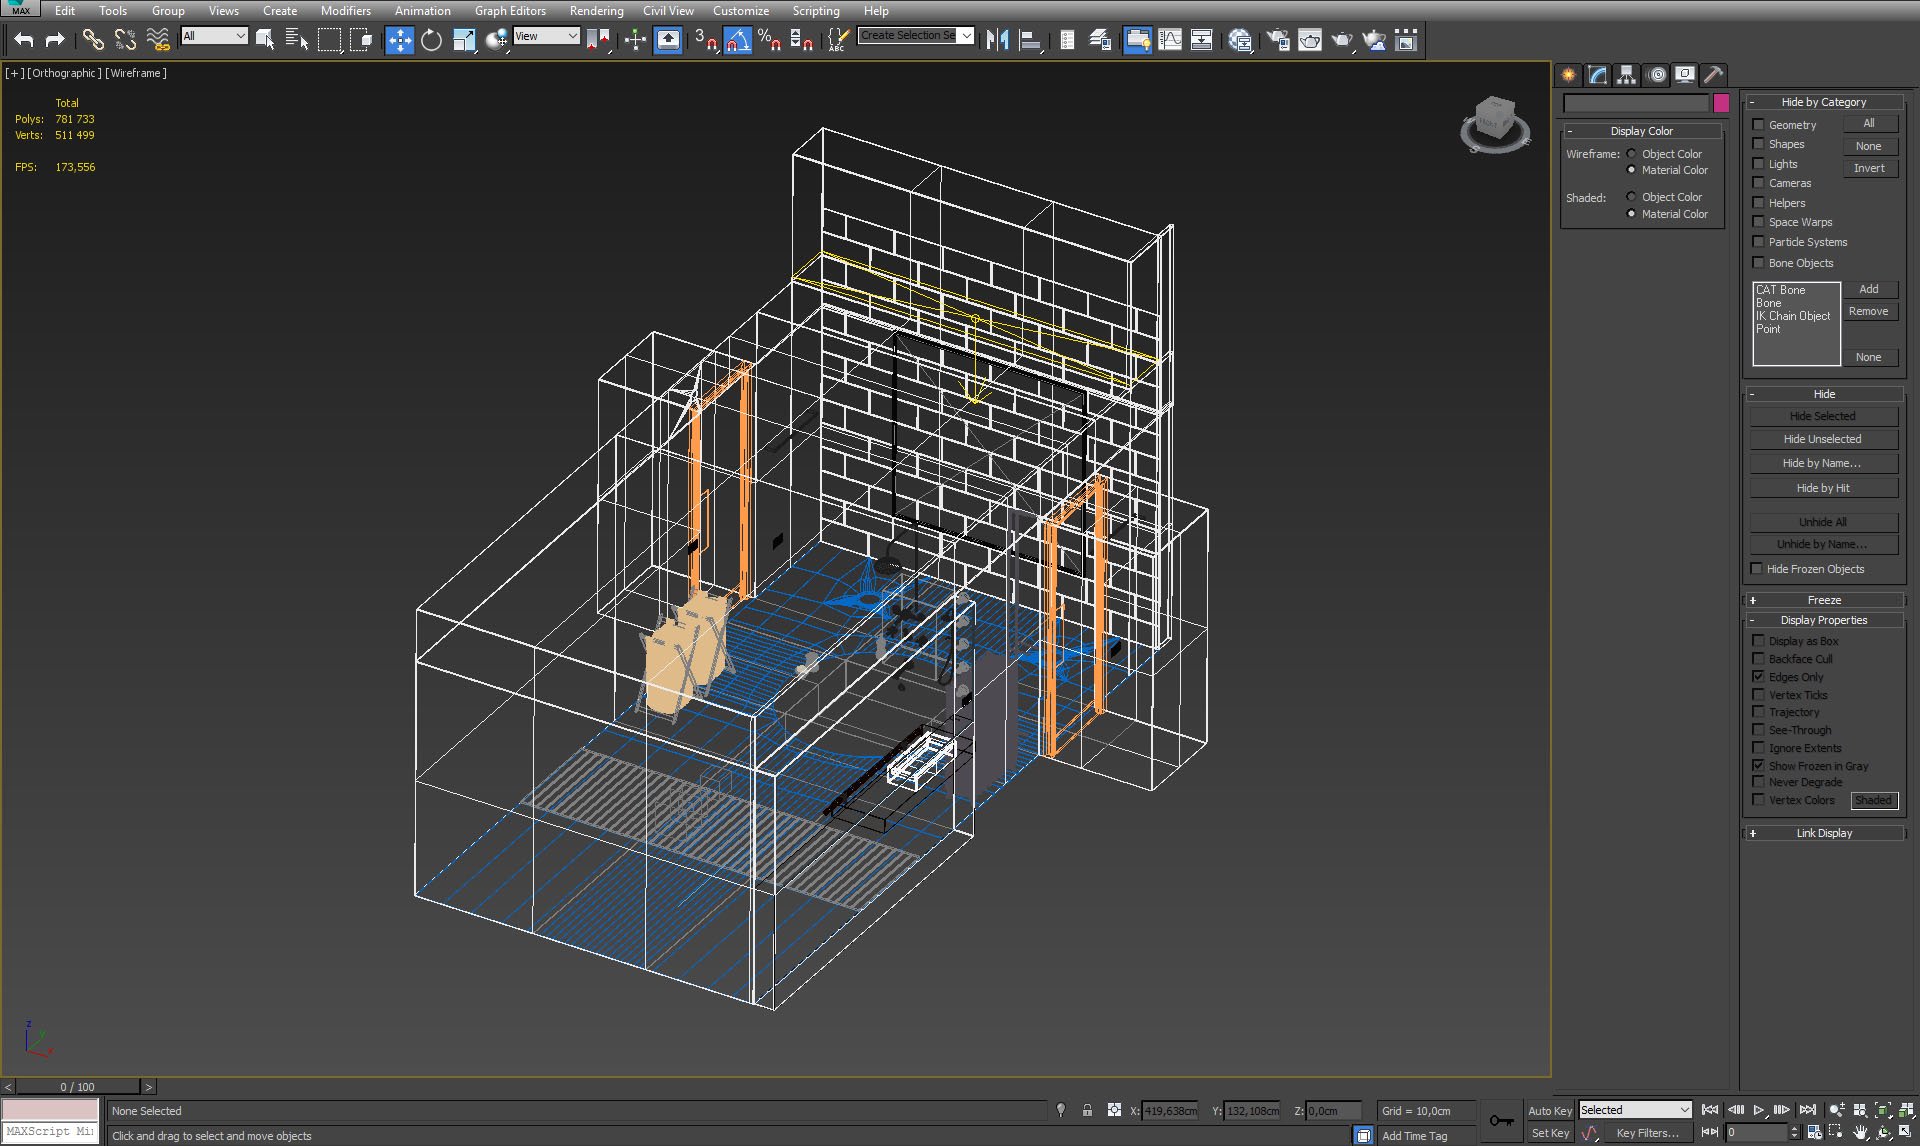
Room from the outside. You can also seen rectangural VrayLight that is placed under the ceiling.
Click on image to enlarge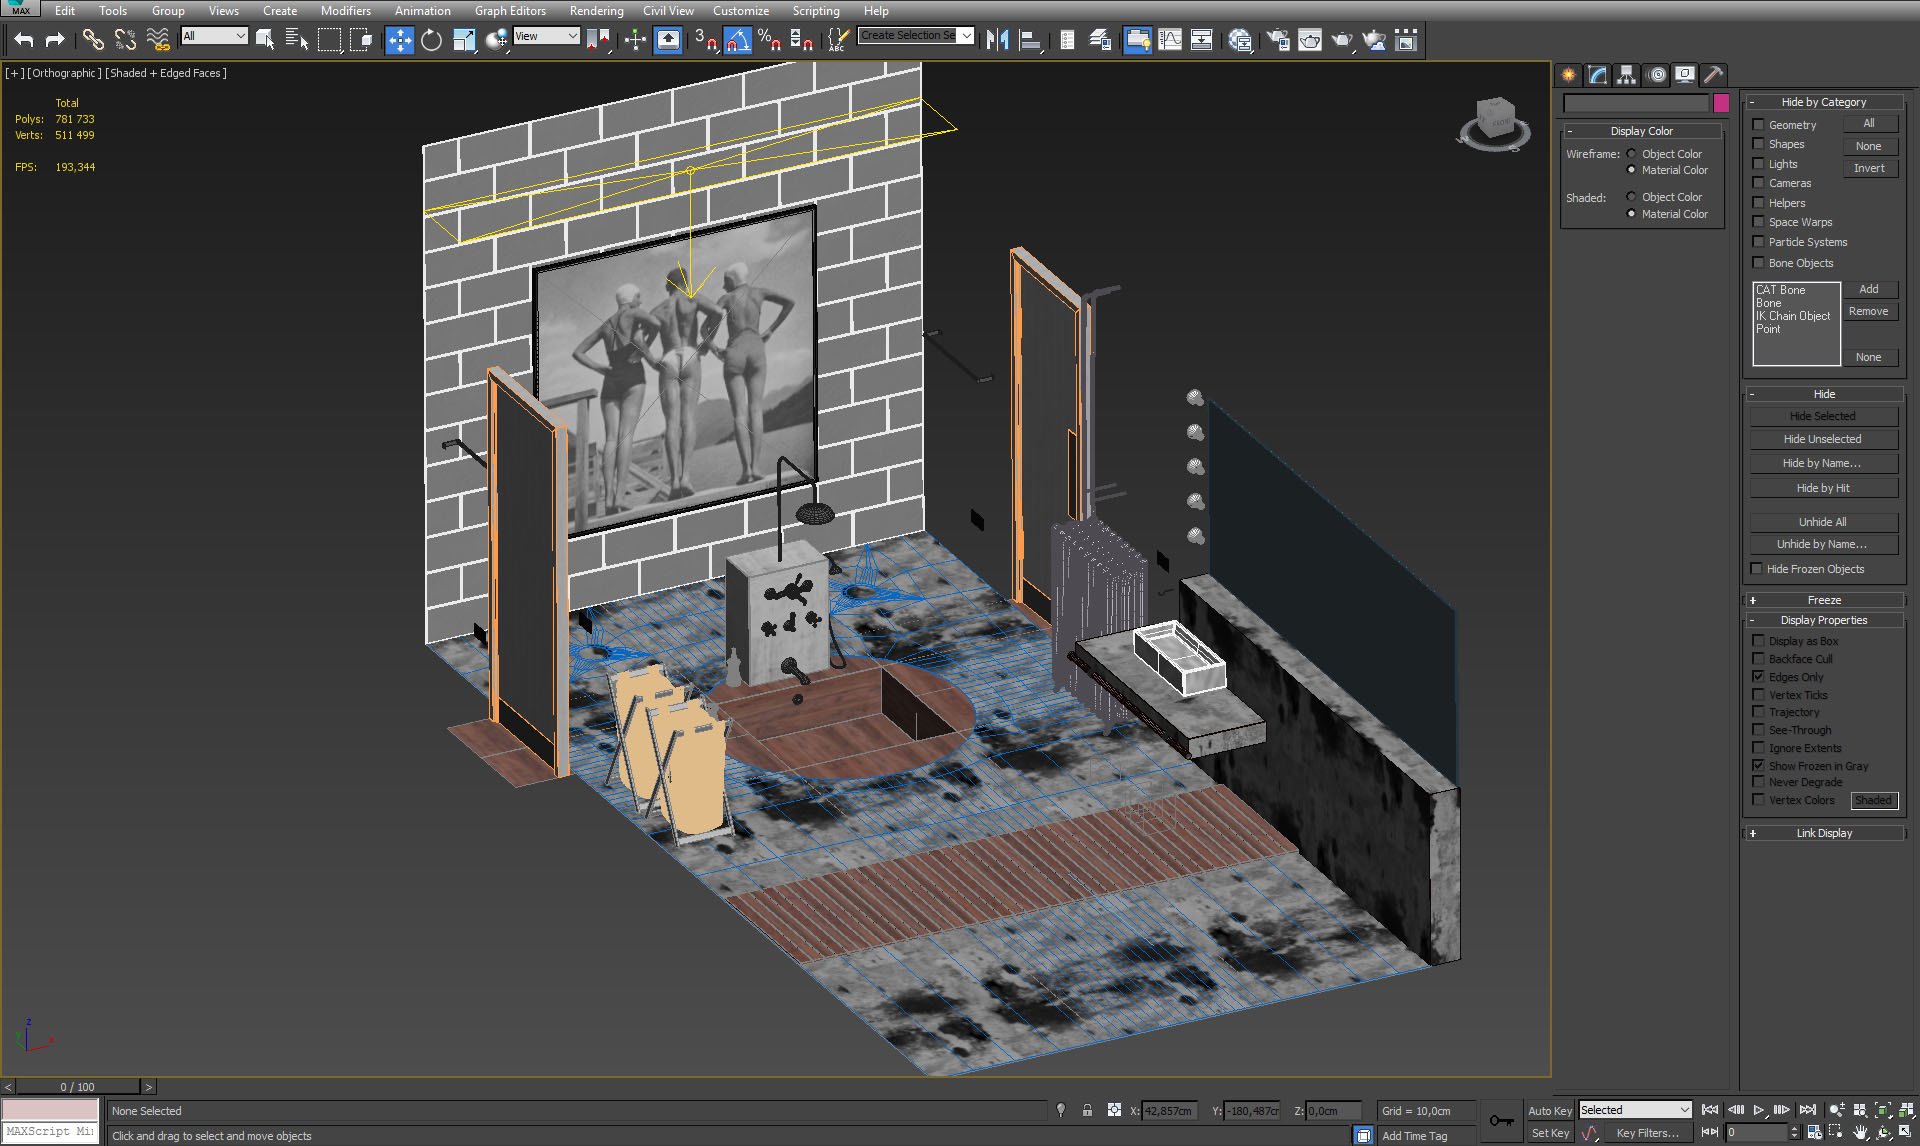
Interior without room mesh.
Click on image to enlarge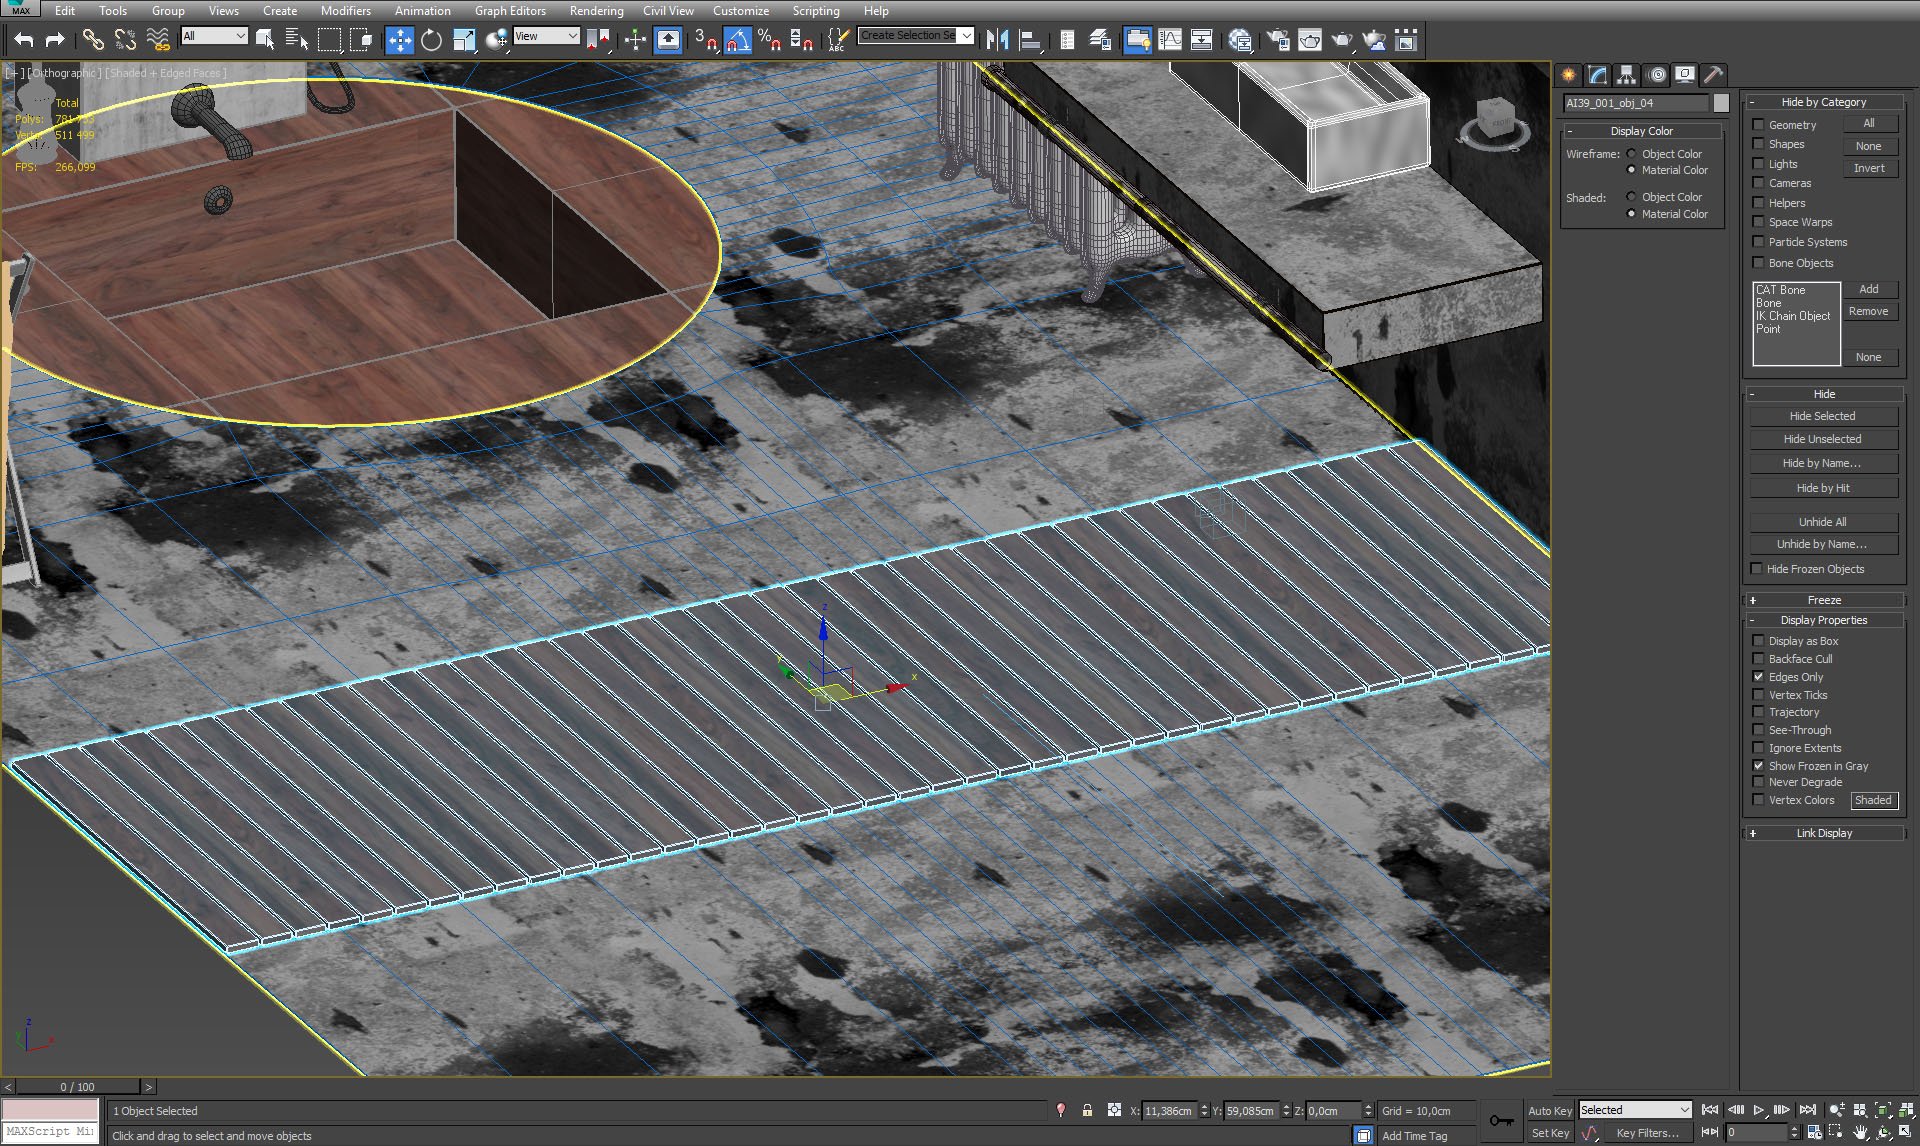
There is a small wooden path placed on a floor.
Click on image to enlarge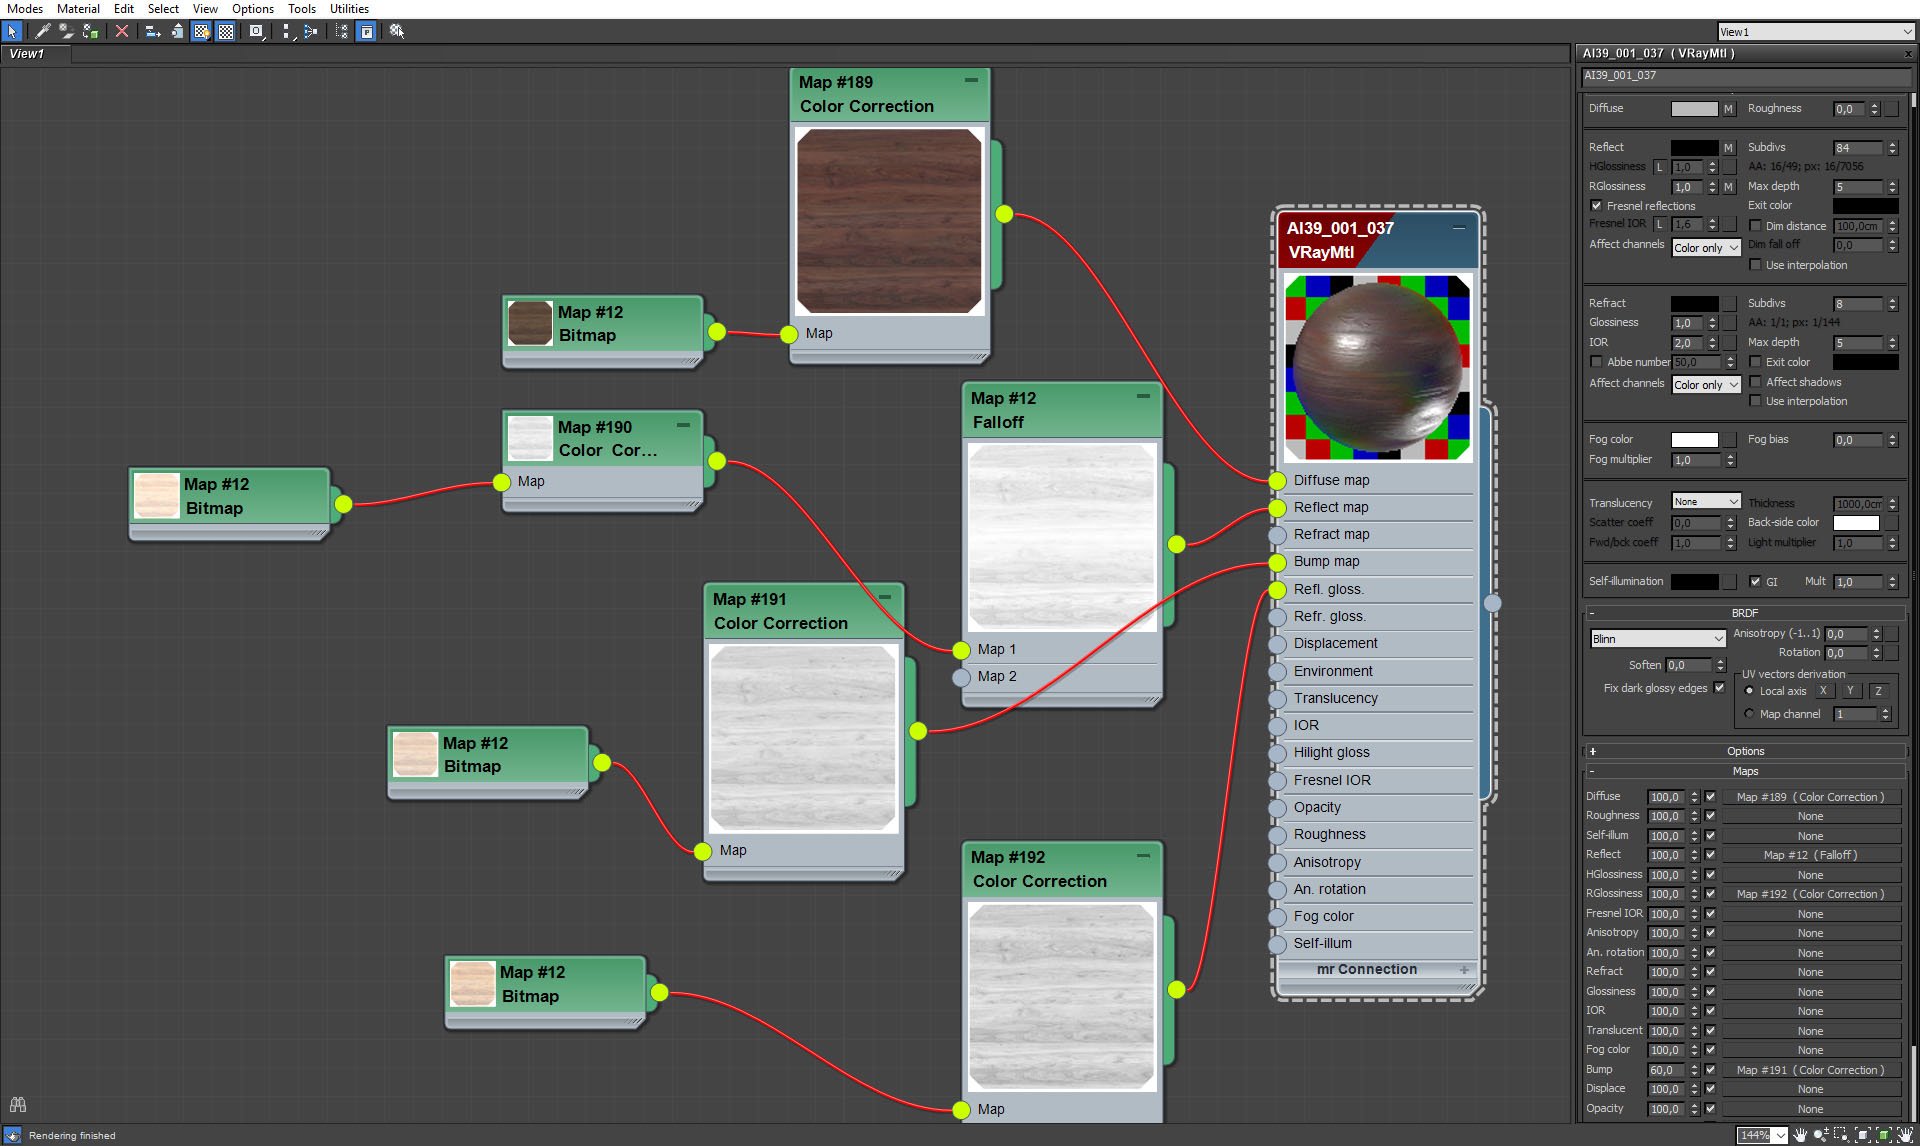
Wood material (tub and path). It's VrayMaterial with falloff reflection map.
Click on image to enlarge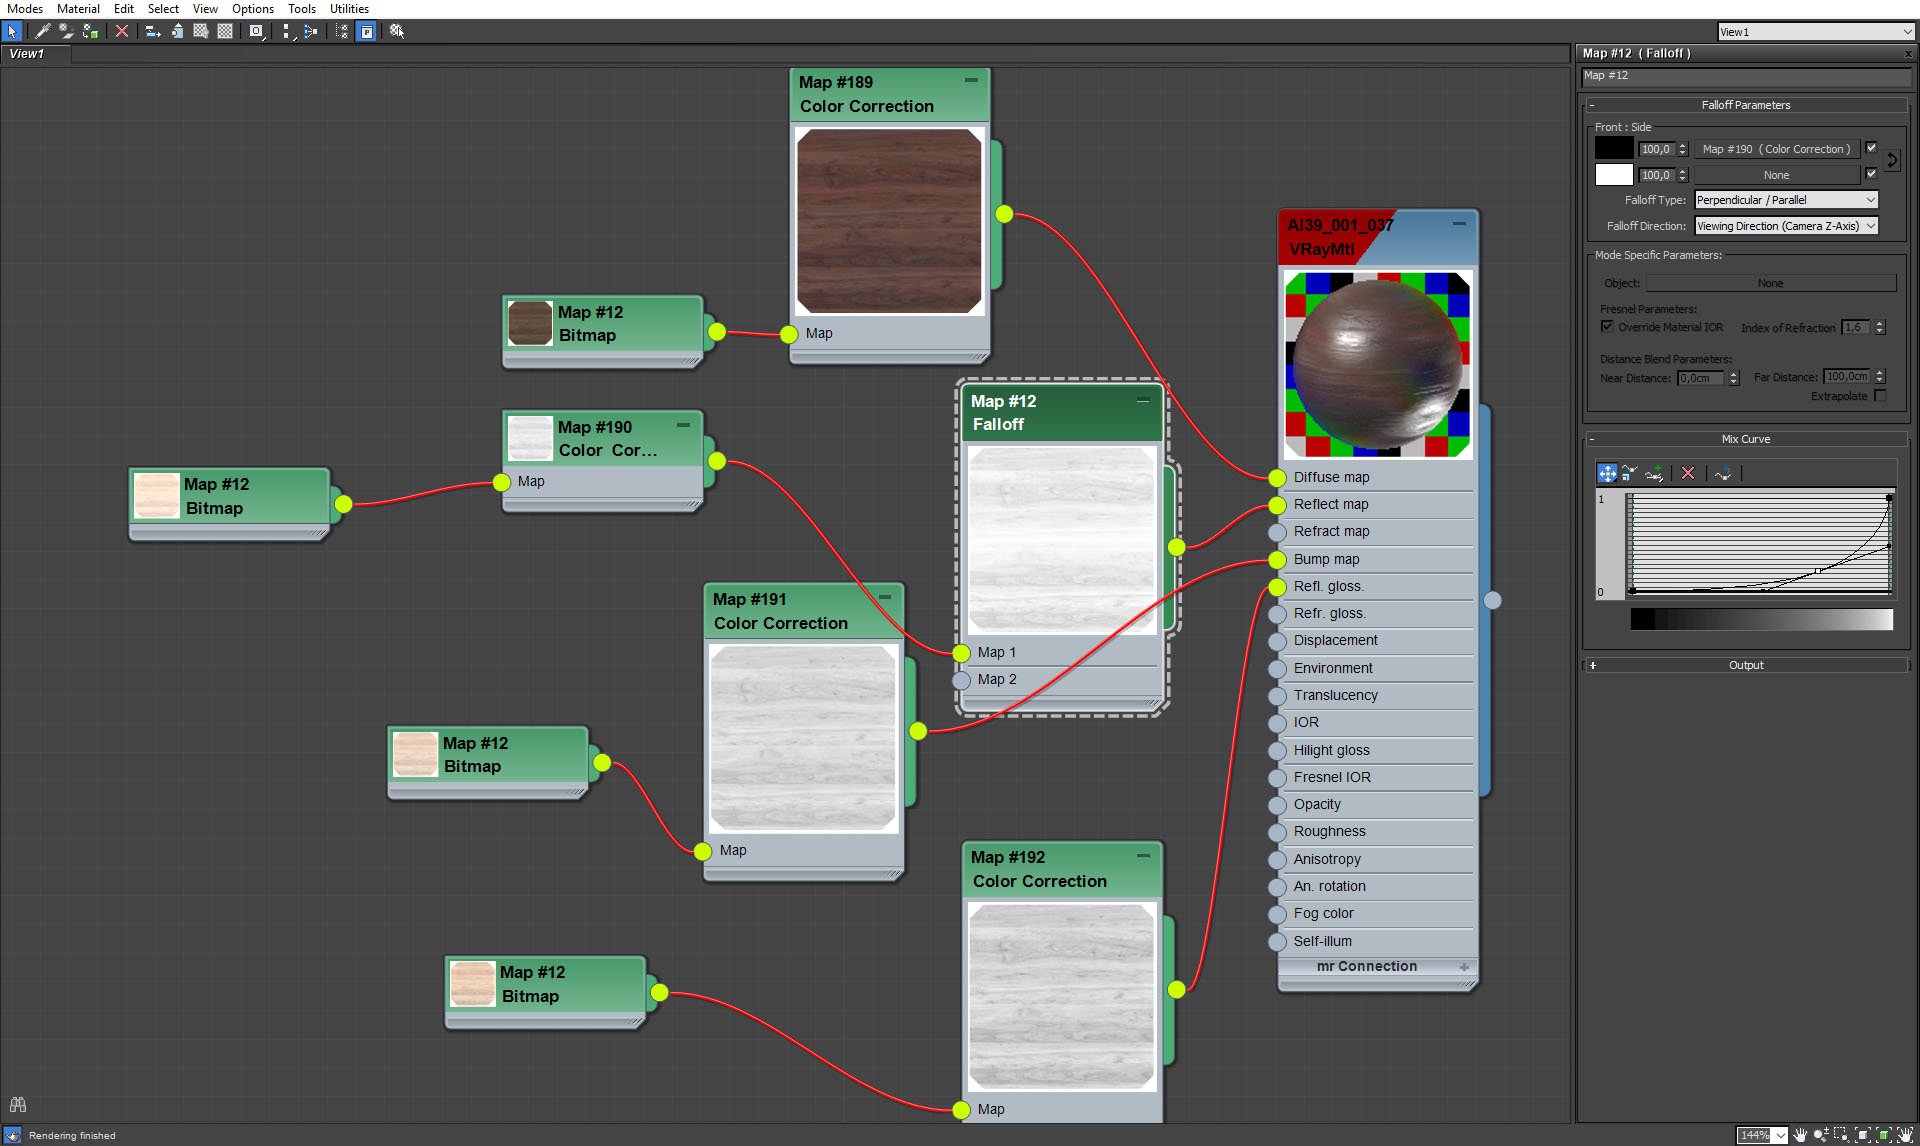
Wood material - falloff settings.
Click on image to enlarge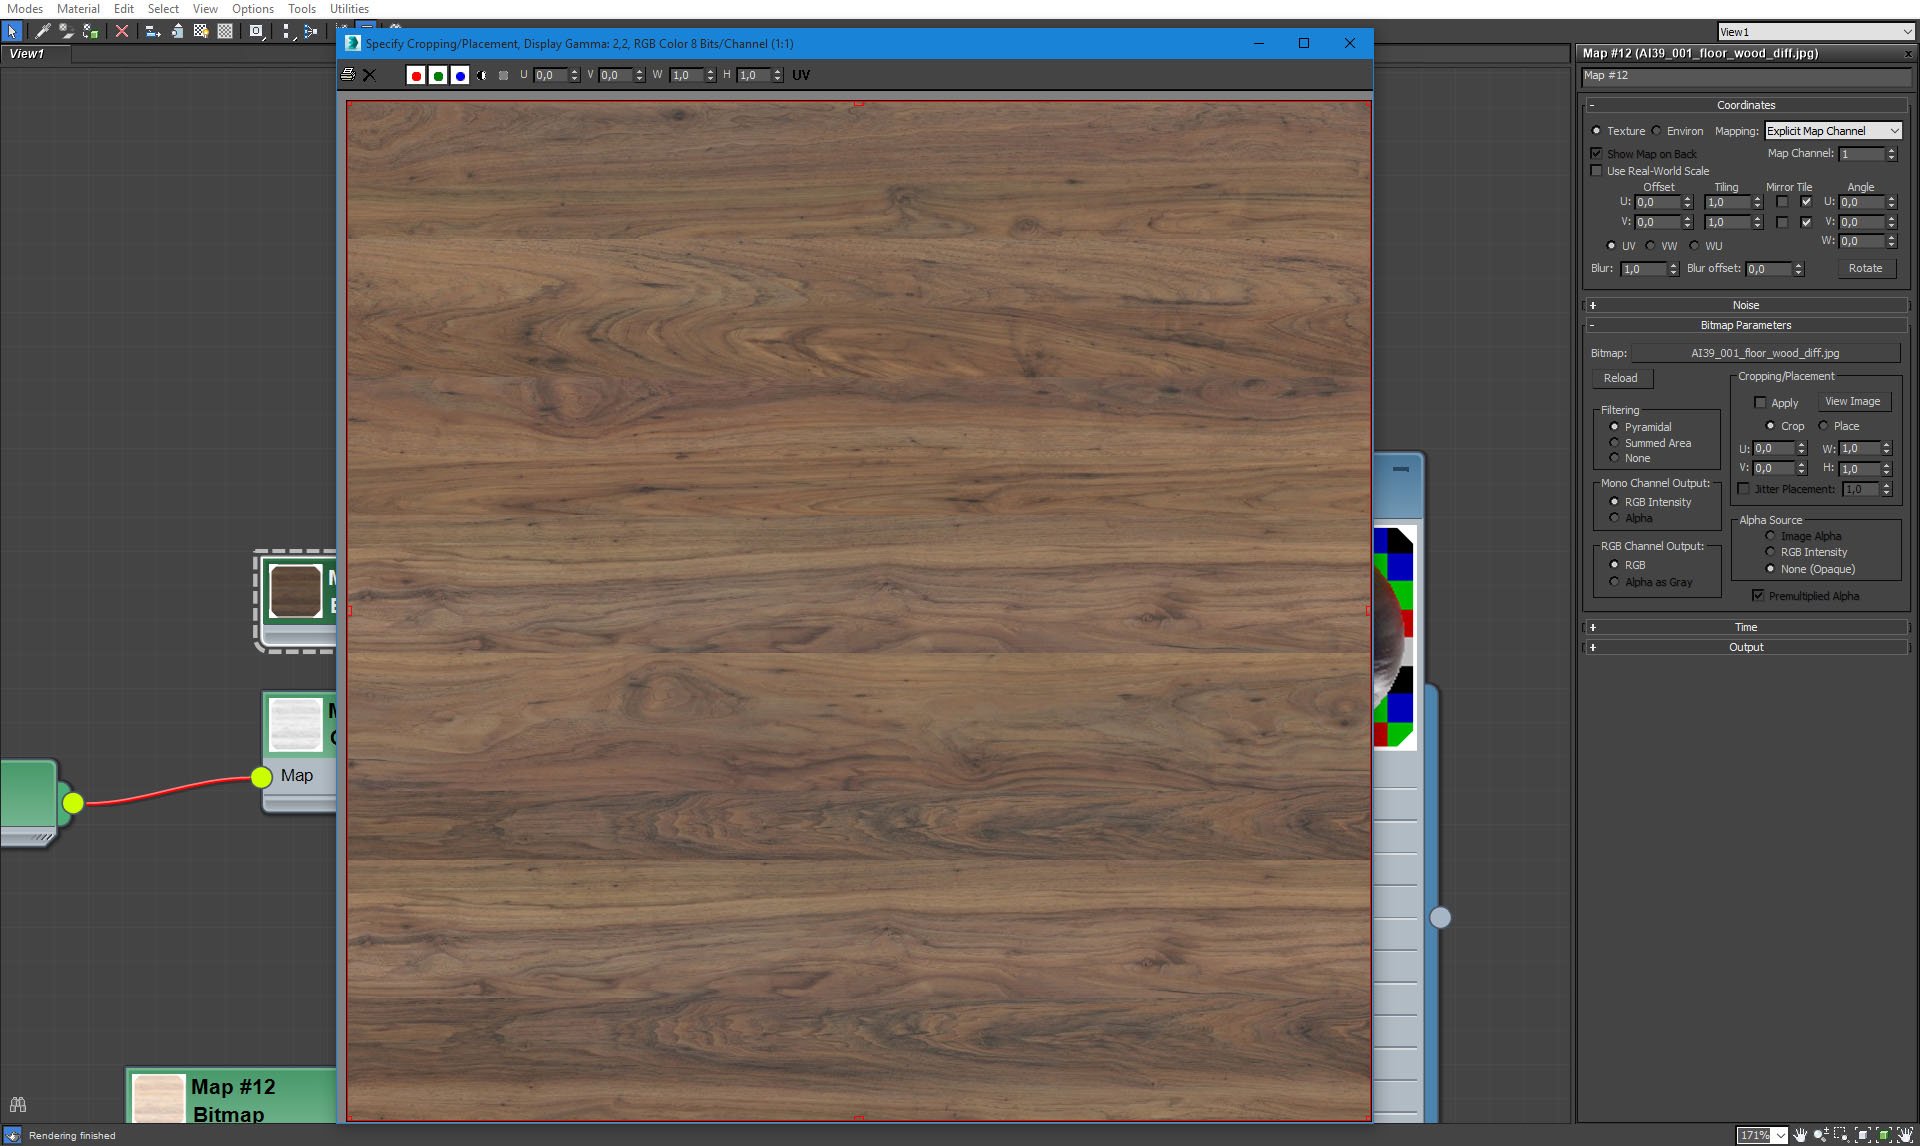
Diffuse bitmap wood material.
Click on image to enlarge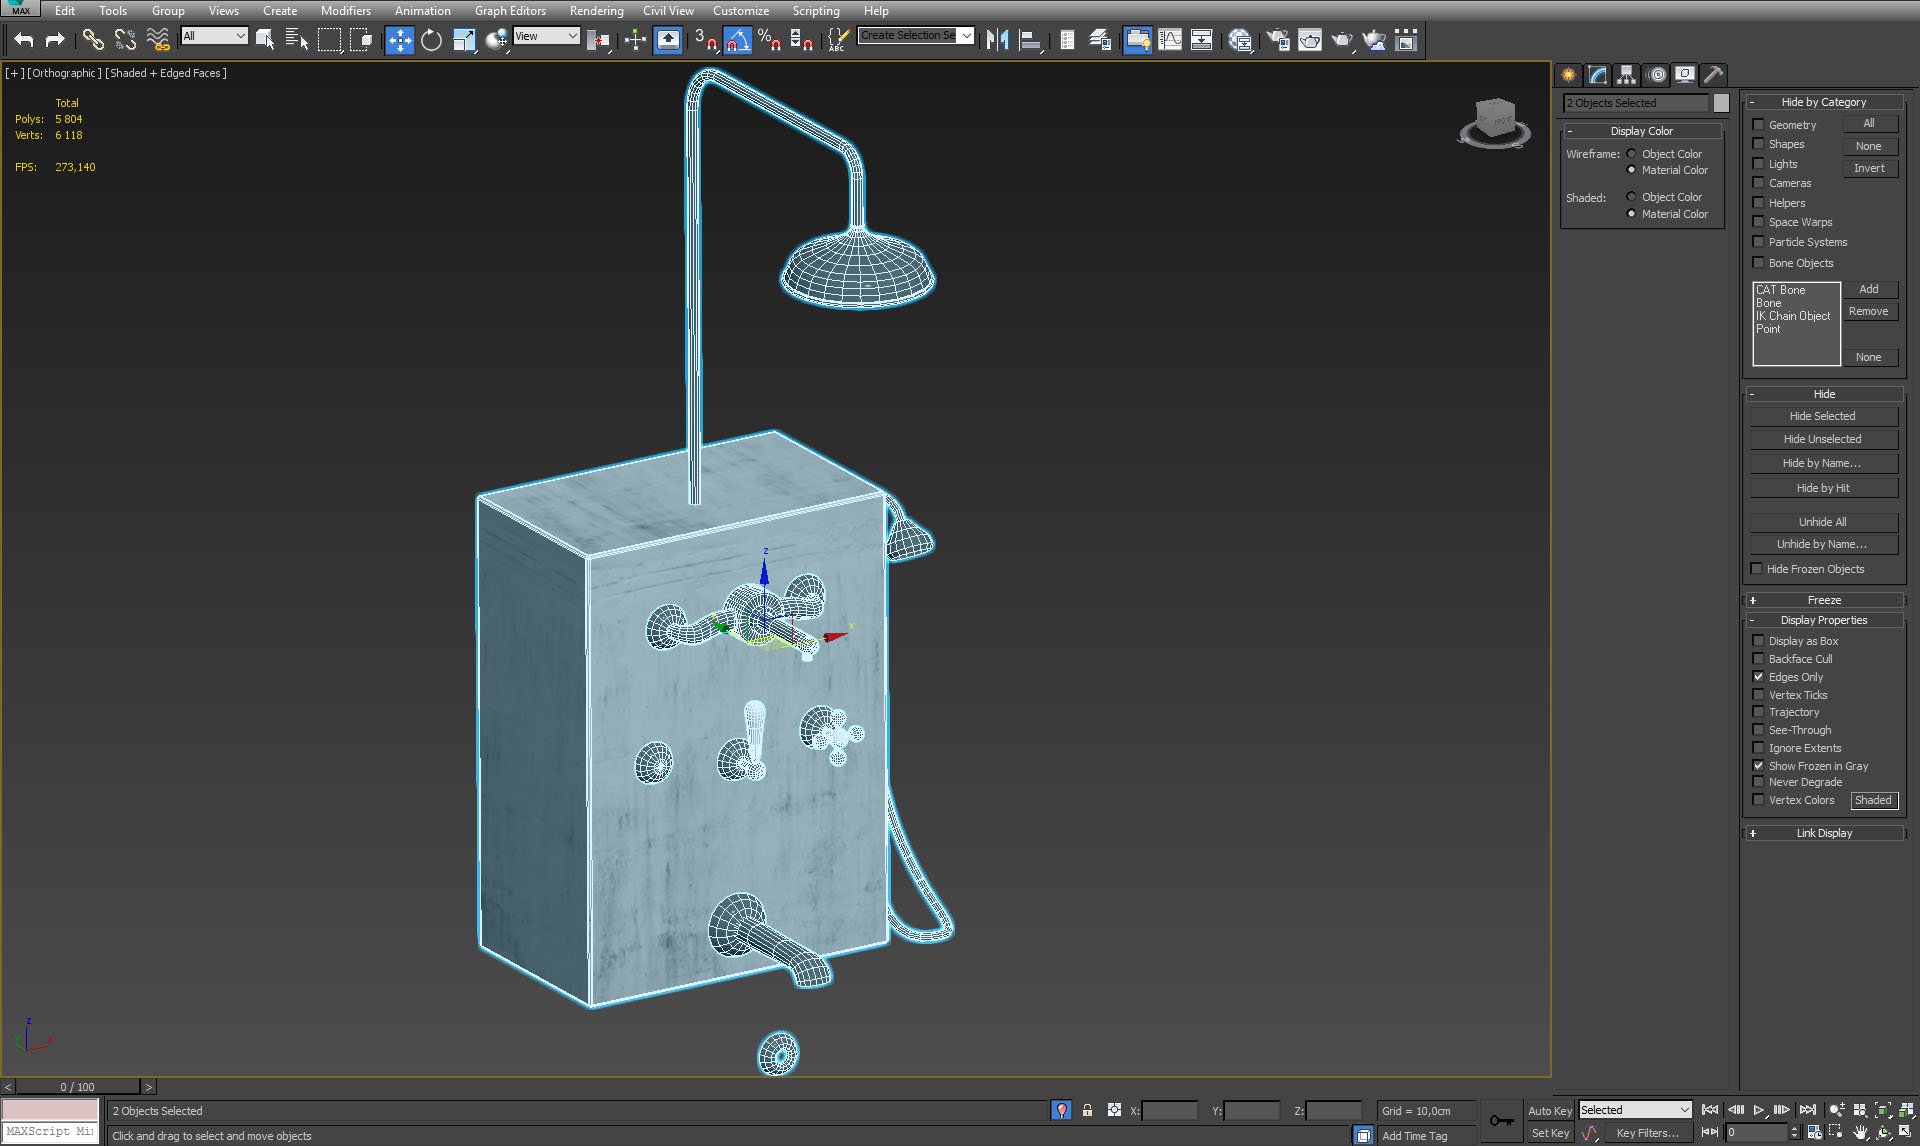
Bathroom battery and shower are placed on a concrete block.
Click on image to enlarge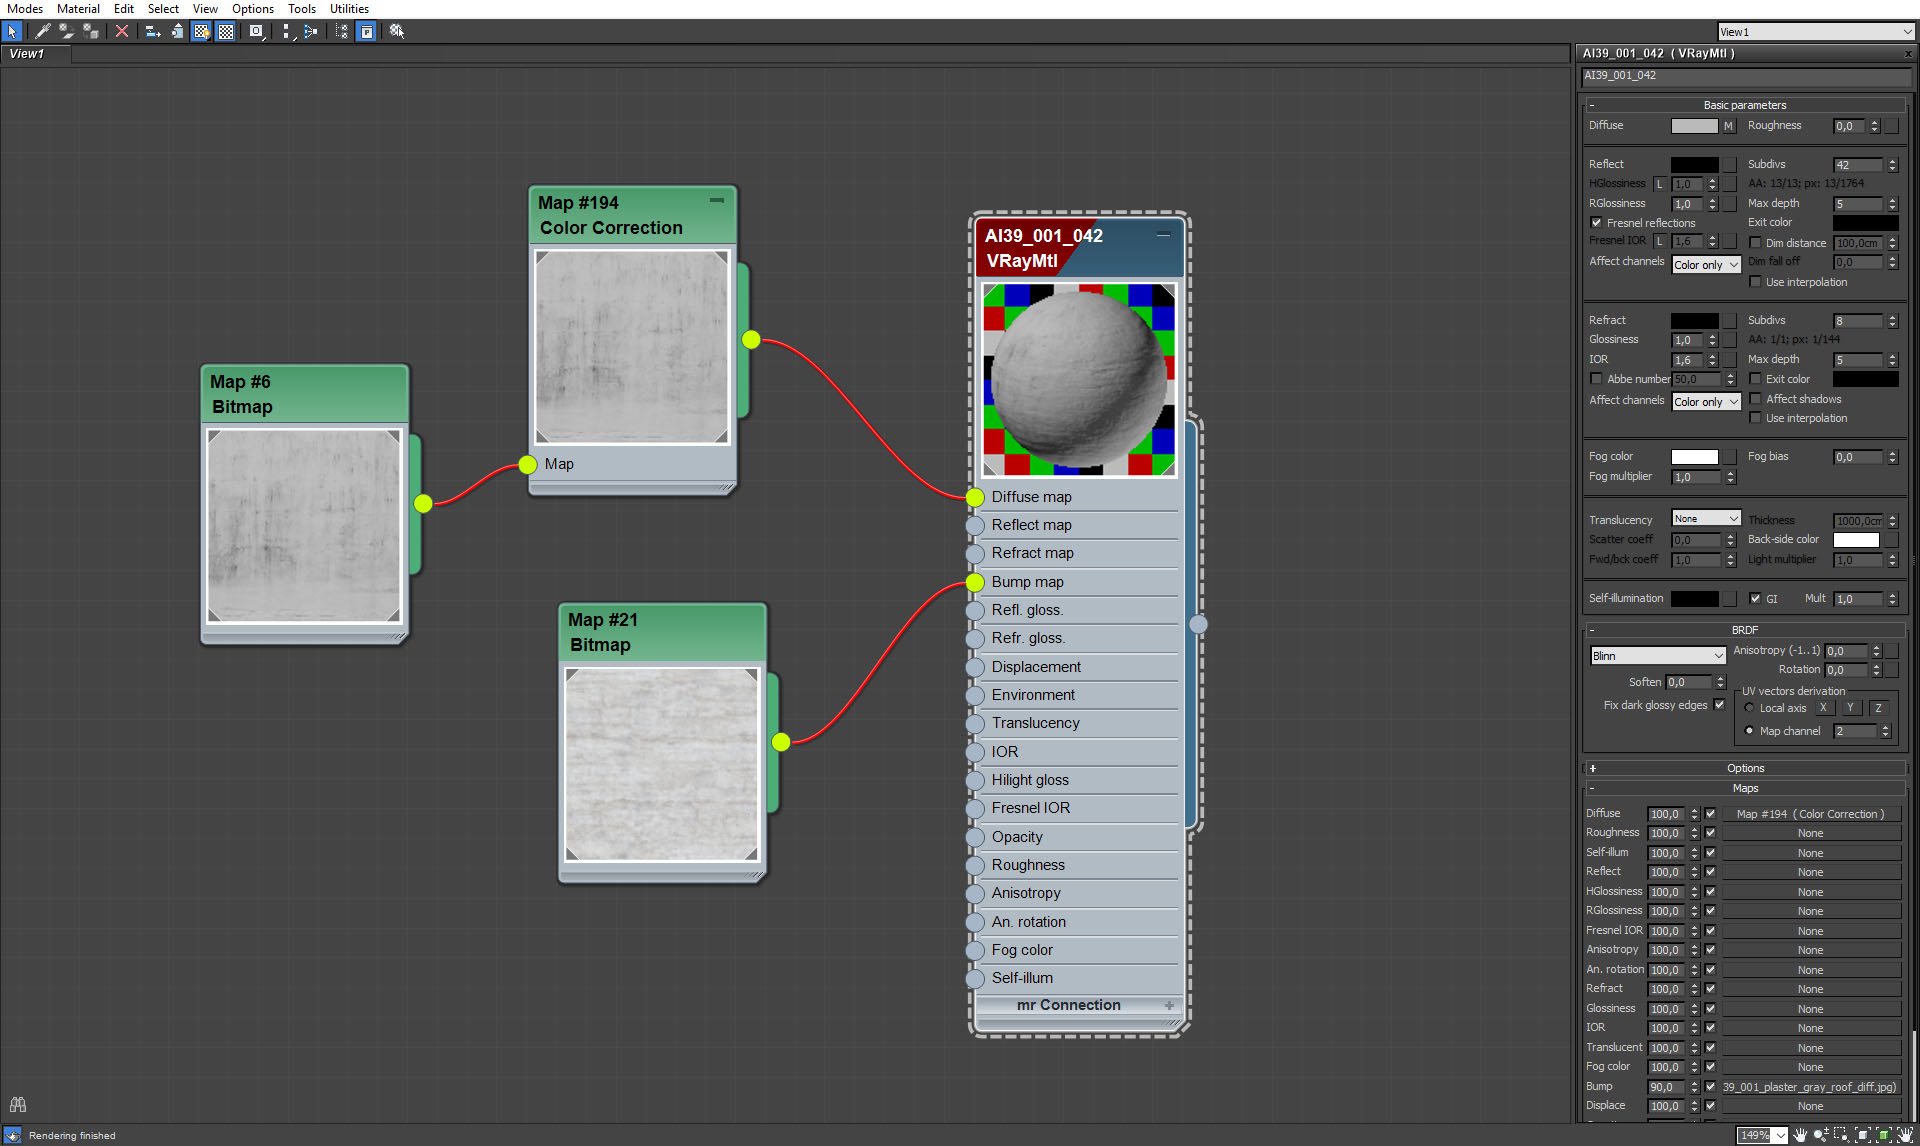
Concrete block material.
Click on image to enlarge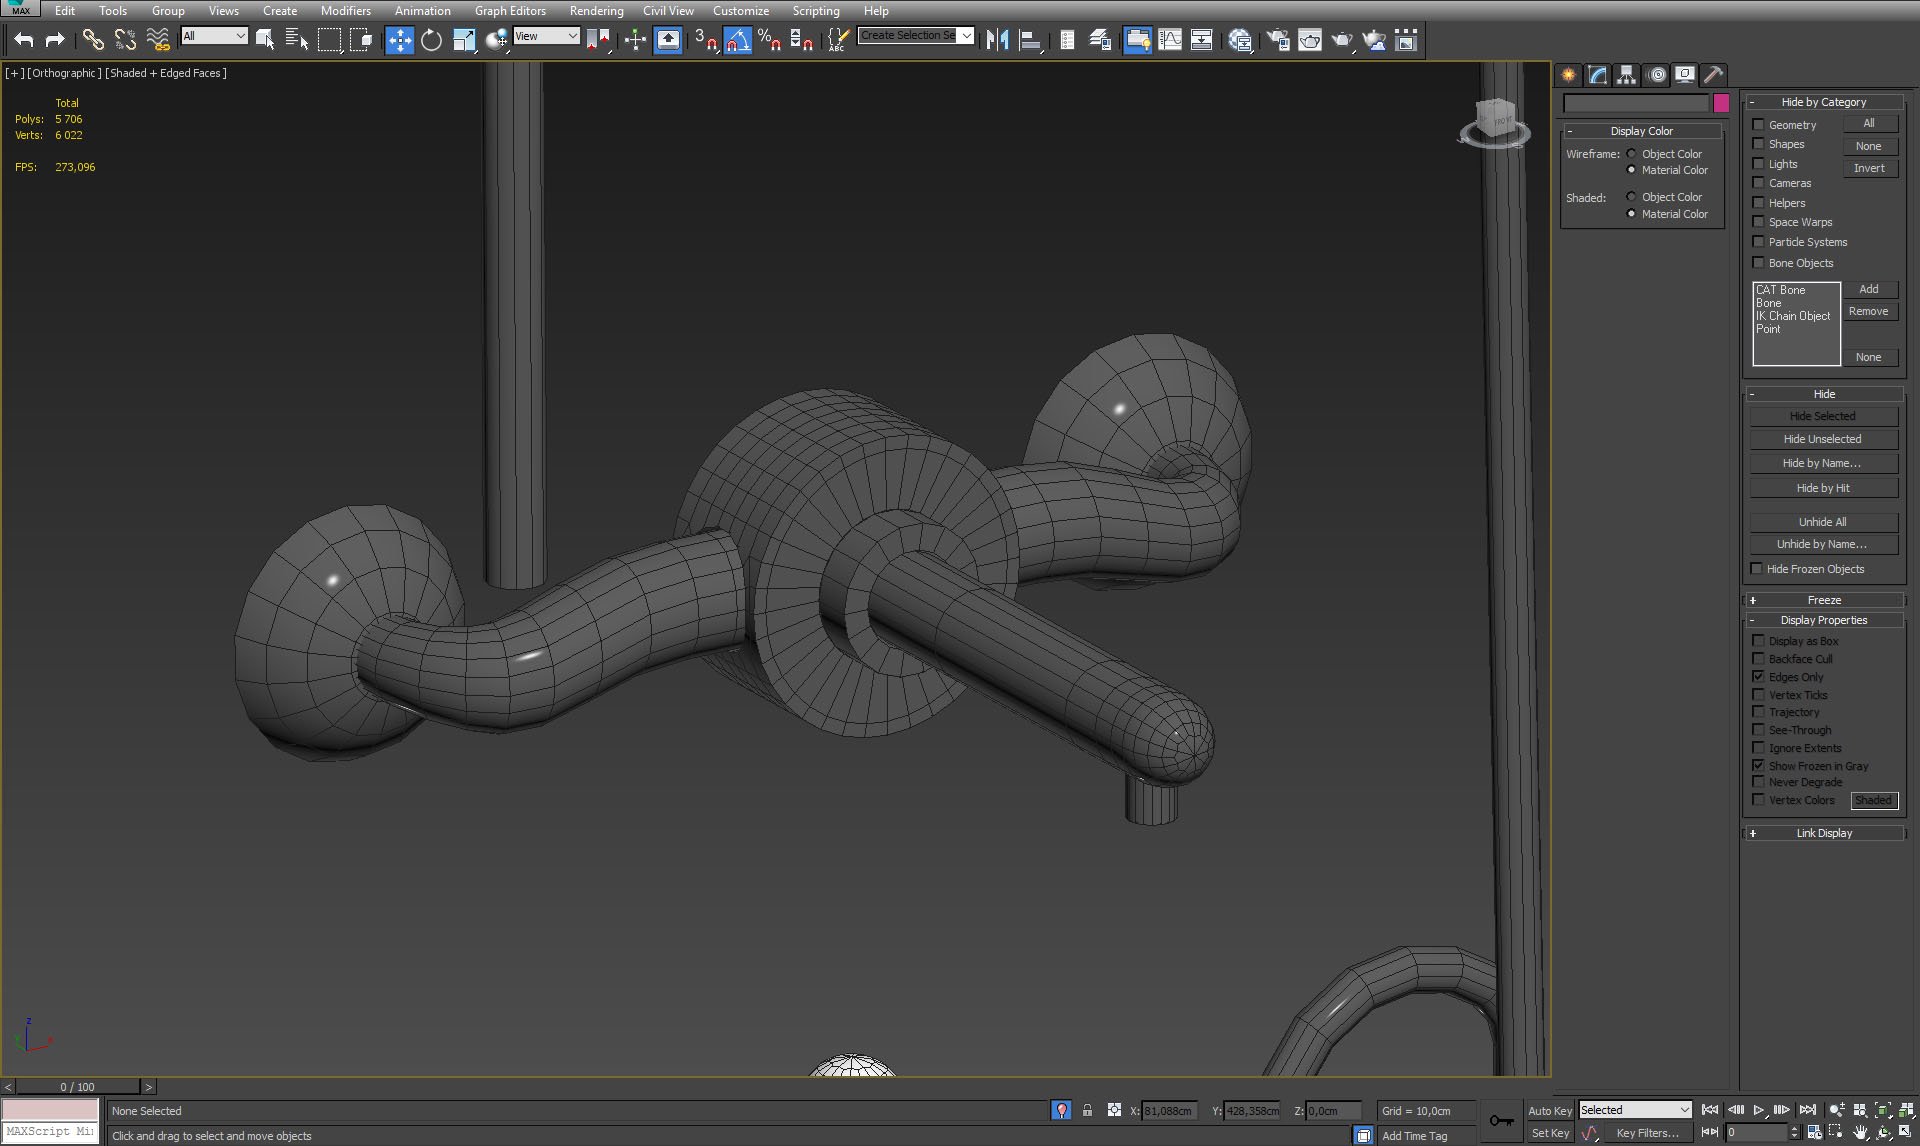
Tap mesh.
Click on image to enlarge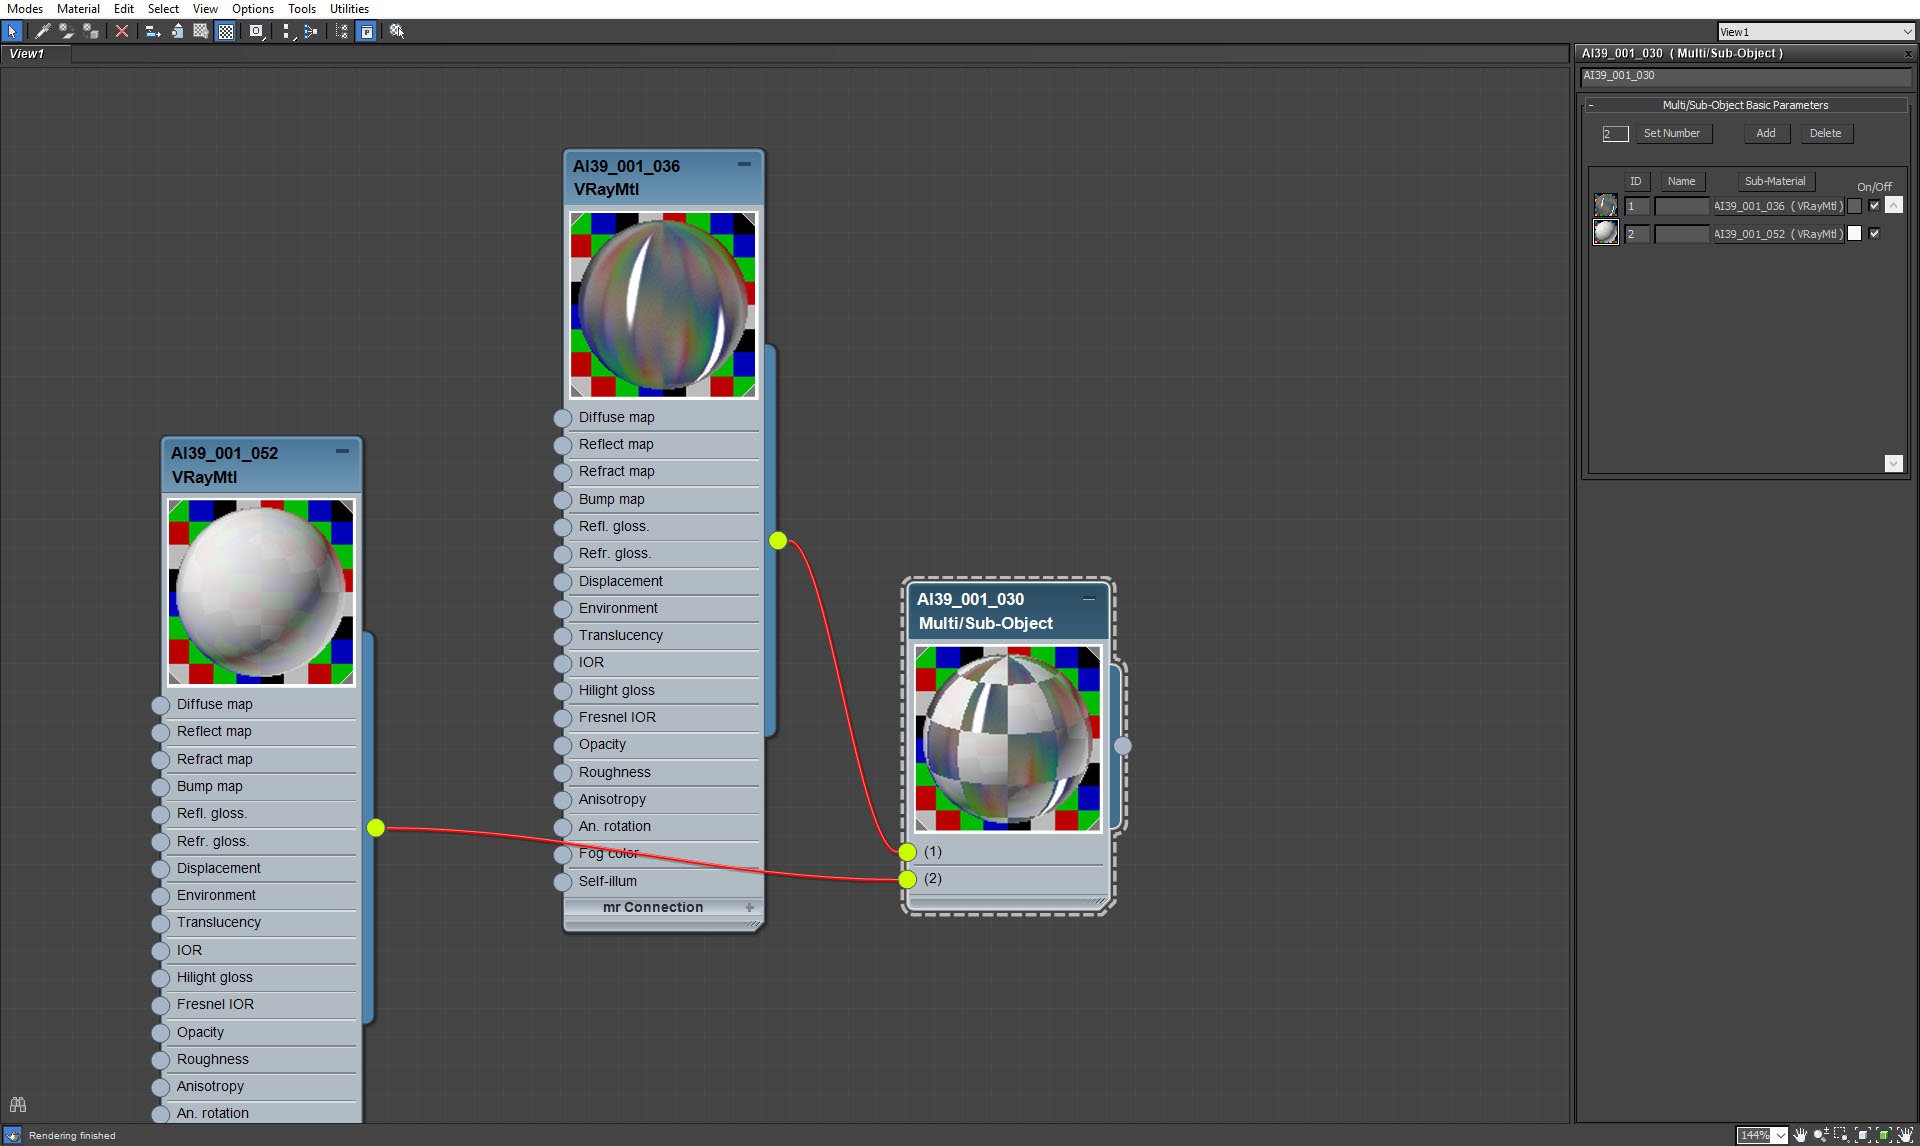
Multi/Sub Object material for tap and it's handle.
Click on image to enlarge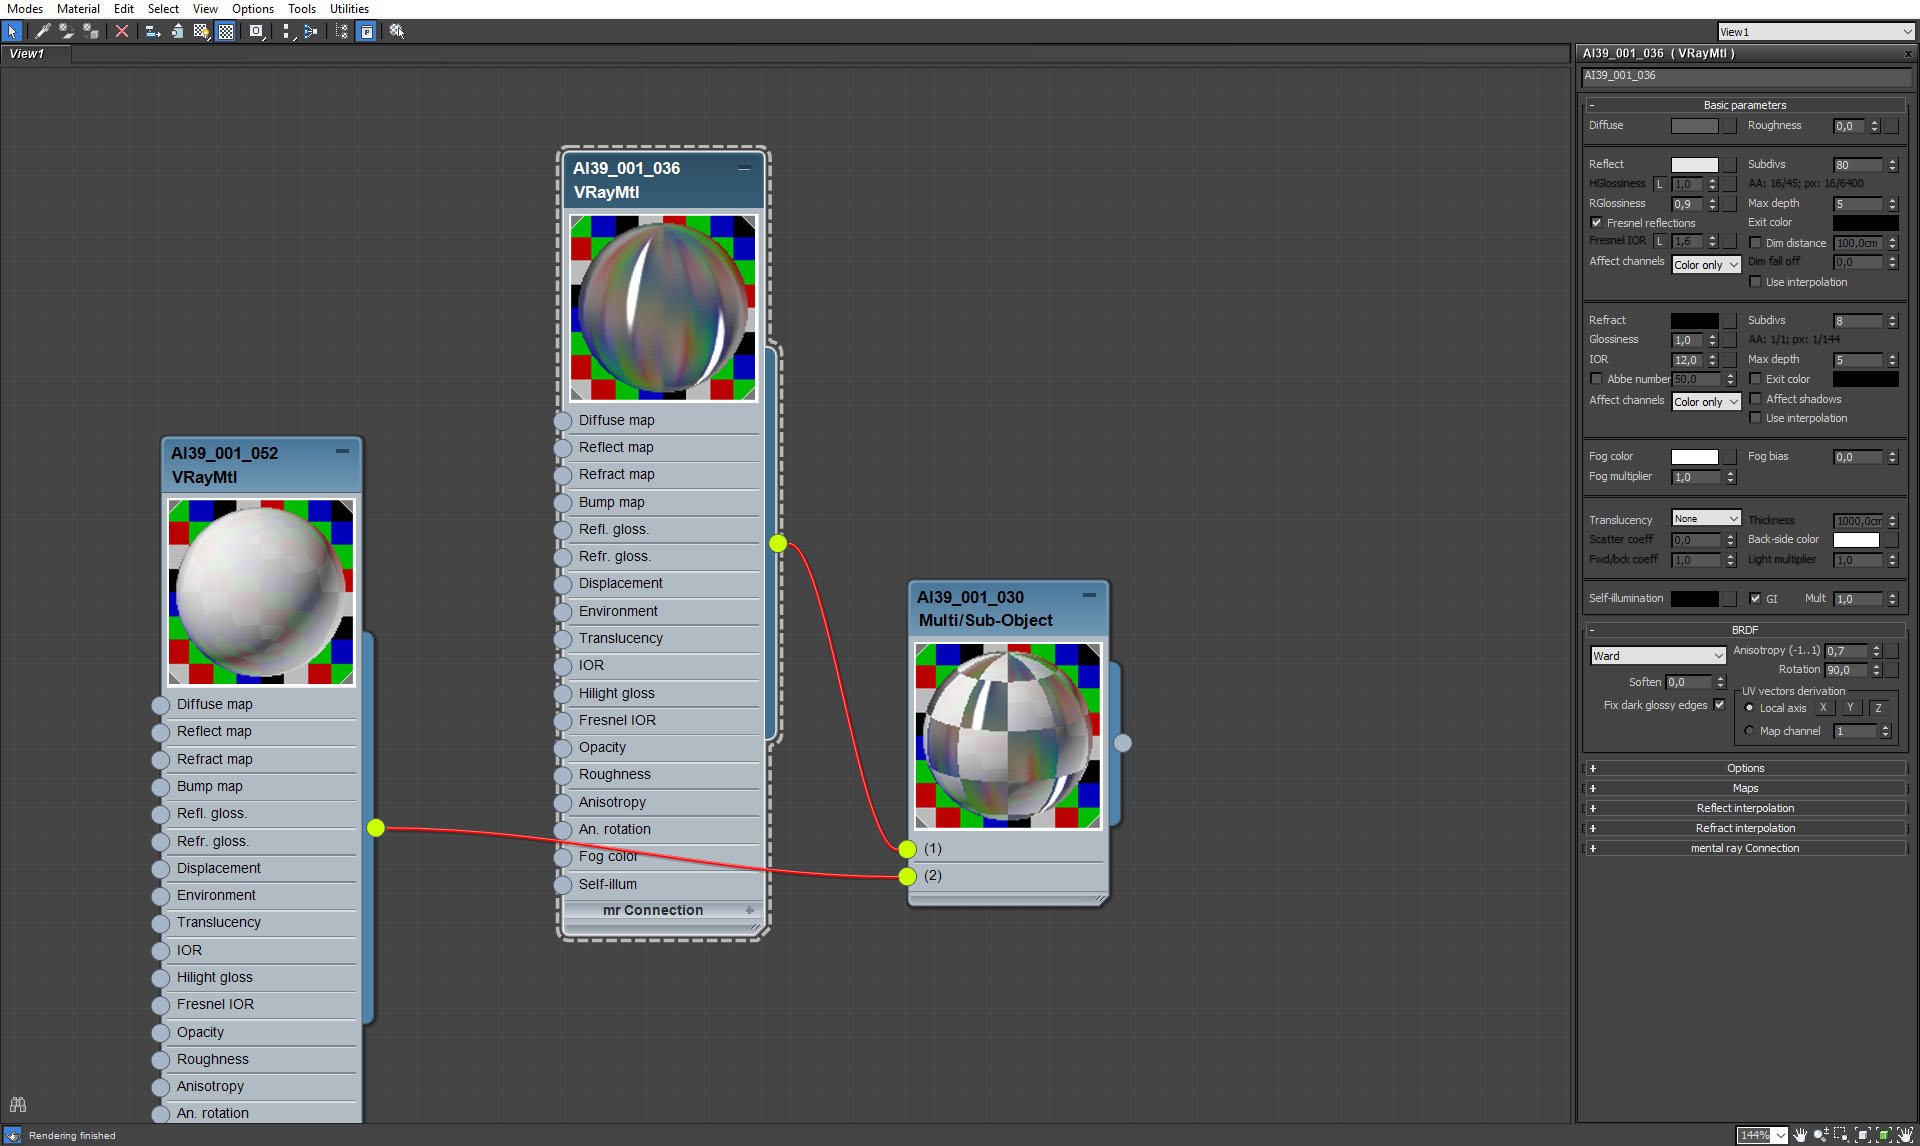
Tap material.
Click on image to enlarge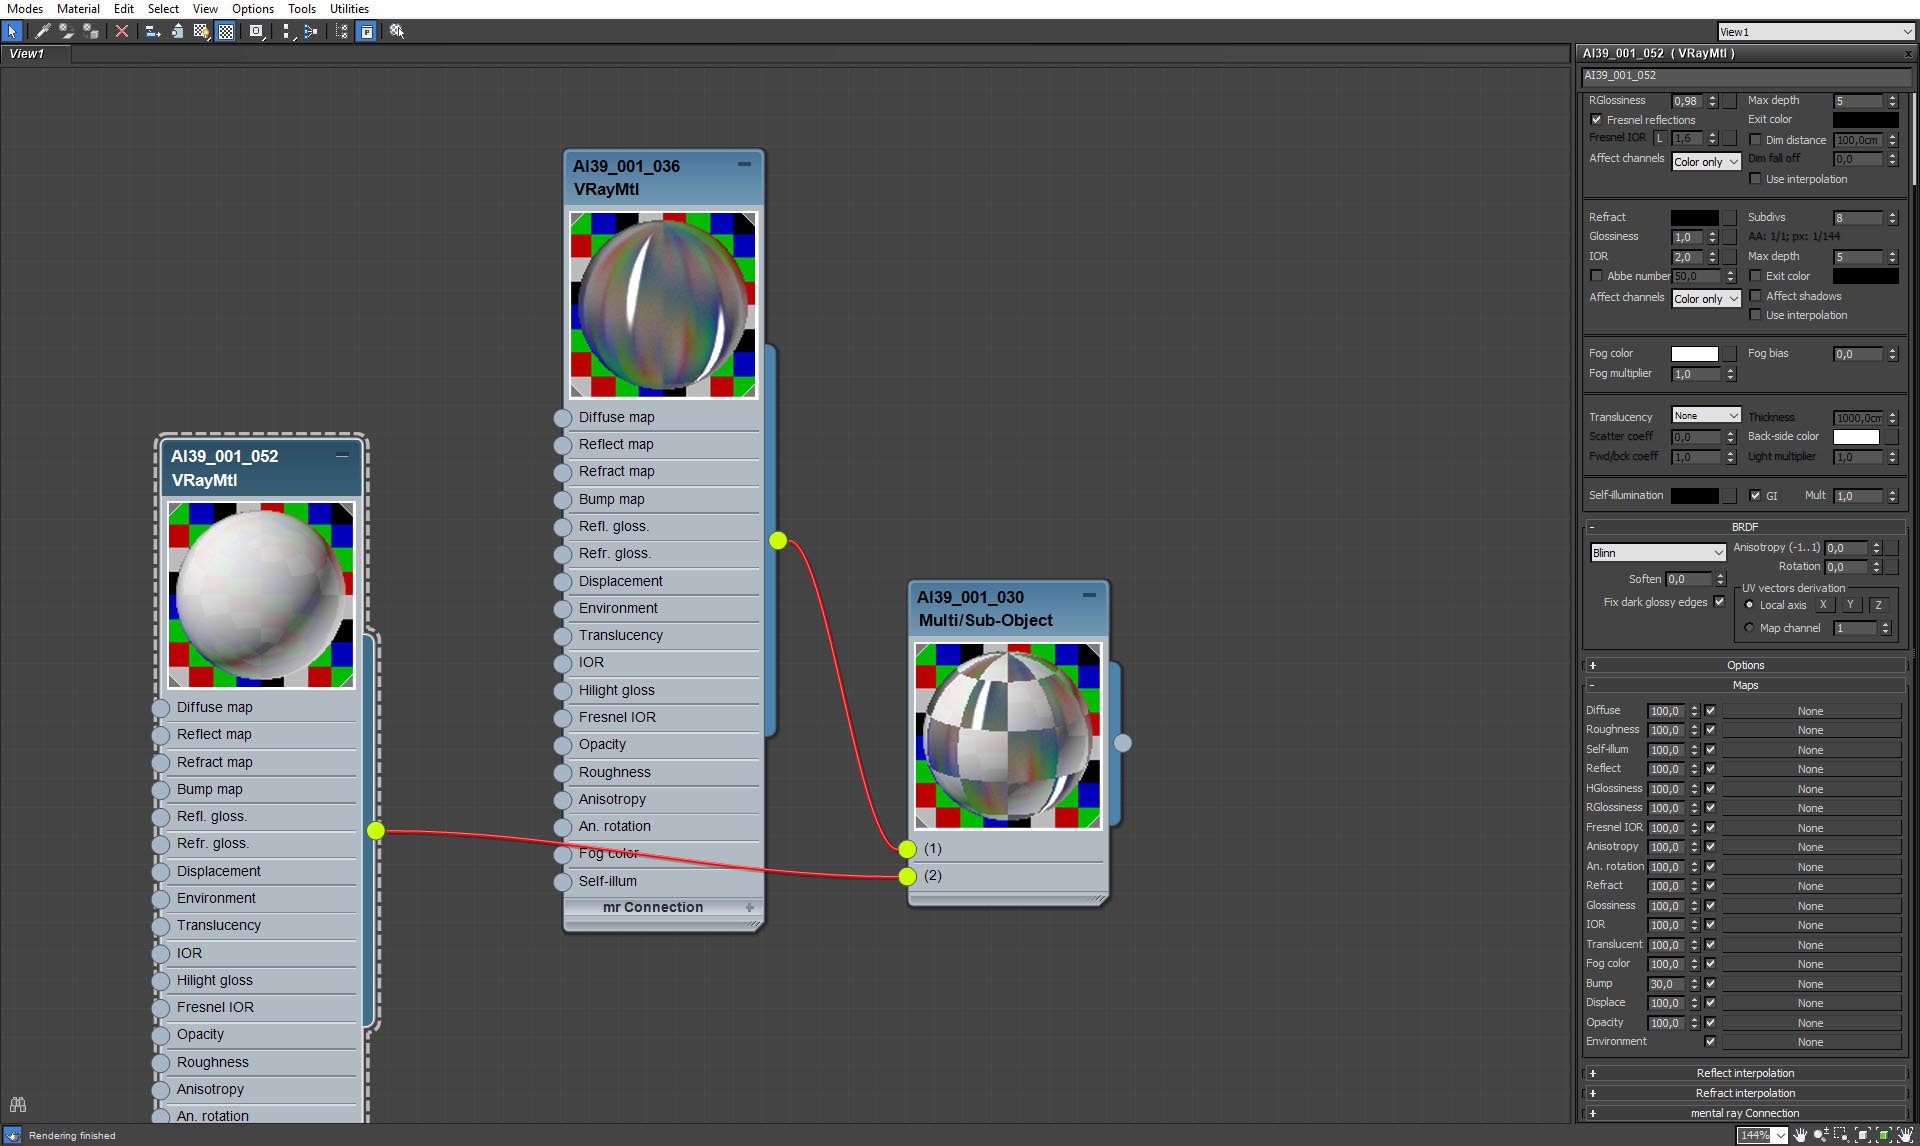
Handle material.
Click on image to enlarge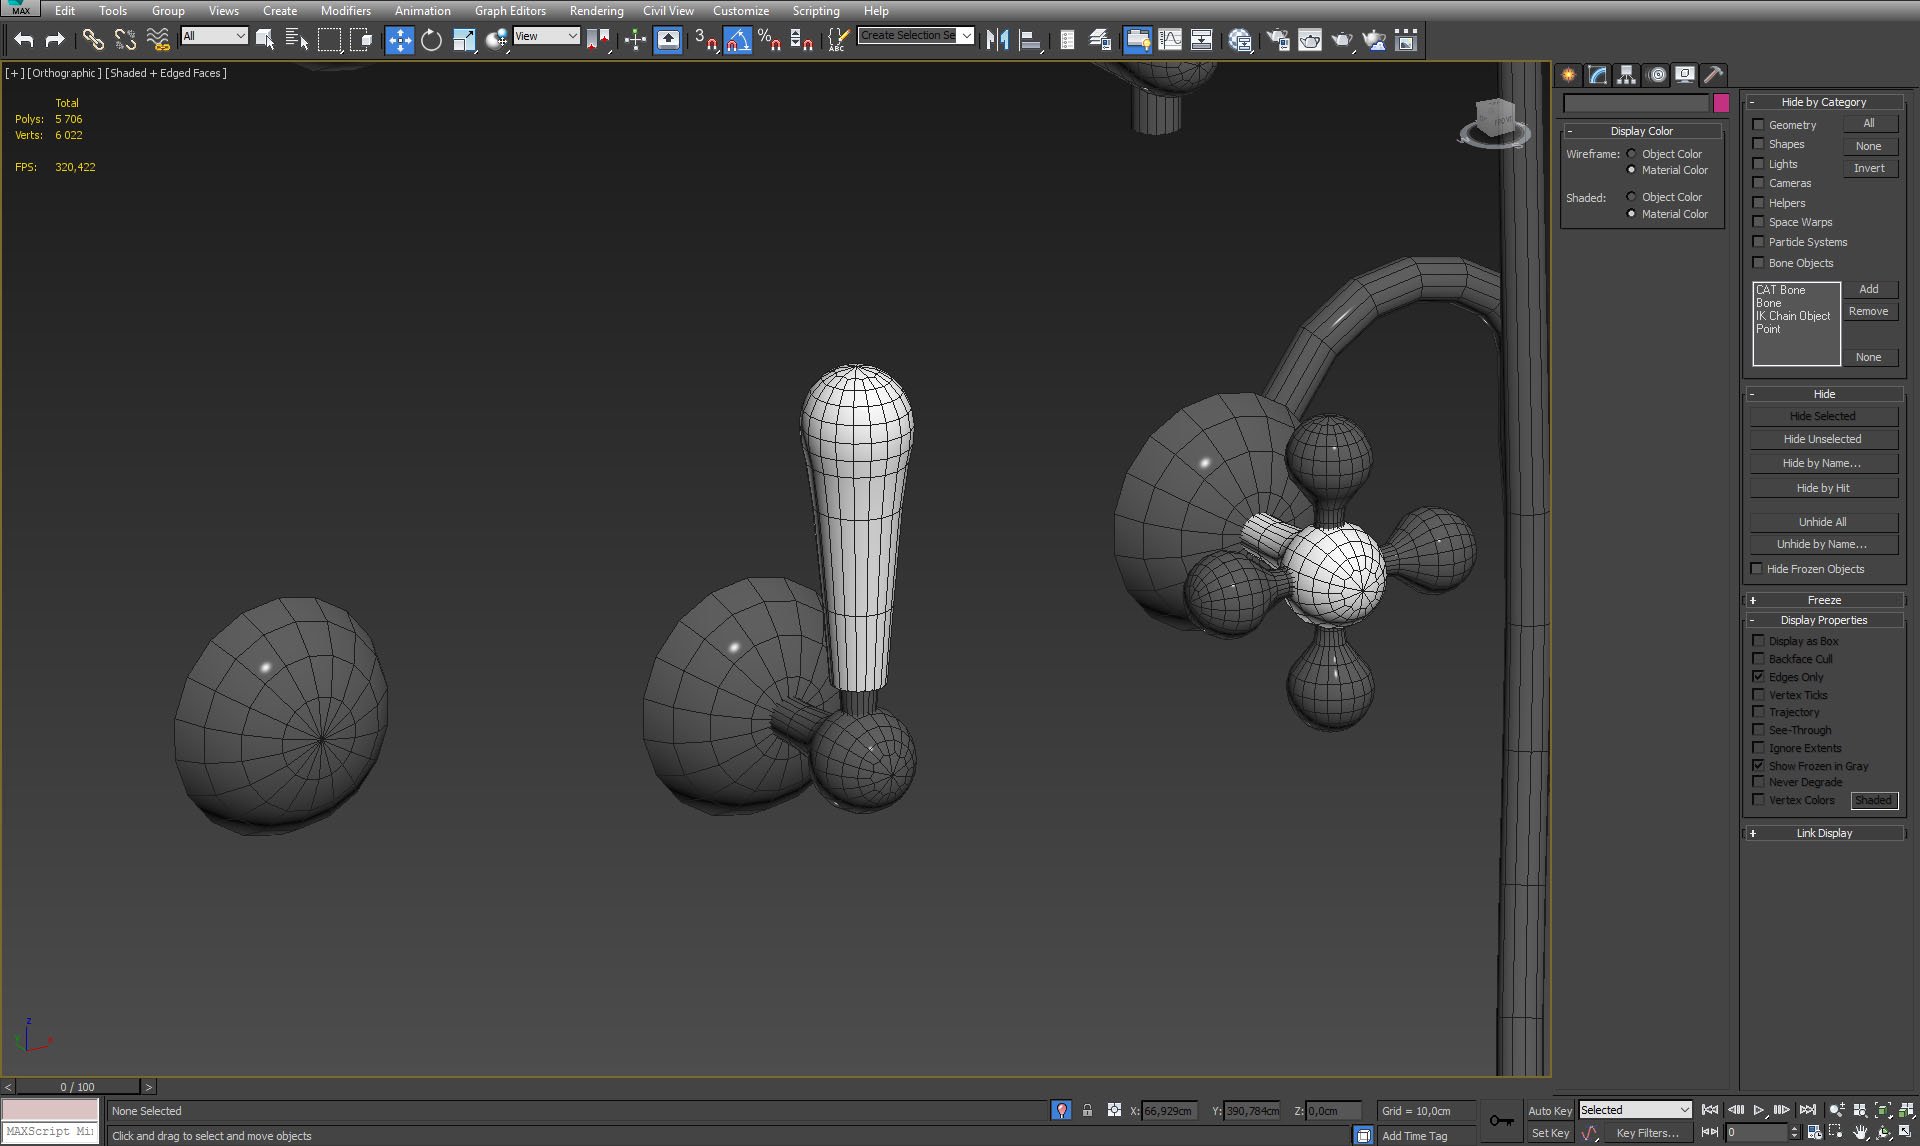
Handle mesh.
Click on image to enlarge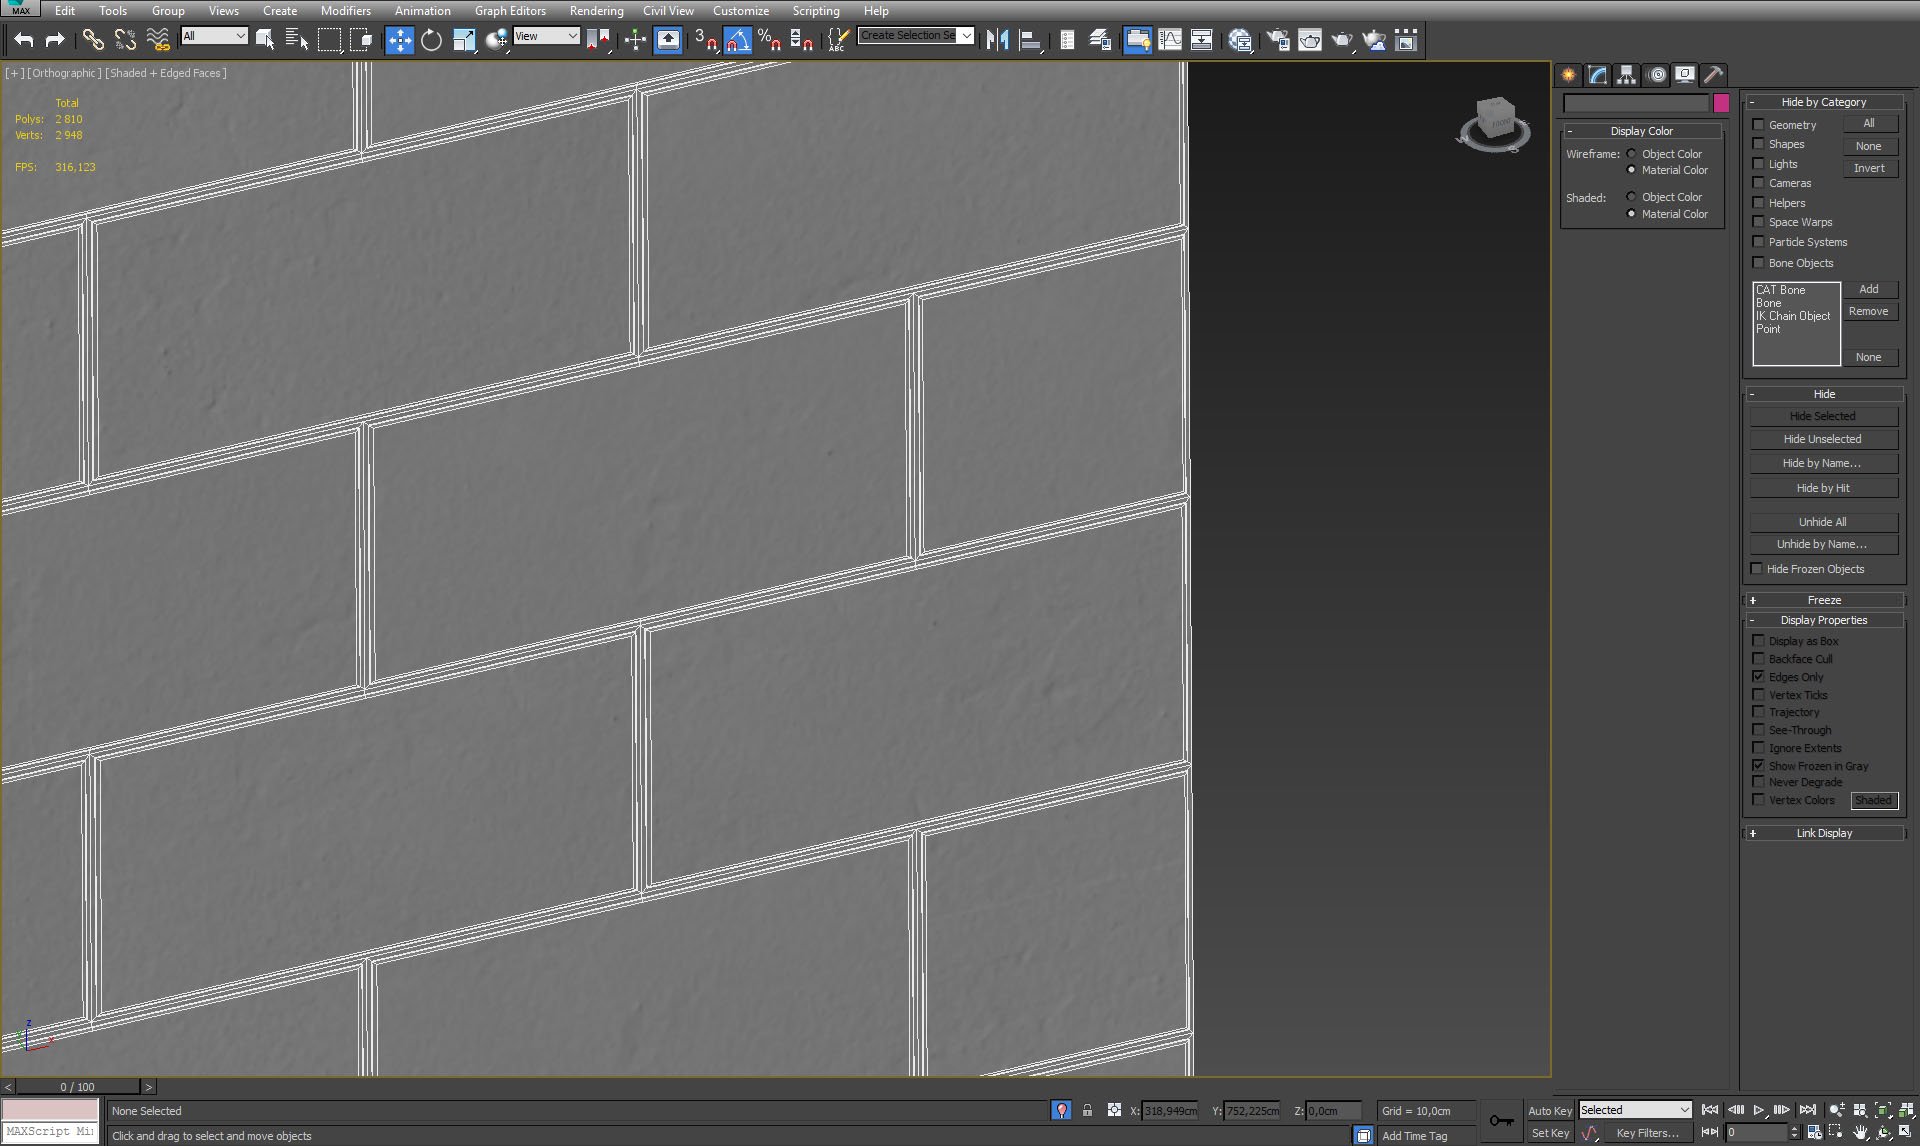
Front wall mesh.
Click on image to enlarge
Front wall mesh - close up.
Click on image to enlarge
Front wall material.
Click on image to enlarge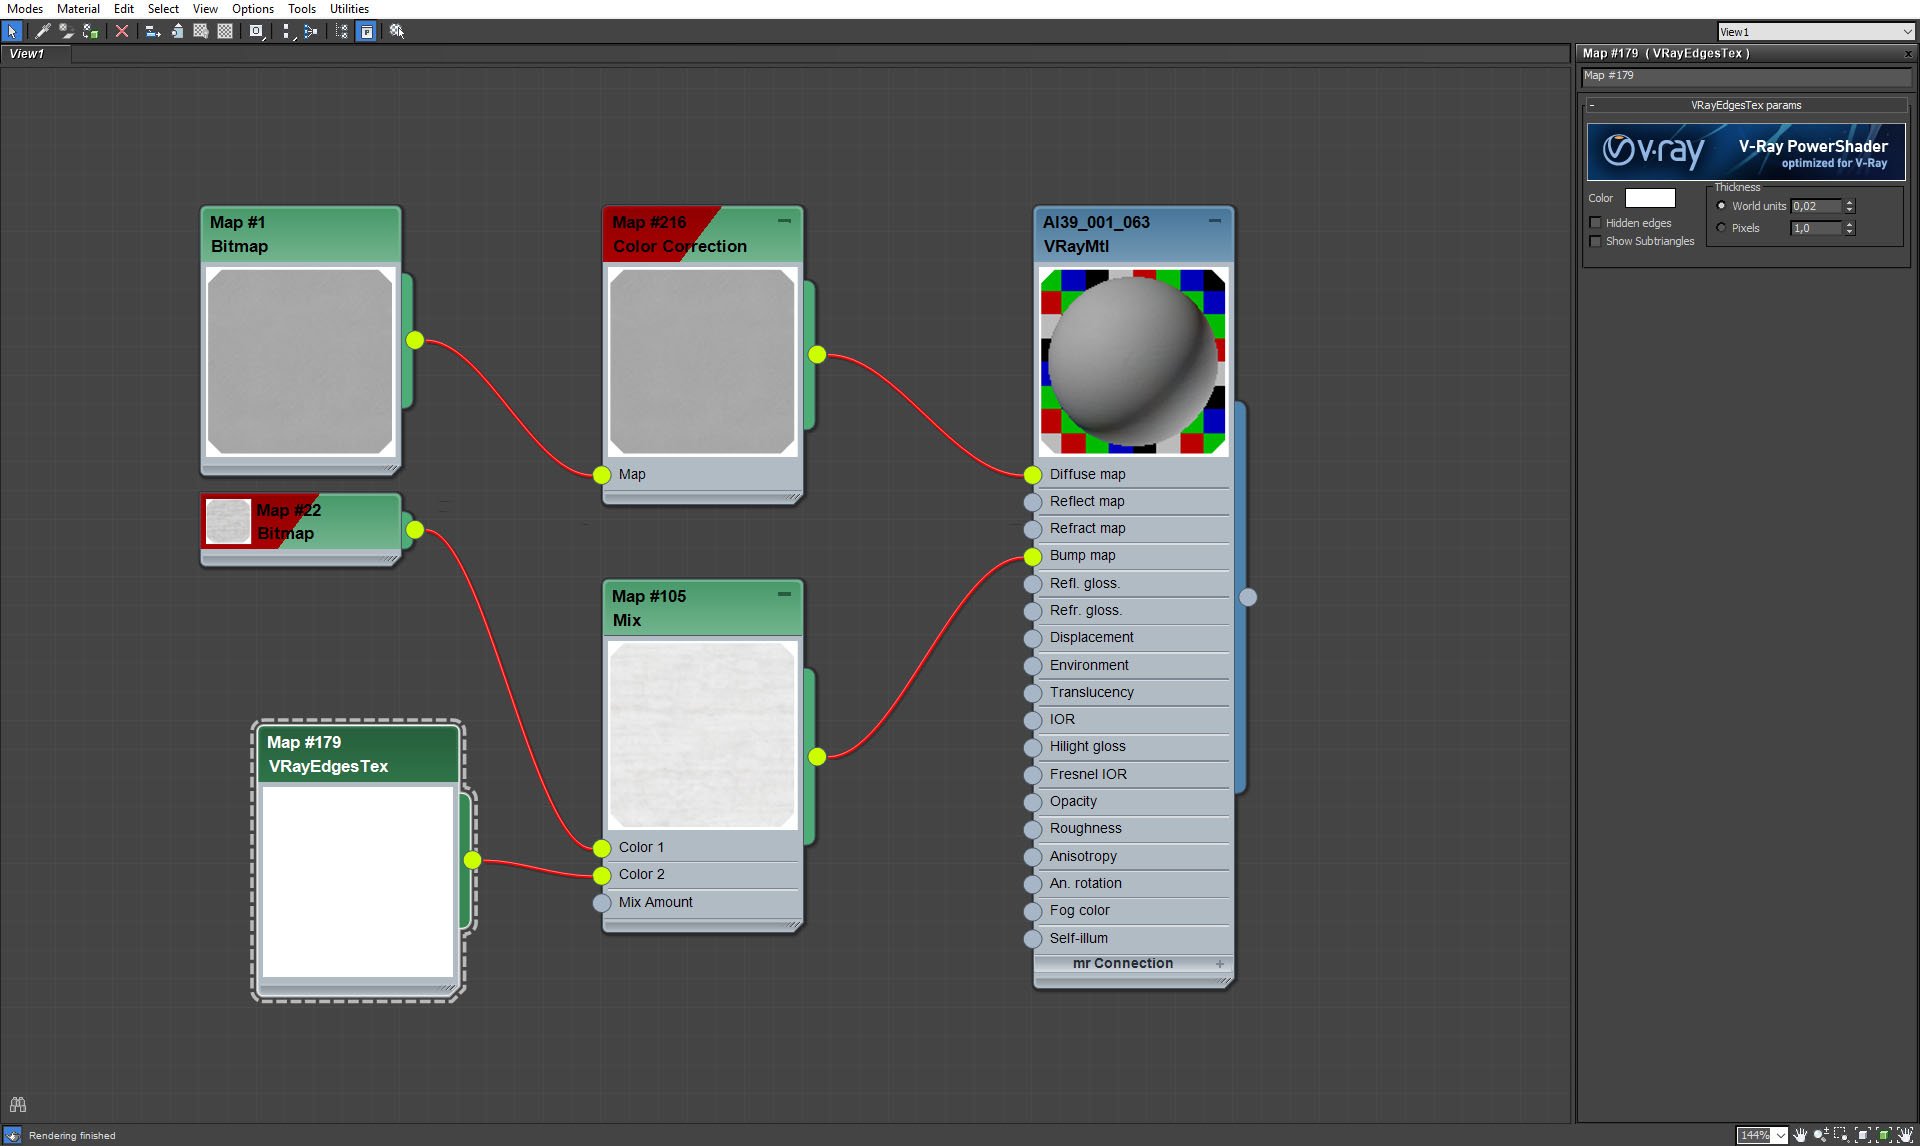
Front wall material - VrayEdgesTex.
Click on image to enlarge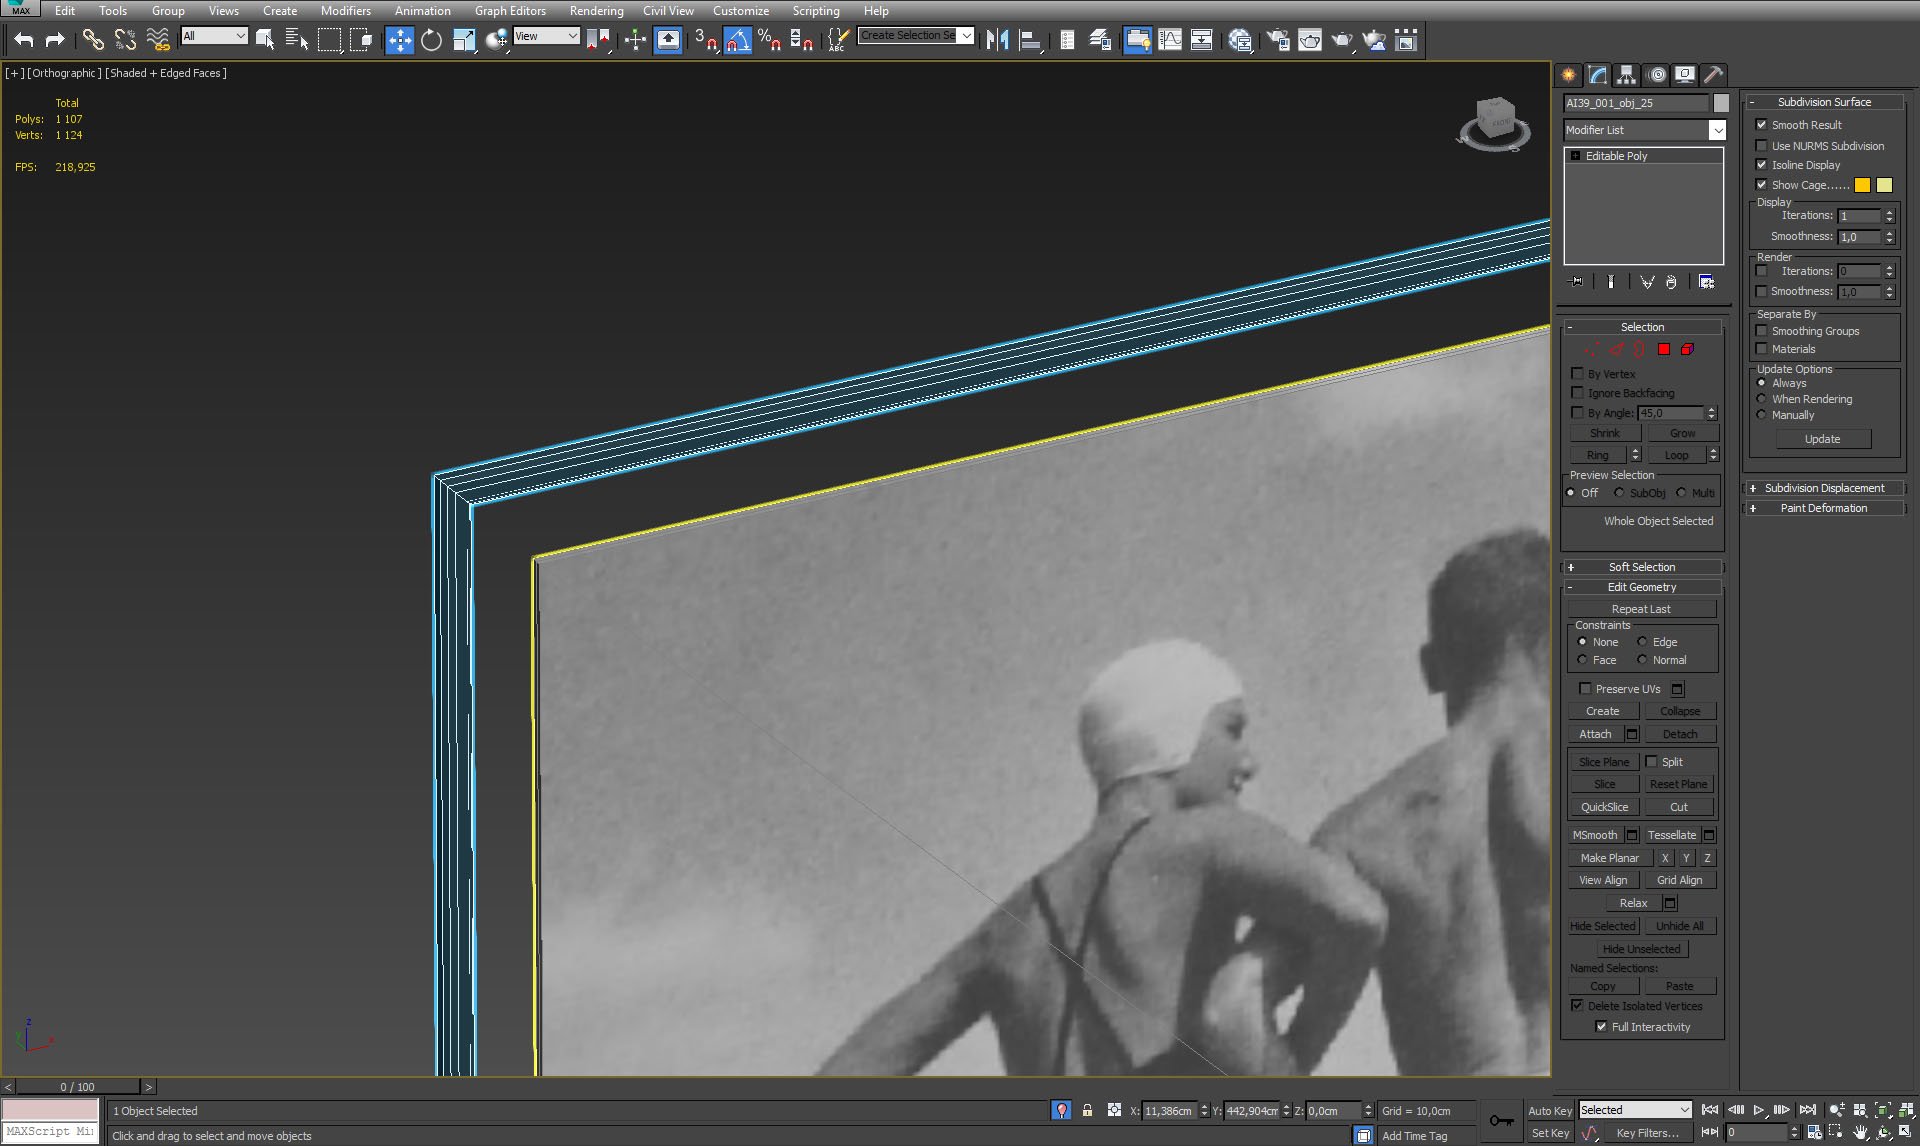
Photo and it's frame.
Click on image to enlarge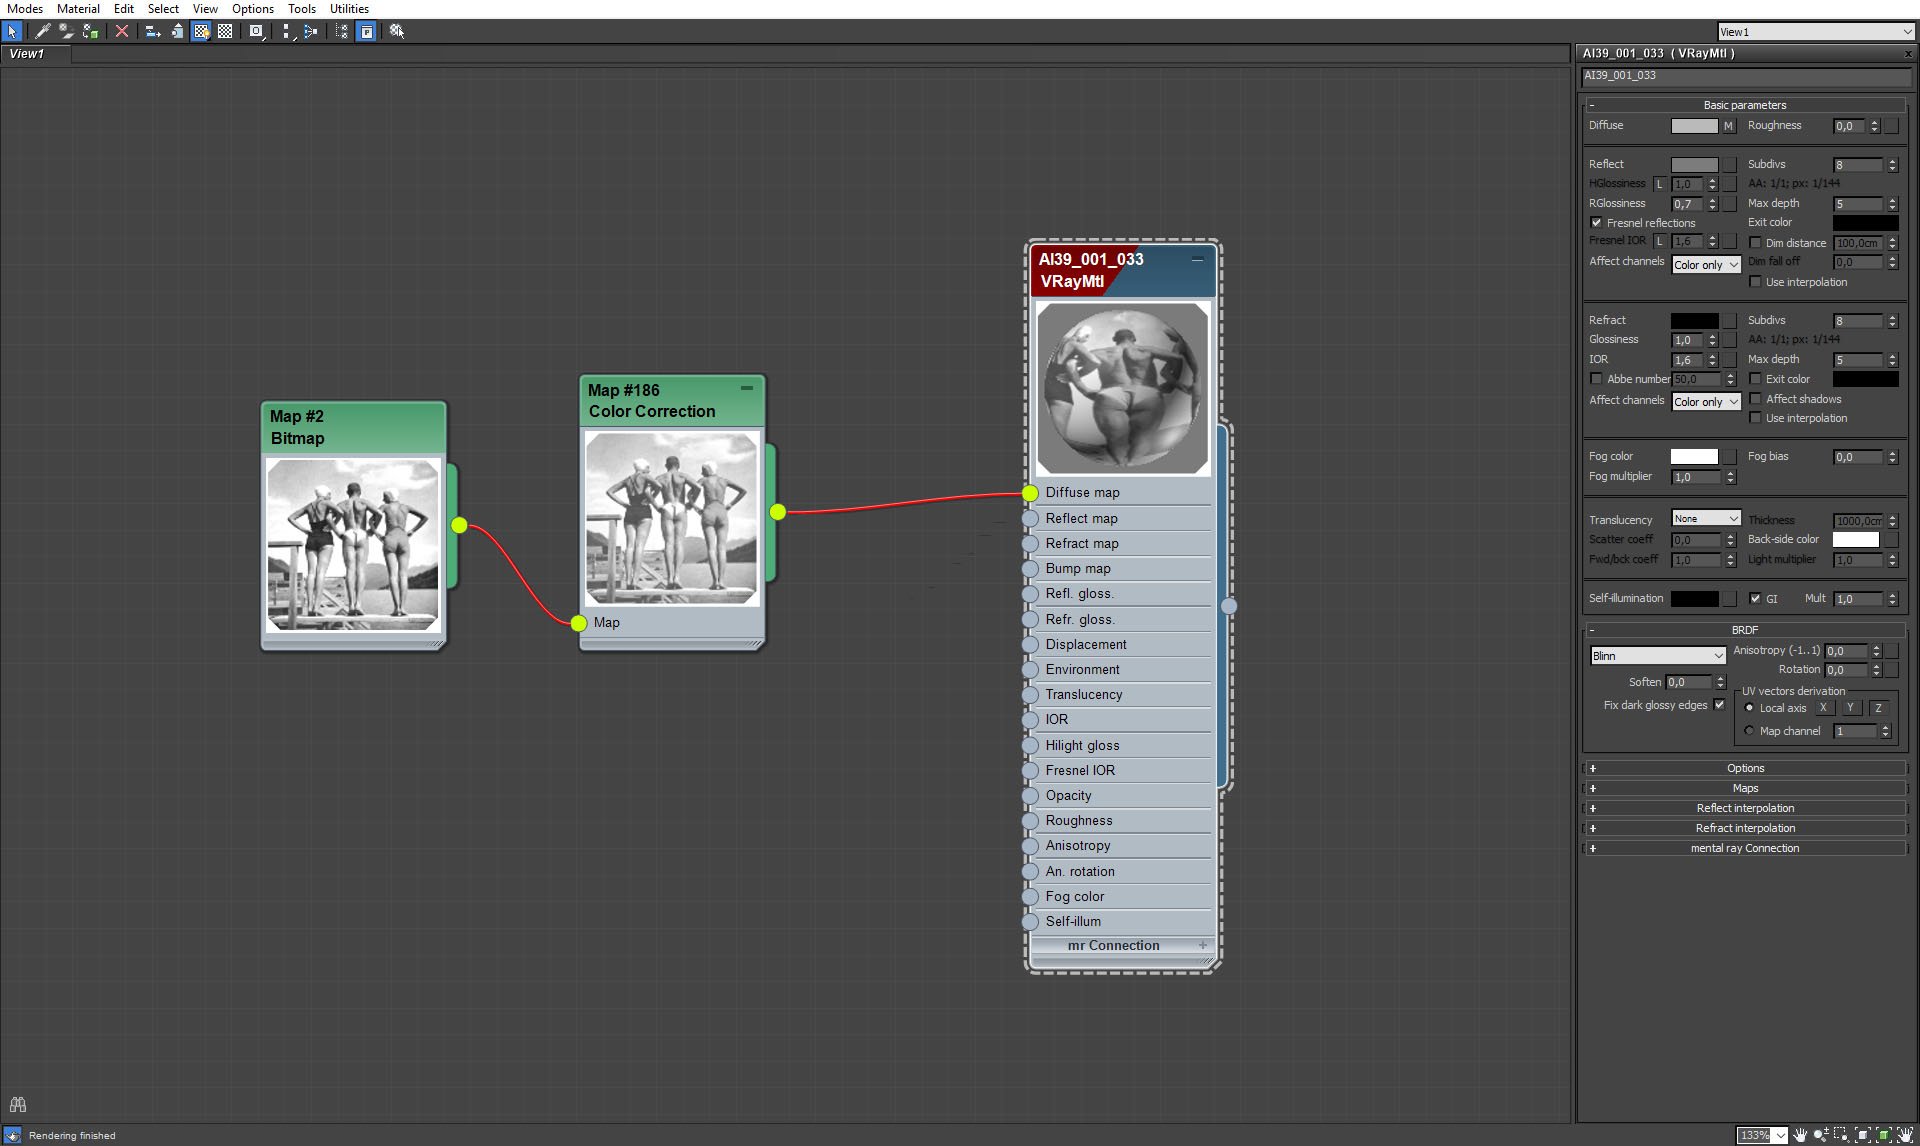
Photo shader.
Click on image to enlarge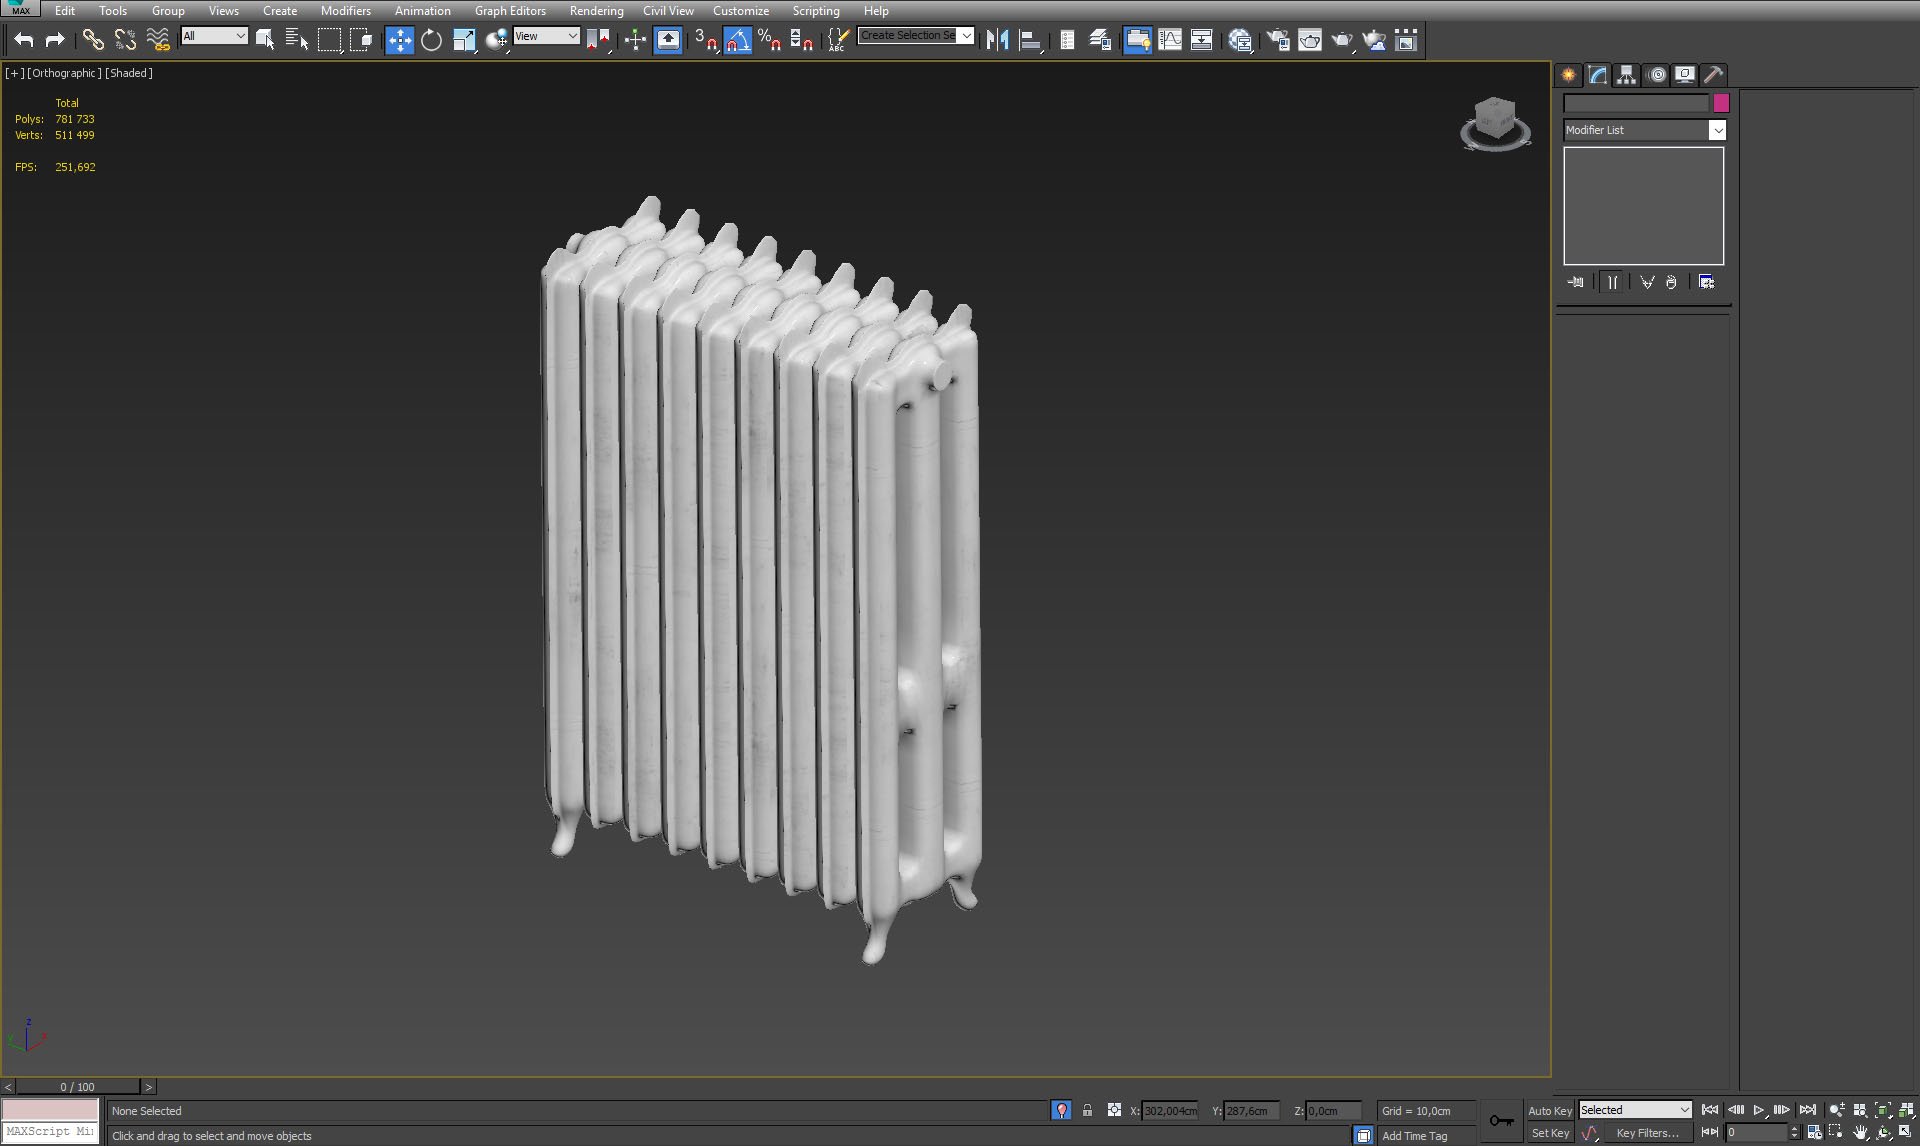
Heater mesh.
Click on image to enlarge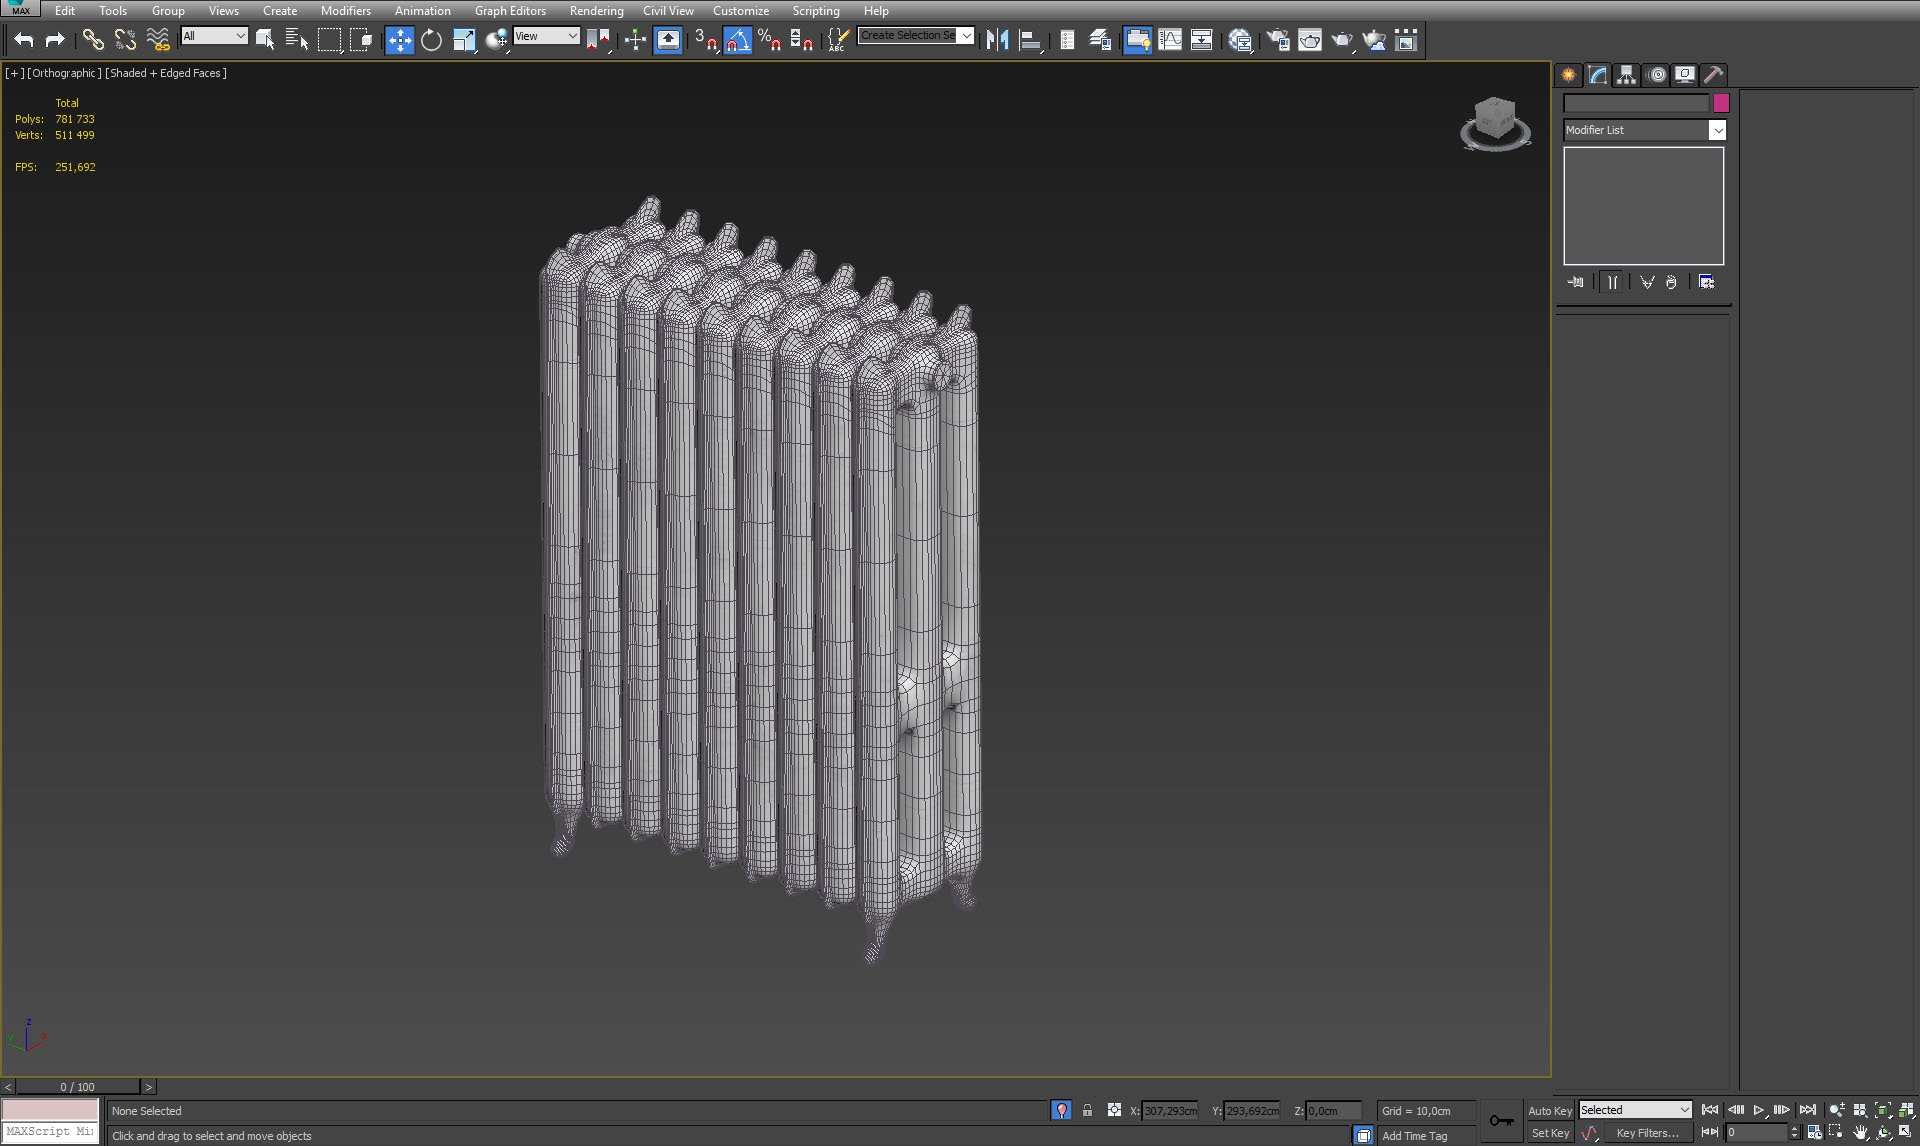
Heater mesh with wireframe.
Click on image to enlarge
Heater mesh - close up.
Click on image to enlarge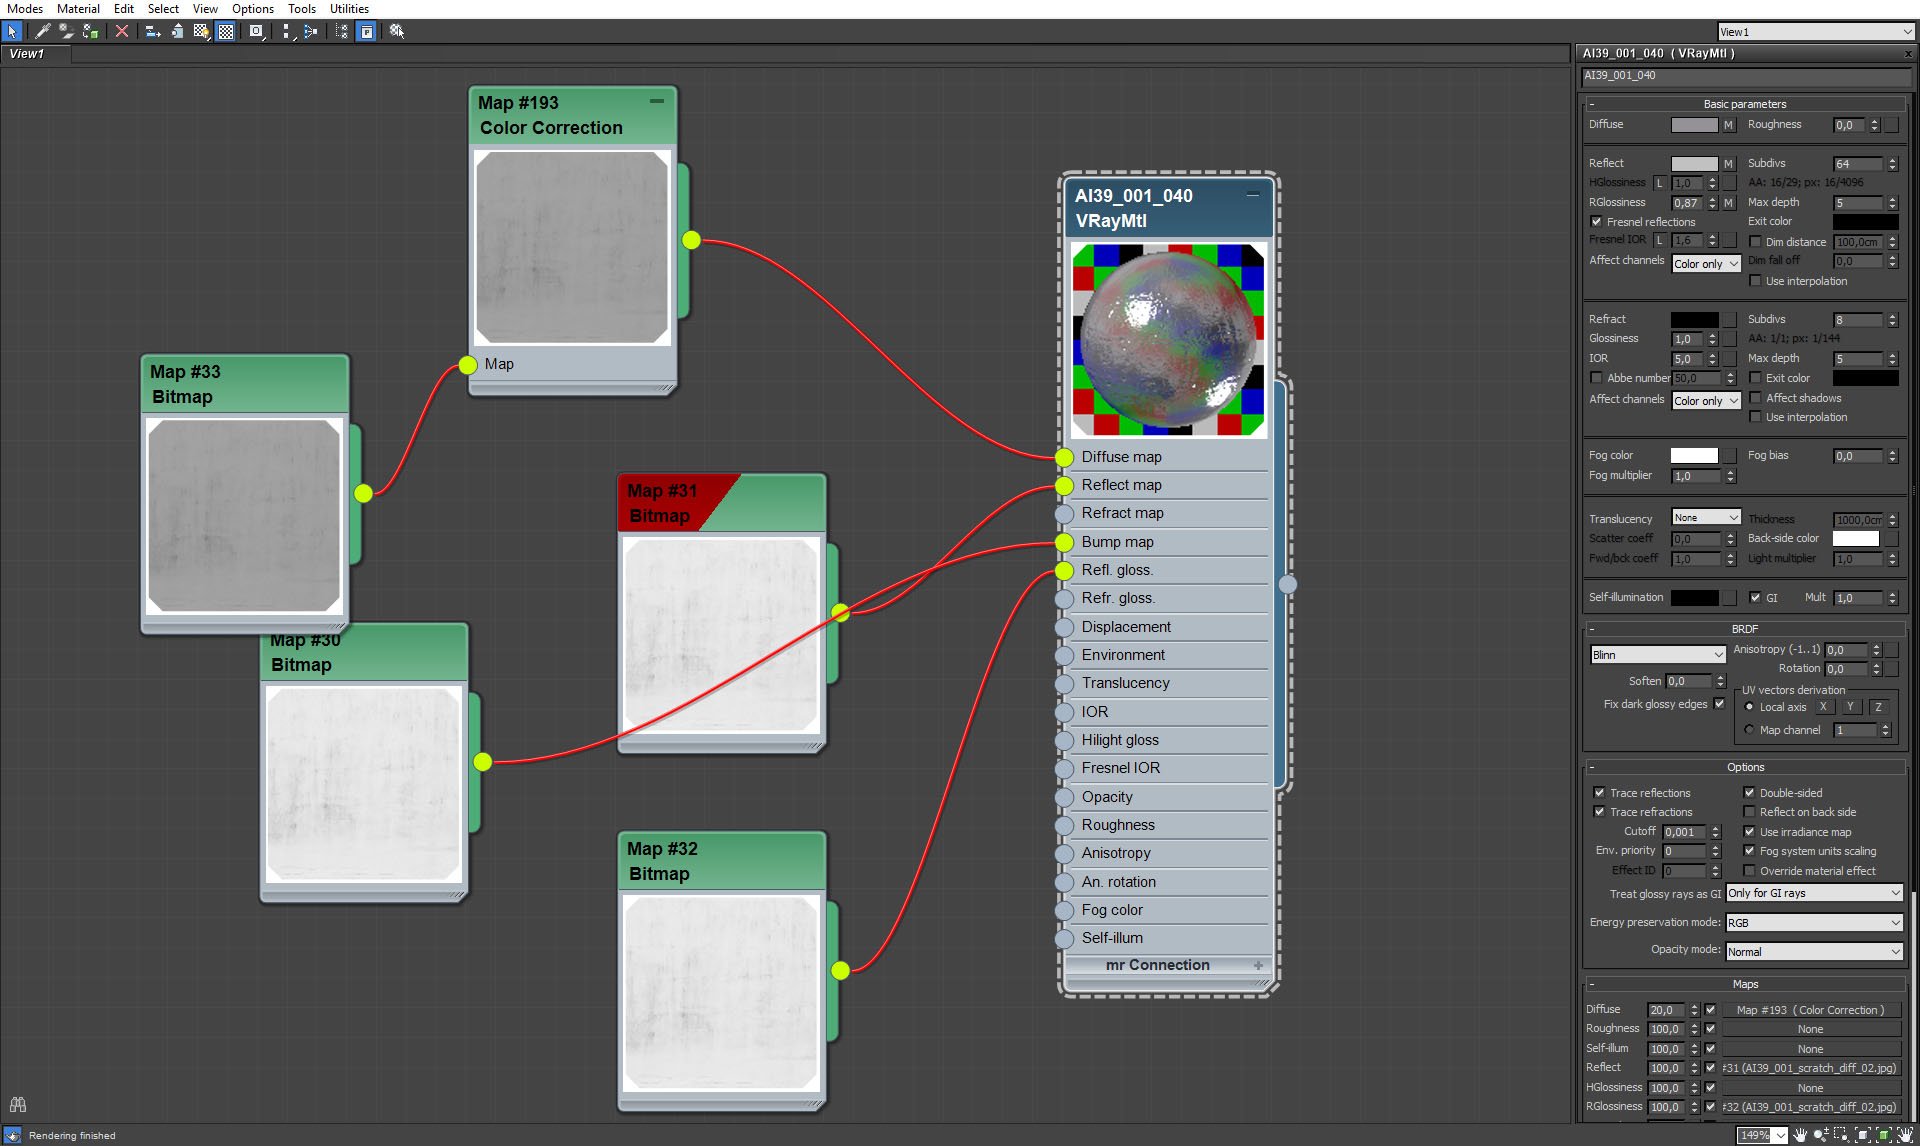
Heater material. Bump settings (not visible on this screenshot) are set pretty high (266).
Click on image to enlarge
Heater material - diffuse map.
Click on image to enlarge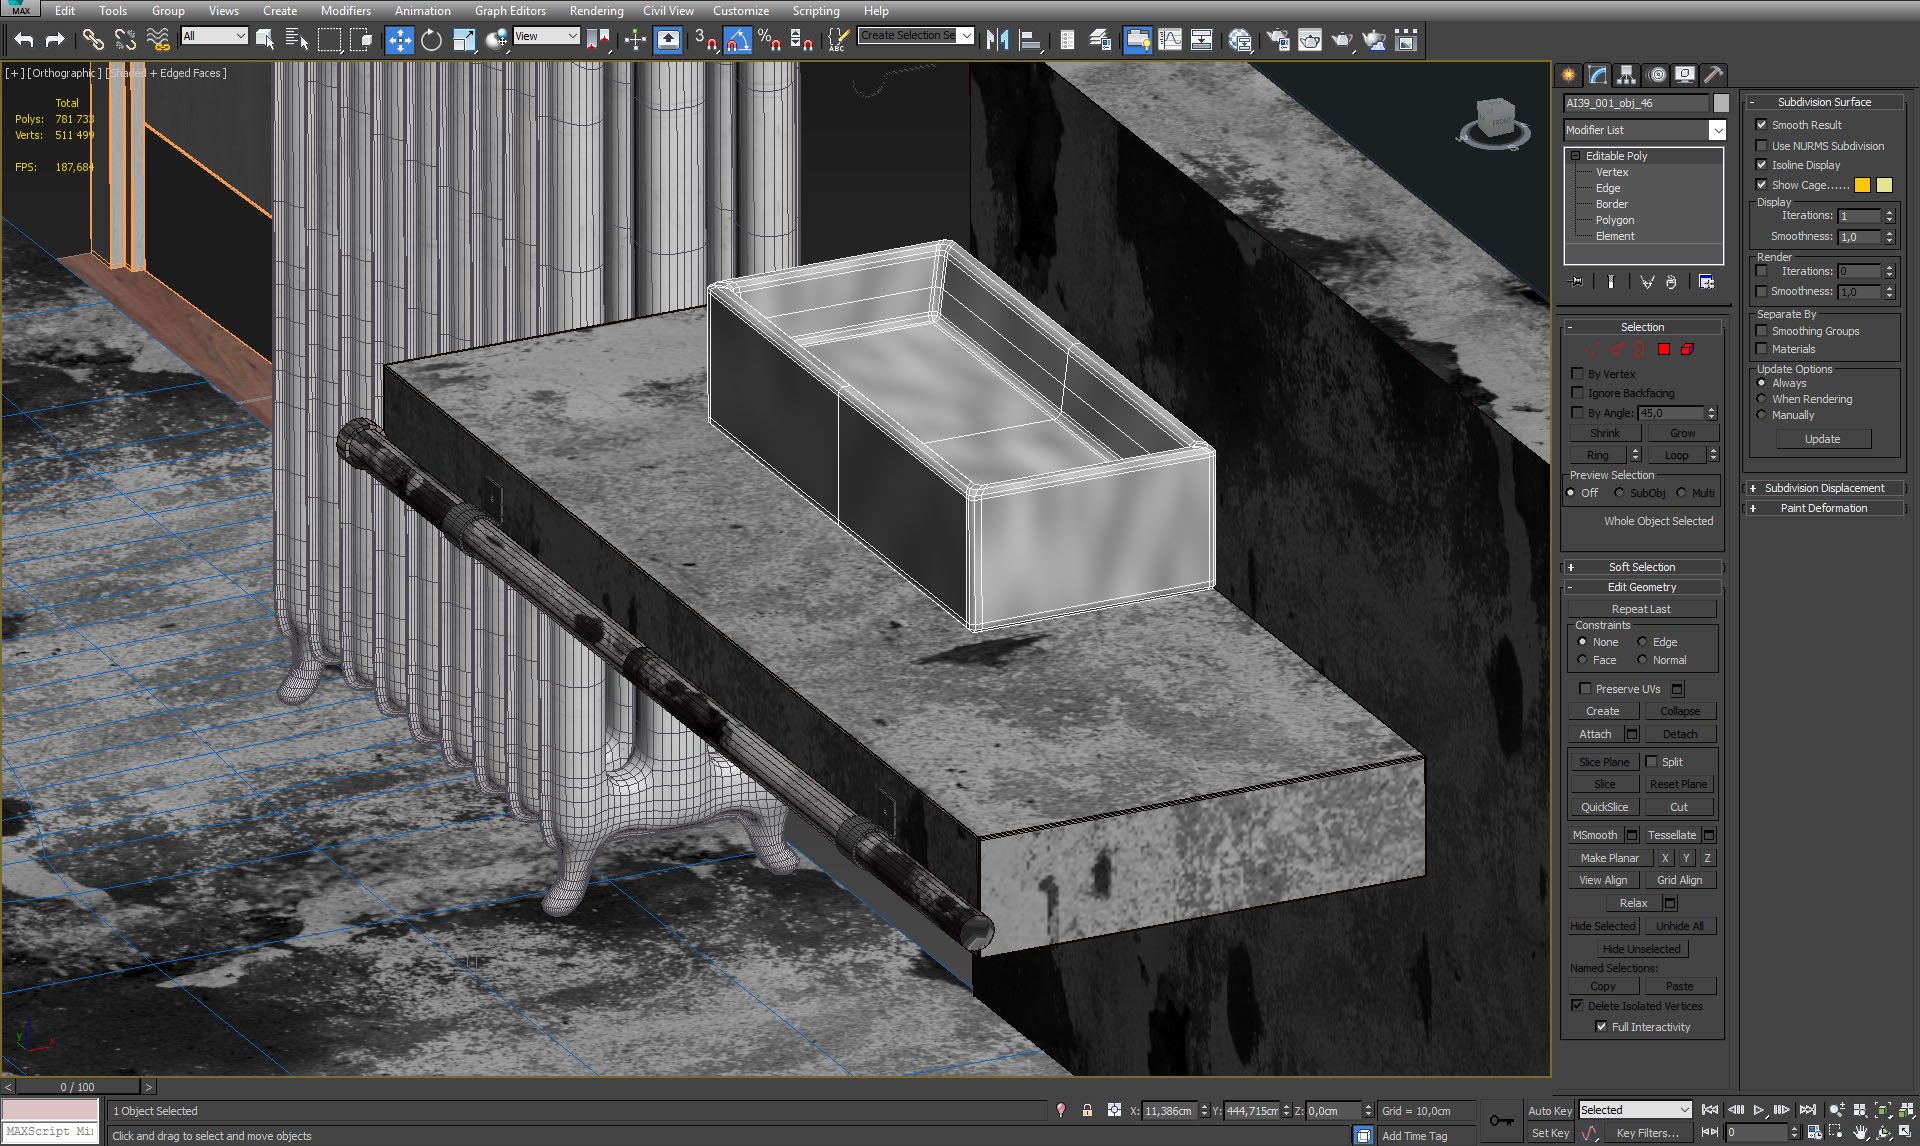
Industrial shelf - a pipe and concrete block.
Click on image to enlarge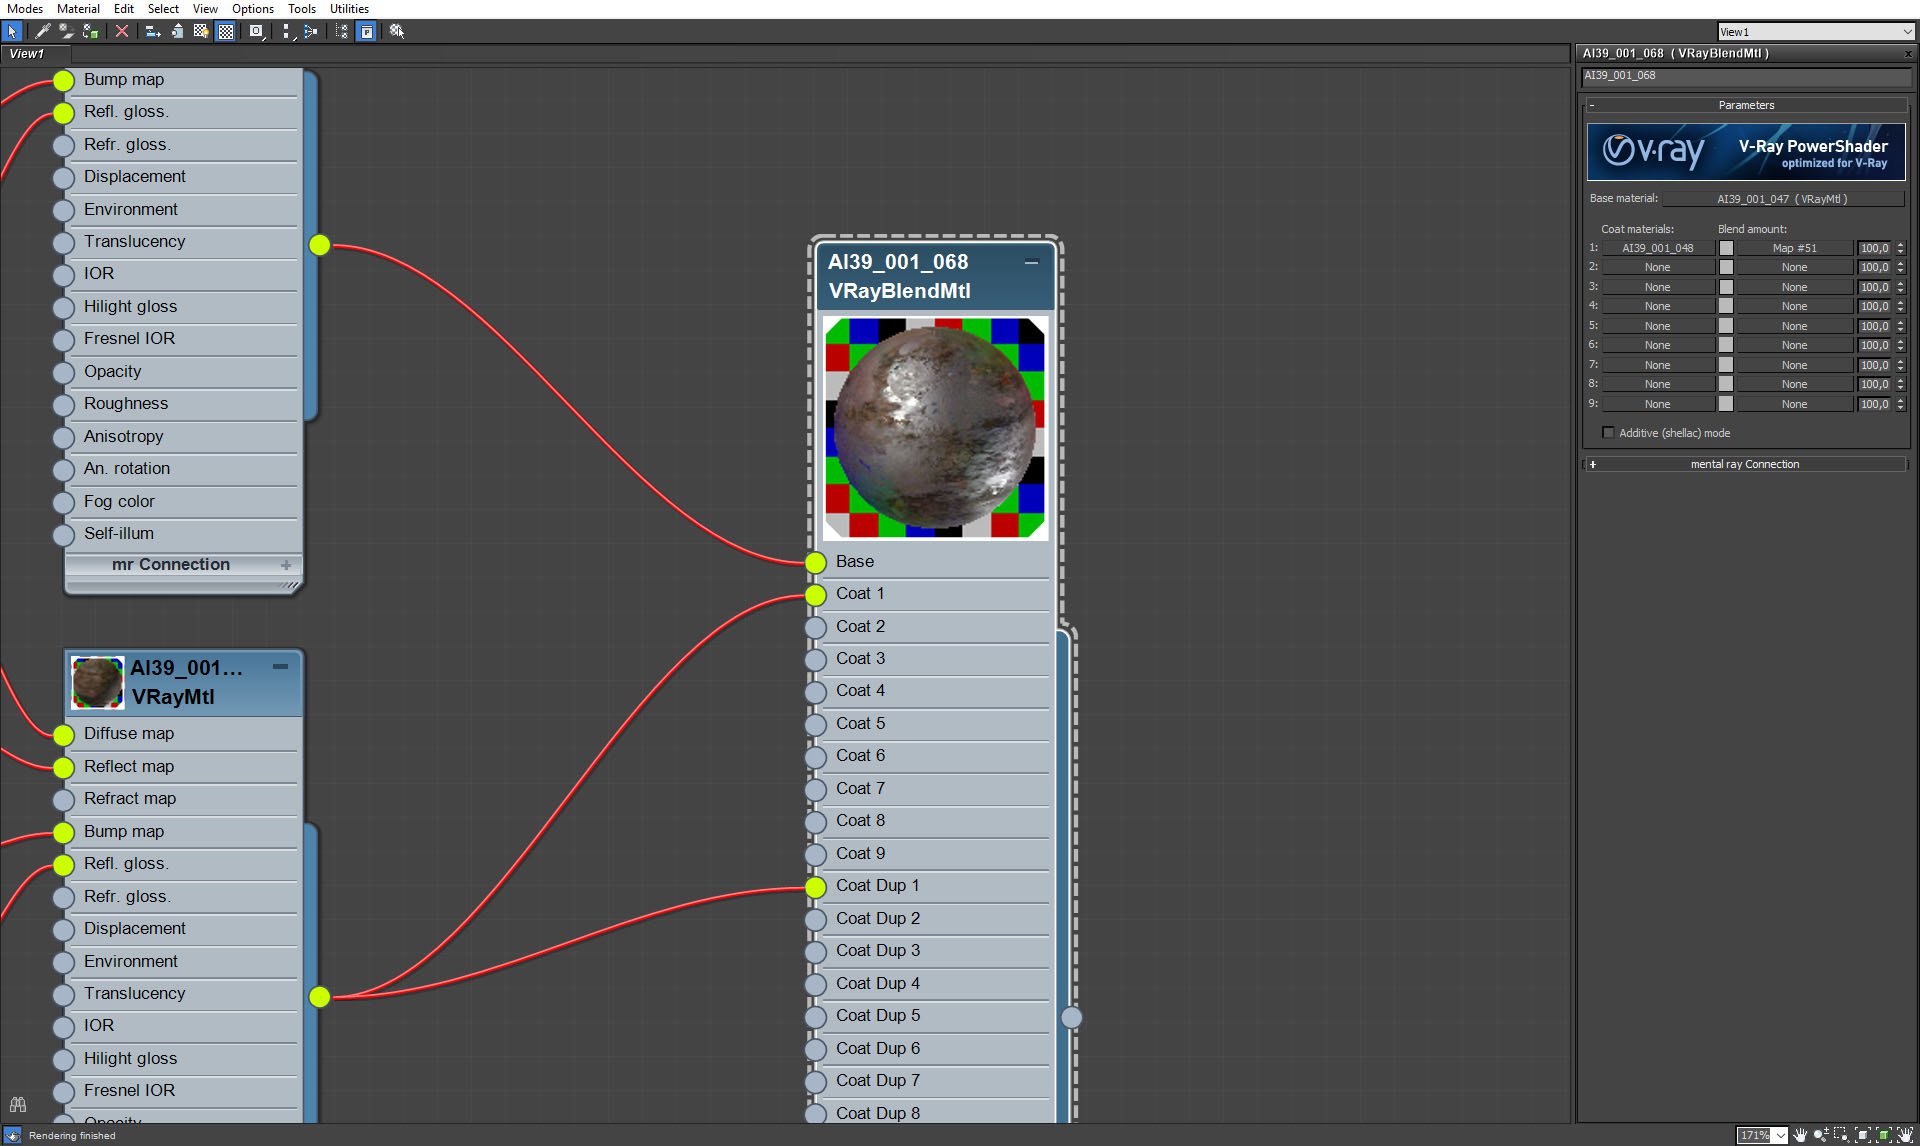
Pipe material - VrayBlend material that blends some old, worn out metal with a more shiny version.
Click on image to enlarge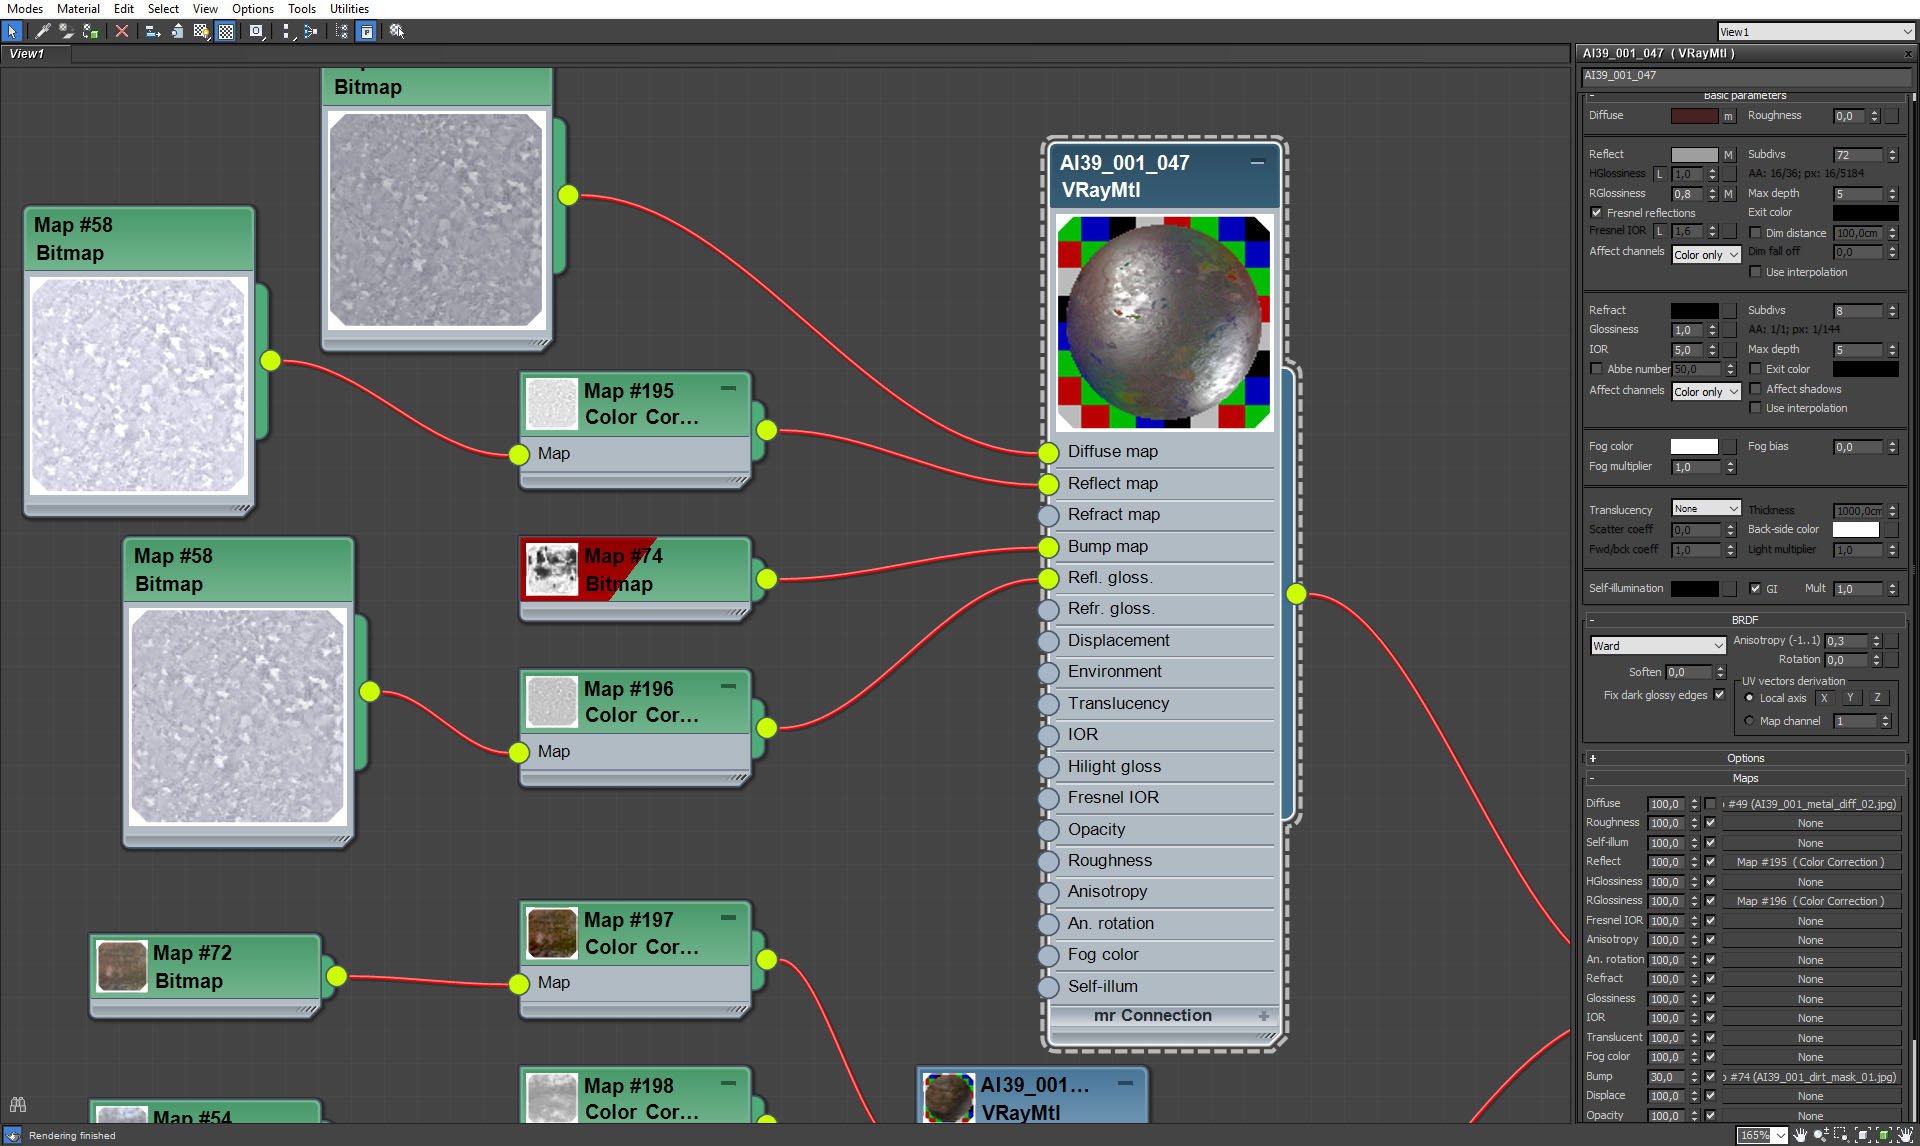
Pipe material - shiny material settings.
Click on image to enlarge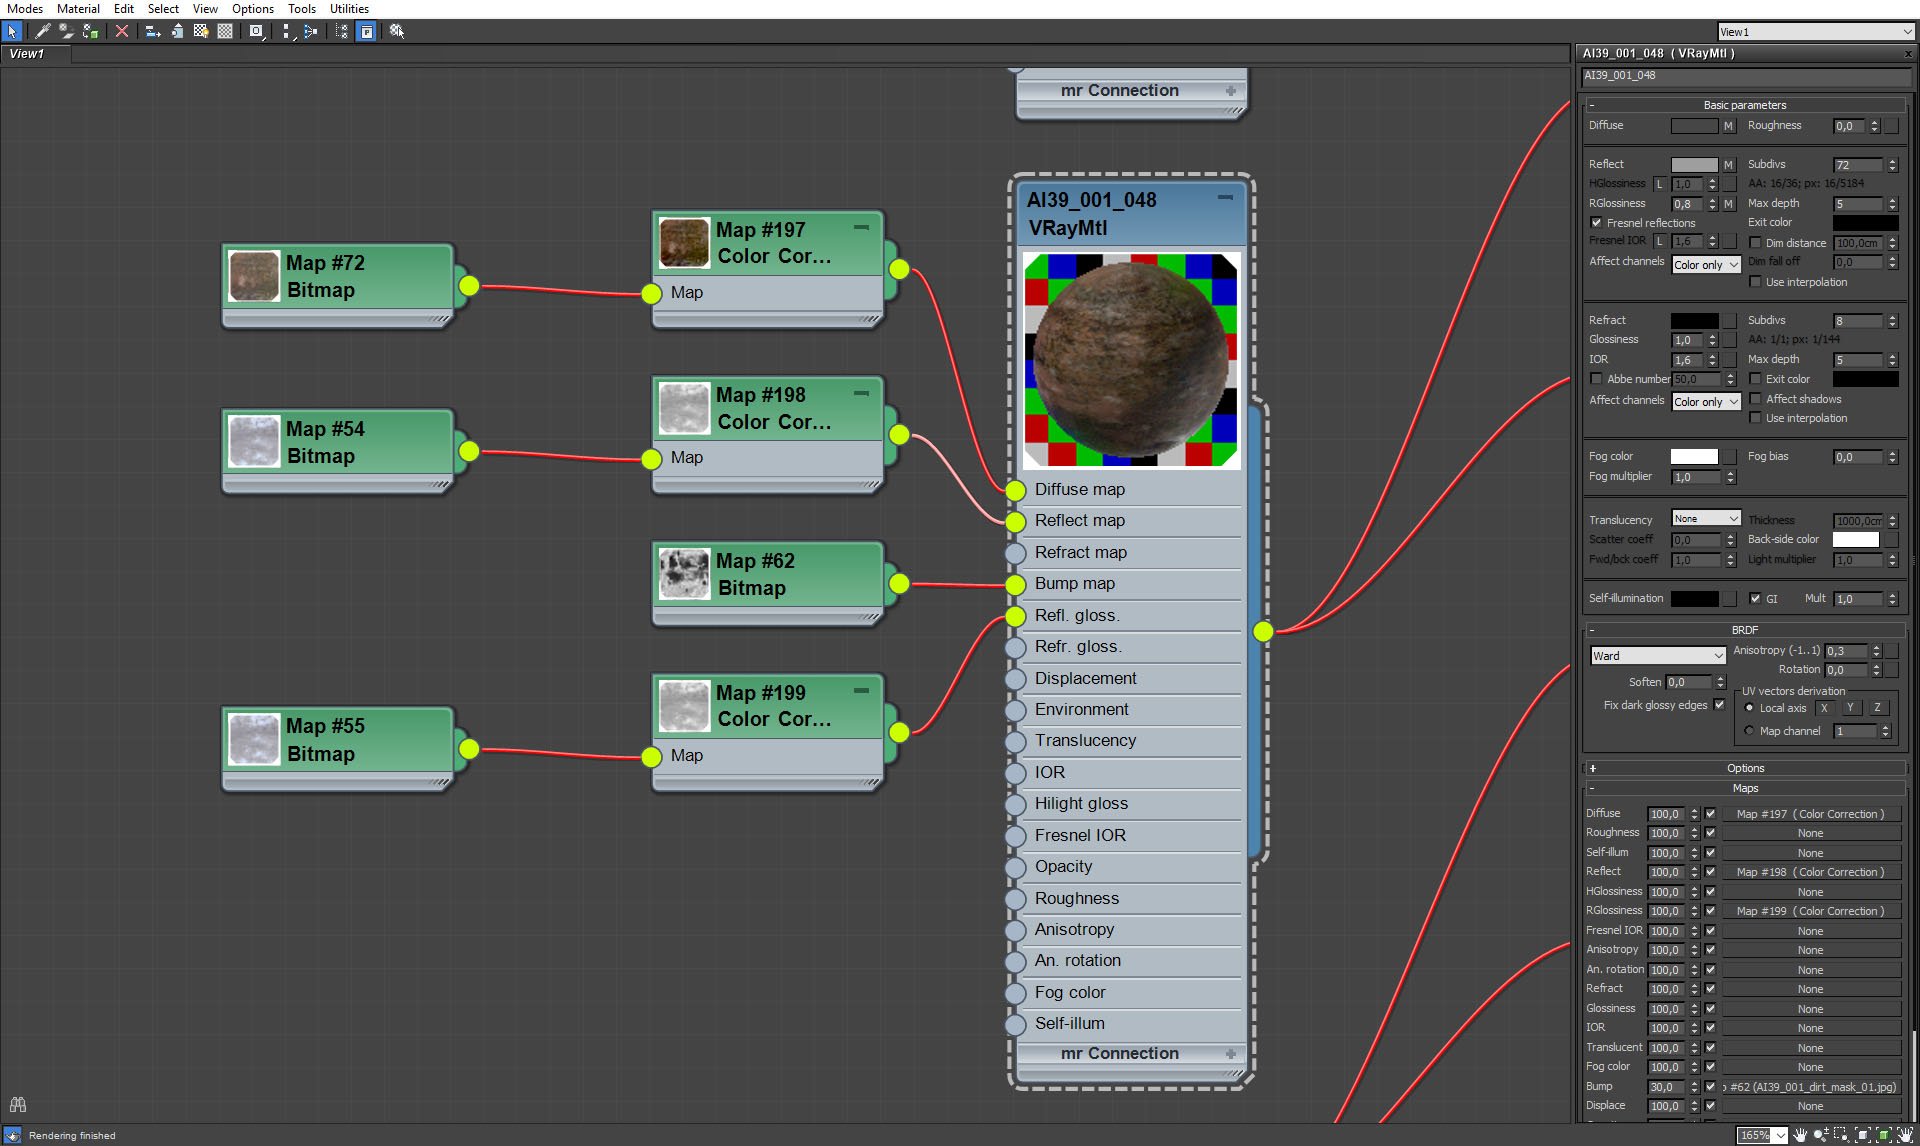
Pipe material - old, rusty metal settings.
Click on image to enlarge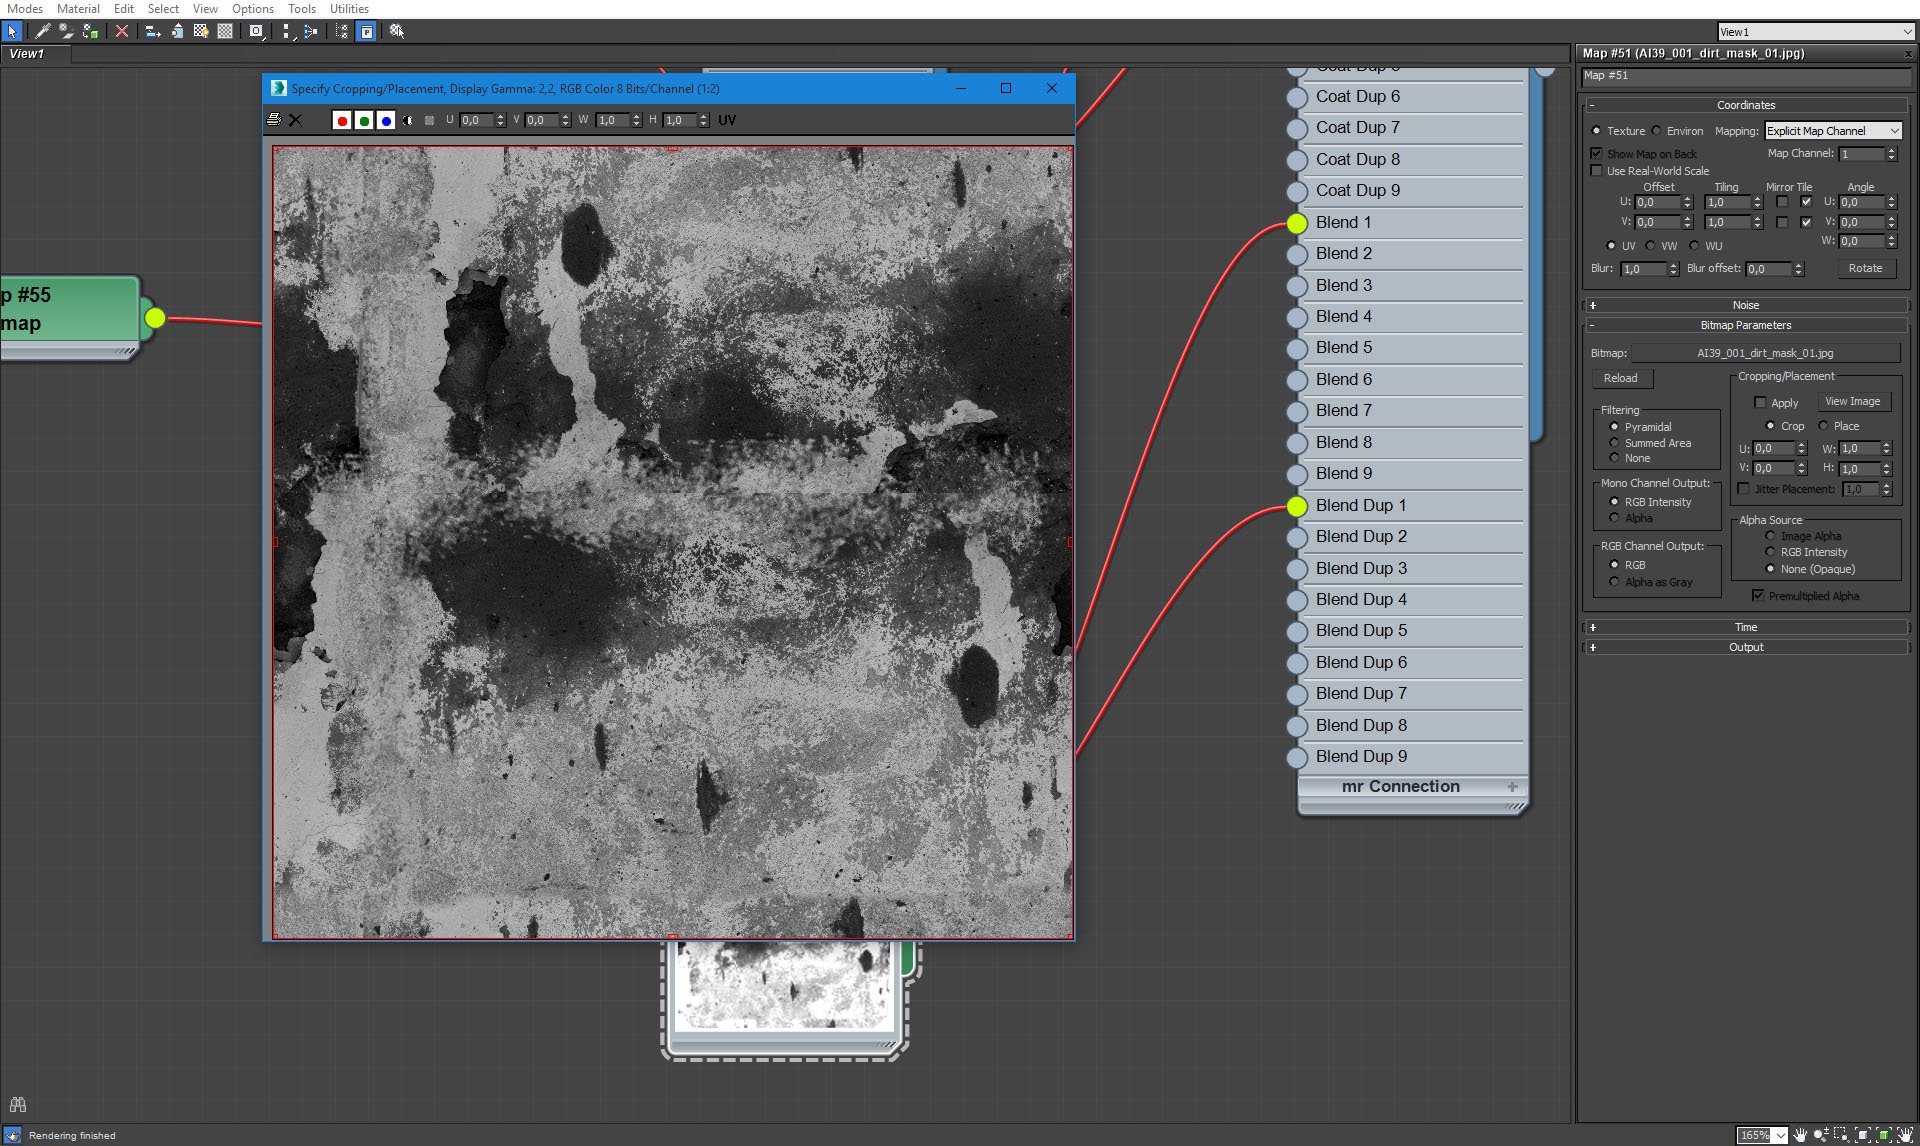
Map that blends two materials into one.
Click on image to enlarge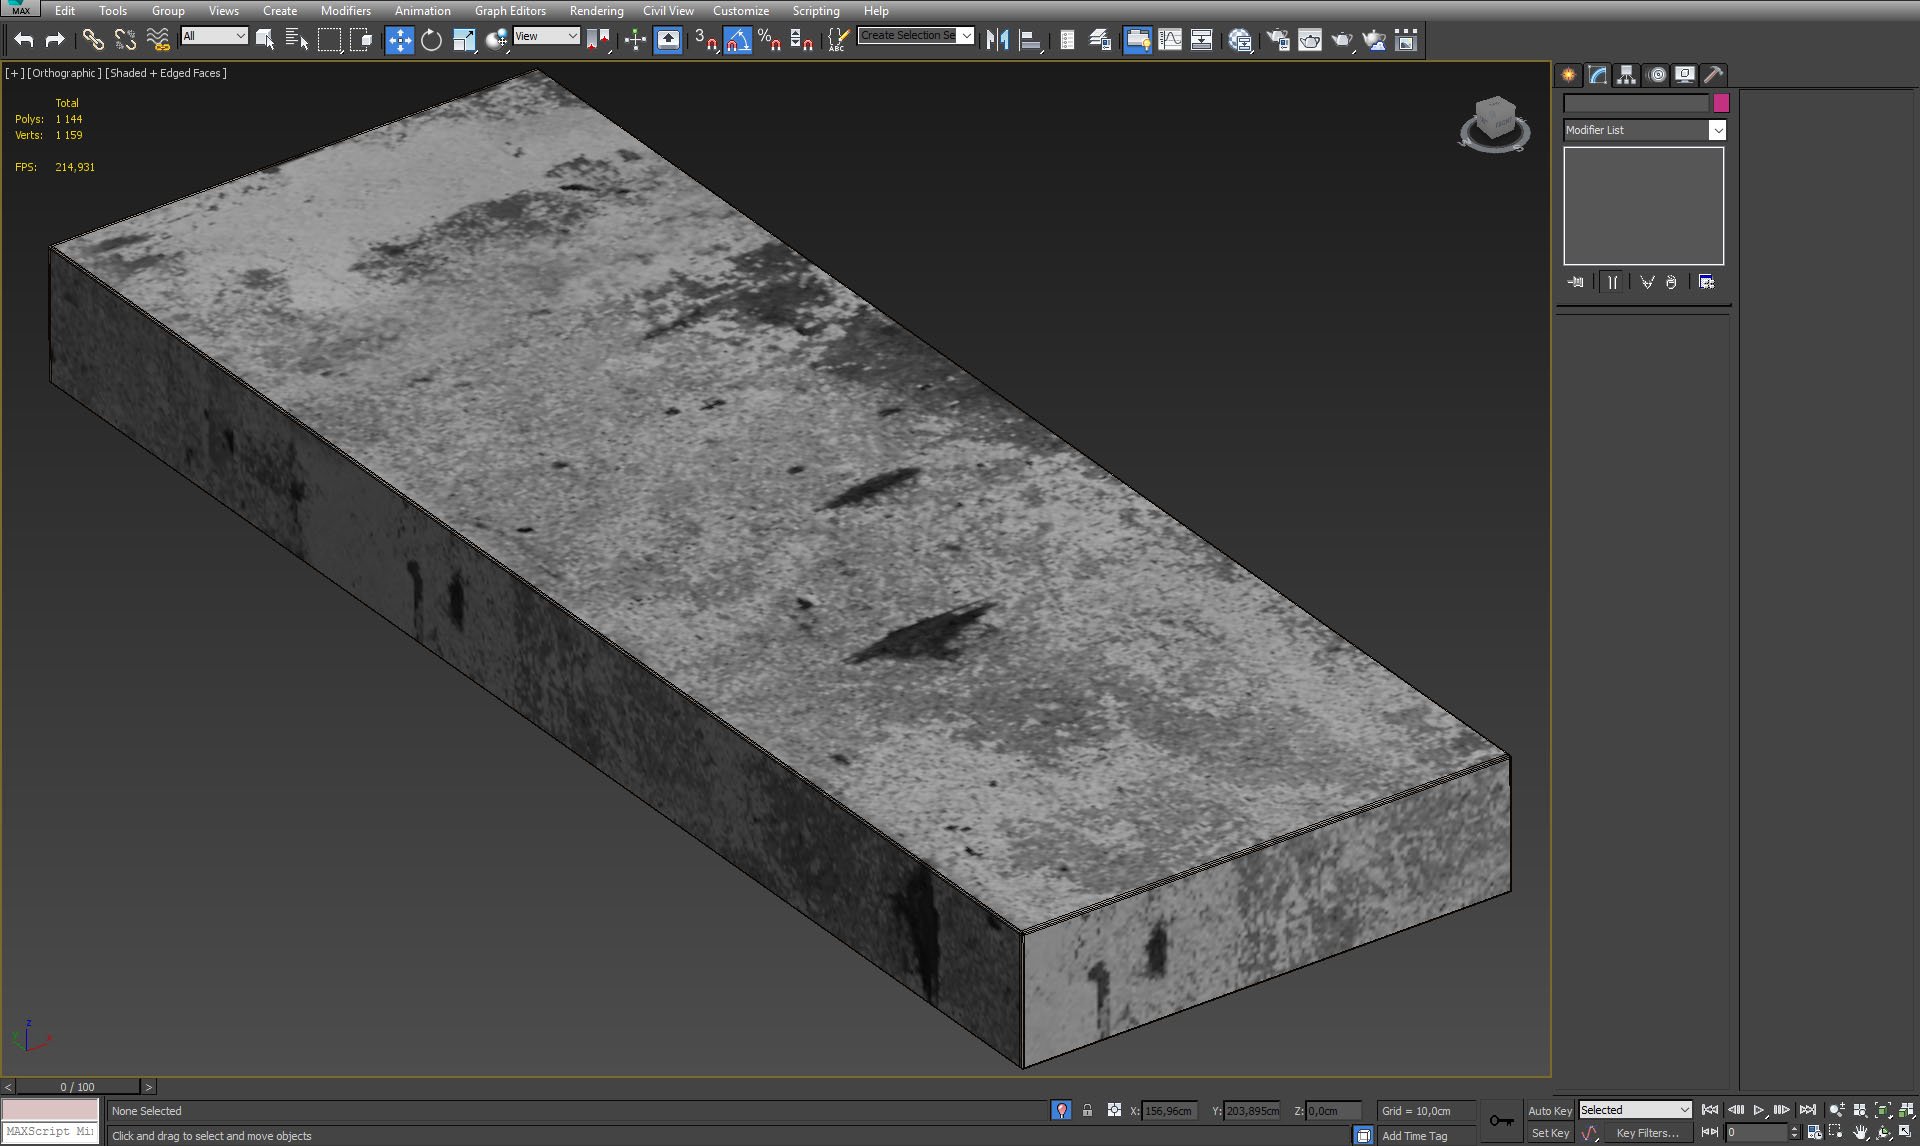
Concrete block mesh.
Click on image to enlarge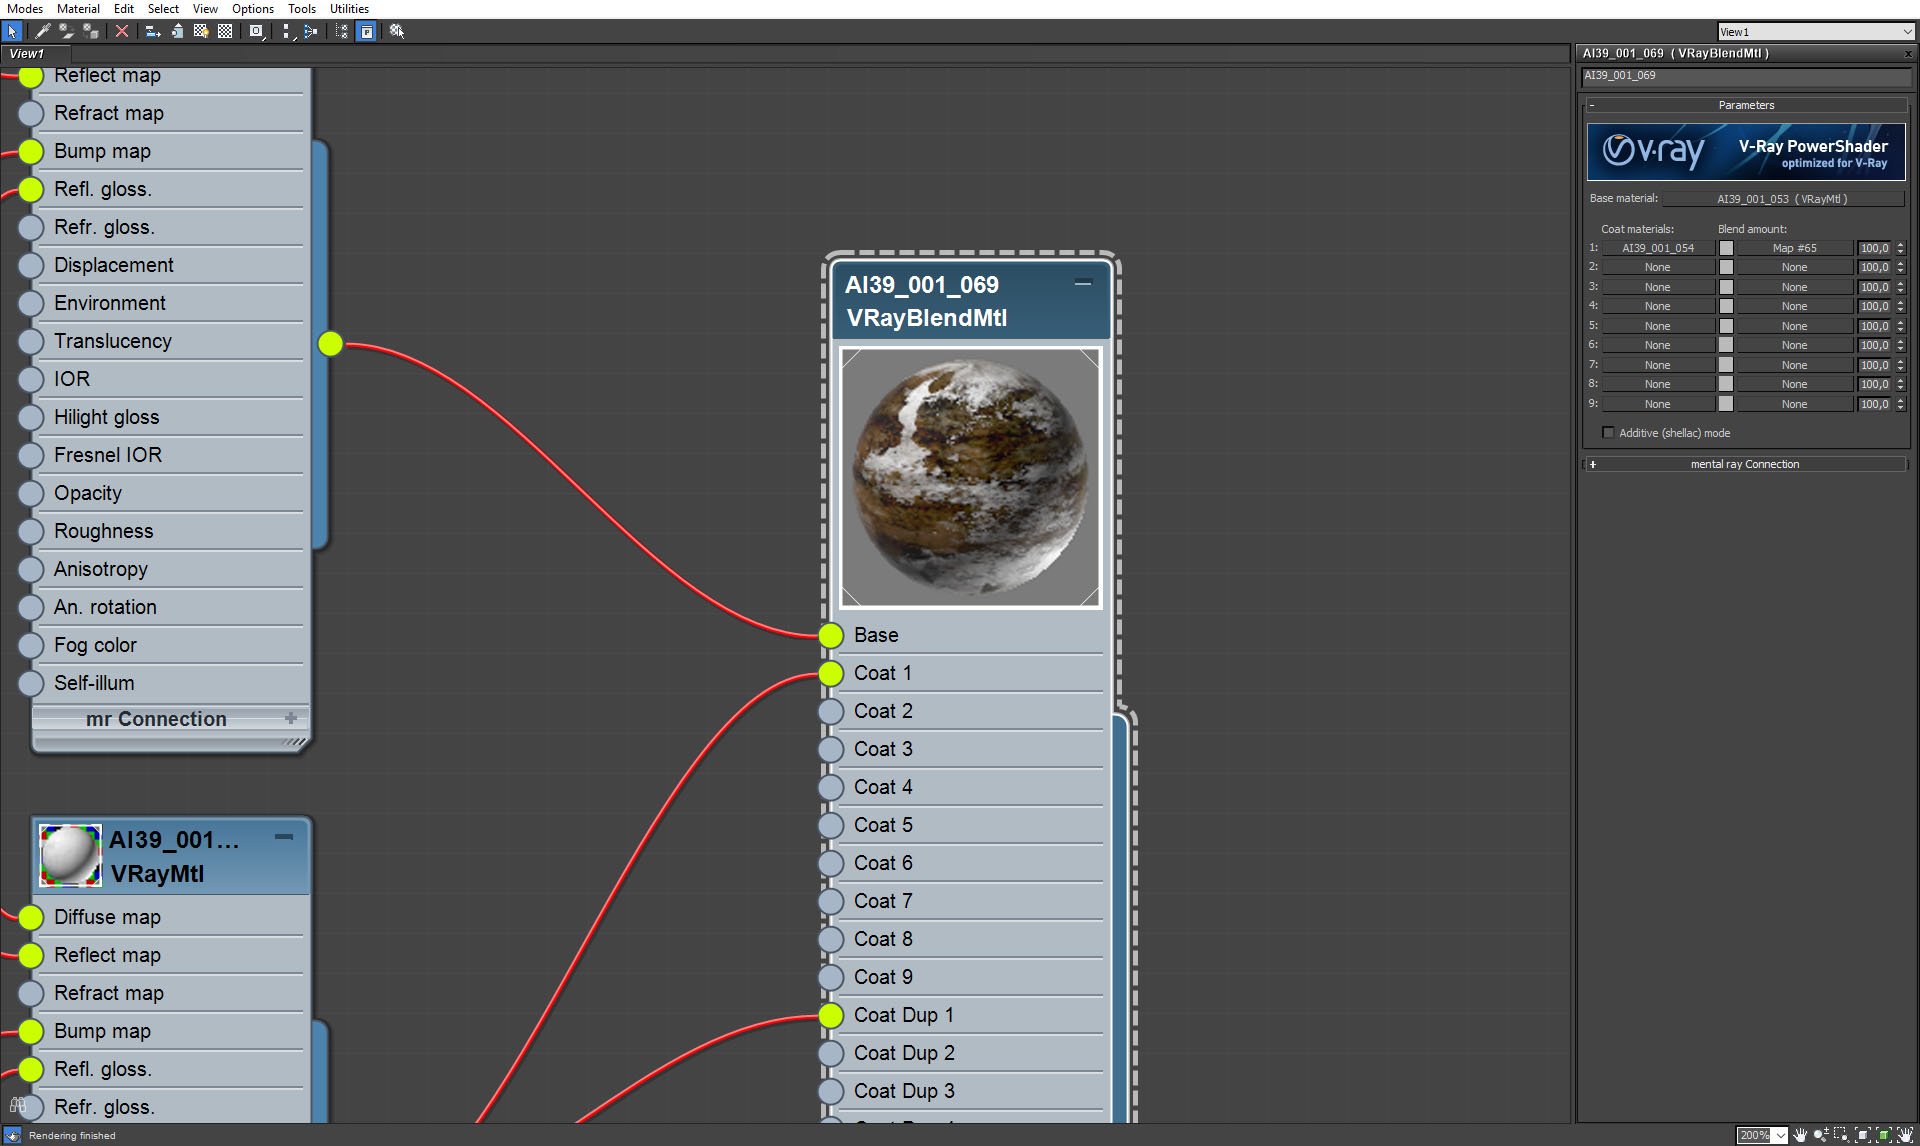
Concrete block material also mixes two different submaterials.
Click on image to enlarge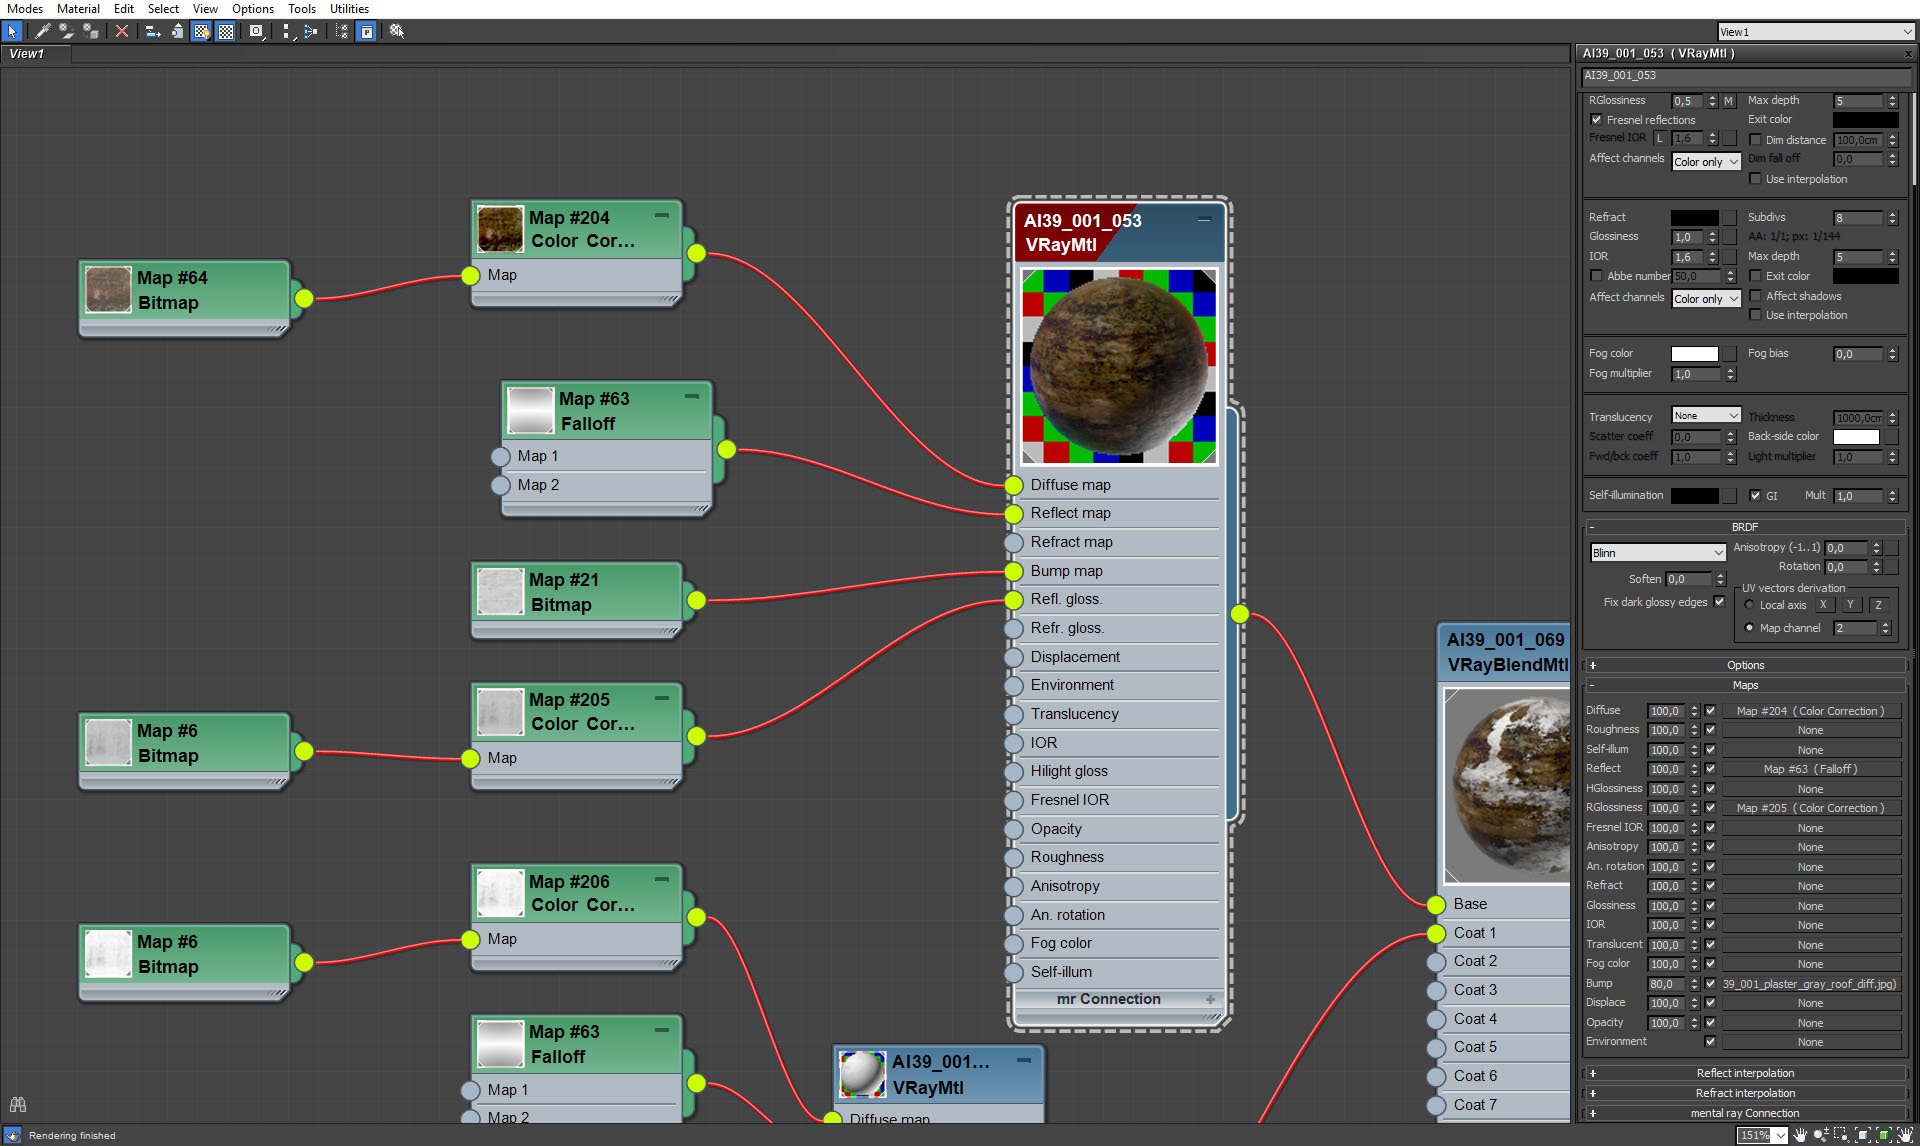
Concrete material - dirty concrete material settings.
Click on image to enlarge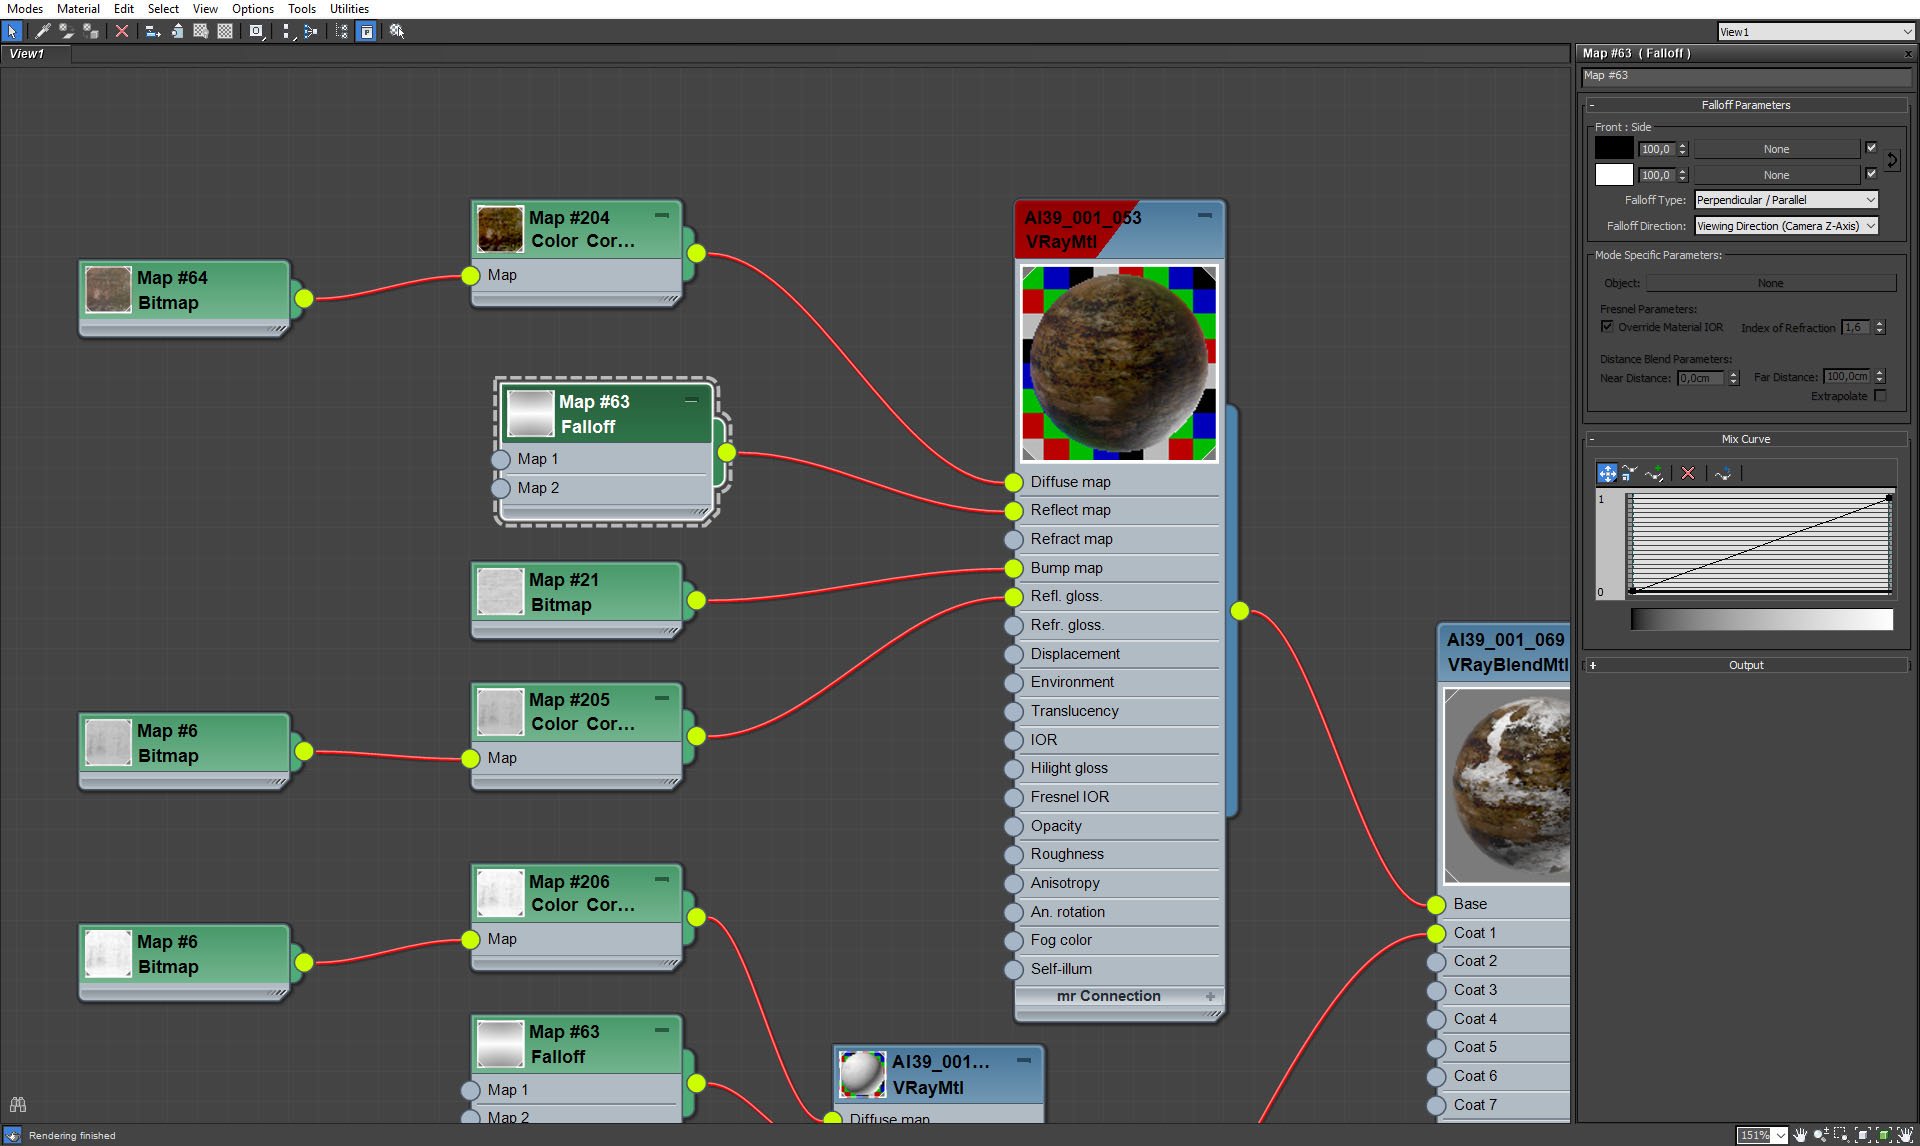
Concrete material - dirty concrete falloff map.
Click on image to enlarge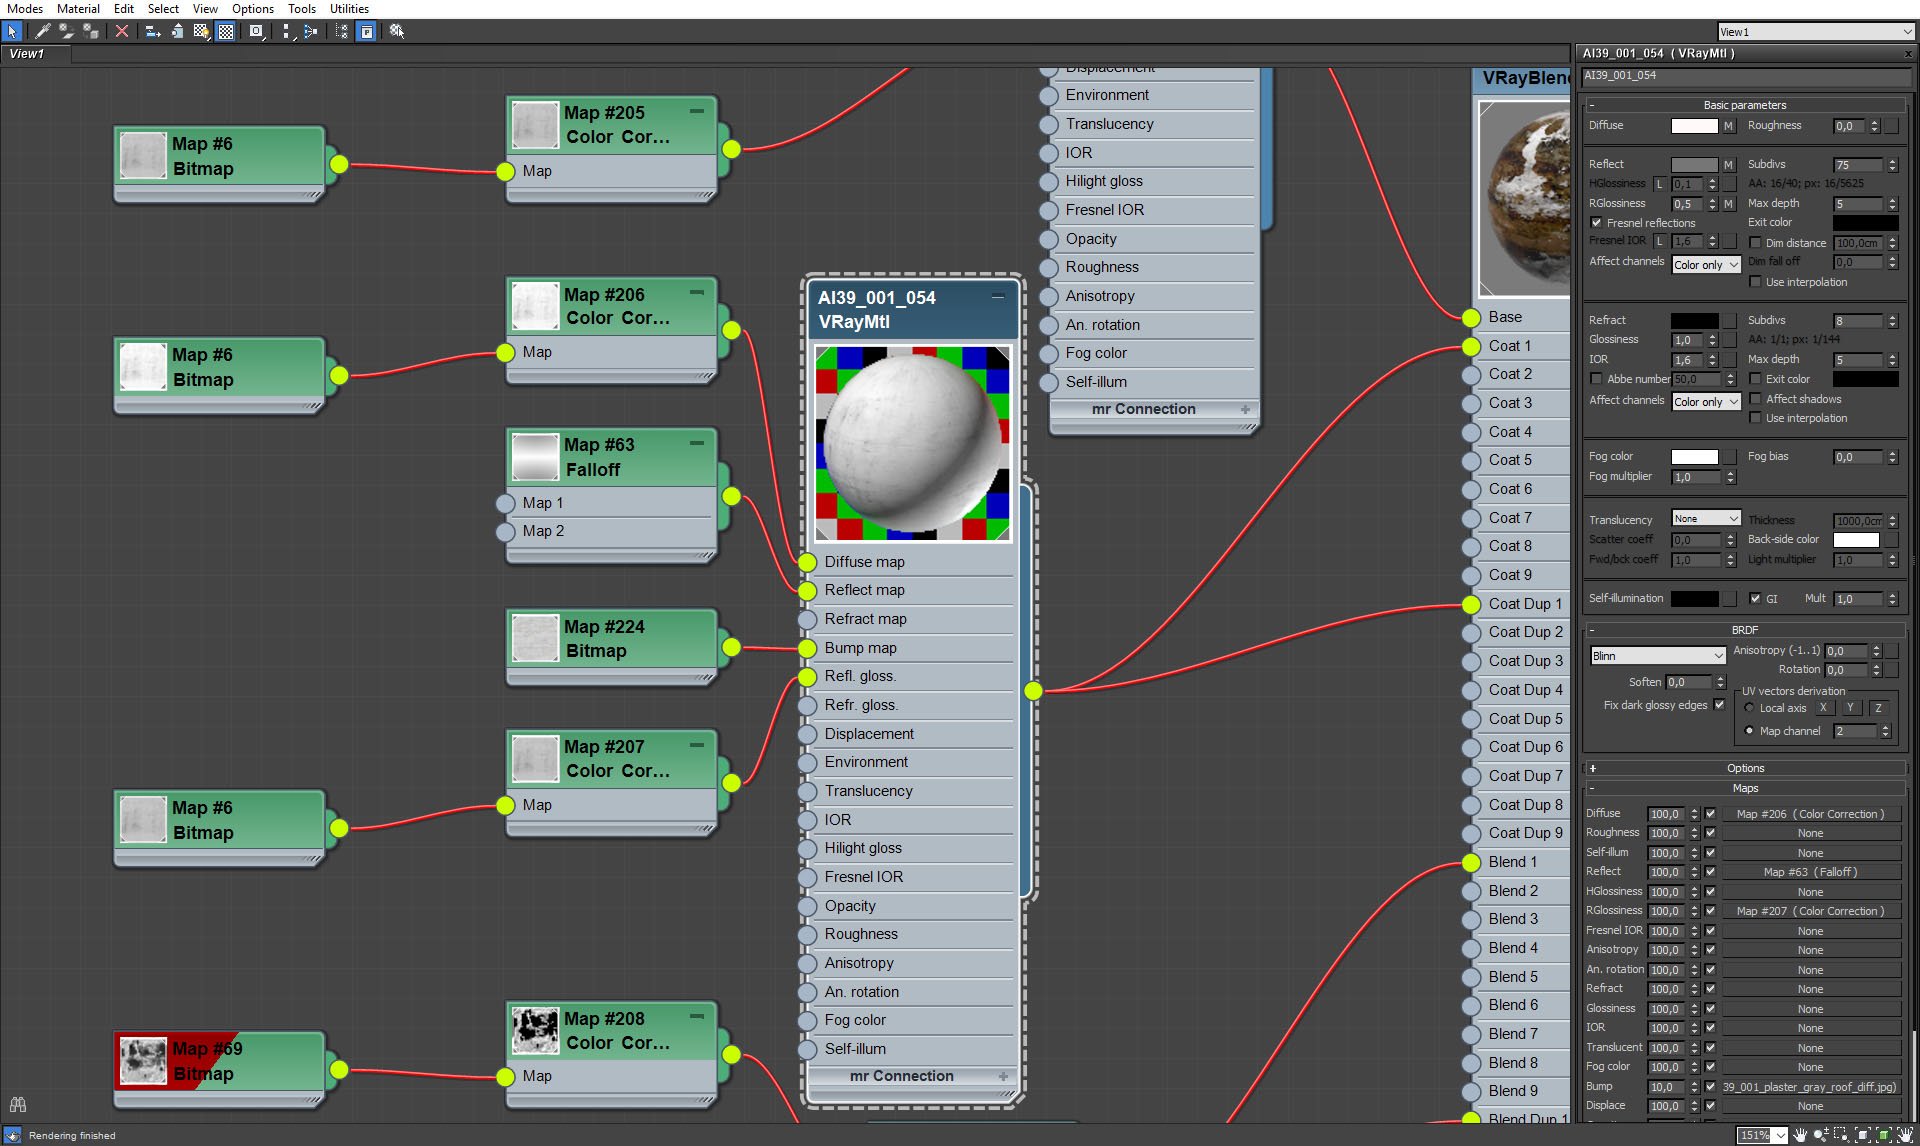
Concrete material - white concrete submaterial.
Click on image to enlarge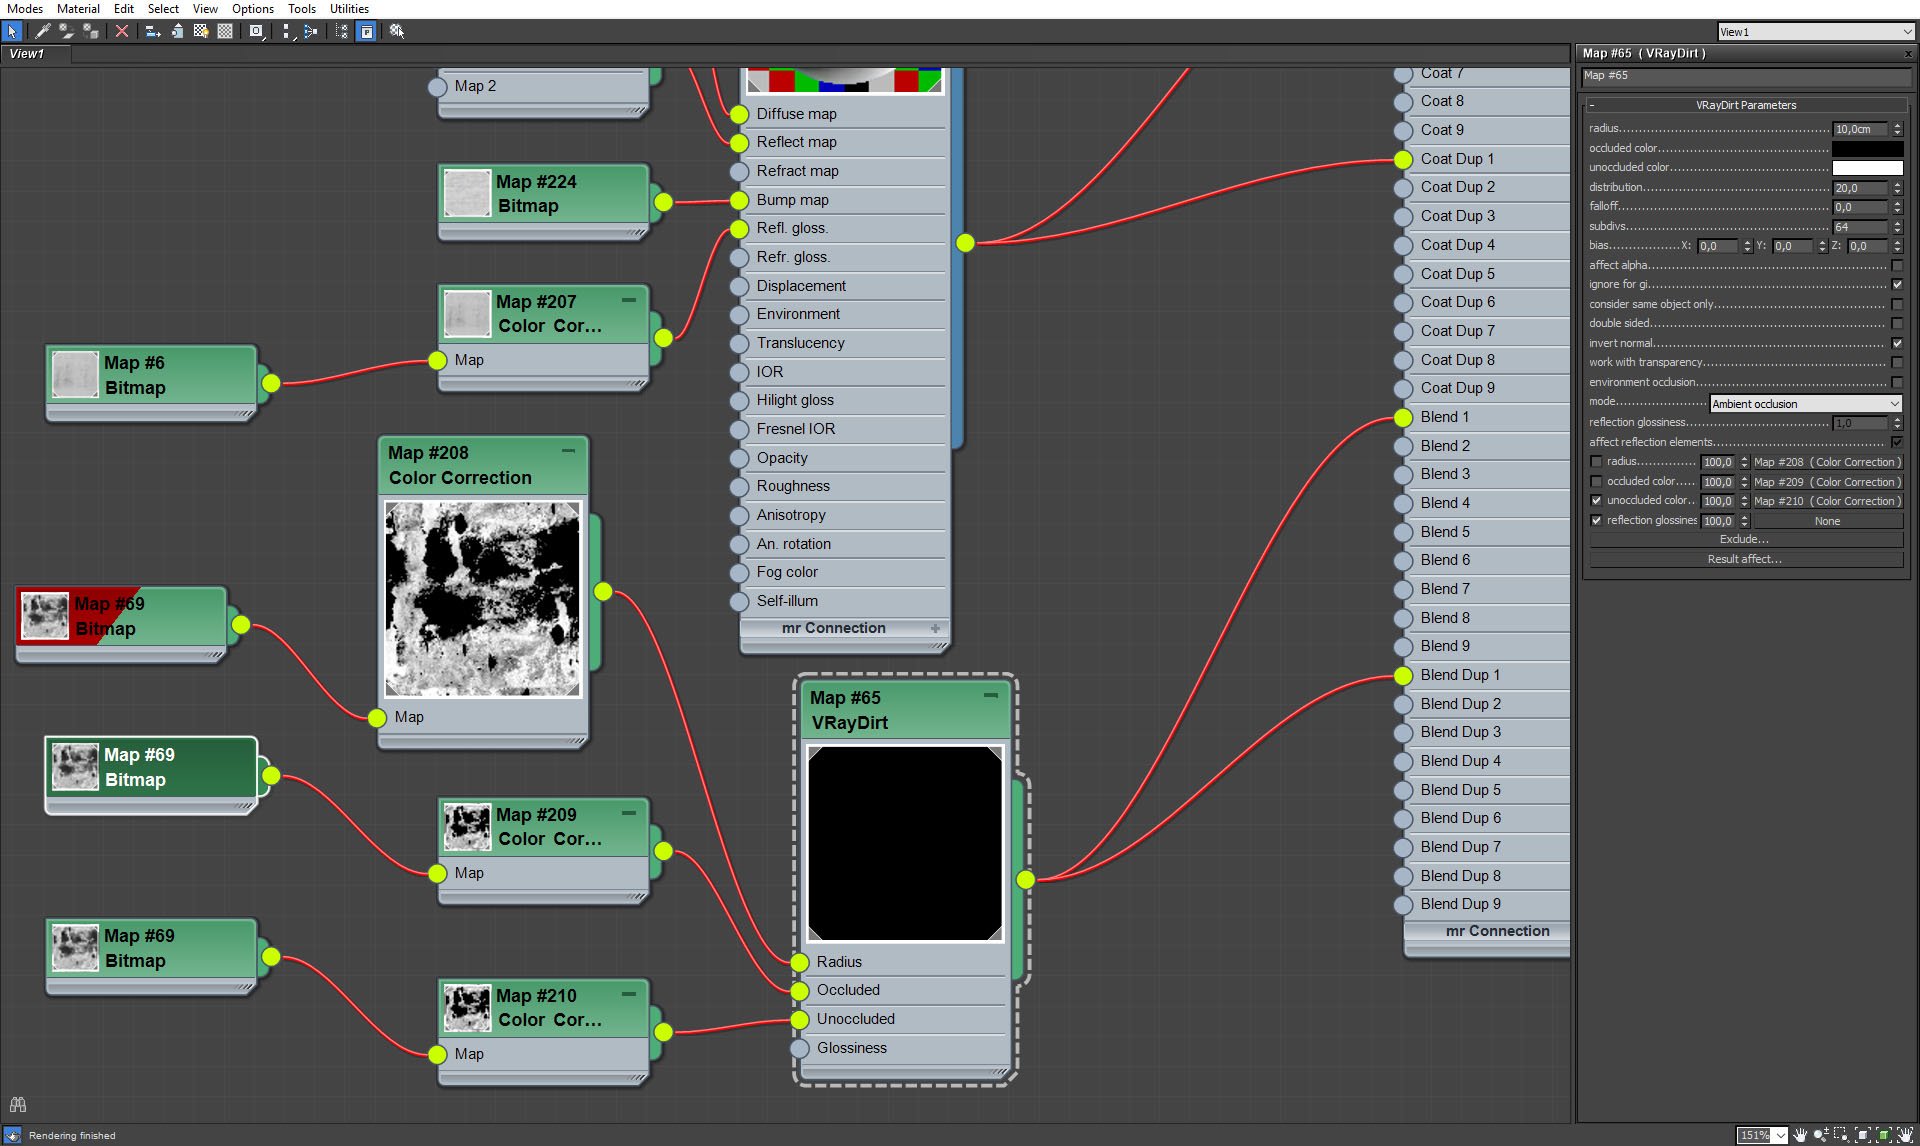
Concrete material - Vraydirt settings.
Click on image to enlarge
Door mesh.
Click on image to enlarge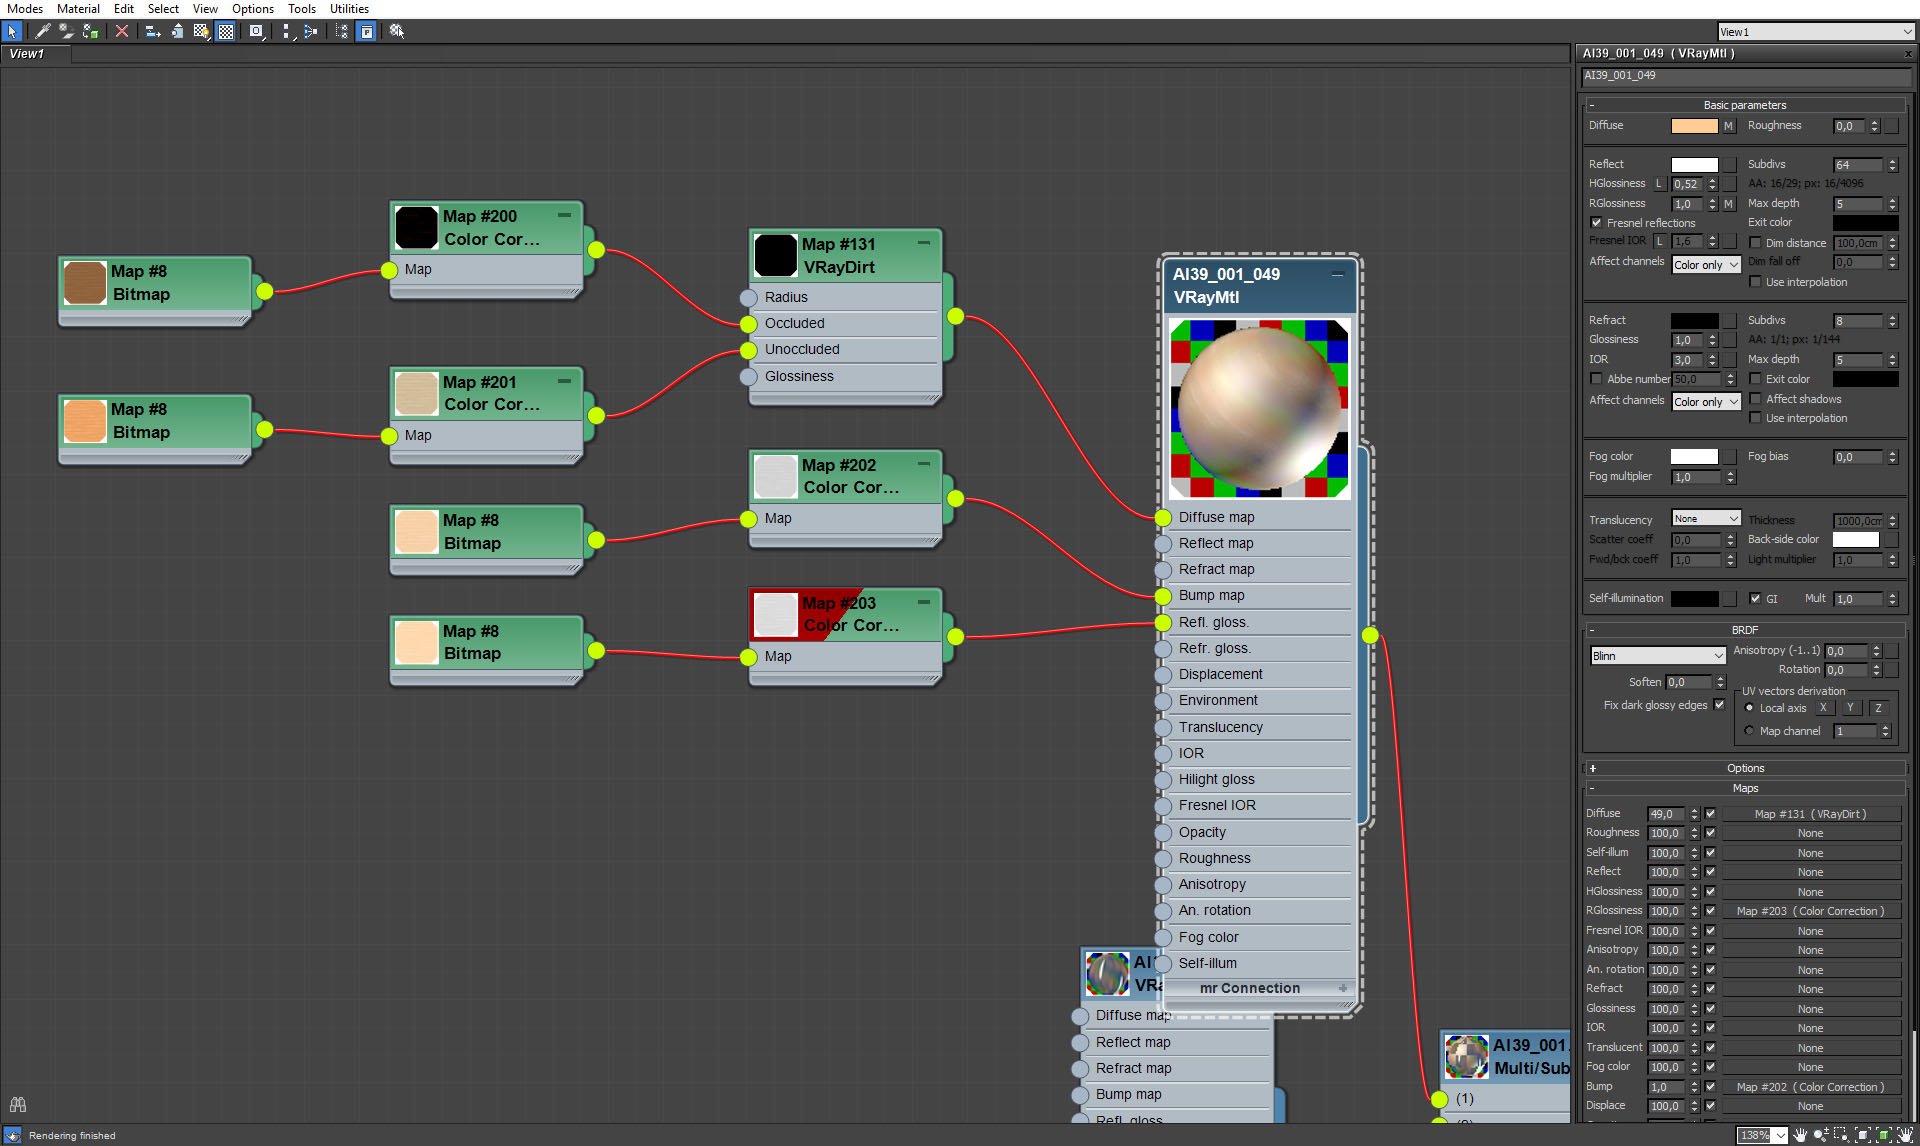
Door material.
Click on image to enlarge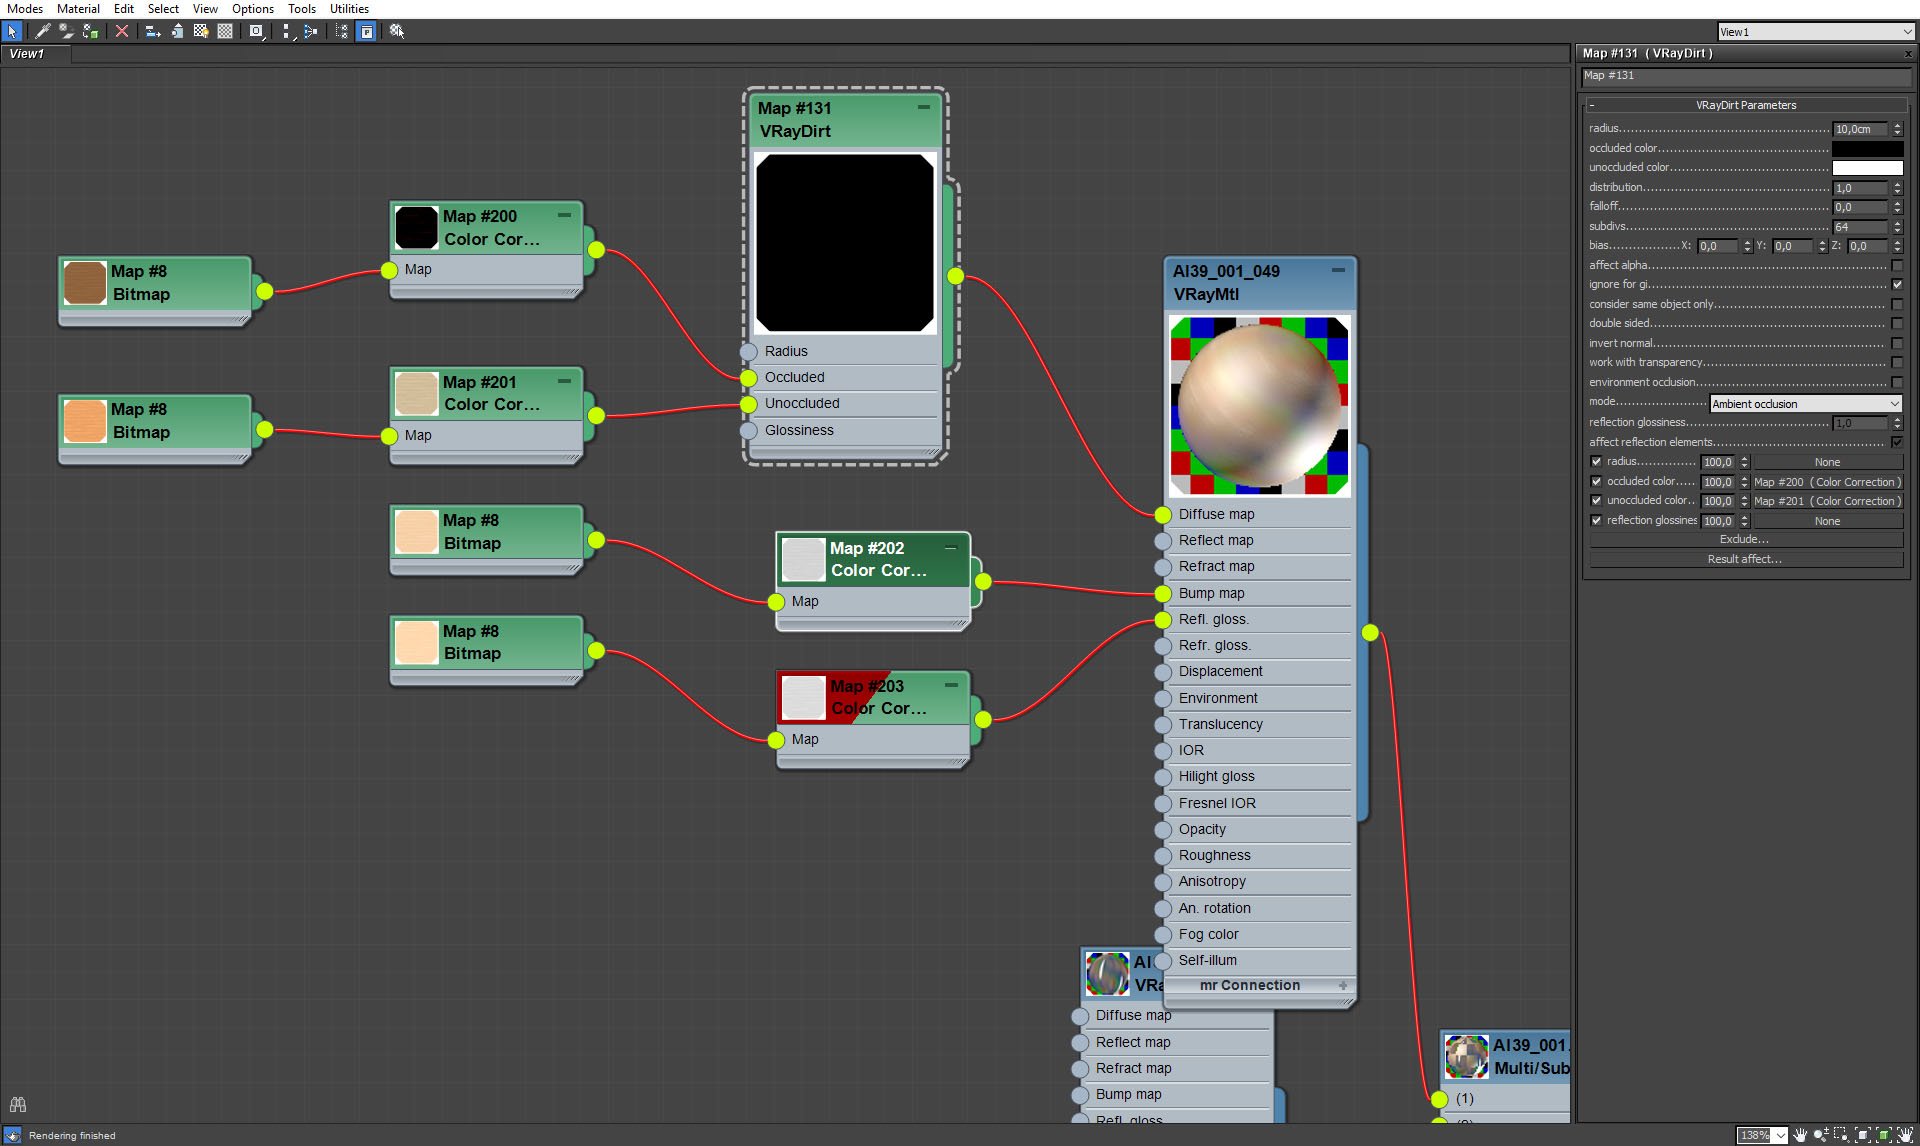
Door material - VrayDirt settings.
Click on image to enlarge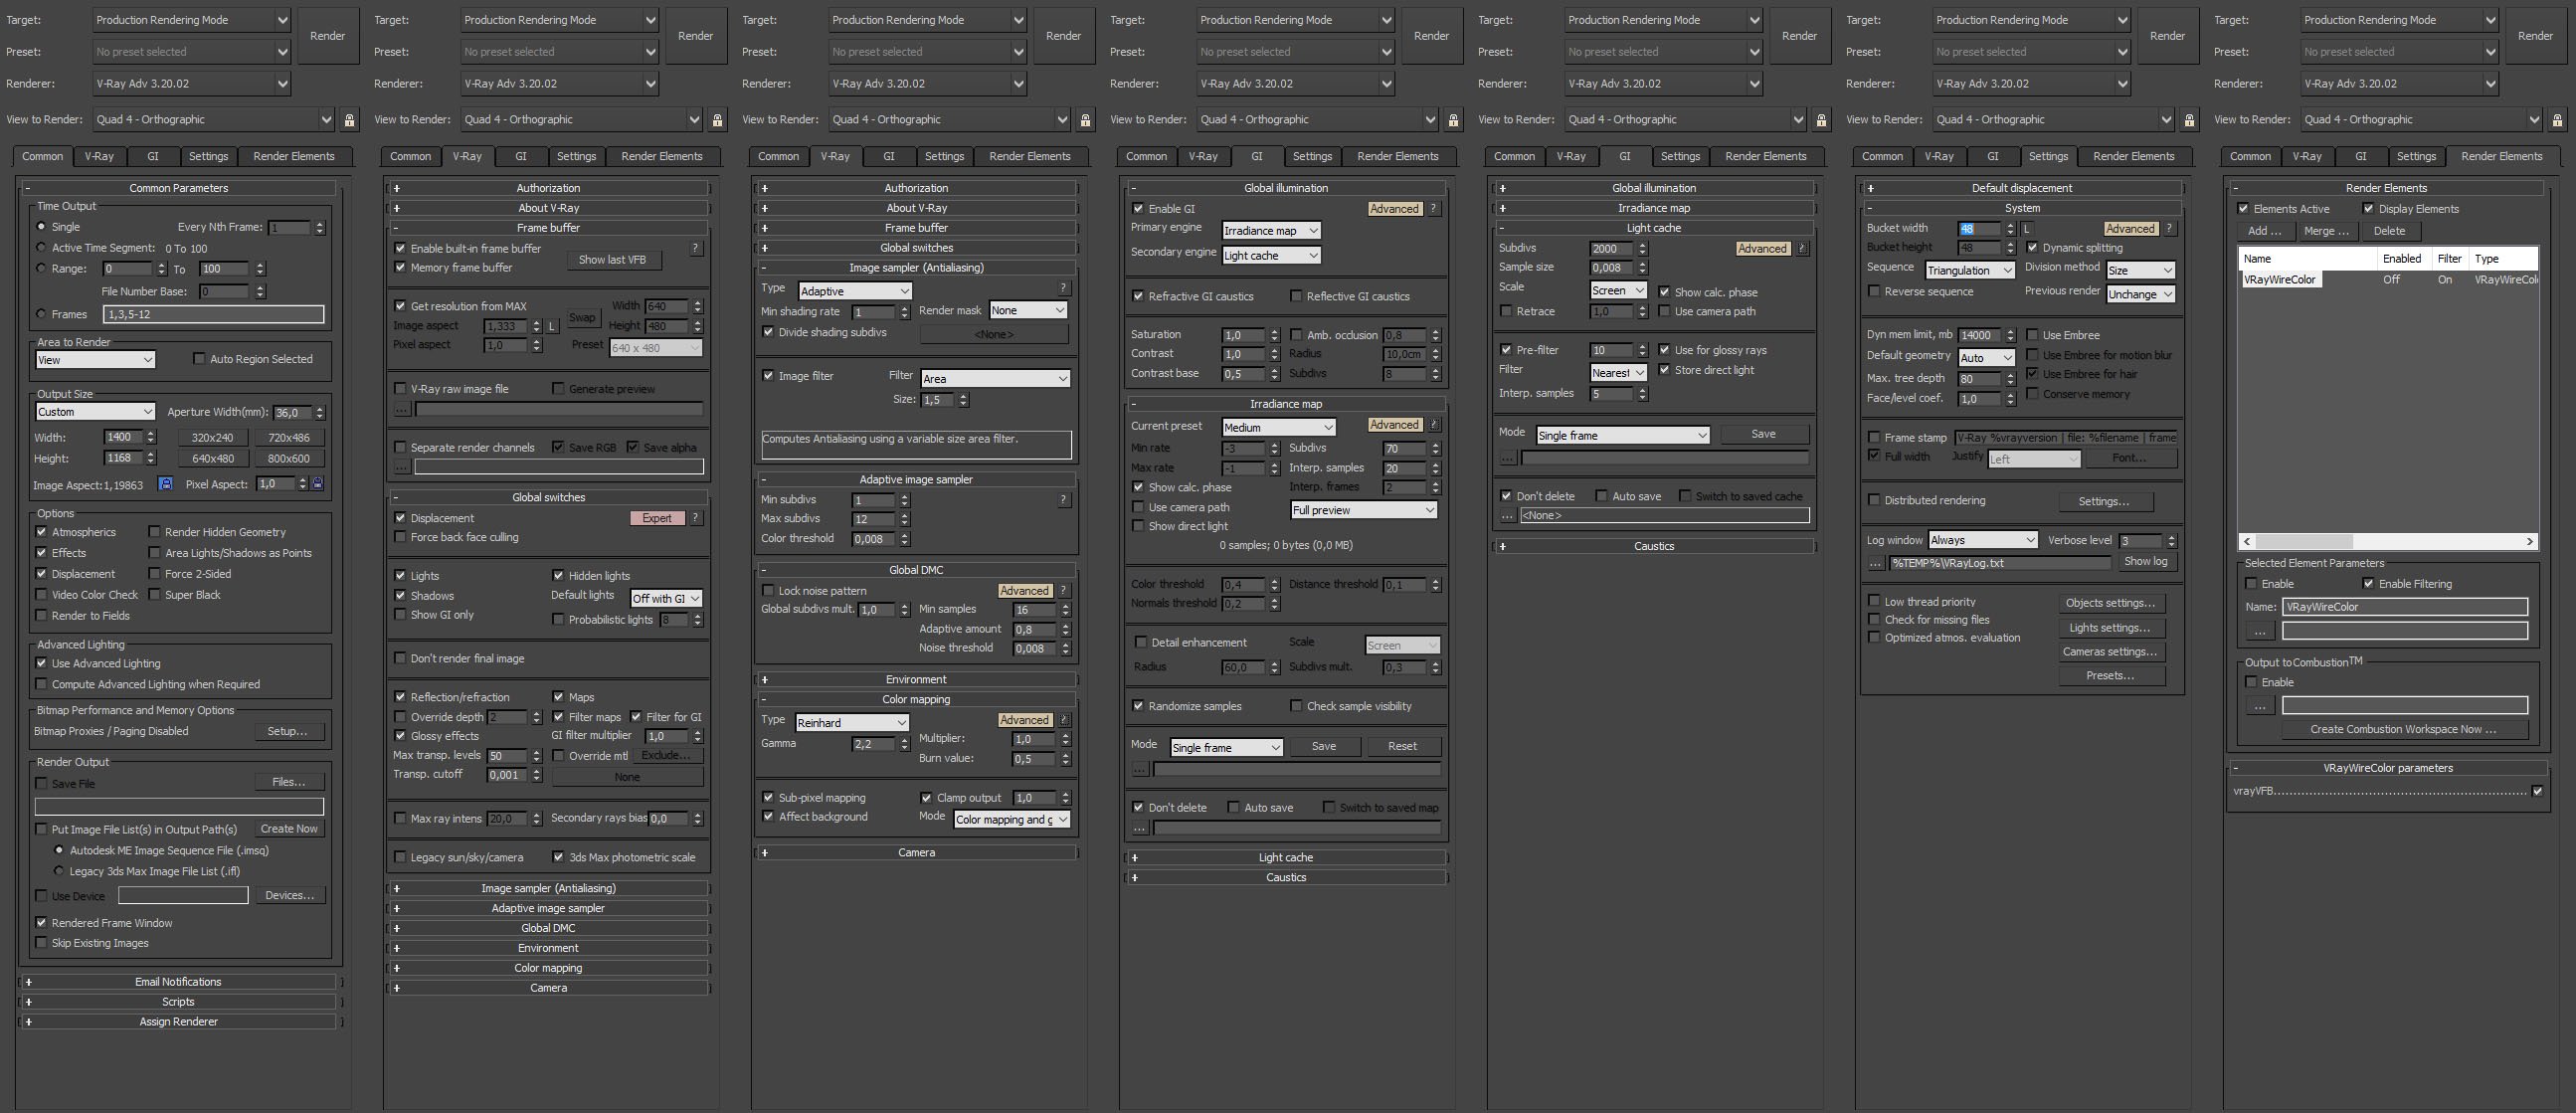
Render settings.
Click on image to enlarge
Vray wire color layer, it's handy in post-production to mask objects in Photoshop.
Click on image to enlarge
Raw render.
Click on image to enlarge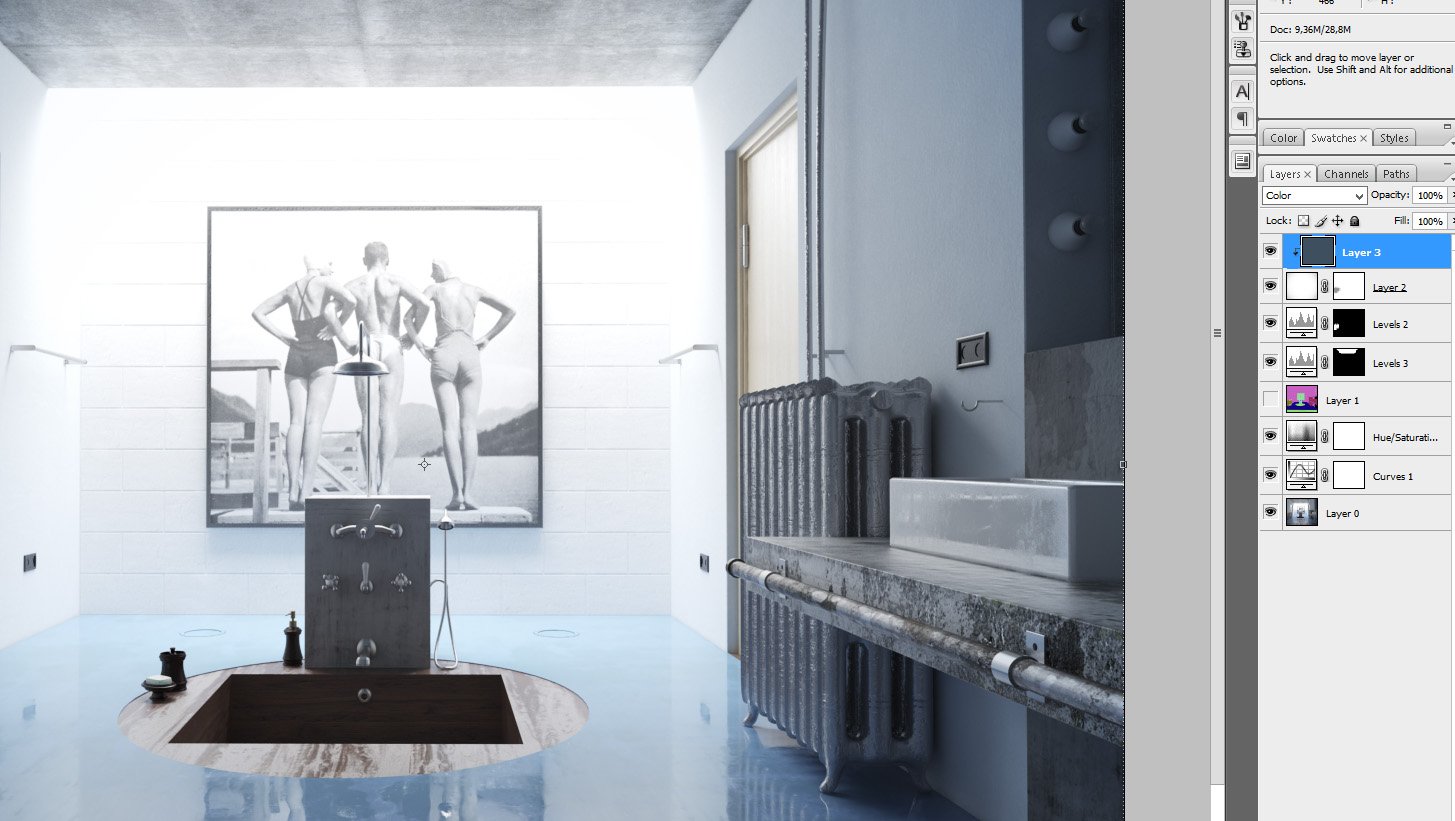
Photoshop post-production. Curves layer for increasing brightness of lighter tones, subtel desaturation (-14), with the help of wirecolor layer we could separate the ceiling and make it a bit darker with Levels 3 layer.Levels 2 layer brightens a bit baskets on the left. layer two is vignette and the top layer gives a slight blue tint to the whole image.
Click on image to enlarge
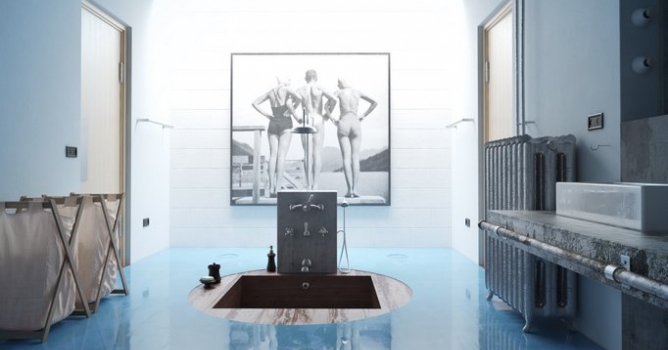
Final result. camera 5.
Customer zone
Your special offers
Your orders
Edit account
Add project
Liked projects
View your artist profile


COMMENTS