This interior scene was made by Evermotion in 3ds Max and V-Ray. It is scene 10 from Archinteriors vol. 37. You can purchase this single scene or entire Archinteriors vol. 37 collection (or Archinteriors for C4D vol. 37) in Evermotion Shop.
Click on image to enlarge 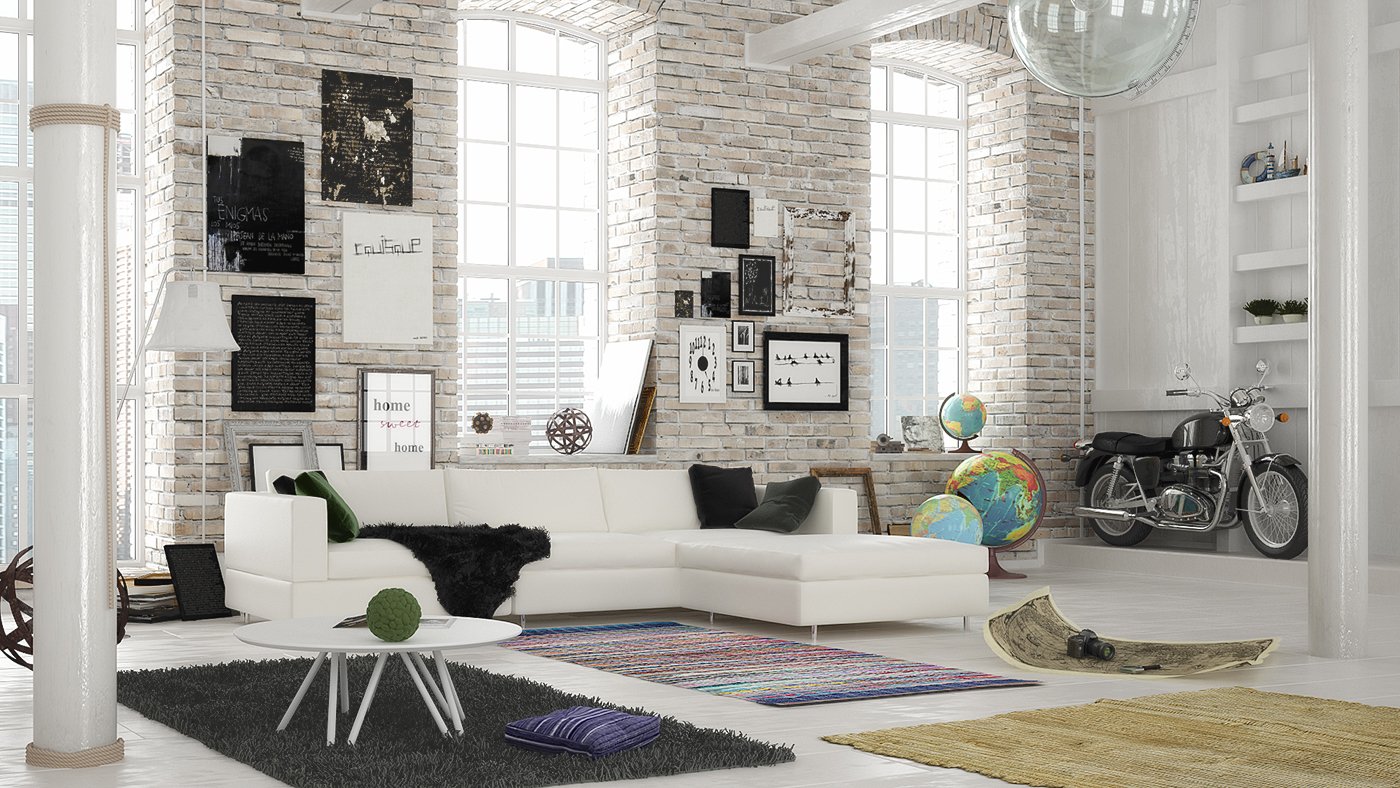
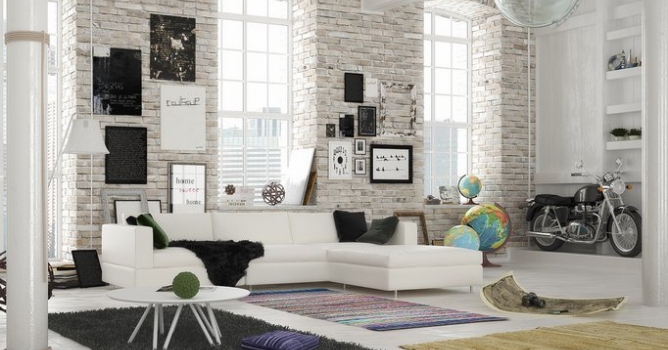
Loft living room with prominent brick wall, big windows and white painted wooden flor and shelves.
Click on image to enlarge 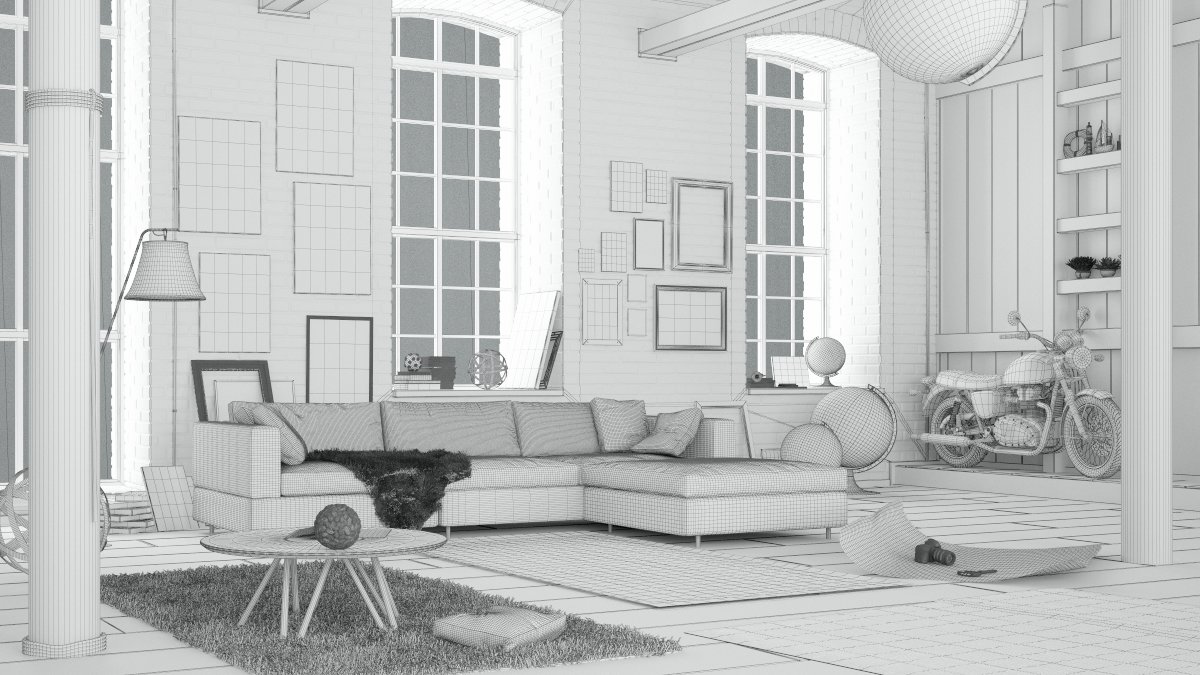
Wireframe view of the scene.
Click on image to enlarge 
Viewport view. The carpet was made with hair and fur modifier, we also used some Evermotion props.
Click on image to enlarge 
Arc behind the window with city panorama.
Click on image to enlarge 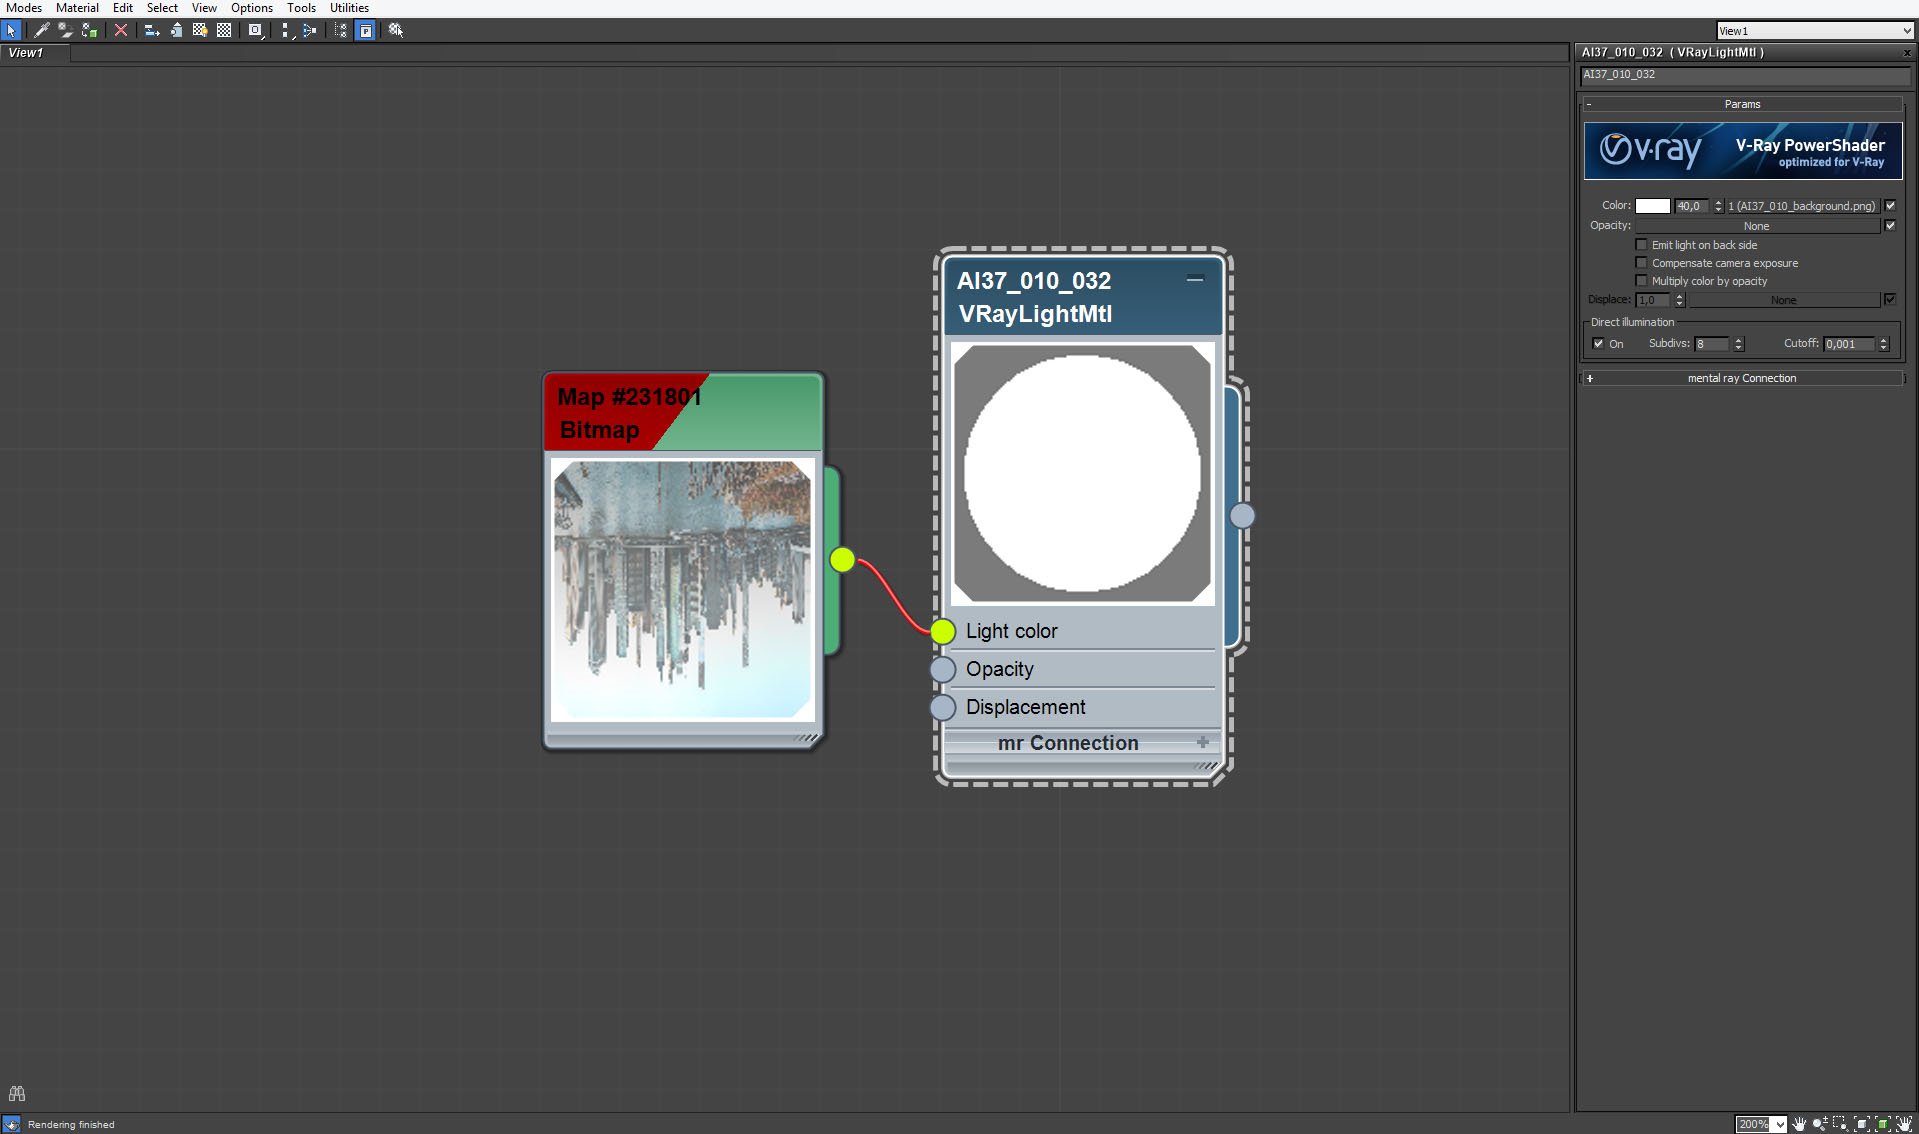
Environment map as a VrayLight material that is used by the outside arc.
Click on image to enlarge 
Two brick walls of the loft - very simple models with Vray displacement modifier.
Click on image to enlarge 
Brick material - brick texture controls color and reflection slots, but we didn't put it in bump slot, we used displacement instead.
Click on image to enlarge 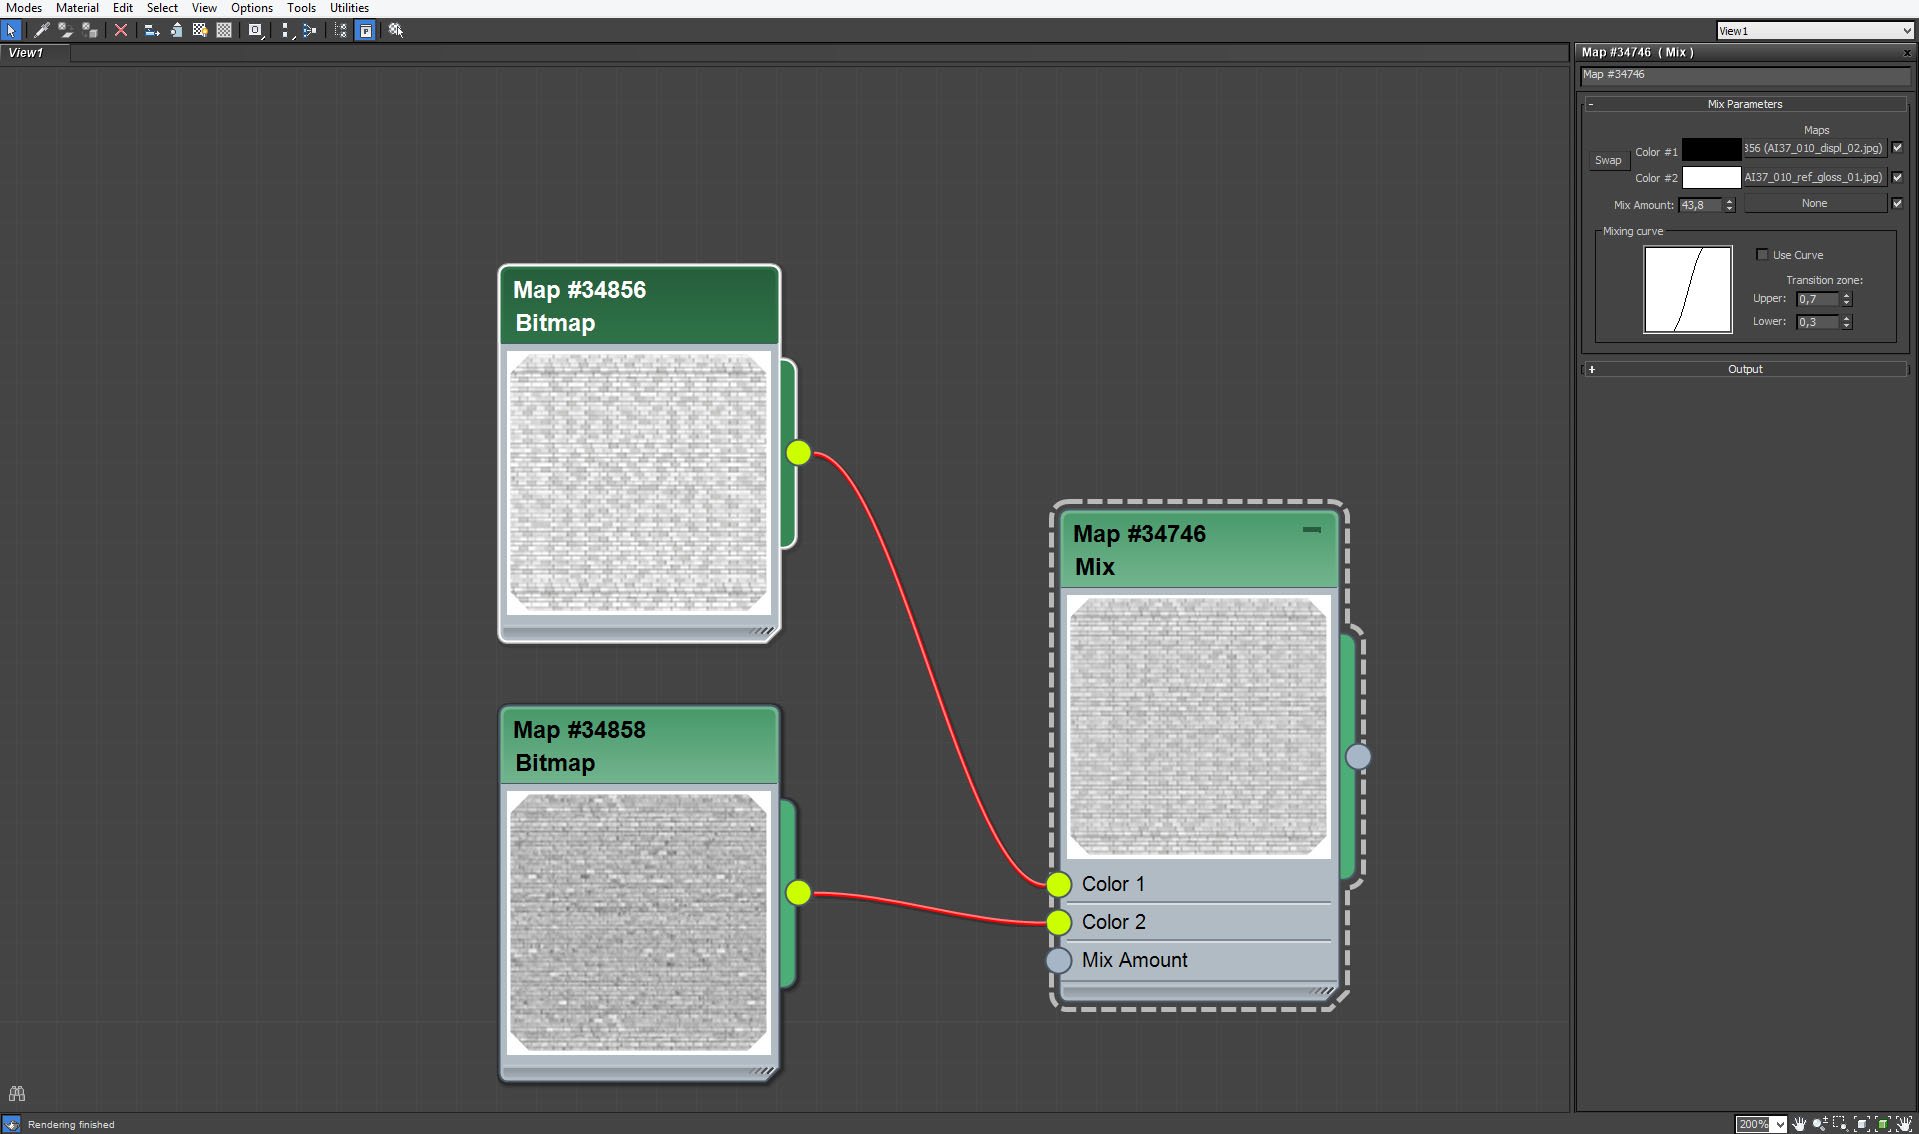
VrayDisplacement Modifier uses mix of two brick maps.
Click on image to enlarge 
The room is a simple box. Most of the surface of this box are not visible - ceiling is outside the camera, floor is covered with generated boards and the right wall is hidden behind the furniture.
Click on image to enlarge 
Box material - as we noticed earlier - box is not visible to the camera, so we just put here a standard VrayMaterial.
Click on image to enlarge 
Furniture and construction elements inside the room.
Click on image to enlarge 
We placed six instances of rectangular VrayLights in the windows. Settings are to the right.
Click on image to enlarge 
Click on image to enlarge 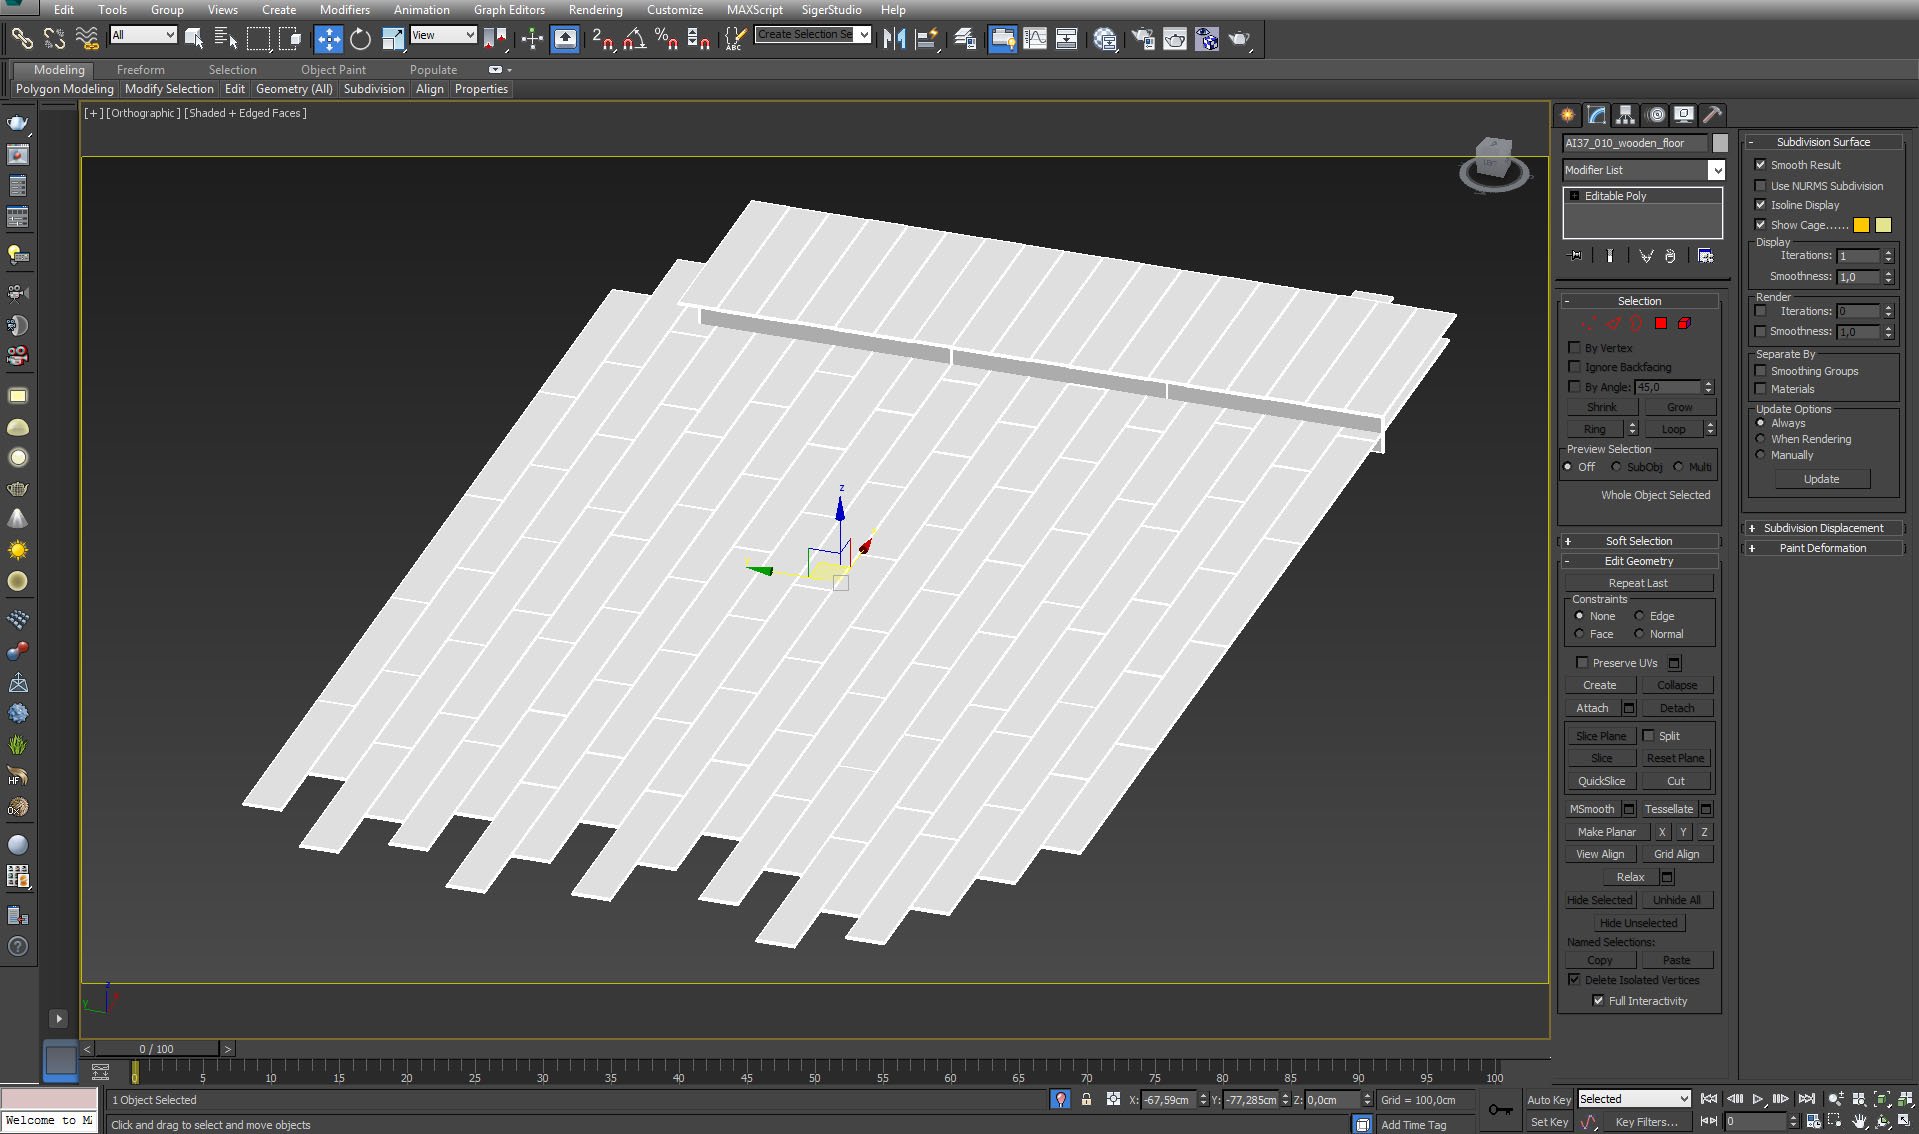
Click on image to enlarge 
Floor material. To achieve "old floor" look, we used quite high-contrast bitmaps for bump and reflection glossines slots.
Click on image to enlarge 
Click on image to enlarge 
Window material - glass and frame.
Click on image to enlarge 
Click on image to enlarge 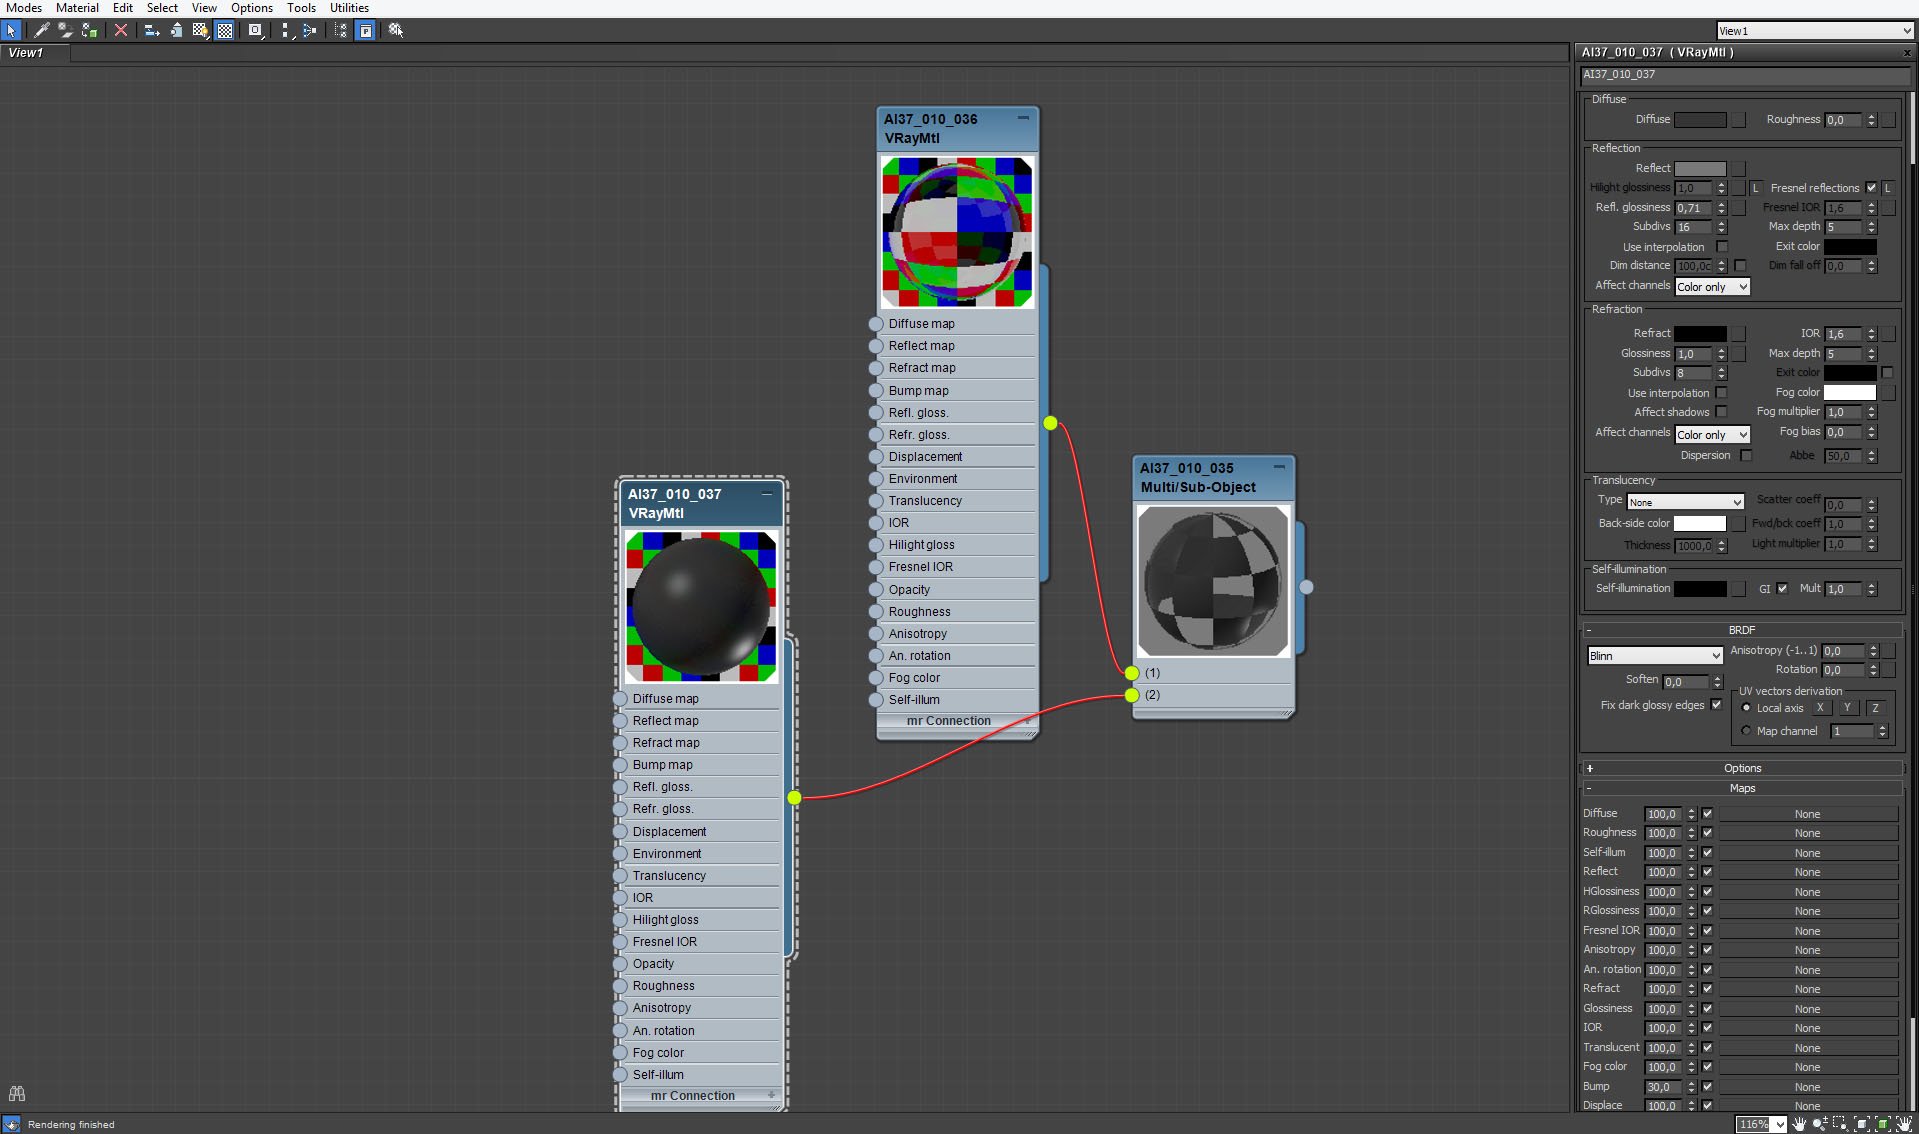
Click on image to enlarge 
Carpet no. 1 - a plane with displacement modifier.
Click on image to enlarge 
Carpet material - opacity mask is set to 100.
Click on image to enlarge 
Carpet no. 2 (left side of the image) - we used Hair and Fur modifier. Settings are on the right.
Click on image to enlarge 
More Hair and Fur modifier settings.
Click on image to enlarge 
Click on image to enlarge 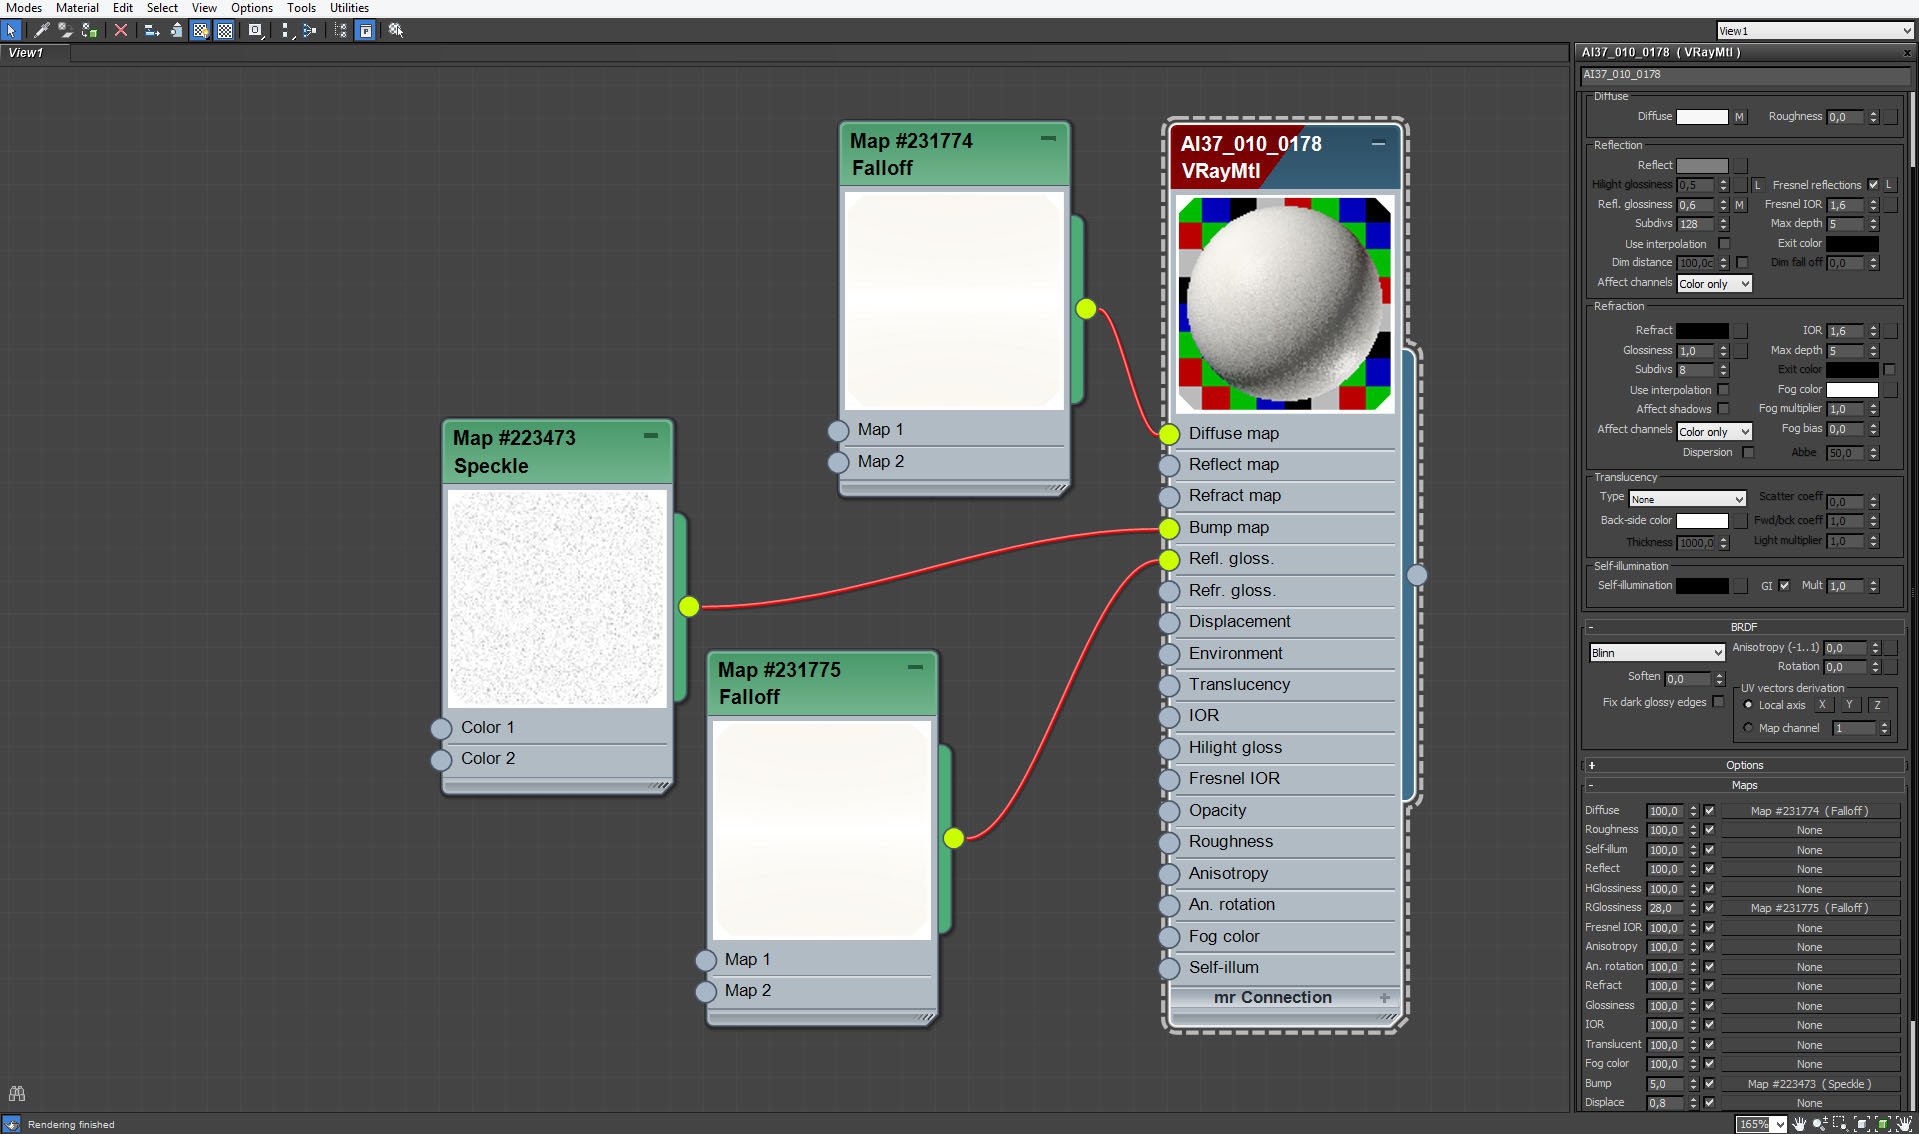
Click on image to enlarge 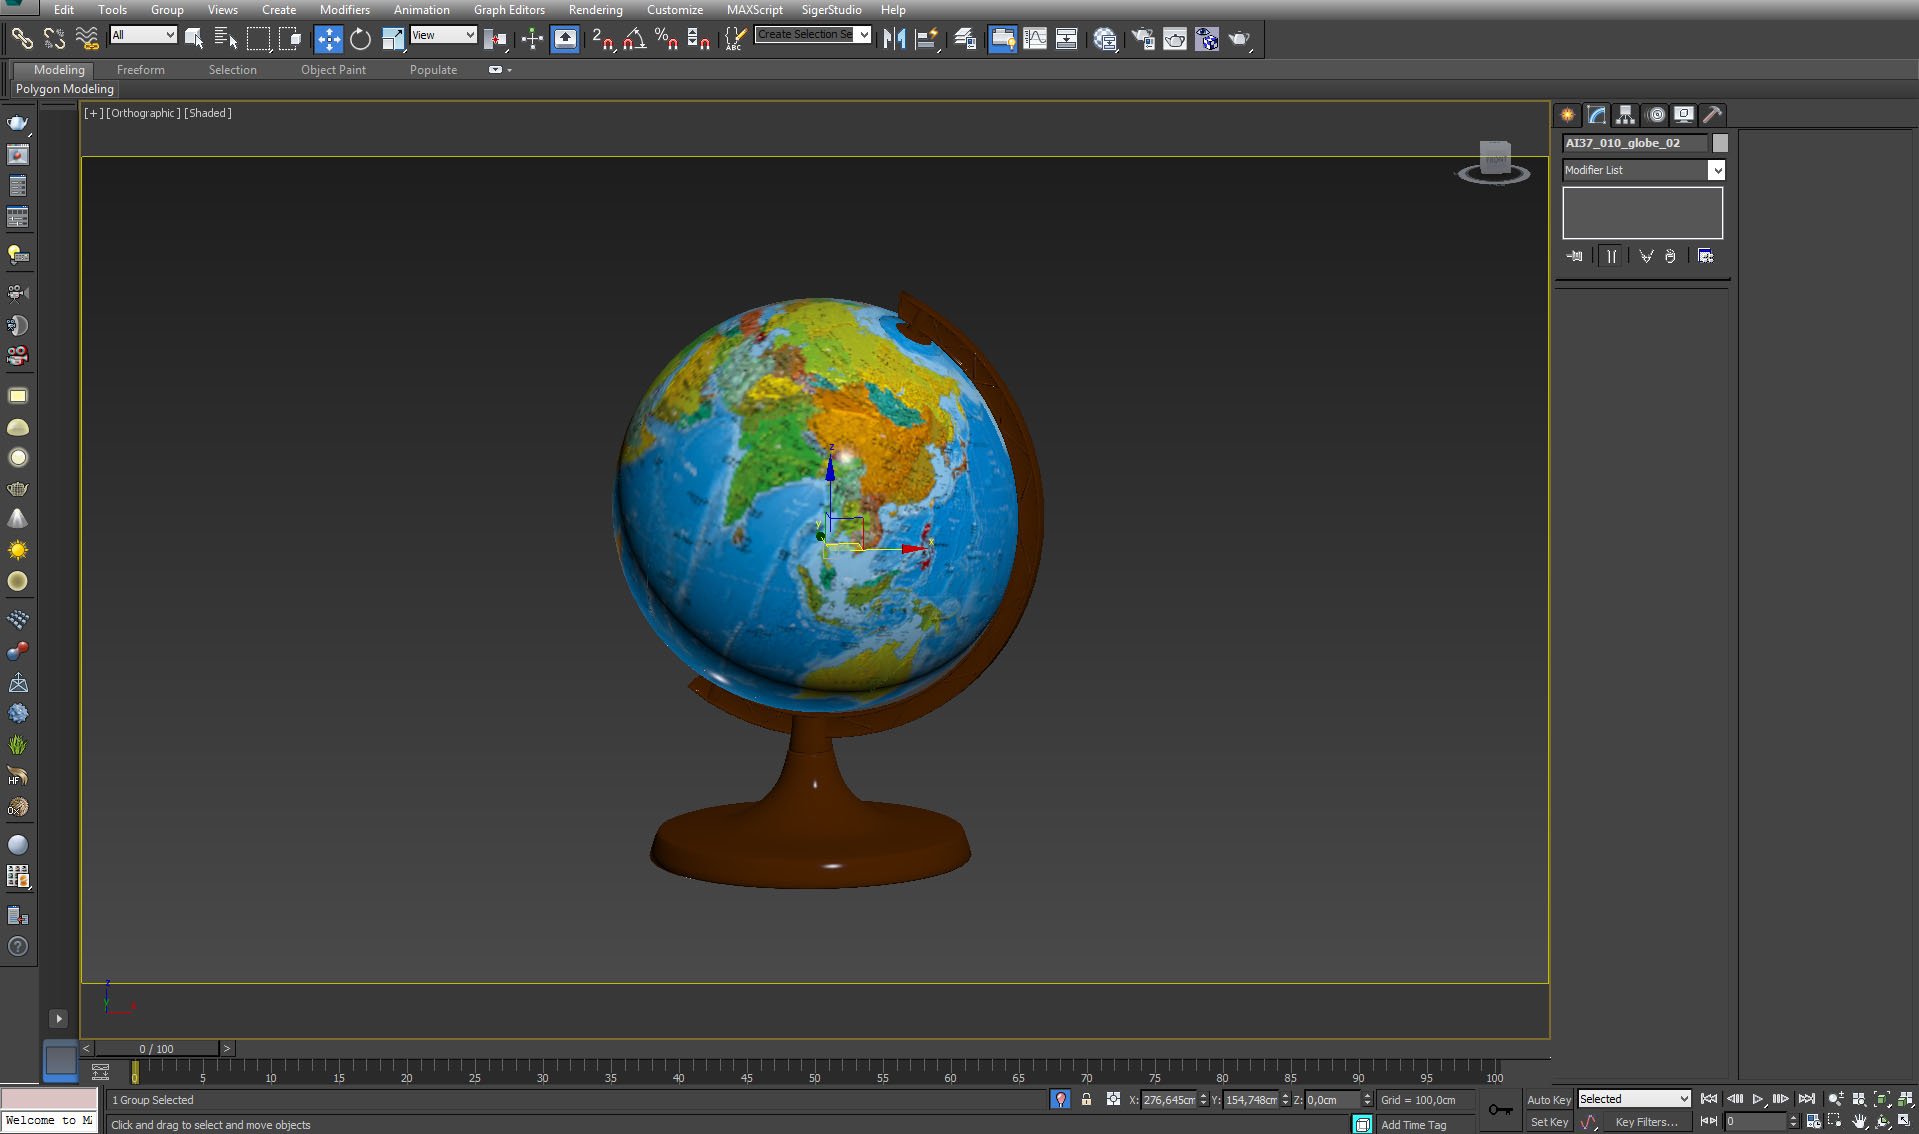
A globe model adds some color to the scene.
Click on image to enlarge 
Globe model material settings.
Click on image to enlarge 
A hanging lamp is mostly oustide the frame, here is how the whole model looks like.
Click on image to enlarge 
Click on image to enlarge 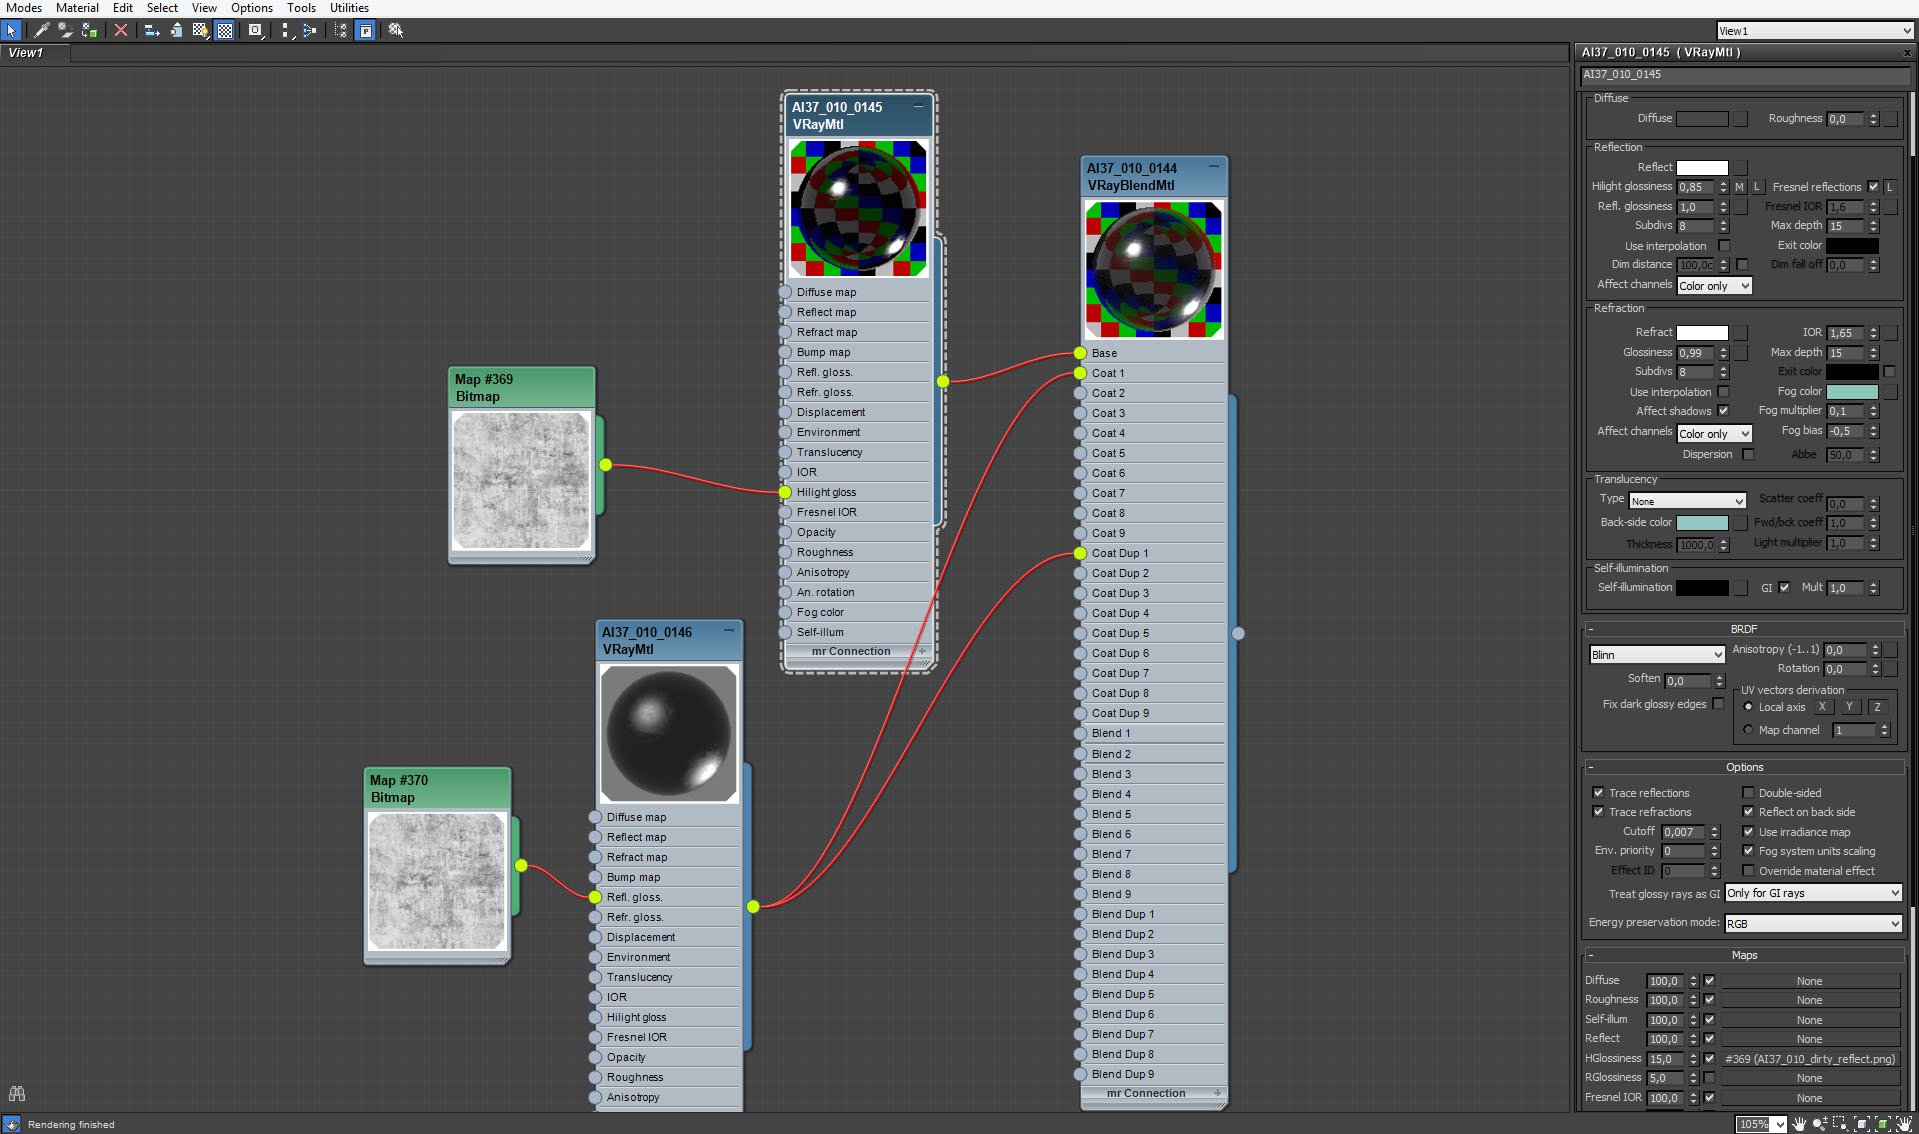
Hanging lamp material (continued)
Click on image to enlarge 
Hanging lamp material (continued).
Click on image to enlarge 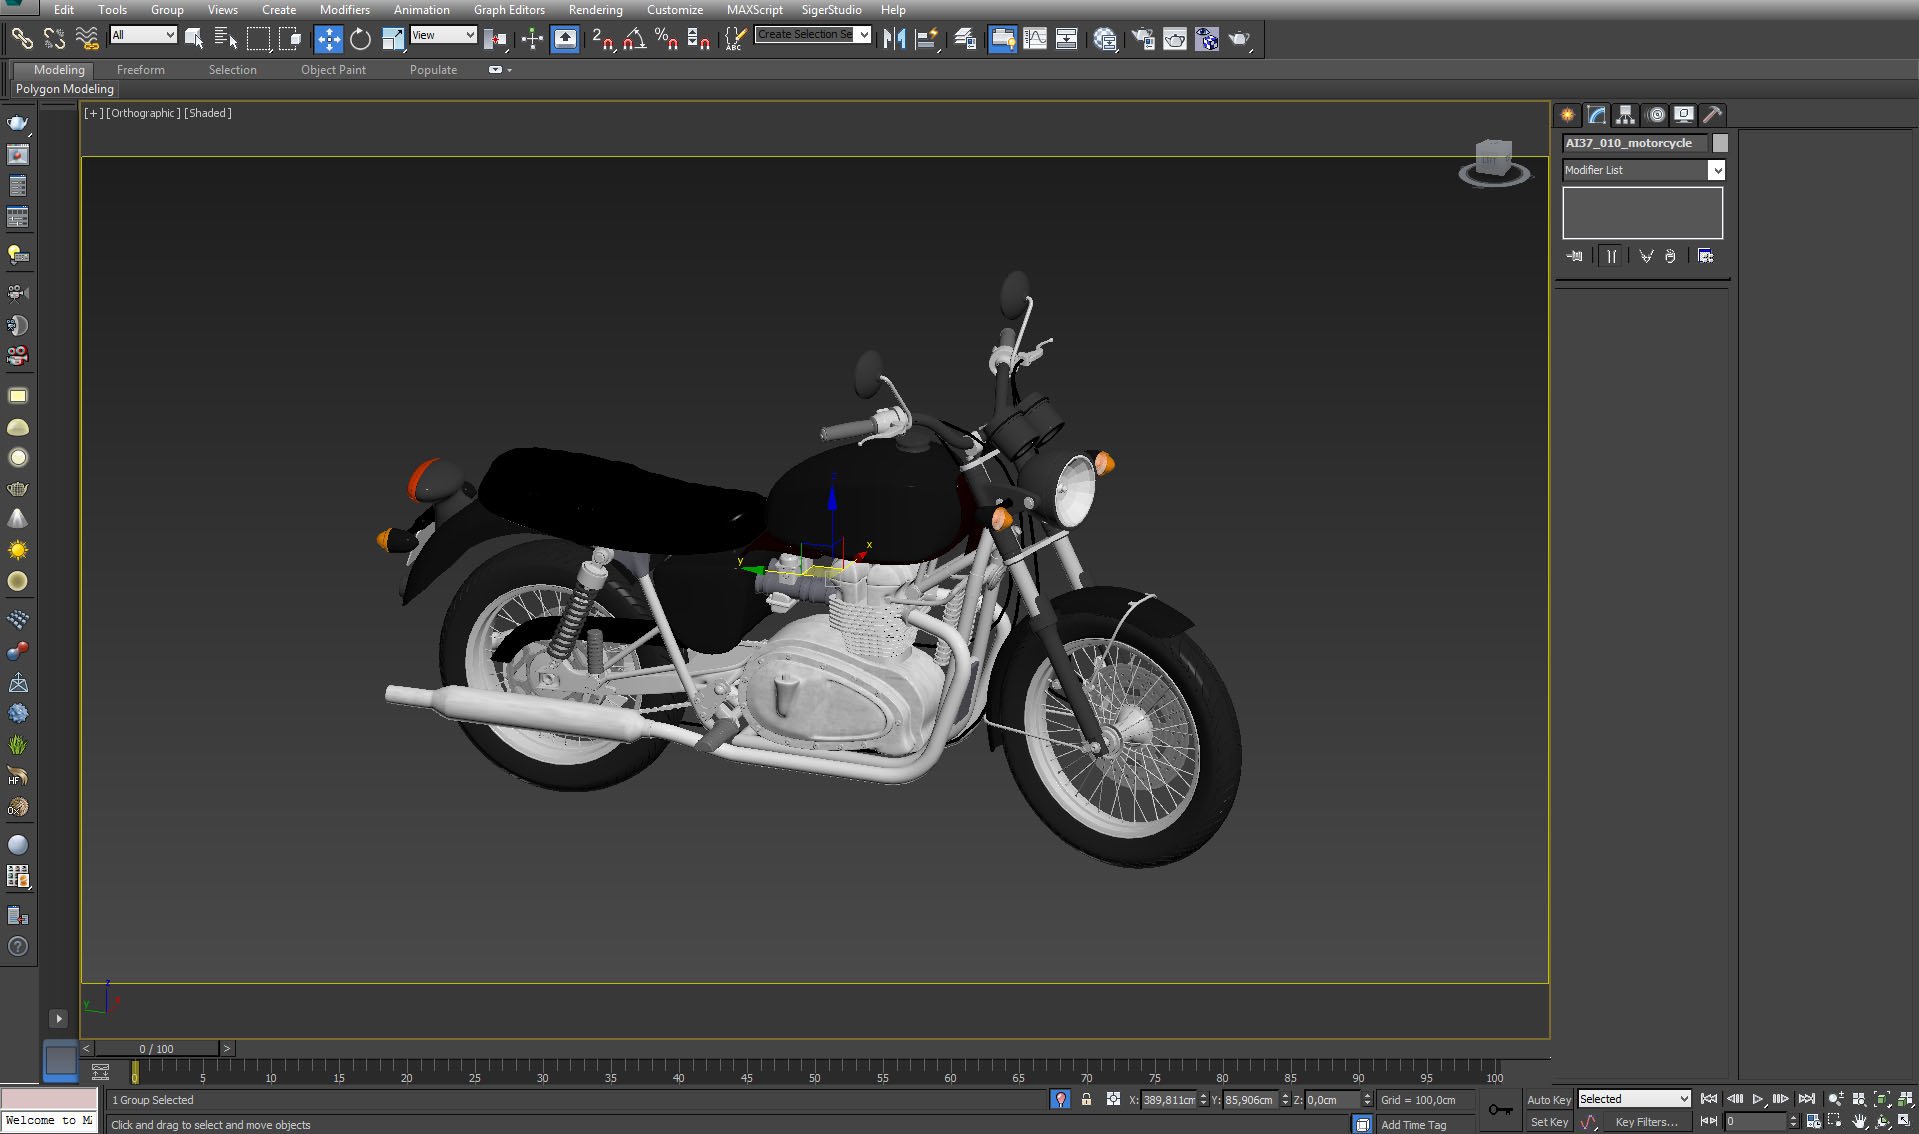
Last but not least - a motorbike!
Click on image to enlarge 
Click on image to enlarge 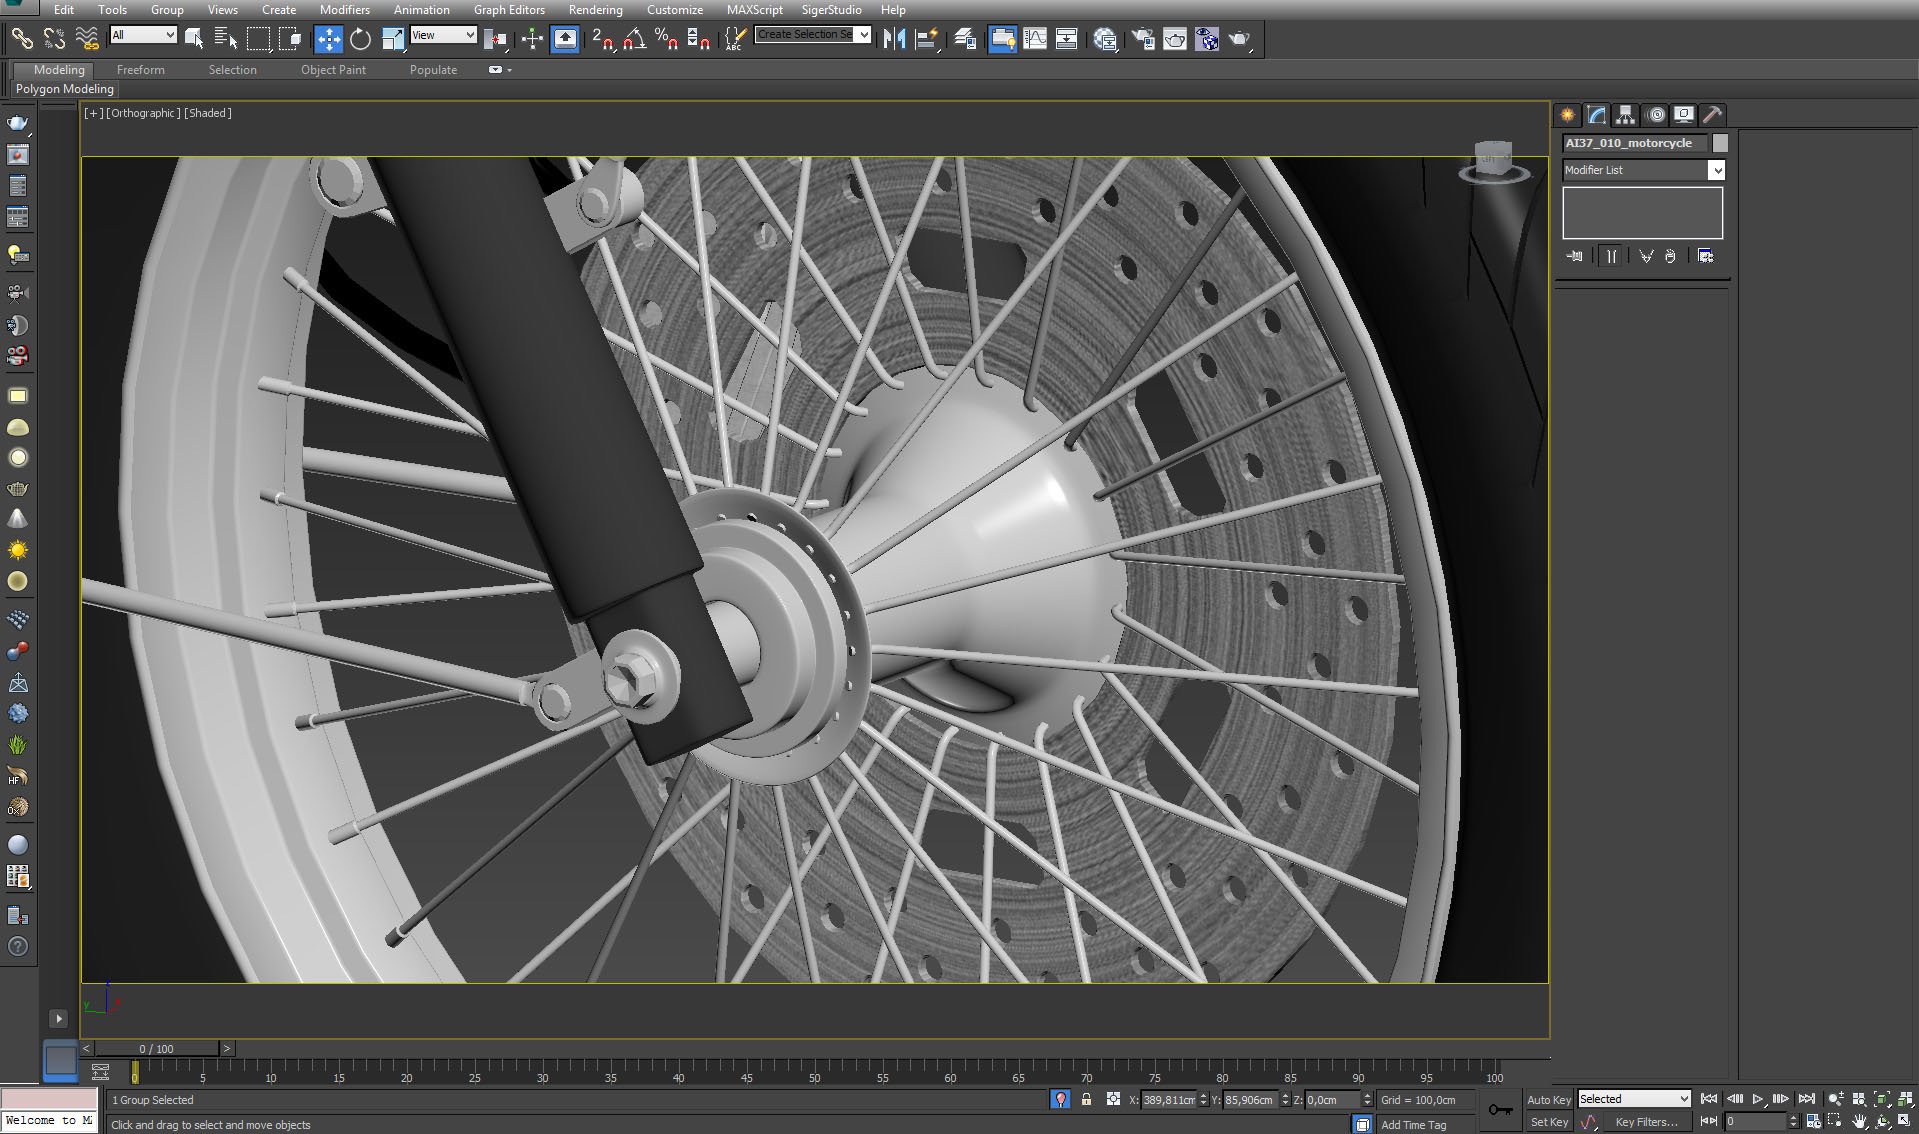
Click on image to enlarge 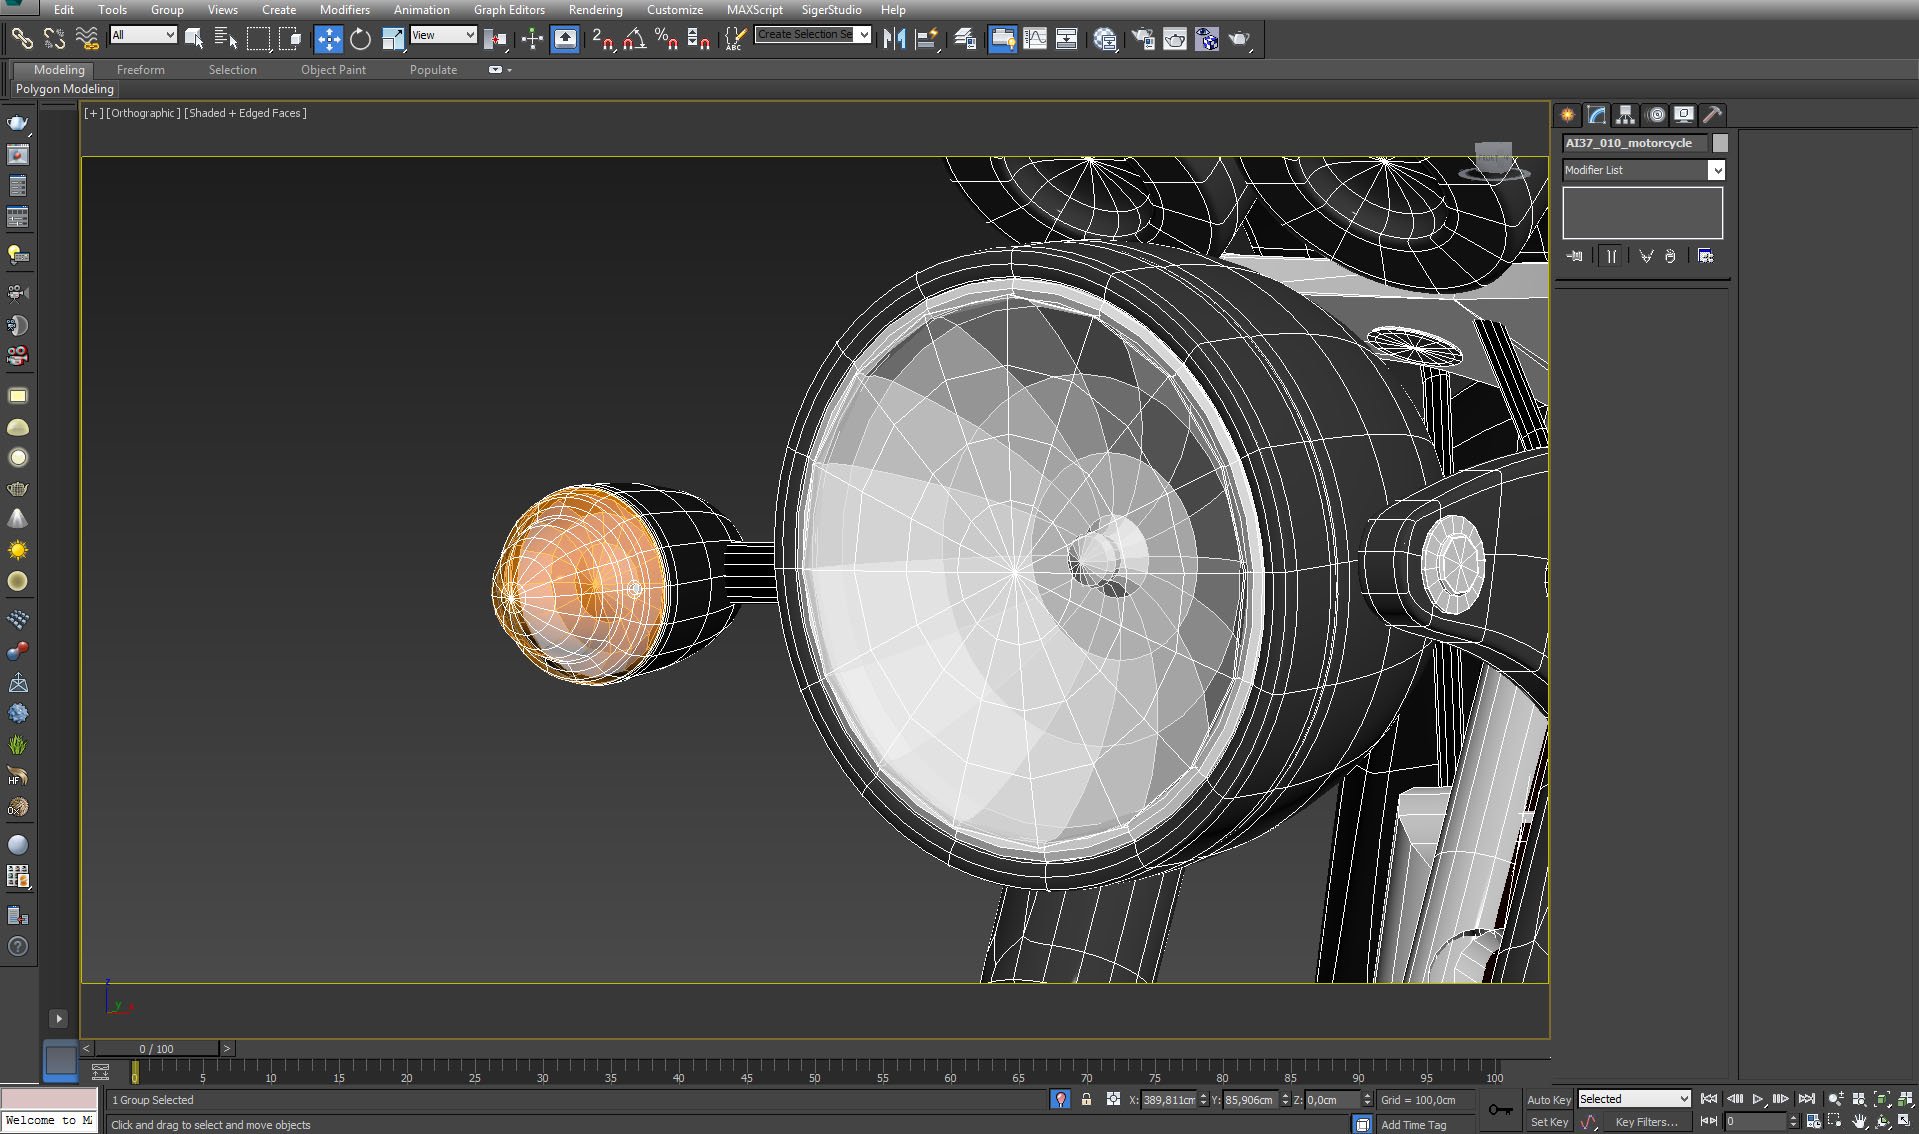
Click on image to enlarge 
Click on image to enlarge 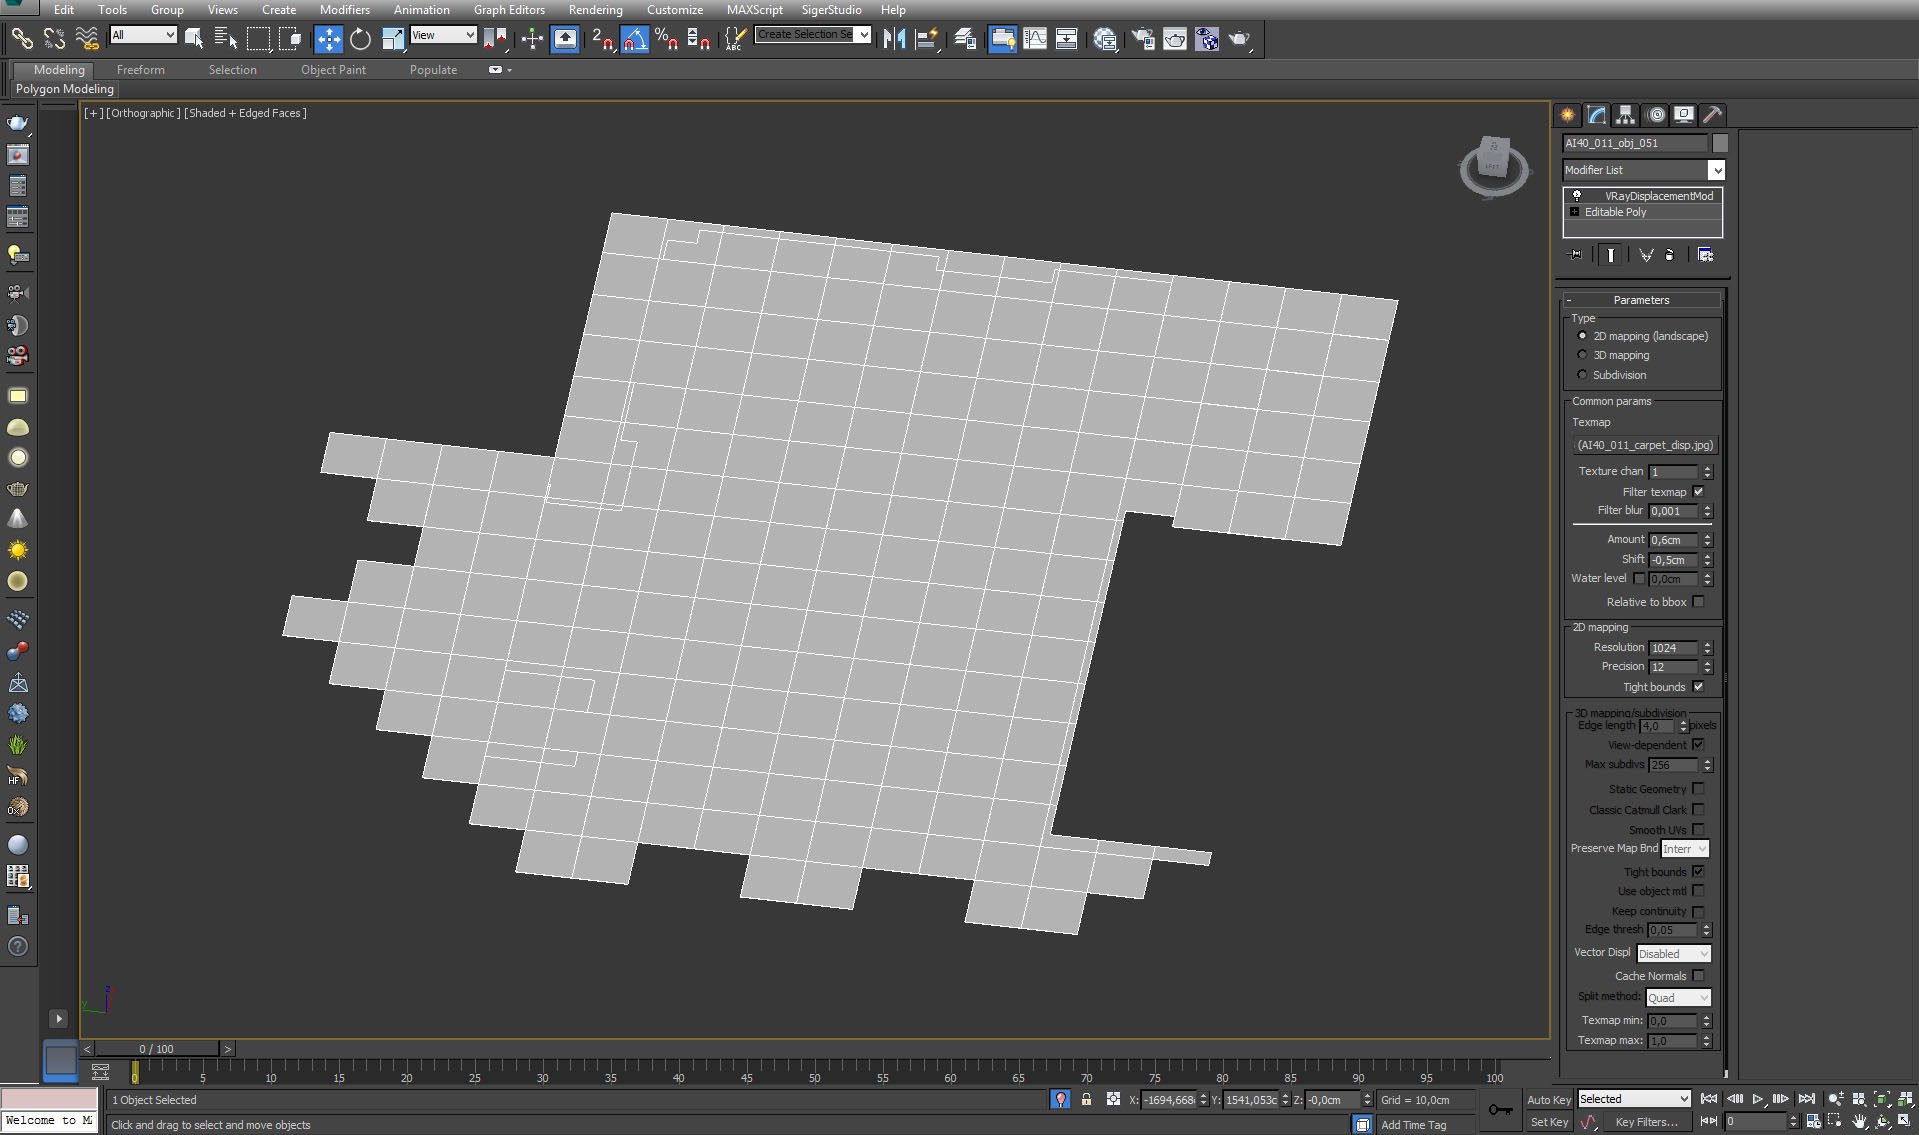
Click on image to enlarge 
Photoshop stack. We used curves for increasing contrast, the fourth layer gives some glow in the windows, raw black layer lessens contrast on black elements, so they look more realistic, two top layers increase global contrast just a tiny bit.
Click on image to enlarge 
Final image, after post-production! Thanks for reading :)
This interior scene was made by Evermotion in 3ds Max and V-Ray. It is scene 10 from Archinteriors vol. 37. You can purchase this single scene or entire Archinteriors vol. 37 collection (or Archinteriors for C4D vol. 37) in Evermotion Shop.
Customer zone
Your special offers
Your orders
Edit account
Add project
Liked projects
View your artist profile





COMMENTS