Evermotion: More Than an Asset Library
How Evermotion became a full-scale production partner for archviz, automotive and synthetic data.


Total: € 0
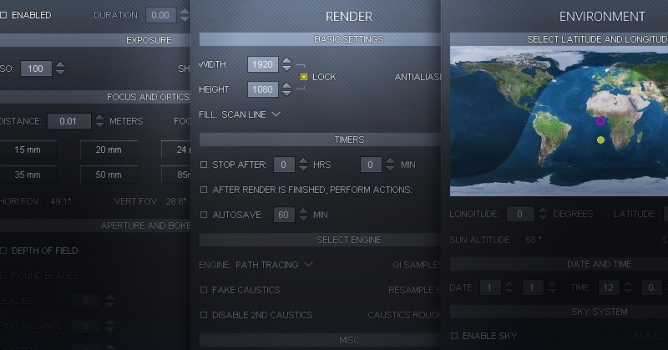

NOX user guide v0.4 is still a work in progress and will be available online soon. If you want to know more about camera, environment or postproduction settings, you can read our old guide in NOX Download section - the principles of operation of most of NOX features are still the same. Text below should help you with NOX plugin installation and basic scene setup in 3ds max, C4D and Blender.
3ds max users
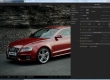
NOX installer will let you install NOX plugin for 3ds max. After installation just go to your Render Settings dialog (F10) and choose "NOX" from "Assign Renderer" section in Common tab.

To set up the scene properly you will need to insert:
- at least one NOX camera
- at least one source of light (some geometry, preferably plane with "Emitter" option turned on).
- an object to render.
NOX camera can be found in 3ds max camera tab. There are two possible choices: NOX Target or NOX free camera.
To make a source of light, just add a plane to the scene and turn its face normal in direction of object that you want to lit. Open Material Editor. At first Material Editor cells will display "Not a NOX material". To change that, you need to press "Standard" button and open Material / Map browser.

In Material Map Browser select "NOX Material" and press "OK".

Now, your selected material cell displays text: "No preview", we will change it soon. First you need to run NOX Material Editor. Press "Run Material Editor" button.
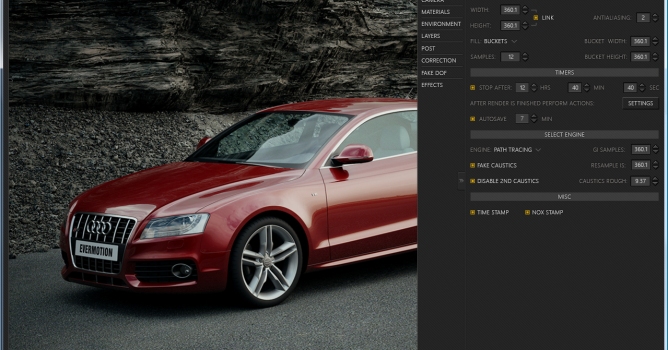
Click on image to enlarge
To make a light source, you need a light material. Turn "Emission" on, select some light color value, increase power of light. Check if your emitter works before you close editor - select "Emitter" from drop-down menu and press "Render" button near preview window. If you can see the lightbulb, press "STOP" and close the editor. Now you can assign your material to object.

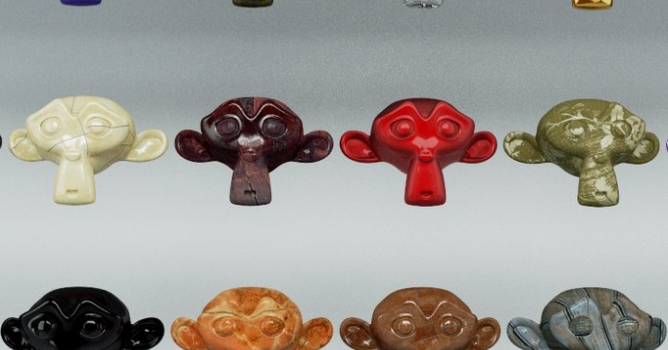
Six NOX materials previews.
Blender users
After NOX installation go to folder where you installed NOX and find "blender" folder. Inside you will find zipped file with a NOX plugin for Blender. Unzip it and move unzipped "render_nox" folder to your Blender\[version]\scripts\addons folder for eg:
C:\Program Files\Blender Foundation\Blender\2.69\scripts\addons
Then open Blender, go to user preferences dialog (CTRL + ALT + U), select "Addons" tab, find "Render. Nox Renderer" on the list and tick checkbox.

You can now select NOX from the list on the top of Blender window.

NOX is fully integrated with Blender which means that you can set up the scene using Blender interface. You can also tweak scene and material settings after exporting to NOX (F12).
To succesfully open your blender scene in NOX you need at least one light source and one active camera. NOX does not use lamps, it uses geometry with "emitter" material layer instead. Just add a plane to your scene, go to Materials tab, add new material and then add new layer by pressing "+" button. Scroll down and check "Emission" checkbox.

You can also increrase emission power and change units.
You can also go to "World" tab and enable Nox sun and sky.
Cinema4D users:
NOX is not fully integrated with Cinema4D, but we made plugin that lets you to export Cinema4D scene and render it in NOX.
Installation is easy: go to your NOX installation folder, and open "cinema 4d r14" folder. Inside you will find a zipped file: NOXpluginC4D.zip. Unzip it and move unzipped folder to your "plugins" folder in Cinema 4D installation folder. Now you have a new "NOX scene" option in File > Export menu. To succesfully export scene you need at least one light source, one camera and some object to render. NOX does not have lamps or light sources, instead it uses objects / surfaces with a material with "Luminance".
Tip: If your scene is too bright / too dark:
- change ISO or shutter speed in camera - either in your 3d software or NOX Camera tab
- change the power of emission in the NOX Material editor (3ds max, NOX standalone) or in "Material" tab in Blender
- change "EV" (exposure value) in POST tab in NOX.
Scenes exported from 3d software are saved in "exported scenes" folder in your NOX installation folder.
Sample scenes
We provided a couple of sample scenes for the beginning. You will find these scenes in "sample scenes" folder which is located in NOX folder.
Example:
C:\NOX Renderer\sample scenes\
You can also download them manually from Evermotion NOX download page.
"Candles" 3ds max 2011 and NOX scenes:

"Helicopter" 3ds max 2011 and NOX scenes:

"Suzanne in studio" Blender and NOX scenes:

Water Drop NOX scene:

Wooden boxes NOX scene:

Cornell Box NOX scene:


LEAVE A COMMENT


|

|

|

|

|
 Customer zone
 Your orders
 Edit account
 Add project
 Liked projects
 View your artist profile
COMMENTS