How To Make Your CGI Walls More Realistic
Realistic walls with noise modifier.
Total: € 0
Continue Shopping
In accordance with the art. 13 section 1 and 2 of the European Parliament and Council Regulation 2016/679 of the 27th April, 2016 on the protection of natural persons, with regard to the processing of personal data and on the free movement of such data, and repealing Directive 95/46/EC (General Data Protection Regulation), hereafter RODO, I hereby inform that:
1. EVERMOTION S.C., 8 Przędzalniana Str., 15-688 Białystok, Poland is the Administrator of your Personal Data (APD)
2. Data Protection Inspector can be reached through e-mail: iod@evermotion.org
3. Your personal data are to be processed on the basis of art. 6 section 1 letter a, b and f of RODO in order to:
a) prepare, conclude and execute the agreement and for other purposes approved by you,
b) to execute the legitimate interest like marketing of products and the agreement, claim assertion or defence against claims resulting from the law regulations.
4. Entities entitled to the reception of your personal data may be the authorised public bodies; mail providers; providers of the services covered by the agreement; responsible for debt recovery, keeping the archives, document utilization, legal consulting, technical services, IT services and accountancy.
5. Your personal data shall not be transferred to the third country, nor to the international bodies.
6. Your personal data shall be processed within the period of the agreement and upon your additional consent until you withdraw it. APD shall keep the data for the period of any civil law claim execution connected with the agreement.
7. You have the right to demand an access to your personal data, to correct or to delete the data if there is no other basis for the processing or any other purpose of such processing or to limit the processing of the data, to transfer the data to another administrator and to raise objections to the further data processing if there is no legal basis for further processing and to withdraw any previous consent.
8. You provide the personal data voluntarily, however they are necessary to conclude the agreement. The refusal of providing such data may result in the refusal of the agreement conclusion.
9. You have the right to lodge a complaint to the Personal Data Protection Office when in your opinion the data processing violates the regulations of General Data Protection Regulation of the 27 April, 2016 (RODO).
10. Your data will be automatically processed, including the form of profiling.
11. You are obligated to forward above mentioned information to your representative, especially if you appointed this person in the agreement as the contact person or as the representative for the agreement execution.
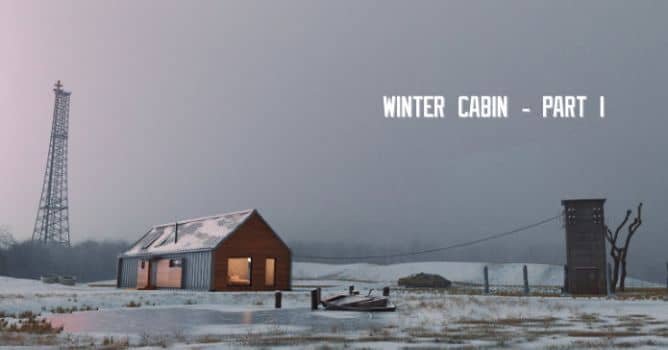

This time I decided to make a scene in Blender with another 3d model from Evermotion Archmodels vol. 254 collection. This time I chose model number 27 - a nice design of a cabin. I wanted to put it in a winter, desolated environment to bring some nostalgia vibes.
First, I imported FBX file from Archmodels vol. 254 collection to Blender.
From a start it looked ok, I needed only to change the material of windows, because they imported as opaque. So I selected all window meshes and created a new material that was set up this way:

This is a simple solution for mix transparency and glass shader that gives quite decent result and it is not too long for rendering.
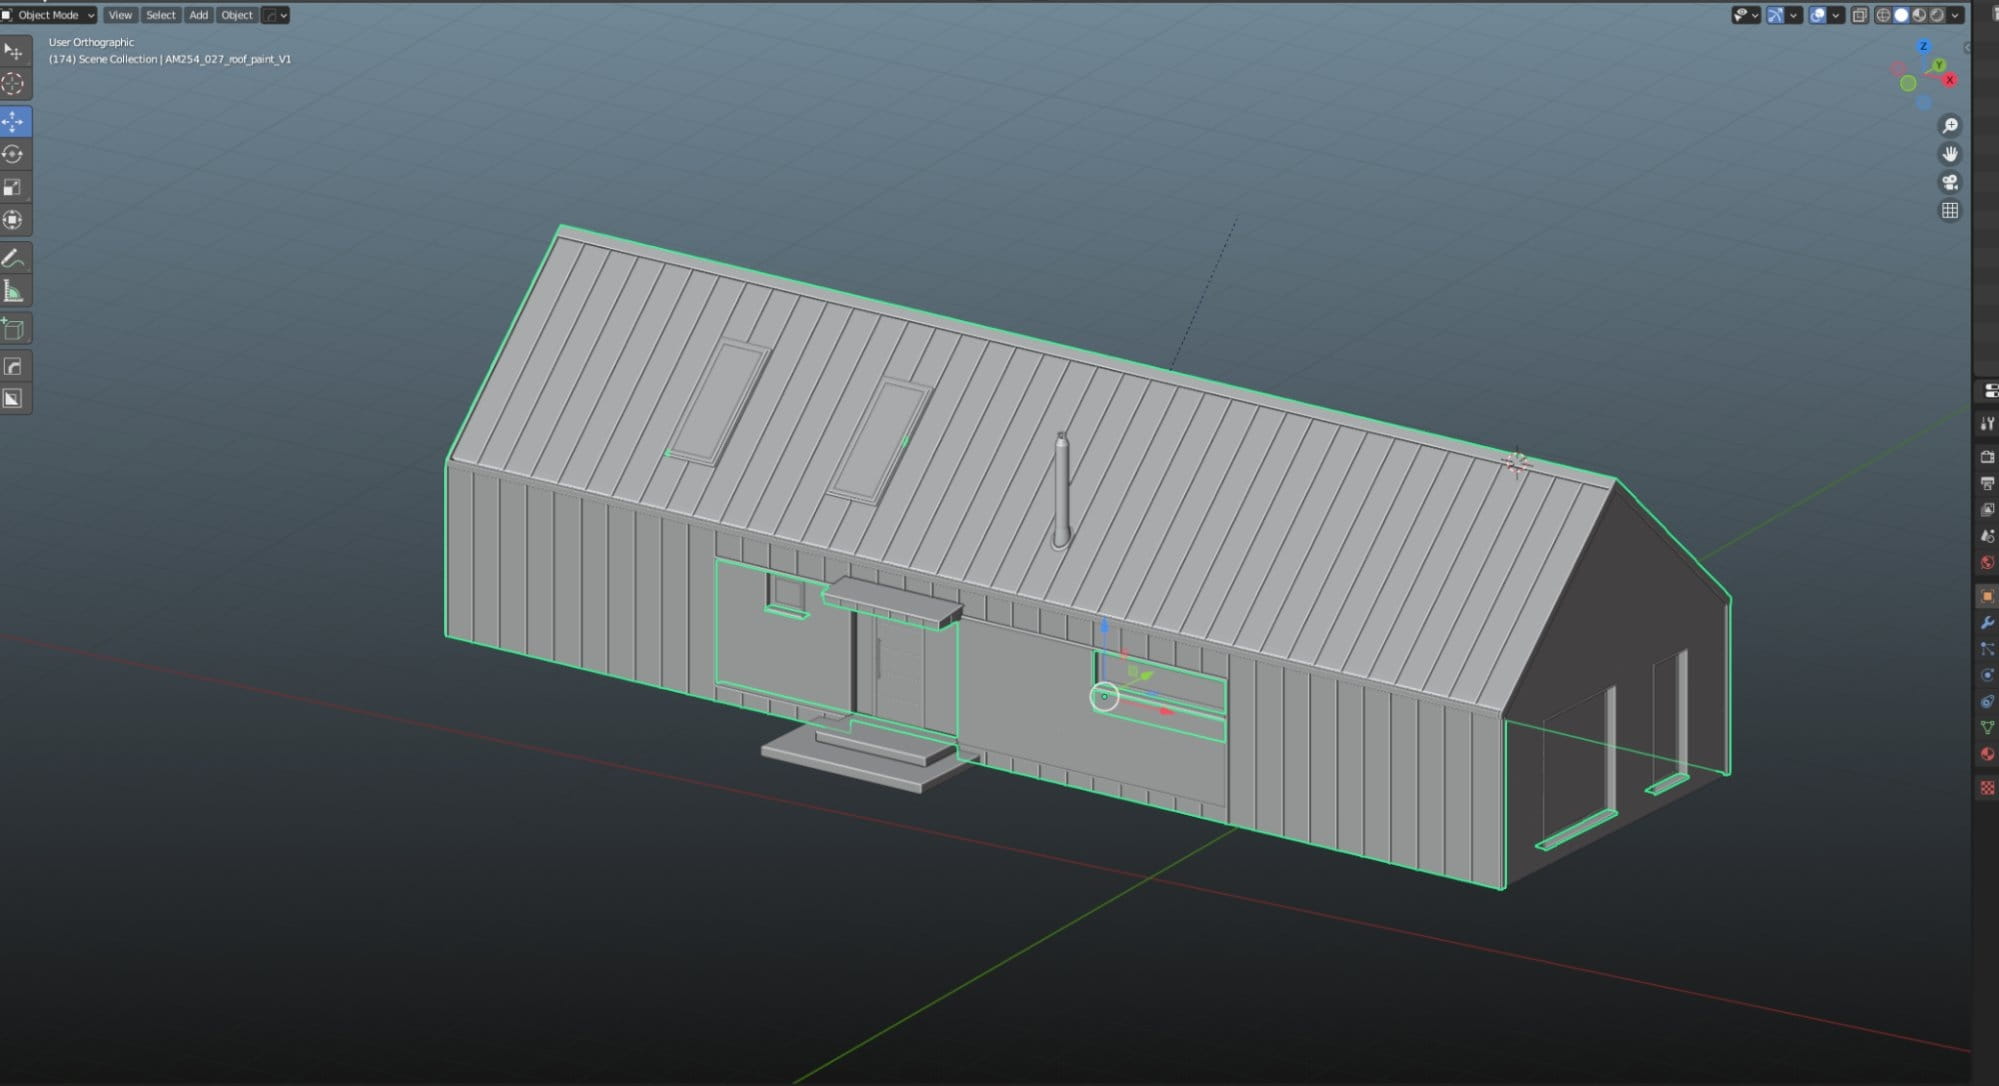
The next step was to add a ground base for this building. I created a simple plane, subdivided it some times and then switched to sculpt mode and sculpted it a bit.
I applied two materials for my ground - one is the snow covered with small vegetation and the second is a simple brown color. The second material is the bottom of the pond. I assigned it to the faces that will be covered by a plane with ice material.
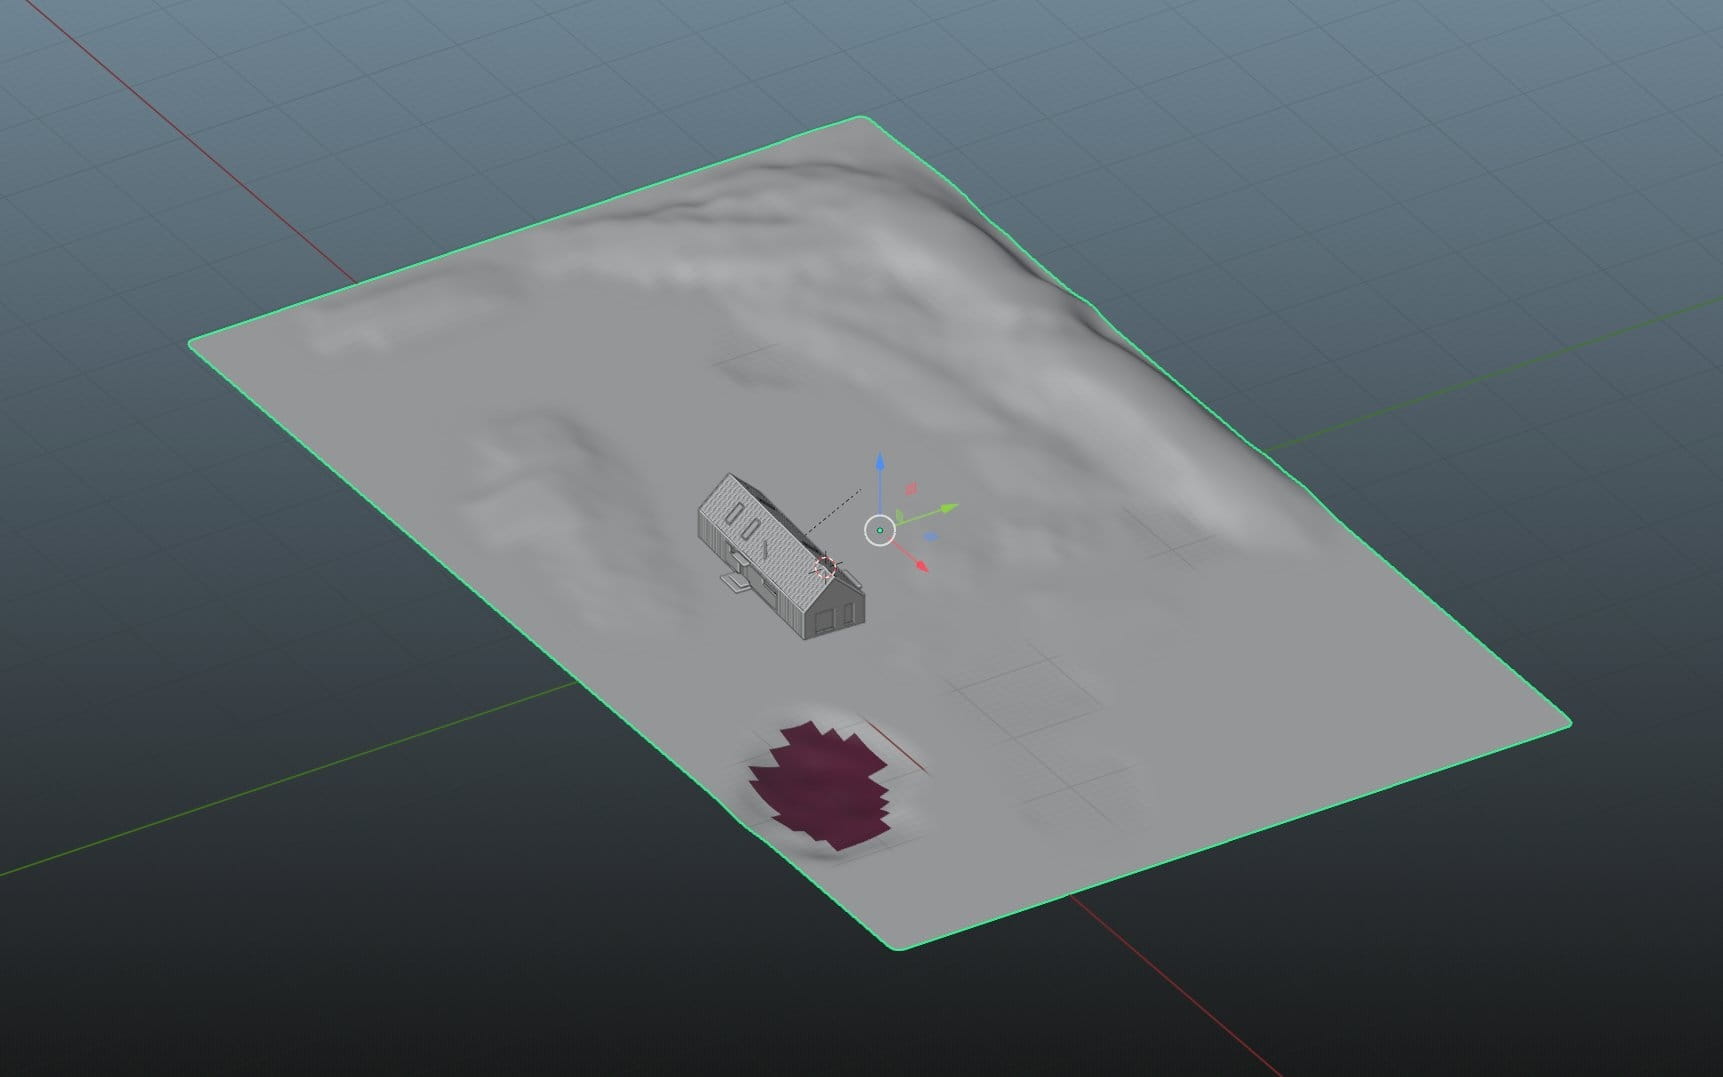
Then, I added a frozen pond - it is a simple plane with ice texture from Quixel Megascans. I also added some remains of a pier and a boat (free model from BlendSwap).

I wanted objects to be covered in snow. For boat I used a simple trick - I mixed two shaders - wood shader of boat and snow shader. Snow shader uses Geometry Input for controlling it’s position. If you take Normal from this node, separate Z position and use it as a mix factor for two shaders, you will get a mix of two materials - one will be only on top and the second will be rendered on the side and bottom faces of the model.
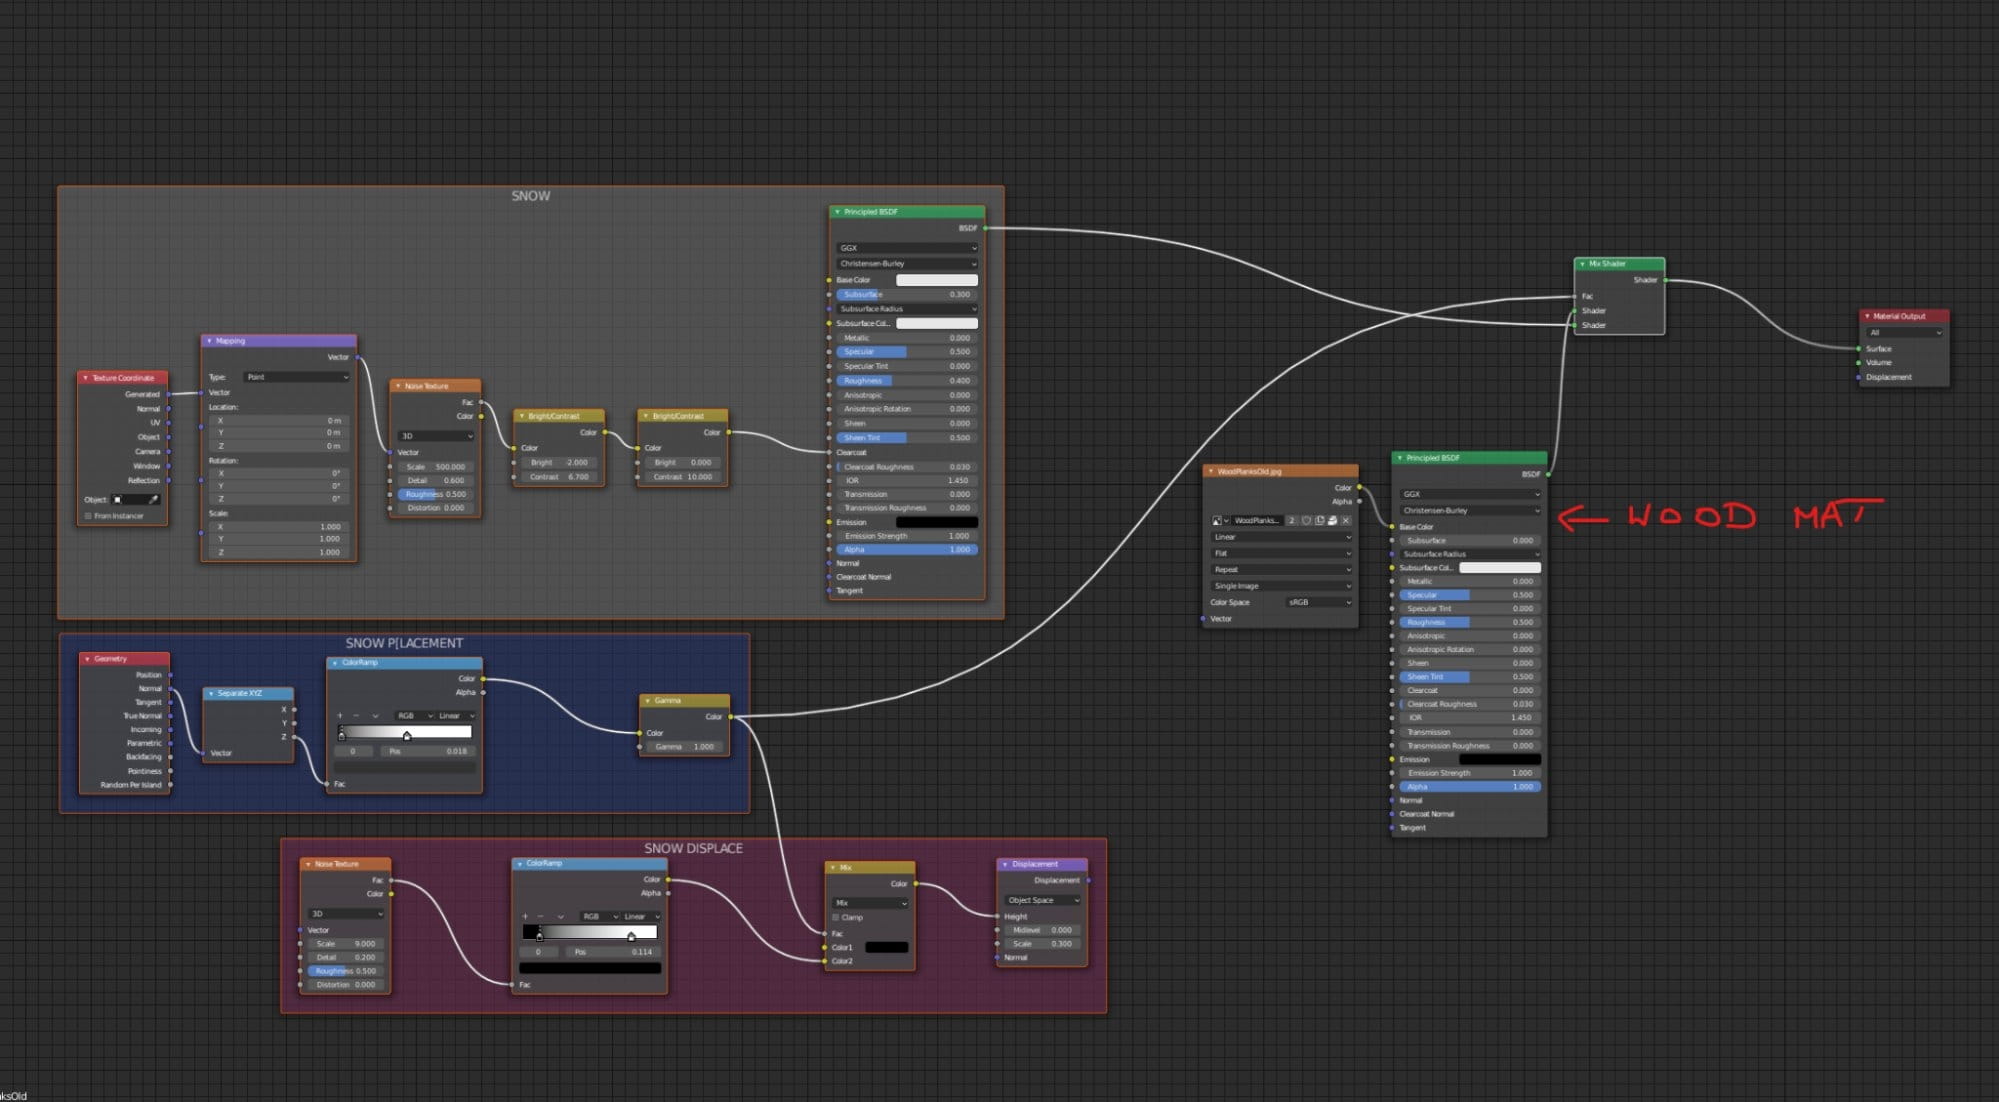
The same method worked very well when it comes to placing snow on top of the piles. Models come from Megascans library, but I modified a shader adding snow coverage on top of it.

And this is how the final shader of piles looks like.
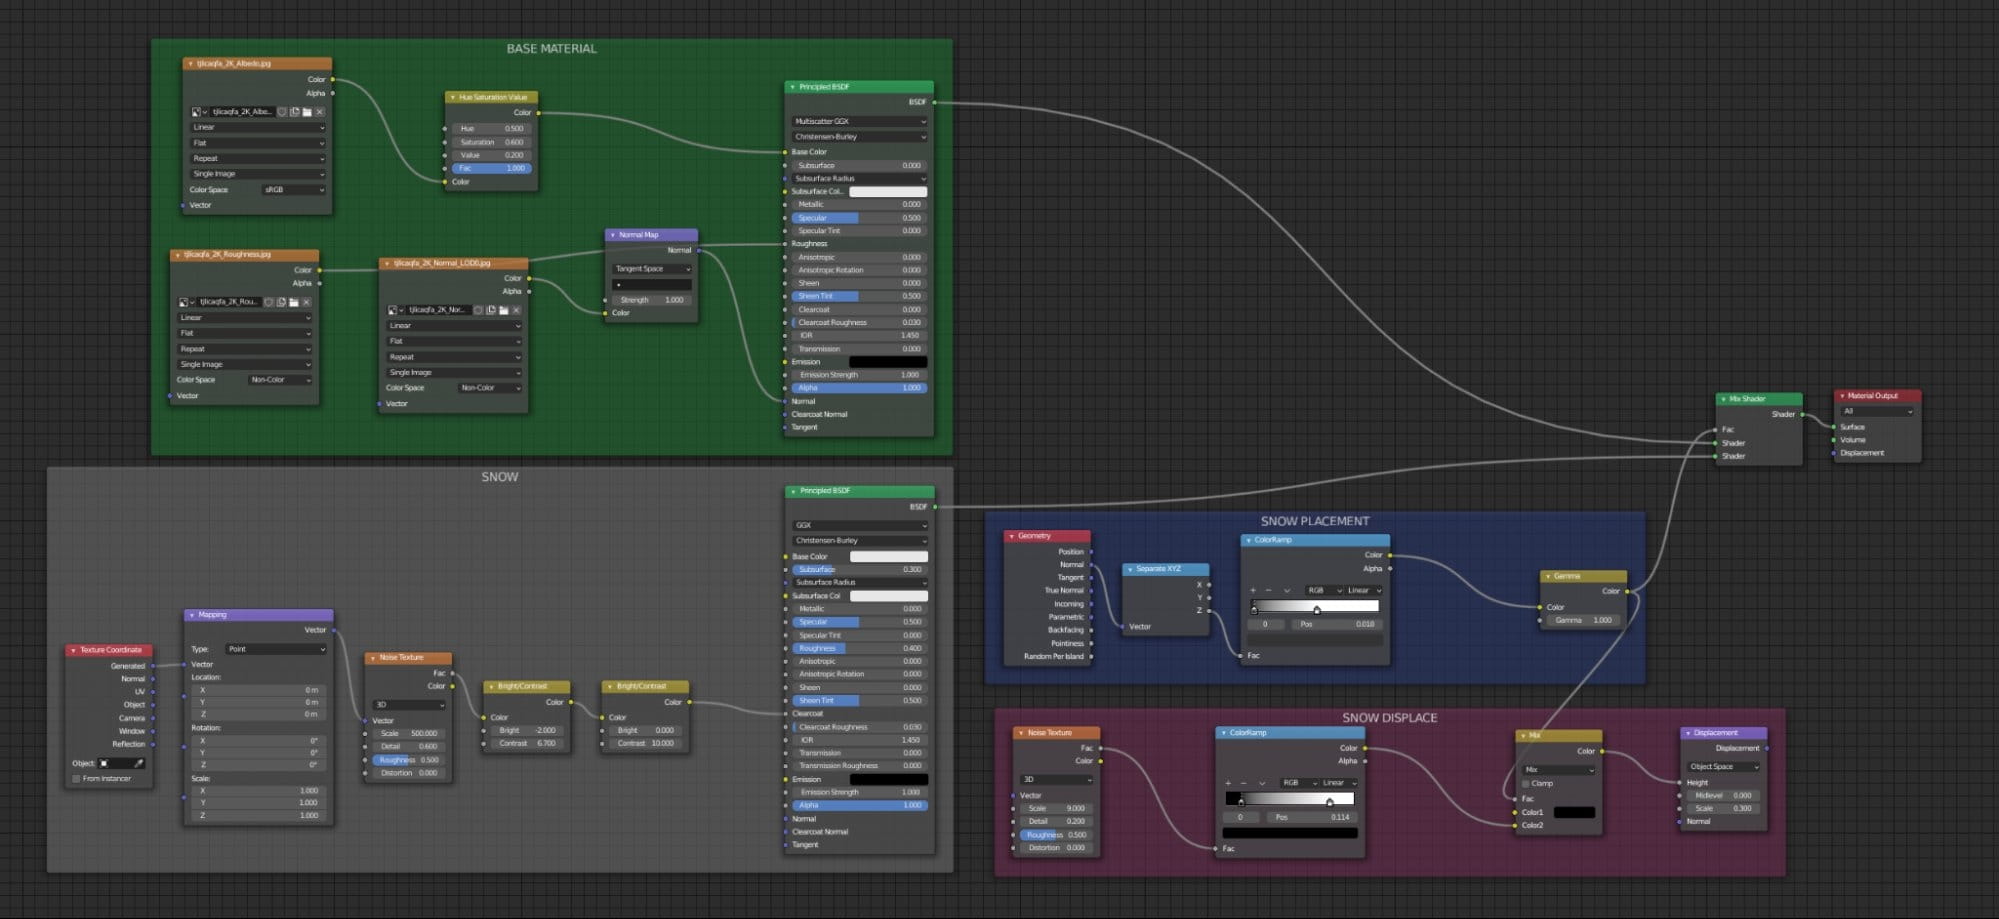
This way you can get fast fake snow coverage. But this method can be limited, so for the rest of my assets I used another solution.
I wanted to add some assets that could give some life for the scene. I browsed Evermotion models and used some industrial props, to give a little contrast to my scene. Cosy cabin vs abandoned winter and industrial surroundings could be and interesting setting.
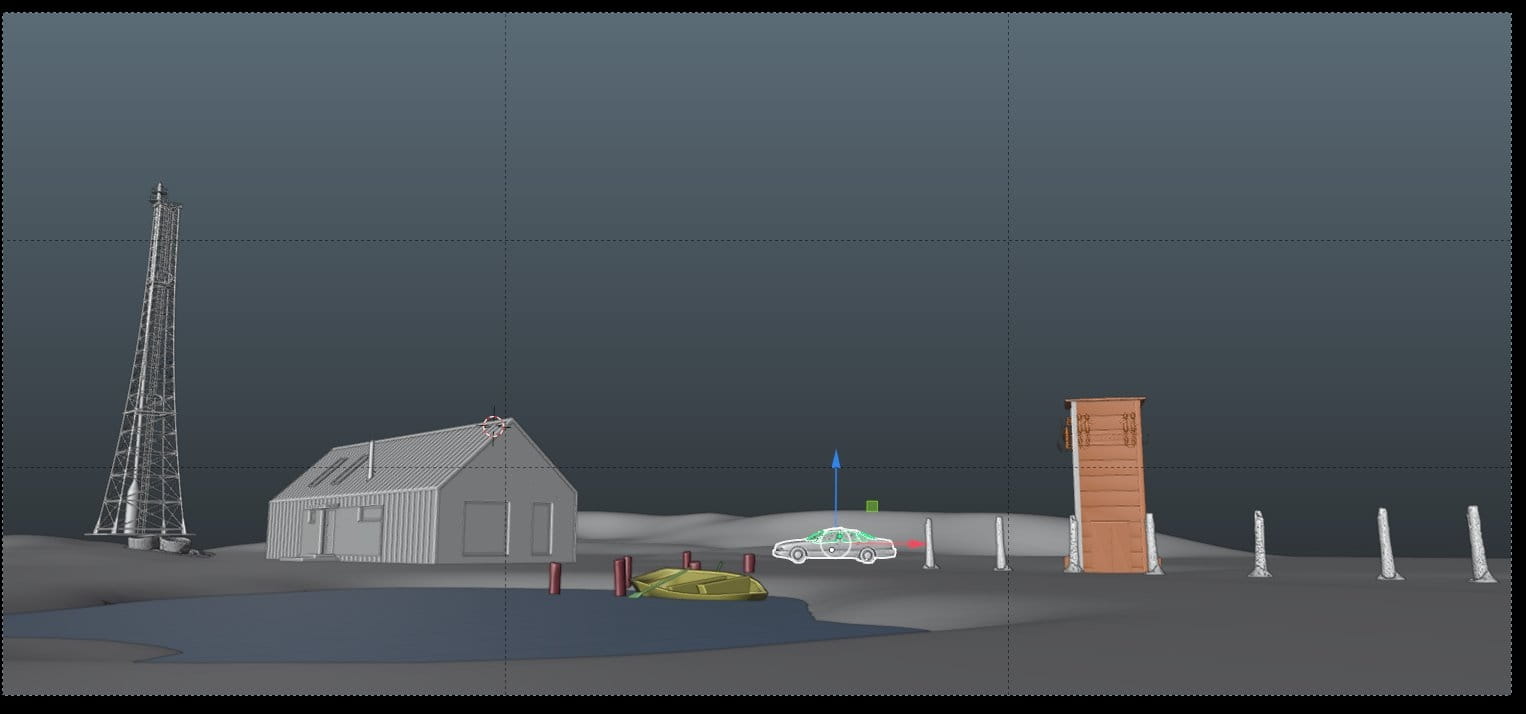
The radio tower is imported from Archmodels vol. 227.
The transformer station, wreck of a car and concrete elements come from Archmodels vol. 165.
All models imported without problems as OBJ files.
Real snow on the objects
I wanted to test another approach for creating snow on the objects. Luckily, Blender comes with built-in add-on called “Real snow”. What it does is it created an additional mesh on top of your selected meshes and assigns snow material to it. Could not be simpler!
You need to be careful though, because you don’t want to select many high poly elements or your computer will stop responding. “Real snow” is a good solution for roofs, benches, etc. - all elements that could use some snow coverage but do not have complicated and too curved surfaces.
Real snow has very simple controls - you have “coverage” slider to control the snow amount, “height” slider to control its height (duh!) and a button “Add snow”. You can also choose to add snow only to seleced faces instead of the whole model. And that’s what I did - I selected the roof and flat top surfaces and just clicked to add snow. And it works amazingly well :)

Material blending
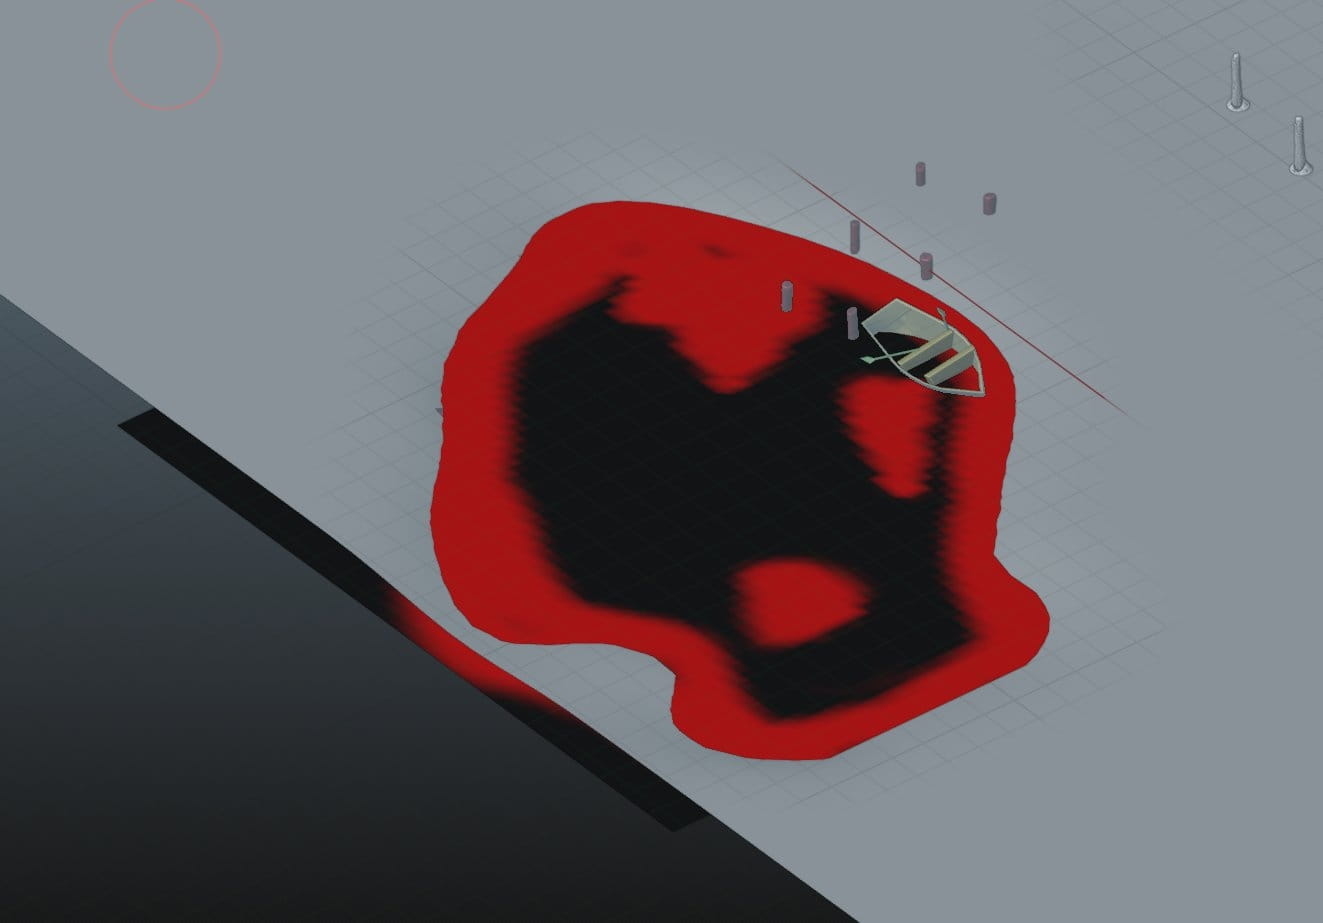
I wanted to blend my pond surface with snowy terrain to achieve better realism and seamless transition. There is a solution for that and truly it is not very complicated. You just need to create a material that mixes two shaders with Vertex Color node. And then, go to Vertex Paint mode and paint on your mesh.
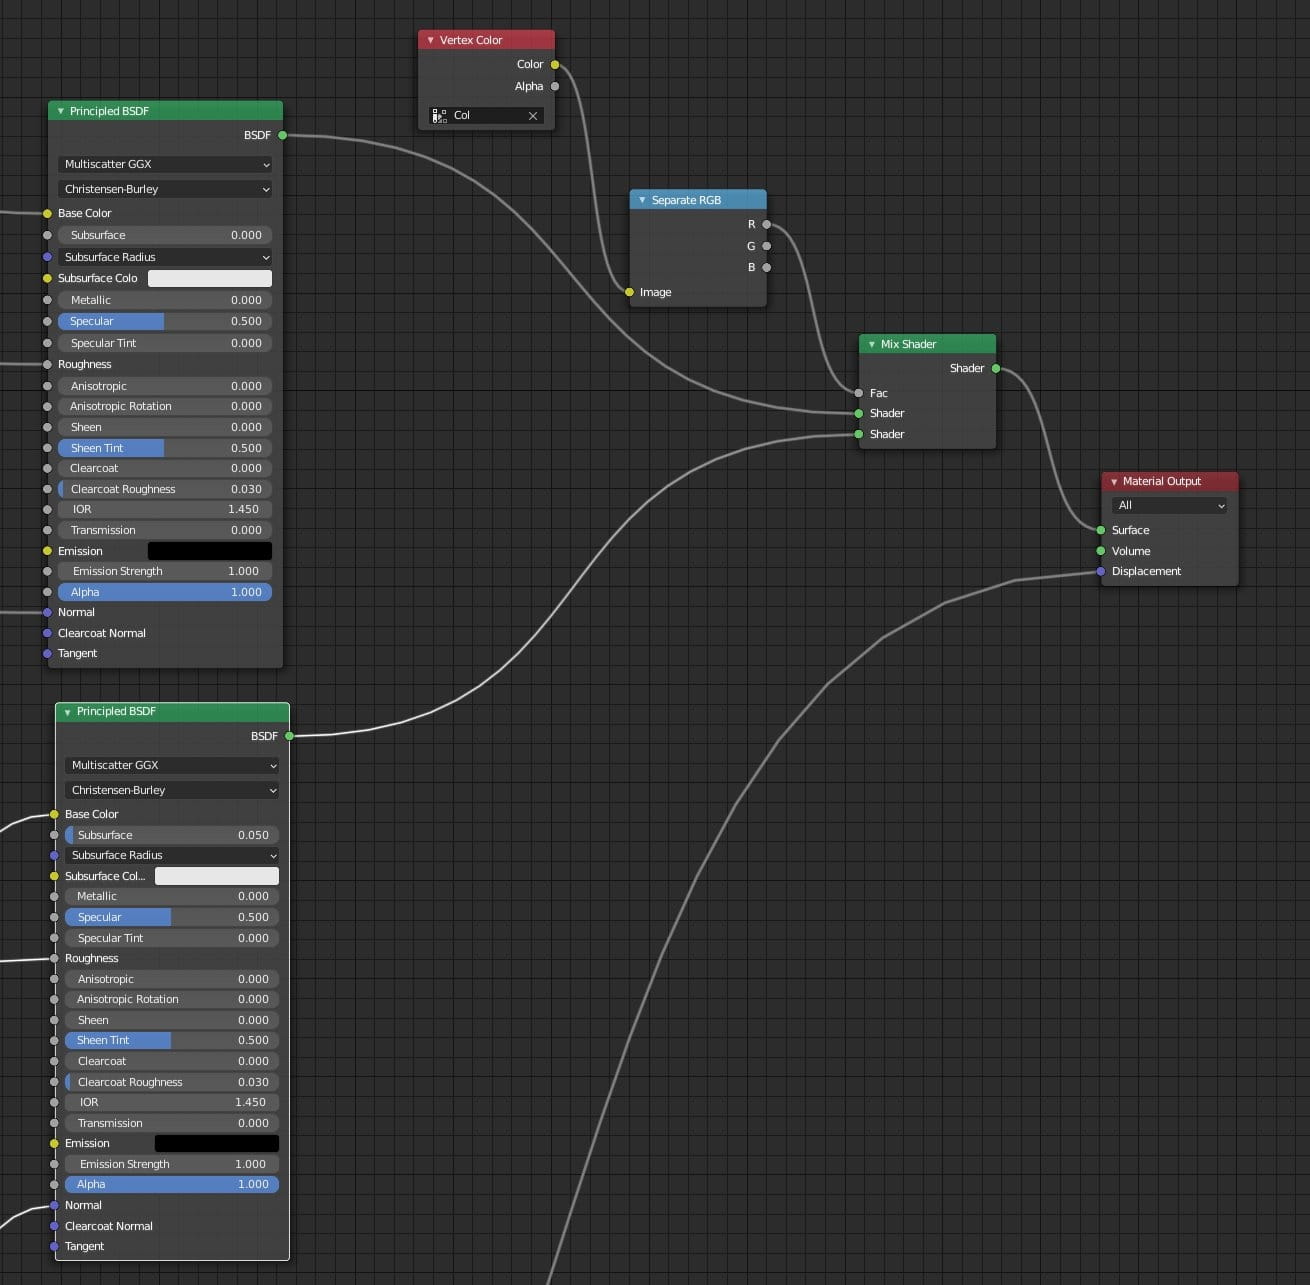
In this case - all red areas will use snow material, all black areas will use ice material.
And the final effect is here:
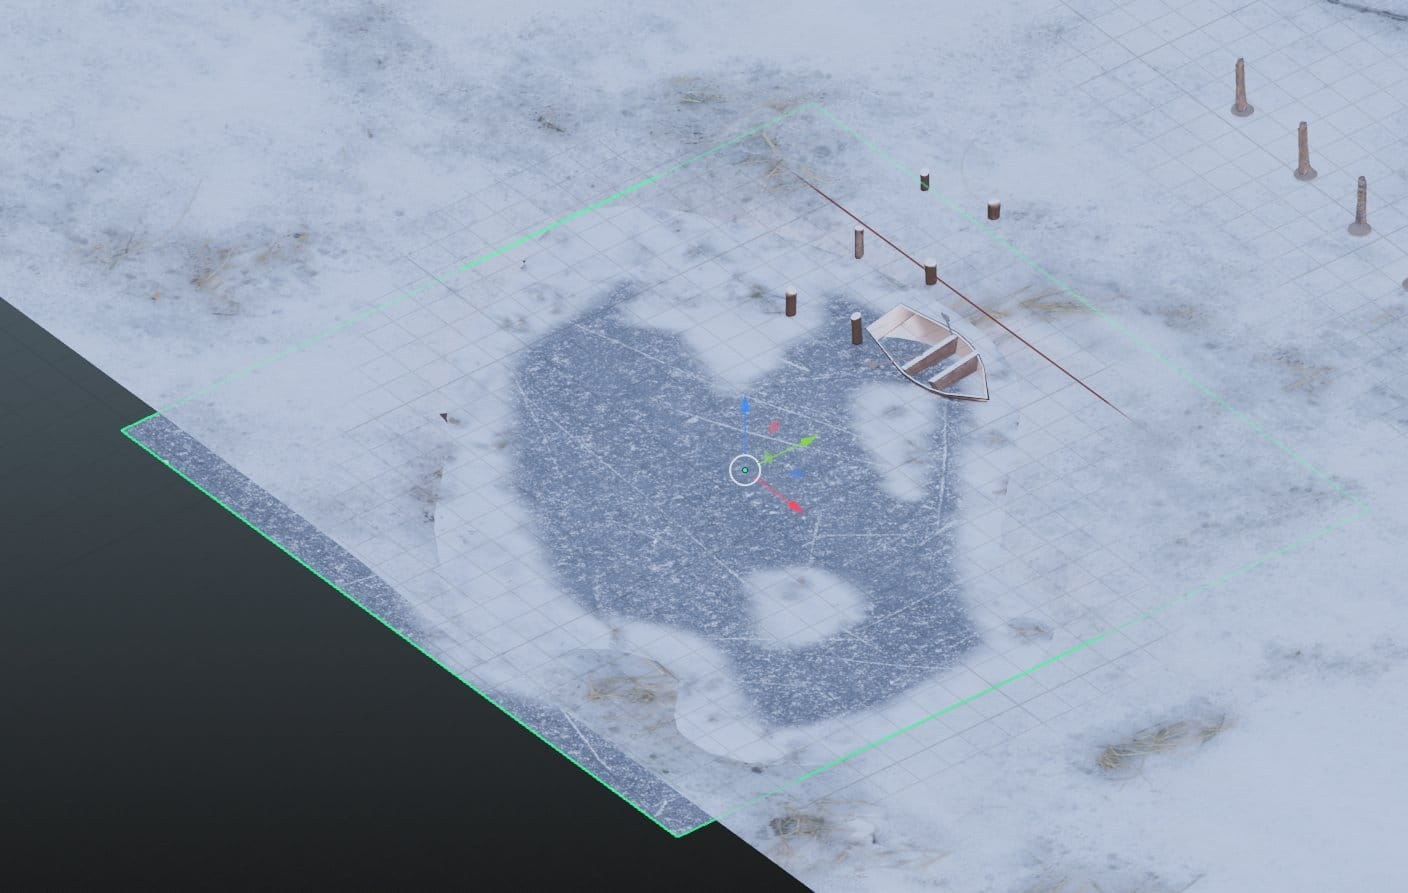
It’s not a perfect solution, because it does not transfer normals, so there can be a visible seam, where meshes collide. But still - it does the job pretty well and it is fast to implement.
The rest of tutorial (lighting, creating distant trees nad post-production) comes in part 2.


LEAVE A COMMENT


|

|

|

|

|
 Customer zone
 Your special offers
 Your orders
 Edit account
 Add project
 Liked projects
 View your artist profile
COMMENTS