How To Make Your CGI Walls More Realistic
Realistic walls with noise modifier.
Total: € 0
Continue Shopping
In accordance with the art. 13 section 1 and 2 of the European Parliament and Council Regulation 2016/679 of the 27th April, 2016 on the protection of natural persons, with regard to the processing of personal data and on the free movement of such data, and repealing Directive 95/46/EC (General Data Protection Regulation), hereafter RODO, I hereby inform that:
1. EVERMOTION S.C., 8 Przędzalniana Str., 15-688 Białystok, Poland is the Administrator of your Personal Data (APD)
2. Data Protection Inspector can be reached through e-mail: iod@evermotion.org
3. Your personal data are to be processed on the basis of art. 6 section 1 letter a, b and f of RODO in order to:
a) prepare, conclude and execute the agreement and for other purposes approved by you,
b) to execute the legitimate interest like marketing of products and the agreement, claim assertion or defence against claims resulting from the law regulations.
4. Entities entitled to the reception of your personal data may be the authorised public bodies; mail providers; providers of the services covered by the agreement; responsible for debt recovery, keeping the archives, document utilization, legal consulting, technical services, IT services and accountancy.
5. Your personal data shall not be transferred to the third country, nor to the international bodies.
6. Your personal data shall be processed within the period of the agreement and upon your additional consent until you withdraw it. APD shall keep the data for the period of any civil law claim execution connected with the agreement.
7. You have the right to demand an access to your personal data, to correct or to delete the data if there is no other basis for the processing or any other purpose of such processing or to limit the processing of the data, to transfer the data to another administrator and to raise objections to the further data processing if there is no legal basis for further processing and to withdraw any previous consent.
8. You provide the personal data voluntarily, however they are necessary to conclude the agreement. The refusal of providing such data may result in the refusal of the agreement conclusion.
9. You have the right to lodge a complaint to the Personal Data Protection Office when in your opinion the data processing violates the regulations of General Data Protection Regulation of the 27 April, 2016 (RODO).
10. Your data will be automatically processed, including the form of profiling.
11. You are obligated to forward above mentioned information to your representative, especially if you appointed this person in the agreement as the contact person or as the representative for the agreement execution.
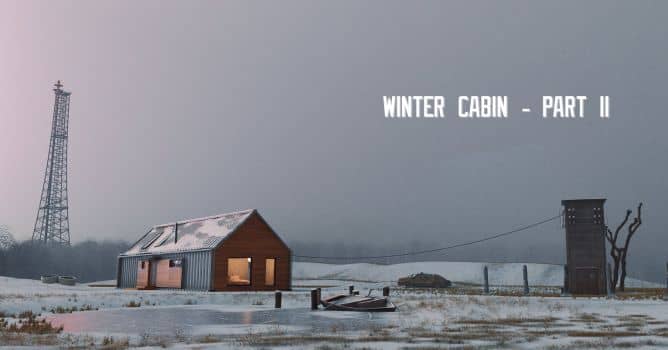

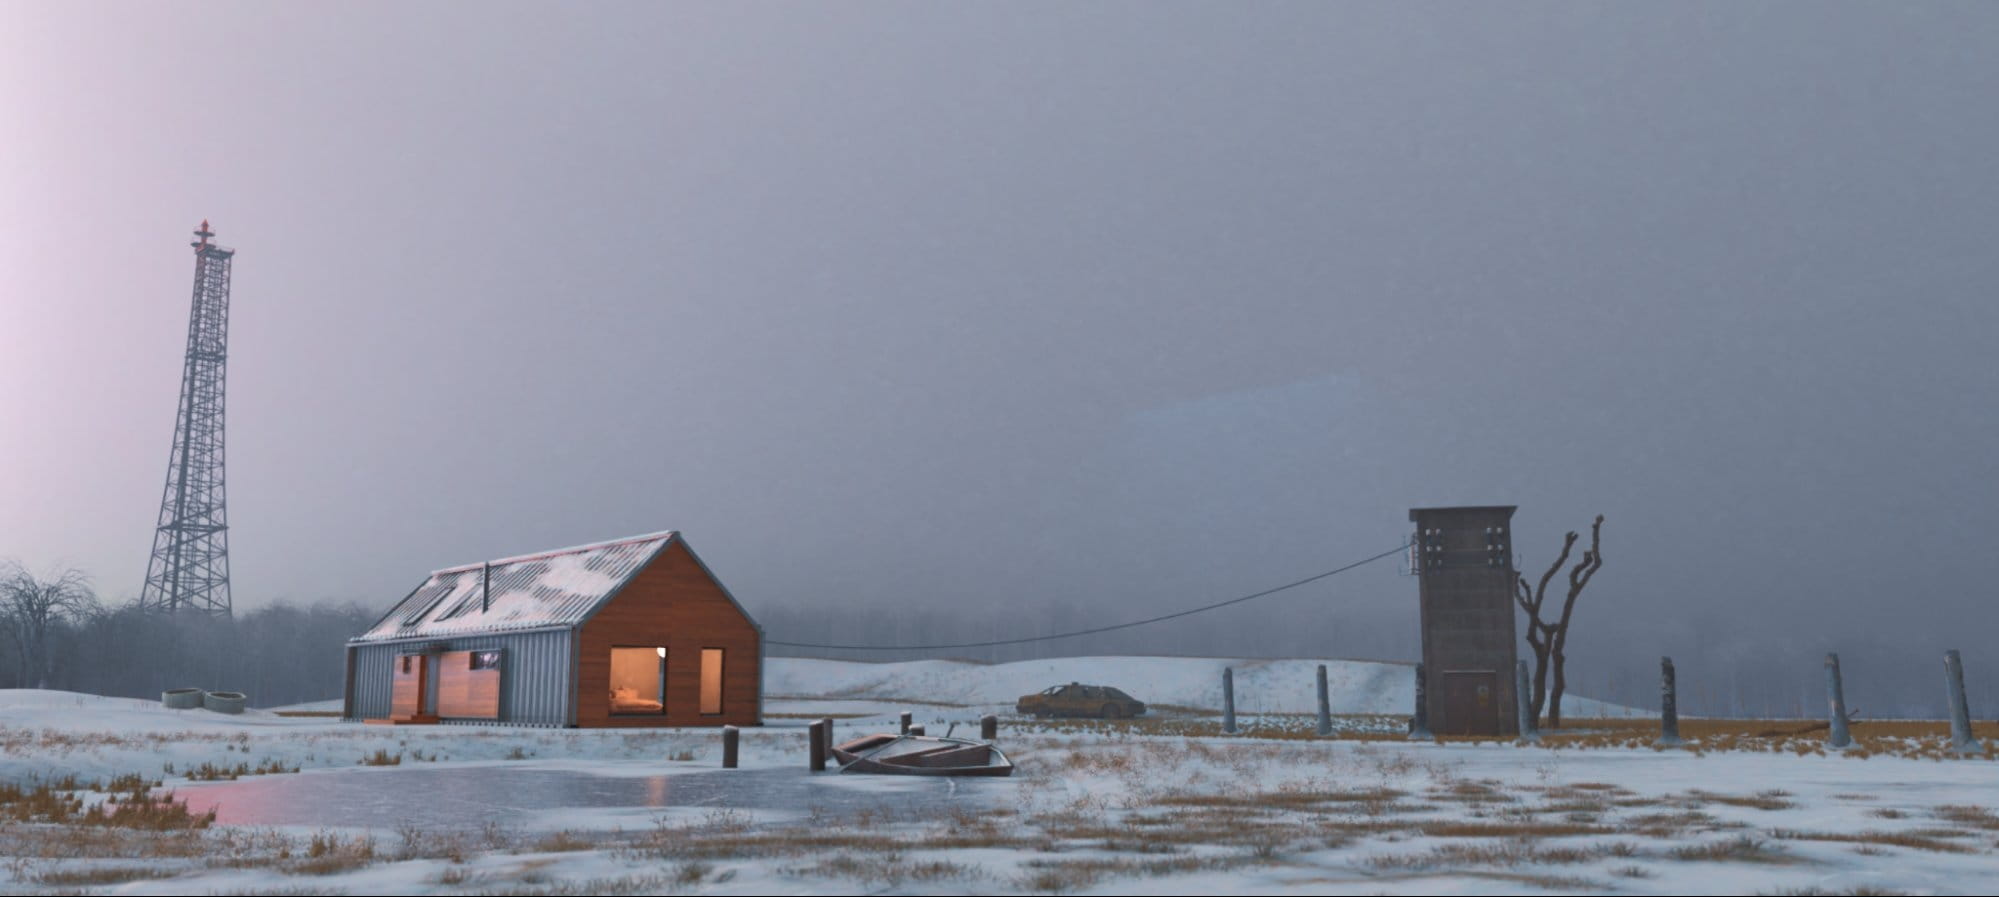
This is a part 2 of the tutorial aboutr making Einter Cabin scene in Blender. We cover creating distant trees line, lighting and post-production.
The scene is lit with a single HDRI map from HDRI Haven. I used 4K version of Kloppenheim map.

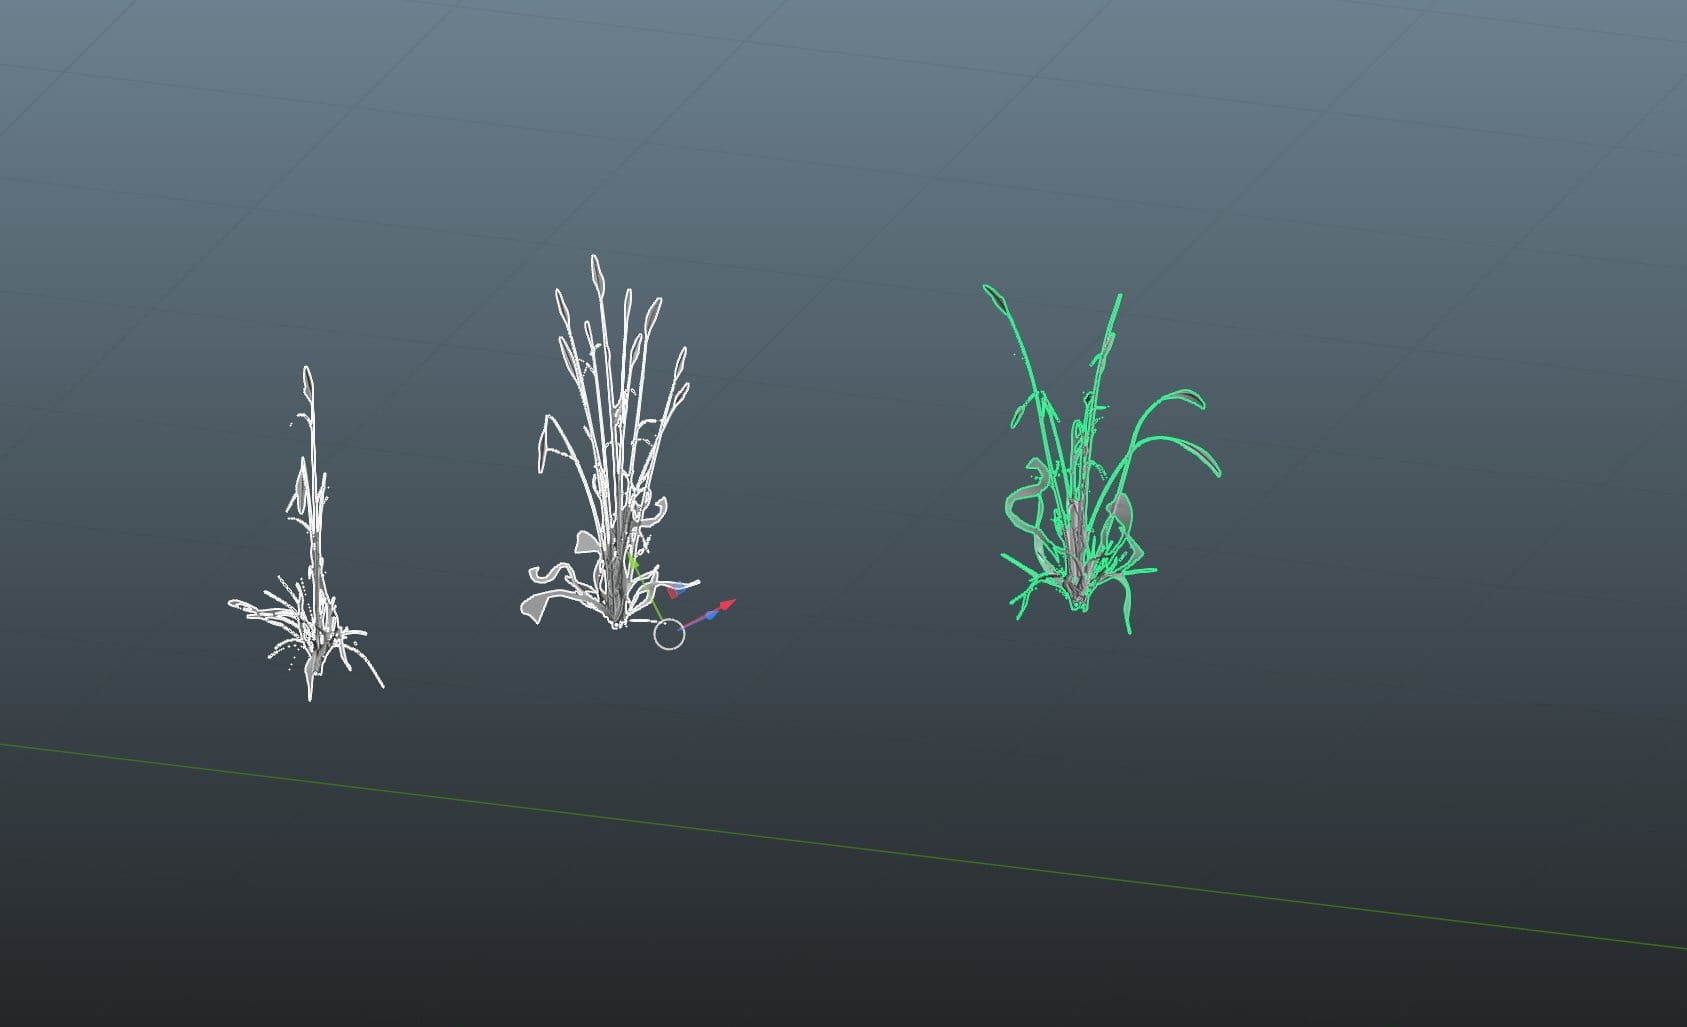
For foliage, I used two scattering systems. I placed a plane close to the camera and scattered botaniq assets on it.
It is very close to camera, so I had to use it to have better quality for just a couple of first meters. Botaniq settings are simple - I used Winter grass models and that’s it!
For the further vegetation I used Quixel dry foliage and scattered with a free GScatter plugin.

Quixel meshes that I scattered with GScatter:
I had to make some adjustments before scattering - I moved origin points of each mesh to the bottom.
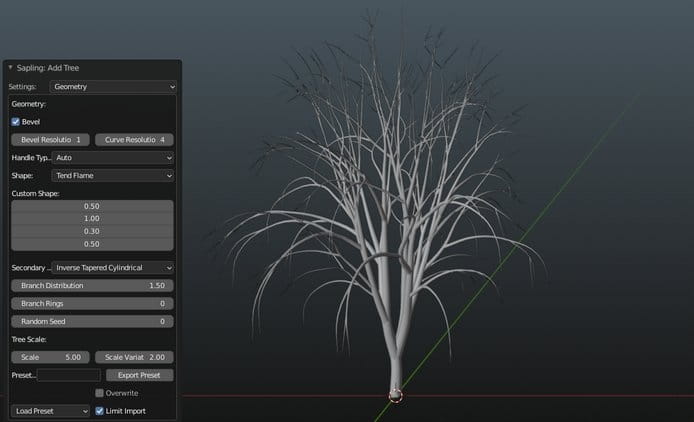
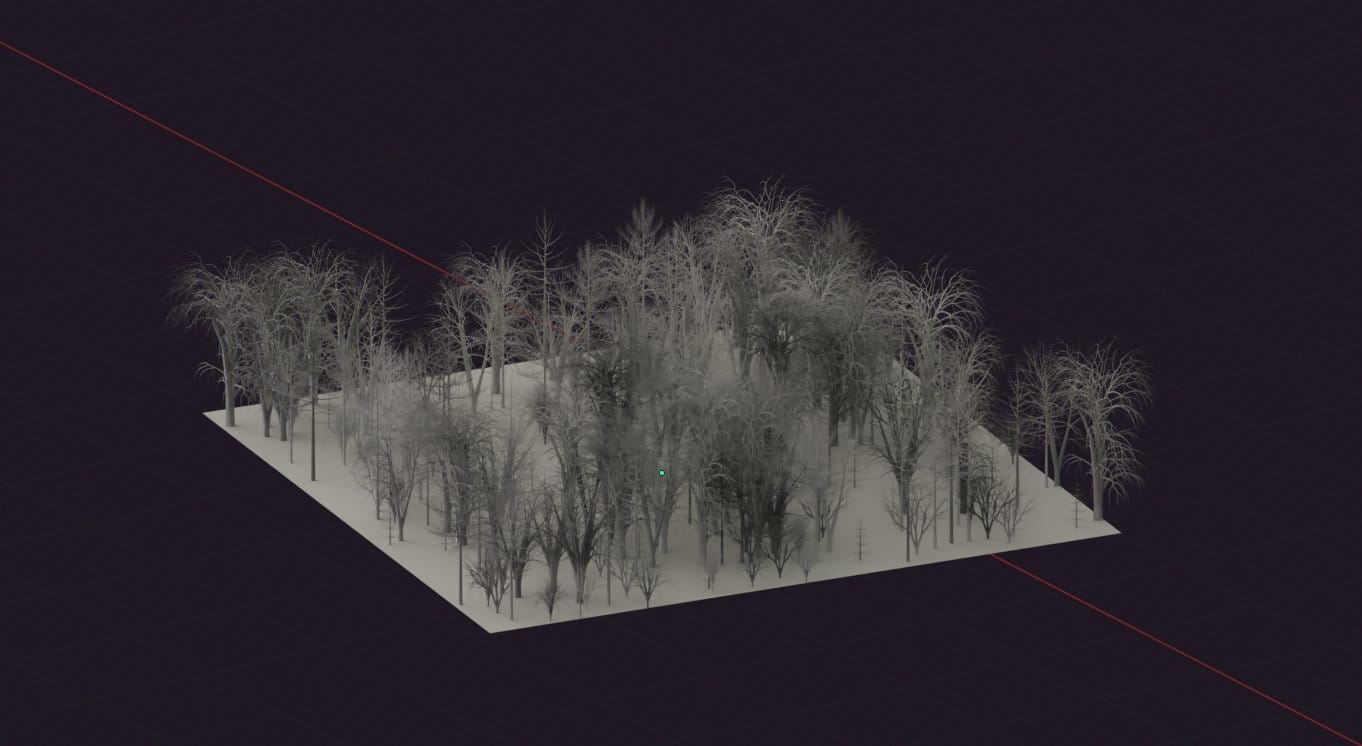
The next step was to add distant trees. In many visualizations people use cut-out trees maps and place them in a bacground of a scene. It is a simple and usual solution that works. While creating this scene I browsed many pages with some winter trees but couldn’t find anything that would suit my scene. So I decided to test a custom solution for that.
Blender comes with a free “Sapling Trees” add-on that can generate many species of trees in a blast. I created a new scene and started generating trees - but without leaves, it’s a winter time after all! I moved them all to a separate collection.
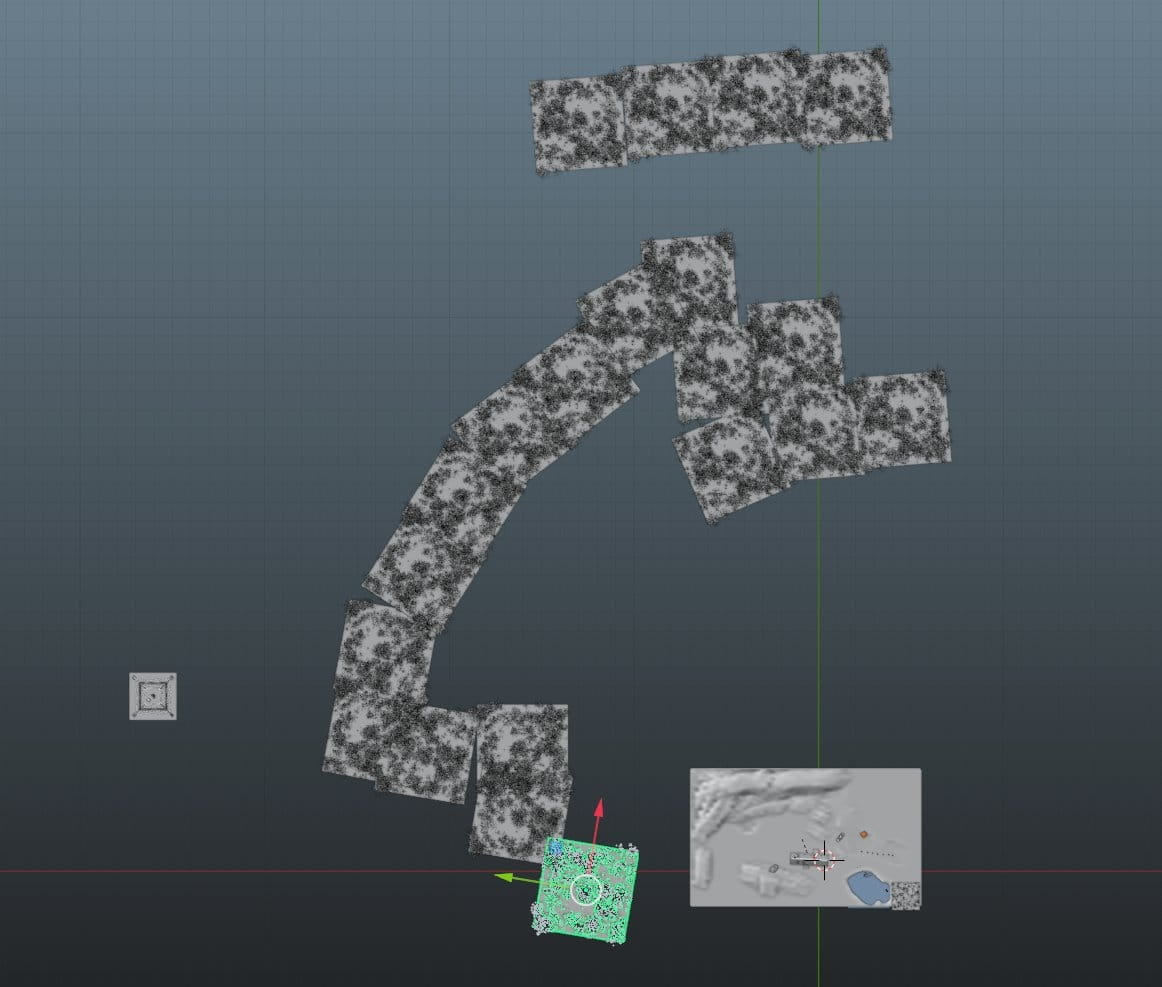
Then, I added a plane, subdivided it and added a particle system. I used “hair mode” and my trees are randomly scattered.

Now I moved my plane with trees to my main scene and make some instances of it. To make object instance you use ALT-D shortcut, instead of SHIFT-D (duplicate). With instances you do not add new geometry to the scene, which makes it faster during rendering and uses less memory.
So, these are my tree planes placed in the final scene. And I am really happy with the result.
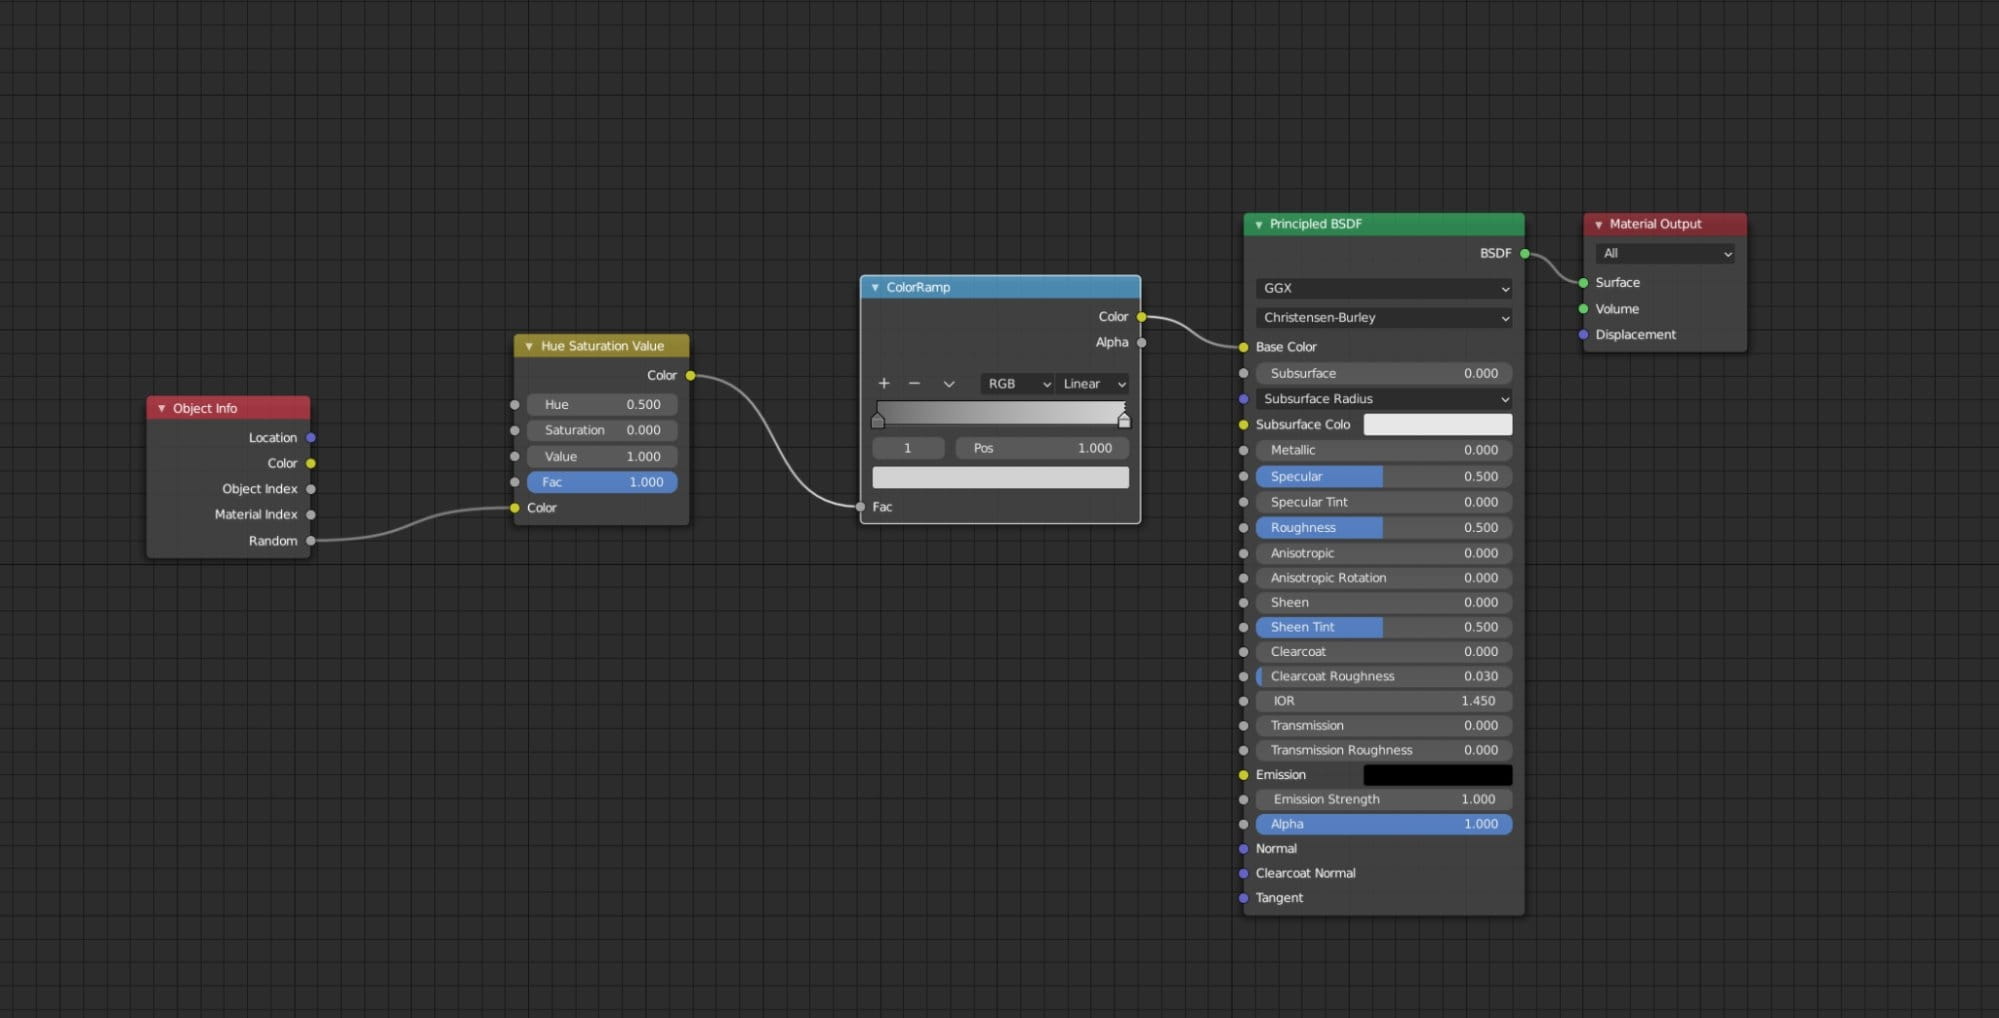
There was one thing though - I needed some material for trees that would make them a bit random colorized. A single black color was not sufficient.
So I used “Object info” node and plugged “Random” output into “Hue / Saturation” node to randomize trees shading. I used a greyish Color ramp, so my trees are randomly more or less dark.
I used a wide camera angle and was ready to render the final scene.

Grading was a simple process - after exporting EXR file I set the correct exposure, hue and a bit of color balance.
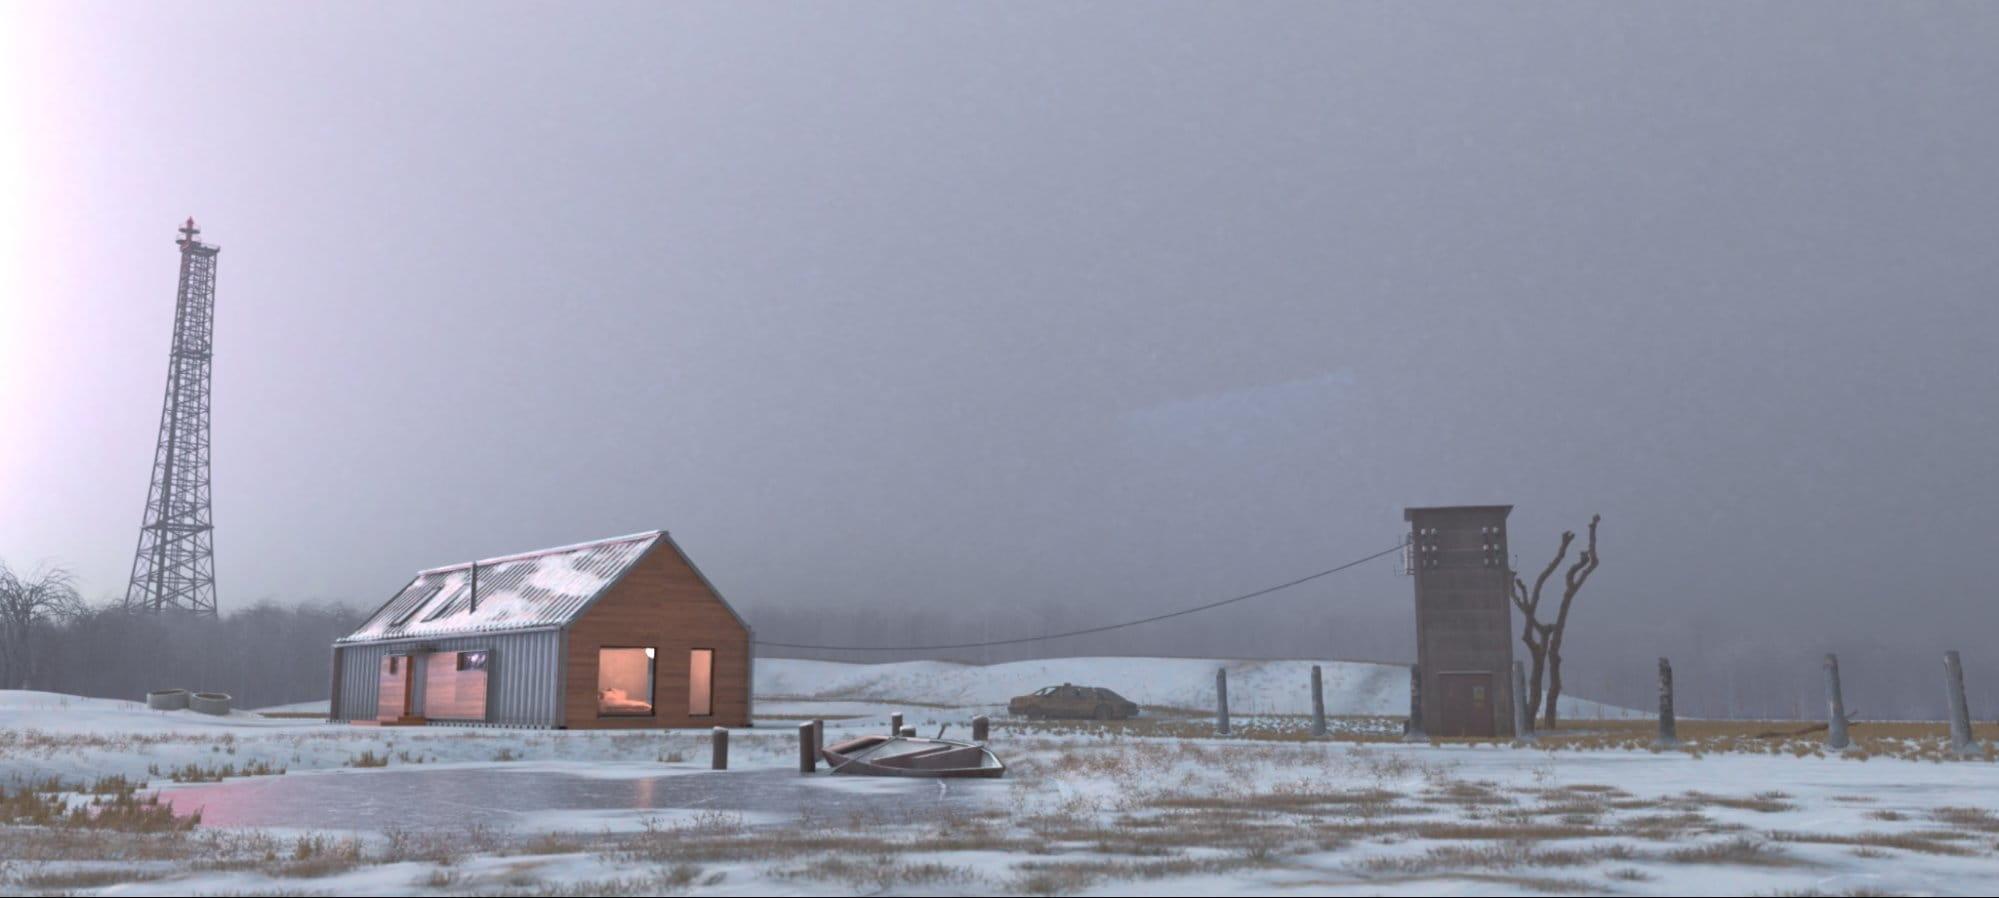
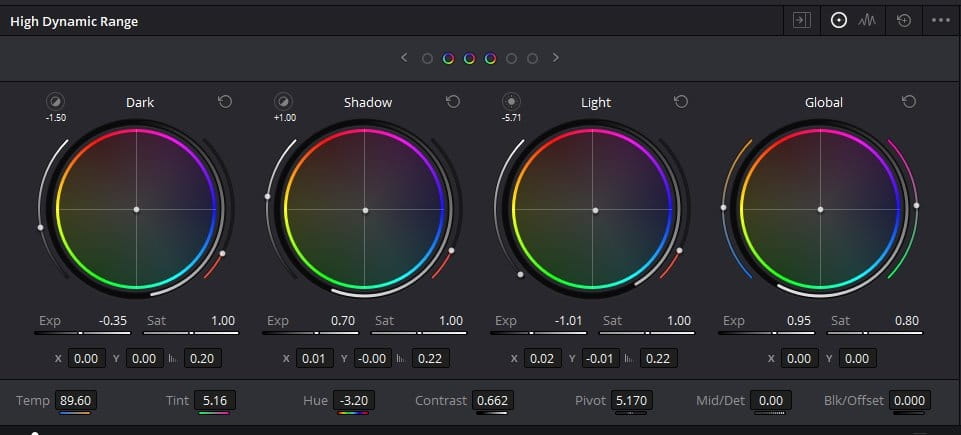
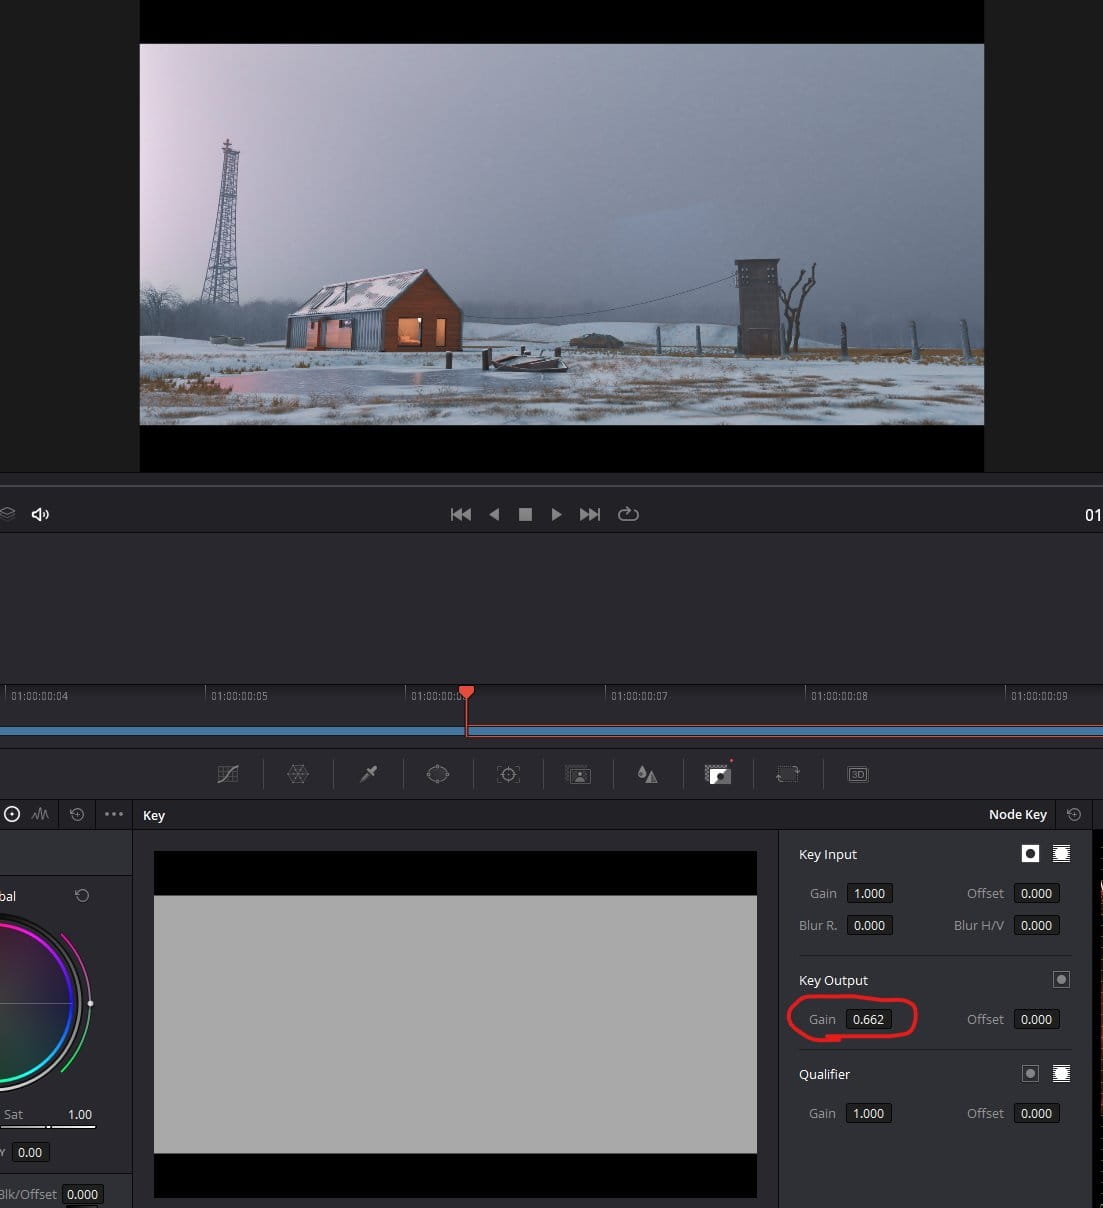
Then I added Roman Hense LUT with about 0.66 gain.
The next step was to use Filmconvert plugin for Davinci Resolve and a bit of sharpening.
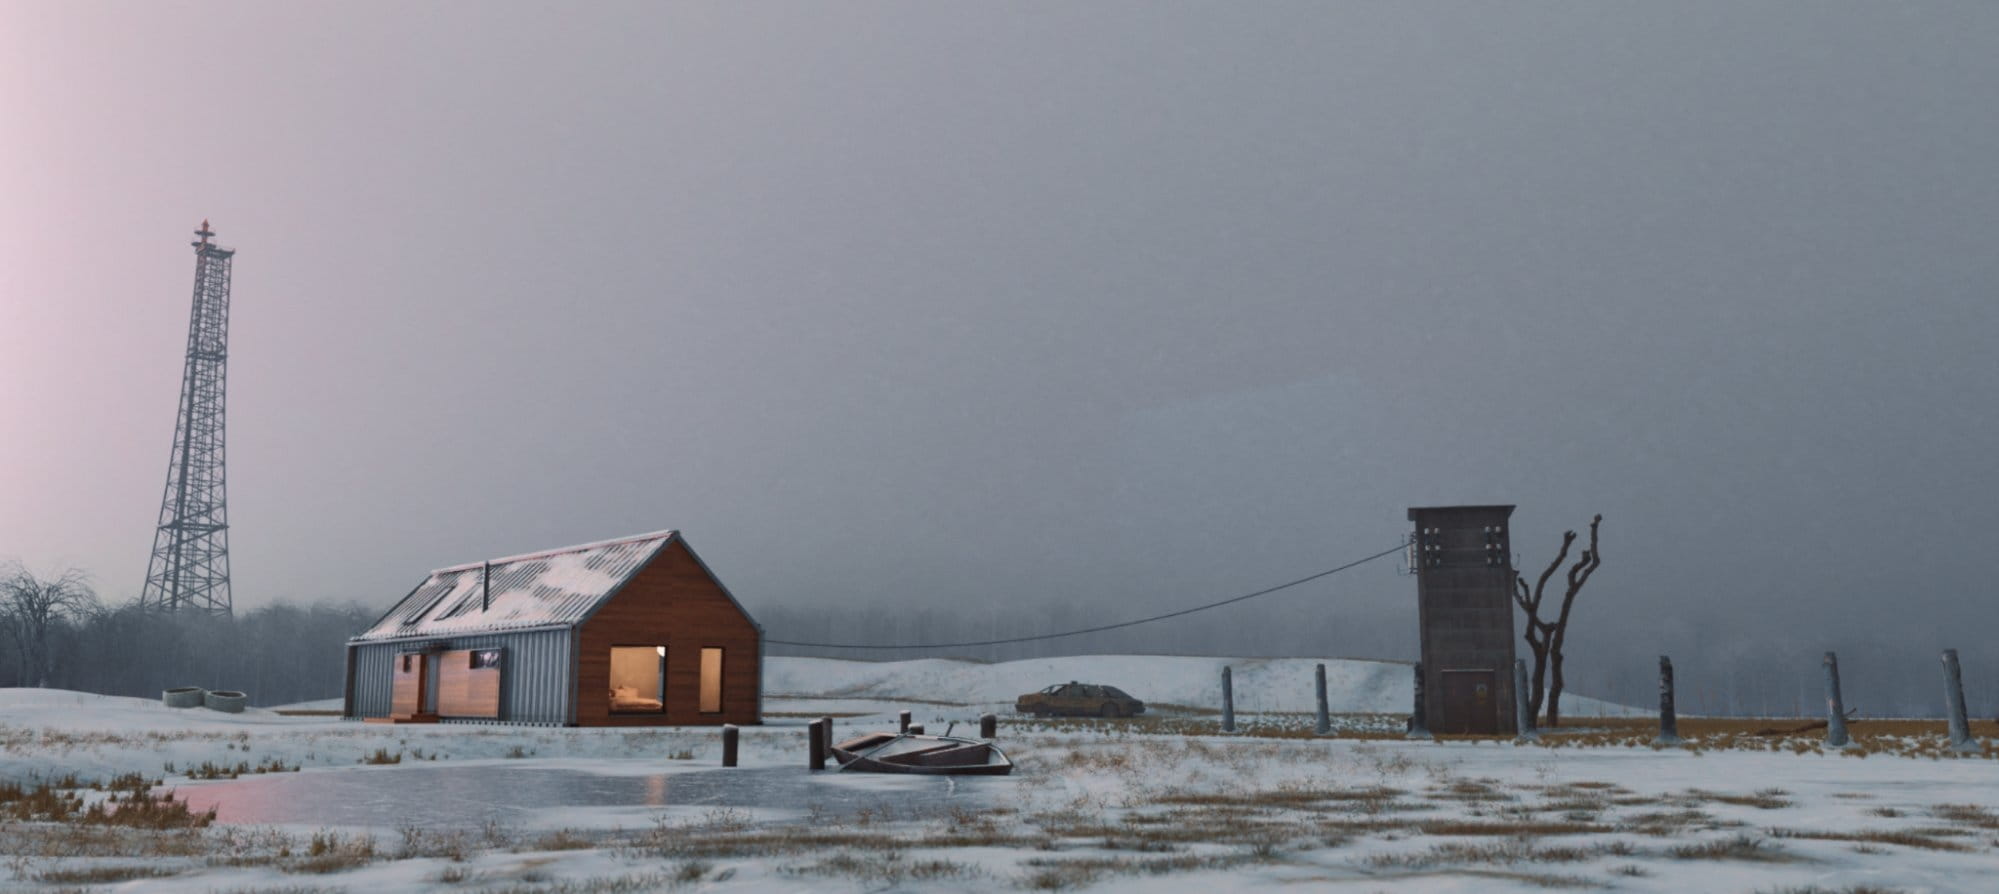
And that’s it! Hope you like it :)


LEAVE A COMMENT


|

|

|

|

|
 Customer zone
 Your special offers
 Your orders
 Edit account
 Add project
 Liked projects
 View your artist profile
COMMENTS