We add new 3D SCANS every week

Shop Now
Search
Cart
Sign in
  • offerCustomer zone
  • offerYour special offers
  • offerYour orders
  • offerEdit account

  • offerAdd project
  • offerLiked projects
  • offerView your artist profile

  • Dark mode

We care about your privacy

We use cookies to provide you with the best possible experience. They also allow us to analyze user behavior in order to constantly improve the website for you. The consent is voluntary. You can withdraw it at any time or renew it in Cookie settings on the home page. Withdrawal of your consent does not affect the lawfulness of processing performed before the withdrawal. Privacy Protection Policy
Accept all
Accept selection
Reject all

Making of "The French Bedroom"

Renjith_R 2019-02-04 11:00 tutorial  > Making of  > modeling

Tutorial by Renjith_R.

Hi everyone, before I get started I would like to introduce myself, my name is renjith_r and my website is rvizstudio.weebly.com. This is my first attempt to post a tutorial which is helpful to somone who started working with corona renderer in 3ds max. Really its a simple tutorial for beginners.

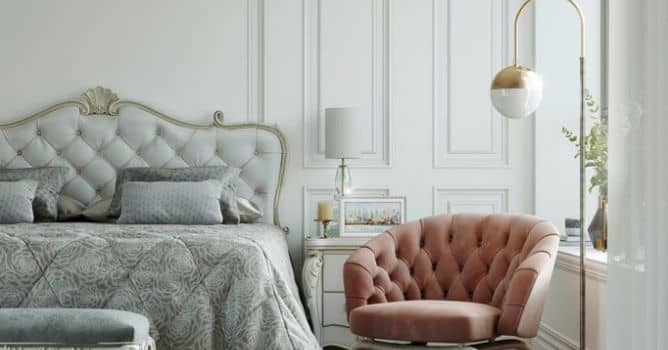
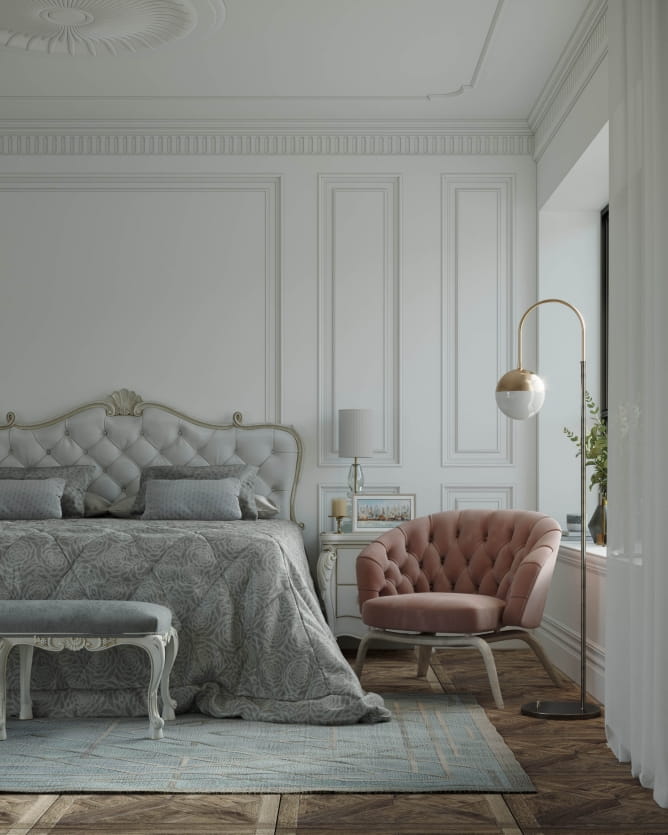
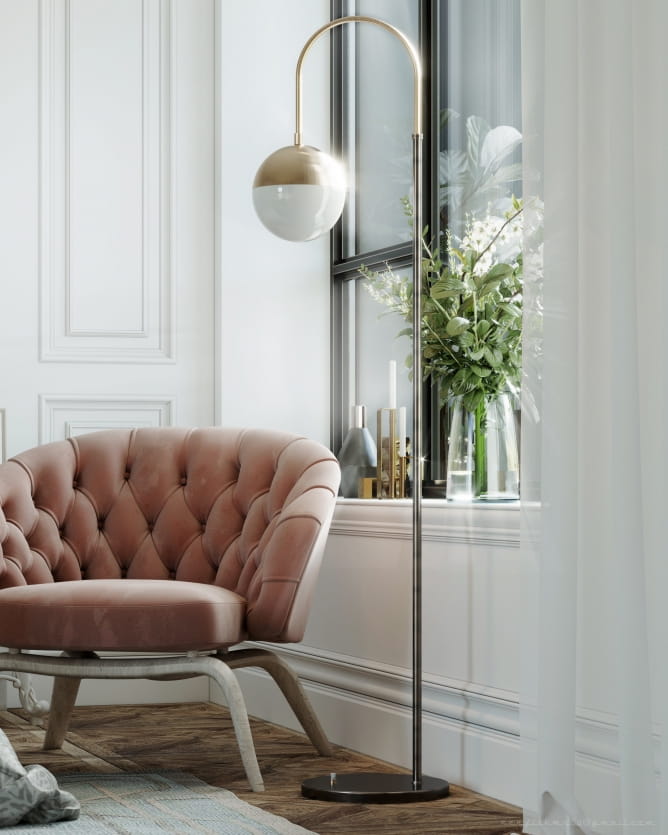
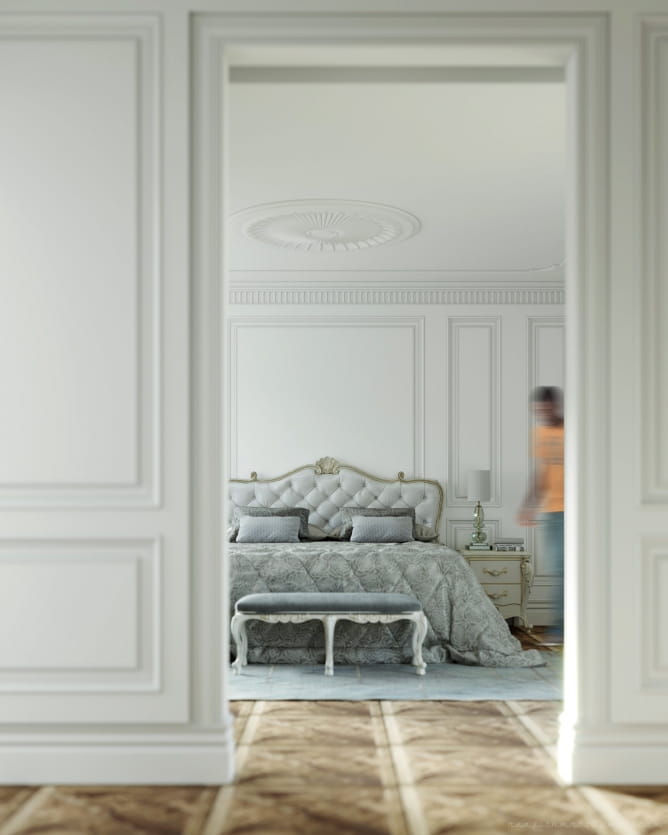
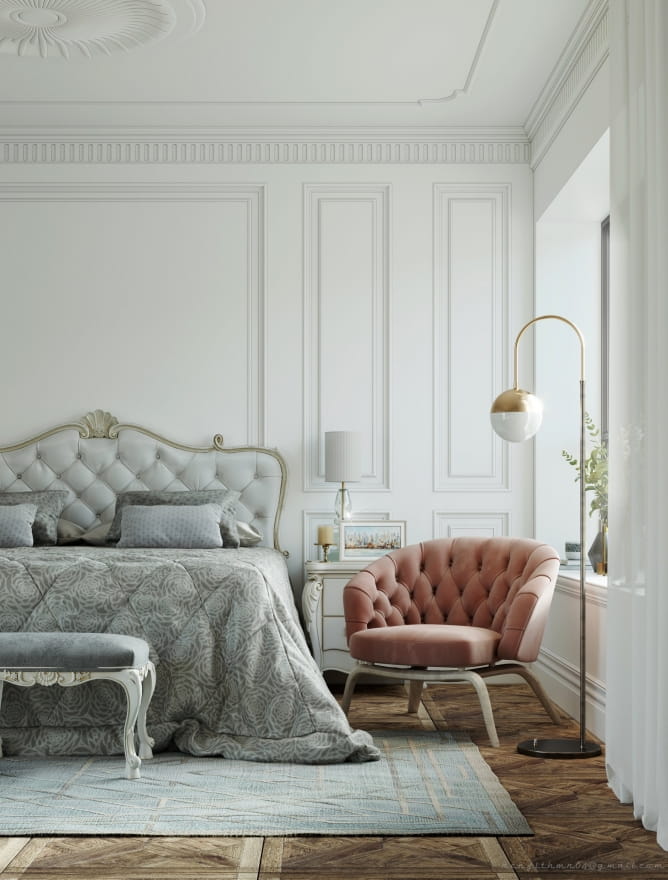
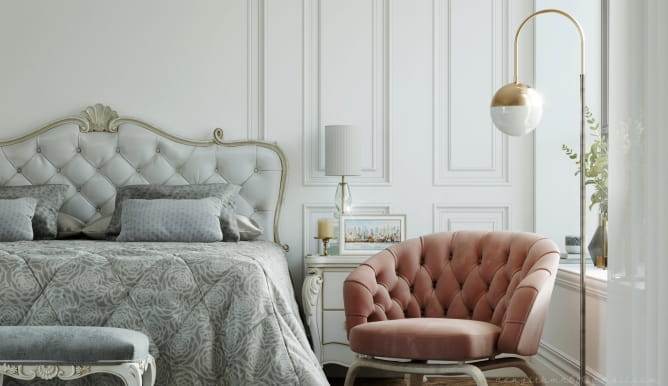
The following project “The French Bedroom” is a personal project that I created in my free time. I was trying to achieve a realistic mood with simple style, focusing more on the props and the general mood of the space.

The project was made with 3ds max, Corona renderer, Photoshop for the post process.


Modeling Architectural Elements. 

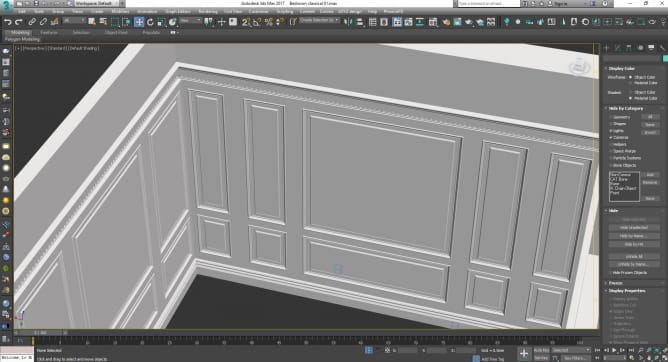
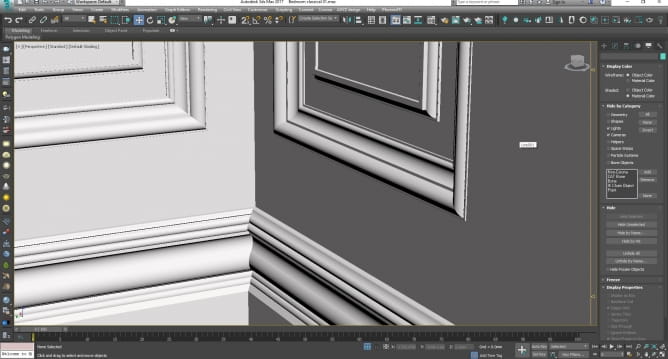
Walls were done with simple splines and extruded modifiers. Cornices are made with sweep profile and custom shapes.

1 3


2 3


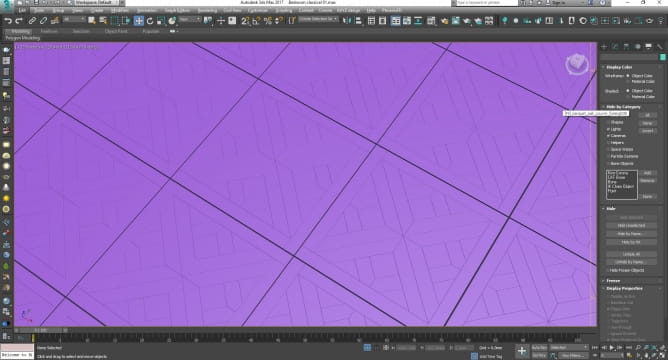
For the floors, I used the script called Floor Generator.


3 3


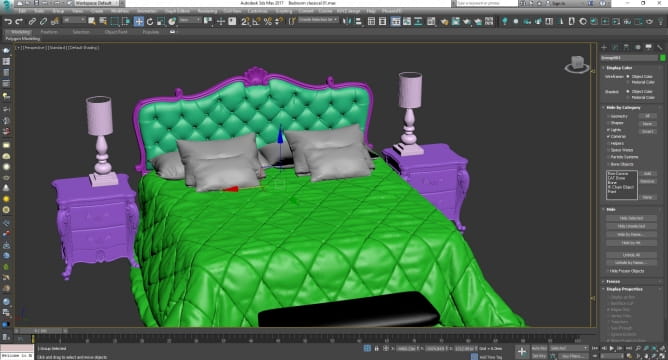
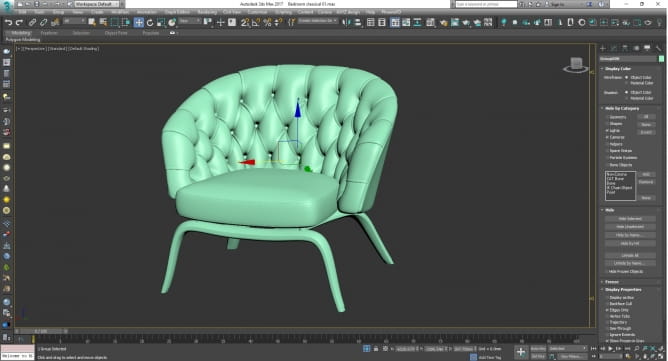
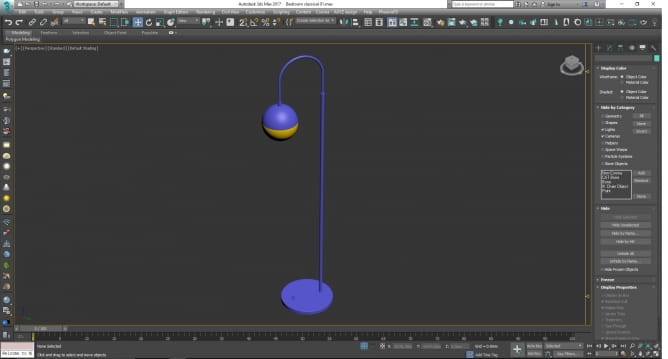
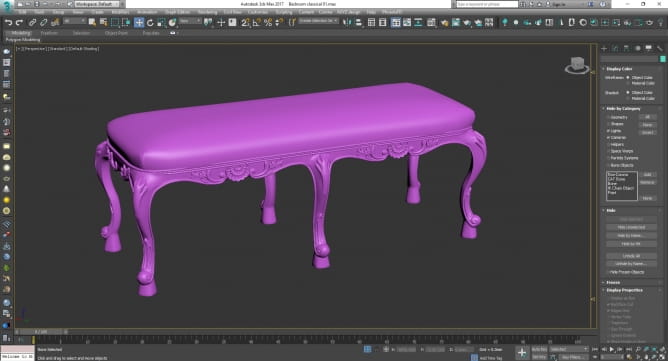
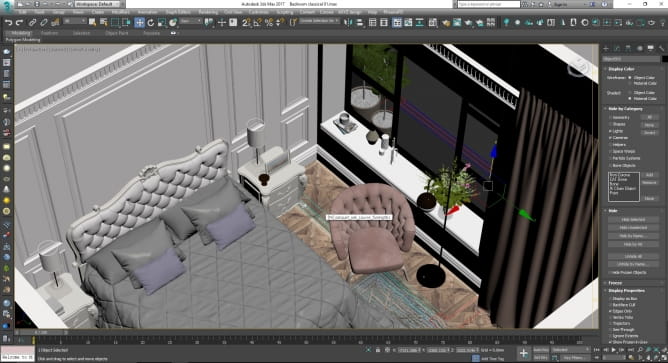
For the furniture and props I used Readymade models from 3dsky and evermotion. Big thanks to them.


4 3


5 3


6 4


7 3


8 4


Materials.

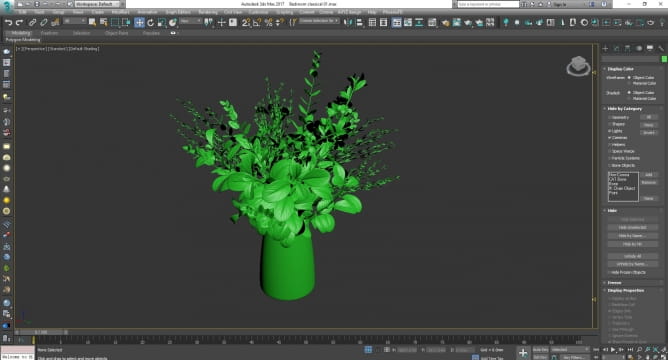
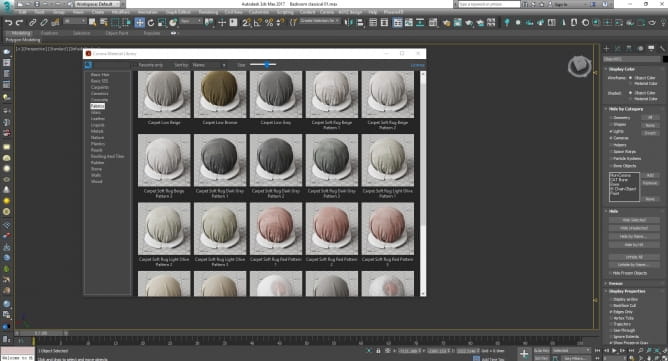
All materials are used from corona default material library except plant.


10 6


12 5


Render setup


11 6


LIGHTING

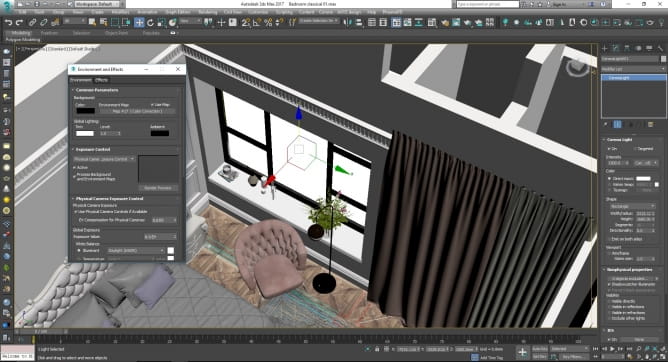
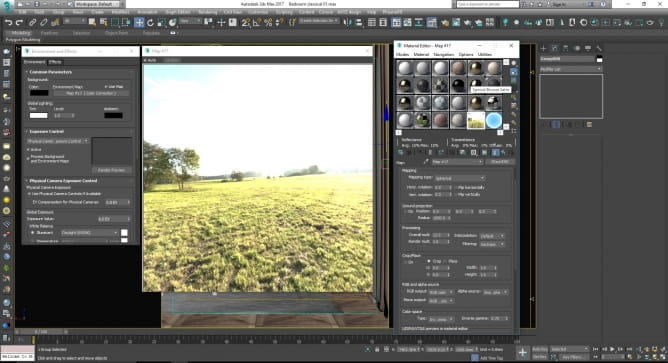
The lighting on this scene was very simple. I mostly give bright preference to HDRI lighting as it produce the most physically accurate results. Also I placed a corona rectangle light behind the window to emulate the light from the exterior environment.


13 5


Hdri map

nr 00901_hdri


CAMERA SETUP


16 5


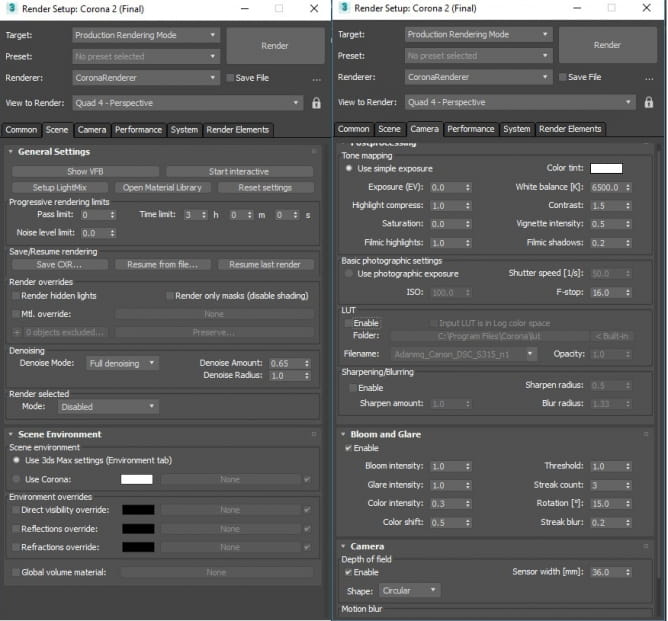
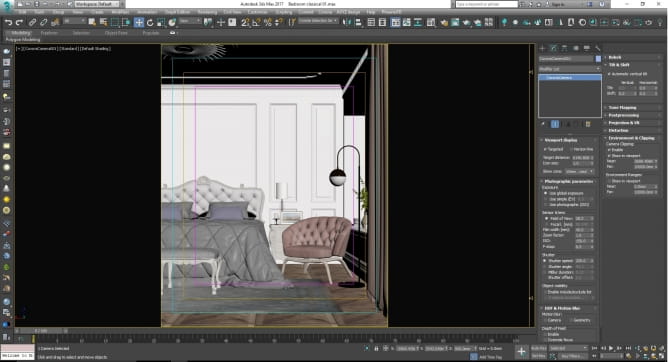
I am generally leaving the camera exposure values somewhere there and I make some small adjustments if needed before the final render. Here I tried many camera angles for highlighting the details.


14 5


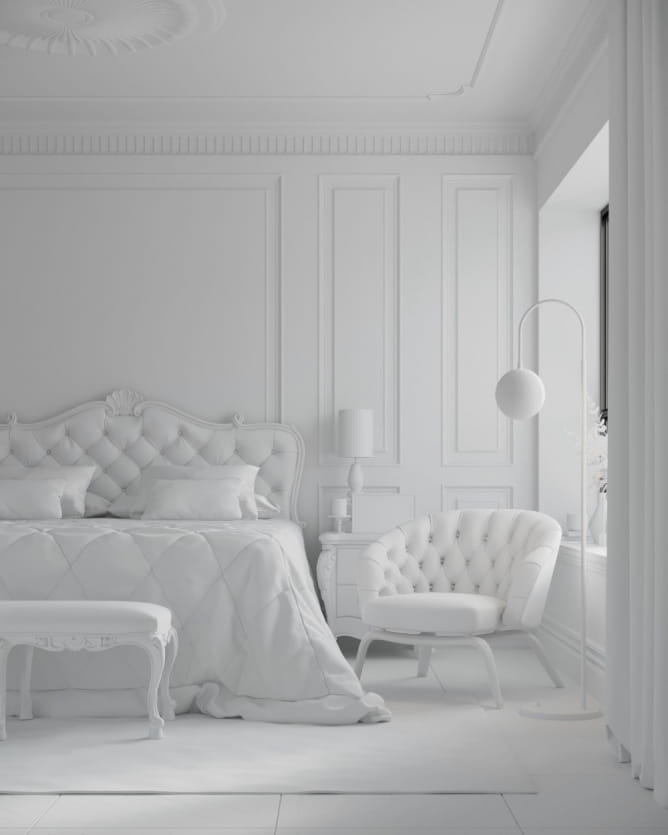
Clay render


nr 00902_clay_render


Raw render


15 5


Post production

This is the most important part of my process. Here corona image editor helped to achieve  proper exposure and glare and bloom effects. But Later in this scene I added some reflect and refract passes by lowering the opacity and playing with the blend modes that Photoshop offers you. Finally, I played some color corrections and some filters for the final touches. 


Final views

nr 00901_1


nr 00902_2


nr 00903_3


nr 00904_4


nr 00905_5


nr 00906_Wallpaper


Thanks for your time I hope that you will find my making of somehow useful :)

 
Author: Renjith_R Editor: Michal Franczak
Tags:
You may also like...
Best free and paid 3d animal models: which to choose for your project?

Best free and paid 3d animal models: which to choose for your project?

When embarking on a new 3D modeling project, selecting the right animal models is more than just a technical decision; it’s about bringing your vision to life while staying within your project's scope and budget.
×

LEAVE A COMMENT

You need to be logged in to leave a comment. Don't have account? Register now.

Atefeh165 09:14:25  |  05-02-2019
very good and helpful...
renjithmrFUTC 07:05:00  |  06-02-2019
Thank you Atefeh165