Profile
About Artist
Oxygen is a creative studio that specialises in architectural visualization. Our work provides visual support for architects, designers, real estate, developers and marketing agencies around the world.
About this Work
- Title of image: 5th Avenue Tower
- Work image filename: Oxygen_5th_Avenue_Tower
- Software used: Autodesk 3ds Max, V-Ray, Adobe Photoshop
- Year it was made: 2017
About this Tutorial
Hello!
First of all, we’d like to thank Evermotion for the opportunity to share some insights about our workflow with you. In this Making Of, we’ll describe the process we followed to make this image.
Introduction
5th Avenue Tower unveils the ambition to create an elegant and timeless skyscraper in the Manhattan skyline designed to support luxury residences, hotel, offices and retail spaces integrated between large community terraces looking out over the city. The singularity of this skyscraper derives from the identity of its shape, the clarity of its structure and the depth of its urban perception: transparent, translucent, opaque, reflective and luminous.
The highest challenge of this project (in development) is the experimental side of it, not only by the difficulty to create a skyscraper project from scratch, but also, be able to produce a set of visuals that look and feel consistent and accurate at the end.
Part 1: Concept & References
The first step, when we began working on this project, was to collect reference material about how the building would look like, lighting, materials / finishes, fine details and the atmosphere that could express the main concept that we were after.
Here are some of the reference images we used for this work.

Concept & References.
Part 2: Basic Scene Setup
We generally start by configuring the 3DS Max units setup to centimeters, enable the gamma to 2,2 and the linear multiply in the color mapping.

Scene Setup.
Part 3: Modeling
Before starting the modeling, we created the 2d drawings (floor plans and elevations) in AutoCAD, which allows us not only to establish the correct dimensions / proportions of the building, but also it helped us translating the architectural decisions we made along the development of the project.
Then we imported the drawings into 3ds Max and we built the 3d model from scratch using just simple polygonal modeling with basic shapes and edit poly modifiers. During this phase, we also work on the camera setup and take the time to refine the 3dmodel, working on the base geometry, facade, interiors and other details, until it looks as accurate as possible.
Once the building was finished, all the other composition elements were added in the scene for the specific camera angle.
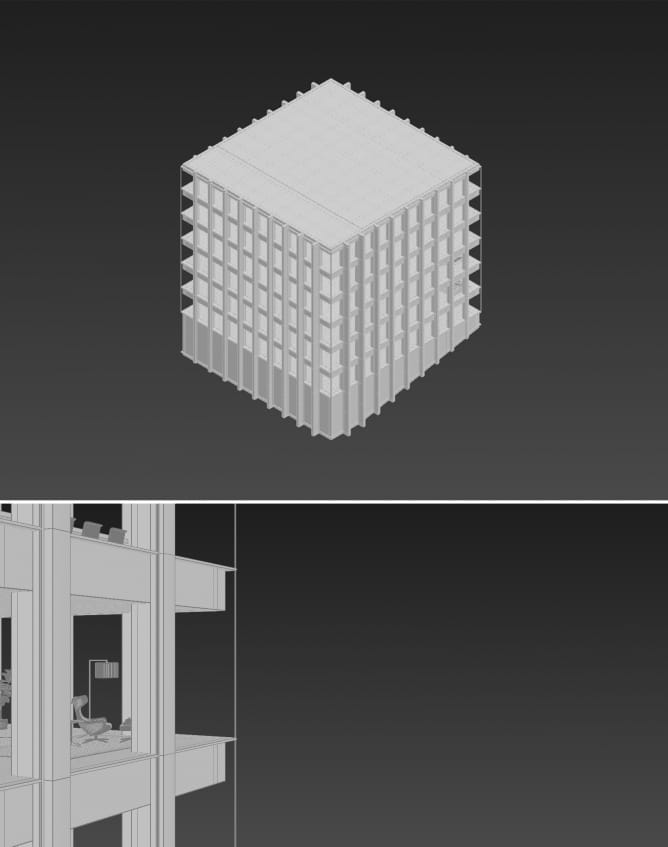
Modeling.
Part 4: Camera Setup
We used a V-Ray Physical Camera and changed the default parameters such as the film gate, focal length, f-number, shutter speed and ISO.
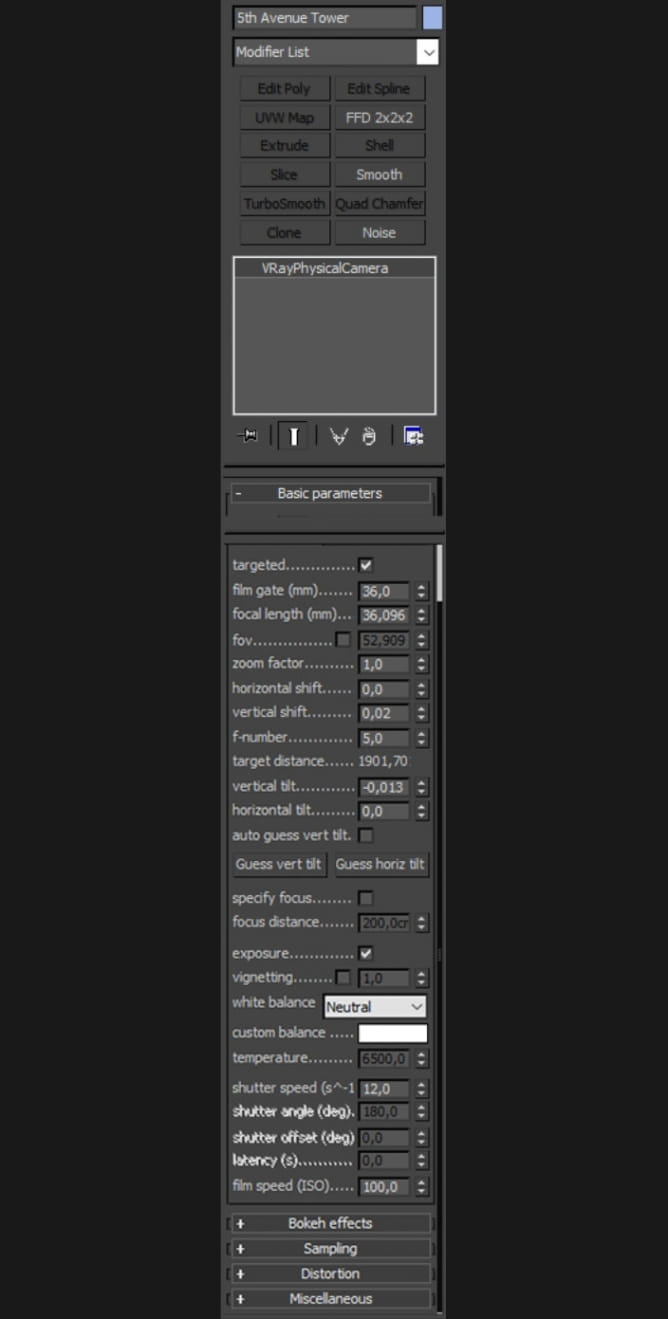
Camera Setup.
Part 5: Environment
For the environment, we choose to use a stock photograph from 123RF (https://www.123rf.com) as background that could match the selected point of view and made necessary color / contrast / composition adjustments in order to produce a realistic urban environment, highlight the design of the building and enhance the general mood we were looking for.
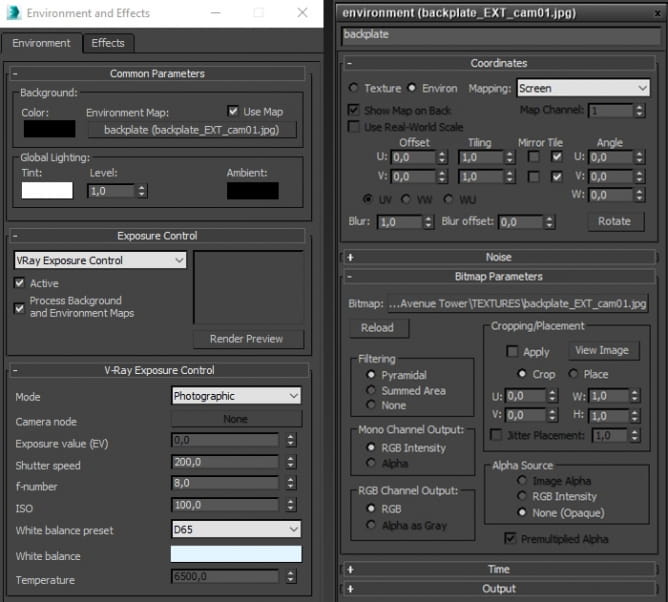
Environment Setup
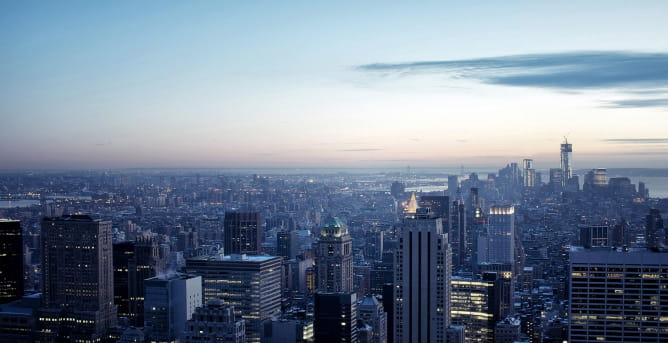
Environment.
Part 6: Lighting
In this exterior image, we wanted to create an elegant and strong dusk mood with a strong blue ambient light with a few pink tones and warm highlights coming from the interiors. For this, we used a blueish dusk HDRI (TW 06 from http://www.mediterraneanlight.net) inside a V-Ray Dome Light (default) and the selected backplate for the environment, the simplest and most effective way to get a photorealistic result. In the interior we added a simple V-Ray Light Plane and a V-Ray IES Light, both with 4000k of color temperature and 64 subdivisions for a smoother result.
Also, we apply a vray override material (rgb values 128,128,128) to the overall scene and specify which objects should be excluded from the override material (normally glass) in order to achieve a well-balanced light scheme.
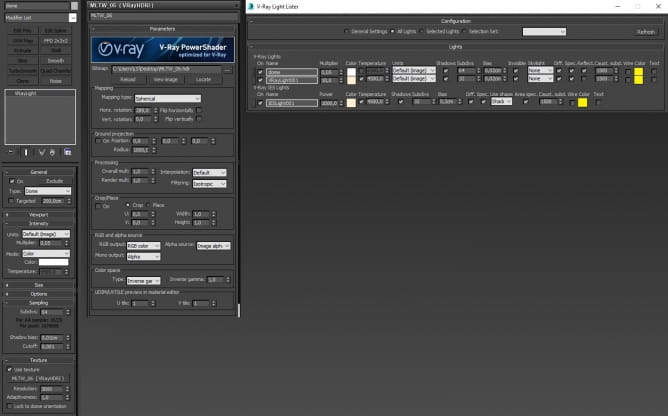
Image caption: Lighting Setup
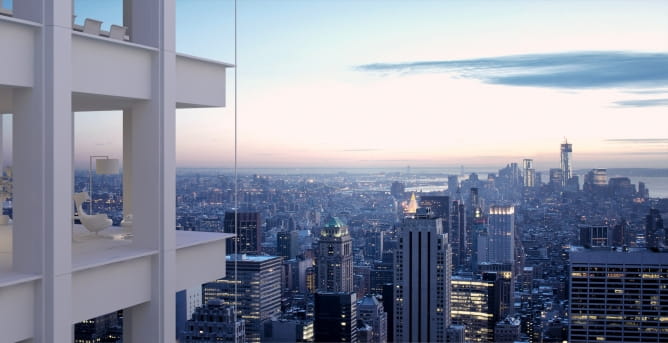
Clay Render.
Part 7: Materials / Textures
All materials are self-made, based on the combination of textures available in our library and Textures (https://www.textures.com) with a few adjustments in Photoshop such as contrast, color, dirt and bump. In particular, we generally pay attention to reflection parameters, such as IOR and to imperfections in our materials, controlling where and how the dirt effect will be visible in the scene.
This is an important part of the process and should be always based on real material references to have a good understanding of how the materials must look like.
Here are the most relevant materials / textures used in this work:
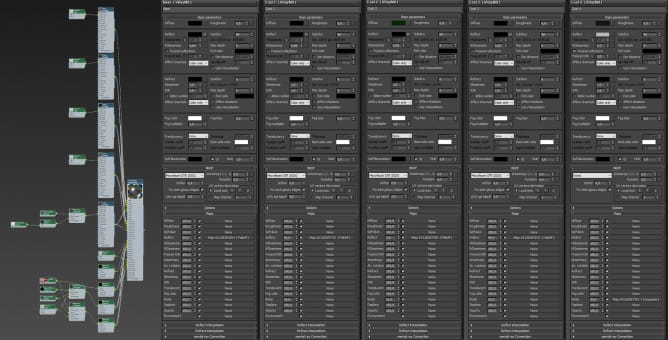
Facade Metal
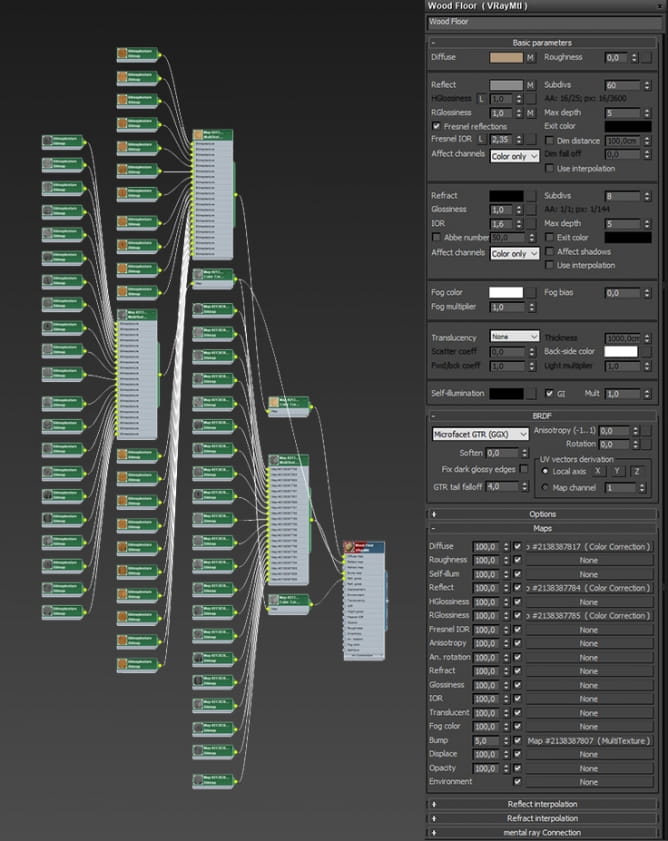
Wood Floor
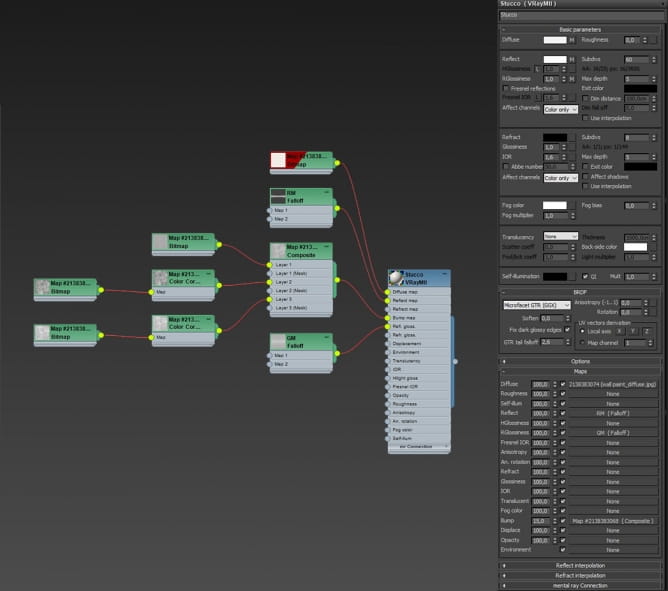
Stucco
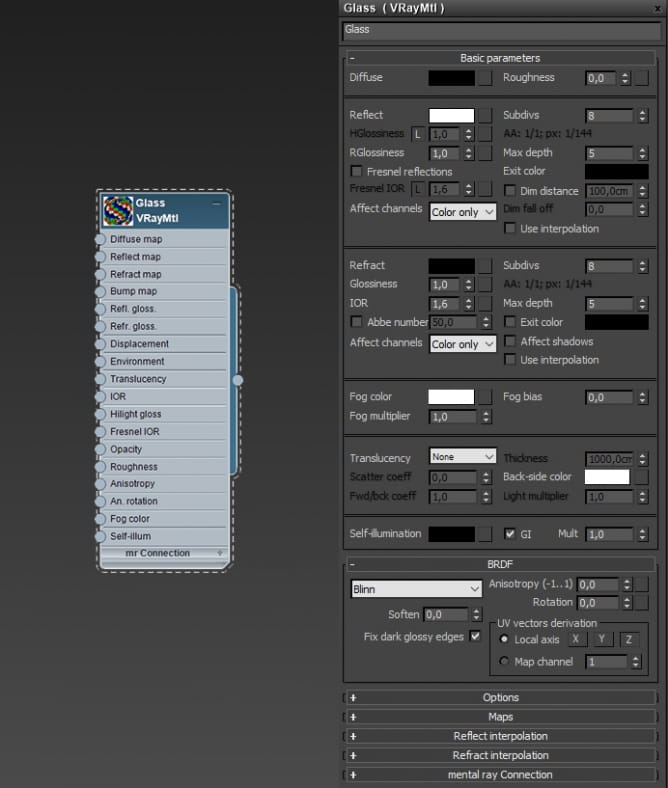
Glass
Part 8: Render Setup
We rendered this scene using V-Ray with an Irradiance Map and Light Cache solution. Also, we enabled some Render Elements to use later in post-production stage.
Below, you can see the render settings and the raw render.
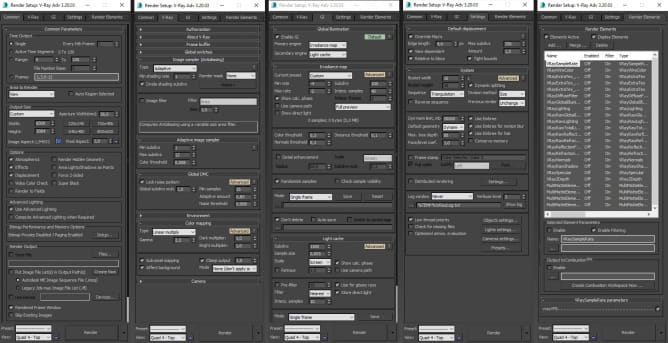
Render Setup
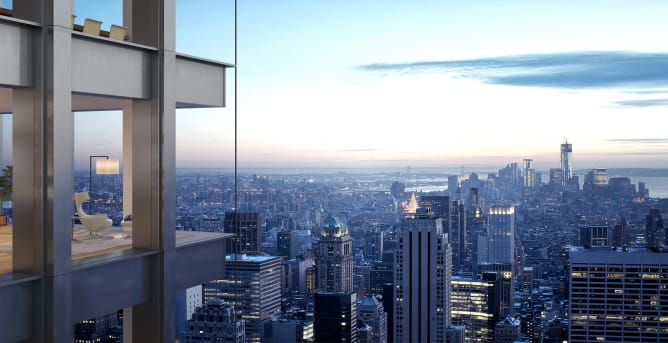
Raw Render
Part 9: Post-Production
All the post-production was made in Photoshop. We basically used all the render elements and refined all the different parts of the image with the main objective of enhancing its atmosphere and its “beauty”.
Below, you can see the highlights of the post-production phase and the final image.

Raw Render

Background Adjustment
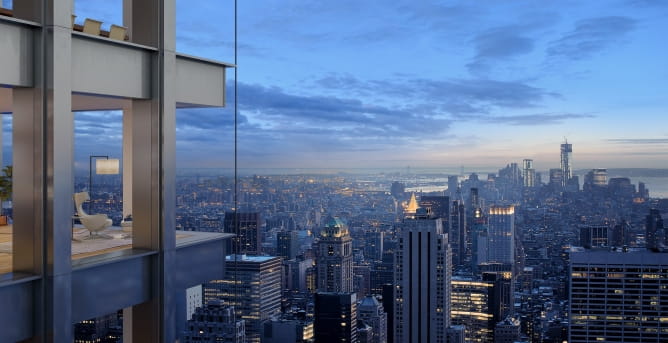
Ambient_Occlusion

VRayRawLighting

VRayRawReflection
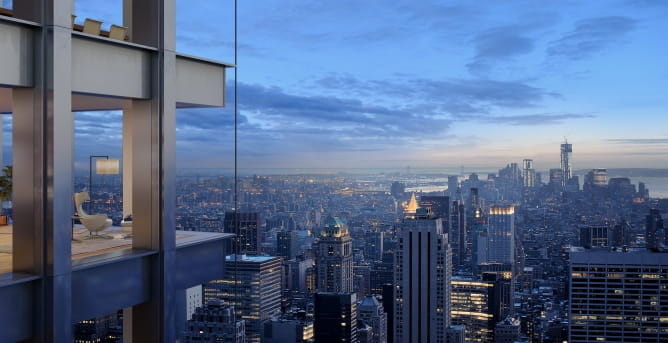
VRayRawTotalLighting
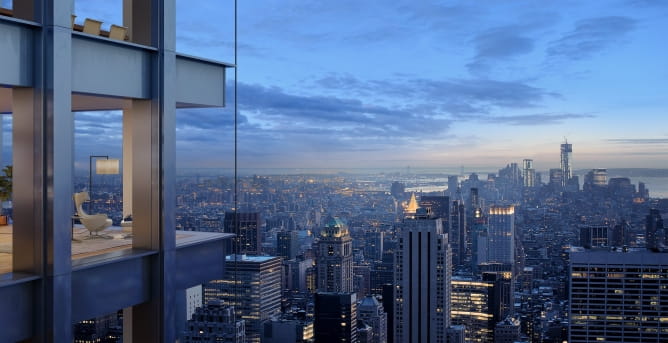
Metal Adjustment Curves and Color Balance

Glass
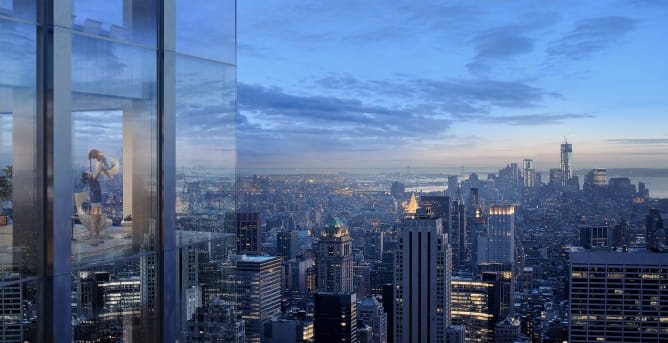
Add People
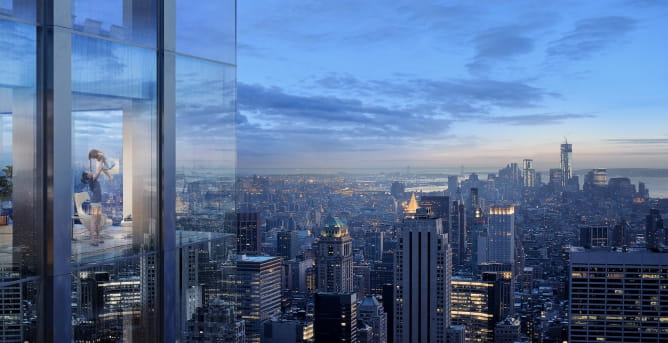
Facade Adjustment Light
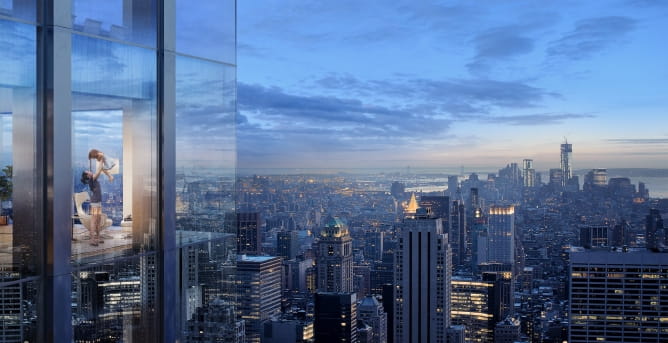
Facade Adjustment Hue Saturation
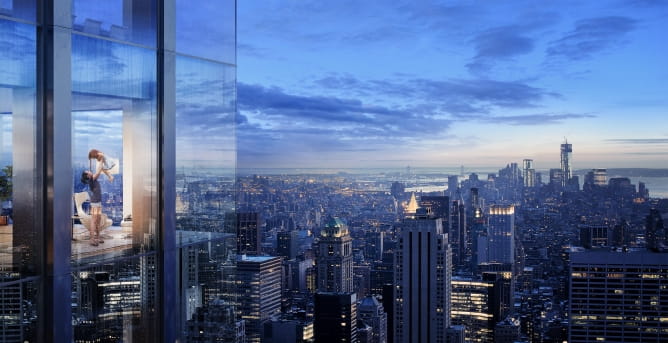
Curves
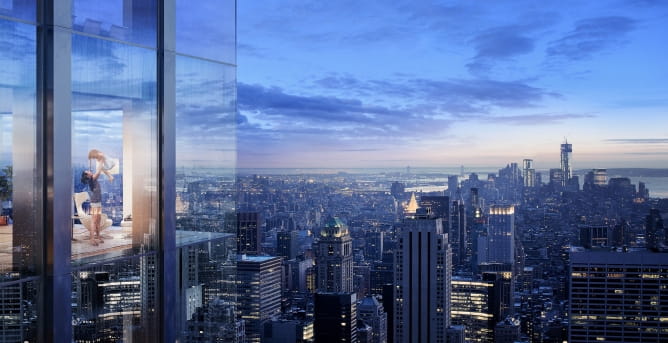
Final Image
That’s all!
Thank you for reading it. We hope you enjoyed this Making Of and, at the same time, may have offered you some valuable insights about our workflow and how we approached this project. If you want to see more of our work, please visit our website (www.oxygen.pt) and follow us on our social networks.
See you soon!
 How To Make Your CGI Walls More RealisticRealistic walls with noise modifier.
 Removing LUTs from Textures for better resultsRemove the LUT from a specific texture in order to get perfect looking textures in your render.
 Chaos Corona 12 ReleasedWhat new features landed in Corona 12?
 OCIO Color Management in 3ds Max 2024Color management is crucial for full control over your renders.
 A look at 3dsMax Video SequencerDo you know that you can edit your videos directly in 3ds Max? Renderram is showing some functionalities of 3ds Max's built in sequencer.
 FStorm Denoiser is here - First ImpressionsFirst look at new denoising tool in FStorm that will clean-up your renders.
Customer zone
Your special offers
Your orders
Edit account
Add project
Liked projects
View your artist profile


COMMENTS