Evermotion: More Than an Asset Library
How Evermotion became a full-scale production partner for archviz, automotive and synthetic data.


Total: € 0
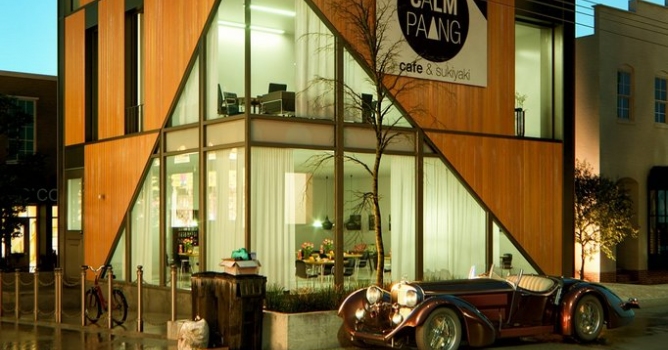

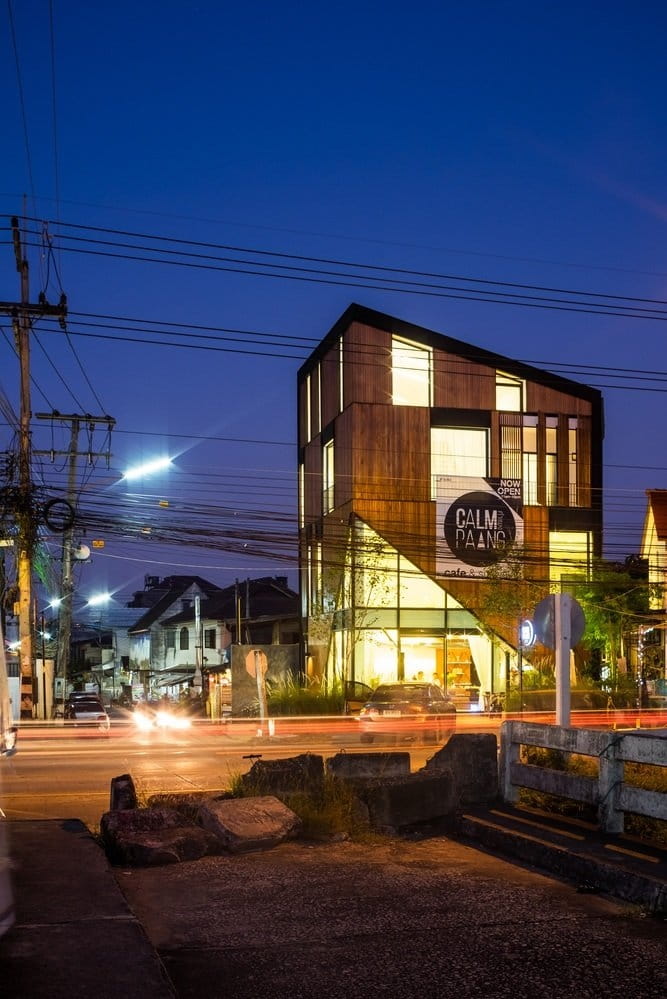
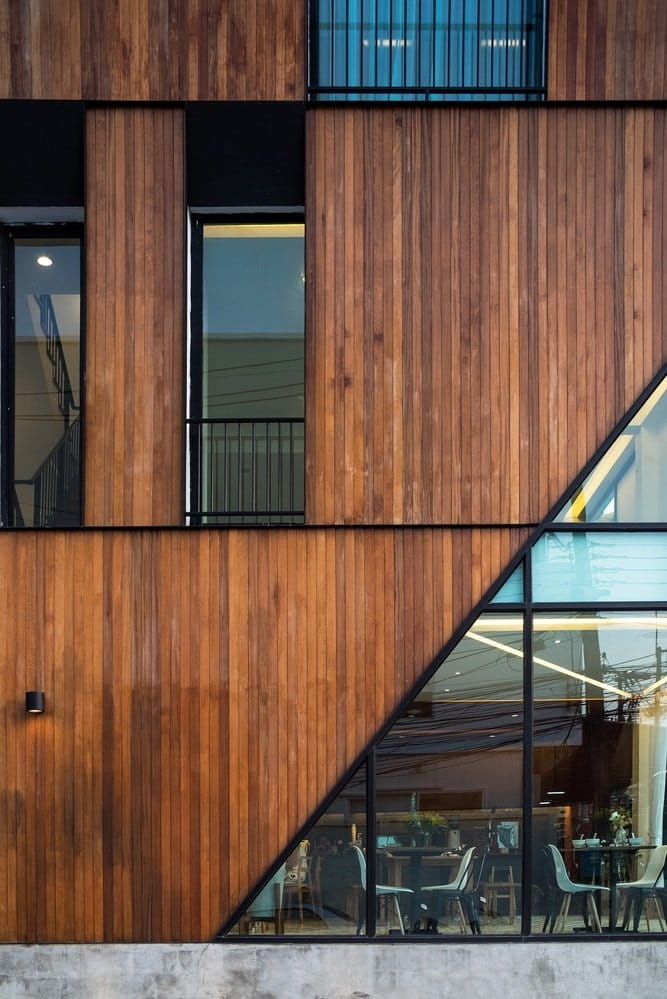
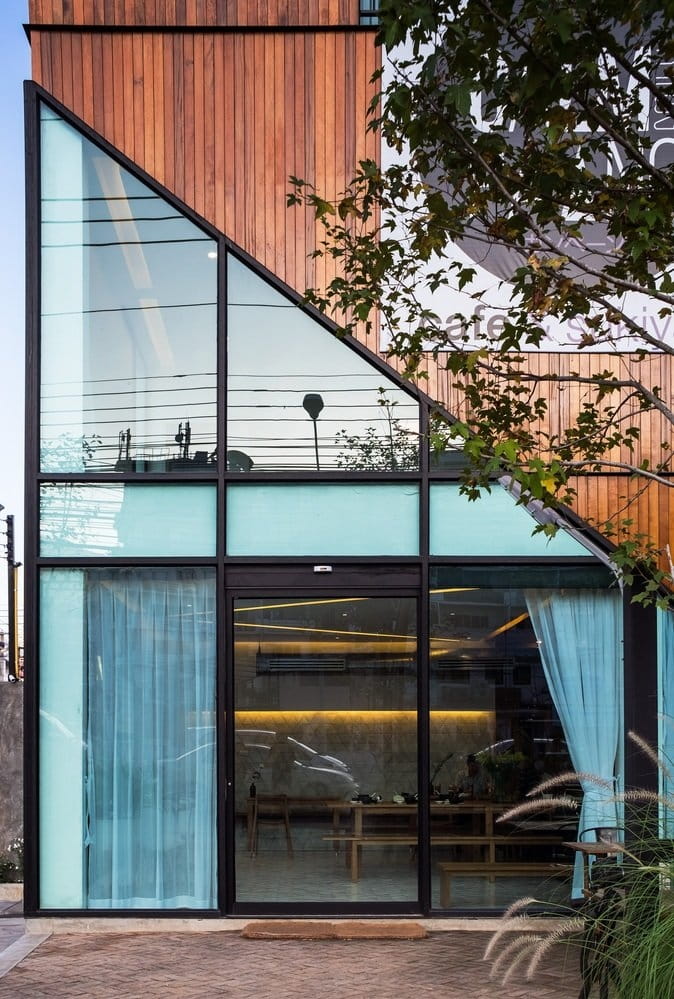
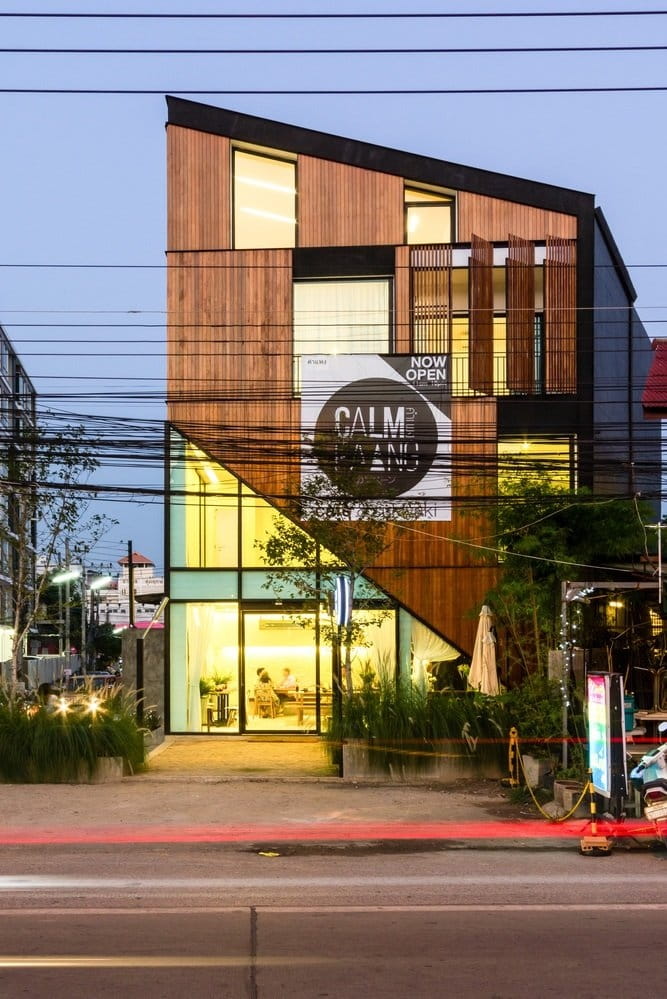
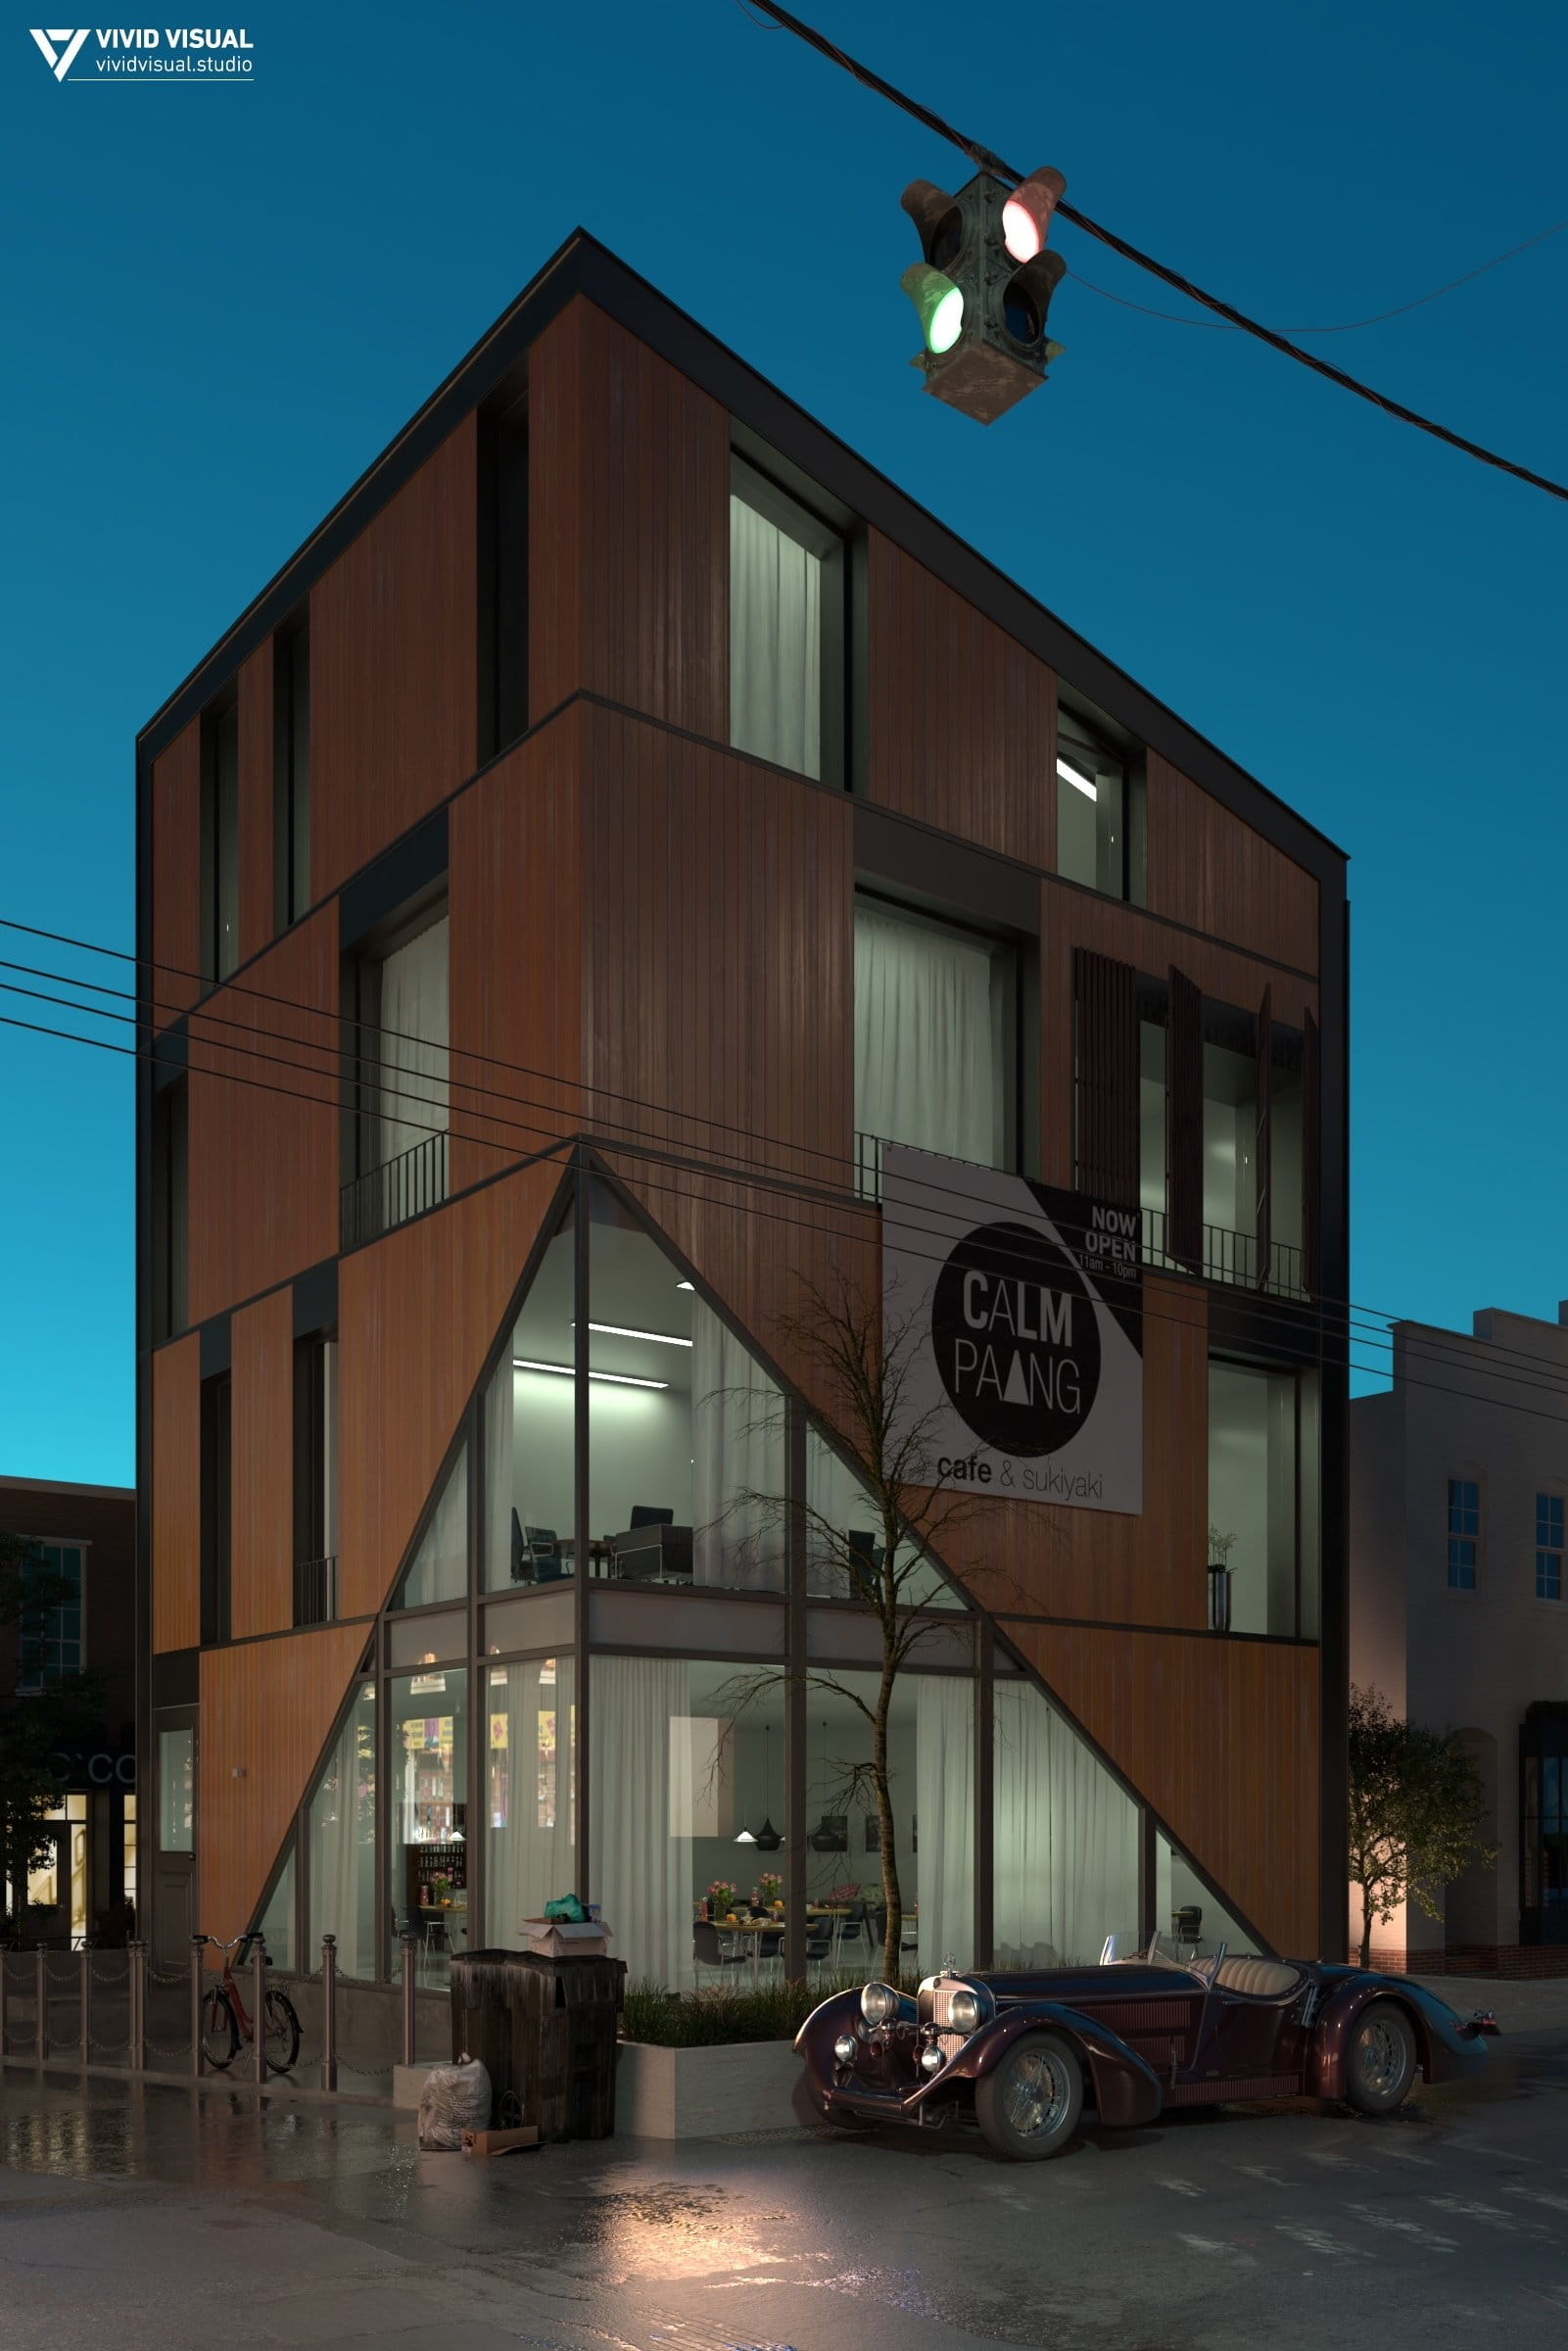
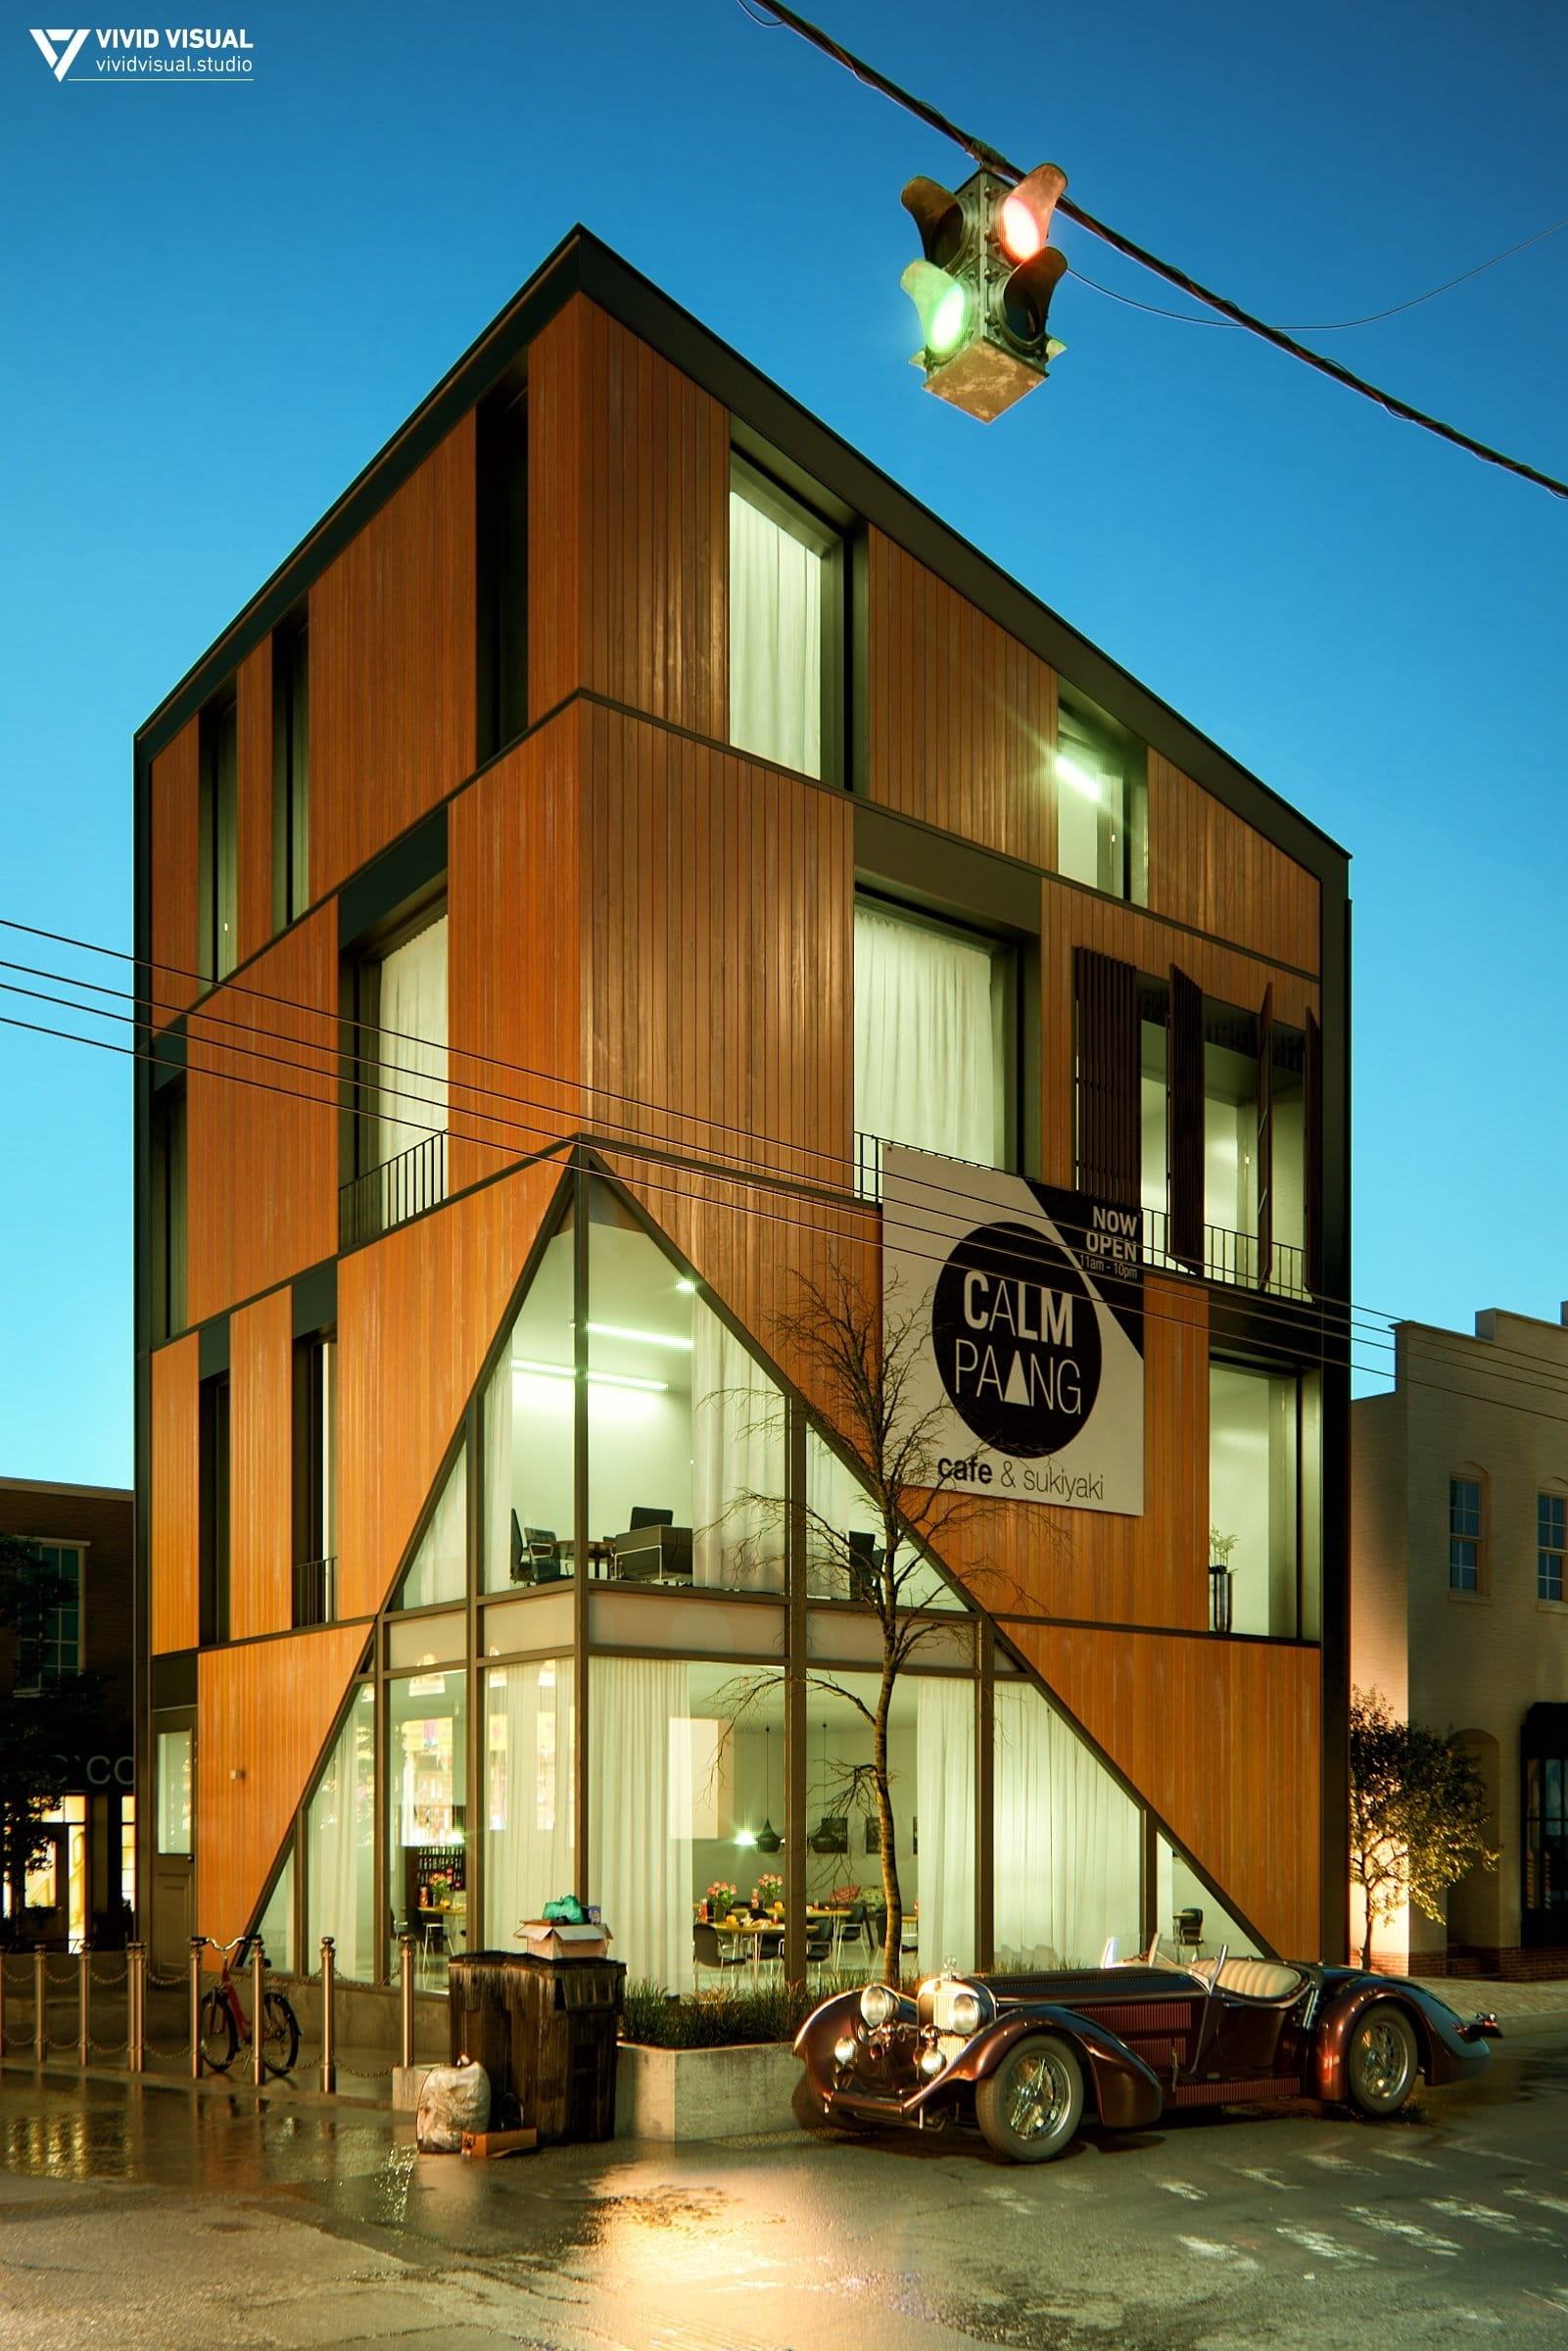
Vivid Visual Studio is an architectural visualization studio who does architectural 3D simulation, rendering and software training. This studio began producing relevant training packages in architectural visualization, as well as architectural visualization project rendering (still, animation, virtual reality, and virtual tours, etc.). This project was constructed on 2015 in Thailand and the architects are Full-Scale Studio. We used this project for our first workshop. In this project, we used 3dsMax, V-Ray, Quixel NDO and Photoshop.
References
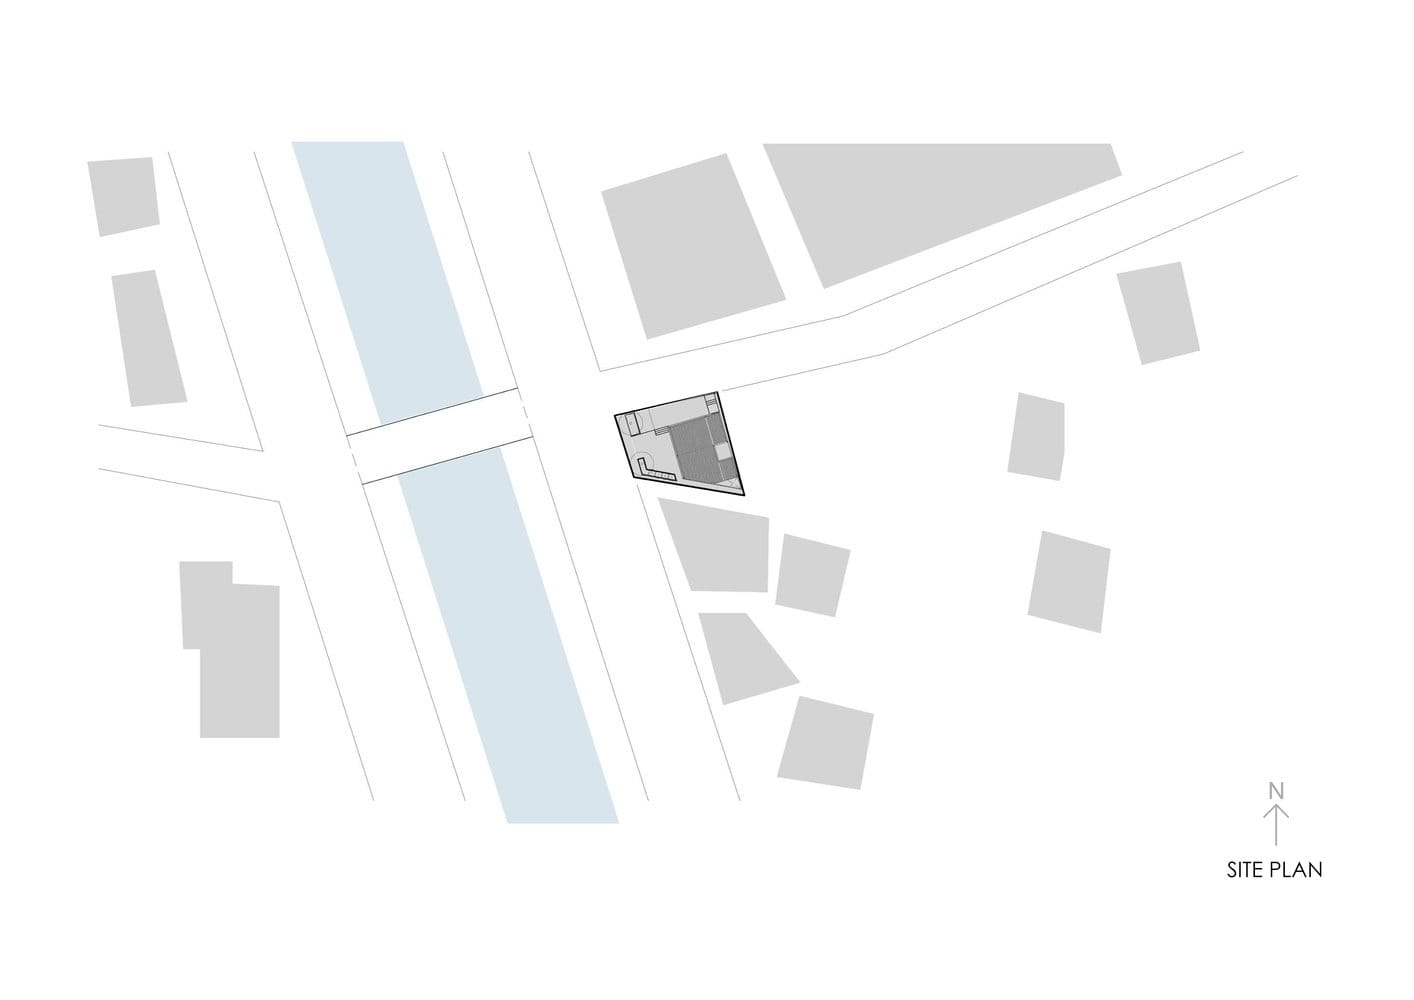
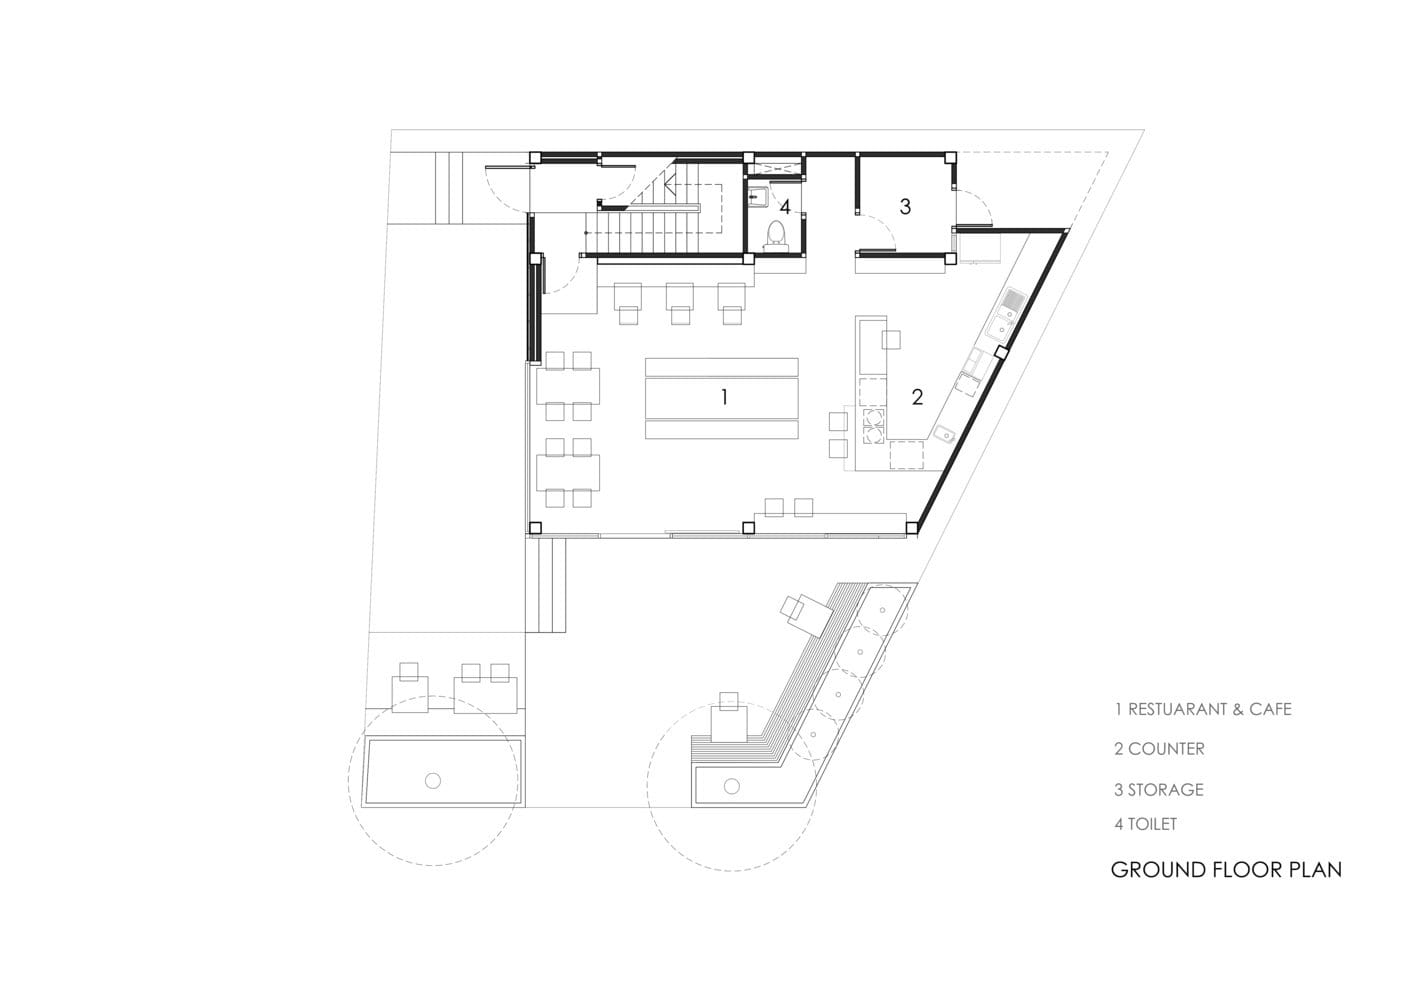
Starting from images and drawings used on this project as a references.

Reference
Reference
Reference
Reference
Reference
Reference
Reference

Reference

Reference
Planning
Like most of our projects, we start with facade modeling and landscape. Then we arrange the neighborhood and some other elements in the scene. In the following stage we need to determine the coloring concept of the whole scene and after that, we set the camera composition and lighting and then stick to making some materials. Finally, post-production stages happen in Photoshop.
Modeling
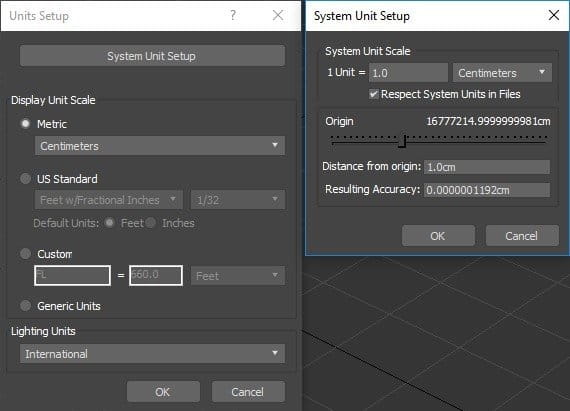
Before modeling, you must always pay attention to the unit setup.
Poly modeling techniques have been used for the main facade of the building. The initial volume has been created with a box and then processed by other tools in edit poly modifier like Cut, Slice, Connect, Extrude till creating the desired goal.
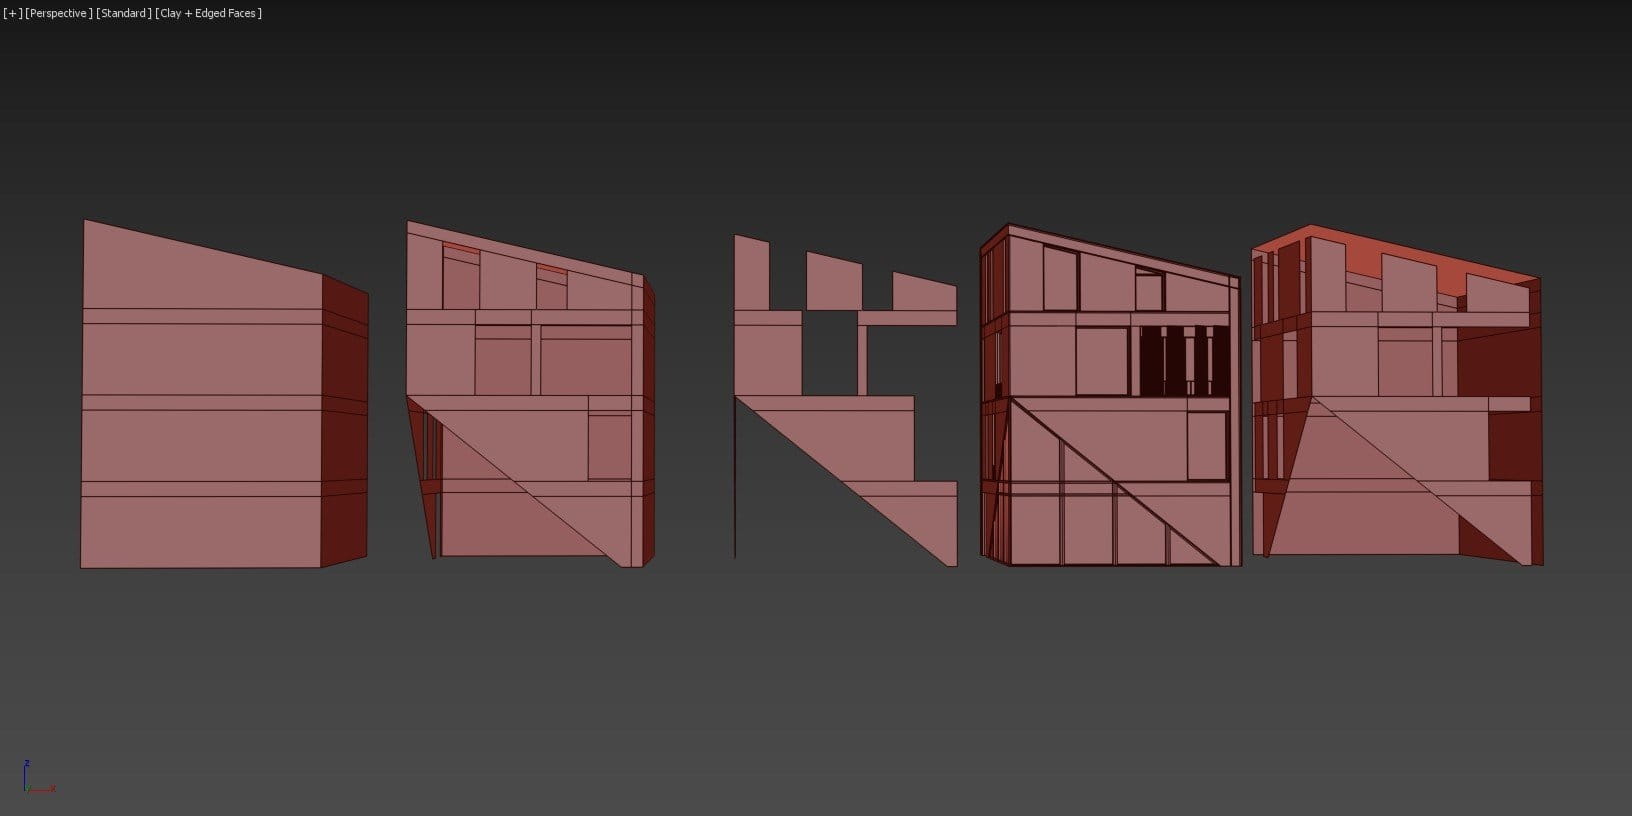
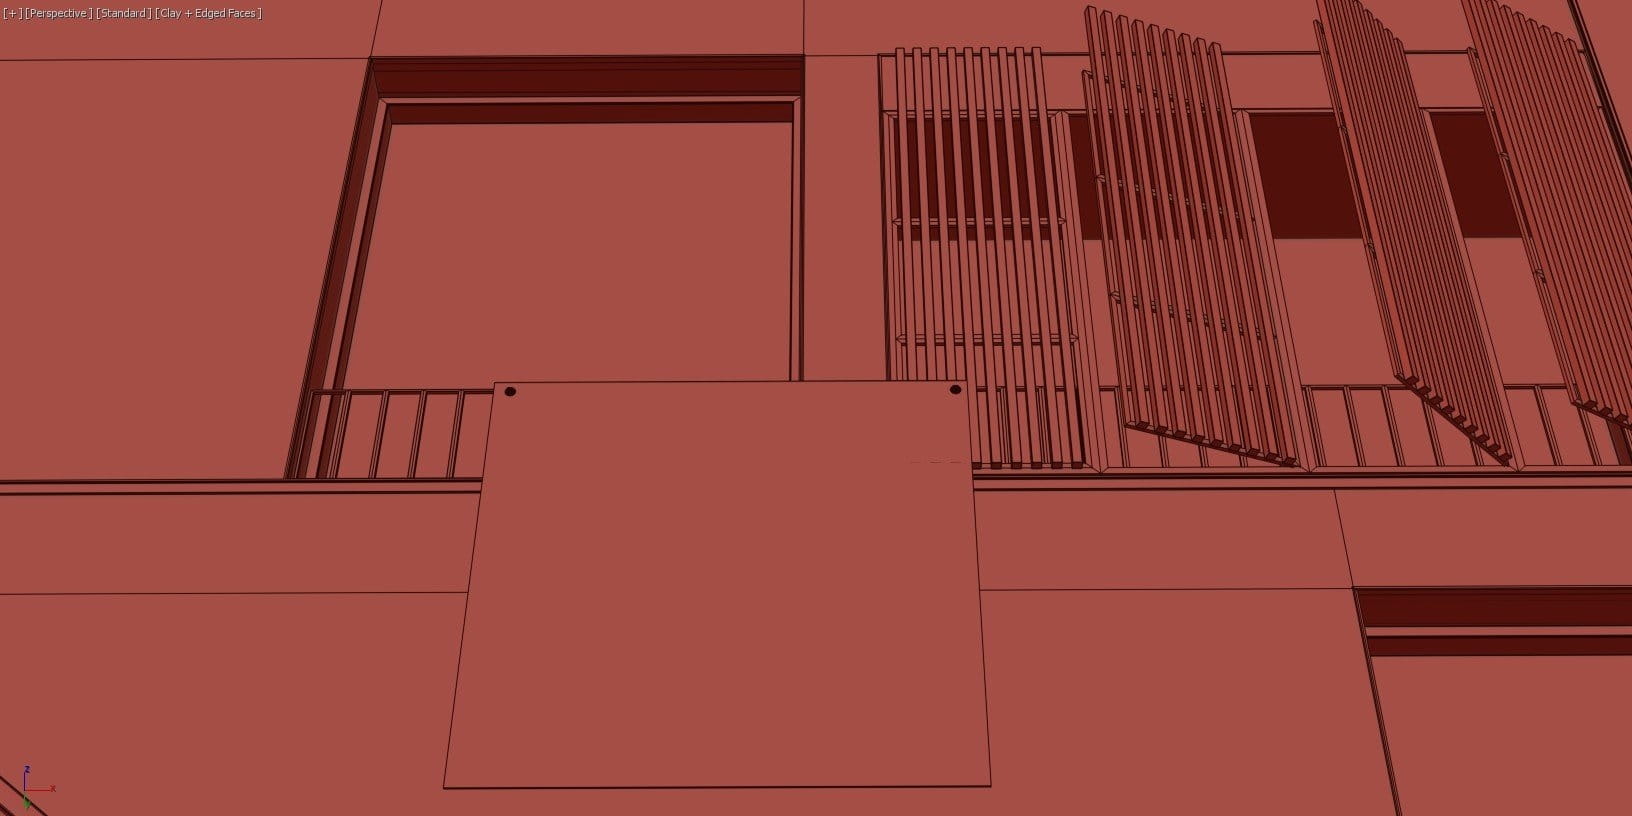
During the modeling steps, pay attention to the details such as windows frames, fences, doors, etc. Note: do not forget to chamfer the edges where it is needed.
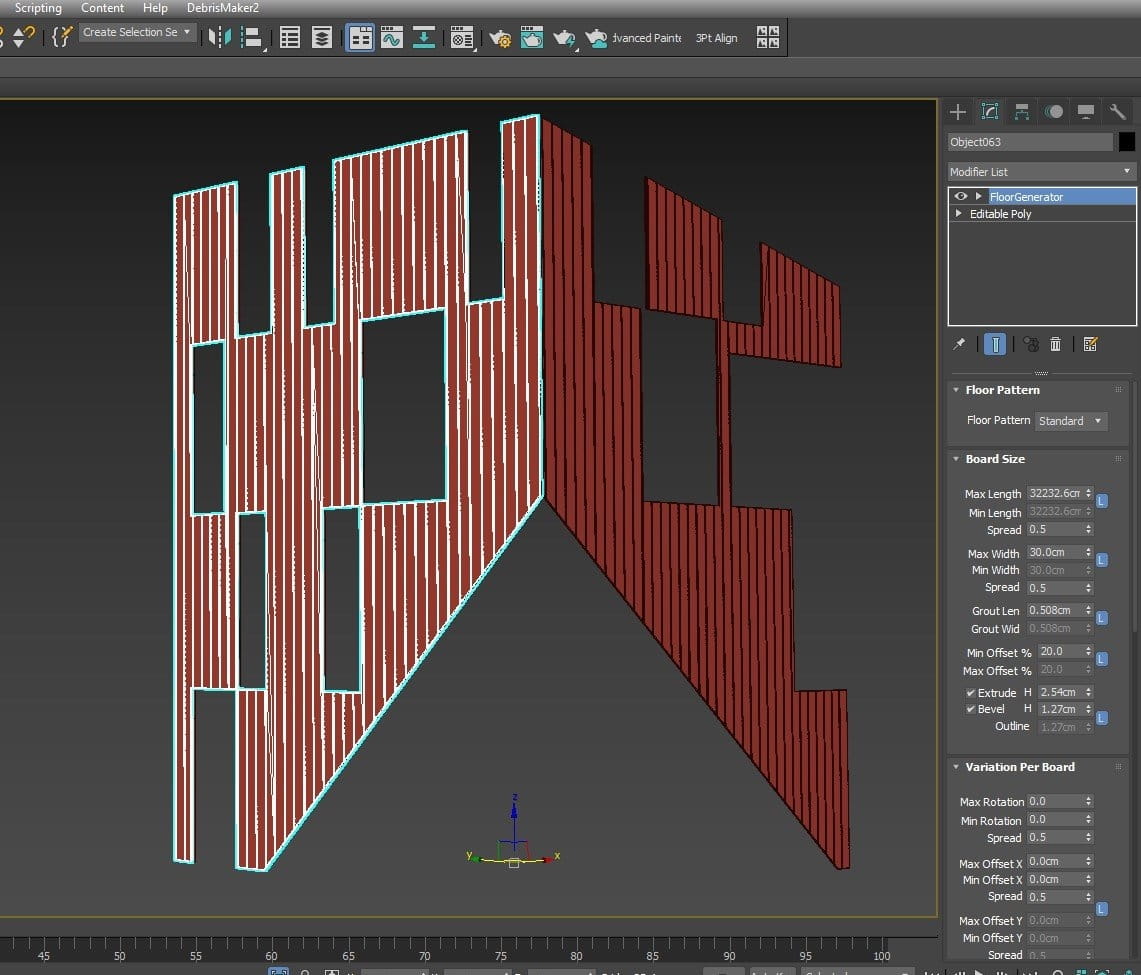
For wooden planks on the front surface proceed with detaching the front facade models and then use floor generator plugin to create the planks.
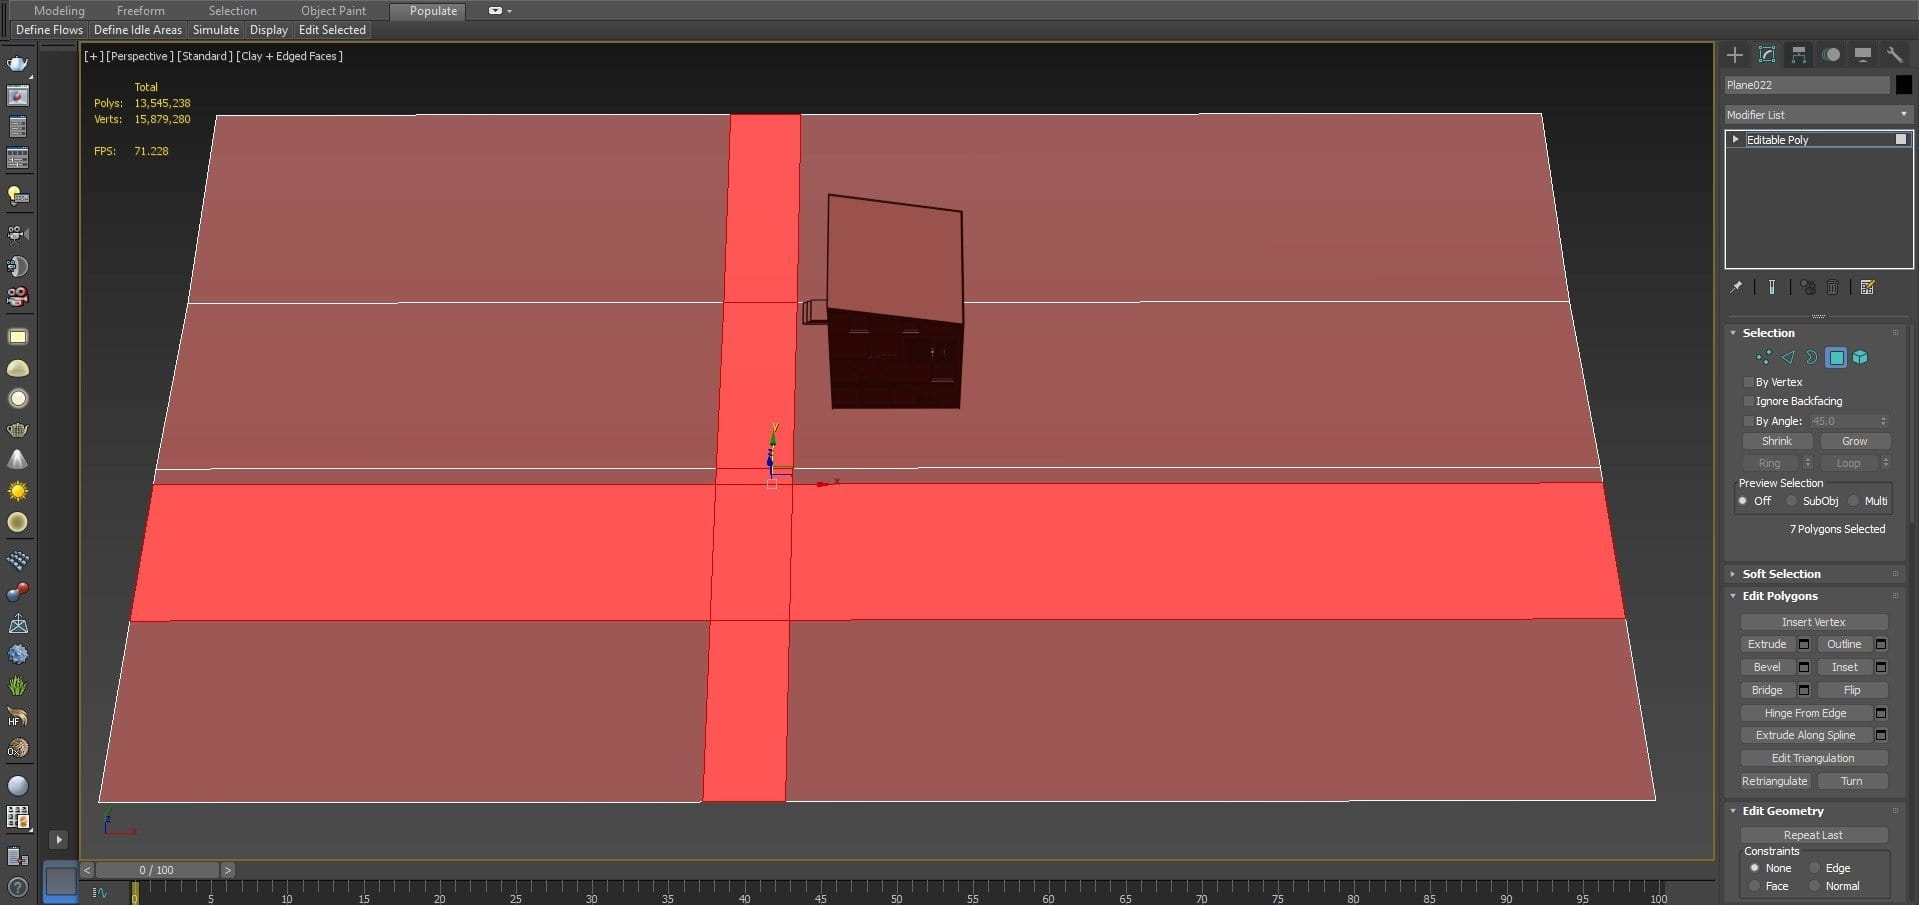
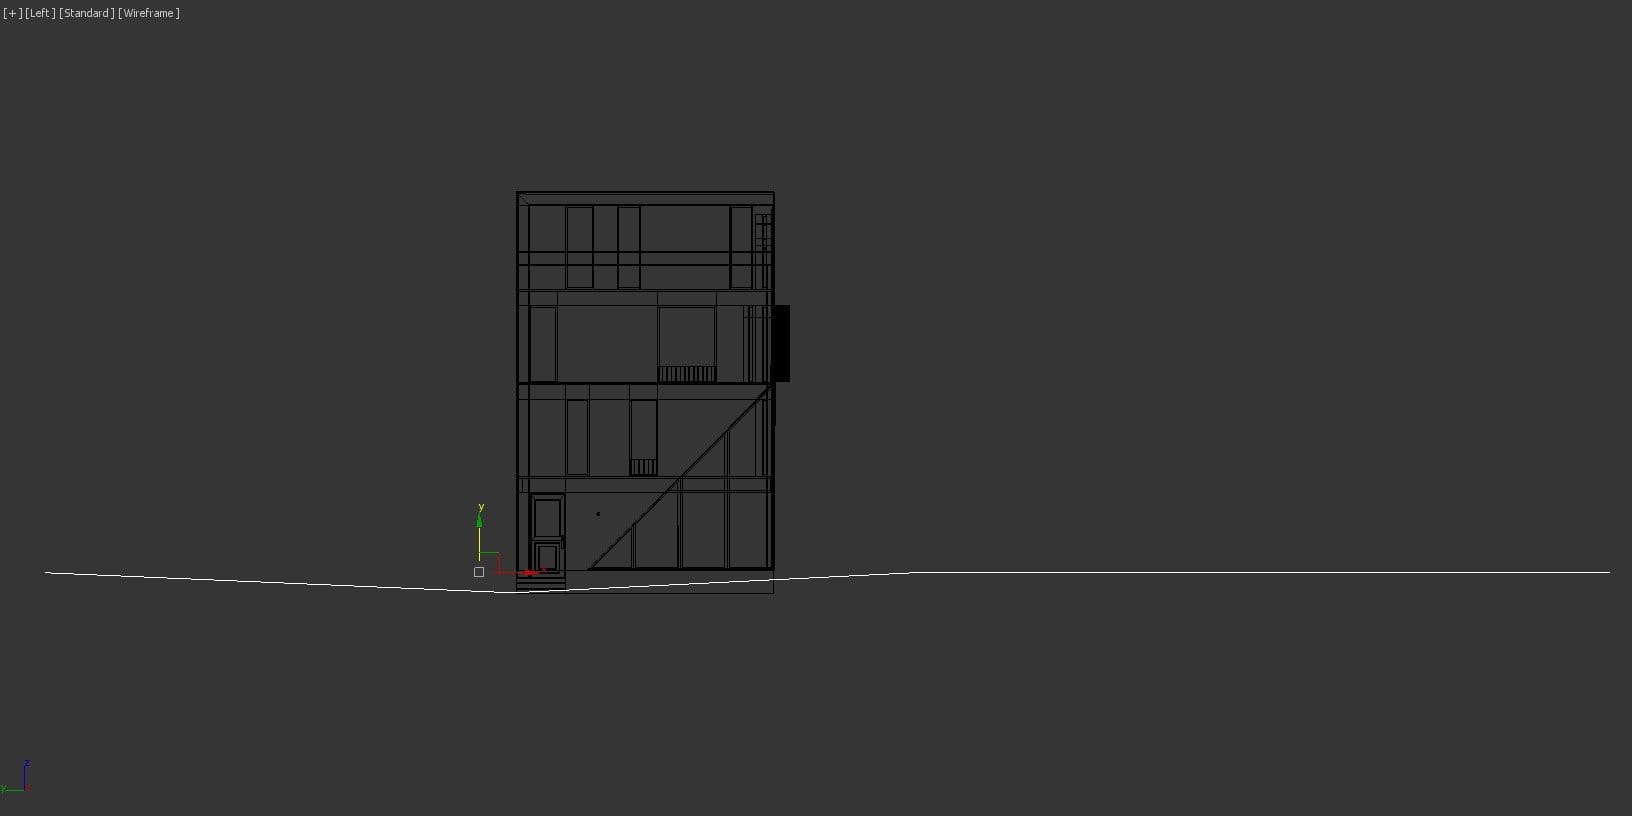
For the street model, a simple plane has been used then using slice tool to create different sections of the sideways and the street. Finally, using the left view we played with some vertices to bend a surface a bit.
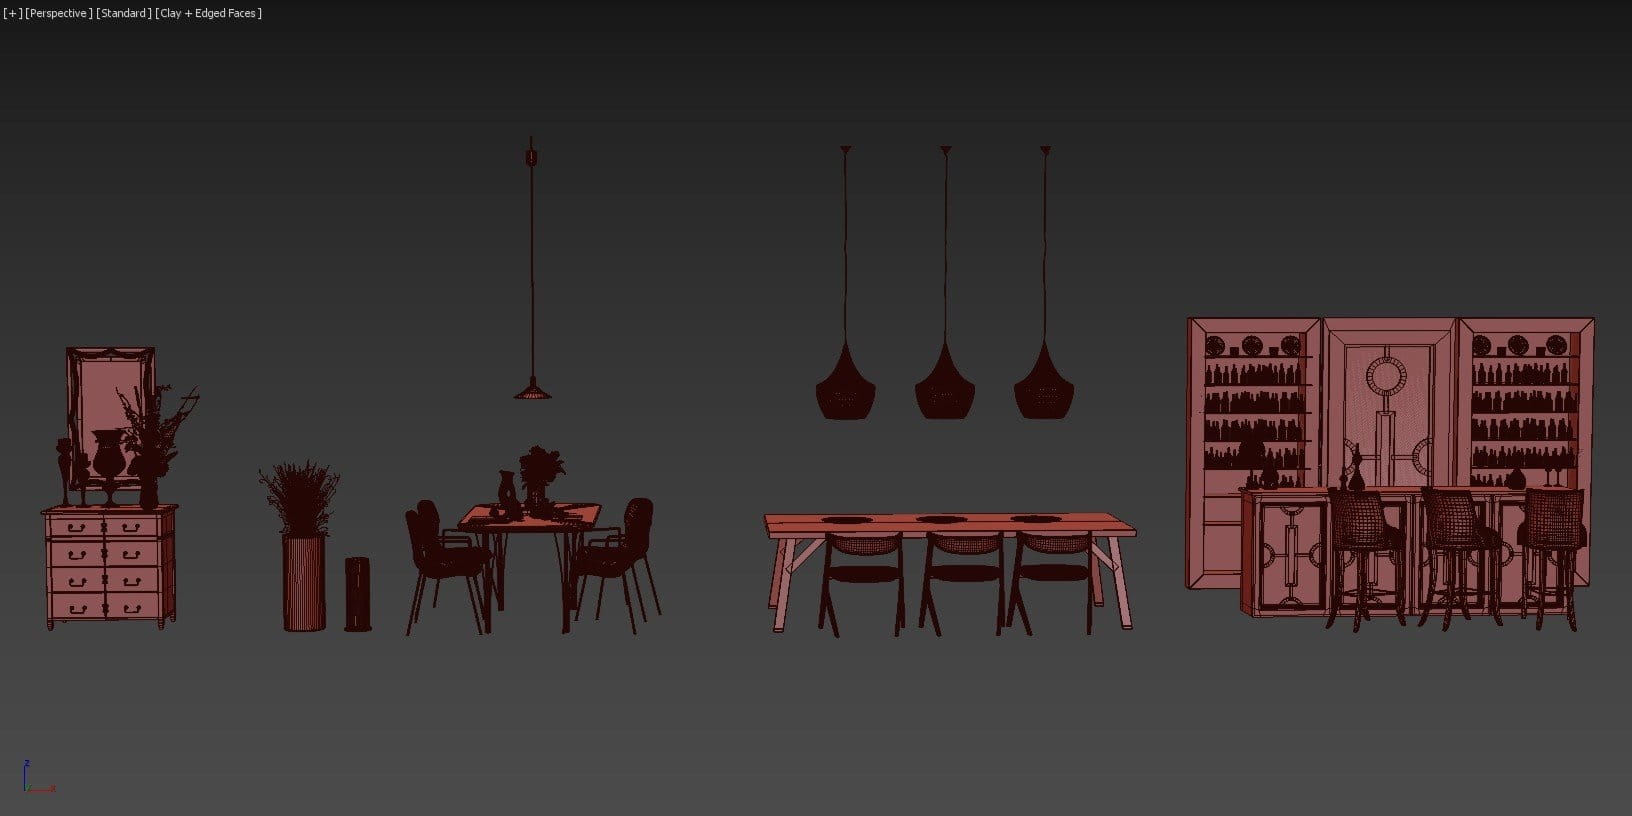
Some of Evermotion models has been used to fill the interior.

The sidewalk model has been created with a simple box and edit poly.
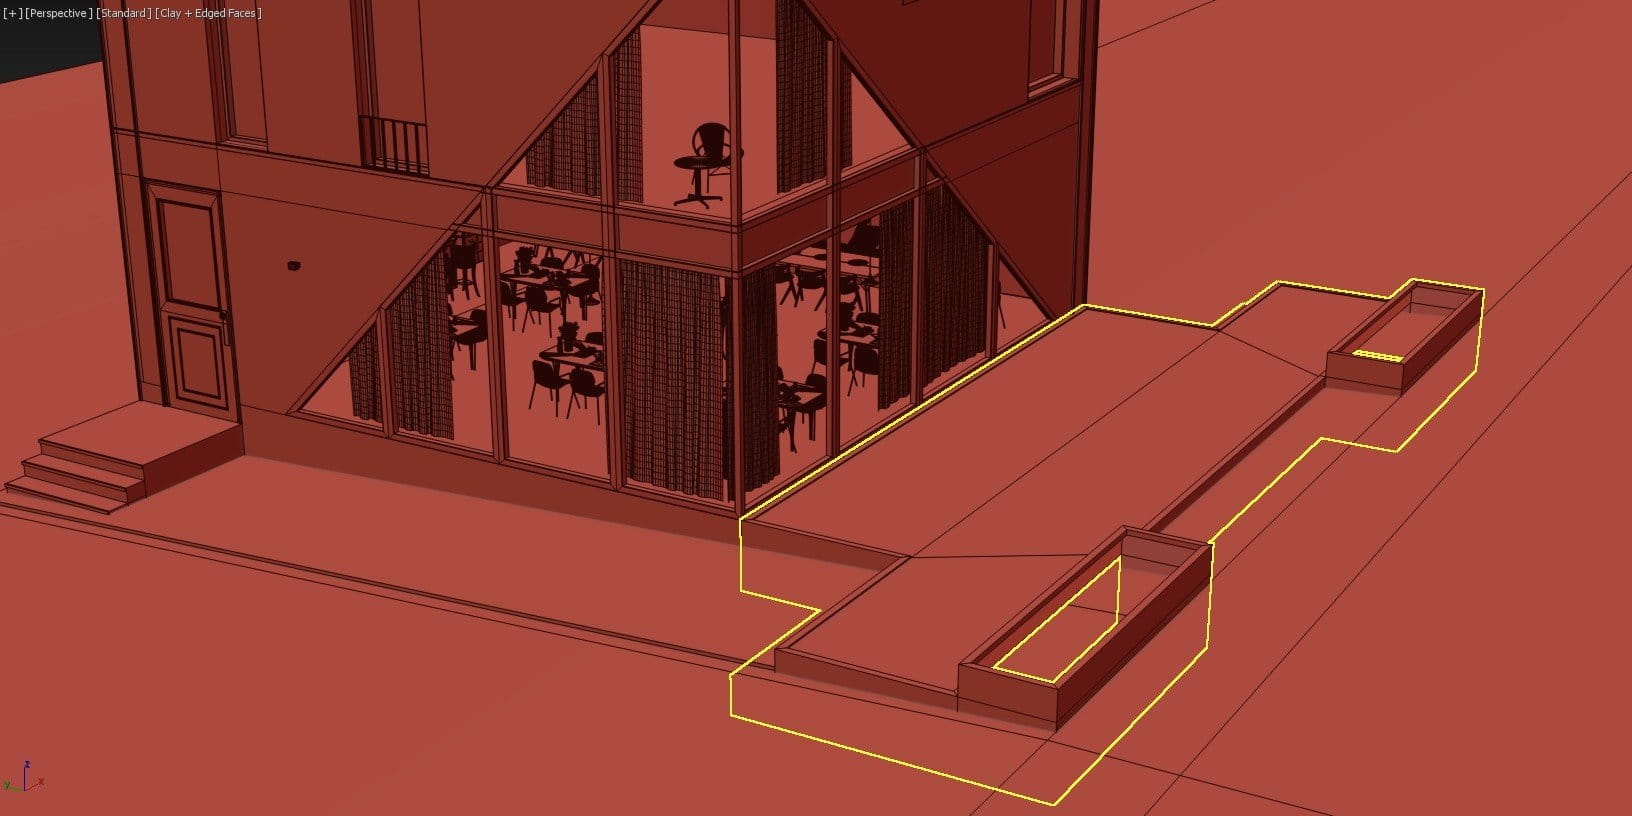
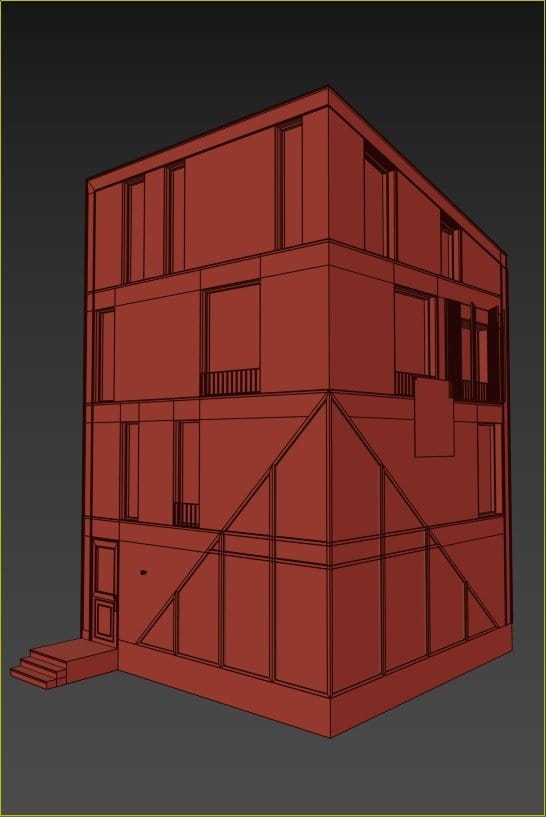
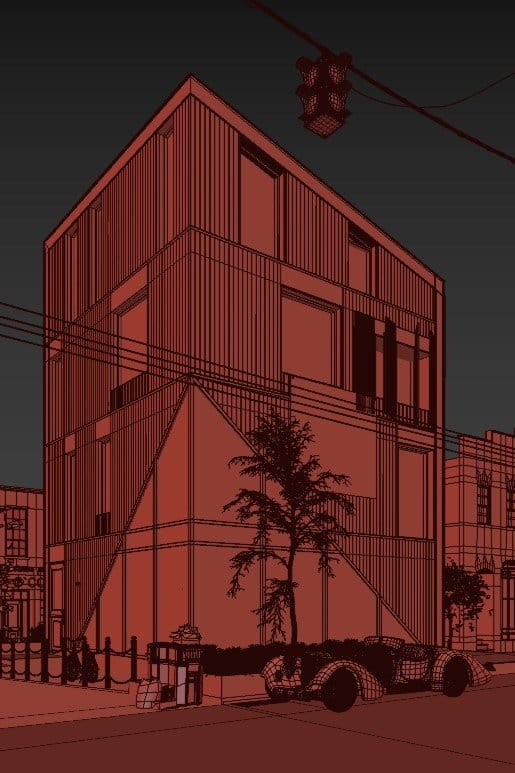
In the picture below you can see the final model.
Camera
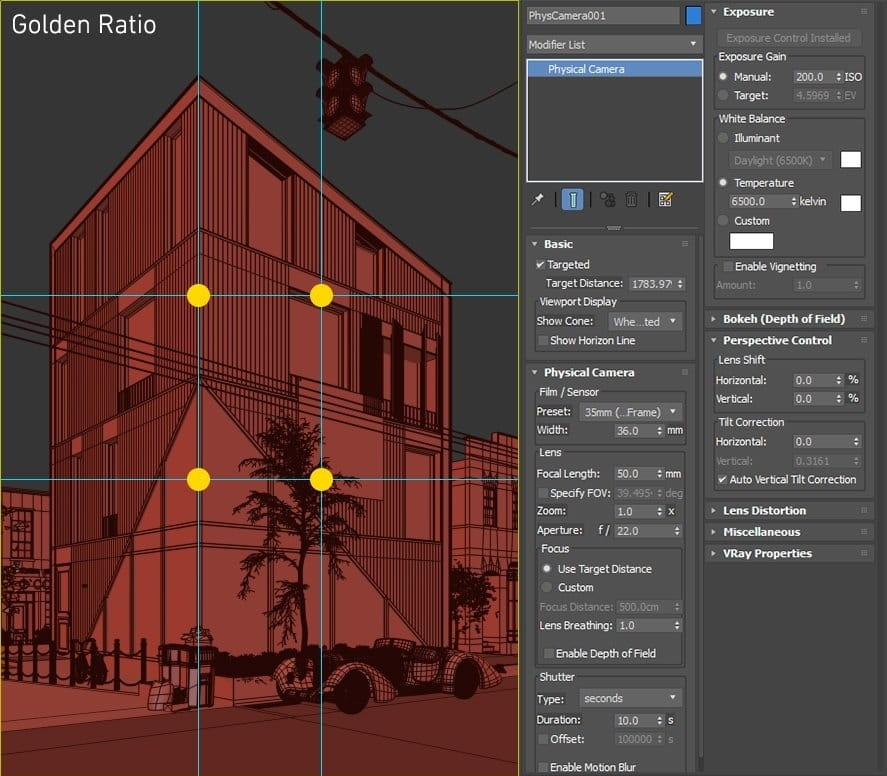
To create an eye-catching composition, the golden ratio has been used as a guideline. You can see the camera settings in the image below.
Colors Concept
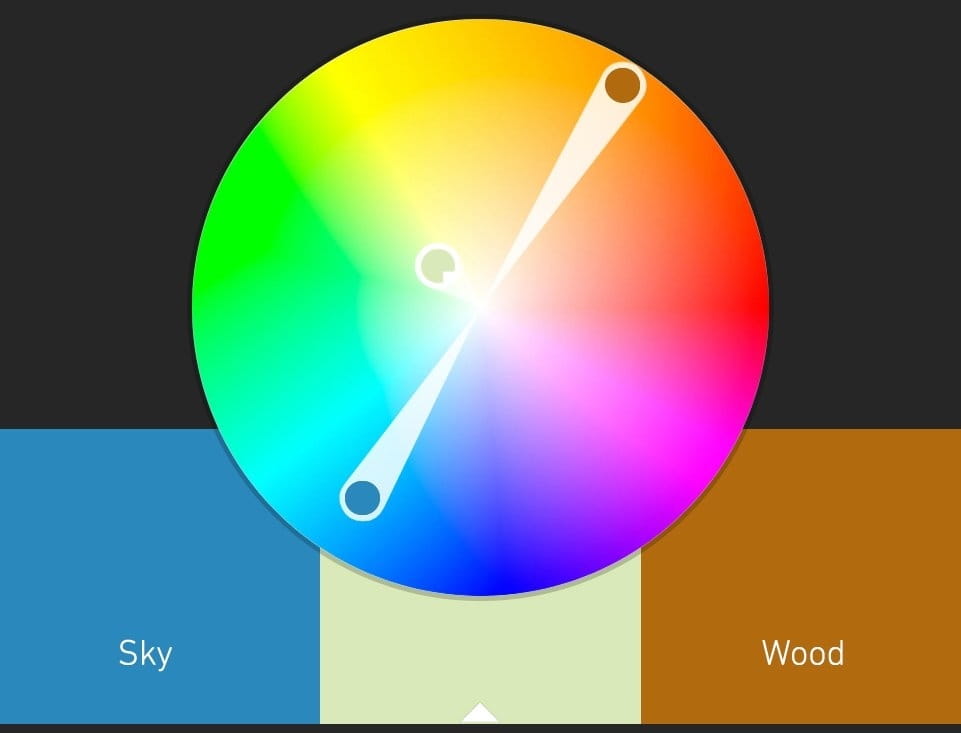
With just a glance at reference images, it is obvious that the color of the wooden planks and the sky are dominant color and they will take the most of the frame. Due to the fact that these two colors are in almost opposites direction of the color wheel (complementary colors) we choose a middle ground color on the color wheel to create sort of triad color harmonies. This type of color harmonies tends to be quite vibrant, even if you use pale or unsaturated versions of your hues.
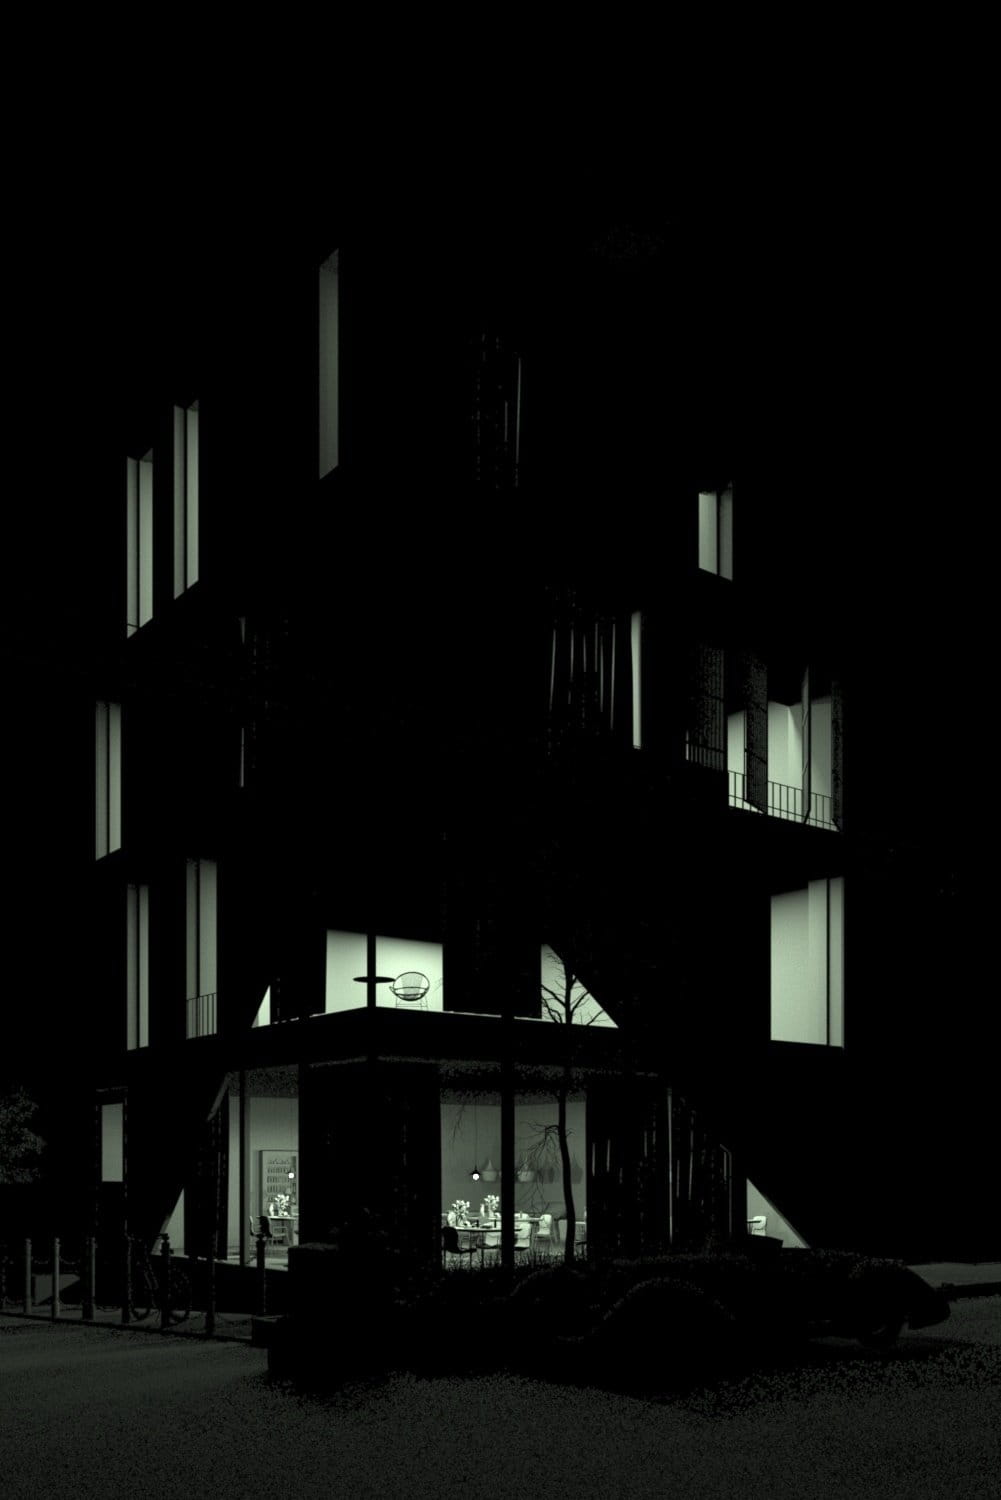
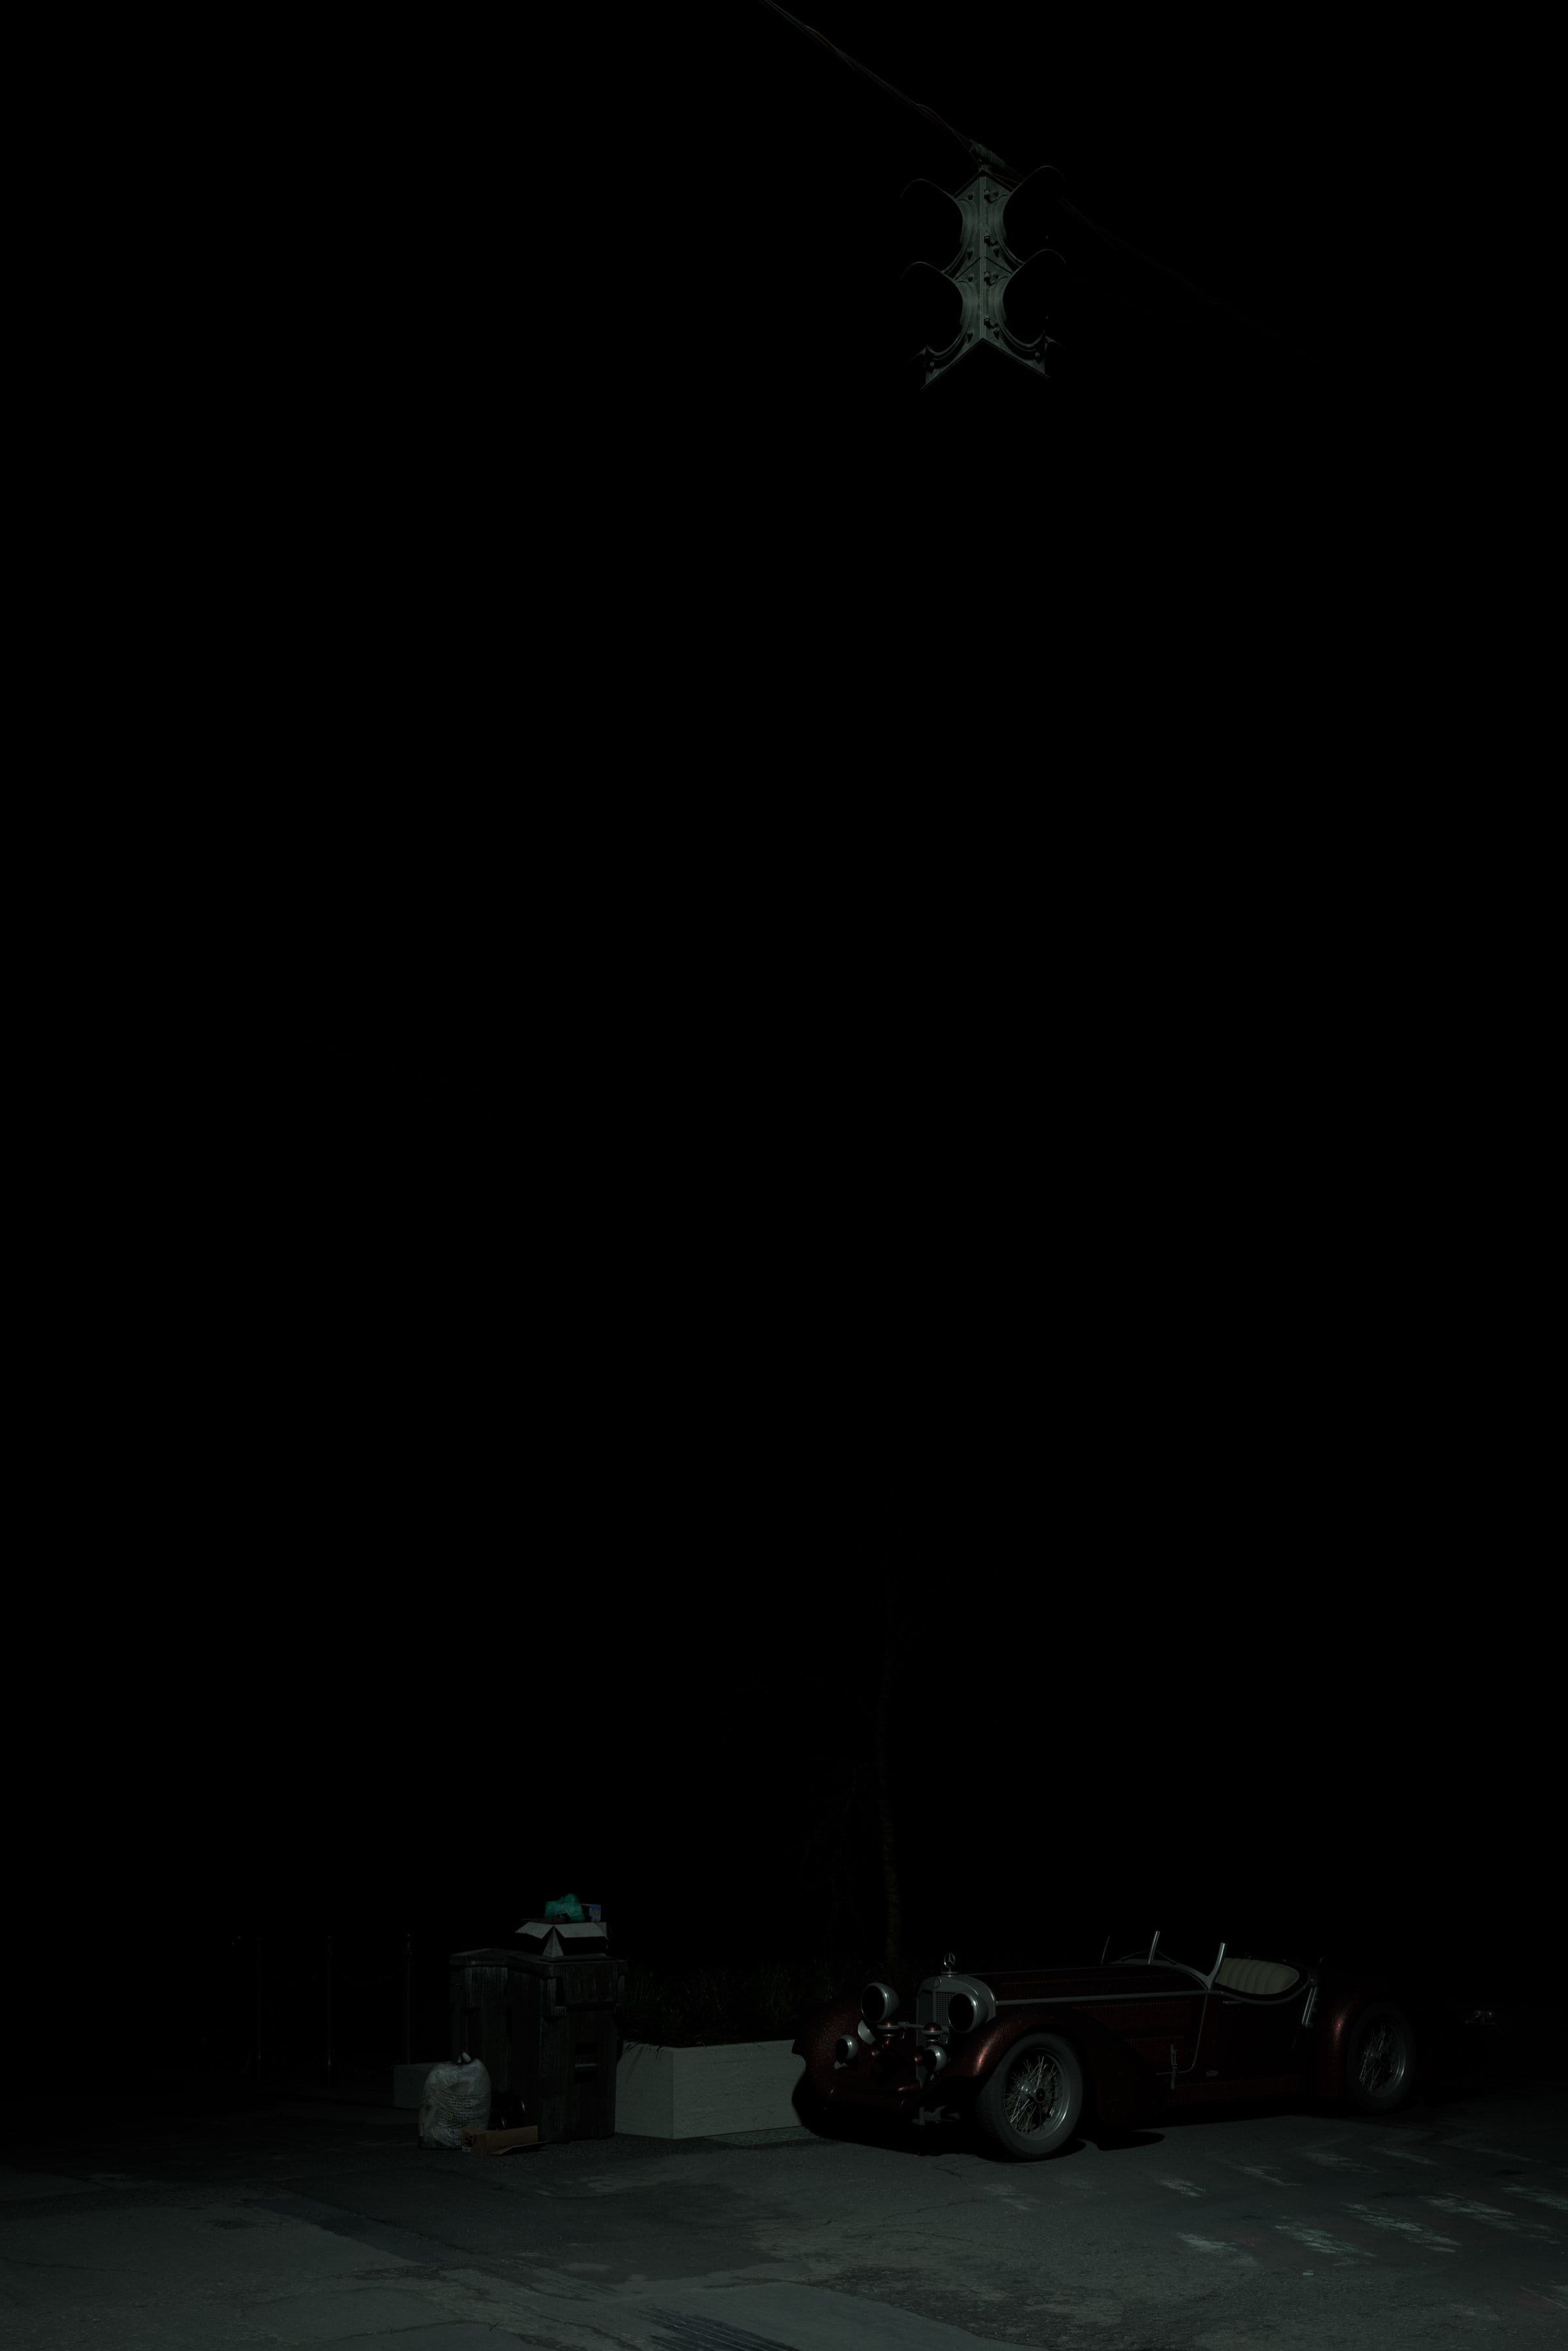
Lighting
The lighting in this scene is quite important to represent materials better at dusk, especially wet asphalt material. Lighting method is as follow:
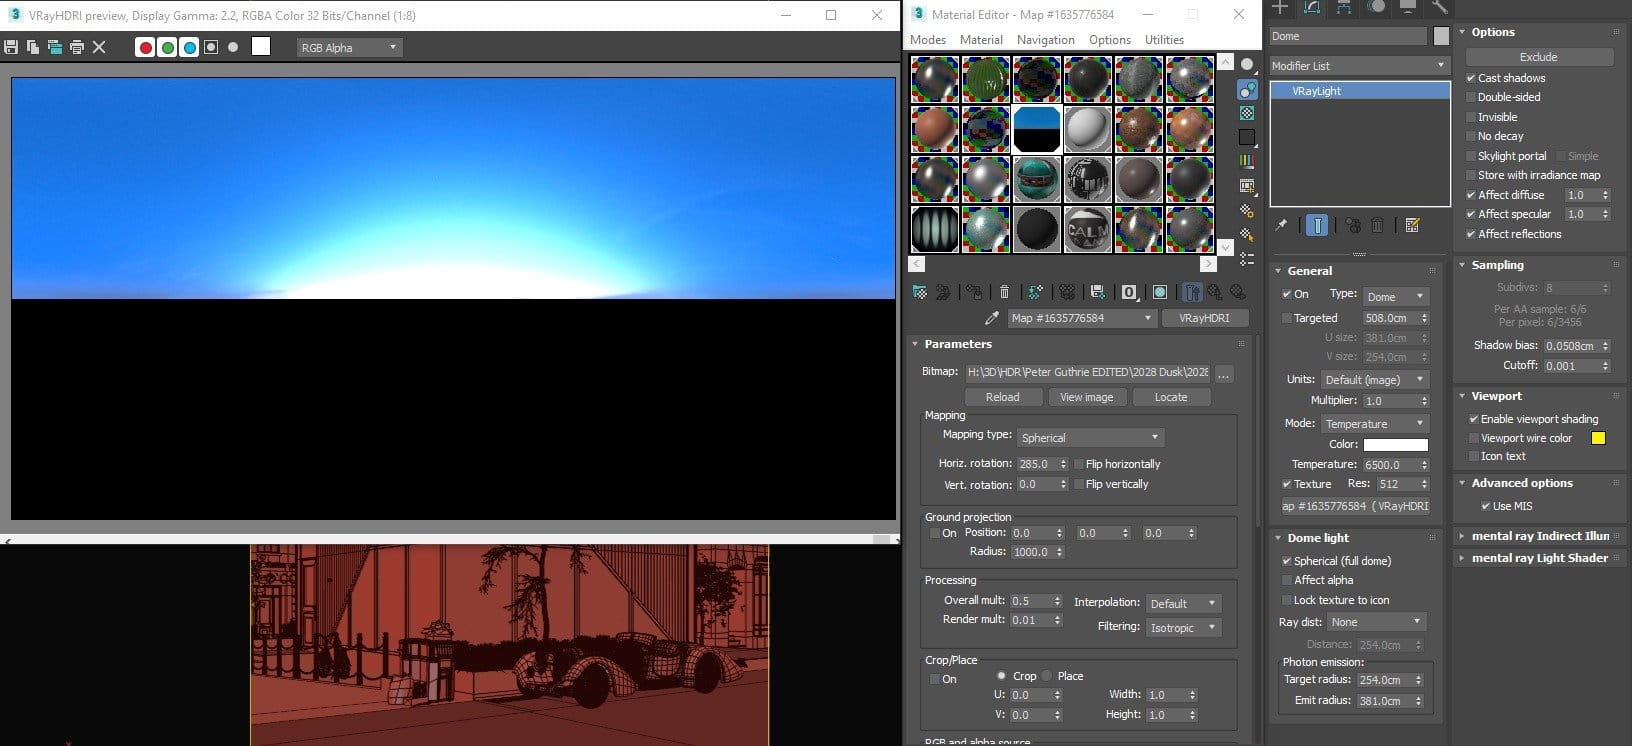
Dome light with an HDRI (2028 No. of HDRI by PETER GUTHRIE) as texture to simulate the sky dome effect
VRay lights in both plane and sphere shapes have been used for the interior lighting. In the picture below you see the light position and parameters of the lights. The color of interior lights has been considered close to the green based on the project color concept.

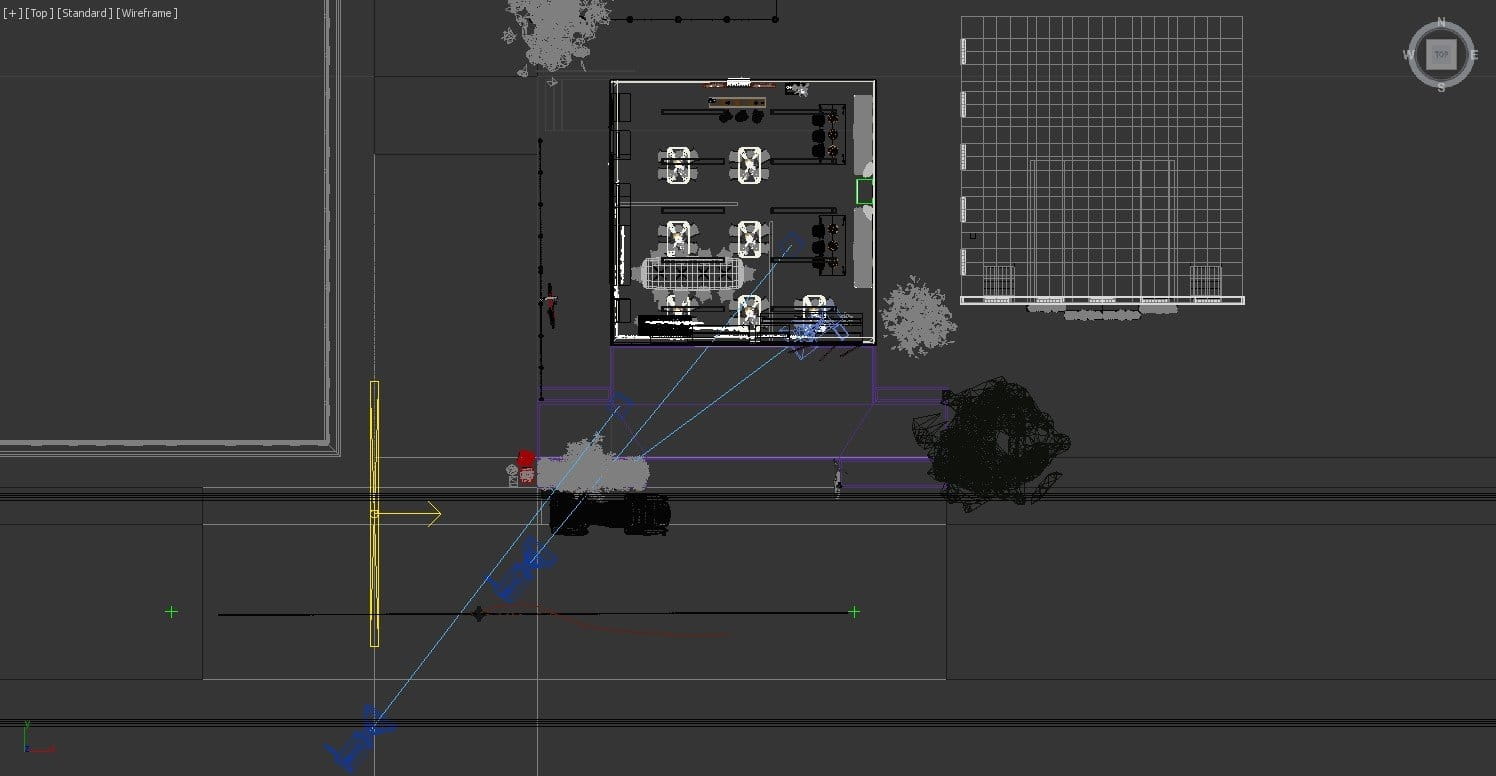
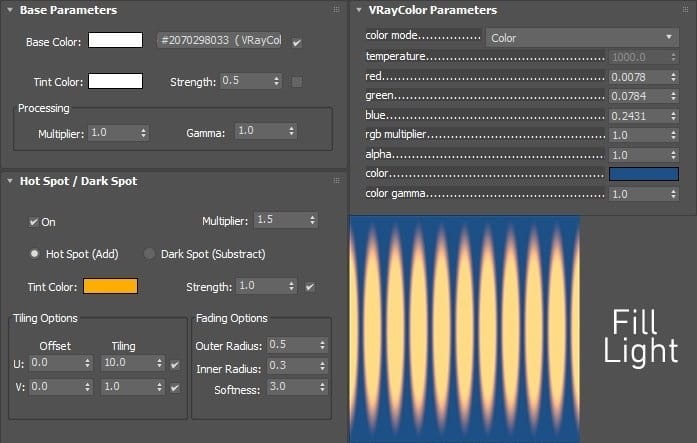
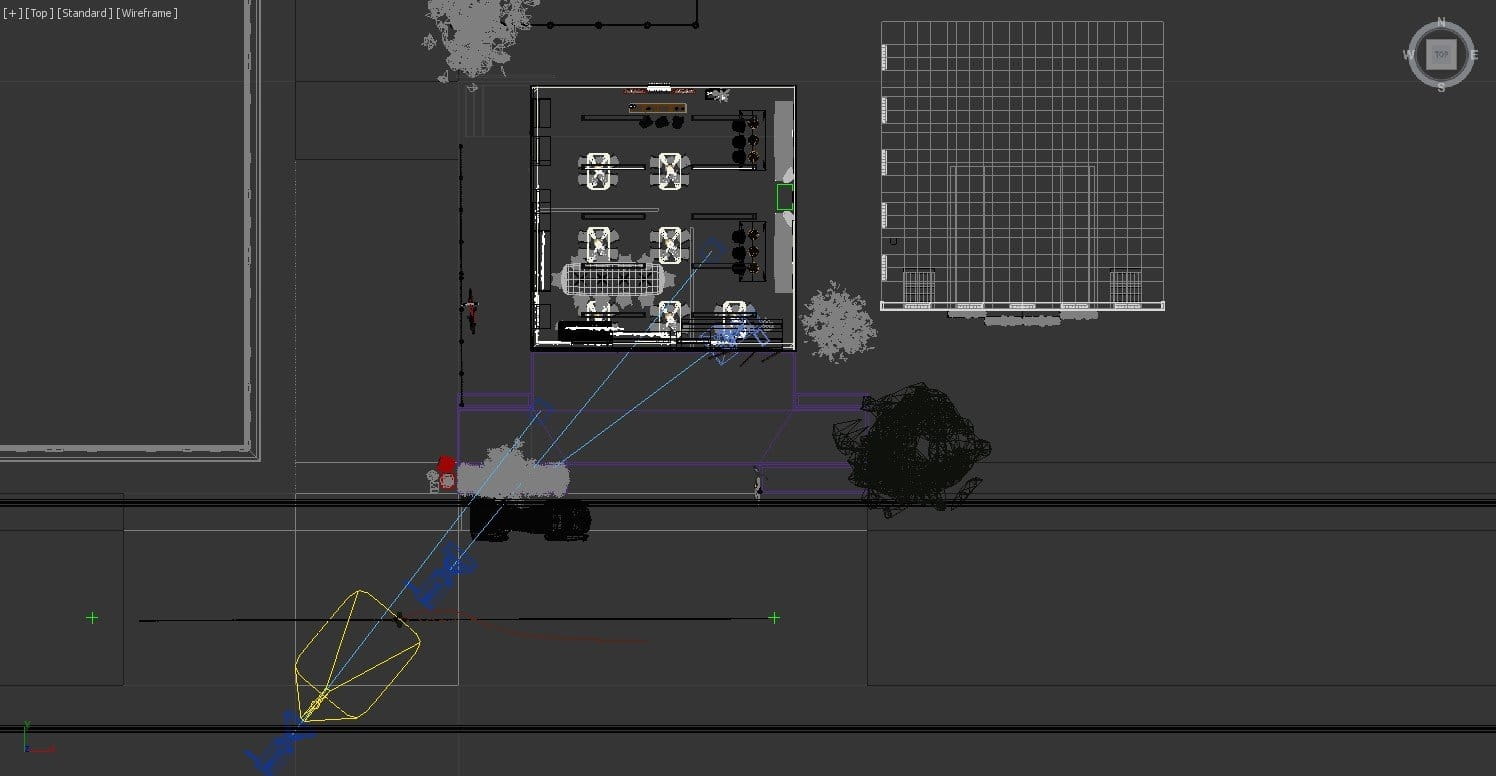
A fill light with a softbox map (as texture) has been used to illuminate the other side of the street. In addition, it may produce a better reflection falloff in wooden planks and asphalt.

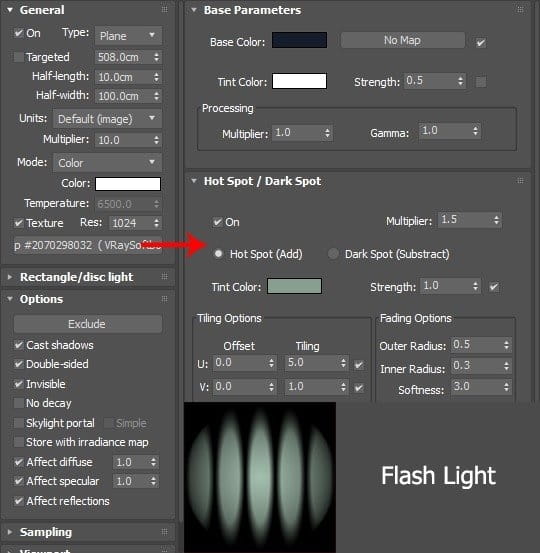
In order to produce a light similar to a camera flash, a VRay light with the following parameters has been considered. Note: Of course, in order to maintain the overall color concept, the color of this light was made similar to interior lights and intended green spectrum.
Materials
In each project, the material creation is always important and it should not be handled carelessly. We always try to produce materials in a way that we did not experience before to achieve the desired result within a time limit. Even, if it is a routine material we like to experiment with materials to get a better results.
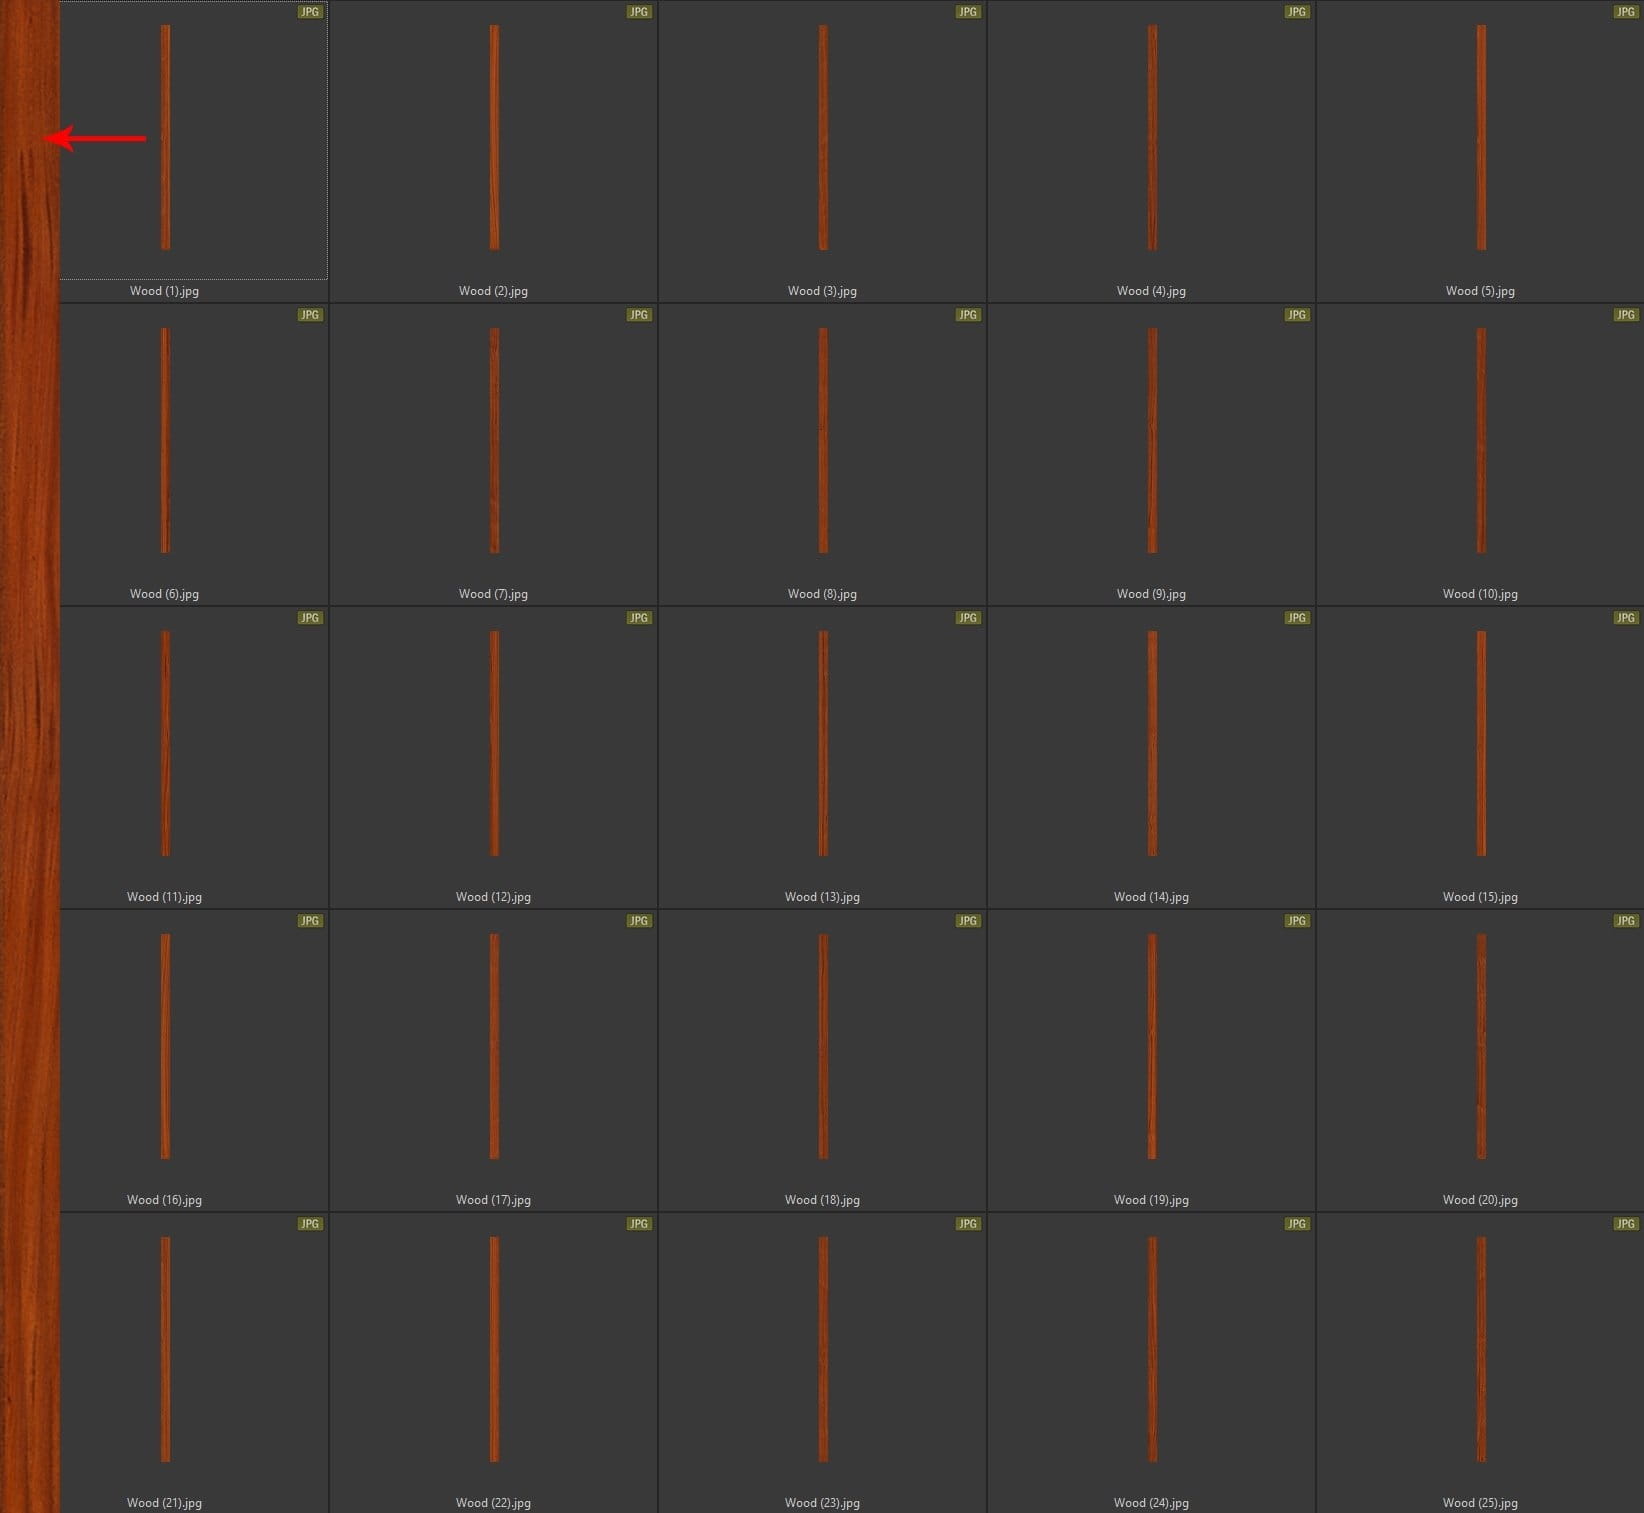
Wooden Planks
To create the wooden planks material (previously modeled with floor generator) first need to determine the number of the texture structure that this material is going to needed to look good. This number actually determines the variety of texture structures and colors of planks. Considering the references, 25 kinds of texture and color were considered for this material. Then 25 textures needed to be built. You can see the thumbnails of them in the below image.
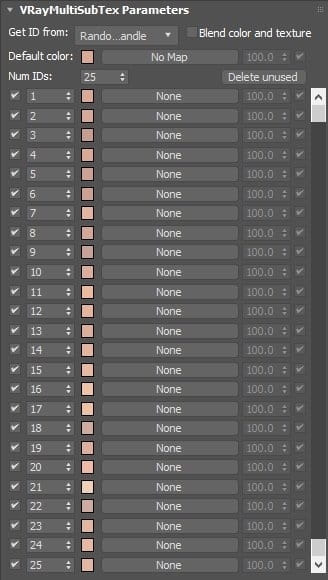
Then there was a need to change elements IDs in order to get only 25 randomized material ID. To achieve this the RandomMatIDs (http://www.scriptspot.com/3ds-max/scripts/randommatids) script has been used. Then to load the textures using each polygons material ID, VRayMultiSubTex has been used. But if you had an experience with this, you know that loading several textures may take quite some time and it is frustrating. So vrayMultiSubTex Creator script (written by Mohammadreza Mohseni) will come in handy in this situation.
But the texture was not sufficient to diversify the planks. Therefore, two series of masks (each series 25 textures) has been created to increase the material dirt and structure details (one set for the edges and one for the middle of the planks). Also, another VRayMultiSubTex that contain only colors has been used to amplify color variation. You can see the nodes' layout and the composition map that has been used for the mixing these maps together in the images below.


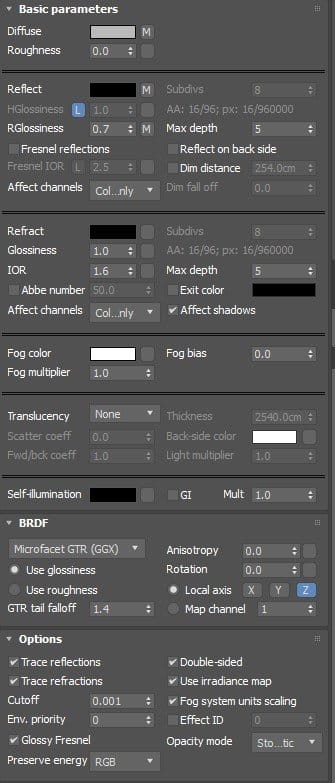
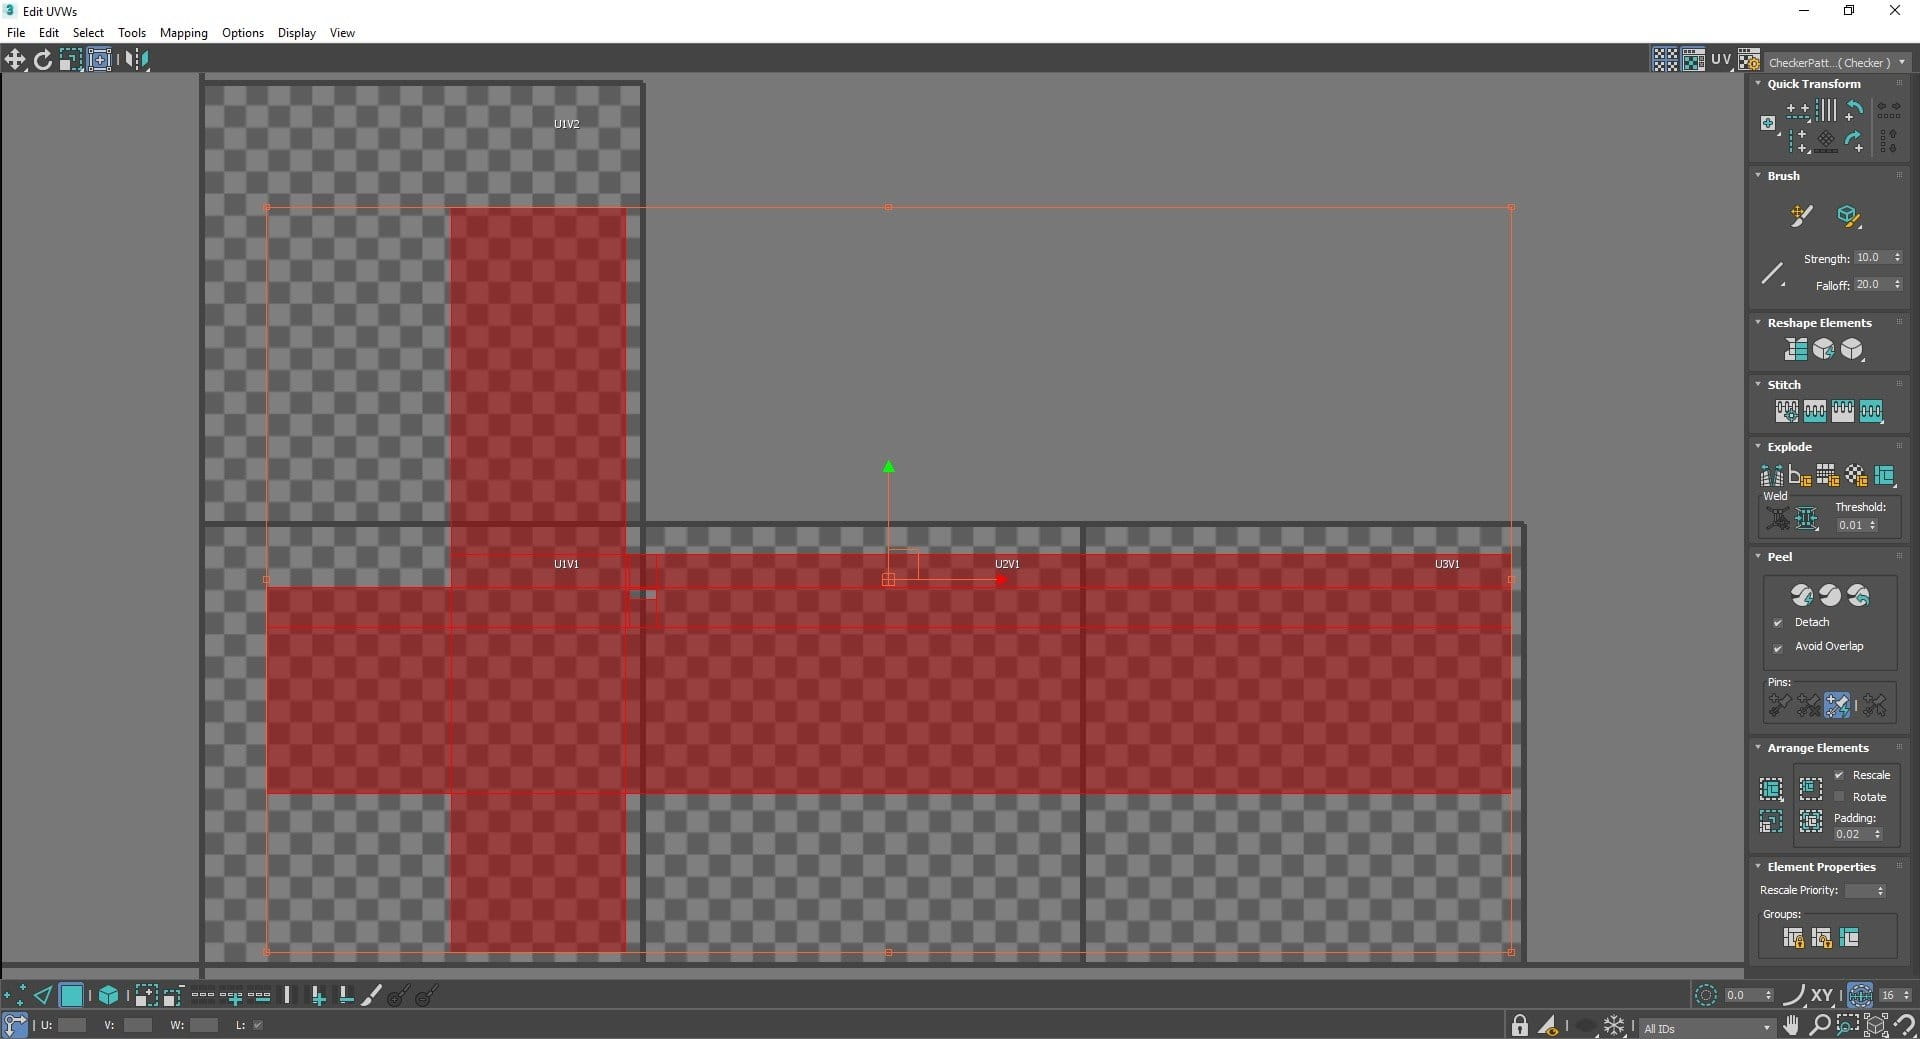
Asphalt
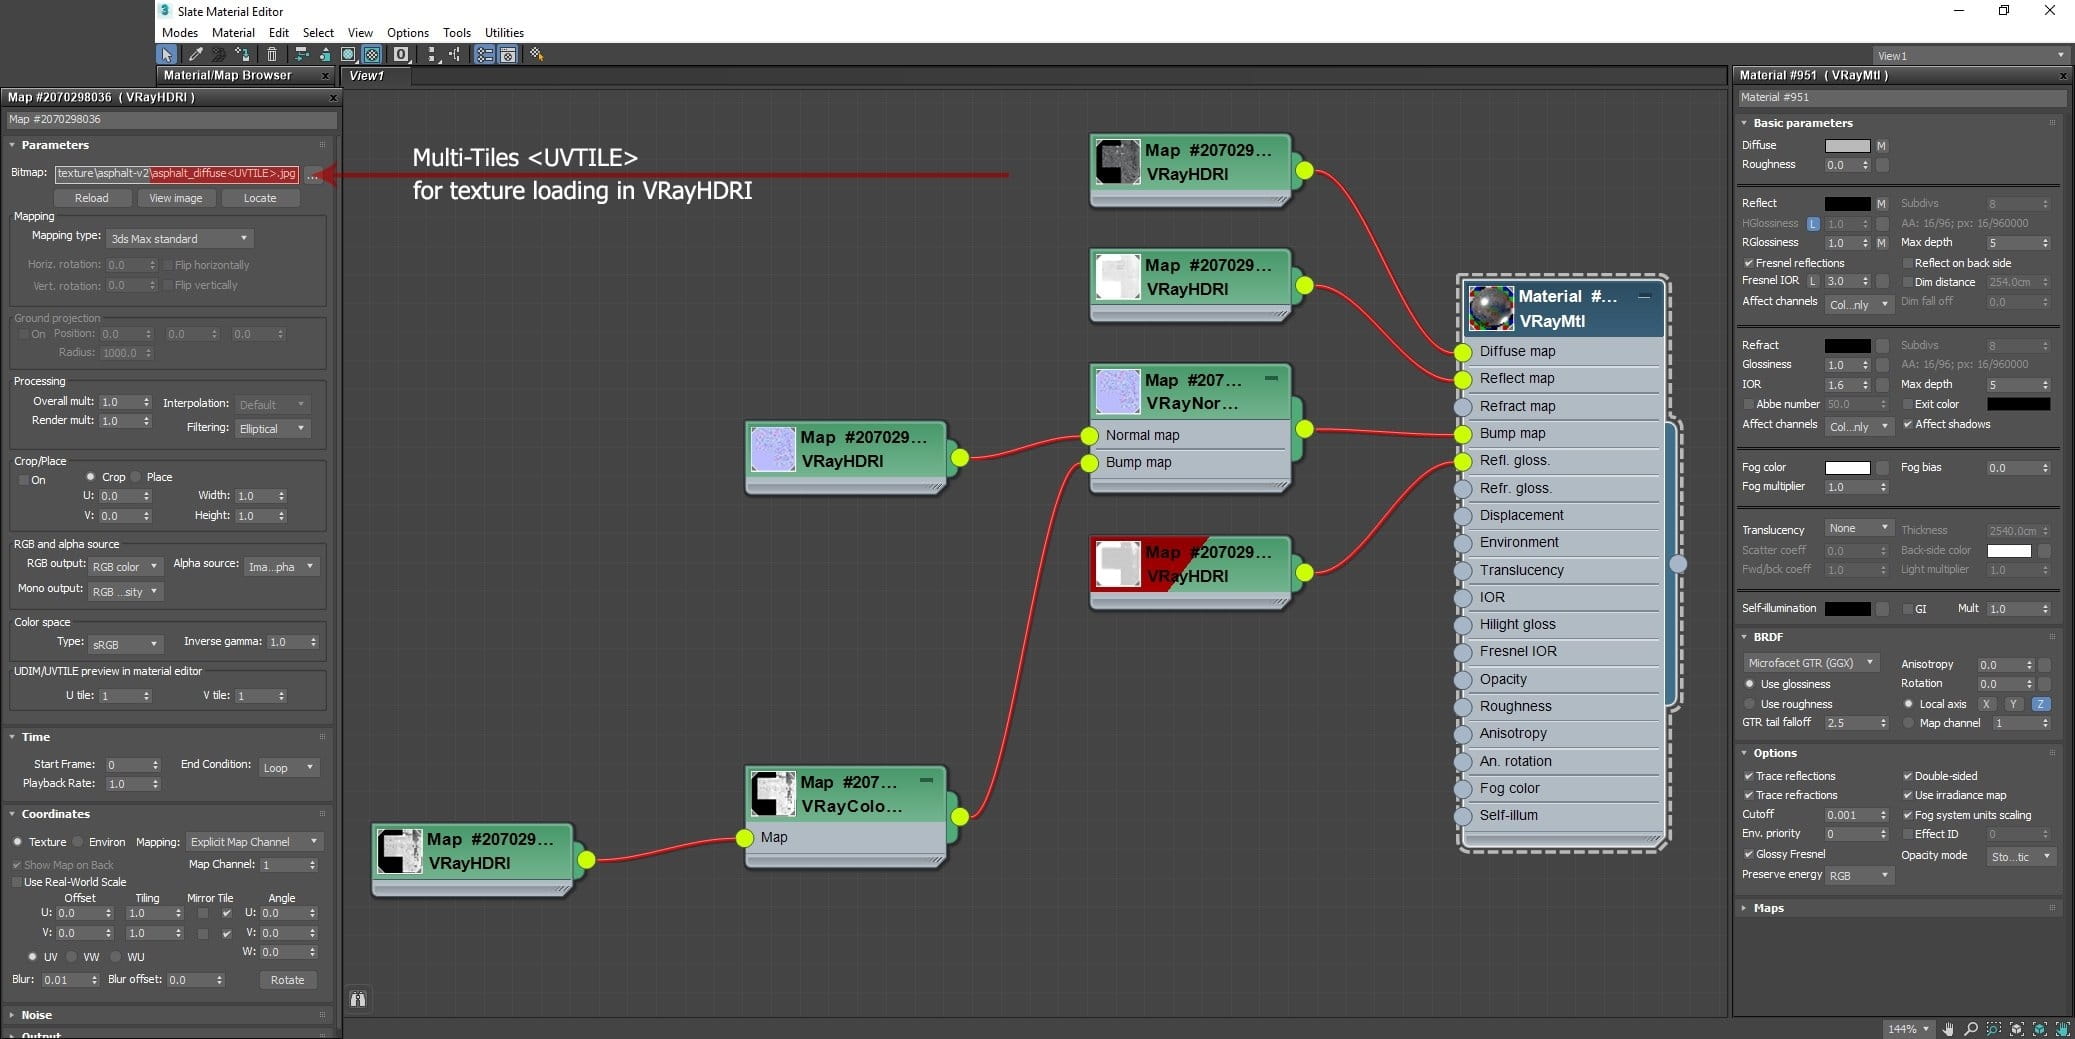
Because we needed a texture with great detail and the asphalt surface was quite large we used multi-tile UV to get more detailed output. For this surface, 4 UV tiles with 8K resolution have been used. Photoshop has been used to create the diffuse, reflect, glossiness and also micro-detailed Bump but the Normal bump has been created by Quixel NDO.
You can see the nodes layout of this material in the image below
Settings
You can see Settings in the image below. Note: for having much more control in post-production stage light select render element has been created for each light instances using Light Tools script (download it from here)

Post-Production
At this stage, a little work has been done. Just a color correction has been done. In the picture below you see the composition of the render elements and post production process.

Finally, to increase the contrast Nik Color Efex Pro has been used.

LEAVE A COMMENT


|

|

|

|

|
 Customer zone
 Your orders
 Edit account
 Add project
 Liked projects
 View your artist profile
COMMENTS