Click on image to enlarge
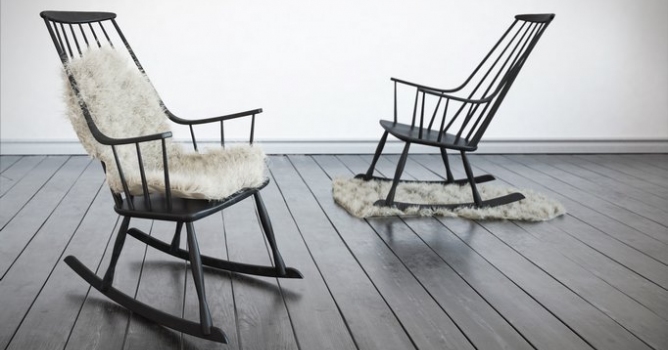
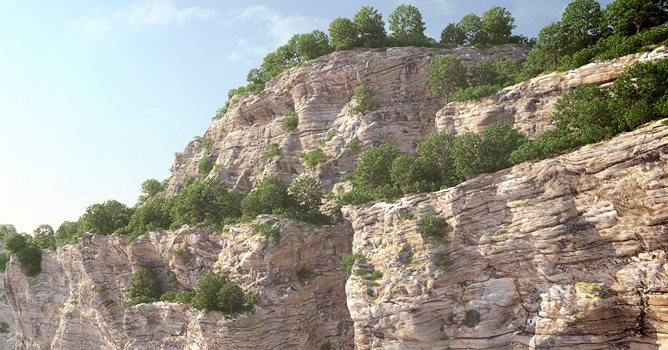
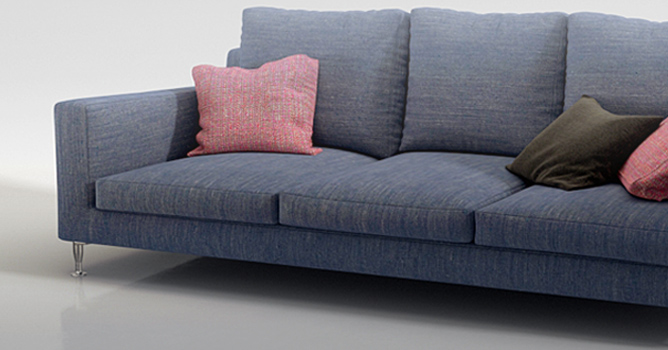
STEP 1 Gathering reference images. Planning some time to gathering photos/drawings of the model is crucial. Search for pictures showing the chair from different points of view, its overall form and also details. If it's possible, find information on overall dimensions.
Click on image to enlarge
Click on image to enlarge
STEP 2 Choosing reference pictures and specifying overall dimensions. I chose three photos I'll stick to; front and side view, and one showing the chair from perspective view - to compare model likenesess during work.
Click on image to enlarge
Create box with chair's dimensions to control model's proportions during modeling process.
Click on image to enlarge
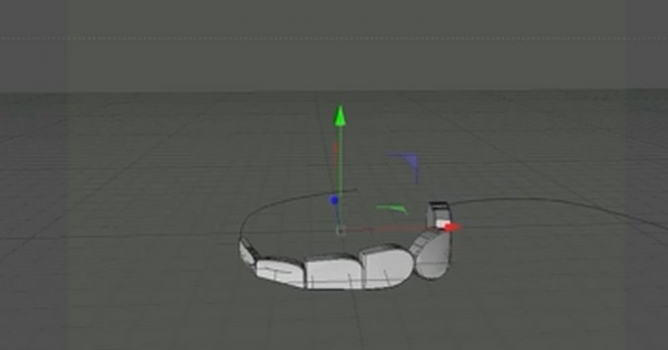
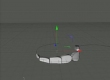
STEP 3 Blocking out the chair. Start modeling from creating a seat.
Click on image to enlarge
I try to project the form of the chair in simplified way at the beginning.
Click on image to enlarge
Blocking out the chair. I try to catch all the obliques and make sure the blocked form is smooth and simple. It would be much more difficult to achieve if I started from smaller parts at the beginning.
Click on image to enlarge
Click on image to enlarge
Click on image to enlarge
Click on image to enlarge
I detach a part od the backrest and start to model it's top element. I use scale and move tools with snap to the edges mode to keep proper obliquity.
Click on image to enlarge
Keep in mind, that the photo showing our chair from the front view have some perpective distortions. The 3D model is shown in orthographic projection, that's why it doesn't match each other precisely.
Click on image to enlarge
Blocking out rockers and arm rest.
Click on image to enlarge
Click on image to enlarge
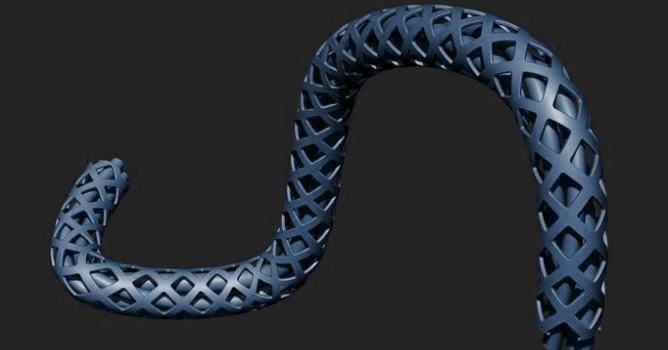
STEP 4 Refining the form of the chair. When I'm happy with a simplified chair form I extract splines from it, in place of chair's lathed elements. All I need to do to get cylindrical forms is to tick: Enable in Renderer and Enable in Viewport option (Modify>Rendering with spline selected).
Click on image to enlarge
Click on image to enlarge
Start to refine form of non-lathed parts of the chair. Use Shell and Symmetry modifiers to speed up work.
Click on image to enlarge
Click on image to enlarge
Define seat's shape – still work on relatively low poly model.
Click on image to enlarge
Smooth headrest, chamfer sharp edges where's needed.
Click on image to enlarge
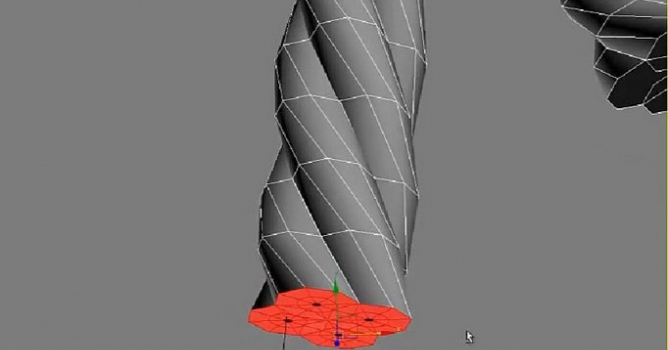
Refine chair's poles shape. I scale just the top and bottom of splines using Edit Poly modifier. I leave spline underneath to keep control on its main form.
Click on image to enlarge
Get into details with rockers – make round corners and chamfer edges.
Click on image to enlarge
Thicker the legs and work on its curvature using again Edit Poly modifier.
Click on image to enlarge
Click on image to enlarge
Make sure the model will work perfectly with Turbosmooth modifier.
Click on image to enlarge
Click on image to enlarge
Work on the armrests shape. To get square shape at the splines ends I divide cap verices into four and scale each part till flat on z or y axis.
Click on image to enlarge
Click on image to enlarge
Click on image to enlarge
I collapse a model into one element and once again make sure it works with Turbosmooth modifier.
Click on image to enlarge
Click on image to enlarge


 Customer zone
 Your orders
 Edit account
 Add project
 Liked projects
 View your artist profile
COMMENTS