Introduction
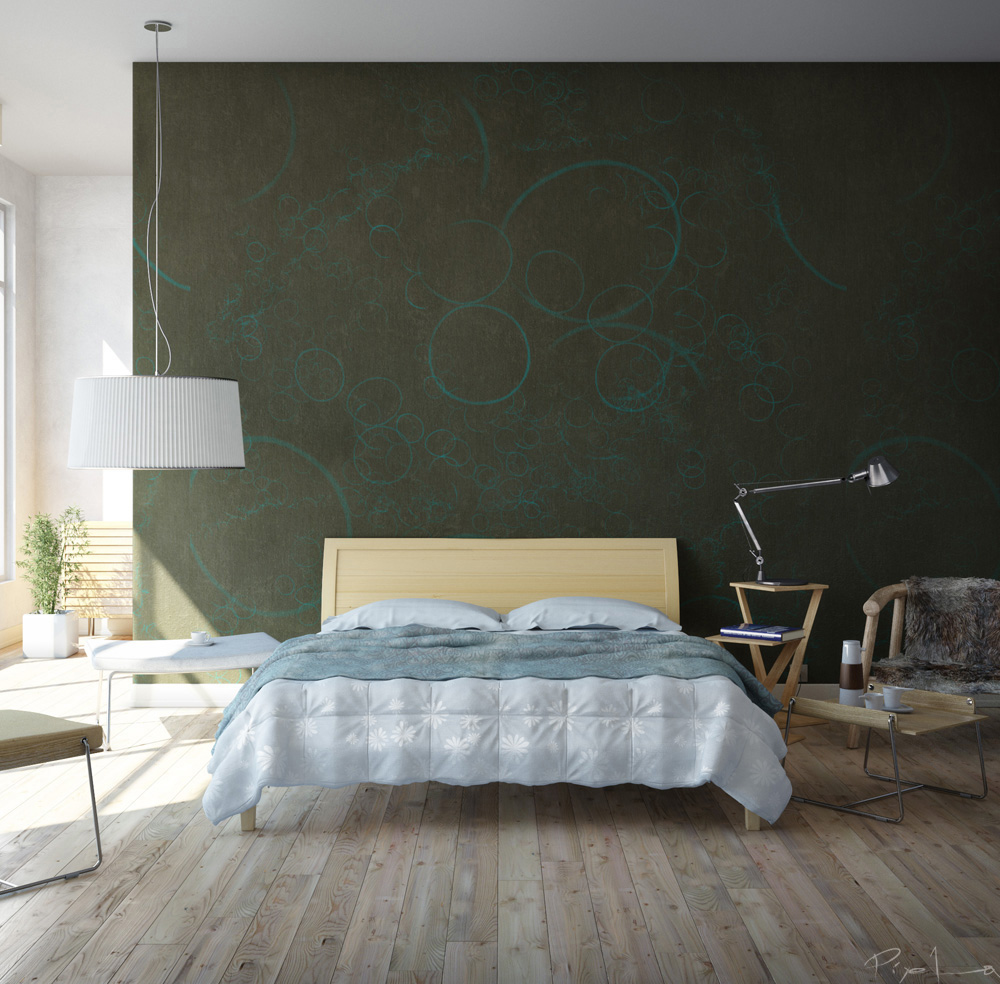
Hi, Thanks for Evermotion team for this great site and Thank you to all who gave me feedback and encouragement. I will try to tell you my Making Of Story for my Bedroom Concept. I hope you find my tutorial useful.
1. Concept and Workflow
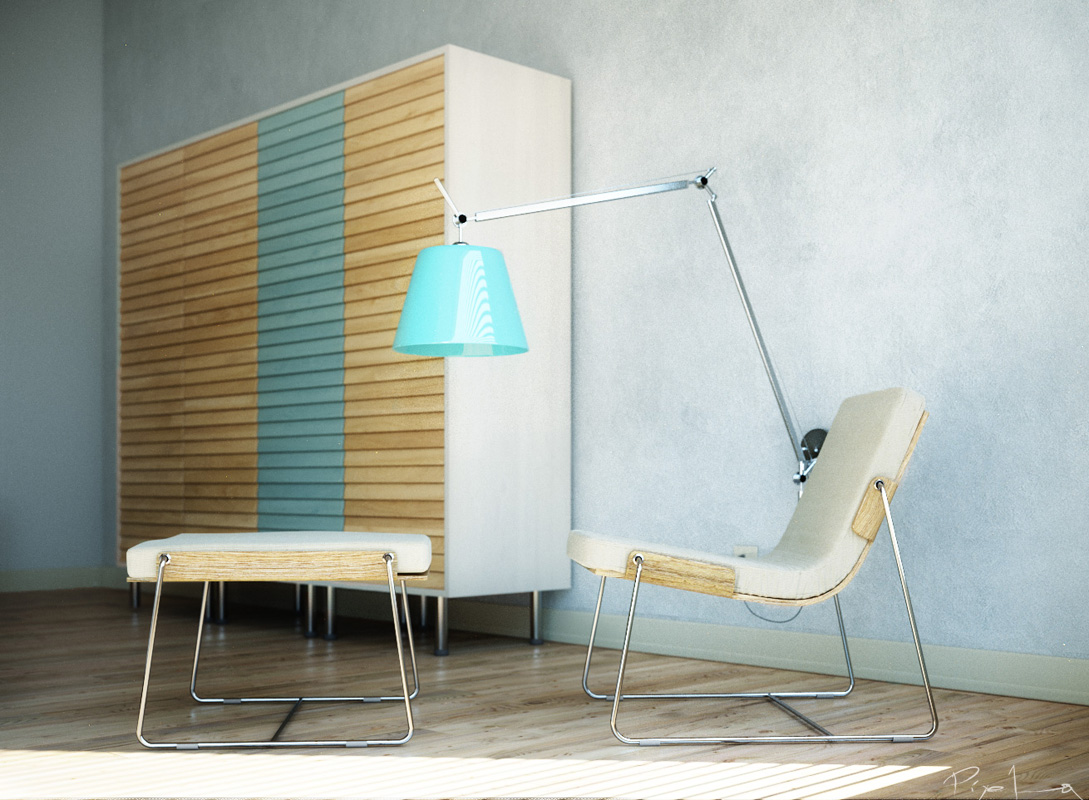
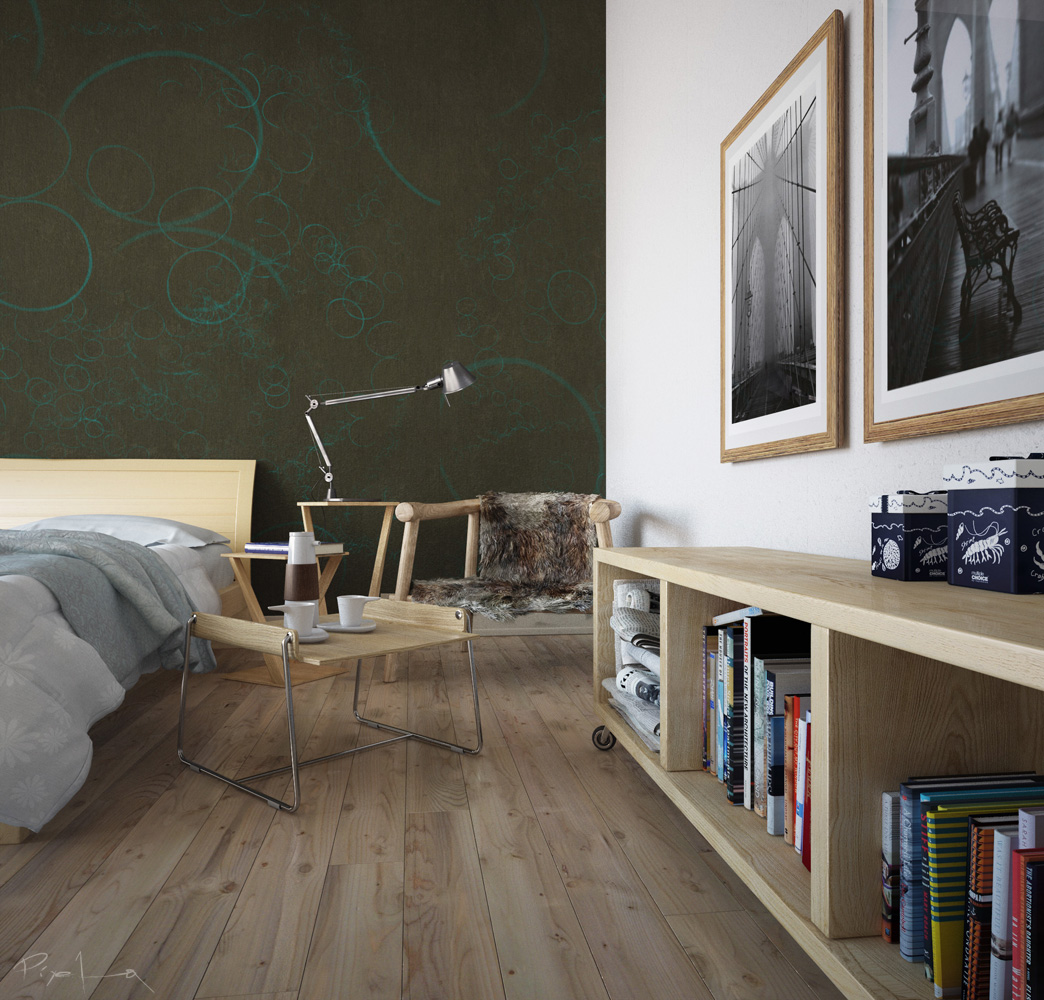
I believe that making sketches is a vital step in designing architecture or objects ; as well as for designing the images. For this bedroom, I took a slightly different workflow. I can call it "sketching in 3d" First, I had vision of this bedroom on my mind. I was imagining the sun falling down into the room, I was imagining about the wallpaper and bed. All of this formed a strong and clear vision and I found myself choosing chairs for my virtual bedroom, and designing some of the furniture myself. After making few basic sketches of furniture I design, I started building/modelling the room. Sketching in 3d, provided a lot of space and time for me to concentrate on forms, surfaces, materials. As I was modelling each element, at the same time I was thinking of each element as a part of the whole, and concentrating on the whole design.
2.Modelling
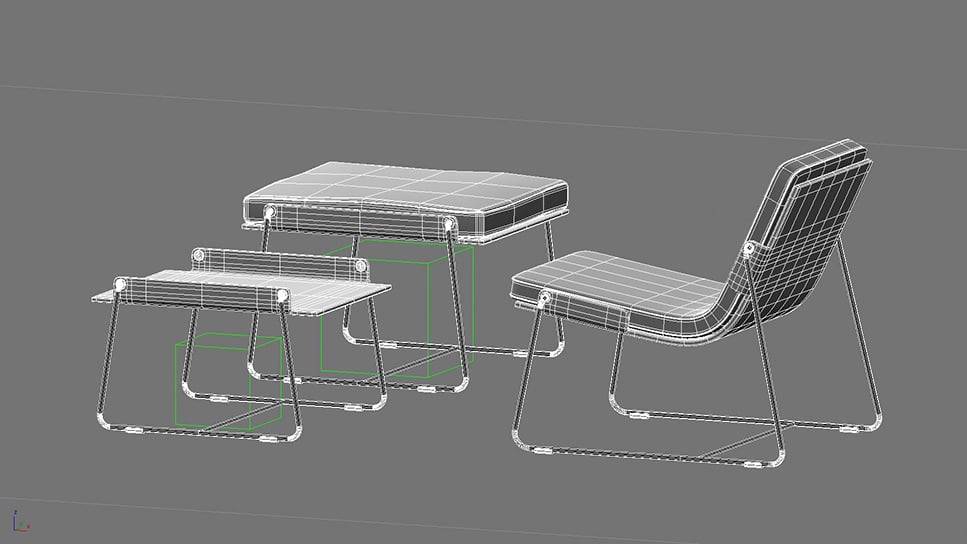
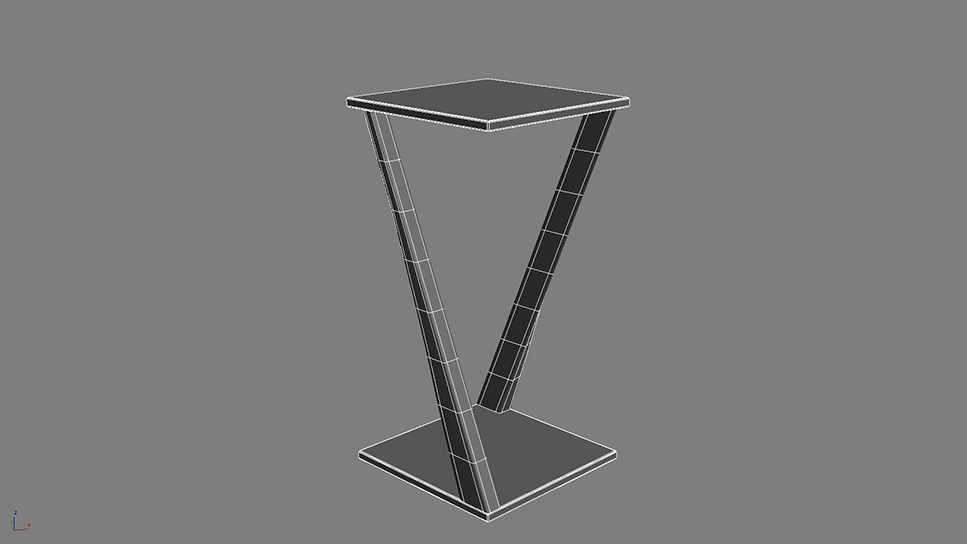
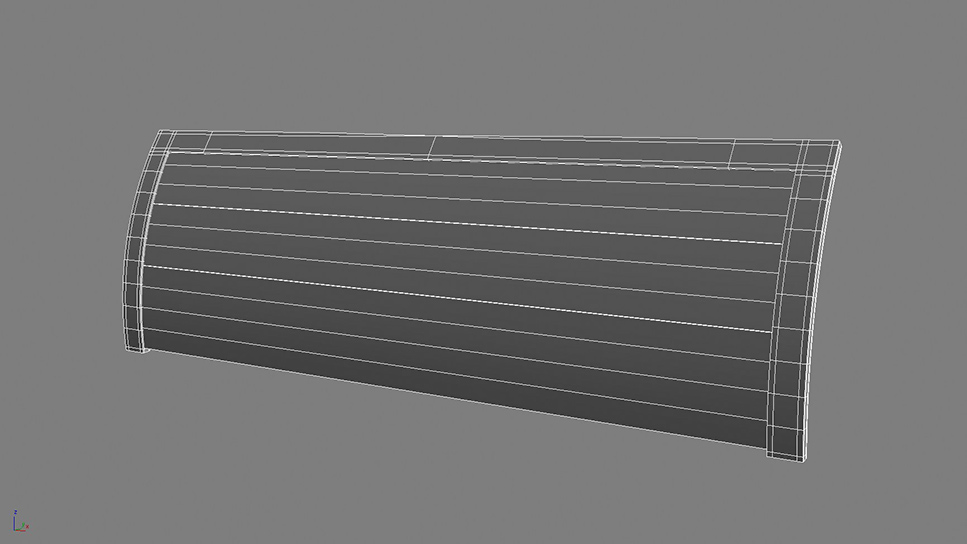
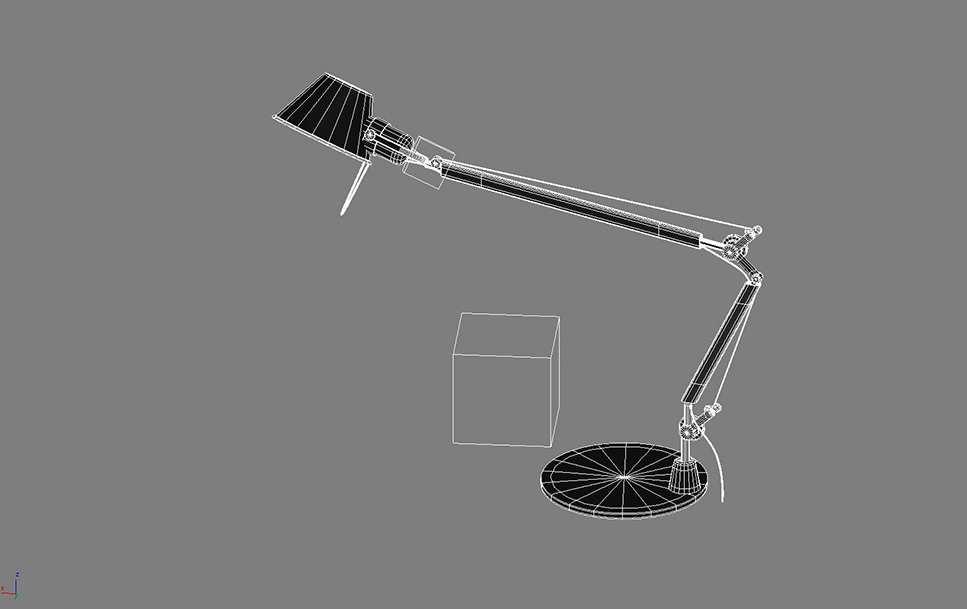
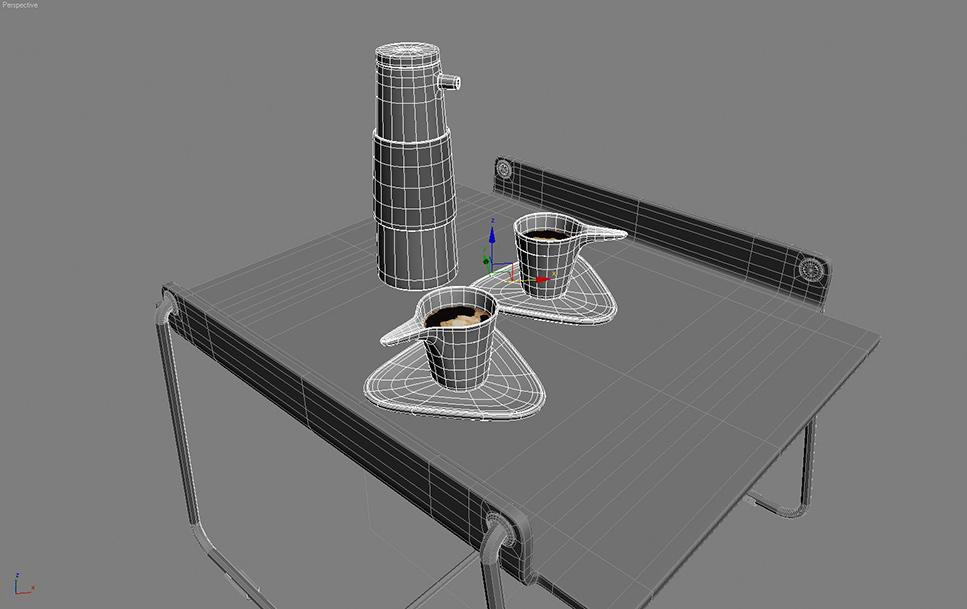
Most of the models of basic poly-modelling as you see in the images. Poly-modelling is a strong tool which I am learning myself as well. I will not discuss the basic poly-modelling techniques inside this Making Of Story as there are many tutorials about this.
Modelling the Bedcover :
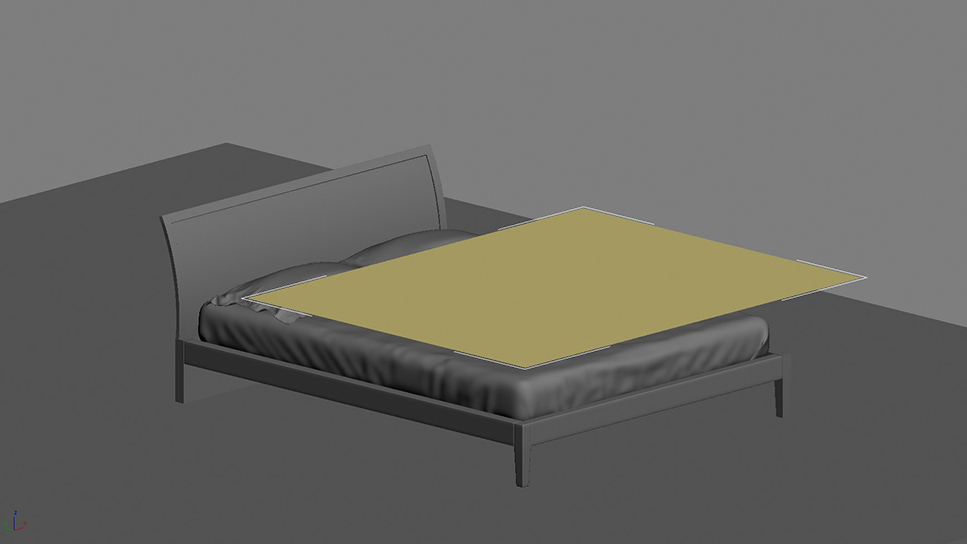
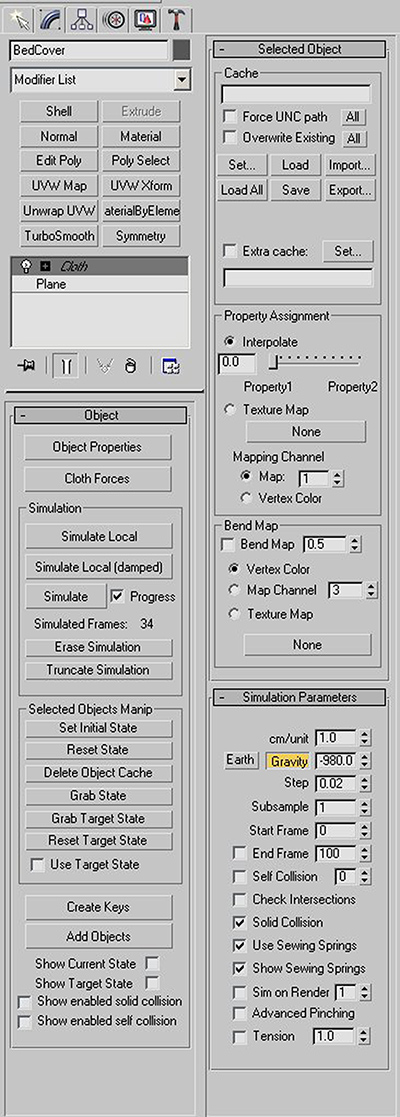
I used Max Cloth Simulator for creating the bedcover and other cloths except the pillows. Pillows are created with Simcloth plug-in, just for experimenting. Both plug-ins give great results. The idea and workflow is similar so you can carry out the same process with any of them. First start with a plane with adequate segments and apply cloth modifier to this plane.
Go to Object properties and assign this object to behave as cloth during simulation. Add all the rest of the elements that are part of the simulation and assign them to be collision objects. Here in my example, bed sheet, frames, bed feet and even floor is assingned to be collision object as I didn't exactly know how cloth will fall. You can see all the settings in the images below.
Now all you need to do is press "simulate" button and wait for the bedcover to fall.You don't even need to animate the cover because it will fall down automatically due to the gravity. I saved the simulation as a video to give you an idea.
3. Pre-Lighting
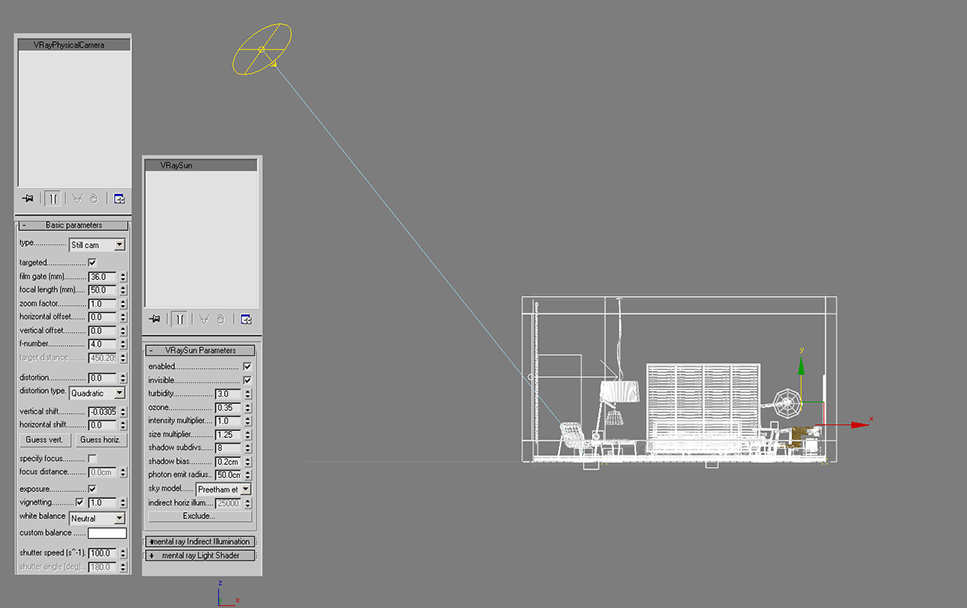
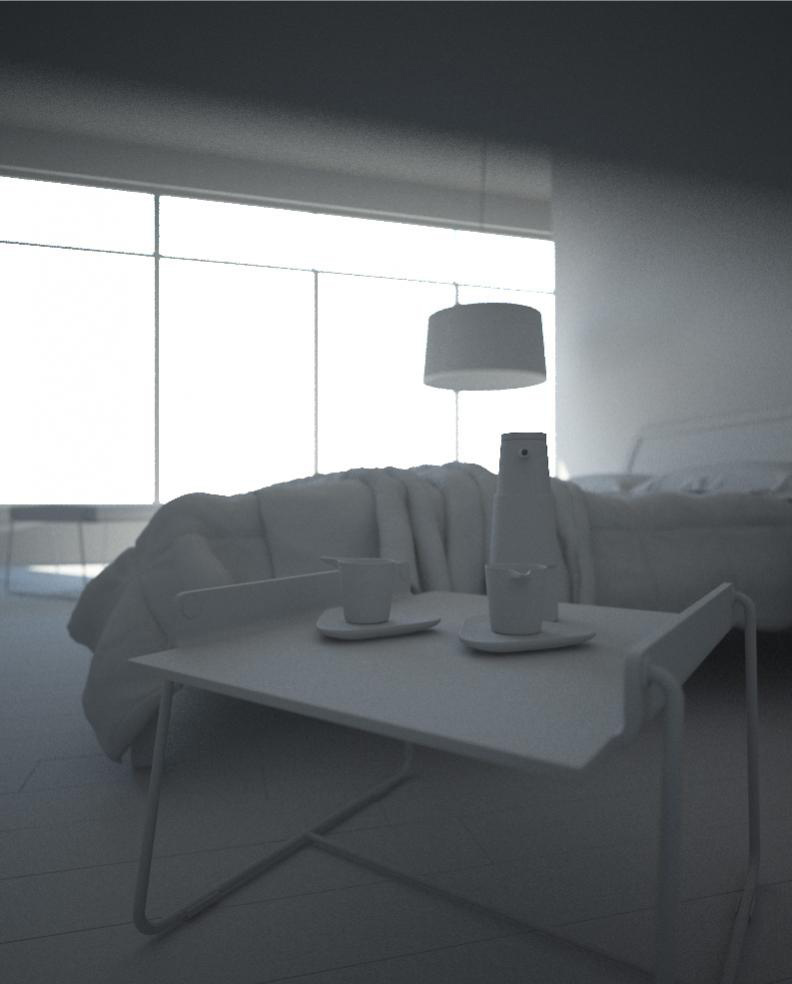
Before starting texturing work, I always try to make up a basic light setting to test my shaders and to see how my textures look. I find the daylight setting best for my purpose. I usually make a "final lighting" stage after I put my shaders and textures. For this project, "final lighting" was not necessary as I always imagined this bedroom in a bright sunny late morning. Some little tweaks was enough at the final lighting stage. I use Vray for my rendering and I love it so much. So for my daylight, I used the VraySun-VraySky and the VrayCamera. When you add a VraySun in your scene, VraySky is automatically replaces the Max Environment map and they are linked to each other so setting up my lighting was very easy. Here are the settings and wireframe image:
4. Texturing
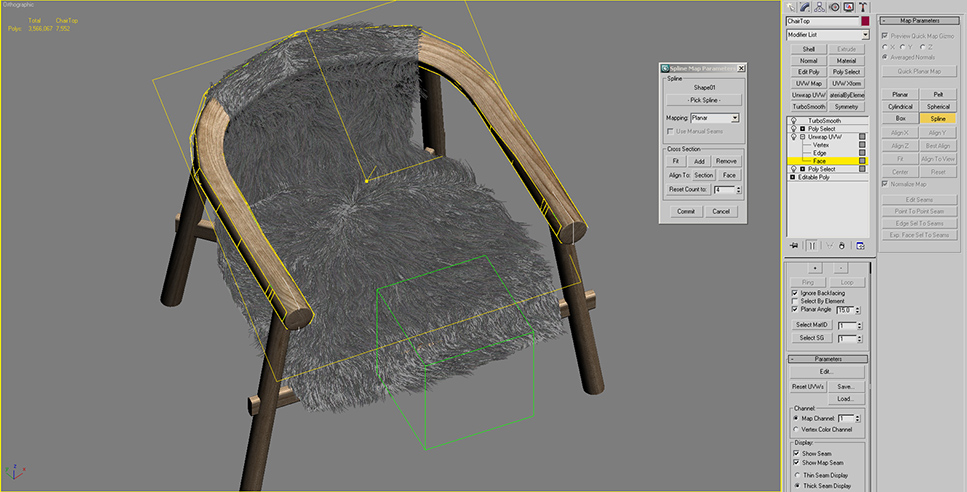
When basic daylight was set, I moved onto the texturing step. I downloaded many textures from www.cgtextures.com. This is a great site with many nice free textures. I find it very useful. 90% of the objects have a basic UVW Mapping, standard planar maps, box maps or cylindrical maps. The round top element of the Fur Chair has an unwrap modifier. I used spline mapping to adjust the UV coordinates of this part. It is very easy and basic. After you create the spline to follow, you will pick it up from the rollout. You can see my settings and you can see the spline. (in white)
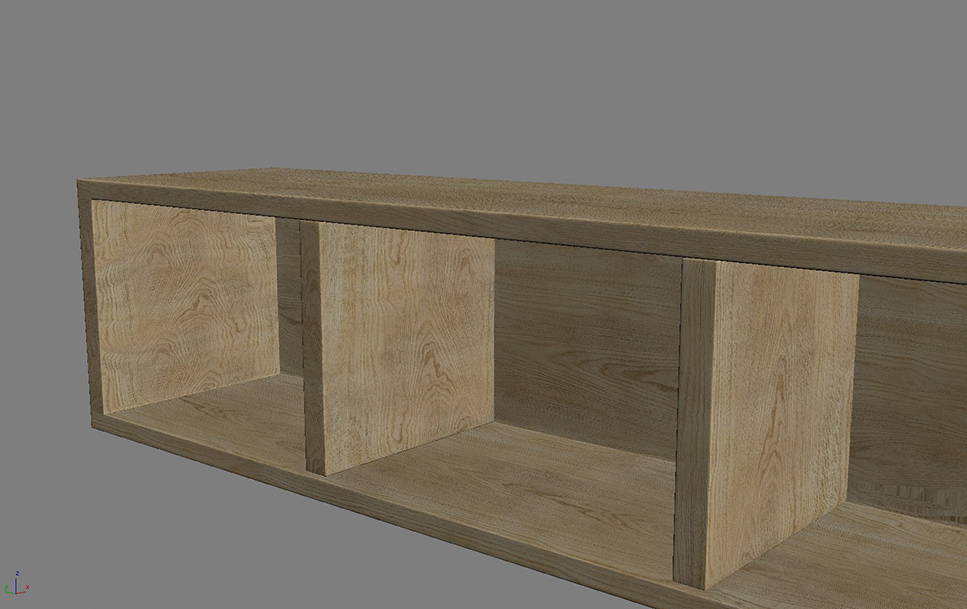
Below is one of the wood materials and its component maps. It is a basic shader- only some tweaking and testing is needed. The rest of the materials inside scene are on the same basis.
Creating the Wallpaper Texture
First make your own custom brush. Draw circles with a brush tool. You can play with different settings of the brush to create the exact circle you have on your mind.
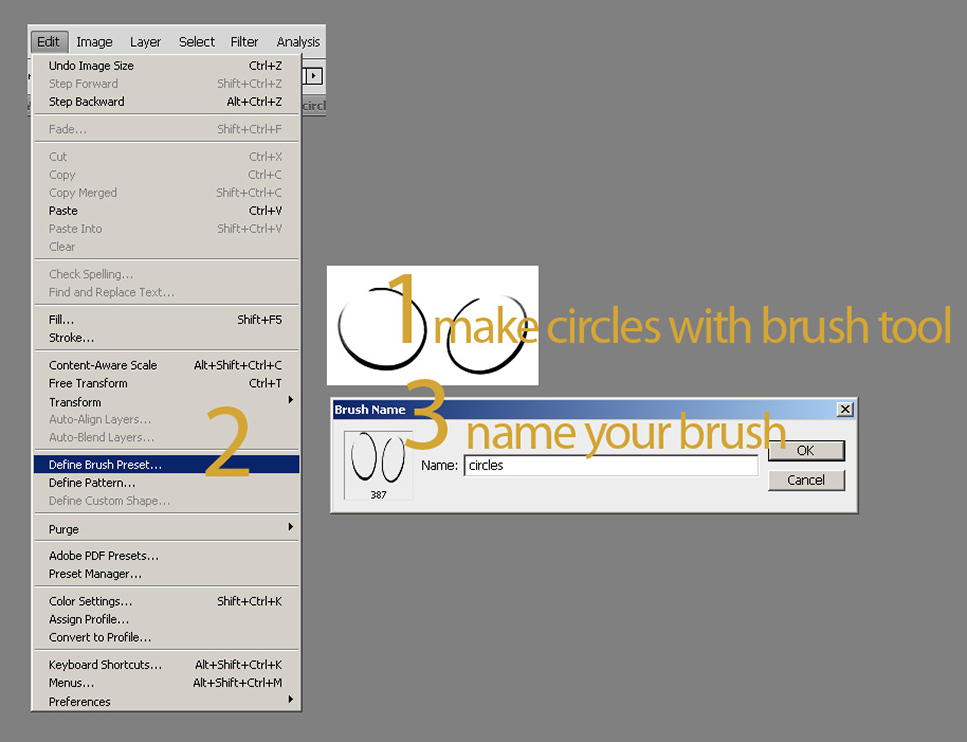
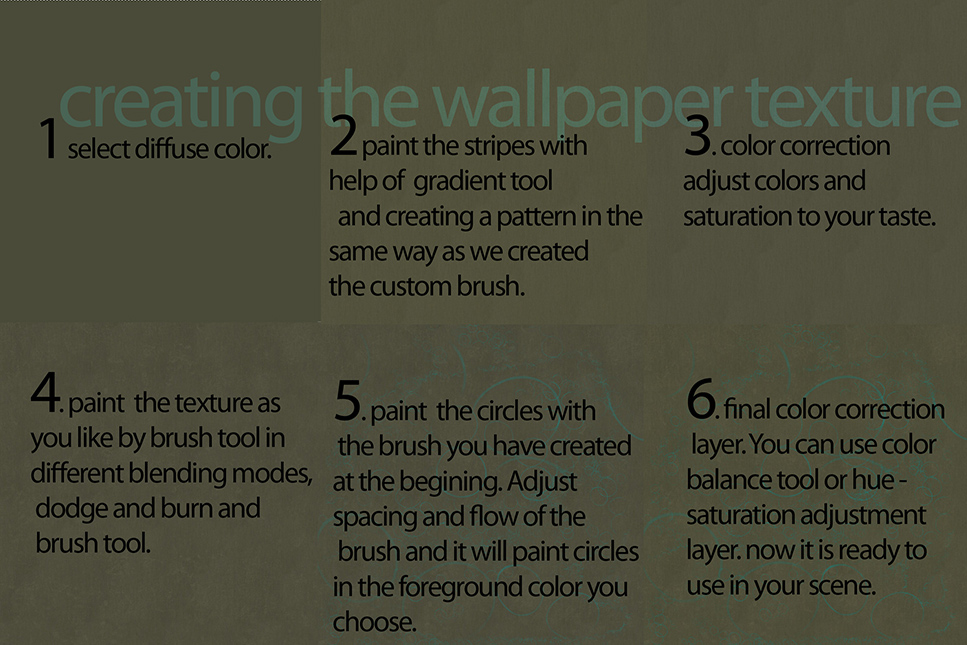
You can see the rest of the process in steps in the image below. After I choosed my base color, I created a pattern on top of this diffuse color out of gradient texture to give a touch sense in the 3rd dimension on the wallpaper texture. Color Correct: Then I had some color correction on this texture. It was a subtle change but I am very picky about my colors so this change was significant for me. You can make color correction with Hue Saturation Adjustment Layer or Color Balance Adjustment Layer or Curves Correction. Hint: It is essential to use adjustment layers (and fun) because you can easily change things without harming the original image and can always revert back or change more. Variance: What I had in mind was combination of a vintage base with a more pure and stylised pattern on top. I wanted to create some variance on my texture. You can easily make this by brushing in different blend modes (usually in black or white in different opacity). Another way to make this is to use dodge and burn. Hint: I try to work everything on seperate layers so I can adjust the opacity individually. Moreover it is fun to experiment with different blend modes. So I made the new strokes on a seperate layer. Circles: I changed my brush to the brush I have previously created. I adjusted the flow and scattering and scale to have varying rhytms of circles. Then I freely brushed on my canvas the circles. This was the most fun part because circles interact and form very nice flows and you can feel it under your hand. Again, if you work on a seperate layer, you can manipulate this layer with more control. Moreover, having the circles on a seperate layer, will make it easier for you to make the final color correction.
5. Effects
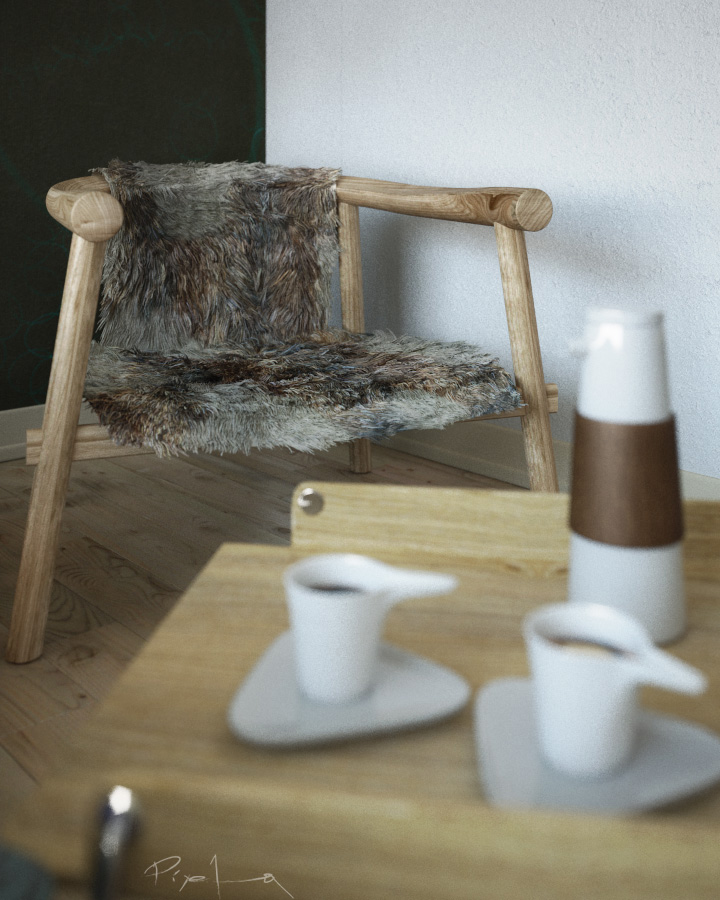
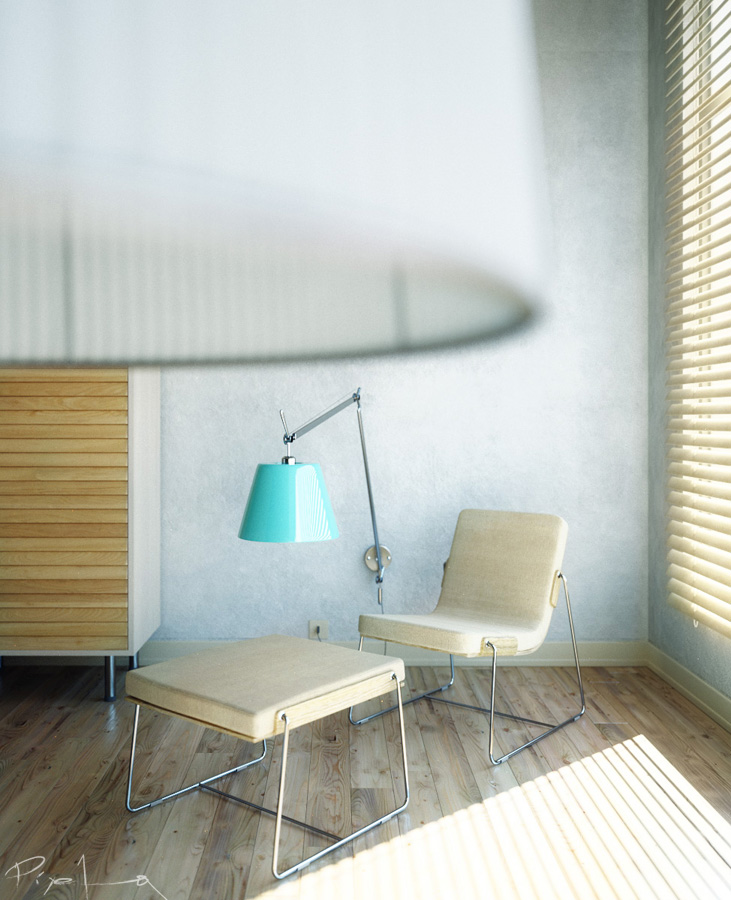
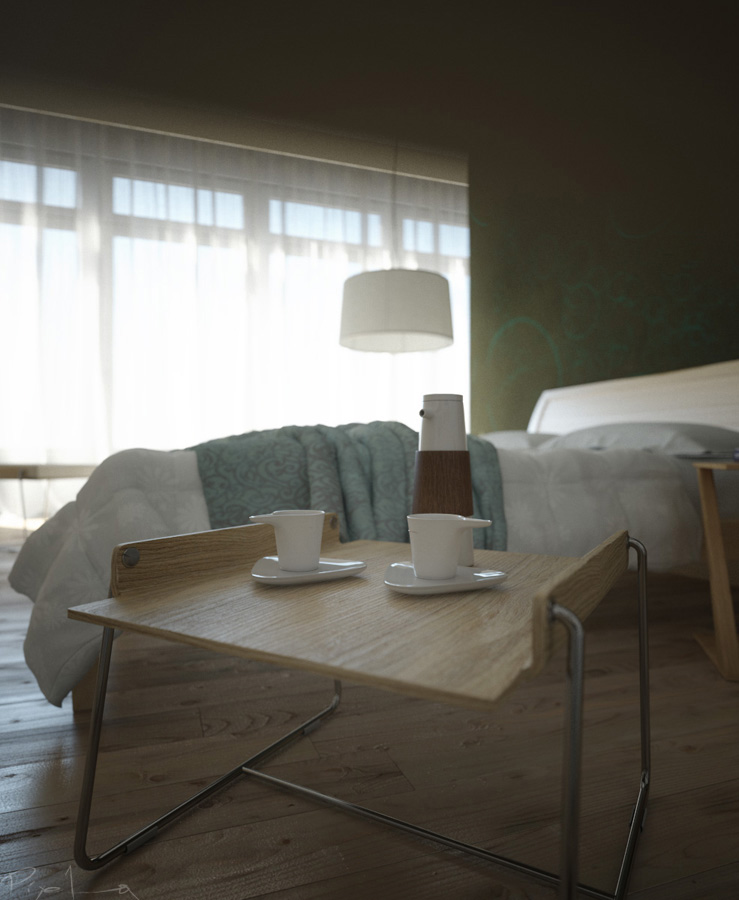
DOF Using Vraycamera also gave me chance to experiment and get familiar with VrayDOF. In future works, I want to experiment with DOF in post-production but for this project I wanted to stick to VrayDOF which is just a setting of VrayCamera. So it is easy to setup with one click, but it is important to remember that it will increase your render times. After making few basic tests,I kept this parameter off until the final renders.
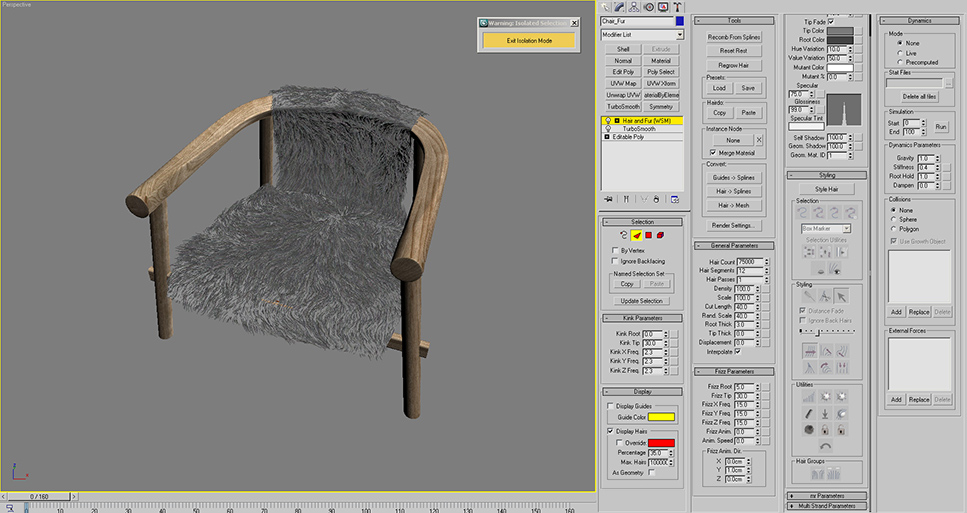
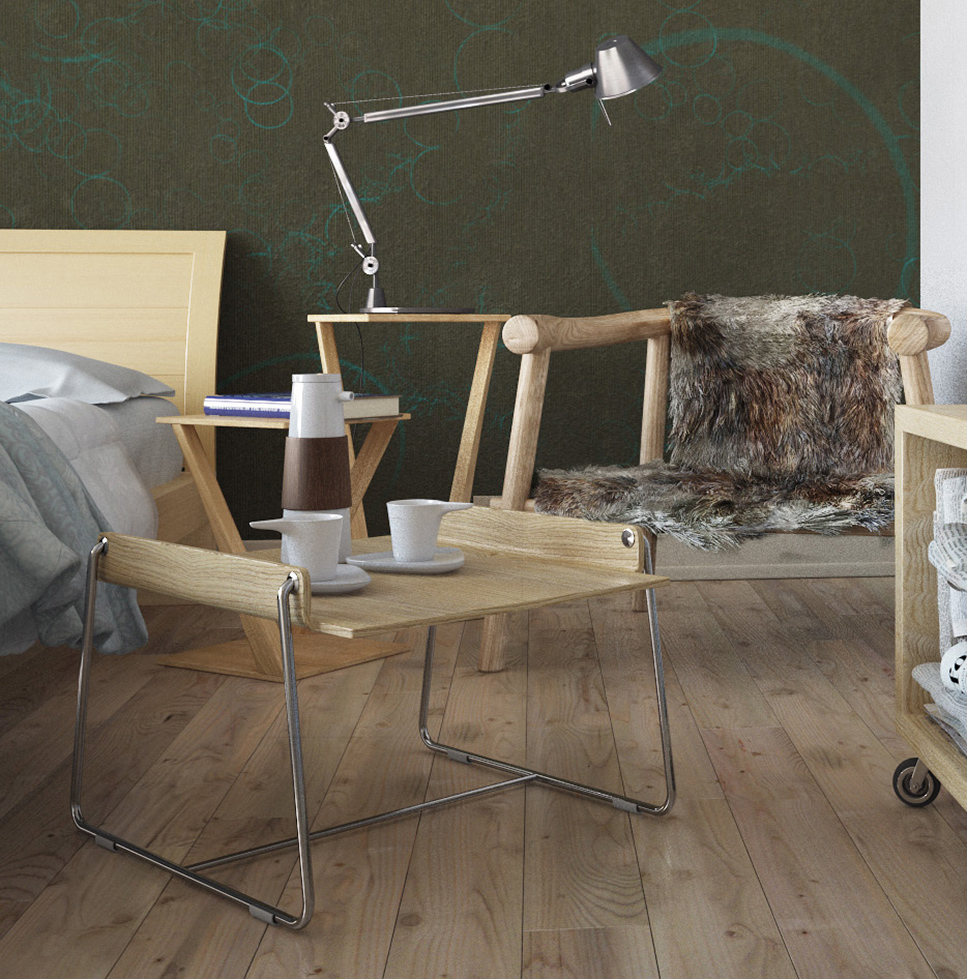
Hair and Fur After I modeled the chair, first, from the modifiers panel, I added Hair and Fur Modifier, which is under World Space Modifiers. You can see the parameters I used in the image below.
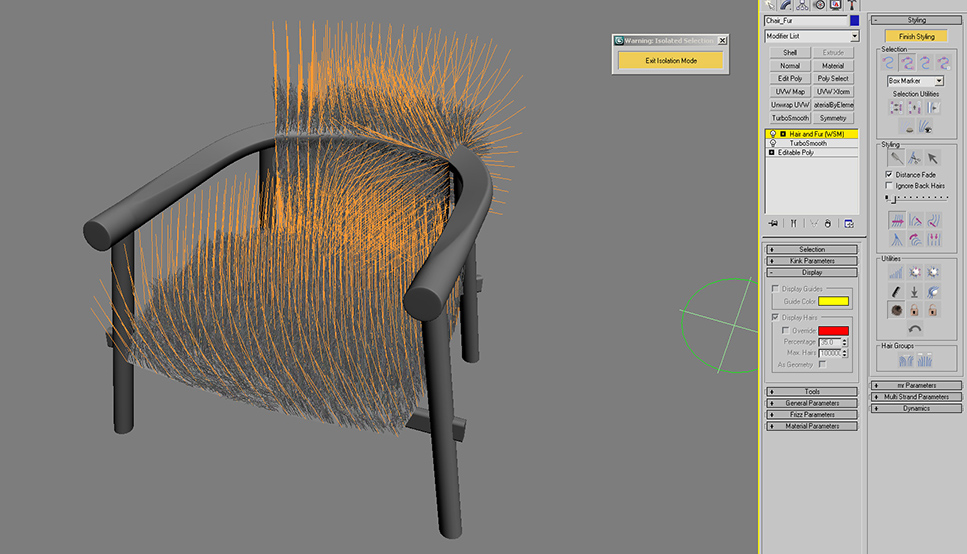
The fur will not look like as you see in the image at first hand because we have to "style" it. This step makes fur look realistic because we comb the the fur as we like with a brush. When we click on the "Style Hair" Button, you will see the hair guides. We will shape these guides with our brush and our fur strands will follow.
First start with adjusting the size of your brush. You can select hair guides individually or in groups. The selection menu is very detailed. Hint: At first, I selected all guides and tried to give the general look I wanted. (I will explain how to brush and style in the next part) As the second step, I selected guides in groups and continued brushing. For fine-tuning, you can even select edges or roots of hair or single vertex like in sub-object mode.
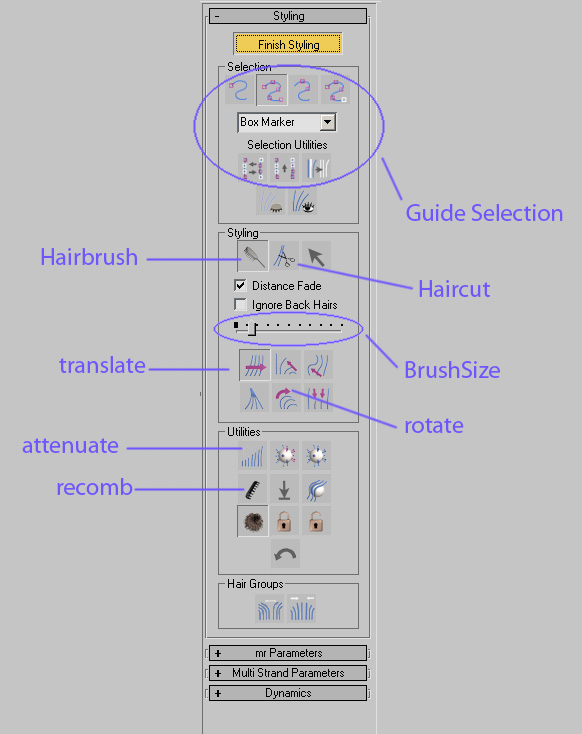
Under Style Roll-out, there are many tools as you see in the image. We will use some of them to brush our fur. Here I paste some definitions of these terms from 3dsMaxHelp File:
- Hair Cut - Lets you trim the guide hairs. To cut hair.
- Translate - Moves selected vertices in the direction that you drag the mouse.
- Stand - Pushes selected guides toward a perpendicular orientation to the surface
- Rotate - Rotate or swirls guide hair vertices around the cursor location (at the center of the brush).
- Attenuate Length - Scales selected guides according to the surface area of underlying polygons.
- Recomb - Makes a guide parallel to the surface, using the guide's current direction as a hint.
- Clump - Forces selected guides to move towards each other (drag mouse leftward) or farther apart (drag mouse rightward).
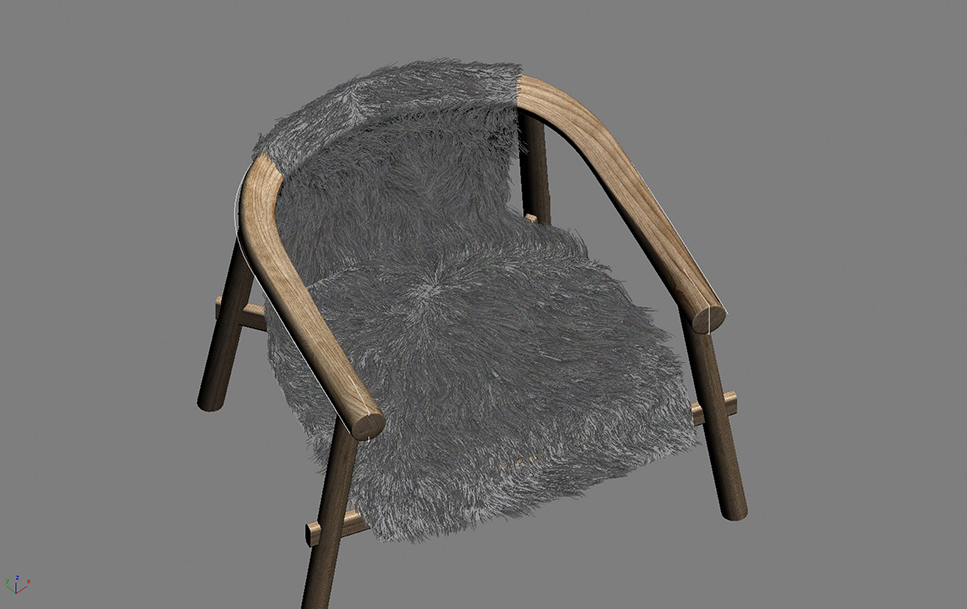
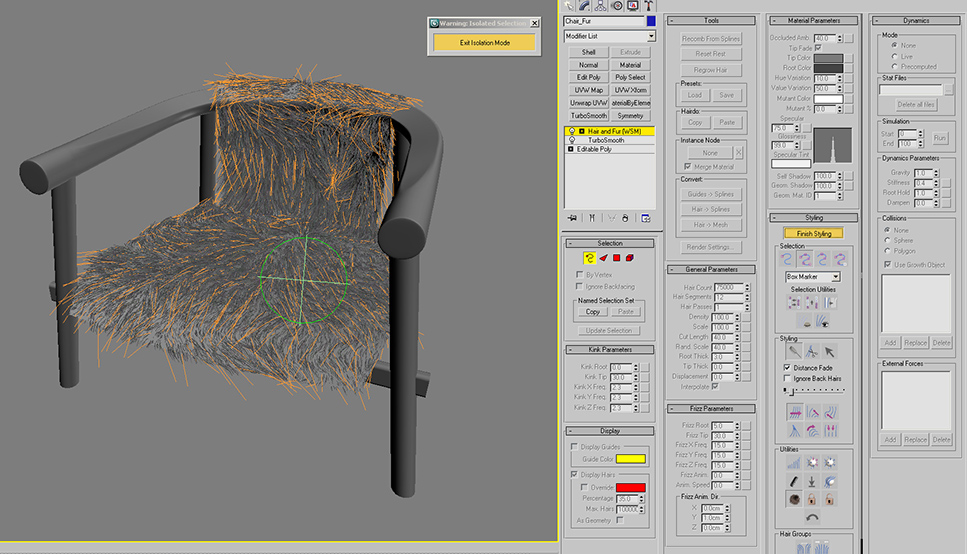
Now you start styling, cut it where you need. As you brush, you will see that fur changes shape. You can move the strands in any direction you want, rotate them individually or in groups, clump them so they can move towards like a bunch. You can shape up your fur according to your imagination. Hint: It is easier to understand when trying to make it. Here, it sounds more complicated than it is. Start brushing and play with tools and you will see you get nice results. Here is the result after I styled it:
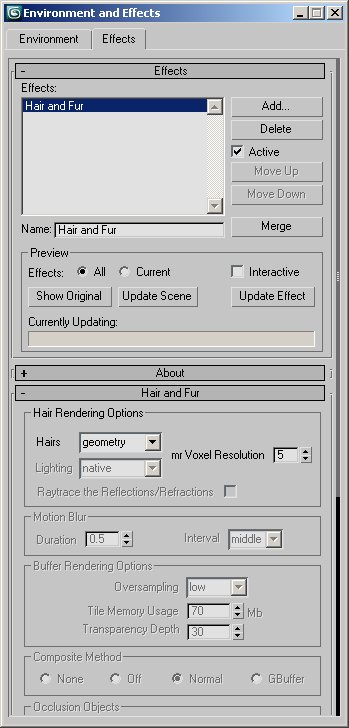
Don't forget to turn on the Hair-Fur effect from Effects rollout. You can disable this to save RAM when the fur object is not in the visible POV.
6. Final Lighting
My target was a sunny look for my Bedroom. I didn't need to re-design lighting but only tweaking exact position of sun and how it falls into my room for fine-tuning and tweaking few camera shutter-speed settings. So there is not much to tell or show for this stage but I wanted to include it to give idea of my workflow.
7. Rendering
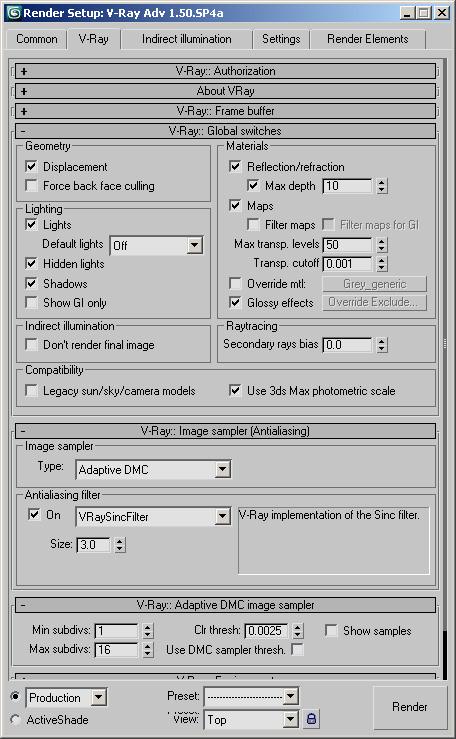
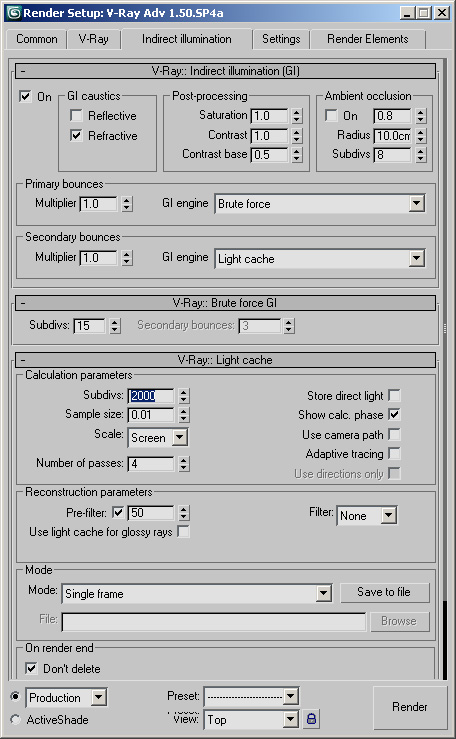
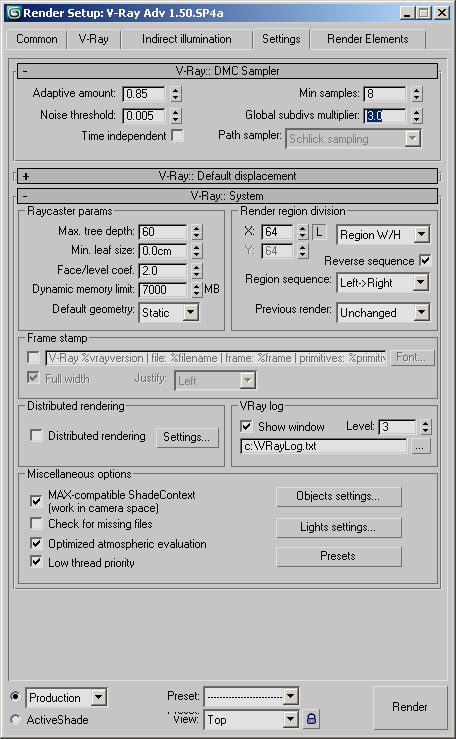
I rendered the scene with Vray which I like very much. Here are the render settings:
It is hard to tell about rendering times because I usually left each render when I go to sleep and found it ready when I wake up. During this project, the hard disk containing this project gave me big problems because of a bad sector. Luckily I was able to finish the renders and the project without a file loss :)
8. Post-Production
There is not heavy post-production. Only little color correction and adjusting contrast. I also added some glow. I tried to paint the glow by hand by adjusting with levels and blurring the layers. Check this thread on Evermotion.org forum. My Bedroom Design
 How To Make Your CGI Walls More RealisticRealistic walls with noise modifier.
 Removing LUTs from Textures for better resultsRemove the LUT from a specific texture in order to get perfect looking textures in your render.
 Chaos Corona 12 ReleasedWhat new features landed in Corona 12?
 OCIO Color Management in 3ds Max 2024Color management is crucial for full control over your renders.
 A look at 3dsMax Video SequencerDo you know that you can edit your videos directly in 3ds Max? Renderram is showing some functionalities of 3ds Max's built in sequencer.
 FStorm Denoiser is here - First ImpressionsFirst look at new denoising tool in FStorm that will clean-up your renders.
Customer zone
Your orders
Edit account
Add project
Liked projects
View your artist profile

















COMMENTS