Click on image to enlarge 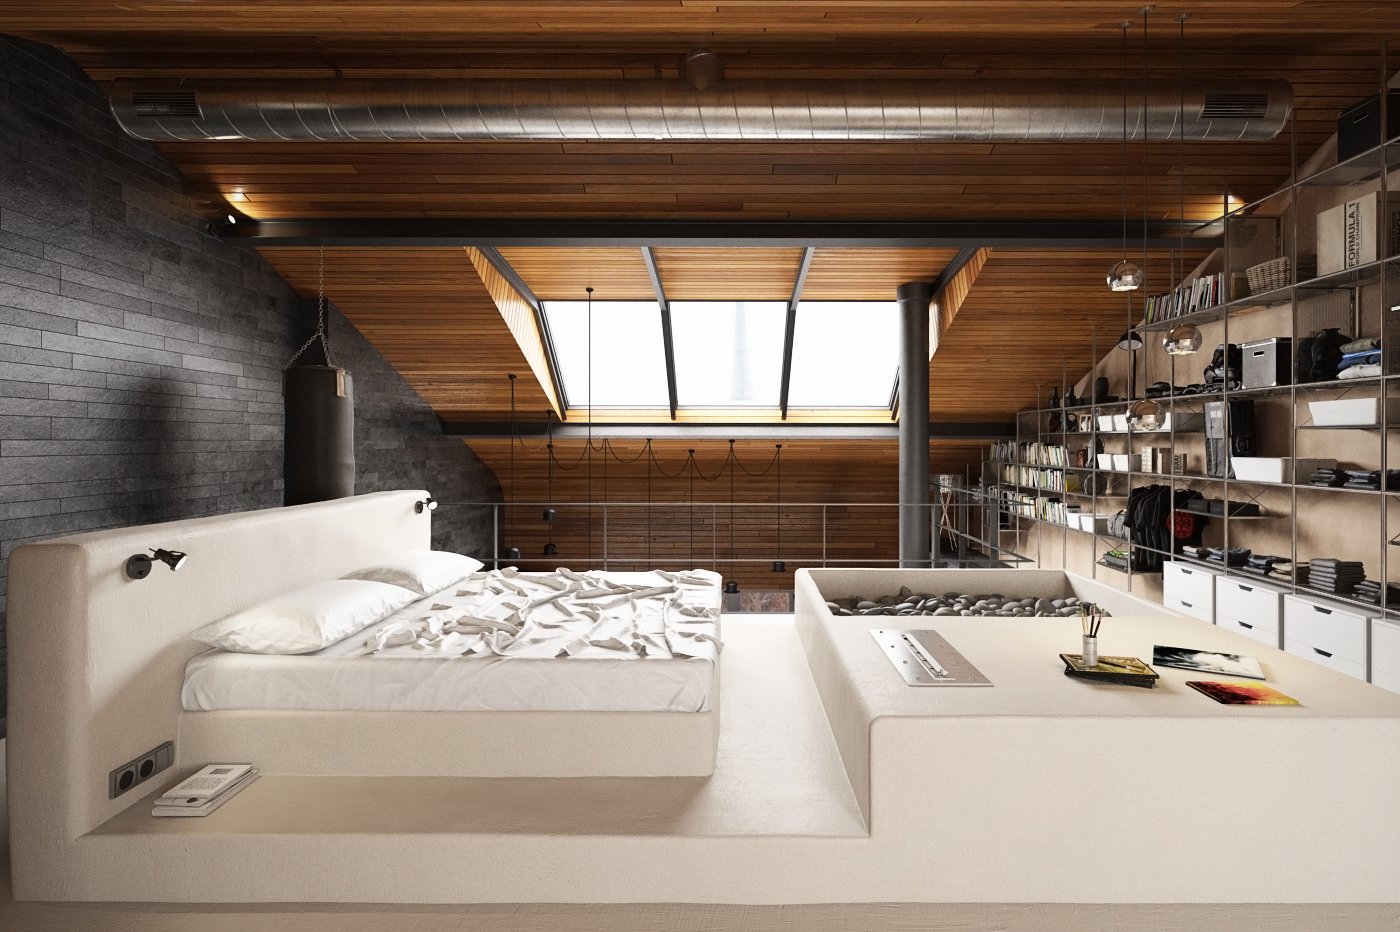
Click on image to enlarge 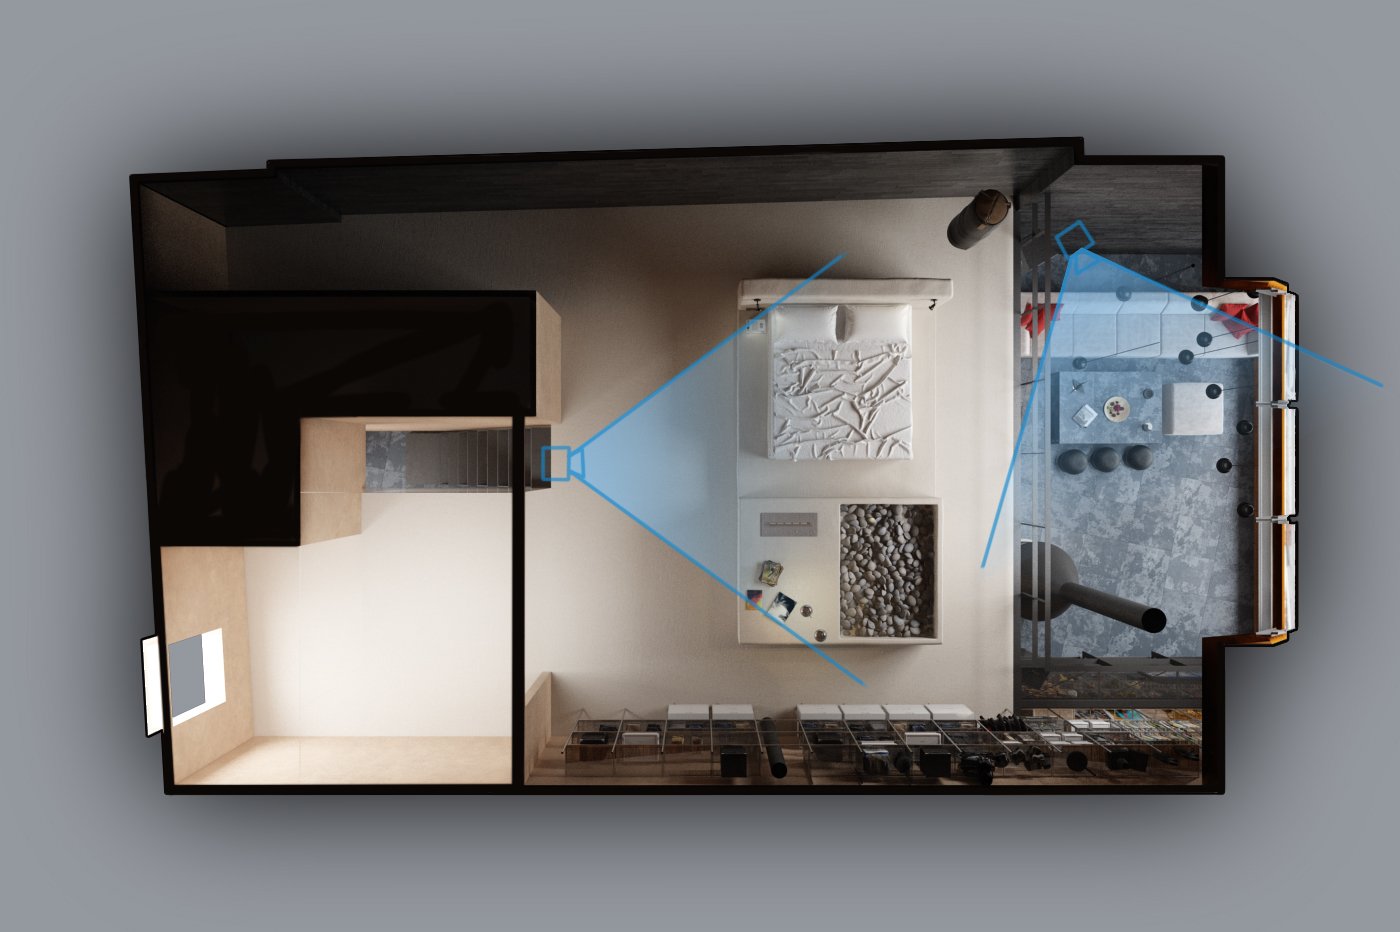
Click on image to enlarge 
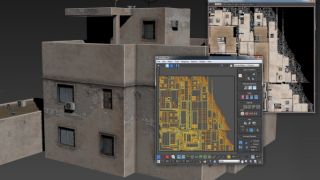
View from camera 1, as seen through 3ds Max viewport.
Click on image to enlarge 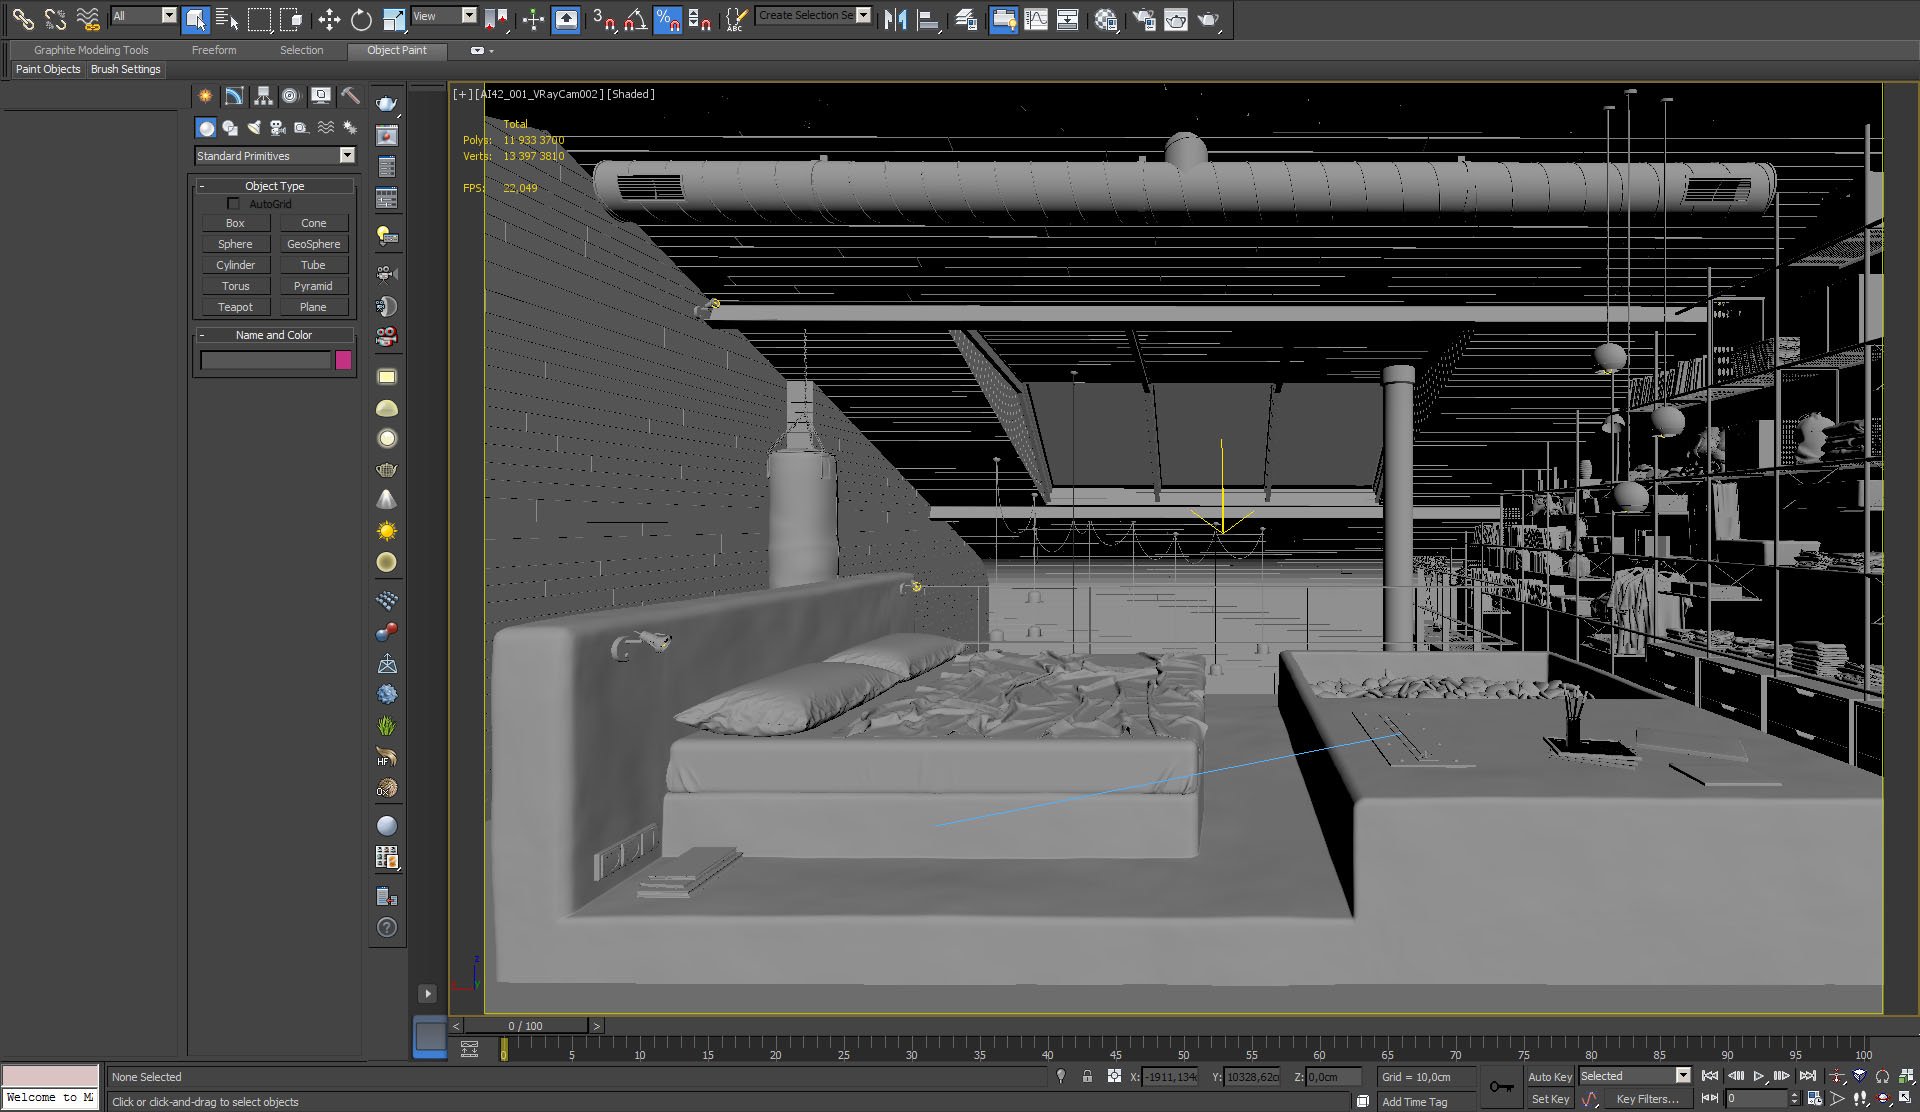
View from camera 2, 3ds Max viewport.
Click on image to enlarge 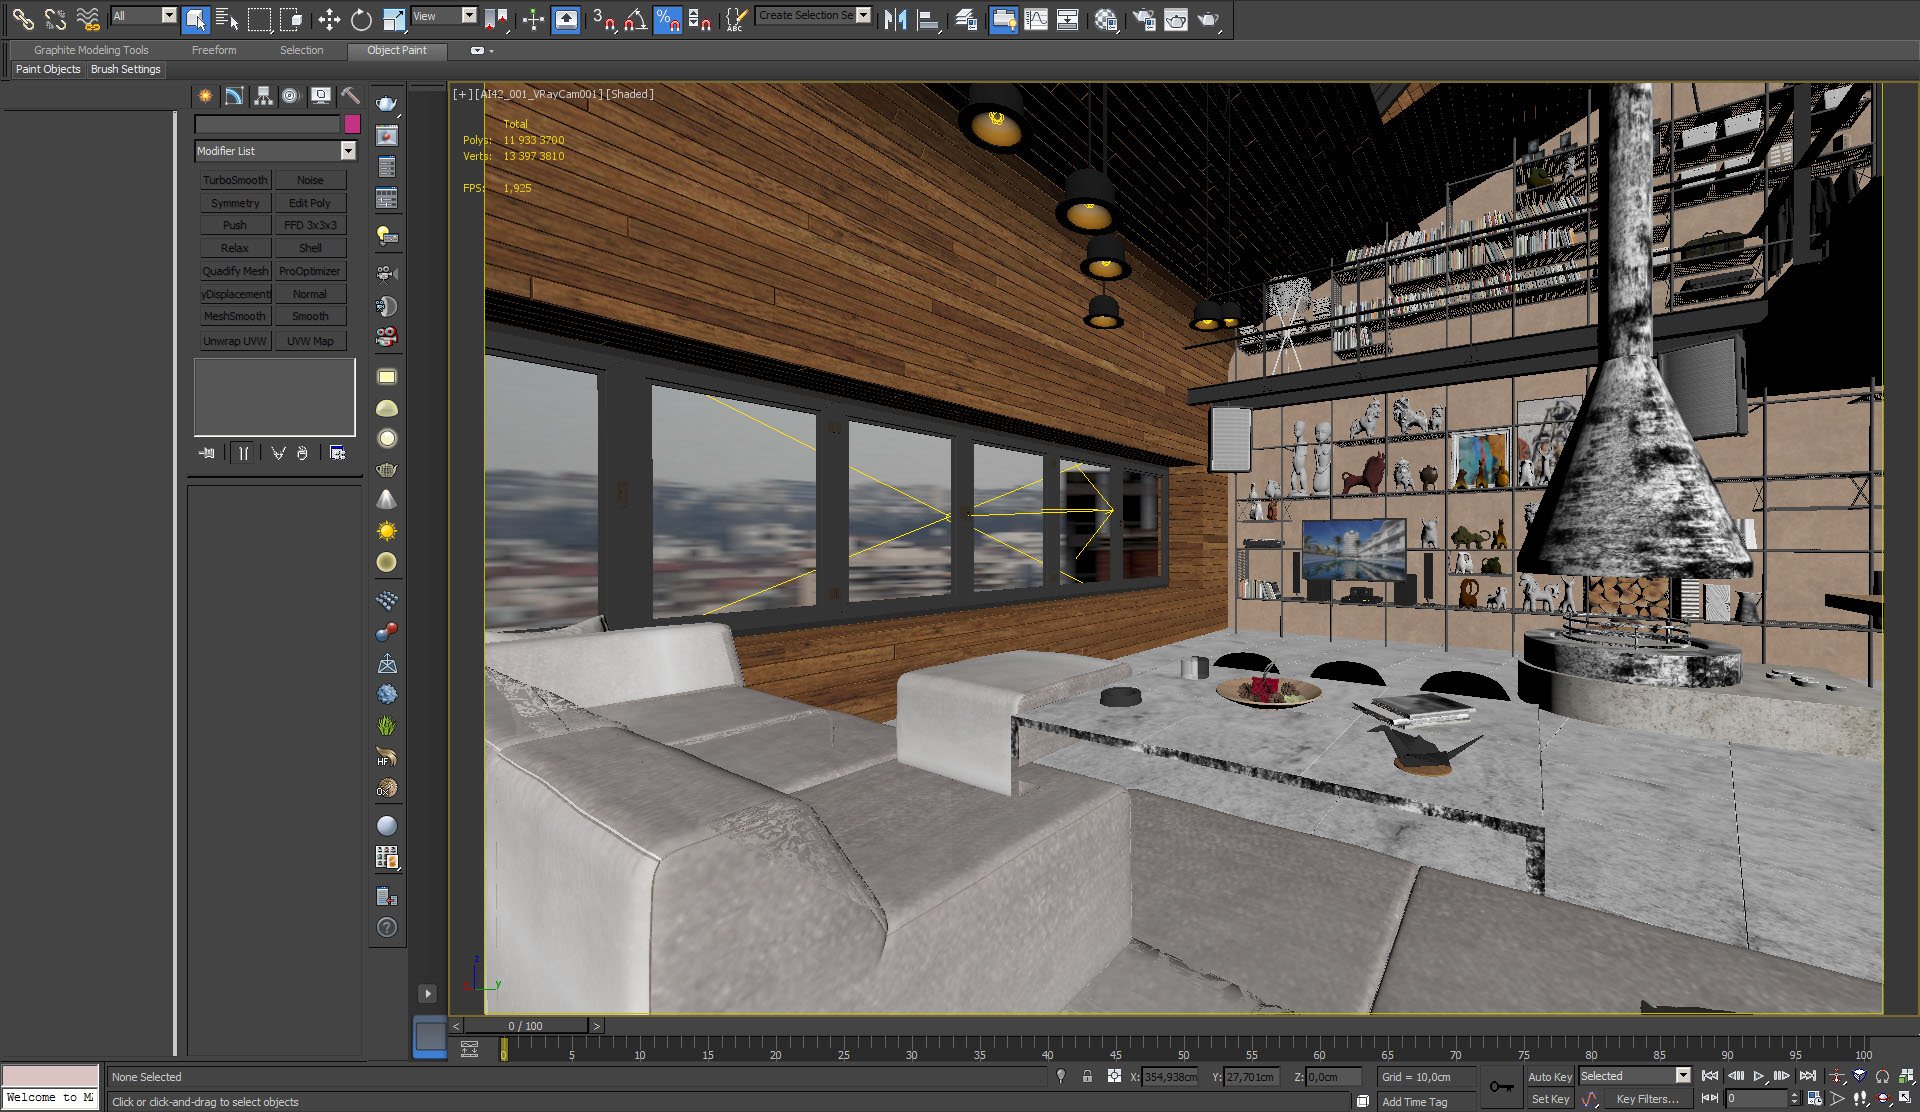
View from camera 1, material and object color enabled in viewport.
Click on image to enlarge 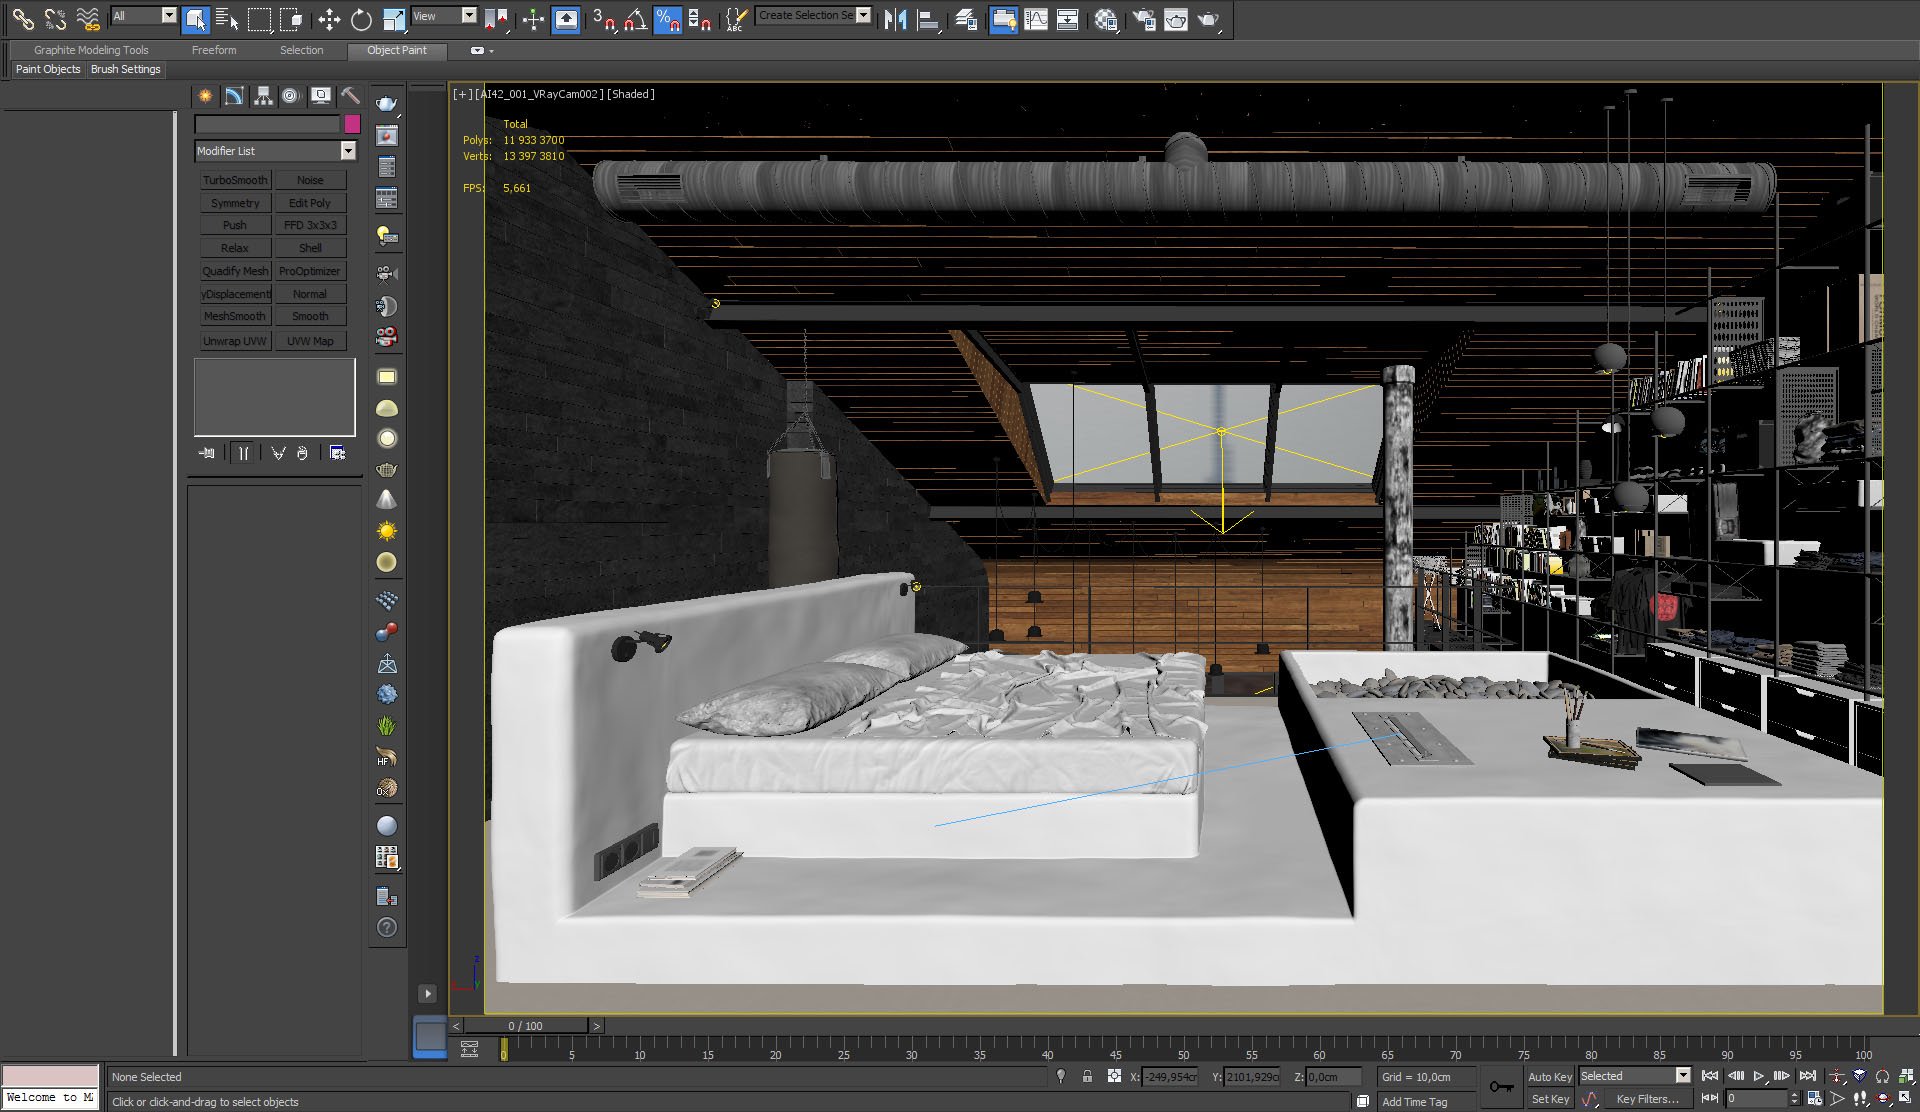
View from camera 2, material and object color enabled.
Click on image to enlarge 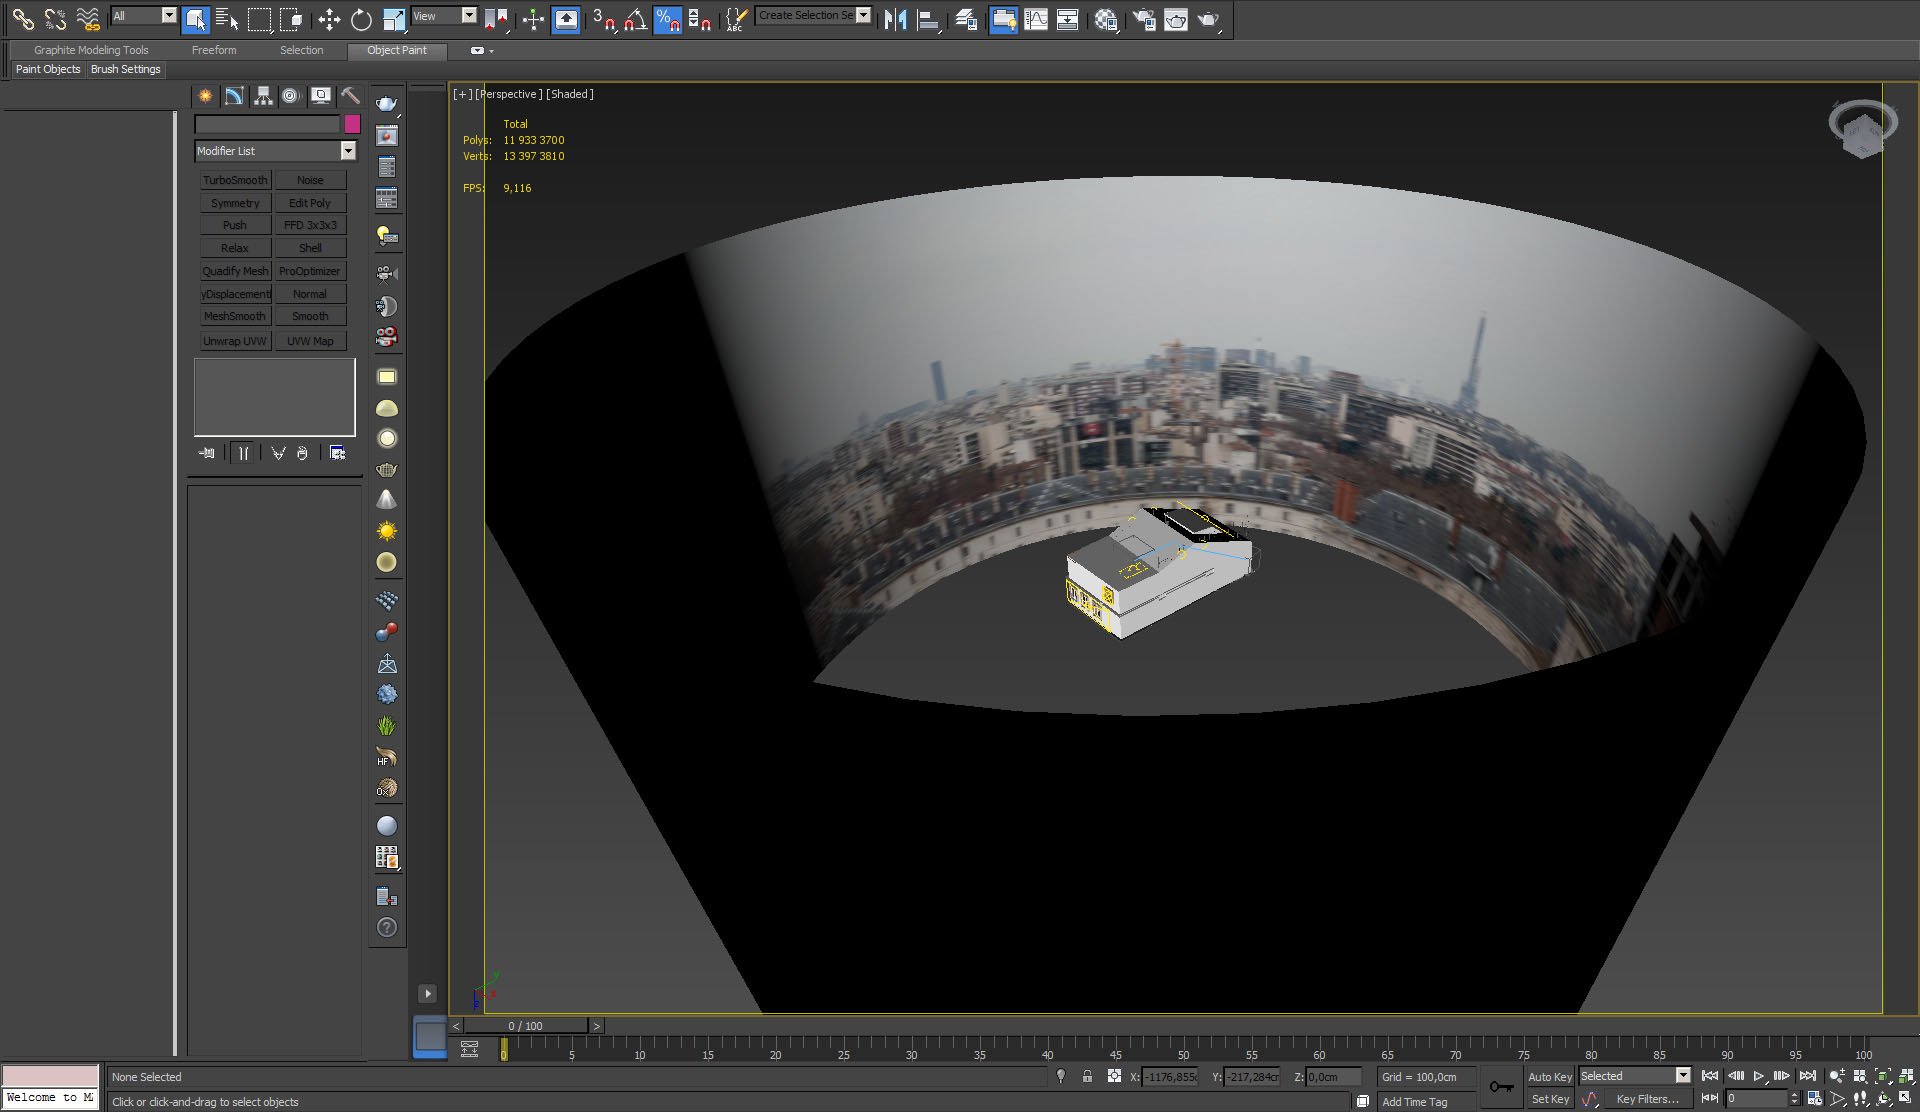
Surrounding cylinder contains background map - a common way to deal with far plane in architectural visualziations. This cylinder does not accept shadows, of course.
Click on image to enlarge 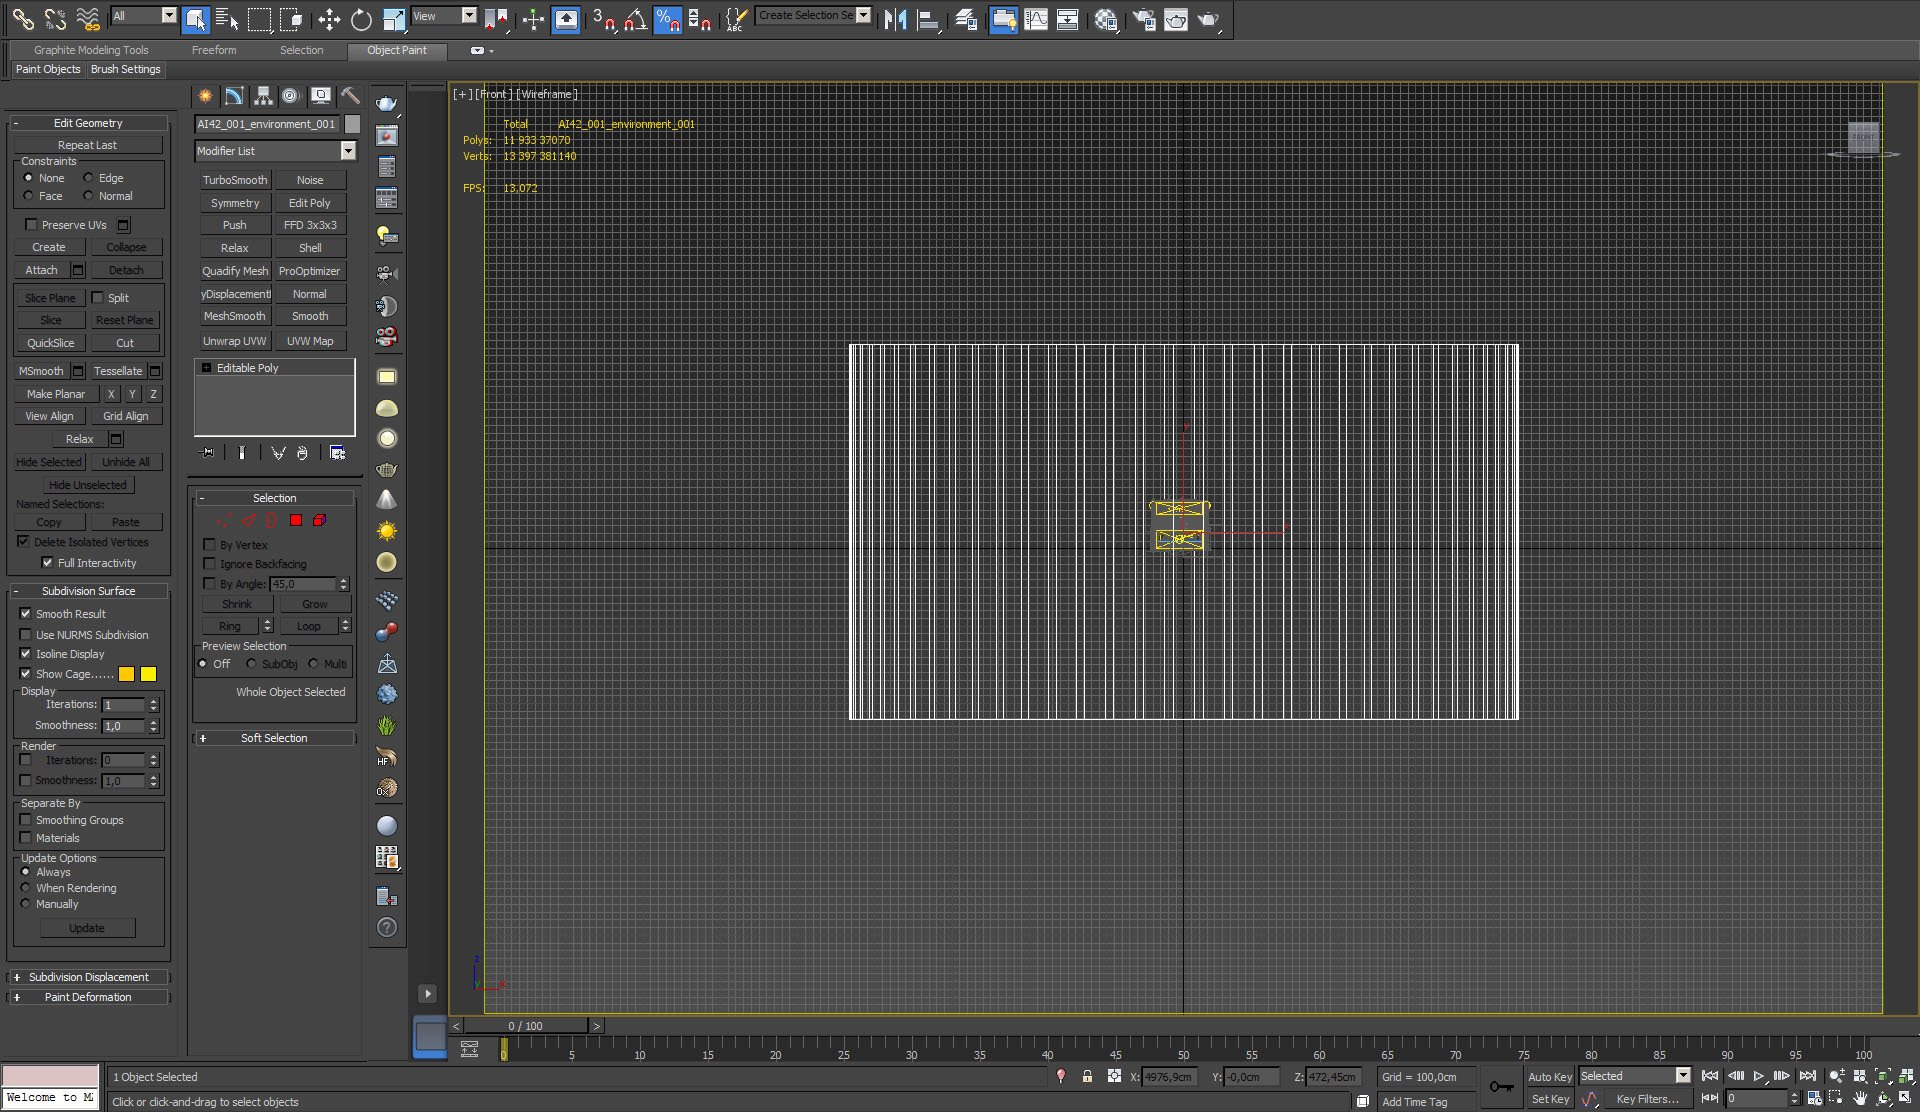
Cylinder seen from front view.
Click on image to enlarge 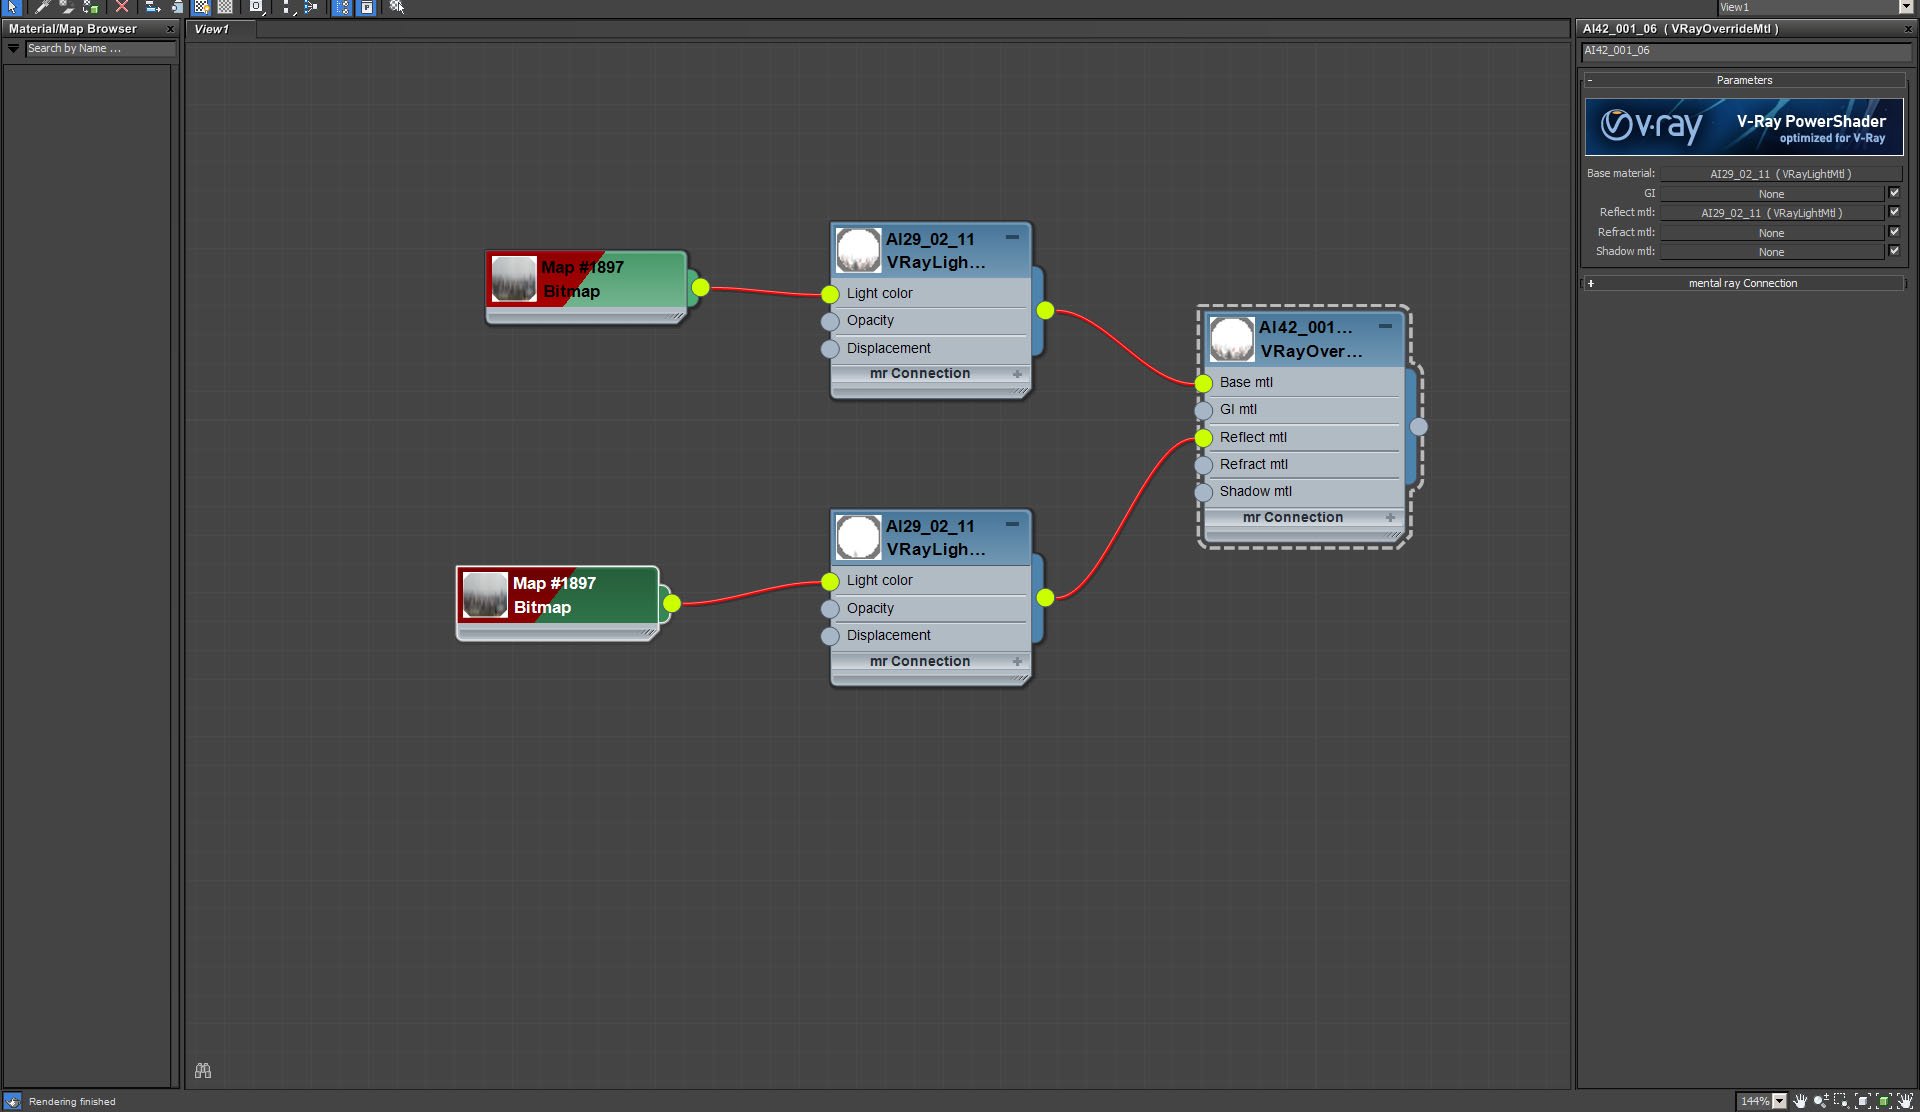
Cylinder material with background bitmap. For better reflections control, we used two versions of the bitmap that slightly differ with intensity.
Click on image to enlarge 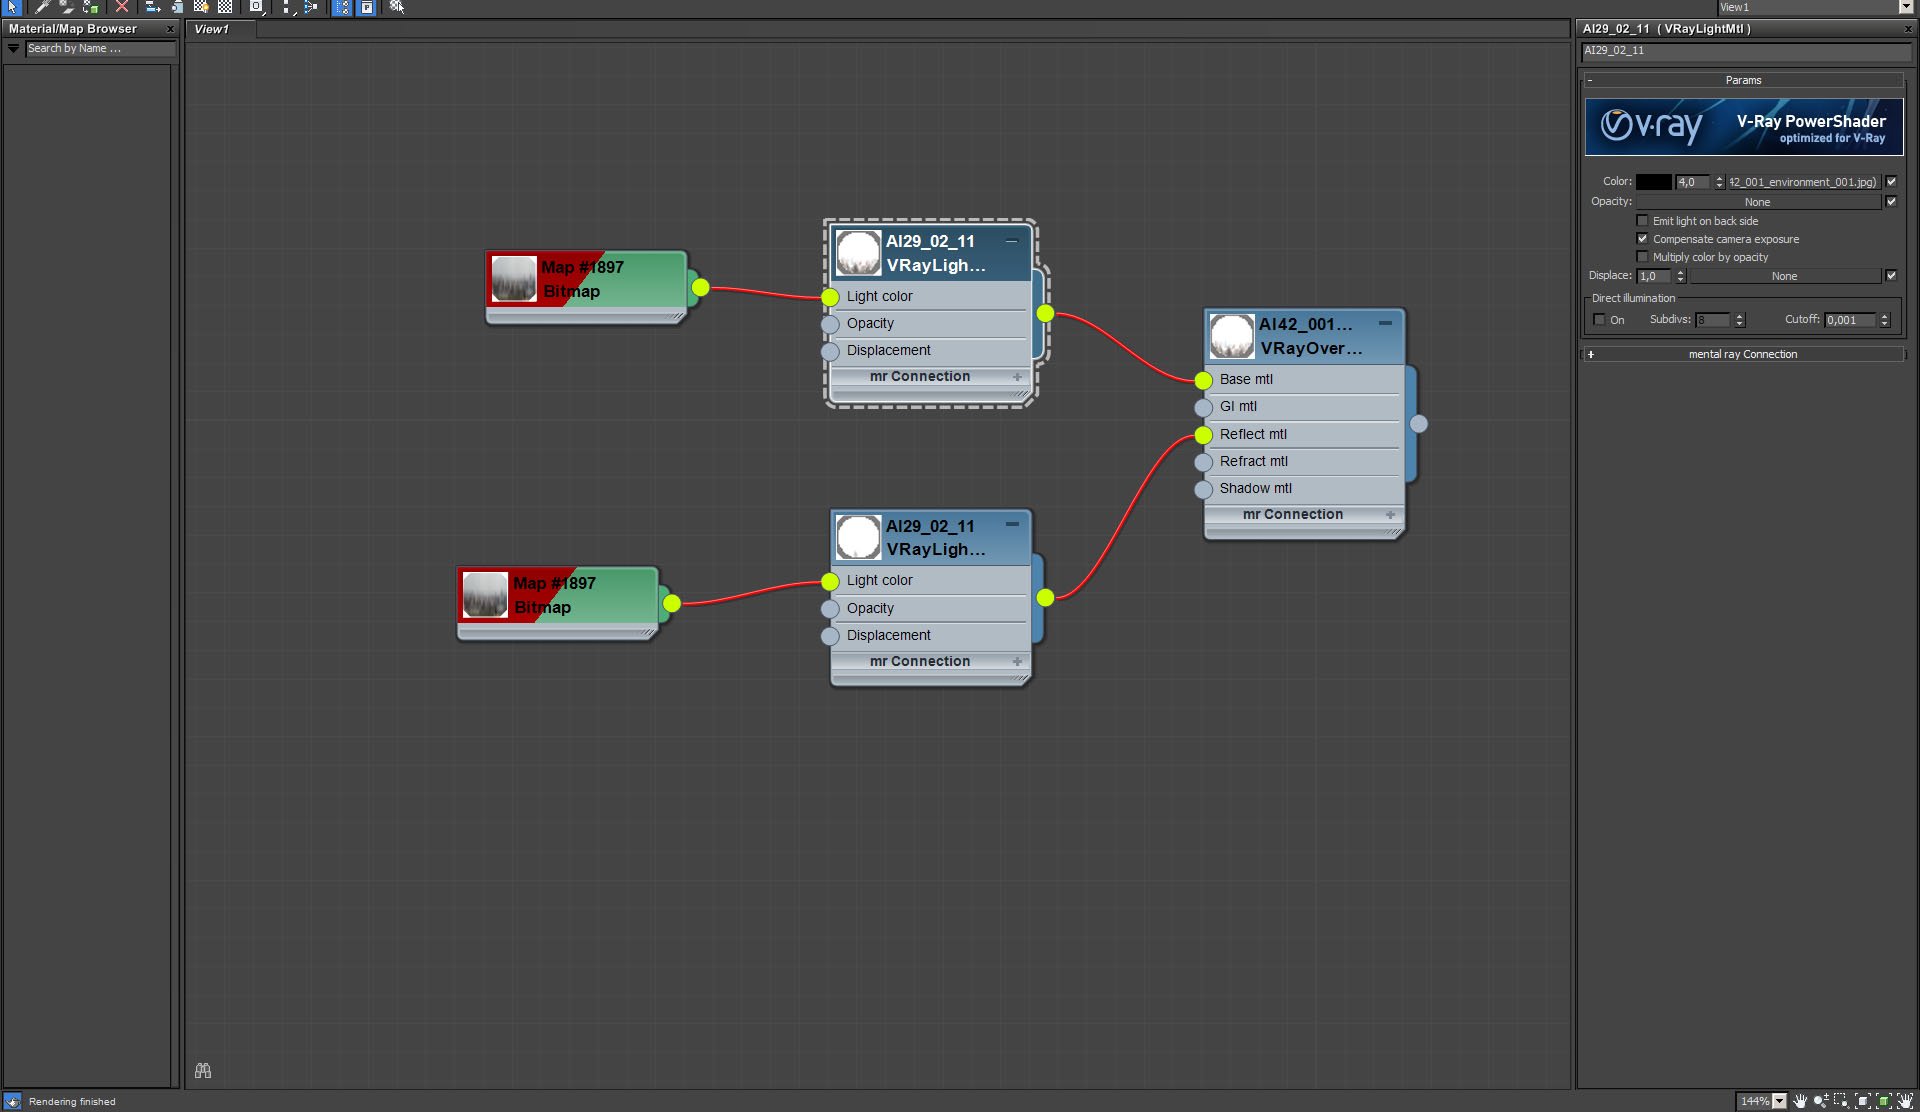
Bitmap for base material (color - 4,0)
Click on image to enlarge 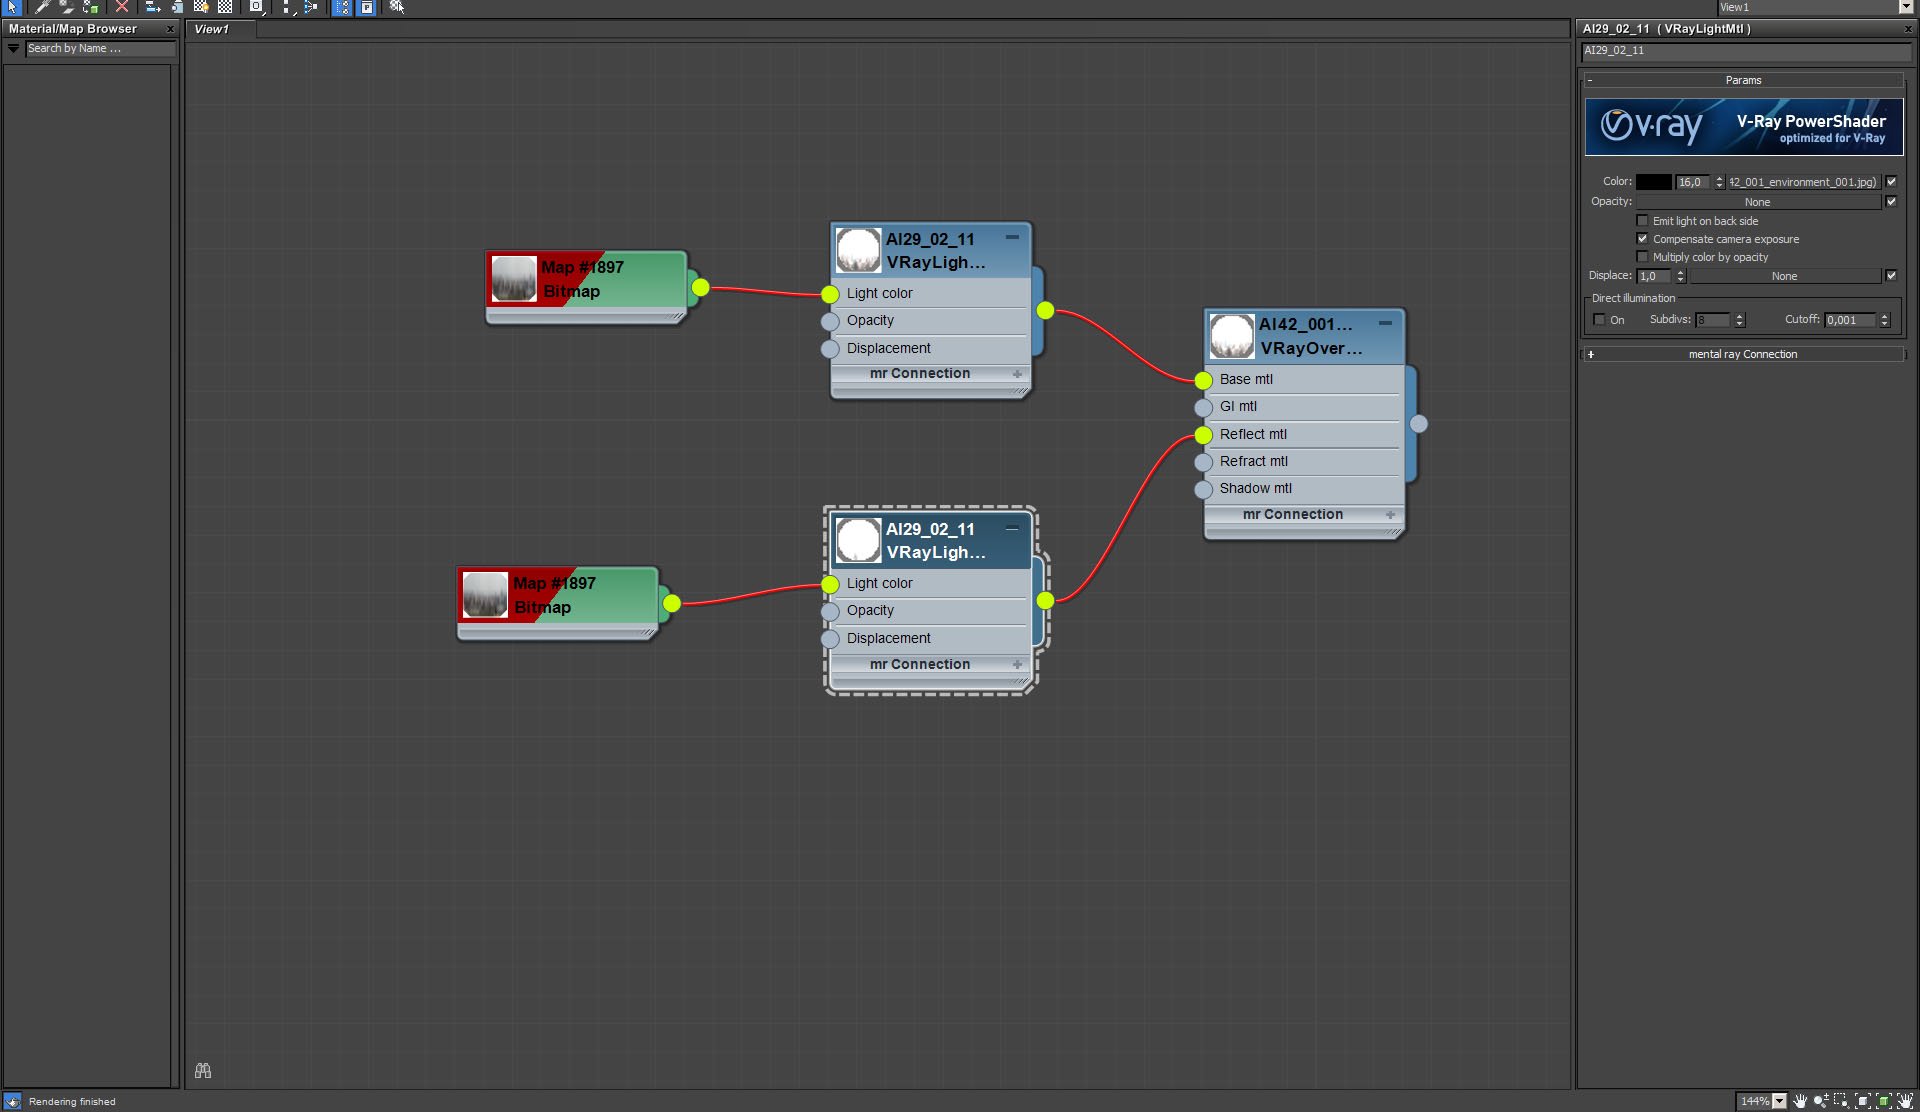
Bitmap for reflect material (color - 16,0)
Click on image to enlarge 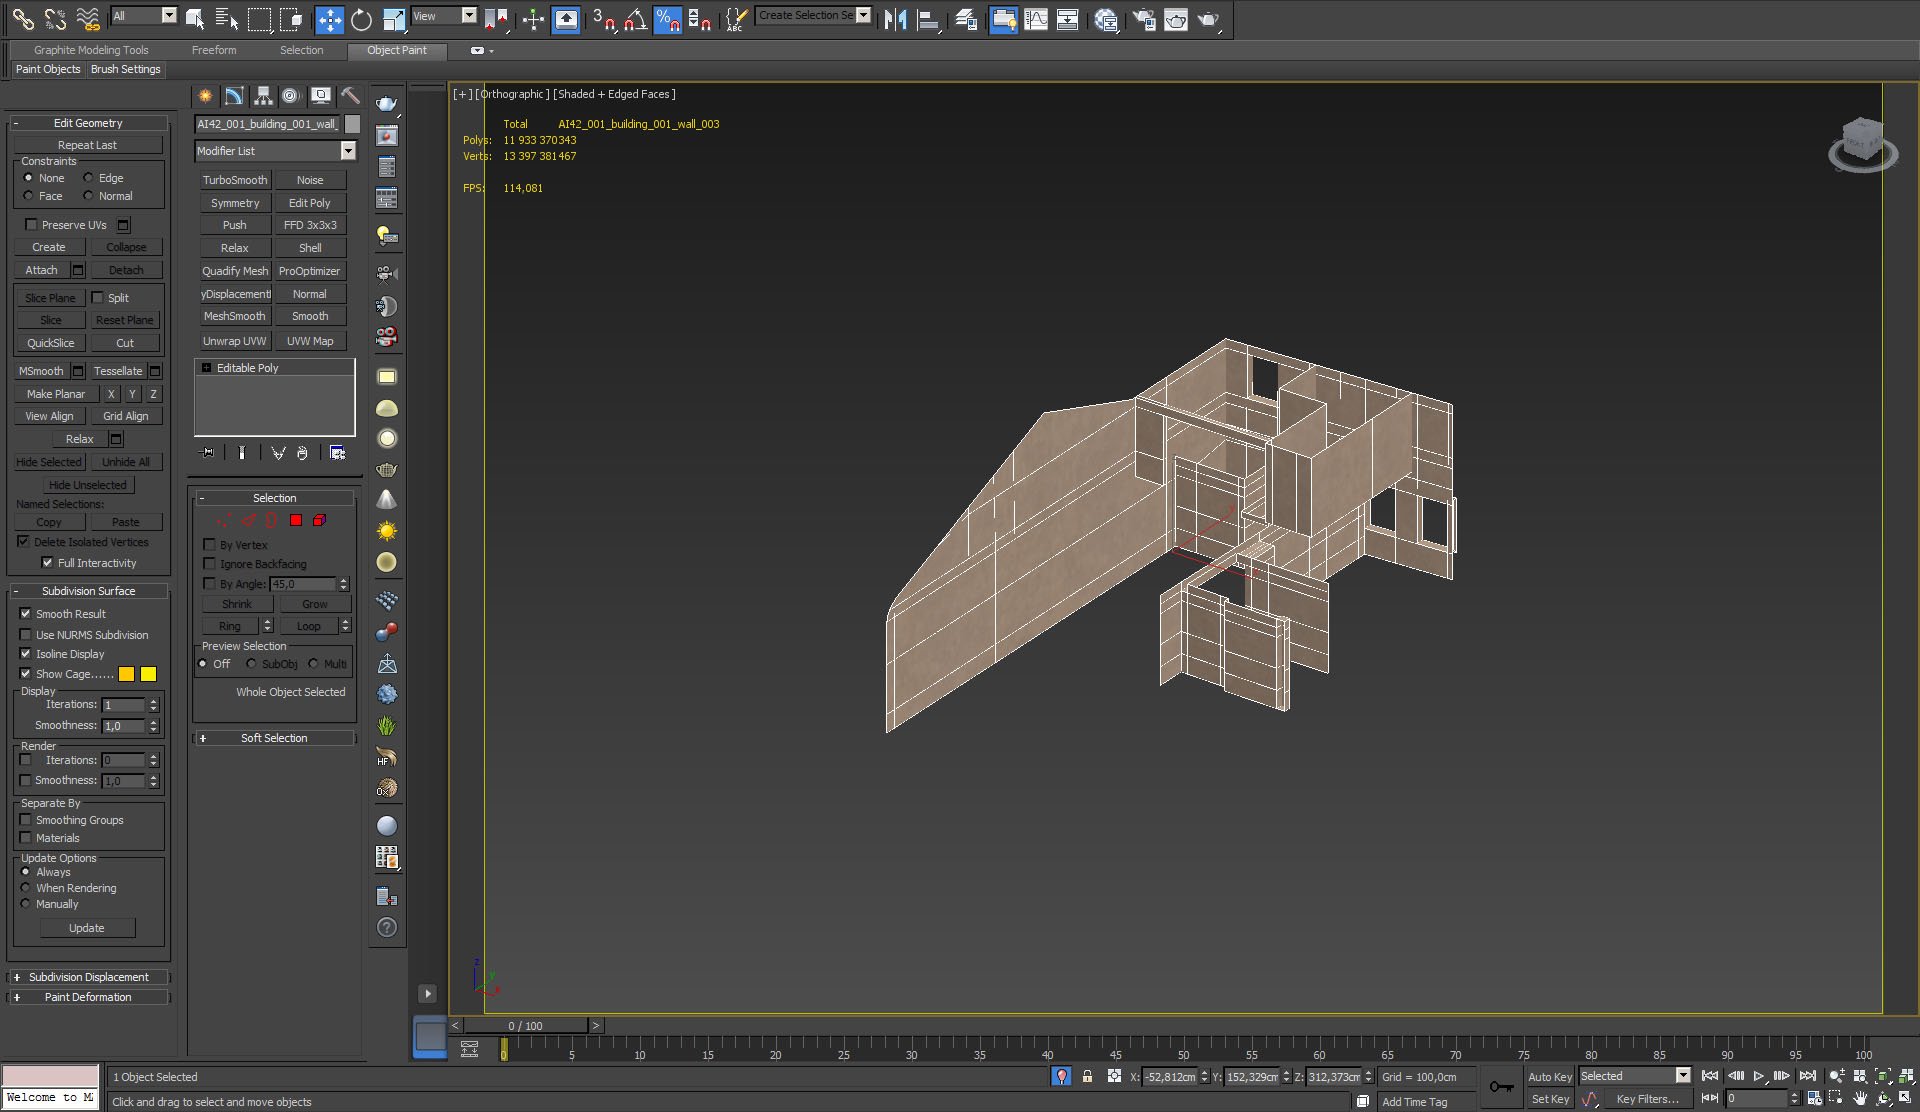
The building is made of many layers. On the image above you can see inside walls.
Click on image to enlarge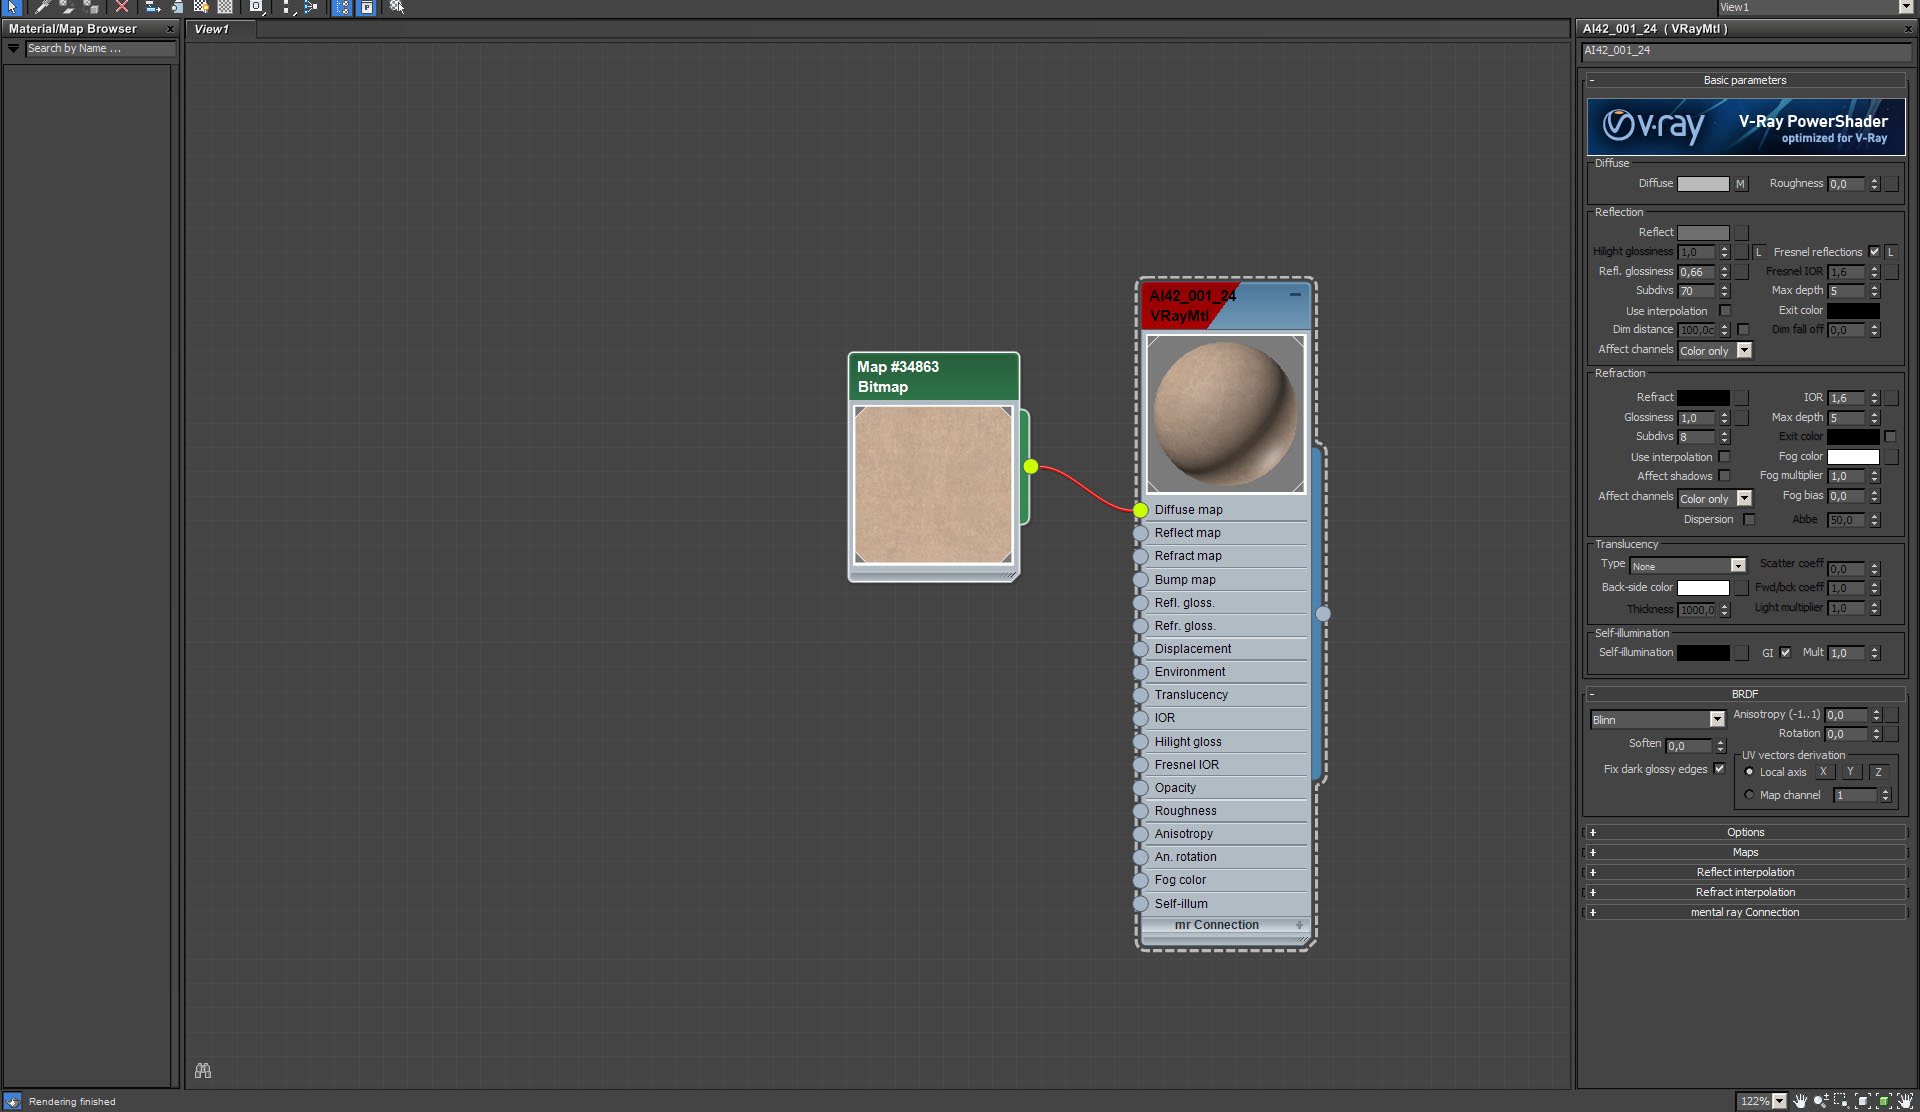
Walls material.
Click on image to enlarge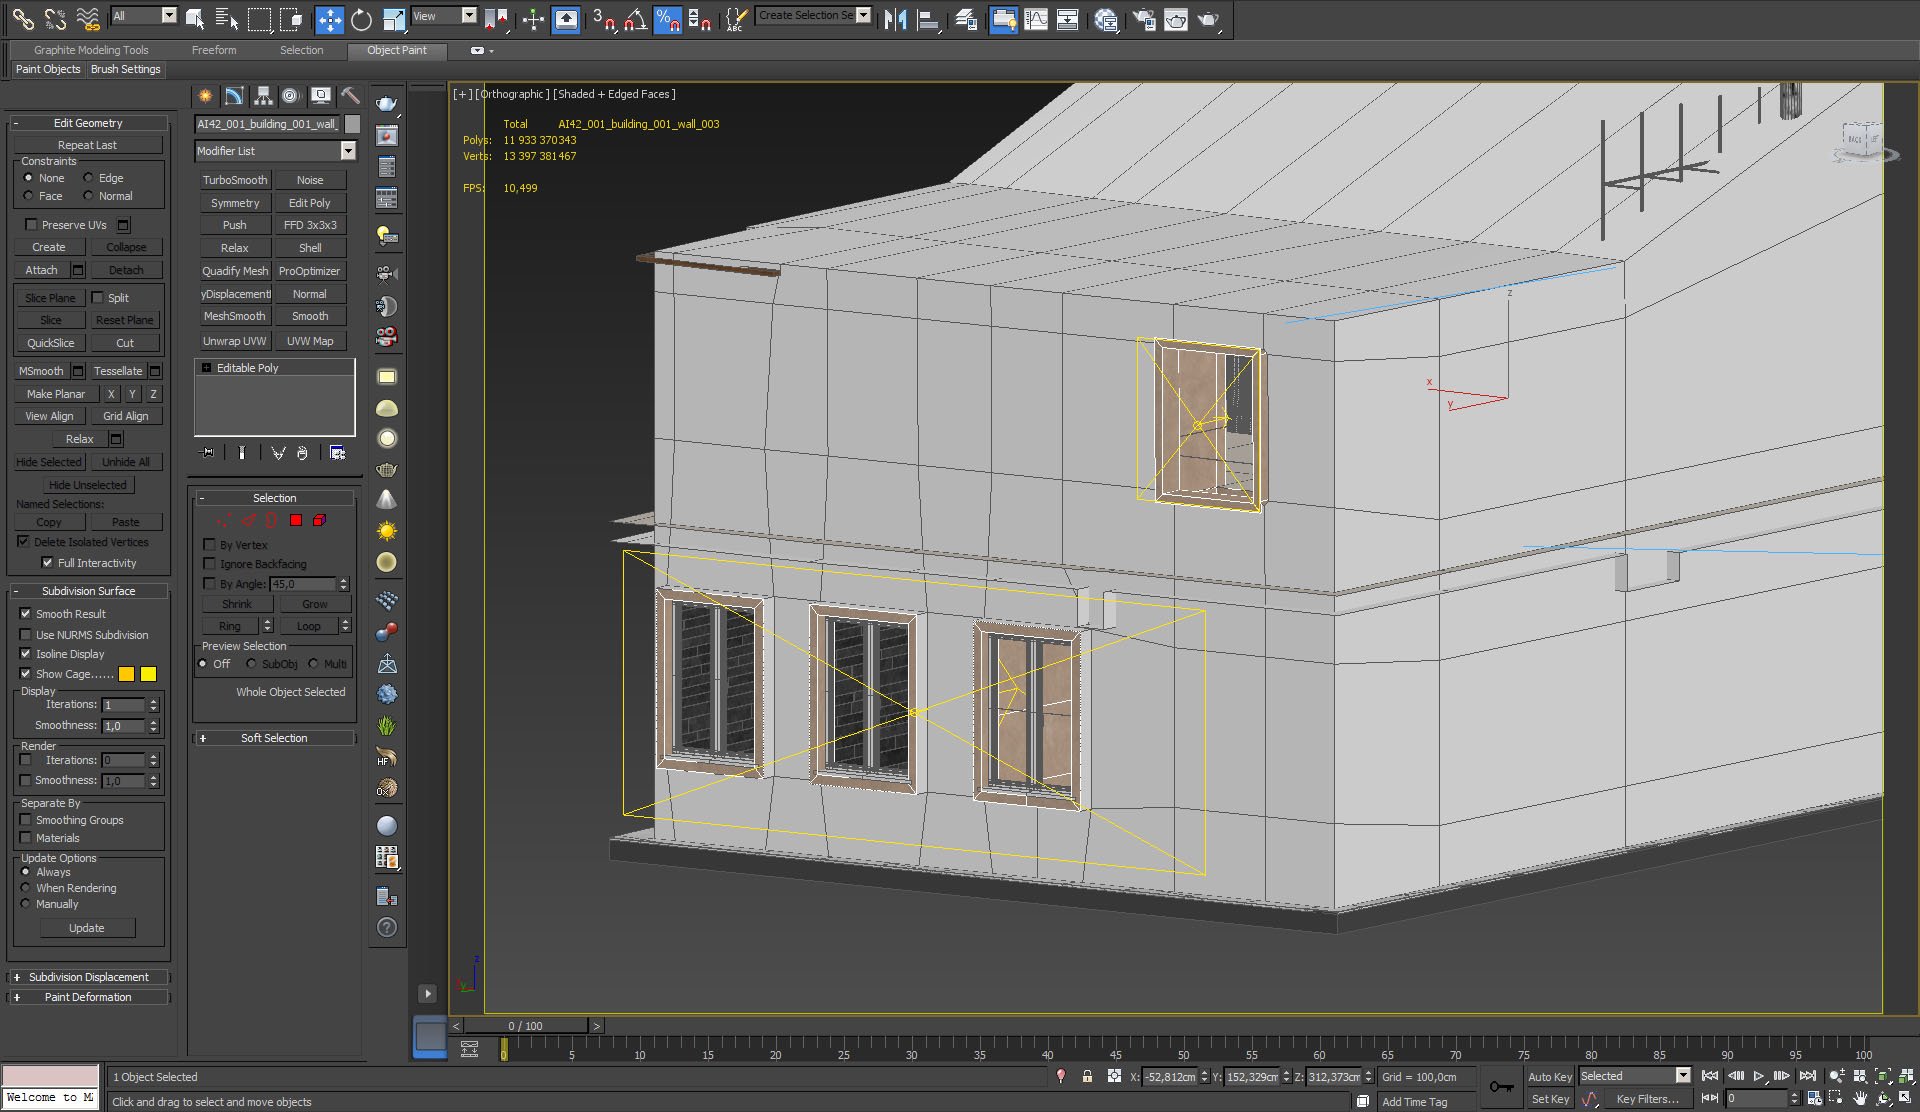
Building elevation - it is not seen by camera, so it's standard V-ray material.
Click on image to enlarge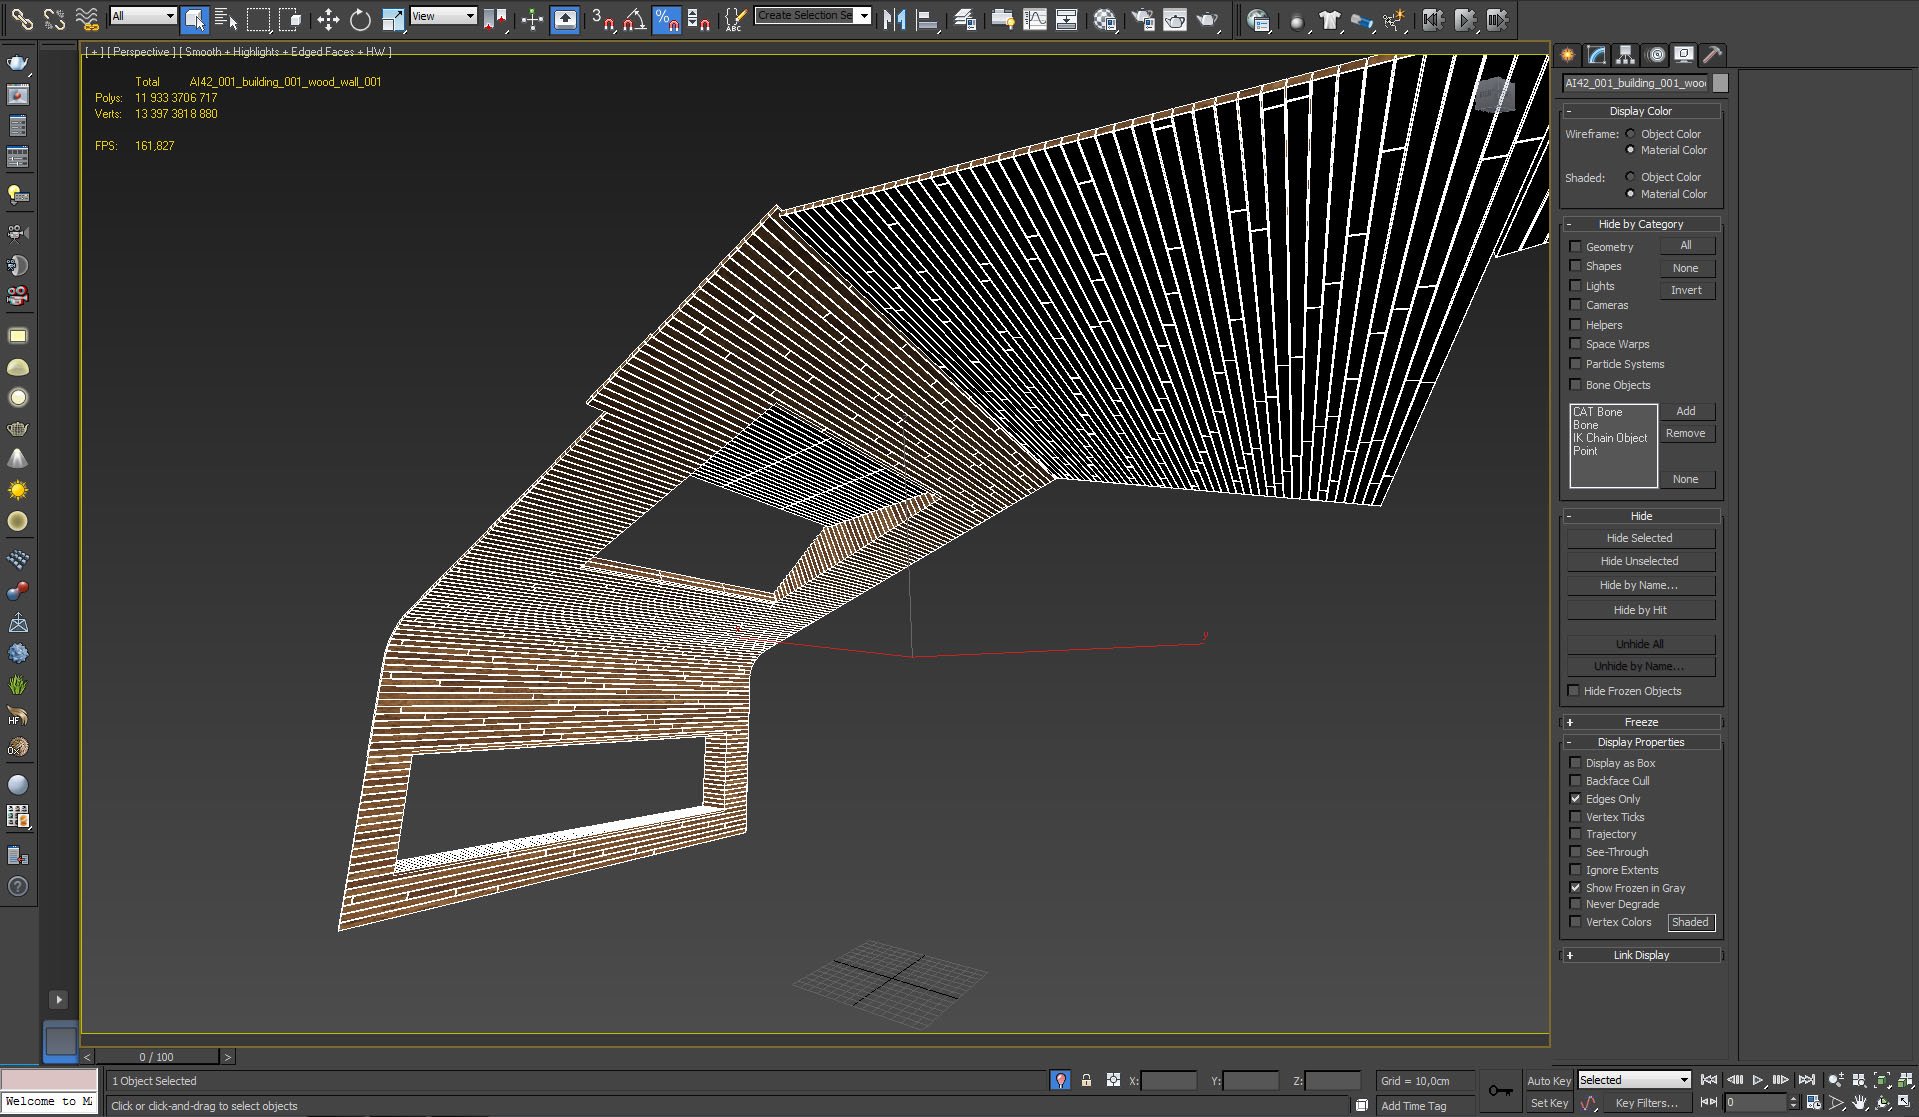
Wooden planks are covering big surface inside the loft.
Click on image to enlarge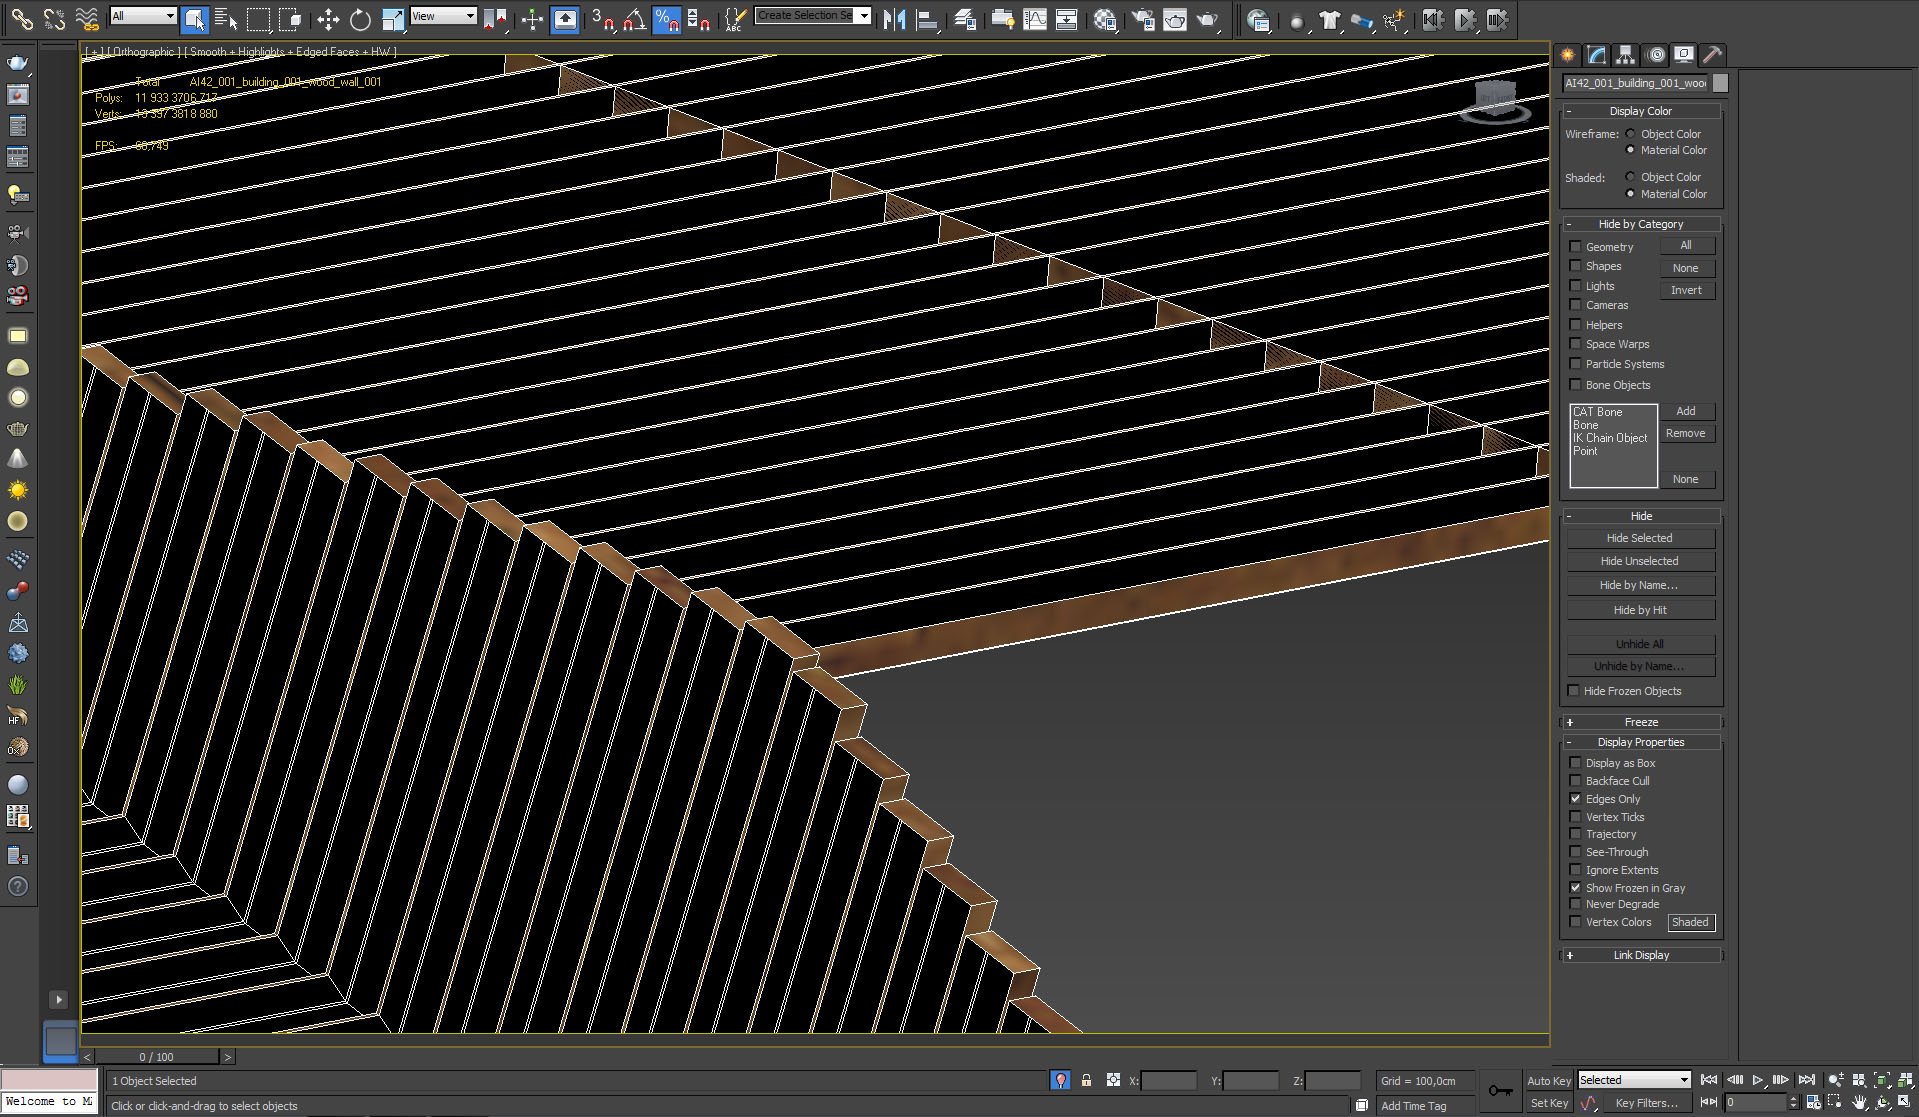
Planks - close up.
Click on image to enlarge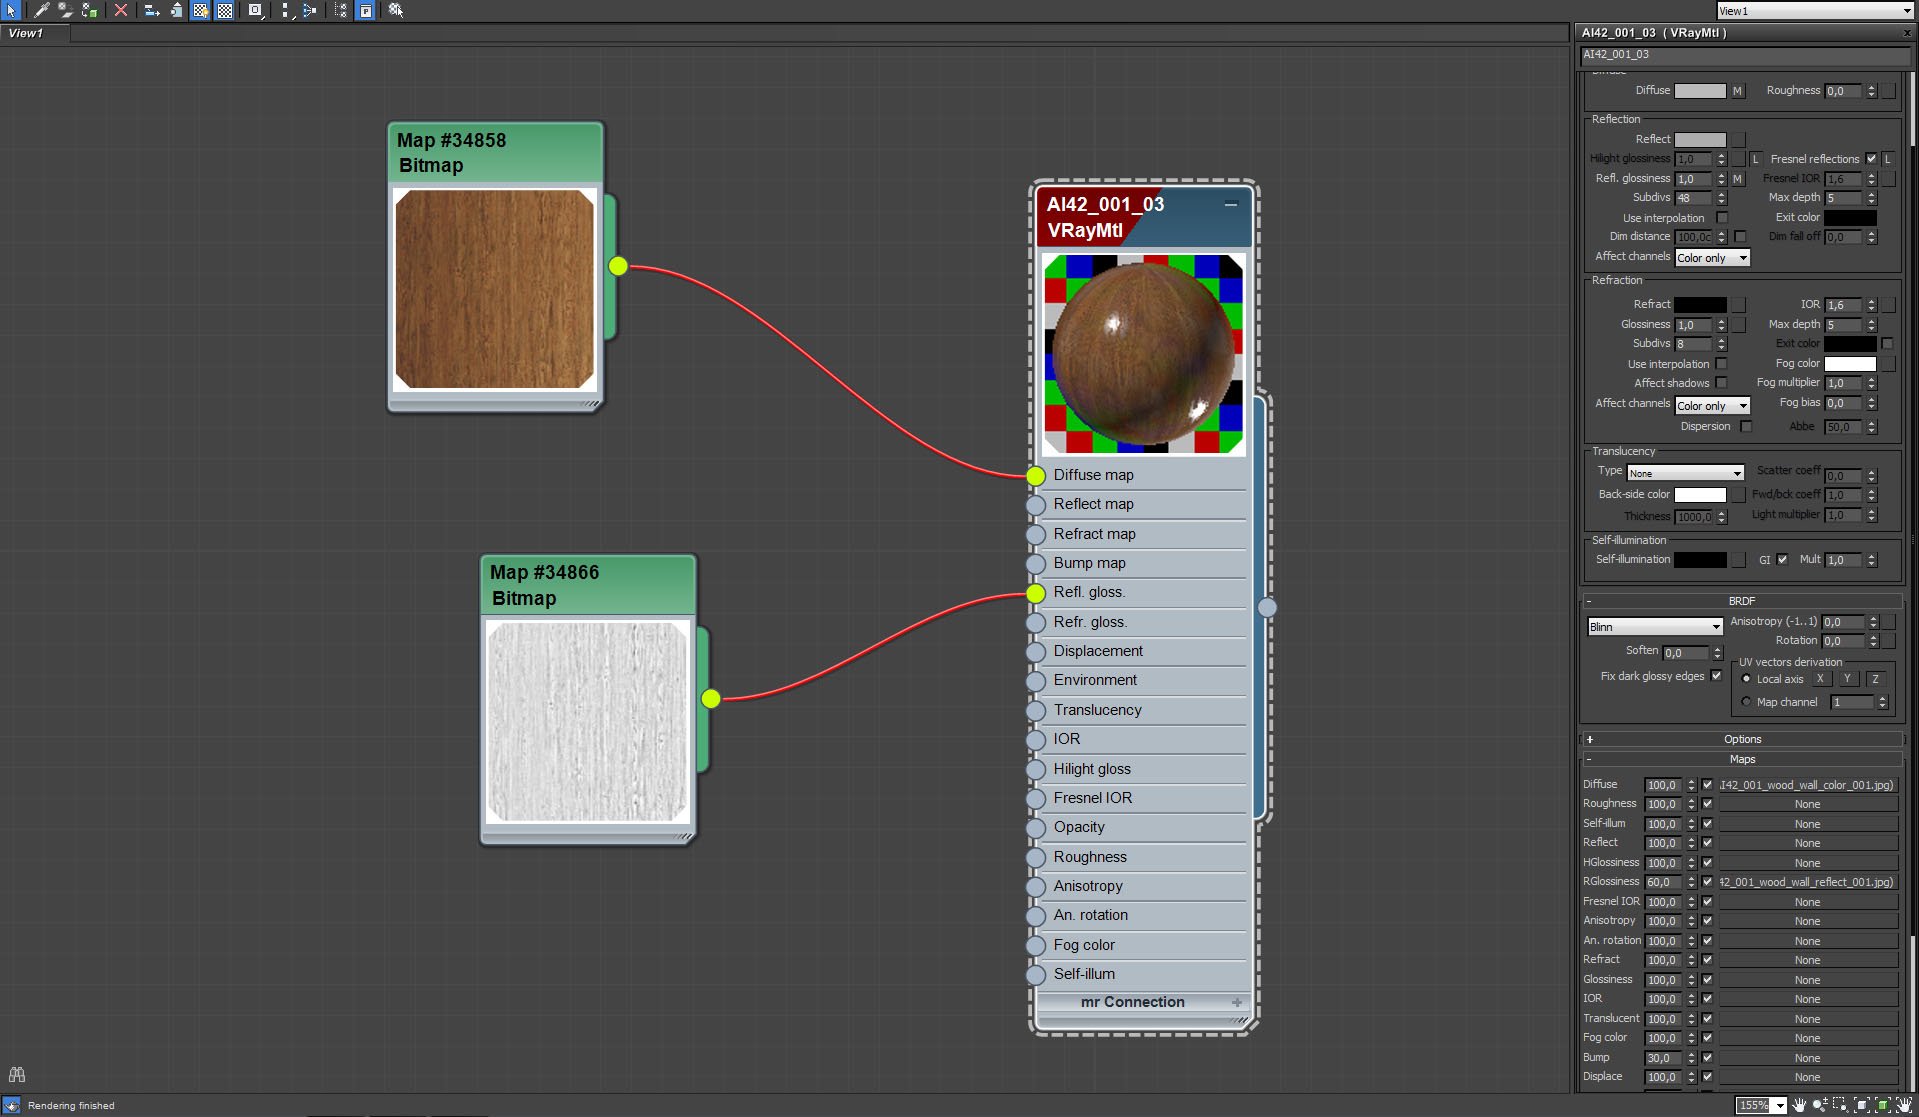
Planks material.
Click on image to enlarge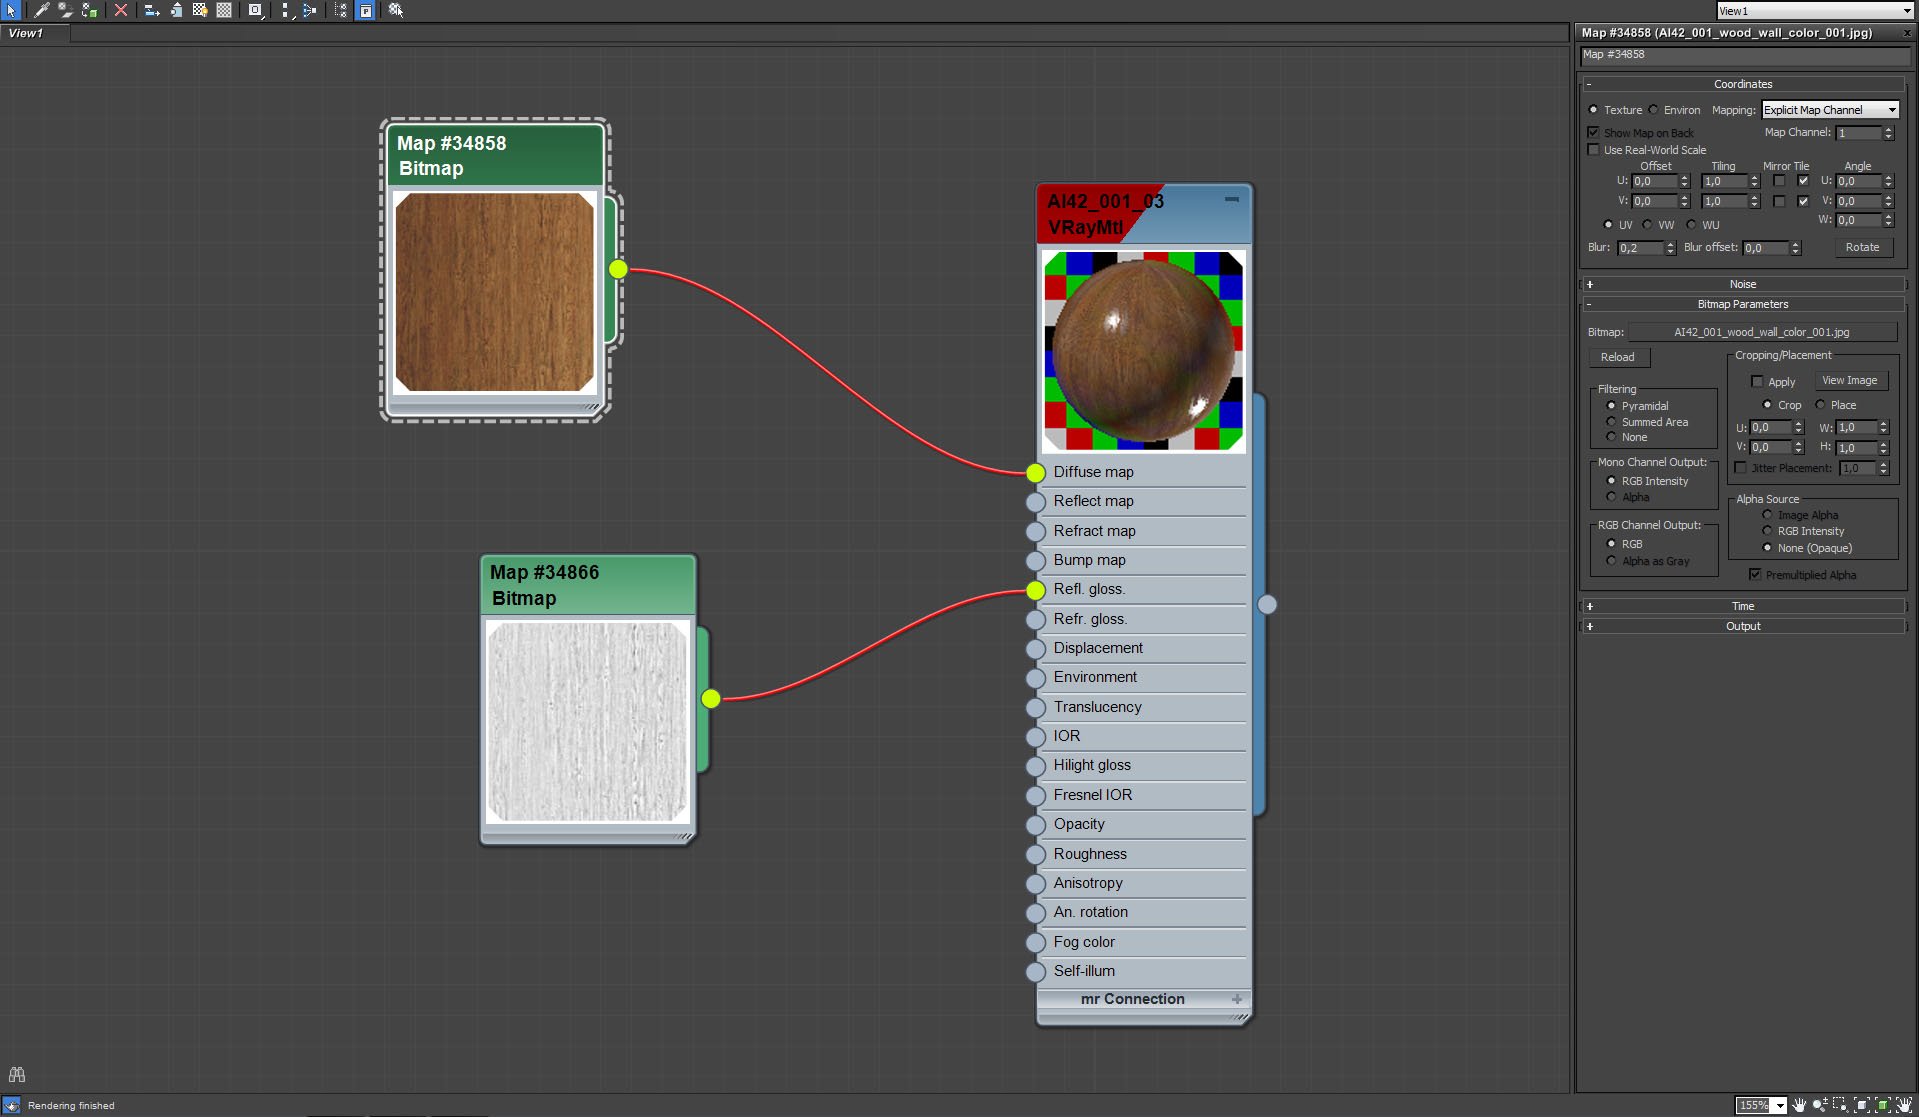
Planks material, bitmap settings.
Click on image to enlarge
Planks material - reflection glossiness bitmap settings.
Click on image to enlarge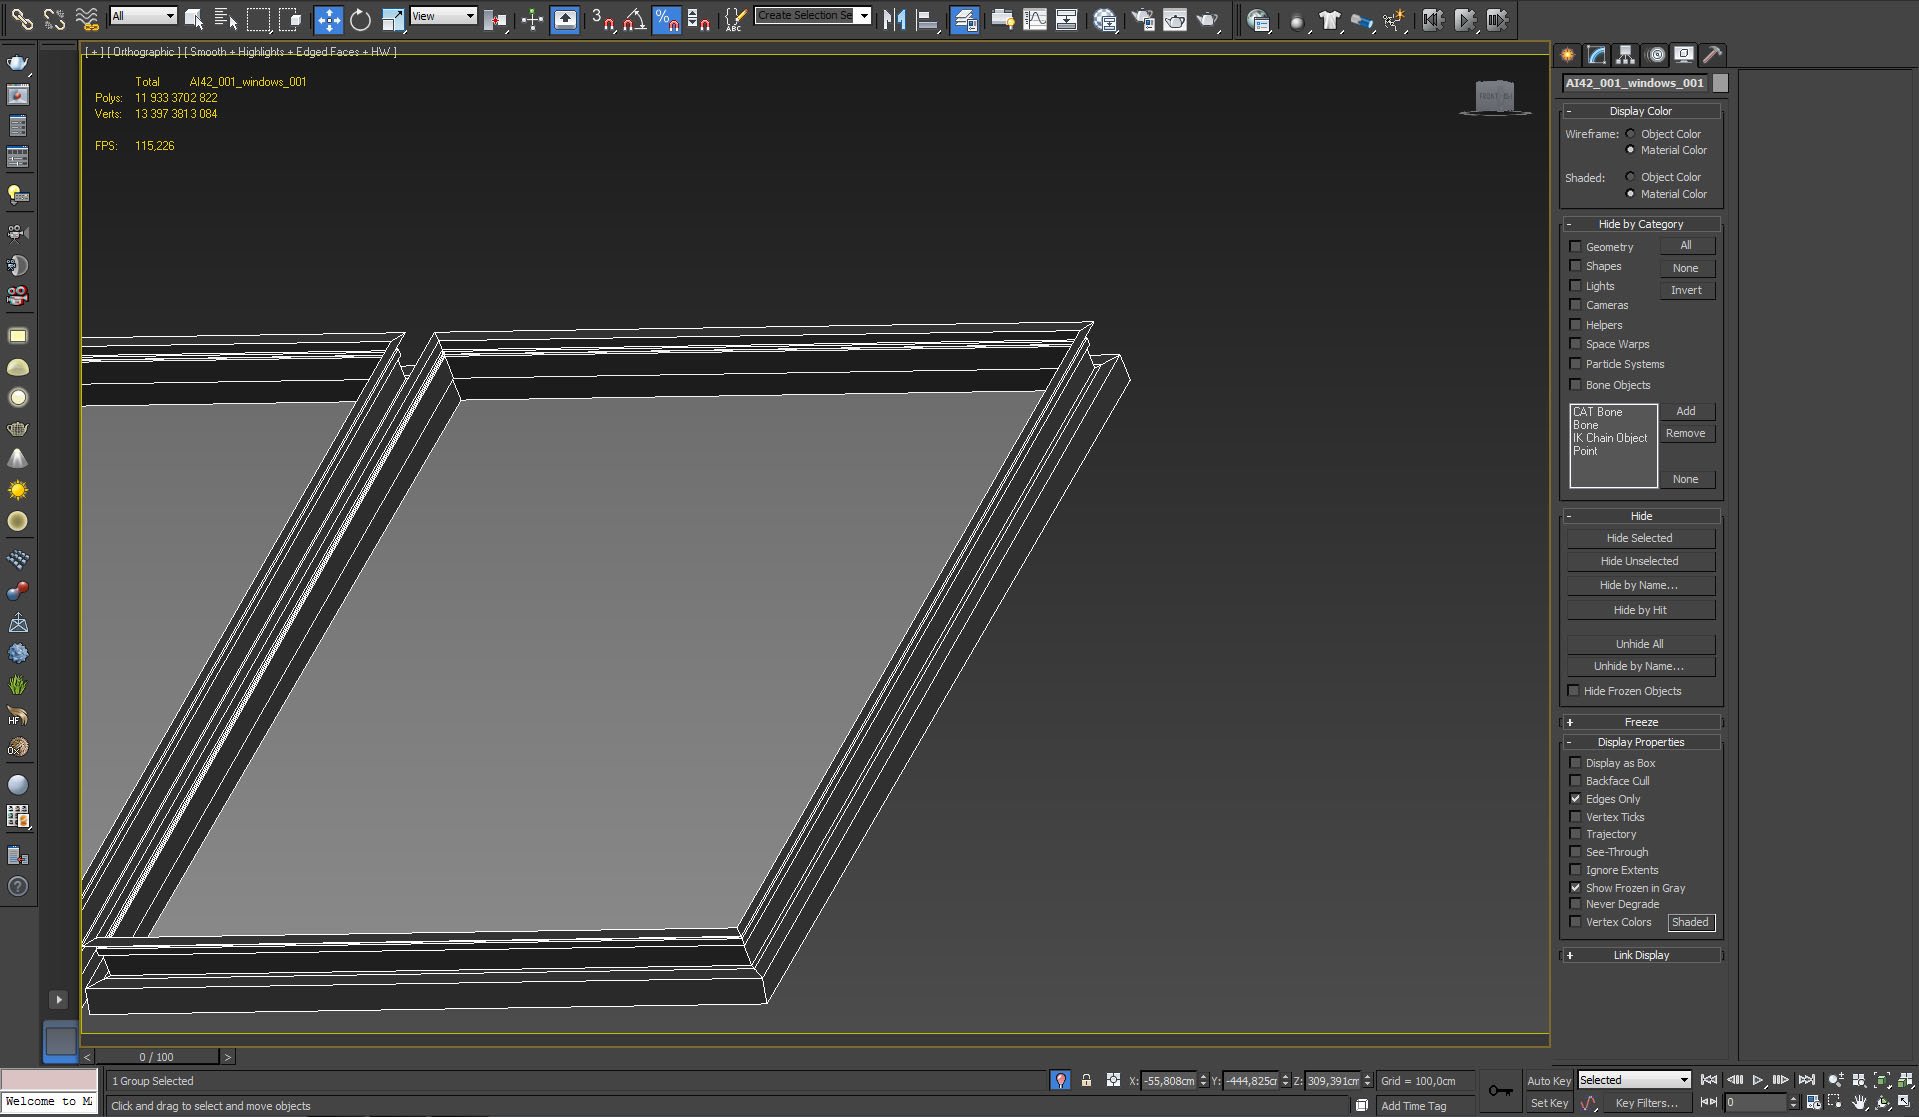
Windows in the roof.
Click on image to enlarge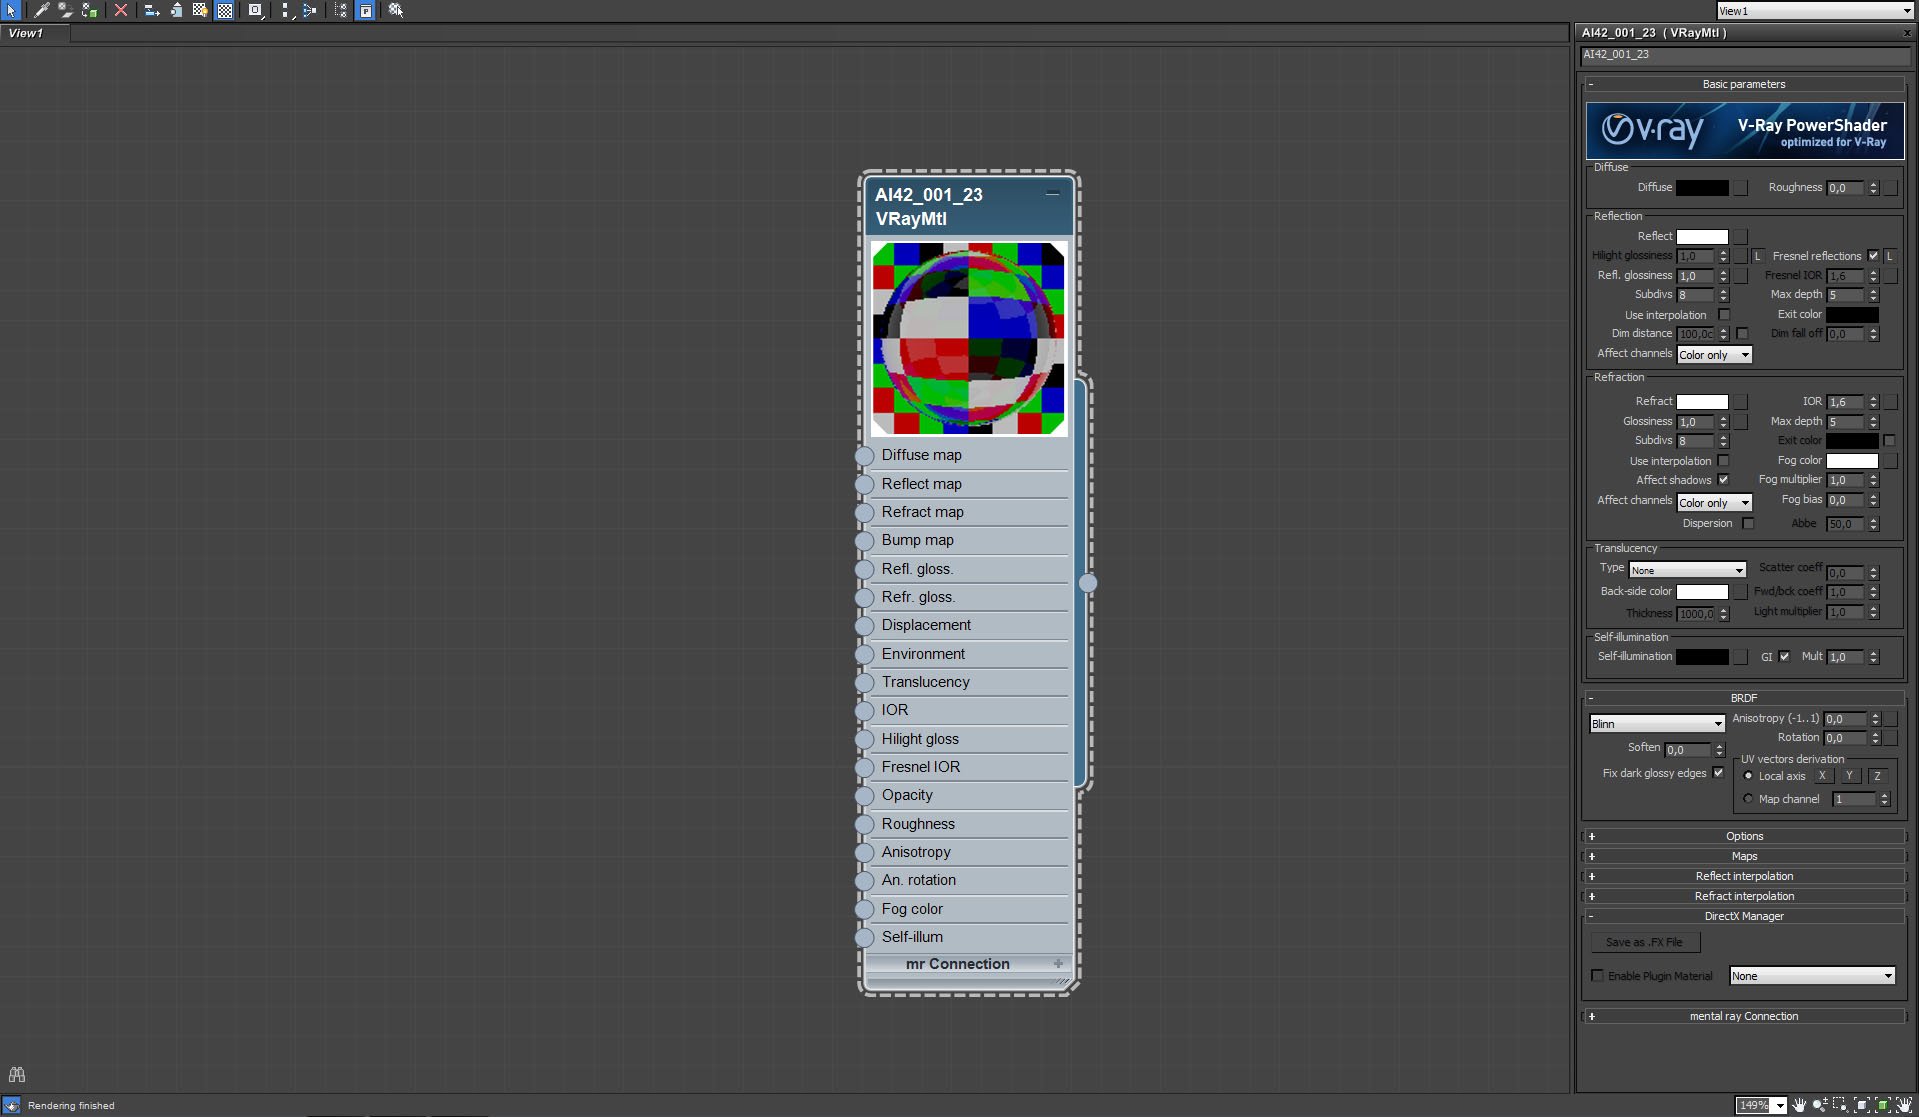
Windows - glass material - standard refractive material with 1,0 glossiness.
Click on image to enlarge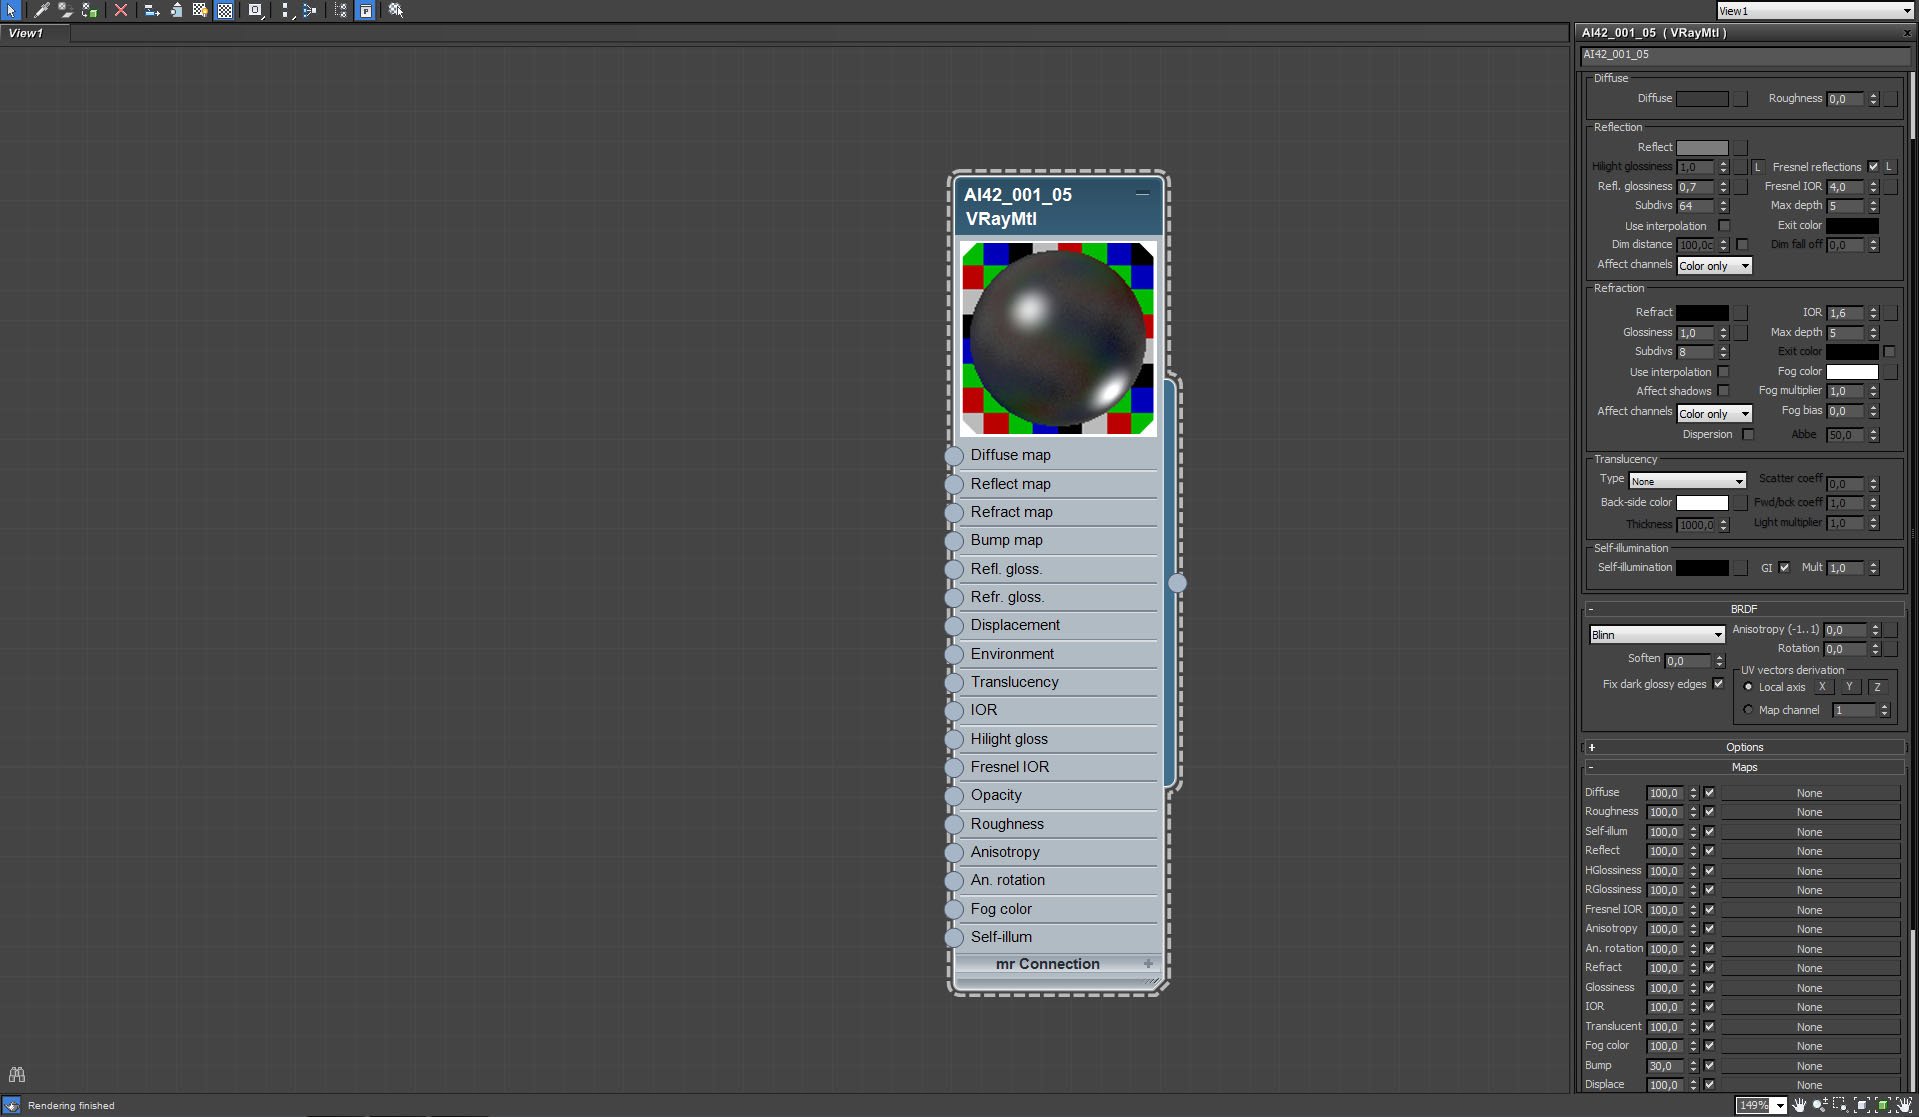
Windows frame material.
Click on image to enlarge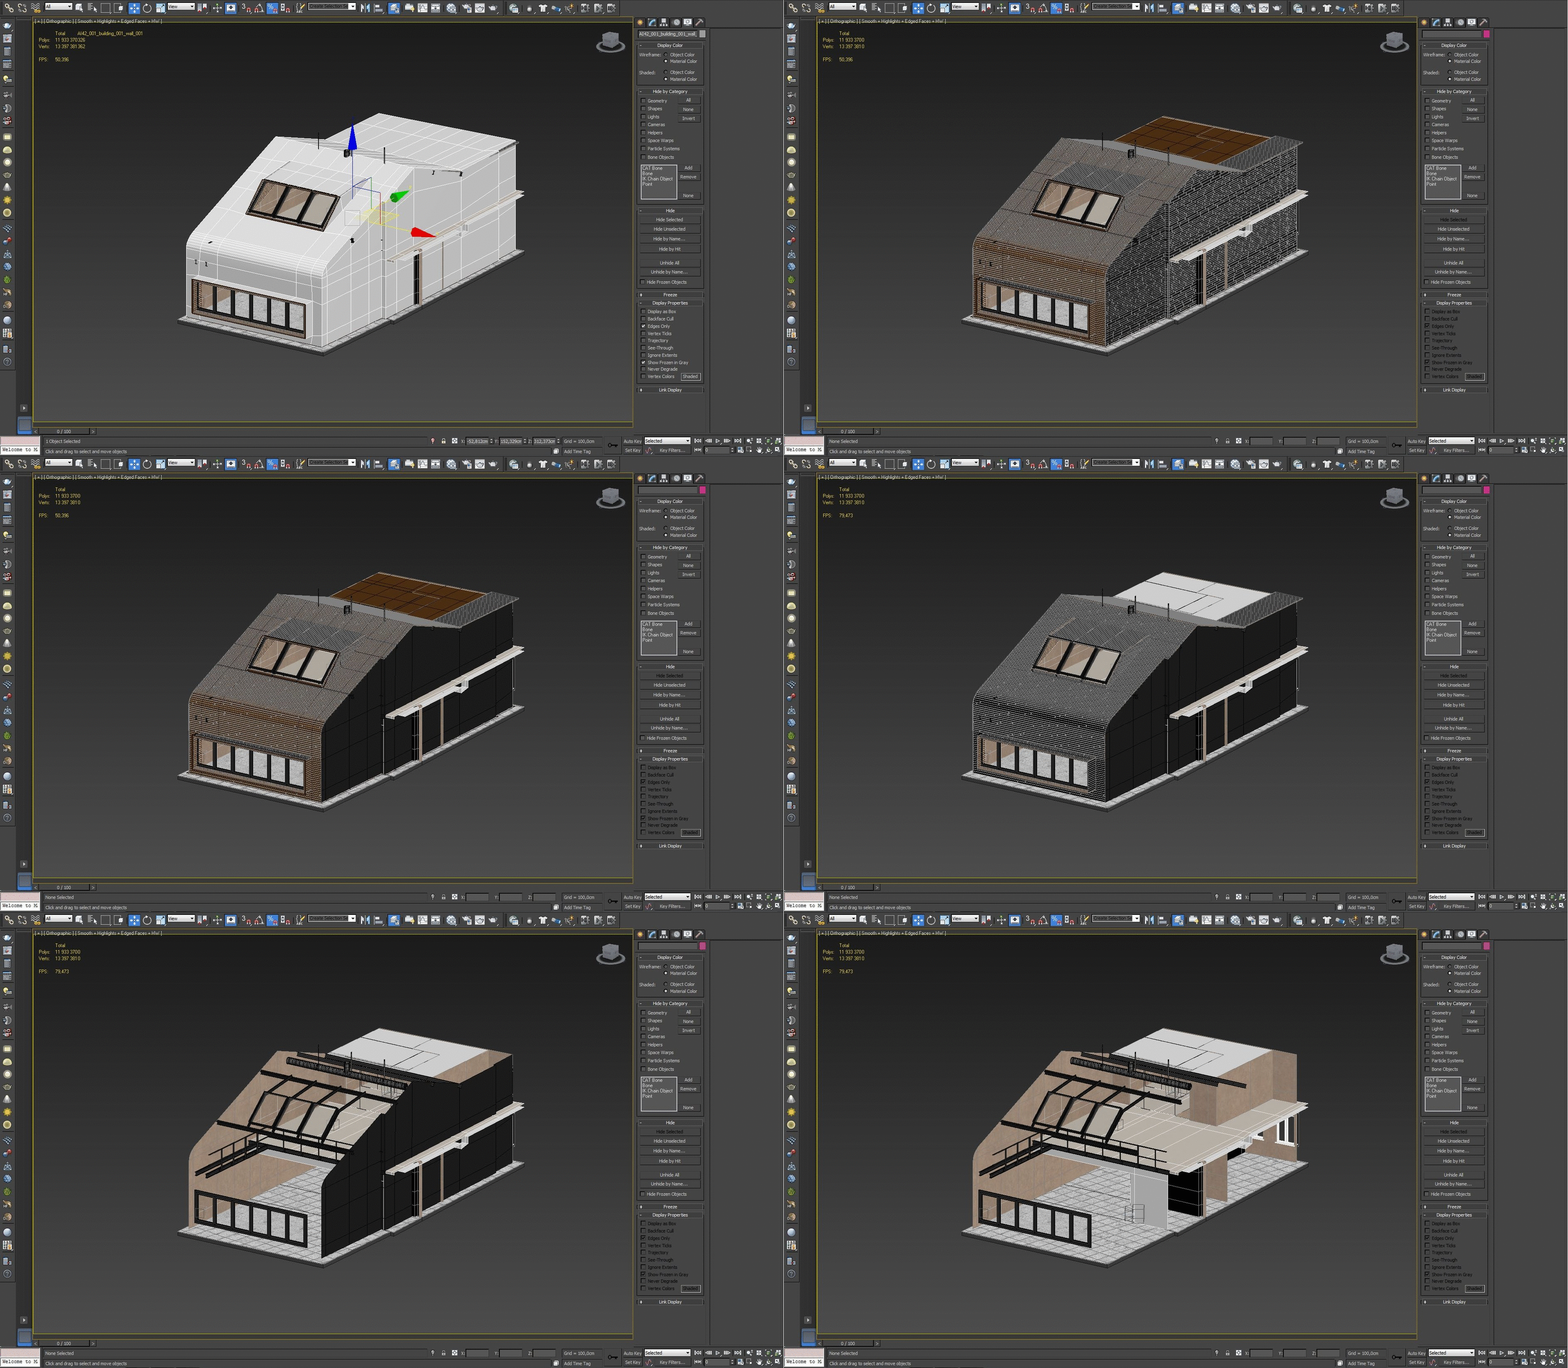
Building layers - gif animation.
Click on image to enlarge
Floor.
Click on image to enlarge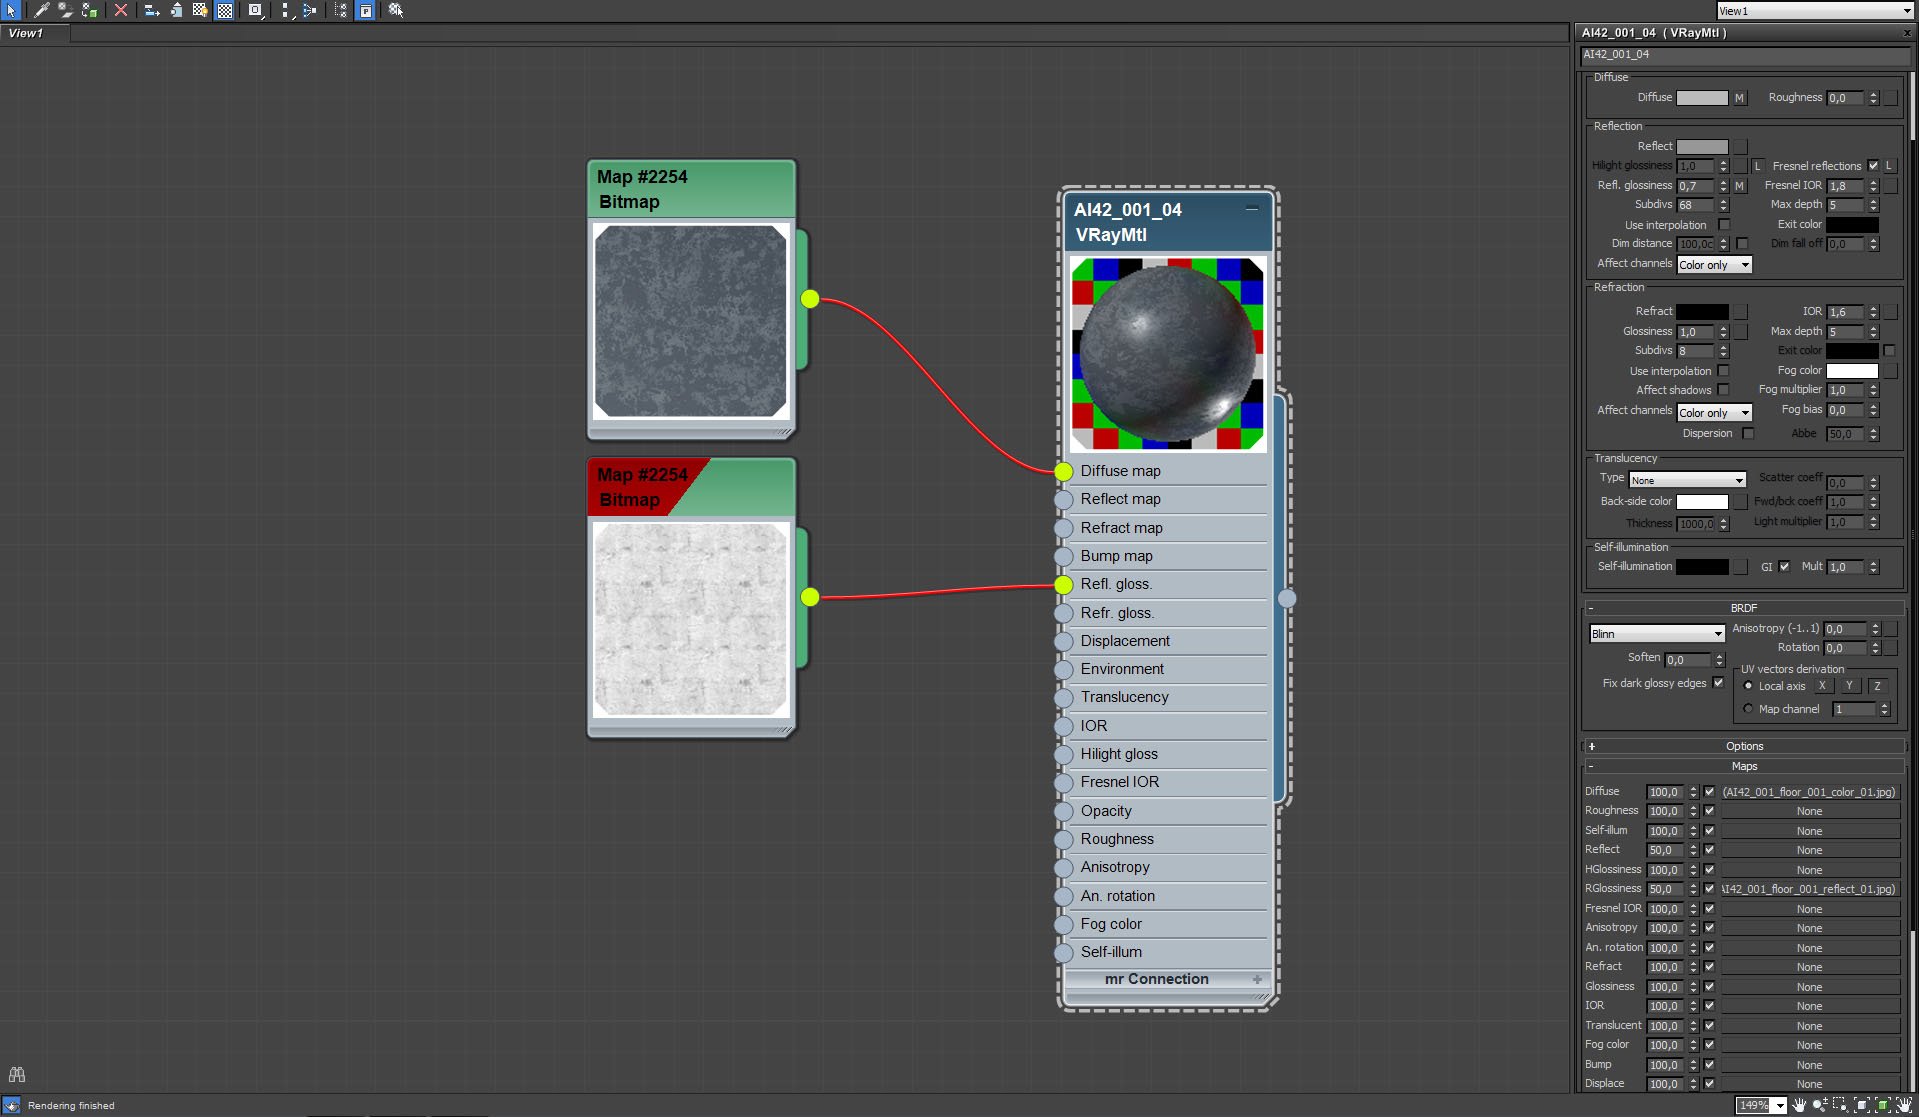
Floor material.
Click on image to enlarge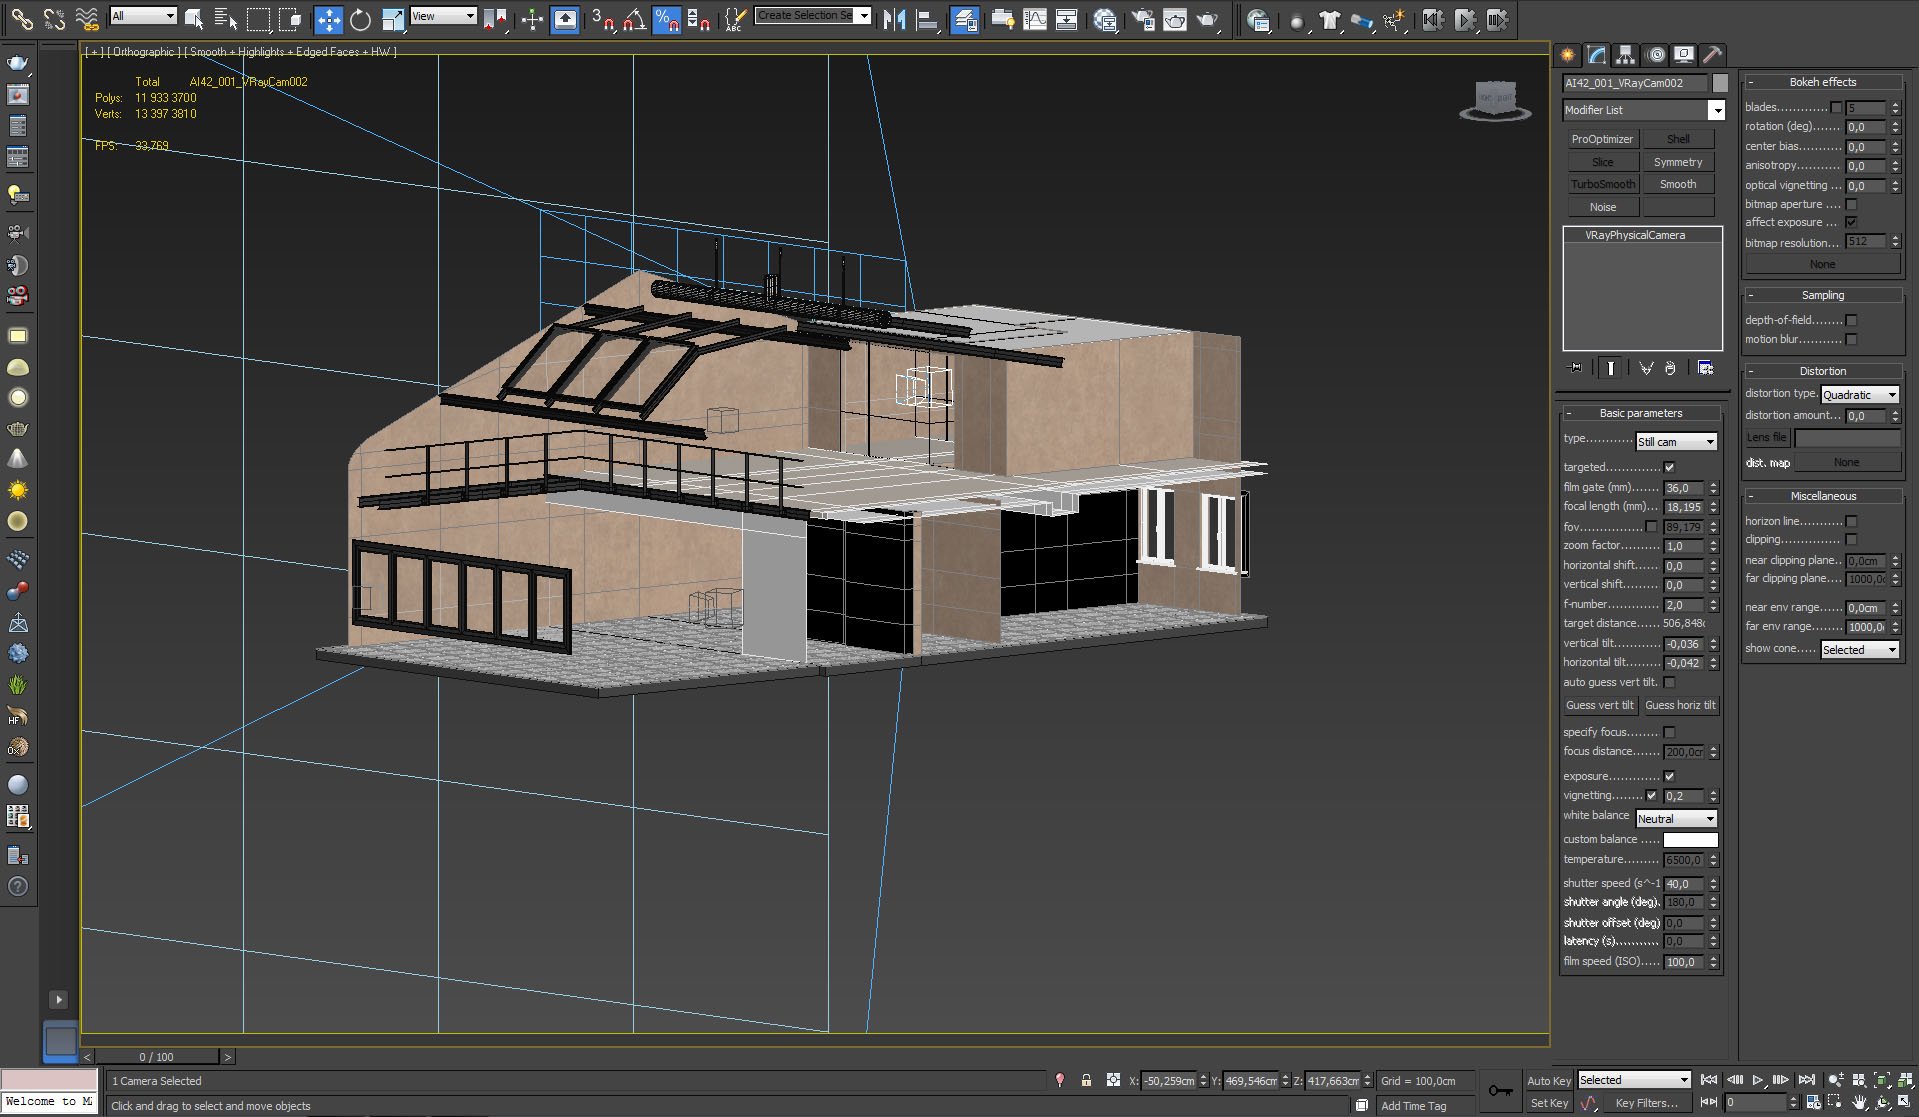
Camera 2 settings.
Click on image to enlarge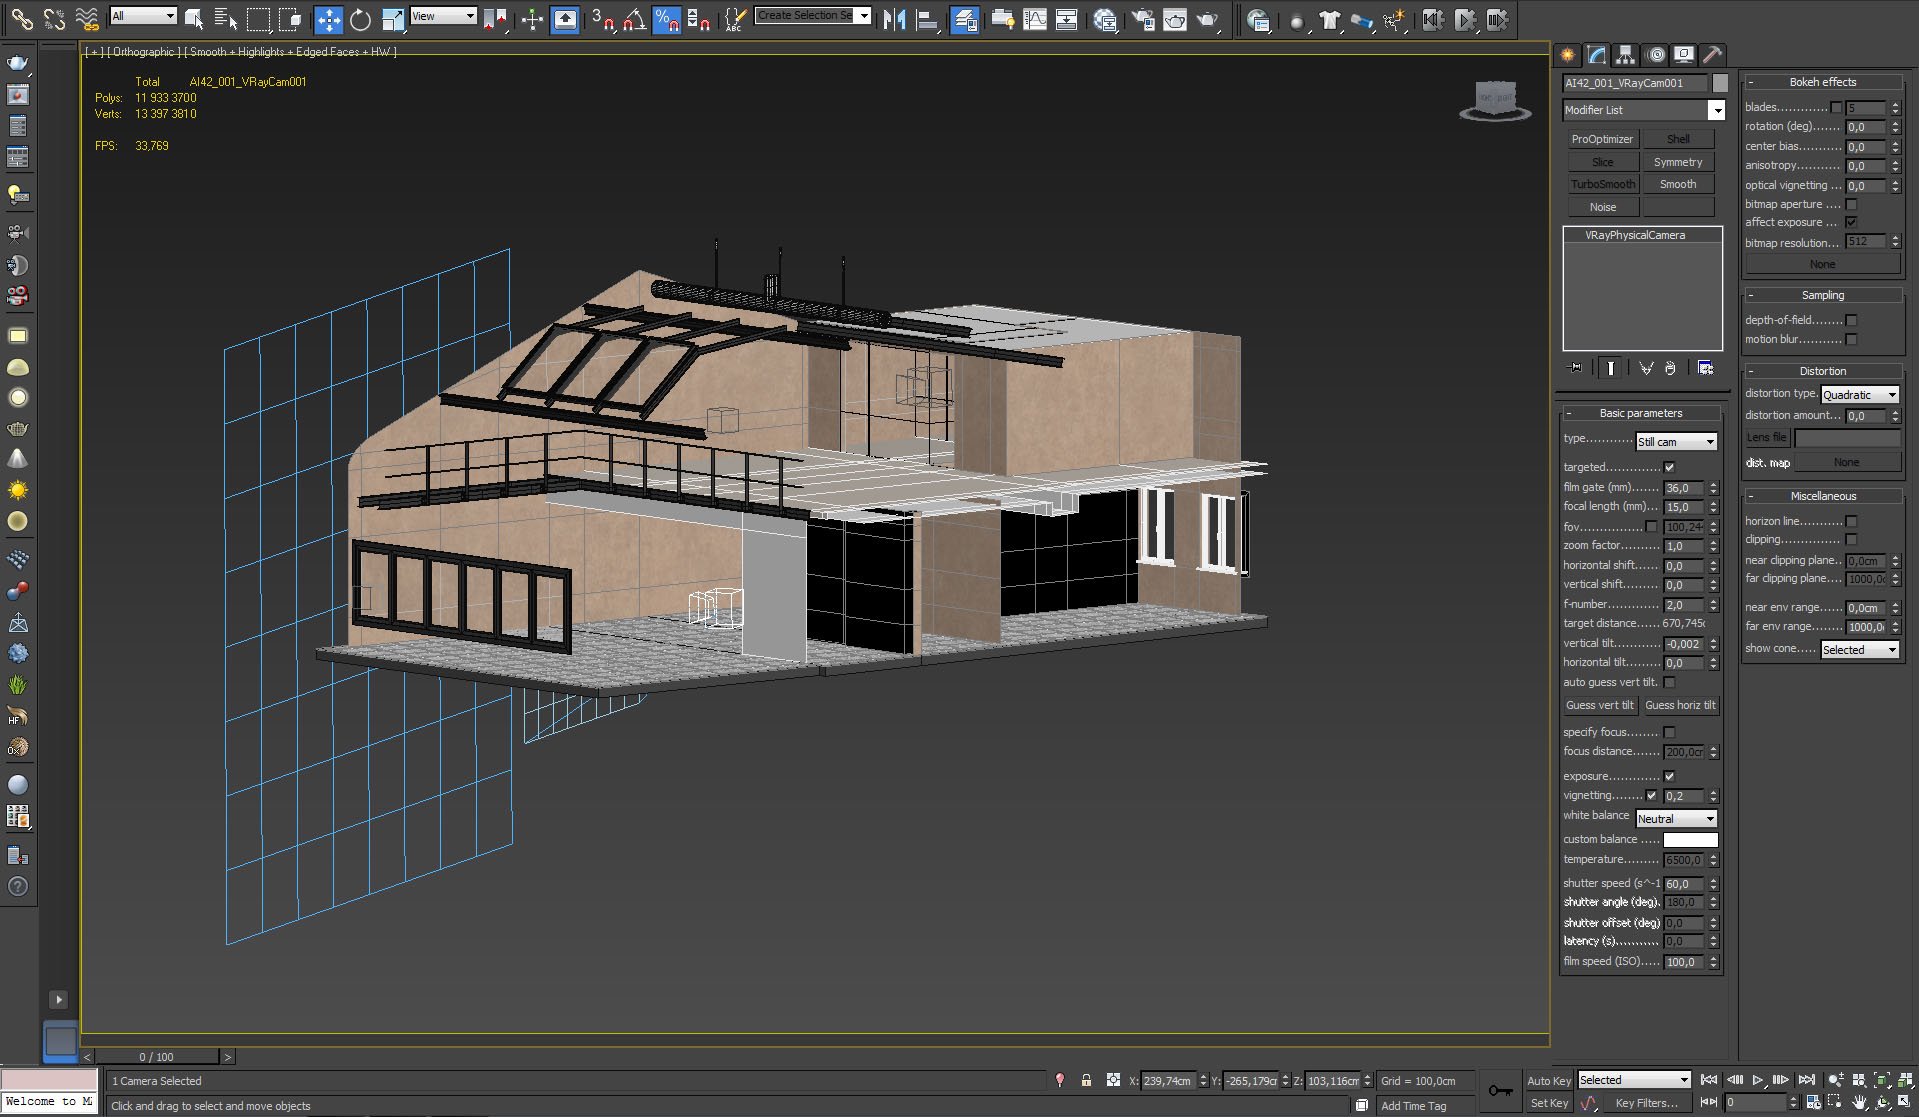
Camera 1 settings.
Click on image to enlarge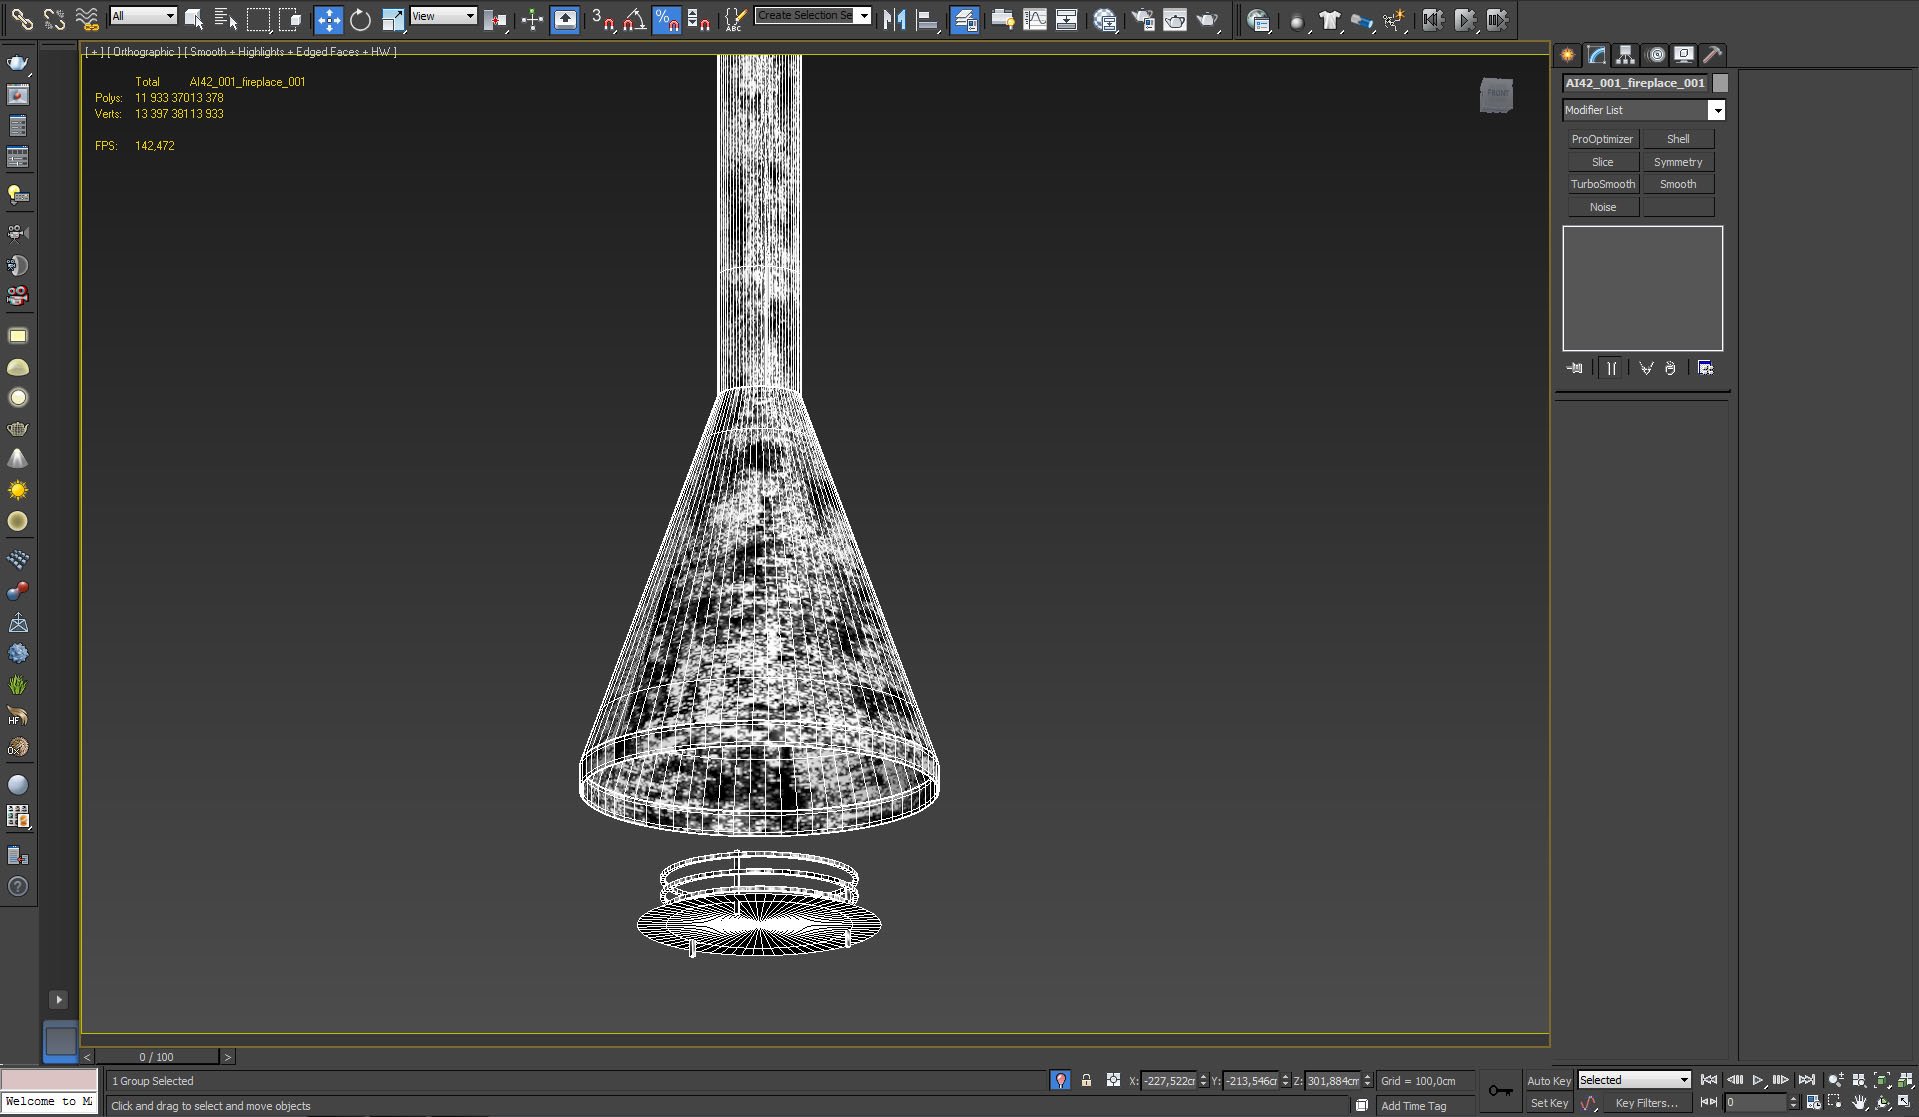
Fireplace model.
Click on image to enlarge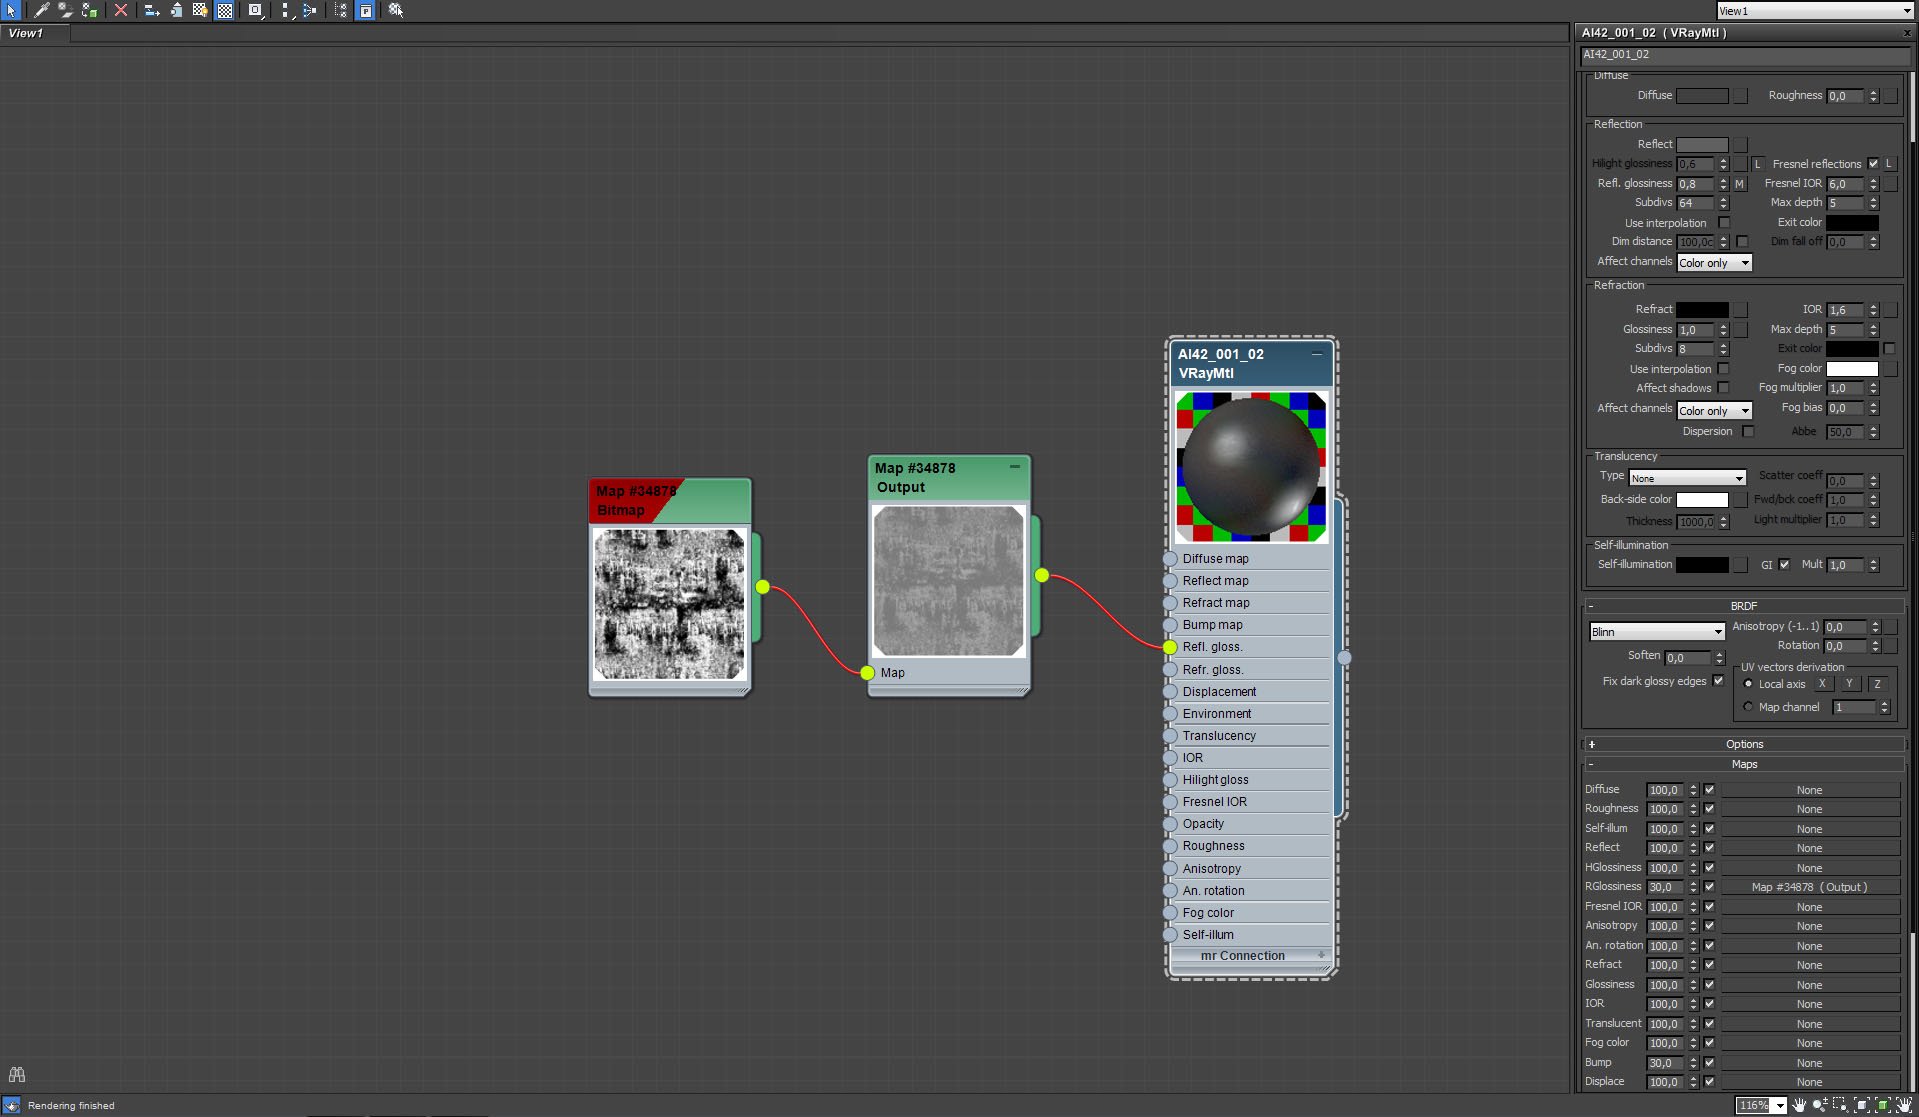
Fireplace material.
Click on image to enlarge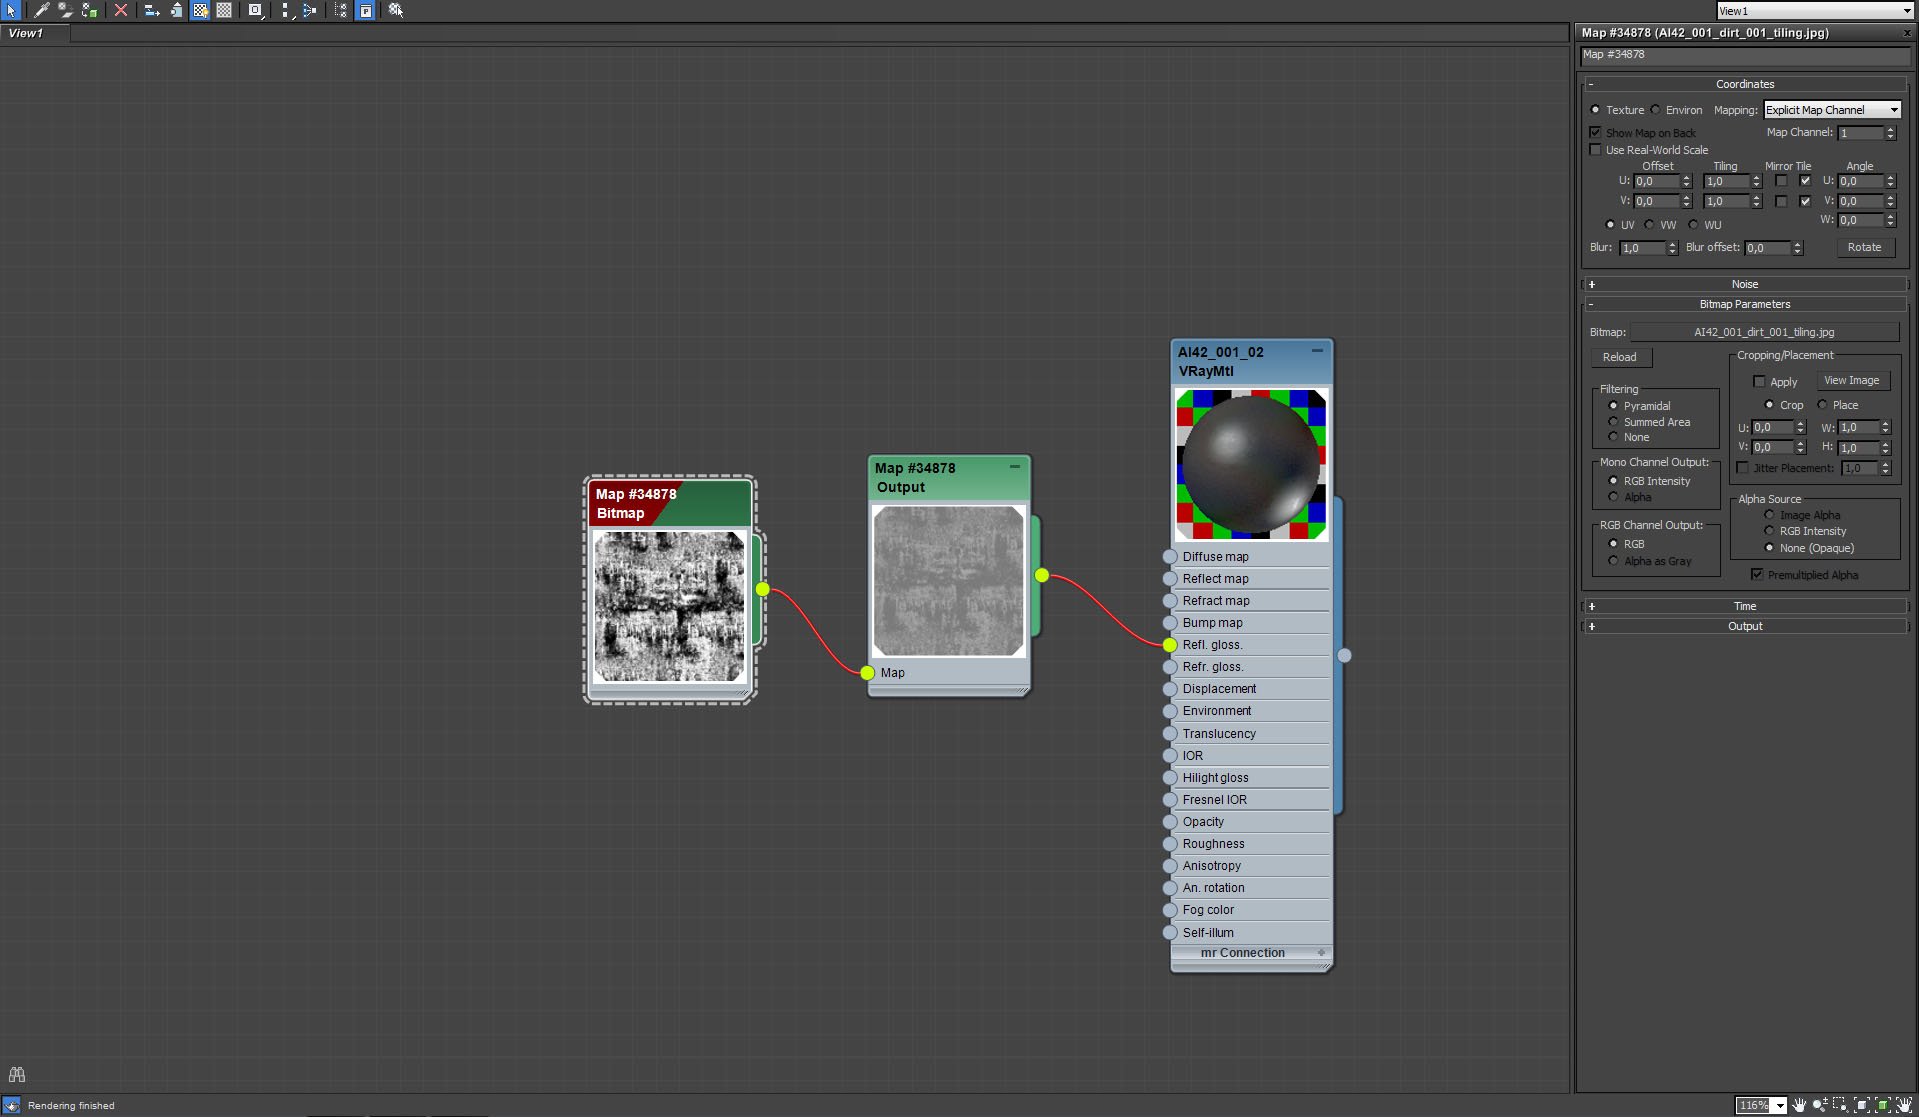
Fireplace material - bitmap settings.
Click on image to enlarge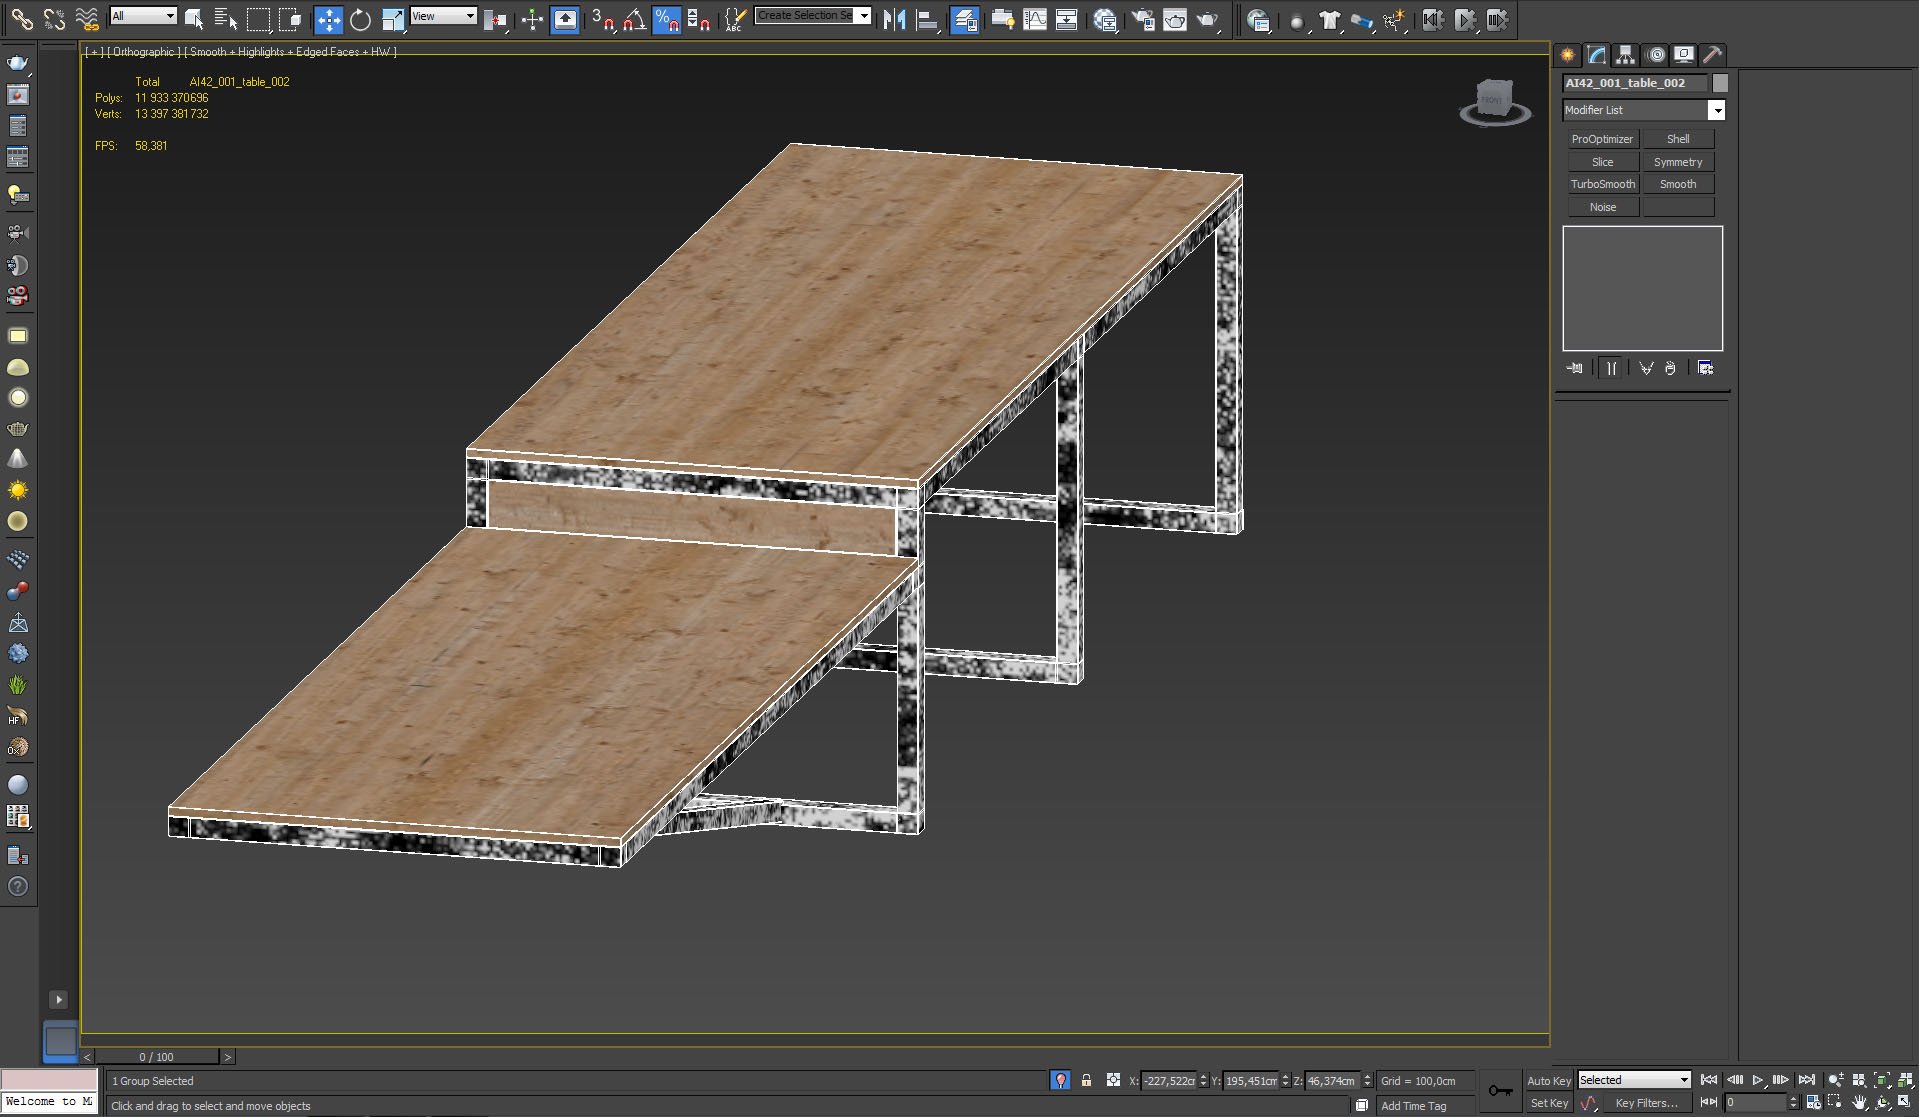
A bench model.
Click on image to enlarge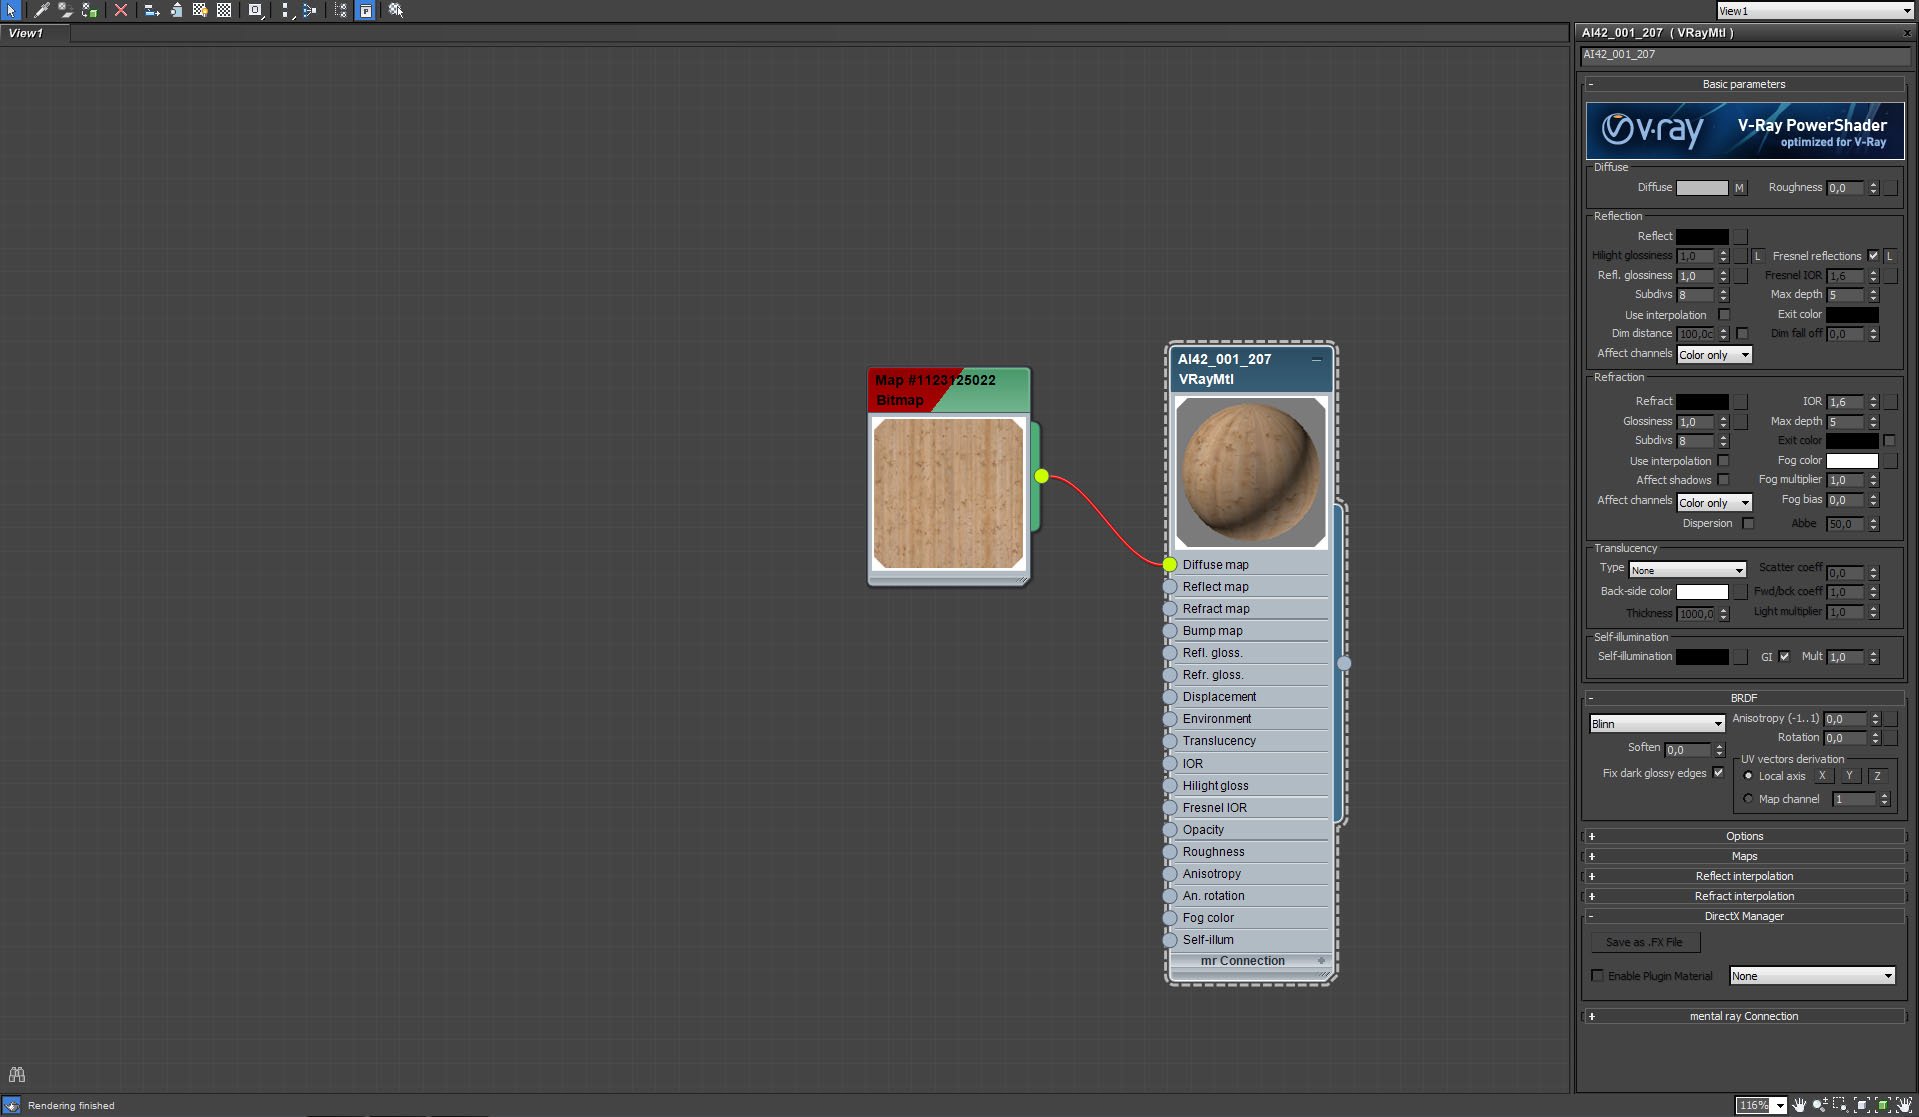
Bench surface material.
Click on image to enlarge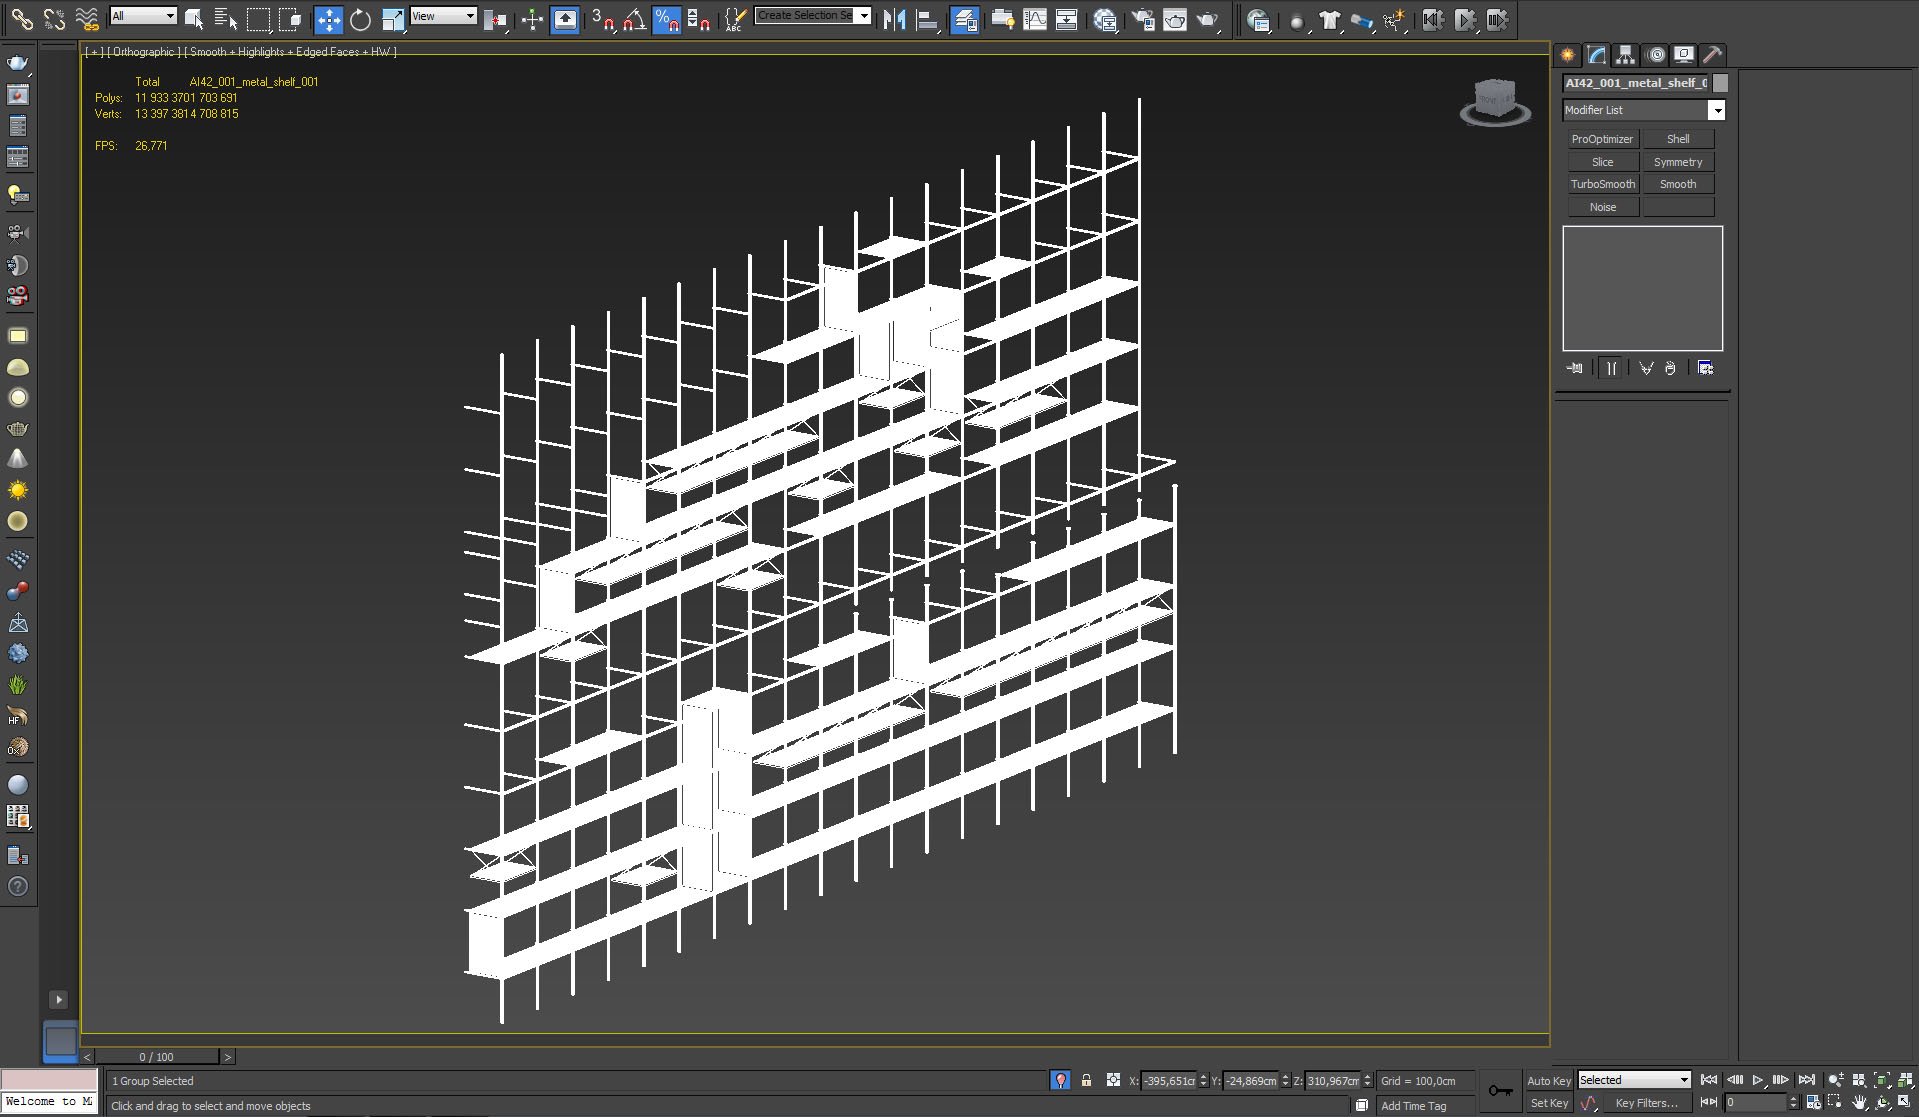
Shelves.
Click on image to enlarge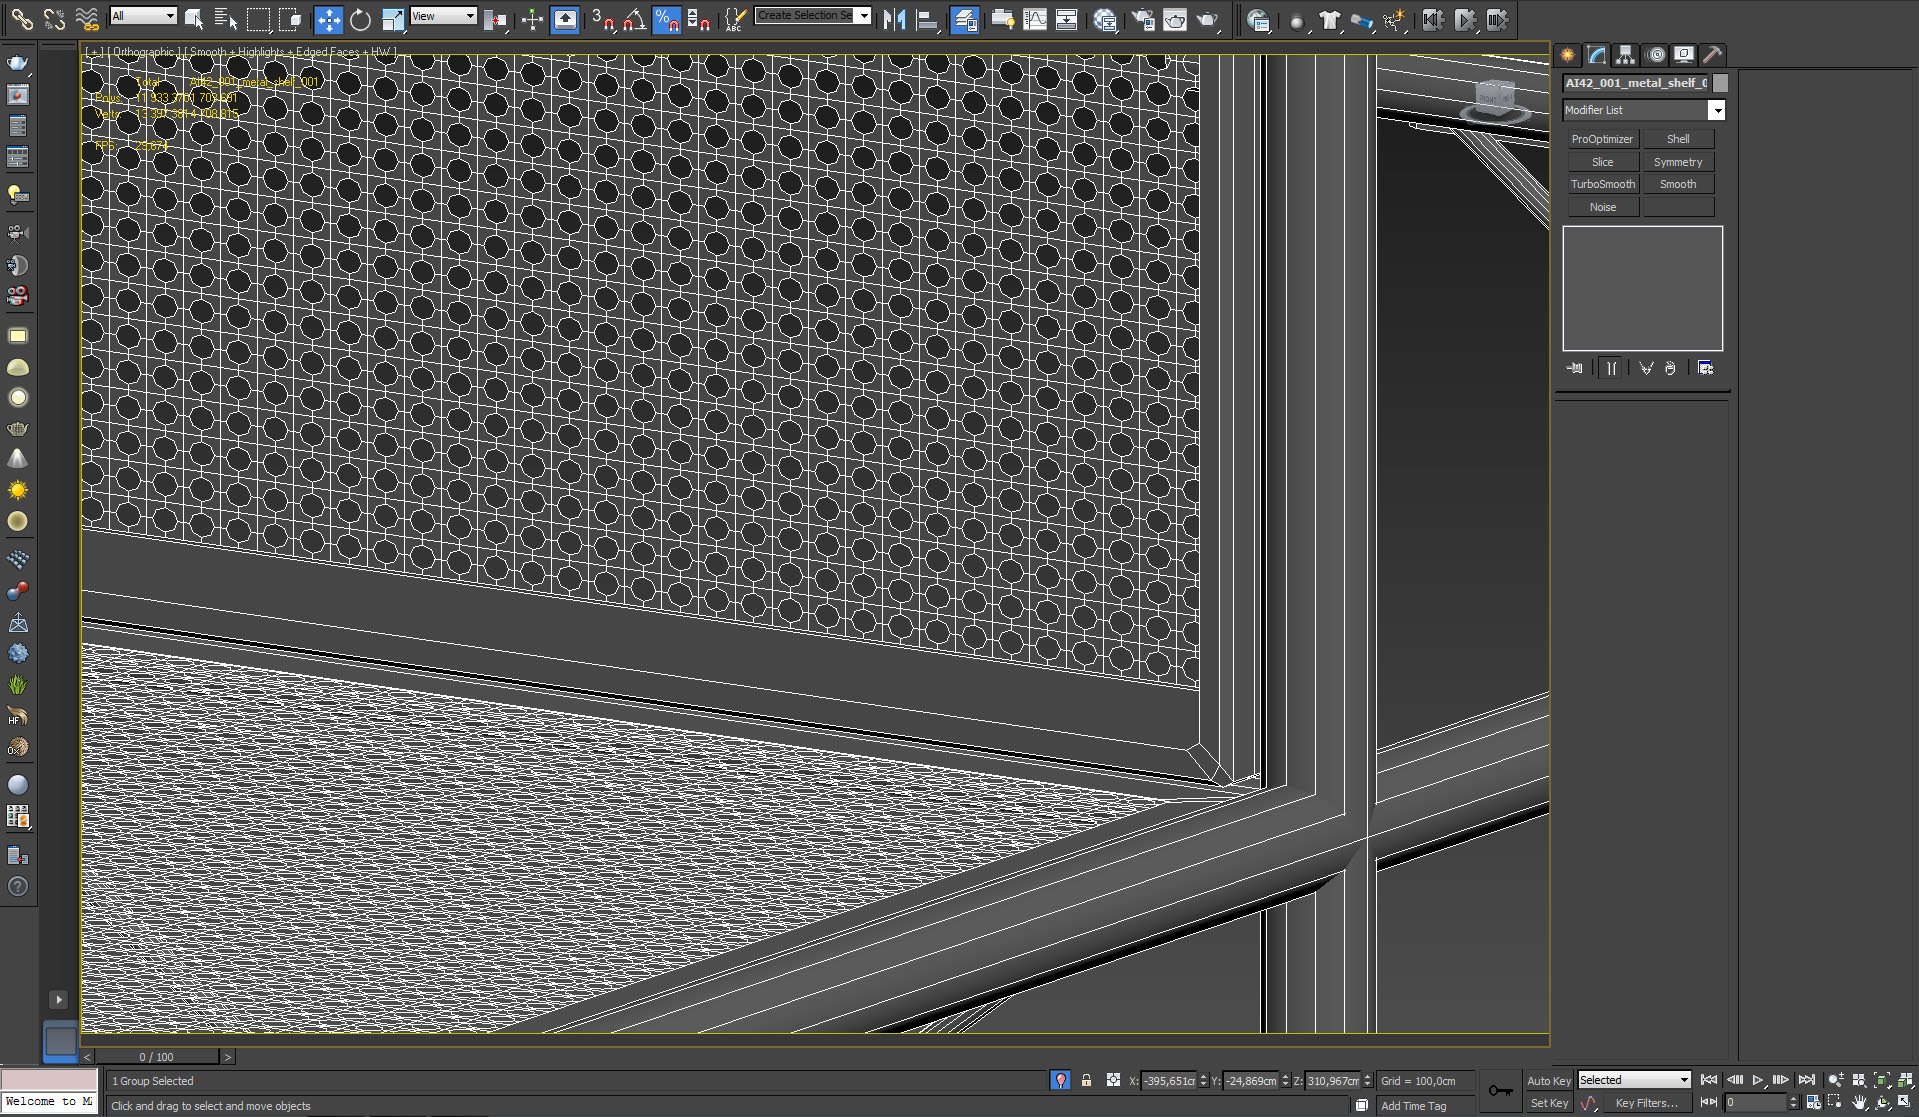
Shelves have holey surfaces. Close-up.
Click on image to enlarge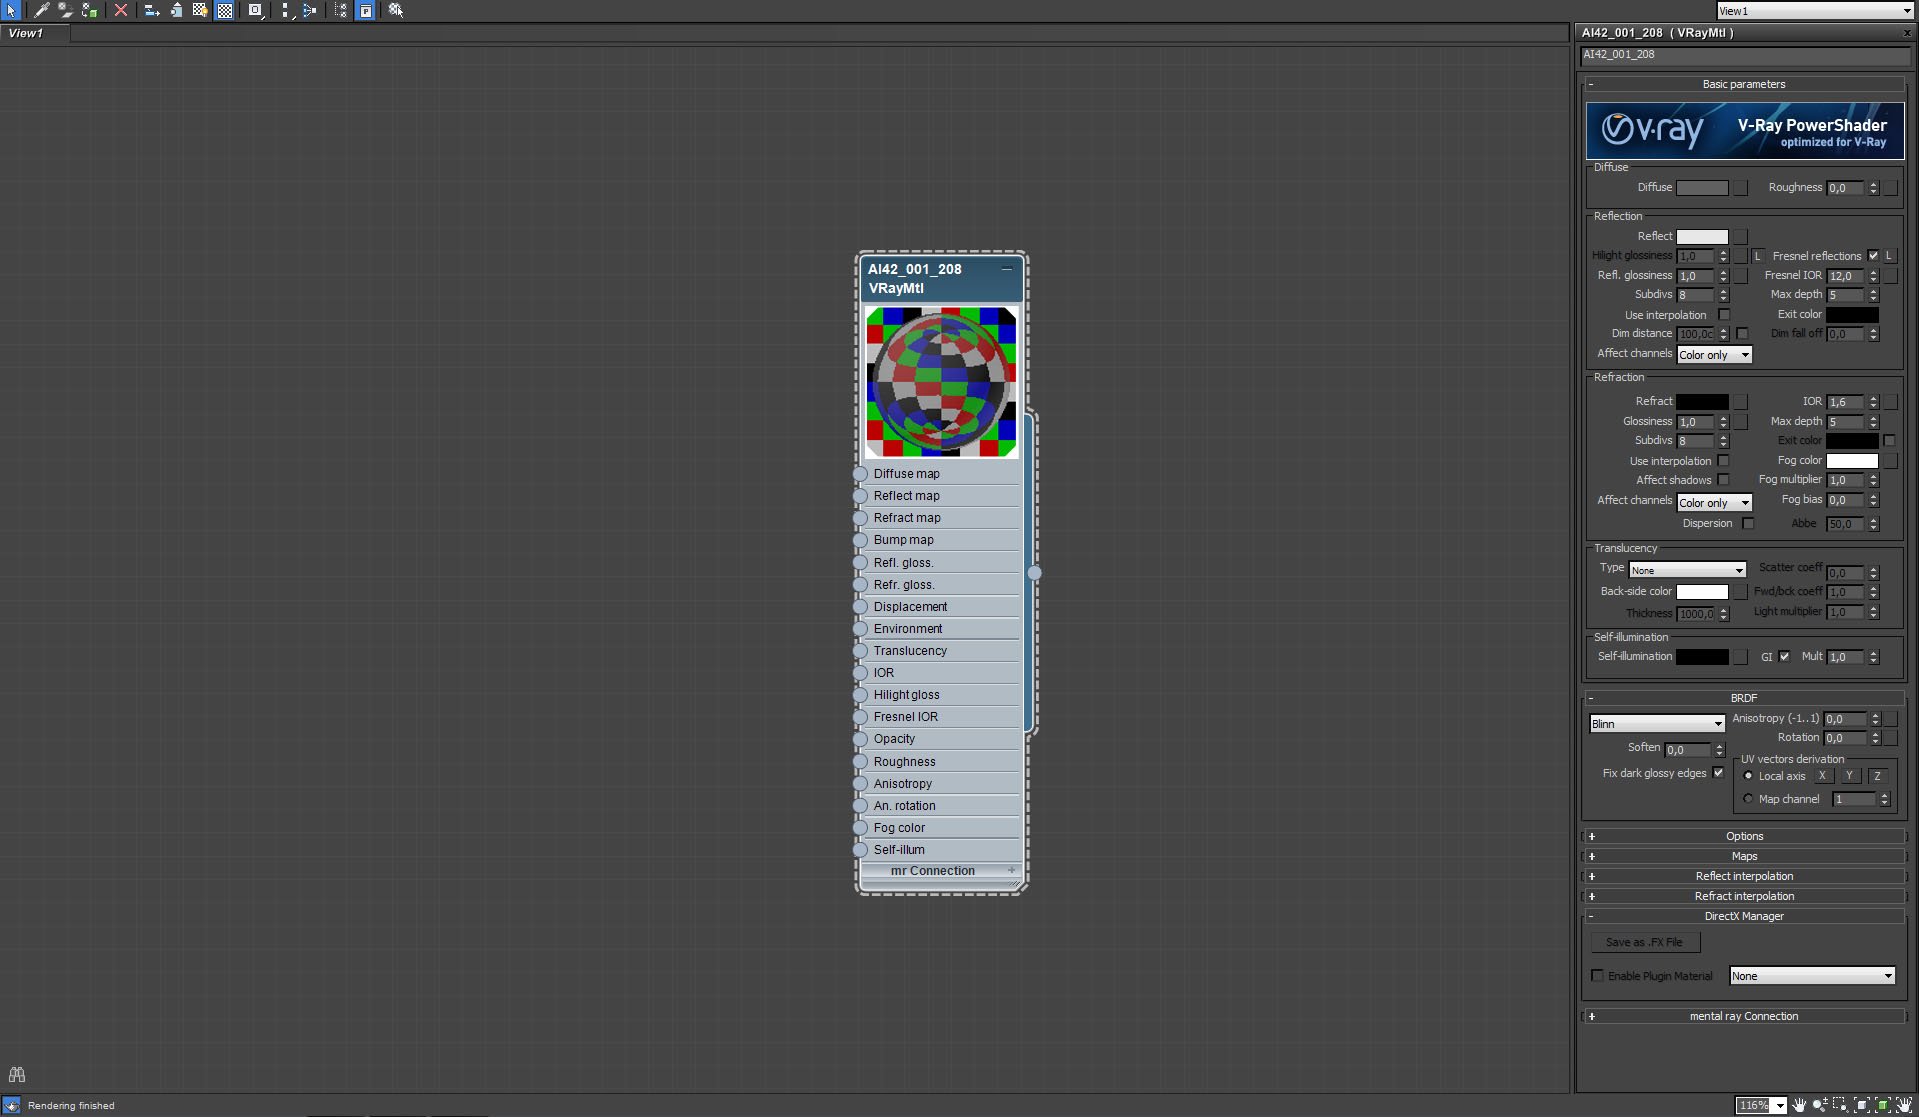
Shelves reflective material.
Click on image to enlarge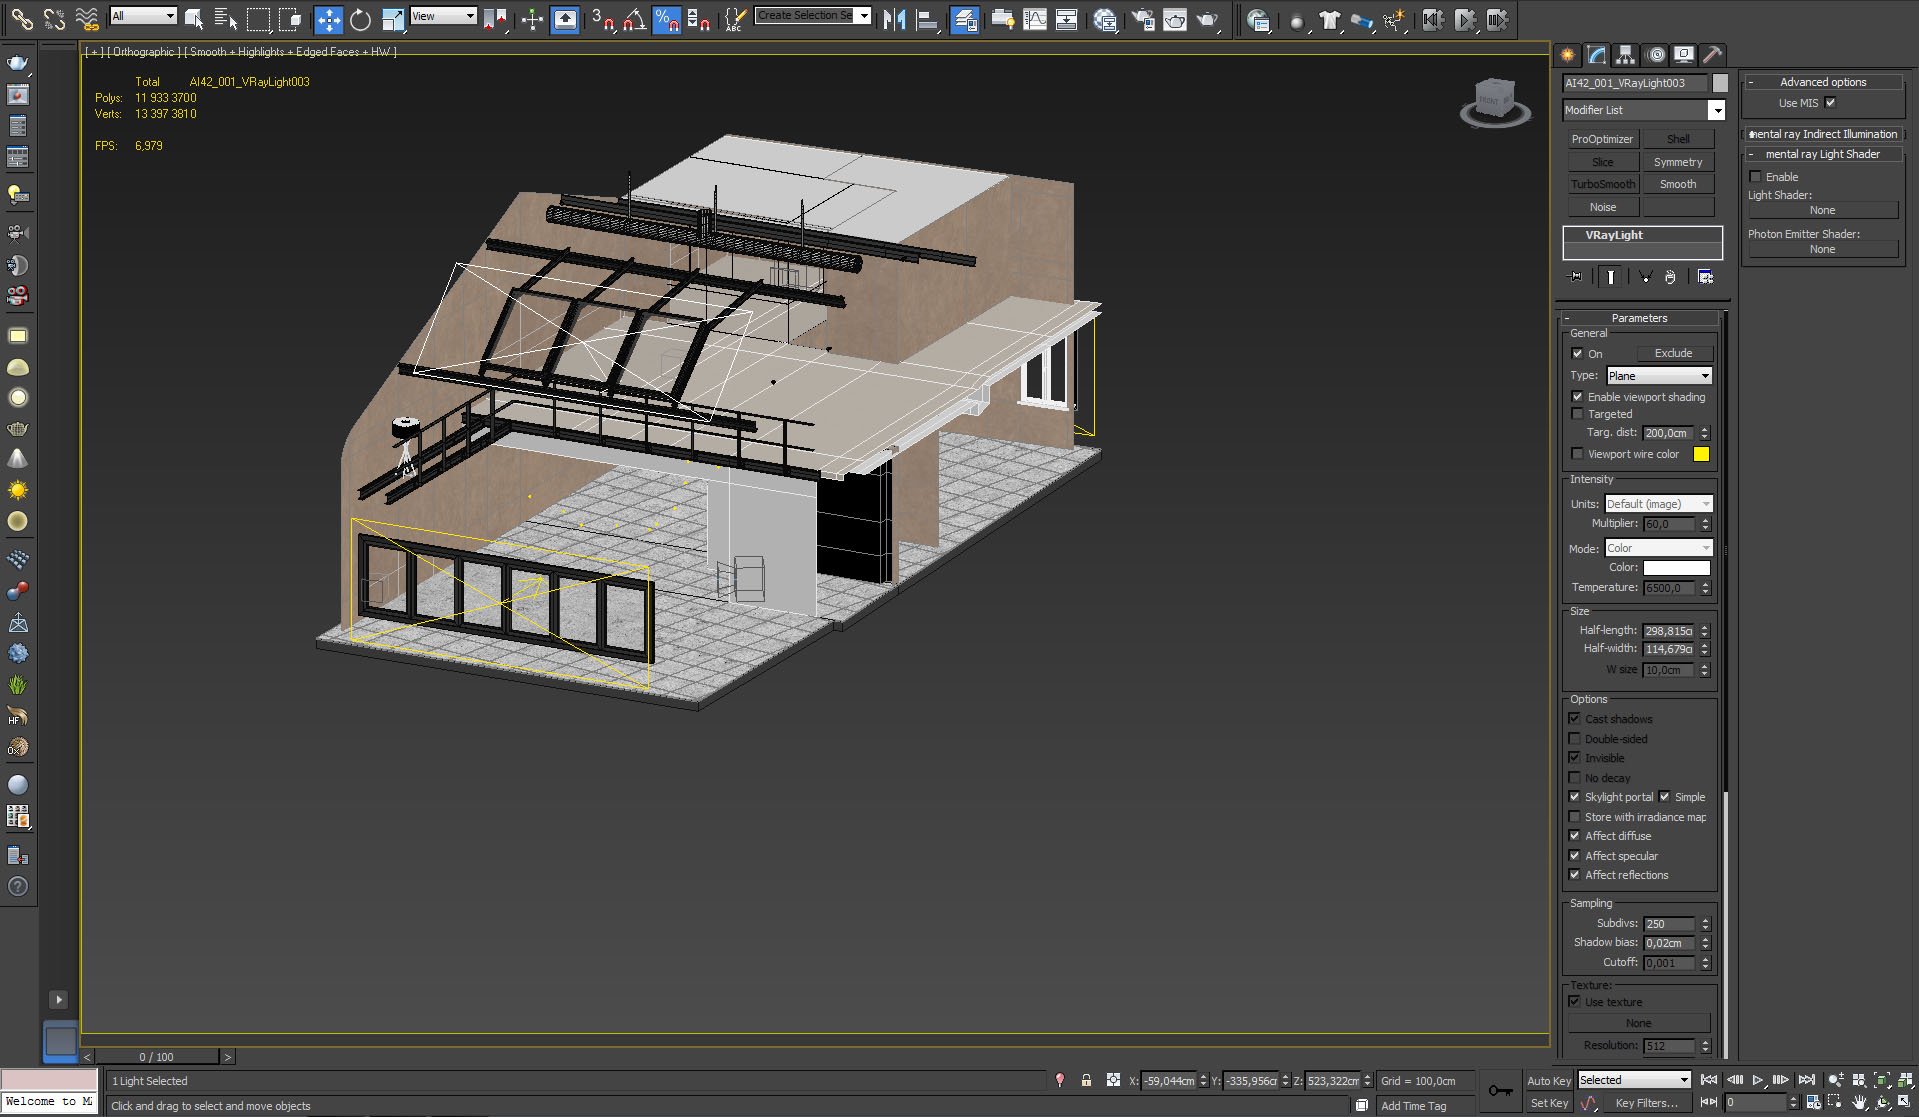
Top light settings - it's skylight portal.
Click on image to enlarge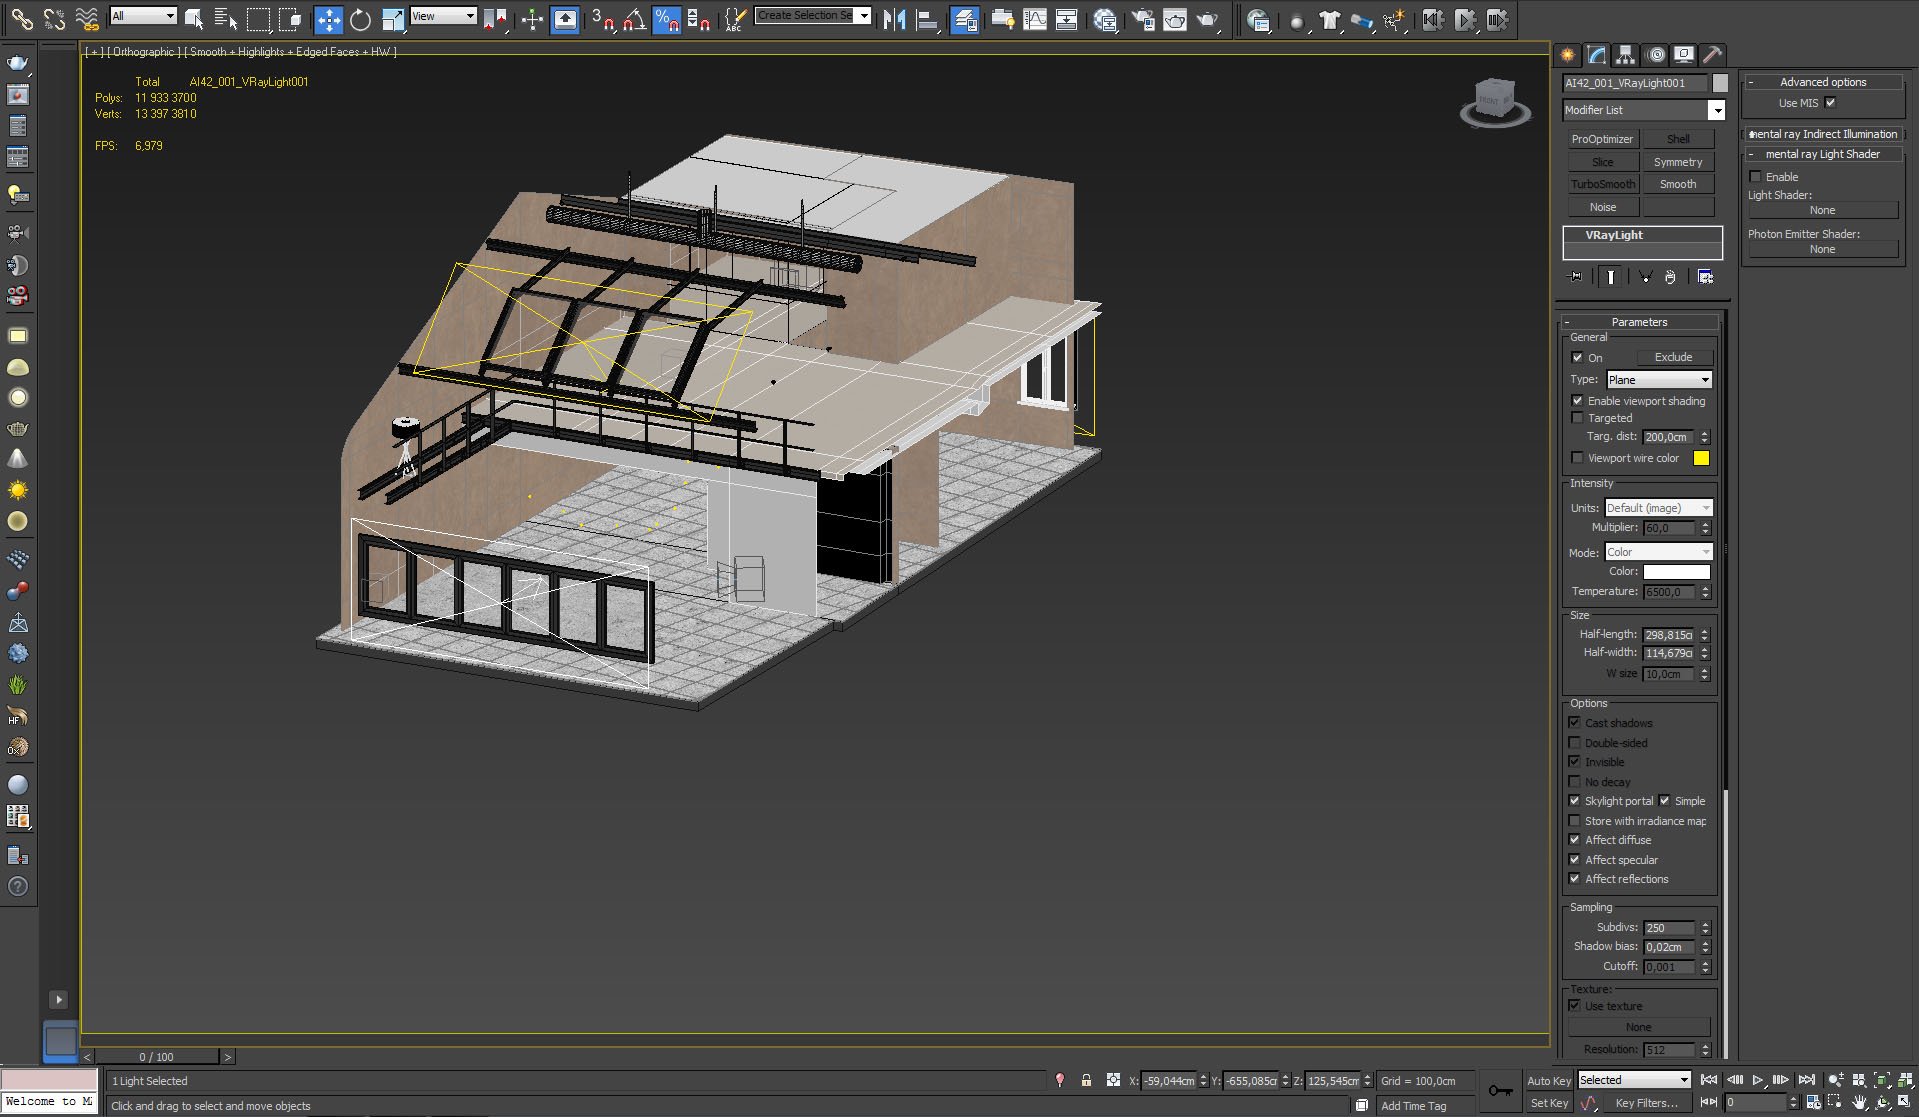
Another skylight portal behind front windows.
Click on image to enlarge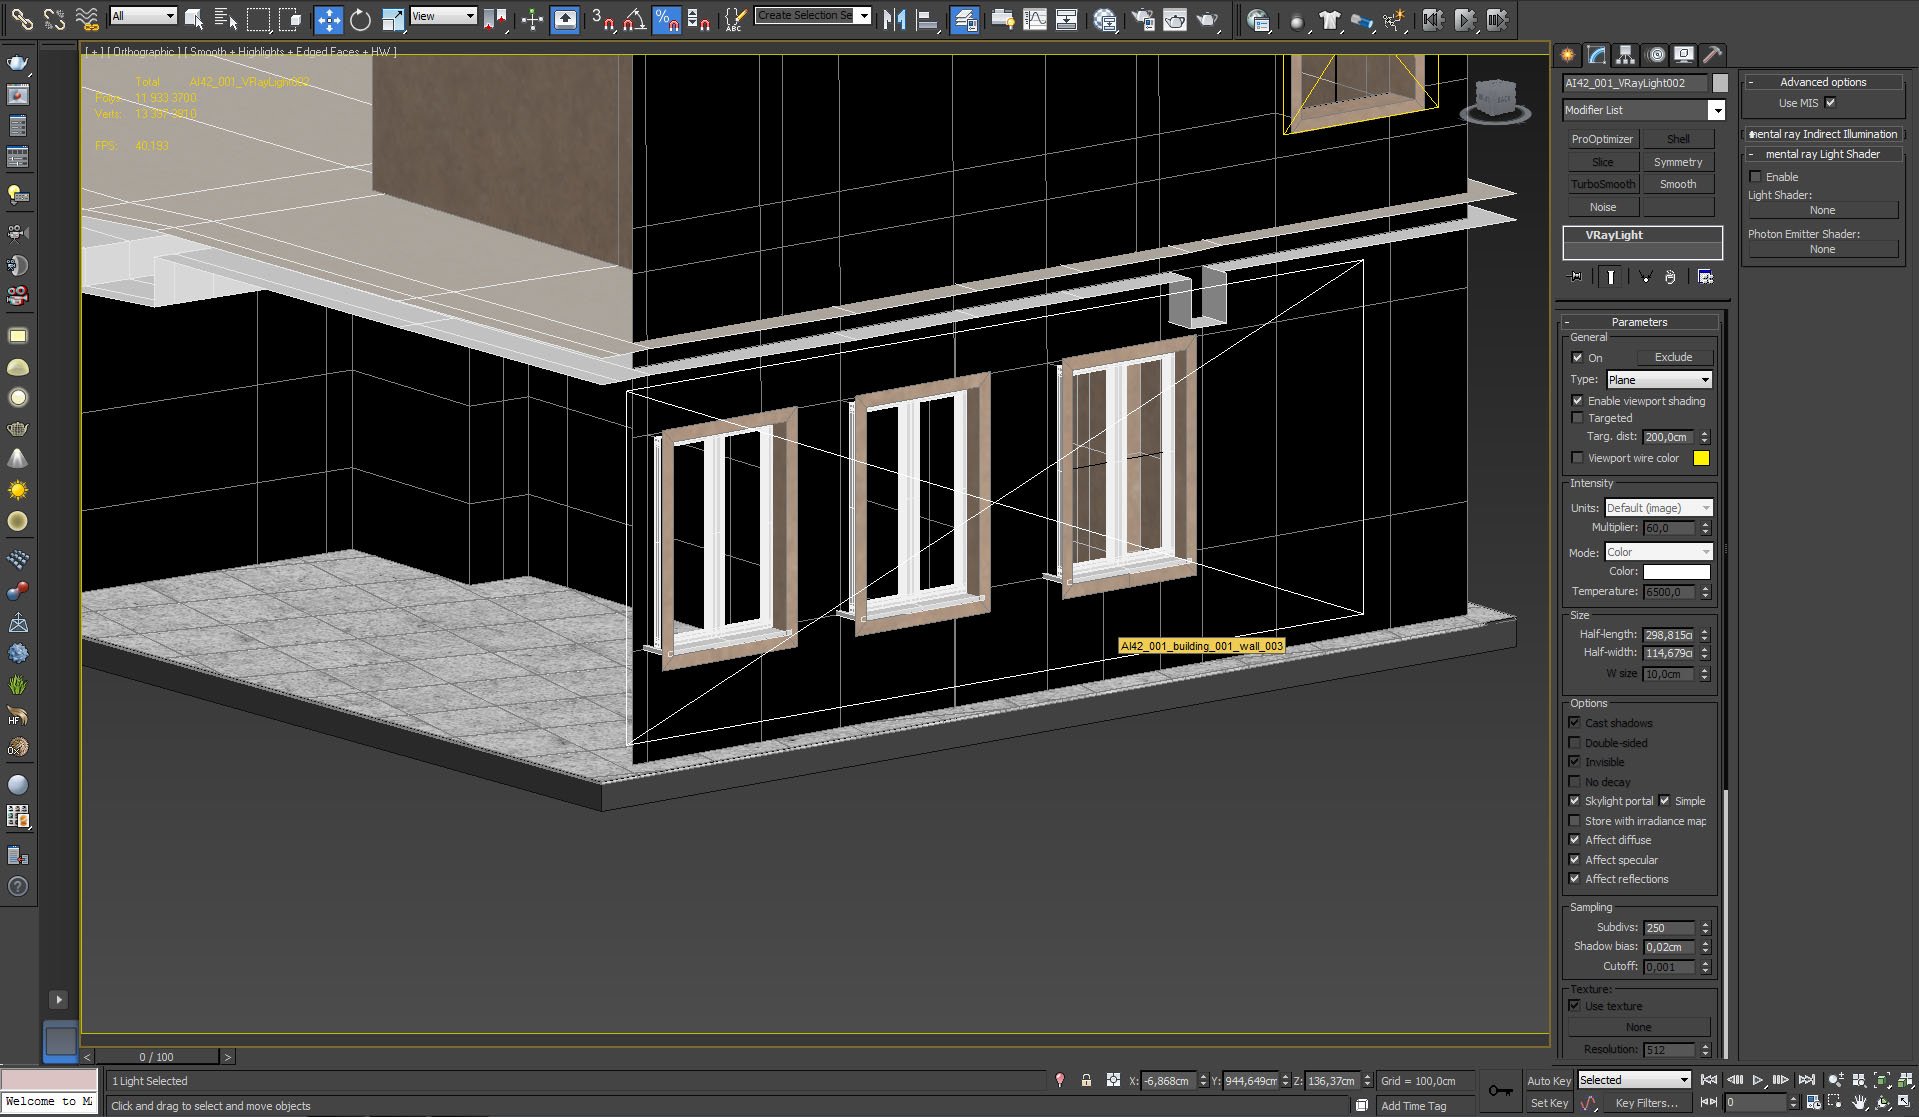
Skylight portal behind the building.
Click on image to enlarge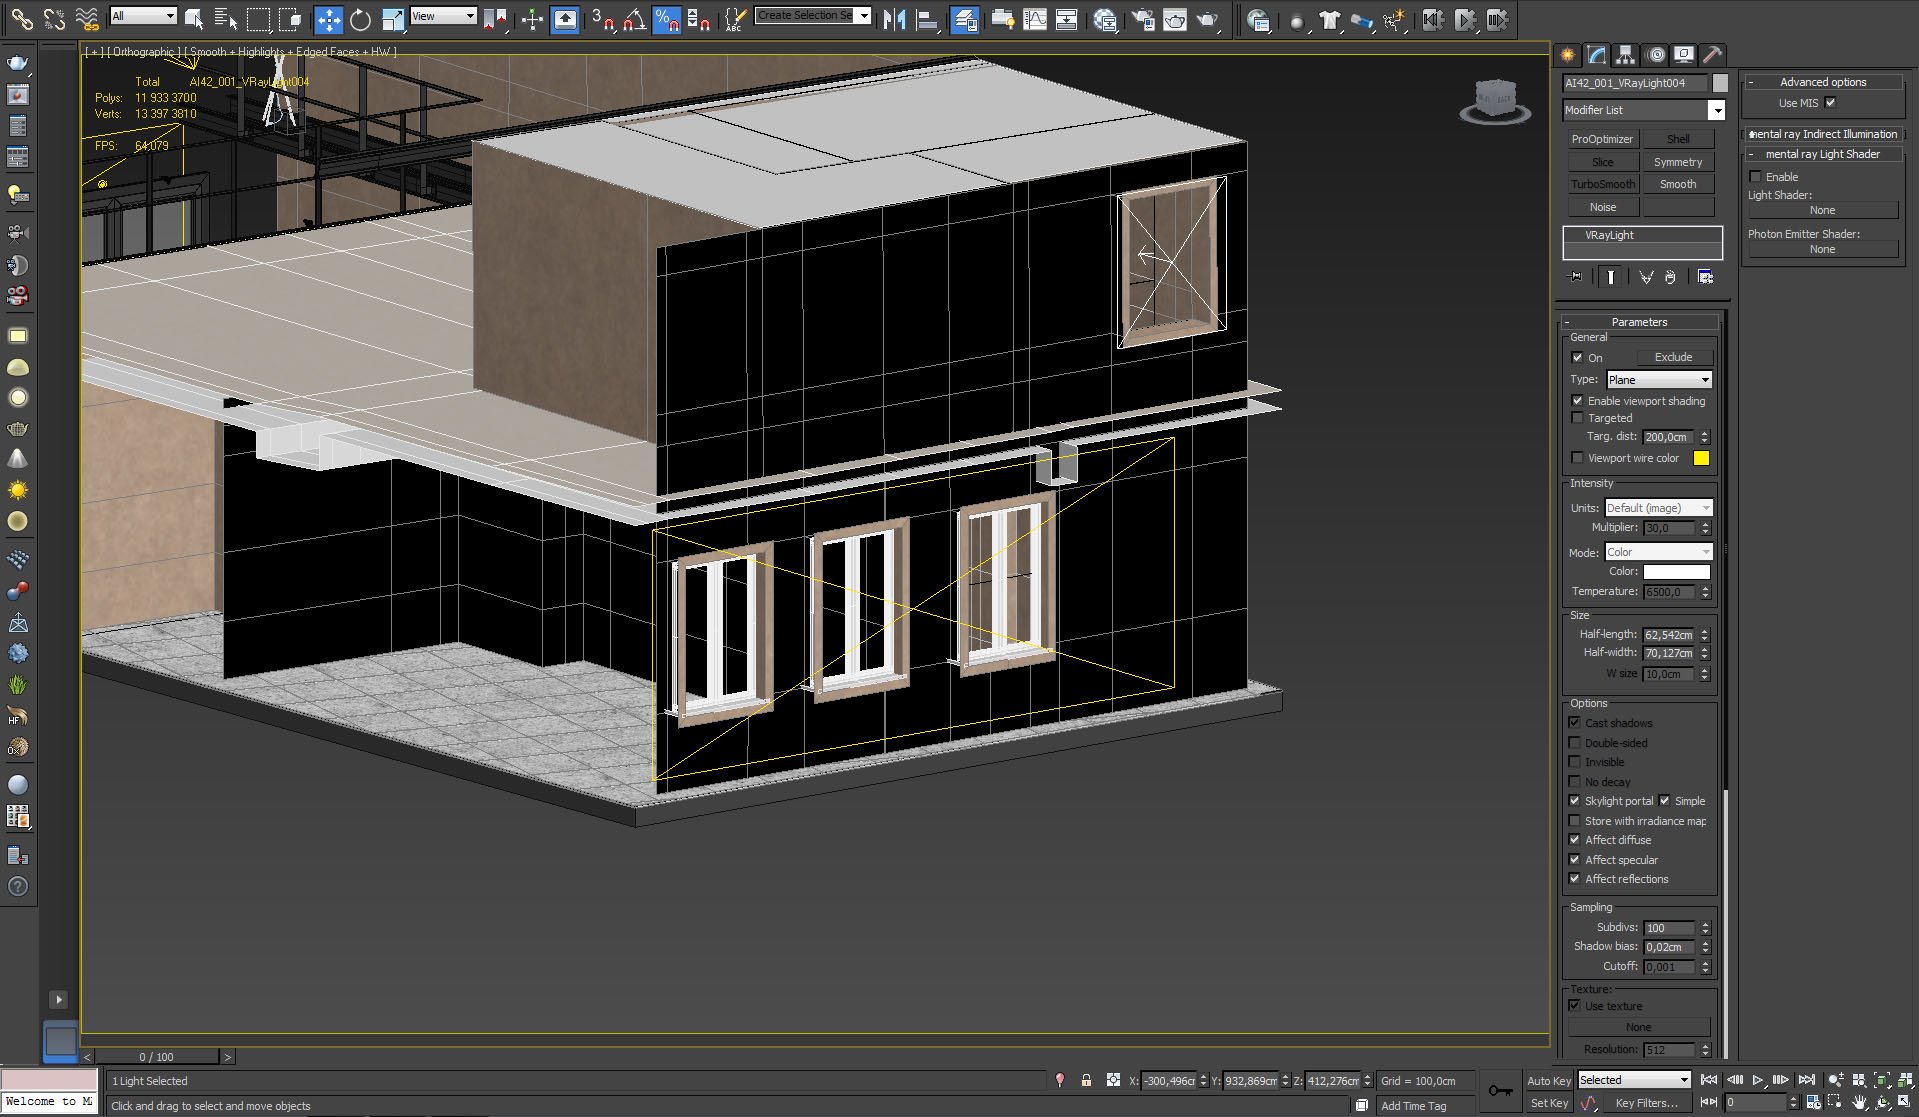
And the last skylight portal in small window.
Click on image to enlarge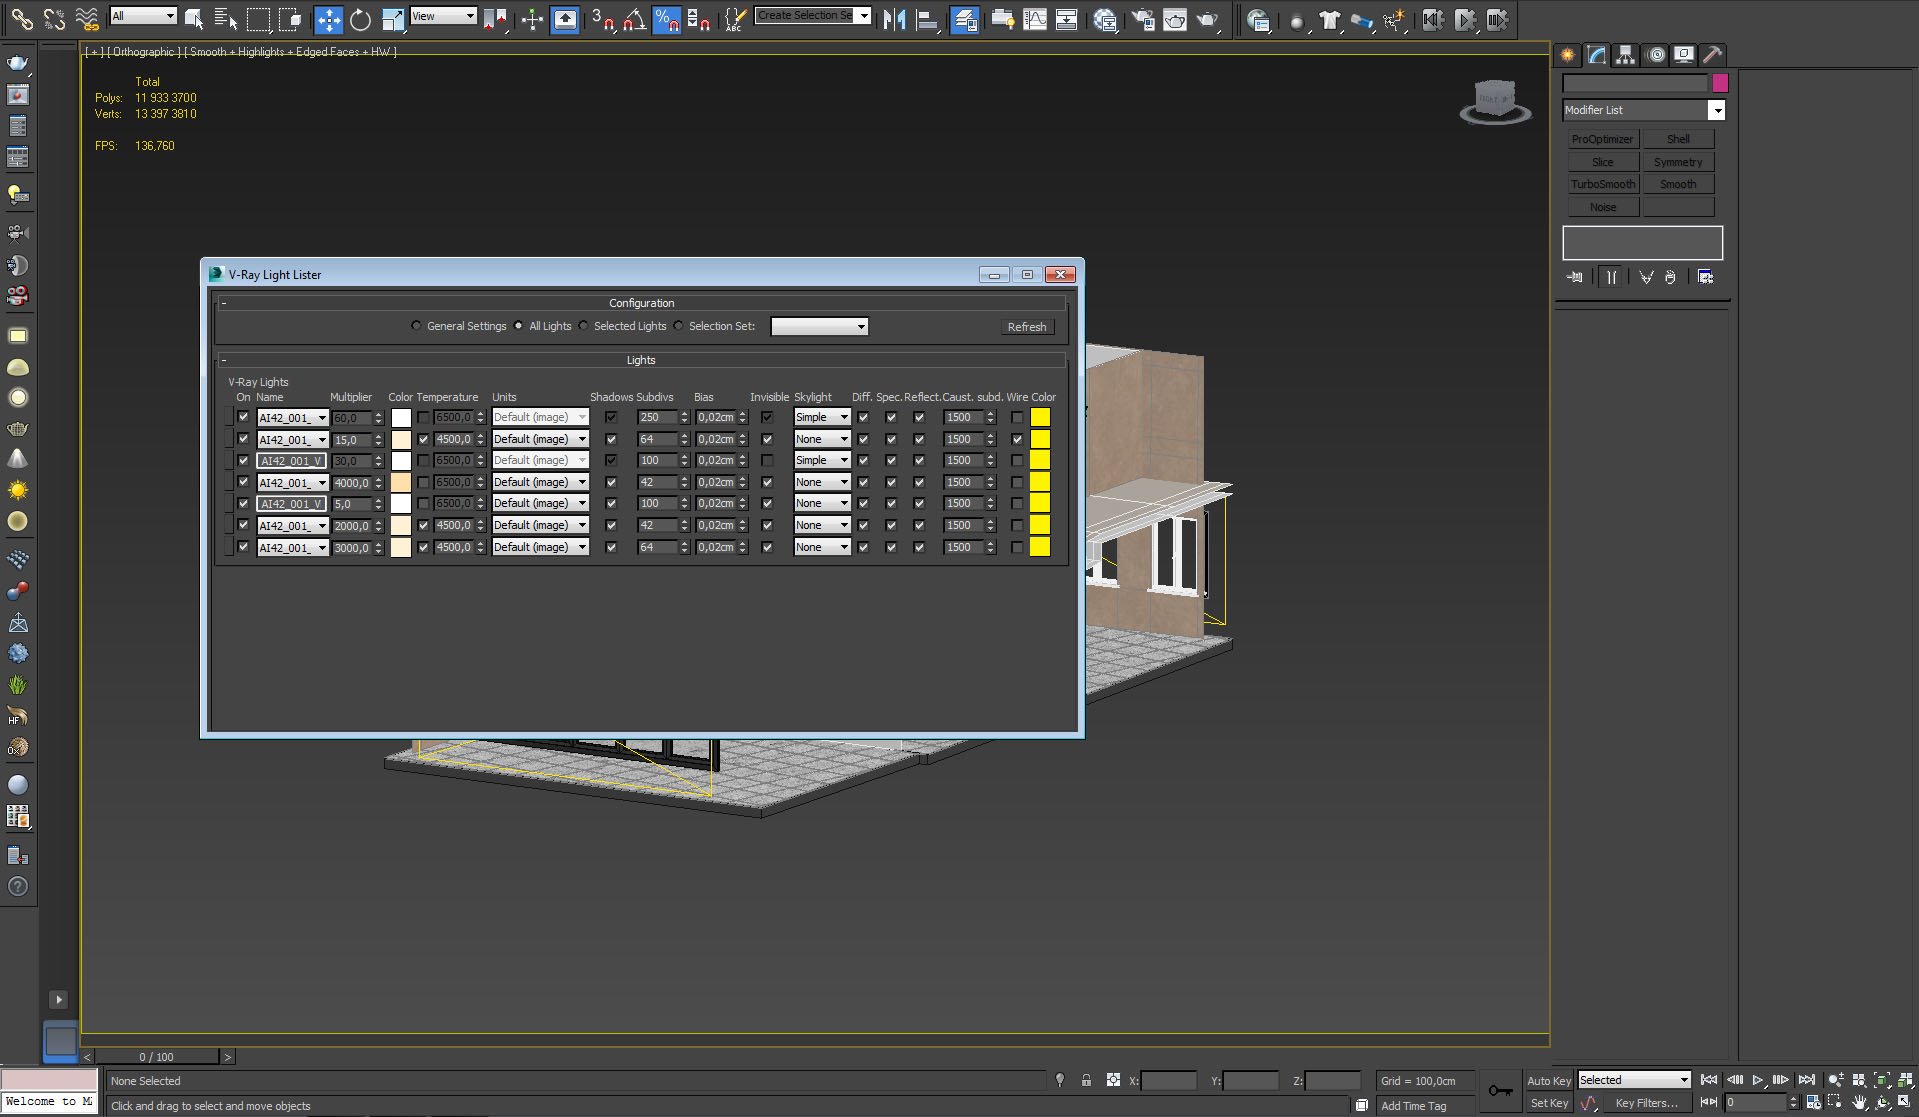
V-ray light lister.
Click on image to enlarge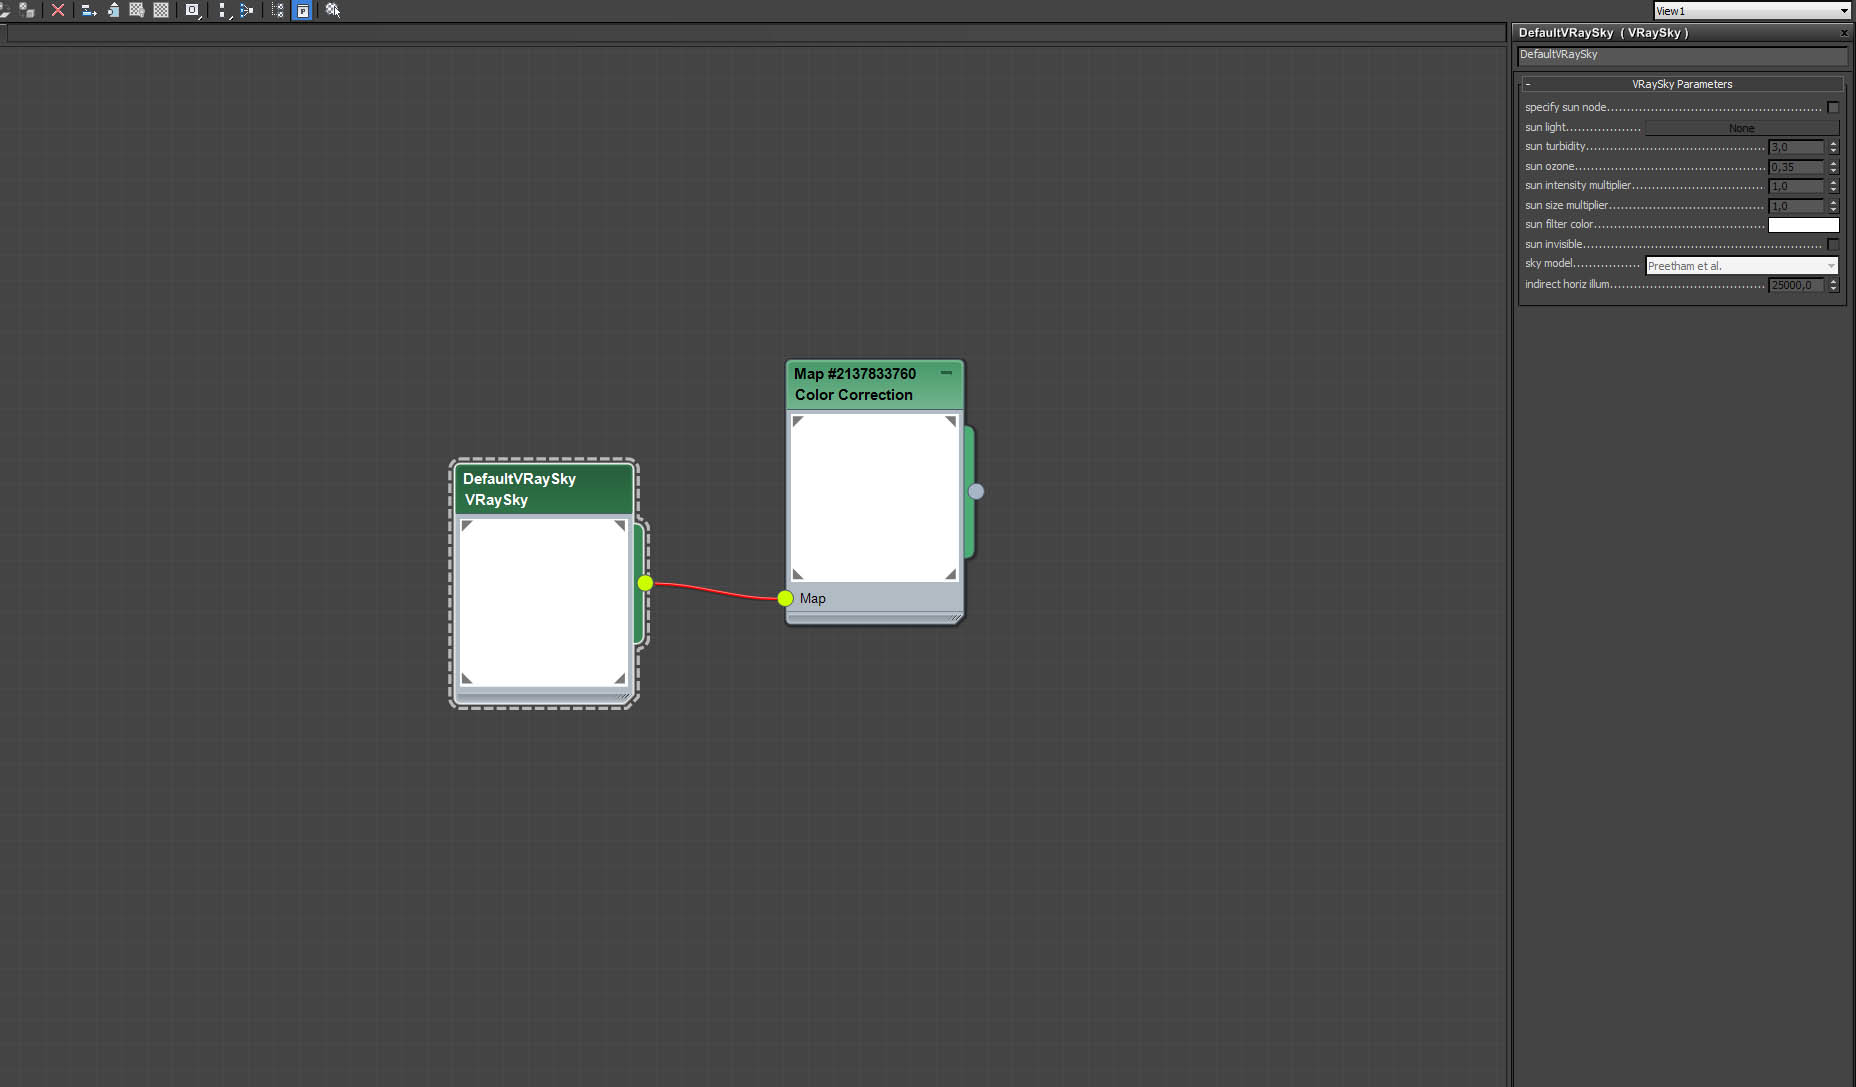
Main light source is put in Environment slot - it is VraySky.
Click on image to enlarge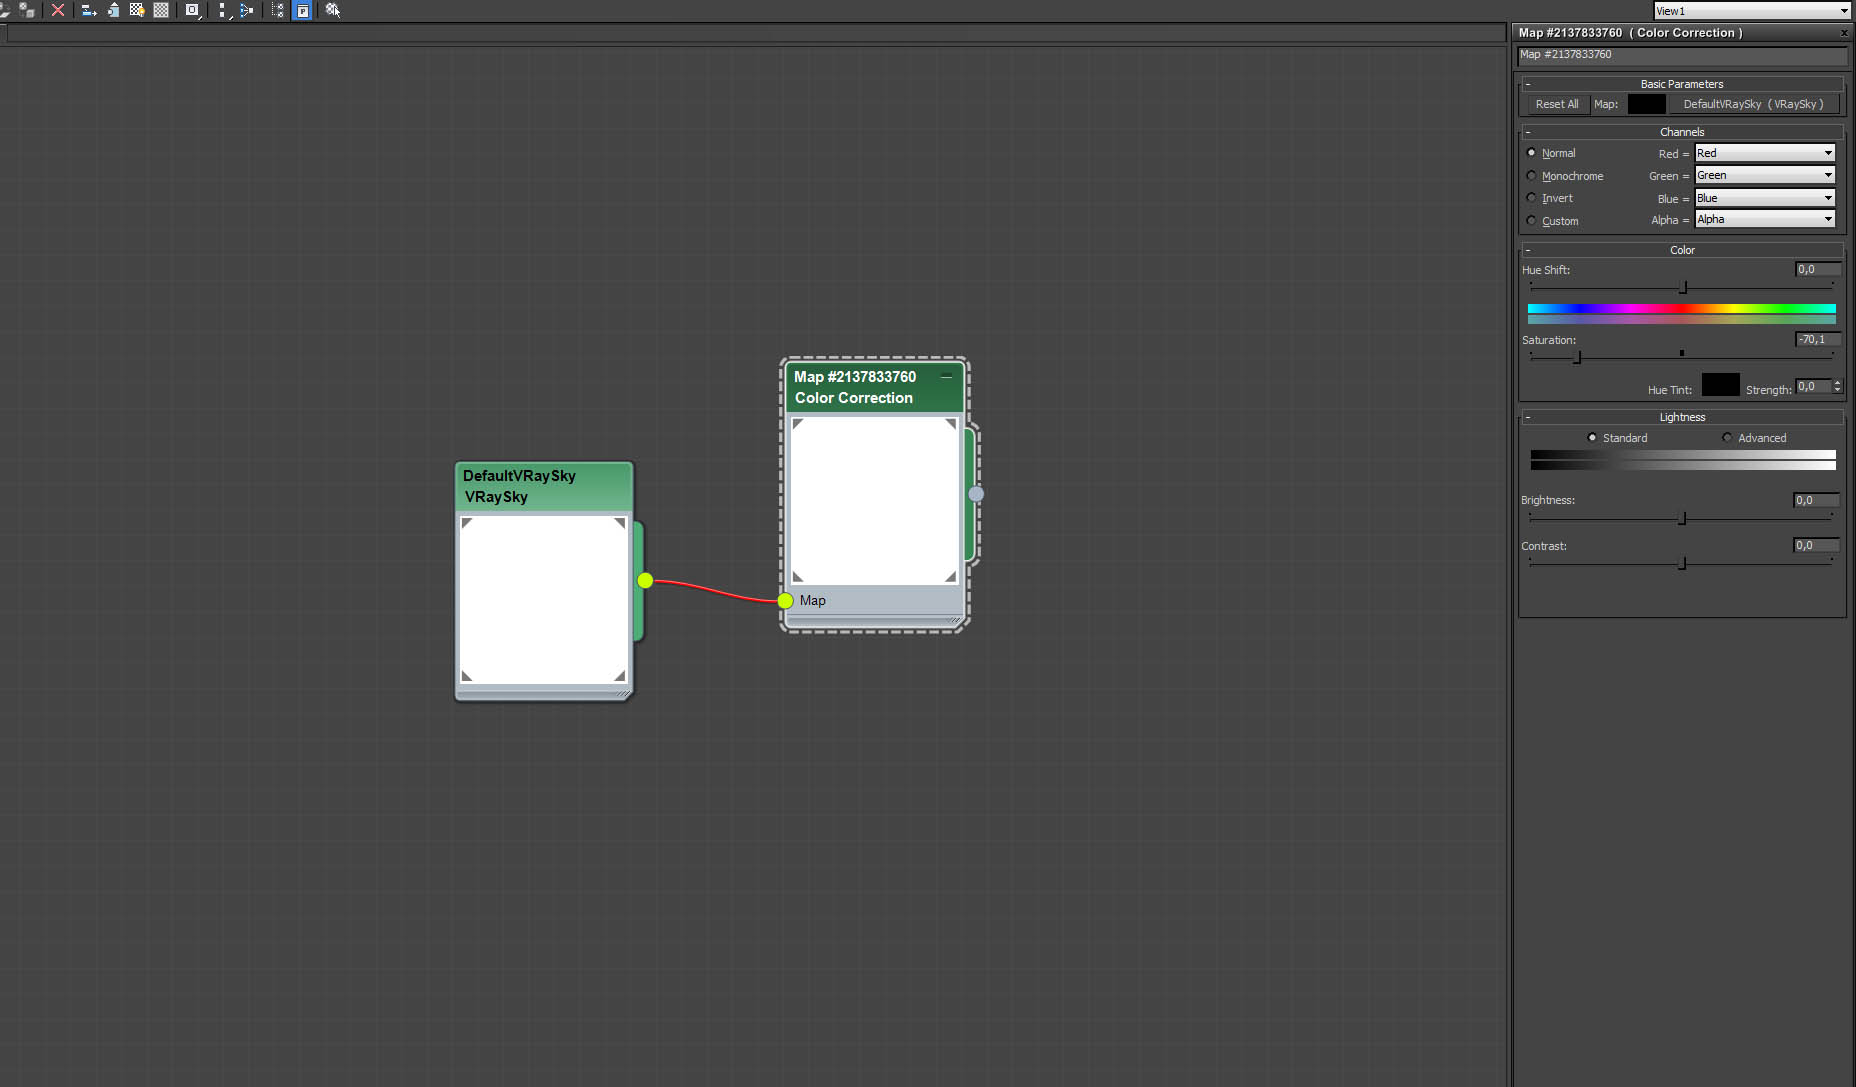
VraySky is desaturated with color correction node.
Click on image to enlarge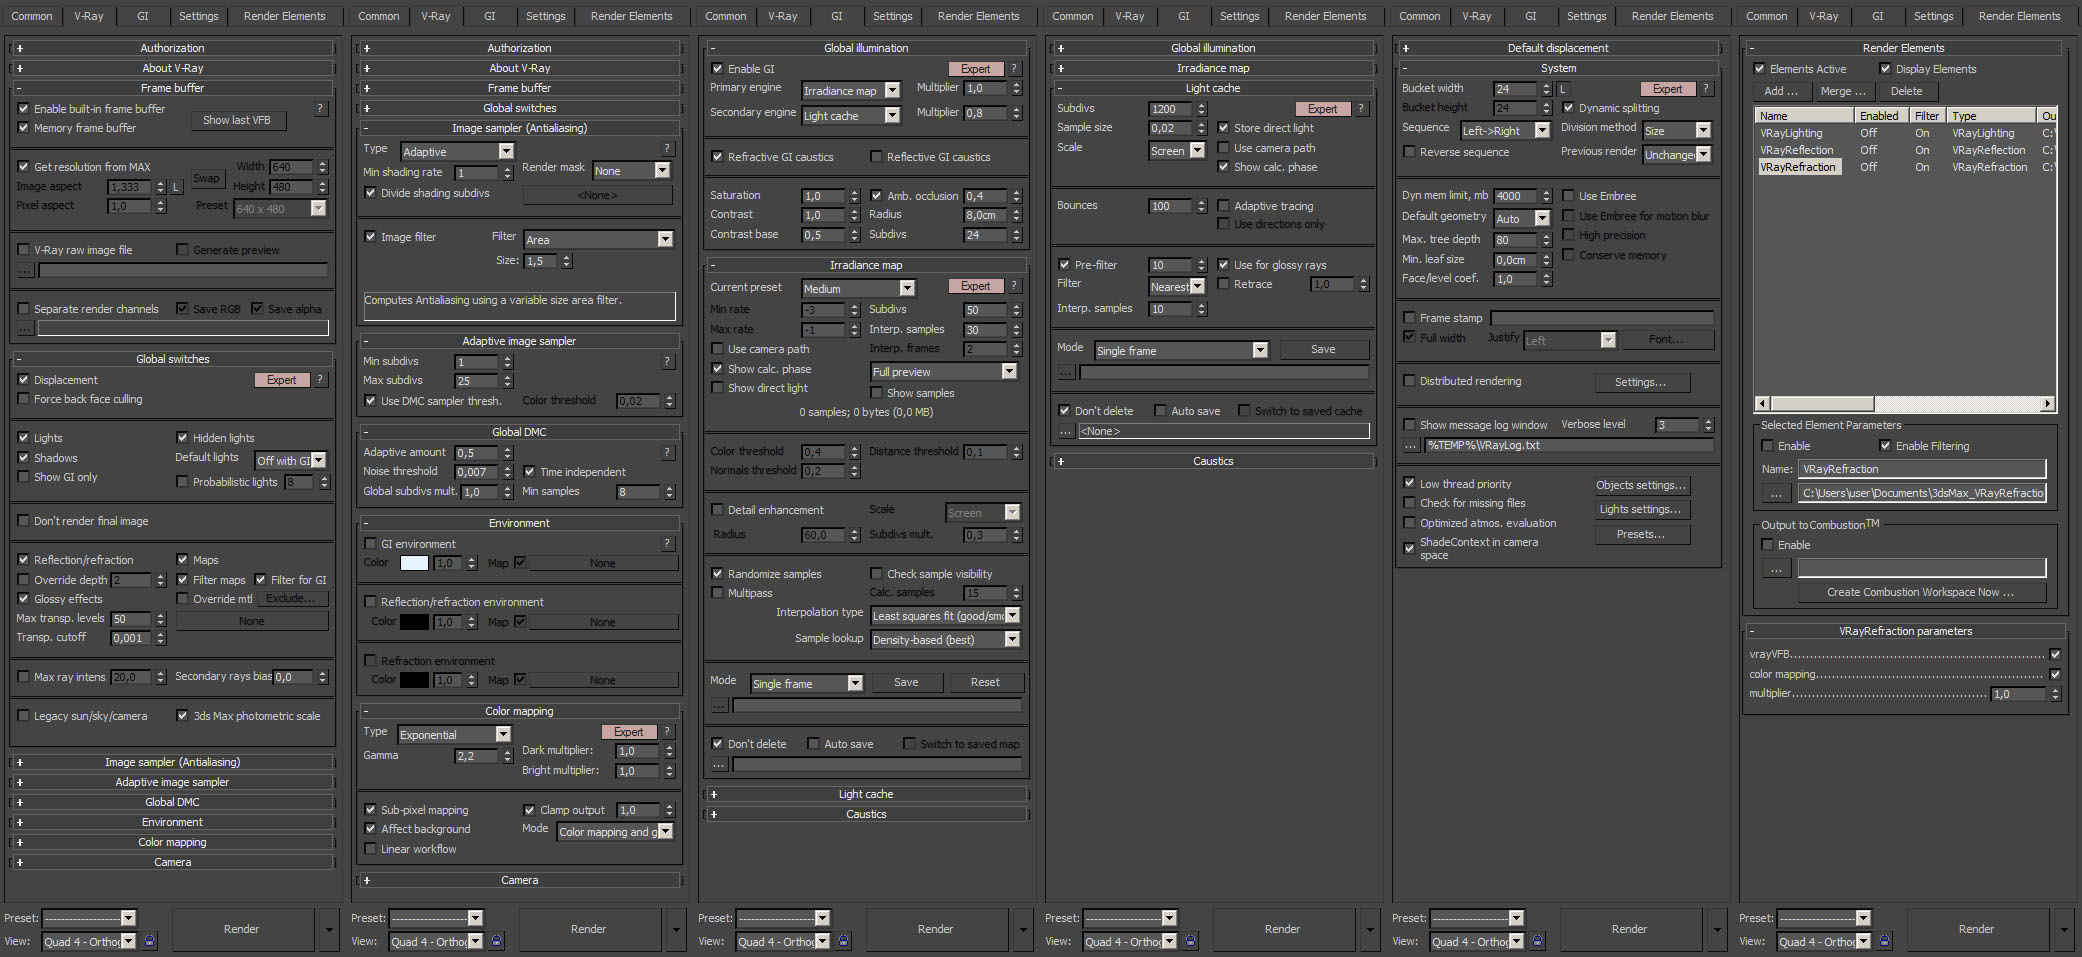
Render settings.
Click on image to enlarge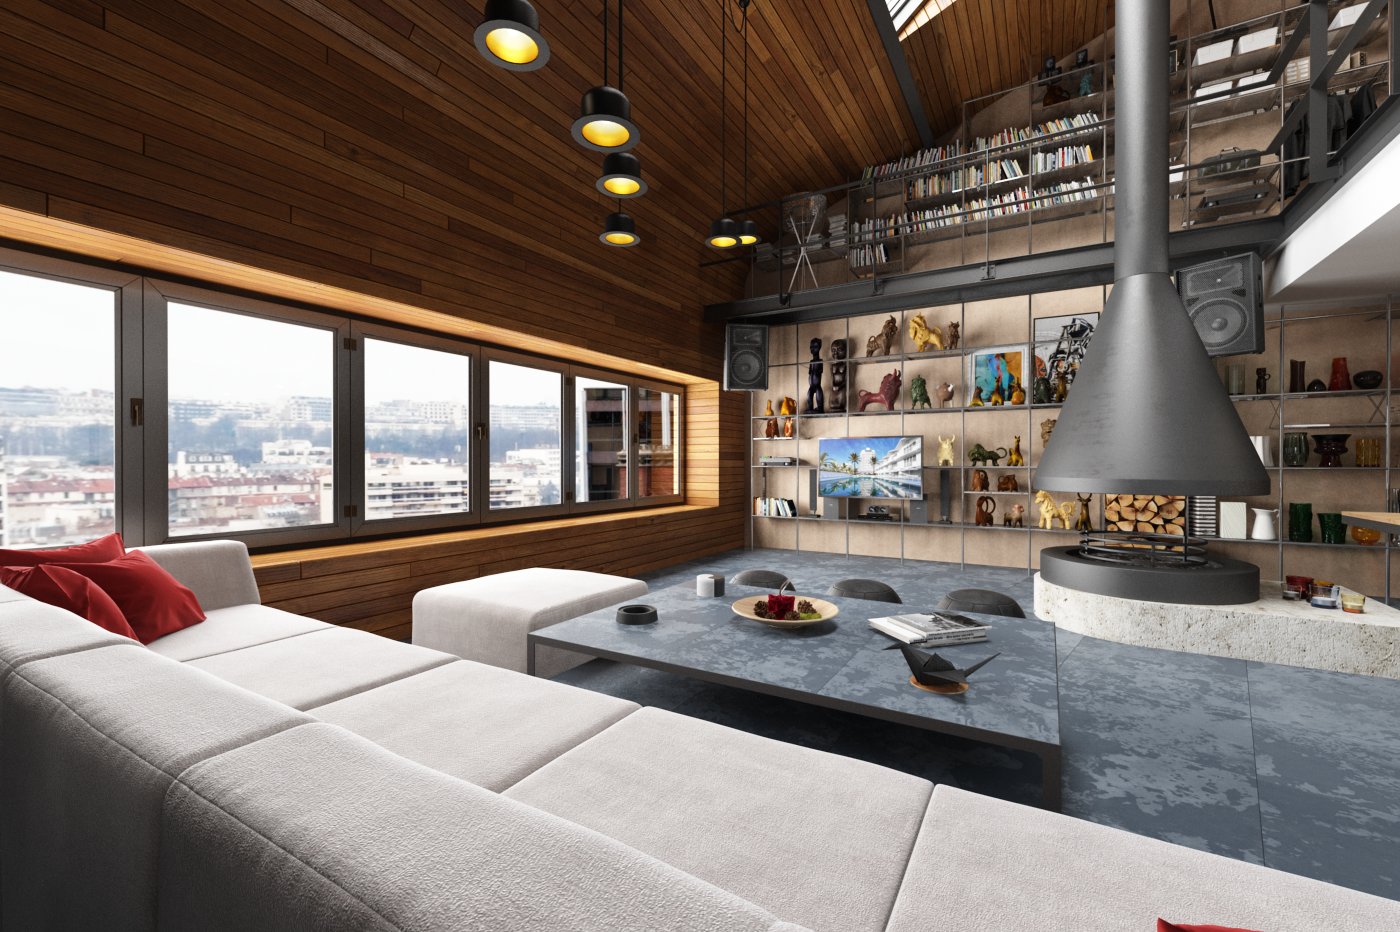
Raw render.
Click on image to enlarge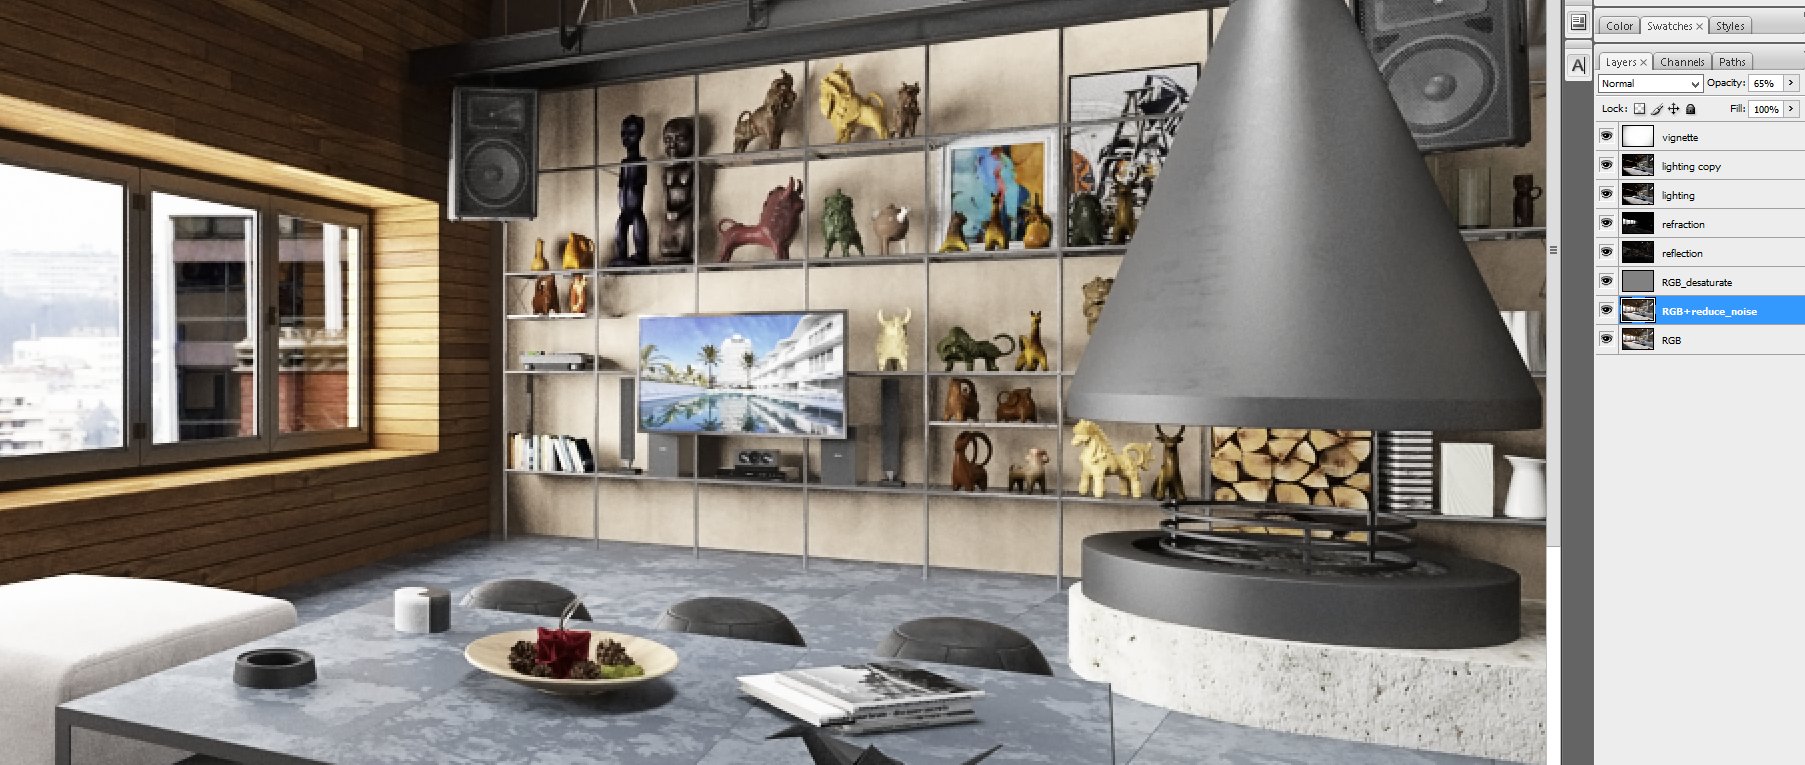
Post-production in Photoshop. At the bottom you can see RGB layer. Next layer softens image a bit, above is desaturation layer with very small desaturation amount. reflection and refraction layers are put in screen mode. First lighting layer (mode: screen) adds brightness to image, second (mode: overlay) increases contrast. At the top we have vignette.
Click on image to enlarge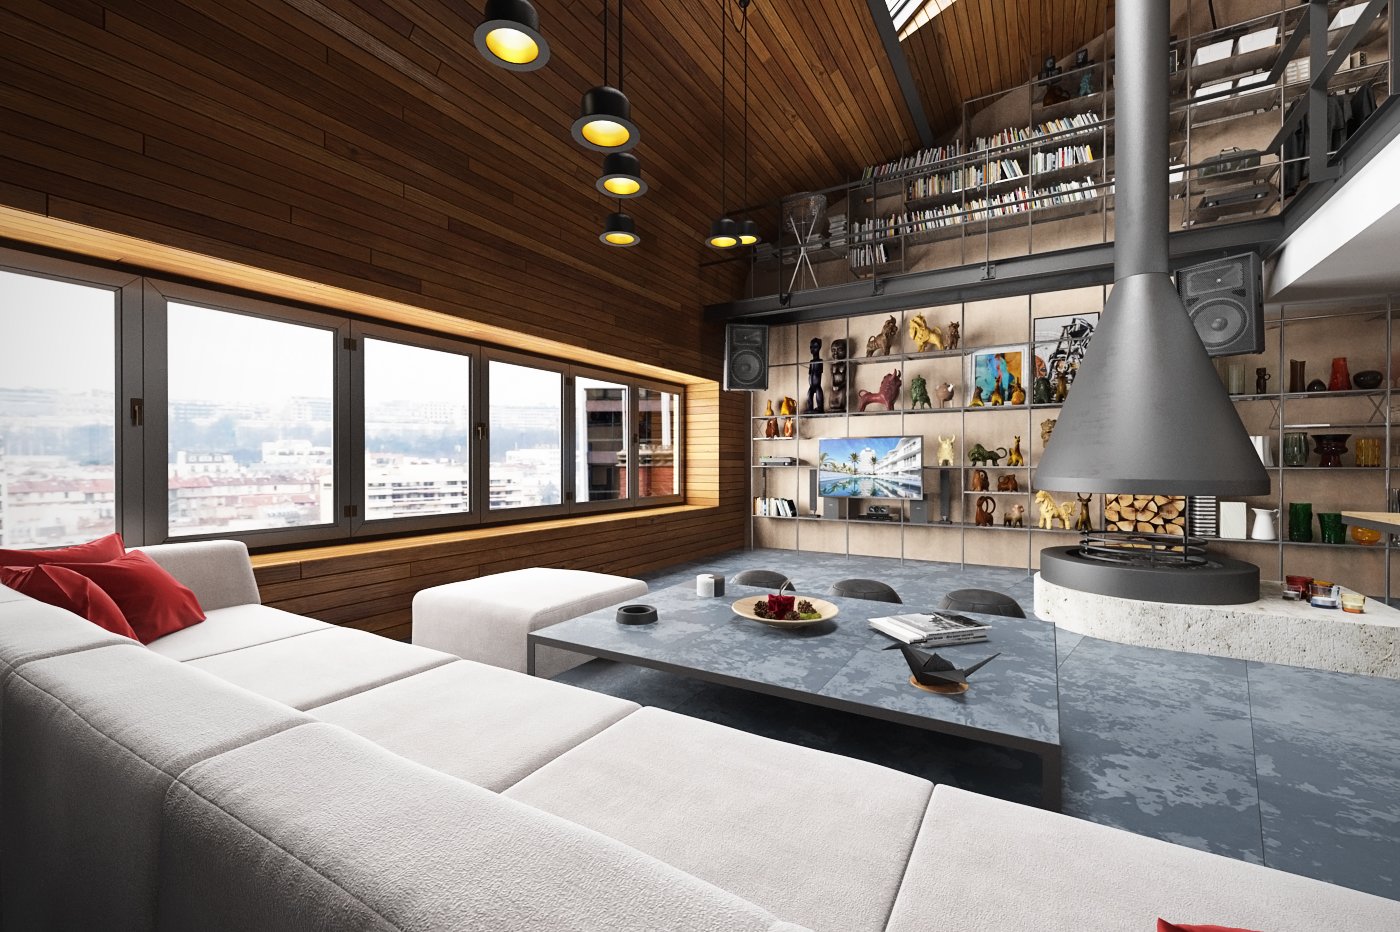
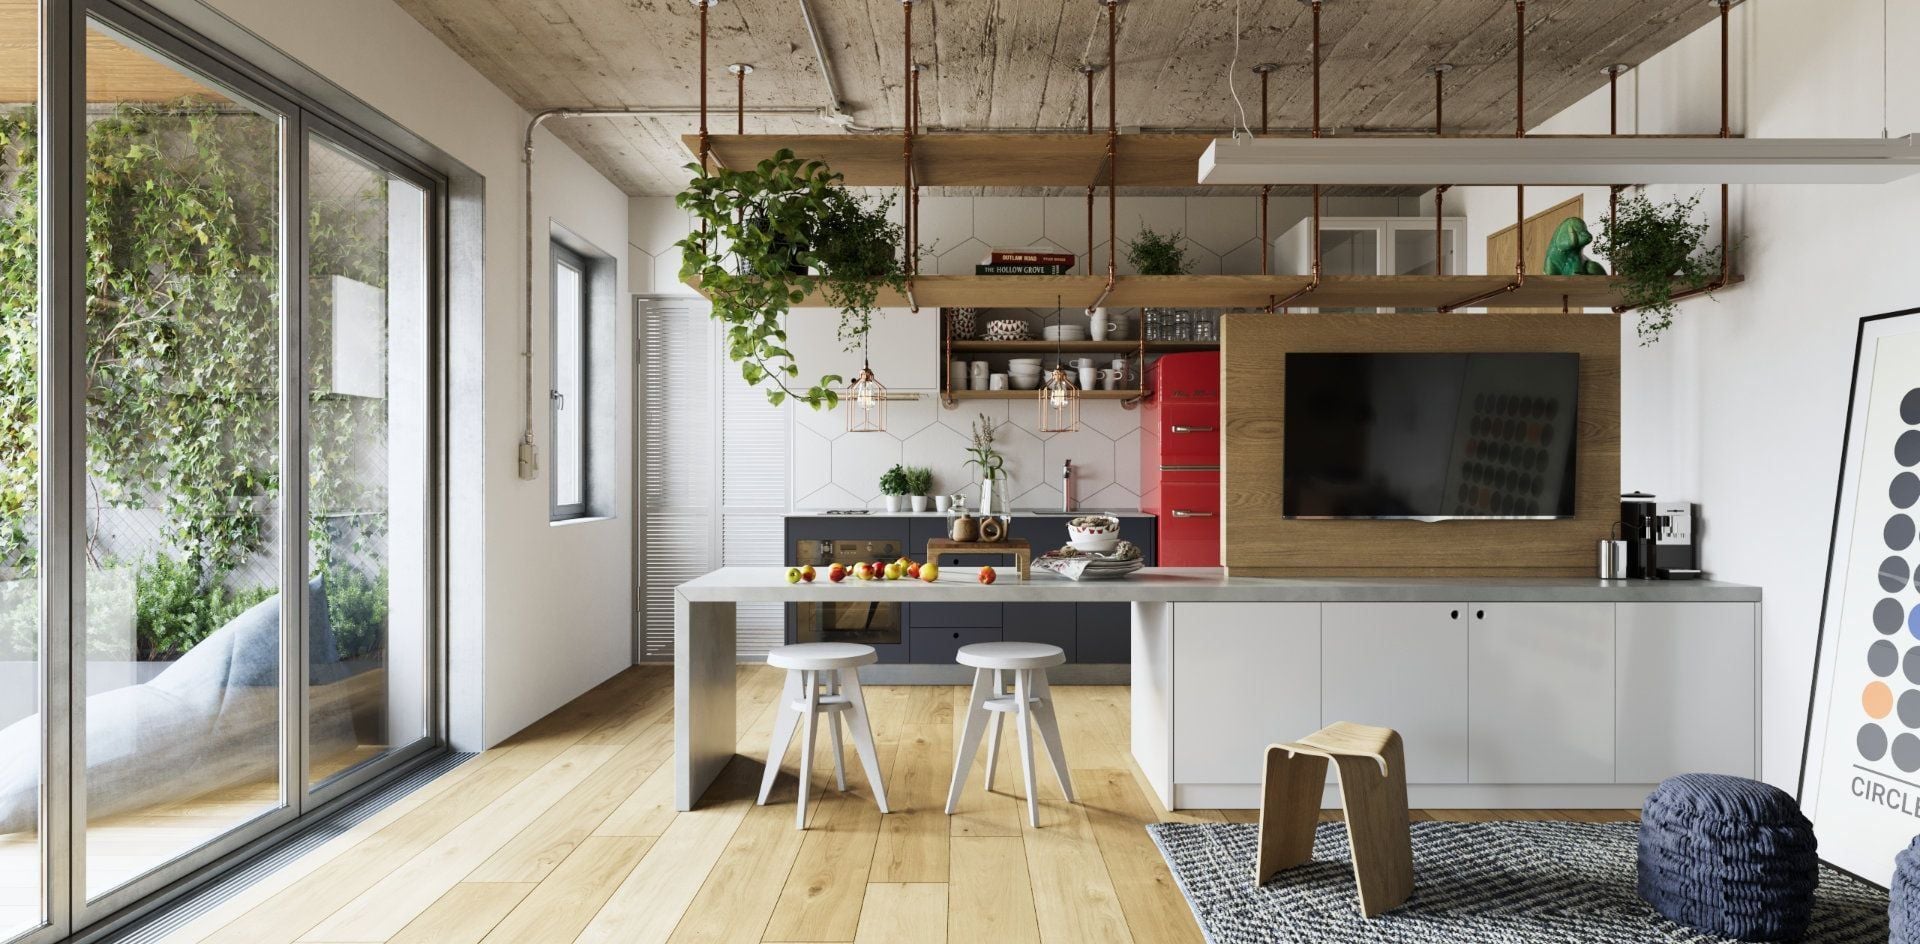
Final render. Thanks for reading! :)


 Customer zone
 Your orders
 Edit account
 Add project
 Liked projects
 View your artist profile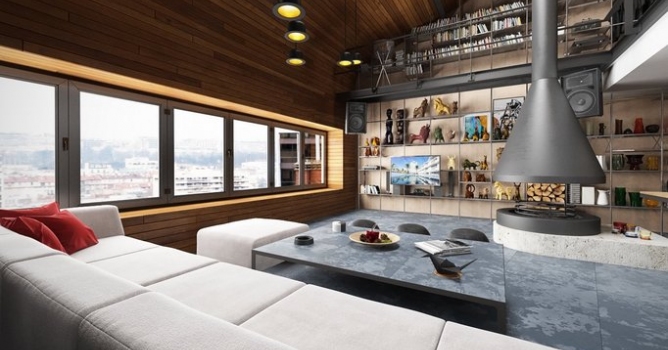








COMMENTS