Evermotion: More Than an Asset Library
How Evermotion became a full-scale production partner for archviz, automotive and synthetic data.


Total: € 0


The software we used was 3ds Max 2011, V-Ray and Photoshop CS5.
Emotions
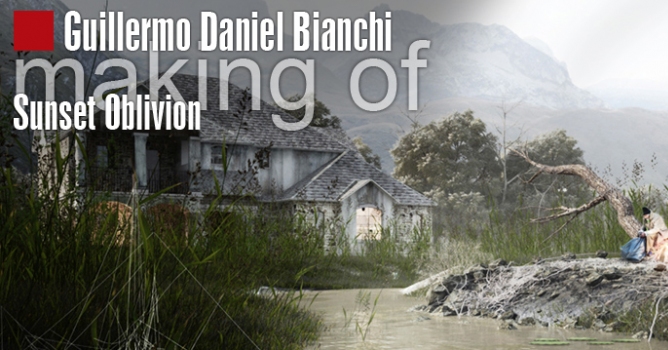
Oblivion of sunset tries to represent person that goes into an isolation state. Affecting either natural surroundings or artificial ones, creating a sloppy microclimate.
(CLICK ON ANY IMAGE TO SEE FULL RESOLUTION)
We begin from a plane and is edited as “Poly” ---->Paint deformation- Push/Pull. We generate a furrow along the plane for the stream of water.
Plane above the furrow to generate the stream.
Artificial object: a low polygon house with vegetation and foggy background.
We are going to generate the spotlight at one third of the image, in this case it is a fallen tree which is a support of main actor. We used Speedtree software to carve the tree. By pressing space bar and clicking mouse button we modeled main branch, in the same way we model secondary branches.

The same process is used to model the roots of the tree.
We add more roots. Select the main branch, right click of the mouse and we pick “Add Root Standard”.
We select the secondary branches and add sub-branches by pressing the right click of the mouse, “Add Branches Standard”.
Later on we are going to add “Strength” towards down with a force.
Once the shape is concluded, we´ve added texture, we will export it as .obj file later on.
We exported and put our model in the scene. We added a few ivy to the main branch structure and to the surface. With the script Advanced paint, we´ve painted a few rocks over the surface.
Now we are going to model the element which will lay on the front of the scene - a semi-sink branch.
We generate a cylinder, apply “Unwrap UVW” to export it and take it to Zbrush to prepare the final shape .
We convert the cylinder: “edit mesh” and export it as .obj . We import the cylinder to Zbrush.
We add a sub-divisions to the mesh and start to carve the cylinder until we get an irregular form.
Once we are happy with the shape, we reduce the divisions to one and create the normal map with the highlighted options. 
We export the model to the normal map.
Water plants are made with editable planes distributed along the stream.
We are going to use multiscatter to fill the surface. One for the grass and the other for the other bushes.
The distribution of the multiscatter.
Lighting
Using the hemisphere we allocate the sky map with a vraylight material that will become the environment.
A vraysun is excluding the hemisphere to generate the sunset.
Vray Parameters
Materials
Water: With a stagnant Water map and tranparency, more green colour fog multiplier.
Main actor surface: Edge river map plus a slope in the réflex to smooth the contact with the water.
Final Image + alpha channel
Post-production
We replaced the sky and played with level curves, it gave a depth for our image.
We added background mountains and with a White brush we integrated it to the sky.
With alpha channel help we isolated the render and with corrections to the levels we matched it with background image.
We insert the main character into the scene, played with levels again and we add a fire next to the character.
With a foam map and screen mode in the layer we are going to round the branches to integrate them with the stream.
We increased contrast with level curves and with the help of masks we made zones of interest. 
At the end we added glow and contrast (using masks).
We hope you liked this tutorial. Grettings and until the next time :)
Office: Lighthouse-3d, web: www.lighthouse-3d.com
email: [email protected] Cordoba-Argentina


LEAVE A COMMENT


|

|

|

|

|
 Customer zone
 Your orders
 Edit account
 Add project
 Liked projects
 View your artist profile
COMMENTS