Introduction
The following Making of describes the whole process that resulted in the final work Hell's Kitchen Loft, from getting inspired to posting finished work. The whole process took me almost 20/30 days, including modeling, lighting, texturing, rendering and post production, working 2/3 hs per day. The whole process, as well as the final product, was very enriching, challenging and also gratifying.
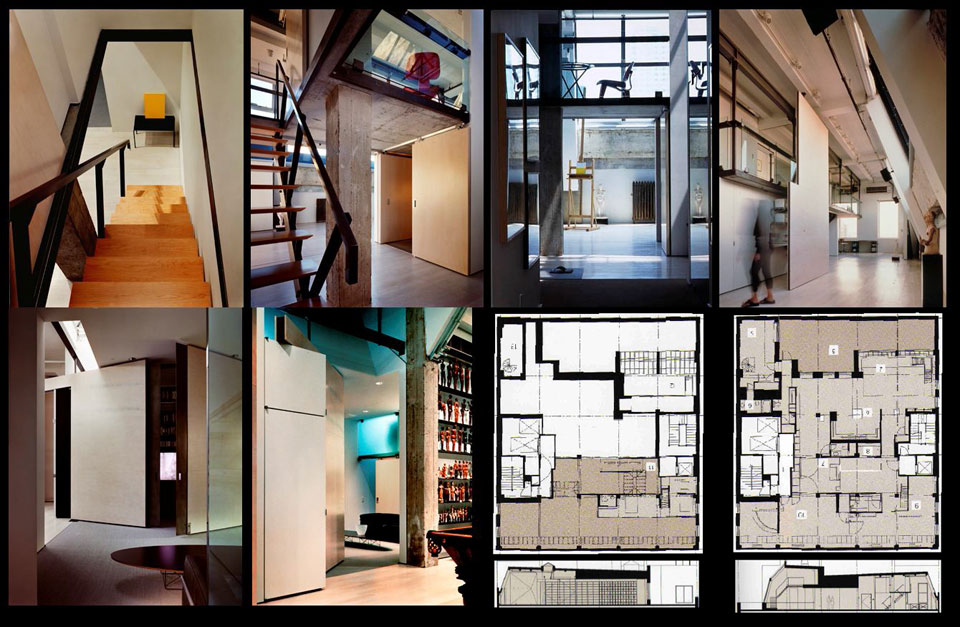
Once I found a piece of work that I liked very much, the first step was finding blueprints and pictures that would help me decide which setting I wanted to create. I found several pictures on the net and some blueprints and sections in an old worn out book in my studio's library.
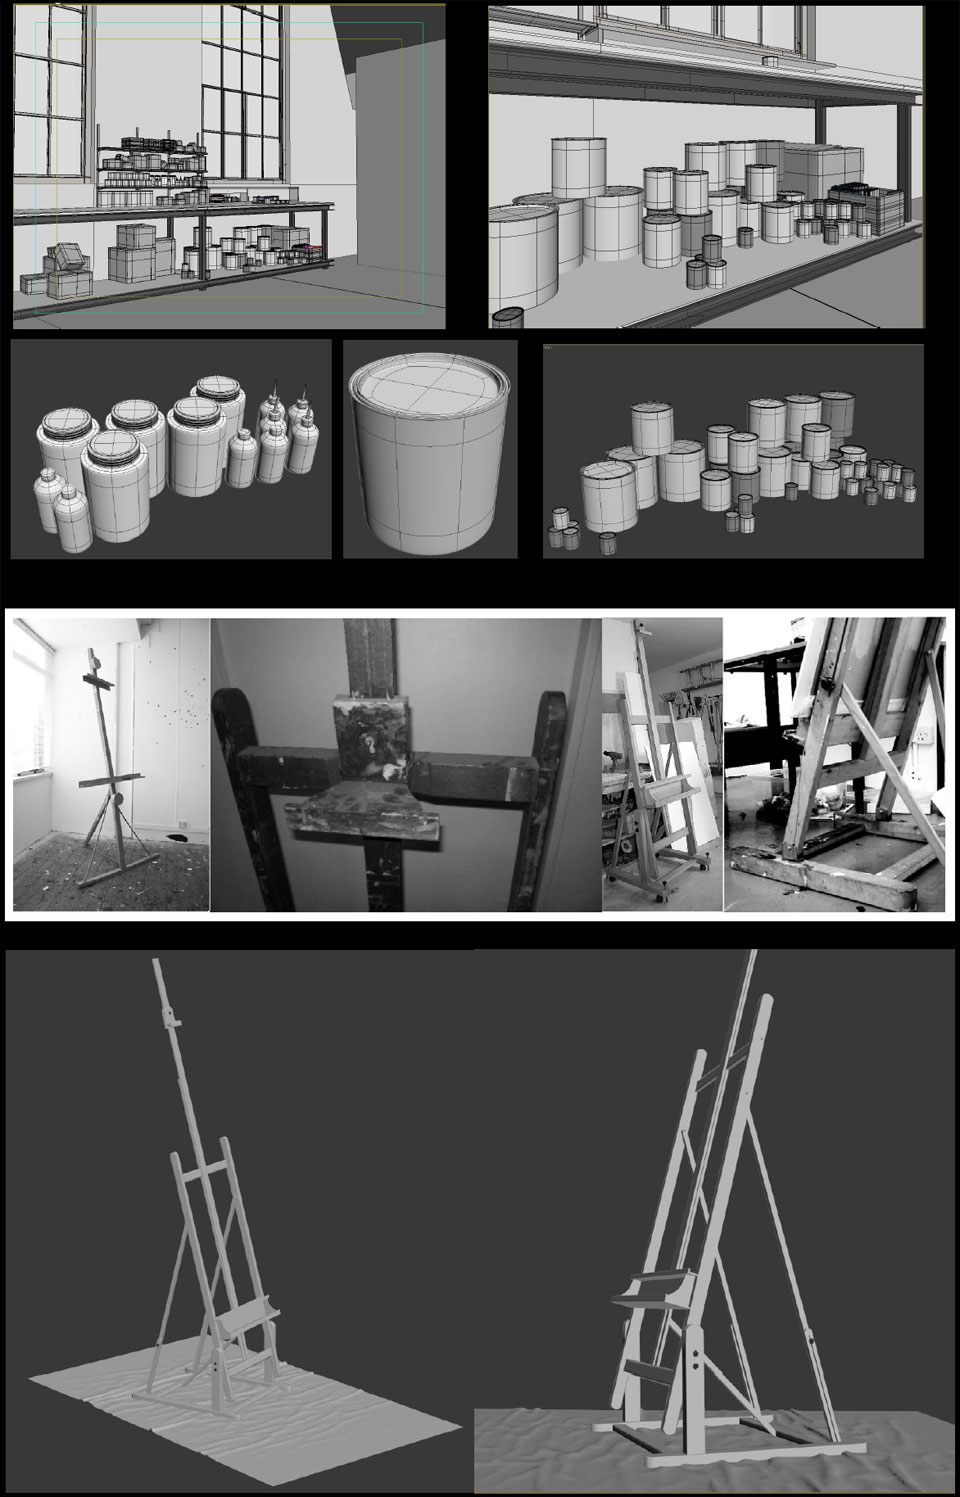
This contest provided me with an excuse to try polymodeling for the first time, since I had never used it before. I hadn't decided yet which specific area I was going to reproduce, so I started by modeling random objects to get an insight of this new tool.
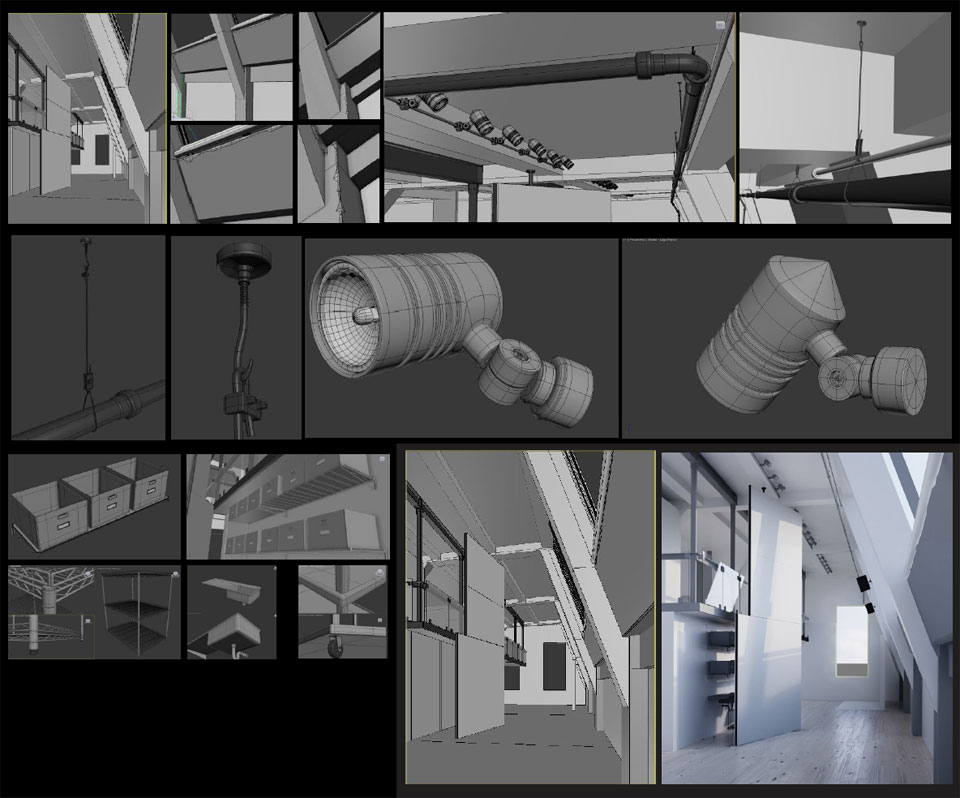
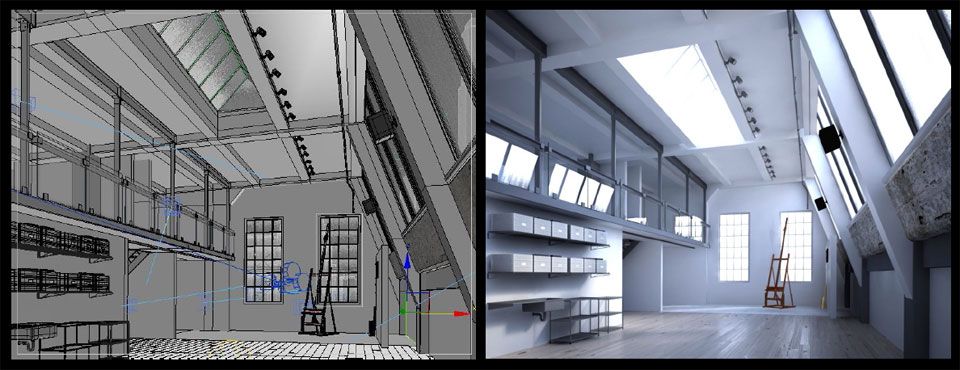
After some days, I managed to create an area inspired by my findings. The next thing to do was to decide the theme I wanted to ascribe to that area, since I didn't want my work to be a mere reflection of somebody else's work. An idea struck my mind. I thought of creating a painter's studio. This led me to rethink the whole space I had created because it didn't fit accurately, so I had to include some modifications of my own.
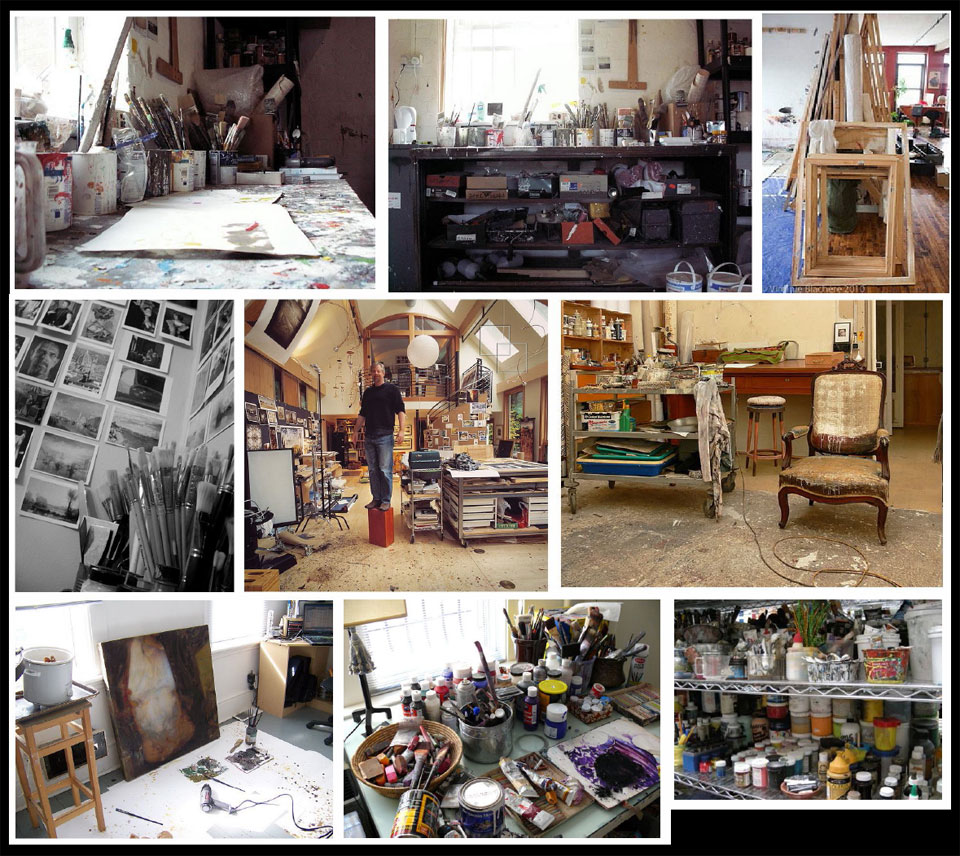
The next step was the search for references of many different painters' studios that would guide me in the right direction towards realism.
Modeling
Reference

Modeling
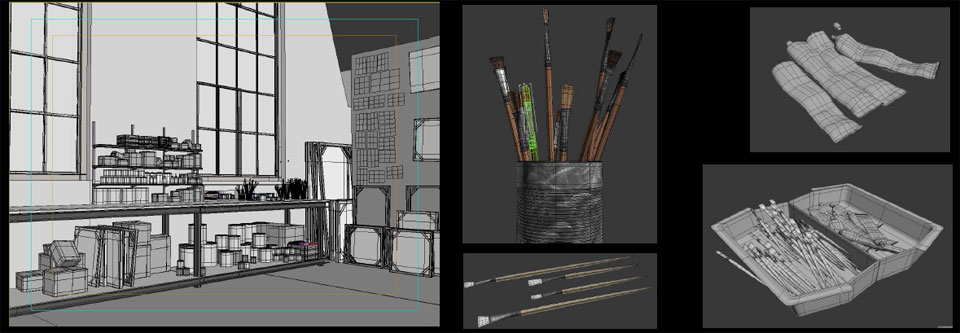
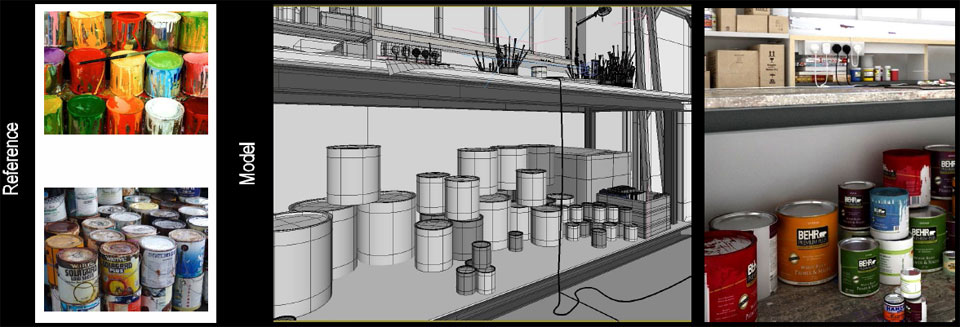
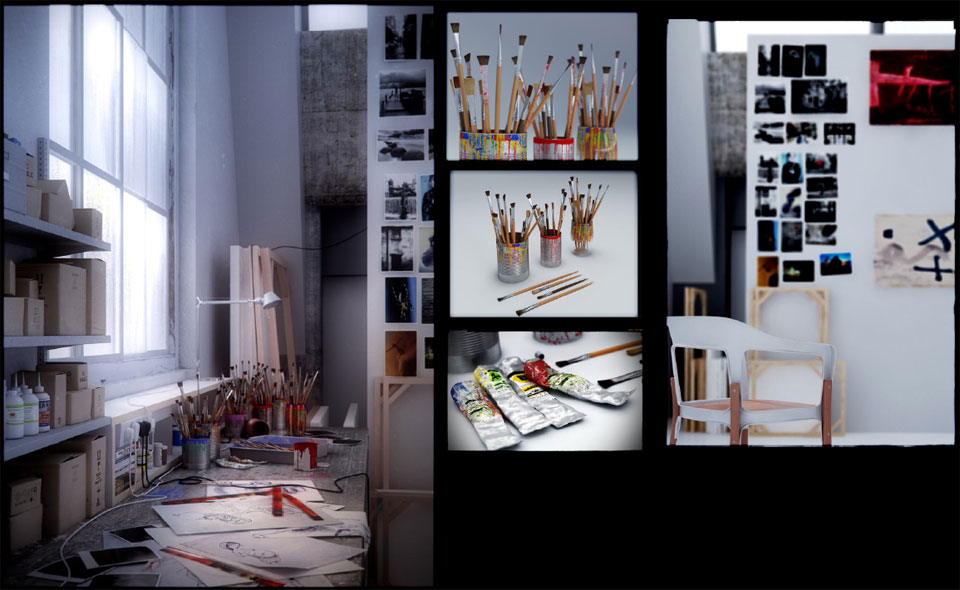
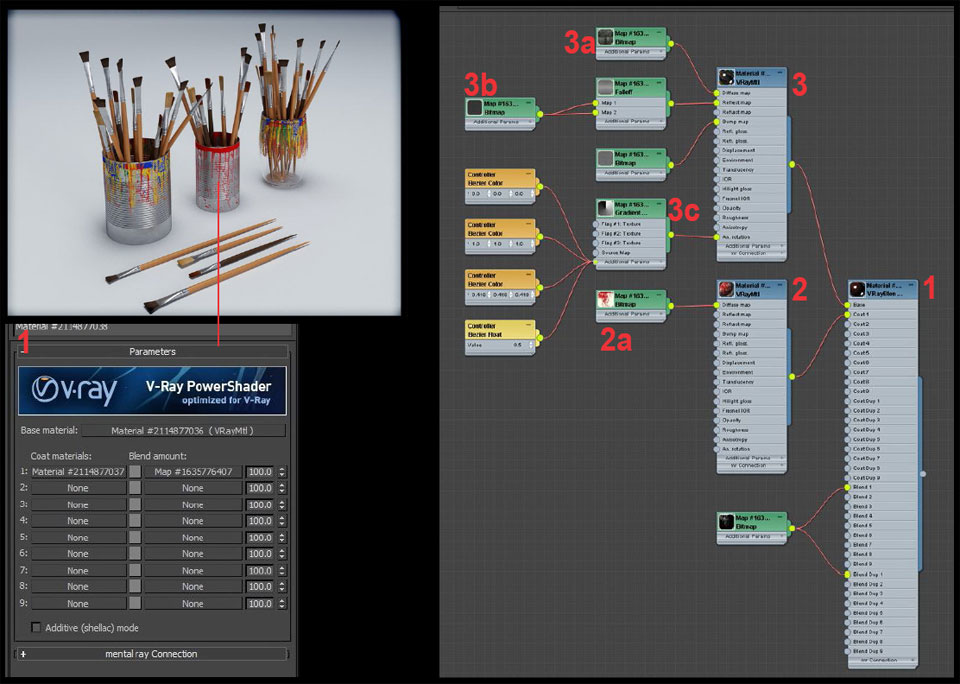
The arrangement of brushes in cans and tray was done using Particle Flow + Physics.
Reference

Modeling
Reference

Modeling
Reference

Modeling
Texturing
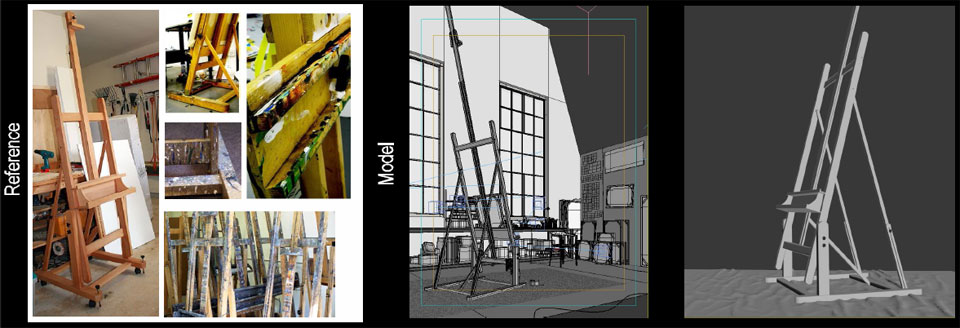
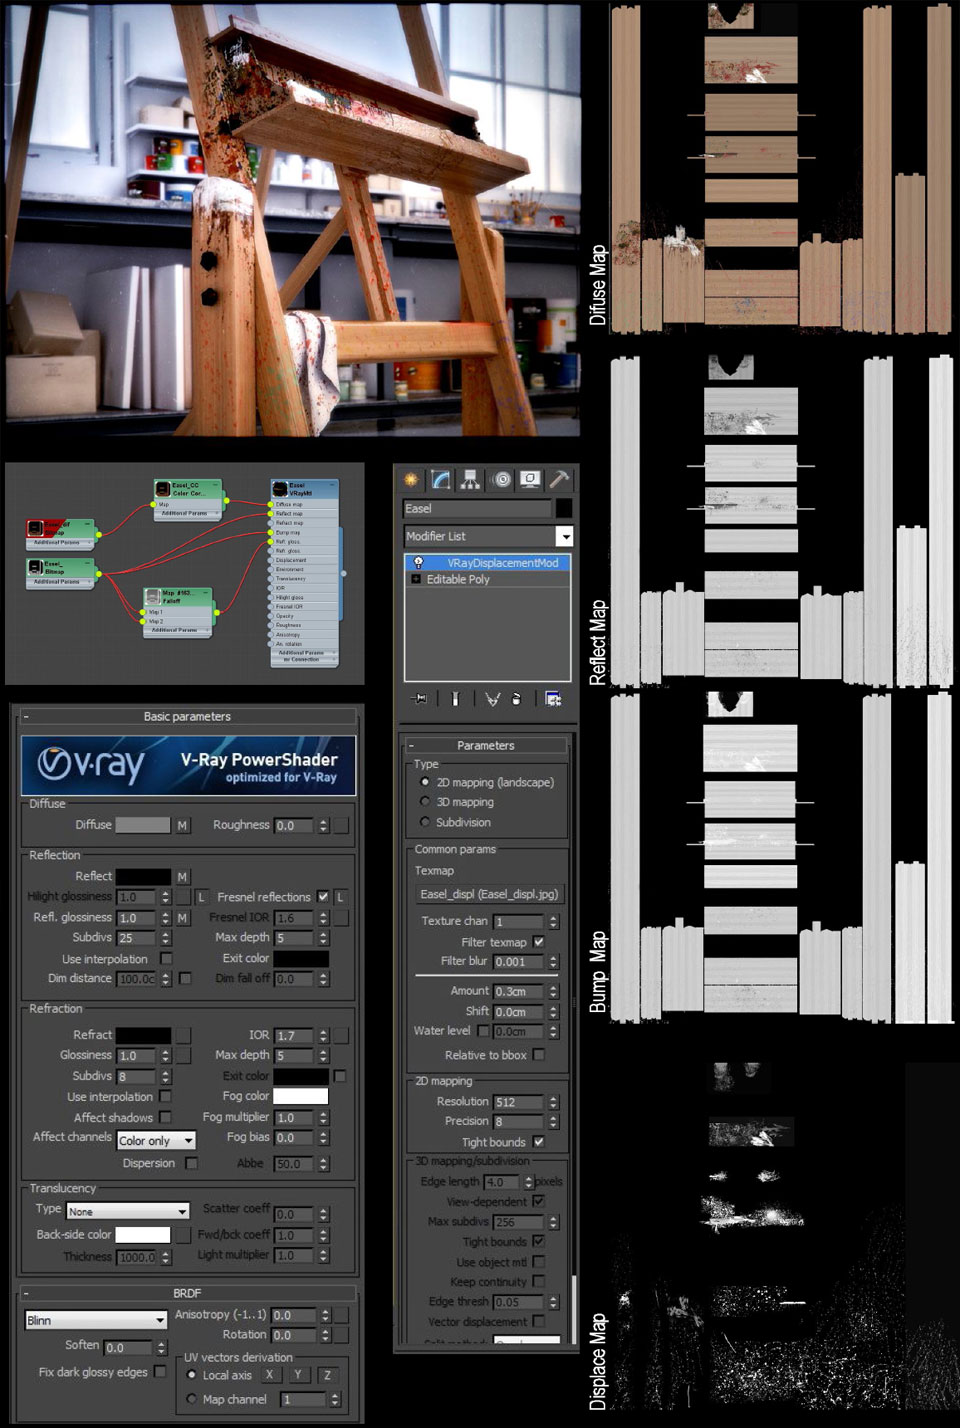
As with modeling, I had never used UVW unwrap, so it meant a new challenge and opportunity to learn something new. At first, while I had plenty of time, I kept on learning this tool and I managed to do most of the mapping with UVW unwrap. However, trying to work while learning proved to be very time consuming, so when the deadline was coming closer I had to go back to my old ways.
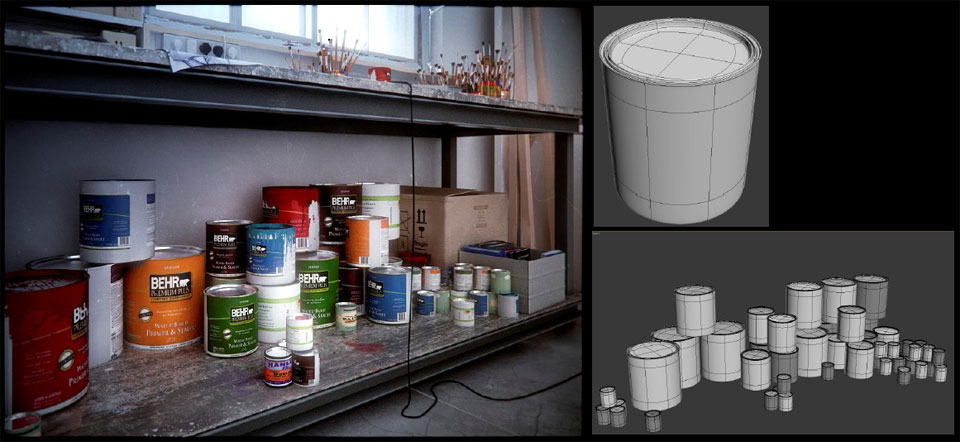
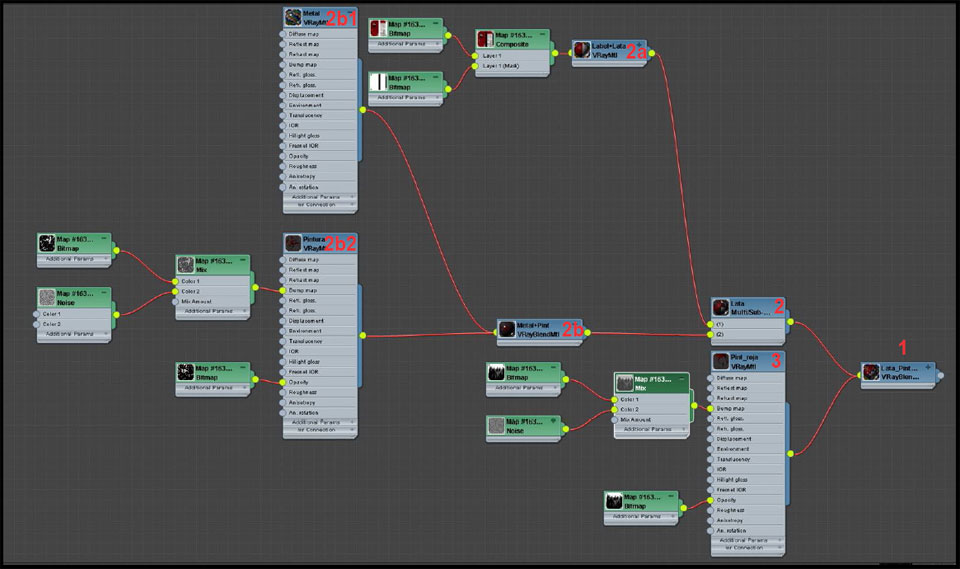
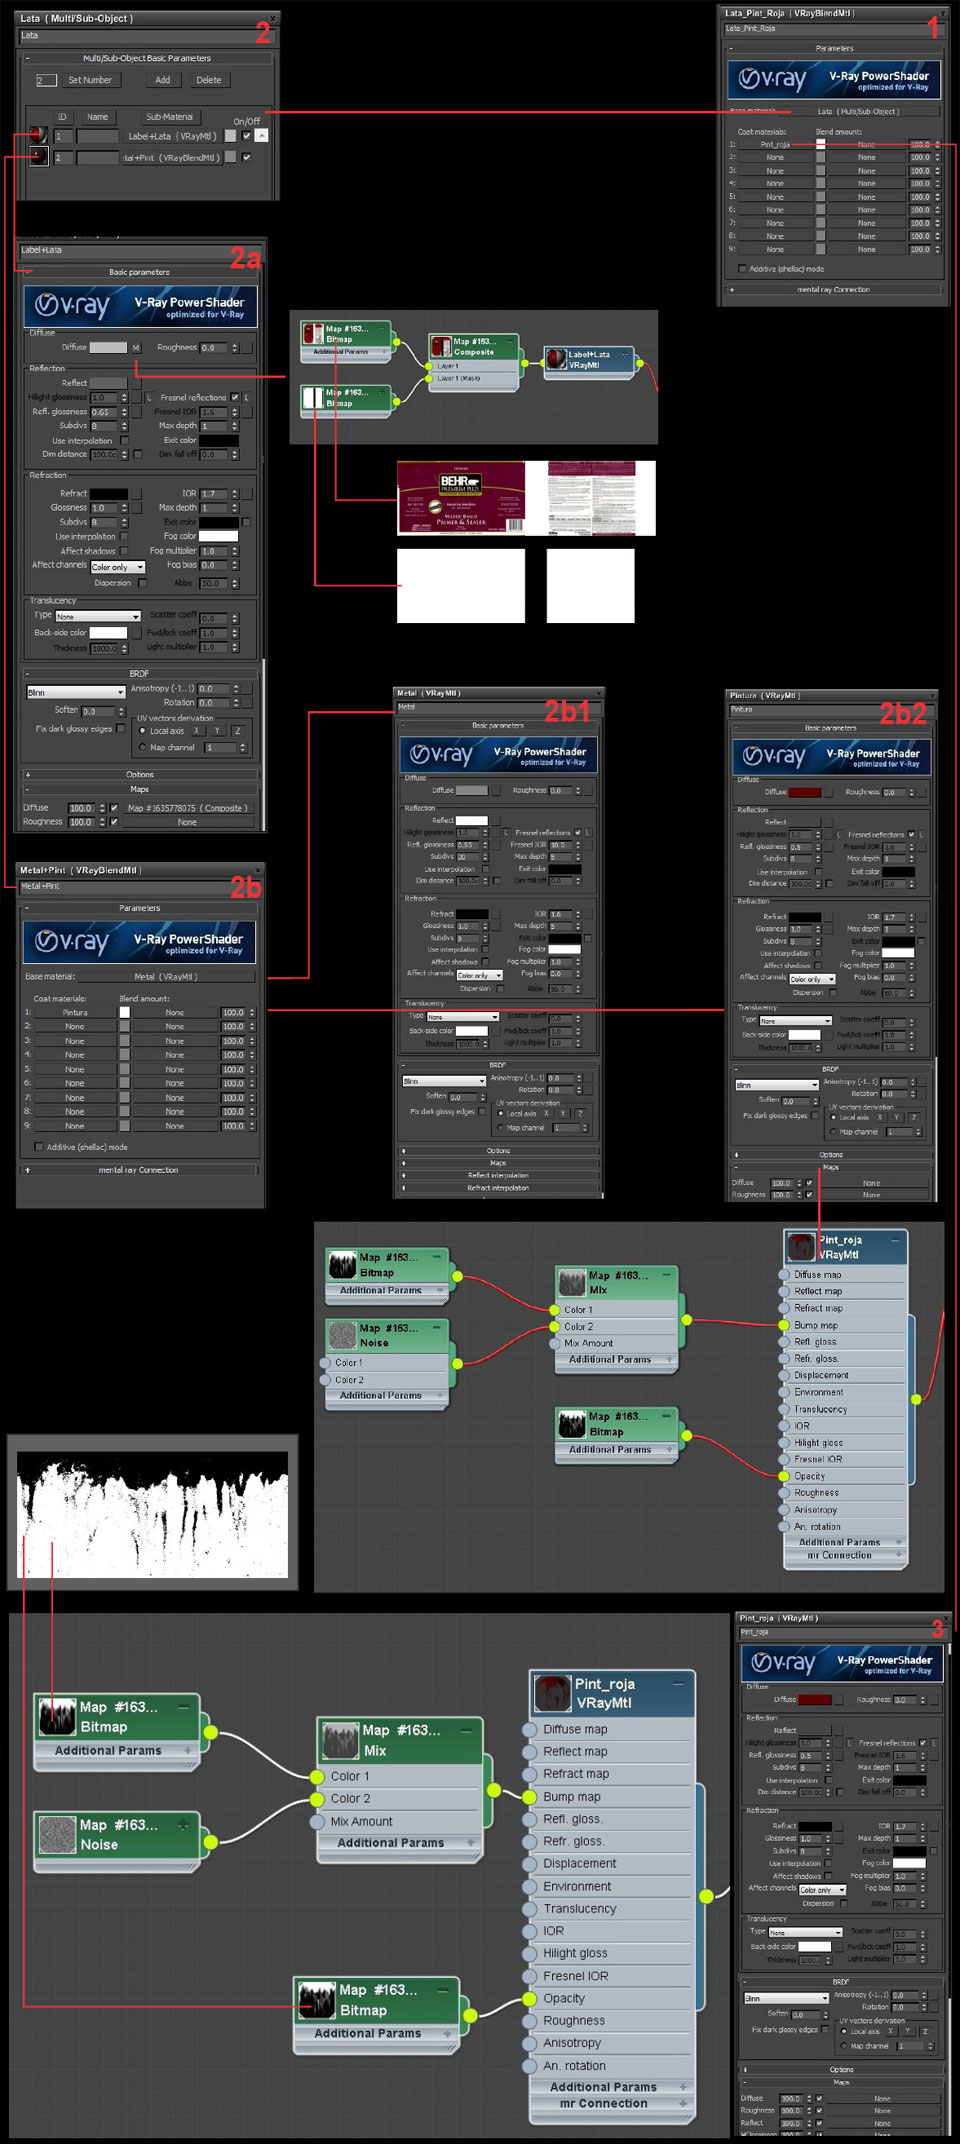
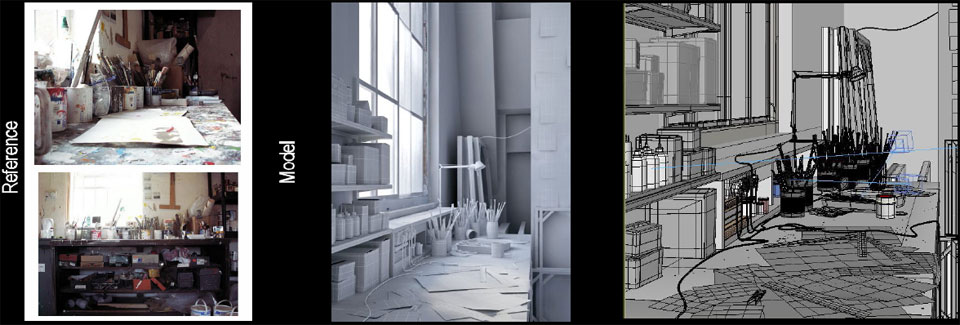
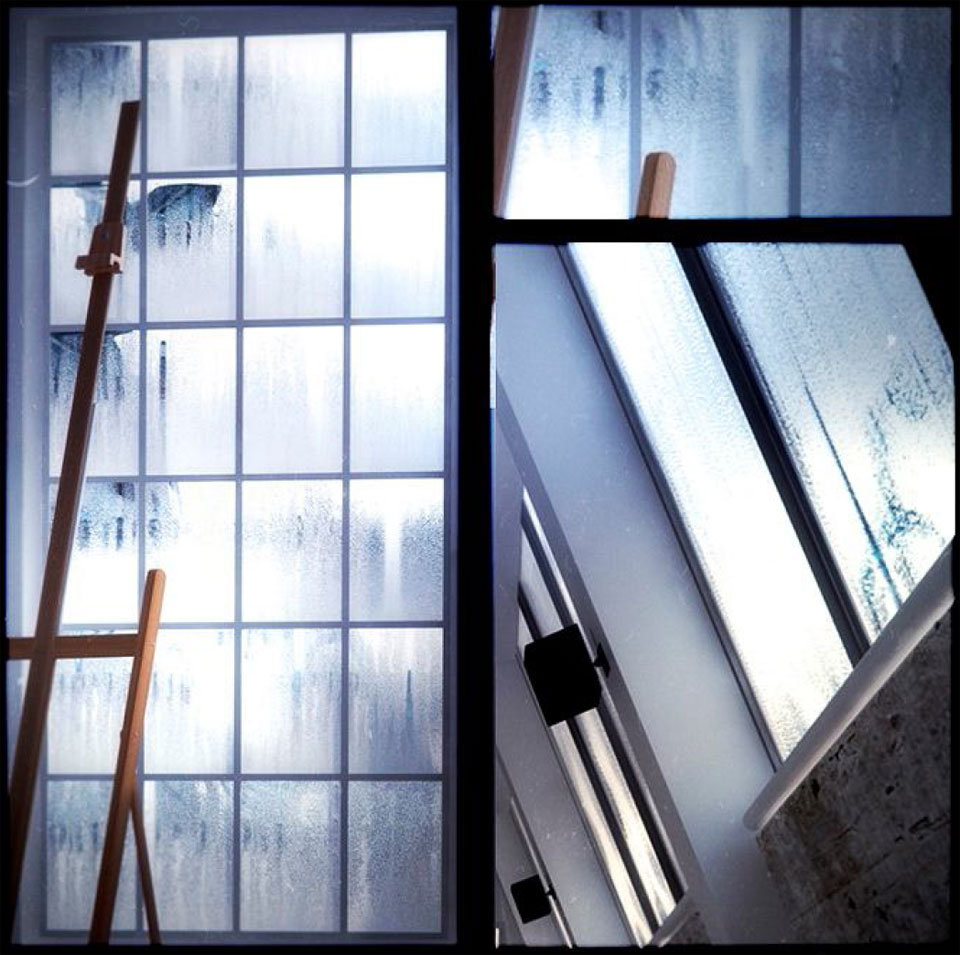
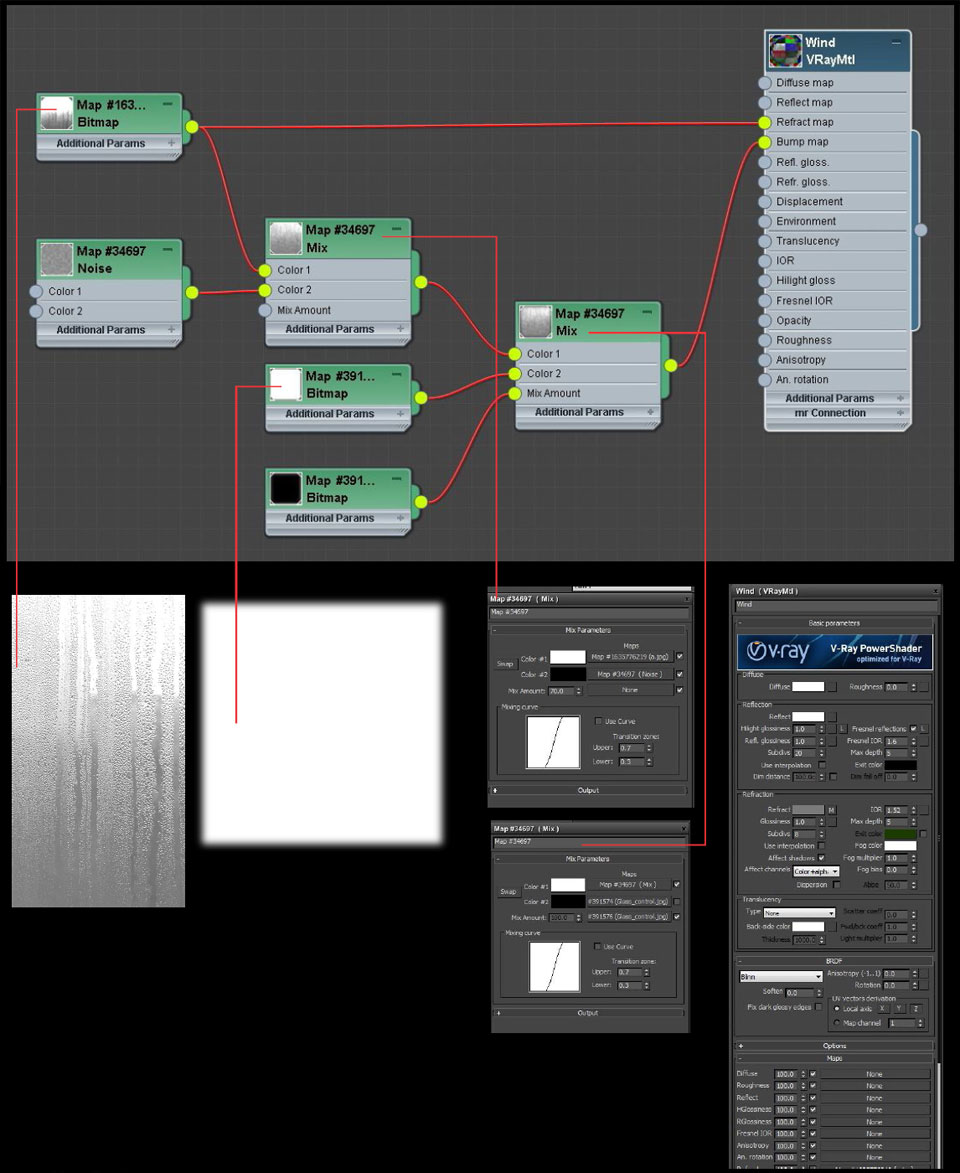
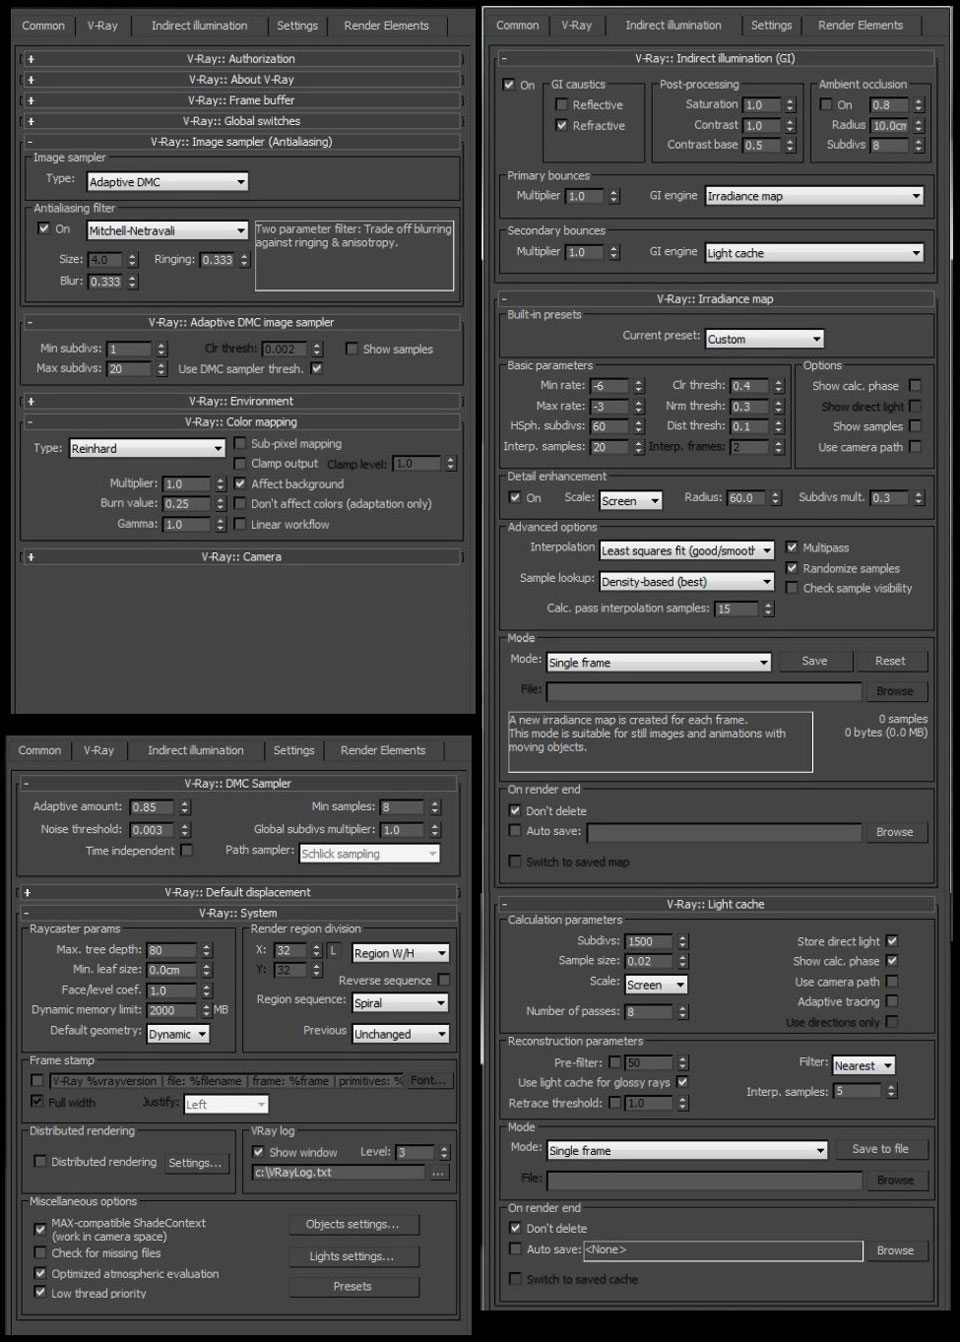
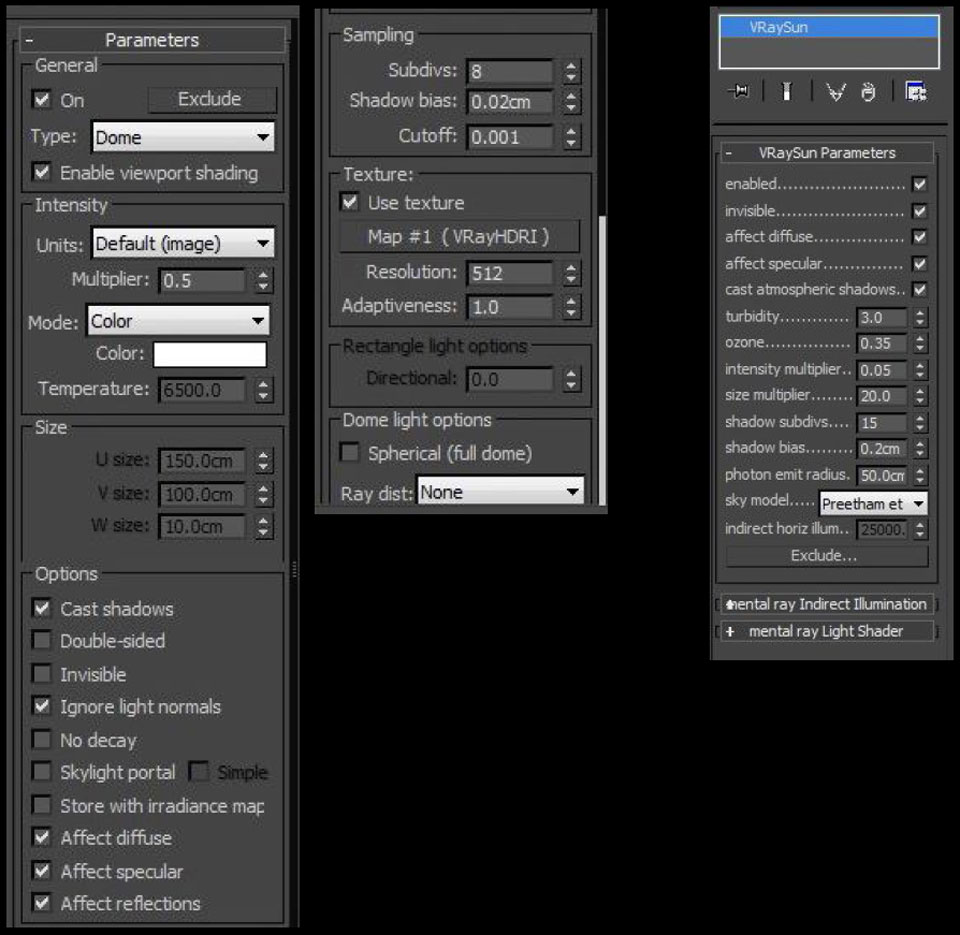
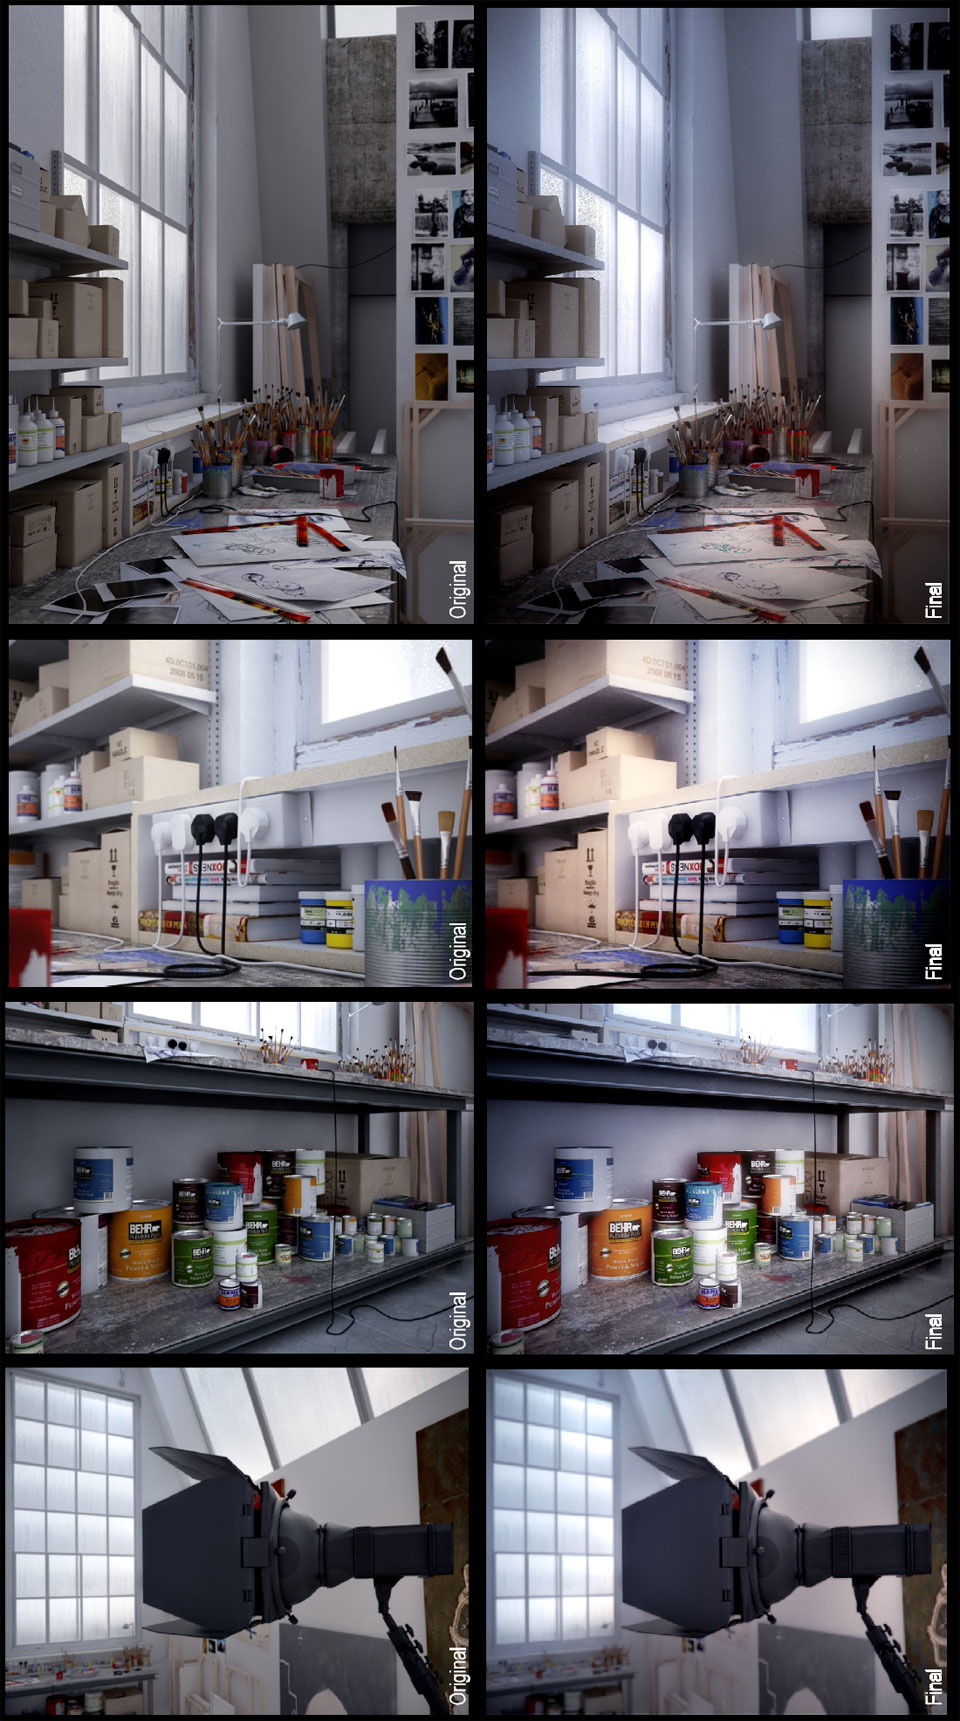
I used AfterEffects for the editing, with the Red Giant's MagicBullet Looks plugin for color corrections, contrast adjustment, vignette and some lense effects for glare, CA, glow, among others. The DOF used is the one from vray physical camera.


COMMENTS