We use cookies to provide you with the best possible experience. They also allow us to analyze user behavior in order to constantly improve the website for you.
The consent is voluntary. You can withdraw it at any time or renew it in Cookie settings on the home page. Withdrawal of your consent does not affect the lawfulness of processing performed before the withdrawal.
Privacy Protection Policy
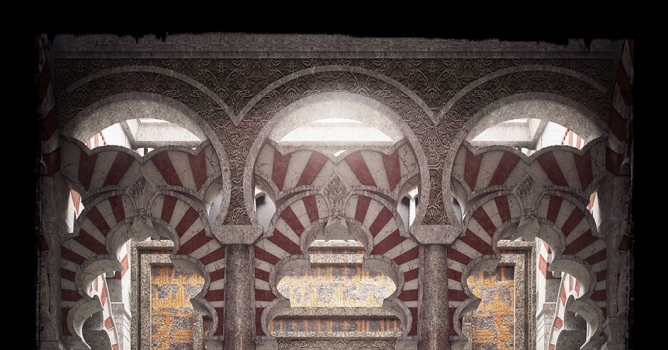
Before I begin, I would like to thank Evermotion for publishing this "making of" my work.
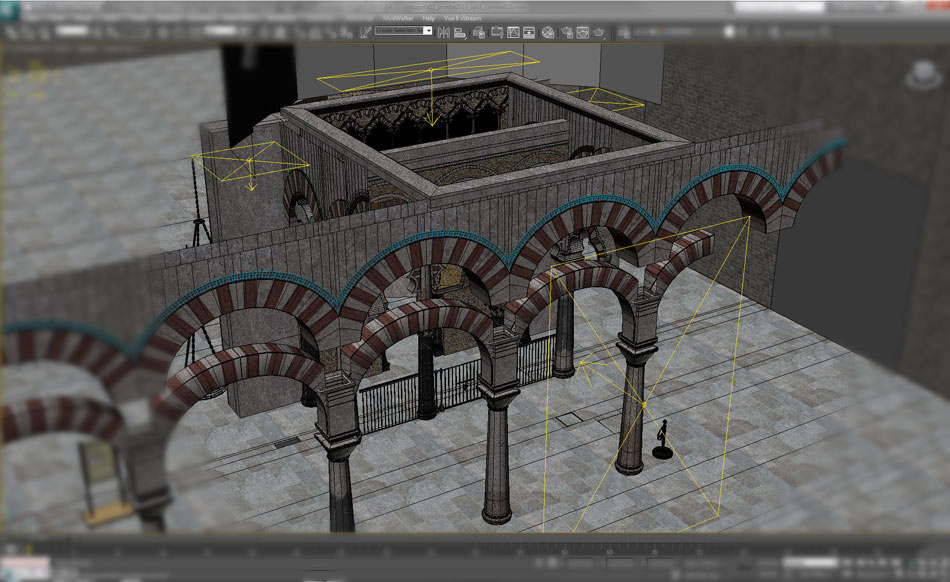
Modeling
The following are several modeled objects used in this scene along with their respective materials.
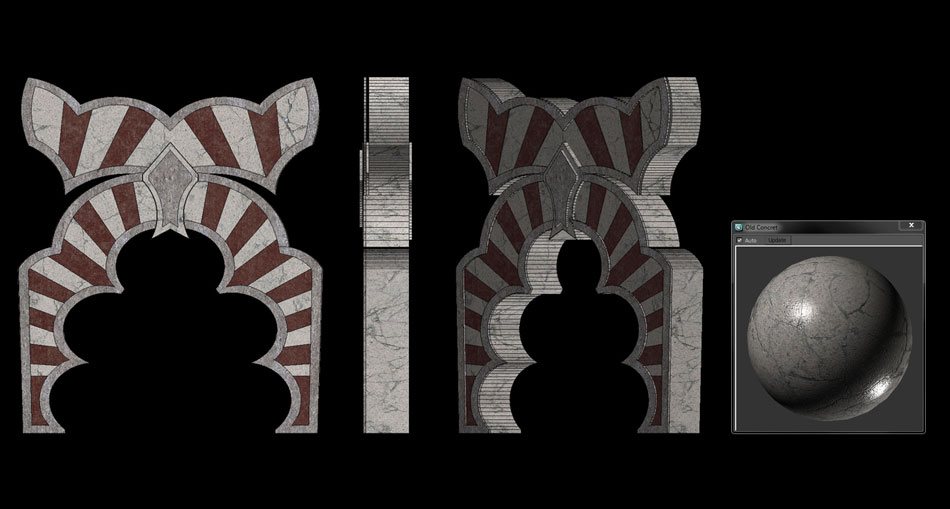
The arches are composed of a multi sub-object material of which I only show the concrete I used. The red concrete and borders have the exact same settings but with different textures.
The settings for the concrete are: Hilight Glossiness 0.9 Refl. Glossiness 0.6 BRDF - Ward Bump channel 5.0 units using a normal map of corrugated concrete texture
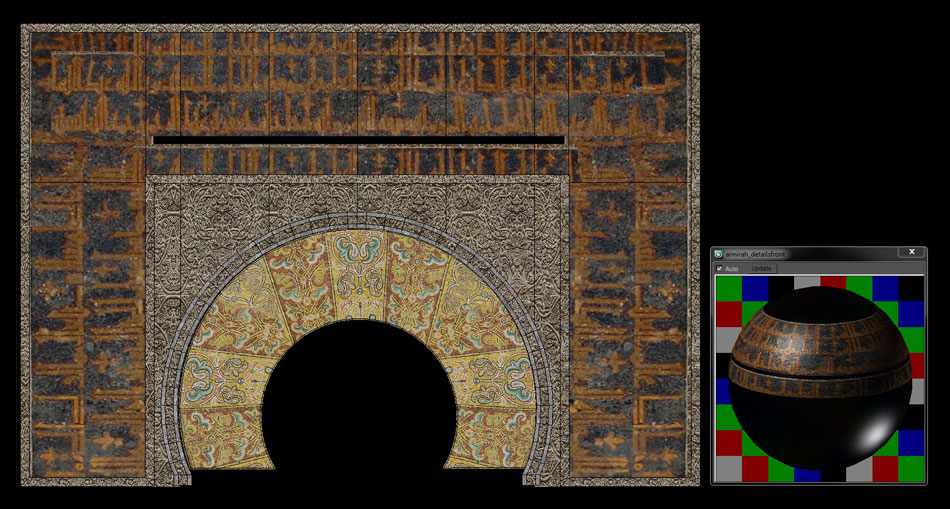
Front Arch, textured using the unwraping tecnique with the following settings: Refl. Glossiness 0.79 BRDF - Ward Bump channel 15.0 units using the same texture from the diffuse map.
This is the map along with the material I used for the arch, the settings are: Refl. Glossiness 0.79 BRDF - Ward Bump channel 15.0 units using the same texture from the diffuse map.
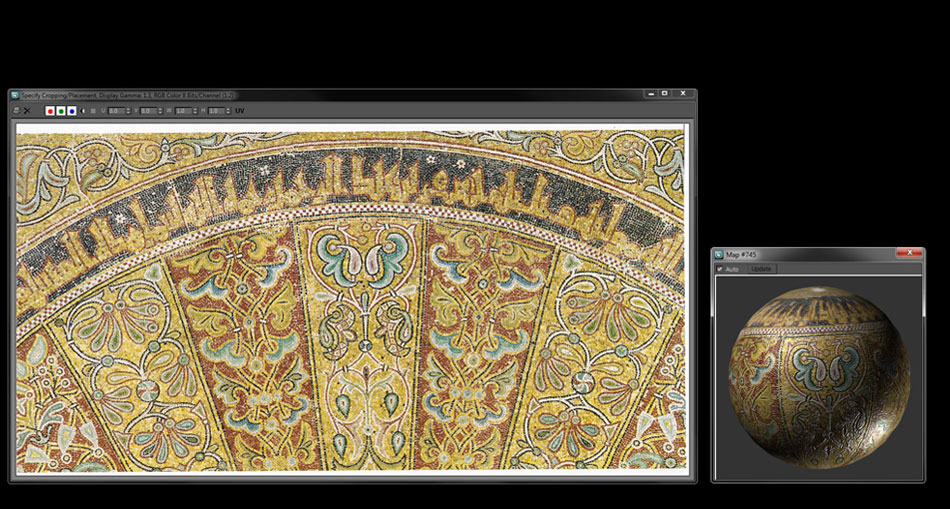
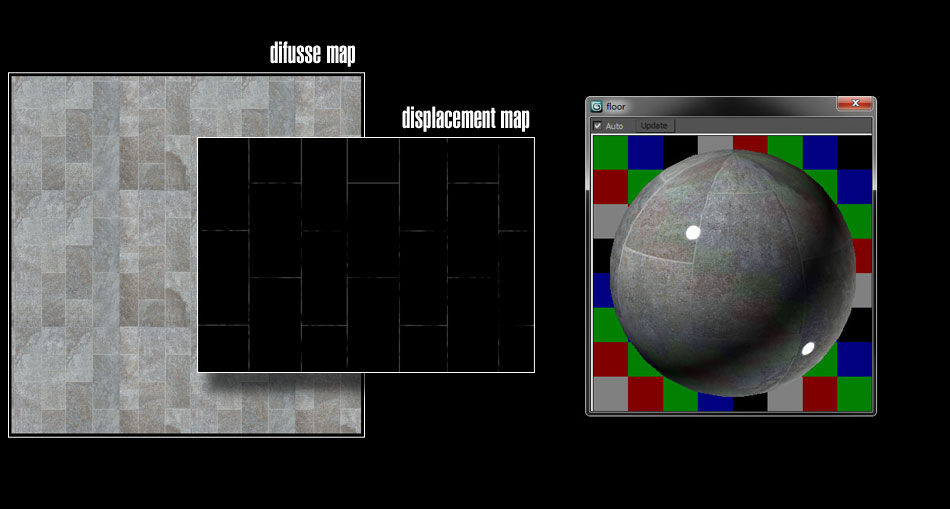
Capital, in which I used a displacement map, the settings are: Refl. Glossiness 0.75 BRDF - Ward Bump channel 55.0 units using the same texture from the diffuse map. Applied a displacement map suing the same texture from the diffuse map but in black & white and high contrast.
One common uncertainty is when to use bump maps, a regular bump map, normal maps or displacement maps. In this case I wanted to show the column capital as if it was modeled in 3d so I decided to use displacement.
No big mistery for the floor, the settings are: Refl. Glossiness 0.89 BRDF - Blinn
The displacement map was done with imperfect white lines for the grout. I erased them a little to make them look worn.
The colums have this map that you see in black & white inside the reflection channel with a value of 20.0 units, the other settings are: Refl. Glossiness 0.79 BRDF - Blinn No Bump
Lighting
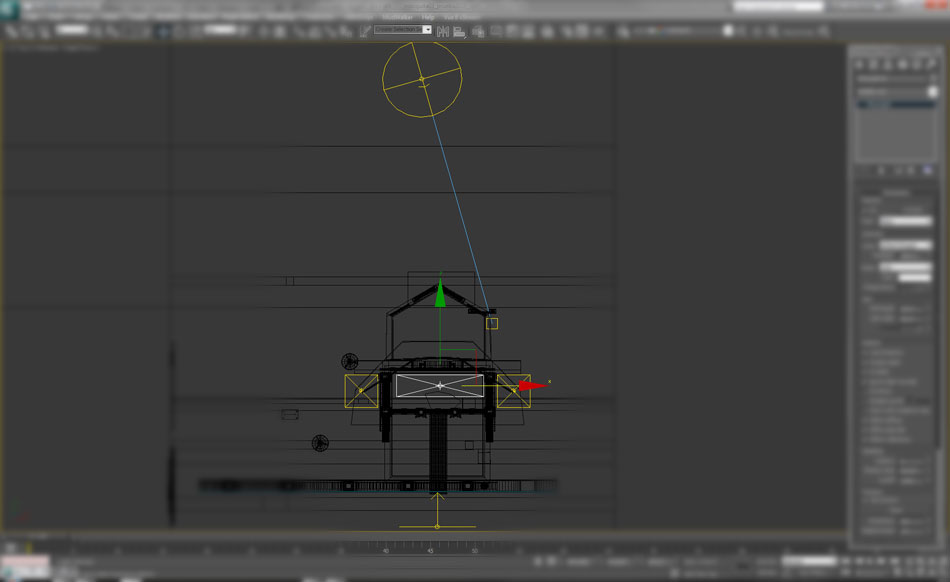
I didn't use any HDRI for the illumination of this scene. Basically, I have a vraysun light which enters from the roof with these settings:
Turbidity 3.0
Ozone 0.35
Intensity multiplier 8.0
Size multiplier 1.0
There is an aiding light at the roof (vray light plane), with an intensity of 2000 units, color (RGB 0,0,255), casting shadows, invisible, ignoring light normals and having checked affect diffuse, specular and reflections.
Two more lights on the sides of the scene with different intensities (1500 units on the right and 1000 units on the left). I think not having the same light intensity on both sides gives the scene more interest.
Lastly there's a frontal light behind the camera with 150 units offering little illumination to the scene but using it to be able to obtain a few reflection and reflaction passes at the end and thus giving the objects and the floor much more intensity in post production.
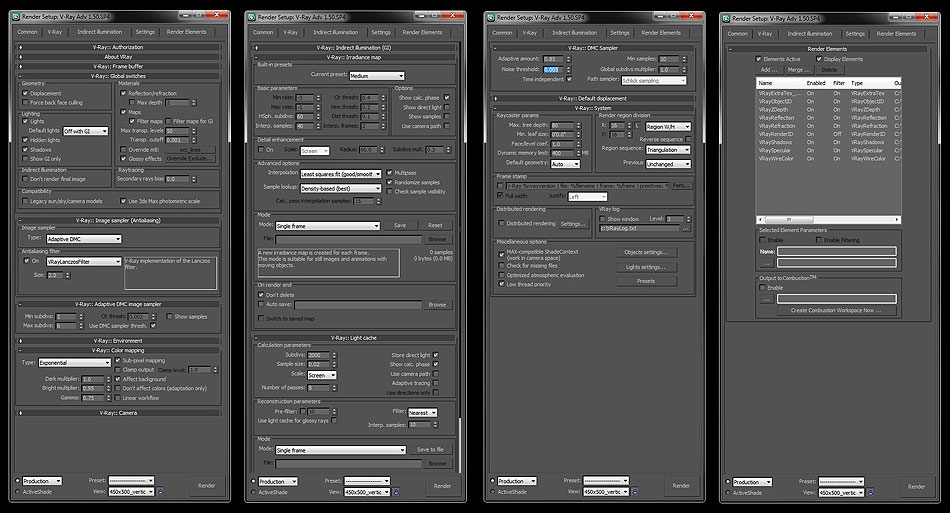
The final settings are simple, practically the ones by default when we turn on the GI.
POST PROCESS
For this particular image, these were the passes I made: - Occlusion- Gives more life to your image defining corners and objects with bump maps and displacement. - Render ID- Great help for post production. You can select individual objects to enhance levels, color balance, etc. - Shadows- Gives you more control over the shadows in the scene. You can play around with different channels and opacities in Photoshop. - Object ID- You are able to assign different IDs to separate objects. In this case I singled out the capitals. - Reflection & Specular- You can normally use these channels in "Screen" mode in Photoshop to add realism to highlights. - Z-depth- You can achieve depth of field in your images with this channel.
This is an animation of the Post Production done in Photoshop starting from the raw rendering until the final result. Thank you and I hope you find some use in this mini tutorial.
Working in CG and archviz often means balancing creative intent with production realities. Human presence can support scale, context, and clarity, but it also adds another layer of decisions. Ready-made 3D character assets help keep visual focus where it belongs without expanding the project scope beyond its real needs
In professional visualization, buildings are more than background elements. They define context, scale, and clarity for industrial and commercial projects. Well-prepared 3D building models help viewers read a scene instantly and understand its purpose without relying on technical descriptions or supporting text
The production pipeline in CG and visualization is built on a sequence of clear decisions. Each stage depends on how information is defined, shared, and preserved. 3D models serve as digital assets that translate abstract ideas into structured visual data and consistently carry them through to the final render
In professional CG and architectural visualization, efficiency depends on structured decision-making and reliable resources. Using grouped 3D assets allows us to focus on scene logic, composition, and project consistency instead of repetitive asset preparation and library management.
3D furniture models support structured, predictable interior design workflows in professional archviz. In projects where deadlines, coordination, and visual consistency matter, ready-to-use assets reduce friction and enable teams to focus on spatial decisions rather than repetitive preparation.
Thanks for the comments!
Yungoklo: the settings for the vray physical camera are the default ones. I just changed the custom color balance to a little bit yellow, the rest is the same.
In this walkthrough, we guide you through the process of building a polished 3D interior scene inspired by the cover of Archmodels vol. 306 – Table Sets.


 Customer zone
 Your orders
 Edit account
 Add project
 Liked projects
 View your artist profile
COMMENTS