In this project the modeling part was not so important to me like the rendering and post work was.
So modeling its pretty traditional and simple, I've used 3D Max and poly modeling method...and some of my style tips.
First of all I've made a basic shape with 1 iterration of smooth, then some details, ligts, handles,etc. At the end I've made one more iterration of smooth, and finally lead up body shape, make wheels and other stuff.
When modeling it is very important to pay attention to details because those details add realism to you final render.
Next thing to do are materials, envivorment, lights setup and scene render settings, all this is pretty simple.
Some materials like plastic , chrome, rower, metallic etc. are simple , but I have here 2 more complicated materials, it was carpaint and tone glass.But after many experiments I have satisfy results).
some textures I've used
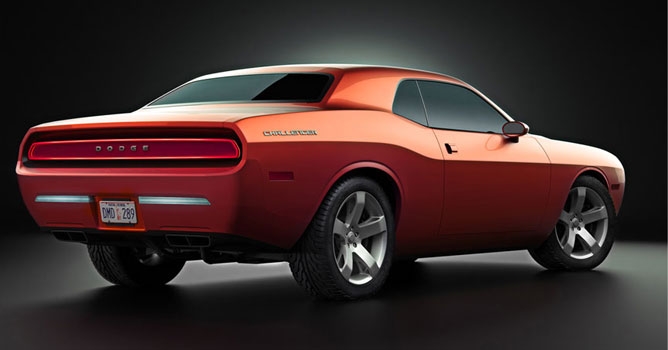
For studio renders I've used many photos as reference for lighting setup. In this case there are 4 spherical vrayligts and 3 soft box.
Below you can see the positioning of the lights.
The scene was rendered using Vray plugin, I've useed Light Cache and Irradiance Map for GI. Render settings are very simple.
So, after all this manipulation we have some renders which need post production. And here I have used Photoshop or After Effects and do some correction work. It's levels, sharpen, saturation, collor corection first of all, color its very important part of work, some local retouch, dof, glare, noise , and some my personal tips and tricks.


 Customer zone
 Your orders
 Edit account
 Add project
 Liked projects
 View your artist profile
COMMENTS