We add new 3D SCANS every week
Shop Now- NEWS
- SHOP
- SERVICES
- MENU
- Best Prices
- 3D Scans
- Collections
- Bundles
- All scenes
- All models and scenes
- Animals
- Appliances
- Architectural elements
- Characters
- Electronics
- Food
- Furniture
- Greenery and plants
- Lighting
- Props and gadgets
- Sport & hobby
- Textiles
- Transportation
- Materials & textures
- Free Products
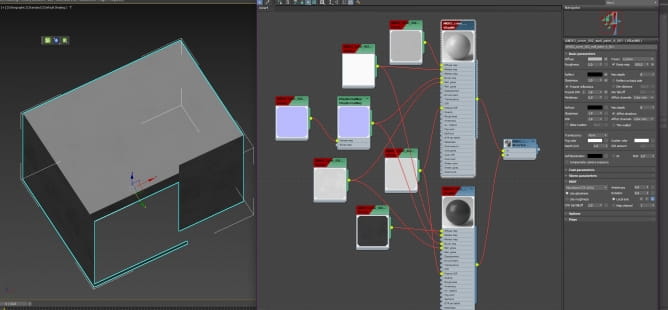
New articlesVIEW ALL ARTICLES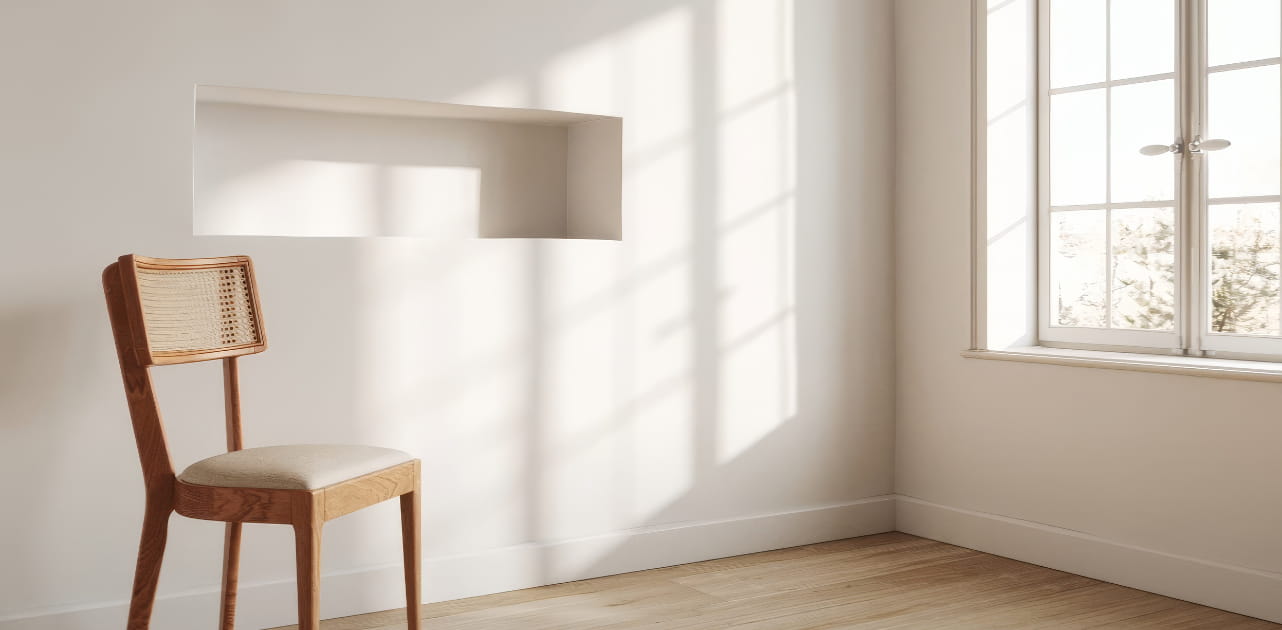 How To Make Your CGI Walls More RealisticRealistic walls with noise modifier.
 Removing LUTs from Textures for better resultsRemove the LUT from a specific texture in order to get perfect looking textures in your render.
 Chaos Corona 12 ReleasedWhat new features landed in Corona 12?
 OCIO Color Management in 3ds Max 2024Color management is crucial for full control over your renders.
 A look at 3dsMax Video SequencerDo you know that you can edit your videos directly in 3ds Max? Renderram is showing some functionalities of 3ds Max's built in sequencer.
 FStorm Denoiser is here - First ImpressionsFirst look at new denoising tool in FStorm that will clean-up your renders.
Search
Cart
Your cart - 0 items
Sign in
-
Log in
Don't have an account yet?
Sign upCreate new accountLog in Customer zone
Your special offers
Your orders
Edit account
Add project
Liked projects
View your artist profile
-
Dark mode✔
Shop
- Best Prices
- 3D Scans
- Collections
- Bundles
- All scenes
- All models and scenes
- Animals
- Appliances
- Architectural elements
- Characters
- Electronics
- Food
- Furniture
- Greenery and plants
- Lighting
- Props and gadgets
- Sport & hobby
- Textiles
- Transportation
- Materials & textures
- Free Products










COMMENTS