We add new 3D SCANS every week

Shop Now
Search
Cart
Sign in
  • offerCustomer zone
  • offerYour special offers
  • offerYour orders
  • offerEdit account

  • offerAdd project
  • offerLiked projects
  • offerView your artist profile

  • Dark mode

We care about your privacy

We use cookies to provide you with the best possible experience. They also allow us to analyze user behavior in order to constantly improve the website for you. The consent is voluntary. You can withdraw it at any time or renew it in Cookie settings on the home page. Withdrawal of your consent does not affect the lawfulness of processing performed before the withdrawal. Privacy Protection Policy
Accept all
Accept selection
Reject all

Creating Fairy Tale Tree Scene in Blender

Michal Franczak 2022-05-25 08:28 tutorial  > Blender  > modeling

Using botaniq and Evermotion Vegetation Pack vol. 1.

This scene was created entirely with botaniq Tree Library and Evermotion Vegetation Pack vol. 1 - our latest library of trees for Blender. Botaniq is the plugin that streamlines the process of scattering trees, grass, weeds and rocks (among other things, you also can scatter leaves, for example). 

It is extremely easy and fun to use and creating the scene like this is possible in the matter of minutes. 

01_22

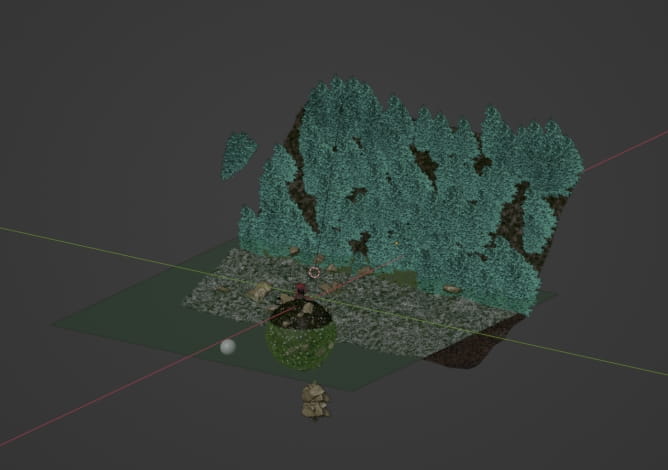
The scene in Blender viewport. It consists of our hero asset, lighting and three planes with scattered greenery.


02_21

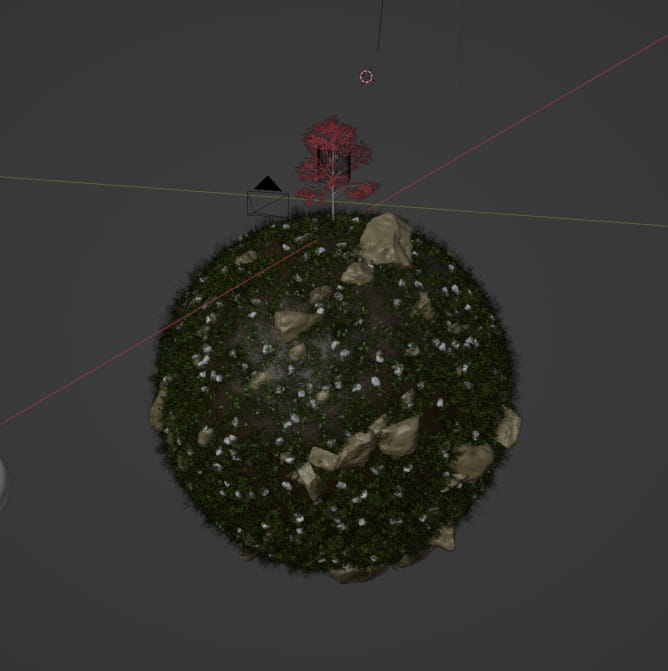
Hero asset was made pretty simple - there is a sphere, a tree from Evermotion Vegetarton Pack vol. 1 and a particle system for firefliy-like lights floating around the tree.


03_23

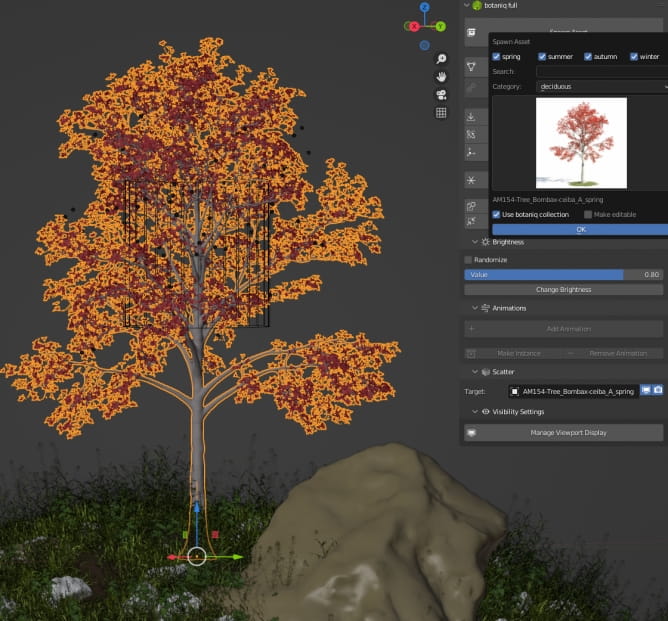
Hero asset and its thumbnail in botaniq library.


04_23

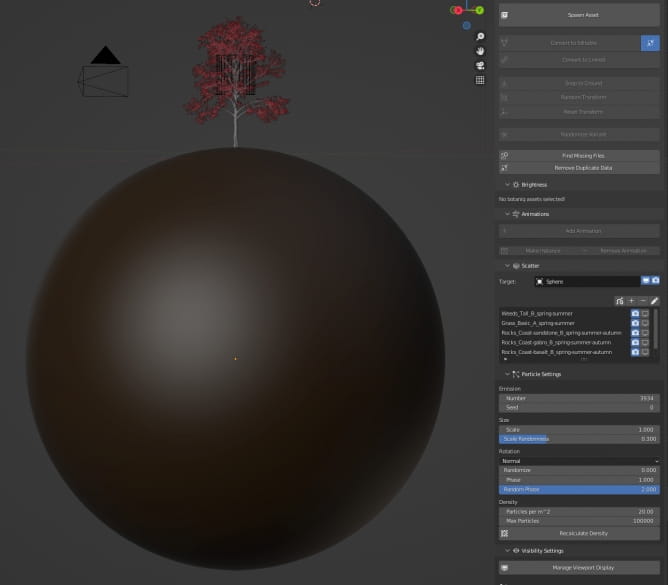
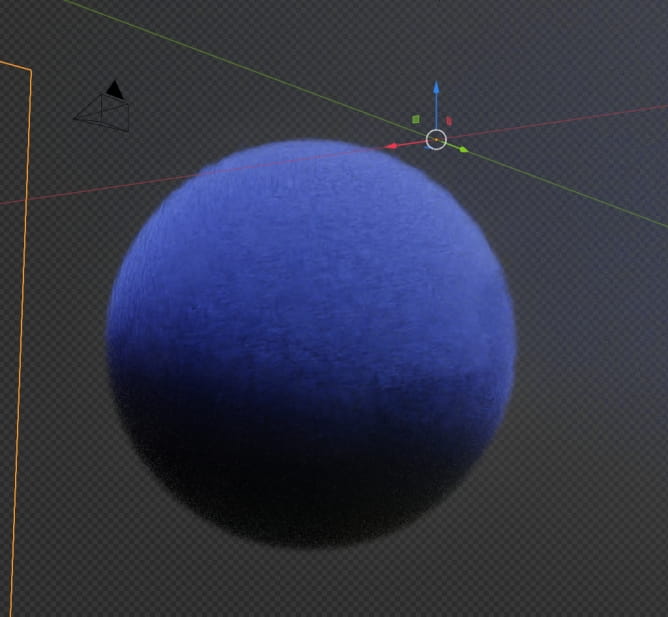
A sphere - in botaniq you can turn off displaying of assets if you want to inspect base sphere or gain some framerate.


05_20

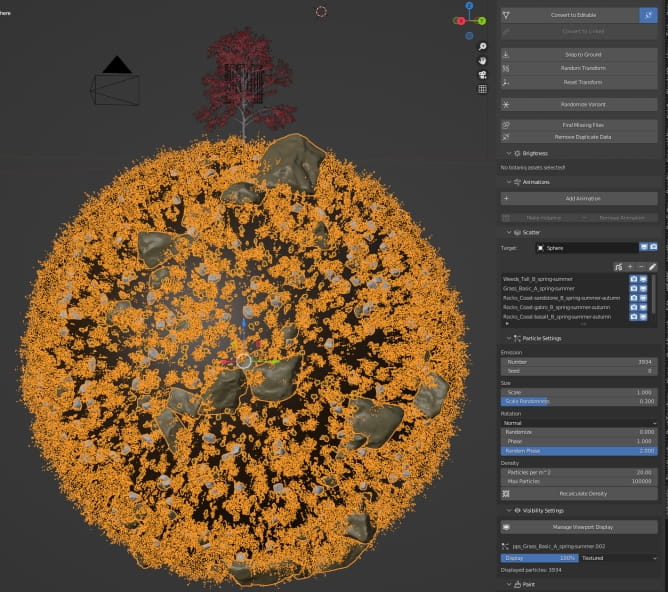
All scattered elements are now visible. They are just created with one cliick, no tweaking here, except density.


06_17

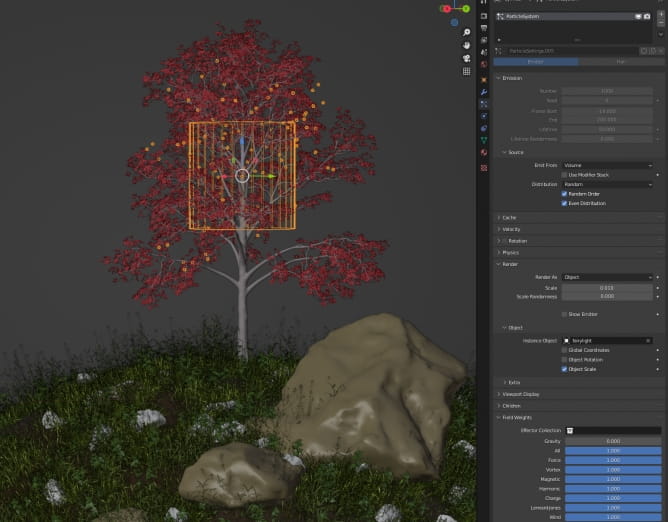
I created a cylinder to emit particles. Cylinder itself is hidden from render and visible only in viewport. Particle settings are simple - the most important setting here is disabled gravity, because we want our particles to float freely around a tree.


07_16

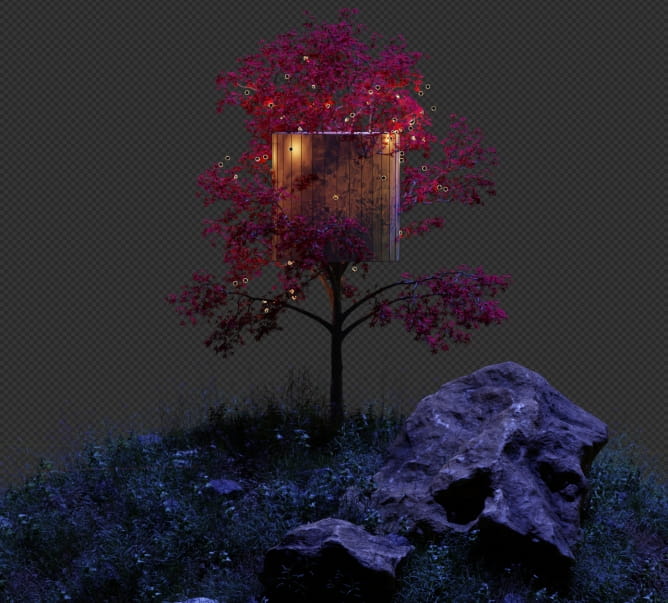
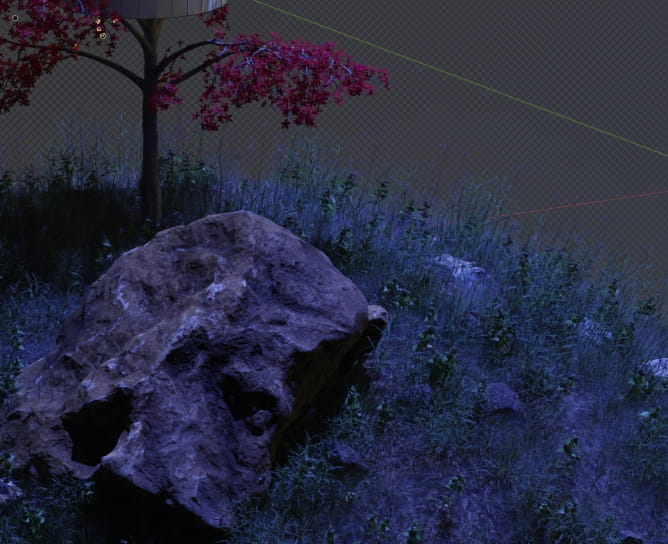
Viewport - rendered view. Even if you turn off visibility of emitter in render, it will still be visible in rendered mode of viewport.


08_15

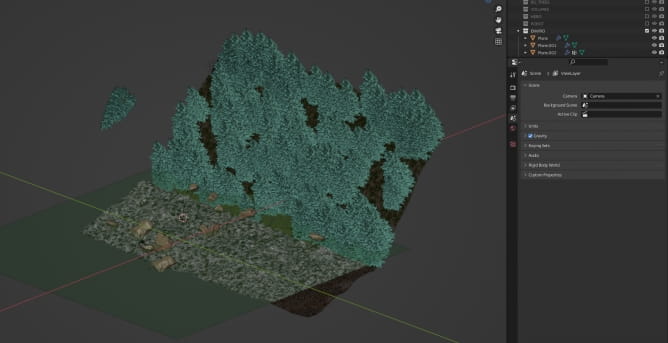
Environment - lake surface, lake bottom and forest hill. Yep, it takes a bit of imagination to see it from this angle, but from camera view it looks good. Never work harder than it is required to achieve your goal.


09_14

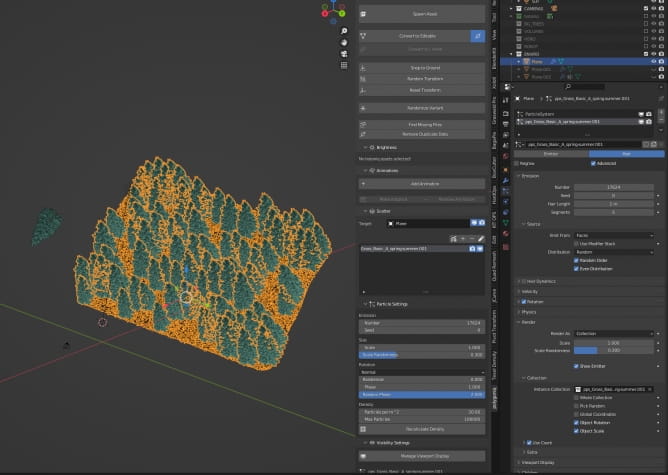
I scattered trees using Blender particle system. I used hair mode.


10_22

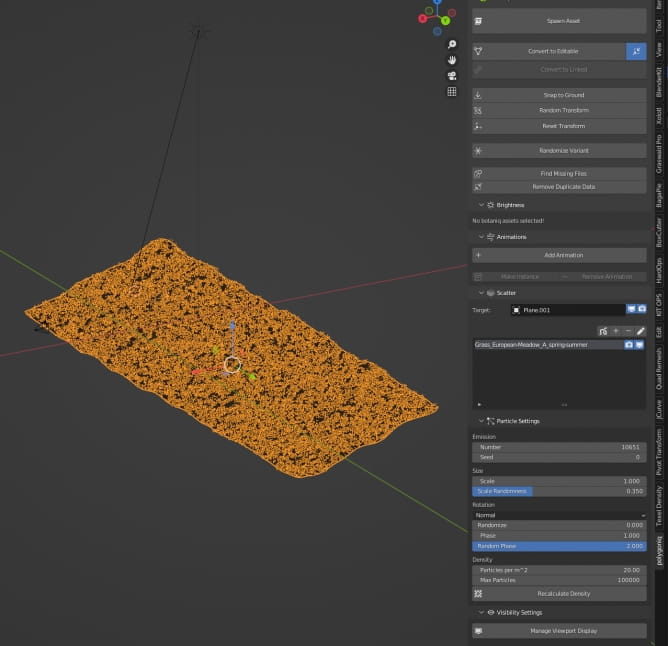
Bottom of the lake is just a plane with grass from botaniq scattered on it.


11_19

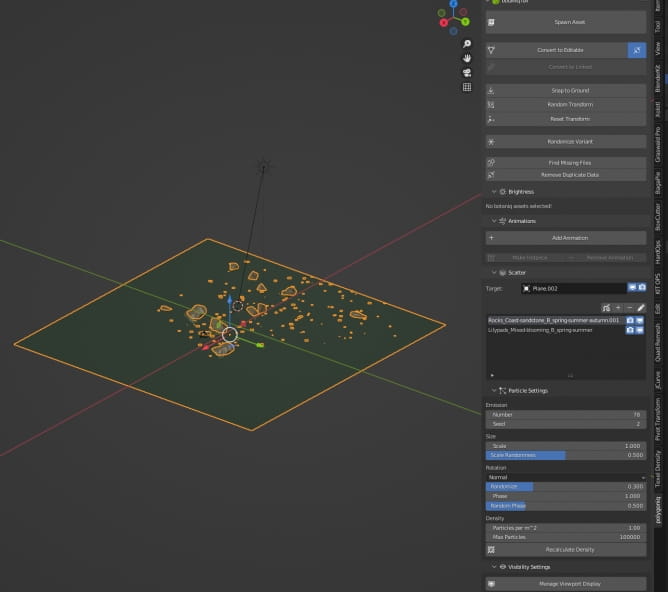
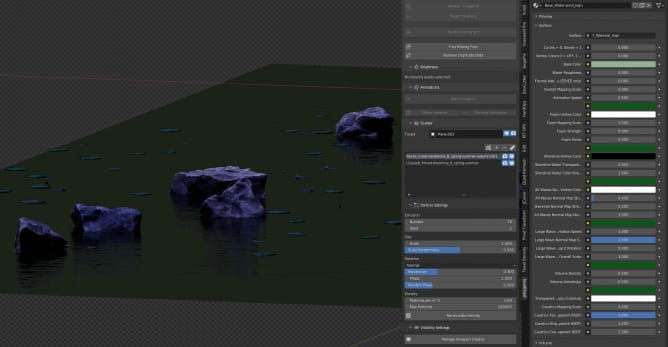
Botaniq lets you also to create water environments. It's a simple plane and lilypads and rocks scattered on it. We painted lilypads density using botaniq interface. Botaniq automatically assigned water shader to a plane.


12_16

...and this water shader is quite sophisticated and highly tweakable.


13_16

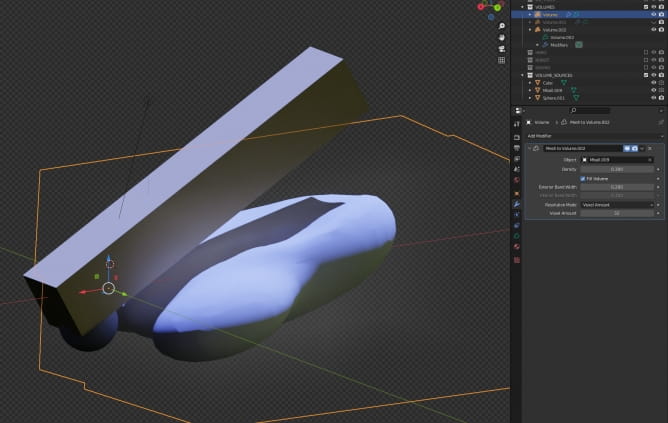
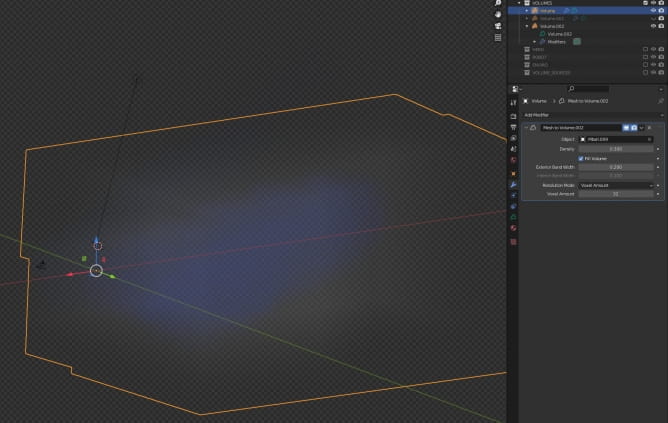
The finish touch - volumetric effects. I created three shapes that should act as a volumes and used new Blender feature - convert mesh to volume. To do that you need to press CTRL-A, create new empty volume and then in modifier section, choose "mesh to volume" and select your mesh. And it's ready. Almost. You need only to assign volume material at the end and tweak valuse to taste.


14_16

Volumes in viewport.


15_15

Sphere volumetric effect that is used to simulate a fog that rises from the grass.


16_14

The fog adds to the blueish effect and makes this scene a bit more magical.


17_10

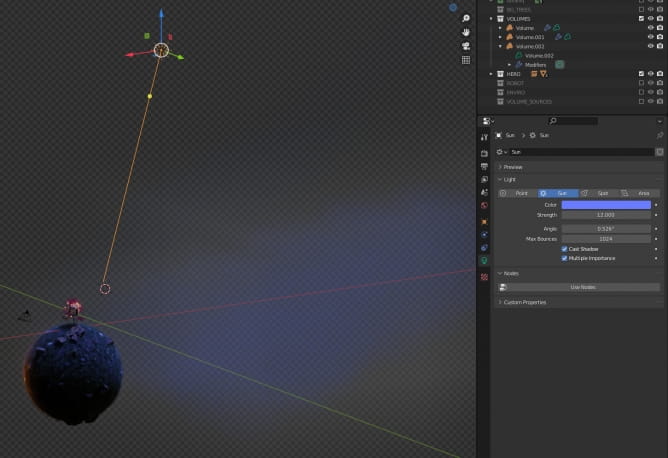
As a light source I used sun lamp that is rotated to act as a rimlight, enhancing trees and hero asset silhouettes.


18_9

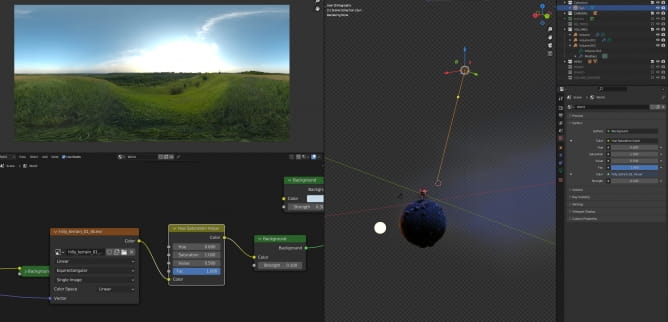
As an additional light I used HDRI map from HDRI haven, it is barely on, strength set to 0.1.


18b

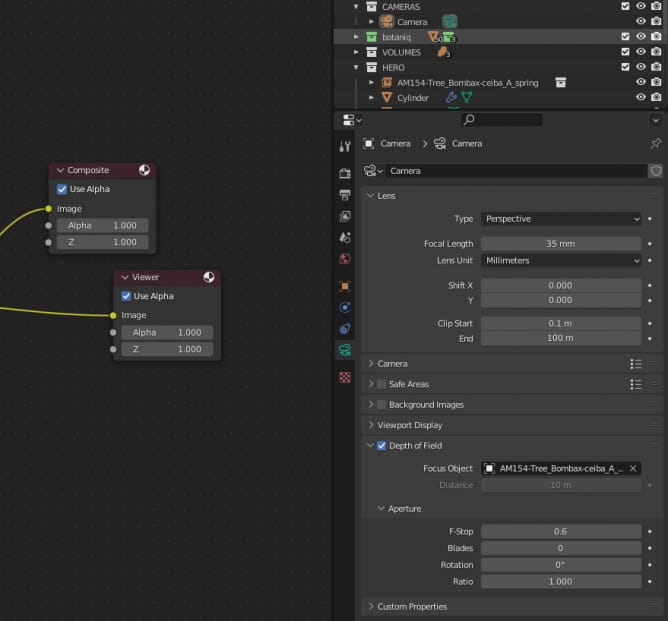
I enabled depth of field in camera to make a hero asset more prominent and separate it from the background.


19_10

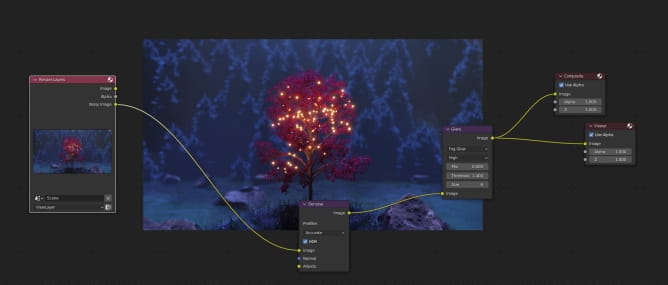
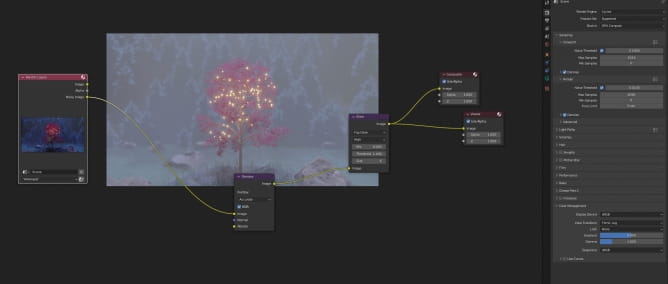
There are tow tasks that are accomplished in compositor: denoising and adding glare effect to the lights.


20_6

To export I used Open EXR format and Filmic Log mode, so I could easier color grade this image later.


lutify_rhyolite_1.1.3_denoised_1.2.1_1232_noresize

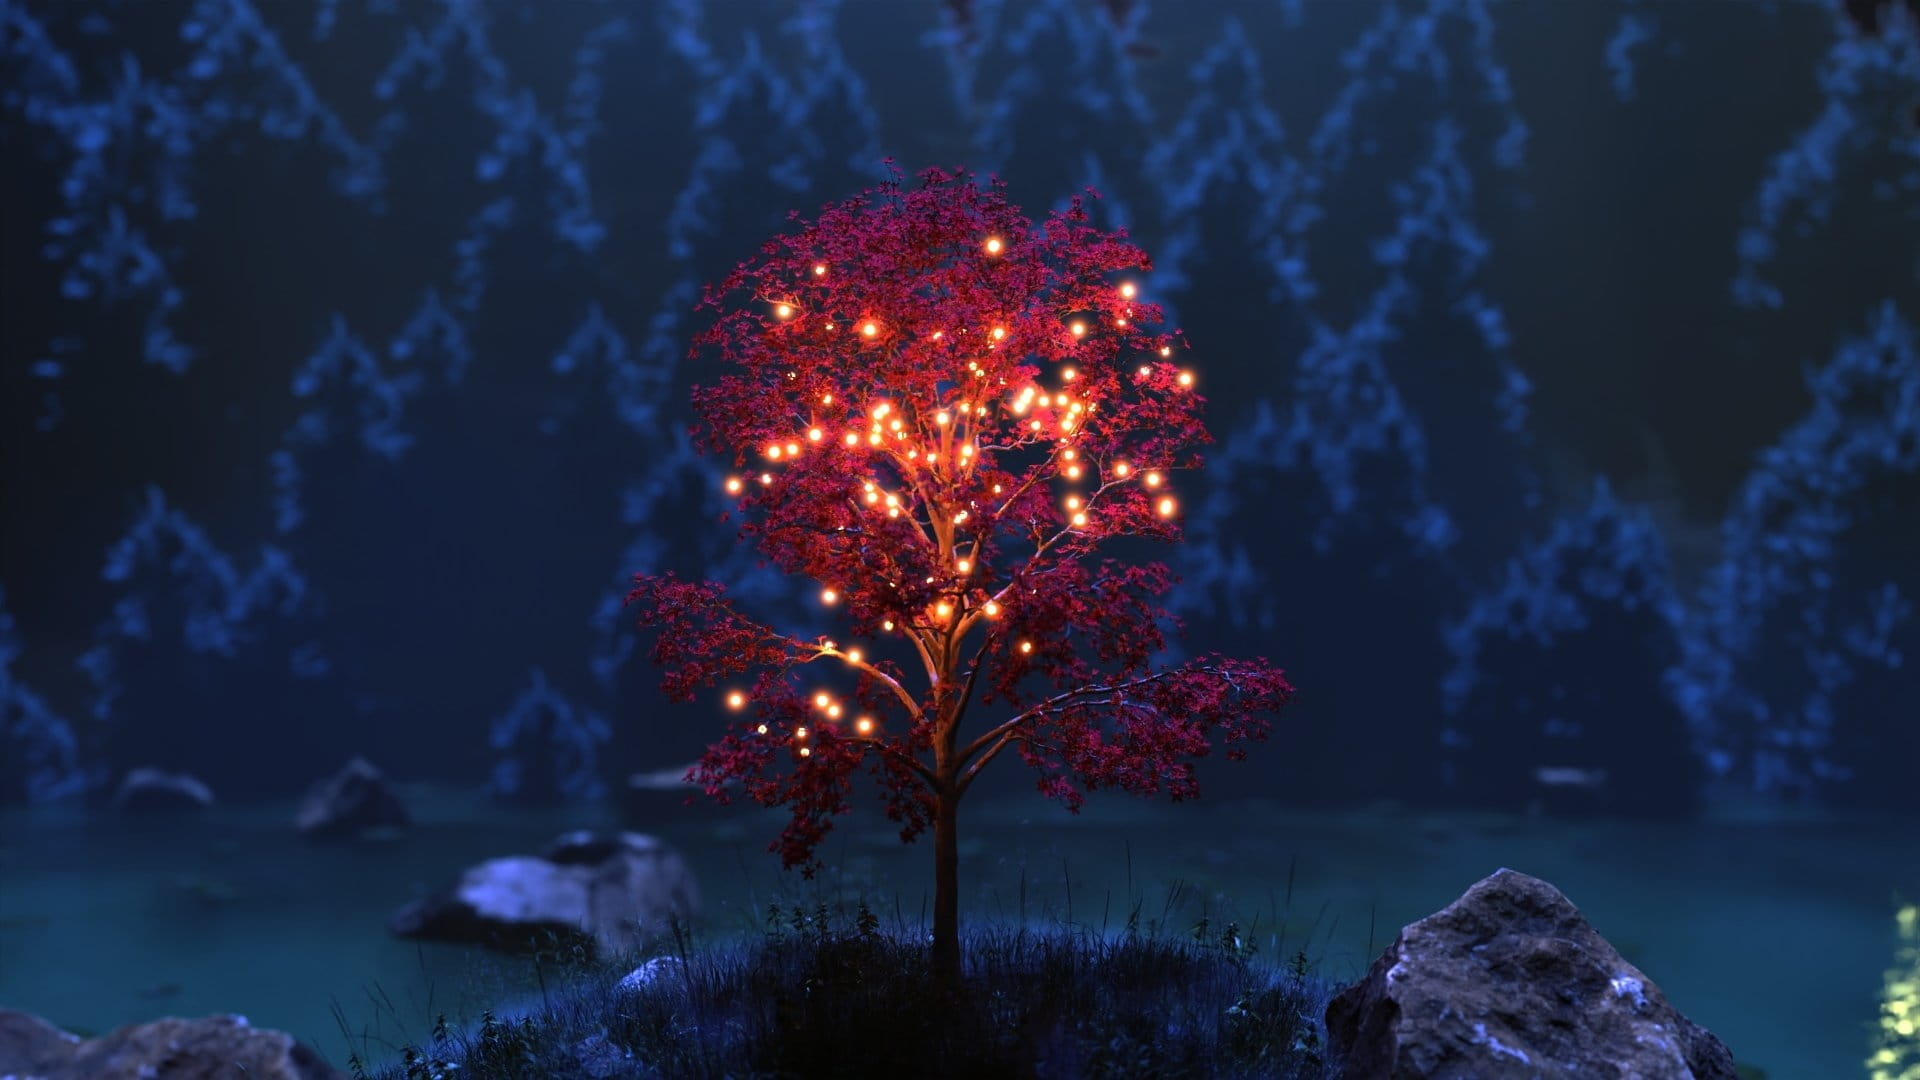
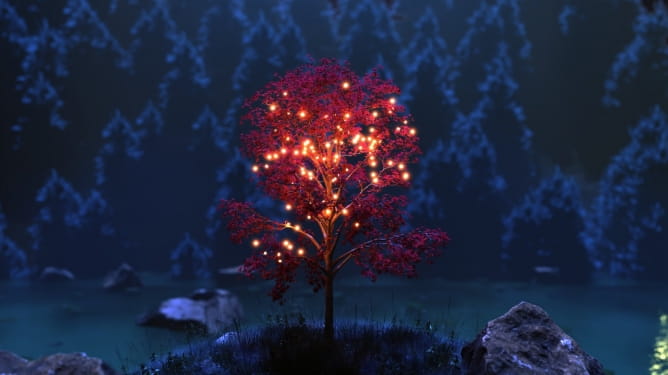
The final image.

Thanks for reading! :)

Author: Michal Franczak Editor: Michał Franczak
Tags:
You may also like...
Creating realistic landscapes and interiors: How to choose the best 3D plant models

Creating realistic landscapes and interiors: How to choose the best 3D plant models

Choosing the right 3D plant models is key to making your digital landscapes and interiors look real.
×

LEAVE A COMMENT

You need to be logged in to leave a comment. Don't have account? Register now.