UV unwrapping is the process of 'unfolding' a mesh so that you can create a 2D texture which fits the 3D object. It is generally necessary if you wish to texture your object very accurately, either in Blender itself or in an external image editor. A UV map is the flat representation of the surface of a 3D model used to easily wrap textures. The process of creating a UV map is called UV unwrapping. The U and V refer to the horizontal and vertical axes of the 2D space, as X, Y and Z are already being used in the 3D space.
Once the polygonal mesh has been created the next step is to “unwrap it” into a UV map. Now to give life to the mesh and make it look more realistic(or stylized) you want to add textures. However there is no such thing as a 3D texture, as they’re always based on a 2D image. This is where UV mapping comes in, as it is the process of translating your 3D mesh into 2D information so that a 2D texture can be wrapped around it.
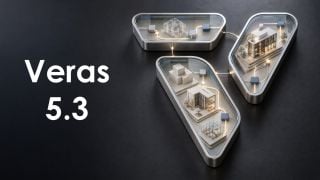
Veras 5.3 introduces NODES, a visual workflow builder now in Beta that lets users generate parametric geometry and bake it directly into Revit, Rhino, or SketchUp. The system shifts Veras from rendering-first to a full generative design platform with interactive design tools.
SketchUp 2025–2026 has added native PBR materials, AI image generation, and real-time rendering plugins like Lumion View, letting archviz artists produce photorealistic images without leaving the viewport. This collapses the traditional design-to-render pipeline.
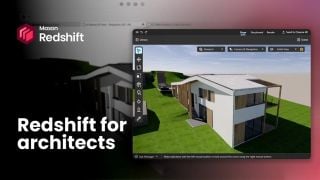
Maxon's Redshift 2027.0 cuts render times by up to 15% through memory optimization and adds official Archicad integration alongside improved materials and live feedback tools.
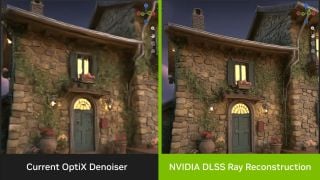
Blender 5.3 arrives November 10 with DLSS 4.5 Ray Reconstruction, an AI-powered denoiser for Cycles that works on RTX 20–50 series cards. The upgrade promises faster interactive lighting workflows at near-final quality.
Chaos released V-Ray for Blender 7.4 with Windows ARM64 compatibility, Phoenix Ocean textures for exterior scenes, Quick Sun Caustics for realistic lighting, and tools to organize large asset libraries and migrate from Blender's native renderer.
Maxon's October 2026 release adds procedural vegetation scattering, reworked GPU memory management in Redshift, and liquid simulation—streamlining environment work and viewport iteration for archviz studios.
A free community plugin now lets 3ds Max users with older GPUs access neural rendering via DLSS 5, potentially speeding up renders without hardware upgrades.
Blender 5.3 arrives November 10 with DLSS 4.5 Ray Reconstruction, an AI-powered denoiser for Cycles that works on RTX 20–50 series cards. The upgrade promises faster interactive lighting workflows at near-final quality.
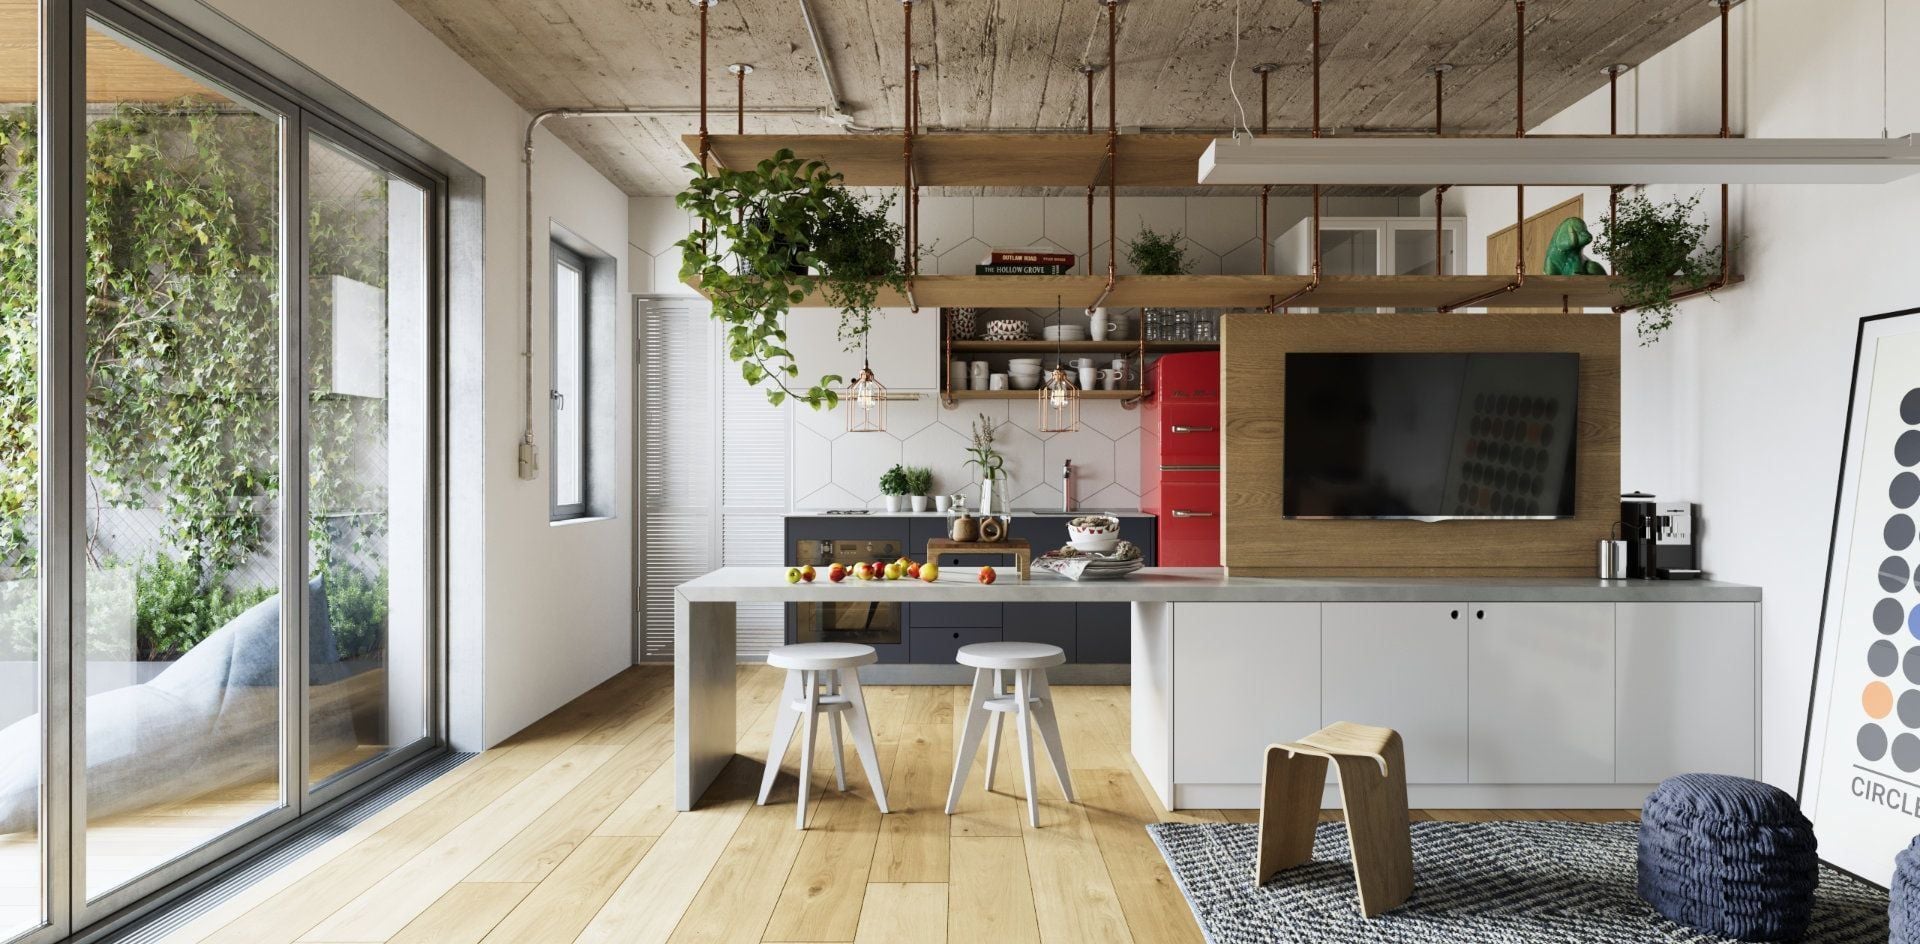
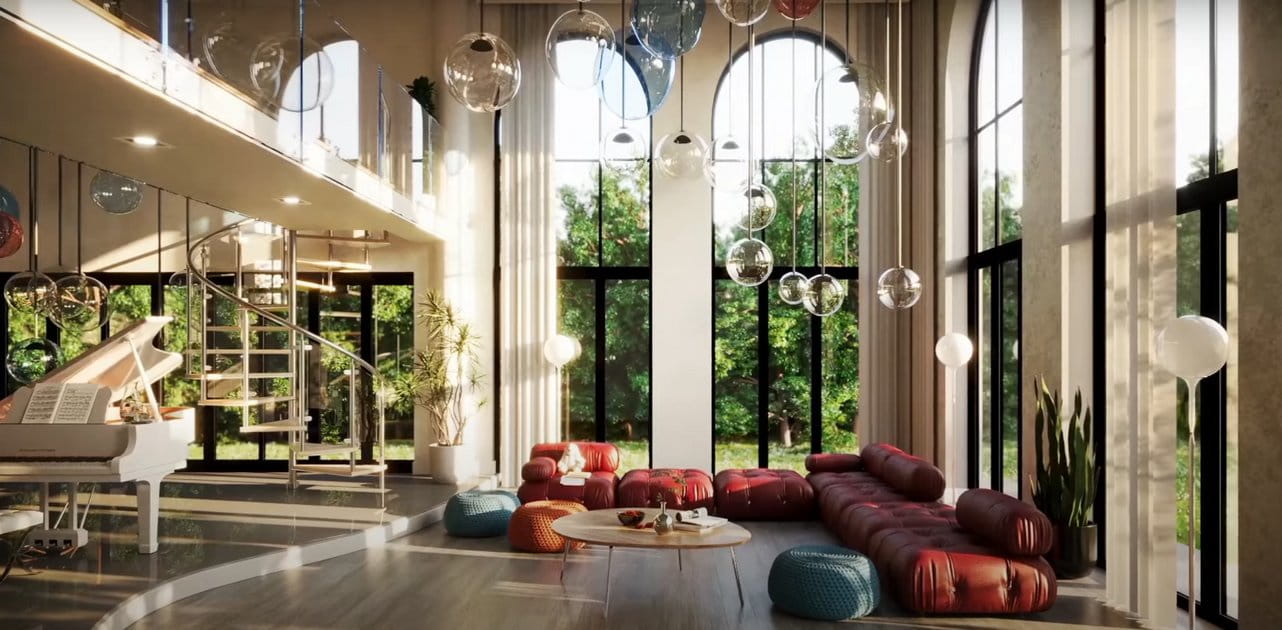
In this walkthrough, we guide you through the process of building a polished 3D interior scene inspired by the cover of Archmodels vol. 306 – Table Sets.


 Customer zone
 Your orders
 Edit account
 Add project
 Liked projects
 View your artist profile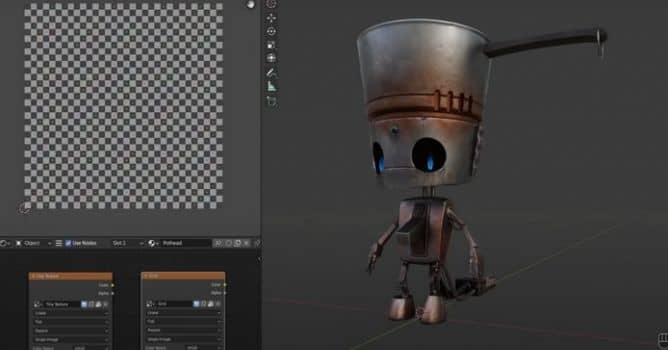









COMMENTS