Evermotion: More Than an Asset Library
How Evermotion became a full-scale production partner for archviz, automotive and synthetic data.


Total: € 0

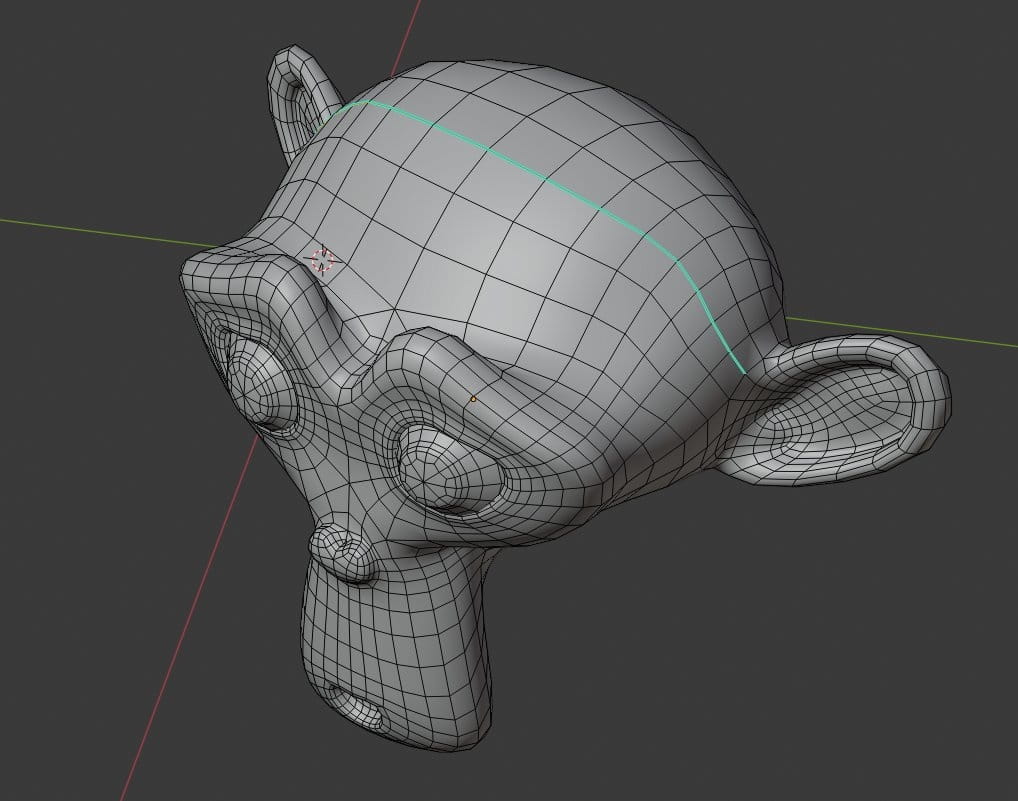
Shading refers to the way objects are drawn and lit in the 3d software - both in the viewport and rendering. Most objects are represented by polygons, when object has flat shading, they appear as a series of small, flat faces. Sometimes we need a different result - smooth transition between object's faces. This is when we need a smooth shading.
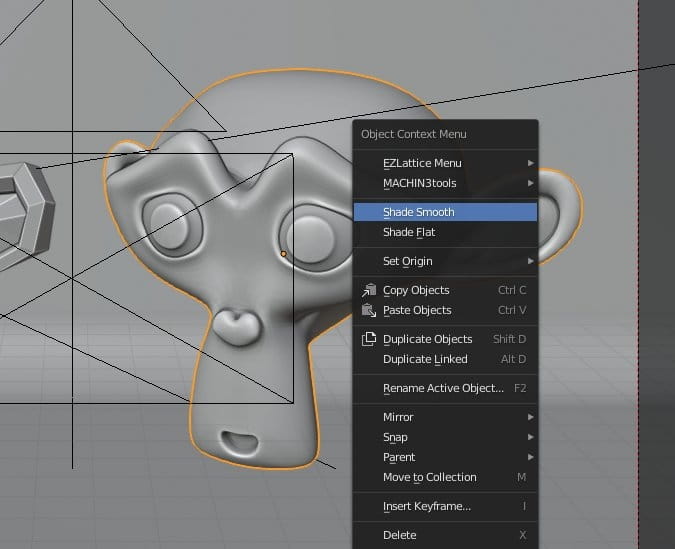
You can choose shading for an entire mesh in right click menu
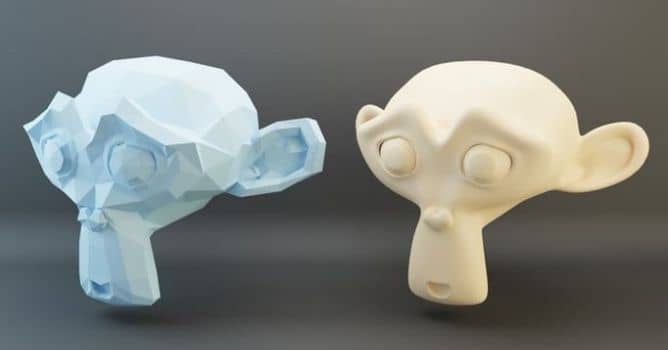
What is "flat" and "smooth" shading?
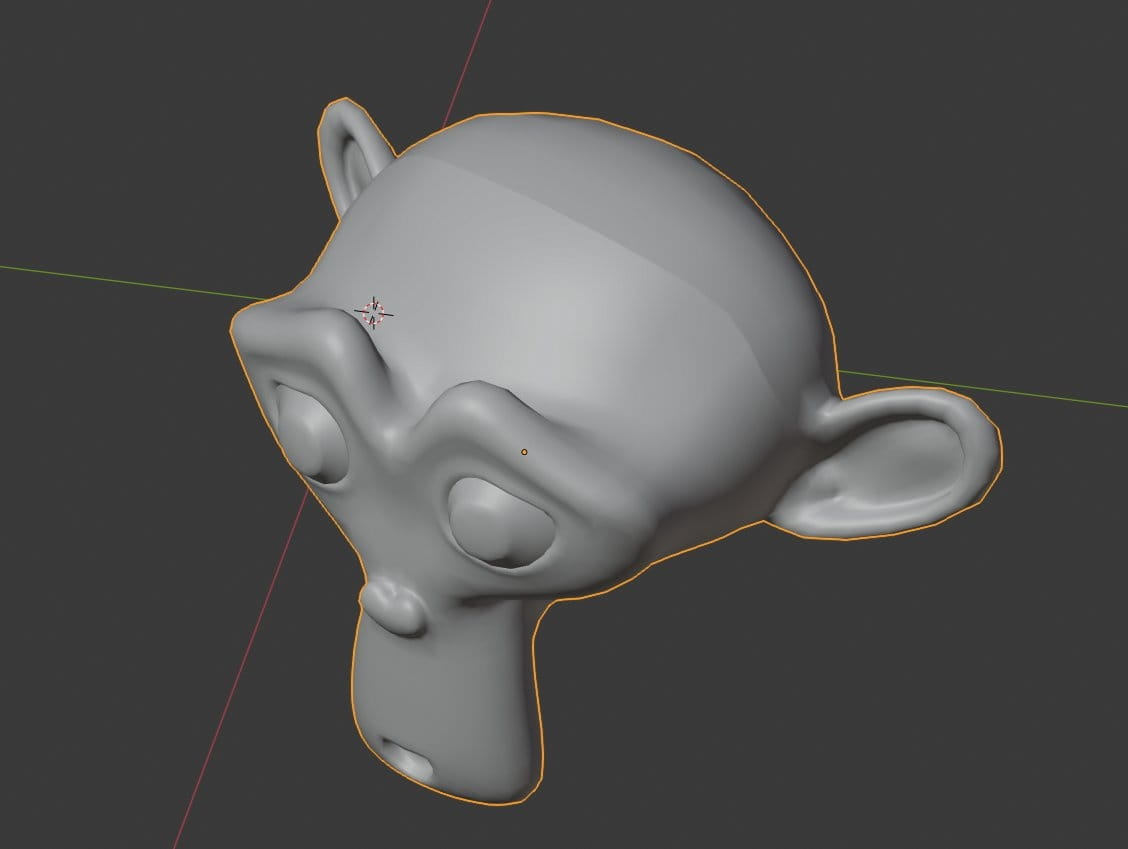
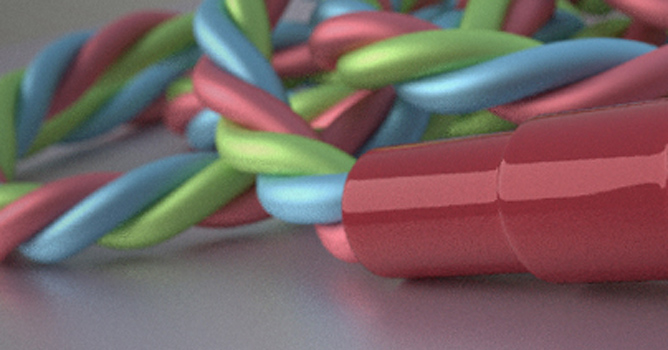
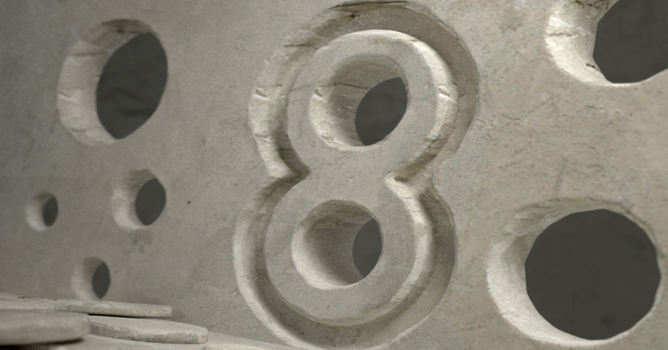
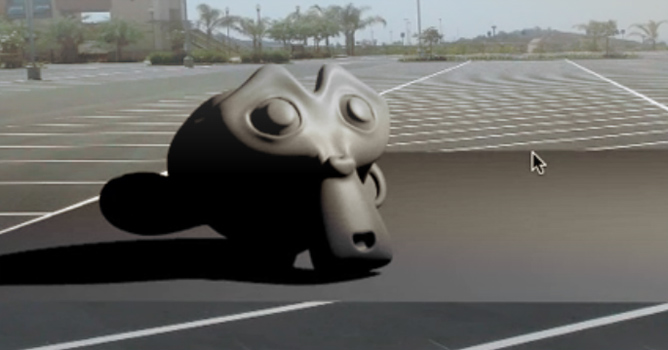
What lies underneath "flat" and "smooth" shading? The answer is: normals. Normals are perpendicular lines that go outwards and are pointing at the direction which poligons, edges and vertices are facing. When we get "flat" shading, edges normals are not averaged, so each poligon can be seen as a separate quad / triangle or ngon. When we choose "smooth" shading, we get smooth averaged results between normals directions.

Flat shading (on the left) and smooth shading on the right.
So, we can choose direction of normals across entire mesh. But what, if we need to mix some smooth and flat shading? Things get a bit complicated when we need some parts of our object to be crisp and sharp, and the other - smooth as a butter. Choosing shading on object level won't help, we need to get into control of shading on lower level - we need to decide which edges will stay smooth, and which will be sharp. We also need this kind of control, because sometimes normals are getting flipped during modeling, so we need to correct them.
We can go into edit mode, select some polygons, right click and make them "smooth" or "flat".
(Semi)automated control of shading
How do we control shading of complex meshes, when we need to have flat and smooth shading combined? One of popular ways is to enable "auto smooth" option in Blender objects preferences, set it to 180 angle and then, manually select edges that need to be sharp and mark them sharp.
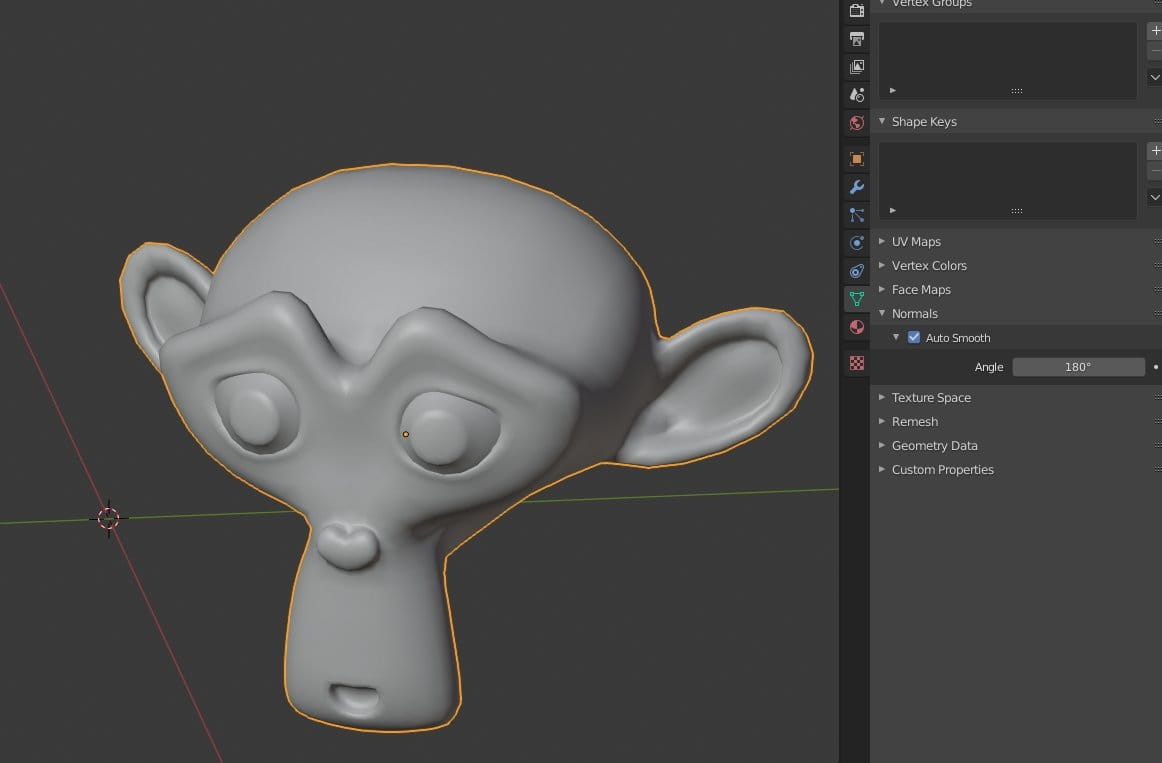
Auto-smooth option

Select edge and right click, choose "mark sharp"
Sharp edge has its special overlay color in viewport
The result - we can see one sharp edge of our object
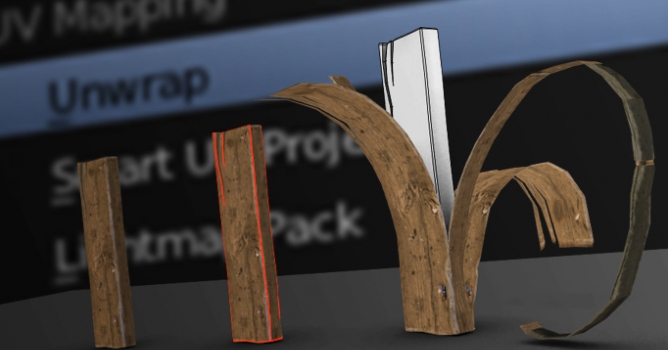
It is a good solution, although it can be a little tedious, if we need to deal with complex meshes. Luckily, there are some Blender addons that help us to achieve good shading in almost automatic way. One of them is Hard Ops (paid add-on). It is not perfect for organic shapes, it greatly helps to speed up workflow in hard surface modeling though.
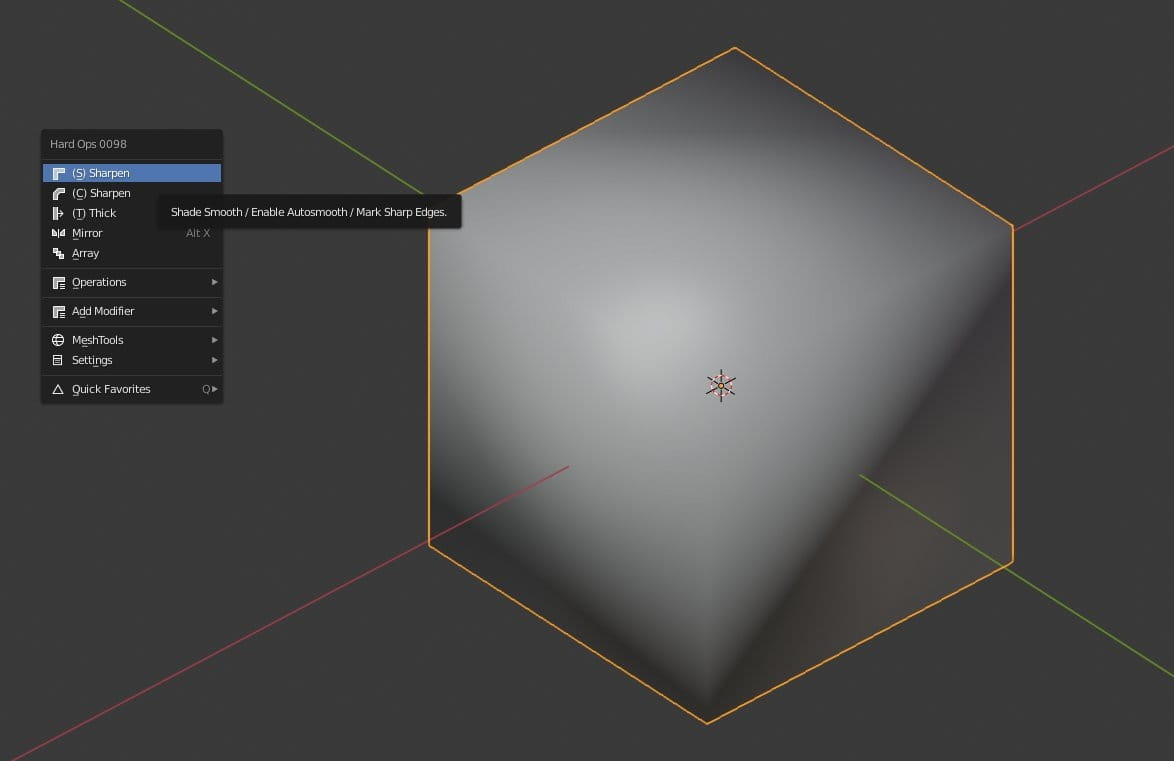
You can select your object, open HardOps menu and run "SSharps" command. It does a couple things in the background:
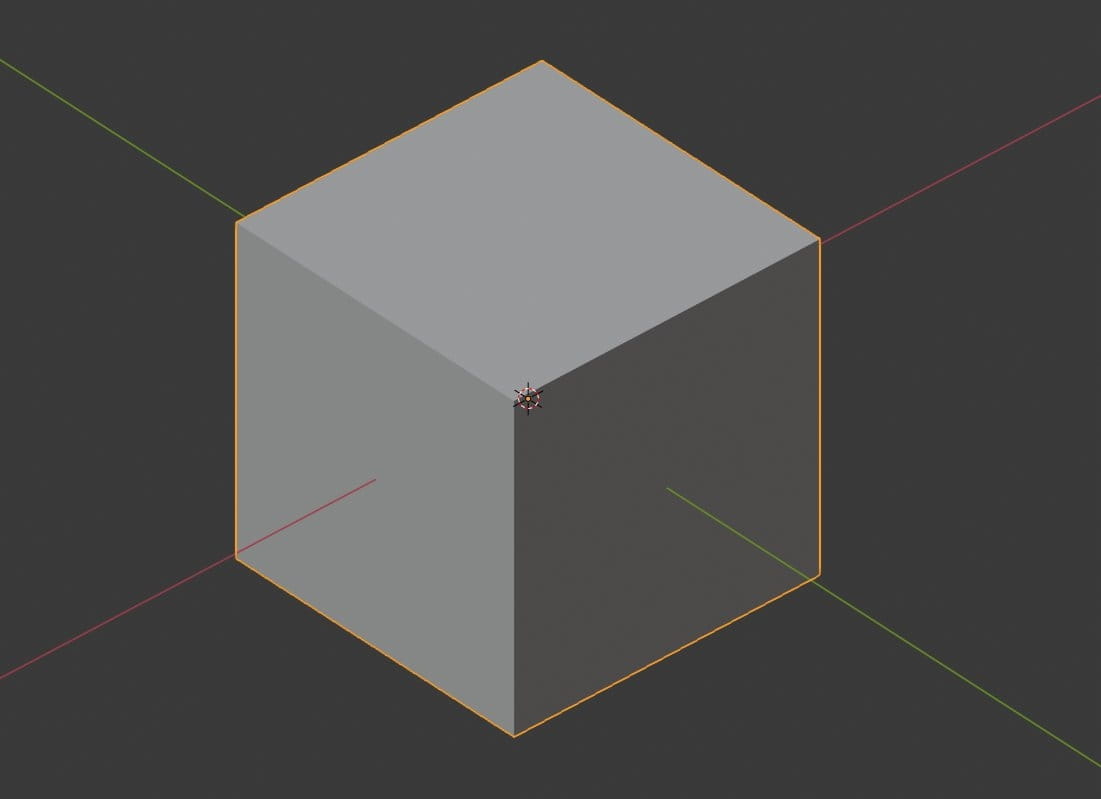
In the result we get mesh that is properly shaded in the most of cases. If we need some fixing, we can tweak smoothing angle or manually set some edges to sharp / smooth.
Fixing normals
Sometimes normals get screwed up during mopdeling, we need to change their direction. We also need to know how to enable display of normals in viewport. there are a couple of options that are available.

Backface culling - if you enable this option, you will not see poligons that are facing backwards in viewport, it will help you to notice errors in normals.

Visualize normals - if you want, you can enable display of normals in the viewport. You can choose between vertex, edge and face normals or select all of them at once.

Face orientation - this option is available since Blender 2.8 and it is the best and the fastest method to analyze your mesh when it comes to flipped normals. Normals that are facing outwards are painted blue, those that are facing backwards are painting red. It does not get any simpler than that.
Why do we need to fix our normals? Blender Cycles render engine is very forgivalble, when it comes to normals and it will render mesh correctly even, if its faces are facing backwards. But even Cycles will render flat and smooth edges differently, so we need how to control shading. The other case which requires perfect shading is when we want to use Boolean operations on our meshes or export objects to game engines.
Fixing normals is quite simple - you can go into edit mode of a mesh, select poligons that are facing the wrong direction and run "flip normals" command. But there is also a faster method - go into edit mode, select all poligons and run "recalculate normals" command. It will make all normals consistent. And if you will want them all to be flipped you can do it, using option panel for this command.


LEAVE A COMMENT


|

|

|

|

|
 Customer zone
 Your orders
 Edit account
 Add project
 Liked projects
 View your artist profile
COMMENTS