Evermotion: More Than an Asset Library
How Evermotion became a full-scale production partner for archviz, automotive and synthetic data.


Total: € 0

Designing a modern living room scene in Blender can be a straightforward process when using high-quality assets. At Evermotion, we prepare detailed 3D models and CG environments that allow professionals to focus on creativity rather than starting from scratch. By using structured layouts and precise proportions, you can achieve a realistic and functional space with ease. Accurate lighting setups and optimized textures provide a strong foundation for rendering, making your scene more visually convincing.
One approach is to define the main elements first, such as the floor plan and central furniture pieces, before moving to smaller decorative details. Adjusting material settings with subtle color variations can help create depth, while refining reflections will add a polished final touch. These steps help establish a balanced interior, and working with organized collections inside Blender keeps the project efficient from start to finish. High-quality assets = improved workflow and more professional results.
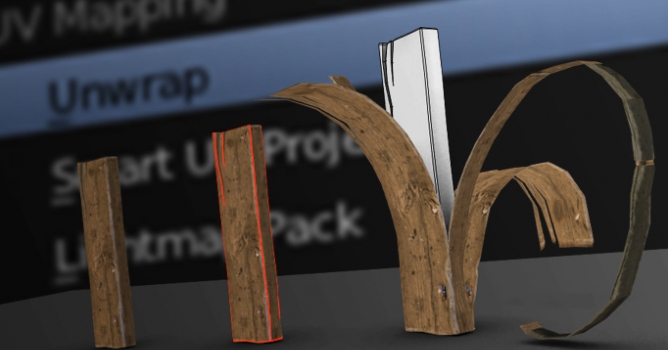
After placing the main elements, you can shift your focus to details that elevate the entire composition. Adding well-designed props and adjusting their scale will help the living room look complete without overcrowding the scene. Our CG resources are compatible with major rendering engines, which allows you to experiment with different lighting setups until you find the most appealing result. Consistency in texture resolution and proper UV mapping also ensures that every surface looks natural.
Rendering settings should match the quality of the assets being used. When combined with optimized materials and clean geometry, your images will maintain a high standard. Organizing your workflow can save valuable time, and it also allows you to make quick changes when necessary. Carefully balancing each component = a final visualization that meets professional standards. At Evermotion, we provide the resources you need to keep your projects on schedule while maintaining excellent visual quality.

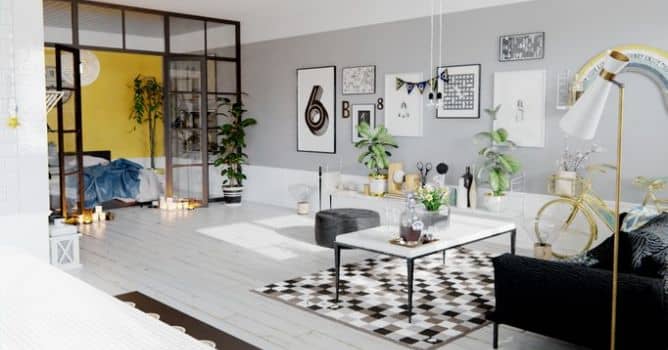
This is a final render after post-production. Raw image is not very different from final stage - post-production was made netirely in Blender and it consisted of creating subtle vignette effect.
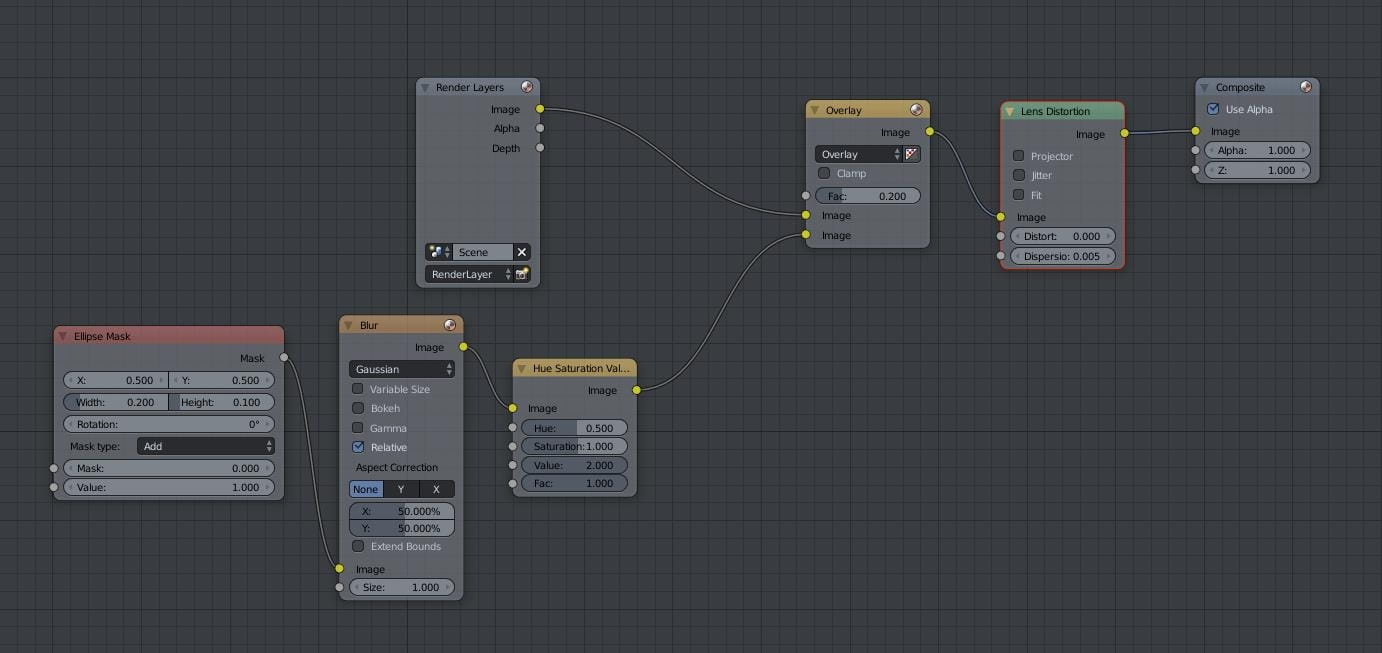
Vignette nodes in post-production
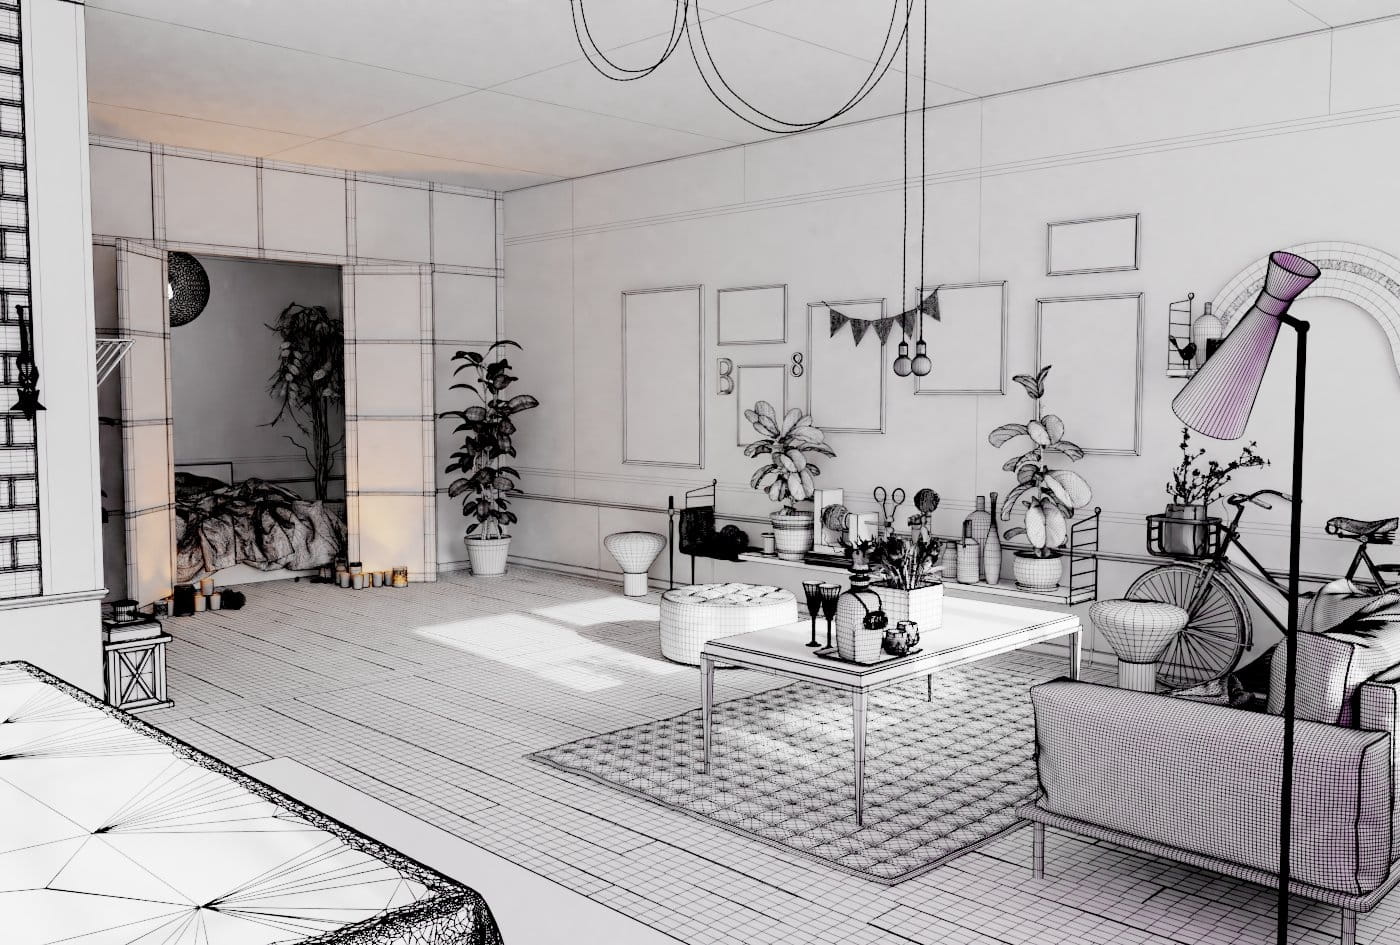
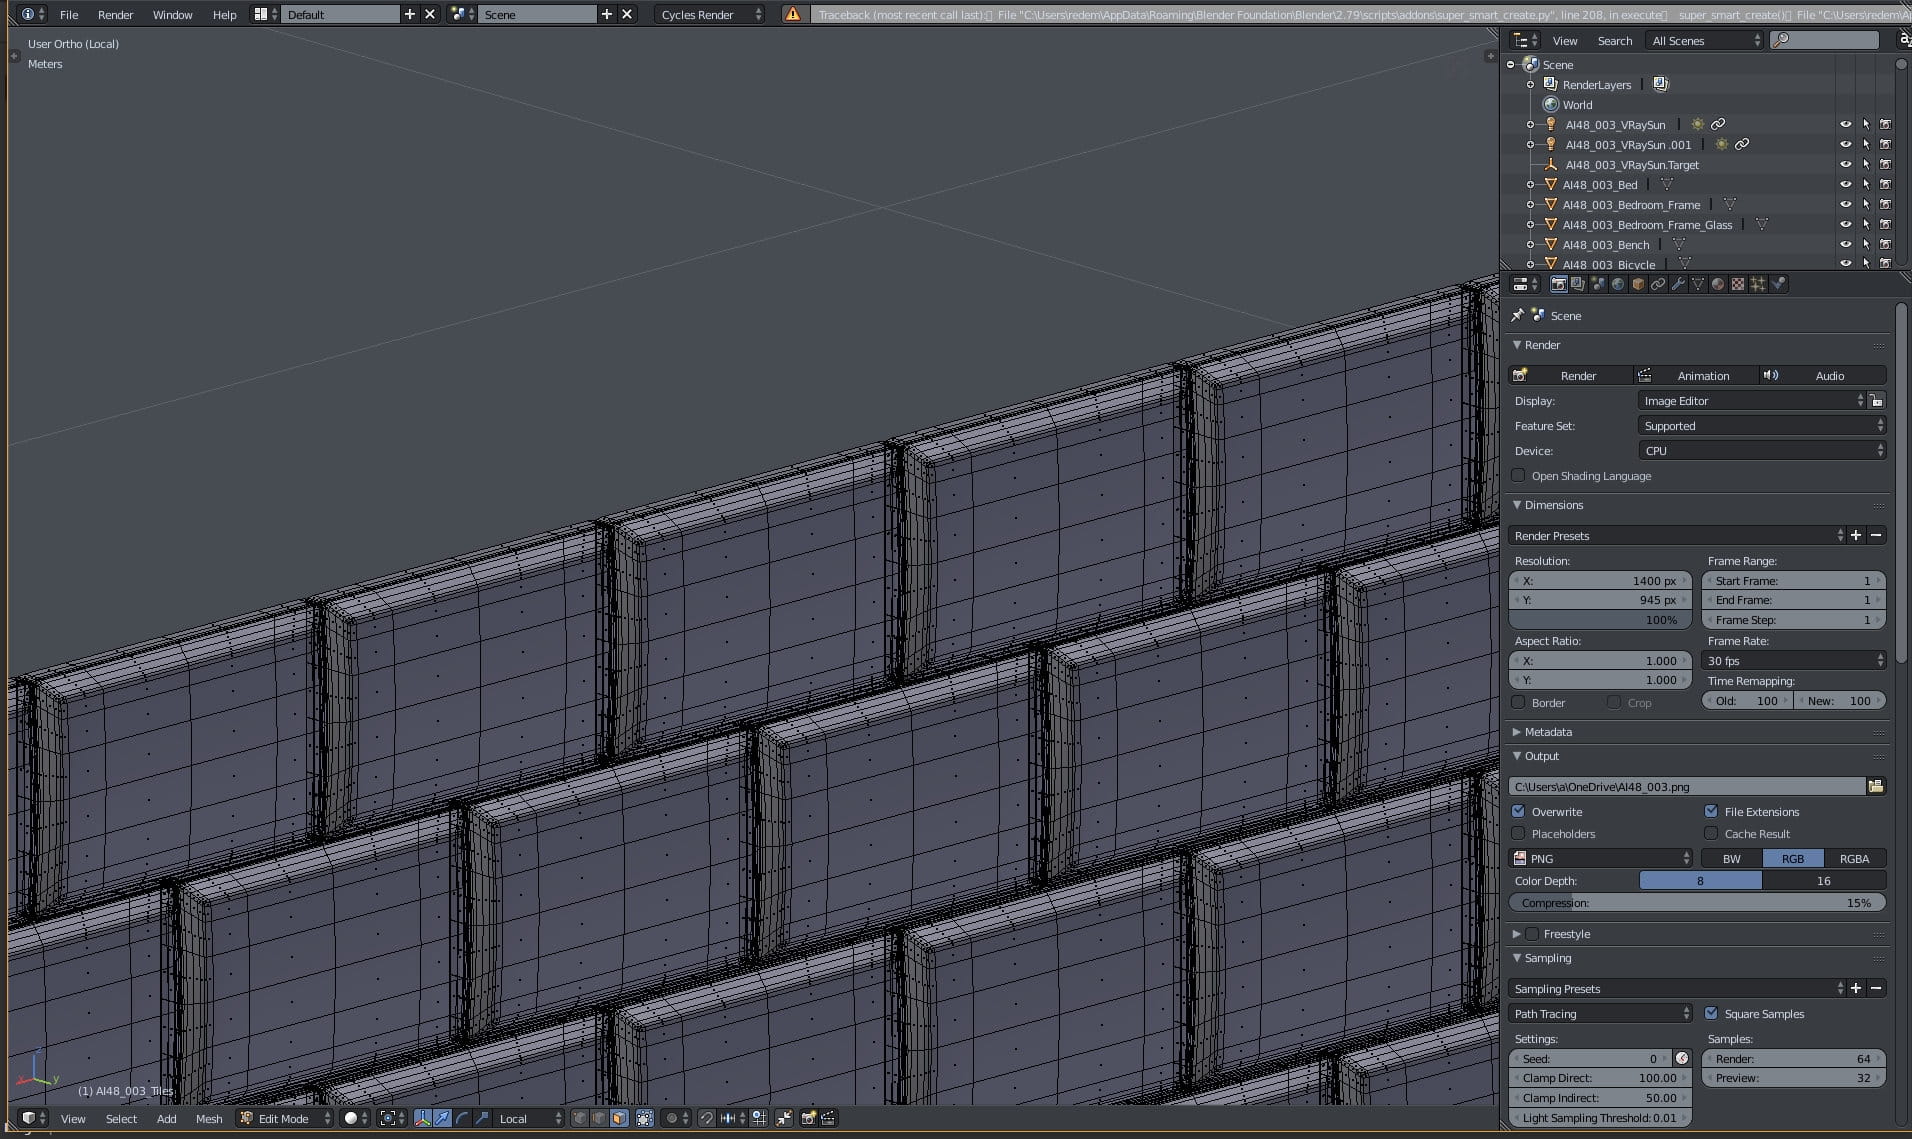
Wireframe view of the final scene.
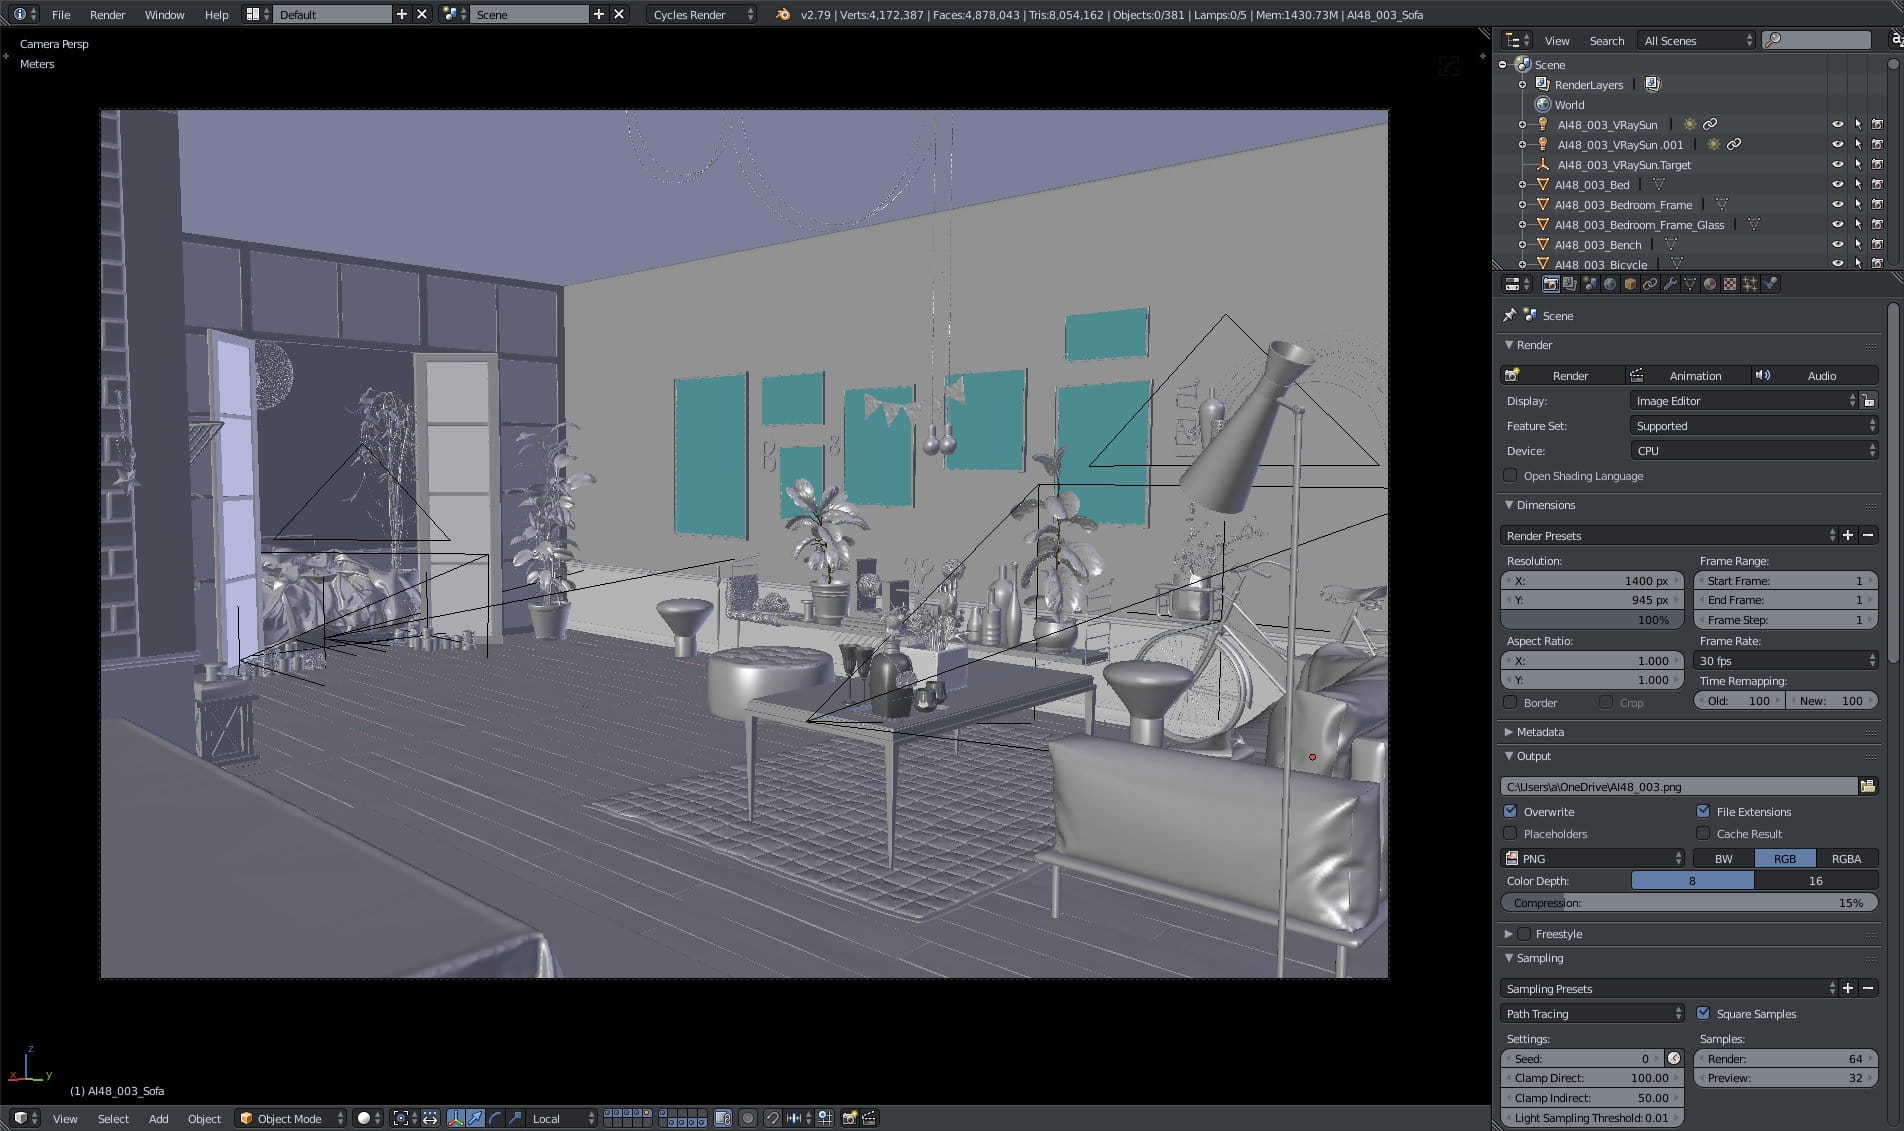
Scene in Blender viewport.
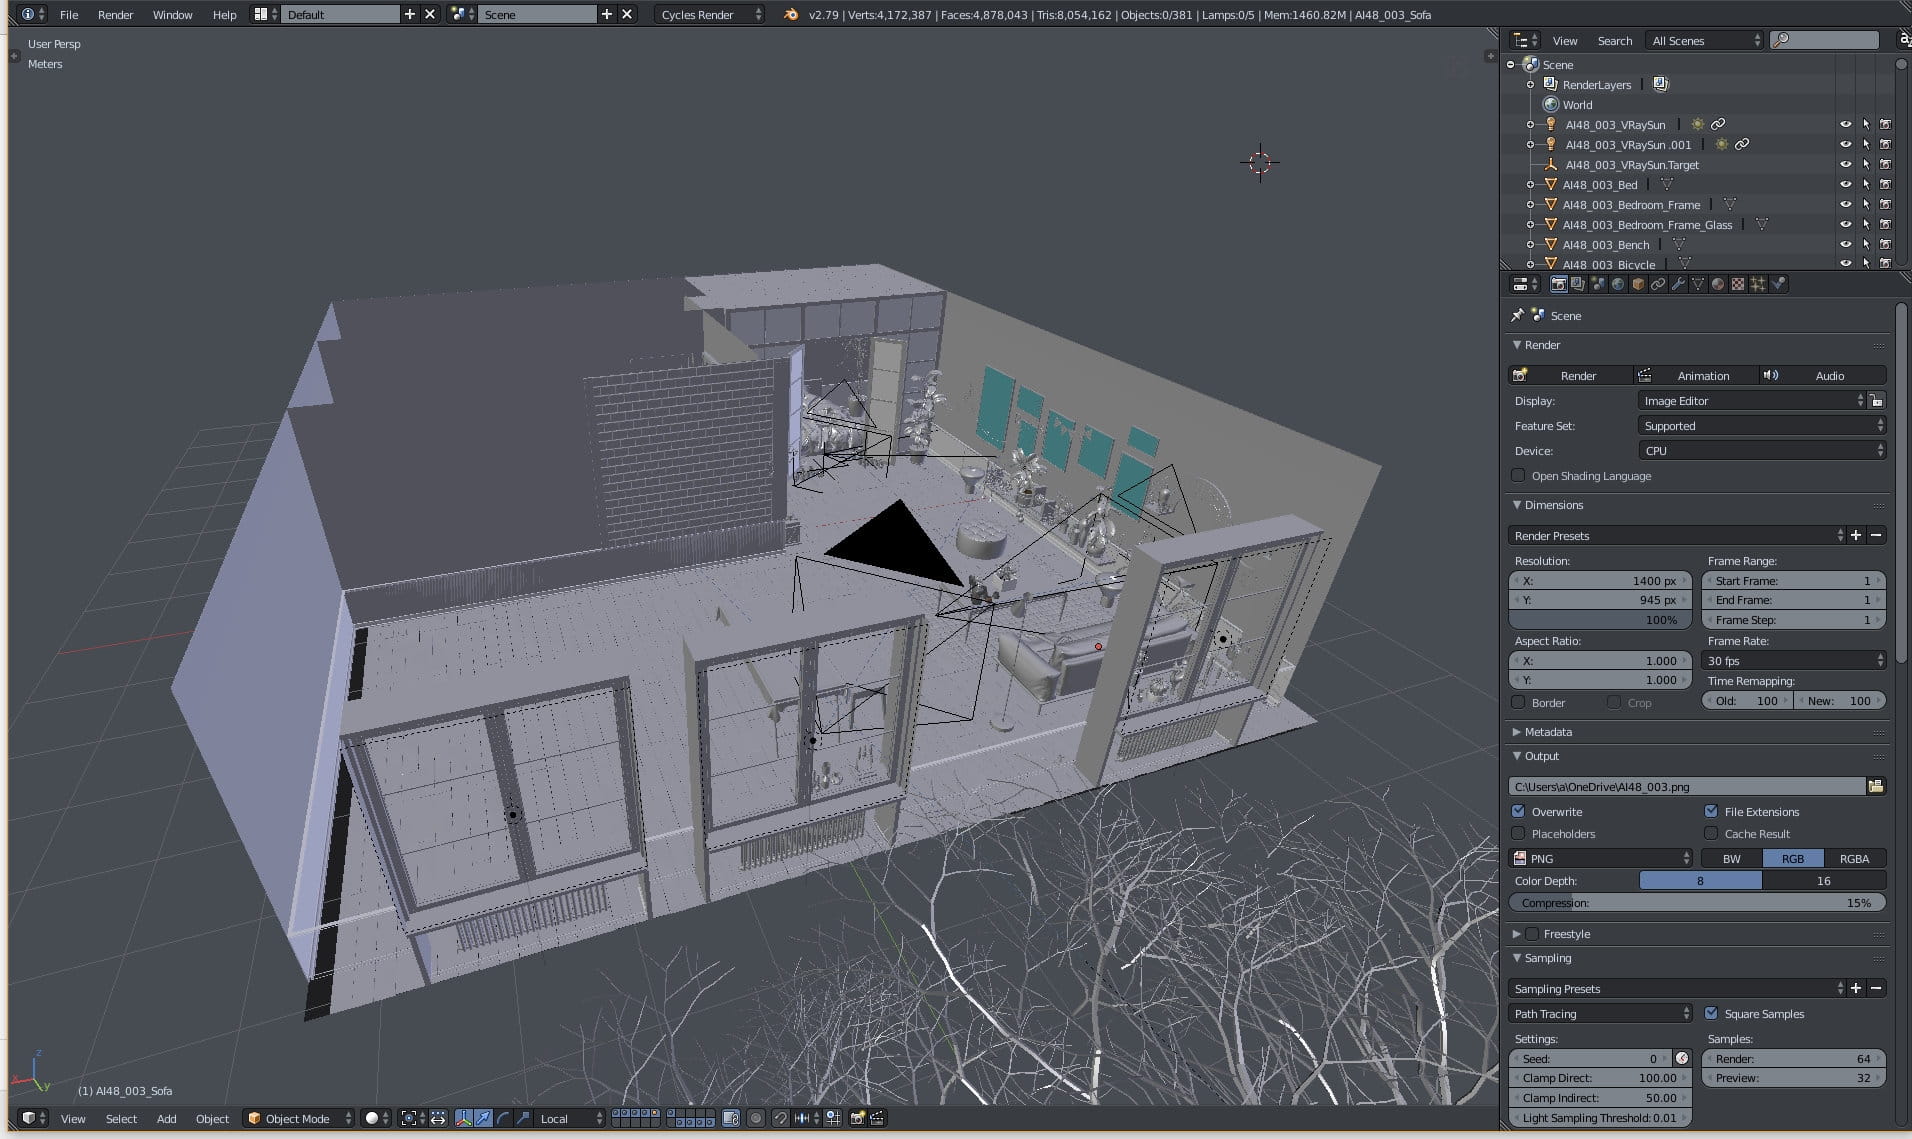
Another view of the scene. The interior consists of a large living room, small bedroom in the back and two middle-sized empty rooms to the left.
Tiles on the wall - mesh is quite detailed, although it's barely visible to the camera.
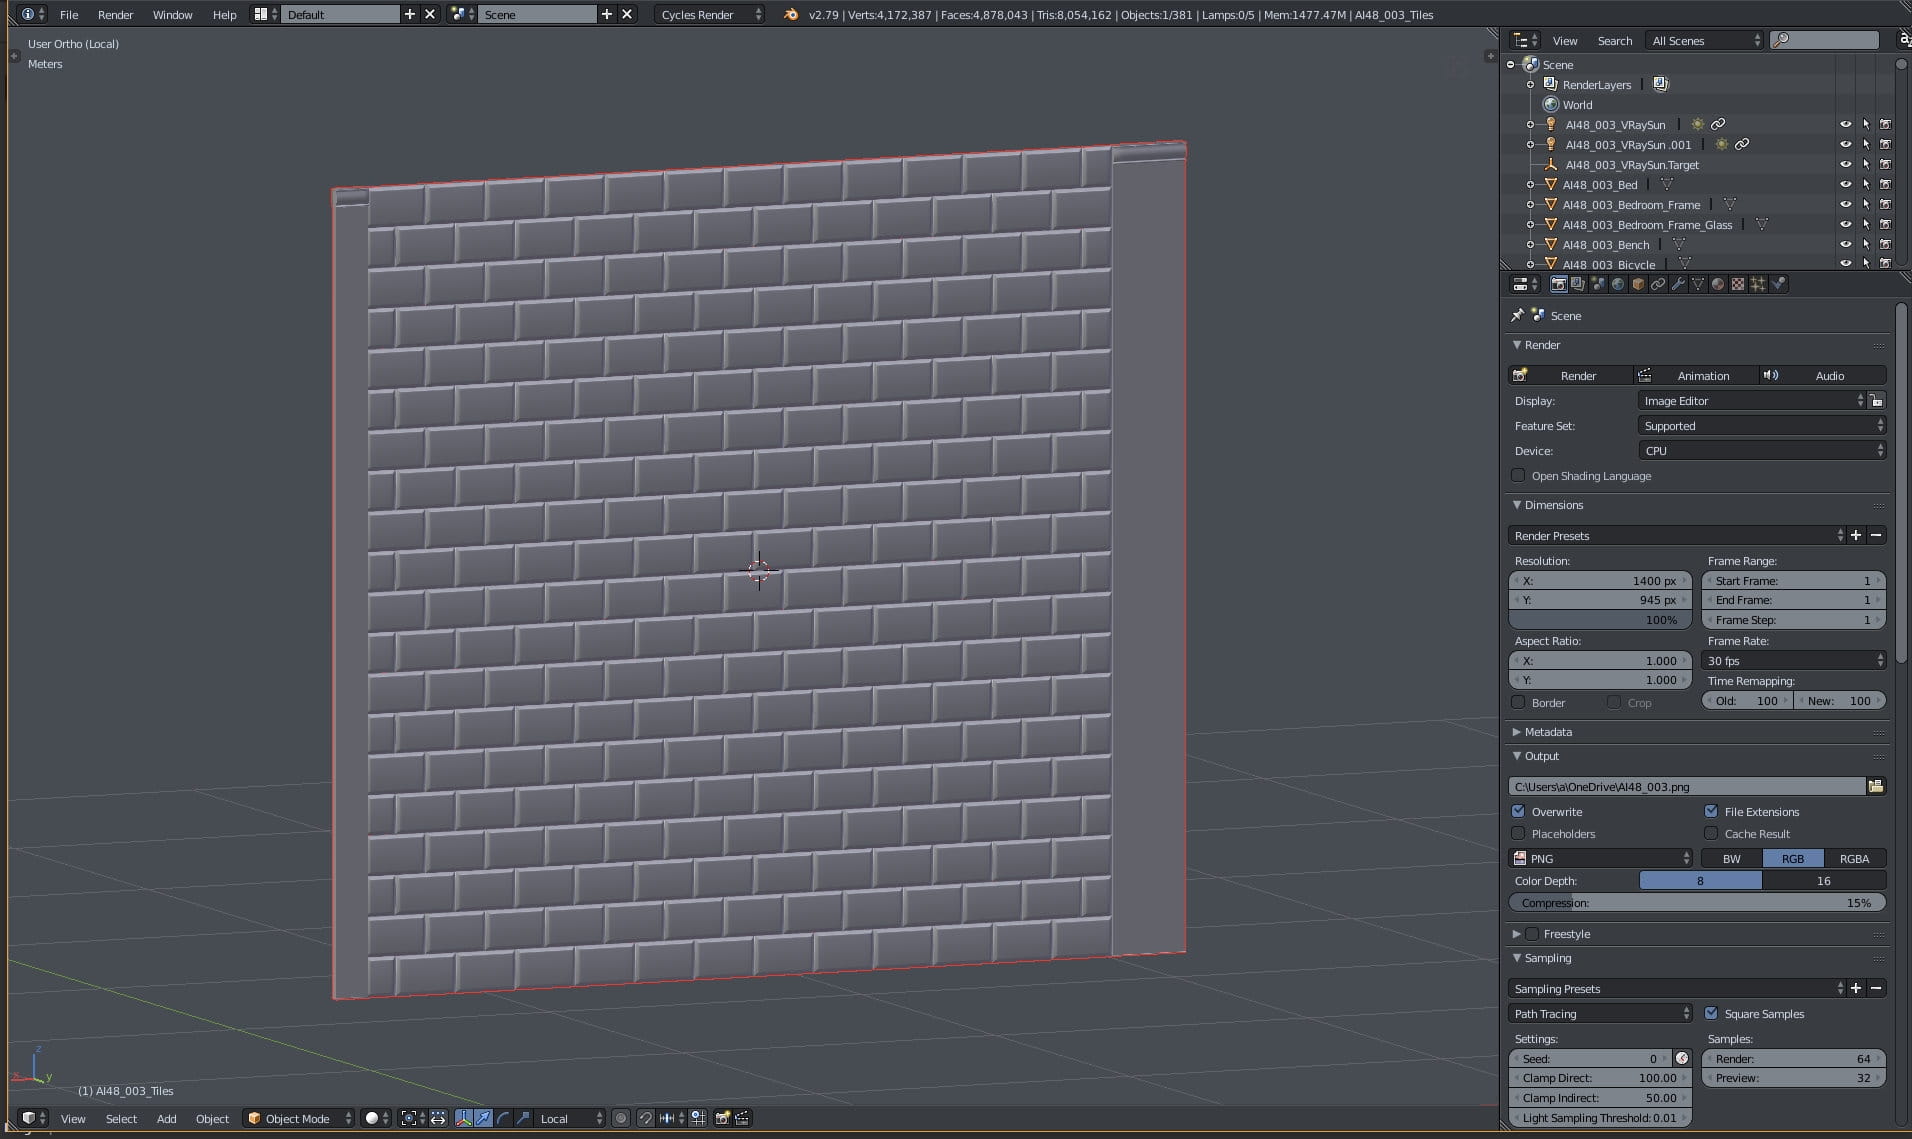
Mesh is made from an array of single tiles - the most common way of creating reapeating shapes.
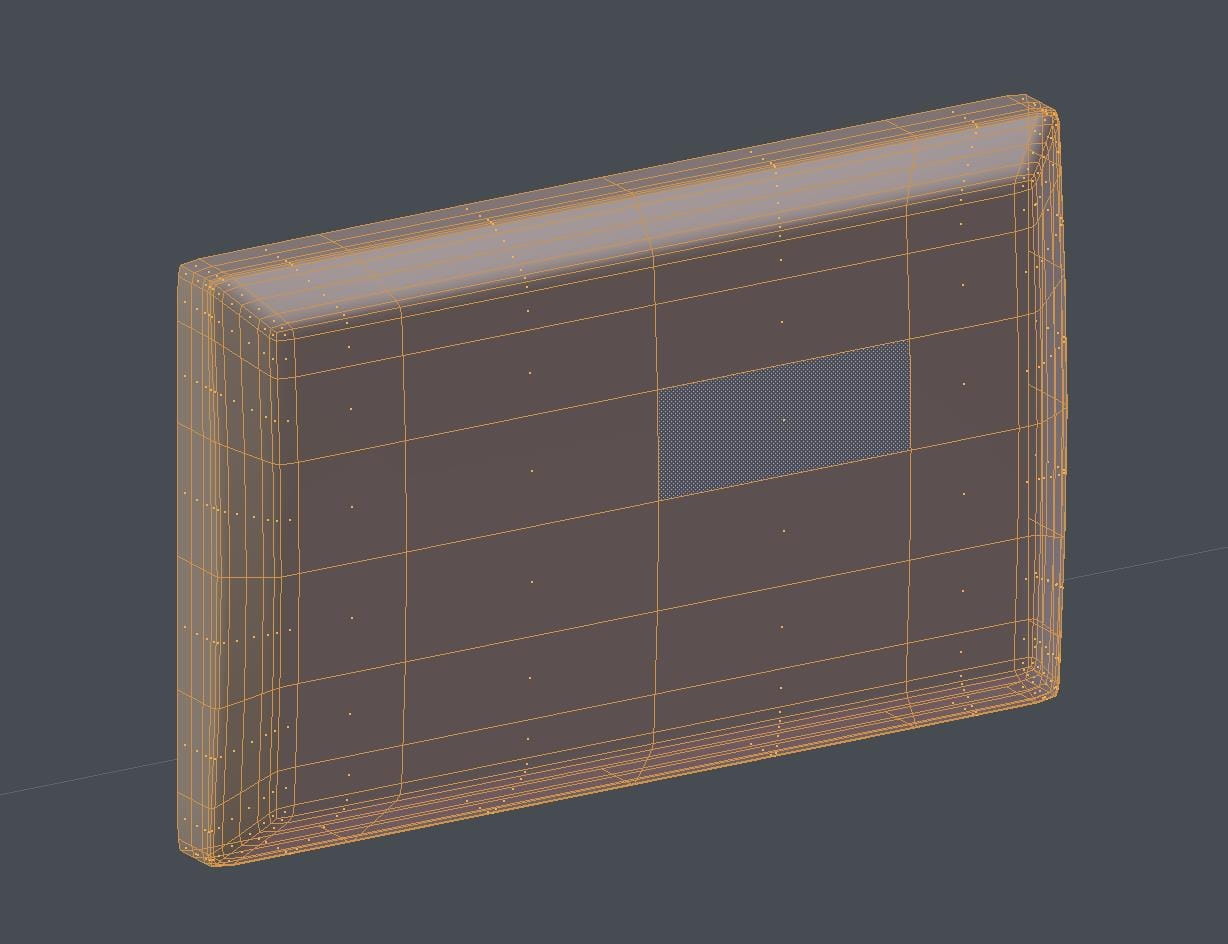
Single tile mesh.
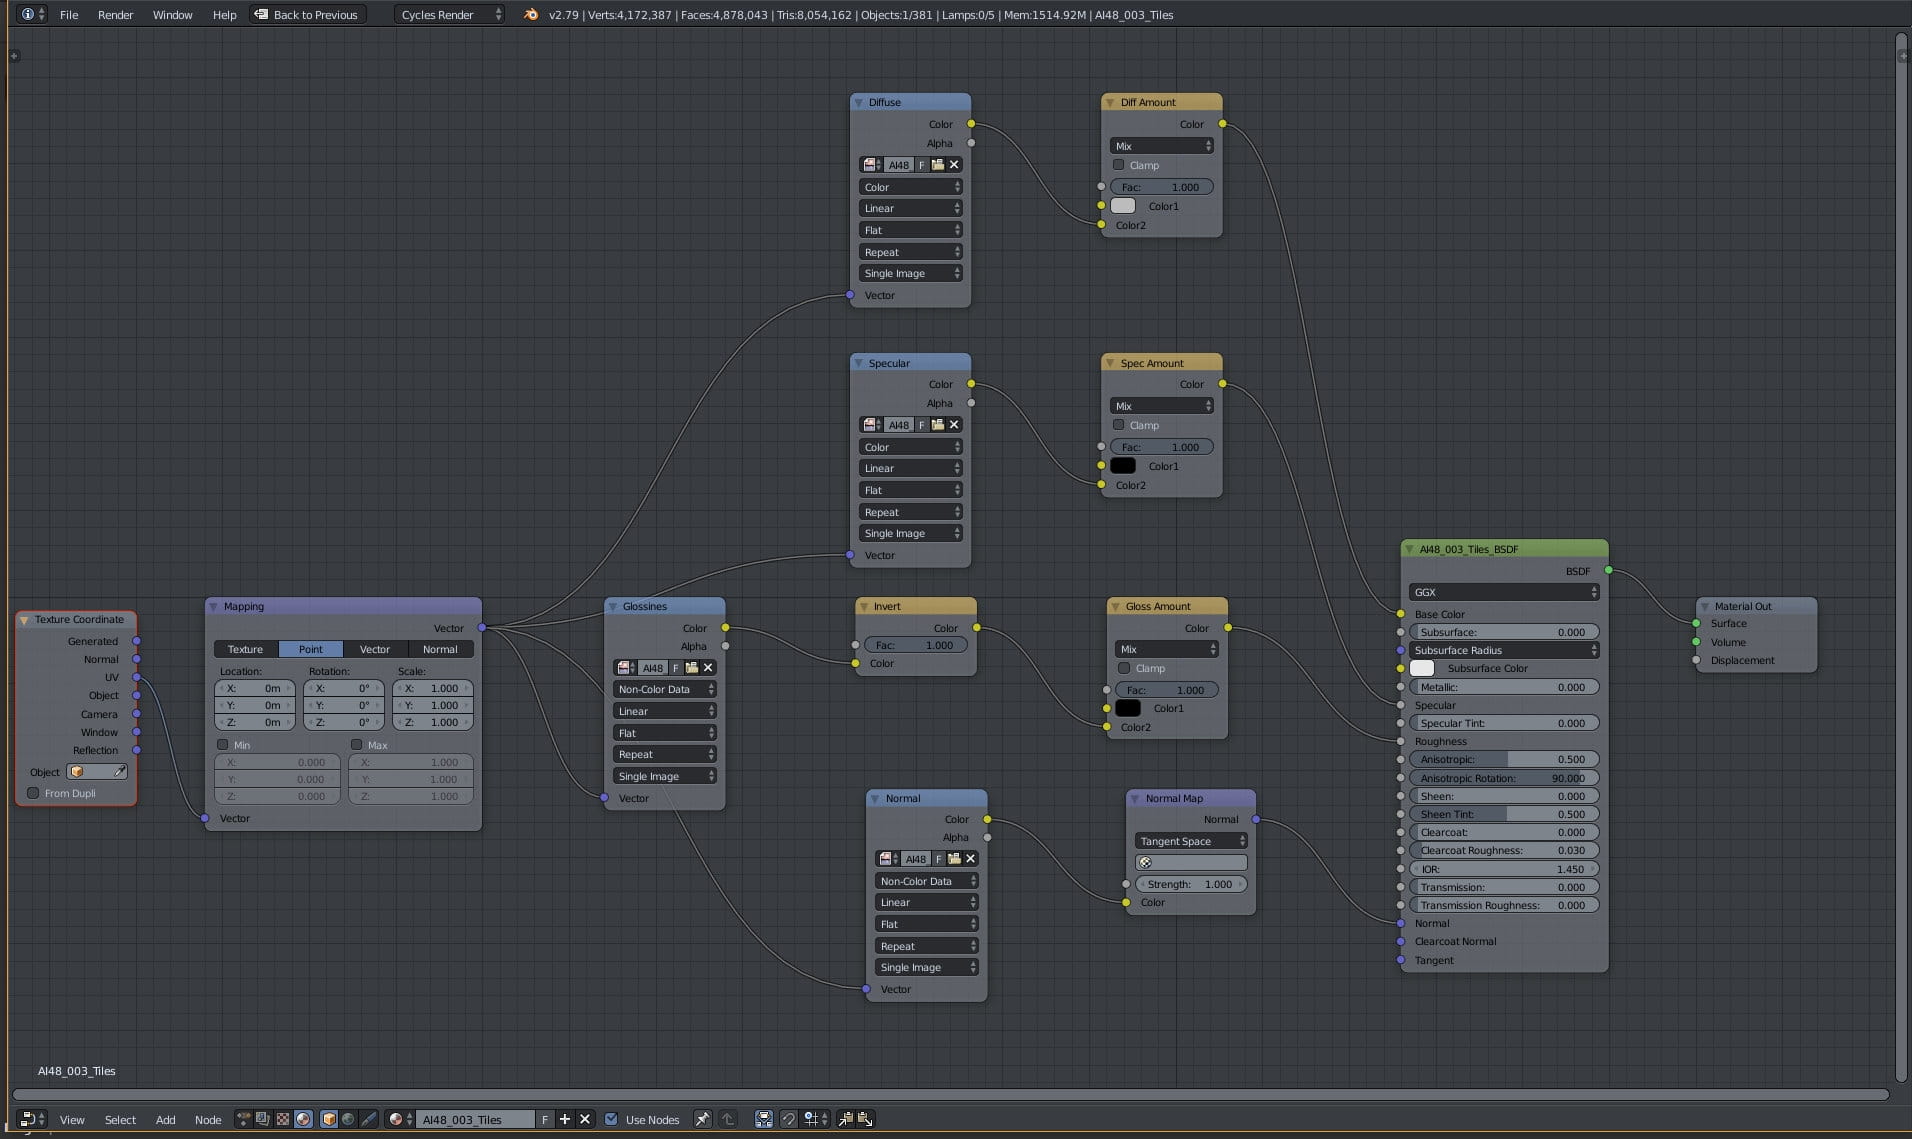
Tiles material. Materials were created in Substance Painter. As we first created them with V-Ray in mind, you can see glossiness map instead roughness map. Basically each material is made with the same scheme: diffuse map, specular map, glossiness map and normal map. We invert glossiness and add two nodes for controlling diffuse and roughness intensity.
Tiles textures - diffuse on the top and glossiness on the bottom.
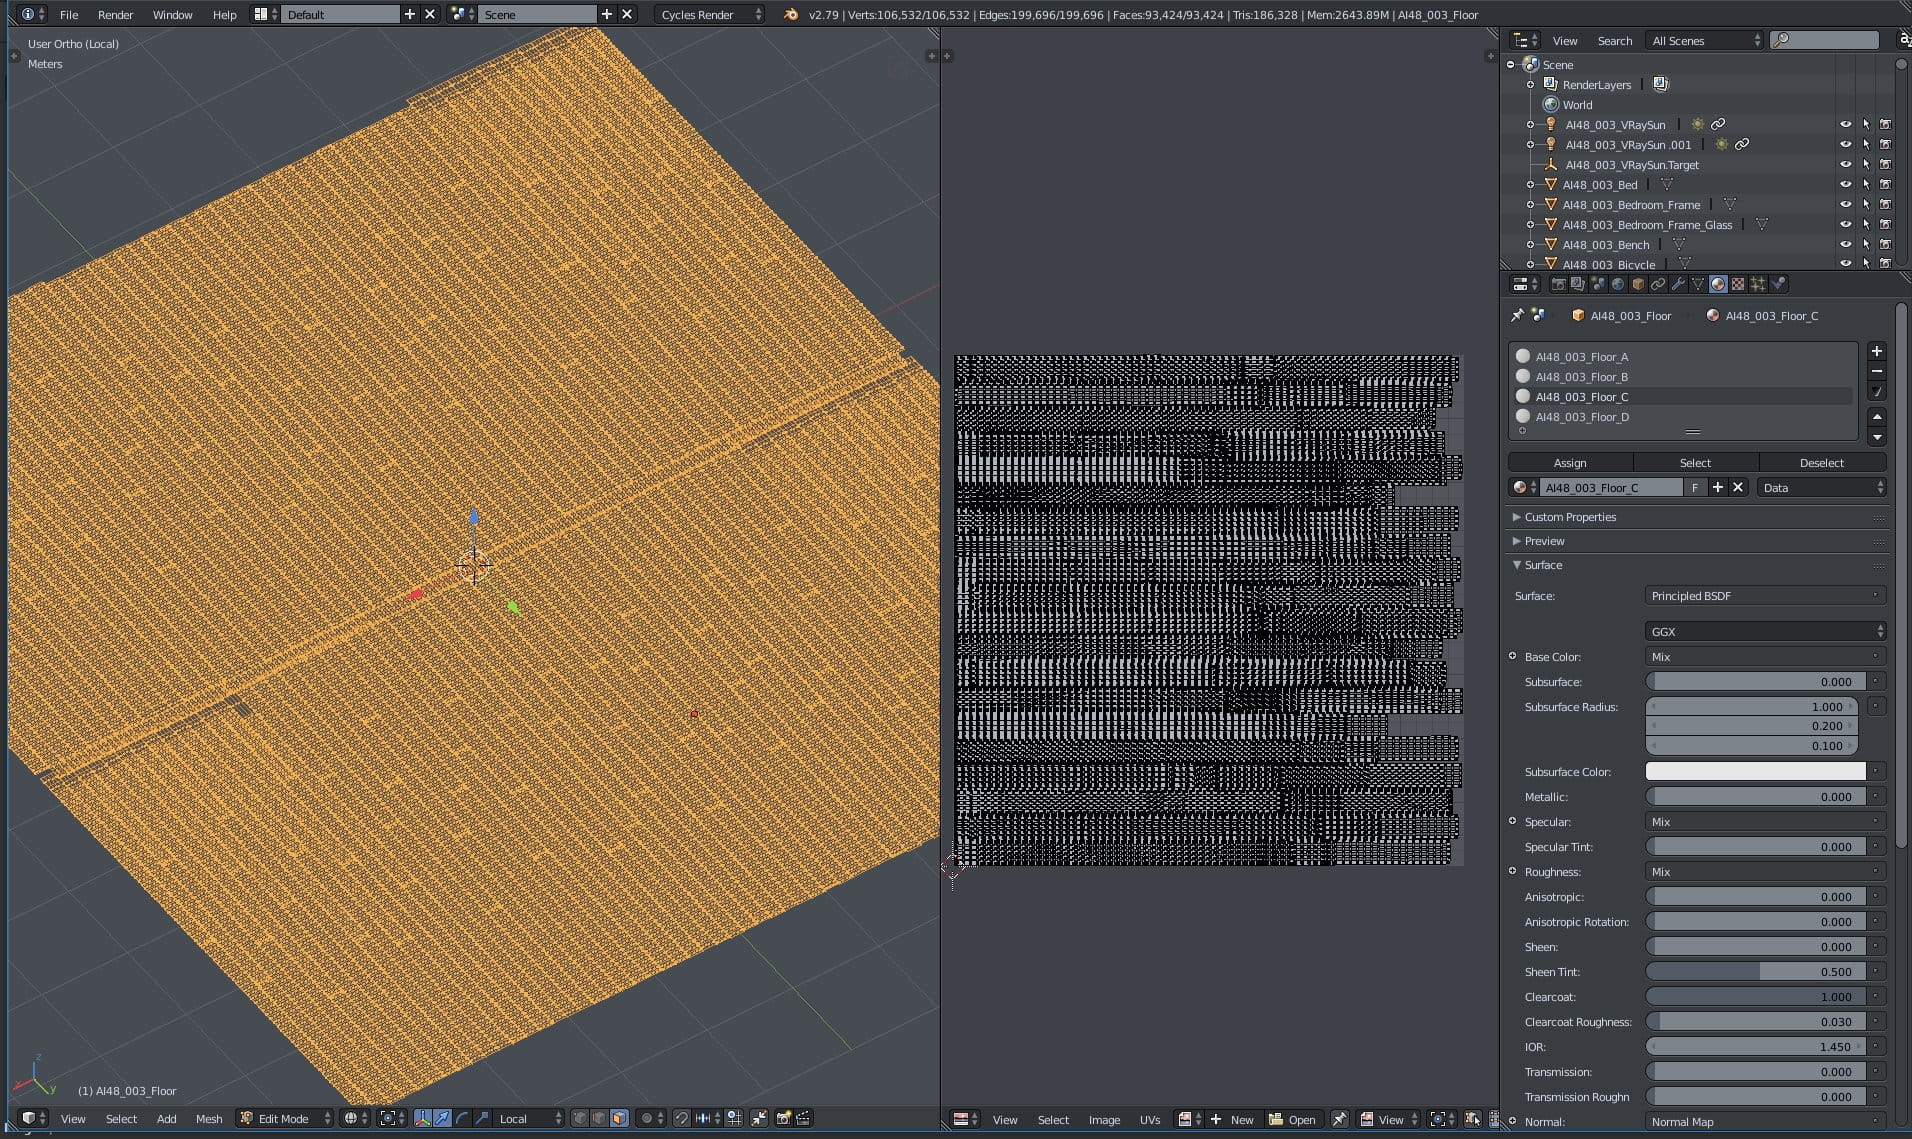
Floor mesh.
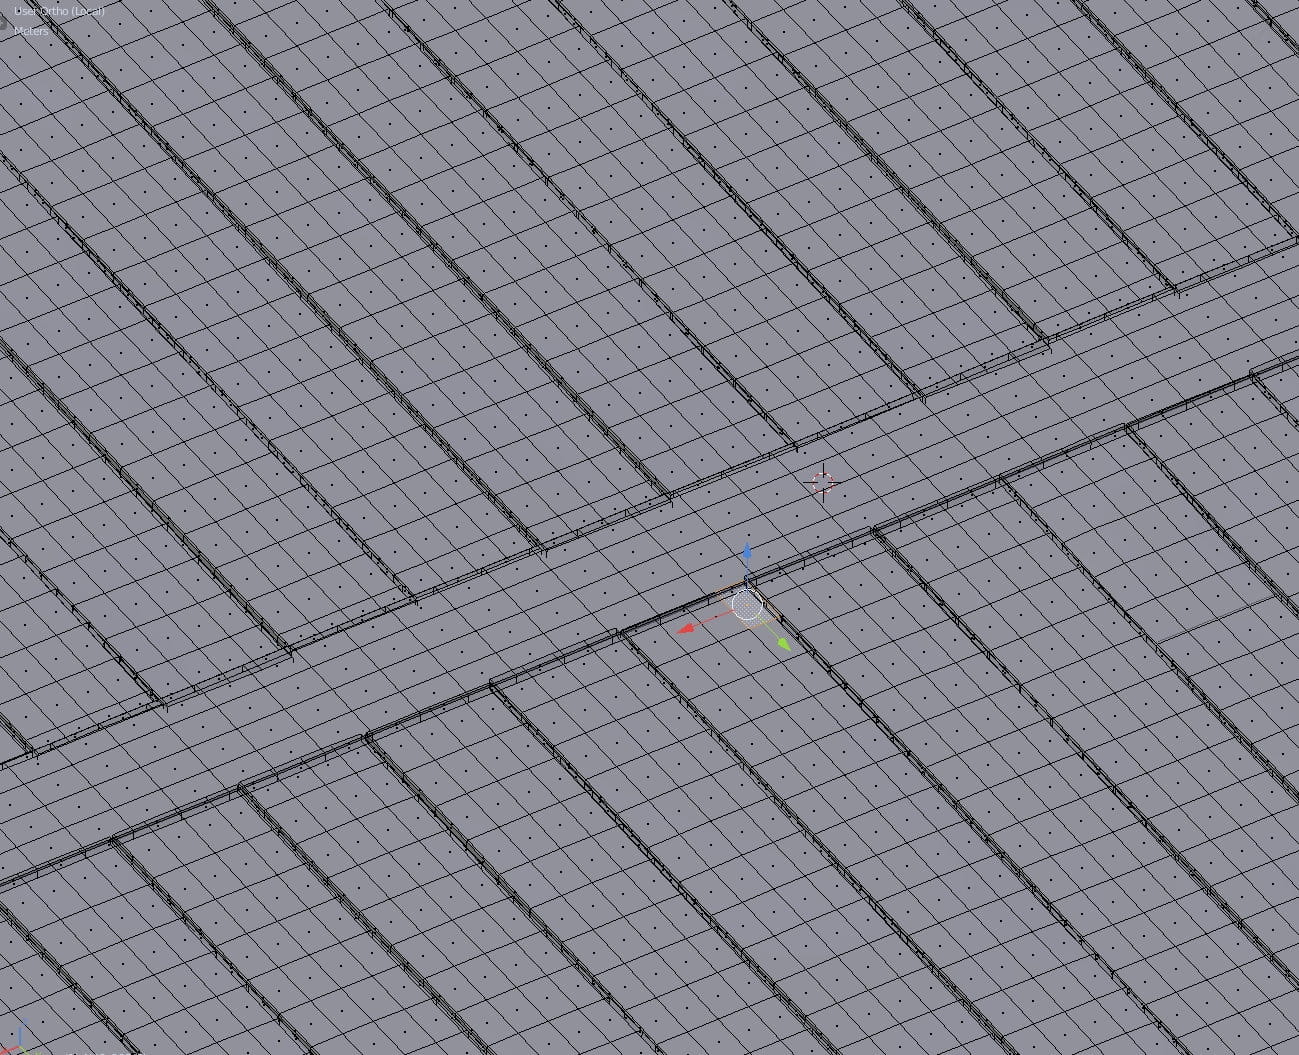
Floor close-up.
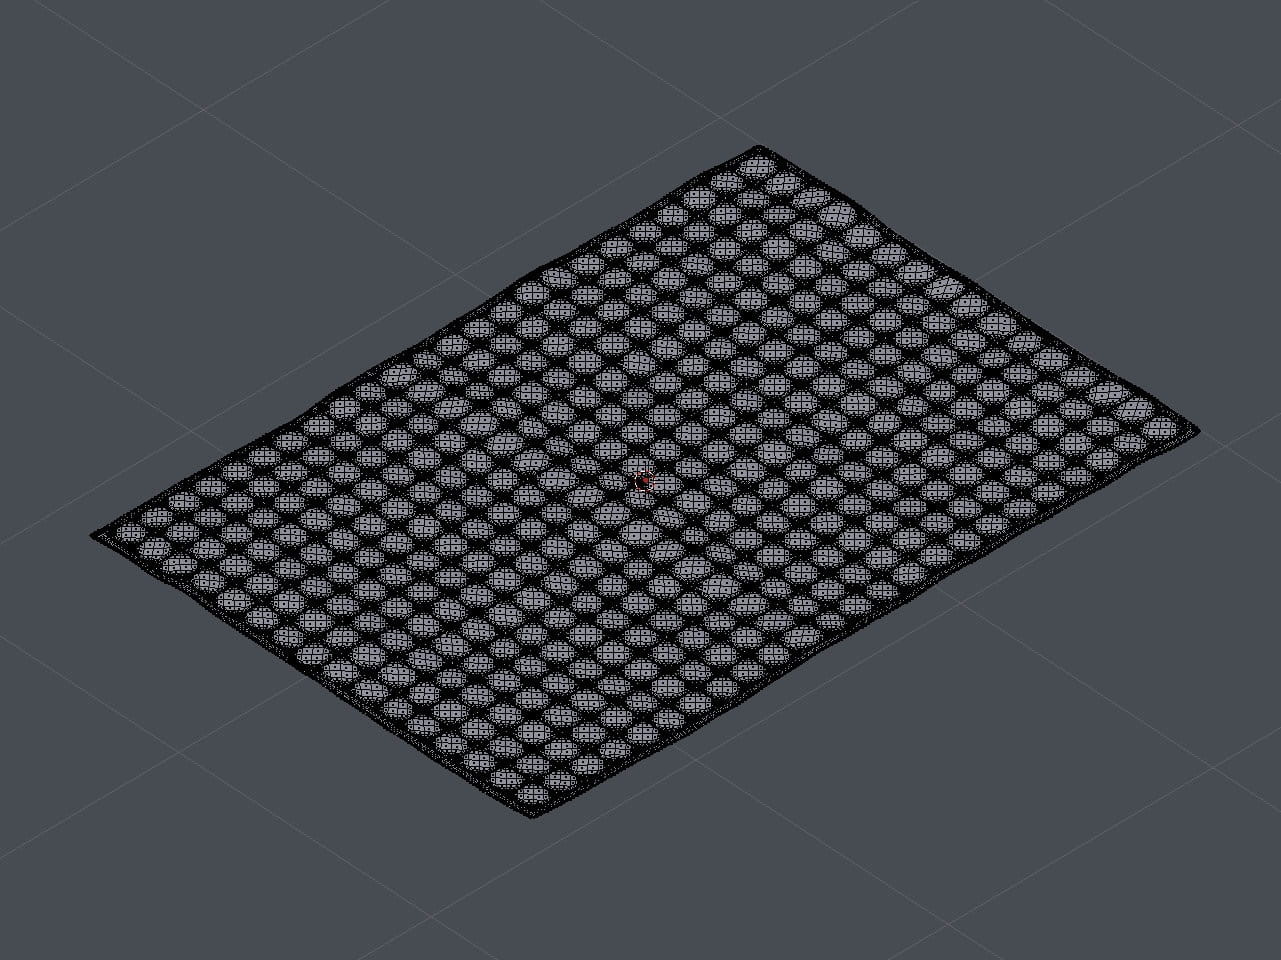
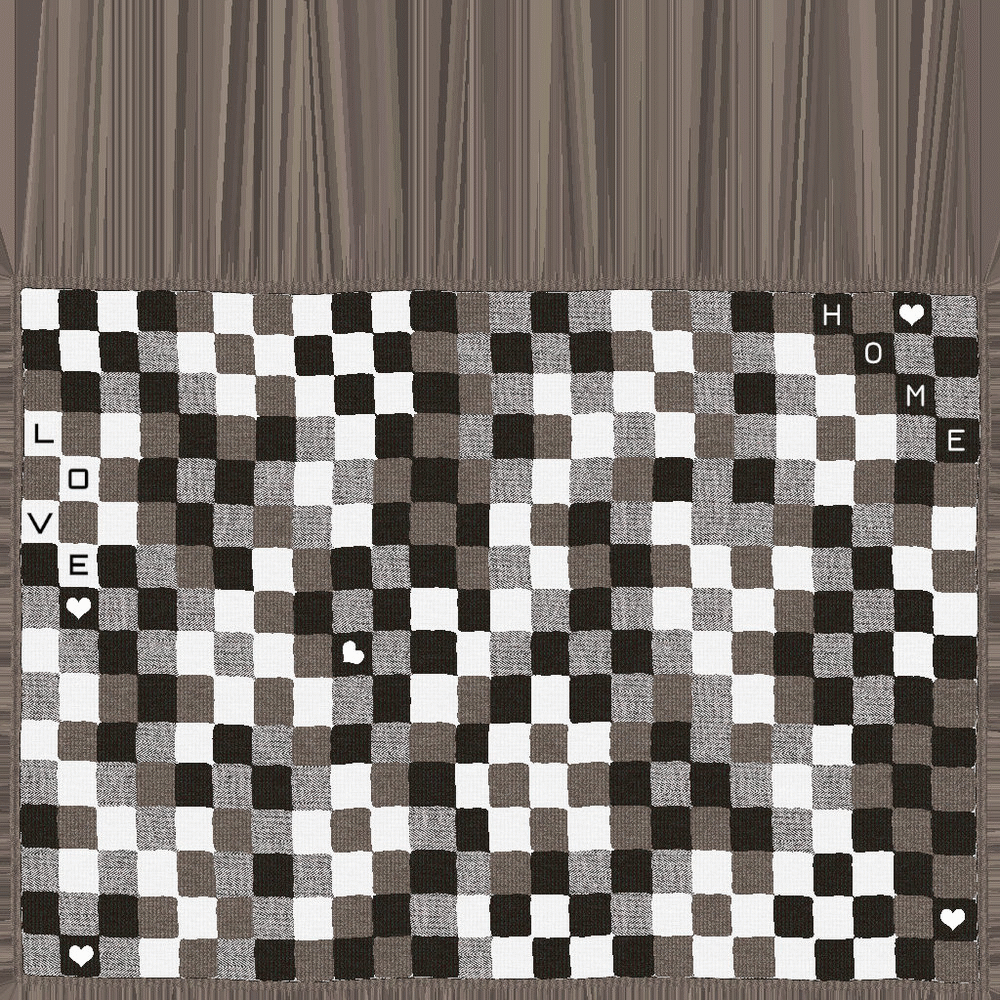
Rug mesh.
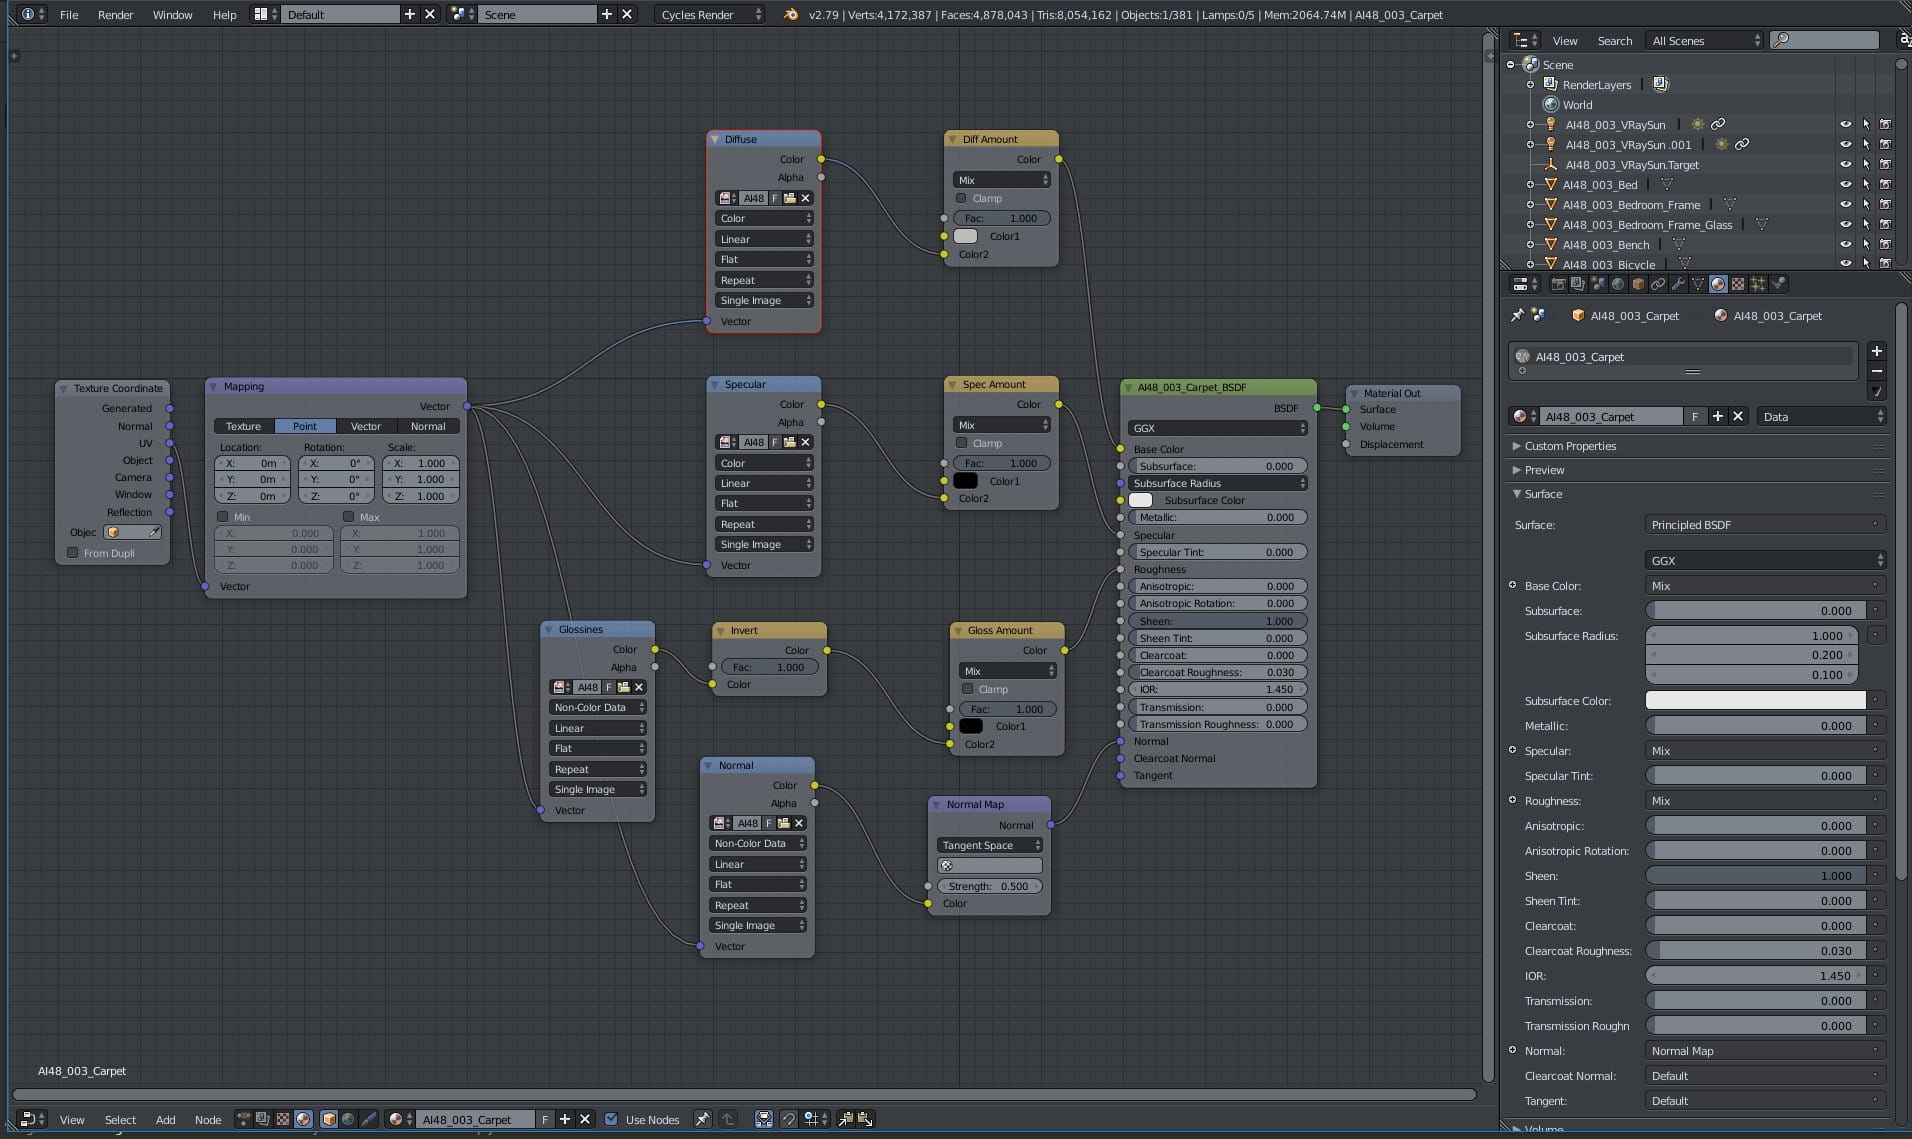
Rug material.
Rug diffuse / glossiness / normal map.

A tree (rather just a top of it) placed behind windows.
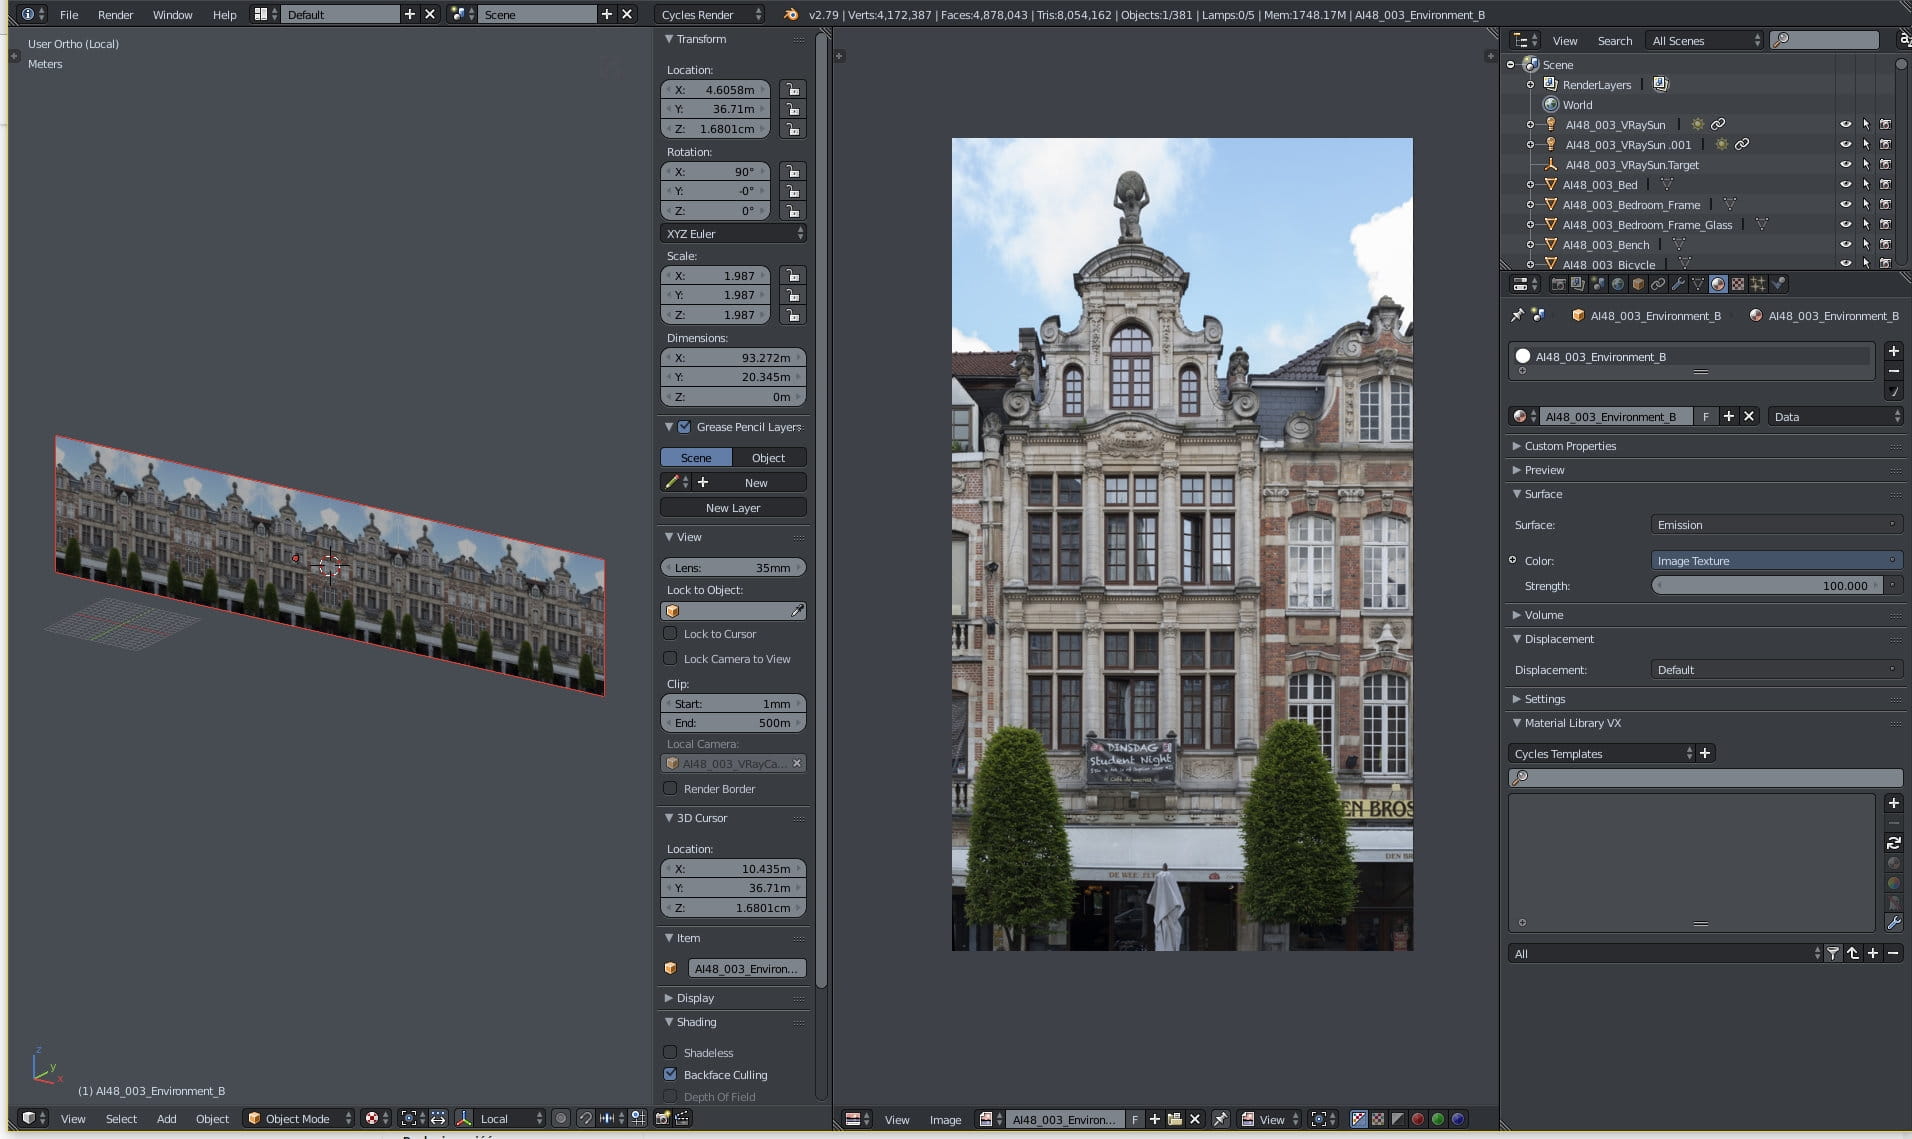
Plane for external view and the bitmap.
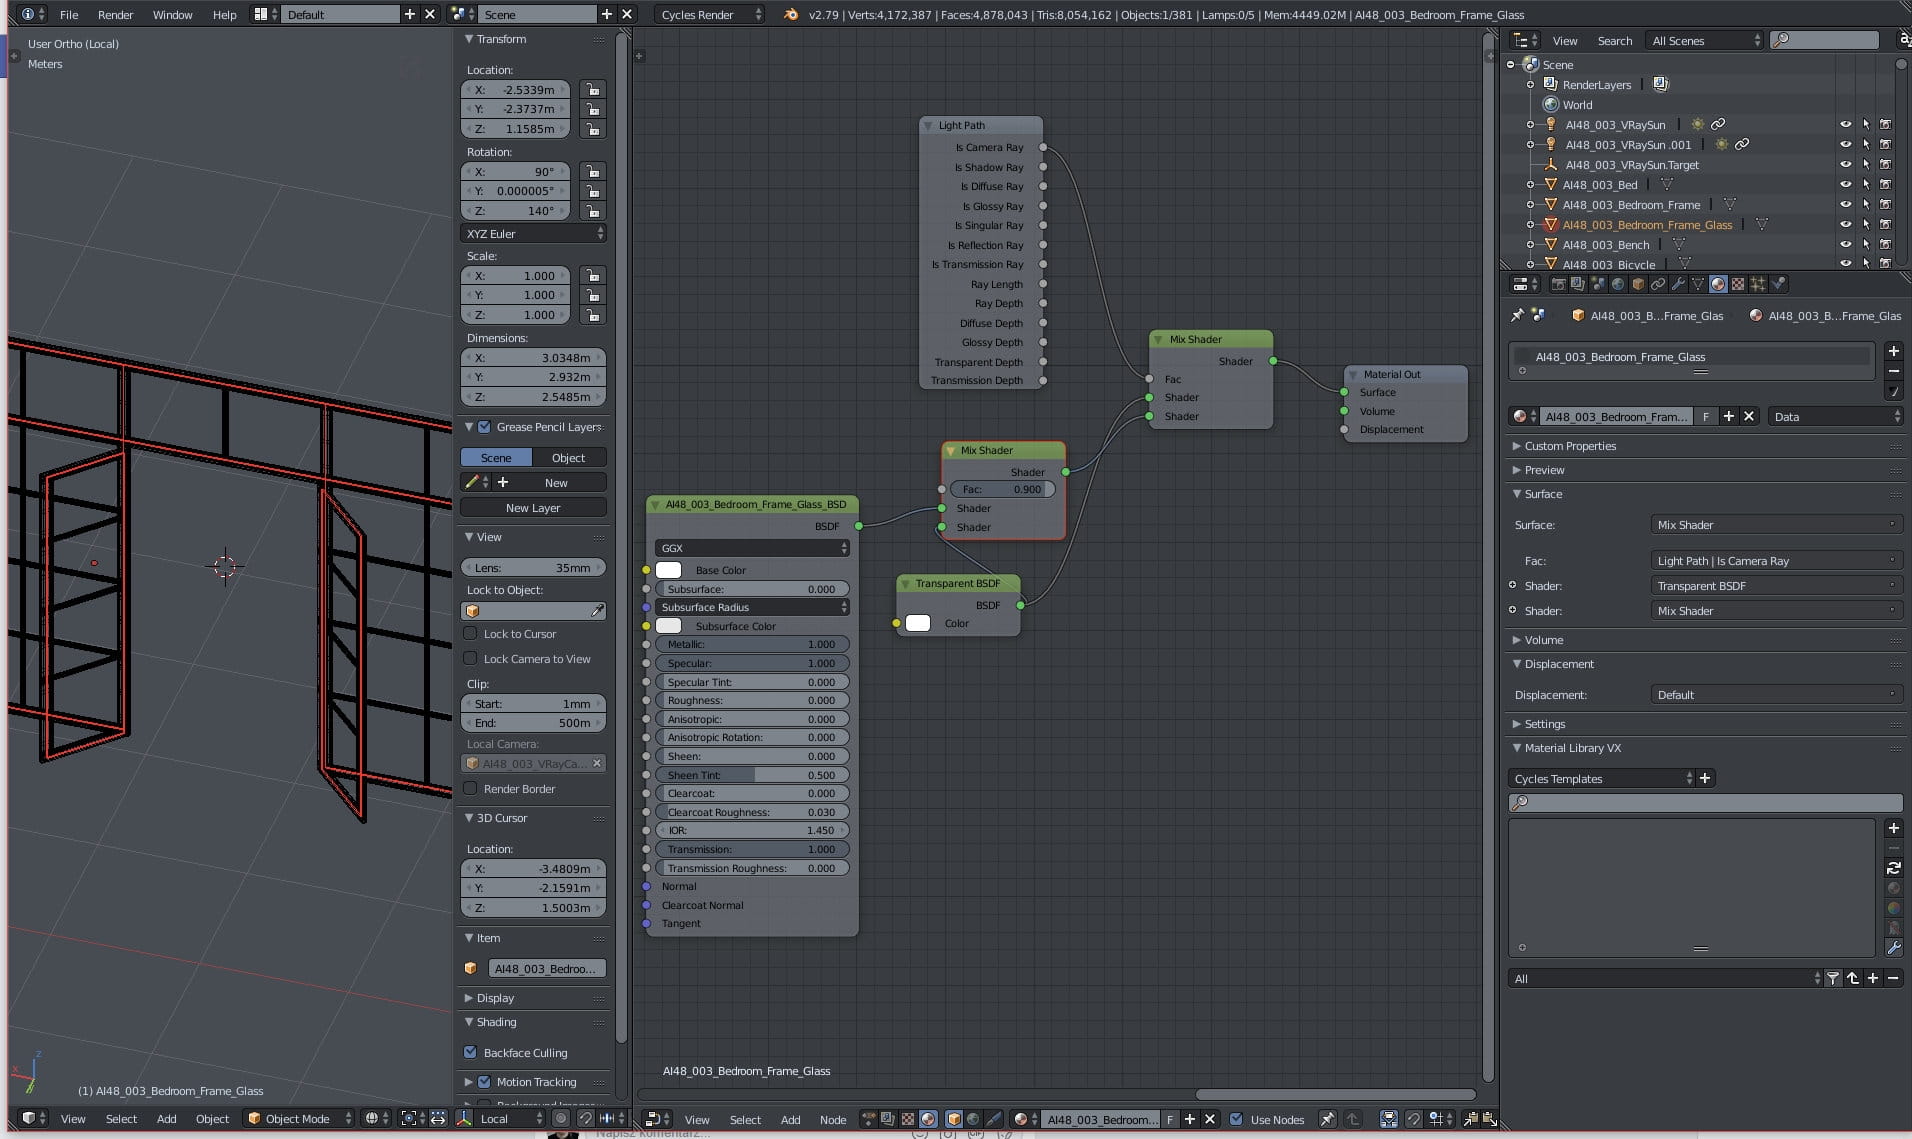
Glass material.
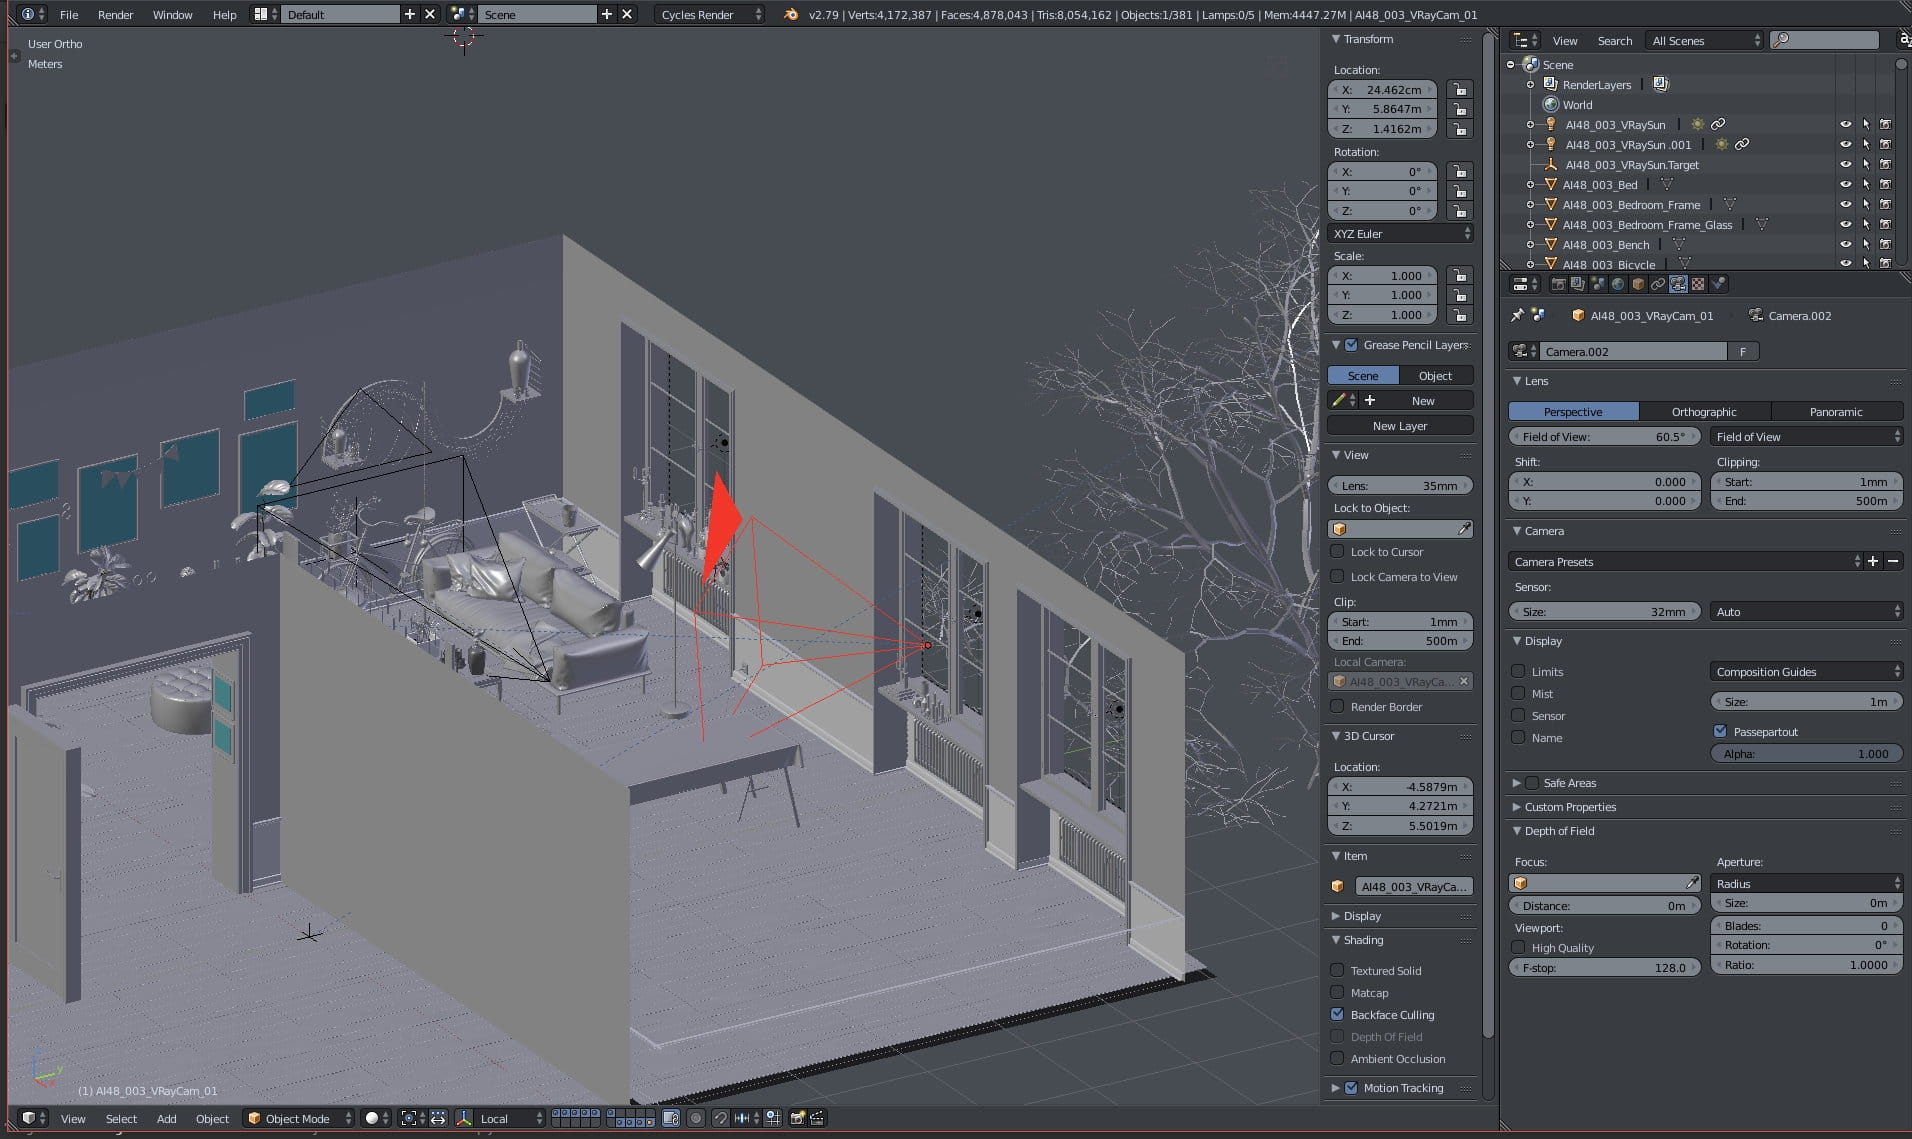
Camera settings.

Light portal.

Sun settings.
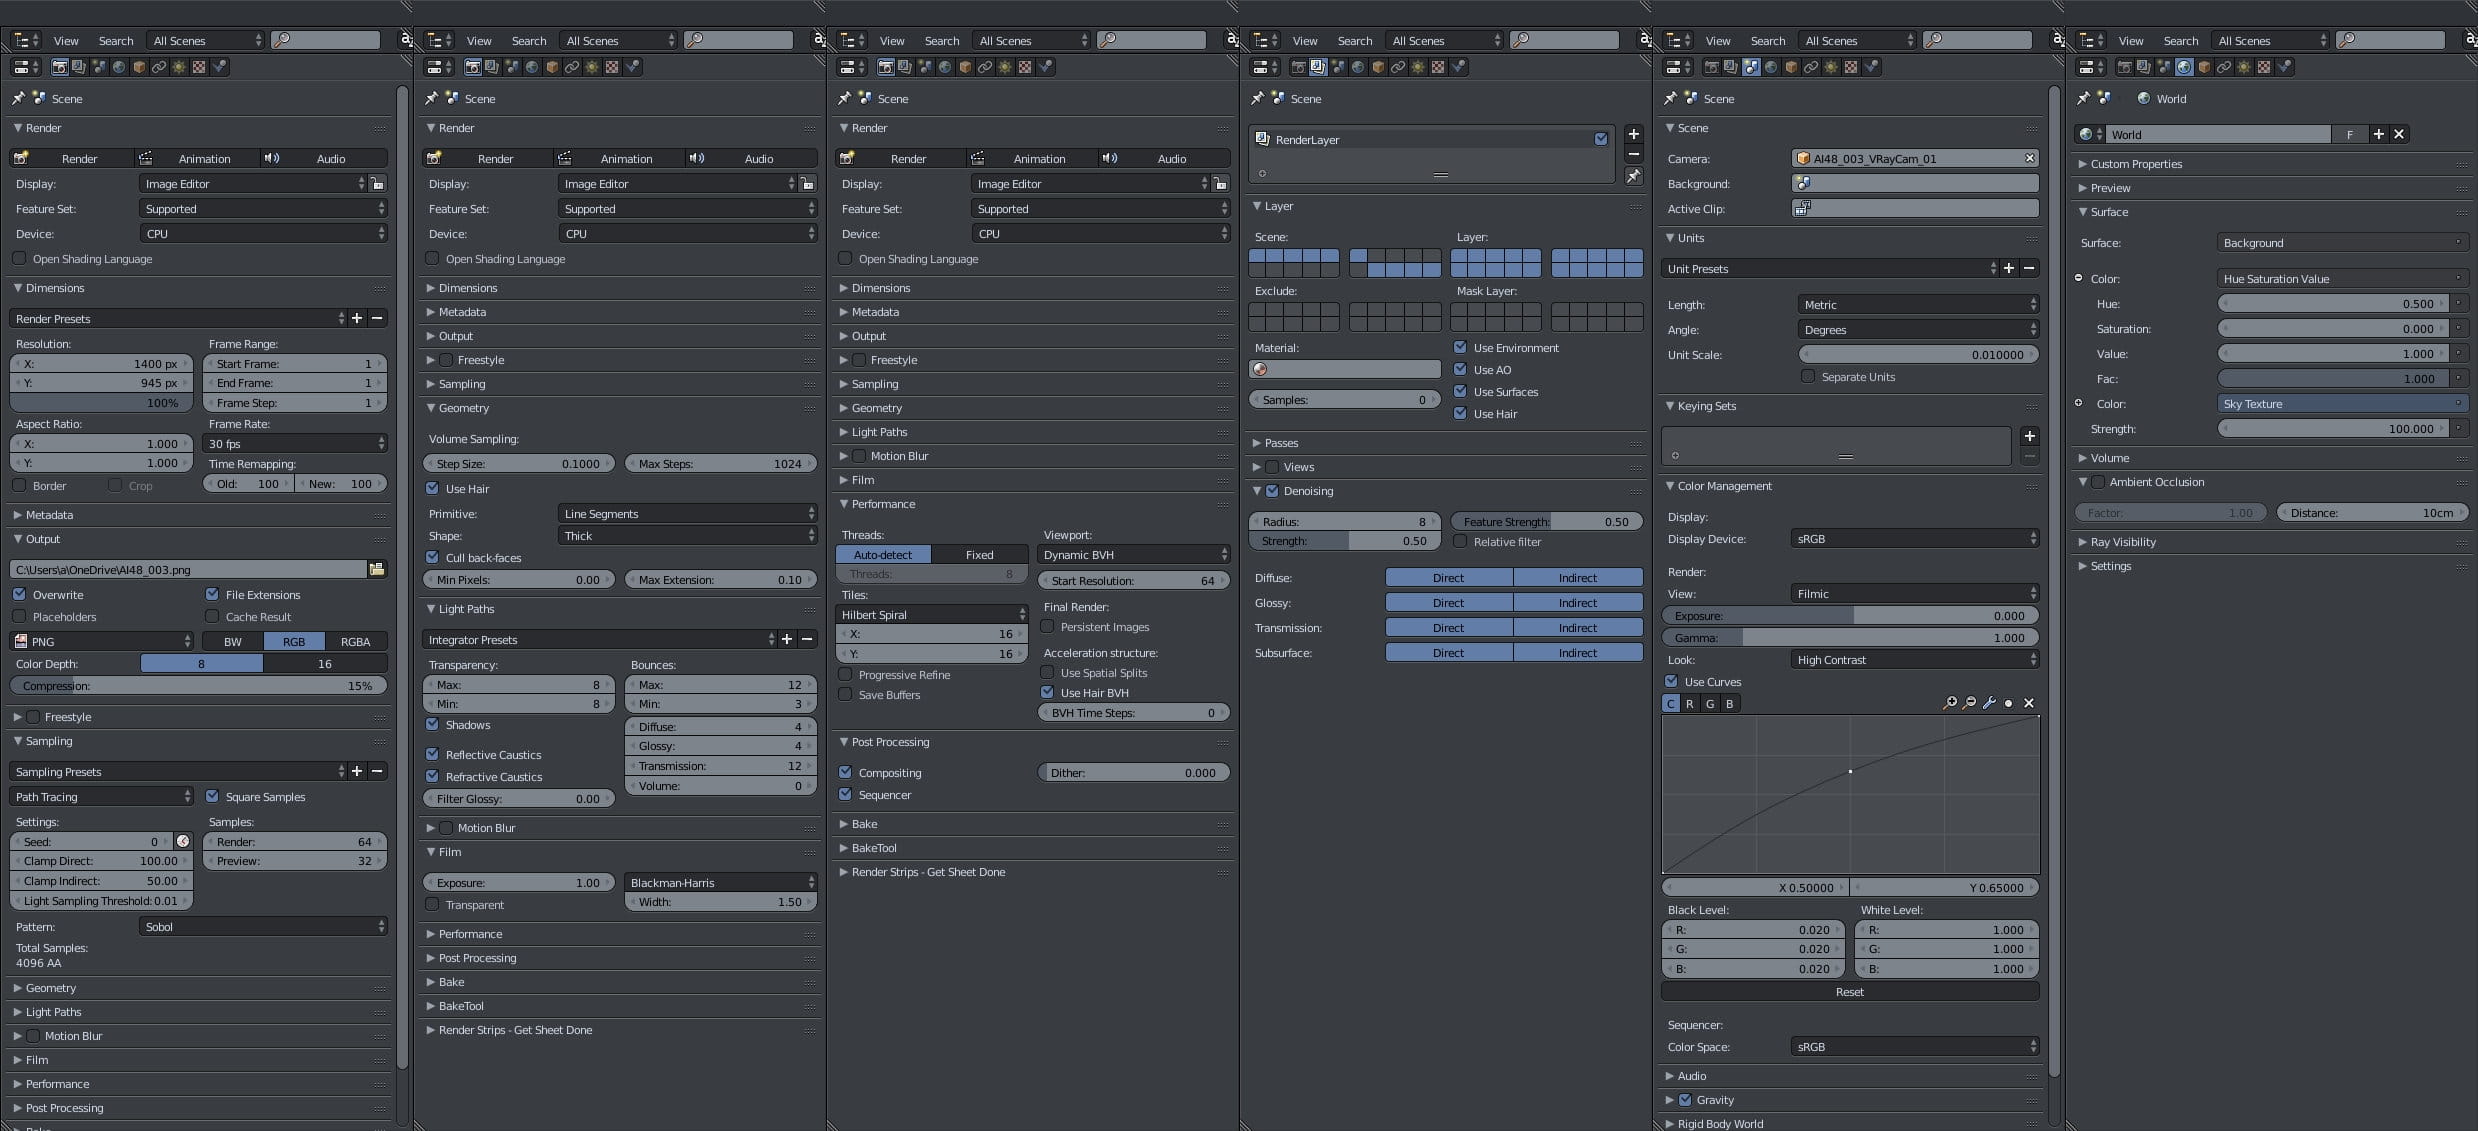
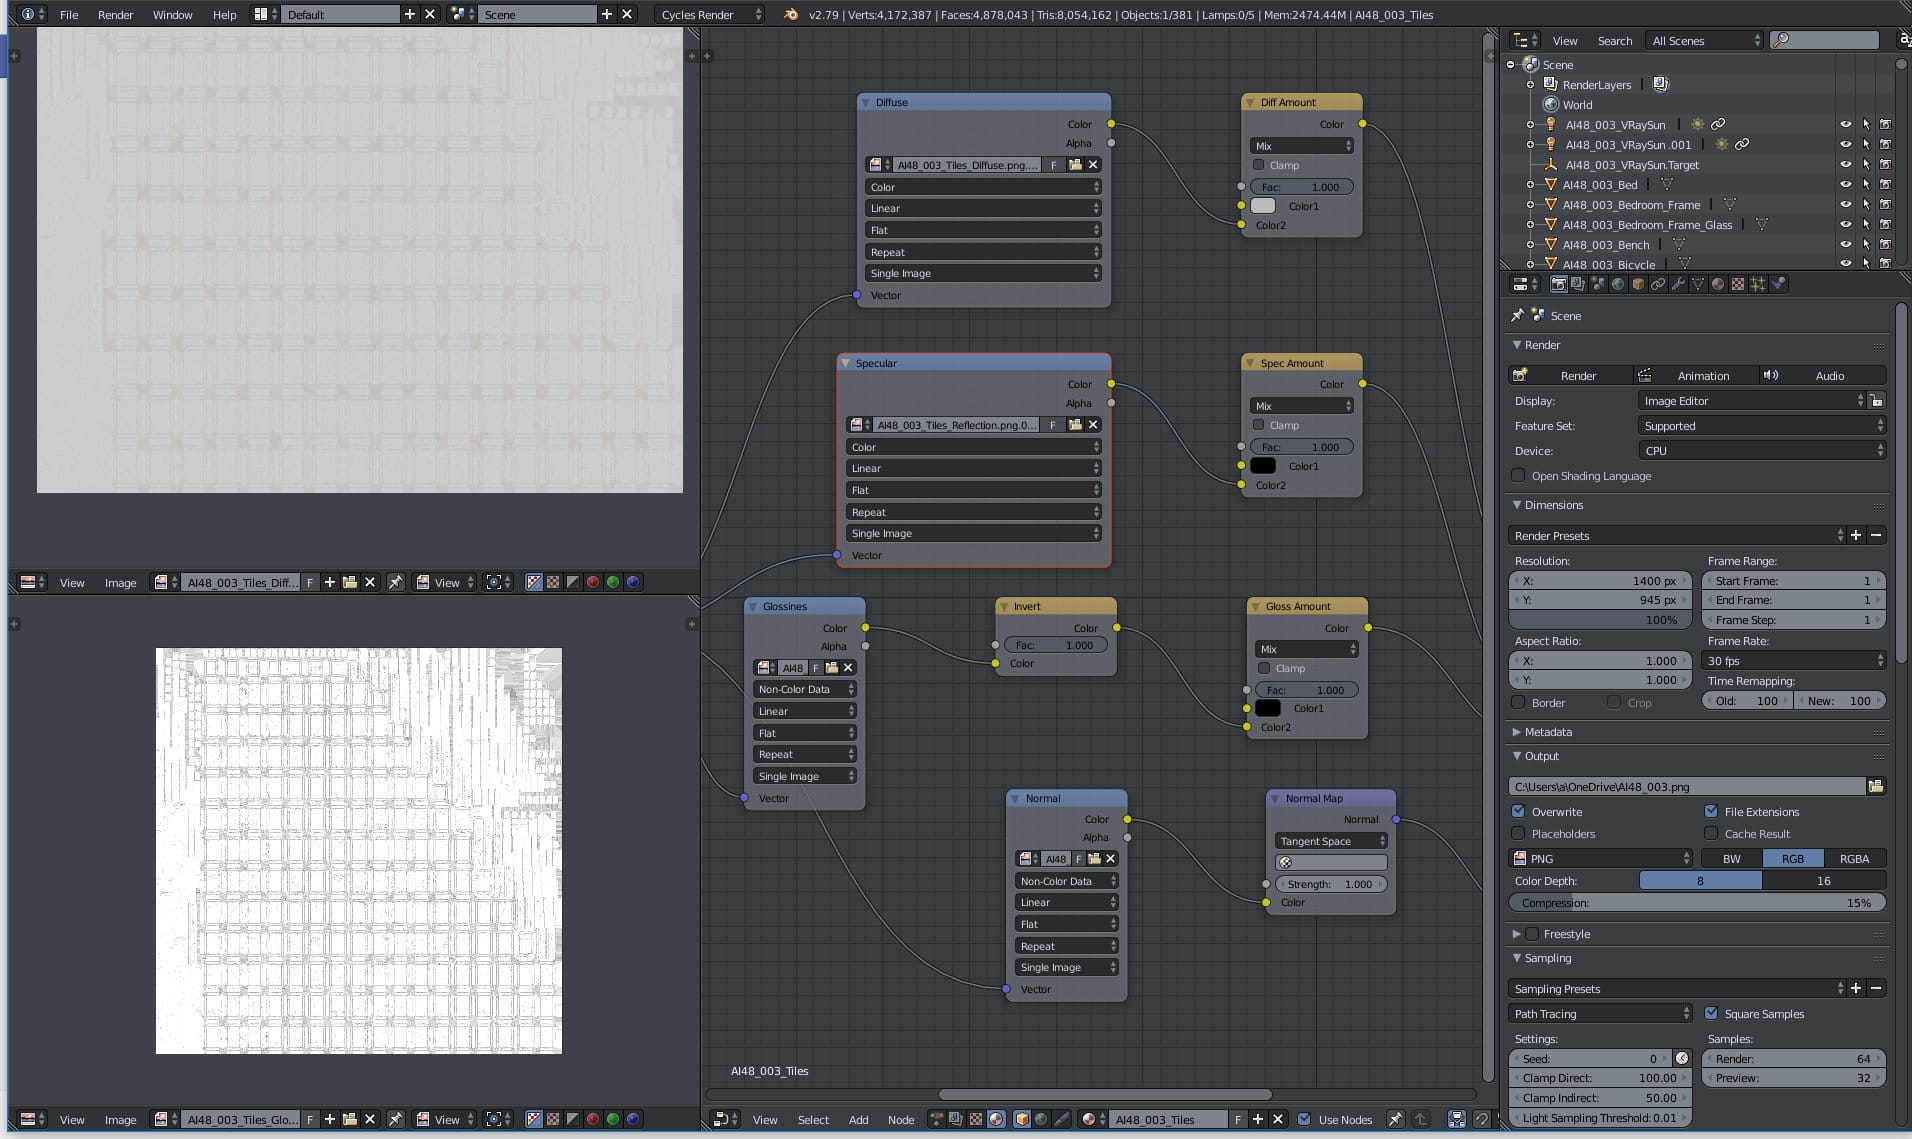
Render settings.
Thanks for reading! Wanna see more? Go to Evermotion Shop and check out this single scene or entire collection. Or browse Blender tutorials on Evermotion site.


LEAVE A COMMENT


|

|

|

|

|
 Customer zone
 Your orders
 Edit account
 Add project
 Liked projects
 View your artist profile
COMMENTS